Documentação Banana Contabilidade+
Aqui abaixo você encontrará a Documentação do Banana Contabilidade Plus, nossa última versão.
Documentação Banana Contabilidade+
Extensa documentação, muitos tutoriais on-line e uma explicação de cada uma das funções do programa.
Estamos trabalhando na tradução da documentação para o português. Para páginas que ainda faltam, porfavor consulte as páginas em outros idiomas (em Inglês, mas também em Alemão, Francês ou Italiano).
Para suporte técnico (também disponível em Português), consulte a seção: Contato e suporte
Documentação versões anteriores
Estamos em todo caso felizes em disponibilizar ainda para os nosso usuários a Documentação do Banana Contabilidade 9 e versões anteriores:
Index
hello world
A interface do Banana Contabilidade Plus
É a sua primeira vez usando o Banana Contabilidade Plus? Sem problemas. Nesta página mostramos brevemente o que você encontra na tela principal e como funcionam os vários elementos.
À primeira vista, o Banana Contabilidade Plus é semelhante ao Excel, baseado em tabelas, e tem um modo de uso muito prático e intuitivo. Mas você descobrirá que o Banana Contabilidade Plus faz muito mais.

1. A barra de menus
A barra de menus muda conforme o aplicativo aberto. Cada menu tem comandos específicos. Os menus dos aplicativos contábeis são os seguintes: Arquivo, Editar, Dados, Formato, Ferramentas, Relatórios, Ações, Extensões, Janelas, Ajuda.
Pelo menu Ajuda se gerenciam os dados da assinatura do Banana Contabilidade Plus.
Atenção: nos sistemas operacionais Mac, a barra de menus fica no alto, à direita do logotipo da Apple.

Novo: no Menu Janela você tem vários comandos, que permitem entre outras coisas:
- Alterar a disposição das janelas de dados (lado a lado ou em cascata)
- Escolher diferentes configurações pelo comando Aparência:
- Escolher quais elementos da interface exibir, para adaptá-los a telas pequenas.
- Escolher o tema de exibição.
- Tornar visível o menu Desenvolvimento.
2. A barra de ferramentas
A barra de ferramentas permite acessar rapidamente as janelas e comandos mais usados.
Basta passar o mouse sobre o ícone desejado e esperar um instante para ter uma descrição do significado.
Novo: se você tem vários arquivos abertos, agora é possível ver facilmente em qual está trabalhando e alternar de um para outro muito simplesmente pela barra de ferramentas.

3. A área de inserção de texto
Normalmente, os textos são escritos diretamente na célula, mas também aparecem na área abaixo da barra de ferramentas, onde é possível realizar modificações. Diversas funções aceleram e automatizam a inserção.
4. As tabelas
Cada arquivo é constituído por várias tabelas, que mostram conteúdos diferentes da contabilidade ou do aplicativo. Alterne de uma tabela para outra simplesmente clicando com o mouse no nome da tabela. As tabelas variam conforme o aplicativo aberto. Trabalhar com tabelas permite ter os dados sempre ordenados e agrupados de acordo com o conteúdo.
Existem tabelas principais (fixas) e auxiliares (que aparecem após determinados comandos). As tabelas auxiliares (geradas pelo usuário) são úteis para modificações ou adição de dados e devem ser atualizadas, simplesmente clicando no ícone no alto à direita da tabela 

Além dos vários relatórios disponíveis, o Banana Contabilidade Plus permite imprimir tudo o que aparece na tela em qualquer tabela (veja Configurar página - último parágrafo). Para mais informações visite a página Impressões/visualização prévia.
5. As visualizações
As visualizações são maneiras diferentes de exibir os dados da mesma tabela, mostrando apenas determinadas colunas. São muito úteis quando se deseja visualizar os dados de outra forma, sem alterar as configurações básicas. Alterne de uma visualização para outra simplesmente clicando com o mouse no nome da visualização.
As visualizações ficam na área abaixo das tabelas e podem ser personalizadas com o comando Dispor tabelas. Também é possível criar novas.
6. O Filtro
A função Filtrar linhas, disponível no plano Advanced do Banana Contabilidade Plus, permite buscar, encontrar e modificar instantaneamente lançamentos já inseridos. Junto com o Ordenar linhas temporário representa uma importante inovação para agilizar o controle contábil.
Para mais informações visite a página Filtrar e Ordenar linhas temporário.
7. A ajuda contextual
No Banana Contabilidade Plus, a ajuda contextual dá um suporte imediato e relativo exatamente ao que você está trabalhando. Isso acontece de várias formas complementares:
- A - A janela da mensagem de erro, que o programa mostra quando detecta um possível erro:
- Se clicar em OK, visualiza cada mensagem.
- Se clicar em Ajuda, será direcionado à página de explicação da mensagem de erro com as possíveis soluções.
- Marcando Não sinalizar, todas as mensagens de erro são salvas na janela Mensagens de erro.
- B - Símbolo ponto de interrogação no alto à direita da tabela

Clicando no símbolo você é levado à nossa página de Documentação, onde pode encontrar detalhes sobre o uso da tabela e todas as outras funções do programa. - C - Símbolo ponto de interrogação embaixo
 na janela Informações ou Mensagens
Clicando neste símbolo você é levado à página de explicação da mensagem de erro e das possíveis soluções. - D - Botão Ajuda nas janelas de diálogo
Clicando neste botão é exibida a página online de explicação da janela de diálogo aberta ou da mensagem de erro.

8. As colunas
As colunas são os elementos verticais da tabela. Cada coluna tem seu próprio cabeçalho. Você pode personalizar o cabeçalho, a largura, o estilo, o formato e também a sequência através das funções que estão no menu Dados > Dispor colunas.
Em algumas colunas os dados são inseridos pelo usuário, enquanto em outras o programa insere automaticamente os dados e, portanto, não podem ser modificados pelo usuário (ex. as colunas dos cartões de conta).
Você pode adicionar novas colunas também pelo comando Dados > Dispor colunas, mas se contiverem valores não serão processadas pelo programa.
9. Localizar e substituir
A função Localizar e substituir é ativada pelo menu Dados e permanece visível até que seja fechada manualmente. É muito prática para localizar e alterar textos de maneira rápida e fácil na tabela. Não confundir com o comando Renomear (apenas no plano Advanced), que em vez disso altera o nome de uma conta, um código de IVA ou outro em todo o arquivo.
10. As janelas informativas
É a área posicionada na parte inferior da tela, onde são exibidas informações úteis para operar, relativas à tabela e à célula em que se está. Esta área se divide em três janelas muito úteis que dão informações imediatas:
- A janela Informações indica os conteúdos da linha e da célula em que se está (exemplo: nome e saldo da conta, código de IVA e descrição do código usado).
- A janela Mensagens, mostra as mensagens de erro.
- A janela Gráficos, mostra o gráfico dos conteúdos da célula ou linha em que se está (por exemplo, se você está em uma conta, aparece o gráfico com a evolução da conta).
Alterne de uma janela para outra simplesmente clicando com o mouse no nome da janela.
A janela Informações
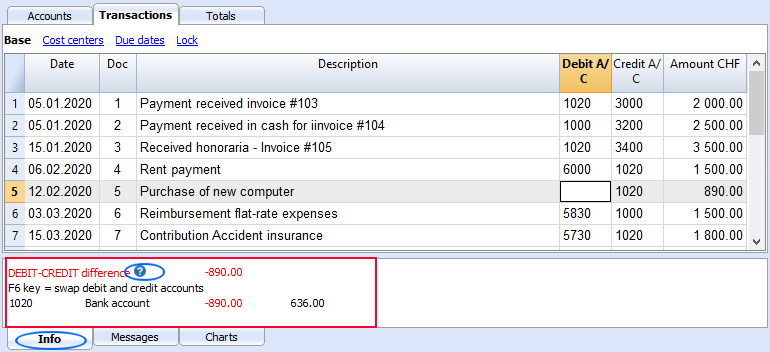
A janela Informações indica as informações relativas à célula e à linha em que se está: os nomes e códigos das contas envolvidas no lançamento, os valores e os saldos residuais. Quando há um erro, aqui é exibida a diferença em vermelho.
- Clicando no símbolo do ponto de interrogação você acessa a página onde o erro é explicado.

A janela Mensagens
Quando o programa encontra erros, aparece uma janela de diálogo que os sinaliza:

- Clique em OK para visualizar cada mensagem.
- Marcando Não sinalizar, todas as mensagens de erro são salvas na janela Mensagens de erro.
- Se clicar em Ajuda vai à página de explicação do erro com possíveis soluções (Ajuda contextual).
A janela Mensagens contém uma lista dos erros que foram sinalizados pelo programa.
- Da janela Mensagens, com um duplo clique na mensagem de erro, você vai à linha que gerou o erro.
- Clicando no símbolo do ponto de interrogação você acessa a página de explicação da mensagem.

A janela Gráficos
Selecionando uma conta ou um grupo, você obtém o gráfico na janela Gráficos abaixo. O gráfico fornece imediatamente a evolução da situação, também com a comparação entre previsão e situação real. Você tem uma visão imediata ao longo do tempo sem precisar consultar os valores.
Com o plano Advanced do Banana Contabilidade Plus agora é possível também copiar, exportar e imprimir os gráficos, bem como copiar para a área de transferência os dados que geraram o gráfico. Mais informações na página dos Gráficos.

11. A barra de status
Fica na base da janela do programa e contém as seguintes informações:
- Número da linha da célula selecionada/Número de linhas da tabela
- Se o Filtro estiver ativo, também é indicado o número de linhas visíveis
- Se forem selecionadas várias células numéricas ou de tipo contador de tempo, obtém-se:
- Contagem: número de células selecionadas contendo números.
- Soma: soma dos valores das células selecionadas.
Por exemplo, se forem selecionadas 3 células numéricas (1'500 + 1'500 + 1'800), na barra de status será exibido o total 4'800.
- Zoom
Para aumentar ou diminuir o tamanho das tabelas.
Para alterar o tamanho do texto dos menus, use as configurações do seu sistema operacional.
Veja também Opções do programa.

Novidades
Na versão mais recente do Banana Dev Channel, é possível copiar para a área de transferência a soma dos valores.

The guiding principles of Banana Accounting
When you start looking for accounting software, you are faced with a sea of possibilities: from completely “do-it-yourself” Excel solutions, to complex management systems designed for large companies, to many intermediate options. It is normal to feel a little disoriented.
With Banana Accounting we want to make this choice much simpler and more reassuring.
Our software has been designed to be:
Easy to start with: the table-based interface is simple and easy to understand, similar to an Excel spreadsheet, therefore familiar and immediately intuitive even without advanced accounting knowledge.
Clear and readable: data is always presented in an organized and transparent way, so you always know where you are and how to proceed. See how the program works, so you can understand it and have full control of your activity.
Flexible and adaptable: with a modular software, you can start small and expand the features as your business grows.
Free and without constraints: your data always remains accessible, exportable and editable. If one day you want to switch to other solutions, you will not encounter barriers or limitations.
In other words, Banana Accounting not only simplifies the start of your accounting management, but also accompanies you throughout your growth journey, leaving you the freedom to always choose the best path for you.
Useful links
Table-based interface
In Banana Accounting Plus the data is entered and displayed in tables. This interface, inspired by Excel and faithful to the centuries-old accounting tradition, is extremely intuitive and productive. In all areas of the program, for the Chart of Accounts, the Transactions, the Budget, the Exchange, the VAT Codes and also to view the Account Cards, the table system used is always the same.

The typical Excel interface gives the user numerous advantages to optimize their work.
Easy data entering
Everything is very intuitive, because you are able immediately to see what you have to do and where to enter the data. You can move around freely to enter, make changes and delete data at any time. During the input, the program also suggests values based on the text you typed in, or you can put it on hold to complete the work later.
Fast data entering
The cells allow instant data entry, which can be copied and pasted to speed up the work even more. With the suggestion of the values to be entered, auto-completion is available, which offers the possibility to choose a value already used previously for example.
Secure data
The user is always sure that the data entered is correct, as he will find tables readily prepared uniquely for data types and with the integrated formulas. In case you enter wrong values, the program will signal the error with a text warning message, so the user understands where he has made a mistake and can immediately correct it.
On-line interface use including heuristic principles
This high productivity and ease of use is the result of a scientific approach to improving user interaction. In the early nineties a group of researchers led by Jackob Nielsen, developed the 10 heuristic rules for the interface design. These principles have become and remain the reference point for the creation of software, websites and apps.
Banana Accounting is the only software that meets all 10 rules and that is why it is easy to use and highly productive. Below these principles and how they are implemented in Banana Accounting are presented.
1. Visibility of system status
“The system should always keep users informed about what is going on, through appropriate feedback within reasonable time.”
- If you add or delete a line, change the format, the color, you will instantly see the result of the operation.
- When you resume accounting, or you are interrupted by the phone, you immediately see what the last recorded entry was.
- The calculations (account balances and others) are updated and visible immediately.
- Multiple windows can be displayed simultaneously.
- The preview window does not block the use of the program, it can be kept open in parallel.
- In the Info window below, you will find additional information about the transaction, account or other on which you are positioned.
- In the Graphs window, you can see the evolution of the account balance on which you are positioned. If the cash drops below zero, you will be able to notice it immediately.
2. Match between system and the real world
“The system should speak the users' language, with words, phrases and concepts familiar to the user, rather than system-oriented terms. Follow real-world conventions, making information appear in a natural and logical order.”
The spreadsheet was created for the world of accounting. It is the native mode of accounting (Cash book, Accounts list).
- Entering data in the table leads to an immediate change in status. Everything is updated immediately accordingly.
- The Transactions table contains all movements, exactly as expressed in the accounting.
- The Accounts table contains and displays the Balance Sheet and the Profit/Loss Statement, with accounts and groups, and the related updated amounts, complete with balances, movements, budgets or discrepancies.
3. User control and freedom
“Users often choose system functions by mistake and will need a clearly marked "emergency exit" to leave the unwanted state without having to go through an extended dialogue. Support undo and redo.”
Within Banana Accounting, the user has full control and freedom:
- You choose the sequence in which you wish to work freely.
- You will never be hindered by the system and can change or suspend your work whenever you need or wish to.
- You can navigate freely within the table and add or change any information.
- You can switch from one table to another.
- You can switch from one file to another.
- Operations can be canceled or restored; you can also decide to not save the file if you notice that the work done does not satisfy you.
- Any dialog and procedure can be interrupted with the Esc key..
- You can protect your data:
- Protect any row from being modified.
- Lock the rows of the Transactions table with blockchain.
It complies with requirements for the accounting data conservation and will prevent ill-intentioned persons from interfering with your accounts, without your knowledge.
- Decide where to save your files.
All accounting data is saved in a file, with a user defined name and can be copied, moved, sent by email, saved to a network or cloud drive, such as is most useful to you.
4. Consistency and standards
“Users should not have to wonder whether different words, situations, or actions mean the same thing. Follow platform conventions.”
Banana Accounting aims to be consistent throughout.
- The mode of use of spreadsheets is kept consistent.
- The interface and the commands conform to Microsoft Excel and Office, reference programs in the administrative field..
Being familiar with that software will put you at ease immediately, the main commands and operating methods are as similar as possible. - In dialogues and other interactions, graphics and logic specific to the operating system in place are used.
- "Compositions" will allow you to save and use setups in a standardized form.
- We aim to maintain continuity from one version to the next. New designs are only put in place if they are considered effective and provide benefits.
5. Error prevention
“Even better than good error messages is a careful design which prevents a problem from occurring in the first place.”
Banana Accounting connects the data structure and the display functions and there is help while inputting rows.
- Columns and Rows will make it clear, which information is to be inserted.
- When in editing mode, the program will propose a list of suggestions, so as to avoid input mistakes.
- In the date column, when only the day is entered, the program will suggest the complete date of month and year based on the previous registration.
- In the document column, the program indicates the following number, regardless of the numbering convention used.
- In the account or code column, existing ones will be displayed and will also allow you to search via entering the description.
- The description column will display texts already used, which can be reused, along with the rest of the transaction.
6. Recognition rather than recall
“Minimize the user's memory load by making objects, actions, and options visible. The user should not have to remember information from one part of the dialogue to another. Instructions for use of the system should be visible or easily retrievable whenever appropriate.”
With Banana Accounting, as with spreadsheets, it is quite clear what should be done by you and how to proceed.
- To add a transaction, an account or a group, a row is added.
- To delete a transaction, an account or a group, the row is deleted.
- To format, change color, copy and paste data, select the zone first and then click the command.
- All commands are visible in the context menu, the top menu or the toolbar.
- Account numbers or other values to be entered are suggested when in modification mode (see previous post).
7. Flexibility and efficiency of use
“Accelerators — unseen by the novice user — may often speed up the interaction for the expert user such that the system can cater to both inexperienced and experienced users. Allow users to tailor frequent actions.”
There are several options for advanced users to work faster:
- You may use Key shortcuts.
- There are contextual commands that automate a certain number of operations (such as reversing debit and credit account allocation).
- You may apply the commands (copy, paste, delete, format) to a whole selected area. Other accounting programs generally allow you to work on one line at a time only.
- Pick up rows of recurring transactions.
- Row settings for recurring transactions.
- "Compositions" to set and save report settings and other commands.
8. Aesthetic and minimalist design
“Dialogues should not contain information which is irrelevant or rarely needed. Every extra unit of information in a dialogue competes with the relevant units of information and diminishes their relative visibility.”
Banana Accounting was and is conceived to generate accounting files that adhere to regulatory requirements and will contain only related necessary data.
- Your accounting can be created with only the required options. Functions such as VAT, multi-currency, cost and profit centers, segments, are not present if not necessary, but can be activated selectively when needed.
- Your spreadsheet can be customised. You may hide columns that you do not need.
- You can create different views of the columns, in order to access them when and how it is most suitable to you.
9. Help users recognize, diagnose, and recover from errors
“Error messages should be expressed in plain language (no codes), precisely indicate the problem, and constructively suggest a solution.”
Banana Accounting has several ways to allow the user to notice any errors or problems:
- Error messages, well described, when you enter or effectuate an incorrect operation.
- Errors or warnings are highlighted in color of the row concerned
- Explanation of the error in the Info window.
- "Check Accounting" command, to recalculate and check all data entered and signal any errors or problems.
- Window displaying the list of all messages, allowing you to locate the row in which the error occurred.
10. Help and documentation
“Even though it is better if the system can be used without documentation, it may be necessary to provide help and documentation. Any such information should be easy to search, focused on the user's task, list concrete steps to be carried out, and not be too large."
- Each error message has its dedicated documentation page, reachable at a click, complete with causes, solutions and links to information pages, which will help you solve your problem.
- When you are using the table, the help command will lead you directly to the relative Help page of the application and the data table.
- Each dialogue has a help button that leads to the specific help page.
- There is a complete and very comprehensive documentation, structured according to the logic of the program and with links to all the related topics.
- Beside this documentation, there is an index that will allow you to understand it's structure and to move around it easily.
- Dialogues created through program extensions written in Javascript, also link to specific help pages.
Accounting software similar to Excel
Over 30% of small companies still use Excel to do simple accounting. Banana Accounting software is an optimal compromise solution between Excel and accounting softwares, because they take from both the most useful and suitable features for accounting. They don't replace Excel, but they enhance and complement it.

Easy, fast and secure data entering
Banana Accounting has the typical Excel interface, which allows you to enter data very quickly and makes the work very intuitive. The user doesn't have to make any complicated setup. The big advantage compared to Excel is that Banana Accounting is ready to use, with the formulas already integrated. When you create a new file you have the table for entering the chart of accounts, for entering the accounting and forecasting transactions, with all the columns already configured.
It is also possible to import bank or credit card transactions, also linking them to digital receipts.
You can modify and cancel transactions at any time. When you have finished and verified the transactions you have the possibility to protect the movements with the blockchain, so that the accounting data complies with regulations.
Financial forecasting and accounting
Banana Accounting allows you to manage financial forecasts (generally made with Excel) and accounting (generally made with accounting softwares). Having "all in one", the management is simpler, faster and you have a more effective control of your business.
Instant results
Banana Accounting is made up of several tables, already linked together. This synergy allows, when entering data, to have automatically the updated results. For example, when you enter transactions, in the Accounts table you can immediately see the new actual or forecast balances. The instant results allow you to have everything under control at any times and to take effective decisions about your financial situation.
Comprehensive and professional reports
Banana Accounting automatically provide several professional accounting reports with accounting data, forecast data or both together. They include for example the balance sheet, income statement, journal, account cards, liquidity plan, invoices and VAT statements.
Planning-Executing-Controlling - integrated method
To carry an activity to it's successful conclusion, you must first of all plan it, then implement and constantly check how it's execution proceeds and make the necessary corrections. This methodology is used for all kinds of project managements as well as in business management for any company, that wishes to expand it's business, needs to rent new space, hire staff, buy equipment, materials and much more. All these activities require planning, implementation plans and constant monitoring of the execution process.

Planning-Executing-Controlling
Planning-Executing-Checking, a method devised by Banana.ch, is unique and innovative because it includes the financial aspects and not only to the economic ones. Every company, that wants to be successful must not only evaluate it's profitability, but also the availability of liquidity and other means of its own to achieve its objectives without incurring the creation of debt.
Banana Accounting is the first program in the world that makes use of this methodology, by integrating all data into one single file based on the same Chart of Accounts, with no need for any additional tools. At the user's choice, the same file may be used, to either prepare the budget, or keep the accounts or to manage both, allowing for a vision of the past, present and future.

Start - Create the file according to your needs
In order to start your work with this innovative method of Banana Accounting, you create the file during the starting phase: choose your type of accounting and a ready set up template that matches the characteristics closest to your requirements.
This will provide you with a tailor-made accounting, including only the functions you need and without any unnecessary complications.

Start - Customize the file
The Chart of Accounts can be adapted to your needs at any time, by changing descriptions, adding or deleting accounts and groups. The mode of use will always be the same, and therefore other Tables can be easily adapted accordingly.

Entering accounting and forecasting movements
Once the file is created, you can choose to keep the Accounts, Budget, or run both. In Banana Accounting everything occurs in the Transactions table, where the movements relating to the operations carried out are entered, and in the Budget table, where the forecasted movements are entered. You are working in real time and may freely copy, paste and correct the data according to your needs. Data integrity is guaranteed thanks to the blockchain system which, if activated, locks recordings with digital seals.
Both the accounting part and the financial budgeting part are based on the double-entry method: for each revenue, expense, investment or other, the destination and source for and of the financial means are indicated.
This innovative approach is much more efficient, because it allows to account for all the events that are expected in the future, both capital and economic ones. Your efficiency will be enhanced towards using other tools, since data are always in line and no longer need to be imported and / or exported.

Bank statements are made available in electronic format, which makes it possible to automate and speed up their insertion in your accounting, via importing data. Most of the information is automatically retrieved and you just have to check that the data has been imported correctly, completing some information.
Instant results
All data are updated instantly. Your entire past, present and future situation is at your disposal at a glance. In the Accounts and Categories tables your account balances, the profit and loss and also the estimate values are displayed. In the info window you will have the updated account balance graphs and also the evolution graphs.
Comparison of data will allow you to understand how the business evolves and what steps you need to take to improve the situation if objectives have not been achieved. If certain expenses or revenues have been incorrectly budgeted, it is possible to modify them in the budgeting to run forecasts that are always updated and in line with the financial and economic reality of the company.

Comprehensive professional reports
The reporting and control phase has also been standardized, making the same reports available for the budgeted data, for the final balance and the combination of both, and it is also possible to compare the evolution of the data for a single month, quarter or year. There are various types of reports for tax and or management purposes that are automatically generated from the data entered.
Management reports

Automation reports

Data can be exported to allow for further analysis with other calculation software, such as Excel.
Banana Accounting equally allows you to program Extensions to automate certain functions or to generate additional reports. Both forecasting and accounting data can be further enhanced in this way.
Modular Custom Accounting
With Banana Accounting, getting started is really easy because you just have to choose the template: when you open it, the accounting is already set up with what you need. Generally, it's enough to slightly adapt the chart of accounts to start entering the transactions right away. Balance sheet, income statement, and many other reports are instantly ready.
The creation of templates designed to meet different types of users is possible only because Banana Accounting is a modular financial management software. This means you can create customized accounting setups by combining components as needed, with a high level of detail.
This major difference from other ERPs on the market allows Banana Accounting, for example, to set up accounting using either the double-entry method or the income and expense method. You can include VAT management, multi-currency, etc.
Start from a predefined template
The predefined templates in Banana Accounting are created by our specialists and designed for specific uses. Banana Accounting includes a wide range of ready-to-use templates, developed for various fields and compliant with the regulations of different countries.
You can view and search the available templates:
- From the File menu > New command
See the list of all templates divided by type of accounting and region. - In the Template Section on the Banana Accounting website.
You can start right away by choosing the template that best suits your needs: you can always adapt it by adding new features or removing those you don't need.
Double-entry or Income/Expense accounting
Like all professional accounting software, Banana Accounting is also based on the double-entry accounting system, which is the global standard and suitable for use in any context.
However, Banana Accounting also offers the option to use Income and Expense accounting, which is more intuitive for those without accounting knowledge. This method replaces the concepts of Debit and Credit with the more familiar terms of Income and Expenses. It is simply a more visual and easier approach, but the internal calculation engine remains the same, allowing you to generate professional reports and results similar to those of double-entry accounting.
Suitable for every need
In Banana Accounting, the data for each fiscal year of an activity is contained in a single file: you can manage an unlimited number of accounting files, each configured for different needs. This way, you can manage business accounting, personal finances, or act as a treasurer for your association. Or, if you're a professional, you can manage the accounts of several clients with a single subscription.
The modularity of Banana Accounting is the key element that makes it extremely easy to use, and that sets it apart from monolithic accounting software, designed only for large companies and packed with mandatory bundled features.
The modularity of the software results in its great flexibility, characterized primarily by the ability to adapt the chart of accounts and the grouping system. You can manage accounting for businesses, non-profit organizations, public entities, individuals, projects, etc.
The software can easily be adapted for use in different countries. When creating an accounting file, you can choose the language, the number of decimal places, and of course the currency.
Multiple application fields
Banana Accounting is a software similar to Excel, designed for individual use, where the user has maximum operational freedom. You can manage as many accounting files as you want, but it is not possible for multiple people to work simultaneously on the same file. Its use is therefore particularly suitable for situations where one or a few people manage the accounting. It is ideal for:
Managing cash book and monitoring cash and bank accounts
Small businesses and entrepreneurial activities
Associations and non-profit organizations
Individuals
Accounting training
Thanks to its modularity and flexibility, it also proves to be a very useful tool for:
Offshore accounting
Management of entities in different jurisdictions, multi-currency and multi-file; allows for maintaining separate and secure accounting records, with customizable reports and no extra costs for each entity.Forensic accounting
Investigative analysis of records and transactions; allows you to import data, verify imbalances, and easily reconstruct flows, with the transparency of the spreadsheet format.Real estate accounting
Management of multiple properties and units; allows you to create separate accounts for each property and obtain immediate reports on profitability, expenses, and condominium statements.Pension fund or financial entity accounting with securities
Monitoring of investments and assets; allows you to manage multi-currency portfolios and value financial instruments with great flexibility.Project accounting
Allows project managers to collect transactions and prepare budgets, with more detail and greater control.Cost and departmental accounting
Allows department managers to collect transactions and prepare budgets with more detail and greater control. The data can then be consolidated into the central system.Small distributed accounting systems integrated into a central system
Branches, local associations, or remote offices; allows local accounts to be managed independently and then easily integrated into consolidated financial statements.
Available components
Banana Accounting offers various modular functions:
- Choice of accounting method, double-entry or income and expense
Simpler for beginners or more formal for those familiar with double-entry. - With or without VAT management
You can work without VAT or activate it and manage registers, rates, and declarations. - With or without multi-currency accounts
Manage multiple currencies in parallel, useful for businesses with foreign clients or suppliers. - Accounting decimals
You can go up to 20 decimals: ideal for cryptocurrencies and minimal currency fractions. - Choice of accounting period
Freely set the fiscal year or custom periods for your business. - Accounting language
Choose the accounting language independently from the interface language. - Add new columns and change table views
Customize tables and views by adding columns, filters, and layouts as needed. - Chart of accounts and grouping setup
Adapt your chart of accounts and structure the groupings as you prefer. - Customizable reports
Generate custom financial statements and reports with configurable filters and settings. - Balance sheet reclassification
Create alternative balance sheet layouts for different financial analyses. - Cost and profit centers
Track expenses and income by projects, departments, or specific activities. - Segments
Add extra levels of analysis to better detail accounts and transactions. - Customer management
Organize deadlines, receivables, and outstanding invoices for each customer. - Supplier management
Monitor payables and payments to your suppliers. - Transactions table with quantities and prices
Link quantities and prices to each transaction, useful for small sales or inventory. - Items table
Manage a list of items with descriptions, prices, and codes, ready for invoicing. - Budget, financial and liquidity planning
Set annual or monthly budgets and compare them with actuals to plan income and expenses and monitor cash flow evolution. - Invoices from transactions
Automatically generate invoices from accounting transactions. - Securities management
Record and monitor investments, stocks, bonds, or other financial instruments. - Certification and transaction locking
Certify and lock transactions to ensure legal data validity. - Extensions
Add extra features (electronic invoicing, reports, printouts) via dedicated extensions.
Different types of components
From a technical point of view, the ability to create customized accounting by choosing its elements is achieved through different technical approaches.
The standard and recommended approach is to start from a predefined template and eventually adapt it.
Of course, it is also possible to start from a completely empty accounting file, but this is rarely done.
Choosing the accounting application
When creating a new accounting file, the first step is to choose the accounting application, among:
- Cash Manager (Cash Book with or without VAT)
- Income / Expense Accounting (with or without VAT)
- Double-entry Accounting (with or without VAT)
- Double-entry Accounting with multi-currency (with or without VAT)
If instead you choose to start from an empty accounting file, you will need to specify:
- The number of decimals for amounts in base and foreign currencies
- The rounding method
- The accounting language
This is a fundamental choice, because these settings cannot be changed later. If the settings of a template are not suitable, or if you want to switch to a different type of accounting, you can use the Tools menu > Convert file to new.
- This command creates a new accounting file with the desired settings.
- All data from the original file is transferred.
However, caution is needed: for example, if you convert an accounting file with VAT to one without VAT, all VAT data will be deleted.
Customizing the chart of accounts
Banana Accounting allows you to customize the chart of accounts by adding numeric or text-based accounts.
Usually, you start from the existing structure and then add the necessary accounts and remove the unnecessary ones. This adjustment can be made at any time.
The Accounts table also includes groups, with a multi-level grouping system that allows you to create any type of balance sheet and income statement structure.
Templates specific to a country usually also include a predefined VAT Codes table, which can also be customized.
The Exchange Rates table can also be customized with the desired currencies.
Using predefined but hidden features
When accounting files are created, there are included features that are normally not visible.
You usually need to make the columns visible using the Data > Columns setup menu command, in order to enter the desired values.
- Cost and profit centers
- Segments
- Notes, Exchange Rate Date columns
- Linking to external documents
- Customer and Supplier management – relevant accounts and groups need to be set in the chart of accounts.
- Invoice printing – Allows printing invoices directly from transaction rows. You must first set up the group and customer accounts.
With the Columns setup command, you can view all the available columns in the table and add new ones to enter additional information.
Possibility to Add New Features
With the Tools > Add/Remove functionalities menu command, you can activate other features. These commands usually add columns or tables already configured for a specific purpose.
- Address columns in the Accounts table
To use accounts also for customers and suppliers, print invoices, or other purposes. - Budget table
For managing financial planning. - Item, quantity, and price columns in transactions
To manage quantities, useful for handling invoices and securities. - Items table
To manage a list of items, useful when issuing invoices.
Also used for integrated securities management. - Simple table
Customizable, useful for managing notes, projects, or others. - Documents table
Allows adding image files (e.g., for logos) or Javascript and CSS files used in extension development or invoice customization.
Extensions
Extensions (or Plug-ins) are Javascript programs that extend the functionality of Banana Accounting.
Extensions are often used together with other customizations. For example, the "Cash Report for ETS" extension requires the chart of accounts to be set with specific groupings. The "Donors" report requires specific cost centers to be used. The Securities Management extension requires the Items table to be present.
Extensions are divided into:
- General extensions – For report creation and input of additional data.
- Data import extensions for accounting – For example, to import bank CSV statements.
- Invoice printing extensions – Scripts for printing invoices.
Extensions must first be installed:
- Extensions available on the Banana Accounting website
From the Extensions menu > Manage extensions command, you can view all the extensions already prepared for different uses.- Extensions usually must be installed manually.
- Some extensions, however, are already linked to specific templates and are installed automatically when the file is opened.
- Extensions are updated automatically when new versions are available.
- Extensions developed directly
- Embedded Extension – The Javascript code is saved within the Documents table.
- Local Extensions – Stored locally.
- Packaged Extensions – Packages that contain a set of features. Generally, the extensions available in the store are packages.
Switching to other accounting software
Banana Accounting is one of the easiest professional accounting software to get started with: an intuitive and flexible tool that adapts to your needs and grows with your business.
But it’s also the kind of software that, should you one day need a more structured solution, allows you to migrate without difficulty. With Banana, you’re never locked in: you can start worry-free and stay free to choose.
Many users gratefully tell us how Banana Accounting helped them start and manage their business in the early years. We are proud to have contributed to the success of so many businesses and individuals, and we’re happy to see them grow and reach even more ambitious goals.
Easy migration from Banana
There are several reasons why switching from Banana Accounting to another program is simple. Here are the main ones:
- Your data always stays with you
With Banana Accounting Plus, all your accounting data belongs to you and remains in your possession at all times. The files for the accounting(s) you manage—both for the current year and all previous years, including receipts and other information—are saved on your local devices or your cloud (OneDrive, iCloud, Google Drive, DropBox, etc.). Even when your Banana Accounting Plus subscription ends, everything remains in your possession, with no special actions needed.
With cloud-based accounting software, the situation is very different: as soon as you stop paying the subscription, you lose access to your data. To comply with data retention obligations, you need to download everything. This makes switching to other solutions much more difficult. - Software always accessible, even after the subscription ends
Thanks to the Free plan of Banana Accounting Plus, available to everyone, you can always open your accounting files and view the chart of accounts, transactions entered, etc. (any printouts will have a watermark). Your access to data is always guaranteed. - Easy export
You can easily transfer data from Banana Accounting Plus to the new software, either by simply copying and pasting from the chart of accounts or transactions, or by exporting the data in various formats, including Excel. - Knowledge that stays with you
Banana Accounting Plus is a professional software that helps you understand the logic of accounting programs, especially double-entry accounting. This makes it much easier to switch to other solutions, since they all follow the same method. - Structured chart of accounts
With Banana Accounting, you can immediately set up a chart of accounts tailored to your company’s accounting and tax needs. If you switch to another solution in the future, you can directly import this structure (if supported), or at least you will already have a clear model of your requirements—an important advantage for making onboarding with the new software faster and easier. - You can start using the other software
With Banana Accounting Plus, you can easily use another software alongside it. You can export the data to test it in the new program while continuing to work in Banana. When you're ready to fully transition, you just need to export the updated data again.
Things to consider when changing software
Switching accounting software always requires some effort and a period of training. Here are some helpful points:
- The right time to transition
You can switch software at any time, but it’s usually easier at the beginning of the year: close the current fiscal year with your current software and start the new year in the chosen one. - Transition period
Plan for a period of overlap. If you transition during the year, continue keeping accounts with your current software until you're sure the new system provides all necessary printouts (financial statements, VAT Report, management control reports). - Check the features
Before switching, check if Banana Accounting already offers what you think is missing—you might avoid migrating altogether. - Move towards double-entry accounting
If you're using Income and Expense accounting and your needs are growing, consider switching to double-entry accounting as a first step. - Don’t take anything for granted
Banana Accounting is flexible and fast—don’t assume other software will have the same functions. Make sure the new program covers both what you’re missing and what you’re used to. Identify the features truly critical to your business and test them before making the final switch.
Fast data entry and validation
In Banana Accounting Plus you will find many features designed to speed up data entry, automate repetitive tasks, and minimize errors.
Each tool is designed to make accounting management simpler, more efficient, and more secure.
The functions are divided into two main categories:
Data entry and editing
Copy, cut and paste
You can copy, cut, and paste data from one cell, row, or table to another, even between Excel and Banana, quickly and safely.
These functions are available in the Edit menu.
Input and shortcut keys
You can speed up data entry using various shortcut keys or by entering a dot "." which performs different functions depending on the column you are in.
Here are the most common ones:
- In the Date column, the dot "." enters today's date.
- In the Time column, the dot "." enters the current time (for example in the Timesheet).
- The F4 key (or Cmd+4 on Apple computers) copies data from the cell above.
You can see the full list from the Help > Shortcut keys menu.
Auto-completion when writing texts, accounts and amounts
Auto-completion automatically suggests texts, accounts or VAT codes previously used. Just type the first characters and confirm with Enter, Tab or F6 to quickly fill in the cell. You can enable or disable the function from the Tools > Program Options > Editor menu.
- Enter key accepts the choice and moves to the next editable cell, either to the right or below, depending on the settings.
- Ctrl + Down Arrow accepts the selected value and moves to the cell below.
- Tab key accepts and moves to the cell on the right.
- Shift + Tab key accepts and moves to the cell on the left.
- F6 key (or Cmd+6 for Mac) accepts the text and executes the associated command (see explanation below).

Note:
To disable auto-completion from the previous year, you need to deactivate the Smart fill with previous year's transactions option from the File menu > File Properties > Options.
Recurring transactions
From the Actions > Recurring Transactions menu you can save transactions that repeat (rent, salaries, subscriptions) and insert them automatically into the Transactions table when needed. It saves time and reduces errors.

Import transactions from bank statements
Automatically import your bank, postal, credit card or PayPal transactions into the Transactions table, avoiding manual entry.
- CSV and ISO 20022 (camt.53) formats are supported.
- After importing, just add the account and your accounting is immediately updated.
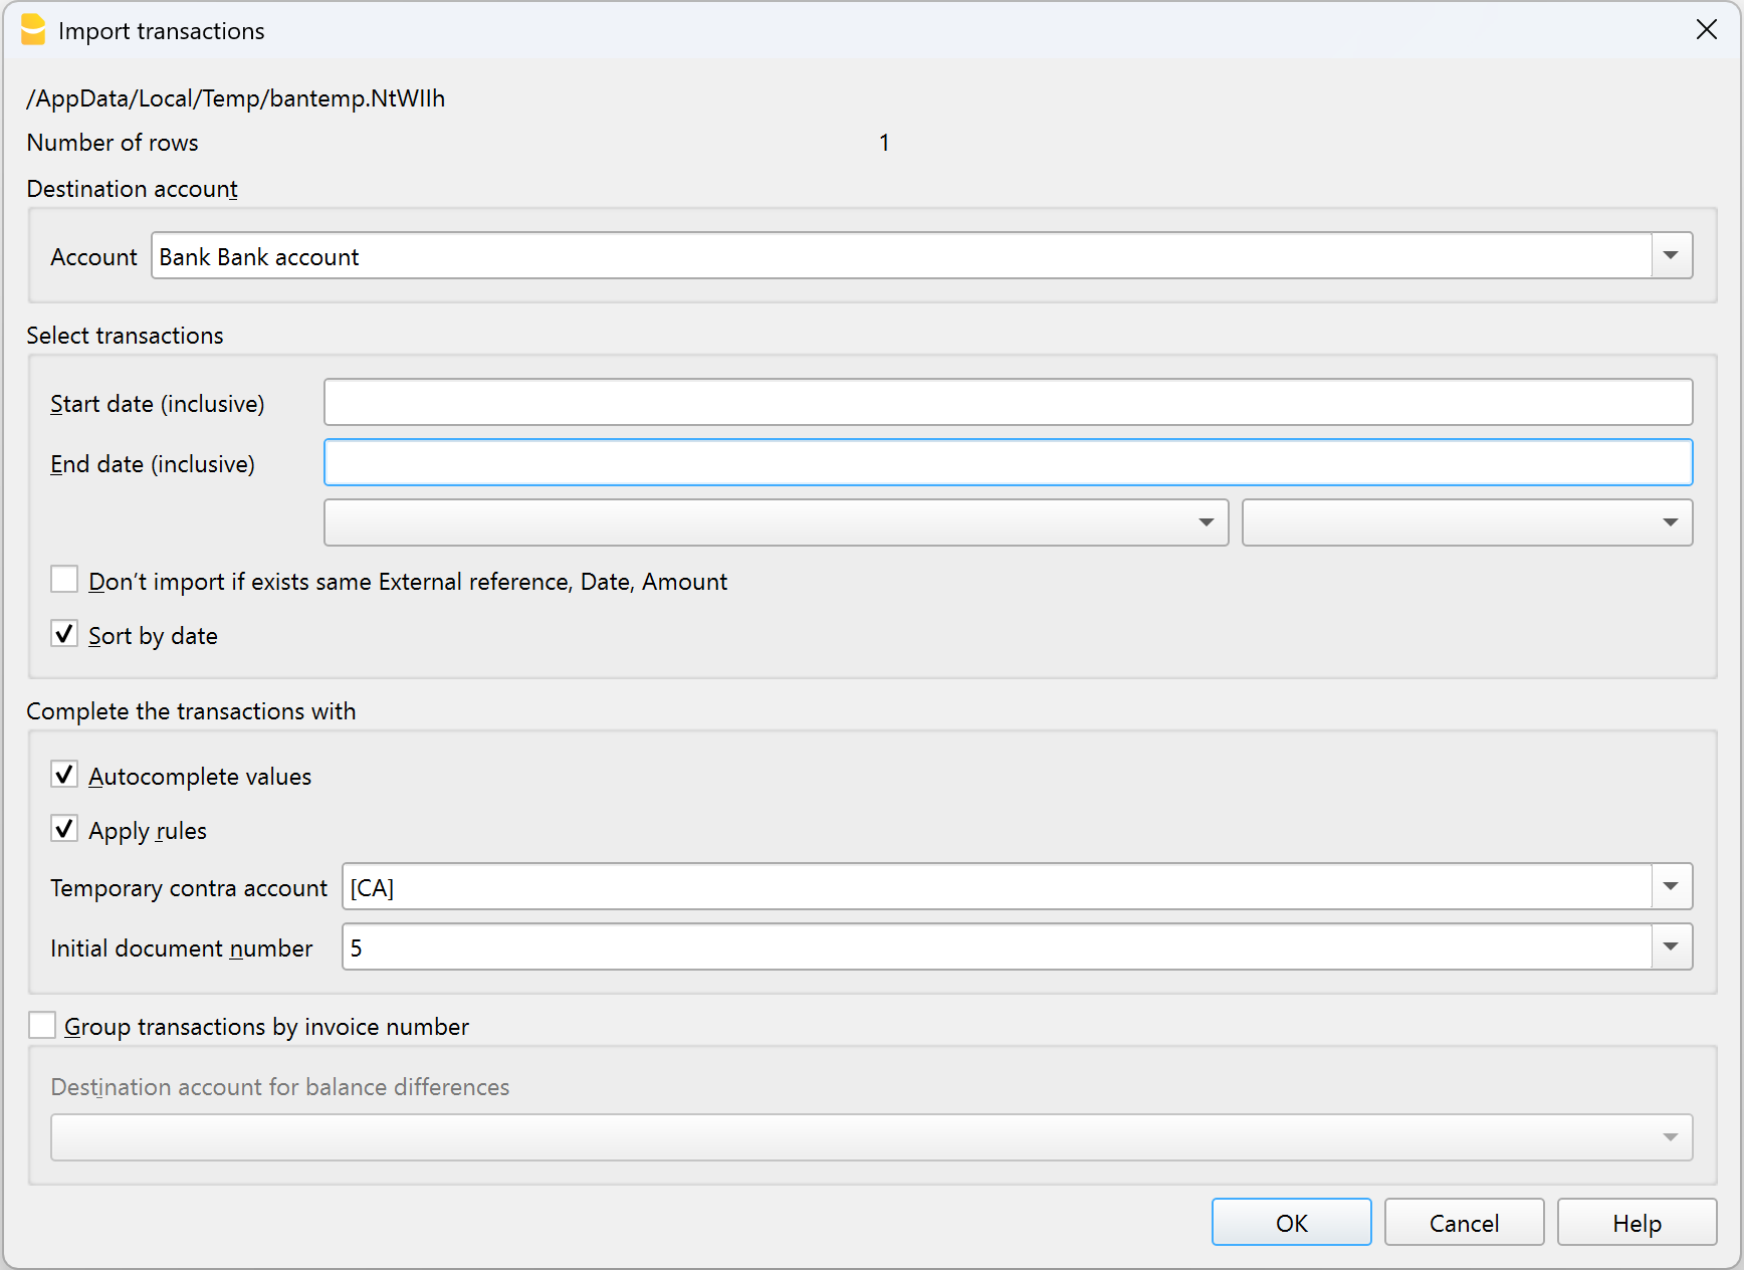
Completion rules
With Completion rules, you can fully automate the entry of imported transactions. The program recognizes the transaction description and automatically fills in the account, VAT code, and amount. Perfect for those who regularly import statements and want ready-to-go accounting without manual input.
Rules are only available in the Advanced plan.

Integrated calculator
In any Amount-type cell, you can type formulas (e.g. =100*1.07) and press Enter: Banana will automatically calculate the result and insert it into the cell.
A quick way to do immediate calculations without opening external tools.
Copy total
This feature allows you to copy to the clipboard the sum of the selected cells in the Transactions table: just select the amount cells you need, click on “Sum” at the bottom next to Zoom, and paste the result where you need it.
Run command (F6 key)
The F6 key (or Cmd+6 on Mac) performs contextual actions related to the active column, such as:
- recalling a recurring transaction,
- auto-completing a previously used text,
- inserting a progressive number.
You will find all options in the Edit > Run command menu.
Word wrap
If a text is too long, you can view it entirely using Format > Row height auto-adjust, which automatically adjusts the row height to display all content.
Most commonly used functions for checking and detecting errors
Below is a list of the main functions for checking and reporting errors.
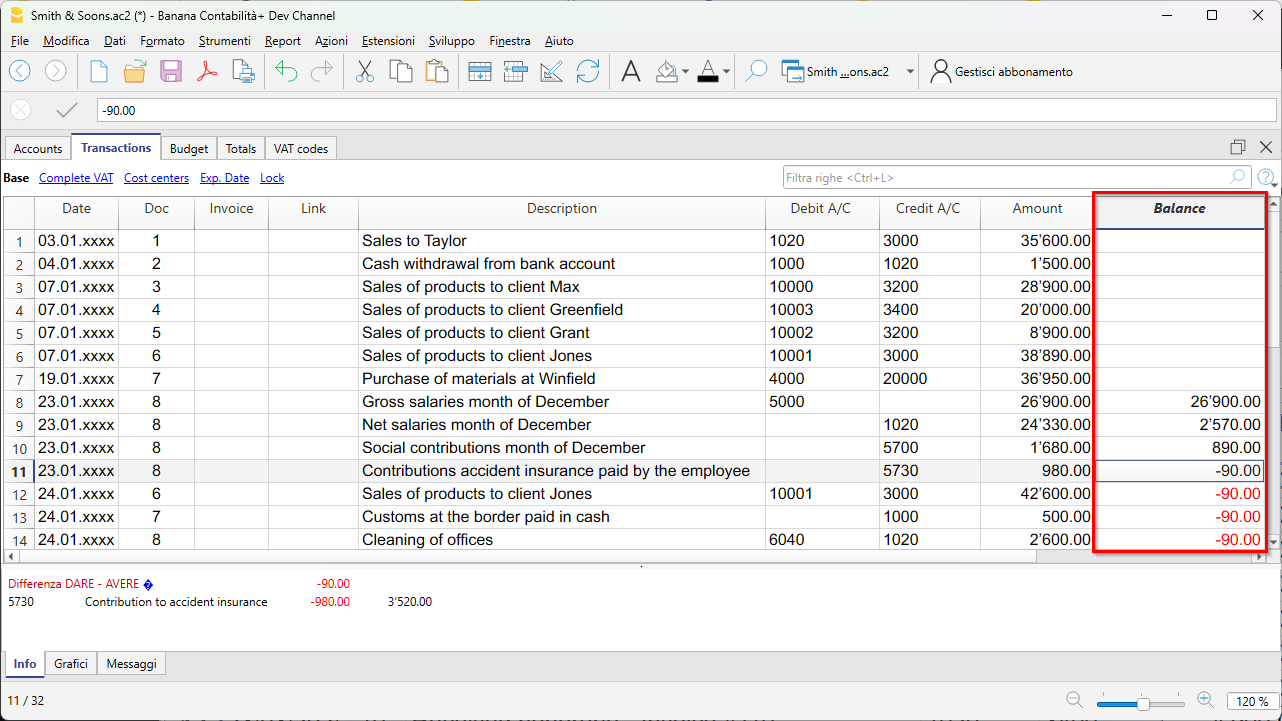
Balance column
The Balance column, available in the Transactions table, shows the Debit/Credit or Income/Expense balance in real time.
Any differences are immediately highlighted so you can correct them right away.
Check Accounting command
From the Actions > Check Accounting menu, Banana verifies all operations and immediately signals any errors, missing accounts or differences in totals.
It is the ideal tool to use before closing a period, preparing the financial statements or the VAT report.

Totals table
The Totals table provides a concise overview of your business performance, with totals for the main groups.
It is useful for checking the overall balance and verifying the consistency of balances.

Temporary filter and sort rows
The temporary filter and sort functions let you display only the rows you need — for example, a period, an account or a customer — without permanently changing the order of the table. When you remove the filter criteria, the data returns to its original order. Perfect for quickly analyzing and correcting transactions.

File Menu
The File menu in Banana Accounting gathers all the main commands to create, open, save, export, print, and share your accounting files.
From here, you can manage the basic document information, set up the printing options, add your logo, generate PDFs or reports, send files by email, and quickly access your recent or favorite documents. This way, you always have the essential tools at hand to fully organise and use your accounting files.
For detailed explanations of the commands, click on the links in the menu on the left.
Create a new file
To create a new file, go to the File menu and click on the New command.
This command opens the window for creating a new file. From the same window you can access all available templates. We recommend that you start from an existing template and customize it with your data. The window that appears offers the possibility to create a new file in three different ways:
- Using an existing Template (recommended choice)
- Copy data from an existing File
- Use a New empty File
Please note: those who have subscribed to the Professional plan of Banana Accounting Plus, while creating a new file, see the message: Active plan: Professional Plan. The functions of the Advanced Plan are available up to 70 transaction rows. This message can be ignored and automatically disappears once the 70 transaction rows are exceeded.
Start with one of our templates
This will generate a new File based on one of the existing templates. There are multiple templates suitable for every legal form and business.
According to the selected Region, the models available in the language of the nation are displayed. The image shows the templates in English language for Switzerland.

- File menu > New
- In the Region field, select your country/language
- In the Category field, select your activity's category (business, private, non profit, ...)
- In the Type field, choose the type of file you want to create (Cash Manager, income/expense accounting, double-entry accounting, ...)
- You can also search for a template by entering a keyword in the Filter by box.
- On the right side of the window, select the template that most closely matches your needs.
- Click on the file and confirm with the Create button to open the selected template.
All the files with the VAT option have the VAT Codes table adjusted to the new rates.
The chart of accounts can be adapted to your requirements (change of account description, insert or delete groups, sub-groups, etc.)
Save the file with a name
Once you have opened the template with Banana you can save it with your own name by choosing the File menu > Save as command:
- Select the destination folder
It is useful to create an “Accounting” folder for each year, so that you can save the accounting file and also the documents for that year. We recommend that you also consult the page Organize your work. - Select a file name. We recommend a name containing the company name and the accounting year (for example smith_company_2025).
- The software will add the .ac2 extension, typical for the Banana Accounting files.
Adapting a template
- Edit the File properties
- Adapt your Chart of accounts
- Enter your bank accounts.
- Enter or edit the accounts to fit it to your requirements.
While going along with your work, you will still be able to add or edit accounts, if new needs arise.
Start with a Tutorial
Tutorials are existing templates, which contain within them example accounting data (opening balances, entries, budgets, ...). A tutorial is not available for all templates.
The tutorial files are useful for understanding how to structure accounting within a certain template. The example data entered are for demonstration purposes only and can be changed, deleted or replaced with your own data at any time.
When you select a template and it has a tutorial file, the button Create from Tutorial automatically appears next to the template detail description.

Start from an existing File
Starting from an existing file or template, without modifying the existing file.

There are several possibilities to copy data:
- Open the file that is to be your template via the Browse button and indicate the path to locate your file.
- Create a copy of the open file, using the File > Save As command.
- Else, you may create a copy of the open file via the Tools > Create File Copy command. Choose which data to keep in the dialog window. If none of the three options are activated, a file is created with the chart of accounts only.

- Save the file in the folder where you wish to keep the data (normally in the documents folder). Enter the company name and the accounting year as file name, for example smith_company_xxxx.ac2.
- If you are taking over an existing accounting file, you will also need to enter the opening balances in the Opening column.
- If you are working in a multi-currency file, you need to update the opening exchange rates.
Starting from a new empty file
You will be starting from scratch, so you will need to set up the basic accounting data and the entire Chart of Accounts (not recommended).

- Menu File > New.
- Select your country/language
- Select your category
- Select your Accounting template
- On the bottom of the list click on New empty.
- Setup the Outline to create new file

- Setup the File and accounting properties
- Save with File Name.
- Create the Chart of Accounts structure
Related documents
- Income and expenses accounting and Cashbook
- Double-entry accounting
- Double-entry accounting with multi currency
- Utilities documents
Transferring to a new year
When transferring to a new year, there is a specific procedure to follow, in order to create a new year's file and automatically carry forward the opening balances.
New file settings
When the program creates a file with new characteristics, you need to setup the outline of the new file.
Outline to create new file
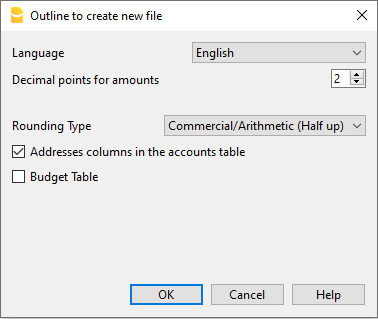
Language
The language used for the columns headers of the various tables.
Decimals and rounding
Decimal points for amounts
In order to avoid accounting differences, the number of decimal points for the amounts is fixed for each file. Two decimal points are normally used, but there are currencies where decimal points are not required so 0 needs to be inserted.
For other currencies that use multiple decimals such as the Tunisian Dinar or crypto currencies such as Bitcoin (9 decimal places), Ethereum (18 decimal places) the appropriate number must be indicated.
Accounting can be managed with amounts of up to 27 decimal places.
Decimal points for amounts in foreign currency
When using a multi-currency accounting, the number of decimals for the amounts in foreign currency must be defined. For example, if the accounting is in EUR and you are managing crypto currencies such as Ethereum, you must enter 18.
Generally, the number of decimals must not be less than the number of decimals in the base currency.
Rounding type
The rounding is applied to amounts with decimals that go beyond the set number of decimals.
If 2 decimals are set, this is the type used to round the digits over two decimals.
Depending on the methods used, the following amounts: 1.005; 1,015; 1,025; 1,035 will be rounded in a different way.
- Commercial/Arithmetic (Half up) rounding to the next whole number: 1.01; 1.02; 1.03; 1.04.. In accounting, this is most commonly used.
- Banking (Half average) rounding up or down towards the nearest even number: 1.01; 1.02; 1.03; 1.04.
Functionalities to be included
For more information on the functions to be included see:
Address fields in accounts table
When this option is activated, the Address view is created in the Accounts table. In this view, the user can enter the addresses of clients, suppliers and members.
Budget Table
When this option is activated a Budget Table is created, where the user can enter his budget transactions.
Accounting files, in different languages can thus be created, and with different decimal points. In order to change the language or the decimal points once the accounting file has been created, the accounting type must be converted via Tools → Convert to new file from the menu.
Accounting with multiple languages
With Banana Accounting Plus, you can create accounting files in different languages, and present the Balance Sheet and Profit & Loss Statement in the language you need.
The available languages are: English, Italian, German, French, Spanish, Portuguese, Chinese, Dutch.

The different languages
- Program language
The one used for the interface, menu dialogues, etc.
You can change it from the Tools menu → Program options.
See red box 1 and 3 in the image above. - Documentation in different languages
You have a complete documentation in different languages, easily accessible by clicking on the help button. - Accounting file language
See red box 2 in the image above.When you create an accounting file, the columns are set in the creation language.
- The language of the column and table header
You can change it at your convenience. For example, instead of using the term VAT, you can use the abbreviation that best suits your country's requirement. - The content in any language
In the cells you can enter texts in any language. - Additional columns for other languages.
You can add columns to have the Balance Sheet and the Profit & Loss Statement in different languages. You can create columns for other languages in the Transactions table and also in all other tables. - Views in different languages
You can easily switch between different languages and just print the output in the desired language. - Balance Sheet and Profit & Loss Statement in different languages
You can customize the printout, and just choose to show the required columns in the final reports.
How to change the file creation language
Each document on Banana Accounting Plus is a separate file. The language of the file is separate from that of the program and is defined when the file is created. (File menu → New).
Column names and headers are assigned at the time the file is created, the creation language is then used.

To change the language of the file and columns, you need to re-create a new file:
- From the Tools menu → Convert to new file command
- In the open dialog box, select the file type equivalent to your existing file and click OK
- In the next window choose the new language of the file and the type of rounding, then click OK
The program creates a new file identical to your previous one, with the new language settings. This new file must be saved with a new name.
Change the current language of the file
The current language is the one the program uses to display the wordings, such as "Opening balance" in the account card or the dates in the reports.
Normally, it will be the same as the creation language, but it may be changed in File properties → Other.
Change the column headings
You can change the column header with the Data menu → Columns setup.
Add columns for different languages
In the Accounts table and also in the other tables (Transactions, VAT codes), you can add additional columns where you can enter the descriptions in other languages.
- From the Data menu →Tables setup → Add new column command
- Use the name of the language (e.g. German, Chinese, etc.) as the column name.
- In the newly created columns, for each row, complete the description in the language that has been added.
Create Views for each language
Create a view for each language to have printout only with the desired language.
- Data menu → Tables setup command
- Create a View for each language.
In each table you can have different views for different languages, or the views that include columns of different languages. - Customize your printout in the language you require. If you want to print in different languages you can create one Customization print for each language so you don't have to change the settings each time, but have them already set up.
Enhanced Balance Sheet for each language
Once you've added the language column to the Accounts table, you can have it appear in the Enhanced Balance Sheet report as well.
- Open the Enhanced Balance Sheet with groups.
- Choose the Customization you want to print.
- In the Customization section with the Duplicate command Create a new Customization for your language.
As customization name, give the name of the language. - Go to the Columns section:
- Advanced button for the Balance Sheet columns
- Add button
In the section of the Accounts table:- Make the column of the language you are interested in visible.
- Hide the Description column of the default language.
- Repeat the operation also for the Profit and Loss columns.
- Next time when you open the Enhanced balance sheet with groups, you will have your language already set up.
- Include the Customization in the Favorites menu.
This allows you to access your report faster.
The predefined texts of the report (date etc.) are displayed in the current accounting language. It may be necessary to change the current language from time to time.
Extensions
If you have specific needs in different languages, they can be programmed as Extensions.
Close / Close all
Close
This command closes the active Banana Accounting file.
Close All
This command closes all open Banana Accounting files.
Open and find a file
To open a file, choose the Open command from the File menu, or use the corresponding icon in the toolbar.
- Accounting files can be opened if they are located on the local computer or accessible through a network drive.
- If they were sent via email, you must first move them to a folder on the computer.
- Only one person at a time can open the file to make changes. If changes are made to a protected file, or one already in use, you must choose a different file name to save it.
- The program notifies that the file has been opened in read-only mode ( the file cannot be changed or saved) in the following cases:
- The file has already been opened by the same user or in another session.
- The file is on non-rewritable media (CD-ROM).
- The file is in a temporary folder that is not writable.
- The file is write-protected or the user does not have permission to modify the file.
- If the file is password-protected, the password dialog will appear.
When the previous accounting year is protected by a password and you want to run the Enhanced Balance Sheet with Groups command, the program will ask for the password of the previous year.
Otherwise, it is necessary to follow one of the recommendations provided in the notes on the page Enter password.
Opening multiple files in the same instance of Banana Accounting
To open multiple files at the same time, go to File > Open and select the desired file. Repeat this operation for each file you want to open.
The files are displayed layered in the same window. To switch from one file to another, use the Next window command available in the toolbar.
Opening multiple files in separate instances of Banana Accounting
It is possible to open multiple files in different instances of Banana Accounting:
- Windows
- Open the first Banana file as usual.
- To open additional files, right-click the program icon in the taskbar at the bottom, select Banana Accounting, and open a file. Repeat this operation for all the files you want to open.
- Mac
- Open the first Banana file as usual.
- To open additional files, open the Terminal and type the following command: "open -n -a BananaPlus", then open a file. Repeat this operation for all the files you want to open.
Note: If a file is already opened in another session, the program will notify you that the file has been opened in read-only mode.
Searching for Banana files on Windows computers
Banana Accounting files have the .ac2 extension. The search function varies depending on your version of Windows.
- Windows 10: click on the Search icon on the Taskbar, type .ac2 or the beginning of the file name, then click the Documents arrow.
- In Windows File Explorer, type the extension "*.ac2" or the name of the accounting file and let Windows search for it.
- In Banana, when the Open File dialog opens (File menu > Open), type the extension "*.ac2" in the search field at the top right, then click the search entire computer icon below or select the folder where you want to find the file.
Searching for Banana files on Mac computers
- In Banana Accounting, in the Open dialog File > Open, type "ac2" or a word from the file name in the Search box (top right). Use the icons to select where to search (entire computer or selected folders).
- Open the Finder and type "ac2", or the beginning or a word from the name of the file you want to find in the search box.
- Right-click on the Finder icon, click Search, and then enter "ac2" or the file name.
Enter password
When the user opens a password-protected file, a dialog box appears to enter the password.
- The file password is set in File> File and accounting properties > Password tab.
- This dialog also appears with the first execution of some commands, which require access to a password-protected file, such as the previous year's accounting.

NOTE
When the previous year is password-protected, and you want to execute the Enhanced Balance Sheet with groups command , or resume transactions from the previous year, the programme will ask you to enter the password for the previous year.
To avoid being repeatedly asked to enter the password, one of the following steps must be taken:
- Enter the same password also in the new year
- Save the file after entering the password for the previous year (the password will remain stored)
If, however, you move the new year or the previous year to a new folder, you will have to re-enter the password (this is the case if you open documents from shared folders that may have different paths from computer to computer). If the file refers to several years, e.g. 2022, 2021, 2020, ... it will be necessary to open each file (thus 2022, 2021, 2020, ...) and re-enter the password for the previous year (2021, 2020, ...) in each year, then save each file. - Delete the previous year file link in File and accounting properties > Options > File from previous year (this solution is only recommended if the previous year link is no longer required)
File compatibility with previous versions
The Banana Accounting files are compatible with the previous versions starting from version 5.12.
This means that the files can be read and written by any version of the program.
We try to preserve compatibility as much as possible, so that files can be exchanged with different versions of the program.
- Newer versions implement new features that are not available in earlier versions. Using these features leads to incompatibility. When opening the file with an older version of the program, you are warned not to use the file, because there may be errors in calculations and/or data loss.
- Newer versions offer new applications. These cannot be opened with older versions.
Below we present the list of changes that lead to incompatibilities. If you use these features you should update the program to the new version.
Version 10 (BananaPlus 2020)
- Using the new Links column.
The new version introduces the possibility of linking a document in every row of any table, through the menu Data → Links.
In previous versions, this possibility existed only in the Transactions table. The ability to add links in any table is a feature that is highly requested by users; unfortunately, it was not possible to implement it, maintaining the compatibility of files created with previous versions. If links are used, the files are no longer compatible with previous versions.
In the new version, when the file is opened, a Link column is added to each table. The data contained in the DocLink column of the Transactions table is copied to the new column, and the DocLink column is deleted. - Accounting Applications:
- Use of the new Segments column.
- Use of VAT code for the Reverse charge.
- Use of the Payments column.
- Use of the BeginFormula column in the Budget table.
- Timesheet
- Added Columns "TimeWork", "TimeAbsence".
- Column Supplement.
- Applications Invoices and Inventory
They are not supported in previous versions.
Version 9
- Accounting applications:
- Items Table.
- Quantity columns in the Transactions table.
- Accounts and VAT codes with lowercase descriptions.
- New features for the Enhanced Balance Sheet with groups.
- New features for the PDF Archive command.
- New Print functionality.
- Timesheet application
It is not supported in previous versions.
Version 8
- Accounting applications:
- Budget table
- Documents table
- Library application
It is not supported in previous versions.
Version 7
- Accounting applications:
- Modification of VAT Base amount in the Transactions table.
File properties
When a new file is created, the basic data need to be entered in the File menu > File and accounting properties.
The file properties (Base data) can vary depending on the chosen accounting type.

For the explanations of the different tabs please refer to the menu on the left.
Accounting Tab
Access this section via the File > File and accounting properties > Accounting section.
Left and right headers
These are the two empty cells at the top where any desired text can be inserted which will be used as a header for print-outs (left and right).
Opening date
The opening date is the date when the accounting begins. It can also be left blank. If a date prior to the opening date is inserted when entries are made, the program will give an error message.
Closing date
This is the closing date of the accounting. It can also be left blank. If a date greater than the closing date is inserted when entries are made, the program will give an error message.
Base currency
The code of the currency in which the accounting is being handled. You can enter any currency code, even the one that are not in the list. When the code of the basic currency is being changed, the program changes the column headers for the amounts in basic currency using the new code.
In the multi-currency accounting files it is mandatory to select the basic currency, which will work as the functional currency, the one used for the calculation of the Balance sheet and Profit & Loss statement.
Changing the Basic currency symbol
If you change the basic currency symbol the program will not change the existing amounts. We advise you to change your basic currency symbol only if you don't have yet entered any opening balances and any transactions.
Accounting file WITHOUT foreign currencies
You can replace the basic currency symbol with the new symbol.
Accounting file WITH foreign currencies
To change the currency code in accounting with foreign currencies refer to the following page Change the basic currency.
Options Tab
This section is accessed via File > File and accounting properties > Options section.

Transaction date required
If this option is activated and then a transaction is entered without a date, there will be an error message.
Recalculate totals manually (F9)
If this option is activated, the program will not automatically recalculate the principal groups of the accounting file, but the user needs to use the F9 key.
File from previous year
By using the Browse button, the user can select a file from the previous year.
Smart fill with transactions from previous year
By enabling this function, the program stores the transactions from the previous year. When the new accounting year is created, during the entry of new transactions, Smart Fill automatically suggests entries that were previously used, making data entry easier and faster. This helps reduce errors and save time, especially for recurring or similar transactions from one year to the next.
If you do not wish to carry over the descriptive texts into the new year, simply disable the option.
Use the minus sign (-) as segments separator
When this option is activated, the segments have to be entered in the Transactions table with the minus (-) sign preceding the segment code. When this option is deactivated, the segments need to be entered with the colon sign (:), as in the chart of accounts. The colon needs to always precede the segment code.
Records (+/-) cost centers according to the category
This function is only active for Income & Expenses accounting and Cash Manager. By activating this box, the amount is entered in the cost center (positive or negative) according to the category.
If, instead, this option is not active, in order to enter a negative value, it is necessary to enter a minus sign before the cost center (-CC).
Related document: Text input, edit and Smart fill
Address Tab
This section is accessed via the File > File and accounting properties > Address tab.
In this section it is possible to enter data concerning the company or person whose accounting is managed.

Foreign currency
This section is accessed via the File > File and accounting properties menu >Foreign currency section.

For the explanations of the different tabs please refer to the corresponding page Starting a multi-currency accounting.
VAT/Sales tax
This section is accessed via the File > File and accounting properties menu > VAT tab.

For the explanations of the different tabs please visit the corresponding page File properties (VAT/Sales tax tab).
Other Tab
This section is accessed via the File → File and accounting properties menu → Other tab.

Current language
There are some file texts that the program generates automatically, (e.g. the lines of the Totals table, the transactions on the account card, and the printout of the Enhanced balance sheet); in this tab, the user can indicate the language for these texts (usually the same as the creation language).
Creation language
This is the language chosen and selected when the user creates an accounting file; this language is used for the column headers. If the user wants to change the creation language, then it is necessary to convert the file to a new one using the Tools menu → Convert to new file command.
Extensions
It is possible to indicate extensions of Banana Accounting. When the file is opened, the program will automatically install the extensions. They can be used for templates or files that are combined with extensions. Other users who open the file receive directions or commands to install the necessary extensions.
The list shows all extensions that can be installed.
Extensions' keywords
Enter a keyword contained in the Banana Accounting extension. Usually these keywords are specified in the installation instructions of the extensions; most extensions don't use keywords to restrict viewing to certain files.
If a script has the @docproperties attribute, the command will be visible in the Extensions menu only for those Banana files that have set the same keyword in the Extensions field. To set multiple keywords, you need to separate them with the ; (example: datev; donations).
Password Tab
This section is accessed via the File → File and accounting properties menu → Password tab.

Files can be protected by using a password.
Enter a password for a file without a password
Confirm old password
Leave the cell empty.
New password
Enter the password.
Confirm new password
Enter the same password that you entered in the New Password box
Change an existing password
- Enter the existing password.
- Enter the new password twice.
- Confirm with OK.
Password compatibility with old versions
Activate this option if you want your password to be compatible with the previous Banana Accounting versions.
This option not recommended because the password is saved in a less secure mode.
How to cancel a password
- Enter the existing password.
- Leave the boxes for the new password empty.
- Confirm with OK.
Forgotten password
For information about a forgotten password, please refer to the Questions and Answers page, Password unlock paragraph.
Note
Using a password does not give a high level of protection. In order to render the data truly inaccessible to third parties, it is necessary to have the appropriate cryptographic software.
Text Tab
This section is accessed via the File → File and accounting properties menu → Texts tab.

In this tab it is possible to enter different keys in order to save extra information, such as the accountant name, for example. These keys and the resulting texts can be taken over and used in scripts.
Key
In this field, input the reference text (e.g.: accountant name).
Value
In this field, it is necessary to input the value related to the key (e.g.: Ocean Avenue, ...).
Add
This button saves the newly entered data.
Remove
This button removes the selected Key.
Save file
Banana Accounting files are not saved within the program itself, but on the drive selected by the user, just like any other file, such as Word or Excel. Banana accounting files have the extension ".ac2", while the program has the extension ".exe" (Windows), ".dmg" (Mac), or ".deb, .rpm, .run, .tgz" (Linux).
Where and how to save files
Banana Accounting files are saved on your computer or on an external drive, such as: external disk, USB stick, Google Drive, Dropbox, or other Cloud services.
To save the file, choose from the menu File > Save As:
- Open the destination folder
- Give your file a name.
By default, .ac2 files are saved in the Documents folder, but you can change the destination folder. Once you've saved the file with a name, use the Save command to save your changes. Each time you save, the previous file is overwritten.
Banana Accounting can save files to any drive that is recognized by the operating system, such as a rewritable disk. From non-rewritable media (CD or DVD), Banana Accounting can only read files.
Saving when closing the program
Every time the accounting data is updated and the work has not yet been saved, a warning message appears when closing the program:
- "The current document xxx.ac2 has been modified. Do you want to save it anyway?"
If you use the Do not Save button, all data will be lost. You must click the Save button to save your changes.
If you want automatic saving when closing files, you can activate the option from the menu:
Tools > Program Options > File Management and enable the Automatically save when you close the program option.
Make sure the data is correct, otherwise it will be saved as is.
Saving a shared file
When multiple users need to use the same file, they cannot use it at the same time. The first user to open the file can save it. The other users open the file in read-only mode.
- Only one user at a time can save the same file.
- Saving is only possible if the file is not in use by others.
Managing files for different accounting entities
To manage multiple accounting files, before saving, we recommend:
- Creating a folder for each company
- Creating a subfolder for each fiscal year.
See also: Organizing work.
Saving and recovering data in case of crash
Banana Accounting automatically saves your work in a temporary file at regular intervals. The time interval between one auto-save and the next can be customized via the menu:

This temporary file is deleted each time the file is saved normally by the user.
In the event of a computer crash or power failure, when restarting the program, if Banana detects an undeleted temporary save file, a window appears as explained on the page File Auto-Recovery.
In this window, the user has the option to confirm recovery. If accepted, the file will be opened and can then be saved manually.
Saving the file with a password
Each file saved on the device and in the selected folder can be protected by a password for added security.
Files are saved in the same way as those without a password.
File compatibility across different operating systems
Files created with Banana Accounting have the extension “*.ac2”, regardless of the operating system used. A file can be saved in Windows, opened and edited on Mac, and then reopened in Linux or Windows.
Therefore, .ac2 files are compatible with:
- Windows
- Mac
- Linux
.ac2 files can also be sent via email and opened with Banana Accounting regardless of the operating system used.
Copying or moving files
*.ac2 files can be copied or moved:
- From one folder to another
- Use Windows Explorer or Mac Finder to locate the folder where the files were saved.
- Copy and move them to the new destination folder (once pasted, if needed, they can be deleted from the previous folder).
- From one computer to another
- By sending an email (as attachments) and saving them on the new computer.
- Files can be saved on a USB stick or an external drive and then moved to the new computer:
- Open the file you want to save.
- From the File menu > Save As, select the desired destination drive.
- You can also copy by opening Explorer and dragging the file to the selected drive.
Saving to Cloud systems
Banana Accounting Plus does not have its own Cloud, but it allows you to work with your own. The program is installed on your computer and runs locally.
As for accounting files, they belong exclusively to you and you can save them wherever you want, including on services like Dropbox and Google Drive that keep files synchronized with cloud storage services.
In the cloud, Banana Accounting overwrites the *.ac2 files and deletes the *.ac2.bak file. The deleted files list in the cloud contains previous versions of the *.ac2.bak file.
Viewing changes
Banana Accounting, Android version, works directly with the Dropbox server. If you make changes on your PC, you usually need to wait a few seconds to see the updates on the server and thus in the Banana Accounting file.
To ensure that the file is properly synchronized with the server from your computer, the file should be marked with a green checkmark.
If you do not see the synchronization symbols (green, red, blue), you need to update the Dropbox application installed on your PC.
Another way to check the synchronization status from your PC is to click the Dropbox icon in the lower taskbar:

Additionally, on Android synchronization does not occur while working with the app. You need to close and reopen it.
Warning:
Banana Accounting cannot detect if files are opened and modified simultaneously on multiple computers. Therefore, it may happen that one person deletes some data while another adds new entries. Only the most recently saved copy of the file is retained. It is important to avoid working on the same file at the same time.
Deleting and renaming files
Banana Accounting does not have a delete or rename function for files; to do this, you must use the appropriate function of the operating system (Windows Explorer or Finder on Mac).
Related resources:
How to minimize the risks of data loss
Security copies (backups)
- For Mac use the "Time machine" function.
- For Windows use the "File History" function.
- Dropbox, OneDrive, iCloud, Google Drive offer the possibility to keep previous versions of your files.
.bak files
The standard format for Banana Accounting files is the .ac2 format. When you save your .ac2 file and the save operation is successful, Banana Accounting:
- Replaces the content of the existing file with the updated accounting data.
- Automatically creates a .bak file with the previous data, but not from the most recent save.
Save operation behavior:
- The data is saved in a temporary file.
- If the save operation is successful:
- The original .ac2 file is renamed by adding the ".bak" extension to the filename.
- Any existing ".bak" file is deleted.
- The new data is saved in the .ac2 file.
The .bak file represents the state of the accounting data at the moment the file is first opened during the current session, even if subsequent saves are made. The goal is to preserve the file as it was before it was opened.
The Create backup copy (.bak) option is enabled by default, but it can be disabled from the menu Tools > Program Options > File Handling
Recovering data from a *.bak file
Important: to update your accounting, only use the file with the ".ac2" extension and do not open the file with the ".bak" extension, otherwise it will be overwritten and all recent changes will be lost. Use it only to recover data.
Recommended recovery procedure:
- Locate the ".bak" file using the File Manager
- Rename the ".bak" file by removing the ".bak" extension, leaving only ".ac2"
- Open the renamed file with Banana Accounting
If the file does not appear in the folder:
- Open the folder where the accounting file is located.
- Open the file with the extension .bak. If it does not appear in the folder, select File type> All files (*.*) in the window below.
- Once the file is opened, save it as a file. Usually it is given the same name as the lost file.
Automatic saving
While in use, Banana Accounting automatically saves changes to a temporary file.
- When the program is closed or a manual save is performed, the temporary file is deleted.
- In case of an unexpected computer shutdown, the program will offer to recover unsaved data upon restart.
Damaged .ac2 file
Events such as hardware failures, viruses, or errors in file transmission via email can damage documents.
- It is always advisable to have backup copies.
- If a file is damaged, our Support Service can evaluate, for a fee, the possibility of recovering the data.
Recover autosave file
This dialog appears when the program closes unexpectedly, and it was not possible to save changes made to the file.
When the program is reopened, it detects that the autosave file (temporary file) has not been canceled, and then asks if you want to retrieve the file.

You can choose from the following options:
- Recover
- The autosave file is copied replacing the original file
- The original file is renamed as indicated in the dialog window
- Don't recover
- The program deletes the autosave file.
- The program opens the original file.
- Ignore
- The program keeps the autosave file and doesn't open any file.
- Next time you open this file, the program will warn you that an autosave file with unsaved changes was found
If the program stops working
If the program is closed normally, it asks whether to save the modified data, and the autosave file is deleted.
The program may however unexpectedly shut down for a number of reasons:
- A power outage or another event that caused an immediate arrest of the operating system
- A problem that led to the crash of the program
- Due to another program or to a situation of the operating system or driver that caused the program to stop.
Try to restart your computer and use the program without other programs.- A flaw in the operating system or a faulty program can cause an interruption of Banana Accounting.
- A computer fault (memory error)
- A virus or some other problem
- A problem in the Banana Accounting software
Usually when, repeating the same command always causes the program to crash.
If the program stops in completely different situations, it is more likely that the problem is due to a computer or operating system (see above)- First of all, make sure that you have the latest version of the program.
Install the updates if necessary. The problem could have been solved in the meantime
- First of all, make sure that you have the latest version of the program.
- Due to another program or to a situation of the operating system or driver that caused the program to stop.
Contact technical support
Countercheck the situation in which the program stops.
- It is important to understand in what situations the program stops, so that technicians can replicate the problem.
- When you contact the technical service:
- Describe the problem and how it can be reproduced - describe the error.
- Enter your system details (you can copy them under Tools menu > Program Options > Info System.
- If the problem occurs in relation to a file, send a copy of the file (removing confidential data).
Local copy of your work
One of the key points of any Desktop application is saving files. The user's work and the data entered must not be lost. Even in the case of a computer crash, the amount of work lost must be minimized.
A new strategy for saving files has been introduced with Banana Accounting+. From the user's point of view nothing has changed, but internally important improvements have been made to make the data saving process even more secure and solid, and to optimize it for use on cloud and mobile disks.
How it works
With the new implementation of the file saving and recovery process, Banana Accounting creates a local copy of the open file and then works on the local copy present in the device (pc, mobile, tablet) until the user saves the document. At this point Banana Accounting returns and saves the modifications in the source file. In the meantime, Banana Accounting regularly saves the modifications made to the document in the local copy.
Banana Accounting proceeds as follows:
- The user selects the file to be opened (source file)
- Banana Accounting create a local copy of the source file
- Banana Accounting blocks the opening of the source file to prevent modifications from multiple users
- Banana Accounting reads the local copy
- Banana Accounting regularly saves (by default every 2 minutes) the modifications made to the document in the local copy
- As soon as the user clicks on the Save button, Banana Accounting returns and saves the modifications in the source file.
- When the file is closed, Banana Accounting unlocks the source file and deletes the local copy.
- If the application cannot close or correctly save the modifications in the source file (electricity interruption or other causes), the local copy remains on the device and the its content can be recovered at the next Banana Accounting launch.
- If the file is temporarily not accessible (example if it is on a disconnected network disk or a USB pen), the user can keep working and the document modifications are saved in the local copy until when the source file is accessible again.
In other words the local copy is both a working document and a recovery document.
Advantages
The autosave feature is always active, so the work that could be lost (with the default settings for file recovery) corresponds at most to the work of the last two minutes.
Access to the file doesn't have to be continuous. Even if a file is temporarily inaccessible (e.g.: the file resides on a network disk or a disconnected USB pen), the user can continue working, and changes to the document are saved in the local copy until the source file is accessible again.
The local copy is not synchronized in the cloud. For this reason, the performance of the application is improved and the amount of data sent to the cloud is minimized.
This process is implemented in the same way on all operating systems: Windows, MacOS, iOS, Linux, Android and WebAssembly, regardless of where the file is saved.
Data recovery
In case of an interruption of the application, the local copy remains on the user's device. The next time the Banana Accounting is started, the application informs the user that changes have been found that have not been saved in the source file.
At this point the user has 3 choices:
- Open the recovered file
The user can decide whether to save the recovered file or to abandon the changes - Ignore the message
The user can later decide what to do - Cancel de recovered file
The recovered file will be canceled
The local copy remains on the user's device as long as the document remains in use or the changes have not been correctly returned to the source file. Once the file has been closed, the local copy is deleted.
The local copies are saved in a folder hidden under the system's user data. The user does not need to access this folder, access to this folder is not recommended. In case our support requires you to open this folder, you can access it through the menu Tools > Program Options > Advanced > System Info > Working copies path > Open path.
Keep in mind
This implementation:
- It does not replace a good backup policy.
- It does not replace a version control system.
Although this implementation is very secure and robust, we cannot guarantee that it will work 100% smoothly in all cases. For this reason, we encourage our customers to adopt a good backup policy and version control system.
Several operating systems provide backup and versioning functions. We ask you to browse the documentation of your operating system....
Create PDF dossier
Exporting to PDF allows you to create a complete accounting dossier, including reports and attached documents.
With Banana Accounting Plus you can export:
- The accounting file
- Reports (Balance Sheet, Profit and Loss Statement, VAT, etc.)
New! It is now also possible to export all digital attachments to the PDF file as well (supporting documents), linked to transactions through the Link column.
If the Link column is not visible, enable it from the menu Data > Columns setup > enable the DocLink option.
The Include attachments function is available only with the Advanced plan of Banana Accounting Plus. See all the advantages of the Advanced plan.
There is also another command, from the menu File > Create PDF, which instead allows you to print only the content displayed on the screen, that is, the current view.
PDF dossier configuration
The content and layout settings must be defined before creating the PDF directly in Banana Accounting.
The generated PDF dossier exactly reflects:
- The report settings
- The page setup
- The options selected at the time of export.
Report settings
The reports included in the PDF dossier use the settings defined in the Reports menu. To modify:
- Layout
- Periods
- Groupings
- or other report options,
access the Reports menu directly before exporting.
Function availability
The Include attachments function is available only:
- In Banana Accounting Plus
- With the Advanced plan
- and if file links have previously been entered in the Link column.
How to create a PDF dossier
To create the PDF dossier choose File > Create PDF dossier.

Base section
File name
Specify the name of the PDF file to create or select an existing file via Browse. If you choose an existing file, the program overwrites it with the new content.
Display file immediately
Automatically opens the newly created PDF dossier in the default PDF reader. Some browsers use caching systems. If you export the PDF multiple times, you may need to refresh the browser page to view the most recent version.
Page options
Header 1, Header 2, Header 3
You can enter up to three different headers that will appear in the PDF file.
Logo
If you have configured a logo via File > Logo setup, you can choose whether to include it in the PDF dossier.
Available options:
- None: the logo is not displayed
- Logo: the logo is included.
See page Logo setup.
Page options
You can include in the PDF dossier:
- Page numbers
- Page numbering restarting for each section
- The date.
Page format
Allows you to select the page format of the PDF dossier.
Save options
Include attachments
The Include attachments option adds to the PDF dossier all documents linked in the Link column of the Transactions table. Attachments are embedded directly into the PDF file. This makes it possible to have in a single file your entire accounting, your reports such as Balance Sheet, Profit and Loss Statement, etc., and all digital supporting documents.
Include section
Recheck accounting
Select this option to have the accounting rechecked before it is exported.
Include
Select the documents to include and display in the PDF Dossier (Balance Sheet, Profit and Loss Statement, Journal, etc.).
Depending on the selected View, each PDF document (Balance Sheet, Account cards, Journal, etc.) may display different columns and contents. To display digital attachments inside the PDF Dossier, it is also necessary to select the Journal item.
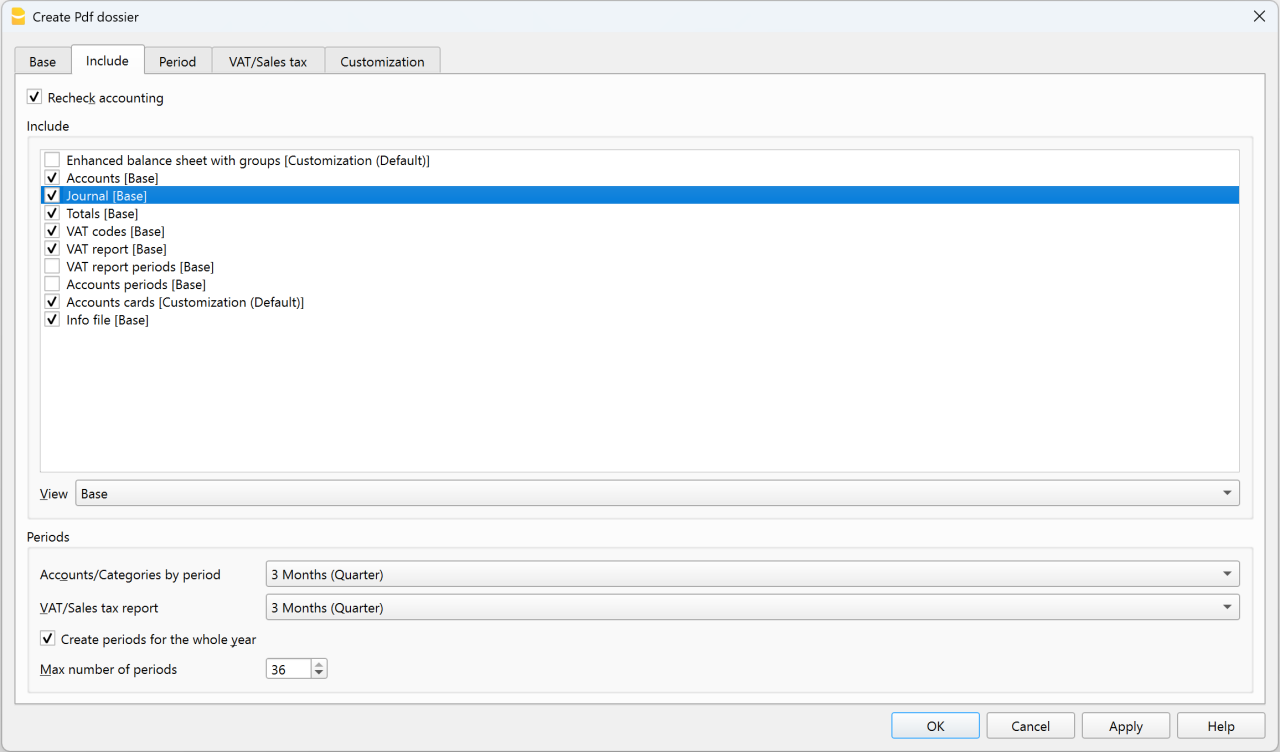
Enhanced Balance Sheet with Groups [Customization (Default)]
Customize the Enhanced Balance Sheet with Groups to adapt its presentation to your needs.
To improve the readability of the PDF dossier, you can choose not to display zero values.
Account Cards [Customization (Default)]
You can also customize the Account Cards so that the presentation of the PDF dossier suits your needs.
Digital attachments
Digital attachments are files inserted in the Link column of individual accounting transactions, such as receipts, invoices or scanned slips.
When creating a PDF dossier and activating the Include attachments option, the attachments are embedded in the PDF file. Once the PDF dossier is generated, on the Journal pages the paperclip symbol is displayed next to the transactions that contain a digital attachment.
By clicking on the paperclip, the attached document is opened and displayed.
Important notes
- The Include attachments option is available only if files have been added in the Link column.
- Digital documents (attachments) are included in the PDF dossier only if the accounting file (.ac2) and the documents are located in the same storage environment: all saved locally or all saved in the cloud.
- Furthermore, to ensure correct linking of attachments in the PDF dossier, digital documents must be organized in the same folder as the accounting file (.ac2) or in one of its subfolders.
PDF reader compatibility
Opening embedded attachments is supported by compatible PDF readers, for example:
- Adobe Acrobat Reader
- Foxit PDF Reader.
Some browsers may not allow opening attachments included in the PDF.
Advantages of the PDF dossier with digital attachments
This function allows you to always have all your accounting documentation in digital format and, at the same time, to easily share, even remotely by email, a single PDF dossier with trustees, auditors or tax authorities, avoiding paper binders and the sending of numerous separate files.
How to open a digital attachment from the PDF dossier
- Create the PDF Dossier with the Include attachments option enabled and the Journal section included.
- Open the PDF Dossier with a compatible PDF reader.
- Scroll through the document to the Journal section.
- Locate the paperclip symbol next to the desired accounting transaction.
- Click on the paperclip to open the attached document.
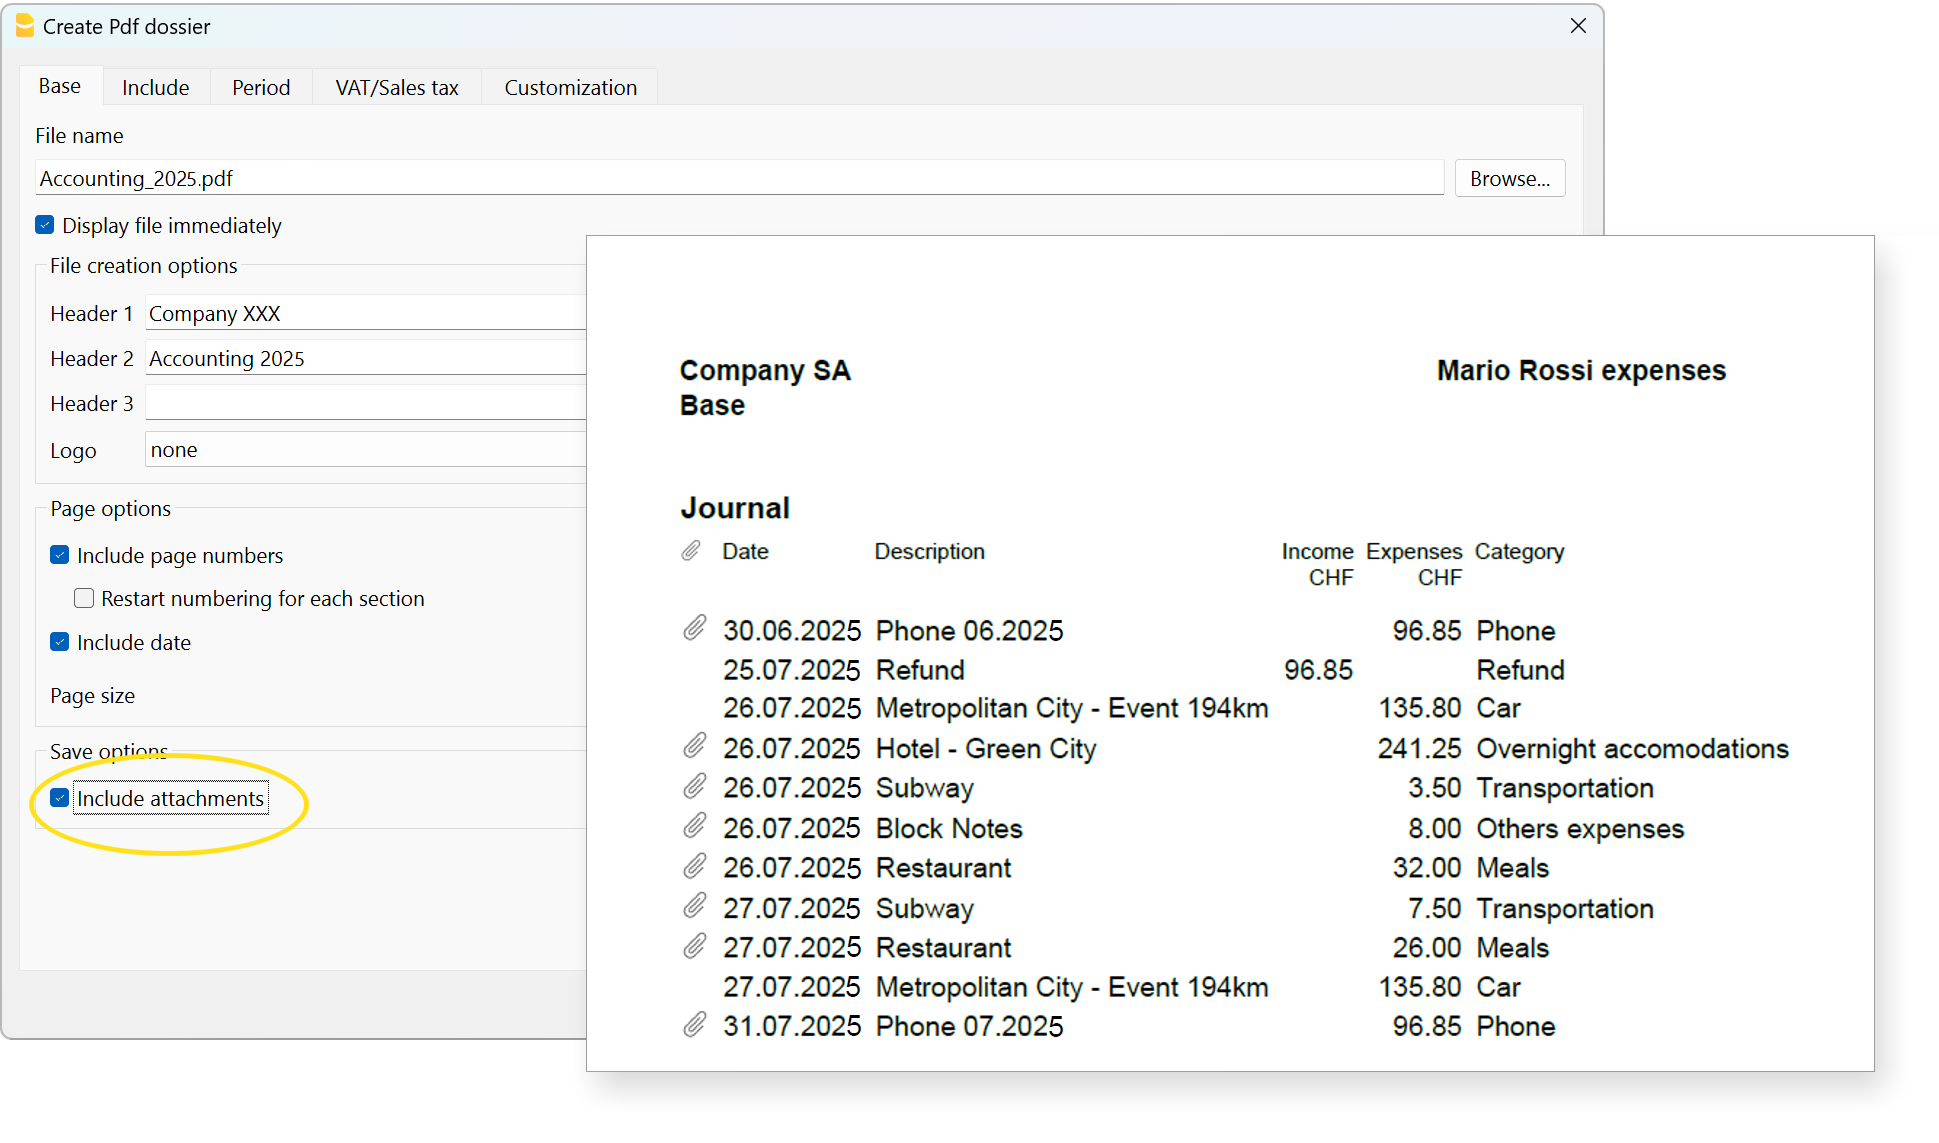
Technical notes
For issues related to PDF format or fonts see the Create PDF page.
Other sections
For explanations of the other sections, consult the following web pages:
Export file
Chose File → Export file command from the File menu in order to export several tables simultaneously.
In the Export file dialogue the following sections are also used:
- Those specific to the file type (see export formats).
- Include tab - to define the tables and the reports that must be included in the export
- Period (Accounting) tab, to define the period
- VAT tab (in the accounting files with VAT management)
- Customization tab
Printouts/preview
Print everything you see on the screen
In addition to the various available reports, Banana Accounting lets you print everything you see on the screen simply by clicking the File > Print menu.
Preview window
All printouts of the various accounting documents and invoices can be saved in PDF, HTML, MS Excel format and copied to the clipboard, allowing you to access them even after some time.

The button opens the Print Setup dialog of your operating system. Below is the dialog for Windows; those for other operating systems are similar. The choices you make are valid only for the current session; if you want to make permanent changes, they must be set through the control panel of your operating system (in this case Windows).
Landscape or portrait printing and other table print parameters must be set using the Page Setup command and they are different for each View.
Print selected cells only
When you have a selection of cells in the table, the Selection option is enabled and the preview and printout refer only to the selected cells. To print the whole table, simply disable the Selection option.
Page size
The page size is taken from the printer preferences. To change or correct the page size, go to the print preferences and select the desired format (e.g. A4). If you have already selected this format (A4), you must select it again to correct the page size.
Print to PDF
Most modern operating systems offer the option to select a PDF printer or to export to PDF directly from the print dialog. This method of creating a PDF has limited features compared to exporting to PDF from the Banana program.
- It is recommended to use the Print to PDF option if exporting to PDF has problems.
- Printing to PDF does not include attachments.
- Printing to PDF is not available for the Create PDF dossier function.
Export to other formats
The printout can be exported to different formats:
- Export to PDF
The format that keeps the printout characteristics. - Export to HTML / Excel / LaTeX
Formats for using the data in other programs.
Copy to clipboard button
The whole report is copied to the clipboard, so you can paste it into Excel or other programs, in these formats:
- Text
- HTML (with formatting styles).
Print settings
By clicking the gear icon in the command bar you access:
- If it is a table, the print setup dialog.
- If it is a report, the specific report dialog.
In the default settings, the program is set to automatically resize the columns or reduce the zoom so that all columns are printed correctly on the page.
Page numbering
The page numbering can be changed by setting the start number and the prefix.
Refresh
By clicking the Refresh button the document is regenerated based on the specific print or report settings.
Printing issues
- If the preview display is slow, it is probably because the default printer is not available.
- It is important to use the updated printer driver.
Accounting printouts
The explanations of the printouts can be found on the following pages:
Page setup
The Print and Preview properties are accessed via the File menu > Page Setup command.
Each View of the table has its own print setting. The name of the view is indicated in the dialogue title.

Left header
This is where the title for the current view is shown. The title can be edited and appears at the top left of the printed page.
Right header
It is possible to enter a different text that will be printed at the top right-hand side of the page.
Logo
Allows you to add a logo:
- Use the Change button to the right of the Logo box; you access the Logo Formats dialog.
- Select Add and insert your own logo.
- From File > Page Setup , enter Logo in place of none.
- Confirm with the OK button.
More details for inserting a logo are available on the Logo setup page.
Margins
It is possible to input the page margins here: Left, Right, Top, Bottom. Measurements are in centimeters.
Shrink page to printable area
This function makes it possible to adapt the printable area when the print goes past the margins of the earlier defined page margins.
Include in print
When these functions are activated, they allow to display the following data:
File headers
This is the text that is being entered in the File properties found in the File menu.
Page headers
The page header will also be included in the printout.
Table name
The table header (f.i. Accounts, Transactions, etc.) is also included in the printout.
Column headers
Allows to display the various table columns.
Large font
The program prints the headers using a slightly larger font.
Page break
When activated, this option maintains the entered page breaks; if not, they will be ignored, even if they are present.
Page numbers
Activate this option to request that the pages be numbered.
Print time
Activate this option to include the time of when the page was printed.
Print date
Activate this option to include the date when the page was printed.
Row number
Activate this option if a progressive number is to be given to each row.
Grid
The grid can be printed just as it is viewed on screen.
Attachments
In the case of exporting to PDF, the attachments are included in the PDF file.
In Banana Accounting Plus this feature is only available with the Advanced plan. Explore all the Advanced plan features. Switch now to the Advanced plan!
Layout
The program automatically adapts the page dimension.
Zoom %
This allows the increase or decrease, on a percentage basis, of the size of the font to be printed.
Reduce to page width
If some columns exceed the width of the page, the program reduces the columns or reduces the zoom so that all the columns will be printed correctly on the page.
As on screen
The print-out will be carried out exactly as presented on the screen.
In case the contents goes past the page dimension:
- If the option "Reduce to page width" is activated, the font size will be reduced;
- If the option "Reduce to page width" is not activated, the part that goes past the paper will not be printed.
Print in black and white
All colors will be converted in gray scales.
Print landscape
To print in landscape format which makes the page read horizontal.
Export to PDF from print preview
From the Print preview you can export any document to PDF using the Create PDF command.
Depending on the documents you want to export to PDF, the program displays a dialog with different options.
Export a single document to PDF
This function allows you to export a document to a PDF file.
To export a document to PDF, you need to:
- From the print preview, click on Export > Create PDF.
- Click on Browse and select or create the folder where you want to save the file.
- Enter the name of the PDF file. The file name will appear in the File name field.
- Enable the Open file immediately option to view the created PDF.
- Confirm with OK
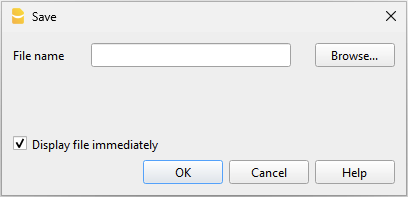
Export multiple documents in a single PDF
This option is only visible if several documents have been selected to export to PDF.
To export multiple documents into a single PDF, you need to:
- From the print preview, click on Export > Create PDF.
- Enable the Save as single file option.
- Click on Browse to select or create the folder where you want to save the file.
- Enter the name of the PDF file.
- Enable the Open file immediately option to view the created PDF.
- Confirm with OK
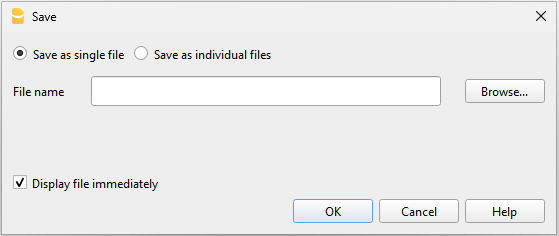
Export multiple documents as separate PDFs
This function allows you to export several documents in one operation, resulting in separate PDF files.
This option is only available:
- With the Advanced plan of Banana Accounting Plus.
- If several documents have been selected to export to PDF.
To export different documents as separate PDFs, you need to:
- From the print preview, click on Export > Create PDF.
- Enable the Save as individual files option.
- Click on Browse to select or create the folder where you want to save the files.
- Customize the file names using the variables available in the dialog window.
- Click on Variables to view the full list of variables.
- Double-click each variable you want to use to compose the file name.
While using the variables, you will immediately see a preview of the file name below.
- Enable the Open file immediately option to view the created PDF.
- Confirm with OK
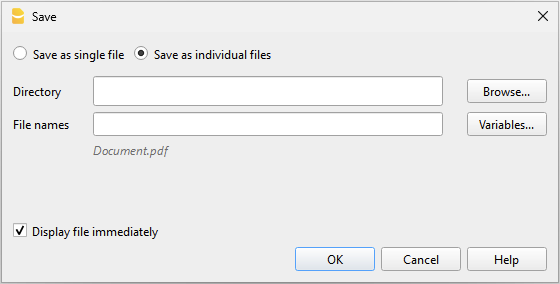
If a file with the same name already exists in the selected folder, the program will ask for confirmation before saving.
Export invoices or customer statements to PDF
The same dialog is also valid for exporting customer statements and invoices to PDF.
For more information, go to the page Export invoices to PDF
Include attachments in PDFs
When a document contains attachments external to the accounting file, the dialog includes the Include attachments option. This option saves the attachments in the PDF file and allows for their export.
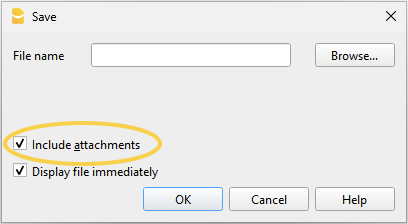
Attachments are local files added as digital links, for example PDF supplier invoices, credit notes or debit notes. The option is visible if links to the documents to be attached have been entered in the DocLink column.
- The attachment entered in the DocLink column is marked with a paperclip symbol. Clicking the symbol opens and displays the attachment.
- Only attachments that are in the same folder as the accounting file or in a subfolder are exported.
For attachments in other folders, a message "access denied" is shown.
This limitation prevents system or confidential files from being exported accidentally. It is therefore recommended to save attached documents in a subfolder of the accounting file. - Files with absolute paths are not exported.
Only some advanced readers like Adobe Acrobat Reader and Foxit allow viewing of attached files. Other PDF readers, such as those in browsers, do not allow viewing of attachments.
For more information, go to the page Create PDF file with digital attachments.
PDF creation parameters
- Page size
- The page size of the PDF is taken from the printer preferences.
- Before creating PDFs to print or send by email, make sure the page size in the print preferences is set to A4.
- PDF/A format
- The file is converted to the PDF/A format, the archiving standard, which is a more limited subset of the PDF standard.
- If certain elements are included, the PDF file will not comply with the PDF/A standard.
- Including any type of attachment is only compliant with the PDF/A-3 standard.
- Links to external documents are not allowed.
- Fonts
- The program creates the PDF using the fonts specified by the user.
- If there are readability issues or the PDF search function doesn't work, you can disable the True Type fonts from the menu Tools > Program Options > Advanced > True Type fonts.
PDF Creation Issues
In some situations, related to specific operating systems, fonts, or characters used, it may not be possible to correctly create a PDF file, or the text may appear cut off or not visible.
In these cases, it is recommended to use the operating system functionality by opening the print dialog window and choosing Print to Pdf.
Export Print Preview Html/Excel
In the print preview toolbar:
- Click on the arrow beside the Adobe PDF button
- Choose the option that's right for you:
- Export PDF
- Export to Html
- Export to Excel
- Copy to clipboard
Page numbering
You can access the page numbering feature by clicking on the  icon on the Print Preview toolbar.

In this dialogue it is possible to assign the number with which to start the page numbering, and the prefix to be inserted in the numbering. Printing of the page number must be enabled or disabled through the settings of the displayed page or report.
Start with
The starting number for page numbering.
Add prefix
The prefix to insert to the page numbering.
Logo setup
Logo setupIn Banana Accounting Plus to insert a logo go to the menu File > Logo setup.
Option tab
You can insert images, size and alignment of the logo and text in the header.
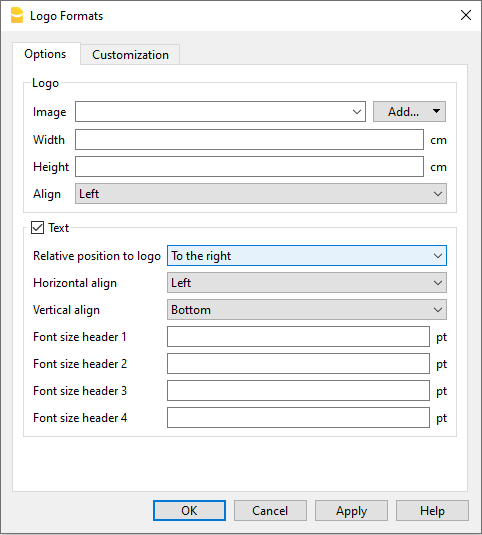
Logo
- Image. Allows you to add, edit and delete a logo.
- Add a logo:
- Insert a logo image via the Add button.
- Multiple images can be added.
- Edit or replace a logo:
- Select an image from the list.
- Edit or replace the selected image via the Edit button.
- Delete a logo
- Select an image from the list.
- Delete the selected image via the Delete button.
- Add a logo:
- Width.
- Enter the width in centimetres of the logo.
- Height.
- Enter the height in centimetres of the logo.
- Alignment.
- Select the position of the logo: left, centre or right.
Text
- When you activate the Text field:
- The header of the various accounting documents is inserted next to the logo image, provided the option to print the logo is activated in the report settings.
- When you deactivate the Text field:
- The logo is simply inserted without the report header information, again provided that the option to print the logo is activated in the report settings.
- Position relative to logo:
- You can choose where to position the text relative to the logo: below, on the left, above, on the right.
- Horizontal Alignment:
- You can choose to align the text left, centre, right relative to the logo.
- Vertical Alignment:
- You can choose to align the text top, centre, bottom in relation to the logo.
- Header font size:
- For printing reports or accounting documents, you can choose to set the font size for each header line.
- For invoicing, the font size can only be set by script.
Customization tab
Through this section you can customise and store various settings for your logo and texts.
If necessary, you can call them up by selecting the name of the desired customisation.
To print an invoice with the logo it is necessary to use a customization with the Logo name, to be entered in the Name box.
To print an enhanced balance sheet or an invoice with a different logo, a new customisation must be created (e.g. the name Logo_balancesheet, this name must be selected in the Embellished balance sheet setup or entered manually in the field Logo name in the Setup of the invoice layout.
Name
The name of your customisation (e.g. Logo1, Logo2,...).
Description
Enter a description for reference of the settings (e.g. 'Logo left, text right',..).
Set as default
With the set as default button you can set a customisation as default.
Options
For further information, see the Customisation page.
Add logo to all printouts
The logo can be inserted in the various printouts. Click on the links below to access information on how to insert the logo.
- Enhanced balance sheet
- Enhanced balance sheet by groups
- Invoices
- In the invoice header of the CH10 and UNI11 layout via the Invoice Settings > Logo option.
From the Print Preview of the Embellished Balance Sheet and the Embellished balance sheet by groups, the settings for the logo can also be accessed by clicking on the Settings icon (cogwheel).
Create PDF
The Create PDF command is activated:
- from the File menu > Create PDF
- or by clicking the dedicated icon in the toolbar.
The generated PDF exactly reproduces all the content you see on screen, that is, the current view.

There is also another command, from the menu File > Create PDF dossier, which allows you to choose which contents of the Banana Accounting Plus file to include in the PDF.
Save options
Available in Banana Accounting Plus only with the Advanced plan. See all Advanced features. Upgrade to the Advanced plan now!
Include attachments
Saves in the PDF file the attachments indicated in the Link column (for example receipts, invoices or scanned slips).
When this option is active, the paperclip symbol is displayed in the PDF next to the transactions that contain a digital attachment. By clicking on the paperclip, the attached document is opened and displayed.
Important notes
- The Include attachments option is available only if there are file links in the Link column.
- Digital documents (attachments) are included in the PDF only if the accounting file (.ac2) and the documents are located in the same storage environment: all saved locally or all saved in the cloud.
- Furthermore, to ensure correct linking of attachments in the PDF, digital documents must be organized in the same folder as the accounting file (.ac2) or in one of its subfolders.
- Opening attachments is supported only by PDF readers that handle embedded files, such as Adobe Acrobat Reader or Foxit PDF Reader.
Some PDF readers, especially those integrated in web browsers, may not allow opening embedded attachments.
Technical notes
- In print preview and printing (physical printer and the operating system’s virtual PDF printer), all fonts supported by the operating system can be used.
- In Windows, for PDF export, only TrueType fonts that have the Unicode cmap mapping and contain the following tables are supported: "OS/2", "cmap", "cvt ", "fpgm", "glyf", "head", "hhea", "hmtx", "loca", "maxp", "name", "post", "prep".
Error creating the PDF file: %1 - If the program cannot load the specified font, it replaces it with a default font (Helvetica or Arial depending on the operating system) and the user is shown the Unable to use font 1% in PDF file message.
Open file location
The Open File Location command from the File menu opens the Explorer folder (on Windows computers) or Finder folder (on Mac computers) where the file you are working on is located.
To rename, move, or delete the file, it must be closed.
Proceed as follows:
- File menu > Open File Location
- View the folder where the file is saved
- Perform the desired action (copy, rename, move the file).
Sometimes the file may remain locked even if it appears to be closed. In such cases, you may need to exit the program to fully unlock the file.
Send .ac2 file via email
To send a Banana accounting file (.ac2) you can use the command from the File menu → Send file via Email...
By choosing this command, Banana Accounting Plus opens the email program of your computer, creates a new message, inserting your Banana Accounting .ac2 file as attachment.
If your email program displays a message informing you that you need to create a Microsoft Outlook profile, you must follow the information found at the following link:
Arquivos mais recentes e favoritos
Os comandos exibem a lista dos arquivos usados recentemente e dos arquivos favoritos. Eles também aparecem na página inicial (Start page).

Arquivos recentes
Nesta seção, o Banana Contabilidade lista os últimos arquivos utilizados e o caminho onde eles foram salvos.
Um caminho indica onde um arquivo está armazenado no computador. É como um "endereço" que leva exatamente ao local onde o arquivo se encontra, por exemplo: C:\Documents\Banana\2024\Estimates and invoices.ac2.
Os arquivos do Banana não ficam armazenados no programa. É o utilizador quem escolhe onde salvá-los.
Modificar ou remover arquivos recentes da lista
No menu Arquivo > Arquivos recentes, estão disponíveis dois comandos:
Editar lista de arquivos recentes...
Este comando abre a seguinte caixa de diálogo:
- Limpar lista de arquivos recentes
Este comando remove todos os arquivos da lista de arquivos recentes.
Também é possível modificar ou remover um ou todos os arquivos da lista de Arquivos recentes diretamente na página inicial (Start page), posicionando o cursor sobre um deles e clicando com o botão direito do mouse (os utilizadores de Mac devem usar a combinação Ctrl + botão direito do mouse).

Estão disponíveis os seguintes comandos:
- Adicionar a favoritos...
Este comando adiciona o arquivo recente selecionado à lista de arquivos favoritos. - Editar lista... (abre novamente a caixa de diálogo apresentada acima).
- Abrir local do arquivo
Este comando abre a pasta onde o arquivo foi salvo e abre automaticamente a pasta no Explorador de Arquivos (ou Finder no Mac) onde o arquivo foi salvo pela última vez. Isso pode ser útil para verificar se o arquivo foi renomeado. Na mesma pasta, também é possível encontrar o arquivo .bak (arquivo de backup), as cópias de segurança que o programa cria automaticamente e atualiza a cada salvamento. - Remover da lista
Este comando remove o arquivo selecionado da lista de arquivos recentes. - Remover tudo da lista
Este comando esvazia a lista de arquivos recentes.
Se não conseguir abrir um arquivo recente
Se, ao clicar em um dos arquivos recentes, aparecer a mensagem de erro "Arquivo não encontrado", isso significa que o programa não consegue mais localizar o arquivo no caminho onde ele estava salvo.
O arquivo pode ter sido movido, excluído ou renomeado. Para mais informações, visite a página: https://www.banana.ch/doc/pt-br/systemmsg_it_err_filenontrovato.
Arquivos favoritos
Nesta seção, você pode criar uma lista com os arquivos que utiliza com mais frequência, indicando o respectivo caminho.
Adicionar um arquivo aos Favoritos
- Abra o arquivo desejado.
- Clique em Arquivo > Arquivos favoritos > Adicionar a favoritos.
Modificar a lista de arquivos favoritos
- Arquivo > Arquivos favoritos > Editar lista de favoritos...

Também é possível modificar ou remover um ou todos os arquivos da lista de arquivos favoritos diretamente na página inicial (Start page), posicionando o cursor sobre um deles e clicando com o botão direito do mouse (os utilizadores de Mac devem usar a combinação Ctrl + botão direito do mouse).
Estão disponíveis os seguintes comandos. O funcionamento é o mesmo dos Arquivos recentes:
- Editar lista...
- Abrir localização do arquivo
- Remover da lista
- Remover tudo da lista
Onde os arquivos contábeis são armazenados?
Os arquivos contábeis do Banana são armazenados no formato .ac2. Não devem ser confundidos com o arquivo executável do programa, que utiliza a extensão .exe. O gerenciamento dos arquivos funciona da mesma forma que para arquivos do Word ou do Excel (nos formatos .doc e .xls, respectivamente).
Ao salvar um arquivo, é você quem escolhe a pasta onde ele será armazenado: no seu computador (por exemplo, em C:\Documentos\...), na sua Cloud, em um pen drive USB ou em outro local.
O Banana Contabilidade mostra atalhos para os últimos arquivos Banana utilizados (Recentes) e para aqueles que você definiu como Favoritos.
Os arquivos não ficam armazenados no programa, mas na pasta escolhida por você ao salvá-los. A Banana.ch SA não tem qualquer acesso aos seus arquivos.
Para mais informações, consulte também Abrir e salvar arquivos.
Edit Menu
The Edit menu in Banana Accounting gathers the essential commands for working with table data. It allows you to undo or redo actions, copy, cut, and paste cells or rows, select and duplicate data, insert or delete rows, move them up or down, and quickly replicate contents.
It also includes practical functions such as copy with headers for processing in Excel, and row protection to prevent accidental changes. This way, you have flexible and intuitive tools to precisely organize and edit your accounting data.
Undo / Redo operation
These simple commands allow you to cancel or restore the last operation made. To set the maximum number of undo operations, you need to set it in the Tools menu > Program Options > Editor > Max number of Undo Operations.
Copy, Cut and Paste
All rows of Banana Accounting tables and the data they contain (except data in protected tables and cells) can be copied, cut and pasted exactly as in Excel.
- Select the line or the area of data to be copied
- In the Edit menu, select the Copy or Cut command
- Move to the row or the area where the information should be copied
- From the Edit menu, select Paste
The user can also copy/paste by using the icons  or press Ctrl+C to copy, Ctrl+X to cut and Ctrl+V to paste.
There are also the following commands:
- Copy rows, Delete rows and Paste rows: in this case they refer to a full row or rows and not to a cell selection. For this purpose the commands Copy, Cut and Paste should not be used.
- Copy rows copies the cells to the clipboard with the column header, very useful for filtering in Excel.
Select all
This command selects all the rows and columns of the active table.
It's the equivalent to clicking at the top left hand side of the table.
Copy row from above (F4 or Cmd + 4)
This command is very practical and allows you to copy the contents of the cell above to the one you are in. Applicable to a single cell, several cells or an entire row.
Execute command (F6 or Cmd + 6)
This command performs various practical functions depending on the cell in which you are located. More information on the Interface page.
Insert blank rows... (Ctrl and + key)
This command inserts blank rows above the selected row:
- Position the cursor below the line where the empty rows are to be inserted
- From the Edit menu, select the Insert rows command
- In the window that appears, type the number of rows to be inserted
- Confirm with OK.
Add rows...
To insert blank rows below the selected row, follow these steps:
- Move the cursor above the row where additional rows need to be inserted
- From the Edit menu, select the Add rows command
- In the window that appears, key in the number of rows to insert
- Confirm by clicking on OK
There is another procedure to add blank rows:
- Move the cursor above the row where additional rows need to be inserted
- Click on the following icon
 on the Tool bar, one time for each row that you want to add. This procedure is recommended when the amount of rows to be added is rather limited. The sequence for the shortcut key is: Ctrl+Enter.
Duplicate rows...
This command duplicates the selected row(s).
After duplication, the rows remain selected and can be moved with the Move Up and Move Down command.
Copy rows ... (Ctrl + Shift + C) / Copy with column headers
This command copies all the data in the row, including hidden columns, to a temporary area so that it can be inserted again using the Insert copied rows command (or simply by using the Paste command - Ctrl+V, for example when pasting into Excel).
The cell values are copied to the clipboard. When pasting into Excel or software other than Banana, the column headers are also included. This also works when copying only selected rows or cells.
Banana Accounting supports up to two column headers (entered in the two separate fields Header and Header2 in the Columns setup dialog). Starting with Banana Accounting release 10.2.8 - 26182, both headers are copied to the clipboard (previously, only the main header was copied).
Copying the column headers makes it easier to process the data in Excel or other applications.
You can also make copies with the header with the Preview command.
Delete rows... (Ctrl and - key)
In order to delete one or more rows, select the row or rows that need to be deleted and from the Edit menu, click on the Delete rows command.
The deleted lines are copied and saved in memory and can be reinserted with the command Insert copied lines.
This feature of copying lines before they are deleted is very useful for functioning like the Cut command in an Excel spreadsheet.
Move Row Up (Alt + Up)
Moves the selected row one position up.
Move Row Down (Alt + Down)
Moves the selected row one position down.
Protect/Unprotect rows
Using the Protect rows command, from the Edit menu, the user activates rows protection to avoid making any changes by mistake.
Protected rows have light grey row numbers. The protected rows cannot be edited until, by using the Unprotect rows command, the protection is being removed.
To protect Rows:
- Select the desired row(s) to protect
- From the Edit menu, select the Protect rows command
- Confirm the number of rows to be protected by clicking on OK.
To Unprotect Rows:
All rows in system columns are protected and cannot be unprotected.
For example, it is not possible to unprotect rows in account tabs or rows where the program performs automatic calculations.
Data Menu
The Data menu in Banana Accounting provides the commands to search, edit, and organize information within the tables. From here, you can perform searches and replacements, rename items, manage links, and quickly navigate through the data.
You also have tools to extract, sort, import, and export rows, as well as to arrange columns and tables according to your needs. This way, you have full control over the management and organization of your accounting data.
For detailed explanations of the commands, click on the links in the menu on the left.
Find
The Find function is located in the Data > Find menu. The section for the options for searching for data are displayed at the bottom of the table you are in.

Find text
Enter the text or value to search for. The amounts must be entered without the thousands separator.
Entire words only
Search for entire words only: For example, if the search word is Tot, it will not find Totals.
Uppercase / Lowercase
When this option is activated, the program distinguishes between uppercase and lowercase letters.
Selected zone only
With this option, the information is searched only in the previously selected area.
To start the search you need to click on the Find Next button. The first information corresponding to the request is located; to continue the search and find subsequent matches, repeat the Find next command, or use the F3 key.
Find and Replace
The Replace function, linked to the Find function, is activated by clicking on the Data → Replace ... menu. You will find the options for searching and replacing data appears in the section at the bottom of the table you are in.
 The text to search for and the text to replace must be entered in the same format as they appear in the input field. The amounts must be entered without the thousands separator.
Find text
Enter the reference you are searching for.
Replace with
Enter the new reference.
Options
Complete words only
Search for complete words only: For example, if the search word is Tot, it will not find Totals.
Uppercase / Lowercase
When this option is activated, the program distinguishes between uppercase and lowercase letters
Search in the selected zone only
With this option, the information is searched only in the previously selected area.
Replace all
This key performs the replacement of all data at the same time. It is used when a change in the Accounts, Categories, Transactions or VAT Codes table (for example an account number, a VAT code) is necessary. For change of data to be repeated, you can also use the Rename function.
Replace
Replace one item at a time.
Find all
It searches for all the information, based on the entered keyword, and displays it in the information window below.
Find next
Next available information.
Add links to digital documents
The function of linking a digital document, saved on your computer or on the Internet, to an transaction line allows you to open a receipt, invoice or other document directly in the accounting file with a simple click. Your documents will always be just a click away and you can say goodbye to paper and switch to fully digital accounting.
Also refer to Organise accounting files locally, online or in the cloud.
- The function of linking a digital document to a row is available in all tables, also for the Accounts, Items and Other tables.
- From the print preview, with Export to PDF, the programme also allows you to include the linked digital document files in PDF. When auditing, the auditor can also open the attached document (invoice, receipt, other PDF document) in the accounting file.

File names and paths
When entering a path to a file this can be of two types:
- Absolute path.
- An absolute path file name, or more simply 'absolute file name', specifies the complete path to a file, including the disk drive, folders and the name of the file itself.
- It describes exactly where the file is located in the file system.
- Examples of absolute file names:
- "C:/Documents/Images/Photo.jpg"
- "/Documents/Images/Photo.jpg"
- If the accounts folder is moved to another computer with a different path, the file will not be found.
- Relative path to the accounting file folder (Recommended).
- Relative path or more simply 'relative file name' refers to file names that are not absolute, i.e. do NOT begin with a '/'.
- Links with relative paths are understood to be relative to the folder where the accounting file is located.
- Links remain valid even if folders are moved or synchronised to other computers that have different locations, as long as the file remains in the same location relative to the accounts file.
- Does not include details of the disk drive or main folders. The name begins without a slash.
- If the file is in the same folder, only the file name 'invoice.pdf' will appear
- If the file is in the 'attachments' subfolder, it will be 'attachments/invoice.pdf'.
- If the file is in the top folder it will be "../invoice.pdf".
- The symbol '../' means upper folder.
- "../attachments/invoice.pdf' means that the file is in the 'attachments' subfolder of the top folder.
- ".../.../attachments/invoice.pdf' means that the file is in the 'attachments' subfolder of the top two-level folder.
Error File Not Found
If the programme reports that it cannot find the file, the reason may be one of the following:
- The file has been deleted or moved.
- Files have been copied or synchronised to another computer and the path name to the file is absolute.
- The accounting file has been moved and the file names contain relative files.
- The file name contains invalid characters on other operating systems:
- The programme uses the '/' character as path separator, but also accepts '\'.
- Characters such as '*' may not be used in file names.
- Care must also be taken not to use characters such as '*&%'. which are valid on MAC or Linux, but not for Windows.
The Links Column
The DocLink column (in the Transactions table) and the Links column (in all other tables) make it possible to enter a link to an external file (usually a scan of a receipt or an invoice).
- The Links column is usually not visible.
In order to display it, use the Columns setup command from the Data menu. - Once the Links column appears, you can add the link to the digital document; you can also edit the file name directly in the cell where the link has been inserted, without having to edit the file in the folder where it is located.
- It is best to use file names related to the accounting folder (see previous section File names and paths).
- In the Links cell you can enter different types of content:
- The relative or absolute file name.
- A link to an Internet page or file, preceded by 'https://' or 'http://'.
- A customised Url schema.
- A link to a resource contained in the program resources, e.g. ":/image.png".
- A link to a resource contained in the Documents table, e.g. ":documents:doc.pdf".
- A text beginning with an exclamation mark '!', to indicate in the auto-completion in which path to search for files (see the following section Auto-completion in the Links column).
- A text in square brackets [ ], which is used as an auto-complete search when editing.
Useful when creating rules and wanting to indicate the text to insert the link and facilitate searching.
To open the linked document, click on the menu Data > Links > Open Link, or click on the icon that appears in the top right-hand corner of the cell containing the link.

Entering a link to a file
There are three ways to enter a link to a document:
Add Link command
- Place yourself on the row of the table where you wish to create a link and the choose the Data menu > Links > Add link.
- Select the document file that you want to link and click on the Open button (the program inserts the link automatically).
- The program enters the path to the digital file in the Links column, even if the column is not visible.
- The file path is converted into a form relative to the accounting file.

Add Link Icon
- In the table, make the Links column visible. Also see: Columns setup.
- Click on the small icon at the top right of the cell.

- Indicate the path where the chosen file is located.
Directly enter the file name into the cell
The file name of the digital document can be entered directly in the DocLink column cell, without having to select the file in the folder where it is located.
This mode allows you to speed up the insertion work even more.
- Double-click on cell to edit it .
- Type in the file name or enter it using copy and paste.
- The auto-complete function lists the files of documents that are not yet linked.
- To get a list of available files, at least the name of a file must be entered with the file selection dialogue.
Note: It is not possible to insert a link via Drag & Drop.
Auto-completion in the Links column
When you are editing in the Links column, the programme proposes a list of files, according to the following logic:
- Only files whose extension is included among the safe extensions are proposed.
- The file name contains the text entered in the editor.
- If the text contains text separated by a space, all text must appear in the file name.
- If the text is included in square brackets [ ] only the text without the brackets is used.
- If the file is already used in the column, it is not proposed again.
You can start with '*' to ensure that all files are proposed, even those already used.
This way you can search for files that have already been included in the list. - Files contained in search folders.
- Files contained in folders already used.
If you enter the file 'attachments/invoice.pdf', it will propose the documents that are in the 'attachments' subfolder. - Files containing the text you are inserting.
- The folder was not excluded with the commands indicated below.
- Files that do not exceed the Smartfill limit.
Special names for auto-completion
You can change the search logic by entering file names that begin with an exclamation mark '!'.
- !-**1
Disables auto-completion and does not propose any files.
Use this command if, for technical reasons, access to directories is slow. - !attachments
Search for files only in the indicated subfolder - !+attachments
The '+' sign also searches in the indicated folder. - !-attachments
A '-' sign excludes the indicated folder. It takes precedence over other indications.
Serves to exclude a used file folder or the accounting file folder. - Special symbols:
- !.
The dot "." indicates the current folder where the accounting file is located.
To exclude the folder use "!-.". - !folder1*
"*" at the end of the folder name also means including all sub-folders.
If there are many sub-folders with many files, the search may be slowed down. - !*
Includes the folder where the accounting file is located and all sub-folders. - !folder1;folder2
the semicolon ';' is used to include multiple folders.
!../folder1
The ".." refers to the parent folder.
- !.
Texts for inclusion or exclusion folders for self-completion:
- They must be entered in the column where the document link is inserted.
- They can be entered in any row.
- They determine the search for all cells, even those that come before.
Edit a link
Proceed in the same way as when entering a new link.
Rename a link
This feature allows you to change/rename the link. The program will also automatically:
- Rename the file name in its original directory
- Rename all the links to that document recurring in the accounting file.
This way you can change file names without having to open the file manager.
Requirements
- The Rename function from the Data menu is only available with the Advanced plan of Banana Accounting Plus > switch now to the Advanced plan.
More info on the Rename feature.
Opening the link
There are two ways to open the link:
- Position yourself on the row and follow the Data > Links > Open link command
- Or position yourself on the cell of the Links column and click on the icon to open the link.
For security reasons, the program only opens files with an extension that is considered secure, see Program Options > File handling section, from the Tools menu.
Remove a link
There are two ways to delete a link:
- Position yourself on the row and follow via the Data menu > Links > Remove link.
- Clear the contents of the Links cell with Delete.
Export to PDF (Include attachments)
When exporting to PDF, the programme offers the possibility of also including attached files.
Please refer to the Export to PDF documentation regarding this functionality and limitations.
Other useful resources:
Scan documents with Dropbox or other Apps
Smartphone apps like Adobe Scan, Microsoft Lens, Dropbox, and other applications allow you to scan receipts and invoices and save them directly in PDF format. Afterwards, you can transfer them to the desired folder through the smartphone app of the cloud service being used. Compared to a simple photo, they crop the contents, use PDF format, and allow you to insert multiple pages into the same file.

- Start the Dropbox application (other systems have equivalent functions, which you can easily research on your mobile).
- Use the "Scan Document" command.
- Take a picture of the document. To facilitate automatic cropping, insert the receipt in a transparent map that contains a coloured or black sheet.
- Several commands are at your disposal in the preview
- If necessary, use the Rotate Image command to be vertical.
- You can add another page by repeating the scan.
- Choose the pdf format.
- Type the file name using the date you find on the document.
If you do not have your own filing system, use the year-month-day format, the name of the counterparty and a possible observation (ex.: 2022-01-15-Telecom-invoice.pdf ". - When the file is synchronized on your computer.
- Copy it to the accounting documents directory.
- In your accounting file, go to the Transaction table, go on the appropriate row and add the link to the digital document you just scanned.
The Open link command opens the digital document
We advise you to create the accounting documents folder in a child location compared to where your accounting file is located.Here below we include similar screenshots for Adobe Scan, Microsoft Lens and iCloud Drive:
Other useful resources
Go to
The command opens a dialog box that allows you to move to the desired row.

When you are in a selection table (for example in an account card), with the Go to source line command, the program automatically returns to the corresponding row of the Transactions table.
The Rename command in Banana Accounting Plus
The Rename command is a tool in Banana Accounting Plus that allows you to quickly modify:
- an account or category number
- a VAT code
- an item number
- a link (Link or DocLink).
It is accessible from the Data menu and allows you to update a reference automatically, without having to manually search and replace every occurrence in the file.
Warning
The Data > Rename command changes references within the accounting file (accounts, VAT codes, items, links).
It should not be confused with the Rename file function of the operating system, which only changes the name of the accounting file.
Available in Banana Accounting Plus only with the Advanced plan. Switch now from the Professional plan to the Advanced plan, or purchase it directly.
When to use the Rename command
When you need to change an account number, a VAT code or a Link, the command replaces the selected value with the new value and automatically changes it in all tables where it has been used:
- Accounts and Categories table
- VAT Codes table
- Items table
- Transactions tables
- File properties (Basic data)
In the case of links (Link or DocLink), the program also automatically updates the name of the linked file in the folder where it is located.
Example - Change account number in the Accounts column, Accounts table.
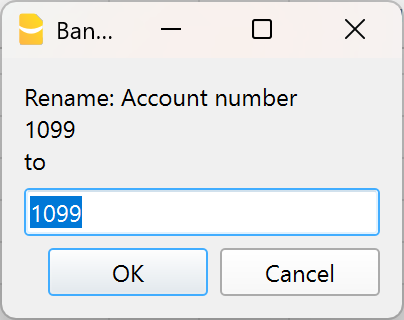
Example - Change link name, in the Doc.Link column of the Transactions table.
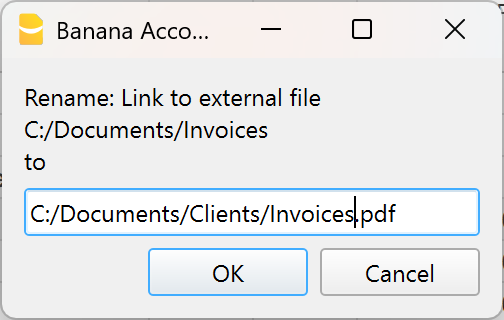
How to rename
- Position yourself on the cell to be modified (account number, category, VAT code, item number or link).
- Select Data > Rename.
- In the window that appears, enter the new reference.
The program automatically performs some checks:
Check for duplicates
It verifies that an identical account or group number does not already exist.
If it exists, a warning message is displayed. If you confirm the operation anyway, the error will be reported.
Check for protected or locked rows
It verifies that the rows where the account is used are not protected or locked. Otherwise, the program indicates that it cannot proceed with the renaming.
Automatic replacement
If there are no obstacles, the value is replaced in all tables and in the Basic data.
NOTE
In the chart of accounts it is not possible to have two identical account numbers. The command does not perform any recalculation: it simply replaces the reference wherever it is used.
Rename a link (Link)
In Banana Accounting Plus it is possible to insert, in the Link column of the Transactions table, links to digital supporting documents (receipts, invoices, tickets, etc.).
The Rename command allows you to modify the link text and automatically updates:
- the file name in the folder where it is saved
- all links to that document present in the accounting
In this way, consistency is maintained between accounting and archived documents.
For more information, see the page dedicated to digital supporting documents.
Import rows
In order to import the rows, click on Data → Import Rows command.
Activate the options of your choice in the following window:

File name
Using the Browse button, select the file from which to extract the data.
Format
This area contains the list of formats with which it is possible to import the data to the table. These include: ASCII format, Text, CSV.
Select what you need.
Options
Import data from clipboard
By selecting this box, the user can import data from the Windows clipboard.
Autocomplete values
It is advisable to select this function when it is necessary to import rows from a less complex accounting file into a more complex one. In this case, in the imported rows, some columns will stay blank. By selecting this function, the program will automatically complete the missing values with those from the current accounting.
Column headers
By selecting this box, not only data, but field headers will be included in the import.
Unicode (Utf-8)
By selecting this box, all the data will be imported in a format readable by Unicode programs.
Extract and sort rows (Extract)
This function is available vie the Data → Extract and sort rows menu ...

Contrary to the Sort rows command, the program creates a separate table where the extracted rows are displayed. Therefore, the rows of the main table are not changed.
Extract tab
In the extract table, you can click on the row number (underlined) to return to the row of the source table.
Column
You have to select the column from which you want to extract the rows.
Condition
You must select the conditions to be applied for the extraction of the lines (eg greater, less, equal, contains text, begins with, ends with ....).
Value
In this field it is necessary to enter the text to be used as a comparison, in relation to the condition (for example, if the condition is = equal, entering 25.01.2022 as the comparison value, the program extracts all the transactions with the date 25 January 2022).
The text is a date if the chosen field is Date, a numeric value if the field is an Amount, a word if the column is a Description.
Add
The button allows you to add other fields for the search.
Clear all
The button allows you to delete the settings chosen for data extraction in the various lists.
Selected rows only
This option is active only when rows have been previously selected and allows the sorting of the selected rows.
Total row
If the function is activated, the program displays the total for the extracted rows that have an amount or a time counter.
Sort tab
The sorting columns are indicated. The options are the same as the Sort rows commands.
Customization tab
Explications for this window are available on the following web page: Customization.
Account list example
It sometimes happens that you require a list containing only the accounts:
- Go to the Accounts table.
- Select Extract and sort command.
- Select Account in the the columns box
- Select Not empty in the the conditions box
If you want to extract the accounts sorted by description:
- Select Order section
- Select Order by button and select Description
If you want to display only certain columns, you can create a new view with the Tables setup command.
Sort rows Dialog
This command changes the sorting of rows permanently.
It is therefore advisable to be very careful before sorting, especially when in the Accounts Table, as it may upset the structure of the chart of accounts.
If you only wish to sort rows temporarily use:
- Temporary Filter and Sort rows.
- Extract and Sort rows that copies the data into a temporary table .
Sort Rows Dialog
This function is activated via the Data > Sort rows menu.

The rows of the table can be sorted according to the contents of the columns. Up to three sorting can be set.
Sort by
Select the type of order you need from the list that appears.
Then by
Allows you to define an additional type of sorting than the main one.
Ascending
The rows are sorted in ascending order, taking into account the type of sorting chosen (date, doc ...).
Descending
The rows are sorted in descending order, taking into account the type of sorting chosen (date, doc ...)
Number
Enable this option if the column chosen as the search condition contains only numbers.
Clear all
The button allows you to delete the settings chosen for sorting the data in the various lists.
Selected rows only
This option is active only when rows have been previously selected and allows the sorting of the selected rows
Customization Section
Through this section, you can customize and save various sorting settings for the rows.
You can choose to sort by Amount, Description, or other criteria, and save the sort settings with different names.
When needed, you can recall the sort settings by selecting the name of the desired sort.
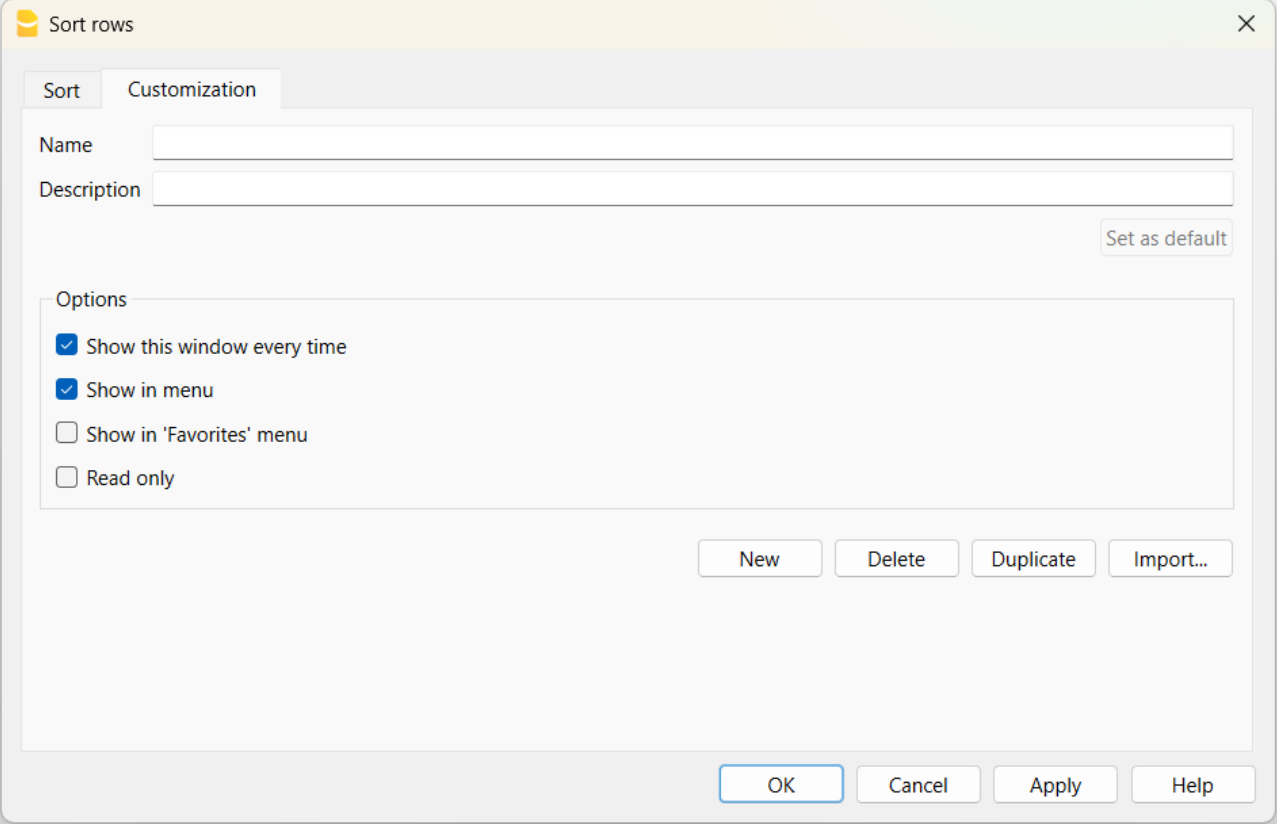
Name
The name of your customization (e.g., Sort by Description, Sort by Amount, etc.).
Description
Enter a description to reference the settings (e.g., "sorting type 1, sorting type 2", etc.).
Set as Default
With the "Set as Default" button, you can set a sort as the default.
Options
For more information, refer to the Customization page.
Columns setup
The command can be activated via the Data > Columns setup menu. With this command, columns can be:
- Displayed
- Hidden
- Renamed
- Moved left or right in the various tables.

Display Tab
Header
This is the column header.
Header 2
This header is used by the program for only a few fields (e.g. Amount column).
Description
This is the column description field. This description will be shown as a tooltip.
Format
This is the format to show numbers, date and time (refer to Columns setup page for specific information).
Width
This section defines the horizontal size of the column.
Column Style
This is a drop-down menu that indicates the style to be used. This style has priority over the style of the row.
Alignment
The user can choose whether to align the text right, left or center.
Wrap text
This option allows the user to view the input text on more than one line.
Protected
This option allows the user to protect the entire column so that no data can be input or edited.
Exclude from printing
When this option is activated, the field will be excluded from printing.
Visible
This option allows the user to make column visible.
The tables can be modified. Columns can be added, headers can be changed, and column sizes and the order in which they are displayed can be altered.
Move up, Move down
The columns can be moved to the right or to the left.
- Just click on the name of the column:
- with the Move up button, the column is moved to the left.
- with the Move down button, the column is moved to the right
- Columns can also be moved simply by dragging them with the mouse.
Add
Add columns in the active table. The columns added by the user have a purely informative function and the program does not perform calculations on any numeric data.
If you add a column of type Amount in some cases, the data entered by the user is used in the calculations. Amount columns are summed only in the following tables:
- Accounts table,
- Account cards table,
- Extract rows table.
Delete
This function is used to delete a column from the list. A system column, however, cannot be deleted.
Settings
Name
Enter the name of the column field to add. The program automatically adds the new column to the list.
XML name
The column name for XML storage and for extensions.
Data type
You can choose from the following predefined data types:
- Text
- You can enter any kind of text, without a line break.
- Comment:
Element in square brackets not considered by the program as a value.
In certain contexts, in the Transactions table, columns Debit account or VAT code, you can enter a commented value, which is not treated as a value, for example: Commented account [1000], Commented VAT code [V10].
- Number
- Numbers with decimal and thousands separators.
- positive "+1'234.00"
- negative "-1'234.00"
- neutral "±1'234.00"
Except for special cases, the entered value equals "0".
You can write "+-" before the amount and the program replaces it with the "±" symbol.
- Comments, text in square brackets [comment]
- Numbers with decimal and thousands separators.
- Amount
- Numbers with decimal and thousands separators.
- positive "+1'234.00"
- negative "-1'234.00"
- neutral "±1'234.00"
Except for special cases, the entered value equals "0". - In tables with totals (Accounts table) the amounts are summed.
- Comments, text in square brackets [comment]
- Numbers with decimal and thousands separators.
- Date
- Dates in the format defined by the operating system.
- Comment, text in square brackets [comment].
- Time
- Time of day in the format defined by the operating system.
- Comment, text in square brackets [comment].
- True / False
- A value is present (Yes) or empty (No).
- Comment, text in square brackets [comment].
- Date/Time (Timestamp)
- Date and time in the international format "2025-09-24T03:49:42.000Z"
- Comment, text in square brackets [comment].
- Time counter
- Hours:Minutes:Seconds.Milliseconds "36:10:02.100".
- Comment, text in square brackets [comment].
- Links (Link)
- A link to a document or a web page.
- Comment, text in square brackets [comment].
- Multi-line text
- Text with line breaks.
- You must also enable the "Wrap text" option.
- Alt+Enter to insert a line break.
- Menu > Format > Calculate row height, to display the full text.
- Markdown
- Like Multi-line text, but assumed to be in markdown format.
- MIME
- Columns with special contents.
- Protected text
- Text not displayed.
Max and min length
Maximum and minimum length of the column.
Max and min value
You can enter maximum and minimum values (numbers and characters).
Decimals
You can define the number of decimals of the column.
Column number
It is a number that is automatically assigned to the column, but it has a purely technical purpose.
All uppercase
When you click this option, all data in the column are converted to uppercase.
Default date and number format on your computer
After installation, the program uses your operating system settings by default.
If you want to change the date, time and number formats in the program, you must change the settings in the Control Panel (Windows) or in System Preferences (Mac).
Detailed instructions for Windows:
- Start > Control Panel
- Under Regional options, click Change the date, time, or number format
- In the dialog that appears, in the Formats section, you can change the date format
- To change the number or currency format, in the same dialog, click the Additional settings button and then the Numbers or Currency sections.
Detailed instructions for Mac OS X:
- From Apple’s apple symbol (top left) choose the System Preferences command
- In the dialog that appears choose Date & Time
- From the window that appears click Open Language & Region... > Advanced > (General), Date and Time
where you can change the number format.
Settings Tab
Name
Enter the field name of the column to add. The program automatically inserts the new column in the list.
Xml name
This is the name of the active field in the Xml format and it is automatically inserted by the program.
Data type
It is possible to choose between the following preset types: Text, Number, Amount, Date, Time.
Max and Min length
Maximun and minimum field length.
Max and Min Value
It is possible to enter minimum and maximum values (numbers or characters).
Decimal points
It is possible to define the field decimal points
Column number
This is a number automatically attributed to a column, and has uniquely a technical purpose.
All caps
By clicking this option all column data will be converted to capital characters.
Date and numbers format by default
Once the program is installed, it automatically uses as default your operating system settings.
If you wish to change your operating system settings, you should go to your Control Panel (Windows) or your System Preferences (Mac).
Here is the step by step process on Windows 8 and Windows 10:
- from the Start → Control Panel menu
- click on International options and then on Change date, time or numbers format
- a dialog window will appear where you can change your data format (in the Format tab)
- in order to change your numbers or currency format, from the same window you can click on the Additional settings button and then on the Numbers or currency tab.
Here is the step by step process on Mac OS X 10.9.5:
- from the Apple logo (on the top left of your screen) click on System Preferences
- from the dialog window that appears choose the Date & time icon
- a new window will appear where you can choose Open language & Region...
- a new window will appear where you can click on the Advanced button
- finally a new window will appear where you can change the numbers format (General tab), date or time format (Date and Time tabs).
Date, time, numbers and links format in Banana Accounting Plus
When no particular formats are specified for the date, time and numbers, they are displayed in the formats specific to the operating system.
- Within Banana, only the display format can be changed.
- To change the input format (when changing a value) you must change the settings of your operating system.
To change the format, click on Data → Columns setup and enter the desired format type in the Format box. The format types are listed below with some explanatory examples:
| Date format | Examples for date |
| d mm yy | 1 01 15 |
| dd m yy | 01 1 15 |
| ddd mmm yyyy | Fri Jan 2015 |
| dddd mmmm yyyy | Friday January 2015 |
| The letter “d” (day) indicates the day, the “m” (month) indicates the month, and the “y” (year) indicates the year. | |
| Time format | Time examples |
| hh:mm:ss:zzz | 04:04:36:089 |
| h:m:ss:zz | 4:4:36:89 |
| Naturally the user can also invert the order of the elements making up the date or the time as desired (e.g.: mm dd yyyy). | |
| As far as the separators are concerned, the user can choose between all of those available on the keyboard (for example: #, @, -, /, ., etc.). | |
| Numbers Format | Example for numbers |
| 0. | 259 |
| 0.00 | 258.85 |
| 0.000 | 258.848 |
| The number of decimal spaces in a number field can be edited according to the user’s needs. Actual calculations are made using all the inserted decimal numbers. Rounding is only done for what is shown on screen. | |
| Link format | Link example | What it does |
| :link: | "receipts/office electricity october.pdf" | shows the full file path |
| :file: | "office electricity october.pdf" | shows the file name |
| :file:16: | "office electrici" | shows the first 16 characters of the file name |
| :file:16:ellipsis: | "office electr..." | shows the first 13 characters of the file name followed by ... (= total 16 characters) |
| :file:-24:ellipsis: | "...electricity october.pdf" | shows the last 21 characters of the file name preceded by ... (= total 24 characters) |
| :link:symbol: | ">>" | shows the >> symbol indicating that a file is linked |
| NB: The link format is applied only when printing on paper or to a PDF file and does not affect the on-screen display. | ||
New column
In each table, you can add new columns.
From the menu Data > Arrange columns > Add button.
Via Data > Columns setup > Add button.
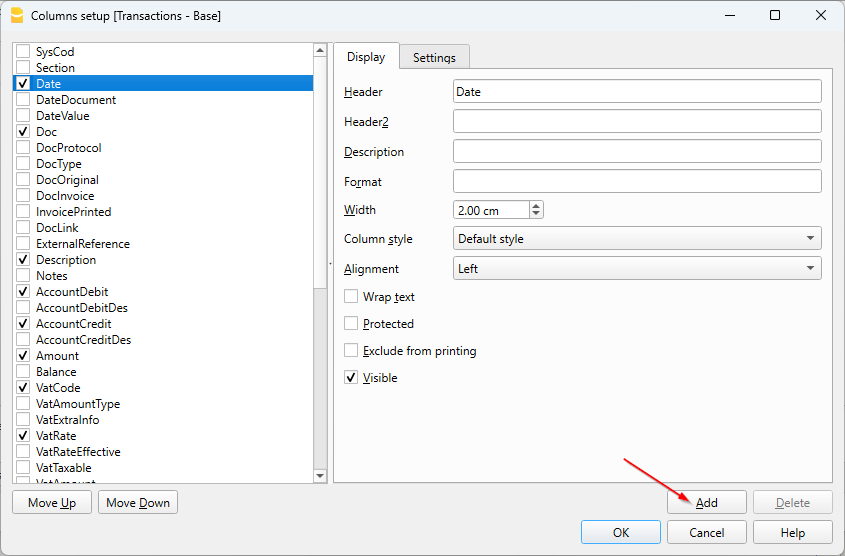

Field name
Enter the field name of the column to add.
Field name Xml
The name of the column to export in Xml and in scripts.
Data type
It is possible to choose between the following predefined types: Text, Number, Amount, Date, Time.
Tables setup
This command is activated via Data > Tables setup menu.
The Tables
These are the elements that contain the data in a format or rows and columns.
- The order of the tables cannot be modified.
- Additional tables are placed at the end of the existing ones.
- The headers of the predefined tables in Banana Accounting cannot be modified.
- The headers of user-added tables (e.g. the Internal notes table) can be modified:
- Go to the table where you want to change the header
- From the Data > Tables setup menu, enter the new name.
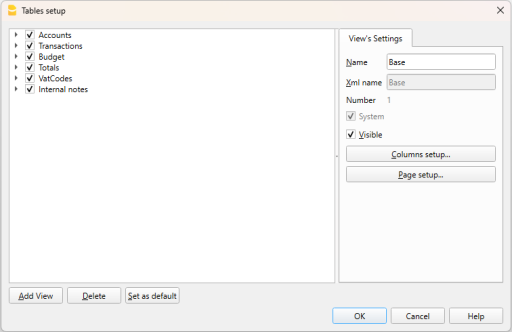
Views
They are indicated below each table.
They are the elements that define how the columns are displayed in the table.
Through the Views, you can define which columns should be visible, the display order, and how the columns are shown.

In order to add tables, please go to the Add new functionalities command.
View Settings
For each table, you can define:
- Name
The name of the table in the file language. This field cannot contain spaces or special characters.
It can only be changed for added tables. - Xml name
The name this is being used for the programming. This field cannot contain spaces or special characters.
It can only be changed for additional tables. - Header
The name that appears in the tables list - Visible
Indicates whether the table is visible or not.
Manage Views
Name
It is possible to enter a new name for the selected View.
Xml name
This is the View name for the Xml export. For system Views this name cannot be changed.
Number
This is a number automatically assigned to the View by the program.
Visible
When this box is checked the View will be visible.
System
When this box is checked the View is a system View and cannot be deleted or edited.
Columns setup
Displays the Columns setup page that allows to edit them, both in displaying them as well as in setting them up.
Page setup
This button leads to the page format settings.
Add
This button adds a new View to the active table.
Delete
This button deletes a View.
Set as default
Defines the View that is being used.
New view
From the menu Data > Tables setup > button Add View, you can add your own views (not provided for account cards).

View name
Enter the name of the view you want to add.
View name Xml
This is the view name for the Xml export.
After its creation, the new view is displayed in the same place as the existing views and will be added at the right side of the others.
Format Menu
The Format menu in Banana Accounting allows you to manage the appearance and readability of your data. From here, you can apply text styles (default, bold, italic), modify the default style for the entire file, adjust the font size, and automatically adapt row height to display long texts.
You also have commands to restore standard row heights and to insert or remove page breaks, which are useful when preparing prints. This way, you can present your data in a clear, organized, and personalized way.
In the Format menu the following commands are present:
Default style
This is the default style for the entire file.
Points
Use different points to define the font size.
Bold and Italic
Highlights in bold or italic texts from the selected cell or row.
Change default style
There is a default style throughout the file. The default style is used when adding a new row.
In order to change the default style:
- attribute the desired style to a row;
- click on the Format → Change default style command from the menu
All the rows with the original default style will then be shown in the new default style.
Calculate row height
When the text for a row is very long, the Calculate row height command from the Format menu allows the user to view it completely, adapting the height of the row.
To adapt the height of the row to the text, the user should:
- choose the Data → Columns setup command menu;
- select the appropriate field name;
- activate the Wrap text option in the Display tab;
- recall the Calculate row height command from the Format menu each time it is necessary.
Calculate all row heights
The Calculate all row heights command is similar to the previous one, with the difference that it operates on all rows of the table
Reset all row heights
Restores row heights to the default value.
Page break
At any point in a file, the user can insert a page break
To insert a page break:
- Place the cursor on the first row, where the new page is to be created
- Open the Format → Page break command
To remove a page break:
- Place the cursor on the row with the page break
- Open the Format and deactivate Page break command
Highlight rows with colours
The possibility of colouring the lines will make it easier to find different types of transactions at a glance.
To color the lines or texts is necessary to select them and then use one of the following icons: 
The first icon will set the background color, the second one the text colour.
- To deactivate the fill color, simply select the row or rows and click on No colour
- To deactivate the text color, position yourself on the line and select Automatic, in this way the color returns to the default color
No colour and Automatic colour
It is recommended to always use No colour and Automatic colour instead of black and white, because when you set the program theme in the Window Menu > Appearance > Display theme we have the following cases:
- Light theme, where texts are displayed in black
- Dark theme, where texts are displayed in white
If you use a light background colour, the texts will be displayed in black. While if the background is dark, the texts will be displayed in white.
If you chose black as the text color and white as the background, the assigned colors would remain the same. The texts may therefore no longer be visible if the theme is changed. To avoid this issue, you should select Automatic for the text and No color for the background.
When you use the row filter to display only coloured rows, the program displays all rows with colours, including rows that have been assigned the colour white or black. If you don't want to see these lines you need to select them and set No color as background or Automatic color as text.
Tools Menu
The Tools menu in Banana Accounting gathers advanced functions that help you manage, customize, and optimize your accounting files.
From this menu, you can view information about the open file, expand the available features, create or convert files into other accounting types, merge different files, and set the program’s general options.
For detailed explanations of the commands, click on the links in the menu on the left.
File info
The File info command, activated in the Tools menu, displays the characteristics of a file.
Columns
By activating the Complete view also the Xml columns are displayed, thanks to which, it is possible to retrieve the values automatically when the table is exported.
- Section: the Group name of the values
- ID: the specific and explicit identification of the value
- Description: contains an explanation of the value
- The rows in bold print are the section titles that group the different elements together
- Value: the formatted value
- Section XML: The name of the section in English
- ID XML: the identification in English
- Value Xml: the field contents in Xml format.
The Section XML and the ID Xml identify the value unambiguously.
Add/Remove functionalities
Banana Accounting Plus allows you to customize and enhance your accounting or productivity file by activating only the features you need. This way, the file remains easy to use, while at the same time it can be adapted to more complex needs.
To open the additional features dialog, go to:
- Tools menu > Add/Remove functionalities and select the desired option.
The available options change depending on the type of file you are using (accounting or productivity). Therefore, there are specific features for:
- Accounting applications - intended for accounting files.
- Productivity applications - intended for productivity files.
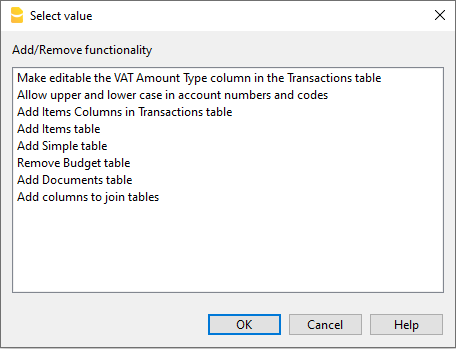
For more information, click on the mentioned links.
Documents table
The Documents table allows you to include text documents, images (including logo) or scripts in the accounting file.
It can be added by the user in two different ways:
- From menu Tools > Add functionalities > Add Documents table.
- This is created automatically when the program needs to save documents (e.g. adding the logo or attachments to the Enhanced Statement, Enhanced Statement with groups from the menu Reports > Attachments section).

The Documents table has the following columns:
- Id
The document's name. Id it is free text but should be unique within the table.- Documents starting with "_" are used for particular features of the programme.
- "_budget.js"
You insert your own functions created for the Budget table.
- "_budget.js"
- The dlgmanageaddons Id is used to save the image used as a logo.
- The attachment_ Id it is used for attachments in the enhanced balance sheet.
- Documents starting with "_" are used for particular features of the programme.
- Description
A brief description of the file (optional) - Attachments
Contains the file. By clicking on the cell it is possible to view or modify the contents of the file.
There are these types of possible content- Image (image/png, image/jpg)
- Normal text (text/plain)
- Formatted html text (text/html),
- Markdown-formatted text (text/markdown),
- Programming in javascript (text/javascript)
- Sheet style CSS (text/css).
Once the Documents table has been added, it can no longer be permanently deleted. If the table was added by mistake and you no longer wish to display it, you can remove it from view via the Data > Tables setup menu. Alternatively, if the file has not yet been saved (neither manually nor through autosave) after adding the table, simply close it without saving to cancel the operation.
Adding a new document

To insert a new document in the Documents table
- Add a new row.
- In the Id column write the name of the file .
- In the Description column you can write the desired text.
- In the Attachments column double-click on the cell or select the edit symbol, select the type of document you want to add.
See also:
Markdown Editor
In Banana Accounting Plus, balance sheets attachments can now also be inserted via markdown language, in addition to html. This is very convenient for inserting tables into attachments.
In Banana Accounting Plus this feature is only available with the Advanced plan.

Markdown is a language that allows you to create formatted text using a normal text editor and a syntax that is easy to write and read.
In Banana+ it is possible to use this language in the attachments of the Documents table and the GitHub Flavored Markdown specification is supported.
Documentation published by github.com:
Adding a Markdown document
- Select the Documents table.
- Add a new row.
- In the Id column write a name that identifies the document.
- In the Description column you can write the desired text.
- In the Attachments column double-click on the cell or select the edit symbol, select the Markdown Text type.
Add a balance sheet attachment with markdown text
How to create a table
To create tables in markdown, the content of the columns must be from the vertical slash sign, preceded and followed by a space " | ".
For the column alignment you must create a row with
- Left: simple hyphens (minimum three hyphens).
- Center: hyphens preceded and followed by the colon ":---:".
- Right: hyphens followed by the colon "---:".
# Notes to the Balance (Example)
The financial statements of Example have been prepared in accordance with the International Financial Reporting Standards (IFRS).
## Cash Positions
| Account | Description | Current Year | Previous Year |
| :---: | --- | ---: | ---: |
| 1000 | Cash | 23'000.00 | 17'000.00 |
| 1020 | Bank account| 9'000.00 | 1'000.00 |
| | **Total** | **32'000.00** | **18'000.00** |
## Other Fixed Assets
| Account | Description | Current Year | Previous Year |
| :---: | --- | ---: | ---: |
| 1000 | Machinery | 13'000.00 | 17'000.00 |
| 1020 | Furniture | 5'000.00 | 4'000.00 |
| | **Total** | **18'000.00** | **21'000.00** |

How to create an unordered list
# Create an unordered list
* First item
* Second item
* Third item
* Fourth item
How to create a task list with checkboxes
# Task list with checkboxes in Markdown
- [ ] Item 1
- [X] Item 2
- [X] Item 3
- [ ] Item 4
- [ ] Item 5

How to change the text color
# Change the text color using HTML syntax
This is normal text in black color, <span style="color:blue">and this text is blue!</span>
<span style="color:red">Another text in red color.</span>

How to change color, font and size of a text
# Change the text color, font and size using HTML syntax
<span style="color:green;font-size:20pt;font-family:Times New Roman;">Change color, font and size of a text</span>

How to apply bold format
# Use double asterisks ( **text** ) before and after the text
**This is a text written in bold**
How to apply italic format
# Use single asterisks ( *text* ) before and after the text
*This is a text written in italic*
How to apply bold and italic format
# Use three asterisks ( ***text*** ) before and after the text
***This is a text written in bold and italic***
Features currently not available
These features, although requested by some users, are not available at the moment:
- Add a link in the markdown text
HTML Editor

Adding the ${...} field
The ${...} field allows the user to add dynamic text to the document, for instance an account's balance or a Banana table. The Banana API interface is available at the following web address https://www.banana.ch/doc/en/node/4714
The command can be added manually or through the command Edit - Add script
Printing a blank line (put a space between the quotes)
${' '}
Printing the current balance of account 1020
${Banana.Converter.toLocaleNumberFormat(Banana.document.currentBalance('1020','','').balance);}
Output of the Accounts table, columns: Account, Group, Description, Balance.
${HTML Banana.document.table('Accounts').toHtml(['Account','Group','Description','Balance'],true);}
It is possible to write the javascript code in a separate document and include the script through the command Banana.include.
The scripts can be saved in the Documents table or in a local file.
${Banana.include('documents:myscript1');rtnValue}
${Banana.include('c://temp//myscript16.js');rtnValue}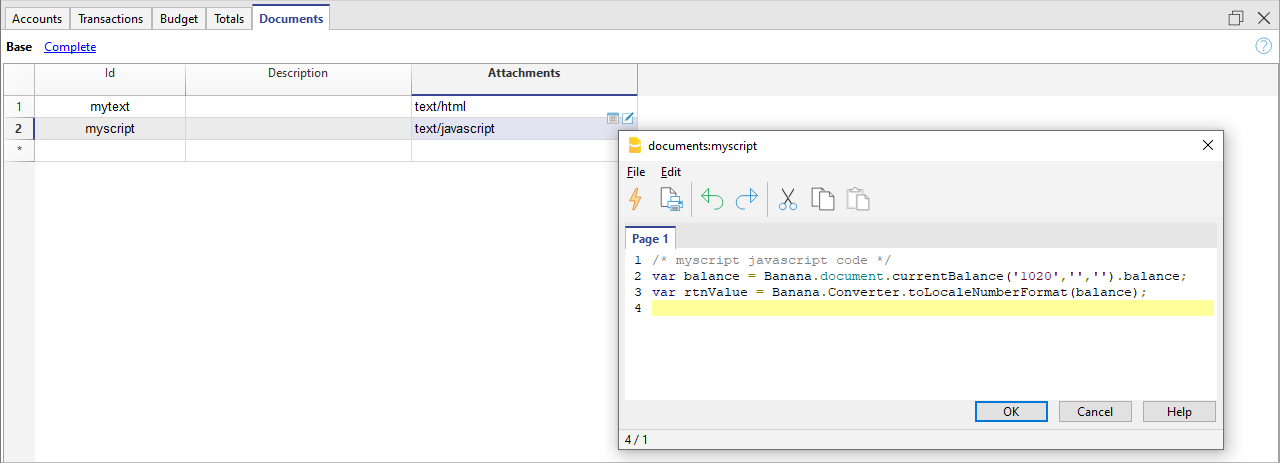
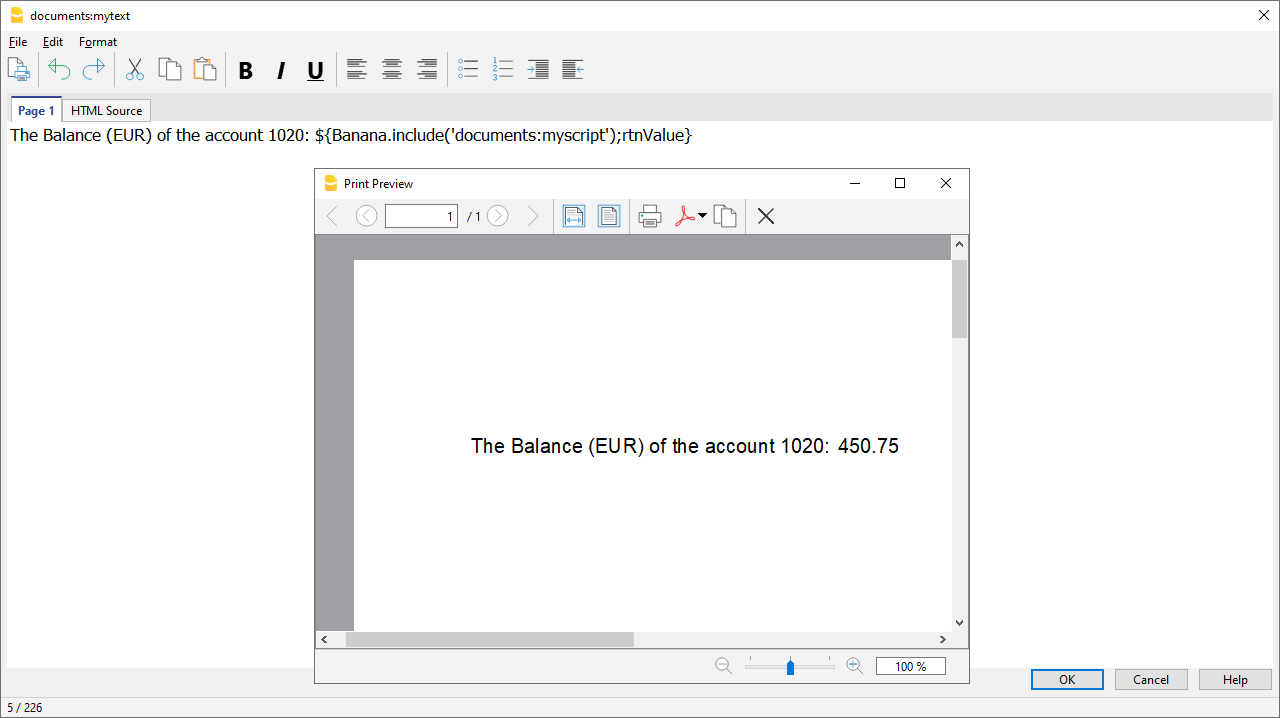
Adding a page break
The command can be added manually or through the command Edit - Add page break
Text in the first page
${PAGEBREAK}
Text in the second page
Troubleshooting
- When taking text from external sources (Word, Internet pages, ...), use the Edit > Paste as plain text command.
This command avoids problems with HTML formatting, which in some cases prevents correct display. - For the examples on this page, use the Copy link on the top right of each example, do not use CTRL+C (or CMD+C).
- If the ${…} field does not work, check that there is no HTML formatting (such as <span>…</span> elements or other) and possibly remove it from the HTML Source code.
- To remove existing HTML formatting from an entire page:
- copy text to clipboard (CTRL+C)
- go to the HTML Source tab and delete all content
- go to the Page 1 tab and paste the copied text with the Edit > Paste as plain text command.
Embedded Extension
Embedded Extensions are extensions written in JavaScript and saved directly in the Documents table of the accounting file. They work exclusively in that specific file without requiring installation. Once created, they are immediately ready to use.
Add an Embedded Extension
- Open an accounting file in Banana Accounting Plus.
- Ensure the Documents table is enabled:
- Add the extension in the Documents table:
- In the ID column enter a name for the extension.
- In the Description column enter a comment.
- In the Attachments column, attach the JavaScript code with a double click on the cell or select the edit symbol in the top right corner, then select Javascript code and confirm with OK.
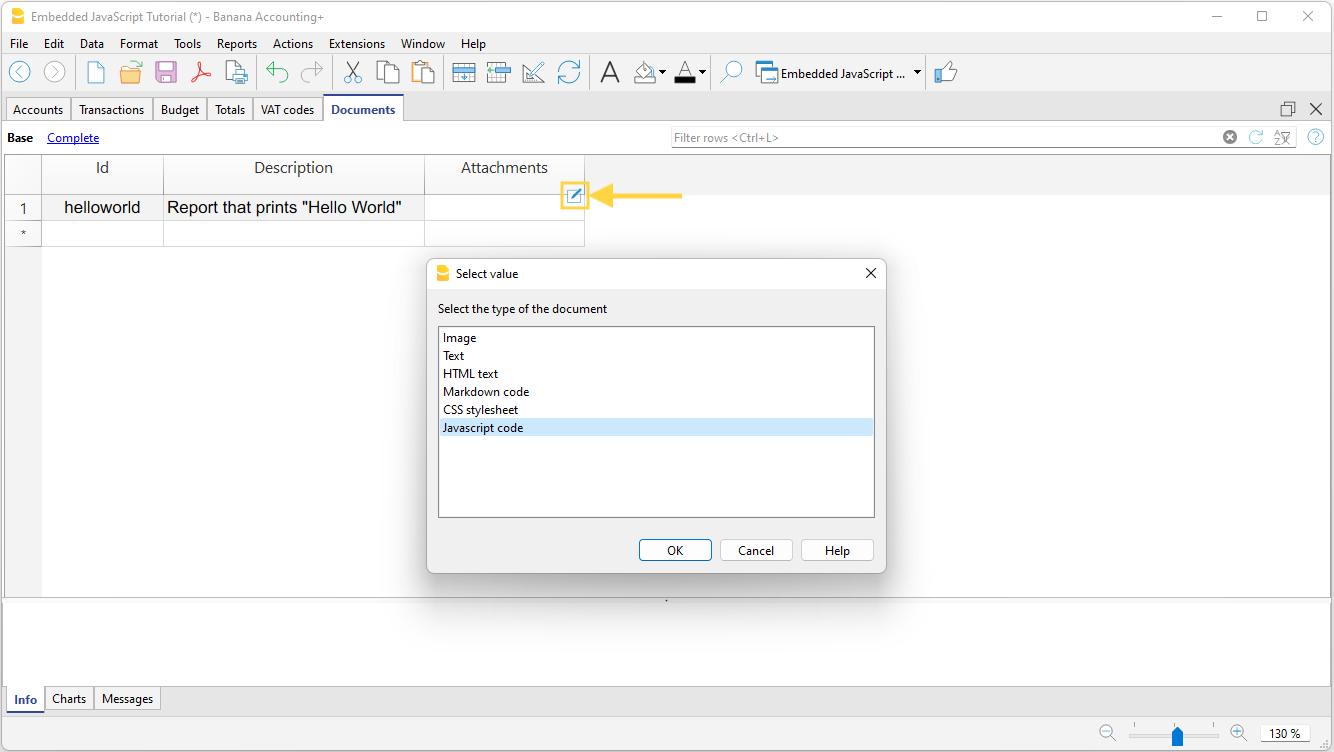
- An editor where you can write your javascript code opens.
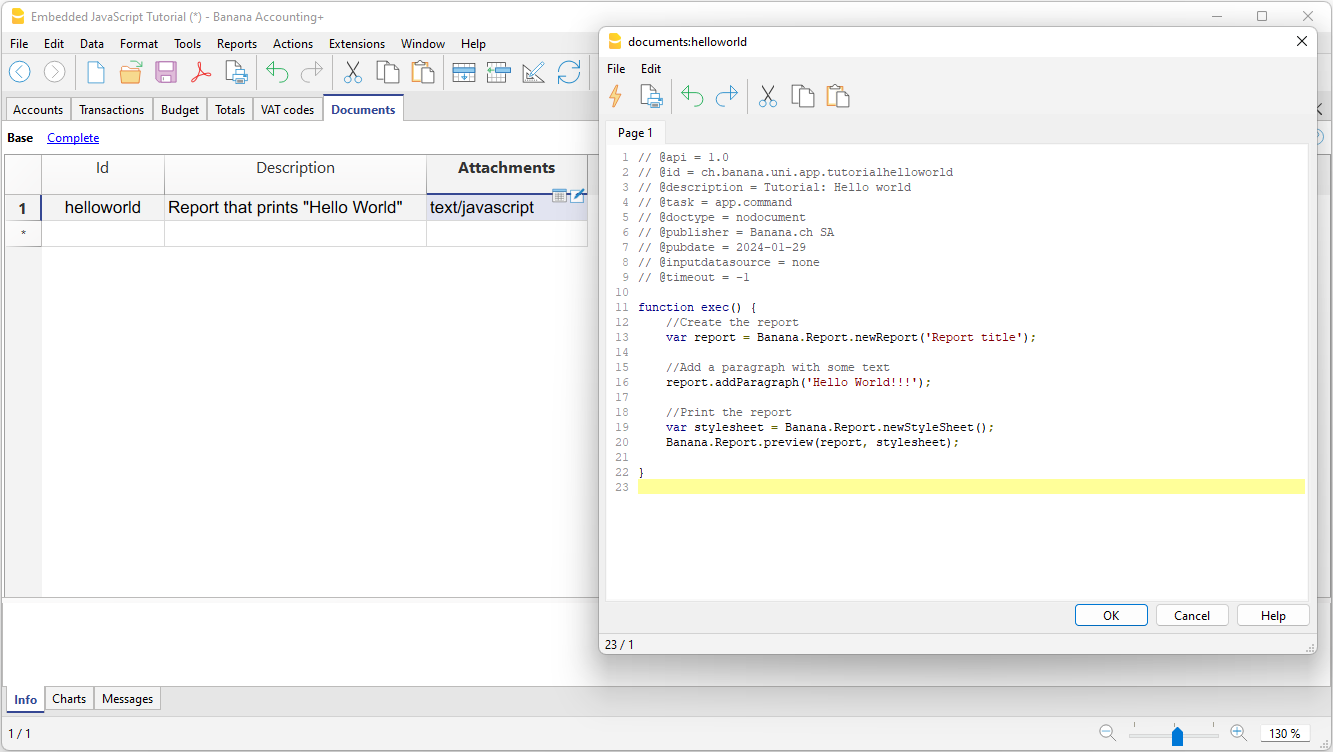
- When you are finished, confirm with OK, and save the accounting file.
Run the Extension
You have two options to run the embedded extensions:
- From the Documents table, click the run symbol in the Attachments cell containing your code.
- From the Extensions menu, select the extension from those listed.
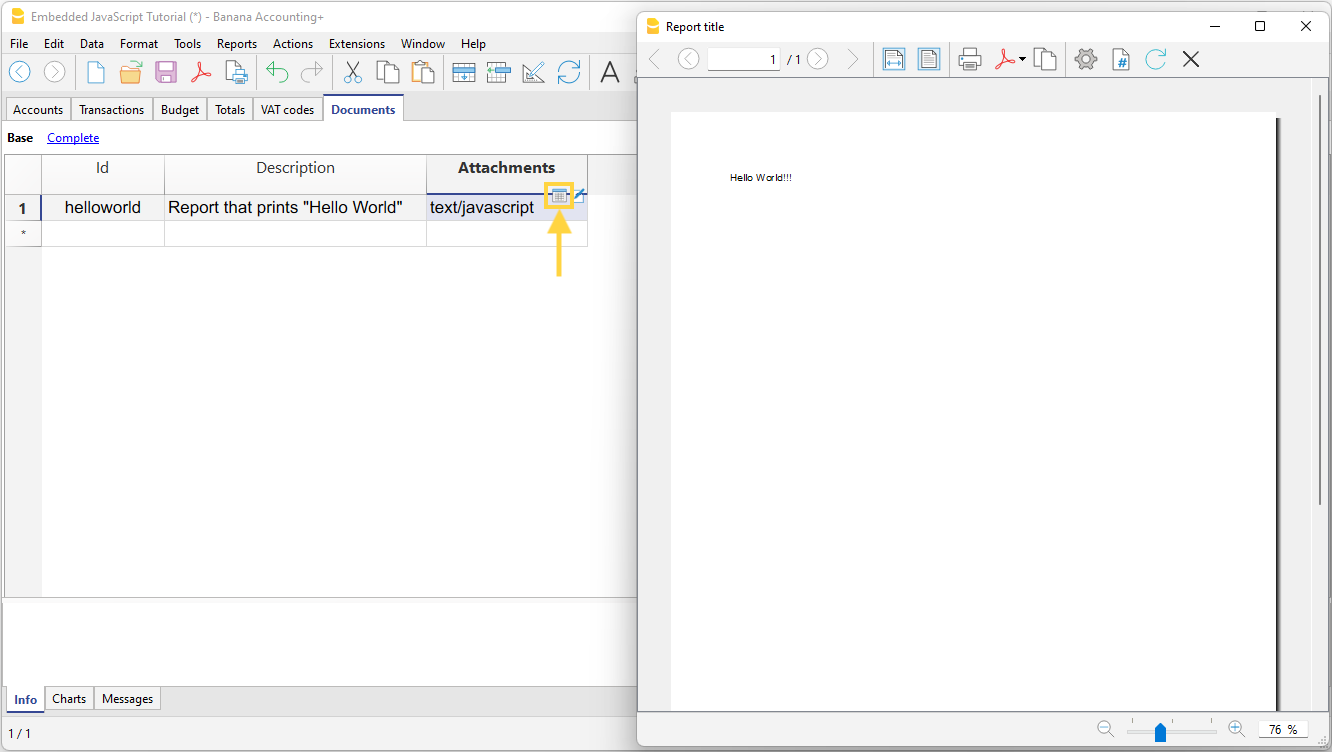
More information
Documentation for developers:
Add Simple table in the file (from Add functionalities)
You can add one or more simple tables to the same accounting file to include additional information without overloading the accounting data structure. Every time you need to add a simple table:
- From the Tools > Add/Remove functionalities > Add simple table menu
The program adds a table to the existing file with the name you assigned, and it includes the following columns:
- Id – Used to create a list of coded items. Each row is assigned an Id code to identify the item
- Description – Enter text to describe the item
- Notes – Enter text for notes or other information

- Assign a name to the table.
- In our example: Internal notes
- Confirm with OK
The new table is added to the file and is immediately available.
Customize the columns
In the simple table you can customize the columns by displaying other predefined columns and/or adding new ones.
Display other predefined columns:
- From the Data menu > Columns setup
- From the list, select the desired column (e.g. the Link column)
- Click on "Visible"
- Confirm with OK.
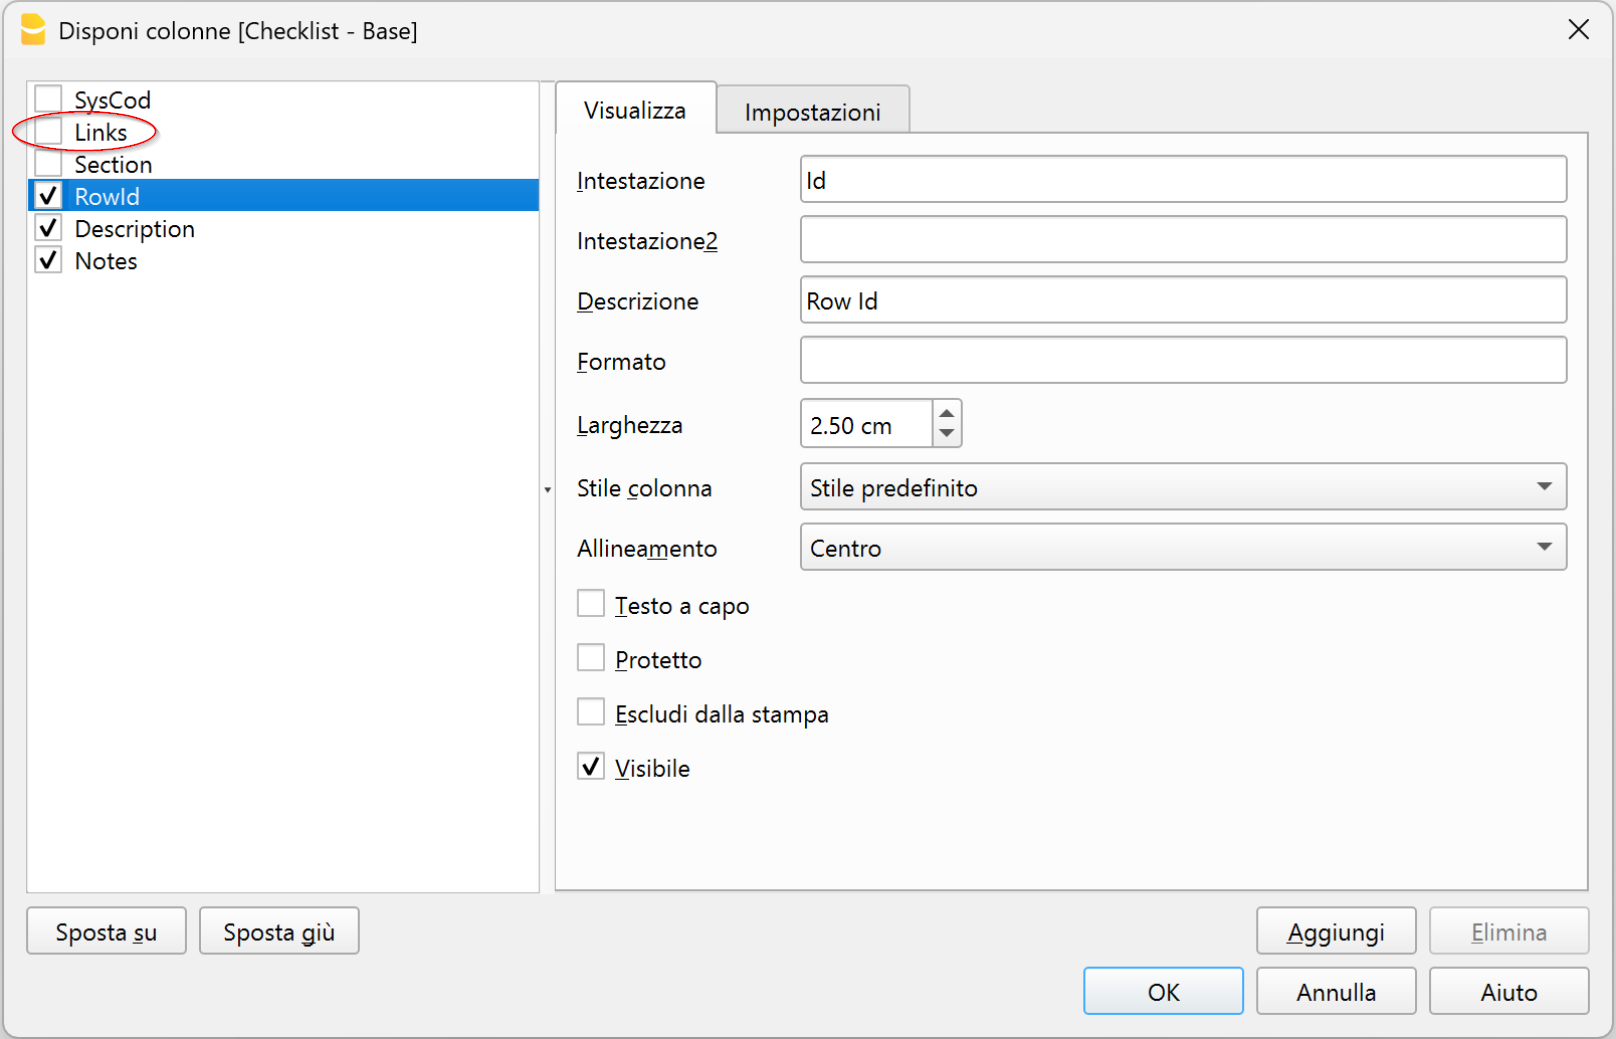
Add new columns:
- From the Data menu > Columns setup > Add
- Give a name to the column (e.g. Date)
- Define the column format (e.g. text, date, amount, currency...)
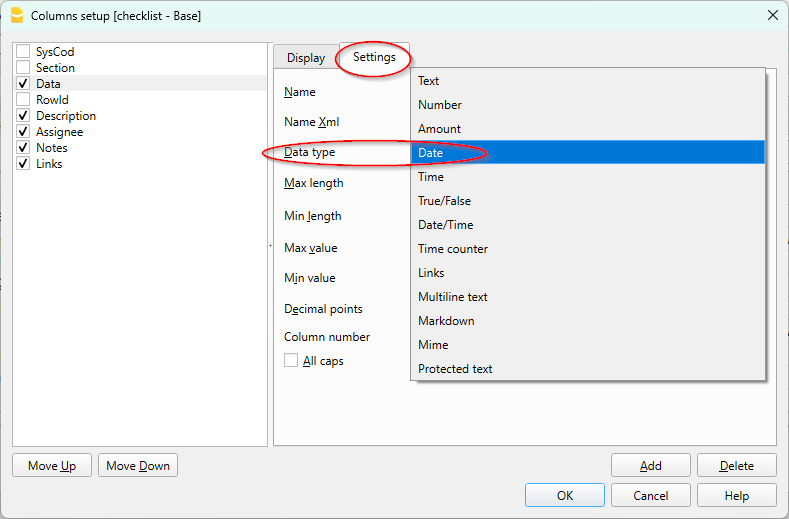
Change the header of a simple table
To change the header of a simple table, go to the simple table:
- Go to the Data menu > Tables setup
- In the dialog, select the simple table you want to change
- In the settings box, change the name
- Confirm with OK.
For more information, visit the page:
Tabella QuickSum (Technical preview)
QuickSum Table è una tabella strutturata, basata su una logica contabile, pensata per la preparazione di capitolati, computi metrici e richieste di offerta all’interno di un ambiente affidabile e controllato.
Vantaggi principali:
- Totali sempre corretti, calcolati automaticamente dal sistema secondo una logica contabile, senza formule manuali.
- Coerenza e tracciabilità dei dati, grazie a una struttura che evita incongruenze e modifiche accidentali.
- Riduzione degli errori, anche in presenza di aggiunte, correzioni o riorganizzazioni delle voci.
- Struttura chiara e stabile, adatta a documenti professionali e allegati contrattuali.
- Utilizzo immediato, simile a un foglio di calcolo, ma con i vantaggi di un sistema contabile.
- Documenti affidabili, pronti per essere condivisi, archiviati o allegati a offerte e contratti.
Technical Preview
La tabella QuickSum è uno strumento ancora in fase di sviluppo e che viene messo a disposizione a un limitato numero di utenti.
Ci sono diverse funzionalità che sono per il momento provvisorie e che subiranno cambiamenti con il tempo.
Per il momento è solo disponibile all'interno della versione Dev Channel.
Funzionamento
La QuickSum Table si usa come una tabella Excel, con colonne per l'identificativo, descrizione, quantità, prezzo e totale, con però i totali in verticale fatti in automatico.
- L'identificatore (ItemId) può essere suddiviso in più livelli tramite i punto ".".
- Gli identificatori devono essere disposti in sequenza ordinata, dal più piccolo al più grande.
- Il programma in automatico fa i totali.
Qui un esempio
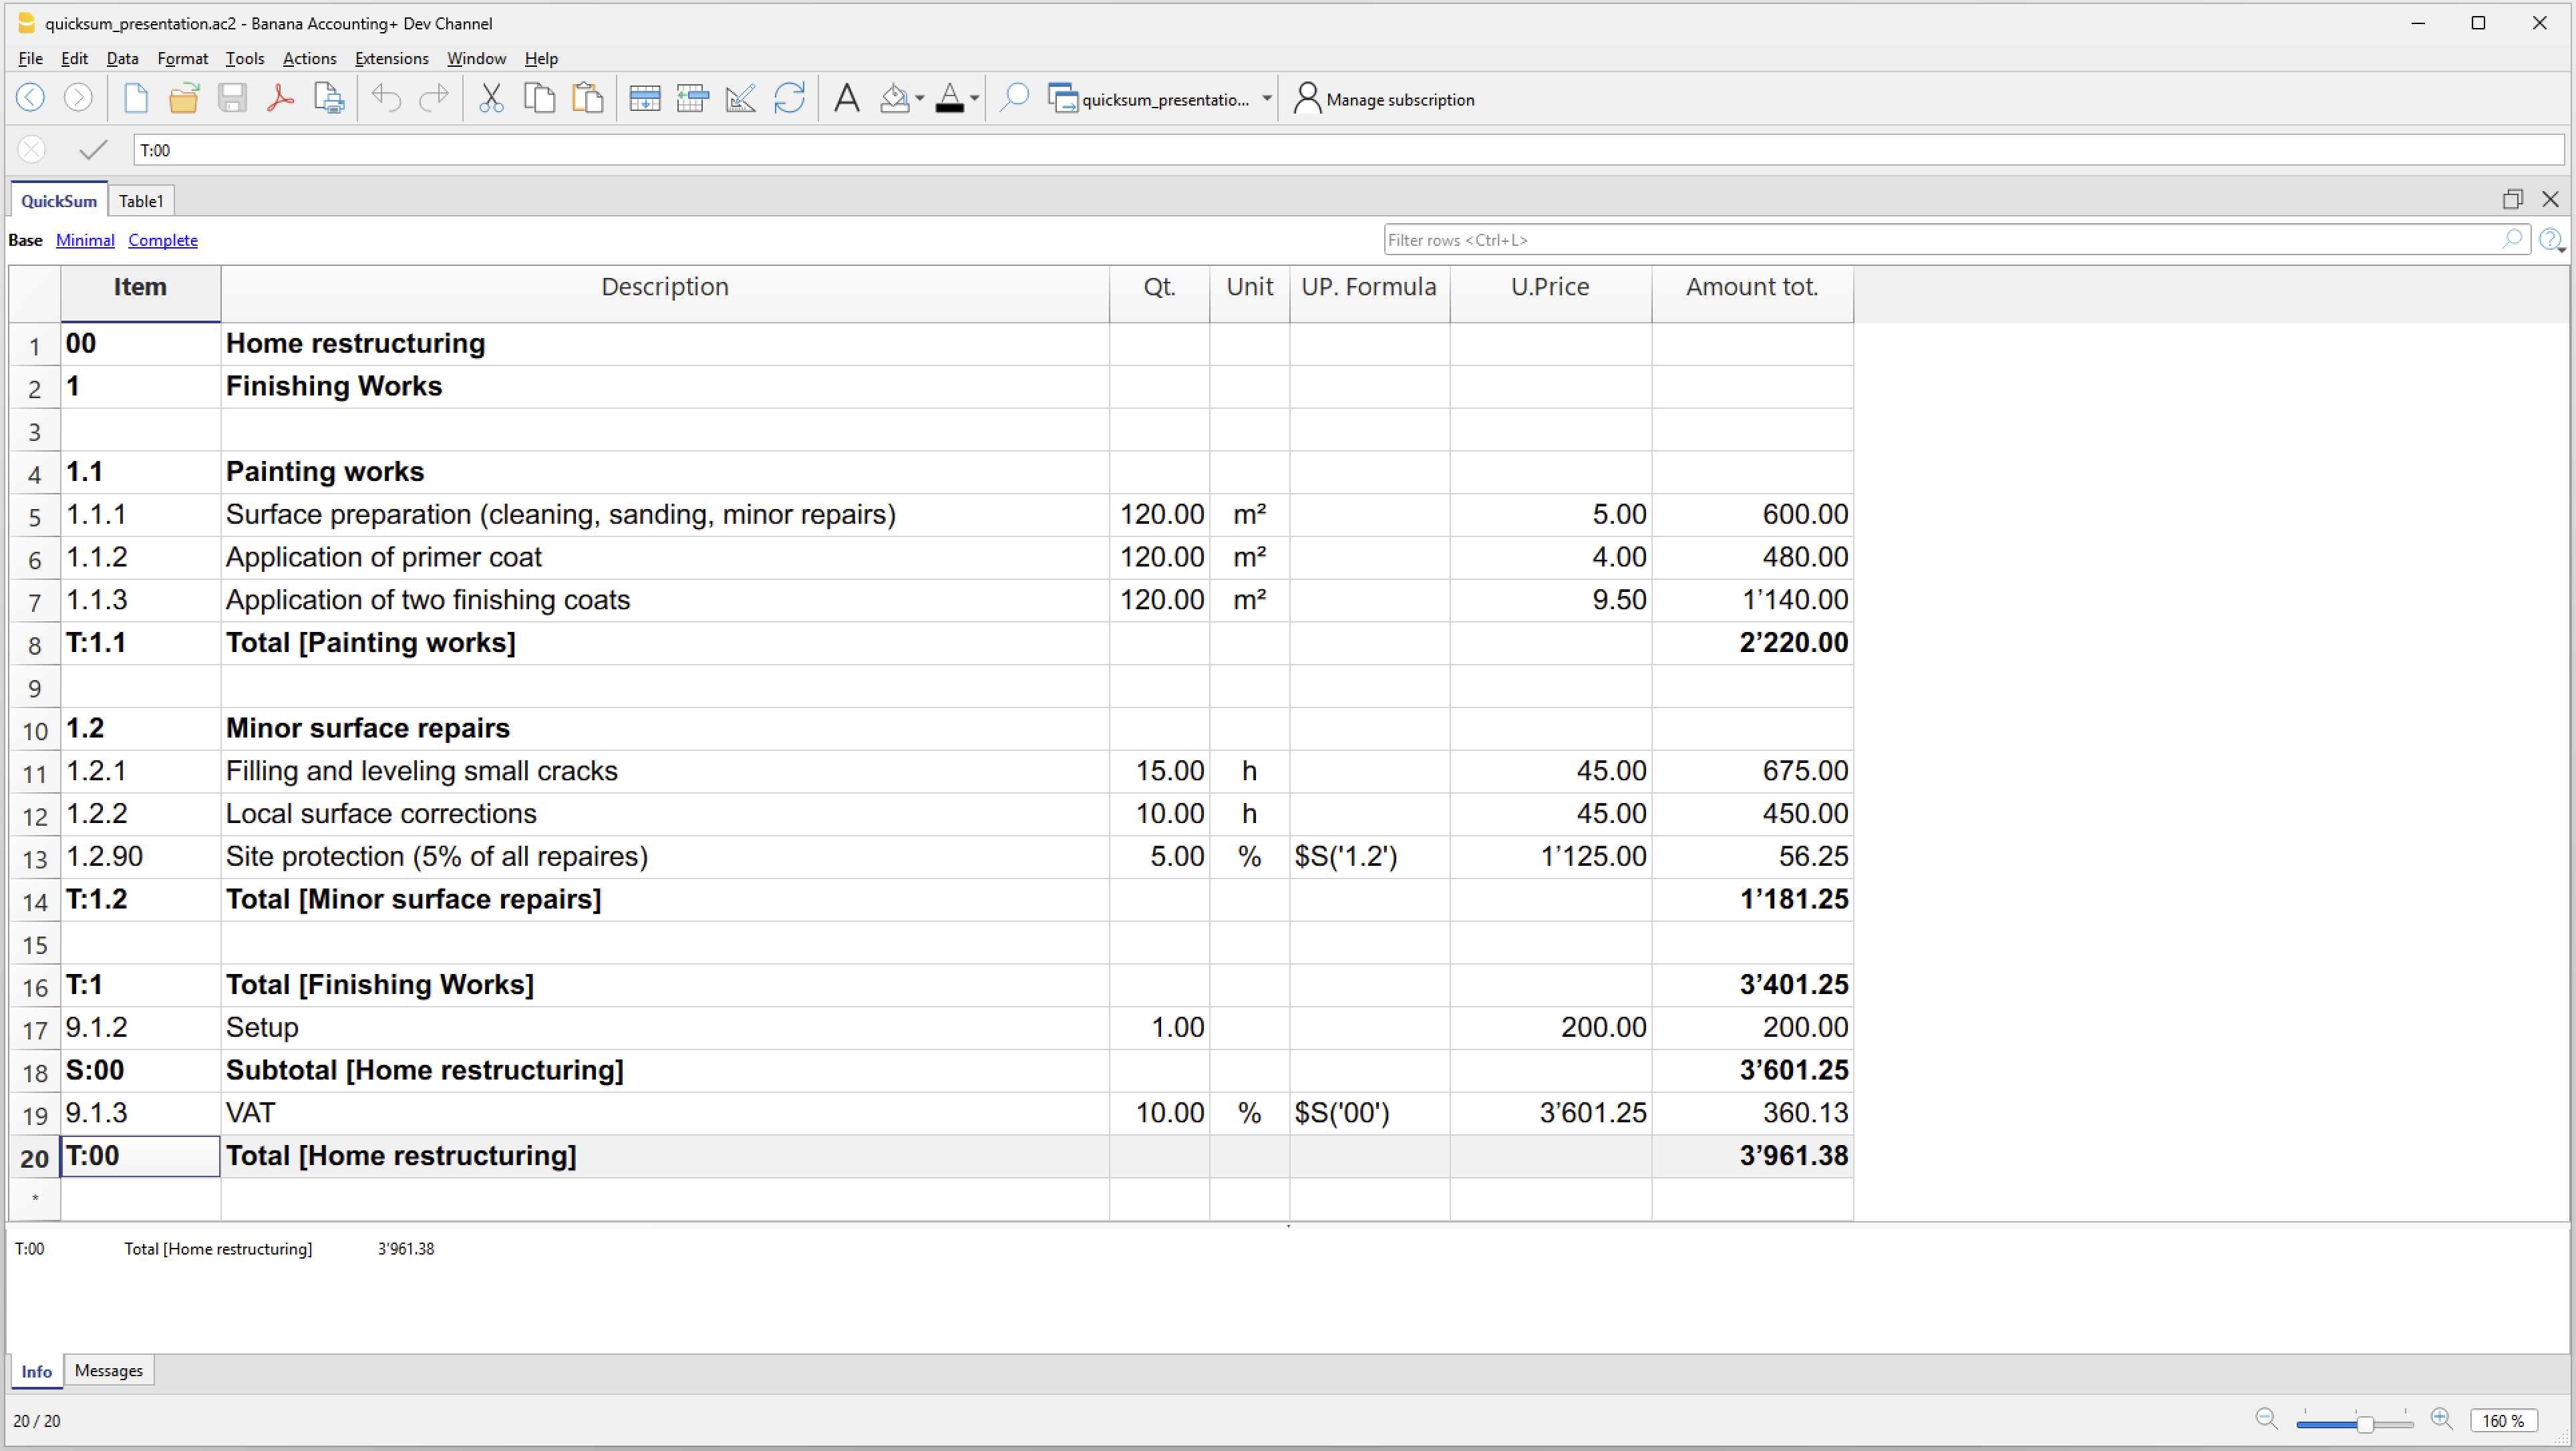
Aggiunta della tabella QuickSum
Attualmente la Tabella QuickSum è ancora in fase sperimentale ed è disponibile solo nella versione interna di Banana Contabilità.
Nella applicazioni di produttività viene aggiunta con il comando Menu Strumenti > Aggiungi Funzionalità > Tabella QuickSum
Le colonne
La Tabella QuickSum ha le seguenti colonne di inserimento dati :
- ItemId
L'id che identifica l'elemento- Può assumere diverse forme come spiegato in seguito.
- Deve essere sempre in sequenza crescente. Prima i valori più bassi e poi quelli più alti.
- Per esempio "2.1.1", "T:2.1.1", "V:2.1.1", "V:T:2.1.1"
- Stile
Per assegnare uno stile, per un uso futuro della stampa. - Codice Modifica.
Per quando la tabella è in modalità blocco, indica quale colonne devono essere modificabili.- D: Descrizione modificabile.
- N: Note modificabile.
- Q: Quantità modificabile.
- P: Prezzo unitario modificabile
- I valori indicati fra parentesi quadre e fra parentesi graffe sono inseriti in automatico dal programma e possono essere sovrascritti.
- Descrizione
La descrizione dell'elemento e anche i valori nel caso di sommario.
Se contiene tre punti "..." significa che vi è un valore da completare. - Note
Una colonna di testo per annotazioni. - Quantità
Un importo numerico. - Unità
Indica il tipo di valore indicato.- Un testo libero.
- "%" la quantità sarà considerata come un percento del prezzo.
- Formula Prezzo Unitario
Se presente la formula viene calcolata e il risultato rimpiazzera il valore nella colonna Prezzo. - Prezzo Unitario
Il prezzo che viene usato per calcolare il valore. - Formula inizio
Nel caso che si vuole indicare la formula in due parti. - Formula testo
- Una formula di calcolo in Javascript.
- Se presente viene eseguita e il risultato andrà a sostituire l'Importo calcolato.
- Importo risultato
Importo calcolato dal programma.- Se esiste una formuala il risultato della formula.
Altrimenti - La quantità moltiplicata per il prezzo unitario.
- Se unità "%" il prezzo unitario in percentuale della quantità.
- Se esiste una formuala il risultato della formula.
- Codice1 e Codice2
Delle colonne che servono per indicare che la riga è di un certo tipo.
Per esempio "S" può significare che a queste posizioni viene indicato uno sconto particolare.
Ci sono poi una serie di colonne che servono per i calcoli e il controllo:
- ItemIdCalc
È l'ItemId usato per il calcolo e considera anche le modifiche dovuta all'attivazione delle varianti. - Formula Prezzo Unitario Calc
È la formula di calcolo del prezzo unitario usata per i calcoli, creata partendo dalla formula del prezzo unitario modificata dal programma tenendo conto dell'attivazione delle varianti. - Formula Calc
È la formula di calcolo usata per i calcoli, creata partendo dalla formula inizio e formula modificata dal programma tenendo conto dell'attivazione delle varianti. - Testo Risultato
- È il risultato in formato testo ottenendo eseguendo la Formula Calc.
- Mostra eventuali errori.
- Sommato in
- Indica in che elemento è stato sommato il valore della riga.
- Permette di controllare l'itemId ne caso sia lasciato vuoto o si sia usato una variante.
L'ItemId
Viene inserito nella colonna ItemId ed identifica la riga e l'elemento. Può avere diverse forme
- Identificatore dell'elemento (ItemId)
Può essere composto dai seguenti elementi, separati da duepunti ";"
Per esempio "2.1.1", "T:2.1.1", "V:2.1.1", "V:T:2.1.1"- Il valore "00" è relativo al totale complessivo.
- Si inserisce all'inizio per indicare il testo del progetto.
- Il Subtotale "S:00" mostra la somma fino a quel momento.
- Il Totale "T:00" può essere usato solo come ultima riga di totale.
Oltre non ci possono più essere totali. - Nella formula $S('00') ritorna il totale complessivo di tutte le righe sommate fino a quel momento.
- Gerarchia.
- Dei valori separati da dei punti "." che definiscono l'emento e la struttura.
- Esempio "1", "1.9", "2", "2.1", "2.1.2", "A.1.2"
- La gerarchia è data dalla separazione.
Quindi gli elmenti "2.1" e "2.1.2" apparteranno all'elmento superiore "2". - La gerarchia determina anche la sequenza degli elementi in ordine alfabetico naturale.
L'elemento "1" dovrà precedere il "1.9" e il "2" e via di seguito.
In caso contrario verrà segnalato un errore.
- Prefisso.
- Determina il tipo di elemento.
- "F": riga finale gerarchia.
- Questo elemento è l'ultimo della gerarchia creata.
- Esempio: "2.1", "2.1.1", "2.1.1.1", "2.1.2", "F:2.1" chiude la sequenza e quindi dopo il "F:2.1" non ci potranno più essere elementi "2.1", "2.1.1".
- "S:" riga di subtotale
- Viene indicata la somma di tutti gli elementi che appartengono alla gerarchia.
- Esempio: "S:2.1" riprenderà la somma di tutti gli elmenti "2.1", "2.1.1", "2.1.1.1", "2.1.2"
- "T:" riga di totale
- Viene indicata la somma finale di tutti gli elementi che appartengono alla gerarchia.
- Esempio: "T:2.1" riprenderà la somma di tutti gli elmenti "2.1", "2.1.1", "2.1.1.1", "2.1.2"
- Chiude la sequenza e quindi dopo il "T:2.1" non ci potranno più essere elementi "2.1", "2.1.1".
- "F": riga finale gerarchia.
- Determina il tipo di elemento.
- Variante.
Vedi sezione successiva di spiegazione.- Un codice che identifica la Variante e precede l'ItemId.
- Deve obbligatoriamente iniziare con la lettera "V" ed esere seguito da dei duepunti ":" .
- Il codice della variante deve precedere gli elementi. V
- Esempi variante
- "VA:" "VA:2.1", "VA:2.1.1"
- "VB:" "VB:2.1", "VB:2.1.1"
- Le righe della variante devono essere in sequenza.
- Se si integrano o sostituiscono una riga devono essere anche nella sequenza.
- Il valore "00" è relativo al totale complessivo.
- Comandi "#"
Il valore viene indicato nella colonna Descrizione- Iniziano con il carattere "#"
- Sono usati internamente per indicare delle fuzionalità
- Gli elmenti non vengono sommati.
- "#scenario" permette di specificare nella colonna Descrizione le Varianti da usare in aggiunta o al posto delle posizioni esistenti.
per esempio la descrizione "VA;VB" - "#options" opzioni di calcolo separate da punti e virgola.
- "lock", attiva il blocco della tabella (comando provvisiorio).
- "onerrorcalculate" continua la calcolazione anche se ci sono degli errori.
- "#columnsSum" indica il nomeXml delle colonne da sommare nei contatori accessibili tramite la funzione "$S()".
- Diverse colonne vengono separate da punto e virgola ";".
- Le colonne "Code1;Code2" sono già considerare e non bisogna specificarle.
- Per esempio "Code3;Code4" .
- "#rounding" è il valore minimo in cui l'importo totale riga viene arrotondato.
- Si inderisce nella colonna Descrizione.
- Per esempio "0.05", "0.10", "1"
- Il separatore decimale deve sempre essere il punto "."
- Righe calcolo hash
Sevono a verificare se il documento è cambiato- "#hash-base"
Il programma inserisce nella Descrizione l'hash calcolato sugli elementi che non sono modificabili.
Se si modificano le celle in cui si possono inserire valori anche quando il documento è in modalità blocco, l'hash non cambia. - "#hash-all"
Il programma inserisce nella Descrizione l'hash calcolato su tutti gli elementi del documento.
Quindi qualsiasi valore viene modificato viene modificato anche l'hash.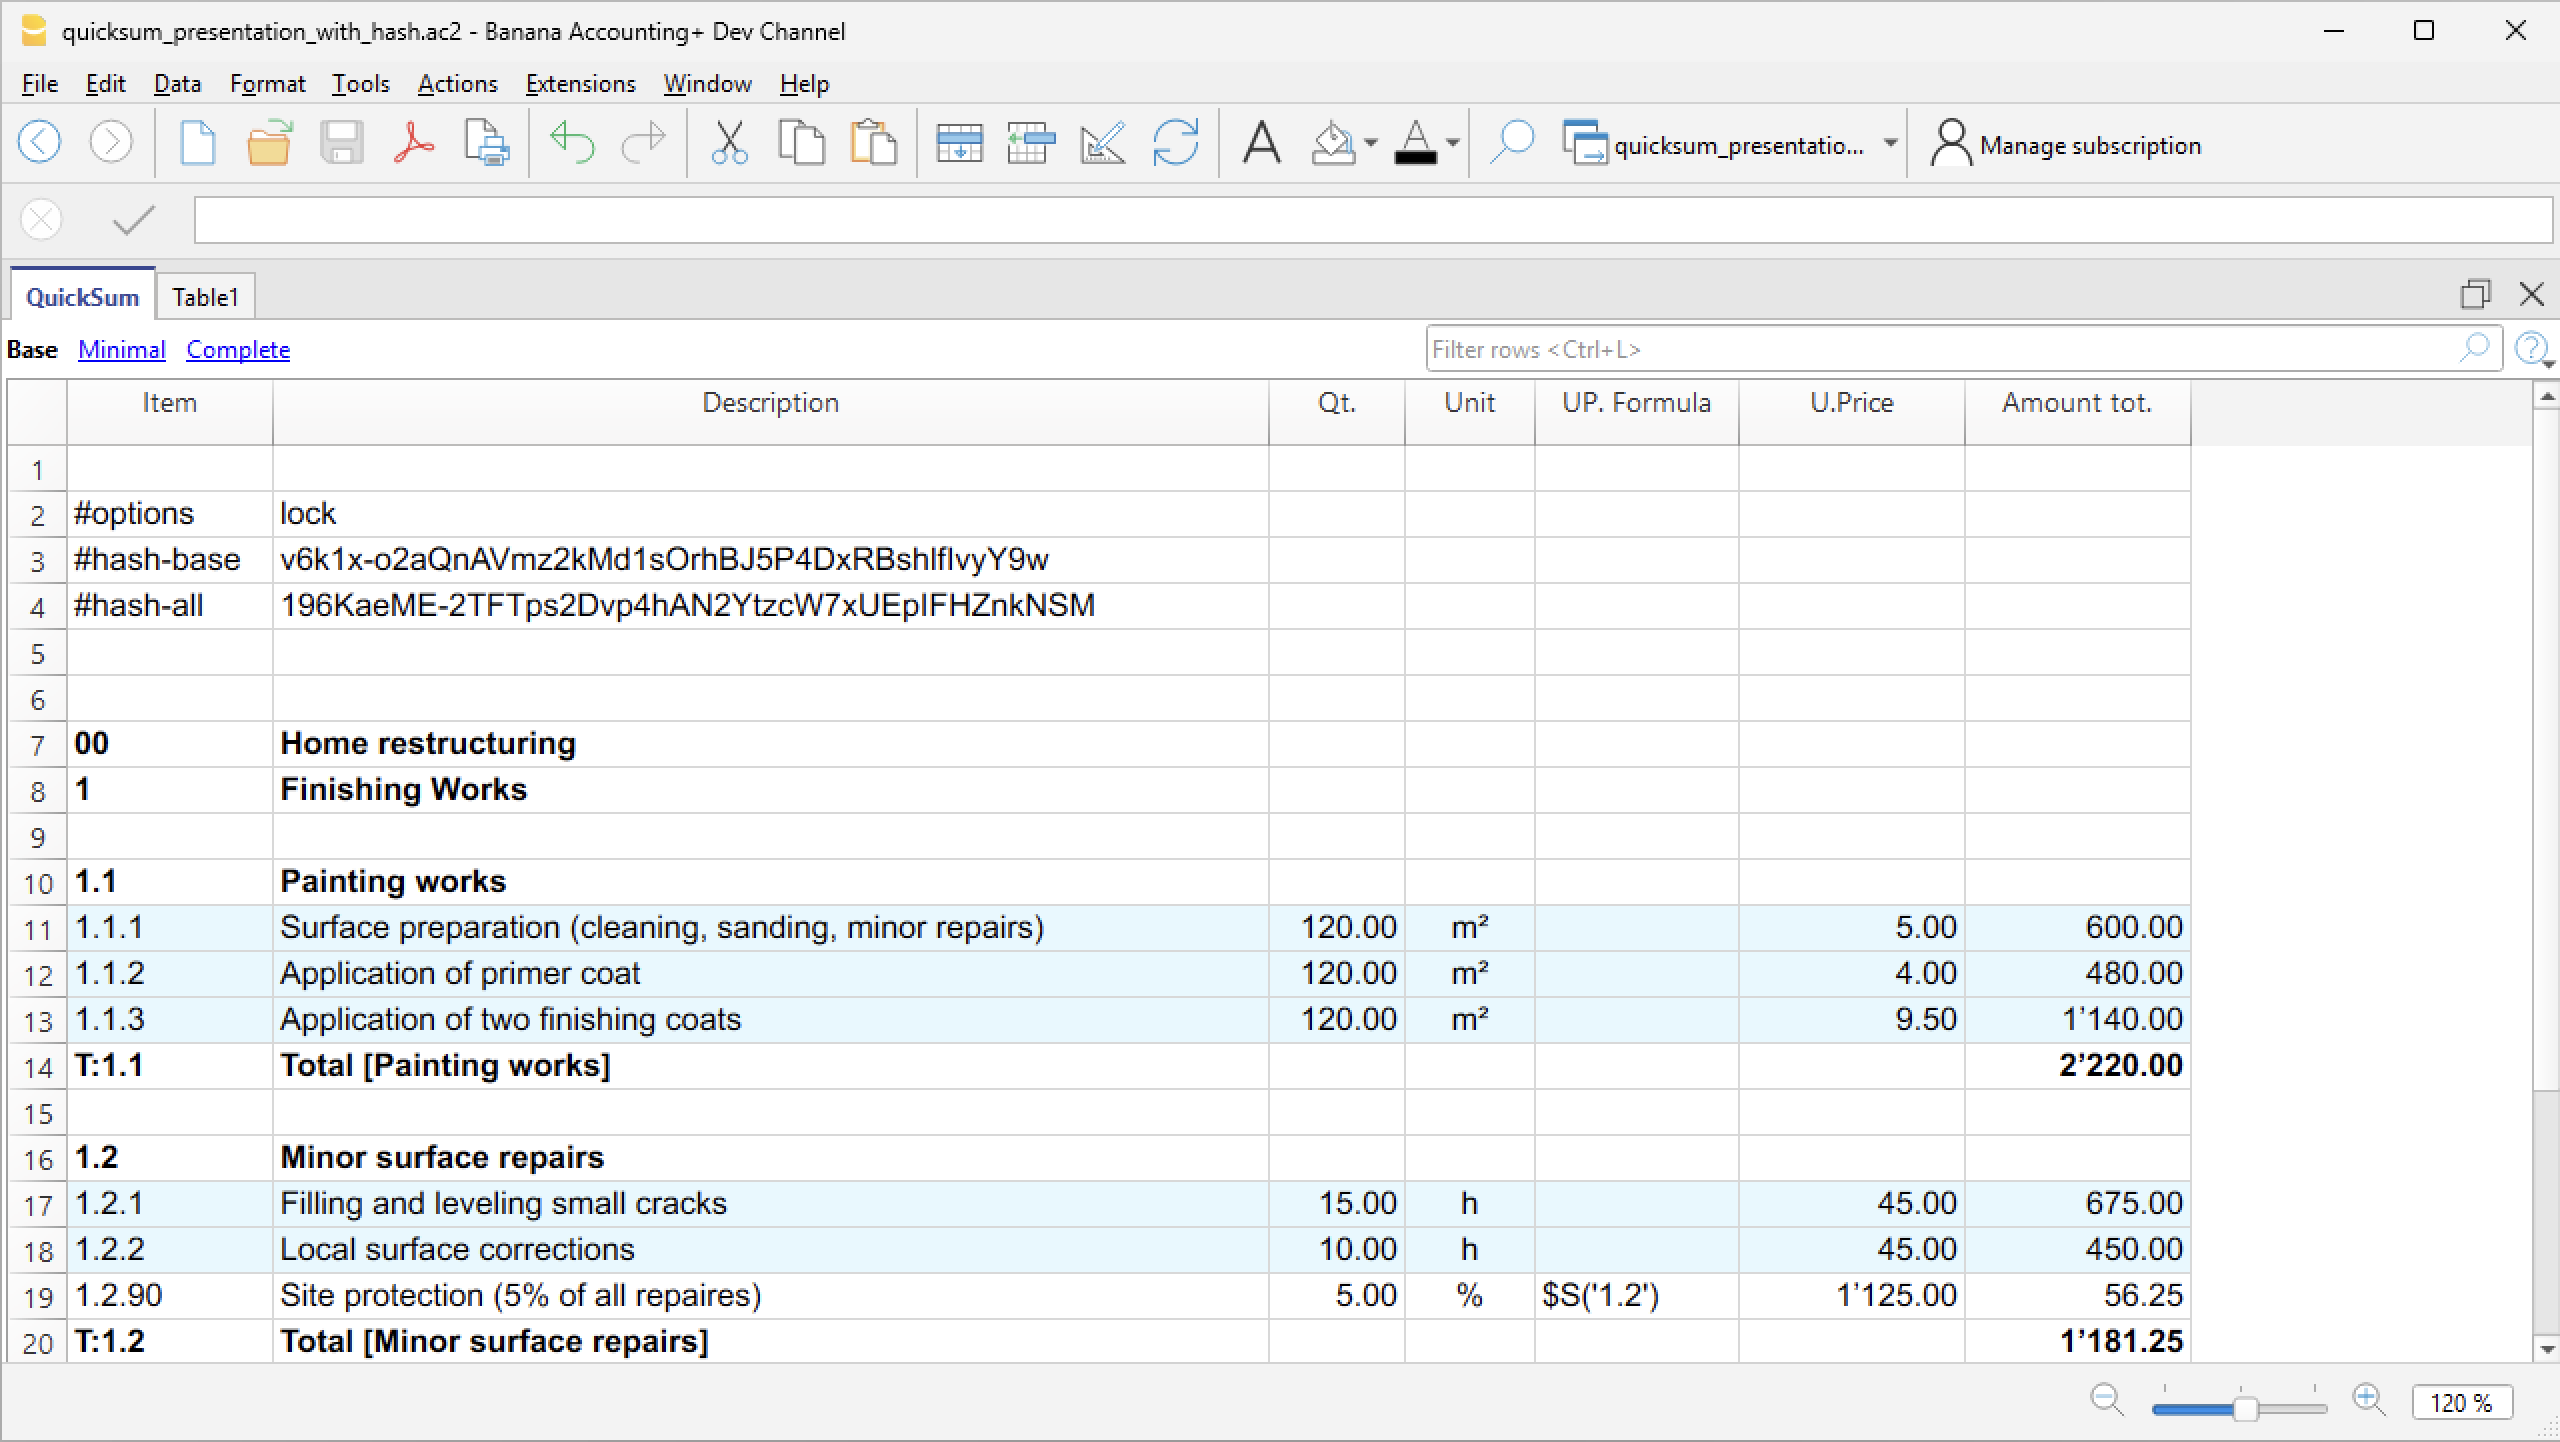
- "#hash-base"
- Commenti fra []
- Sono elementi che sono inclusi in parentesi quadre
"[]", "[testo]" - Gli elmenti non vengono sommati.
- Sono elementi che sono inclusi in parentesi quadre
- Elementi vuoti
- Viene ripreso l'id che precede e non è stato chiuso.
Logica di calcolo e somme
Nella tabella QuickSumi gli importi vengono calcolati e sommati in automatico.
- Dopo ogni modifica tutta la tabella viene ricalcolata.
- Il programma svuota tutte le colonne calcolate.
- Il programma parte della prima riga e continua fino all'ultima.
Se vi è un errore la calcolazione viene interrotta delle righe successive non viene eseguita. - Descrizione righe di Totale "T:" o sottototale "S:"
- Se la descrizione è vuota o termina con elemento commento (fra parentesi quadre), la descrizione viene messa automaticamente dal programma, facendo seguire al termine "Totale" o "Sottototale" l'intestazione dell'ItemId o se non presente il valore dell'ItemId.
- L'intestazione dell'ItemId è considerata la descrizione usata quando è stato usato per la prima volta l'ItemId.
- Calcolo importo riga.
- Vengono usati u contenuti delle colonne Quantità, Unità e Prezzo unitario
- Se vi sono delle formule queste vengono eseguiti e il risultato rimpiazza il valore.
- Il programma dopo ogni riga somma nel contatori dei diversi elementi strutturati.
- Somma il valore della riga nei diversi elementi che compongono l'ItemId strutturato.
- Se per esempio se l'item è "2.1" il programma andrà a sommare l'importo della riga nei seguenti contatori, accessibili con la formual $S('2.1.1') in:
- 2
- 2:{*}
- 2.1
- 2.1:{}
- Se per esempio se l'item è "2.1.1" il programma andrà a sommare l'importo della riga nei seguenti contatori, accessibili nelle formule con la funzione $S('2.1.1') in:
- 2
- 2:{*}
- 2.1
- 2.1:{*}
- 2.1.1
- 2.1.1:{}
- Il programma somma anche nei contatori relative alle colonne, accessibili nelle formule tramite la funzione $S().
Le colonne formule
Le colonne Formula prezzo unitario e Formula permettono di inserire delle espressioni in linguaggio Javascript.
- Gli importi si indicano nel formato di programmazione e non quello internazionale.
- Non vi sono separatori di migliaia.
- Il separatore di decimali è sempre il punto ".".
- Esempi di numeri "12345.67", "-123.45"
- Si può usare tutta la sintassi del Javascript e anche creare funzioni.
- Si possono usare le funzioni predefinite appositamente per la tabella QuickSum:
- $S('itemId')
- Ritorna la somma, fino a questo punto, del contatore specifico dell'item.
- Per esempio
- $S('2') ritorna la somma di tutti i totali che iniziano con 2
- $S('2.1') ritorna la somma di tutti i totali che iniziano con 2.1
- $S('2.1.1') ritorna la somma di tutti i totali che iniziano con 2.1.1
- $S('00') ritorna la somma di tutto
- Si può usare anche con parentesi graffe
- $S('2:{=}') solo gli elementi che sono esattamente 2, quindi senza i sotto elementi.
- $S('2:{+}') solo gli sottoelementi di 2.
- $S('2') = $S('2:{=}') + $S('2:{+}')
- $C('ColumnNameXml', 'Value')
- Sum values with conte
- ColumnNameXml è il nome in inglese della colonna.
- Value è il possibile contenuto della colonna.
- Ritorna la somma degli importi delle righe fino alla calcolazione precedente alla riga attuale, per tutte le colonne che contengono nella colonna specificata il valore indicato.
- Per esempio con un valore specifico
- "$C('Code1','X')" La somma degli importi delle righe che contengono nella colonna Code1 il valore "X".
- "$C('Code1','Y')" La somma degli importi delle righe che contengono nella colonna Code1 il valore "Y".
- Puoi usare anche un distintivo
- "$C('Code1','{*}')" La somma degli importi delle righe con qualsiasi valore (anche vuoto) nella colonna Code1 .
Corrisponde alla somma totale T00. - "$C('Code1','')" oppure "$C('Code1','{}')" La somma degli importi delle righe con la colonna Code1 vuota..
- "$C('Code1','{<>}')" La somma degli importi delle righe che contengono un valore non vuoto nella colonna Code1.
- "$C('Code1','{*}')" La somma degli importi delle righe con qualsiasi valore (anche vuoto) nella colonna Code1 .
- Valori non ammessi
- Nella colonna che viene usata per inserire dei valori non si possono usare
"{}","{*}","{<>}" - Ai fini dei totali per la funzione $C questi valori sono considerati come vuoti.
- Nella colonna che viene usata per inserire dei valori non si possono usare
- $V() L'elenco delle varianti usate nella calcolo separate da punti e virgole.
- Per esempio "VA;VB"
- $S('itemId')
- Arrotondamento finale.Si può inserire una formula prima della riga finale per calcolare l'arrotondamento al minore.
- Per esempio "Math.floor($S('00'))-$S('00')"
- Si può usare la formula anche in altre posizioni cambiando l'Id.
Varianti
La tabella permette di inserire degli elementi varianti per:
- Includere degli elementi.
Per esempio un'offerta che prevede appunto degli elementi opzionali. - Sostituire degli elementi.
Per esempio per cambiare le specifiche tecniche.
La variante viene indicata nell'ItemId, facendo precederla da un identificatore di variante.
- La sigla della variante deve iniziare obbligatoriamente con "V" ed essere separata da un due punti ":" dall'itemId.
- Per esempio "VA:2.1"; "VB:2.1.1"
- "VA:T:2.1" per indicare la riga di totale.
- Meglio usare sempre una sigla maiuscola.
- L'elenco degli elementi appartenenti alla variante deve seguire quello della gerarchia normale.
- Le Varianti possono essere degli elementi supplementari.
- Le Varianti possono sostituire un elemento già esistente.
- Normalmente le Varianti vengono calcolate a se stante.
L'attivazione di una Variante viene effettuata nel seguente modo:
- Andare sulla riga con ItemId "#scenario"
- Nella colonna Descrizione indicare la sigla della varianti che si vuole attivare.
- Se si vogliono attivare separate da un punto e virgola ";".
- Esempio:
- Inserire "VA" per attivare la variante "VA".
- Inserire "VA;VB" per attivare le varianti "VA" e "VB".
- Il programma attiva la variante selezionata "VA" ed esclude le posizioni che sono sotiute:
- Rimuove la sigla della Variante.
- "VA:2.1" diventa "2.1"
- "VA:T:2.1" diventa "T:2.1"
- Se vi è una posizione uguale principale, aggiunge a questa e a tutti gli elementi figli la sigla della Variante che sostituisce preceduta da X.
- "2.1" diventa "XVA:2.1"
- "T:2.1" diventa "XVA:T:2.1"
- "VA:2.1" diventa "2.1"
- "VA:T:2.1" diventa "T:2.1"
- Rimuove la sigla della Variante.
Modalità blocco per inserimento prezzi
La tabella prevede una modalità di inserimento prezzi, che blocca tutte le celle, eccetto quelle che servono a inserire prezzi e altri valori.
L'idea è che il file venga trasmesso alle imprese e queste possano inserire i loro prezzi e vedano subito i totali, senza però avere la possibilità di modificare altri elementi.
Se è attivata questa modalità il programma:
- Blocca tutte le celle eccetto quelle che sono destinate a inserire prezzi, percentuali o testi.
- Le righe dove devono essere inseriti dei valori sono colorate in giallo.
- Le righe già completate con il valore richiesto nella colonna ModifyCode, sono visualizzate in celeste chiaro.
Sarebbe stato più intuitivo il verde, ma non è facilmente distinguibile da persone daltoniche.
Per attivara la modalità blocco (provvisorio):
- Aggiungere una nuova riga a inizio file
- Nella colonna ItemId inserire il testo #options
- Nella colonna Descrizione inserire il testo lock
Le righe con le celle modificate sono indicate nella colonna "Mod. Code" (ModifyCode), tramite un carattere:
- D: Descrizione modificabile.
- N: Note modificabile.
- Q: Quantità modificabile.
- P: Prezzo unitario modificabile
- U: Unità
- Si possono combinare più codici, ad esempio "QP" (Quantità e Prezzo unitario modificabili).
- Il programma in automatico indica il codice in parentesi graffe "{P}", con la seguente logica.
- Il valore in automatico viene messo solo se la cella è vuota o vi è un valore fra parentesi quadre.
- Se vi è un valore nella colonna Quantità e non c'é formula prezzo viene messo "{P}" .
Colore righe
In modalità blocco le righe vengono colorate in automatico con questa logica.
- In giallo le righe che richiedono un inserimento di valore.
- Se vi è un codice di modifica e la rispettiva colonna è vuota.
- Oppure per la Colonna Descrizione contiene tre puntini "..."
Per esempio "Marca: ..."
- In verde chiaro se i valori sono completati.
Verifica dell’integrità tramite hash
QuickSumTable può calcolare un hash crittografico del contenuto della tabella. L’hash permette di verificare se i dati rilevanti del documento sono stati modificati dopo il calcolo.
L’hash non impedisce la modifica del documento, ma consente di rilevarla confrontando il valore memorizzato con quello ricalcolato.
Tipi di hash
QuickSumTable genera due valori distinti.
- Hash Base
- Id riga #hash-base
- L’Hash Base protegge i dati principali e le celle che non sono configurate come modificabili.
- È utile quando alcune informazioni del documento devono rimanere protette, mentre altre possono essere successivamente completate o modificate senza invalidare questo hash.
- Alcuni valori calcolati o dipendenti da formule possono essere esclusi per evitare che variazioni automatiche influenzino il risultato.
- Hash All
- Id riga #hash-all
- L’Hash All comprende un insieme più esteso di dati, incluse le colonne modificabili, le colonne definite dall’utente e alcuni risultati calcolati.
- È utilizzato per verificare l’integrità complessiva della tabella. Una modifica a uno dei valori inclusi produce un Hash All differente.
Comportamento delle righe e delle colonne
- Le righe completamente vuote non partecipano al calcolo. Di conseguenza, l’inserimento o la rimozione di una riga vuota non modifica l’hash.
- Il numero e la posizione fisica della riga non vengono memorizzati, mentre l’ordine delle righe non vuote rimane significativo.
- Le colonne di sistema sono identificate tramite il loro codice interno. Le colonne definite dall’utente sono identificate tramite il loro nome XML, così il risultato non dipende dall’identificatore numerico assegnato internamente.
- Le colonne vengono ordinate in modo deterministico prima del calcolo.
Informazioni tecniche
- L’algoritmo crittografico utilizzato è **SHA-256**.
- Il formato dell’algoritmo è versionato. La versione corrente è **QS1** e viene memorizzata alla fine dell’hash:
- <digest SHA-256>:QS1
- La versione permette a QuickSumTable di riconoscere le regole utilizzate per il calcolo e di gestire future evoluzioni del formato.
- I testi delle celle vengono:
- convertiti in UTF-8;
- codificati in Base64;
La codifica Base64 evita che il contenuto di una cella possa essere interpretato come un separatore, una nuova colonna o una nuova riga. - inseriti in una rappresentazione testuale strutturata della tabella.
Limitazioni
L’hash rileva le modifiche soltanto se il valore originale viene conservato in modo affidabile. Se una persona può modificare sia la tabella sia l’hash memorizzato, può ricalcolare un nuovo valore coerente con i dati alterati.
Per garantire anche l’autenticità dell’autore del documento è necessaria una firma digitale o un altro sistema basato su chiavi crittografiche.
Stampe
Per stampare i dati della tabella QuickSum, esistono le possibilità seguenti.
Stampa tramite l'Anteprima
Con il comando Anteprima di Stampa è possibile creare una stampa della tabella.
Si possono preparare delle Viste apposite in modo da definire quali colonne includere nella stampa.
Tramite la funzione Filtra righe, nella stampa si possono includere solo le righe desiderate. Ad esempio, se si vogliono avere solo le righe di totale:
- Posizionarsi nell'editor del filtro.
- Inserire
!itemcalc!^t:- Questo comando indica di selezionare solo le righe che nella colonna ItemCal iniziano con "T:".
- Sono le righe delle colonne che sono attivate.
Stampa tramite Estensioni
Con estensioni in Javascript è possibile creare dei report di stampa personalizzati, ad esempio che mostrano i dati desiderati con il riassunto dei diversi totali.
- Estensione QuickSum Stampa Capitolato d'offerta
Permette di creare una stampa del capitolato di offerta mostrando tutte le voci che compongono l'offerta e una pagina riassuntiva con tutti i totali.
Errori
La calcolazione parte dalla prima riga e se il programma trova un errore la riga viene messa in colore rosso e la calcolazione degli importi viene interrotta.
- Con l "#options" "onerrorcalculate", gli errori vengono segnalati, ma la calcolazione viene effettuata comunque, anche se è sbagliata.
- Serve per un controllo.
- Deve essere disattivata per avere dei risultati corretti.
Il programma segnale questi possibili errori:
- Per il momento la gestione degli errori è molto basilare e i codici deggli errori vengono visualizzati nella tabella Info.
- "err_Duplicate"
La riga di totale è gia presente. - "err_IdNotNumeric"
Si è attivata l'opzione che richiede che gli ItemId siano numerici, ma l'ItemId contiene altri caratteri. - "err_OutOfSequence";
- L'ItemId non è nella sequenza numerica/alfabetica corretta.
- "2.1" viene prima del "2"
- Si usa un ItemId di livello uguale o inferiore dopo avere fatto un totale.
- Vi è il "T:2.1"
- Successivamente si usa ancora "2.1" o "2.1.1"
- L'ItemId non è nella sequenza numerica/alfabetica corretta.
- "err_TotalWithoutElements"
- Si è indicata una riga di totale ma non è stato specificato alcun elemento.
- Per esempio vi è il "T:2.1", ma non vi è in precedenza alcun itemId "2.1" o "2.1.1"
- "err_UnitPriceFormulaUndefined"
- Il risultato della formula Prezzo Unitario è indefinito.
- Per esempio quando si usa nel "$S('2.1') ma l'item "2.1" non è mai stato usato.
- "err_UnitPriceFormulaError"
Il testo della formula Prezzo Unitario contiene un errore, per cui il codice Javascript non è valido. - "err_FormulaTextError"
- Il risultato della Formula Inizio e Formula assieme è indefinito.
- Per esempio quando si usa nel "$S('2.1') ma l'item "2.1" non è mai stato usato.
- "err_FormulaTextUndefined";
Il testo della Formula inizio o Fromula contiene un errore, per cui il codice Javascript non è valido. - "err_ParseError"
L'ItemId è in un formato non valido. - "wrn_totalRowWithCalcArguments"
Riga di totale "T:" o sottototale "S:" con elementi di calcolo (quantità, prezzo unitario, formula) che non vengono usati. - "wrn_emptyIdWithCalcArguments"
Non vi è un ItemId ma vi sono elementi di calcolo. - "others error"
Altri errori.
Link tables using the RowId column
In Banana Accounting Plus, you can create links between columns of different tables using the RowId column.
This feature allows you to enrich the main table (e.g. Transactions) with information from other tables, simplifying data management and analysis without complicating the structure.
You can create links between:
- Columns of a simple table (added by the user) and one of Banana's predefined tables (e.g. Accounts, Transactions).
- Columns of two or more simple tables added by the user.
How to add linking columns
To link columns between different tables:
- Go to the table where you want to insert the links.
- From the Tools > Add/Remove Functionalities > Add columns to link tables menu.
- Choose the position (after which column to insert the new columns).
- Confirm with OK.
The command only works if the table to be linked contains the RowId column. Along with the RowId, the Description column is also added (you can hide it if not needed).
Dialogs
Select table → lists the tables with a RowId column that are not yet linked. If the list is empty, there are no linkable tables.
Select column position → shows all columns of the current table and lets you choose where to insert the new columns.
Linking a simple table → predefined table
To link a simple table with one of Banana's predefined tables, such as the Transactions table, follow these steps:
- Open the Banana file
- Create the simple table (e.g. Internal Notes)
- Go to the Transactions table and from the Tools > Add/Remove Functionalities > Add columns to link tables menu
- In the dialog that opens, select the simple table you created (e.g. Internal Notes)
- Choose the position of the columns
- Confirm with OK.
In the Transactions table, Banana automatically adds two columns: Id and Description Id from the simple table, with the headers and contents you created in the two columns (Internal Notes).
For more information, see the detailed example:
Linking two simple tables
You can also create links between two simple tables. For example, linking the "Events" simple table with the "Volunteers" simple table:
Add simple table 1
- Id → where you enter the event code or name.
- Description → description of the event
- Add new columns or rename existing ones (Data > Columns setup)
Add simple table 2
- Id → where you enter the volunteer code or name
- Description → where you enter the volunteer's role.
- Add new columns or rename existing ones (Data > Columns setup)
Create the link
- Go to the table where you want to create the link and from the Tools > Add/Remove Functionalities > Add columns for linking tables menu.
- In the dialog that opens, select the name of the other simple table you created
- Choose after which column to place the columns to be linked
- Confirm with OK.
Banana automatically adds the two linking columns, Id and Description, with the headers and contents you created.
For more information, see the example:
Technical notes on table linking
For correct operation, Banana applies some automatic rules:
- Column names: are created as TableNameId and TableNameDescription.
- Automatic description: automatically filled in when you enter a valid Id.
- Updates: if you change the description in the linked table, it also updates in the Transactions table.
- Manual creation: you can manually add columns with these names, following the naming convention.
- Avoid ambiguity: do not use the Id or Description suffixes for columns that are not intended to be linked.
- Optional Description column: you can hide or delete it if not needed.
Limitations
- You can only link a table if it contains the RowId column.
- A table can only be linked to one other table at a time.
- If nothing appears in the Select table dialog, it means there are no linkable tables available.
Linked tables Volunteers/Events
Associations that organize activities and events often need to coordinate their volunteers. With Banana Accounting Plus, you can create two simple tables linked to each other – Volunteers and Events – to centrally manage who participates, which tasks have been assigned, and the organizational details of each event.
This way, all the information stays within the same accounting file, without the need for separate Excel sheets, giving you a clear, up-to-date, and immediate overview.
In Banana Accounting Plus, you can link simple tables to each other using the RowId column.
How to create the Volunteers and Events tables
- Open the accounting file
- From the menu Tools > Add/Remove Functionalities > Add Simple Table
- Create the simple table Volunteers
- Create the simple table Events.
Structure of the Volunteers table
The table can be customized by adding your own columns and displaying other predefined ones. In this example, the structure created is as follows:
- RowId → unique volunteer code (also serves as the linking key).
- Description → volunteer's full name; automatically appears in other linked tables.
- Email → “Notes” column renamed to “Email”.
- Phone number → column added via Data > Columns setup > Add.
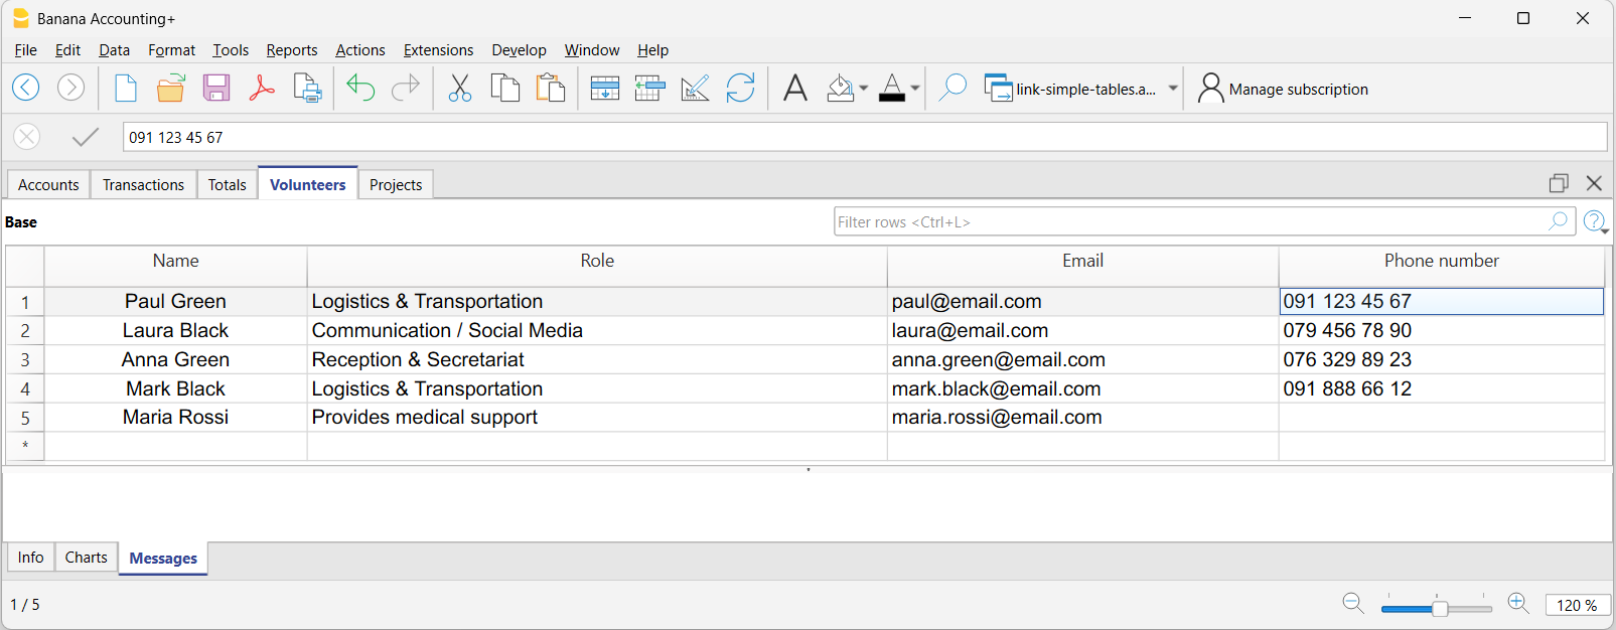
Structure of the Events table
The Events table can include these columns:
- RowId → short code to identify the event (e.g. SPRIFEST).
- Description (DescriptionId) → name of the event (e.g. Spring Festival).
- Date → column added via Data > Organize columns > Add.
- Location → column added via Data > Organize columns > Add.
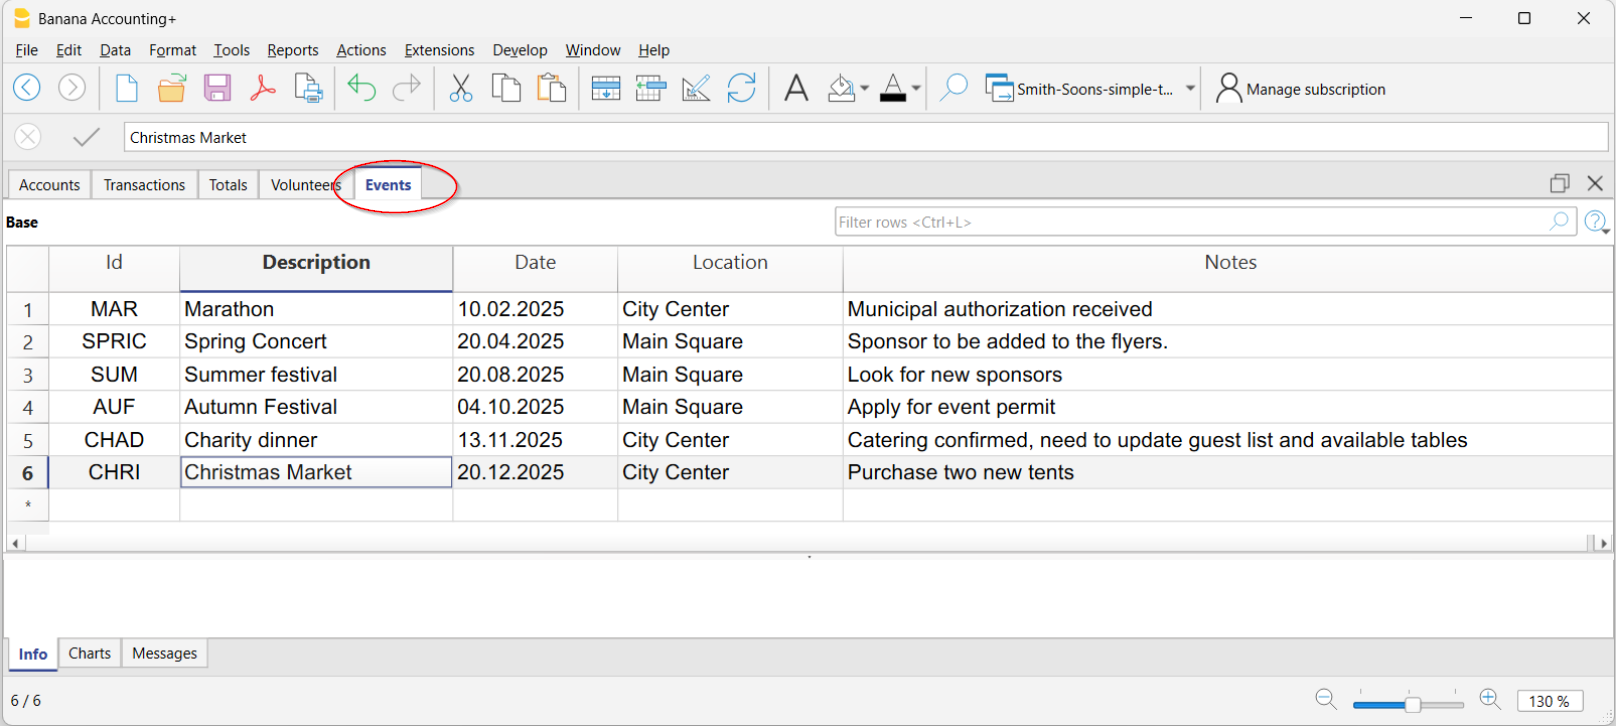
Creating a link between Volunteers and Events
In this example, the Volunteers columns were linked to the Events table.
- Tools > Add/Remove Functionalities > Add columns to link tables
- In the dialog window, select the Volunteers table.
Banana automatically adds the following columns to the Events table:
- Volunteers Id → volunteer's code.
- Volunteers Description → name of the volunteer (or event manager)
When you enter the volunteer code in the Volunteers column, Banana automatically fills in the volunteer's name in the corresponding column.
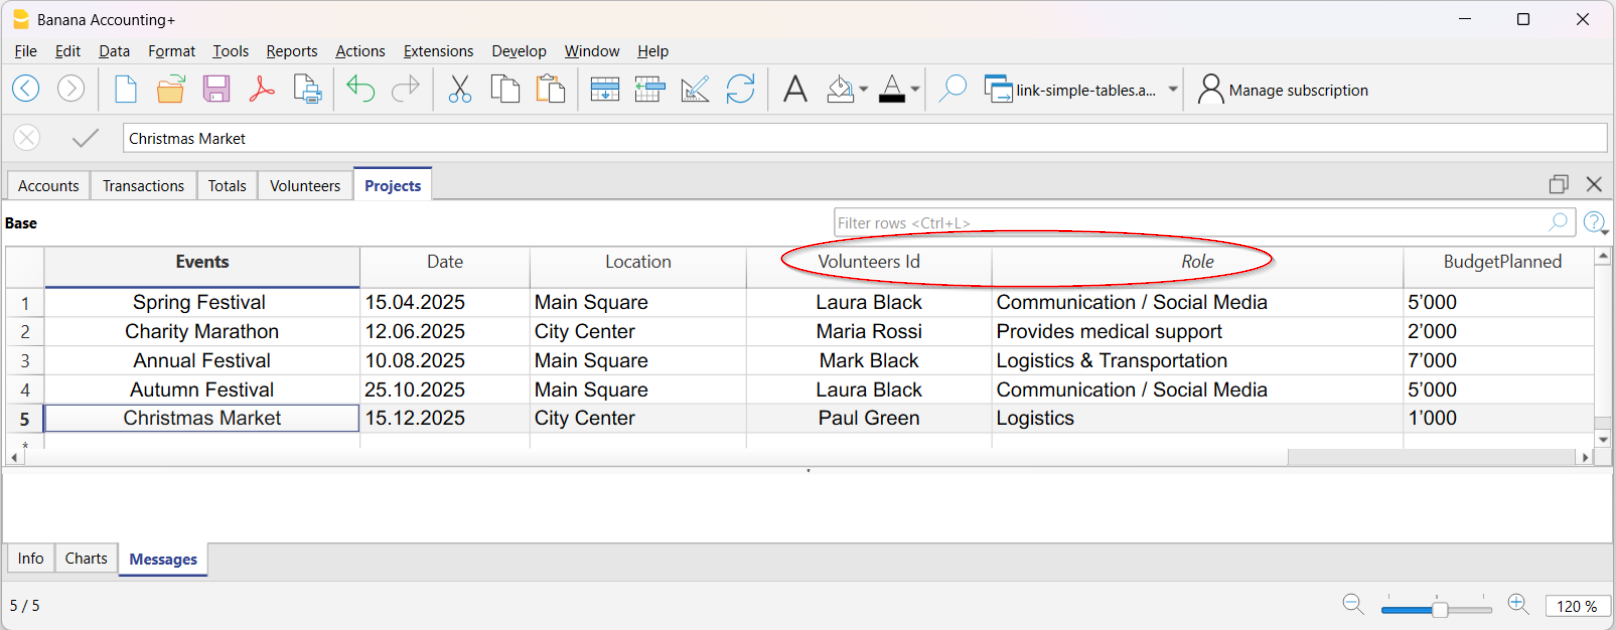
Advantages of linking
- Clear overview → you immediately know who is participating in an event.
- Defined roles → assign specific tasks to each volunteer.
- Automatic updates → if you change data in the Volunteers table, Banana updates it in the Events table too.
- Simplified management → no more separate sheets, everything stays in the same file.
- Activity history → keep a record of volunteer participation over time.
This approach is ideal for cultural, sports, or charity associations that want to manage people and events in a simple, organized, and immediate way.
Create file from external data
Banana Accounting is able to transform data files and convert them into a Banana Accounting file, making it easier to access the content.
For example:
- View CSV file
Banana converts CSV files and displays them in a table.
You only need to drag the CSV file into the Banana Accounting window and the file is converted into a simple table. - View ISO 20022 or MT940 bank statements
The file is converted into a cash book and the operations are displayed as transactions.
Just drag the file into Banana. - Audit file for taxation
The XML file is transformed into a double-entry accounting file, with the related chart of accounts and transactions.
Extensions to create files
File Creator extensions allow you to create file converters for specific data types and give the user the possibility to choose which extension to use.
View ISO 20022 file or MT940
The Banana software allows the user to view and print the contents of ISO20022 - camt. 052, camt. 053 (included version 4), camt. 054 - and MT940 bank statements.
The transactions of the electronic bank statement, with description, amount income or expenses, are being presented in separate columns and can be printed or pasted into Excel.
Open the ISO 20022 or MT940 file
In order to open and see the file :
Download your bank statement in ISO 20022 format
If it is a compressed file, extract the XML file to be displayed with its own utility (p.es. 7zip)S- Install and open Banana Accounting
- Drag the file inside Banana Accounting: Banana immediately shows all entries with text and date, amount and the progressive balance (the file is being opened as "read only")
- The data of the bank statement can then be printed or copied into Excel or other programs.
Additional indications
- The opening balance in the ISO 20022 file is entered into the Accounts table.
- The column width can be adapted with the mouse.
- To align the text of the description on several lines, use the command Format → Calculate all row heights
- To categorize the movements and get statements, enter the appropriate categories in the Categories table and display the Categories column in the Transactions table with the Columns setup command.Or, create a new file with an existing template and categories and accounts already set up, and import the data of the bank statement as explained in the page Import ISO 20022 file.
- In the free Starter Edition mode, files with more than 70 transactions cannot be saved.
More information
For more information with regard to the ISO 20022 Standard, please consult the page Import ISO 20022 file.
View CSV File
When opening, or dragging and dropping a file of the CSV or JCSV type in the Banana window, Banana will automatically create a simple Table type file, resuming the columns and data contained in the CSV table.
Create file copy
You can activate the command from the Tools menu > Create file copy.

This feature allows you to create a new file, identical to the existing one. You can choose to copy the file with the following options:
- Keep Opening balances. If the option is activated, the opening balances of the copied file will be shown in the new file.
- Keep Transactions. If this option is activated, transactions of the copied file will be shown in the new file.
- Keep Recurring transactions. If this option is activated, the recurring transactions of the copied file will be shown in the new file.
- Keep Budget transactions. If this option is activated, the Budget table transactions of the copied file will be shown in the new file.
This feature is very useful when you want to make test changes and have the confidence that you can go back without losing data.
If none of the options are activated, a new file will be created only showing the same accounting plan.
The new file must be saved with a name; by default, the program suggests the template name.
Save the file with a name of your choice by clicking on File > Save As.
Convert to new file
The command is activated from via Tools > Convert to new file.
In the dialog box that appears, the file type you are working on is selected.
A list of possible choices is also listed:

This command converts an existing file (which will not be modified) into another one with different characteristics:
- Change language
- Change the rounding
- Change the file type. For example:
- Pass from an accounting without VAT to one with VAT
- Pass from a Double-entry accounting to a Multi-currency accounting
This is similar to creating a new blank file and then transfer the data manually .
The existing file characteristics can be consulted by executing the Tools > File Info command
Creation and data transfer
The Tools → Convert to new file command:
- Creates a new file of the specified type with the predefined columns setup
- Transfers the data into the new file, proceeding with the necessary conversions
- Saves and indicates the name of the new file.
Switching from an accounting system with more options to one with fewer options
The following cases involve switching from an accounting type with more options to one with fewer options:
Switching from accounting with VAT to accounting without VAT
During the conversion:
- in File and accounting properties, the VAT/Sales tax section is removed;
- the VAT Codes table is removed;
- in the Transactions table, the data in the VAT-related columns is removed;
- in the Accounts table, the VAT accounts can be removed.
Switching from multi-currency accounting to accounting without foreign currencies
During the conversion:
- in File and accounting properties, the Foreign currency section is removed;
- the Exchange rates table is removed;
- in the Accounts table, the Currency and Opening Currency columns are removed;
- in the Accounts table, the accounts related to exchange rate differences can be removed;
- in the Transactions table, the columns related to exchange rates and foreign currencies are removed.
Important: Before switching from multi-currency accounting to accounting without foreign currencies, make sure that the balances of all foreign currency accounts are zero. Otherwise, opening balance differences will be reported in the converted file.
Conversion from a Double-entry accounting to a Multi-currency accounting file
- The currency symbol that is to become the basic currency must be specified in File and accounting properties
- Choose the Multi-currency accounting as destination
- The program creates a Multi-currency accounting, recovering the existing data:
- The Transactions table includes the columns for managing the Multi-currency accounting, as the base currency and a 1.0000 exchange rate
- The existing accounts in the Accounts table are being completed with the base currency symbol
- You must add the predefined accounts for exchange rate profit & loss.
- You must indicate the predefined accounts for exchange rate profit & loss in the File and accounting properties.
- The Exchange rate table will be empty; it is therefore necessary to add the currencies and exchange rates used in the transactions
- In the Accounts table, the accounts in foreign currency have to be added.
In order to change the currency of an accounting file, refer to the File Properties of the File and accounting properties.
Conversion from an accounting without VAT to one with VAT
- Choose the desired type of accounting with VAT as the destination
- The program creates an accounting with the VAT columns, recovering the existing data:
- Add the VAT accounts into the Chart of Accounts
- The File properties regarding the VAT need to be completed, and the default account on which the VAT must be recorded needs to be indicated
- Via Actions > Importa to accounting > VAT codes the applicable rates present in the VAT Codes table can be used.
Outline to create new file
For further details refer to:

Related documents:
The Merge file command in Banana Accounting+
The possibility of merging accounting files together is very useful; it allows, for example, to merge the accounting files of different branches of the same company, or to absorb the accounts of dislocated activities in the accounting file of the parent company, both for associations and businesses.
In Banana Accounting Plus this feature is only available with the Advanced plan. Explore all the Advanced plan features. Switch now to the Advanced plan!
The command is activated vie Tools → Merge File.
It is possible to merge two files, but they have to belong to the same application (for example two double-entry accounting files). It is not possible to merge files belonging to different applications (for example one double-entry accounting file and one income & expense file).
In order to successfully merge two files, it is crucial that they contain the same accounts numbers. Proceed as follows:
- Open the file which will contain the data of both files.
- Select the Tools → Merge File command.
- Select the path and the name of the file to be merged.
- Confirm the merge operation.
- If the files are not identical, even though they belong to the same application, (for example, accounting with VAT/Sales tax and accounting without VAT/Sales tax), a message will appear warning against probable data loss.
Attention: The program does not consolidate the data; instead, it updates the account balances without adding the opening balances.
Program options
The program options are activated via the Tools → Program menu options and contain technical choices for the accounting document.

In the following pages you will find more detailed information.
General
The interface options are activated via Tools → Program Options → Interface.
Program options
Language
It is the language used by the program. You can change this setting if you want to use a language other than the default or if the default is not available.
Font type
You can choose the font.
% Zoom
If you want the data in the tables to be displayed in a different size, just adjust the Zoom percentage.
- The zoom percentage can also be changed with the zoom tool at the bottom right of the status line.
- The purpose of the zoom is to adapt the table content to the window size.
For the text size of menus, dialogues and icons, the operating system settings are used, but can also be adapted by the user.
Line spacing
In this field you can specify the row height of the various tables in the program.
Show negative numbers in red
Negative numbers and amounts are displayed in red in the tables.
Startup
Check for updates
Direct link the www.banana.ch website to the update download page.
Display start page
The news information home page is displayed.
Show recently used files
Recently opened files are displayed.
Start Web Server
Is used to access Banana Accounting data from external programs.
For more information see Integrated Webserver
Editor
The Editor options are activated from the menu Tools → Program Options → Editor.

Behavior
Edit table with single click
- If the function is activated, a single click on the selected cell is sufficient to introduce change.
- If the function is activated, a single click on the cell already selected is sufficient to change.
Autocomplete text (Smart fill)
By activating this option, the program automatically selects the first draft text in the drop down list and automatically fills it in the row where you are.
Add up during selection
By activating this option, the program will add up the selected amounts. Deactivate this function if this instantaneous addition slows certain operations down. One can select non-adjacent amounts by holding down the Ctrl key while selecting individual cells with the left mouse button.
On Enter go to the next row
By activating this option, the cursor will place itself on the next row when pressing the Enter key.
Input
Maximum number of undo operations
Insert the maximum number of undo operations when using the command from the menu Edit → Undo Operation (you undo one operation at a time).
Smart fill rows limit
When inserting data, the program reads the data that has already been entered and tries to suggest how to complete an entry. In cases where there are many rows, this function could slow down the process.
The user can define a limit for the number of rows, above which the smart fill will not be used. If there is no value entered or zero, smart fill will always be used.
File handling
The File Management options are activated via Tools → Program Options → File Handling tab.
Saving documents
This section contains the following options for saving documents.
Saving automatically when closing the documents
If this option is enabled, the data will be saved each time the file is closed.
Save autorecover information
The option allows automatic saving of the file with frequency (in minutes) to be indicated. The program saves the data in a document called autobackup + filename. If the program or computer crashes, you can recover the data by opening this file and saving it as from the File menu.
Create backup copy
When saving to disk with the same name, the pre-existing version of the file is renamed with the BAK extension.
Refer to the Save page for further information.
Files extension
Extension of files considered secure
This option defines the file types (eg: "pfd", "jpg", ...) and the url schemes (eg: "http:", "x-devonthink-item:", ...) that allow to open with a double click in the DocLink column of the Transactions table. Therefore, it prevents you from opening unsafe files or schemes. Extensions must be inserted without the period '.' initial, while the schemes must be inserted with a double dot ':' at the end.
Restore defaults
If certain settings have been changed, program will restore the default settings when clicking on this button.
Advanced
The Advanced options are activated Tools > Program Options > Advanced.

Enable TrueType Fonts
If this option is enabled when printing PDF files, the font selected in the Interface tab is used, otherwise a native font type of PDF files is used (Helvetica or Times New Roman). This option must be disabled if the texts in the generated PDF files are unreadable.
System info
Open the System info dialogue.
Reports Menu
The Reports menu contains commands for displaying and printing various accounting documents. The commands listed will vary depending on the application selected.
By clicking on the various links, the web pages, with detailed information on the various commands, are displayed.
- Cash Manager
- Income & Expense accounting
- Double entry and multi currency Accounting
- Time sheet
- Fixed asset register
- Show Journal
- Items report
- Transactions report
- Inventory
- Estimates and Invoices
- Archive data
- Library and collections
Actions Menu
The Actions menu in Banana Accounting includes the operational commands to keep your accounting up to date and accurate. From here, you can recalculate totals, check data consistency, sort transactions by date, manage due dates and recurring transactions, lock confirmed entries, create a new accounting year, and update opening balances. You can also import external data directly into your accounting.
These are therefore the practical tools to ensure precision, continuity, and completeness in managing your accounting work.
For explanations of the commands, click on the links listed below:
Extensions Menu
These are extensions of the program's functionalities, for reporting, calculating, exporting, importing, establishing bills and reminders and other.
They need to be set up by the user by clicking the appropriate button in the Extensions menu > Manage Extensions dialog, for example Import into accounting.
The Extensions menu lists all the already installed Banana Extensions related to the file that is open at the moment. By selecting the command, the indicated Extension will be executed.
Manage Extensions
The Manage Extensions command allows you to search for, install, alter your settings or uninstall Banana Extensions.
Installing a new Extension
For installing a new Extension, visit our Manage Extensions page.
Embedded Extension
Embedded Extensions are extensions saved in the Documents table of the accounting file that work without installation.
Technical information on Banana Extensions
Herewith some technical information on Banana Extensions
- They are programs in Javascript that make use of API's available in Banana Accounting.
- They are very secure and cannot perform functions that might impact on the operating system.
- Single Extensions.
A text file with the .js extension, which contains a program in Javascript, indicating the characteristics to be a Banana Extensions. - Extension package
A compressed file with the .sbaa extension, which can contain several other files, necessary for the application, such as commands, images, dialogues. A package can contain several commands. The title of the package and the commands it contains are indicated in the Extensions menu.
If you disable a package, all Extensions will be disabled.
Prerequisites for running Extensions
The commands for running Banana Extensions are only made available if the current file (the one on which you are working) has the features required by the Extensions. If any features are missing, the Extension will either not be visible or not executable in the Extensions menu.
- Extensions are available in specific context:
- Productivity
Commands that can be recalled in the Extensions menu. - Import
Available via the Import into accounting command. - Export
Available in the Extensions menu. The user should define the file name at the end of the process. - Invoice report
Extensions that prepare the invoice printing Report > Customers > Print invoices. - Reminders report
Prepares the reminders to be printed. They are available via Report > Customers > Print reminders. - Statement reports
Prepares the statements to be printed. They are available via Report > Customers > Print statements.
- Productivity
- Association via a File Type
This requires the current file to be - for example - an Accounting file, or the double entry file, or addresses. - Association via a property
Some Extensions will only be executable if the relevant word is specified in the File properties, Other section (from the File menu).
For example, the List of Administrators to be printed, that require specific fields, will require the word "Administrator".
Subscription to Advanced plan required
Some extensions are available in the Free and Professional plans, while several others require the Advanced plan.
The required plan information is indicated in the extension itself.
In addition:
- The Advanced plan is required to run local and web-downloaded extensions.
- Some extensions requiring the Advanced plan can also be used with other plans only as long as the accounting file has less than 70 rows.
Develop your own Extensions
Anyone can create Banana Extensions that extend the functionality of the program:
- Programming fluency is required.
- A subscription to the Advanced plan of Banana Accounting Plus is necessary.
To develop a Banana Extension, it is recommended to set out from an existing project.
- Start from an example available on the github.com \ BananaAccounting site
- Please refer to the developer documentation.
- Install the application via the Extensions menu > Manage extensions command.
Manage Extensions
This dialog window allows you to install, modify settings and uninstall Banana Extensions.
You must install an Extension in order to be able to use it.
Viewing and Installing Template Store Extensions
In the online section of the Dialog you see and search extensions available in the Template Store.
To install an Extension, proceed as follows:
- Choose the language and country.
- From the left menu, select Online
- Select the Extension type (e.g. productivity)
- Look for the desired Extension among those listed; or in the Search box, type the name of the Extension you want
- Click on the Install button
- Click on the Close button
Below are the available Extensions :

The installed Extension will be visible in the Extensions menu.
Note
If the Extensions window does not show the complete list of extensions, you need to update them or extend the search, selecting any country, any language and all.
- If you activate the Include universal extensions option, you will also see all the extensions that can be used in any country.
If the complete list does not contain the format of your bank, you will need to request an account statement in the universal ISO 20022 format. Soon, all banks will replace the various formats (csv, MT940...) with the European standard ISO 20022 format.
List of Extensions
This list shows the installed Banana Extensions and those available for installation.
- The check sign indicates that the Extension is installed.
- The Extension denomination
- Information Banana Extensions:
- Description
- Link for main information, will open the corresponding internet page
- Last update
Extension date and hour
Local Banana Extension date and hour (as per imported file) - Category
Type of Banana Extension - Nation
Nation where Extension can be used. International will indicate that Extension can be used in several nations - Install button
Download Banana Extension for local use
- Information on installed Extensions:
- The ">" symbol preceding a packet will designate a Banana Extensions packet, that contains several commands.
- Enabled
If the enabled box is not checked, the Extension will not figure in the menu. For a packet, single commands may me deactivated. - Automatic update.
When a new version is made available, it will download automatically. - Last update
The date of publication of the extension. - Category
The Extension category - Nation
The nation of extension. Universal means that it is not tied to a specific nation. - Language
The interface language of the extension. - Default channel *)
The version of the extension. You can choose between- Stable-Channel.
Final released versions. - Beta-channel.
The versions released on a trial basis, before becoming final, but which still have to be fine-tuned. - Dev-channel.
The versions under development.
- Stable-Channel.
- Channels available *)
The versions available for this extension. - Used Channel *)
The version in use.
If the preferred channel version is not available, the programme will choose the channel version giving priority in order Stable, Beta and Developer. - URI.
- If the extension is installed locally the local location.
- If the extension is remote and has not been installed the remote url.
- Remote URI
If the extension was installed remotely, the remote repository url. - Required properties
For an Extension to function properly, they must be set up via File > File and accounting properties > Other. - Apply properties button
Will apply new properties to your file - Execute button
Will execute the specific command.
This button will only be highlighted if the App is applicable in the context of your current file.
For example, a multi-currency function will only be applicable if the file has been created as a multi-currency accounting file.
In order to create you own Extension for Banana Accounting Plus, you need to have a subscription to the Advanced plan. - Settings button
Certain Extensions allow you to set the settings for execution of your task. They will be related to your currently open file. If you use the same App with another file you must redefine the settings.
In the invoice reports, for instance, we indicate the elements necessary for printing. - Uninstall button
Will uninstall the Extension or the packet.
Using a development version
In the Template Store we may make available different version of an extension:
- If a development version is available for the extension, this is indicated in the "Available Channels".
- In the "Default Channel" you can set the channel you prefer to use between Stable, Beta or Developer.
- In the 'Used channel', the development channel actually used is then displayed.
If the selected channel is not available, the higher level version is used. If there is no Developer, the Beta is used, and if there is no Stable
Search Extensions
Extensions are listed according to the following selection criteria:
- Language
- Nation
- Text
- Installed
Displays locally installed Extensions. - Online
List of Extensions available from the Template Store.
Template Store extensions will be automatically updated once a day when a new version is available. - System.
List of pre-installed Extensions. You may enable or disable via the check box.
Details
A dialog box appears with:
- The source file where the Extension is located.
- The type of Extension.
- The date of the Extension.
Parameters
If the Extension allows to set the parameters at programming level, the button is active.
When this is the case, dialogues are displayed that allow to enter fixed parameters, which will be used for this Extension.
The parameters are relative to each file.
Edit
Allows you to edit the selected Extension. Go to the folder where the Extension file is located.
Remove
Permanently removes the selected Extension. You cannot remove filters installed at the system level or for all users.
For the moment it is not possible to remove Extensions that are contained in a file with the sbaa extension either. If you want to remove the Extension you have to delete the Extension file.
Help (side button)
Leads to the internet page with information about the selected Extension.
Add from file
Lets you add a Banana Extension from a local file. Indicated especially for development of new Extensions.
In order to create you own Extension for Banana Accounting Plus, you need to have a subscription to the Advanced plan.
- The file needs to always remain in the same directory.
- If the App is modified, the program will always use the last version.
Add from URL
Allows you to install Extensions present in the list of Extensions available on the Internet.
In order to create you own Extension for Banana Accounting Plus, you need to have a subscription to the Advanced plan.
Update Extensions
Only once a day, the first time the program is started, the program will update the extensions.
If for any reason the program could not download the updated list or a new release has been made available during the day you should run the update command manually. The update command will:
- Update the list of the available extensions from the Template Store.
- Download a new release of an installed extension.
- It will modify local or Url installed extension.
For more information see: Development information for Installing and Running extensions.
Extension Settings
Some extensions allow you to set parameters that are used by the extension.
- The parameters can be set and changed with the dialog.
- At startup, the parameters are set with default values.
- The parameters are related to the accounting file..
- An extension package can contain multiple extensions and therefore there may be multiple parameters per package.
Extensions Setup Dialogue
The content of the dialogue is different for each extension.The UNI10 invoice layout is shown below.

Value insertion area
The settings dialog is structured as elements that contain sub-elements, each with:
- Property column.
- This is the name of the property.
- Value column.
- It's the value of the property, Value column. By clicking you can enter a value, change a predefined one or delete an existing one.
Buttons
At the end of the dialogue there are the following buttons:
- Help.
- The help button takes you to the documentation page of the extension you are using.
- Restore defaults..
- By clicking on this button all the default values of the Value column are restored.
- Cancel.
- Cancel and close the dialog without any changes being made.
- Ok.
- Confirm and save the entered parameters.If you have saved it by mistake, you can go back to the previous situation with the cancel operation command.
Access the settings dialog
You can access the settings dial in the following ways:
- From the >Manage Extensions, by clicking on the Settings button located on the right.
- From the Settings button in the Printouts/Preview of the report generated by the extension.
- For invoices, via Reports → Customers → print invoices, Layout section, Settings button.
Installing an Extension offline
In order to install an Extension in an offline mode proceed as follows:
- Connect yourself to our Extensions webpage, using a different computer connected to the internet
- Download the Extension that you need (a .js or .sba file ) and save it on a USB key or other device
- Copy the Extension on the computer without internet connection
- Open Banana Accounting from your computer without internet connection and open your accounting file
- Click Extensions → Manage Extensions
- Click on the Add from file button and select the path were you saved the Extension
- The Extension will now be included in the installed Apps and in the Extensions menu
Print label
Via the Extensions → Labels → Print command you can print the addresses. In the different tabs you can choose different settings, from the label format to le selection of the addresses to be sorted and printed. Each setting can be saved with the Customizations.

For the explanations of the different tabs, please consult the following pages.
Print example
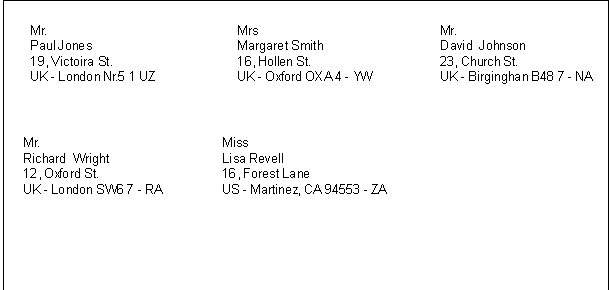
Options
First label starting position
Decide on the position of the first label. For example, if 1 is entered in the horizontal and vertical fields, it refers to the upper left-hand corner of the page.
Number of copies for each label
The value of 1, in this field, means only one copy of each label is wanted.
Warning if text exceeds label
If the text runs beyond the margins for the label, the program will warn the user by sending an error message if this cell is activated.
Label format
You can choose between the label formats available in the list.
If the list doesn't have the format you wish, through the Change button, you can access the Label format dialogue windows where you can choose your desired settings.
Data
Indicate the data source for the labels to be printed:
- Table - the current table (Accounts, Transactions, Budget, Totals, VAT code) data will be printed. If a data extraction occurred, only the extracted data will be printed.
- Selected rows only - only the earlier selected addresses will be printed.
Label

Field list
This is a list of all possible label fields; to insert a field, it is possible to work in two ways:
- Double-click on an element from the list
- Click on an element from the list, confirming with the Add Field key.
The field selected will be inserted at the position of the cursor in the View labels area. One can directly insert fields by writing the field name between the < Less and > Greater symbols.
View labels
Shows the disposition of the fields. The entries "<NAME FIELD>" will be replaced with the corresponding value of the table.
The symbols Greater and Less are considered field delimiters. In order to make them appear in the text
write "\<" for "<";
write "\>" for ">"
and write "\\" for "\"
Preserve line feeds and spaces.
In case this option is deactivated, the program does not take eventual spaces and empty rows in consideration.
Extract

Sort

Customization

Labels format
Via Extensions → Labels → Formats option, you can access the labels setup.
The program already offers many predefined label formats; it is however possible to setup or edit the default parameters, as well as your customized ones, through the Customization (Default) command.
Page settings - Options

Page
Left Margin, Right Margin, To Margin, Bottom Margin
Input the size in centimeters; if no size is entered, the margin sizes will be zero.
Number of horizontal labels
Input the number of horizontal labels there are on the page.
Number of vertical labels
Input the number of vertical labels there are on the page.
Print Landscape
The page will be printed horizontally if this cell is activated.
Arrange labels from right to left
The labels will be printed from right to left and from top to bottom.
Label
Left Margin, Right Margin, To Margin, Bottom Margin
It is possible to input a margin for each label; the values for the label margins must be input in centimeters.
Center text horizontally
Select this option to horizontally center the text for each label in the cell.
Center text vertically
Select this option to vertically center the text for each label in the cell.
Font size
Base size
This field shows the default font size.
Reduce to fit, but no less than
The program calculates the maximum font size possible for a given label, starting from 14 points all the way down to 8 points. The calculation is made taking into account both the height and width of the label. If a label has a line that is too long (or has too many rows) to be printed, then an error message will appear in the message window. Even if it is incomplete, the label will still be printed.
Note:
the printers will not print on the whole surface of a page because they need minimum margins. The program tries to adapt the single labels to the margin values required by the printer.
Page settings - Customization

All the settings that have been activated in the Options tab can be saved by using Customization and can be displayed when needed.
For more information on this section, consult the Customization page.
Extensions Commit Changes Dialog
This dialog asks the user for approval for changes the extension wants to make to the data.
The dialog displays:
- The list of the affected tables
- The list of data changes with the new content:
- Rows added (green)
- Rows deleted (red)
- Rows modified (yellow)
- Rows moved, sequence is changed (blue)
- Rows replaced (magenta)
If you approve the change you can always rollback the changes with the undo.

For Developers: See also the DocumentChange API
Favorites menu
Favorites are displays of printouts or reports with customized settings.
The Favorites menu will display list all the Customizations created and can be recalled if and when necessary.
The Favorites menu is not displayed by default, but appears when the user creates customizations (the first time the accounting file must be closed and reopened), indicating that they must appear in the menu.

Customization
Customization is a display or printout with customized settings that can stored. If necessary, customized documents can be resumed without repeating the settings.
Customizations is obtained from the following menus and for the following documents:
- Report for:
- Account cards
- Enhanced Balance Sheet
- Enhanced Balance Sheet with groups
- Accounting reports
- VAT reports
- File for:
- Create Pdf dossier
- Export file
- Data for:
- Extract and sort rows
- Sort rows
- Export rows
- Extensions - for Addresses customization.
How to proceed
Depending on the document to be created, start by clicking on the menu and on the appropriate command (Account cards, Financial statements, Export file ...).
From the dialogue that appears:
- Click in the Customization section.
- Click on the New button.
- Enter the name of the new customization.
- Activate the appropriate options in the various sections.
- Click on the Apply button.
Each customization, once created, will appear in the menu of the corresponding command and can be edited, renamed, duplicated or deleted.
Name
Enter a name to identify the customization (for instance, Quarterly Report).
Description
Enter the description for the customization.
Show this window every time
If activated, when selecting a customization from the menu, the dialogue for editing the settings will be shown. If not activated, the preview of the requested report (Balance sheet, report, etc.) will be shown directly.
Show in menu... (depending on the menu/command in which one is being positioned)
If this option is activated, the customization will appear in the menu of the command.
Show in 'Favorites' menu
If this option is activated, the customization will appear in the Favorites menu.
Read only
If this option is activated, it will not be possible to edit the settings.
New
This button allows you to create a new customization.
Delete
This button allows you to delete an existing customization.
Duplicate
This button allows you to create an identical copy (a duplicate) of an existing customization.
Import
This button allows the import of an existing customization from another Banana accounting file (.ac2).
Apply
This button allows you to save the chosen settings for the new customization.
Display in the starting menu
According to the menu you are in, the Default customization and your personal saved customization will be shown.
Customization (Default)
This is the customization used by default from the program, if no other customization has been created.
In the following example the menu of the Accounting reports is shown.

Direct access to the customizations
In the tables where the customization are being shown and in the previews, the customization menu and the settings icon are being displayed. These make it possible to easily move from one customization to the next and provide rapid access to the settings in case you want to edit these.

Window menu
The Window menu in Banana Accounting helps you manage the display and organization of your work on the screen. It allows you to open new windows, arrange files side by side, quickly switch between documents, and customize the interface according to your preferences (editor, status bar, information window, light or dark theme).
It also includes commands to manage messages, access print preview, show or hide the start page, and view the list of recently opened files. This way, you can work more comfortably, neatly, and efficiently.
New Window
The command opens a new window with the same contents as the already open window.
Arrange side by side
With this command you can see, within the Banana Accounting program, the various files open at the same time, arranged side by side. If you have two screens, it is also very practical to open the Banana Accounting program have an accounting file open and in each one; this way you will have more visual space. For more information see below.
View two files simultaneously
The two files are displayed within the same program. The Info window at the bottom changes according to the file in which you are working with the cursor.
There are two ways to view two or more files at the same time.
Open the two files side by side in Banana Accounting
- Open the two files via the File > Open.
- Click Window > Tile menu.
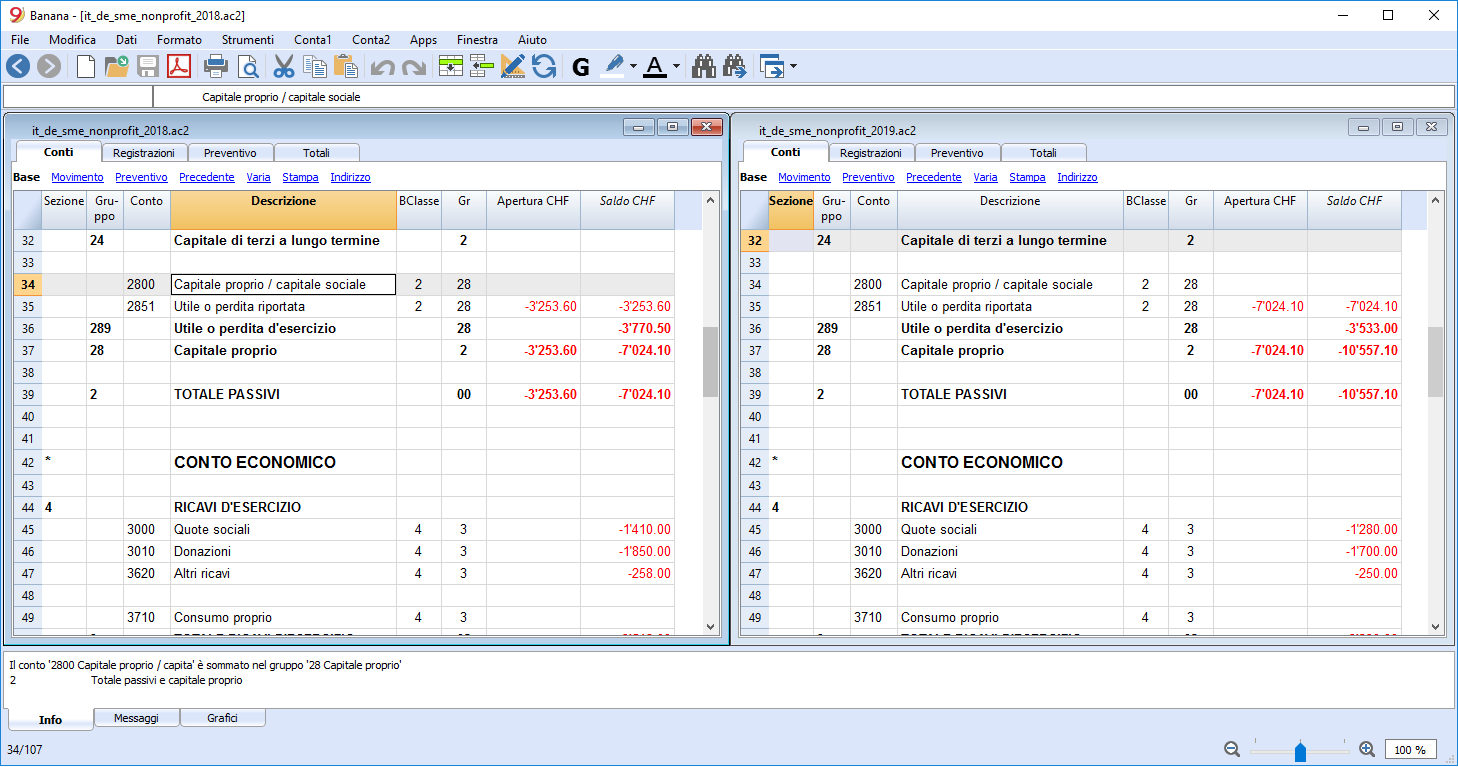
Open the Banana Accounting program twice simultaneously
- Open the Banana Accounting program twice, starting from Windows startup.
- Open an accounting file in each of the programs,
This is a great solution if you have a large screen or two screens connected to the same computer.
Next window or Previous window
When multiple files are open, they are listed in the Next window command menu.
This command allows you to switch from one file to another. The Ctrl+Tab keyboard shortcut is also very useful.
By clicking the small downward arrow next to the icon, a list appears from which you can directly select the file to view. Alternatively, by clicking the icon itself, you switch to the next file in the listed order.
Warning messages, Acoustic signal, Clear messages
In the section reserved for messages, you can choose whether and how they should be reported. If you activate Empty messages, all messages in the information window below are deleted.
Appearance
The command allows you to customize the Interface and you have the following options:
- Show Develop Menu
See more information on the page Develop Menu - Show Cell Editor
If the display is disabled, the editor for writing text does not appear at the top below the toolbar, but you can still write text within each cell. - Show row editor key
If activated, the button to edit the row contents will be displayed. By clicking on the row editor button at the bottom right, a window will be displayed in which it will be possible to edit the single rows through a form view. This mode has been designed to facilitate the input of texts on tablet or mobile devices. - Show Info Window
If disabled, the bottom information window, graphics and error messages are not displayed. - Show Status Bar
If disabled, the status bar at the bottom of the window is not displayed, where the row number and zoom setting is shown. - Display theme
This option allows setting the dark mode functionality in the following modes:- System default - the setting is taken over from your operating system.
- Dark - the dark mode is set.
- Light - the light mode is set.
Preview
The command allows you to preview the document.
Start Page
With the command you can choose whether or not to display the home page.
Recently opened file list
Recently opened files are listed at the bottom of the Window menu. The file in use is selected, the others remain in the background.
Develop Menu
In Banana Accounting Plus this feature is only available with the Advanced plan> Upgrade now to the Advanced plan.
The developer Menu can be made visible with the command:
Development options
Contains useful options for developers of scripts, apps or http pages for Banana Accounting.
Enable Screenshots (Ctrl + 3)
When the function is activated, with the combination of the keys Ctrl + 3 you can take screenshots and save the images of the tables and dialog boxes of the program.
Also refer to Enable sreenshots.
Show Debug output window
If activated, the 'Debug output' panel appears at the bottom of the program’s main window. This panel displays all debug messages. Debug messages make it possible to check correct functioning during the execution of scripts, extensions, or web server calls. They are intended for developers of scripts, extensions, or HTTP sheets. For more information, see the Debugging page.
By right-clicking, you can activate different display modes:
- Warning level
- Debug level
Also displays programming messages. - Info level
Displays the main messages.
System info
Opens the System Info dialog.
System info
This section displays information about the operating system and working environment. Information can be requested from technical support. In this case, click on the Copy to clipboard button and paste the data into the e-mail message or into the contact form.

Taking screenshots
This feature is available by using the key Ctrl+3. Facilitates the capture and saving of a program image.
In order to use this feature you need to activate it via Window-> Develop -> Enable screenshot (Ctrl + 3)
It is useful for preparing documentation, as it only captures the part of the program windows that you are interested in.
Capturing the image
When capturing an image we advise you to use a 90% zoom, so more data will fit in the image but you still get readable texts.
- Capture all
It creates an image of the full Banana window. - Capture table and info window
It only captures the table and the info window below the table (without menus, toolbar and status bar). - Capture table
It only capture the table - Capture columns
It only captures the table, and only up to the maximum columns width (it doesn't include the white spaces).
Resize window (pixel)
It resizes the program window to a pre-defined size, so if you take multiple shots you always have the same size.
Hide / Show window's components
It allows you to see more table rows, by hiding the toolbar, the info window and the status bar.
Windows - How to remove the dialogue windows shadow
Windows 8 e 10 "enhance" their dialog windows by adding a shadow to them. When capturing the window image you therefore also see the background.
In order to avoid this you can proceed as follows:
- From the Windows search box type Sysdm.cpl
- Go to the Advanced section
- Visual effects Settings
- Uncheck the option Show shadow
Help Menu
The Help menu gives access to the followings commands:
- User's guide - gives access to the documentation that explains the various functions of the program and the accounting issues.
- Keyboard shortcuts - contains the list of all keyboard shortcuts with detailed use description.
- Check for updates - connects to our website to check if there are newer versions of the software
- Support center - access to the Banana Accounting support web page
- Manage subscription
The dialogue box to manage your subscription, indicating the following information:- Email with which you registered and the possibility to remove it.
- Version in use and expiration.
- Link to unlock your version with a product key.
- Link to purchase a subscription.
- Link that checks the availability of an updated subscription.
- About Banana Accounting
Opens a window that shows technical information about the program such as version number, serial number, Copyright.....
Keyboard shortcuts
You can also consult the list of keyboard shortcuts directly from the program, by choosing Keyboard shortcuts from the Help menu.
Keyboard shortcuts for Windows computers
Accounting Keys | Description |
F9 | Perform simple recheck. |
Shift+F9 | Perform global recheck. |
F6 | This key executes different functions depending on the column the user is working on. The functions are explained in the information window. |
Alt+ Left click | Display the Extract rows table or the Account card table when clicking on an account number. |
. (Full stop/Period) | On a date column insert the current date. |
Editing Keys | Description |
Enter, Tab | Confirming keyed-in text and advance one cell. |
Alt+Enter | Confirming keyed-in text and advance one row. |
Shift+Tab | Confirming keyed-in text and return to previous cell. |
F2 | Edit content of cell. |
Double click | Edit content of cell. Under the program options you can select to edit content of cell with a single click. |
Backspace, Space | Delete content of current cell and edit the content. |
Backspace | Delete preceding character. |
Del | Delete subsequent characters. |
Ctrl+C | Copy selected text or cells. |
Ctrl+V | Paste copied text or cells. |
Del | Delete content of selection. |
not assigned | Delete text from the cursor point to the end of the cell. |
F4 | Copy previous cell from same column. |
Shift+F4 | Copy previous cell from same column and advance one cell. |
Ctrl+Shift+C | Copy selected rows. |
Ctrl+Shift+V | Insert copied rows. |
Ctrl+- | Delete selected rows. |
| Ctrl+D | Duplicate selected rows. |
Ctrl++ | Insert rows before position of cursor. |
Ctrl+Enter, Ctrl+Return | Add one row below position of cursor. |
Moving keys | Description |
Left | Scroll towards left. |
Right | Scroll towards right. |
Up | Scroll up. |
Down | Scroll down. |
PgUp | Scroll up one screen page. |
PgDown | Scroll down one screen page. |
Home | Scroll to beginning of row. |
End | Scroll to end of row. |
Ctrl+Home | Scroll to top-left angle of table. |
Ctrl+End | Scroll to bottom-right angle of table. |
Ctrl+Left | Moves towards left to the edge of the current data region. |
Ctrl+Right | Moves towards right to the edge of the current data region. |
| Alt+Up | Move rows up. |
| Alt+Down | Move rows down. |
| Alt + Left Arrow | Move cursor to previous position |
| Alt + Right Arrow | Move cursor to next position |
Ctrl+Up | Moves up to the edge of the current data region. |
Ctrl+Down | Moves down to the edge of the current data region. |
Alt+PgDown | Next view. |
Alt+PgUp | Previous view. |
Ctrl+PgDown | Next table. |
Ctrl+PgUp | Previous table. |
Ctrl+Tab | Next window. |
Ctrl+Shift+Backtab | Previous window. |
F5 | Scroll to desired row by keying in row number in active window. |
Shift+F5 | Go to original row. |
Selection Keys | Description |
Shift+PgUp | Select column moving upwards, page by page. |
Shift+PgDown | Select column moving downwards, page by page. |
Shift+Left | Select row to left. |
Shift+Right | Select row to right. |
Shift+Up | Select upper column. |
Shift+Down | Select lower column. |
Shift+Home | Select back to start of row. |
Shift+End | Select forward to end of row. |
Ctrl+Shift+Home | Select back to top of table. |
Ctrl+Shift+End | Select forward to end of table. |
Ctrl+A | Select entire table. |
Other Keys | Description |
Ctrl+F4 | Close active window. |
not assigned | Exit program. |
Ctrl+N | New file. |
Ctrl+S | Save. |
Ctrl+O | Open. |
Ctrl+P | Print. |
Esc | Cancel operation. |
Ctrl+Z | Undo operation. |
Ctrl+Y | Redo operation. |
Ctrl+F | Find. |
F3 | Find next. |
Ctrl+B | Bold text. |
Ctrl+I | Italic text. |
F1 | View help. |
Multimedia keyboard | Is performed by |
Function key (eg. F6) | Press the fn key as well as the corresponding function key (e.g. Fn+F6). |
Keyboard shortcuts for Mac (Apple) computers
Keyboard shortcuts on Apple computers are slightly different from those on Windows. The main difference is that instead of the Crtrl key on the Mac keyboard there is the Command key. You can find the complete list under Help → Keyboard shortcuts.
Accounting Keys | Description |
⌘9 | Perform simple recheck. |
⇧⌘9 | Perform global recheck. |
⌘6 | This key executes different functions depending on the column the user is working on. The functions are explained in the information window. |
⌥ Left click | Display the Extract rows table or the Account card table when clicking on an account number. |
. (Full stop/Period) | On a date column insert the current date. |
Editing Keys | Description |
⌤, ⇥ | Confirming keyed-in text and advance one cell. |
⌥⌤ | Confirming keyed-in text and advance one row. |
⇧⇥ | Confirming keyed-in text and return to previous cell. |
⌘2 | Edit content of cell. |
Double click | Edit content of cell. Under the program options you can select to edit content of cell with a single click. |
⌫, Space | Delete content of current cell and edit the content. |
⌫ | Delete preceding character. |
⌦ | Delete subsequent characters. |
⌘C | Copy selected text or cells. |
⌘V | Paste copied text or cells. |
⌦ | Delete content of selection. |
not assigned | Delete text from the cursor point to the end of the cell. |
⌘4 | Copy previous cell from same column. |
⇧⌘4 | Copy previous cell from same column and advance one cell. |
⇧⌘C | Copy selected rows. |
⇧⌘V | Insert copied rows. |
⌘- | Delete selected rows. |
⌘D | Duplicate selected rows. |
⌘+ | Insert rows before position of cursor. |
⌘⌤, ⌘↵ | Add one row below position of cursor. |
Moving keys | Description |
← | Scroll towards left. |
→ | Scroll towards right. |
↑ | Scroll up. |
↓ | Scroll down. |
⇞ | Scroll up one screen page. |
⇟ | Scroll down one screen page. |
↖ | Scroll to beginning of row. |
↘ | Scroll to end of row. |
⌘↖ | Scroll to top-left angle of table. |
⌘↘ | Scroll to bottom-right angle of table. |
⌥← | Move towards left to the edge of the current data region. |
⌥→ | Move towards right to the edge of the current data region. |
⌥↑ | Move rows up. |
⌥↓ | Move rows down. |
⌥← | Move cursor to previous cursor position. |
⌥→ | Move cursor to next cursor position. |
⌘↑ | Move up to the edge of the current data region. |
⌘↓ | Move down to the edge of the current data region. |
⌥⇟ | Next view. |
⌥⇞ | Previous view. |
⌘⇟ | Next table. |
⌘⇞ | Previous table. |
⌘} | Next window. |
⌘{ | Previous window. |
⌘5 | Scroll to desired row by keying in row number in active window. |
⇧⌘5 | Go to original row. |
Selection Keys | Description |
⇧⇞ | Select column moving upwards, page by page. |
⇧⇟ | Select column moving downwards, page by page. |
⇧← | Select row to left. |
⇧→ | Select row to right. |
⇧↑ | Select upper column. |
⇧↓ | Select lower column. |
⇧↖ | Select back to start of row. |
⇧↘ | Select forward to end of row. |
⇧⌘↖ | Select back to top of table. |
⇧⌘↘ | Select forward to end of table. |
⌘A | Select entire table. |
Other Keys | Description |
⌘W | Close active window. |
⌘Q | Exit program. |
⌘N | New file. |
⌘S | Save. |
⌘O | Open. |
⌘P | Print. |
⎋ | Cancel operation. |
⌘Z | Undo operation. |
⇧⌘Z | Redo operation. |
⌘F | Find. |
⌘G | Find next. |
⇧⌘G | Find previous. |
⌘B | Bold text. |
⌘I | Italic text. |
⌘? | View help. |
⌘3 | Save screenshot of current dialog or table. |
MacBook keyboard | Is performed by |
⌦ | fn⌫ |
↖ | fn← |
↘ | fn→ |
⇞ | fn↑ |
⇟ | fn↓ |
⌘↖ | fn⌘↖ |
⌘↘ | fn⌘↘ |
Sobre Banana Contabilidade+
Na janela de Informações (menu Ajuda → Sobre Banana Contabilidade+), você encontrará várias informações sobre o programa.
Versão
O número da versão que você está usando (por exemplo, 10.0.4) do Banana Contabilidade+ é claramente visível. Banana Contabilidade Plus, numericamente é a versão 10, que será continuamente melhorada, portanto haverá números adicionais 10.0.1, 10.0.2, etc. para cada versão subsequente.
Importante: para qualquer dúvida técnica, antes de entrar em contato com o serviço de suporte, certifique-se de ter a versão mais recente (baixando-a de nossa página de download)
Junto com o número da versão, você também encontrará o número de série, o endereço da web e as informações de direitos autorais.
Patentes e avisos legais
Nesta seção você encontrará novamente as informações sobre direitos autorais, as patentes do Banana Contabilidade e as declarações de marcas registradas. Você também encontrará a indicação de todas as plataformas de programação que o programa utiliza com as respectivas licenças e direitos autorais.
Créditos
Nesta seção, créditos são dados a todos aqueles que participaram e ainda participam ativamente no desenvolvimento, manutenção e promoção do nosso programa.
Error messages
When the programme encounters errors, a dialogue box appears to report them:
- Select the OK button to display each individual message.
- By activating the Do not report option, all error messages reported by the programme are saved in the Error messages window.
- Information on the Help button can be found under Contextual Help.
Warnings and error messages
- Complete list of error messages
- For further information on the Message Error window refer to the Interface page.
If the program displays error messages
- Revert to the the help page for the reported error: in the 'Info' and 'Messages' (where the error messages appear), next to the error message, the
 symbol will show. By clicking on this symbol, you will be connected directly to the online page corresponding to the error, containing the possible causes and solutions.
- If the error persists:
- Update your software to the latest available version, by downloading it at the following page Download.
- Check Accounting (menu Actions).
- In Multi-currency Accounting, ensure that Exchange Rate differences have been generated and applied (menu Actions).
Deactivate and Reactivate error messages
To deactivate/reactivate the display of the dialogue of messages:
- from the Window menu, put or remove the check mark on the Warning messages command.
- from the Actions menu launch the Check accounting command.
Banana Accounting Plus applications
With Banana Accounting Plus, you can easily manage business, association, or personal accounting with the simplicity of a spreadsheet and the accuracy of professional software.
You can choose the application that best suits your needs and grow your management over time without ever losing your data. You can get started right away with one of our templates and always achieve professional results.
Watch the video: ▶ Accounting in 3 easy steps
Choose between two accounting methods
Banana Accounting Plus applications are based on two different recording methods, designed for users with different levels of experience.
This modular structure allows you to start simply and expand features as your needs grow.
- Income and Expense Accounting – ideal for beginners and non-accounting specialists.
Manages income and expenses from multiple accounts in a simple and intuitive way.
Also includes the Cash Manager, which manages income and expenses from a single account (such as cash, bank, or project).
- Double-entry Accounting – ideal for users with accounting knowledge and professionals. Based on the international standard Debit and Credit system, the professional method par excellence.
Also includes Multi-currency accounting for managing foreign currency accounts and exchange rate differences.
- All applications are also available with VAT options. They include tables, columns, accounts, and features for VAT calculation and reporting.
- Extensions for Swiss VAT reports are included in the Advanced plan of Banana Accounting Plus, but can also be tested in the Free and Professional plans up to 70 transactions.
Income / Expense Accounting
The Income and Expense application allows you to record income and payments easily. It's perfect for small businesses, associations, or freelancers who want to keep track of income, expenses, and account balances even without specific accounting training.
In just a few steps, you can find out:
- how much you have earned or spent,
- view the balance of all income and expense categories,
- automatically generate clear and professional reports.
Banana Accounting Plus includes templates with pre-configured accounts and categories, so you can start recording right away. Data entry is very intuitive thanks to the clearly structured columns.
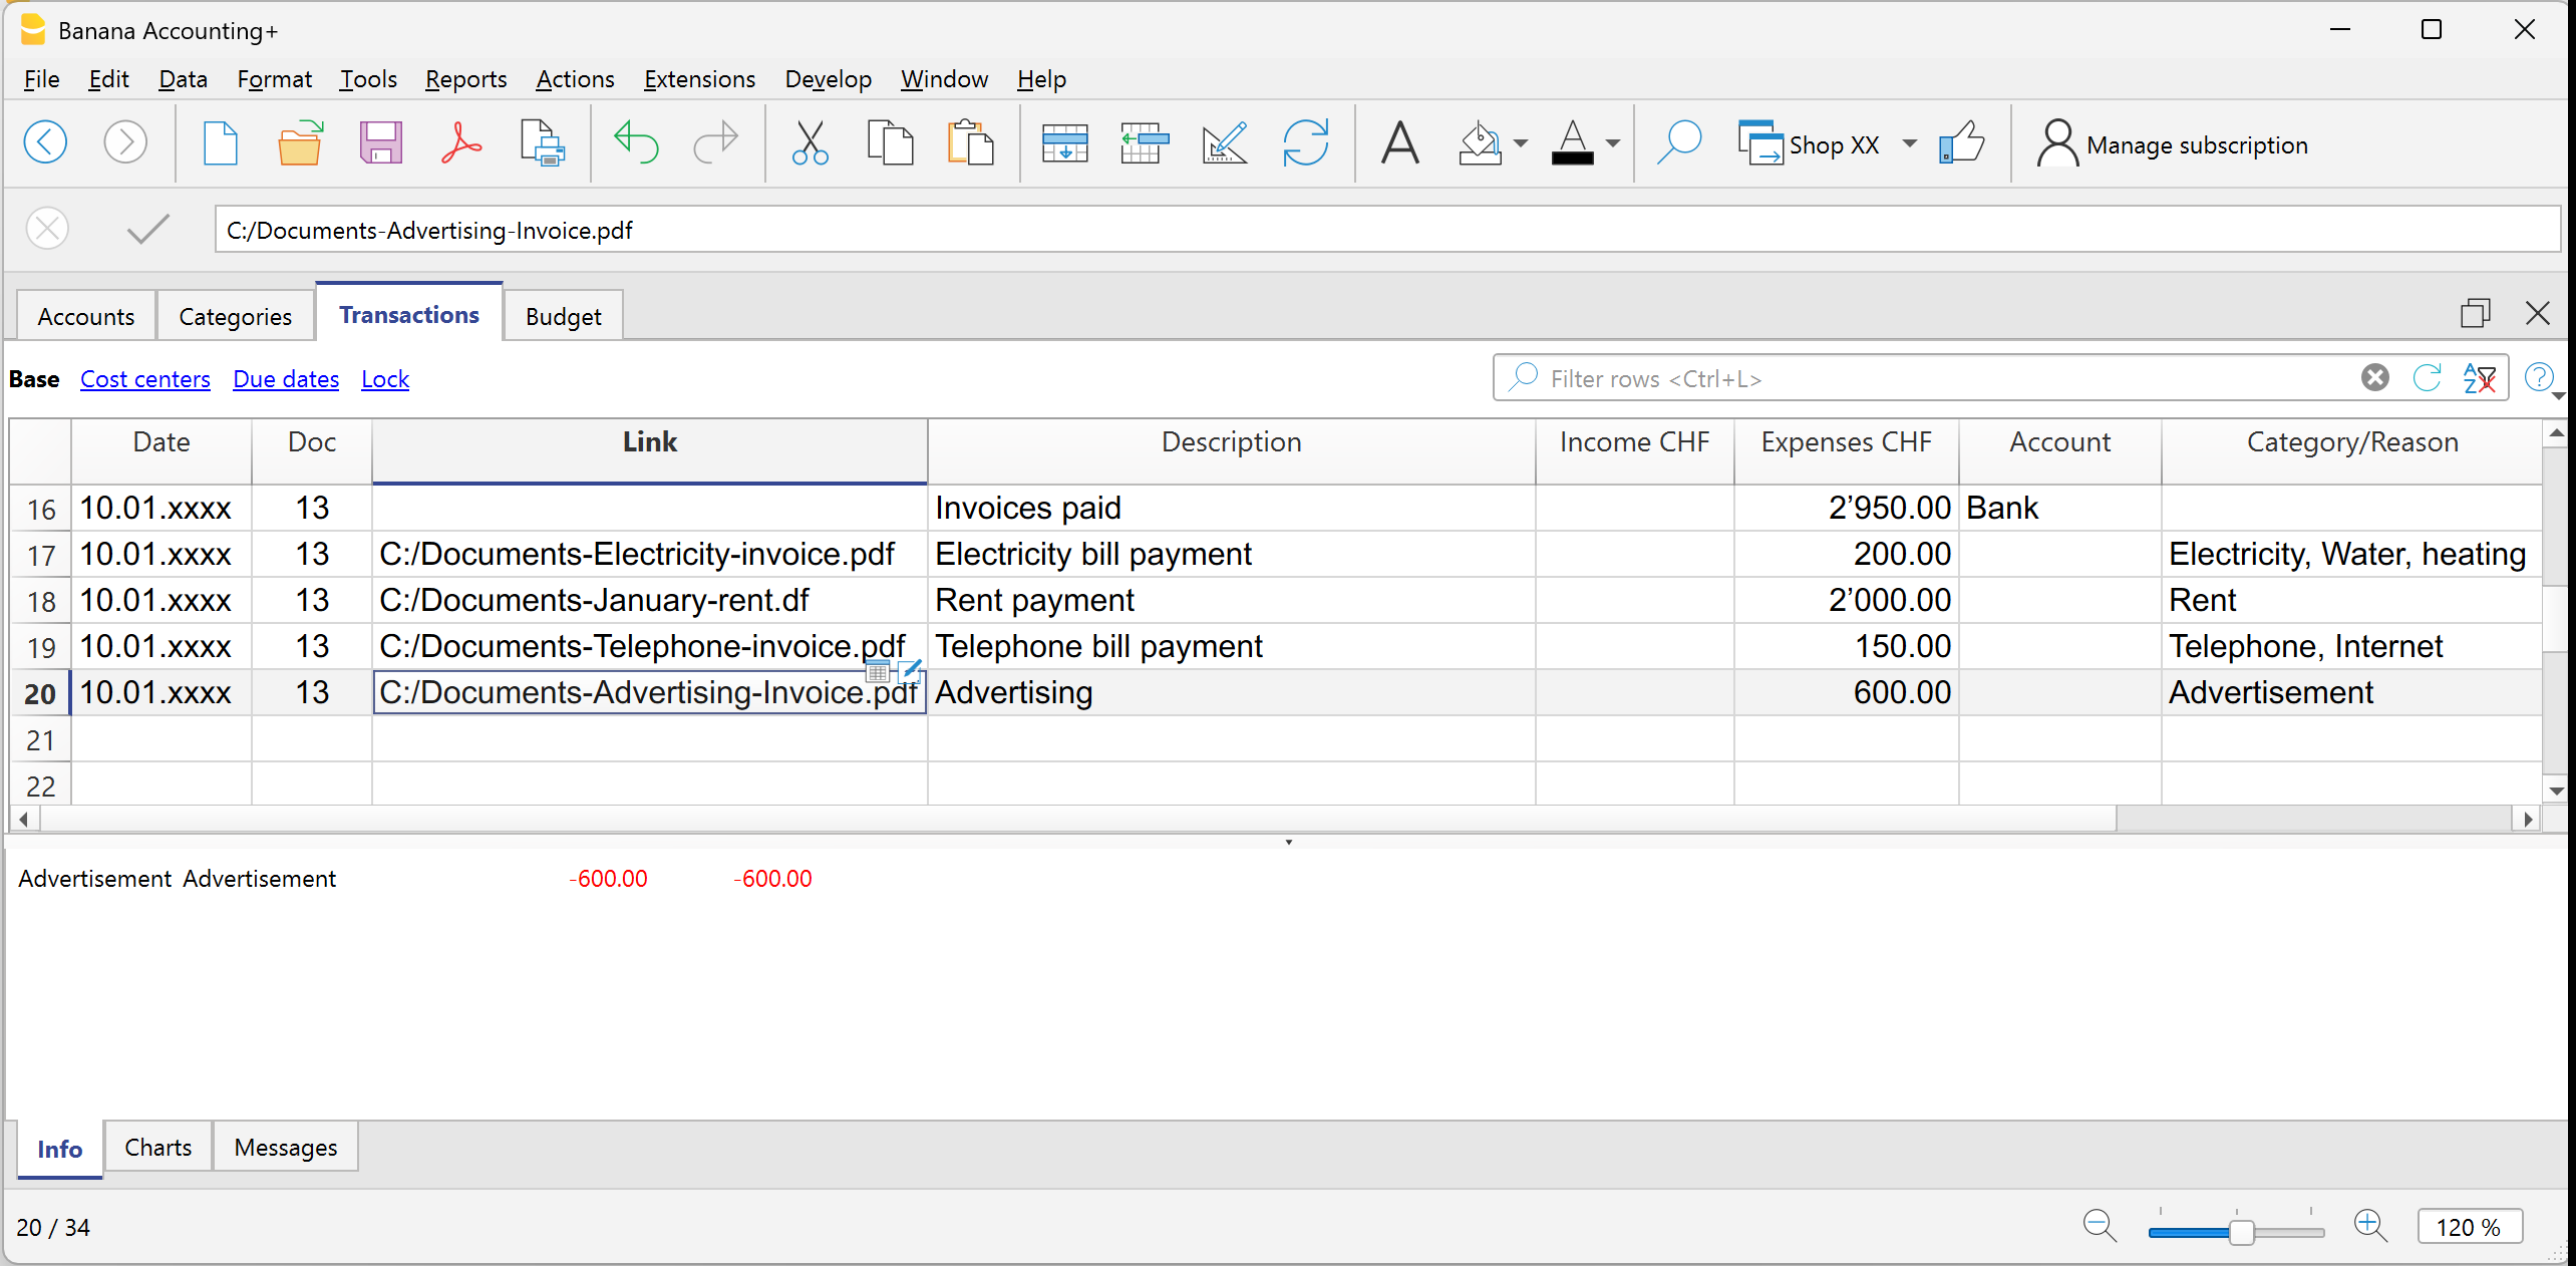
Cash Manager or Cash Book
The Cash Manager, also based on the Income and Expense accounting, offers management of cash account income and expenses or any other account.
It is simple, fast, intuitive, and usable by everyone:
- families who want to monitor expenses;
- teenagers and students learning to manage their savings and first expenses;
- businesses, freelancers, associations to manage liquidity.

Double-entry Accounting
With the double-entry accounting application, Banana Accounting Plus lets you work with precision but with great simplicity, thanks to its familiar spreadsheet-style environment.
It is a complete and professional solution based on the international Debit and Credit accounting system.
Each transaction is recorded in two accounts — one in Debit and one in Credit — to ensure accounting balance.
It is ideal for businesses, accountants, fiduciaries, and expert users who want maximum accuracy and management control.
It provides a complete view of assets, costs, revenues, and business results, with accurate reports ready for tax filing.
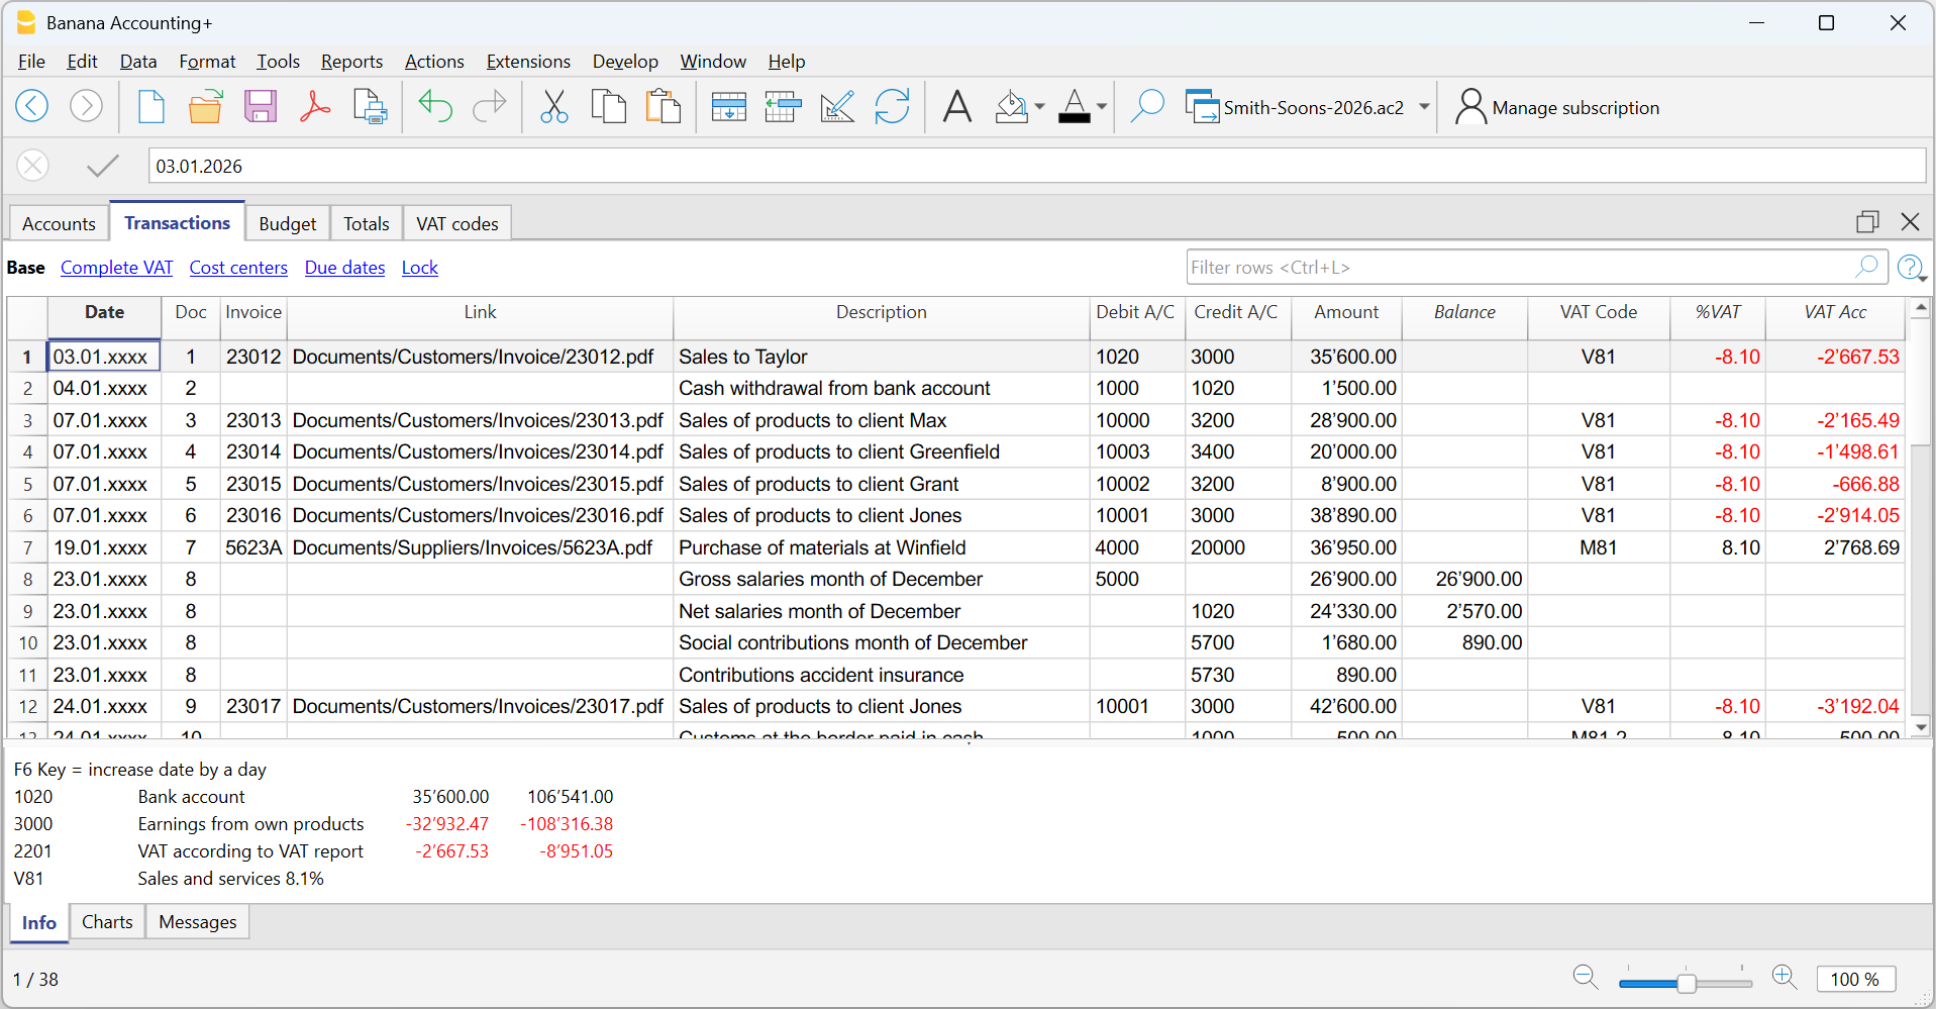
Thanks to its powerful calculation engine, Banana Accounting Plus manages double-entry accounting in a very simple and complete way:
- updates all balances in real time after each transaction;
- automatically detects any imbalance between Debit and Credit;
- allows you to filter rows and modify them directly in the filtered table;
- allows importing bank transactions, saving recurring operations, and attaching digital documents;
- generates balance sheets, profit & loss statements, account ledgers, and journals with one click.
It ensures an up-to-date and consistent view of your business’s financial and economic situation.
Multi-currency Accounting
Multi-currency accounting is based on double-entry accounting and allows you to also manage accounts in different currencies. Easily handle multiple currencies and benefit from automatic calculations for exchange rate fluctuations.
Ideal for those who work abroad, or with foreign countries, and anyone who has financial operations involving multiple currencies; small and medium-sized businesses with international suppliers or customers, import and export companies, financial service firms, investors, travelers, and tourists to keep track of expenses while traveling.

Structure of the Accounting applications
The strength of Banana Accounting lies in its clear and organized structure. Each application is based on tables, with clearly defined columns, similar to a spreadsheet, but with built-in accounting features. This approach combines the simplicity of Excel with the accuracy of professional software.
The main tables are:
- Accounts – available in all accounting applications. Lists cash, bank, customer, supplier, and other accounts, with balances updated in real time.
- In the Cash Manager, the Accounts table handles only one account.
- Categories – available in Income and Expense accounting, including the Cash Manager. Divides income and expenses by type (sales, donations, salaries, expenses, etc.).
- Transactions table – available in all accounting applications. Daily operations are recorded or imported with date, description, and amount by account/category.
- VAT Codes - available in all accounting applications with VAT. Manages the VAT codes to apply in transactions for automatic calculations and reports.
- Exchange Rates – available only in double-entry multi-currency accounting templates. Manages exchange rates of foreign currencies in relation to the base currency (national currency).
After each transaction, Banana Accounting automatically updates all totals and generates professional reports: balance sheets, financial statements, journals, and account ledgers, always ready for printing or export.
Predefined templates for each application
For each application, you will find ready-to-use templates with accounts, categories, and integrated features based on the selected accounting type.
Simply select the most suitable template to get professional reports and start working right away.
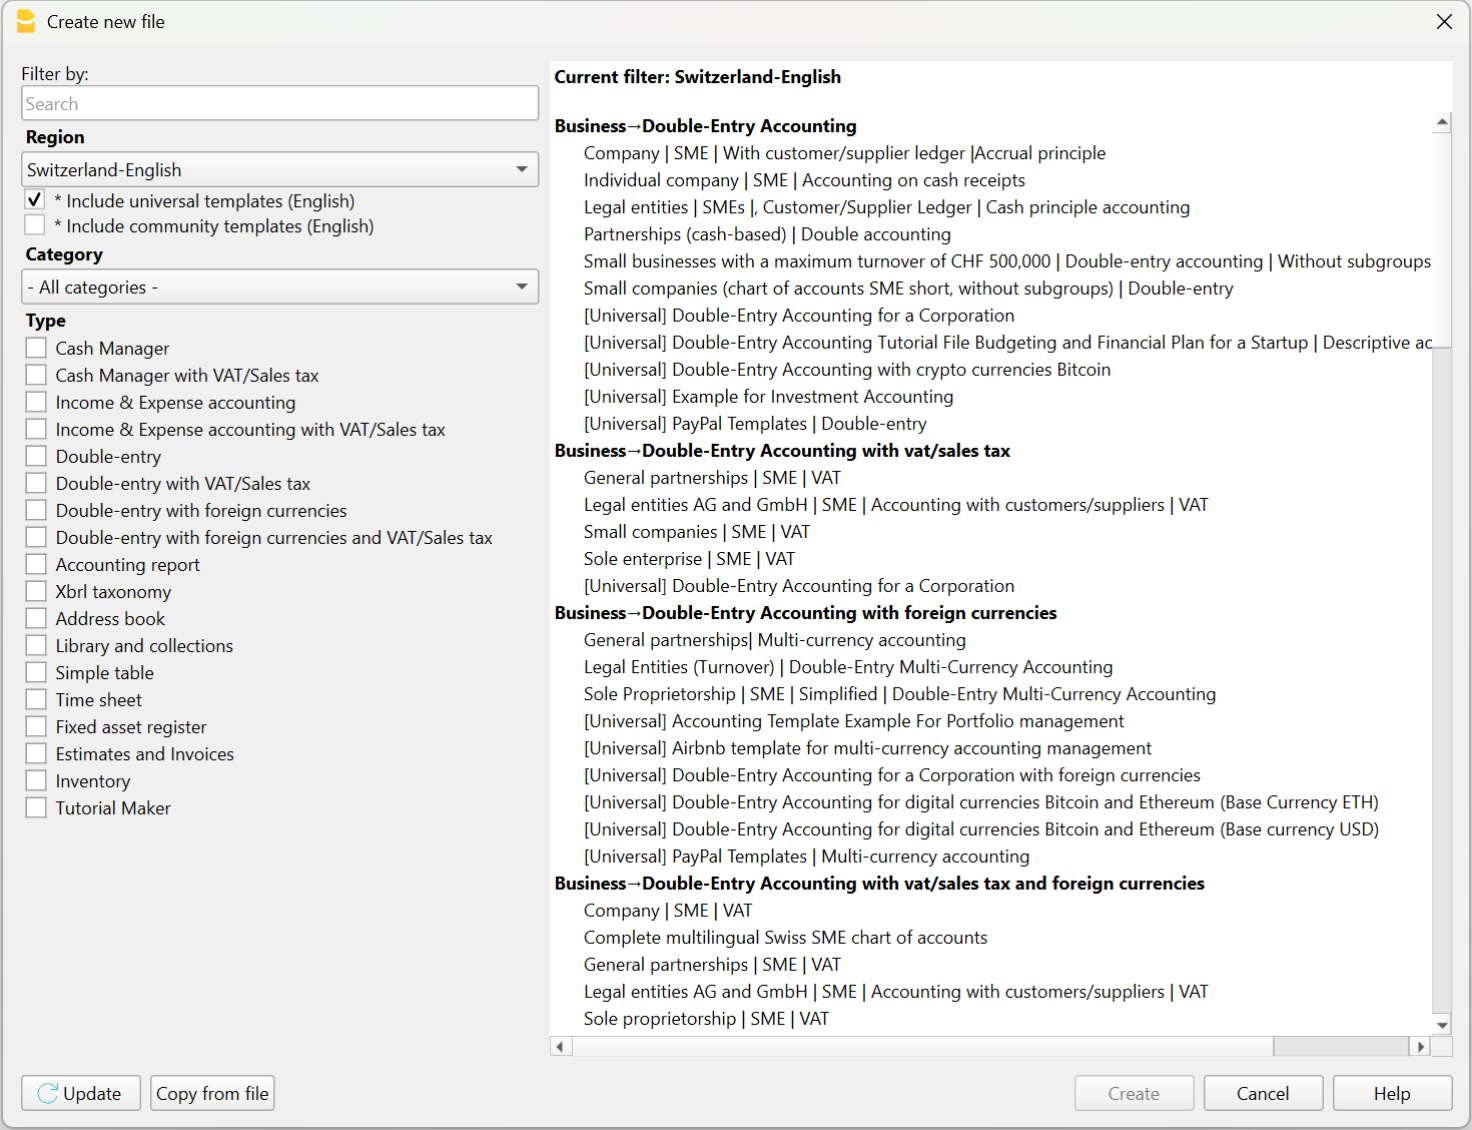
You can open them directly:
- from the program, via the File > New menu
- from our Template Store, by downloading them to your computer or opening them via the WebApp (directly in your browser – still in testing).
In just a few minutes, you can record your first transactions and get real-time updated reports.
Double-entry accounting with Banana Accounting Plus
Double-entry accounting is an application of Banana Accounting Plus that allows you to manage accounts with precision, flexibility and reliability, following the most recognized and widely used accounting method internationally.
It is the ideal solution for companies, associations, organizations, freelancers, self-employed workers and also for schools, used worldwide by training institutes and universities for practical teaching.
Note: usage requires basic accounting knowledge.
Benefits of double-entry accounting with Banana
Banana Accounting Plus offers various tools that simplify the daily management of double-entry accounting, including:
- Predefined double-entry accounting templates with a pre-set chart of accounts.
- Table structure that allows quick entry of transactions.
- Customizable chart of accounts, with the possibility to add or modify accounts and groups.
- Import from e-banking and Rules for recurring transactions.
- Linking digital documents via dedicated fields.
- Automatic reports such as balance sheet, income statement and account cards.
- VAT management, Customers/Suppliers, Multi-currency and Budget, if needed.
Below you will find an overview of the key elements of the accounting file: from the initial settings to the operational tables, up to the closing, printing, and opening functions.
Getting started
The Getting started page guides you through the first steps with the double-entry accounting file, explaining what to set up initially and how to properly prepare the work.
File Properties
On the File Properties page, you can define the basic accounting data: start and end dates of the accounting period, company name and address, base currency and other additional data.
Accounts Table
The Accounts table includes all asset and income statement accounts (Assets, Liabilities, Costs, Revenues) with real-time updated balances. You can customize the table by adding or removing accounts, changing descriptions, adding your customers and suppliers, etc.
Based on the selected template, the Accounts table suggests the accounts needed to manage your business. You can freely adapt the structure of the chart of accounts, always maintaining data consistency:
- Add or delete accounts and groups at any time.
- Edit descriptions, totals and subtotals.
- Create new sections or custom balance sheet structures.

The grouping system explains how Banana calculates totals and subtotals in the tables (Chart of accounts, Categories, etc.).
Thanks to the group levels, you can set up custom balance sheets, create subtotal groups and analyze in detail the various areas of your management.
For more detailed analysis, you can use:
which allow you to classify transactions by projects, departments or specific activities, without having to create additional accounts.
If your needs change over time, you can always change the chart of accounts by updating its structure easily while maintaining continuity and compatibility with existing data.
In the Accounts table, at the end of the Income Statement, if the equation Assets = Liabilities + Equity is correct, the row Difference must be zero remains empty.
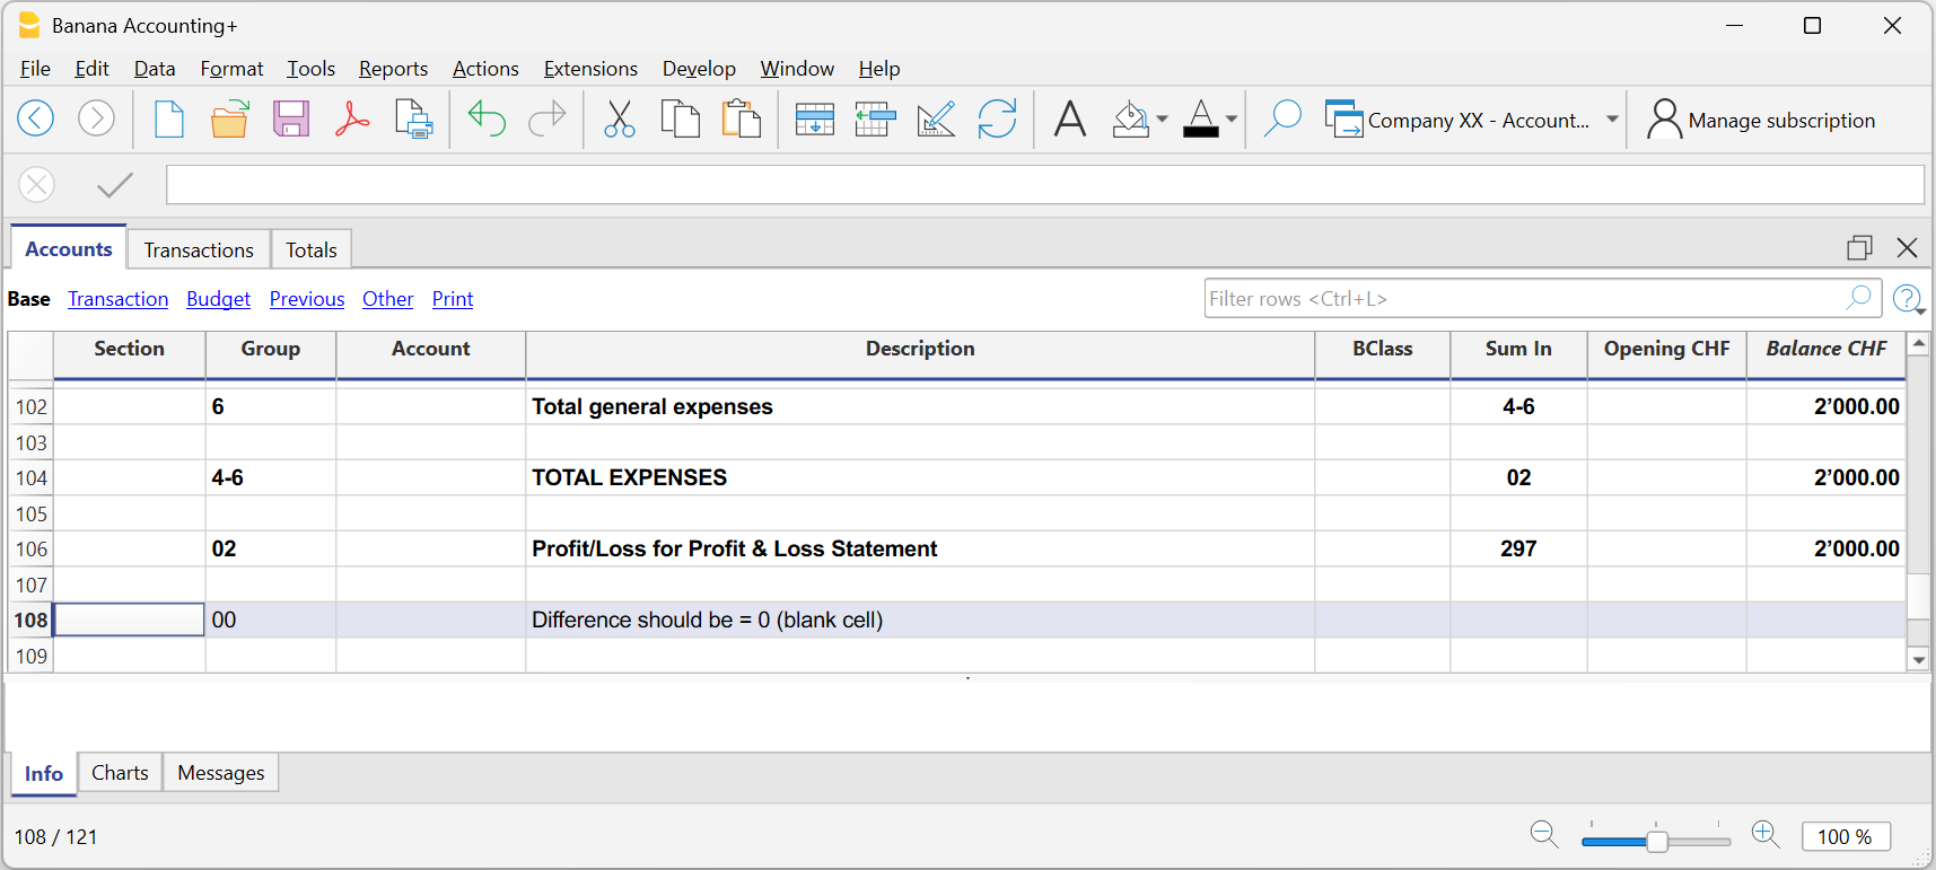
Differences and imbalances are caused by:
- Errors in opening balances
- Errors in grouping
- Errors in transactions
Transactions Table
The Transactions table is the heart of double-entry accounting, where you enter all daily transactions by specifying the accounts involved in the Debit and Credit columns, the dates, amounts, and descriptions. Depending on the selected accounting template, it already has predefined columns.
You can customize the table by adding new columns or changing their layout to suit your viewing preferences.

The Transactions table offers many features to speed up your work and maintain perfect, error-free accounting:
- Smart autocomplete for accounts and descriptions
- Rules for recurring transactions
- Automatic import from e-banking, which instantly fills in rows
- Links to digital documents directly in the row (Link column)
- Advanced search and filters to view only the relevant transactions
- Option to add custom columns or rearrange existing ones
If you use customer and supplier management, the table also automatically updates their balances and supports invoice reconciliation.
Totals Table
In the Totals Table, you get an instant overview of account trends and main balances: it automatically summarizes the accounting results, displaying total assets, liabilities, costs and revenues. If there are any accounting balancing errors, the difference is shown in the "Difference must be zero" row.
Budget Table
In the Budget Table, you can plan both financial and economic aspects. Once you enter the budget values, you can generate a forecast Balance Sheet and Income Statement and also compare them with actual values.
Other Tables
For more specific needs, you can also use the dedicated tables for:
Accounting Closures
Accounting closures verify that the data is complete and correct and prepare the accounting for a new period. Thanks to specific features, Banana Accounting Plus helps you review transactions, identify possible errors, and generate final documents.
Some of the main features:
- Balance column: immediately shows any discrepancies between Debit and Credit.
- Temporary row filter: to display only the transactions you're interested in and edit or correct them directly in the filtered rows.
- Check accounting: a set of tools for automatically verifying data and reporting any errors.
Printouts, Analysis and Automatic Reports
Banana processes the recorded data in real time, offering professional reports and constantly updated analyses to monitor the financial performance of your business.
With just one click, you can generate all the main accounting documents:
- Balance Sheet and Income Statement
- Account cards and Journal
- VAT reports with XML export (only with the Advanced plan)
- Budget and project analysis using Cost/Profit Centers and Segments
Example of Balance Sheet printout
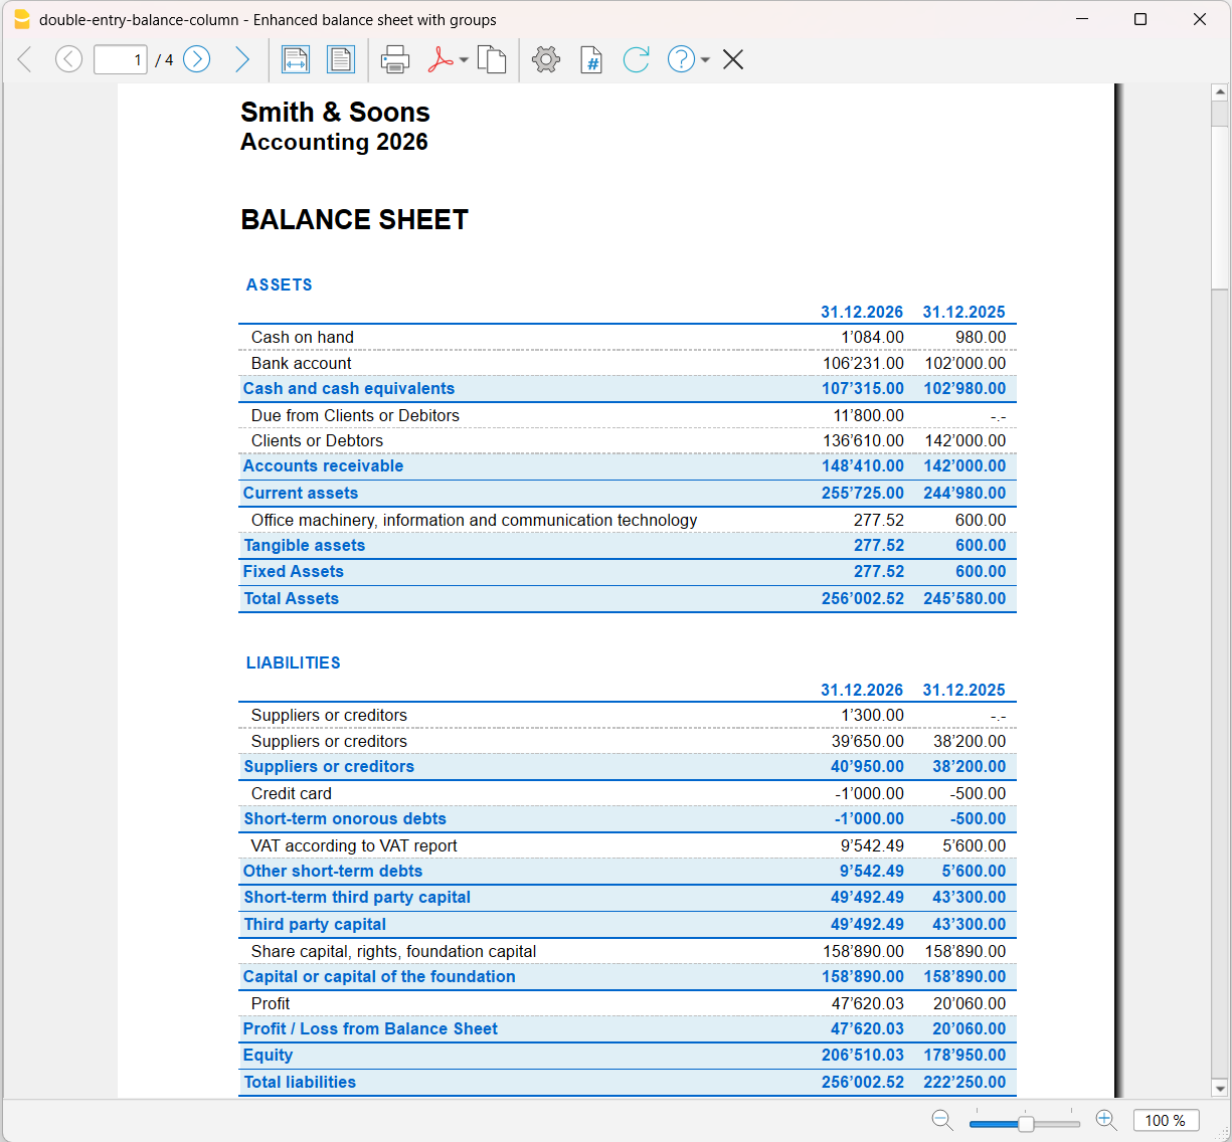
Opening Balances
Opening balances are the starting point of a new accounting year; they are essential for correctly setting the initial balances, the file parameters, and any data to be carried over from the previous year or from another accounting system.
In Banana Accounting Plus, opening is done simply using the Create New Year command: the program creates a new file (to be saved under the new year's name), copying all accounts from the previous year and automatically inserting the opening balances. The new year can be opened even before the previous year is closed. With the Update Opening Balances command, you can automatically update the new year's opening balances once the previous year has been definitively closed or modified.
Useful Links
Come começar uma Contabilidade de partidas dobradas
Criar um ficheiro de contabilidade a partir de um modelo
Siga os seguintes passos:
- Menu Arquivo, comando Novo
- Selecionar a Região, a Categoria e o tipo de contabilidade
- Da lista de modelos que aparece, escolha a que mais se aproxima às suas exigências
- Clique no botão Criar.
Na caixa Procurar, ao inserir uma palavra-chave, o programa visualiza os modelos que contêm a palavra-chave.
Também é possível começar a partir de um ficheiro vazio, ativando a opção Criar arquivo vazio. No entanto, para facilitar o começo e evitar erros de agrupamento, aconselhamos começar sempre com um modelo existente.
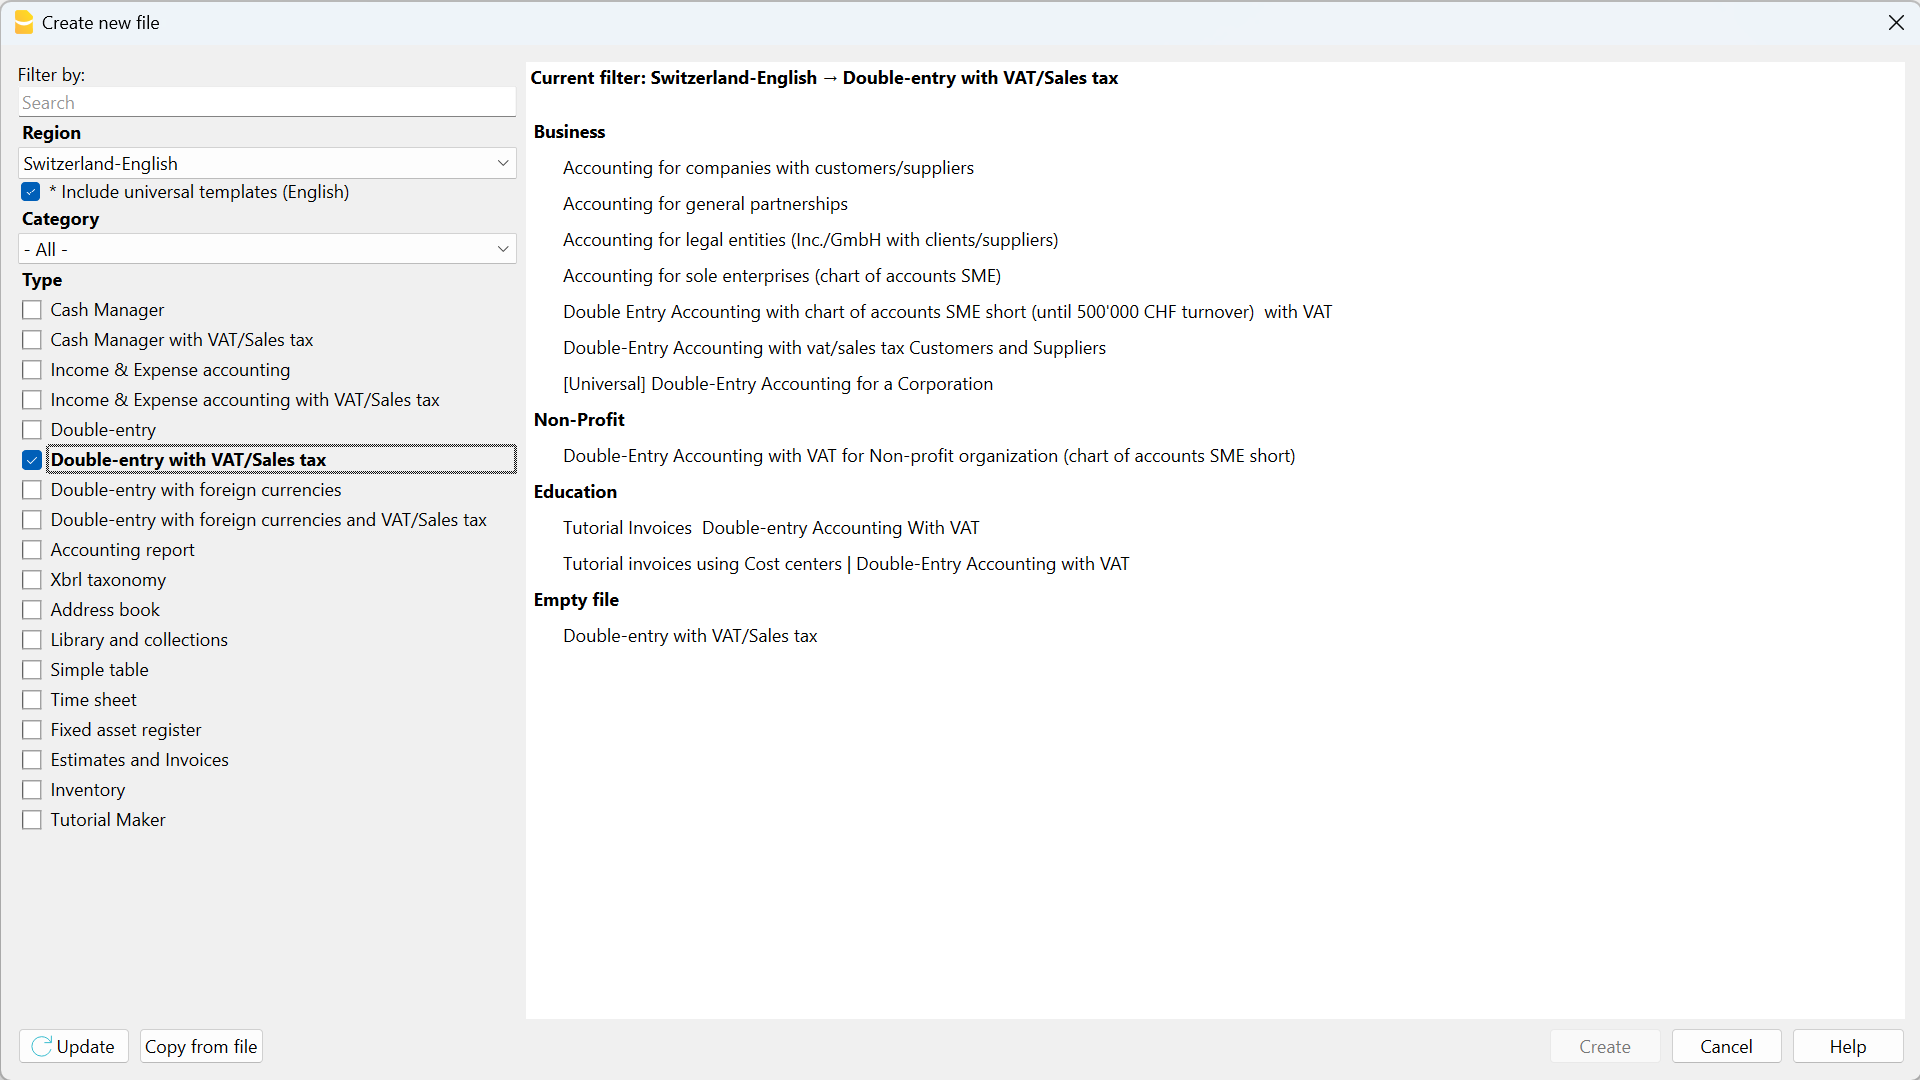
Mais informações sobre como criar um novo arquivo estão disponíveis na página Criar novo arquivo.
Configurar as Propriedades do arquivo
- No menu Arquivo, comando Propriedades do arquivo indicar o nome da empresa que aparecerà no cabeçalho da impressão e de outros dados.
- Selecionar a moeda base com a qual é gerida a contabilidade.
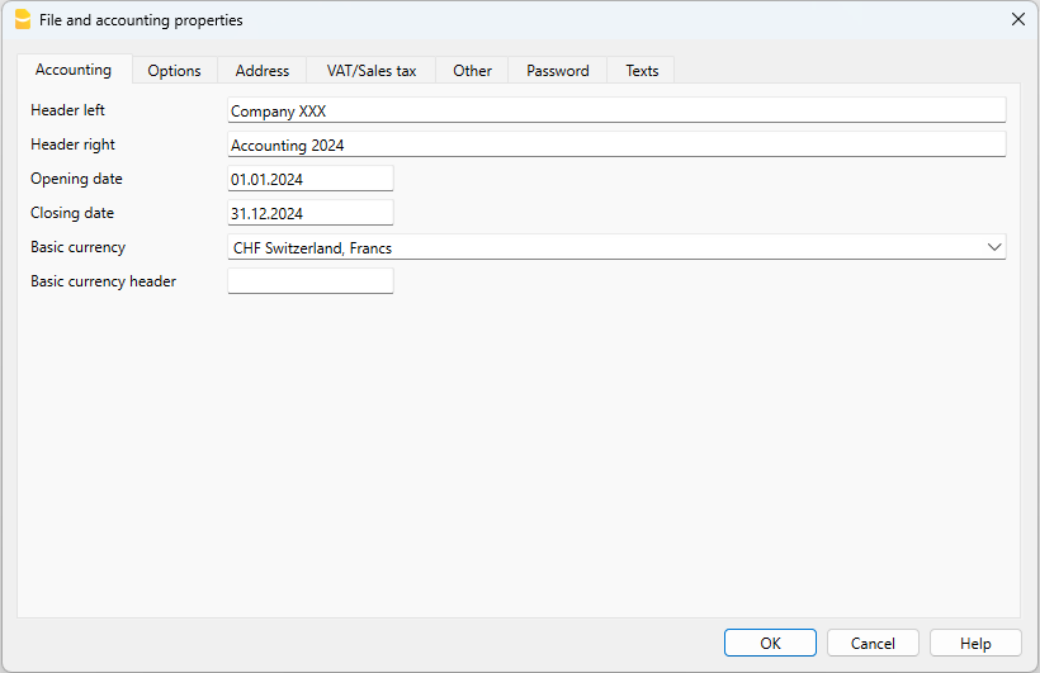
Salvar no disco
Com o comando Arquivo → Salvar como..., guarde os dados e atribua um nome ao ficheiro. Aparecerà o dialogo tipico do seu sistema operativo.
- É aconselhado usar o nome da empresa, seguido do ano "empresa-2020.ac2" para distinguir de outros arquivos de contabilidade.
- Pode guardar quantos arquivos precisar, cada um com o seu próprio nome.
- Pode escolher o percurso e o suporte (guardar num disco, pen USB o cloud).
Se espera ter também documentos ligados à contabilidade do ano corrente, sugerimos criar uma pasta separada para cada ano de contabilidade para reunir todos os arquivos.
Uso do programa em geral
Banana Contabilidade foi inspirado no Excel. O modo de uso e os comandos são o mais semelhante possível aos do Microsoft Office.
Para informações sobre o uso, inviamo-lo a explicação na página Interface.
A contabilidade é mantida ao interno de tabelas e são usadas todas da mesma maneira.
Personalizar o plano de contas
Na tabela Contas é possível personalizar o plano de contabilidade segundo as próprias exigências:
- Adicionar e eliminar contas existentes (adicionar linhas)
- Mudar os números de conta, a descrição (ex: inserir o nome do ccb do próprio Banco), inserir outros grupos, etc.
- Para criar subgrupos, consultar a seguinte página Grupos.
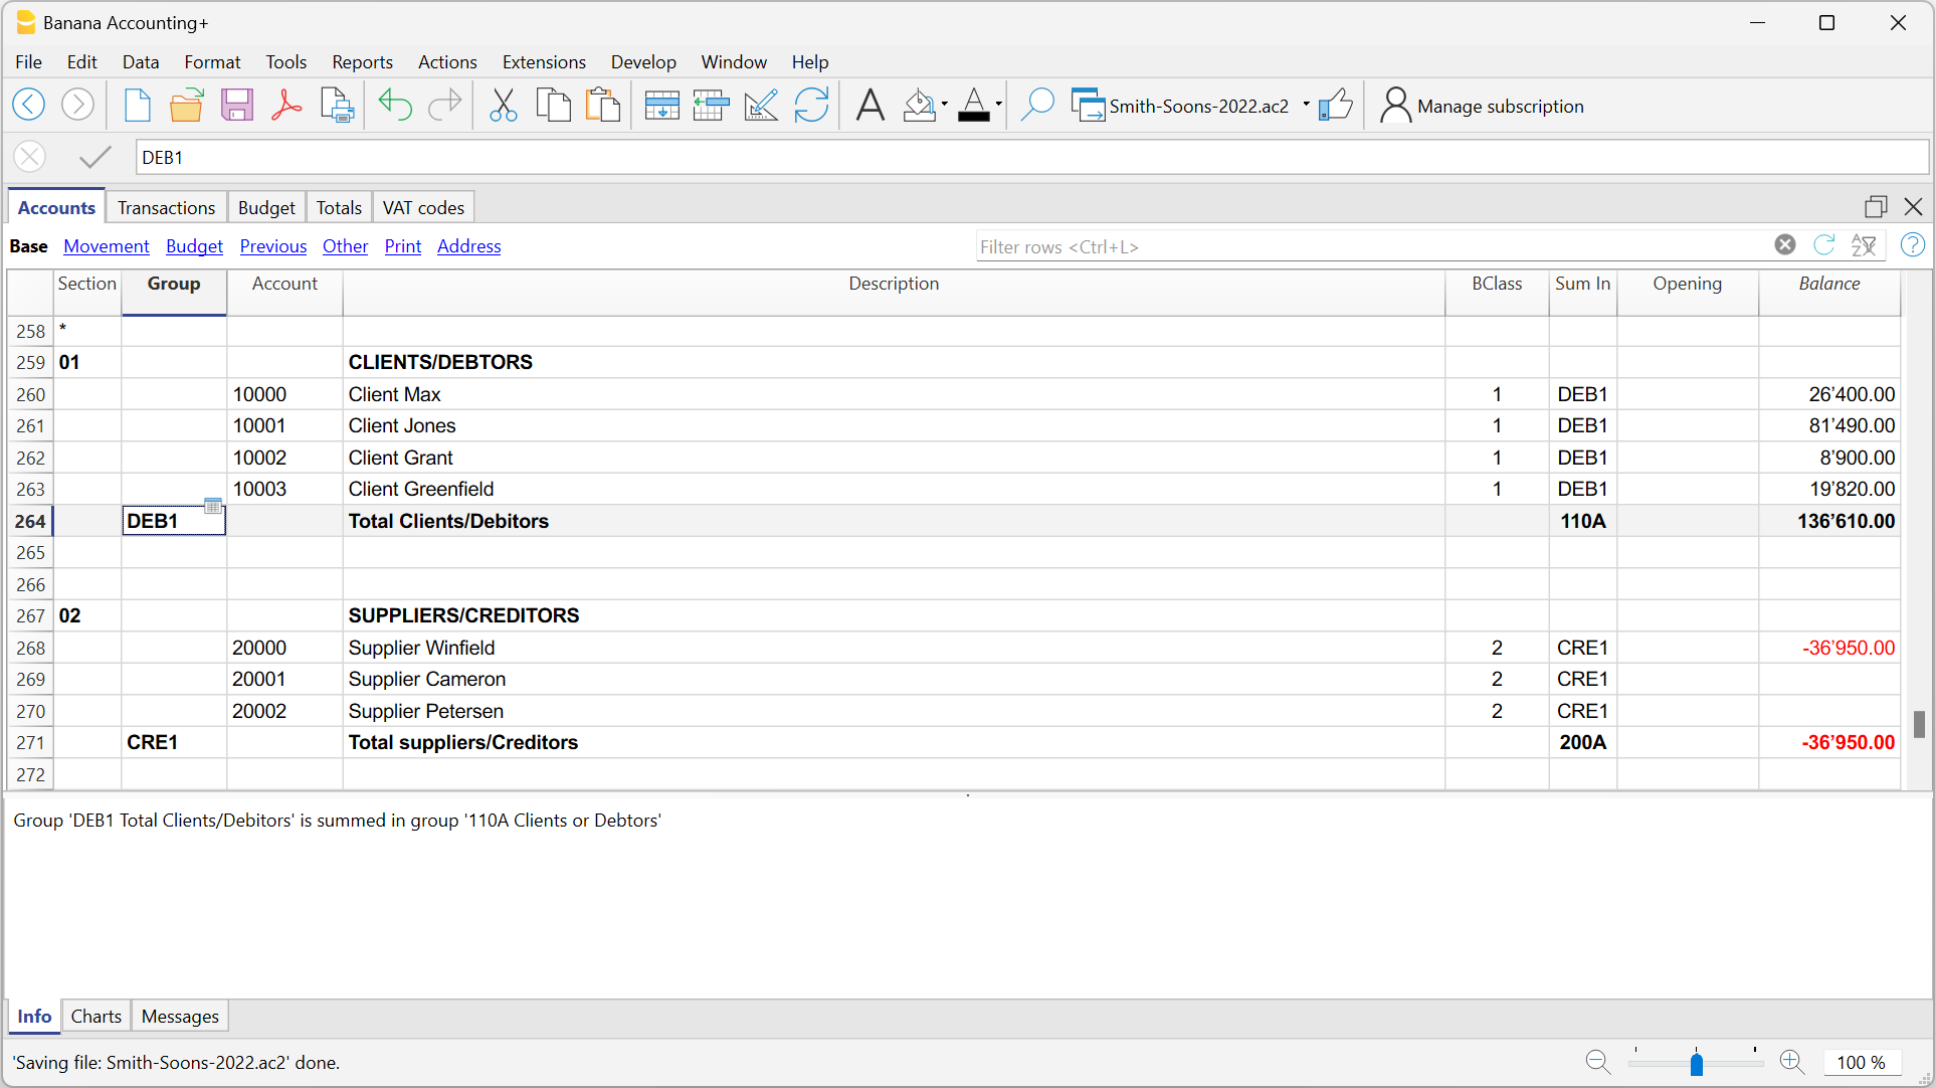
No plano de contas podem-se definir Centros de custo ou Segmentos que servem para catalogar os montantes de maneira mais detalhada e específica.
Os Lançamentos
Os lançamentos devem ser inseridos na tabela Lançamentos e constituem o Livro Jornal.
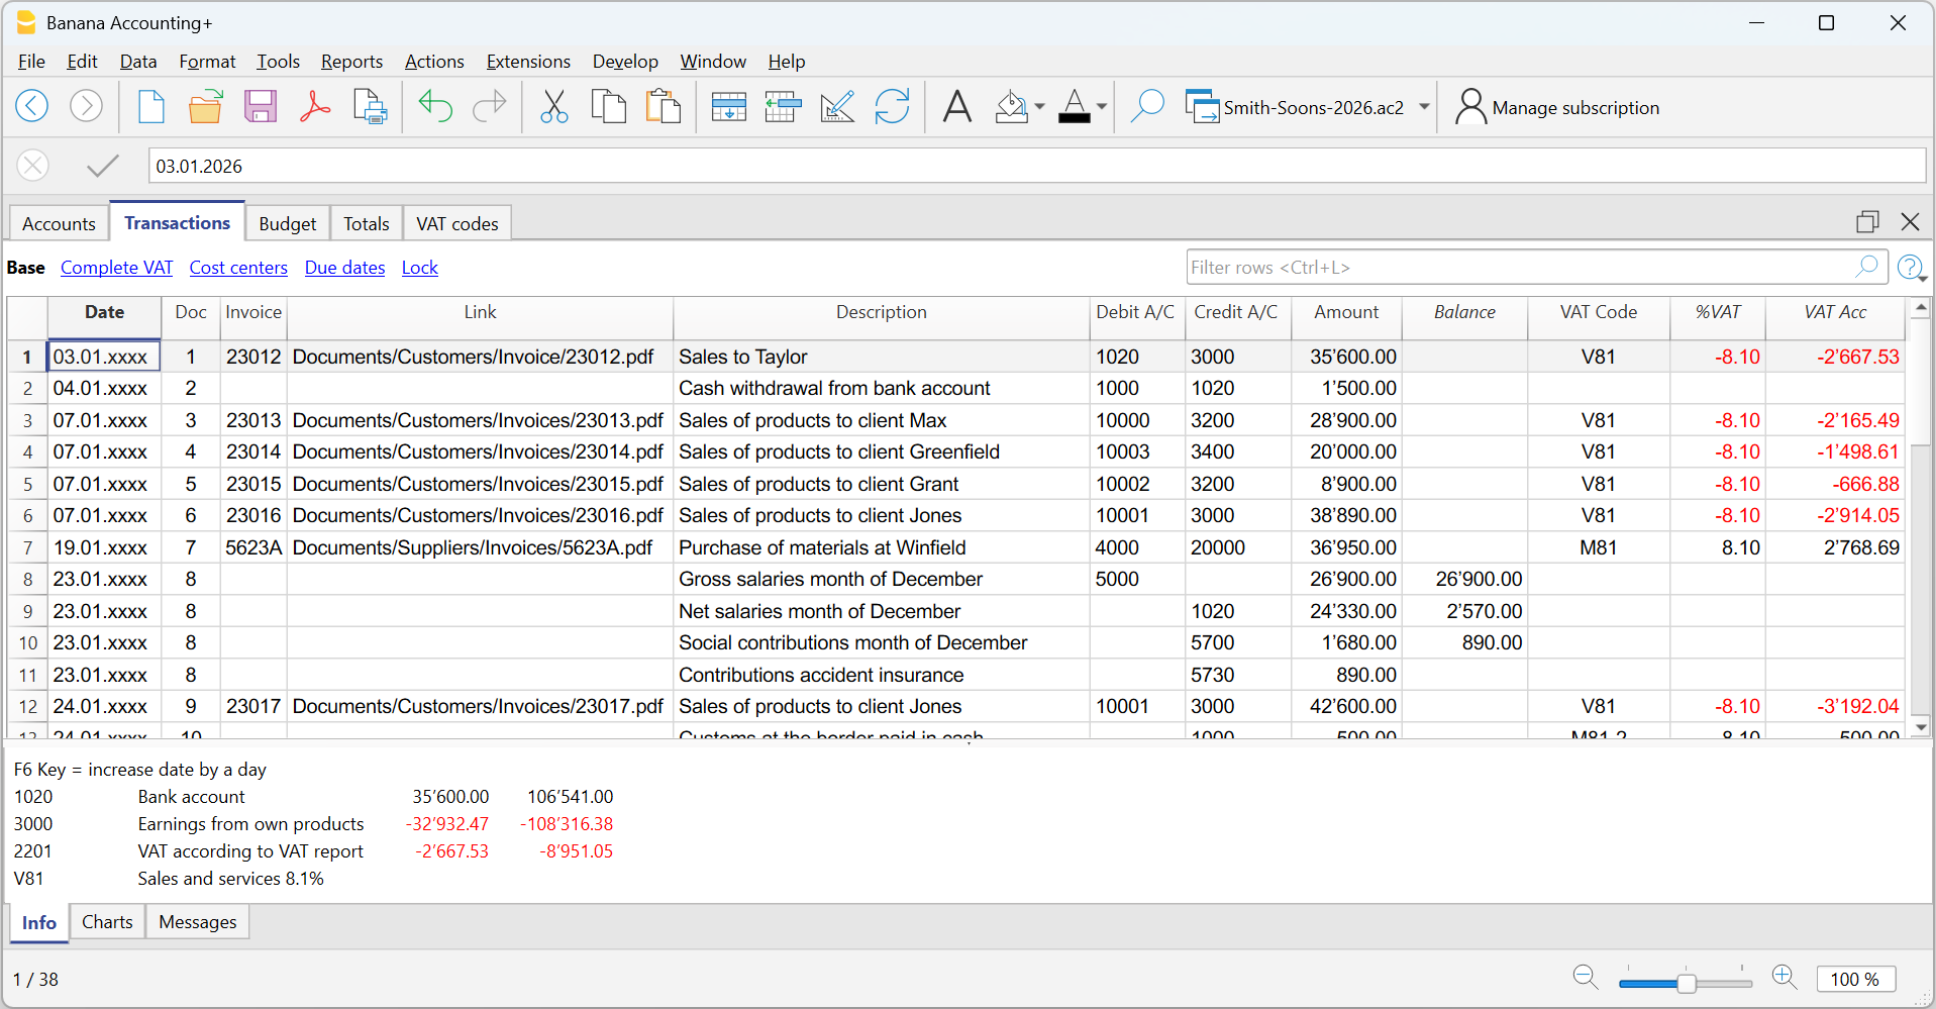
Nas colunas correspondentes:
- Inserir a data
- Inserir o número de documento que foi atribuído ao documento em papel manualmente. Isto permite recuperar facilmente o documento, uma vez contabilizada a operação
- Inserir a descrição
- Na conta Débito inserir a conta de destinação
- Na conta Crédito inserir a conta de proveniência
- Inserir o Valor. Na contabilidade com IVA, inserir o montante bruto; o programa separa o IVA, separando o custo e o produto líquido.
Acelerar a inserção dos Lançamentos
Para acelerar a inserção dos lançamentos utiliza-se:
- a função de Emissão de dados com preenchimento automático que consente recuperar automaticamente dados já inseridos previamente
- a função dos Lançamentos repetitivos (menu Conta2) que permite memorizar numa tabela os lançamentos repetitivos
- a importação de dados do extrato bancário ou postal.
Lançamentos com IVA
Para poder registrar operações com IVA ocorre:
- No menu Arquivo, comando Novo, escolher contabilidade de partidas dobradas
- Escolher um dos planos de contabilidade já existentes, onde se encontra a tabela Códigos IVA, com todos os códigos IVA em vigor.
Para os lançamentos com IVA, consultar a página Lançamentos da gestão IVA.
Lançamentos compostos
Para os Lançamentos compostos, aqueles que concernem débitos e/ou créditos em várias contas (ex: quando se pagam faturas diferentes com a conta corrente bancária) ocorre registrar em mais do que uma linha:
- uma linha para cada conta de débito e/ou crédito.
- quando todos os débitos e créditos forem inseridos, não devem existir diferenças.
Para mais informações, consulte a página Lançamentos compostos.
Controlo faturas clientes e fornecedores
Banana permite ter sob controlo as faturas para pagar e aquelas por receber. Consulte:
As fichas Conta
A ficha conta relata automaticamente todos os movimentos registados numa mesma conta (ex: caixa, banco, clientes, etc.).
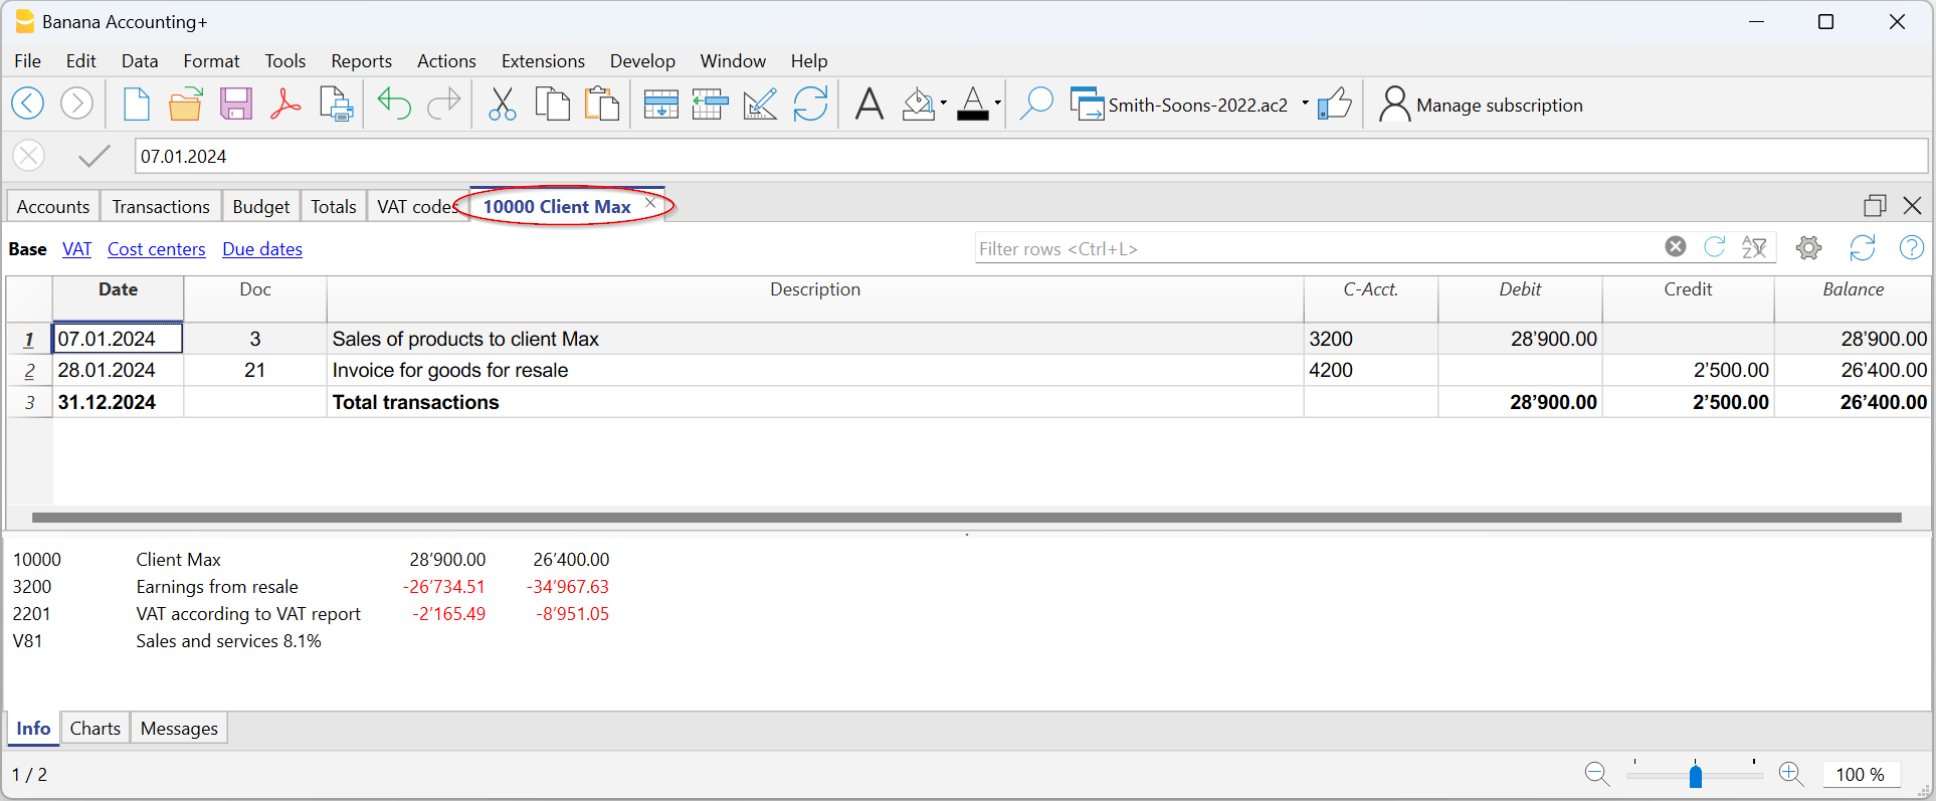
Para visualizar a ficha de uma conta, basta posicionar o mouse no número de conta e clicar no símbolo azul que aparece.
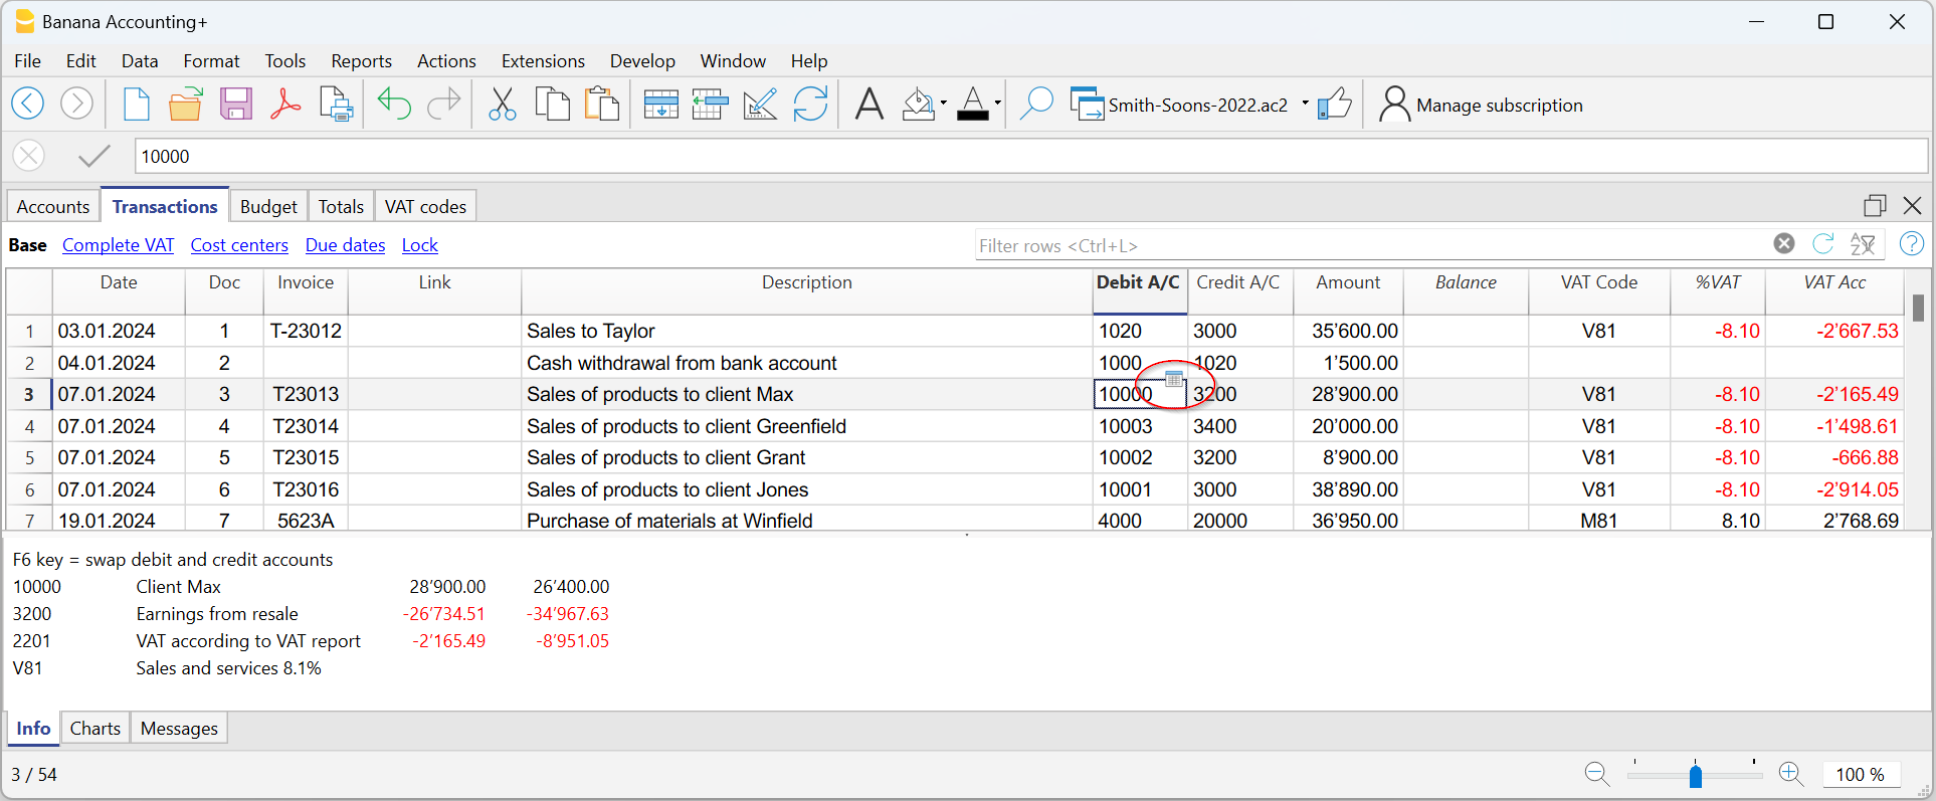
Fichas conta por período
Para visualizar as fichas conta com os saldos referidos num determinado período, ocorre clicar no menu Conta1, comando Razão por conta e na secção Período ativar Período selecionado, inserindo a data de começo e de fim do período.
Para mais informações, consulte a página Periodo.
Imprimir as fichas conta
Para imprimir uma ficha conta, basta visualizar a ficha a partir de qualquer tabela (Contas ou Lançamentos) e acionar a impressão no menu Arquivo..
Para imprimir várias ou todas as fichas conta, clicar no menu Conta1, comando Razão por conta e selecionar as fichas conta para imprimir. Através do filtro presente na janela, pode-se fazer uma seleção automatica de todas as contas, os centros de custo, os segmentos, os grupos, etc.
Mais informações estão disponíveis na página Razões por conta.
O Balanço e o Demonstrativo de Lucros e Perdas
O Balanço visualiza os saldos de todas as contas patrimoniais, Ativas e Passivas. A diferença entra Ativas e Passivas determina o Capital próprio.
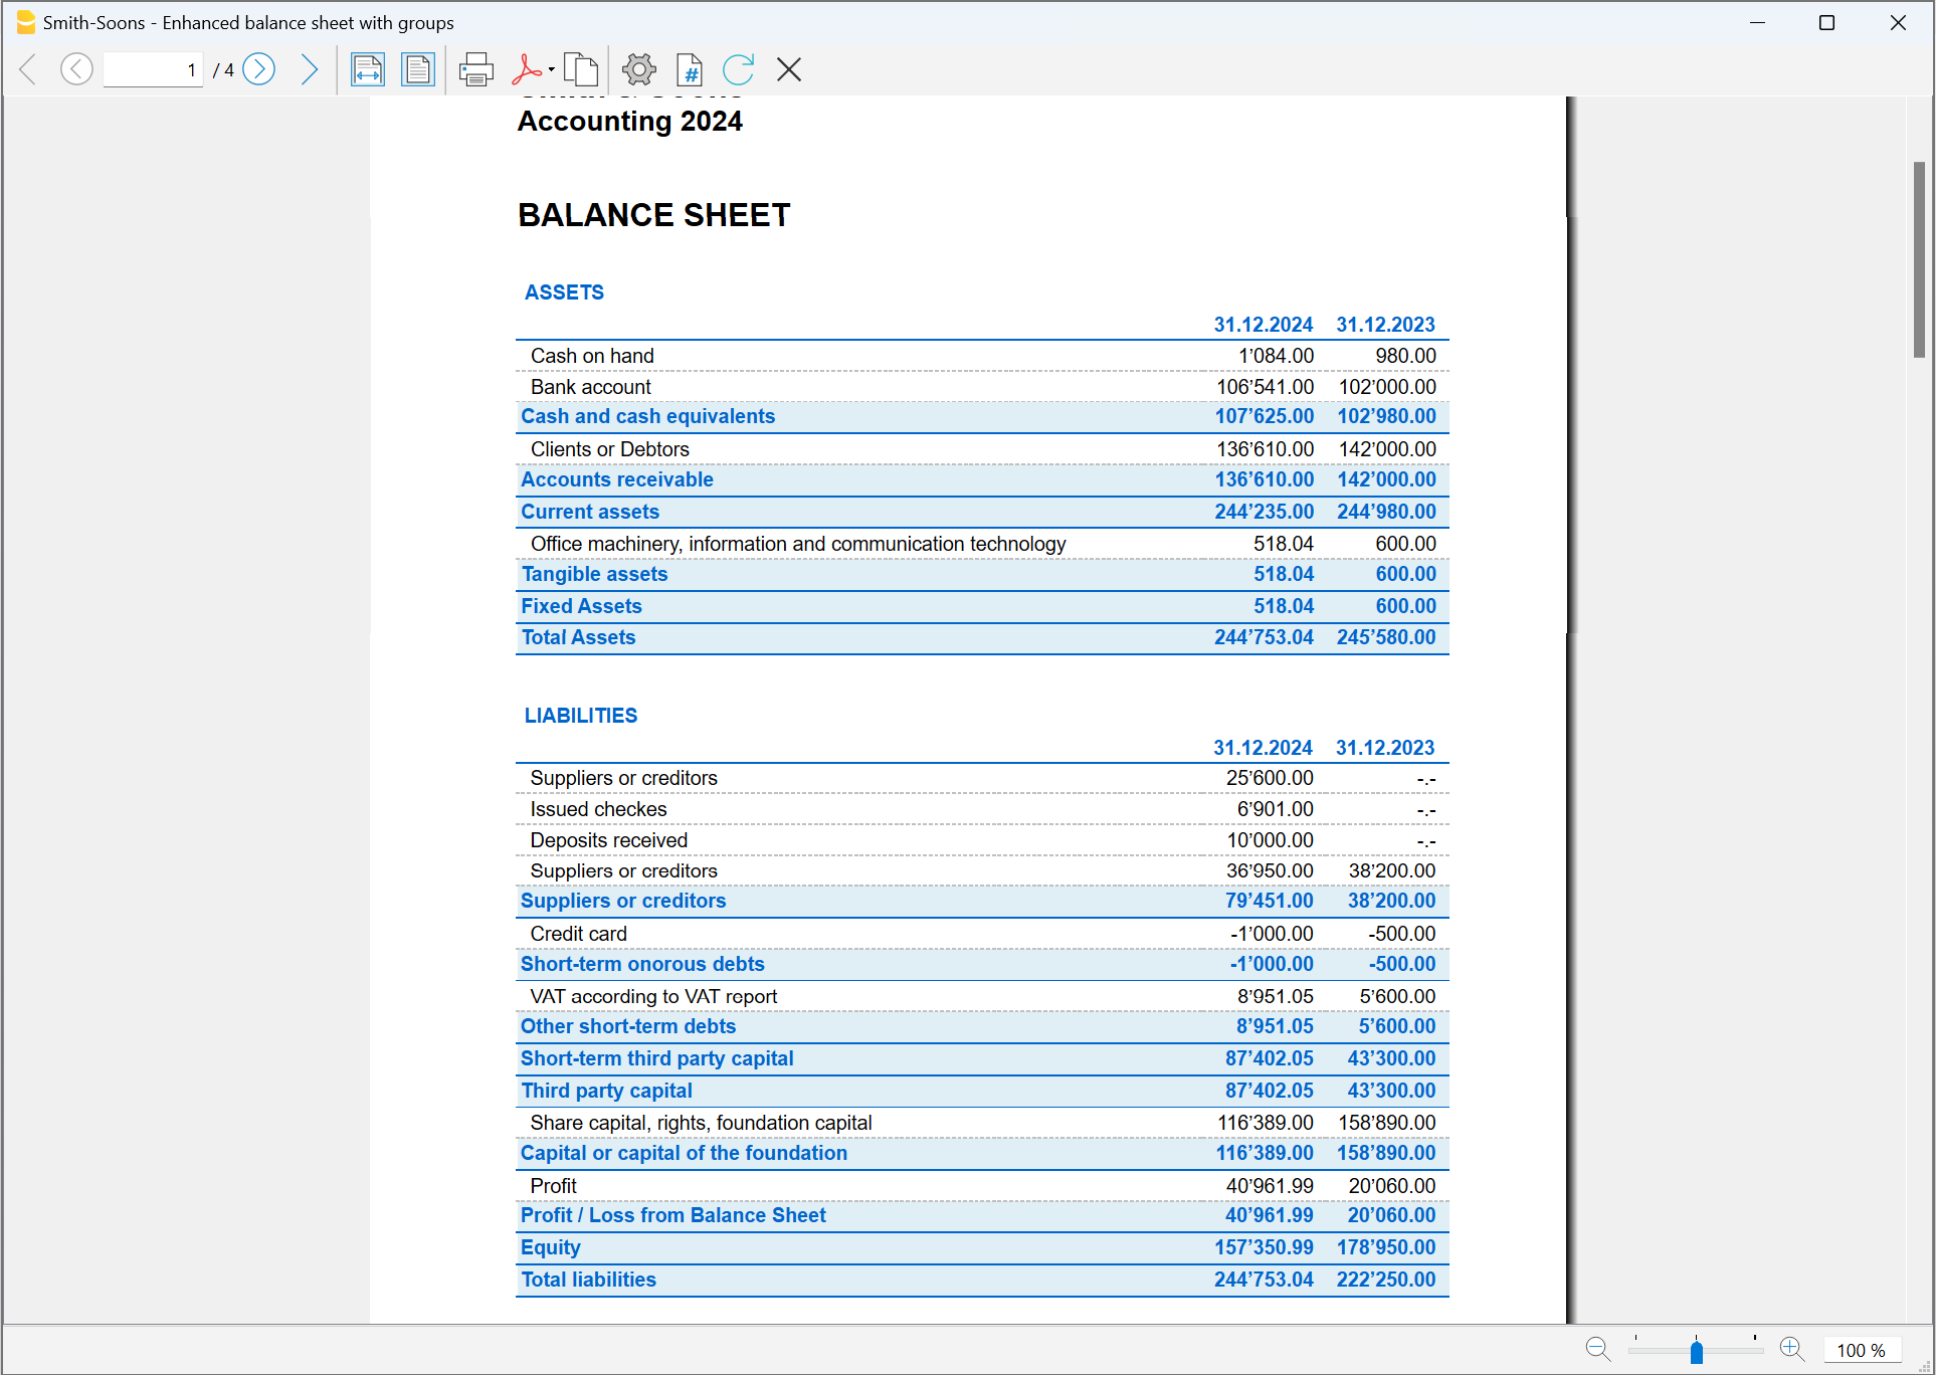
O Demonstrativo de Lucros e Perdas visualiza todas as contas de Custos e Ganhos. A diferença entre Custos e Ganhos determina o Útil ou a Perda.
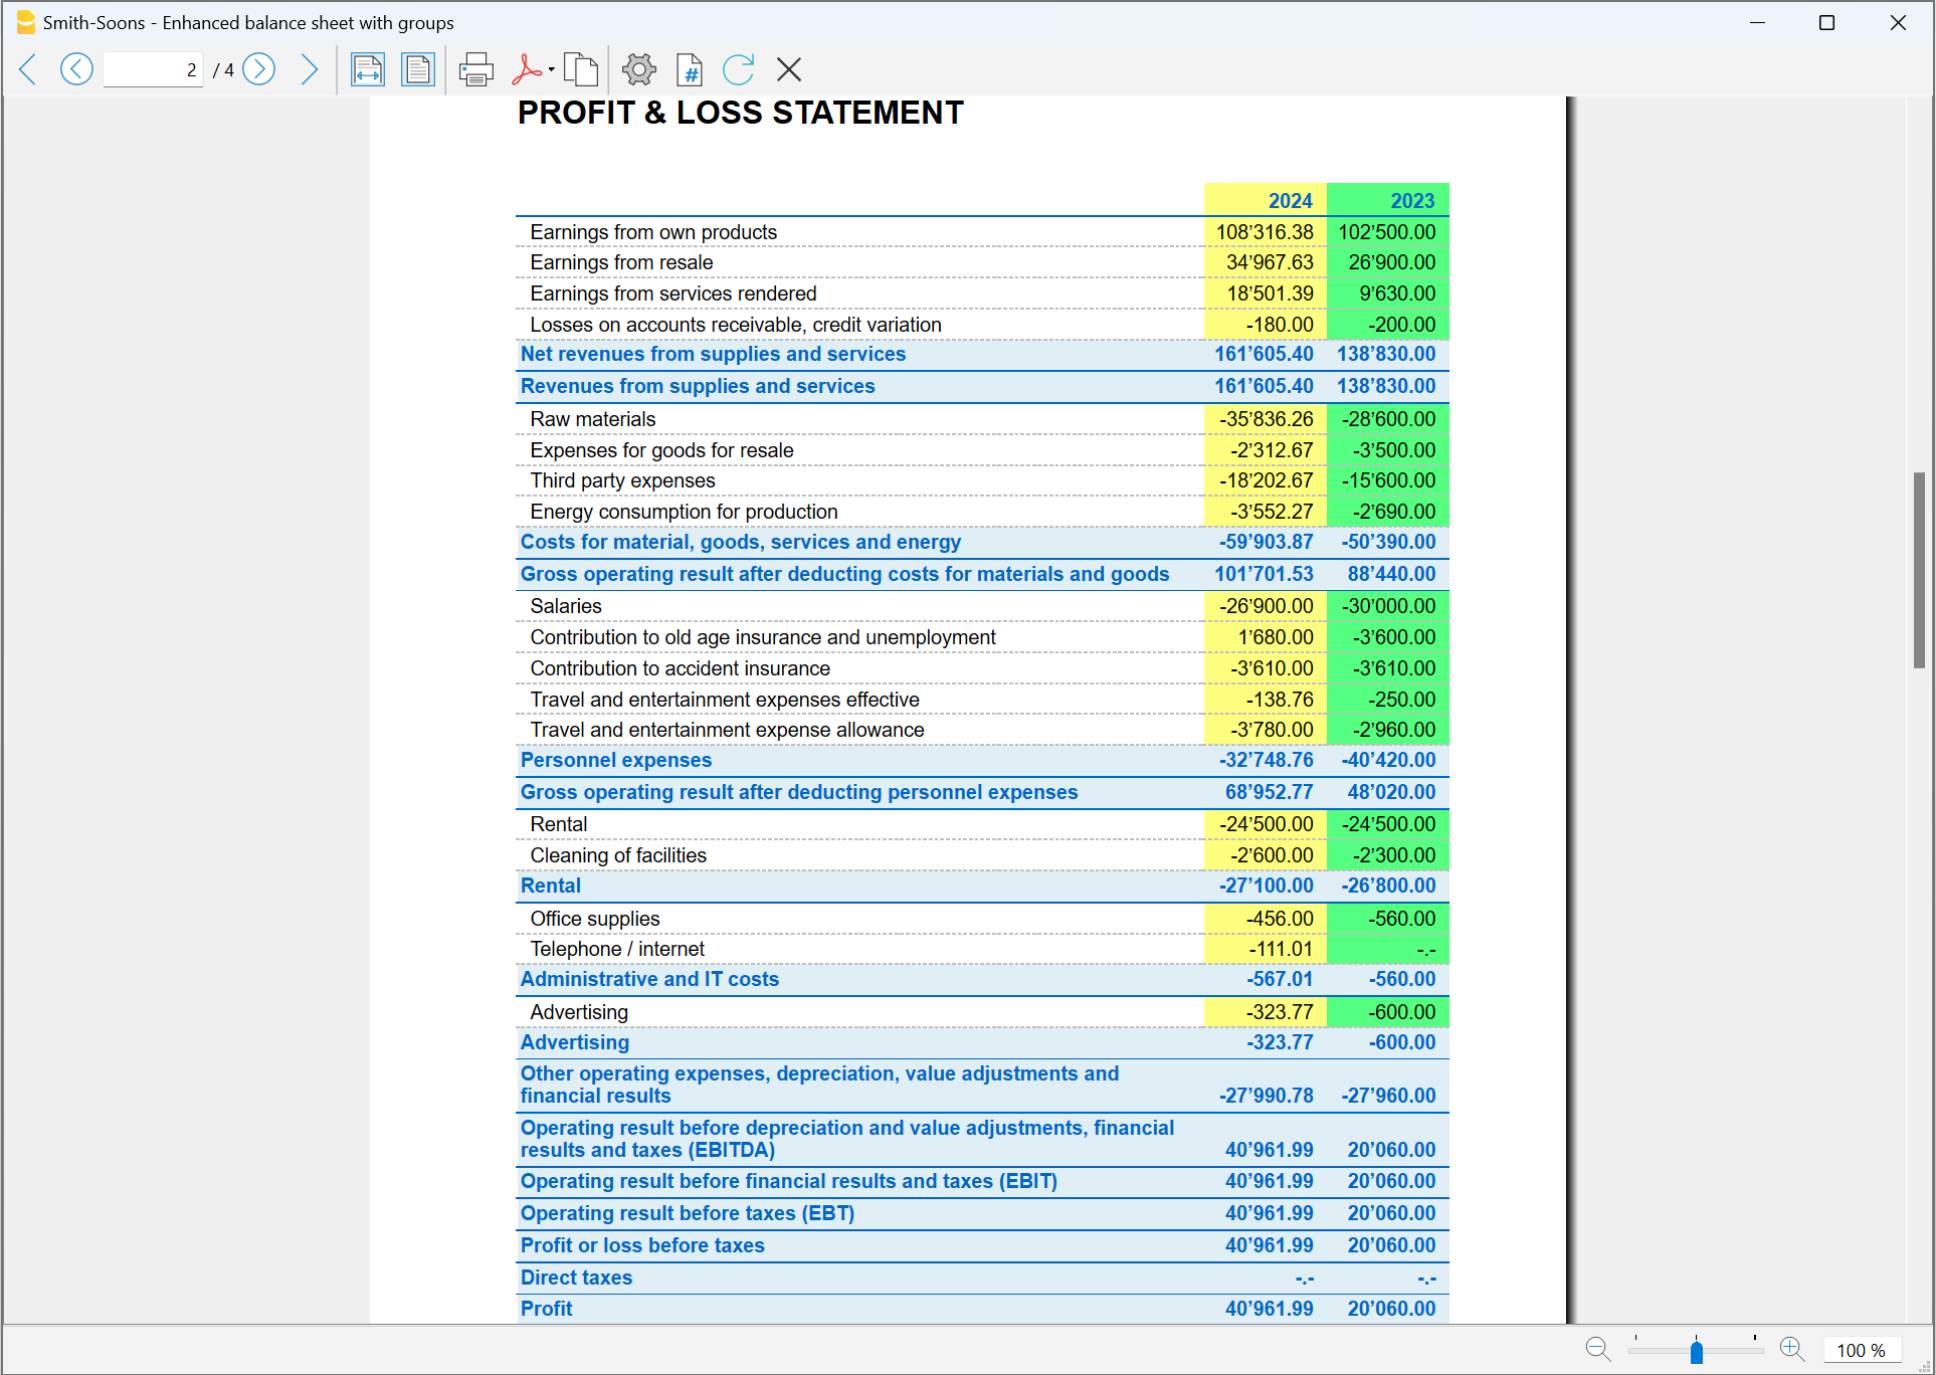
A visualização e a impressão do Balanço faz-se a partir do menu Conta1, comando Balanço Patrimonial Analítico ou Balanço Patrimonial por grupos.
- O comando Balanço Patrimonial Analítico cataloga simplesmente todas as contas sem distinção de Grupos e Subgrupos
- O comando Balanço Patrimonial por grupos cataloga as contas con a separação dos grupos e subgrupos; além disso, apresenta tantas funcionalidades para personalizar as apresentações que não são previstas no Balanço Patrimonial Analítico.
Armazenamento de dados em PDF
Ao fim do ano, quando toda a contabilidade estiver completada, corrigida e revista, pode-se armazenar todos os dados da contabilidade com o comando Criar PDF, no menu Arquivo.
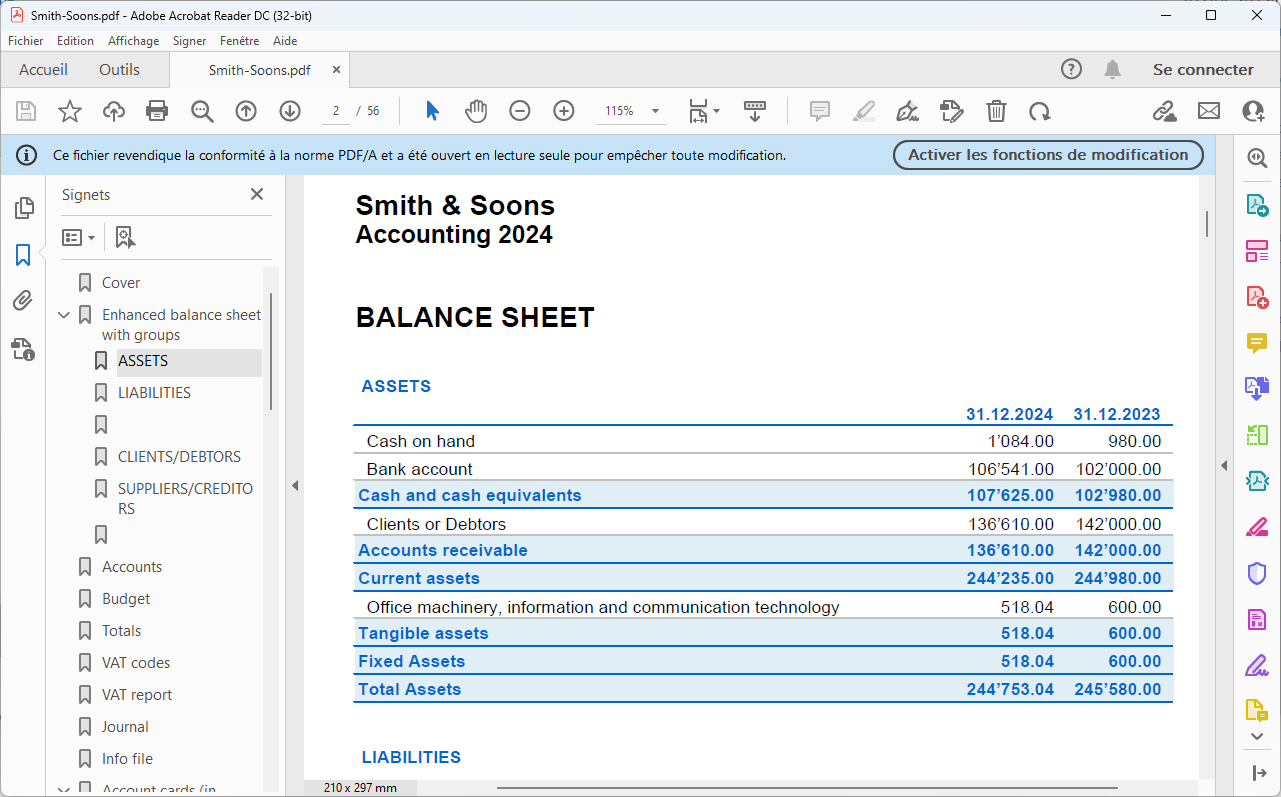
O Orçamento
Antes de começar um ano de contabilidade, pode-se criar um orçamento com possíveis despesas e receitas, de modo a ter sob controlo a situação económica e financiária da própria empresa.
O orçamento pode ser configurado de duas maneiras diferentes:
- Na tabela Contas, coluna Orçamento. Em cada conta é indicado o montante do orçamento anual.
Neste caso, quando se elabora o Orçamento no menu Conta1, comando Balanço Patrimonial por grupos, a coluna do orçamento descreve os montantes que se referem ao ano inteiro. - Na tabela Orçamento, que se ativa no menu Ferramentas, comando Adicionar novas funcionalidades.
Nesta tabela registram-se todos os orçamentos de despesas e de receitas com lançamentos. Caso se ative esta tabela, a coluna Orçamento da tabela Contas é desativada automaticamente.
Neste caso pode-se configurar um orçamento detalhado que tenha em conta possíveis variações durante o ano e nos diversos períodos do ano.
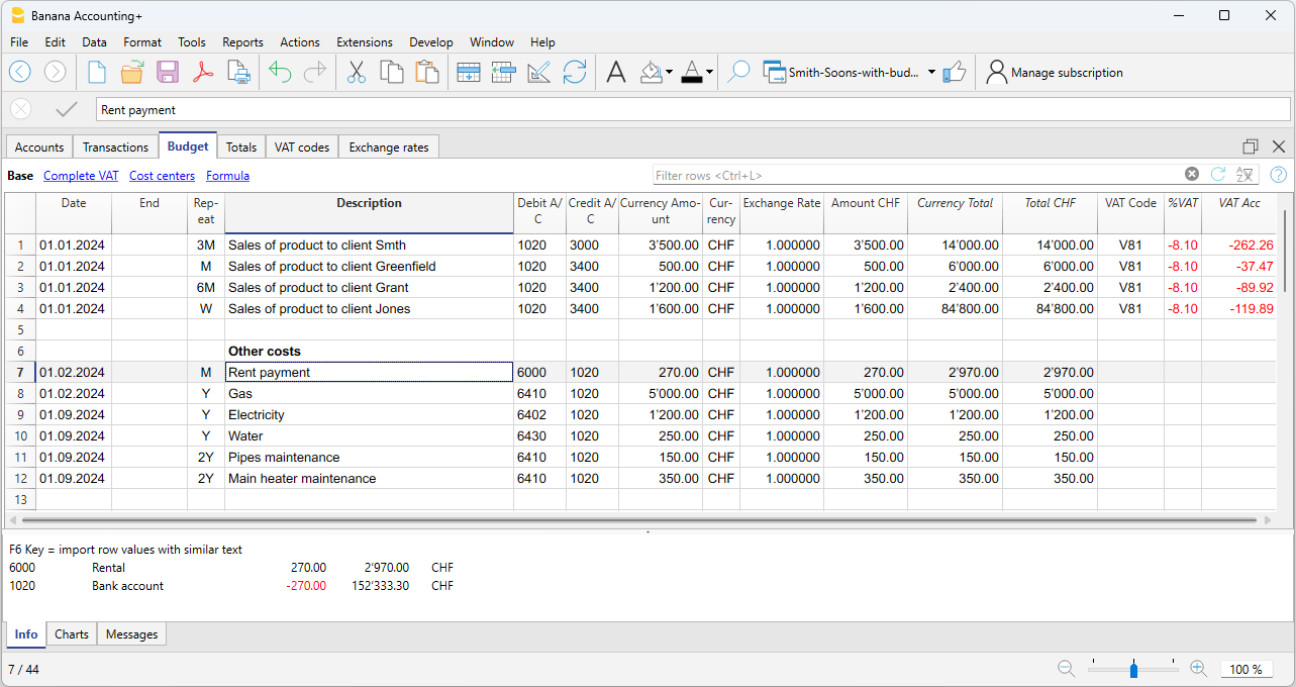
Mais informações disponíveis na página Orçamento.
Characteristics | Double-entry accounting
The double-entry bookkeeping application meets the professional criteria for companies and entities of any kind, where accounting is required by law.
- It is a very powerful tool, but is very flexible and easy to use at the same time, as the different features can be activated or deactivated. This allows you to manage both the main accounting as well as structured Chart of Accounts on several levels: with VAT, customer and supplier management, invoicing, cost centers and segments.
- It can be edited at any time, offering everyone perfect results. It is ideal for the experienced accountant who wants to work quickly as well as for beginners. For this reason it is used for teaching accounting in many schools.
▶ Video: How to start a Double-entry accounting
Similar to Excel
Excel-like features and commands
- All the data you enter in the tables are always on display and close at hand.
- You work quickly because you can select, copy and paste recurring transactions on multiple cells and multiple rows.
- If you make a mistake, you can correct it by canceling or restoring operations.
- Add as many rows as you want without limits, or delete the lines you don't need.
- If you have made a mistake on a a value, an account, a VAT code, a description, you are able to correct it in an instant with the Find and Replace function.
- You don't need to enter formulas because the calculations are updated instantly and you have a contextual view (like in spreadsheets).
- Everything you see can be printed or exported to pdf or other formats.
- You can set your company logo to customize the printout headers.
- The columns are customizable, you can move them to position, add new ones and change their width.
- Work with the format that suits you best.
- Colour the lines to immediately identify the transactions that you need to review or show to the accountant or that need to be completed.
Spreadsheet-based
Accounting management is concentrated in three tables, which are used in a similar way to the Excel spreadsheets, but that are already completely set up and programmed with everything needed to keep your accounting quickly and safely.
- Accounts table
Set up all liquidity accounts, customers, suppliers, etc. and enter the opening balances without having to enter them manually in the Transactions table. You can aggregate multiple accounts, such as the cash accounts, bank or post in the liquidity group, so as to have the updated balances and they can be checked immediately. - Transactions table
The centre of keeping accounts, where the transactions are entered or imported. The debit and credit transactions can be completed with additional information to manage customers and suppliers, issue invoices, manage cost / profit centers, segments, quantities and prices and anything else you need. Scrolling through the table you will have a comprehensive view of all the events. It can be modified in order to always keep accounting in perfect order. - Totals table
This displays the totals by Group and is used to check the accounting balances.
Further tables can be added to support additional functionalities.
- Budget table
Prepare financial forecasts, with the double-entry method. Complete with liquidity planning, budget and forecast income statement, customer, supplier, investment, project, segments for one or several years. - VAT Codes table
Set the required rates and parameters to be used in the Transactions table for the automatic calculation of VAT and the reports to be presented to the tax authorities. - Items table
To set up a list of items to be used for billing. The program keeps track of your income and expenses. - Free tables
To meet further needs.
Quick start
Templates
Accounting management focuses mainly on three tables, which are used in a similar way to Excel spreadsheets, but which are already fully set up and programmed with everything needed to keep accounting quickly and safely:
- Easy and immediate start, creating your accounting file starting with a template.
- If you already have your own template in Banana Accounting you can upload it with all the settings and use it for a different accounting.
- Over 1000 templates subdivided by country and type of user, customizable and with user documentation.
- Easy search and use of templates directly in the program.
Accounting setup
- Freely set the currency for your accounting, you can choose it from a list of world currencies or set it freely (cryptocurrencies).
- Freely set an accounting period, even over several years if required and not linked to the classic 1st January to 31st December period.
- Headings and accounting data set in a single dialog box, easy to display.
- Enter as many decimals as you want, from 0 to 27 (selected when the accounting) is created.
- You can change the number of accounting decimals during the year without problems.
Multi-lingual
- You are free to choose the language for your accounting when you create your file.
- Customize the column headers as you wish.
- You can run accounting in multiple languages simultaneously.
- Prints are also customizable in multiple languages.
File and data saving
- All the data is saved in a single file, where you can easily retrieve everything without wasting time.
- A separate file is created for each year. All data refer to the year so there is no confusion.
- Assign the file the name you want.
- With a single license you can manage an unlimited number of accounts.
- Data remains in your full possession.
- Data saved to any media, computer, network, cloud or can be emailed. You can access it wherever you are.
- Simultaneous access by multiple users, but only one person can open the file when in Edit mode.
- Make your accounting more secure by using password protection.
Plan-Execute-Control
In the same file and always with the double-entry method, you can keep the accounting, or your budget or both. The powerful Plan-Execute-Control approach is very intuitively used.
Double-entry accounting method
- Banana Accounting allows you to keep accounting with the international double-entry method and is compliant with international standards.
- Meets the criteria for keeping any accounting.
- Usable in any country.
- Transactions with debit and credit columns.
- Should there be imbalances in the transactions, a related notification will be generated.
Amounts are displayed in the columns in the format used by your computer, without you having to get used to other formats that you are not familiar with.- Debit amounts are indicated in positive and in credit in negative.
- Calculation is done according to the Debit - Credit = 0 equation.
- Balance sheet, Income Statement and all typical accounting printouts.
- All printouts are customizable.
- Choice of display format.
- Transactions according to the cash or accrual principle.
- Protect your data with cutting-edge blockchain technology (patented method).
- The double-entry method is used by many schools around the world to teach accounting.
Chart of Accounts
- Fully customizable Chart of Accounts to better meet your needs.
- The same Chart of Accounts is used for accounting and for financial, asset and income forecasts.
- Balance Sheet and Income statement are adaptable according to the structure and content of your requirements.
- Any national, international or free grouping scheme us supported.
- Off-balance sheet accounts for the management of items that should not be included in the budget, but that you need to mark down.
- Choose your account ID freely (numeric or alpha-numeric account, up to 256 characters).
- You can freely enter the description of the text for up to 256 characters.
- It is no longer necessary to insert the initial and final balances via accounting transactions
Enter the balances directly in the Opening column of the Accounts table and only when you use Banana Accounting the first time. In the following years the carryover will be automatic. - Balance, account movement and totals displayed contextually and always updated.
- For each customer, supplier, partner account you have the columns to enter the addresses and other useful data you need.
- Adding other columns for notes, grouping or amounts.
- If you add amount columns, they are automatically totaled.
You thus have the possibility to create columns with your own data and have very selected details.
Transactions
- You can insert single or compound transactions.
Single ones are registered in a single row, while the compound ones allow you to easily record transactions that will affect multiple accounts. - You can enter with either the cash or the competence method.
- When you enter data, already existing texts are suggested. With one click the transaction will be filled (auto-completion).
- Immediate reporting of errors and differences, with the possibility of completing them later.
- Store recurring transactions to resume them when they reappear without having to rewrite them.
- Predefined columns columns are available in all the tables and can be displayed at your choice.
- Quantity and price columns, for billing or cost control.
- Auto-numbering of documents with different numbers simultaneously.
- Documents are always at hand, by connecting the digital accounting vouchers (PDF, images) to the files, and open them with a click.
- Enter free texts of up to 256 characters as well as on multiple rows.
- Colour the lines to instantly search for the transactions you need to check or correct later, or to report them to the auditor.
- Adding columns to insert any further information.
- Recordings on Cost and Profit Centers.
- Recordings on segments.
- Save the arrangement of the columns (views) to display the content that is most important to you.
- Contextual information about account balance, differences or errors.
- Before the periodic or year-end closings you can use the Check Accounting functions.You will be able to identify errors between the actual balances (e.g. bank balances provided by the statement, and those of the accounting). You will immediately notice the errors and you can correct so as to have everything matched.
- Movements import:
- Speeds up entry of transactions by importing data from digital bank statements.
- You can import transactions in different formats provided by banks.
- Imported rows can be edited, completed or removed.
- It also imports invoice data or from other software.
Financial forecasting
- If you need to create a Budget, you can activate the function by adding the Budget table.
- Work without difficulty with the same methodology you are already used to, based on the double-entry method.
- Financial forecasts complete with liquidity plan.
- Balance Sheet forecasts.
- Income Statement forecasts.
- Automatic projections over several years.
- Entering the transactions through budget postings.
- Recurring income and expenses set with one transaction.
- All the features of accounting available:
- Calculation formulas in Javascript with access to the values of the current forecast:
- Forecast values available in accounting printouts:
- Account card with forecast movements by account or group.
Balance Sheet and Income statement
- Reports with final or Budget data or both, with indication of variations.
- Free arrangement with groups and subgroups.
- Updated results visible directly in the Accounts table.
- Customizable prints:
Watch the video tutorial that shows how to create and print the Enhanced Balance Sheet with groups.- Adding your own logo.
- Choice of columns to include.
- Choice of sections to include.
- Detailed or printout per groups
- Printouts per single period.
- Columns divided by period (month, quarter, semester, year).
- Values from previous year.
- Comparison prediction value.
- Columns with subdivision by segment.
- Added attached notes.
- Grouping as in the Chart of Accounts or according to your own scheme.
- Saving composition.
- Tabular report (similar to customizable printouts, but with the data in the table).
- Export to pdf for data conservation and export to other formats for data processing.
Other accounting prints
- Fully printable content tables or by for selection only.
- Adding your own logo to personalizing documents and prints.
- Journal.
- Account cards with account movements and groups:
- With accounting or forecast movements.
- By period.
- By Account, Group, Cost Center or Segment.
- Accounting or forecasting data.
- Customizable column arrangements.
- Export to pdf or other formats.
Charts
- Contextual, at the foot of the table.
- Different layouts.
- Evolution per accounts and groups.
- Accounting values.
- Forecasting.
- Preceding year.
- Choice of chart type.
Further management
The program also allows you to add additional information to the transaction, allowing you to use the same data needed for VAT management, for tracking customers and suppliers, issuing invoices, generating reports for projects or business sectors and to face the various corporate and tax obligations.
VAT management
- The function can be activated at choice (when creating an accounting).
- VAT code table to indicate the different VAT rates and cases.
- All national specifications supported.
- It can also be used to manage other types of sales taxes (for example US sales tax).
- Entering the VAT code.
- VAT reversal functionality (using the VAT code preceded by the minus sign).
- VAT calculation as per net or gross.
- Automatic breakdown and registration on the indicated VAT accounts.
- VAT control reports:
- By period or complete.
- With or without movements.
- Optionally, with totals per rate, VAT code, account.
- National extensions for VAT reporting based on the requirements of the relative tax authorities.
Customer management and control
- Function activated at choice (adding accounts in the Chart of Accounts).
- Checking invoices and customer payments.
- Customer master data set in the Chart of Accounts.
- Create groups and totals for customers in different groups.
- Open invoices per customer or global overview.
- Customer movement account statement and open invoices.
- Automatic reconciliation, open invoices.
- Customer management also available as cost centers (on a cash basis).
Invoices to customers
- Function can be activated at choice (using the invoice number column in the Transaction table)
- Entering invoices directly into the Transactions table.
- Requires setting up the customer database.
- Entering invoice data as normal row of transactions.
- See issue and print invoices to customers.
- Column to indicate quantities and prices.
- With or without VAT.
- Possibility of modification, correction.
- Print a single invoice with a click or several invoices combined.
- Choice of different print layouts.
- Customize the invoice according to your preferences.
- Exports in digital format via extensions.
- Customizable reminders via extensions.
- Customizable customer account statements via extensions.
Supplier management
- Function activated at choice (adding accounts in the Chart of Accounts.
- Supplier database set in the Chart of Accounts.
Possibility to group suppliers into different groups. - Invoice and payment to suppliers control .
- Open invoices per supplier or full report.
Supplier movement account statement and invoices still open. - Automatic reconciliation, open invoices.
Cost and profit centers
- Function can be activated at choice (adding the cost and profit centers accounts).
- For projects, cost accounting or profitability.
- Setting up cost centers directly in the Chart of Accounts.
- Multi-level grouping.
- Three levels of cost and profit centers.
- Unlimited number of cost centers per level.
- Negative registration (with minus sign).
- Reports such as Balance Sheet and Profit and Loss accounts:
- Balance constantly updated.
- Customizable reports.
- Card of all movements with progressive balance.
- Contextual chart.
Segments
- Function activated at choice (by adding segment accounts).
- Segment column
- The Balance Sheet and Income statement of one or more business sectors.
- Setting up segments directly in the Chart of Accounts.
- Multi-level grouping.
- Up to 10 segment levels.
- Unlimited number of segments per level.
- Balance constantly updated.
- Reports such as Balance Sheet and Profit and Loss accounts:
- Balance Sheet and Income statement for each segment.
Items table
- For invoices and with integrated warehouse or securities management.
- Linking of the articles to the movements of the Transactions table.
- Automatic update of incoming and outgoing movements.
- Initial and final value.
- Adding additional columns.
Control and closure
Error reports and accounting control
- Command to check the accounts.
The accounting is recalculated instantly, as if all operations were entered again. - Reports any wrong settings, differences or errors.
- Each report is linked to a help page that explains the causes and suggests the solution.
- Checks if the account balance matches the real one (cash, bank, VAT).
- Ability to correct.
Transaction protection
- Rows protection.
- Locking of movements entered with digital data certification technology (Bitcoin type).
- Password protection.
- Compliant with legal requirements.
- Sending data to the auditor with the certainty of the impossibility of tampering.
- Unlock movements with date.
Closing and new year
- Automatic procedure to create the new year file.
- Carryover of balances and allocation of profit.
- Work can begin on the new year, even if the previous one has not been closed.
- Command to carry over the closing balances of the previous year.
Exporting and storing data
- Copy and paste directly to and from Excel.
- Export tables to PDF and various other formats.
- Archiving of printouts and accounting data in PDF or other formats.
- Saving the accounting file on any backup device.
Extensions and other features
Added functionalities
- Adding new features.
- Removing features that are no longer needed.
- Conversion from one accounting type to another:
- Accounting with or without VAT.
- Multi-currency accounting or vice versa.
- From Income/Expense accounting to double-entry or vice versa.
Documents Table
Other additional tables
- Addition of other tables where notes or other information can be entered.
- Tables can be customized by adding columns to them.
Extensions
- Default extensions for various prints and other features.
- Quick search and installation.
- Customizable extensions.
- Automatic update.
- Ability to create and install your own local extensions.
Comprehensive documentation
File and accounting properties | Double-entry accounting
This is where the main data of the accounting file are entered, such as the printout heading, the opening and closing dates, the base currency, the company address, the VAT account, the password, etc
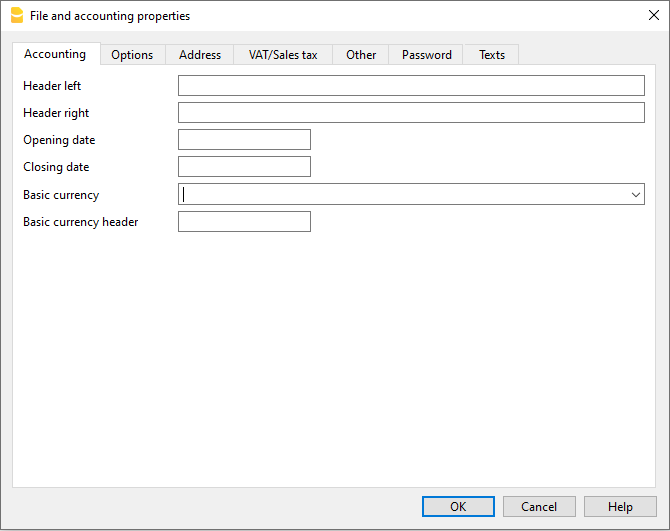
The File and accounting properties window has the following tabs:
Chart of accounts | Double-entry accounting
The Accounts table is the control room of your accounting. It's use is similar to that of an Excel spreadsheet.
In the Accounts table you set up everything you need to manage the accounting and have a quick updated overview of the financial and economic situation of your company.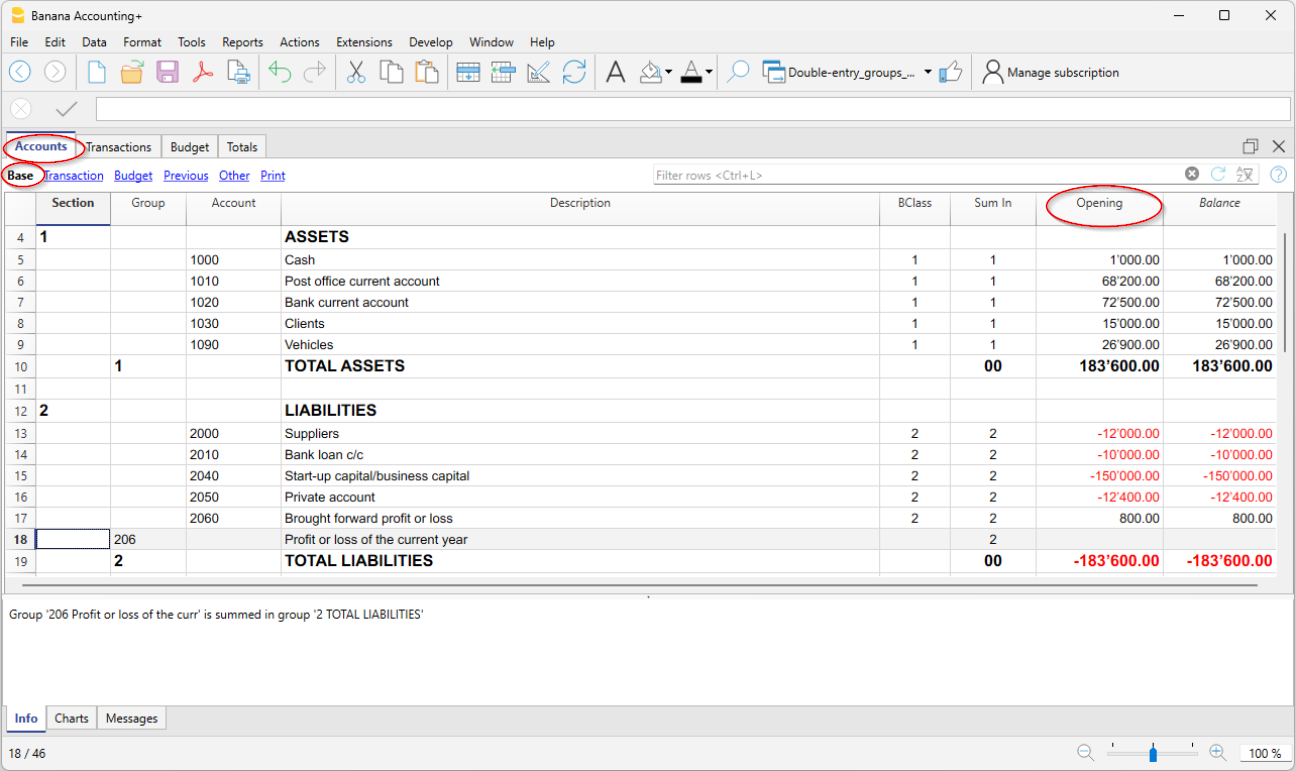
Ready-to-Use Chart of Accounts
Each accounting application by Banana offers a wide variety of chart of accounts templates, already prepared for immediate use. Simply select the file whose template meets your needs, and you'll have the chart of accounts already set up. File templates can be chosen based on the type of business activity and legal regulations.
They have the following characteristics:
- Fully customizable chart and account structure.
- Account and group numbers can be numerical or alphanumeric.
- Ability to add notes or additional columns.
- Grouping and totals adaptable to any national grouping scheme.
- Balances, account movements, and totals displayed and always up to date.
- Cost and profit centers for detailed control of costs and revenues for specific activities or projects.
- Segments for sector reporting (branch).
- Customer database, with control over outstanding invoices, reminders, and statements.
- Supplier database, control over paid and outstanding invoices.
- Management of off-budget customers and suppliers (with cost center) for cash-based accounting.
- Off-balance sheet accounts.
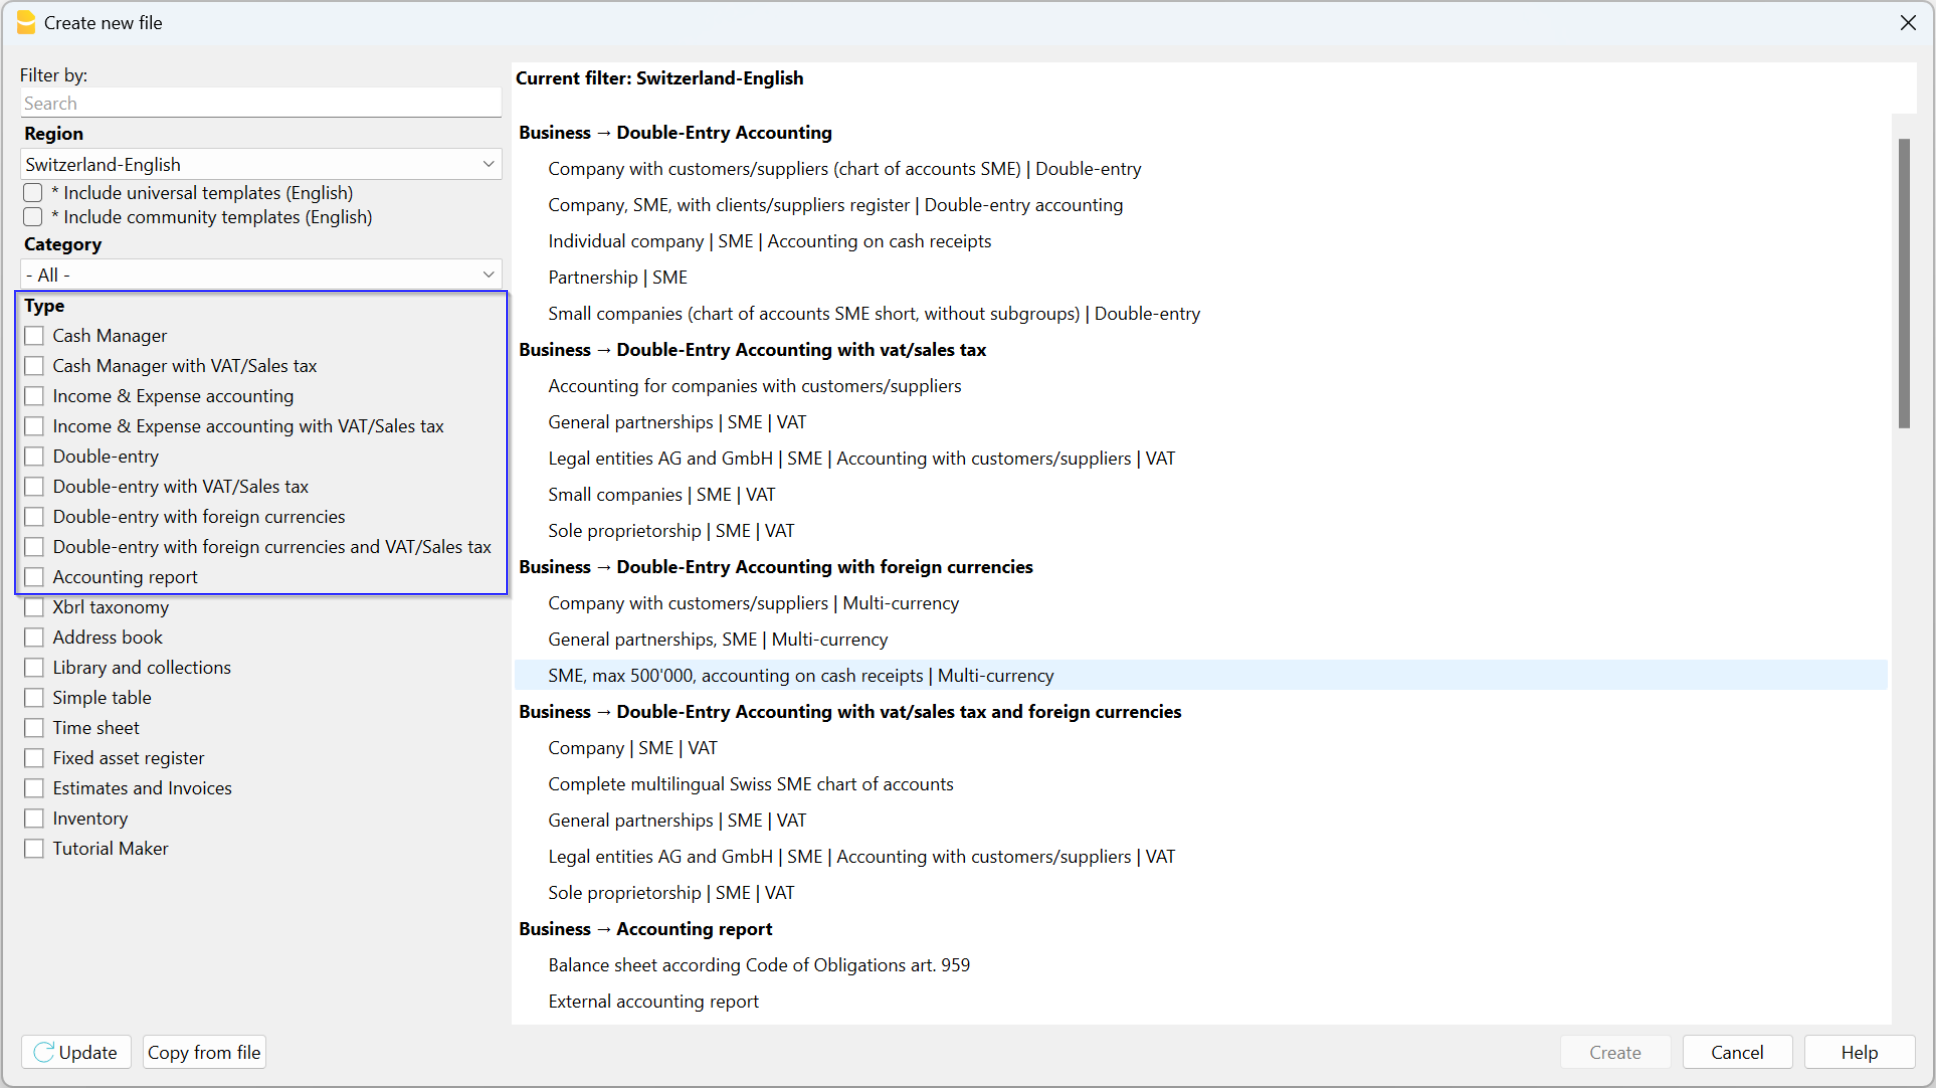
Entering and editing data is simple
- Add and edit accounts quickly and easily by simply inserting or deleting the row.
- There is no limit on the number of accounts to be added in the Chart of Accounts.
- Each account can be set up using numbers or texts.
- The description can also be very long.
- The Groups and Subgroups can be freely arranged to compose the Balance Sheet and the Income Statement.
- The opening balances are immediately entered in the opening column.
- Columns can be added to enter additional information.
- Accounts can be renamed and replaced automatically in the Transactions table as well.
- The columns of the amounts are updated instantly, at glance you know the status of liquidity, capital, sales, profit.
- Then, set the budget and have the comparison with the final balance.
Flexible grouping system
The grouping system is highly flexible and powerful:
- It allows to set up the Chart of Accounts according to any national scheme and to adapt exactly to the needs of the company.
- If you are not satisfied with the arrangement or numbering of accounts and groups, these can easily be changed.
The structure present in the Accounts table is also maintained in the presentation of the Balance Sheet and Income Statement.
Main elements
- Sections
They are used to indicate the subdivisions of the chart of accounts for printing the balance sheet, income statement, etc. - Groups
They allow you to create items that total the accounts and subgroups at multiple levels. - Accounts
These are the elements of accounting where the movements are recorded. They can be indicated in Debit or Credit depending on the nature of the movement, destination or origin.
Each account has a number or abbreviation (account number), a description, the B class and group to which it belongs, the opening balance, current balance, estimate, etc.
Customer and supplier data
You can have specific accounts for issuing invoices and checking payments. They are usually set at the end of the chart of accounts. They can be set up as register with the totals linked to the balance sheet, or as cost and profit centers, with all the details but without links to the balance sheet.
Cost and profit centers
Great to manage projects or have precise details of a specific event, or to manage customers and suppliers on the Cash principle (collected).
- Costs and Profits centers
They are special accounts whose number is preceded by a full stop ".", a comma "," or by a semi-colon ";". Their purpose is to be able to assign some amounts to special accounts other than the general accounting accounts.
Segments
Used to generate financial statements also for different sectors or activities in which the company operates.
- Segments
They are a sort of sub-accounts who's number is preceded by a ":". Their purpose is to be able to assign some transactions to subcategories of the chart of accounts.
Advanced printouts
- Accounting report
It is possible to select just the accounts with transactions, to obtain temporary groupings or accounts grouped according to the BClass or an external grouping scheme. - Enhanced Balance sheet
Prints all the accounts of the accounting divided by Assets, Liabilities, Expenses and Revenue - Enhanced Balance sheet with groups
Allows the user to obtain customized printouts with groups - Specific advanced printouts are available using the Banana Extensions
The Accounts table columns | Double-entry accounting
The Accounts table is made up of several columns. Depending on the Views, columns are displayed simultaneously. Each column has its own purpose.
The data to be entered in the following columns are explained below:
- Section
Codes are being entered that allow the user to print determined parts of the Chart of accounts only, when printing the Enhanced Balance sheet by groups. - Group
Contains the code that defines that this is a group row. The group code is then used in the GR column to indicate the total of an account or group. - Account
The account number, cost center or segment is being entered. - Description
A text to indicate the name of the account, group, or section. - Disable (only visible in the Other view)
By entering 1, the account does not appear in the auto-complete list, but can be used in the Transactions table;
By entering 2, the account is disabled and can not be used. - BClass. It indicates whether the account is 1 = Assets, 2 = Liabilities, 3 = Expenses, 4 = Revenue, see Accounts page.
- Sum in (Gr)
The code of a group is indicated so that the programme totals the amount of the line in the group.
The heading 'Sum in' has been adopted with the Banana Plus version.
The column name has remained Gr, to maintain compatibility with earlier versions of the programme. - Gr1 and Gr2 Enter additional grouping codes to use with external accounting report files.
- Opening balance
- The account balance is entered at the beginning of the year.
- Credit amounts must be entered with a minus sign in front
- The sum of all the amounts, those in debit (positive) and credit (negative) of the accounts belonging to classes 1,2,3 and 4 must result as zero. If the opening balances do not balance, a difference is indicated in the information window. If accounts have been added and the difference is not exact, Recalculate the accounting.
- The opening balance, in the balance sheet accounts, is used to calculate the current balance.
- If values have been entered in the Budget table, the opening balance is used by the program for opening financial planning.
- For further information, see the Double Entry Opening Balances page.
- Debit and Credit movements (Protected columns) The total of the debit and credit movements included in the Transactions table.
- If there are no errors, the totals of the two columns are balanced, otherwise a difference is displayed in the Balance column which must be checked and corrected.
- In line called Difference must be zero, regarding these two columns, it is correct that there are amounts. The important thing is that their values are equal. See also Mathematical Basis of Accounting.
- Balance (protected column)
The balance of the account includes the opening balance and the movements in debit and credit. The balance in debit is positive, while a credit balance is negative (minus sign). - Budget
You enter the budget amount for the current period.- The budgeted amount for costs (debit) must be entered in positive, for revenue in negative (credit).
- If the Budget table has been activated, the Budget column in the Accounts table is protected and the amounts are those calculated on the basis of the budget postings.
- Difference Budget (protected column) The difference between Balance and Budget amount.
- Previous
The balance of the account at the end of the preceding year. With the command Create new year or Update opening balances the values in the Balance column of the file of the preceding year are being carried forward. When a new accounting is being created and the user wants to obtain printouts with the amounts of the preceding year, the values of that year have to be entered manually. - Difference Prev. year (protected column) The difference between the Balance and the amount of last year.
- VATNumber
The VAT number in case this account is linked to a client or a supplier. - VATCode
The VAT code that needs to be applied automatically, when this account is being entered in the debit A/c or credit A/c column of the Transactions. - Address columns
These columns are used to enter the addresses of the customer and supplier accounts. If the columns are not present, they can be added by activating them via the Tools menu > Add new features > Add address columns menu in the Accounts table.
Adding or moving columns
- When an Amount column is being added in the Chart of accounts, the program will calculate the total of the amounts according to the selected grouping scheme
- Columns added of the number type, on the contrary, are not being totaled.
- With the Columns setup command, the columns can be displayed, the sequences can be altered and it is equally possible to add other columns.
- With the Page setup command one can also define the layout of the print (portrait or landscape) and the zoom.
Accounts list sorted by description or other criteria
To obtain lists of accounts sorted in different ways, use the Extract and sort rows command from the Data menu. We recommend you to be very careful when sorting the rows with different criteria in order not to create confusion in the groupings and totals.
Views
- Base The principal columns, the grouping columns and the balances are displayed.
- Transaction The columns with the Debit and Credit transactions are displayed.
- Budget The Budget column and the Difference Budget column are displayed.
- Previous The Previous column and the Difference Prior columns regarding the previous year are displayed.
- Other The Disable column, the VAT number and the Fiscal number column are being displayed.
- Print Only the Account column, the Description and the Balance are being displayed.
- Bank details - this view was added starting with Banana Accounting Plus release 10.2.8 and displays 4 columns with bank account details.
The views can be customized and others can be added with the Views setup command.
Accounts | Double-entry accounting
Accounts constitute the main structure on which all accounting is created. If you open one of the templates included in Banana Accounting, the accounts are already present in the Accounts table and contain all the settings needed to instantly record the transactions in the Transactions table.
The accounts in the Accounts table are divided as follows:
- Balance Sheet Accounts - Assets and Liabilities.
- Profit and Loss Accounts - Expenses and Income.
- Customer and Supplier master Data
- Account Cost and Profit centers - for managing projects or keeping the Customers / Suppliers register
- Segment Accounts - for managing business segments or branches.
The accounts' BClass
The BClass is essential for the correct total of amounts and balances. In the BClass column, each account must be assigned one of the following values, regardless of the account number or group to which it belongs:
- 1 - for Assets
- 2 - for Liabilities (in negative and in red)
- 3 - for Expenses
- 4 - for Income (in negative and in red).
Groups and subgroups do not have BClass, so the cell of the relevant column remains empty.
Revenues in Negative
In Banana Accounting, revenues appear with a negative sign in the Accounts table because the program follows the logic of double-entry bookkeeping:
- Logic of Signs
- Asset and Expense accounts increase in Debit → positive values.
- Liability, Equity, and Revenue accounts increase in Credit → negative values.
Therefore, revenues are negative because they increase in Credit. This does not mean that the company is making a loss; it simply reflects Banana’s way of keeping consistency between Debit and Credit.
- Impact on the Financial Statements
- In the Profit and Loss Statement, Banana calculates the difference: Revenues – Expenses.
- Even though revenues are recorded as negative in the table, in the reports they are shown as positive values, so the final result (profit or loss) is intuitive.
- Practical Advantage
- This method ensures that:
- The total of Debits = Credits.
- Ambiguity in sign usage is avoided in the transactions.
- The generated reports (Balance Sheet, Profit and Loss Statement, Cash Flow Statement) are accurate and easy to read for the user.
For more information, see the page Mathematical Basics.

BClass of off-balance sheet accounts
Off-balance sheet accounts are those whose amounts and balances do not fall within the totals of the balance sheet and income statement accounts. They are accounts that are entered in the chart of accounts to view guarantees and conditional commitments.
Off-balance sheet accounts must have the following BClass:
- 5 for Off Balance Sheet Assets
- 6 for Off Balance Sheet Liabilities
- 7 - 10 - for other Off Balance Sheet accounts
Add a new account or category
In the Accounts table, Base view, you can add new accounts (or new categories in the Income / Expense accounting).
Before adding an account or a category it is important to know:
- The account or category number can consist of numbers, letters and separator characters.
- There cannot be multiple accounts or categories with the same number.
- Each account must have a grouping (Gr) and a class (BClass).
To add an account or a category proceed as follows:
- Go to the row preceding the one where the new account or category will be inserted.
- Add a row with the Edit > Insert row command
- Fill in the respective columns the account or category number, the description, the BClass (1 for assets, 2 for liabilities, 3 for costs and 4 for revenues - only for double-entry accounting), the number of Gr which must be the same as the one entered for the accounts belonging to the same Group.
Warning: if you enter a transaction with an account that does not exist in the chart of accounts and only after creating the new account, you will initially receive an error message; to eliminate it, it is necessary to recalculate the accounting with the command Shift + F9 or through the menu Actions > Recalculate totals.
Rename an account
This is a very useful function because it allows you to change an account and simultaneously have it replaced in the Transactions table. It avoids having to change the account for each transaction that contained the previous account. In addition, it also allows you to rename a group or a VAT code.
- In the Accounts table go to the Account / Category or Group column, or to the VAT Code column of the VAT Codes table.
- Use the Data > Rename command.
- Indicate the new account number, group, category or VAT code.
The program automatically updates the Transactions table with the new VAT number or code.
Delete an account
If an accounting is already started, before deleting an account, make sure that it has not been used in the Transactions table or that it does not have an opening balance.
- Locate the row of the account that is to be deleted.
- Use the command Edit > Delete rows command.
After deleting an account or a category it is advisable to use the Actions > Recalculate totals command. If the deleted account or category is in use in transactions, the program reports an error message.
Opening balances of the accounts
The opening balance of an account is shown in the Opening column.
- Debit (Asset) balances are shown normally.
- Credit (Liabilities) balances are indicated with a minus sign (in negative) in front of the amount
- Typically, only the opening balances of the Asset and Liabilities accounts are indicated.
To carry over the opening balances automatically to the following year, see the Create New Year lesson.
Further details on opening balances are available on the Opening balances page.
Differences in opening balances
To have correct accounting, the total of the opening debit balances must match the total of the opening credit balances, so that there are no differences.
If the total does not correspond there will be a notification of the difference between the initial balances in the Info window.
If any account numbers have been changed and there are differences, perform the Full Accounting Recalculation.
When using Banana Accounting for the first time, to create the opening balance, it is necessary to manually enter the opening balances (Opening column), making sure to enter the balances of the Liabilities with the minus sign (-) in front of the amount.
Further details on opening balances are available on the:
- Differences in opening balances (Double-entry accounting).
- Differences in opening balances (Multi-currency accounting).
Customer and Supplier accounts
Customer and supplier accounts can be entered directly in the Balance Sheet sections, listing the accounts for each customer and supplier and creating two distinct totaling groups, one in the Assets for customers, the other in the Liabilities for suppliers. If the list of customers and suppliers is very extensive, it is possible to create a customers / suppliers ledger at the end of the chart of accounts.
There are several setting options:
- Setting up directly in the Financial Statements, listing customers and suppliers, respectively in the Assets and Liabilities.
- Setting up with the customers / suppliers register, at the end of the accounting plan, with the totalization reported in the financial statements. This setting is ideal for those who manage VAT with the accrual method.
- Setting up with cost and profit centers, at the end of the chart of accounts, without totaling in the balance sheet.
This setting is ideal for those who manage VAT with the cash method.
Accounts with addresses
In the Accounts table, Address view, there are columns to enter the addresses of customers, suppliers or members. If the columns of the address view are missing, you can add them:
The address columns are essential to be able to manage billing, reminders and the control of payments and collections.
More details are available on the Address page.

The Cost and Profit Centers accounts
They are ideal for project management, have precise details on a specific event or for any other need.
- Cost and profit centers
They are accounts that have the number preceded by a period ".", by a comma "," or by a semicolon ";" and are used to attribute the transaction amounts to additional accounts as well, with respect to the basic accounting ones.
All the amounts attributed to the cost and profit centers are separate from the Balance Sheet and the Income Statement and are entirely for information purposes.
The Segment Accounts
To have financial statements also of different sectors or activities in which the company operates.
- Segments
They are similar to sub-accounts that have the number preceded by a colon ":" and are used to attribute the accounting operations to sub-categories of accounts.
Add, rename, delete accounts
Adding a new account or category
With Banana Accounting it is possible to customize the chart of accounts by adding or deleting accounts and categories.
To add a new account or category, proceed as follows:
- Position yourself in the row above the one where you want to add the new account or category.
- Add a new empty row with the command Edit > Add rows.
- Enter in the respective columns:
- The Account number
- The Description,
- The BClass (1 for the Assets, 2 for the Liabilities, 3 for the Expenses and 4 for the Revenue)
- Grouping number (Sum in column) which must be the same as that entered for accounts or categories belonging to the same Totalization Group.
If in the Transactions table you enter a transaction with a non-existing account, the program gives you an error message; to take it away you have to create the new account in the chart of accounts and recheck the accounting with the Shift + F9 key, or with the menu Actions > Recheck accounting command.
Adding a new group
If you want new totalization groups, proceed as follows:
- Position yourself in the row above the one where you want to add the new group
- Add a new empty row with the command command Edit > Add rows.
- Enter in the respective columns:
- The Group number
- The Group Description,
- Grouping number (Sum in column) in which you wish this group to be totalized.
Renaming an account, a group, a category or a VAT Code
This is a very practical function that allows you to rename an account, a category, a group or a VAT code and to have the replacement automatically in the Transactions and Budget table without having to enter them manually.
To rename one of the elements proceed as follows:
- Position yourself in cell where the account or group (Accounts table) or the category (Categories table), that needs to be renamed, is present.
- If it is necessary to rename a VAT code, it is necessary to position yourself in the VAT Codes table, on the cell of the code to be substituted.
- Choose the Data menu > Rename command
- Indicate the new account, group, category or VAT code number.
Removing an account, a group, a category or a VAT Code
- Position yourself on the row number that contains the element that is to be deleted
- Click on the Edit menu > Delete rows.
- Enter the number of rows that you wish to delete
After deleting an account, a group, a category or a VAT code, it is necessary to use the Recheck accounting command. The program will give you a warning message if the deleted element was used in the transactions.
When deleting a group and not all accounts belonging to the deleted group are deleted, you must change the grouping number in the Sum in column for the remaining accounts, otherwise errors will be reported.
Groups
Banana has developed a very practical and immediate grouping system, which allows you to set in the Accounts table all the information necessary to define the structure of the Balance sheet, Profit & loss statement and of other sections of the accounting.
The grouping system is flexible; it allows you to implement any national chart of accounts and at the same time to adapt it to the specific needs of your business. Both very simple and very complex plans and presentations can be created, with multiple levels of totalling, for any type of accounting.
With grouping, the totals of balances, movements and the group budget are displayed immediately.
How it works
To understand how the Banana grouping system works, please refer to our documentation page:
Grouping and totalling system
The Banana grouping and totaling system is based on two columns of the Accounts and Categories table:
- Group (Total row)
- When, in a row, a group identifier is being entered, the row becomes a total row.
- In this row the amounts of the Sum in column, that contain the same identifier, are being totaled.
- In a row, when a group is present, there cannot be an account.
- Sum in
- Sums the row amounts in the indicated group.
- For each account or group row, you indicate the group in which the line is to be totaled.
- The number here must be one of the numbers defined in the Group column.

Main groups in double-entry accounting
Every accounting file template uses its own totaling system. Hereunder explanation of the main groups of double-entry accounting .
In double-entry accounting, the total of the Debit balances (positive) together with the Credit balances (negative) have to result in 0 (zero). In the case of differences, the group line 00 has a non-zero amount.
The calculation sequence to achieve 00 is therefore as follows:
- The 1000 accounts > group 1 (Total Assets) > Group 00
- The 2000 accounts > group 2 (Total Liabilities) > Group 00
- The 4000 accounts > group 4 (Total Expenses) > Group 02 (result Profit & Loss Statement) > Group 206 (Profit/Loss of the current year in the Balance Sheet) > Group 2 (Total Liabilities) > Group 00.
- The 3000 accounts > group 3 (Total Revenue) > Group 02 (result Profit & Loss Statement) > Group 206 (Profit/Loss of the current year in the Balance Sheet) > Group 2 (Total Liabilities) > Group 00.
- The 00 group is the control row where all the amounts are being added together.
- It is the "Grand total" of all the Debit & Credit balances as a result of the transactions entered in the Transactions table.
- If the line in the 00 group shows a difference (non-zero amount), this means that there are mistakes:
- If the difference is shown in the Accounts table, Opening column (all views) there are differences in the opening balances
- If the difference is shown in the Accounts table, Balance column (all views) there are differences in the Transactions table. In the Debit and Credit columns of the movement view, the totals are not balanced.
In cases where the difference is indicated issue the command Check and recalculate accounting. This command suggests any errors that need to be checked and corrected.
- In the Debit and Credit columns of the Movement view (Accounts table), the totals of the balances are always reported. If the totals in the two columns are equal, there are no errors.
The result of Profit & loss statement is added in equity capital
As you can see in the example, the Group 02 (Profit /Loss from Profit & Loss statement) is totalized in the 206 liabilities group (current year result).
With this group organization, we have several advantages:
- The current year operating result is displayed in the balance sheet
- The Total Liabilities will match the Total Assets (provided that there is no accounting error).
Set up of the Chart of Accounts structure
The chart of accounts in Banana Accounting can be set mainly in two different ways:
1. Structure without subgroups (or subtotals).
In this case, the structure is very simple. You list all accounts without subgroups, and total all accounts or categories in the main groups:
For Double-entry Accounting:
- Assets
- Liabilities
- Expenses
- Revenue
For Income/Expense Accounting or Cash Manager (Categories table):
- Income
- Expenses
2. Structure with subgroups
The structure is more complex. The accounts or categories of the main groups are divided into several subgroups, which in turn are totaled into the corresponding main groups.
Here we present a structure of the chart of accounts with an example of Subdivision with subgroups in Double-entry Accounting. Each subgroup can be in turn :
Assets
- Current Assets
- Cash and Cash equivalents
- Customers
- Inventory
- Fixed Assets
- Furniture
- Machinery and equipment
- Computers, software.
- Current Assets
Liabilities
- Third-party capital
- Suppliers
- Bank loans
- Other short-term debts
- Long-term debts
- Equity
- Equity
- Reserve funds
- Profit and loss carried forward
- Profit for the year
- Third-party capital
From the Accounts table, at any time, through the menu File > Print or Print Preview you can print the chart of accounts or part of it.
Always starting from the Accounts table, by selecting the Movement view, you have the printing of the verification balance.
Adding a new group
- Position yourself in the row preceding the one where the new group will be entered
- Add a row with the command Edit > Add Row
- Type in the group column the group number, description, and the number of the column Sum in where you want this group to be totaled.
Adding a totaling level
With this system it is easy to add totaling levels.
When we want to create a subgroup for the Cash & Cash equivalents accounts:
- Enter an empty row after the bank account
- Enter the value 10 into the Group column
- Enter the value 1 into the Sum in column
- Indicate the grouping 10 in columns Sum in the accounts 1000 and 1020
- The sequence for the calculation becomes:
The 1000 account > Group 10 (Cash & Cash equivalents) > Group 1 (Total Assets) > Group 00.
The programme totals the following:
- It totals the accounts in a group row.
For example, the Cash account is totalled in the Liquidity group. - Totallises a group or subgroup in another group, which in turn is totalled in another group, thus building the calculation structure of the Balance Sheet and Income Statement.
For example, the Liquidity group is totalled in Total Assets, which in turn will be totalled in group 00, in the control total row.

In case you want to insert another subgroup, "Current Assets", proceed in the same way.
- Add an empty row above the row of the Total Assets.
- In the new row:
- Indicate the number 11 in the Group column
- Indicate the number 1 in the Sum in column
- In the Clients and Goods for resale (inventory) rows, indicate the grouping 11 in column Sum in.
Title rows (with Sum in)
Also in the title rows it is useful to indicate the grouping Sum in (the group of the total row) to which it belongs.
In this way, in the printouts of the Enhanced Balance Sheet by groups, if the accounts are zero, the title will not be printed.

Deleting subgroups
In case the Chart of accounts shows subgroups that are no longer needed or not wanted, these can be deleted. Just delete the row of the subgroup and modify the grouping Sum in of every account that was part of that subgroup.
Checking of the structure
Once the Chart of accounts has been set up, execute the Actions menu > Check accounting command. In case there are errors, the program issues a warning.
Infinite loop error
This warning appears when a Group is being totaled in a Group of a lower level, reason for which an infinite error loop is being created.
There would be an infinite loop when, in the preceding example, the Assets Group (1) would be totaled in Group 10.
The program, after having calculated the Group 1, would total the amount in Group 10, which in turn would total the amount in Group 1, and then again in 10 without ending.
Profit & Loss Statement with Gross Profit
It is also possible to use a Profit & Loss Statement that starts with the total Business result and that subtracts the costs.
Hereunder the example of the Swiss PME Chart of Accounts is shown.

Related Documents
Sections | Double-entry accounting
In the Section column, there must be an encoding that is used to determine the various settings of the printouts. The various items that make up the financial statements are divided into several sections; each section is as if it were in its own right.
This subdivision into sections allows you to choose whether to print the entire balance sheet and income statement, or choose which sections to print (eg only the balance sheet, or just a group, excluding the other components from printing).
Below we present a table with the coding to be used in the Accounts table, Section column.
| * | Title 1 | the asterisk separates the sections and indicates the main headers |
| ** | Title 2 | to be entered for the secondary headers |
| 1 | Assets | to be entered in the row of the Assets title |
| 2 | Liabilities | to be entered in the row of the Liabilities title |
| 3 | Expenses | to be entered in the row of the Expenses title |
| 4 | Revenue | to be entered in the row of the Revenue title |
| 01 | Client's Register | to be entered in the row of the Client's Register title |
| 02 | Supplier's Register | to be entered in the row of the Supplier's Register title |
| 03 | Cost Centers | to be entered in the row of the Cost Centers title |
| 04 | Profit Centers | to be entered in the row of the Profit Centers title |
| # | Notes | to be entered in the row of the Notes title |
| #X | Hidden data | to be entered in the row from whereon the data have to be hidden |
The type of encoding set in the Section column is used to determine the print settings for Enhanced Balance Sheet with Groups.
Each section is printed as if it were a separate table.
Title section
- *
The asterisk indicates a new section.- * Title 1 generates a level 1 folder.
- This section resets the level type to 1.
- It can contain level 2 sections or folders.
- It will be useful for grouping sections that need to be printed together such as the Balance Sheet, which contains both assets and liabilities.
- **
The double asterisk indicates a level 2 section.- ** Title 2 generates a level 2 folder
When you create a new title section, the numeric section is set to 1.
After a title section, the desired number section must therefore always be reset as well.
Numerical sections
The section number determines:
- How the amounts are printed; the amounts can be displayed as in the chart of accounts or reversed.
The credit amounts (in negative,) if they are inverted, are displayed in positive, while those in positive are displayed in negative. - Which columns are used to display the amounts; either the Balance column or the Period Movement column is used.
- The Balance column indicates the account balance at a certain point in time (balance as of June 30th).
- The Total Period Movement column indicates the amount of the movement in the indicated period; it is used for the income statement and indicates expenses or income for a certain period.
The explanations of the different sections are as follows:
- 1 Assets (amounts as in the chart of accounts, balance column).
- 2 Liabilities (inverted amounts, balance column).
- 3 Costs (amounts as in the chart of accounts, total movement column).
- 4 Revenues (inverted amounts, total movement column).
This section can also be used alone and include both costs and revenues (Income statement). In this case, revenues are shown in positive and costs in negative.
These sections must be unique. There can be only one section, 1 Assets or 2 Liabilities. Similar sections can be used for other sections, ledgers or cost centers.
Derived numerical sections
These are sections that behave like the main sections:
- 01 As Assets (amounts as in the chart of accounts, balance column)
Is used for the customer register. - 02 As Liabilities (inverted amounts, balance column)
Is used for the suppliers register. - 03 As Expenses (amounts as in the chart of accounts, total movement column)
Is used for cost centers. - 04 As Revenue (inverted amounts, total movement column)
Is used for profit centers.
Other Sections
There are other sections types:
- # Used to indicate the notes section (print description only)
To be used for budget annexes. - #X Hidden section. This section is not taken up in the selection of the sections nor in the printout. It is used to indicate a part that you do not want to print.
Disposition and width of columns in print
The disposition and the width of the columns are determined automatically by the program:
- Sections 1, 2, 01, 02 are printed with the balances on the specified date.
- Sections 3, 4, 03, 04 are printed with the movements for the period.
Sections of the Balance sheet report
In order to divide the Financial Statements into the various sections, the code indicated in the Section column must be entered:
- Insert a * on the same row as the Balance sheet title.
- Enter 1 on the same line as the Assets title.
- Enter 2 on the same line as the Liabilities title.

Sections of the Profit & Loss statement
- Enter a * on the same line as the Profit & Loss title.
- Enter 4 on the same line as the Revenue title.
- Enter 3 on the same line as the Expenses title.

Sections of the Profit & Loss statement in a graduated format
In the case of a graduated income statement, the groups of expenses and revenues alternate and consequently there is no clear distinction between the section of costs and revenues, therefore enter only:
- A * on the same row as the Profit & Loss Statement title
- 4 on the blank line below the income statement.

Sections in the customers / suppliers register
The display of the amounts is the same as for assets and liabilities. This coding also applies if customers and suppliers are set up as cost centers.
- Insert a * on the same row as the Customer / Debtors Register title or on a blank row (as in the example).
- Enter 01 on the same row as the Customers Register title
- Enter 02 on the same row as the Suppliers Register title

If there are cost and profit centers, you must enter:
- a * in the same row as the Cost and Profit Centers title or on a blank line
- 03 on the same row as the Cost Centers title or on a blank line (preceding the cost centers).
- 04 on the same row as the Profit Centers title or on a blank line (preceding the Profit Centers).
The cost center amounts will be shown in positive as the costs; profit centers will be displayed in negative as revenue.

Related document:
Enhanced Balance Sheet with groups
Basic accounting features
The grouping system in Banana Accounting+
Banana Accounting's grouping system is used to totalise the amounts of accounts and groups quickly and easily. The programme gives you maximum flexibility to create as many levels of totalling as you want.
▶ Video: Grouping and totalling system
Where it is used
- In the Accounts and Categories tables to define the structure of the Balance sheet and the Profit & Loss Statement.
- In the VAT Codes table to group VAT codes
- In the Items table in the Stock Application.
- In the Items table in the Fixed asset register Application.
How it works
Grouping is always based on two columns:
- The Group column, where group identifiers are indicated, which may be textual or numeric.
- The column Sum In, where for each account or group row the Totalisation Group is indicated.
Each group row is a total row, where:
- Group balances are the sum of the rows that contain the group name in the Sum In column.
- The programme calculates the totals of all columns containing amounts (type Amount), both the predefined ones (Opening, Balance, etc.) and those added manually.
Grouping allows the creation of many levels of totalisation.
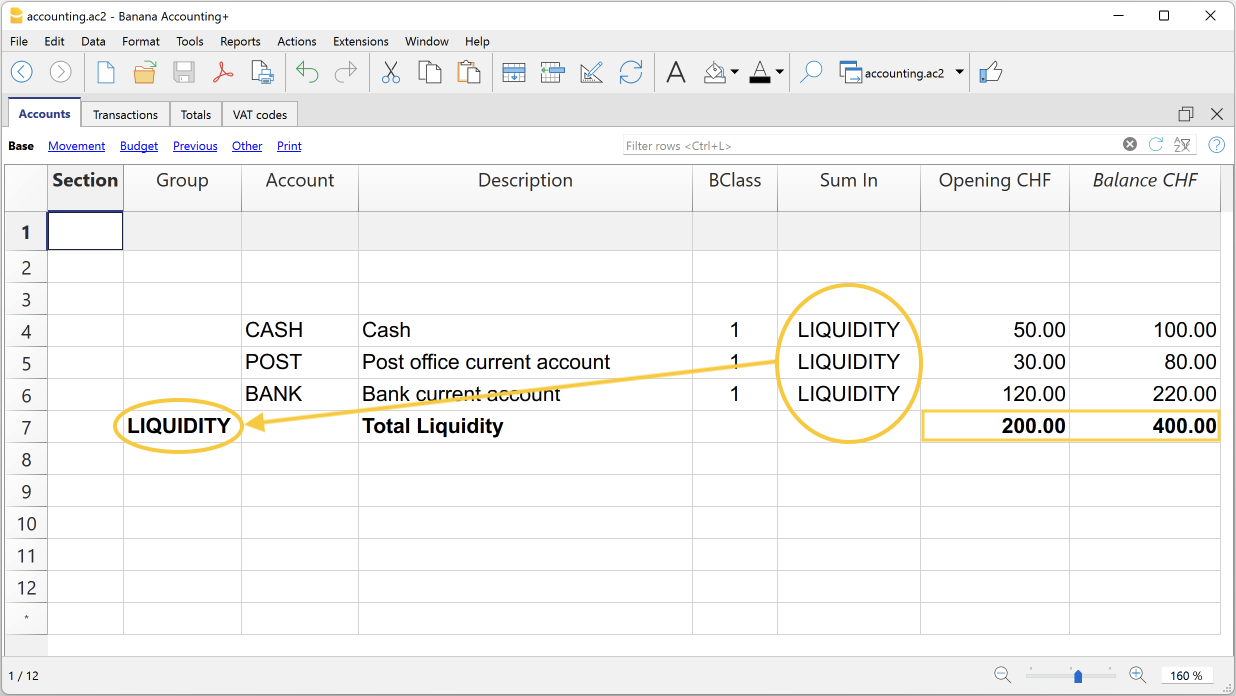
The logic of the programme
To understand the logic, let us present an example of a small part of the chart of accounts. For the accounts Cash, Post and Bank we create the Liquidity group:
- In the line below the liquidity accounts, in the Group column, enter the name of the Liquidity group.
- In the Description column, you enter the description of the group.
- In order for the programme to be able to update the balances in the liquidity group, it must be indicated which accounts are to be totalled.
In the Sum In column of the Cash, Post and Bank account, the name of the cash group is entered. The balances of the group are updated immediately.
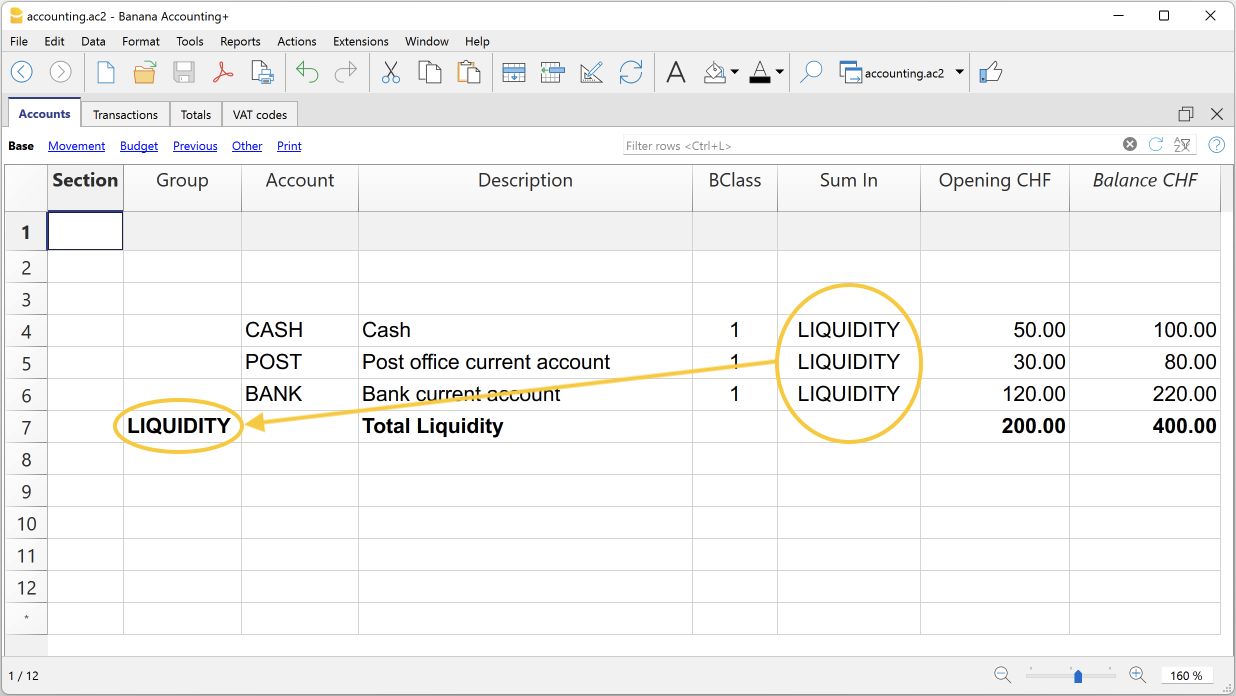
Using the same logic, we can also group groups. In fact, groups can also be totalled into other groups at a higher level.
Suppose we add a group into which to group and then total the Liquidity group.
- In the line below the Liquidity group, in the Group column, the name of the Assets group is entered.
- In the Description column, you enter the description of the group.
- In order for the programme to be able to update the balances in the Assets group, it must be indicated which groups are to be totalled.
In the Sum In column of the Liquidity group, the name of the Assets group is entered. The group's balances are updated immediately.
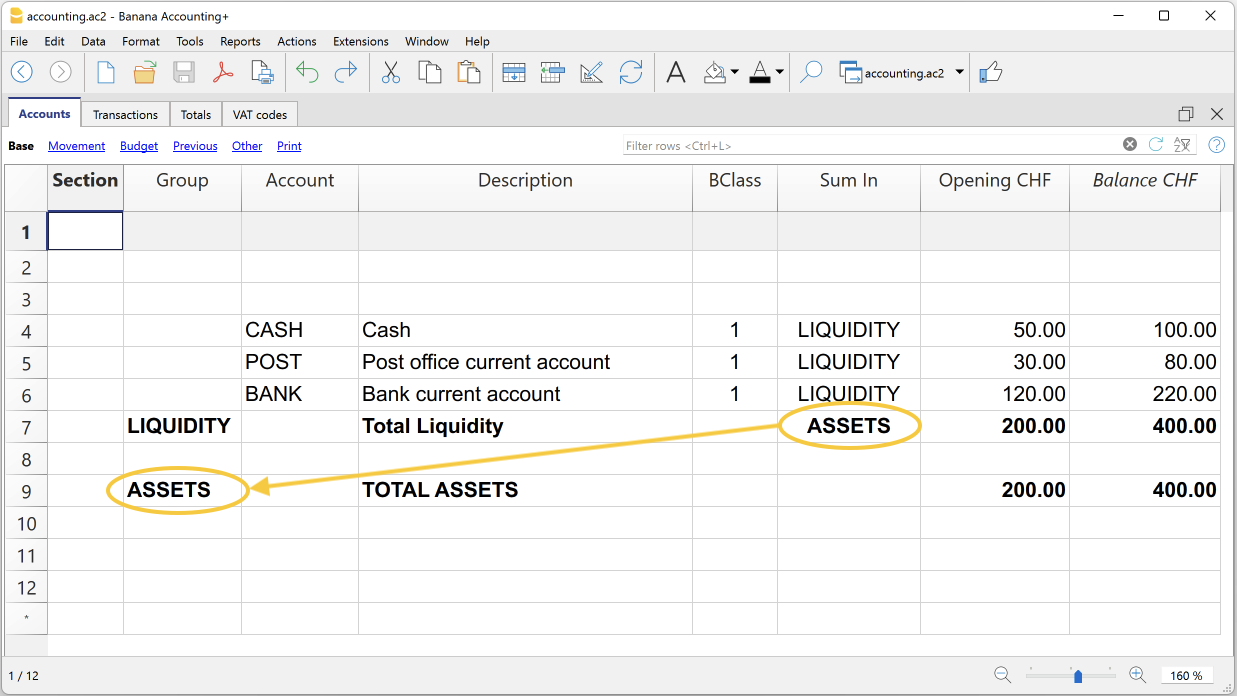
Following this logic, it is possible to create a structure with groups and subgroups for the entire chart of accounts, in order to create charts of accounts suitable for any specific country and requirement.
The exact same logic can also be applied for grouping VAT codes in the VAT Codes table, and also for grouping items in the Items table of the Warehouse and Fixed asset register.
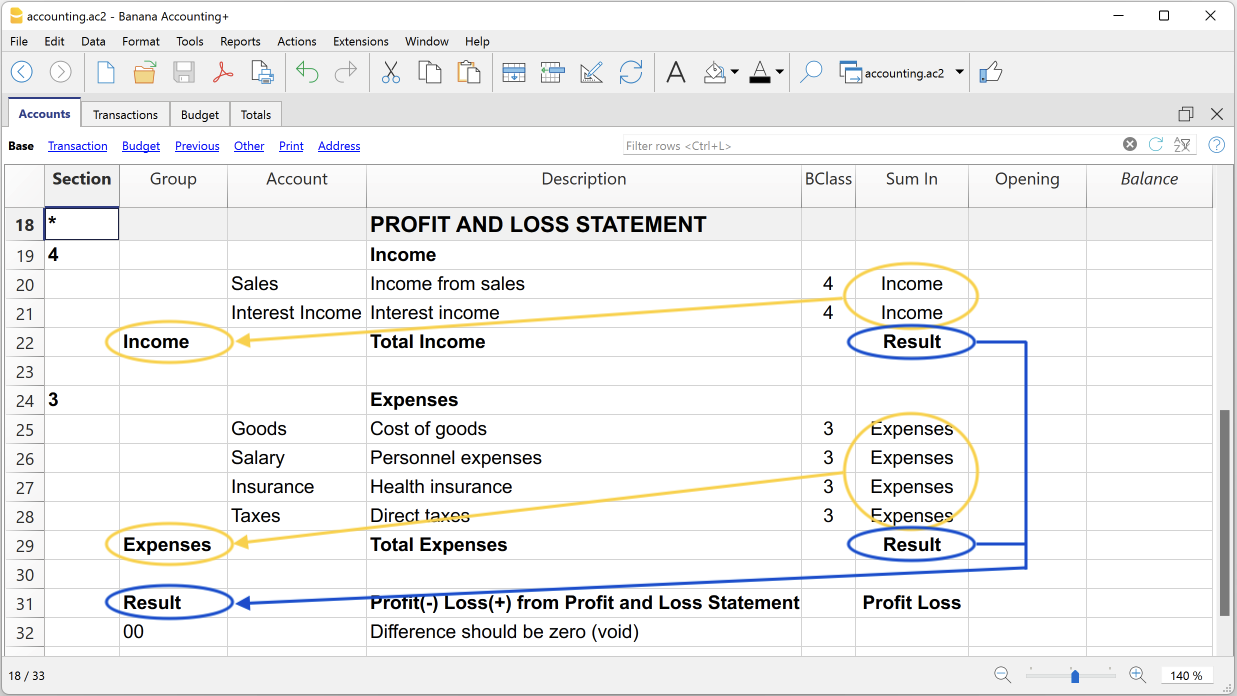
Extensive use of the totalisation system
The totalisation system is very flexible:
- Accounts and groups can be added together in a group.
- Title texts can be assigned the group to which they belong.
- Any kind of numbering (numerical and/or letter) can be used.
- Up to 100 totalisation levels can be created.
- Group totalisation is independent of the sequence of rows:
- The total row can be defined before and after the account or group rows.
- The total row can also be defined in a completely detached position from the account and group rows, as in the case of the Accounts Payable / Suppliers ledger.
- The same account cannot be totalled in two Groups at the same time.
- The system is also used to total the Cost Centres and Segments.
The totalisation of amount columns
The calculation procedure totals the columns of type amount.
- The amount columns defined by the system are totalled.
- The amount columns added by the user are totalled.
The calculation sequence
The programme calculates totals as follows:
- Clears the column amounts of the Group rows.
- Adds up the amounts of the Accounts rows in the Group rows (first level of calculation).
- Adds up the balance of the Group rows in the higher level Groups.
Repeats the operation until all levels are calculated.
When a Group is totalled in a lower level Group, an infinite error loop is created.
Error checking and reporting
When creating groupings, the programme checks and reports any errors so that they can be corrected immediately.
When a non-existent group has been indicated in the Sum In column, the programme reports the error 'Group not found'. In this case it is sufficient to:
- Create the group in the Group column.
- Recalculate accounting with the command Check and recalculate accounting
- Recalculate all totals with the command Recalculate totals.
Rename groups
With the Rename command, existing group names can be renamed automatically, without having to manually change the matches in the Group and Sum In columns.
Printouts
When printing the Balance Sheet, Profit and Loss Statement or other reports that contain groupings, the printout shows the order of the groupings as they have been set in the various tables.
Switch to new chart of accounts
Below is an explanation of how to proceed to:
- switch to a chart of accounts with a different numbering;
- retrieve and convert the existing accounting data, including transactions, into the new chart of accounts.
Conversion for the new year
If you want to start a new year with a new chart of accounts, there are two possible approaches.
1. Convert the previous year and then create the new year
In this case you will have two files:
- the file of the year being closed, which contains:
- the Accounts column with the old account numbers;
- the Accounts_1 column with the new account numbers;
- the file for the new year, based on the new chart of accounts.
This approach is recommended because it allows the charts of accounts of the two years to be aligned.
Furthermore, it allows you to continue making changes in the closing year and to later retrieve the opening balances in the file for the new year.
2. Create the new year and convert the new year file
The file for the year being closed remains unchanged.
For the new year, you initially get an intermediate file, with the old chart of accounts but with carried forward balances.
The conversion of the new year's file can be performed immediately or even after some transactions have already been entered.
With this method, since the previous year's file keeps the old account numbers, it will no longer be possible to retrieve later changes made in the previous year into the new year.
- Create a new accounting file
- Create a new file via the File > New menu.
- Choose a predefined chart of accounts template.
- Adapt the chart of accounts to your needs.
- Add the matching accounts in the Accounts table
- Open the Data > Columns setup menu.
- Click the Add button.
- Insert the column with the description Account_1.
For each account in the new chart, in the Account_1 column enter the corresponding number from the old chart of accounts.
- If an account remains unchanged, the Account_1 column can also be left empty.
- If multiple accounts must be grouped into a single account, indicate the numbers separated by semicolons, for example:
1000;1001
In this case, the first account must be repeated, otherwise only the last one will be considered. - If instead one account must be split into several accounts, the split must be performed manually.

Start the import
- Activate the command from the Actions > Import into accounting > Import file menu.
- With the Browse button, select the accounting file with the old chart of accounts.

- Click OK to proceed to the next window.
- Set the import options:
- enable the Convert account numbers option
- indicate that the matchings are present in the destination file.
- Start the import.

Repeat the import
If errors are reported and the operation needs to be repeated, it is essential to undo the previous import so that the destination file is empty.
Otherwise, the opening balances and transactions would be duplicated.
Splitting an account into multiple accounts
When switching to a more detailed chart of accounts, it may be necessary to split one account into several.
After the import, proceed manually as follows:
- in the chart of accounts, split the opening, budget and previous balances into several accounts;
- review each transaction of the account to be split and assign the more specific account;
- if necessary, create additional transactions to split an amount into several parts;
- proceed in the same way for the transactions in the Budget table.
Result and possible errors
If the program reports errors (missing accounts or other issues), it is often necessary to:
- undo the import;
- complete or correct the matchings;
- repeat the import operation.
Since the program works with different charts of accounts, it is not possible to automatically perform in-depth checks on the correctness of the groupings.
It is therefore recommended to manually check the result, ensuring that the totals of the balance sheet and income statement are correct.
How to reclassify the balance sheet and income statement
In Banana Accounting Plus, the reclassification of the balance sheet and income statement is done through the External Accounting Report, a file separate from the accounting, designed to set up a customized presentation of the data. This allows accounts to be grouped differently from the standard chart of accounts structure.
The grouping scheme defined in the External Accounting Report is linked to the accounting file to extract, total, and present the accounts according to the new desired classification. This feature is available exclusively with the Advanced plan of Banana Accounting Plus.
Create an Accounting Report File
To create an Accounting Report file:
- Menu File > New > Accounting Report
- You can choose from an existing template or start from a new one
- Once created, save the file with a name.
Below is an example of a predefined Accounting Report used to create a reclassification of the Balance Sheet according to Art. 959 of the Swiss Code of Obligations.
Everyone can choose to have their own, starting from an empty file.
- When creating your own Accounting Report, groups and totals can be freely defined.
- It is also possible to customize the Accounting Report used in this example by downloading it from our program, as indicated in the previous sections, and customize the accounts or groups for your own reclassification.

The Columns of the Accounting Report
The Accounting Report table includes the same columns found in the Accounts table, where the Accounts or Groups for Totals are set up based on a custom scheme.
In the example, groups and totals were created for the reclassification of the Balance Sheet according to Art. 959 of the Swiss Code of Obligations.

Section
This column is used to indicate the value to be used in the presentation.
For the different options, see the Documentation on sections.
Group
Indicates the group in which to totalize the accounts retrieved from the accounting and the total group.
Account (visible only in the Complete view)
The account from the accounting file to be included in the accounting report.
- If accounts are entered, only those specified accounts will be included when the Report is executed.
- If no accounts are entered, the accounts from the accounting will be included, linked via the group.
Description
Description of the grouping or account.
Sum In
In the Sum In column, the Group (total row) in which the row should be totalized is indicated.
Tot
If set to "Yes", only the total row is displayed, not the individual account rows that make it up.
See Show only group totals in the Accounting Report.
Keep
Normally, the report includes total rows that contain accounts with balances.
If set to Yes, this column ensures the row is always shown. It can be applied to both groups (totals) and accounts.
With Mov.
Applies to groups with a zero balance.
The row is displayed if there have been movements during the period.
Methods for Reclassifying the Balance Sheet and Income Statement
To reclassify the balance sheet and income statement, you must first prepare the Accounting Report file.
There are two methods to set up the Accounting Report file for the reclassification of the balance sheet and income statement:
1. Reclassify Based on the Group Column
This method allows the reclassification of the balance sheet and income statement using the Group column of the Accounting Report file.
In the Accounting Report, you create your own system of groups and subgroups
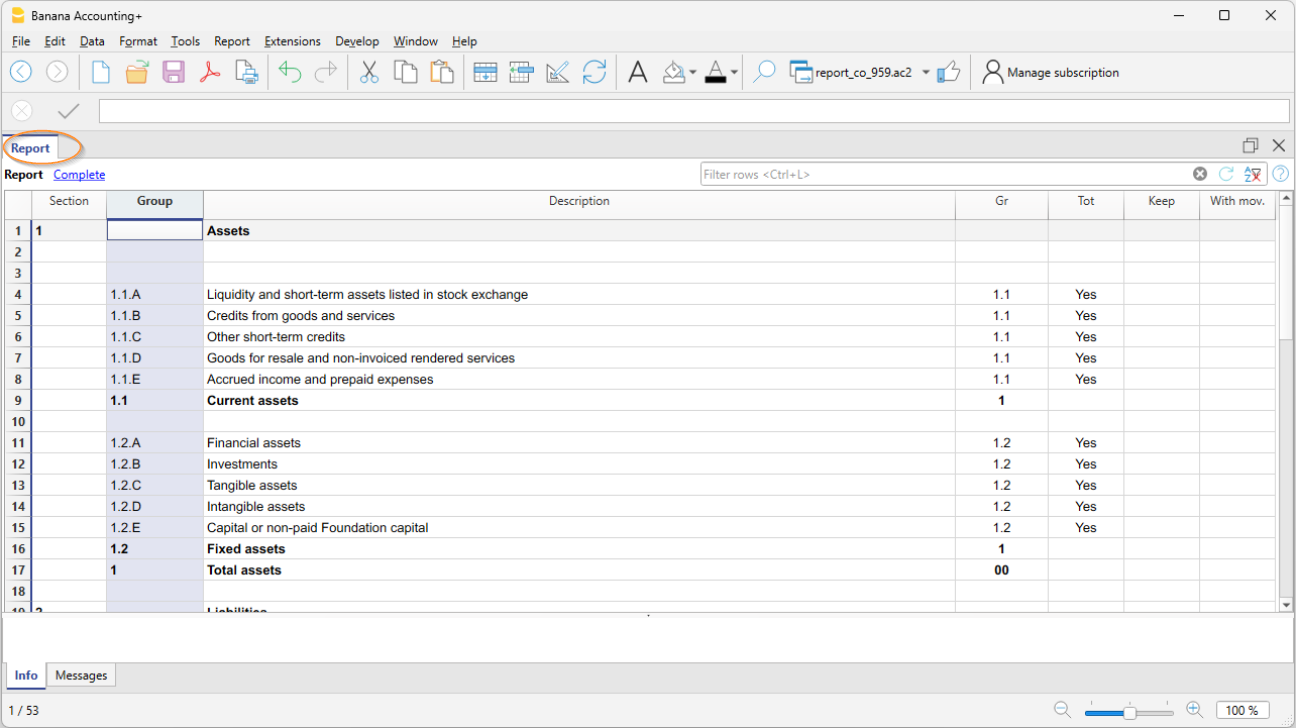
In the Section column, a number is inserted to define the title of the various sections in the printout.
- In the Group column, enter the groups that will total a series of accounts from the accounting file.
In the example, Group 1.1.A of the accounting report totals the liquidity accounts (cash, bank, post, etc.). - In the Gr column, insert the group that will totalize the individual groups listed in the previous rows.
In the example, in the Gr column, 1.1, which corresponds to Group 1.1, will totalize the Current Assets.
In the accounting file, to link with the Accounting Report, you must set the GR1 column
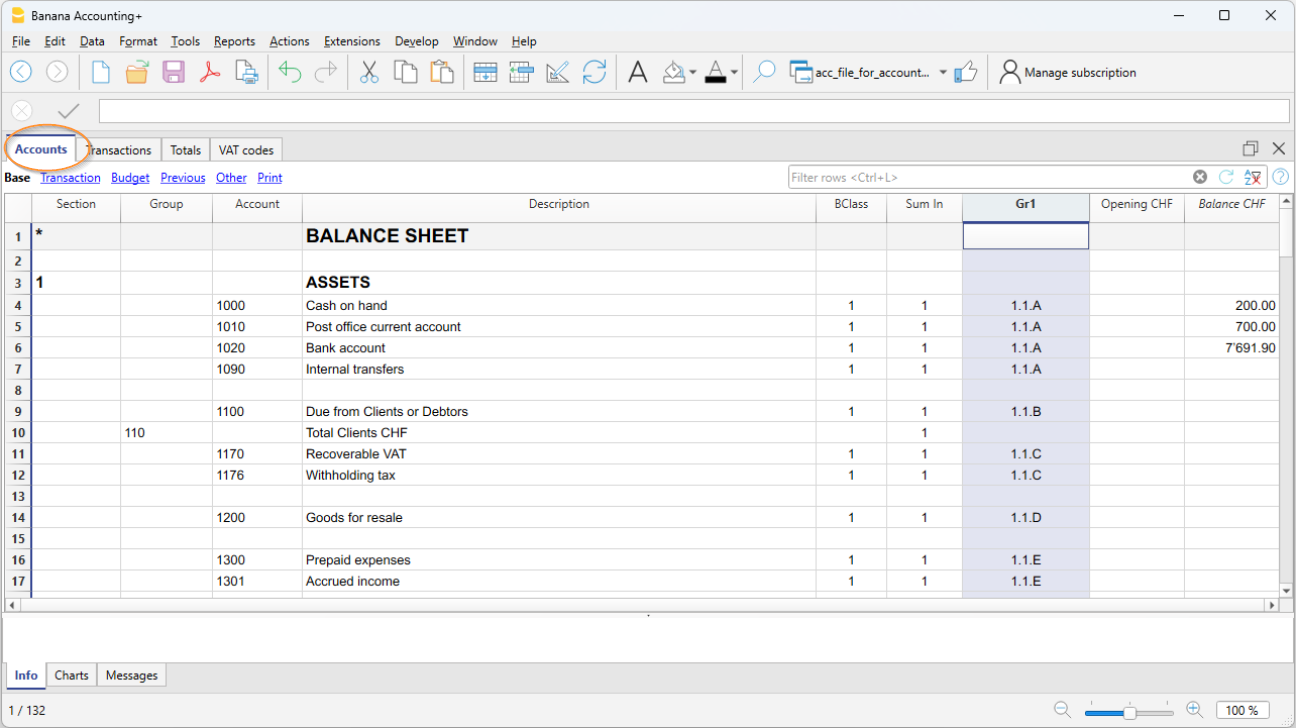
- In the Accounts table, column Gr1 or Gr2, insert the group set in the Accounting Report, in which the account should be totalized.
In the example, in the GR1 column all liquidity accounts have the group 1.1.A, which in the accounting report totalizes the Liquidity accounts.
If the Gr1 column is not visible, use the command Data > Columns setup. - Accounts without any linkage will not be included in the Report.
2. Reclassify Based on Accounts
This method is useful when you want to include only certain accounts from the accounting in the Accounting Report file
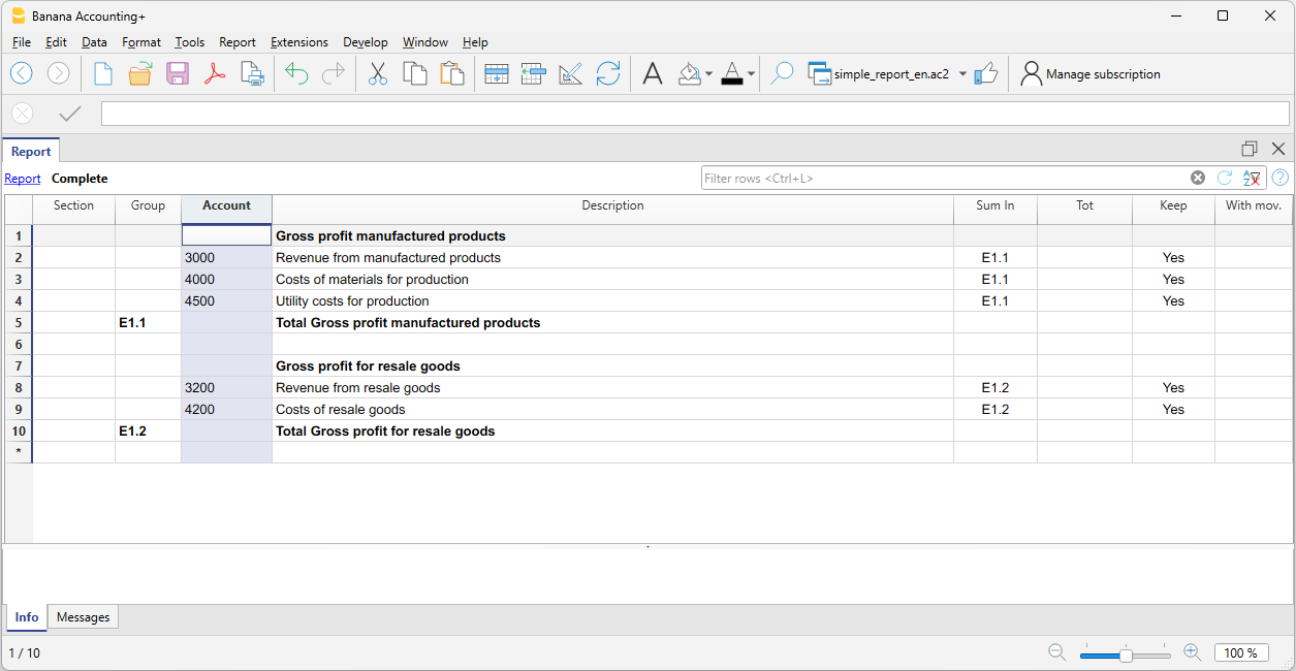
- In the Section column, a number is inserted to define the title of the various sections in the printout
- In the Group column, the groups that total each account imported from the accounting are defined
In the example, Group E1.1 of the accounting report totals accounts 3000, 4000, 4500 from the Accounting Report - In the Account column, enter the same account numbers from the accounting that you want to include in the Accounting Report
Only the specified accounts will be included in the report. - In the Description column, enter the description of the accounts
In the Sum In column, enter the totalization group (e.g. E.1, E1.2...).
Print the Accounting Report
The Accounting Report that reclassifies the balance sheet and income statement is displayed and printed from the accounting file :
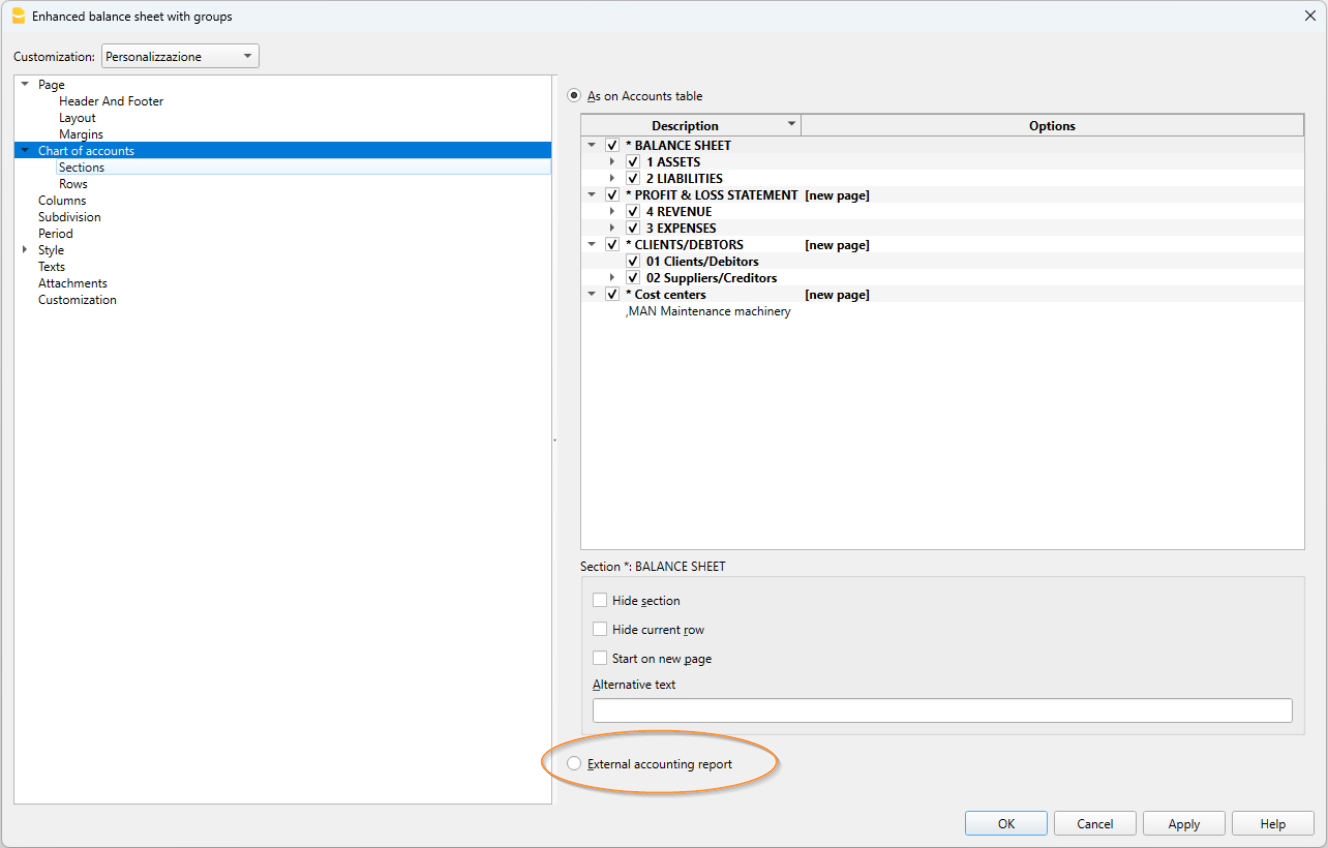
- Menu Reports > Enhanced balance sheet with groups
- Section Chart of Accounts > External Accounting Report
- In the dialog window, in the grouping column, select the column through which you want to apply the grouping (GR1, BClasse, VAT, etc...).
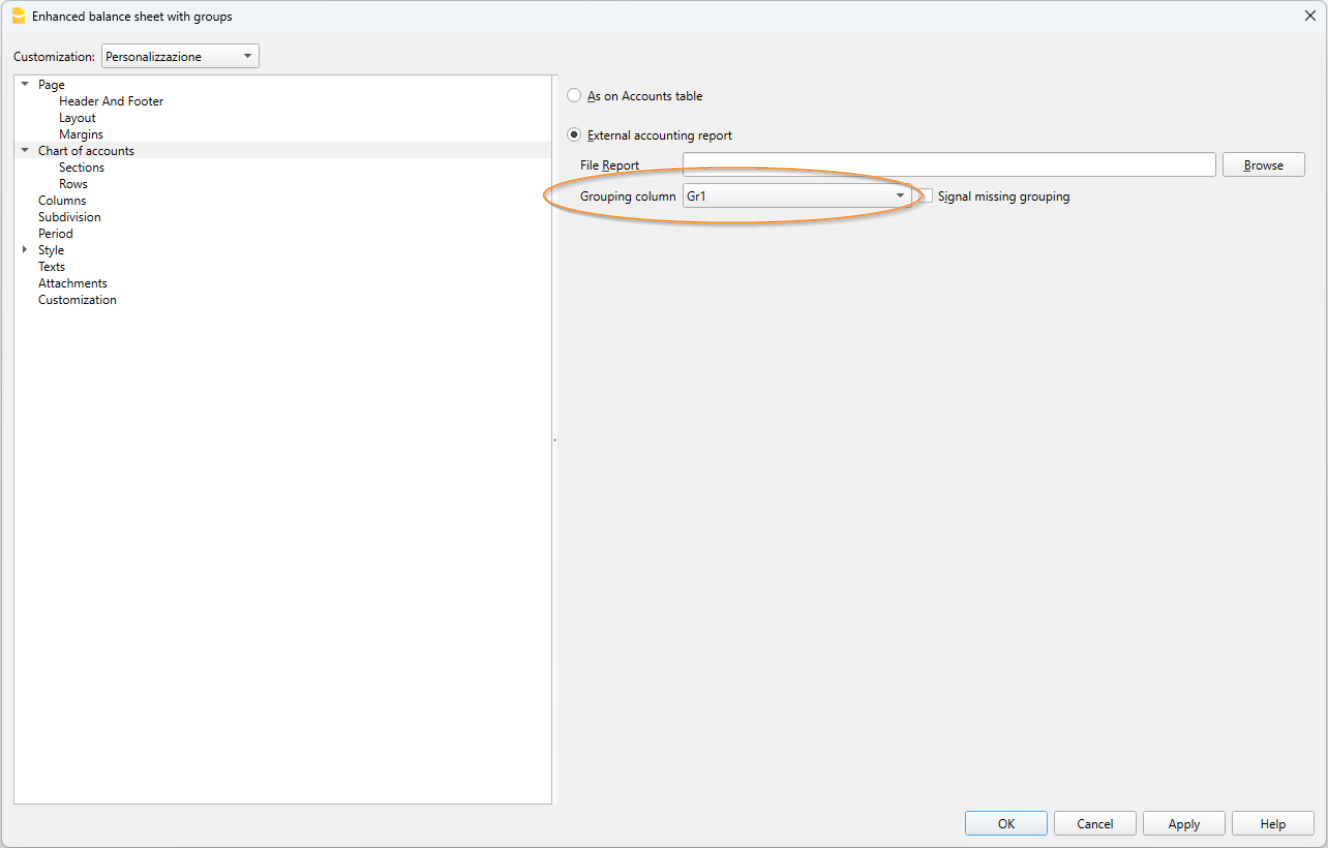
You obtain a printout like the Enhanced Balance Sheet with Groups, but with your own reclassification.
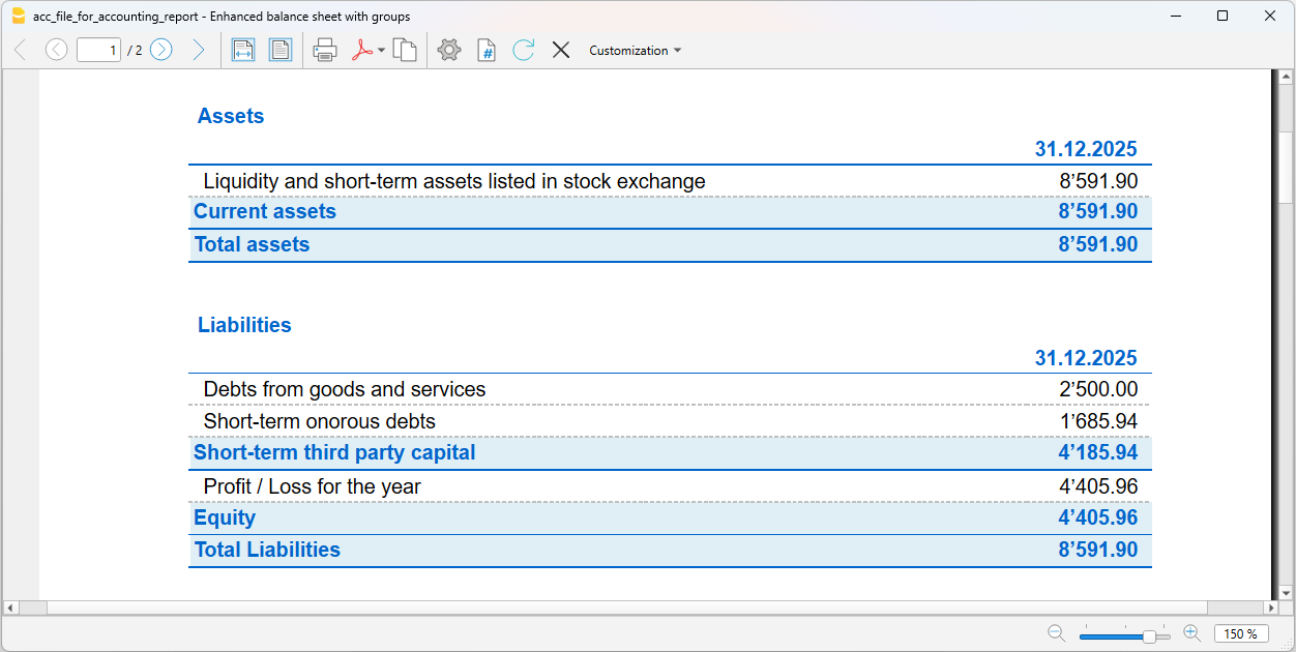
Or:
- Menu Report > Accounting Report
- In the Basic section, select the External Accounting Report option.
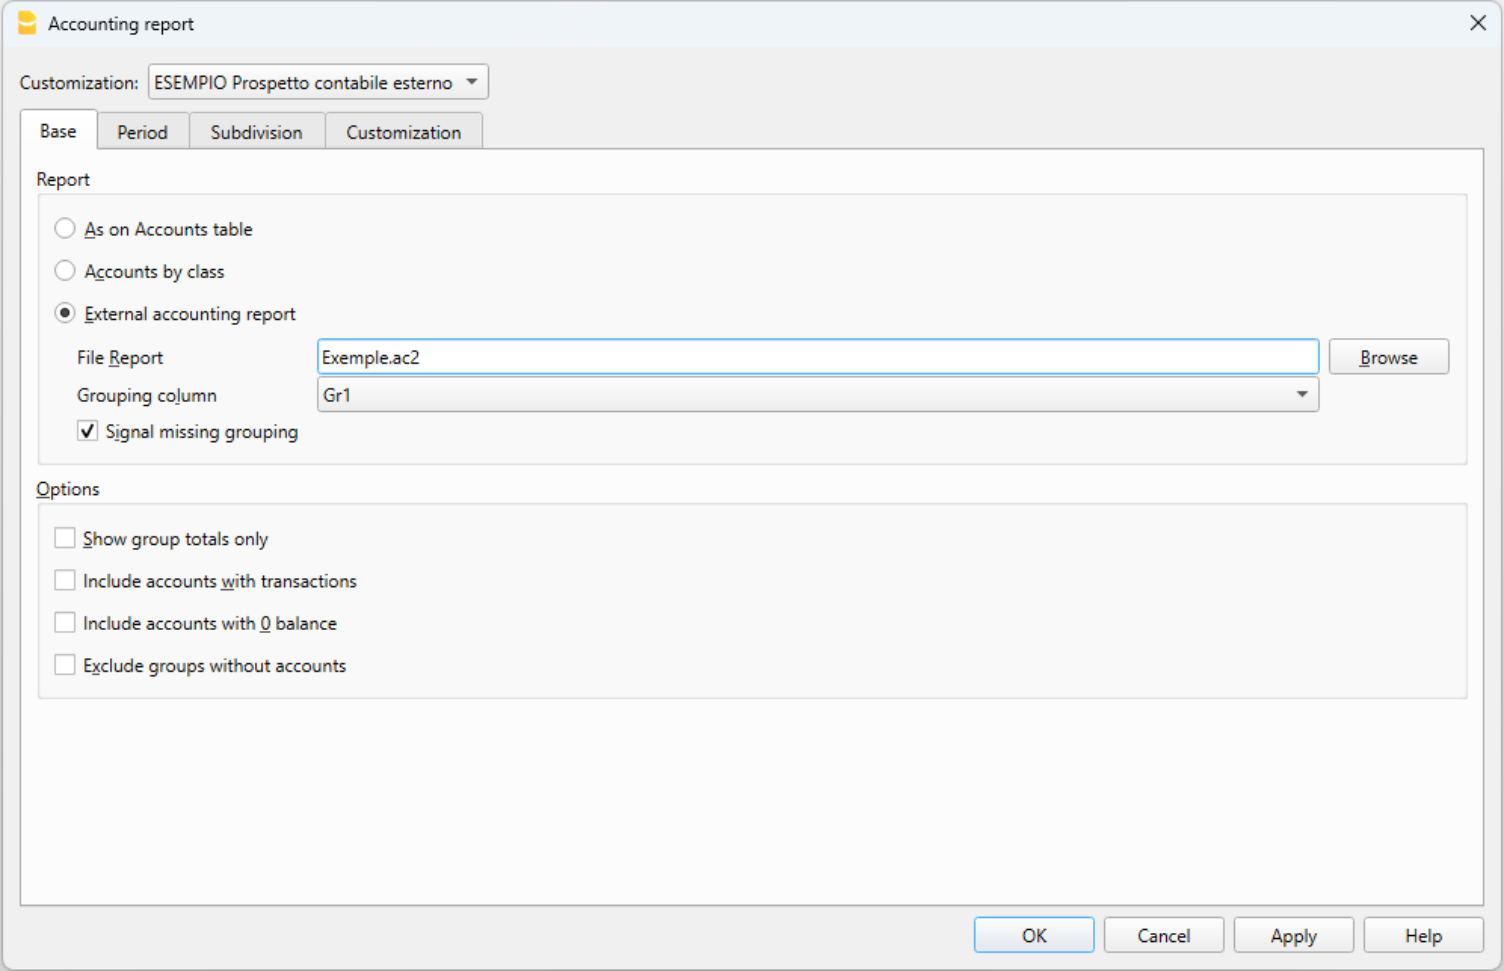
A table view is displayed, similar to the Accounts table, but with your own reclassification
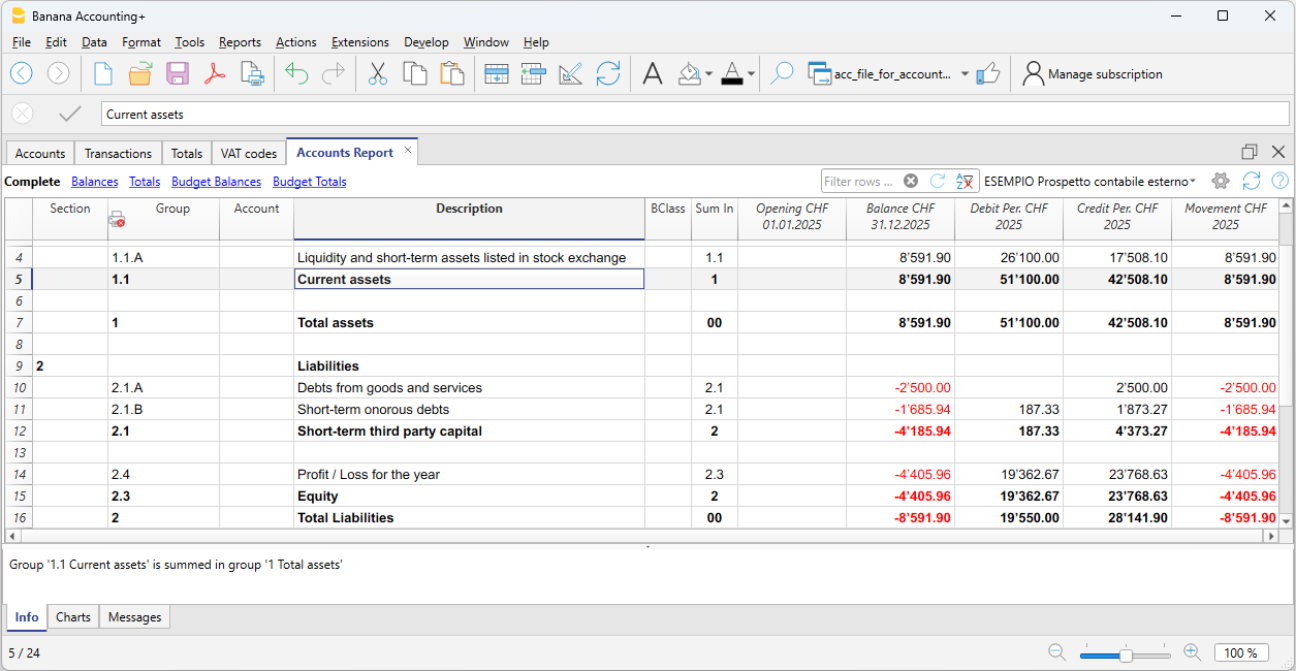
Transactions table | Double-entry accounting
The Transactions table is the central hub for keeping the accounts, where all the operations with financial and economic impact are entered. The use is similar to Excel. In the Transaction table the movements are always visible and in perfect order and by scrolling them, you instantly have a clear view of all the events.
All the data entered can be modified and corrected, making it easy to have a perfect accounting.
The Transaction Table is also characterized by the Balance Column, which allows identifying any differences between the Debit and Credit columns and especially the row where the difference originated. Additionally, errors and accounting differences are flagged in the information window at the bottom.
Key features:
- Single or compound entries: Single entries record simple transactions with one Debit and one Credit account, while compound entries are entered on multiple lines with different Debit and Credit accounts. The program suggests previously entered text for quick auto-completion.
- Recording Method: Transactions can be recorded using either the accrual or cash method, ensuring accuracy and compliance with accounting standards.
- Management of Repetitive Operations: Stores repetitive operations for quick future recording, reducing data entry time.
- Customizable Columns: Default columns can be made visible at the user's choice, including quantity, price, and other relevant information.
- Automatic Numbering: Automatically assigns document numbers with different numbering simultaneously, maintaining systematic order and facilitating search and archiving.
- Digital Attachments: Links digital justifications such as PDFs or images to files, accessible with a simple click for complete and organized documentation.
- Exception Management: Highlights rows to quickly identify entries to verify or correct, facilitating the review and control process.
- Data Integration: Imports transactions from various digital bank statements and other programs, speeding up entry of records and ensuring data accuracy.
- Cost/Profit Centers and Segmentation: Allows recording operations on cost/profit centers and segments for detailed analysis and better financial management.
- Balance Verification Entries: Before period or year-end closings, quickly identifies and corrects errors between actual balances, ensuring accurate and updated balances.
Fast insertion
The table is similar to Excel, you can scroll up and down and position yourself in any cell.
There are many features that make entering and editing data very fast.
The following operations are possible:
- Cancel and redo.
- Select one or more cells and copy / paste.
- Add, copy, paste and delete lines, individually or in bulk.
- Search and replace texts.
- Sort the rows by date.
- The auto-complete function suggests the values to enter (for example the list of accounts).
- With the F6 key the values of the row are completed, taking over those of the same row.
- The F4 key resumes the values from the previous row.
- The date is completed with the values from the previous row.
- In the Doc column progressive numbers (with different counters) are suggested.
- In the Debit or Credit Account column you can search for the account by typing it's description.
- In the columns of the amounts you can enter formulas, such as "30 + 25" and the program inserts the result.
Further information is available on the pages:
Movements import
By importing transactions from bank, postal or credit card statements, data entry in the Transactions table is speeded up and errors are avoided. Data is recorded exactly as it appears on the bank statement.
- In addition to the account statements, you can also import data from other programs.
- The program automatically completes the missing values.
- Several formats are available for importing.
- You can copy and paste data from other programs.
- Imported data can be completed, modified or deleted.
- Ability to program extensions to import any type of file.
Further information is available on the Import to Accounting page.
Management of multiple information
A lot of information can be indicated for each entry row:
- The value date and that of the document.
- A progressive number of document and protocol, or external reference.
- Any additional information you need by adding columns.
- Link to a digital document file.
- Add and remove links.
- Open the link and view the content.
- VAT management (if the type of accounting with VAT was chosen in the creation of the file):
- By entering the VAT code in the transaction, the program calculates the VAT automatically.
- Break down and post the VAT on the designated account.
- You can define whether the amount is net or gross of VAT.
- You can indicate that it is a reversal by inserting the minus sign "-" before the VAT code.
- You can indicate a VAT percentage that is not recoverable.
- You can encode special cases with additional codes.
- Cost and Profit centres:
- Up to 3 cost and profit centers for each posting line.
- You can post negative by indicating the "-" sign in front of the cost or profit center account.
- Segments:
- For each debit or credit account you can indicate up to 10 segments.
- Supplier management:
- Management both on the basis of competence (setting as ledger) and cash (setting as cost and profit centers).
- Management of due date and payment, to have the report of open and paid invoices.
- Client management:
- Management both on the basis of competence (setting as ledger) and cash (setting as cost and profit centers).
- Management of due date and payment, to have the report of open and collected invoices.
- Invoices to customers:
- Data entry for the creation of invoices.
- Customer account suggestion.
- Quantity and price (make columns visible).
- For billing or cost control.
- Automatic calculation of the amount.
- Item number (if option activated)
- To connect to the items table.
- Automatic calculation of the quantities of products entered and exited.
- Print invoices.
- Indication of further information needed to print the invoice.
Account card
From the Transactions table you can access any account card, just go to the account cell (in the Debit or Credit column) and click on the small icon that appears in the upper right corner of the cell.
When you are in the account card, clicking on the row number of a transaction takes you back to the Transactions table, on the original transaction precisely.
More information on account cards can be found on the Account / Category Card page.
Verify data
Entering values is very secure. Banana Accounting has functions that allow automatic detection and reporting of errors.
- The program verifies that the entered values are correct.
- If there is an imbalance between the Debit and Credit columns, this will be indicated in red in the Info window.
- Transactions you are unsure about can be left pending and completed later.
- For each error message there is a corresponding help page (requires internet connection).
- In the Info window below you have the following information:
- Description, movement and balance of the accounts used.
- Error reports error messages with a link to the help page.
- Reporting of the debit and credit difference.
- By entering the actual bank balances via the #checkbalance function, you can immediately check the correspondence of the balances in the accounting and avoid errors.
- With the Check accounting command, the program rechecks all the data entered and alerts you to oversights and errors.
- You can colour the rows, change fonts and make them bold.
- You can protect the rows.
- Lock transactions with blockchain technology.
Arrangement of columns
To have a more congenial data entry, you can arrange all the columns in your own order.
You can choose to:
- Move the columns to the right or left.
- Display additional columns or hide unnecessary ones.
- Add own columns
- Save the arrangement of the columns (views).
Further information is available on the Columns setup page.
Transactions table columns and views | Double-entry accounting
The Transactions table has a series of columns and views already set.
The columns of the Transactions table
The columns listed hereunder and preceded by an * are usually not visible.
In order to make them visible, use the Columns setup command from the Data menu.
Date
The date the program uses to attribute the transaction to a certain time frame. The date should be within the limits of the accounting period defined in the Basic data of the accounting. In the Options tab, one can indicate whether the transaction date is required, otherwise this value can also be left empty.
If there are locked transactions, the program triggers an error message when a date equal or earlier to the one of the lock is being entered.
*Date Document
The date of the document can be entered, for example the date of issue for an invoice.
*Date Value
The value date of the bank operation can be indicated. This value is being imported from an electronic bank statement.
Document
The number of the voucher that serves as a base for the accounting transaction. When entering transactions, it is advisable to indicate a progressive number on the document, so that the accounting document of the transaction can be easily traced.
The auto-complete feature proposes progressive values as well as transaction codes that have been defined earlier in the Recurring transactions table.
The program proposes the next document number, that can be resumed with the F6 key.
- In case of a numeric numbering, the program simply increases the highest value found in the Doc column.
- Alphanumeric numbering: the program increases the final numeric part; this is useful when one would like to keep a separate numbering for cash and bank movements:
- If earlier Doc number C-01 has been entered, and one starts to type C, the program proposes C-02.
- If earlier Doc number B104 has been entered, and one starts to type B, the program proposes B-105.
- If earlier Doc number D10-04 has been entered, and one starts to type D, the program proposes D10-05.
In the recurring transactions you can setup transactions groups that can be reloaded with a single code.
In order to add a large number of document numbers, you can also use Excel. You can create the desired quantity of document numbers in Excel and then copy and paste it into Banana, in the column of the Transactions Table.
*Document Protocol
An extra column in case an alternative numbering for the transactions or for the document is required.
The auto-complete feature proposes progressive values that function in the same way as the ones in the Document column. It is used, for example:
- When it is necessary to assign a progressive number to the transactions, different from the document number.
- If the transactions are entered by other people, using another file and then these are imported into the accounting. This way it is possible to use both a progressive numbering referred to the accounting and the original number.
*Document Type
Contains a code that the program uses to identify a type of transaction. If you prefer to use your own codes, it is advisable to add a new column.
- 01 In the reports (as in the account statement), this transaction is considered an opening transaction, so it doesn't show in the period but in the opening balances.
- from 10 to 19: codes for customers' invoices
- from 20 to 29: codes for suppliers' invoices
- from 30 to 1000: codes reserved for future purposes.
*Document Invoice
A number of an issued or paid invoice that will be used together with the invoice control feature for Customers and Suppliers
*Document Original
The reference number present on a document, to enter, for example, the number of a credit note.
*DocLink to external file
Serves to enter a link to an external file, usually the accounting voucher.
Clicking on the small icon in the upper part of the cell, the program opens the document. See insert, edit and open links.
- When a link has been inserted in the cell, a small icon appears and clicking on it opens the document, but only if it is an extension considered to be safe.
- The other small icon allows you to insert and edit the link.
*External reference
The reference number that was allocated by a program that has generated this transaction. This value can be used to check whether a given operation is imported twice.
Description
The text of the transaction.
The auto-complete feature proposes the text of an already entered transaction, or of one that has been entered in the preceding year when the appropriate option has been activated. When pressing the F6 key, the program retrieves the data of the preceding row with the same description and completes the columns of the active row.
In case the description begins with #CheckBalance, the transaction is being considered as one that serves to check the balance.
Please consult our page Check accounting for more information on the subject.
*Notes
Useful to add notes to the transaction.
Debit Account
The account that will be charged.
- It is possible to also enter a segment in the Debit account column. These are usually separated by a ":" or a "-" o un "-".
By inserting the segment separator sign, immediately move to the next segment. - If instead the Enter key is being pressed, the input will end and one moves to the next column.
- The auto-complete feature proposes the accounts and segments of the Plan of Accounts.
- Instead of the account, you can enter a search text. The program proposes the list of accounts which contains the text in one of the columns.
- [Comment]. A value enclosed in square brackets is considered a comment and its content is not taken into account, except in particular situations.
*Debit Account Description
The description of the entered account retrieved from the Chart of accounts.
Credit Account
The account that will be credited.
We refer to the explanation under Debit account for the rest of the information.
*Credit Account Description
The description of the entered account retrieved from the Chart of accounts.
Amount
The amount that will be entered unto the debit and credit account.
*Balance
The Balance column shows the sum of debit and credit. An amount is therefore only displayed for entries in several accounts. At the end of the entry the balance should be zero. If there is a recurring amount it is because there is an error.
VAT columns
Information on the VAT columns can be found att the VAT columns in the Transactions table page
CC1
The Cost center account preceded by "." to be entered without the ".".
- If the initials are preceded by the minus sign "-P1", the amount is recorded in credit.
- [Comment]. A value in square brackets is considered a comment and its content is not taken into account, except in particular cases.
*CC1 Description
The description of the Cost centre, retrieved from the Chart of accounts.
CC2
The Cost center account preceded by "," to be entered without the ",".
- If the acronym is preceded by the minus sign "-P2", the amount is recorded in credit.
- [Comment]. A value in square brackets is considered a comment and the content is not taken into account, except in particular cases.
*CC2 Description
The description of the Cost centre, retrieved from the Chart of accounts.
CC3
The Cost center account preceded by ";" to be entered without the ";".
- If the acronym is preceded by the minus sign "-P3", the amount is recorded in credit.
- [Comment]. A value in square brackets is considered a comment and the content is not taken into account, except in particular cases.
*CC3 Description
The description of the Cost centre, retrieved from the Chart of accounts.
*Expiry date
The date before which the invoice has to be paid. For further information see the Customers and Suppliers pages.
*Payment date
Used in combination with the Show Expiry dates command.
When the invoices customers/suppliers control feature in order to check on the payments is used instead, a transaction has to be entered for an issued invoice and another one for the payment thereof.
*Lock Number, Lock Amount, Lock Progressive, Lock Line
More information at the Lock Transactions page.
Additional columns
From the menu Tools → Add new features → Add Items columns in the Transactions table, the following columns are added.
For more information, see also Items columns in the Transactions table.
ItemId
- The identifier of the item from the Items table. If you enter an item that exists in the Items table, the description, unit, unit price, VAT code and account are retrieved automatically.
Quantity
- The quantity, which multiplied by the unit price gives the total amount (it can also be a negative number).
- If the Items table is present:
- A positive value (+) is added to the quantity of the item.
- A negative value (–) is subtracted from the quantity of the item.
- A neutral value (±) is considered for calculating the total amount, but does not affect the quantity in the Items table.
Neutral values are used in the management of securities, for recording gains or losses. You can specify the quantity and the amount of profit or loss for a specific security, without affecting the available quantity of securities. You can enter the "±" symbol by typing "+" followed by "-". The program automatically recognizes this combination and converts it into the "±" symbol.
- If a quantity is entered and the unit price is empty, and there is an amount in the transaction, the unit price is calculated automatically.
Unit
- A description referring to the quantity, for example: sqm, ton, pcs.
Unit Price
- The price for each unit, which multiplied by the quantity gives the total amount (it can also be a negative number).
- The number of decimals can be modified with the appropriate command in the menu Tools > Add and Remove features.
Transaction amount
- If a value has been entered in the Quantity or Unit Price column, the transaction amount is calculated based on the contents of these two columns and converted into a positive value.
Adding new columns
With the Columns setup command, it is possible to display, hide or move the order of columns, add new ones, or indicate that a column should not be included in the printout.
- The added columns in the Transactions table will be added also in the Recurring transactions table, in the Account card and in the VAT report, without being made visible.
In order to display these columns in the other tables, use the Columns setup command. - If a column of the "amount" type is being added, the entered amounts will be added up in the Account card.
Views
When a new accounting is being created, the following views are being automatically created as well:
- Base: the main columns are being displayed
- Cost centres: the CC1, CC2 and CC3 columns are being displayed
- Expiry dates: the columns Expiry date and Payment date are being displayed
- Lock: the columns relative to the Lock function are being displayed.
With the Views setup command, the views can be customized and personal views can be created.
With the Page setup command, you can modify the print mode of the view.
Recording Bank checks
To enter issued bank checks, the user needs to insert an Issued checks account in the Liabilities.

The check is issued at the moment of paying a supplier and later on is being debited from the Bank current account.

The Issued checks account card after the transactions.

Registrazioni su conto privato
Il conto privato è un conto finanziario, utilizzato nella contabilità per registrare quelle transazioni che non riguardano direttamente l'azienda, ma il patrimonio personale del titolare. Questo conto tiene traccia dei prelievi e degli apporti del titolare a scopi privati; pertanto serve per tenere separate le finanze aziendali da quelle personali, evitando confusione contabile.
Prelievi dall'azienda del privato/socio
I prelievi personali vengono registrati come diminuzione del patrimonio netto. Se il titolare/socio utilizza fondi aziendali per spese personali, l'importo viene addebitato al conto privato.
Esempio di scrittura contabile per un prelievo in contanti:
- Dare: Conto privato (per il prelievo del titolare/socio)
- Avere: Cassa/Banca (per l'importo prelevato).
Apporti nell'azienda dal privato/socio
Gli apporti personali del titolare (es. aumento di capitale o versamenti per coprire spese) vengono registrati come incremento del patrimonio netto.
Esempio di scrittura contabile per un apporto in contanti:
- Dare: Cassa/Banca (per l'importo versato dal titolare/socio)
- Avere: Conto privato (per l'apporto del titolare/socio).
Utili prelevati
Se il titolare/socio preleva utili maturati:
- Dare: Conto utili a nuovo (o Risultato di esercizio)
- Avere: Conto privato
Saldo del Conto Privato/socio
- Saldo positivo: indica che il titolare ha un credito verso l'azienda.
- Saldo negativo: indica che il titolare ha debito verso l'azienda.
Transactions for Balances Verification (#CheckBalance) | Double-entry accounting
Banana Accounting Plus includes the #CheckBalance function in the Check and recalculate accounting command for verifying and matching account balances.
This check is essential for the accuracy of the accounting. It is recommended to perform the balance verification periodically at the end of each month, in addition to the end of the accounting period, to avoid incorrect balances being carried over from month to month.
To perform this check, follow these steps:
- Record the date to which the balance refers.
- In the Description column, enter #CheckBalance followed by the amount corresponding to the balance to be verified (e.g., the actual cash balance, bank account balance from the bank statement, etc.).
- In the Debit column, indicate the account being checked (bank account, cash, VAT account, or another account to be verified).
- The Amount column must be left empty.
With this command, the program will flag any accounts with mismatched balances in the Messages window if discrepancies are found.
Credit card registration with advance payment
Advance payment on Credit cards
Before taking you through the procedure, check that an account for Credit card exists in the liabilities part of the Chart of Accounts. Create it if that is not the case.
The credit card account is added to the group or sub-group of short-term debts, as long as this is pre-requisite of the Chart of Accounts selected. If there are no sub-groups, it must be listed in the liabilities section.
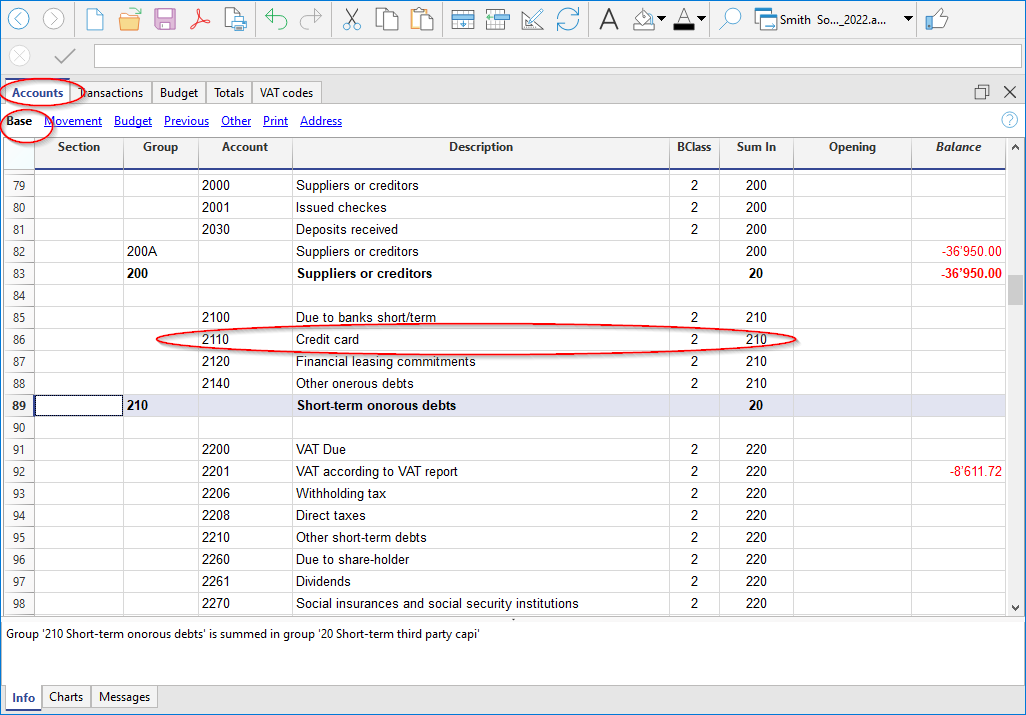
Example:
An amount of CHF 1'000.- is transferred from the bank account to the credit card.
- In Debit the credit card account is recorded
- In Credit the bank account with which the payment is made is recorded.
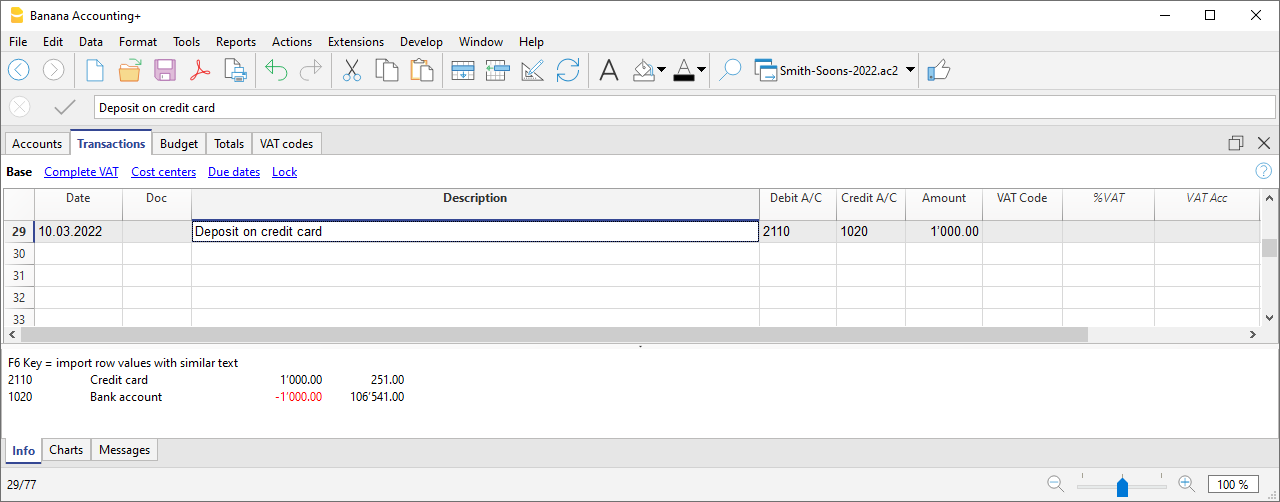
Register your credit card bill
When the credit card bill arrives, you must record all charges listed on the credit card and reverse the credit from the credit card account.
Example:
The credit card statement shows a total of CHF 749.- (detail: CHF 479.- for computer purchase, CHF 150.- for hotel expenses, CHF 120.- purchase of office supplies) (Doc.10)
Enter on several rows:
- All costs related to the expenses listed on the credit card are recorded as a Debit; you post a cost per line.
- Enter your credit card account as a Credit.

Check the credit card account balance
Each time you pay an advance towards the credit card and once all the costs listed on the credit card have been recorded, you must verify that the credit card balance matches the balance stated on the credit card.
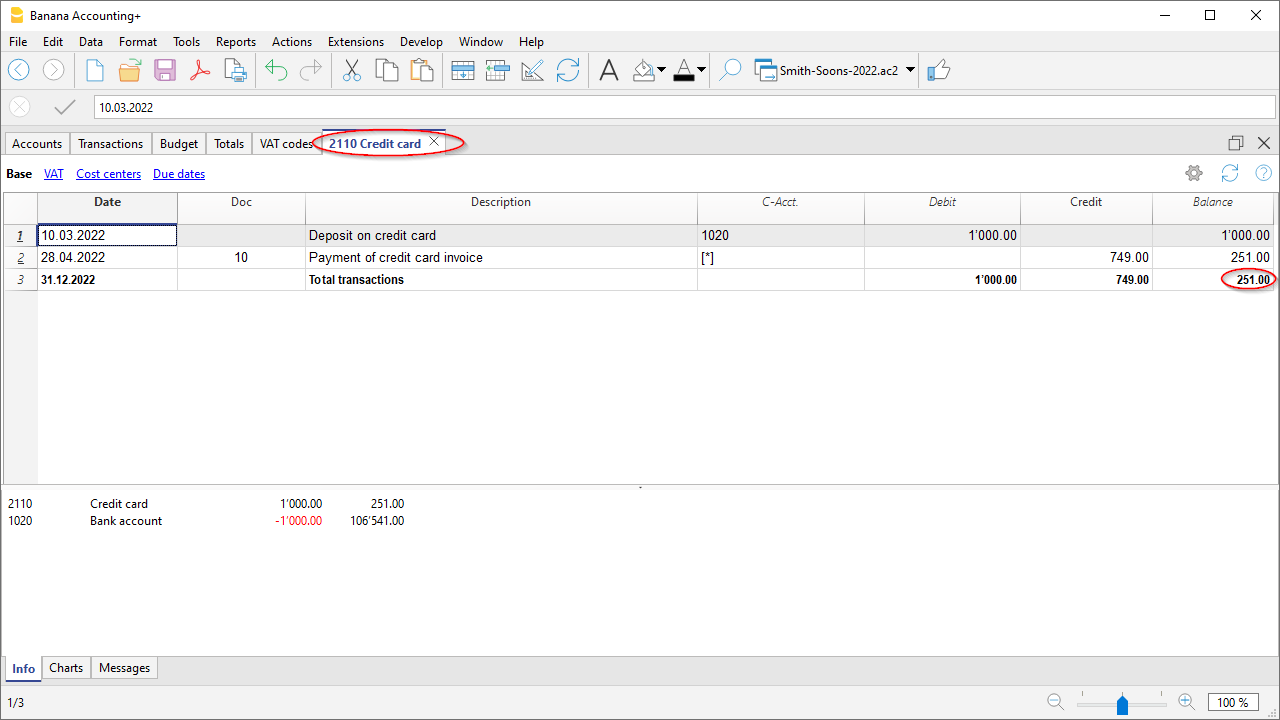
Register your credit card transactions according to the Cash and the Turnover principle
Credit Card with an accounting using the Cash principle
If no down payments are made on the credit card and the invoice is paid in full by the bank, you should record the credit card invoice at the time of payment when the costs should also be recorded.
You need to record on several rows:
- Enter the same date and the same Document No. for each transaction on all the rows that make up for the transaction.
- In the Debit column, enter one account per row, referring to the cost or investment of the credit card transaction.
- Enter the amount of each single transaction recorded in Debit.
- In the Credit column, enter the bank or post office account with which the invoice is paid.
- In the Amount column, enter the total amount paid on the credit card invoice.
- In the case of VAT liability, enter the VAT code for each row in the VAT Code column.

After recording all movements, check your credit card balance by opening the credit card account card.
Credit card and turnover accounting
If the accounting postings are based on turnover, all costs related to credit card purchases are recorded upon receipt of the credit card invoice:
- Enter the same date and the same Document No. for each transaction for all the rows that make up for the transaction.
- All cost accounts are posted as a Debit. Each cost must be recorded on one row.
- In the Amount column, enter the amount of the single transaction recorded in Debit.
- Register your credit card account, as a Credit, as any supplier.
- In the Amount column, enter the total amount to be payed by the credit card.
- In the case of VAT liability, enter the VAT code for each row in the VAT Code column.

When the credit card bill is paid, enter the payment:
- As Debit in credit card account (the debt is extinguished).
- As Credit in the bank or post office account with which the invoice is paid.
- The total amount of the credit card paid is entered as the amount.

Importing transactions from your credit card
Banana Accounting allows the importation of movements from the credit card into the main accounting file.
You must ensure that the chart of accounts includes the credit card account and the transfer account to be used for down payments.
Install the import extension
In order to be able to carry out the import it is necessary that the data format, provided by the credit card issuing bank, is compatible with the formats provided by Banana accounting.
To install the extension related to the data format released by the issuing bank, proceed as follows:
- Menu Extensions > Manage Extensions
- Select the extension corresponding to the format in which the credit card issuer provides the card transactions (international standard format ISO 20022 with the Professional plan or .CSV with the Advanced plan) and click the Install button.
The format will be displayed in the Import into accounting box.
Importing the credit card movements
After having installed the extension for the Banana compatible data format, proceed as follows to import the data:
- Actions Menu > Import into accounting > Transactions:
- Select the format type of the bank that issued the credit card.
- With the Browse button, select the file transmitted by the bank and confirm with OK.
- Enter the period and indicate the credit card account and confirm with OK.
All transactions are imported into the Transactions table. - Enter the counterpart account that refers to the movement for each row.
Import credit card transactions with deposits made
When deposits have been made on the credit card, they are recorded in the accounting system. In this case, after importing the credit card data, there is the problem of the recording of the deposits. In this case a double transaction appears on the credit card account:
- Presence of the credit card account as a counterpart to the bank charges for payments to the credit card.
- Presence of the credit card account in the transactions imported from the credit card.
To avoid this overlap, the transfer account is being used at the time of import.
How to proceed with the import:
- Actions Menu > Import into accounting > Transactions:
- Select the format type of the bank that issued the credit card.
- With the Browse button, select the file transmitted by the bank and confirm with the OK button
- Enter the period and indicate the transfer account. Confirm with the OK button.
All transactions are imported into the Transactions table. - Enter the counterpart account that refers to the movement for each row.
Salary transactions
Companies that have employees must manage salaries, as well as employees’ social security and insurance contributions.
Salaries can be managed in two different ways:
Net salary management is the simplest solution because it provides for:
- recording salaries at the time they are paid
- recording social security and insurance contributions only when advance payments of contributions and employees’ insurance premiums are paid.
Gross salary management is much more complex because transactions must record monthly gross salaries and the social security and insurance contributions deducted from employees’ pay, as well as the withholdings on employees’ salaries.
Net salary transactions
Net salary accounting consists of recording in the accounting only the amounts actually paid to employees. It is a simple and practical method, particularly suitable when payroll processing is carried out using dedicated payroll software or outsourced to a fiduciary firm.
Compared with gross salary accounting, it provides a less detailed view of personnel costs, as it does not separately show the employer's social security contributions and the contributions withheld from employees.
For this reason, the calculation of gross salaries, deductions, and social security contributions is performed by the payroll software or by a fiduciary firm, which submits the required declarations to the relevant authorities. The annual declaration to the AHV Compensation Office is based on the gross payroll, which must be determined from the payroll statements.
What is recorded
With net salary accounting, the following items are normally recorded in the accounting:
- net salaries paid to employees
- advance payments of social security contributions (AHV/IV/EO/ALV), paid monthly or quarterly
- insurance and pension premiums, paid at the beginning of the year or every six months.
- any year-end adjustments.
What is not recorded:
- Gross salary
- Employee deductions
- Liabilities towards social security institutions at the end of the period.
Advantages of net salary accounting
- Simple transactions
- Few accounts to manage
- Faster accounting.
Limitations of net salary accounting
- The gross salary does not appear in the accounting.
- The details of employee salary deductions are not visible.
- Employer and employee contributions are not shown separately.
When to use net salary accounting
Recording salaries on a net basis is recommended when payroll management is handled by payroll software or by a fiduciary firm, and the main purpose of the accounting is to record payments and accounting transactions.
It is particularly suitable when:
- the details of salaries, deductions, and social security contributions are managed outside the accounting
- there is no need to analyse personnel costs separately in the accounting
- you want to keep the accounting simpler and reduce the number of transactions.
Accounts normally used
Only a few accounts are normally required to manage net salaries.
Expense accounts
- 5000 Salaries
- 5700 AHV/IV/EO/ALV Contributions
- 5710 Family allowance fund contributions
- 5720 Mandatory occupational pension contributions
- 5730 Occupational accident insurance premiums
- 5740 Daily sickness allowance insurance
- 5790 Withholding tax
Payment accounts
- 1020 Bank
- Another cash account.
Distinction between the employer's share and the employee's share
With net salary accounting, the accounting records do not directly show the allocation of social security contributions between the employer's share and the share withheld from employees.
Payments made to social security institutions (AHV, occupational pension fund, insurance companies, and other institutions) generally include both shares and are recorded as total amounts. Consequently, it is not possible to identify the employer's share directly from the accounting entries alone.
To determine it, you need to refer to:
- the expense accounts dedicated to social security contributions
- the payroll statements generated by the payroll software.
The accounting correctly records the total personnel cost, while the detailed allocation of contributions is provided by the payroll statements.
Payment of net salaries
When paying employees, the net salary paid is recorded.
In the Transactions table, record the following each month:
- Date: the salary payment date
- Description: the payment description
- Debit: account 5000 Salaries
- Credit: the Bank account
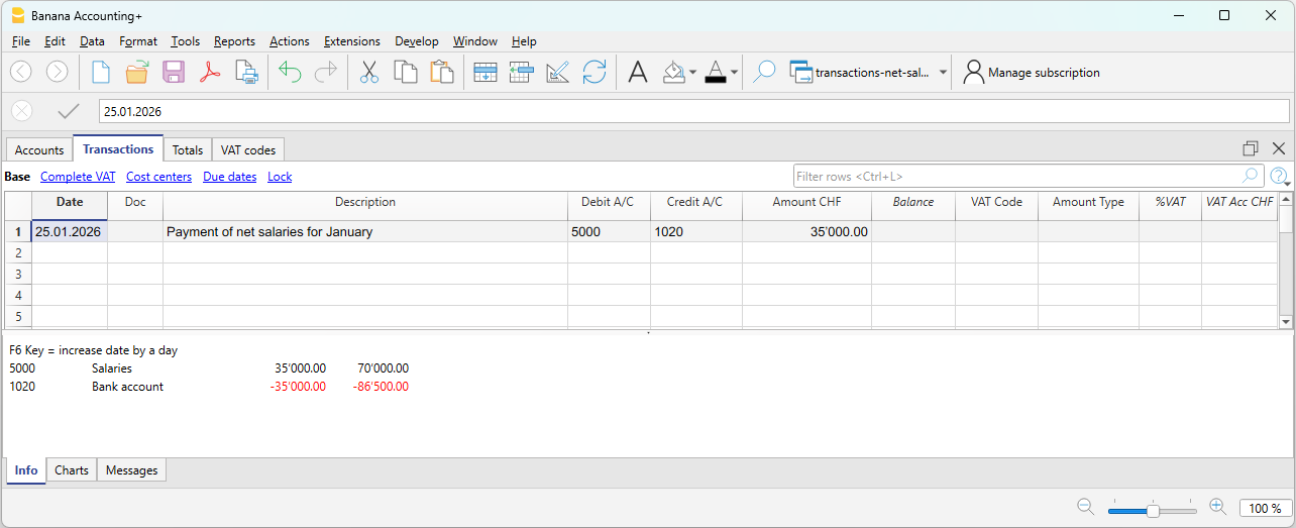
Periodic payment of social security contributions
When paying advance social security contributions, record:
- Date: the payment date of the social security contributions
- Description: the payment description
- Debit: account 5700 AHV/IV/EO/ALV Contributions
- Credit: the Bank account
- Amount: enter the amount of the social security contributions (shown on the advance invoice), including both the employer's share and the employee's share.
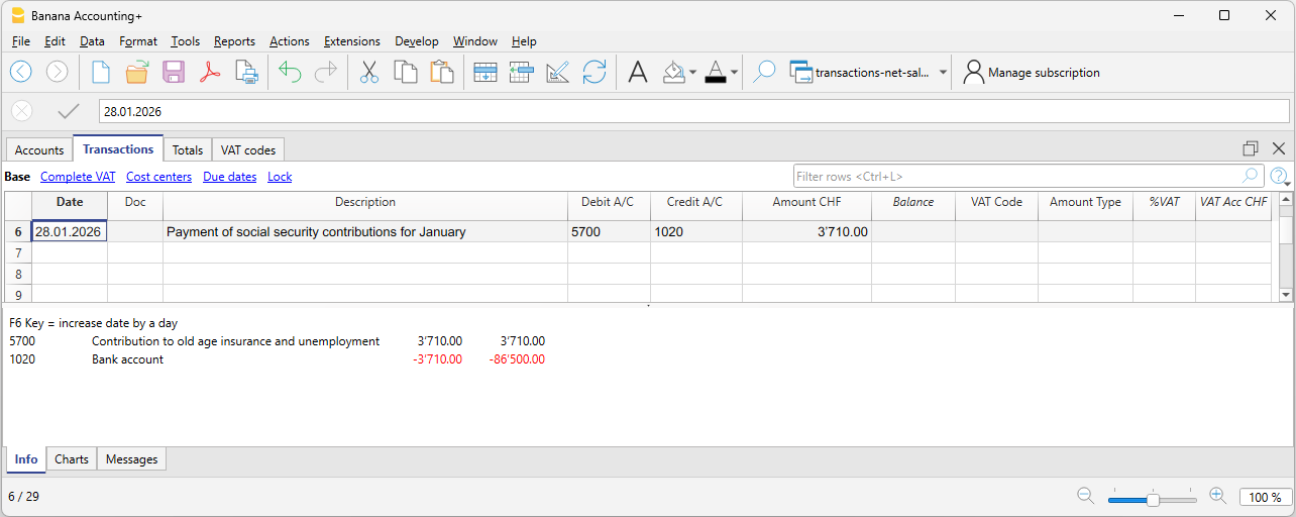
Annual payment of insurance premiums
When paying insurance premiums, for example Occupational Accident Insurance or supplementary Occupational Accident Insurance, record the payment to the insurance company.
- Date: the annual insurance premium payment date
- Description: the payment description
- Debit: account 5730 Occupational accident insurance premiums
- Credit: the Bank account
- Amount: enter the amount shown on the invoice. It includes both the employer's share and the employee's share.
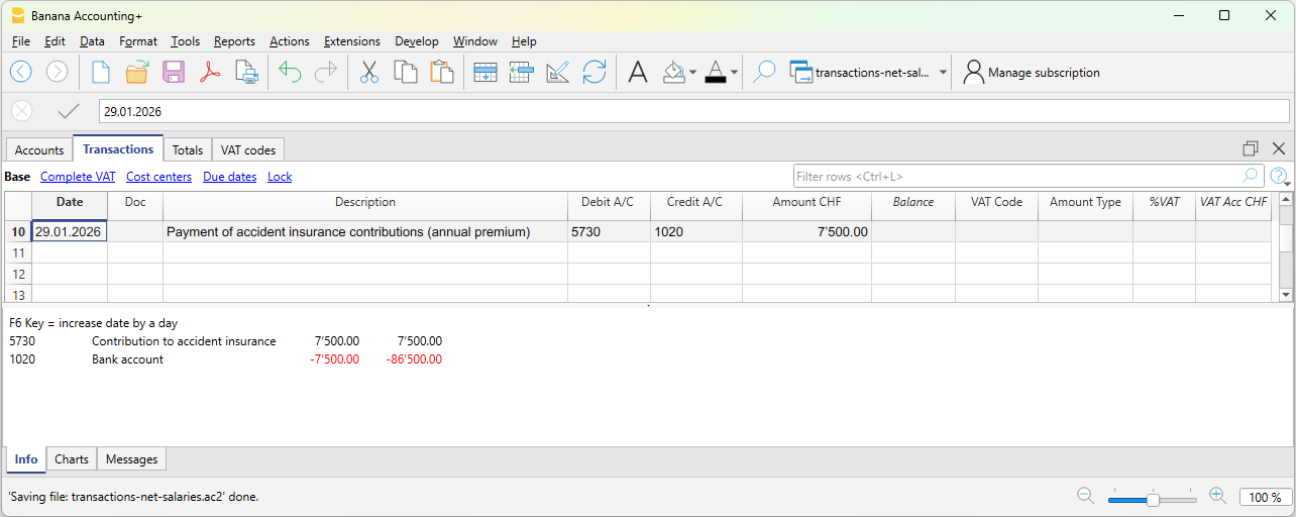
Annual payment of the pension fund premium
When paying the annual occupational pension fund premium:
- Date: the annual pension fund premium payment date
- Description: the payment description
- Debit: account 5720 Mandatory occupational pension contributions
- Credit: the Bank account
- Amount: enter the amount shown on the invoice. It includes both the employer's share and the employee's share.
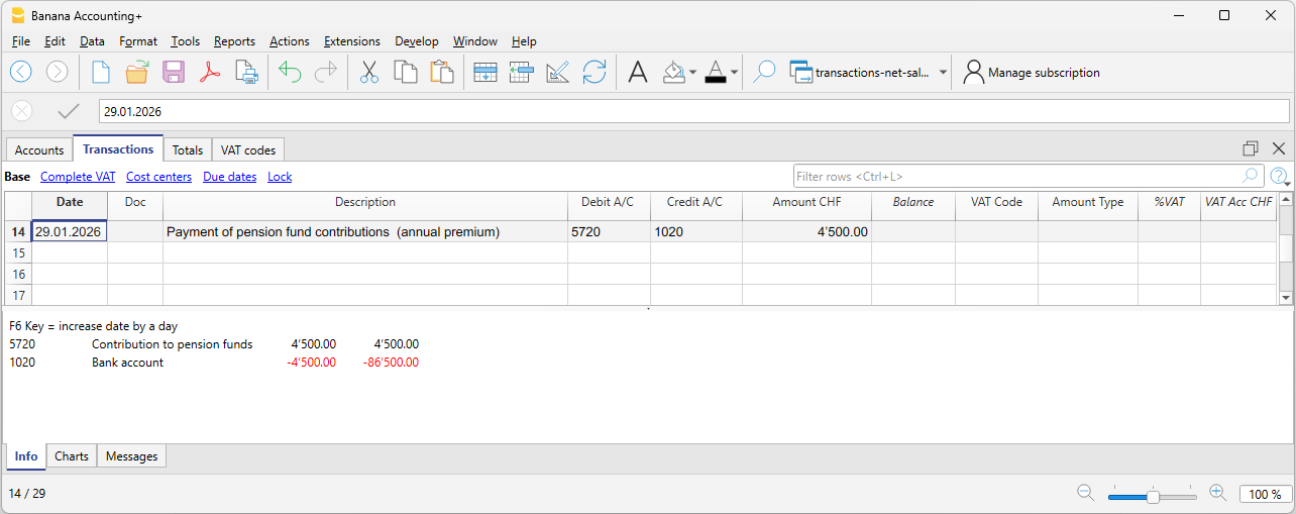
Payment of the daily sickness allowance insurance premium
When paying the annual daily sickness allowance insurance premium:
- Date: the payment date of the daily sickness allowance insurance premium
- Description: the payment description
- Debit: account 5740 Daily sickness allowance insurance
- Credit: the Bank account
- Amount: enter the amount shown on the invoice. It includes both the employer's share and the employee's share.
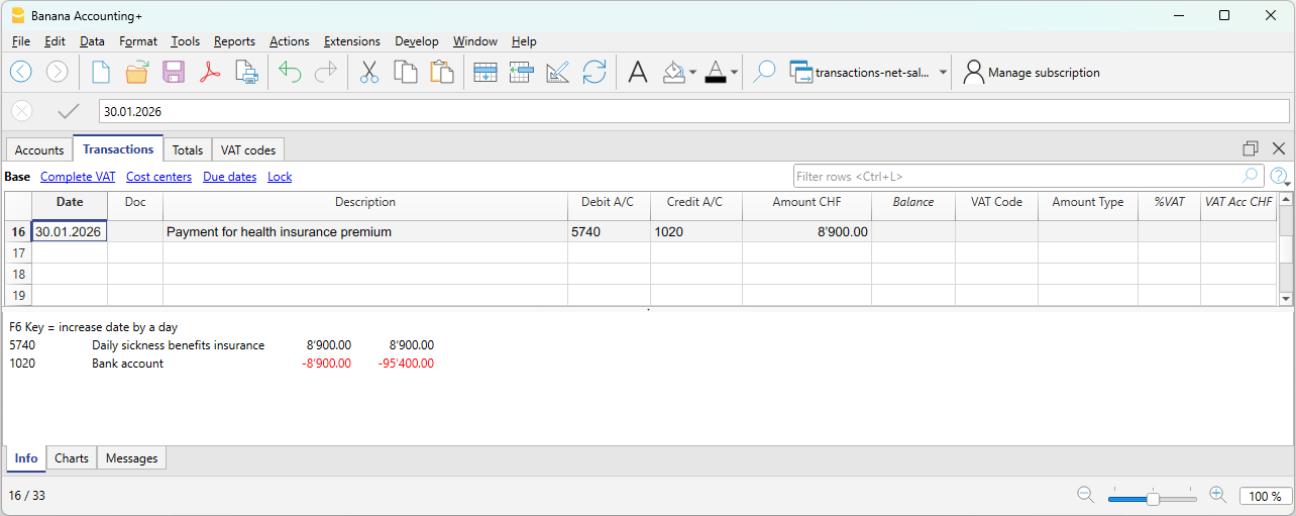
Expense reimbursement included in the net salary paid
When the net salary paid includes an expense reimbursement, it is advisable to separate the net salary from the expense reimbursement in the accounting records. This ensures that the salary account is not affected by amounts that do not actually represent salary.
Example:
- Net salary: CHF 4'000
- Expense reimbursement: CHF 200
- Total payment through the bank: CHF 4'200
In the accounting entry, the two amounts must be recorded separately. Therefore, the transaction should be entered using three rows:
In the Transactions table:
- First row – total payment through the bank
- Date: the transaction date
- Description: monthly salary payment
- Debit: leave blank
- Credit: the Bank account
- Amount: the total amount paid CHF 4'200
- Second row – monthly net salary
- Date: the transaction date
- Description: monthly salary payment
- Debit: account 5000 Salaries
- Credit: leave blank
- Amount: the net salary paid CHF 4'000
- Third row – expense reimbursement
- Date: the transaction date
- Description: expense reimbursement
- Debit: the Expense reimbursement account (for example, travel expenses)
- Credit: leave blank
- Amount: the expense reimbursement amount CHF 200
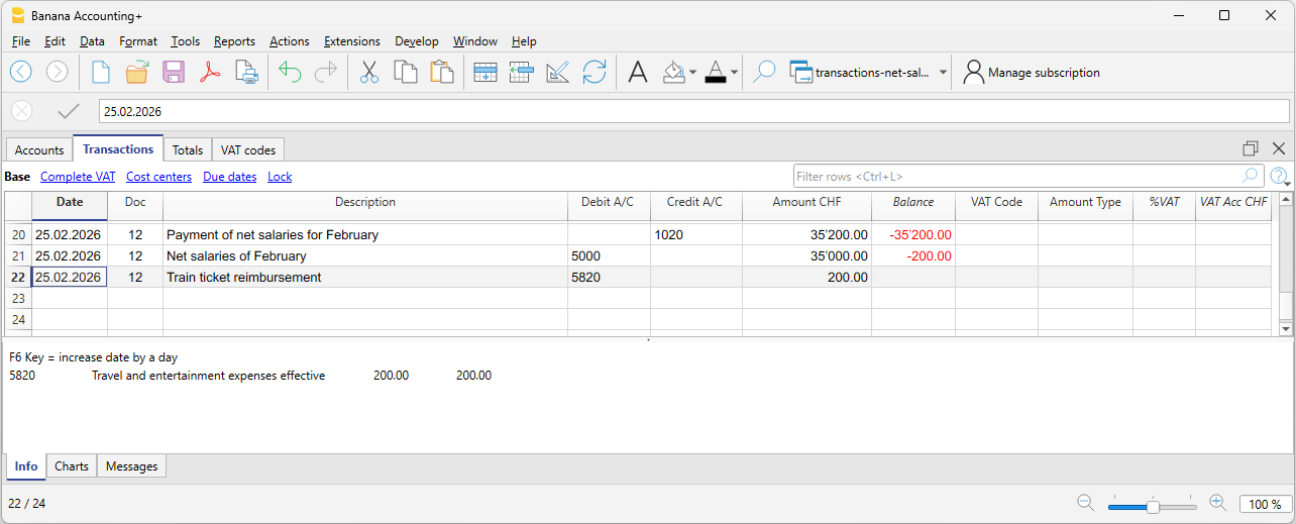
Payment of withholding tax
When paying withholding tax at the end of the quarter:
- Date: the withholding tax payment date
- Description: the payment description
- Debit: account 5790 Withholding tax
- Credit: the Bank account
- Amount: enter the amount calculated by the payroll software according to the requirements of the Withholding Tax Office.
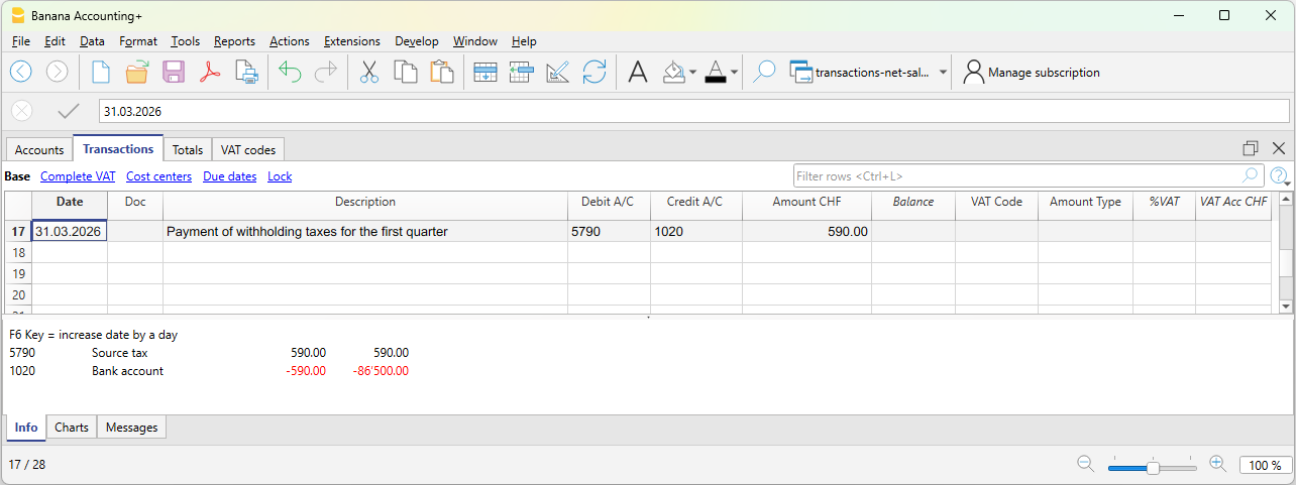
Checks and verification
During the year, social security contributions and some insurance premiums are generally paid as advance payments. The actual amount due is determined only when the final statements or the year-end adjustments are issued.
For this reason, when using net salary accounting, it is essential to carry out regular checks and a thorough verification at the end of the financial year.
For more information, see the Net salary reconciliation.
Gross salary transactions
Gross salary management consists of recording in the accounting the entire salary, including all employee salary deductions and social security contributions.
Unlike net management, this method provides a complete view of salary costs and liabilities toward social institutions.
What is recorded
With gross management, the following are recorded monthly:
- the gross salary
- employee deductions (AVS, LPP, withholding tax, etc.)
- employer’s social security contributions
- liabilities toward social security and insurance institutions (if the accounting is kept on an accrual basis)
- the net salary paid
In gross management, the accounting clearly distinguishes between:
- the employee’s share (deducted from the salary),
- the employer’s share.
The accounting principle
Gross management follows the accrual principle:
Salary costs and the related liabilities are recorded in the period in which they arise, regardless of the time of payment.
Difference compared to net management
Unlike net management, which records only actual payments, gross management records all salary components and the related liabilities.
When to use gross management
Gross management is appropriate when:
- A complete and detailed accounting is required
- You want to monitor personnel costs precisely
- Liabilities toward social security and tax authorities must be recorded
- The accounting is used for analysis and reporting
Accounts normally used
Gross management requires a larger number of accounts compared to net management.
Expense accounts
- 5000 Gross salaries
- 5700 Employer social security contributions
- 5710 Family allowance fund contributions
- 5720 Occupational pension contributions (LPP)
- 5730 Accident insurance premiums (LAINF)
- 5740 Daily sickness allowance insurance
Liability accounts
- 2270 Liabilities to social security institutions (AVS/AI/IPG/AD)
- 2272 Pension fund liabilities (LPP)
- 2273 Accident insurance liabilities
- 2274 Collective health insurance liabilities
- 2209 Withholding tax liabilities
- 2371 Liabilities to employees
Payment accounts
- 1020 Bank
- other Cash accounts
Employer’s share of social security and insurance contributions
In gross salary management, the accounts relating to social security contributions and insurance costs make it possible to clearly identify the portion effectively borne by the employer.
In the dedicated account cards (for example AVS, LPP, accident insurance, etc.), the following are recorded:
- in Debit, the total amounts due to the institutions (employer + employee),
- in Credit, the employee’s share deducted from the salary.
The difference between these amounts represents the employer’s share, i.e. the portion borne by the company as its own expense.
This approach makes it possible to:
- clearly distinguish between company costs and amounts withheld from employees,
- have a transparent view of obligations toward social institutions,
- accurately monitor the impact of personnel costs on the company’s results.
Accounting entry of gross salaries
At the end of the payroll period, the gross salary and the related deductions from employees’ pay are recorded. With gross recording, both the salary cost and the deductions and liabilities toward third parties are recognized.
Example:
- 5000 Gross salaries → Debit
- 1181 Family allowances → Debit
- 5700 AVS/AI/IPG/AD Contributions → Credit (employee’s share, deducted from salary)
- 5720 LPP Contributions → Credit (employee’s share, deducted from salary)
- 5730 LAINF Contributions → Credit (employee’s share, deducted from salary)
- 5740 Sickness contributions → Credit (employee’s share, deducted from salary)
- 2209 Withholding tax liabilities → Credit (fully borne by the employee). The withholding tax deducted from the employee’s salary must be fully paid to the Withholding Tax Office and represents a liability for the company.
- 2371 Liabilities to employees → Credit
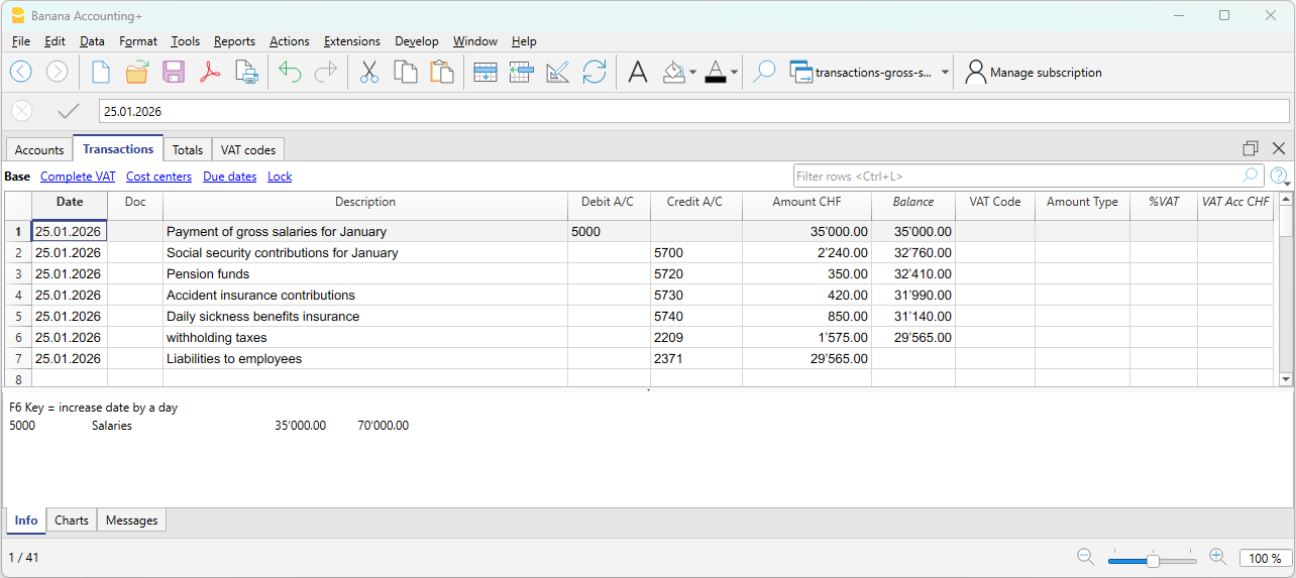
Payment of the net salary
If salaries have been recorded when accrued and the payment takes place later, the payment entry is recorded as follows:
- 2371 Liabilities to employees → Debit
- 1020 Bank → Credit
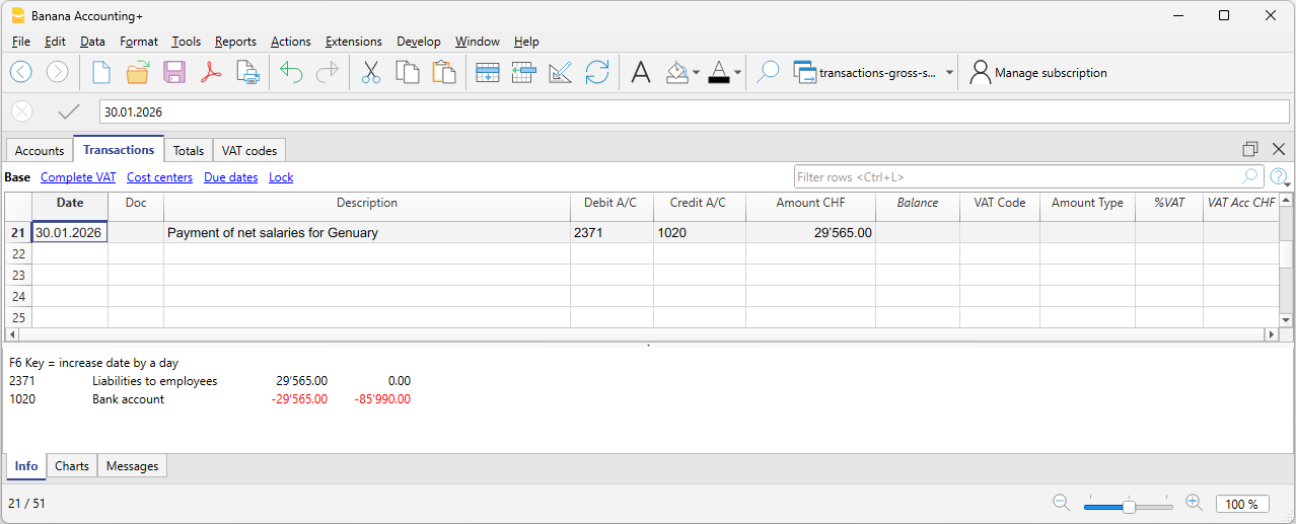
Recording AVS advances and payment
Monthly or at another regular interval, the employer receives from the cantonal AVS office the advance invoices for AVS contributions to be paid. These amounts also include any allowances advanced in the salary of the employee entitled to them.
The advance invoice includes both the employer’s share and the employee’s share.
Recording the invoice:
On 03.01.2026 we record the invoice for AVS advances:
- 5700 Employer social security contributions → Debit
- 2270 Liabilities to social security institutions (AVS/AI/IPG/AD) → Credit
Payment:
On 30.01.2026 we record the payment of the AVS advances:
The contributions are paid according to the invoice, the amount of which is net of any family allowances or other benefits.
- 2270 Liabilities to social security institutions (AVS/AI/IPG/AD) → Debit
- 1020 Bank → Credit
The AVS account plays a central control role:
- in Credit, employees’ salary deductions are recorded
- in Debit, payments to the institution.
The account balance therefore represents the employer’s share.
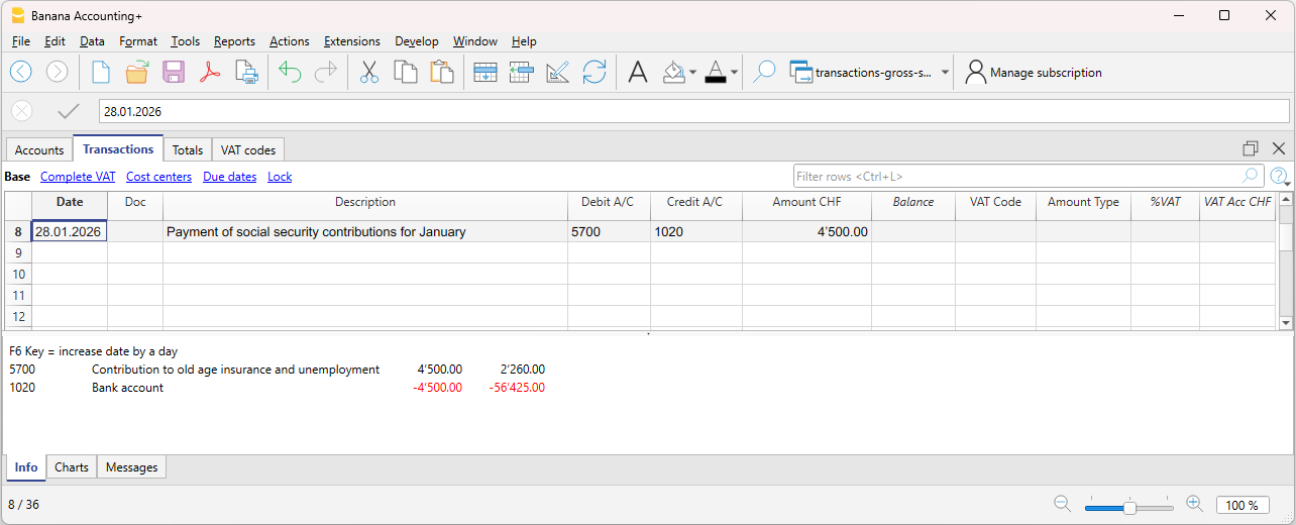
In the AVS contributions account card (see image), advances paid appear in Debit, while contributions deducted from employees’ salaries appear in Credit. The account balance therefore represents the employer’s share. This presentation makes it easy to verify the correctness of contributions and payments made.
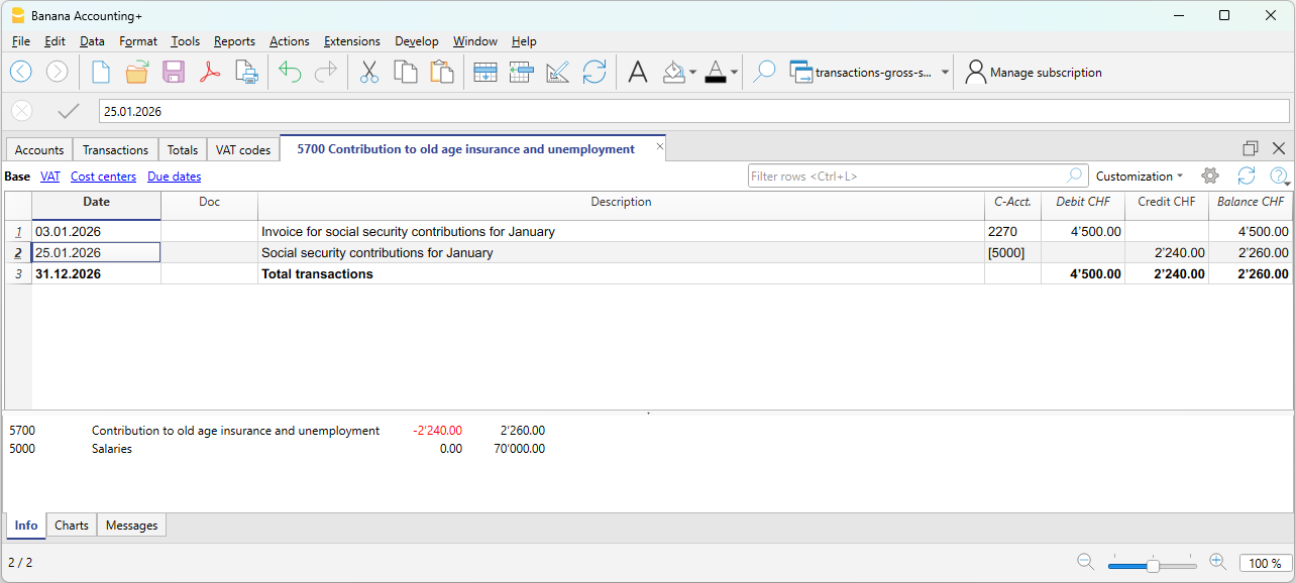
LPP contribution premium and payment
When the annual LPP premium is received, the total cost borne by the employer and the liability toward the LPP insurer are recorded.
When we receive the LPP premium invoice:
- 5720 LPP Contributions → Debit
- 2272 LPP Liabilities → Credit
When we pay the LPP premium invoice:
- 2272 LPP Liabilities → Debit
- 1020 Bank → Credit
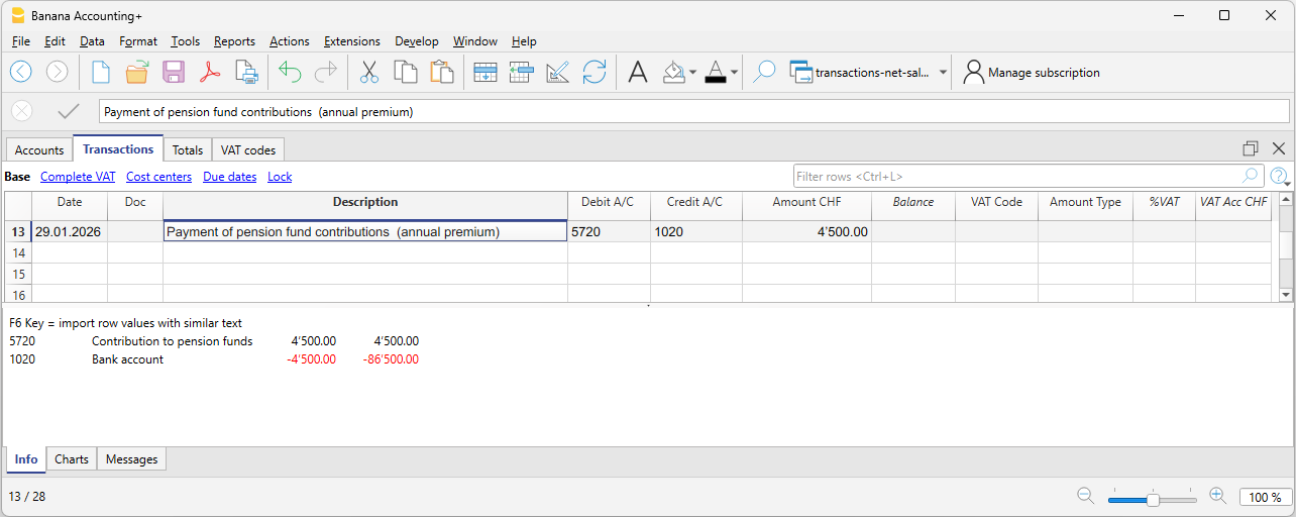
Annual accident insurance premium (LAINF) and payment
When the annual LAINF premium is received, the total cost borne by the employer and the liability toward the LAINF insurance are recorded.
When we receive the LAINF premium invoice:
- 5730 Accident insurance premiums (LAINF) → Debit
- 2273 Accident insurance liabilities → Credit
When we pay the LAINF premium invoice:
- 2273 Accident insurance liabilities → Debit
- 1020 Bank → Credit
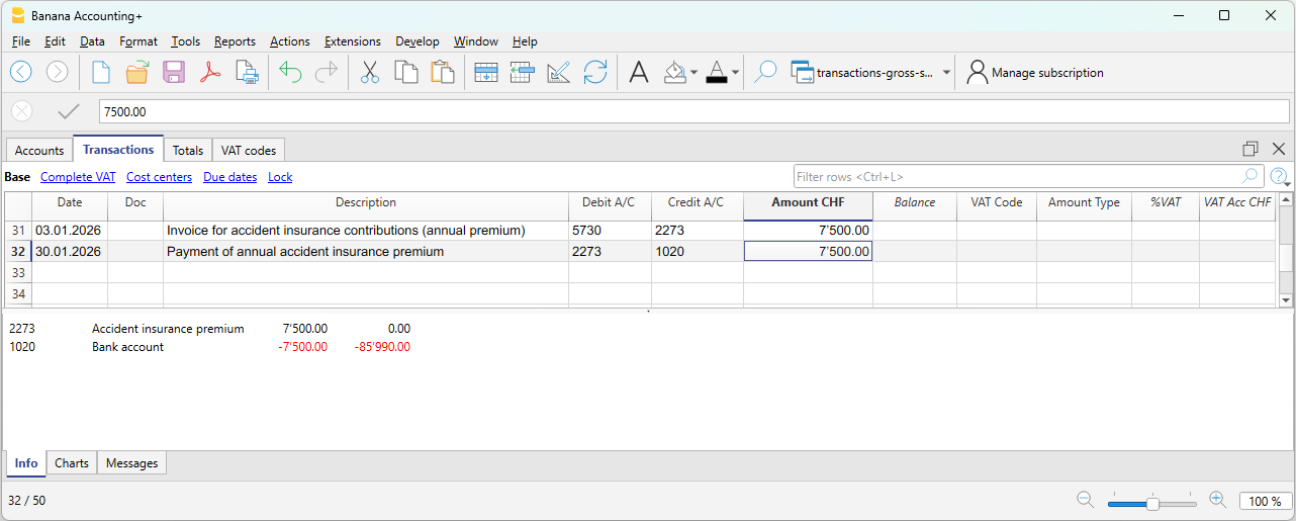
Annual collective health insurance premium (IGM) and payment
When the annual collective health insurance premium is received, the total cost (including both the employer’s and the employee’s share) and the liability toward the health insurance are recorded.
When we receive the health insurance premium invoice:
- 5740 Daily sickness allowance insurance → Debit
- 2274 Health insurance liabilities → Credit
When we pay the health insurance premium invoice:
- 2274 Health insurance liabilities → Debit
- 1020 Bank → Credit
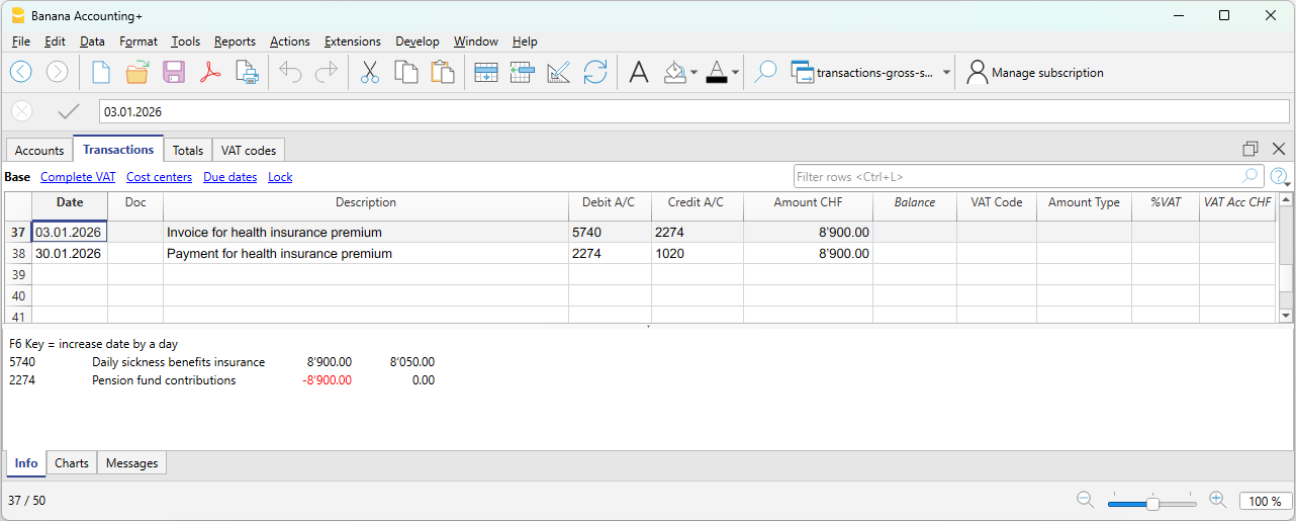
Payment of withholding tax
The withholding tax, deducted from the monthly salaries of employees subject to withholding tax, must be declared and paid by the employer within the prescribed deadlines. It is borne solely by the employee.
- 2209 Withholding tax liabilities → Debit
- 1020 Bank → Credit
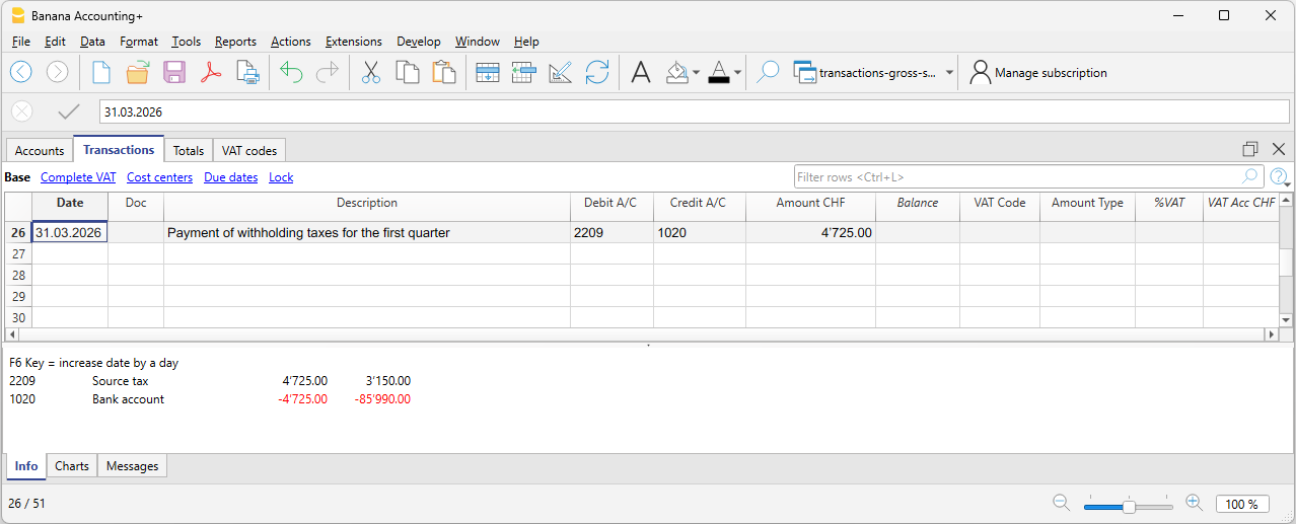
Control and verification
It is important to regularly verify:
- the consistency between accounting and payroll calculations
- the balances of liability accounts toward social institutions
- the payments made
During the year, social contributions are often paid as advances.
Following the final statements from the social institutions, any adjustments are recorded to align costs and liabilities with the amounts actually due.
Advantages of gross management
- Complete view of salary costs
- Greater accounting transparency
- Detailed control of deductions and contributions
- Proper representation of liabilities
Limitations of gross management
- Greater complexity
- More accounting transactions
- Requires more accounts and careful management
Salary Reconciliation and Verification of the OASI Declaration
When salary accounting is managed on a net basis, the annual OASI declaration cannot be verified by directly comparing the Salaries account with the final statement issued by the OASI Compensation Office. This is because the Salaries account contains the recorded net amounts, whereas the OASI statement is based on the gross payroll calculated by the payroll management software.
To verify the accuracy of the annual OASI declaration and the other year-end statements, it is therefore necessary to reconstruct the gross payroll and carry out a series of reconciliation checks.
The reconciliation process makes it possible to verify the consistency between:
- the accounting records
- the payroll statements generated by the payroll management software
- the annual OASI declaration
- the final statements issued by the social security institutions.
Reconciliation objectives
The year-end reconciliation has two main objectives:
- to reconstruct the gross payroll and compare it with the gross payroll declared to the OASI Compensation Office;
- to reconcile the OASI contributions by comparing account 5700 OASI Contributions with the final statement issued by the OASI Compensation Office.
Required documents
The following documents are normally required to perform the reconciliation:
- the accounting file
- the payroll statements
- the annual OASI declaration
- the final statement issued by the OASI Compensation Office
- the occupational pension (LPP/BVG) statements
- the insurance statements (OAI, daily sickness allowance insurance, etc.).
Verification of net salaries
The first check is to verify that the amounts paid to employees match those shown in the payroll statements generated by the payroll management software.
The total net salaries recorded in the accounting records must match the net salaries shown in the payroll statements.
It is also necessary to verify that there are no missing or duplicate transactions and that all entries have been recorded in the correct accounting period.
Any differences must be analyzed and corrected before proceeding with the reconciliation of the gross payroll.
Reconstruction of the gross payroll
To compare the accounting records with the OASI statement, the gross payroll must first be reconstructed.
The reconstruction must be carried out using the data from the payroll management software, which provides the details of the deductions applied to each employee.
Start from the net salaries recorded in the accounting records and add only the deductions withheld from employees, such as:
- OASI, DI, IC, and ALV
- occupational pension (LPP/BVG) contributions
- withholding tax
- other salary deductions.
The following must instead be excluded:
- family allowances;
- expense reimbursements;
- other allowances that are not subject to OASI contributions.
Verification of OASI contributions
During the year, OASI contributions are normally paid as advance payments. The actual amount due is determined only by the final statement.
For this reason, the balance of account 5700 OASI Contributions must be compared with the final statement issued by the OASI Compensation Office.
The account balance must include the advance payments made during the year as well as any year-end adjustments. The total must match the contributions shown on the final statement issued by the OASI Compensation Office.
Verification of other social security contributions
The same principle can also be applied to other social security and insurance contributions by comparing the balances of the related accounts with the annual statements issued by the relevant institutions.
In particular, it is advisable to verify:
- occupational pension (LPP/BVG) contributions;
- occupational accident insurance (OAI) premiums;
- daily sickness allowance insurance premiums;
- other recorded social security contributions or insurance premiums.
Any differences relating to these institutions should also be analyzed and reconciled before the financial year is closed.
Year-end checks
At the end of the financial year, the reconciliation should confirm that:
- the gross payroll matches the gross payroll declared to the OASI Compensation Office;
- the recorded contributions match the final statements issued by the institutions;
- all advance payments and any year-end adjustments have been recorded;
- there are no differences between the accounting records, the payroll statements, and the declarations submitted to the social security institutions.
A complete reconciliation makes it possible to identify any differences before submitting the declarations to the social security institutions and ensures consistency between the accounting records, the payroll management software, and the annual statements.
FAQ
Why doesn't the gross payroll in the OASI declaration match the Salaries account?
- Because under net salary accounting, the Salaries account records only the net amounts paid to employees, whereas the OASI declaration is based on the gross payroll.
Why is the balance of the OASI account different from the advance payments made?
- Because advance payments are normally made during the year. The actual amount due is determined only by the final statement.
How is the gross salary determined?
- The gross salary is reconstructed using the payroll statements generated by the payroll management software.
How do you reconstruct the gross salary starting from the net salary?
- Start with the net salary recorded in the accounting records and add the deductions withheld from the employee (OASI/DI/IC/ALV, occupational pension (LPP/BVG) contributions, withholding tax, and other deductions). Family allowances, expense reimbursements, and other allowances that are not subject to OASI contributions must instead be excluded.
Customising the Transactions Table
The Transactions table is the hub of accounting and can be customised to support a multitude of functions, such as entering quantities and prices, VAT, cost and profit centres and much more.
The table can be customised by displaying or adding columns, so that certain functions are only activated when needed.
Default settings
The Transactions table is set up with standard columns, such as Date, Description, etc., which are already visible when the file is opened. The user can decide which columns to make visible and customise with the command from the menu Data > Columns setup.
There are specific columns for the type of file opened. For example, in double-entry accounting, there are Debit and Credit columns, whereas in Income and Expense accounting, there are Account and Category columns.
The columns common to all accounts are fully explained on the page Columns of the transactions table - Double-entry, as listed:
- Columns for entering different dates
Currency date, document date, due date or estimated date - Documents
Columns to insert references to documents or protocol. - Remarks and observations
To add additional information of all kinds. - Links to digital documents
To immediately display the movement receipts. - Document type.
To indicate the type of entry (e.g. 01 means opening balance.) - Invoice number
- Cost and Profit centers
To subdivide costs and revenues into specific accounts for projects or other - Segments
To obtain branch or business sector reports.
Here listed the columns only present in certain types of accounts:
- VAT management
Columns only present in accounts with VAT. - Multi-currency accounting
Columns only present in double-entry accounting with multi-currency.
Customising the display
You can adapt the table display to your specific needs, as follows:
- With the command Data > Column setup
- By changing the width and formatting of columns.
- By changing the order in which columns are displayed.
- By making visible or hiding columns already present.
- By creating or modifying new views with display settings (Tables setup)
Adding additional columns
You can add additional columns according to your needs. The options are:
- Add preset columns with specific functionalities
For example, columns for quantities, unit price (as explained in the next section). - Add free columns (Data > Columns setup)
To insert any other information required. - Add columns and link them to tables added by the user
You can add additional tables, e.g. the Projects table, and then create a column where you can enter the name of the project.
Additional columns quantities and prices
You can enter quantities and prices directly in the accounting file.
Specific columns are displayed from the menu Tools > Add / Remove Functionality. The following columns are added in bulk:
- Article identifier
Which is linked to the Items table - Quantity. A numerical value
- Unit price
- Descriptive quantity.
If you enter a value in the quantity or price column, the programme automatically calculates the amount by multiplying the two values.
These columns can be used for various purposes:
- Manage quantities and prices for cost accounting.
- Specify the elements of an invoice.
- Enter the movements of items indicated in the Items table or to manage the purchase and sale of securities (see Portfolio extension).
Link to the Items table
The Items table is a kind of mini-warehouse integrated into the accounting , where:
- You can enter the list of products, quantities and prices.
- When you enter an item in a line in the transactions table, the programme automatically takes over the description and sales price.
- If you enter transactions in the Transactions table by entering quantities, the programme updates the current quantity in the Items table.
Additional Payment Management Columns
They are added from the menu Tools > Add / Remove Functionality
Please refer to the explanation in the Payment Management page.
Additional columns end date, repeat
You can also add specific columns to insert automatic movements in the Recurring Transactions table.
They are added from the menu Tools > Add / Remove Functionalities
Please refer to the explanation Automatic Transactions.
Recurring Transactions table
The Recurring Transactions table has the same columns and arrangements as the Transactions table. If you change the display of columns in the Recurring Transactions table, this will also be changed in the Recurring Transactions table.
Totals Table
The Totals table presents the totals by Group and is used to check the accounting balance.
It is processed automatically by the program and cannot be modified by the user.
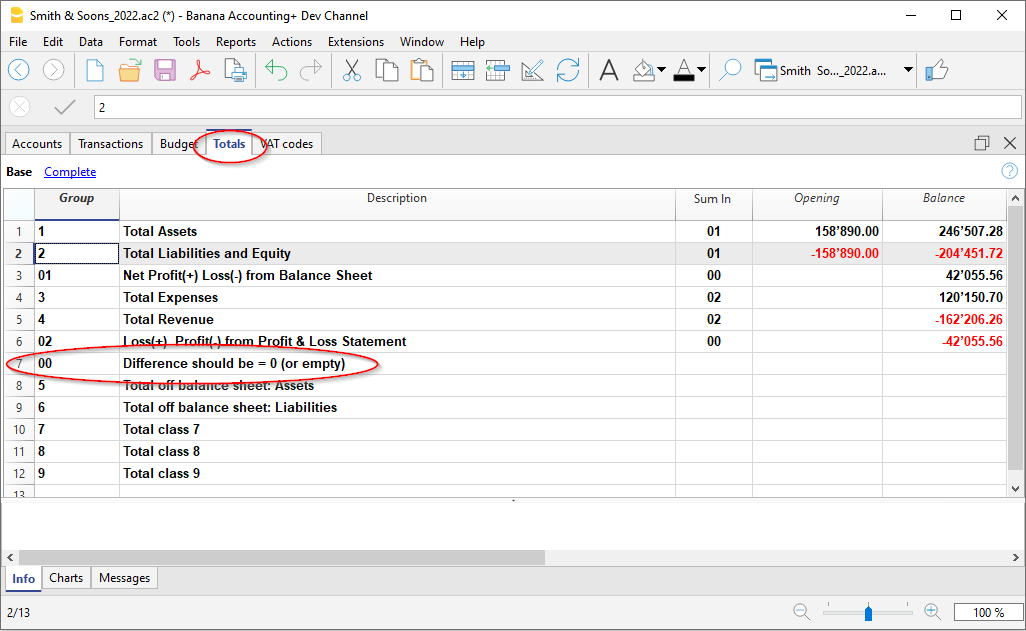
In the Totals table it is possible, to get an idea of the situation of one's own activity at a glance. You see the totals of assets, liabilities, costs and revenues and above all you see if you have a profit or a loss.
The 00 group is very important because it allows you to immediately see if everything is in place or if there are differences in the balances.
Budget Table
The financial planning entries are entered in the Budget Table. It is similar to the Transactions table, but has some columns specific to help speeding up and make budgeting easier.
You can also modify the data as you require, to own reliable and always perfectly updated budgets.
For more information on the Budget table, see the pages:

Transaction types | Double-entry accounting
In double-entry accounting, there are different types of accounting transactions. Here's how to book them in Banana Accounting.
Simple transactions (on one row)
Simple transactions are the ones regarding two accounts (one Debit account and one Credit account) and entered in one single row.
The document number is different for each registration.
Composed transactions (on several rows)
Composed transactions with more than two accounts involved, have to be entered on several rows. The user should enter one account per row. The counterpart account for the entire transaction has to be entered on the first row.
The document number, entered on the different rows, is the same because we are dealing with one and the same transaction.
Note:
In composed transactions, the dates of the transaction rows should be the same, otherwise, when doing calculations by period, there may be differences in the accounting.

Opening transactions
The opening balances are normally indicated in the Accounts table.
Opening transactions are required in special cases such as:
- In multi-currency accounting, when you need to have different opening exchange rates than those indicated in the Exchange rates table, opening exchange rate. See Opening transactions in foreign currency.
- Entering Opening balances for segments.
The opening transactions are created by inserting the transactions with the opening date equal to the accounting start date and the code 01 in the DocType column.
- Opening transactions do not change the opening balance in the Accounts table.
- The opening balance entered with transactions is used in balance sheet printouts, account cards.
- If for the same account there is the opening balance and the recording of the opening balance, the two amounts will be added together.
This way, you can enter opening transactions that correct the opening of an account. - When entering opening balances in the transactions, it is necessary to make sure that the sum of the debit (positive) and credit (negative) are at zero.
For each debit entry there must be a corresponding credit entry.
It may be useful to have an opening account that serves as a counterpart for entering opening amounts.
After all the opening transactions, the balance of this account must obviously have zero balance.
When entering opening balances, only the debit or credit account is generally indicated. However, it is also possible to indicate a counterpart which is generally a specific account for openings.
Year end closings | Double-entry accounting
Year-end closing refers to all control operations, adjustments, and time delimitations carried out at the end of the year, before preparing the final financial statements.
With Banana Accounting, each accounting year has its own separate file. Technically, there is no concept of a formal accounting closure:
- When a new year begins, a new file is created using the Create new year command.
- You can continue working simultaneously on both the new year’s file and the previous year’s file. Once the closing operations are completed, the updated balances are retrieved in the new year's file using the Update opening balances command.
On these pages, we explain the main steps to follow during the accounting year-end closing phase:
Year-end checklist
The year-end checklist reminds you of all the steps needed to correctly close the fiscal year: preliminary checks, adjustments, corrections, and tax reviews.
Closing transactions
The closing transactions are accounting records made at the end of the fiscal year such as adjustments, depreciations, settlements, and corrections that complete the annual financial statements.
Allocation of profit/loss for the year
During the creation of the new year, the program automatically carries forward the profit or loss of the previous year and allows you to allocate it to one or more balance sheet accounts.
The opening balances are updated consistently, ensuring accounting balance.
The allocation can also be postponed and done later.
Distribution of annual profit
The distribution of annual profit defines how the year's positive result is allocated among reserves, dividends, or equity, according to legal and statutory requirements. It is an operation that is carried out after the approval of the financial statements and requires specific transactions.
Documents for the Auditor
The documentation for the auditor lists the documents needed to facilitate and speed up the auditor’s work. It includes account statements, contracts, inventories, supporting documents, reconciliations, and reports.
Changes after closing
Changes after closure may become necessary in case of errors identified later, documents received late, or adjustments requested during the audit. Depending on their nature, the changes must be recorded either in the closed year or in the following one.
Year-end closure checklist
On this page you will find a general checklist for those using Banana Accounting Plus, useful for carrying out all the necessary checks to close the accounting year and start the new one.
We also explain how to proceed if, after closing, differences or missing transactions emerge. More information on the page Changes after closing the accounting year.
Use the Temporary Filter for quick checks and corrections
To perform a quick check, especially at year-end, we recommend using the Temporary row filter function, which shows you all the transactions that match a keyword, phrase, account or a group of elements. You can correct or edit the transactions directly in the rows displayed by the Filter, without having to scroll through the entire Transactions table. When you remove the Temporary Filter, the rows return to their original order. More information on the page:
- Temporary row filter (only with Advanced plan).
Accounting check command
With Banana Accounting you can record quickly, even leaving some operations pending without interrupting your workflow.
The Actions > Check accounting command performs multiple checks, as if re-entering the data from scratch, and immediately reports any detected errors or differences.
Use this command regularly, especially in case of differences or error messages, significant changes (initial balances, VAT codes), and especially before closing the accounting.
Check the opening balances
- In the Accounts table, in the Opening and Balance columns, on the row "Difference must be zero" there must be no amount, otherwise you need to find the error and correct it to balance the opening balance sheet.
Note: in the Transactions view, it's normal to have amounts in the Debit and Credit columns. - Make sure that the accrued and deferred accounts from the previous year have been closed.
- Verify that the opening balances match the final balances from the previous year, already reviewed and declared to the tax office.
- For multi-currency accounting, see the page Opening balances in multi-currency accounting.
Check correspondence of account balances
The first check is undoubtedly to ensure that the account balances match reality. The cash account balance must match the actual cash status. The balance of bank accounts, credit cards, loans or assets must match the statement balance. The same applies to all other accounts with reconciliations, VAT, suppliers, etc.
If there is a difference, you must find the cause and update either the opening balance or the transactions.
Differences in the Transactions table
In the Transactions table (Info panel at the bottom), check that there are no reported differences. In addition to using the Check accounting command, with Banana Accounting Plus you can activate the Balance column in the Transactions table. This column detects all the rows where there are differences. You can then quickly scroll through the column to immediately spot and correct discrepancies, avoiding errors in the new year.
Differences between bank statement balances and accounting balances (CheckBalance function)
The #CheckBalance function checks that accounting balances match the bank statement balances. We recommend running this check not only at the end of the accounting period, but every month, to prevent mismatched balances from carrying over incorrectly month after month.
Information about the verification transactions is available on the page Verification balance transactions.
Multi-currency accounting
If you are using multi-currency accounting, you must also set the closing exchange rates and record the unrealized exchange rate gains and losses. More information on the page:
Checks before closing
To ensure the year’s accounting is complete and consistent, it is important that:
- All transactions of the year have been entered (bank, cash, customers, suppliers).
- There are no unbalanced or inconsistent rows.
- VAT transactions are consistent (if applicable).
- The multi-currency accounting includes all currency movements.
- The exchange rate differences in multi-currency accounting have been calculated.
- The Check accounting command has been run and no errors were found.
Year-end operations
- Record depreciations.
- Enter accruals and deferrals.
- Verify cost and revenue allocation.
- Reconcile bank accounts and customer and supplier balances.
More information on the page: Closing accounting transactions.
Exchange rate differences (if multi-currency)
- Update the exchange rate on 12/31 in the Exchange rates table (use the official rate from the Federal Tax Administration).
- Run the command Create exchange rate difference transactions.
Create a custom checklist
Every year, there are many review and closing operations, and from one fiscal year to another, it’s not always easy to remember everything. To avoid omissions, with Banana Accounting Plus you can create a simple table directly in your accounting file to note:
- All information related to the checks.
- The comments and corrections made by the auditor in the previous year, so as not to repeat the same mistakes.
- The list of documents to print.
- The documents to send to the auditor.
- Links to pages or resources you find useful.
More information on the following pages:
Year-end closure accounting transactions
At the end of the fiscal year, before opening the new accounting year, it is necessary to carry out some closing operations. Some transactions are simple and can be done independently, while others require specific technical skills or have tax and social security implications for which it is advisable to consult an accountant or fiduciary.
Preliminary checks
Before closing, make sure that:
- There are no errors using the Check accounting command.
- Bank balances in the accounting match the bank statements.
- Use the #CheckBalance function.
- There are no differences between the Debit and Credit columns in the Transactions table.
- Display the Balance column and check that there are no discrepancies.
- All transactions for the year have been entered.
- The balance of the automatic VAT account has been transferred to the VAT due account.
Open customer and supplier invoices (with cash accounting)
If you use cash accounting, at the end of the year you must record:
- Customer invoices issued but not yet paid.
- Supplier invoices received but not yet paid.
These entries allow you to correctly allocate costs and revenues to the correct fiscal year.
You can use the Open customer invoices and Open supplier invoices functions.
Open customer invoices as of 12/31
If you use cash accounting, at the end of the year you must record customer invoices that have been issued but not yet paid. This closing operation serves to determine the costs and revenues pertaining to the fiscal year. To make the process easier, you can quickly identify the values as of 12/31 using the open invoices by customer functions.
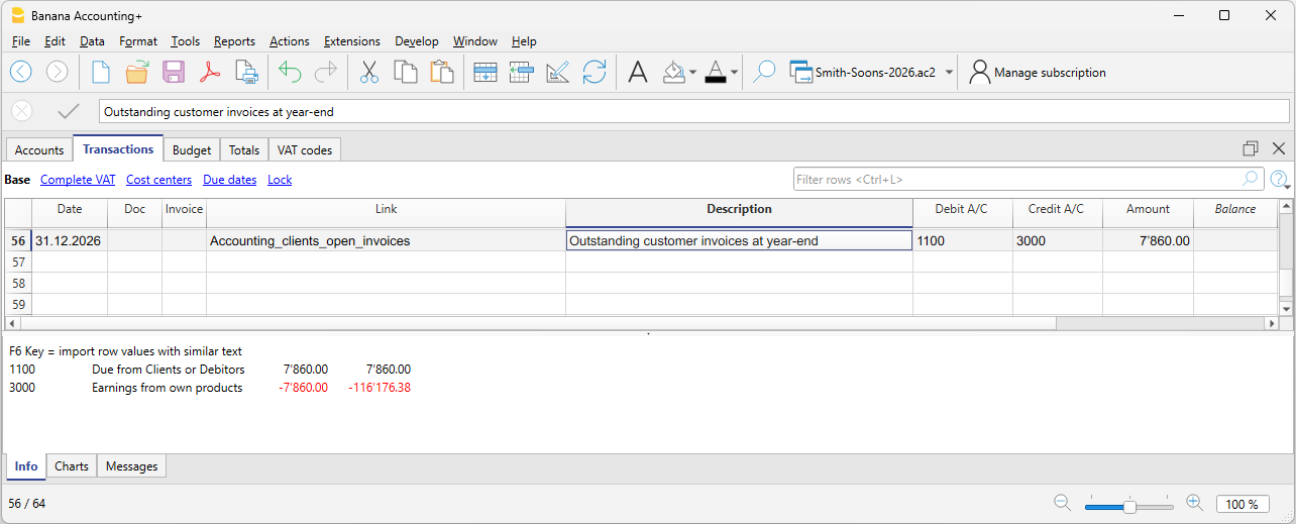
Open supplier invoices as of 12/31
If you use cash accounting, at the end of the year you must record supplier invoices received but not yet paid. This closing operation serves to determine the costs and revenues pertaining to the fiscal year. To make the process easier, you can quickly identify the values as of 12/31 using the open invoices by supplier functions.
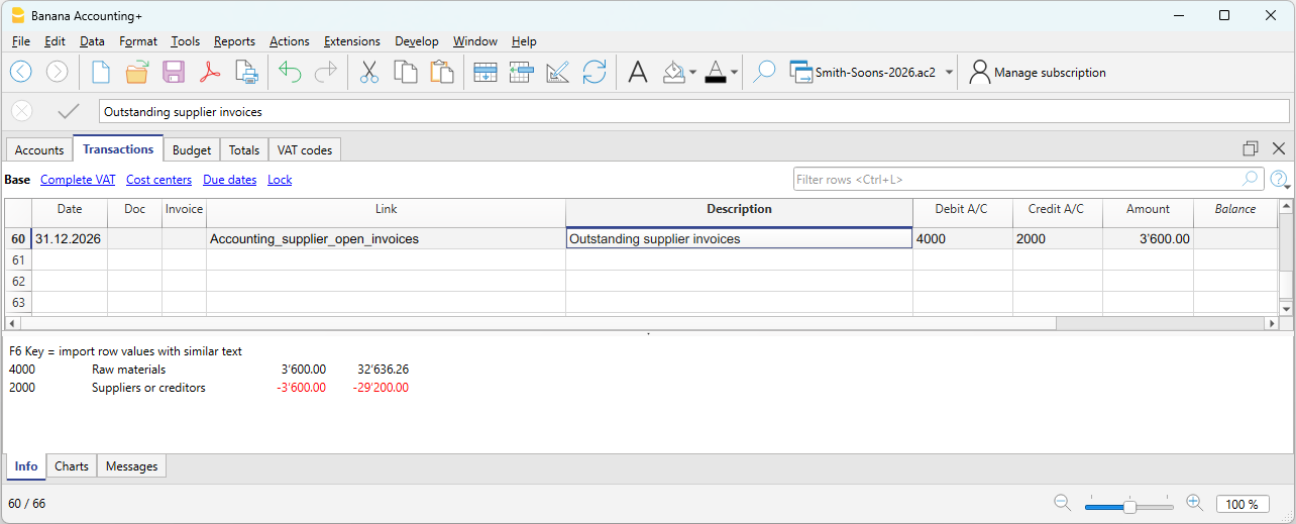
Depreciation
At the end of the fiscal year, you must record the depreciation of movable and immovable assets and consider accelerated depreciation for assets subject to rapid obsolescence.
You can use our application Fixed assets register which automatically creates depreciation transactions that you can import into your accounting file. The depreciation transaction varies depending on the method used:
- Direct depreciation: the depreciation is recorded directly in the income statement, using the depreciation account on the debit side and the asset account on the credit side. In the balance sheet, the asset always appears with its residual value.
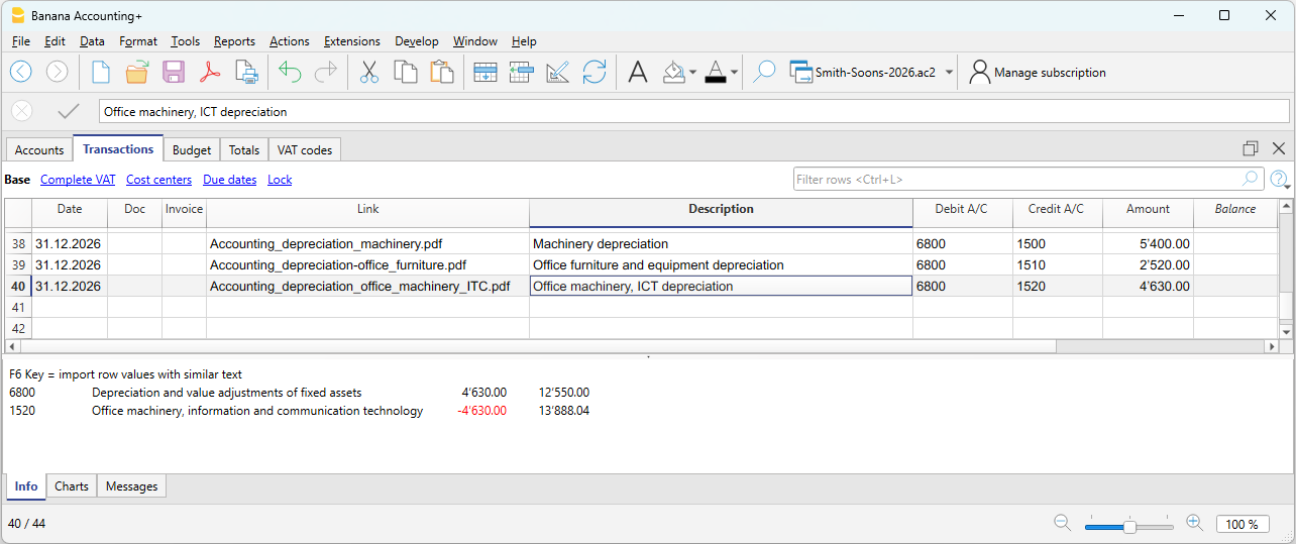
- Indirect depreciation: in this case, the depreciation is recorded not as a reduction of the asset but as an adjustment by posting it to a depreciation fund (reduction of assets).
Inventory adjustment
If you have inventory with goods, or simply a company material inventory, the inventory value at year-end must be adjusted in accounting. During the year, inventory movements are not recorded in the accounting file:
- Incoming and outgoing goods and their respective values are managed and updated in a dedicated inventory file or application.
Our Inventory application makes it easier to manage incoming and outgoing quantities, unit prices and final inventory values, allowing you to quickly determine the adjustment to be recorded at year-end in your accounting.
To calculate the inventory value to report correctly in the Balance Sheet:
- Determine the inventory value.
- Compare the beginning inventory value with the ending value.
- Record the difference as a change in inventory using the income statement account for goods as the offset.
In our example shown in Banana, there is an assumed increase in inventory compared to the opening value. Therefore, inventory (account 1200) is recorded on the Debit side, while the decrease in cost of goods is recorded on the Credit side.
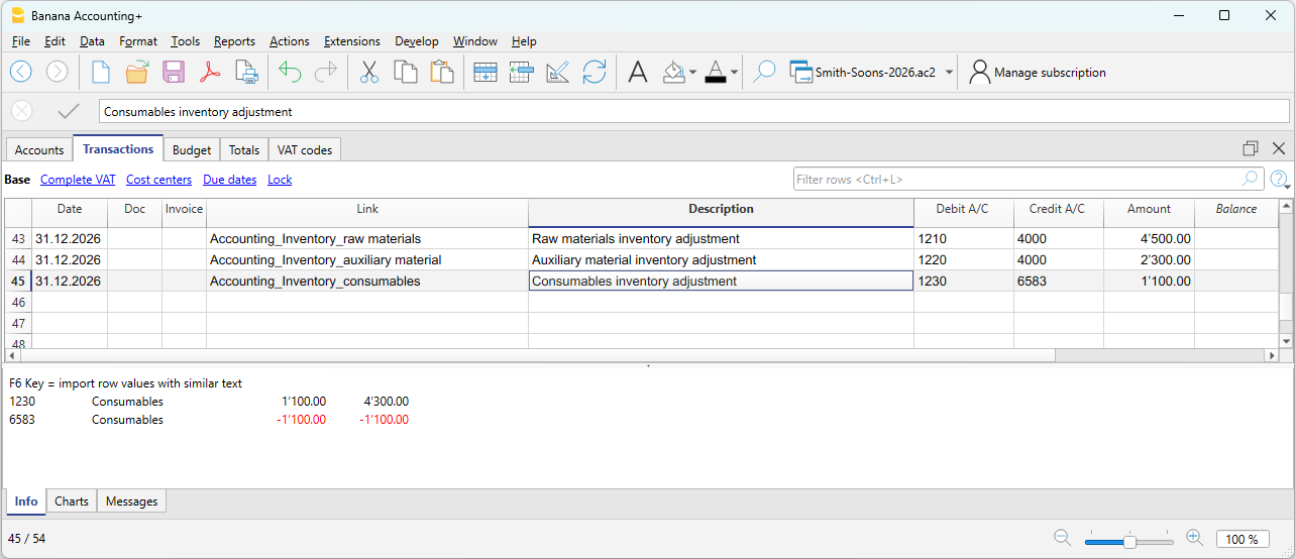
Private use
Private use occurs when the business owner uses goods or services belonging to the company (goods, materials, vehicles, premises, etc.) for personal purposes.
For tax purposes, it is as if the company sells to the owner and therefore it must be recorded as revenue. If the company is subject to VAT, the transaction is VAT taxable.
In Switzerland, according to the VAT Act (LIVA), private use is taxable because it represents a private use of goods for which the company has previously deducted VAT.
The value to be considered is generally:
- Market value of the used item, or
- Purchase cost if lower.
The applicable VAT rate is the one of the good (e.g. 8.1%).
If the owner withdraws goods from the company for personal use:
- Revenue is recorded (as if it were a sale).
- VAT is calculated on the value of the goods.
- Inventory is reduced.
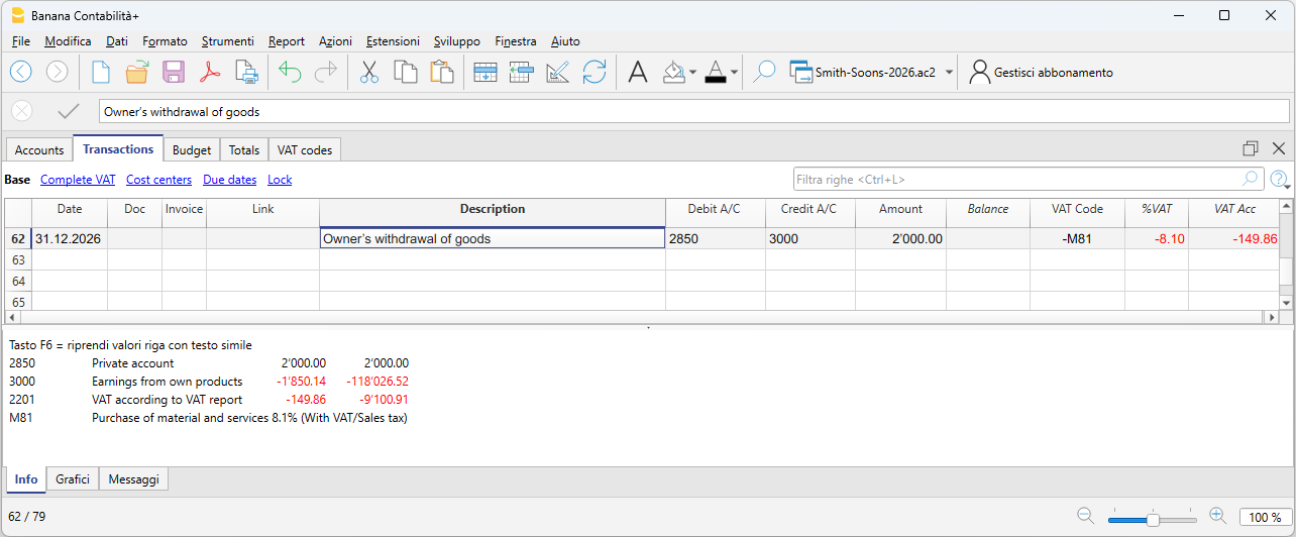
Private use of company vehicles:
If the owner uses the company car for personal purposes, the private use must be recorded as if it were company revenue. If the company is subject to VAT, the transaction is VAT taxable.
- The amount to be recorded is either a flat rate or calculated according to tax rules (e.g. 9.6% of the purchase price per year).
- Private use is considered revenue.
- VAT must be declared as VAT payable.
- The offset can be:
- a reduction in vehicle costs (6900), or
- a reduction in the asset value (vehicle), often preferred for sole proprietorships.
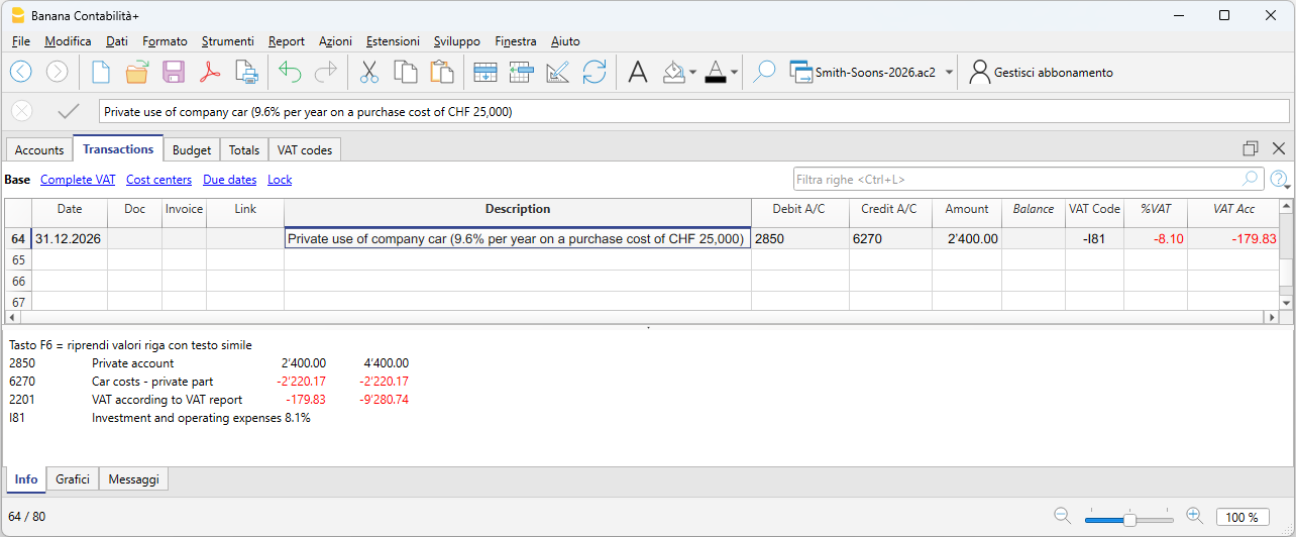
Adjustment of Taxes and Duties account
The adjustment of taxes and duties is a year-end entry that serves to:
- Record the taxes and duties accrued during the year but not yet paid.
- Adjust previously estimated amounts based on the actual tax assessment.
This ensures the correct cost is recognized for the fiscal year and the related liability to the tax authority is recorded.
It is also necessary to check that the advance payments made during the year refer to the current fiscal year.
Tax payments relating to previous years must be recorded to close the accruals present in the "Direct taxes" (balance sheet) account.
If the accrual balance is insufficient or excessive, the difference must be recorded as an extraordinary cost or revenue, or as a prior period item, depending on the nature of the variation.
Adjustment of the Private account
The private account (usually 2850 / 2860) is used in sole proprietorships or partnerships to record:
- Personal withdrawals by the owner
- Personal deposits by the owner
- Use of company assets for personal purposes (private use)
- Private expenses mistakenly paid by the company
- Year-end adjustments
At the end of the year, this account must be adjusted to reflect the correct balance between the owner and the company.
If the private account is an asset (debit balance) and therefore represents a receivable from the owner to the company, interest could theoretically be recognized.
VAT closing and declaration
For companies subject to VAT, it is important at year-end to check the VAT entries and proceed with the closings correctly. Banana Accounting Plus supports data checking and the preparation of VAT declarations (Advanced plan) for Switzerland, making it easier to manage everything in an orderly and compliant manner. At the end of the year, after proper checks and error corrections, you must:
- Record VAT for the fourth quarter (or the last semester in the case of the flat-rate VAT method).
- You must transfer the balance of the automatic VAT account to the VAT due account.
- Before submitting the final VAT declaration:
- Open the PDF files of the VAT reports previously submitted to the FTA.
- Use the VAT extensions to recalculate the VAT reports for each previous period.
- Verify that the newly calculated VAT reports still match those already submitted.
- Use the VAT Summary command to view various reports and create a PDF printout for data archiving. These documents will be useful in case of a tax audit.
Adjustments for AVS/AI/IPG/AD
The AVS/AI/IPG/AD contributions are mandatory social security contributions in Switzerland covering pension (AVS), disability (AI), allowances for military service and maternity (IPG), and unemployment (AD).
- During the year, the AVS contributions account usually records advance payments made to the Cantonal AVS Compensation Office (Debit) and the amounts withheld from employee salaries (Credit).
- If during the year the family allowances paid to employees were recorded in a dedicated account, for example in the “Family allowance contributions” account, to reconcile the accounting with the AVS year-end statement and record the corresponding adjustment, you can transfer the balance from this account to the AVS/AD Contributions account.
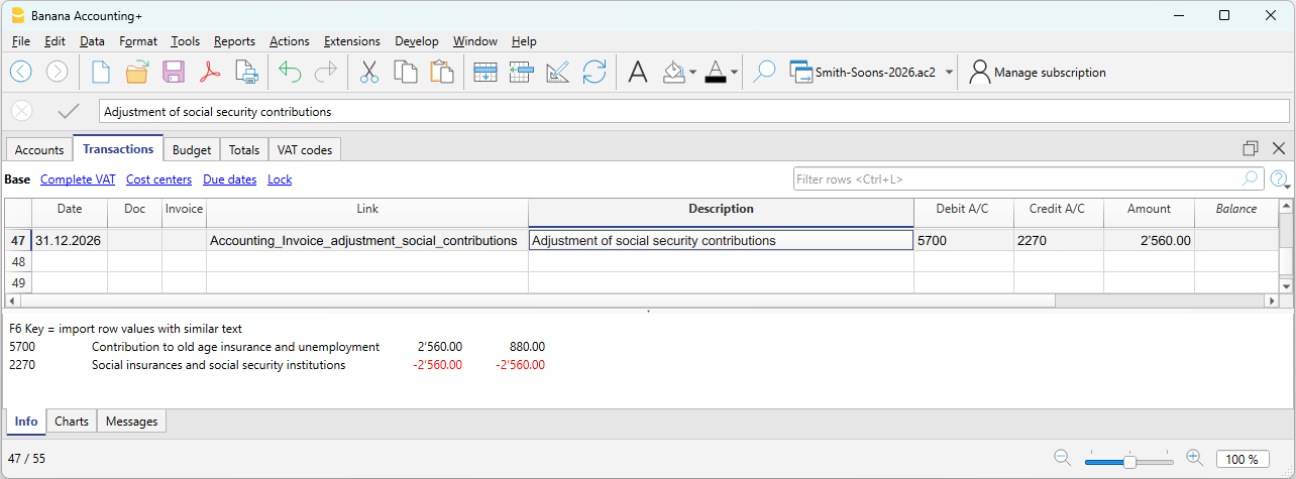
Accident insurance adjustments (LAINF, supplementary LAINF)
LAINF and supplementary LAINF contributions in Switzerland are mandatory insurance contributions against professional and non-professional accidents (LAINF) and additional coverage provided by the employer (supplementary LAINF).
With the recording of the December salaries and the payment of the thirteenth salaries, you need to print the salary list showing all gross wages. You must report the total AVS gross wages to the employee insurance providers, who will determine any adjustments to be paid.
Pension fund adjustments
The pension fund (or LPP) is the mandatory Swiss occupational pension insurance that complements the AVS pension.
Many second pillar (LPP) pension providers calculate the annual premium based on salary estimates provided by the company before the end of the year. Bonuses are not included. Important changes during the year must be communicated promptly so the insurance can adjust the premium. The company may also decide to pay a higher amount in advance to avoid a deficit due to changes during the year.
At the end of the year, the LPP insurance sends a final statement showing either a payable or receivable balance, depending on whether too much or too little was paid.
In the following example, a balance is assumed to be payable. Therefore, the entry will be made in two accounts: Debit to the LPP Contributions account and Credit to the Liabilities to pension institutions account.
In case of a receivable, the LPP Contributions account is reversed: Debit the Receivables from pension institutions account and Credit the LPP Contributions account (as a decrease).
In the new year, the receivable must be reversed from the LPP Contributions account (for the new year) and the receivable is closed on the Credit side.
Adjustment of the allowance for doubtful accounts (Delcredere)
The allowance for doubtful accounts / Delcredere is a contra asset account associated with receivables. It is used to reduce the value of customer receivables to account for the risk that some may not be collected.
In practice:
- Receivables on the balance sheet are shown at a realistic value.
- The allowance represents an estimate of possible losses.
- It increases the prudence of the balance sheet, as required by the Swiss Code of Obligations.
Debit the expense account "Doubtful accounts" and credit the allowance for doubtful accounts.
Adjustment of withholding tax (IAF)
During the year, the employer withholds the tax at source from the salaries of foreign employees who are not fiscally domiciled in Switzerland. The withheld amounts must be paid to the Tax Office each quarter.
At the end of the year, with the final December report, the declaration for the last quarter’s withholding tax is made. All gross salaries paid are reviewed, and in case of changes or errors, corrections can be made in the final declaration.
Generally, the total amount payable for fourth quarter withholding tax is recorded as a liability as of 12/31 or, if too much was paid, as a receivable. The offset account is always the salaries account (account 5000).
Reimbursements for executive staff
“Executive staff” refers to management figures (CEO, directors, unit heads).
Reimbursements may be for actual expenses incurred by the executive employee on behalf of the company. These are not taxable for the employee and are therefore not subject to AVS, LPP, or withholding tax, provided that they are documented or, in the case of flat-rate allowances, approved through regulations by the FTA.
In this case, they are recorded in accounting as expense reimbursements or personnel expenses.
Accruals and Deferrals in Assets and Liabilities
Accruals and deferrals are year-end adjusting entries used to apply the accrual principle, allocating costs and revenues to the year to which they economically relate, regardless of when the payment is made or received.
Attention
Accruals and deferrals do not concern invoices that are simply unpaid or not yet collected, but adjustments necessary to correctly determine the accrual basis of the financial year.
Difference between accruals and deferrals
At the end of the year, two situations may occur:
- Costs or revenues accrued but not yet recorded → Accruals
- Costs or revenues already recorded but not entirely relating to the current year → Deferrals
Simple rule
- Accruals add what is missing.
- Deferrals postpone what has been recorded in excess.
Accrued income and accrued expenses
Accruals concern costs or revenues already accrued in the financial year, but that will have a financial impact (receipt or payment) in the following year.
They are divided into:
- Accrued income → Revenues to be collected
- Accrued expenses → Costs to be paid
The cost or revenue fully relates to the current year, but has not yet been collected or paid.
Prepaid expenses and deferred income
Deferrals postpone costs and revenues already recorded but relating to the following financial year.
They are divided into:
- Prepaid expenses → postpone part of a cost already recorded
- Deferred income → postpone part of a revenue already recorded.
Accruals and deferrals in the chart of accounts structure of Banana Accounting
Accruals and deferrals are recorded through normal entries in the Transactions table, using specific balance sheet accounts in the chart of accounts.
The accounts are listed in the following subgroups:
Current assets
- 1300 Prepaid expenses (costs paid in advance)
- 1301 Accrued income (revenues to be collected)
Short-term third-party capital
- 2300 Costs to be paid
- 2301 Revenues received in advance
Below we present some examples of accrued income and expenses and prepaid expenses and deferred income created in the Transactions table of Banana Accounting
Accounting method and accruals
- In the Accrual basis method or accrual principle, issued or received invoices are recorded directly in the Customers or Suppliers accounts and appear as open items.
- In the Cash basis method, accruals are necessary at year-end to record costs and revenues accrued but not yet collected or paid.
- In the Hybrid system method, the solution most consistent with the adopted recording method is applied.
Case 1 - Accrued income (Revenues to be collected)
Example: the bank grants interest income of CHF 1’200 for the period 01.10–31.03. As of 31.12, 3 months have accrued (October–December).
Portion relating to the current year:
- 1’200 ÷ 6 months × 3 months = CHF 600
Entry on 31.12
- Debit: 1301 Revenues to be collected CHF 600
- Credit: 6950 Interest income CHF 600
In the Income Statement, CHF 600 is shown for the portion of interest income accrued up to 31.12; in the Balance Sheet, accrued income is shown for interest accrued but not yet collected.
Case 2 - Accrued expense (Costs to be paid)
Example: Interest expense on a loan: CHF 2’400 per year, payable on 31.03 of the following year.
As of 31.12, 3 months have accrued.
2’400 ÷ 12 × 3 = CHF 600
Entry on 31.12
- Debit: 6900 Accrued interest expense CHF 600
- Credit: 2300 account Costs to be paid (liability) CHF 600
In the Income Statement, the interest expense accrued up to 31.12 is shown; in the Balance Sheet, the accrued expense is shown for the liability to be paid.
Case 3 - Prepaid expense
Example - Insurance premium paid of CHF 1’200 for 12 months, for the period from 01.10 to 30.09 of the following financial year:
Period relating to the current year:
October–December = 3 months
Portion relating to the current year:
1’200 ÷ 12 × 3 = CHF 300
Portion relating to the following year:
1’200 − 300 = CHF 900
Entry on 31.12
- Debit: Prepaid expenses CHF 900
- Credit: Insurance CHF 900
In the Income Statement, the cost of CHF 300 remains because a reduction of the insurance premium is recorded for the part paid in advance; in the Balance Sheet, CHF 900 remains because it is the portion of cost relating to the following financial year.
Account card of the Prepaid expense
Account card of the Insurance premium expense

Case 4 - Deferred income
Example - Semi-annual rent of CHF 6'000, received in advance on 01.12, for the period from 01.12 to 31.05:
Monthly portion:
6’000 ÷ 6 = 1’000 per month
Portion relating to the current year:
December = CHF 1’000
Portion relating to the following year:
5 months = CHF 5’000
Initial entry:
- Debit: Bank CHF 6’000
- Credit: Rental income CHF 6’000
Entry on 31.12
- Debit: Rental income CHF 5’000
- Credit: Deferred income CHF 5’000 (revenues received in advance)
In the Income Statement, the reduction of rental income must be shown for the part relating to the following financial year; in the Balance Sheet, deferred income is shown for the part of revenue received in advance relating to the following financial year and representing a liability towards the customer.
Account card Rental income
Account card Deferred income for revenues received in advance
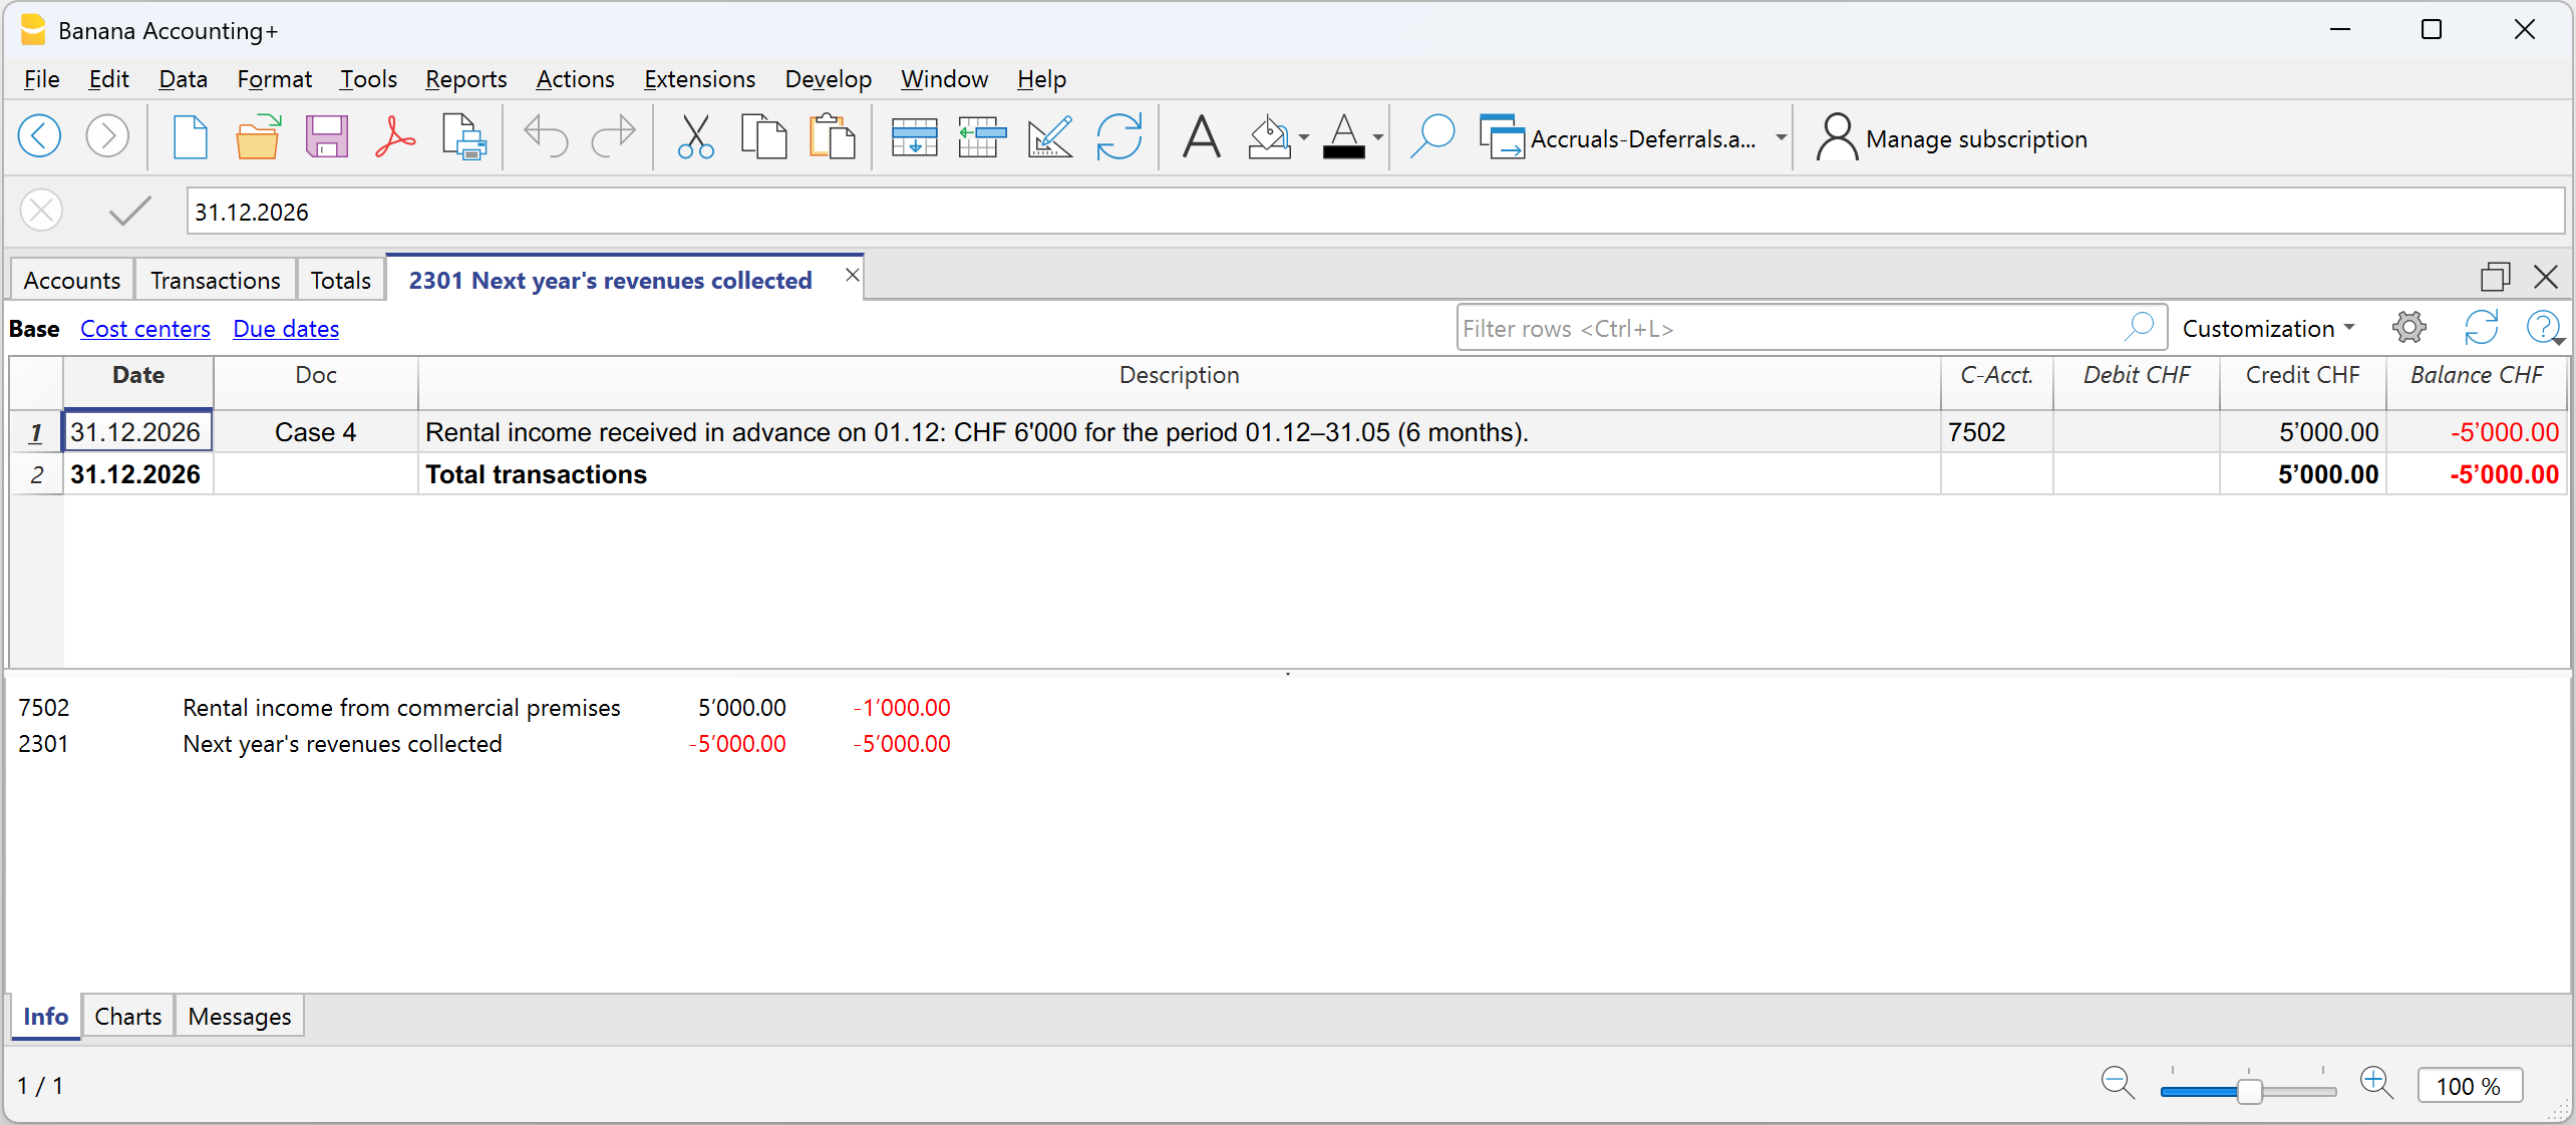
Reversal in the following financial year
At the beginning of the new financial year, accrued income and expenses and prepaid expenses and deferred income are reversed.
To reverse, the same accounts that generated the accruals and deferrals are used:
- the accrual and deferral accounts and the cost and revenue accounts are reversed
- or they are offset at the time of payment or collection.
The reversal is necessary to close the accrued income and expenses and prepaid expenses and deferred income accounts.
In summary:
Accruals add what is missing, deferrals postpone what has been recorded in advance.
Carry forward profit/loss for the accounting period
In Banana Accounting, the profit or loss is automatically allocated during the carry forward of opening balances to the new year using the Create New Year command.
In the dialog window, in the Profit/Loss Allocation section, by clicking the down arrow of the first field, all available balance sheet accounts are displayed.
You can select the account or accounts to which the profit or loss will be allocated. The allocation can be made to a maximum of three accounts, using the three available fields.
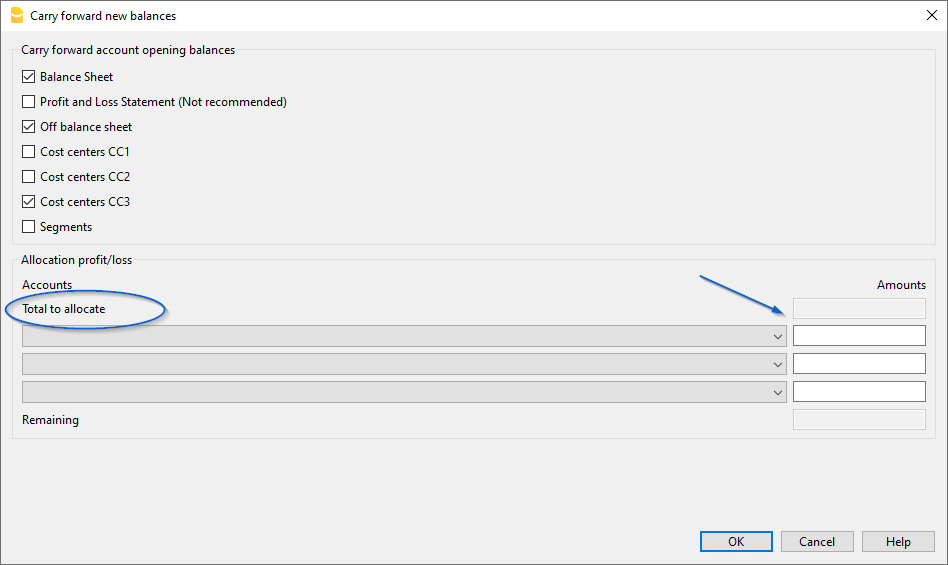
In the field(s) under the Amount column, enter the amount to be allocated for each selected account.
Detailed information about the Create New Year dialog window is available on the documentation page: Carry forward new balances dialog
Profit allocation
In accounting, the recording of profit distribution takes place when the shareholders' meeting or the competent body formally approves the allocation of the profit resulting from the financial statements.
Year-End Closing
At the end of the year, accounts are closed and the profit (or loss) for the year is determined.
- Operating profit = the positive result of operations (revenues > costs).
- The profit is recorded in the Income Statement and carried over to Equity in the Retained Earnings account.
The distribution of profits is the allocation of this result among various items, established by the shareholders' meeting.
Resolution on Profit Allocation
The shareholders' meeting decides how to allocate the profit.
Below we provide some general practice recommendations, but we suggest consulting your trusted professional.
Example of accounts for profit distribution:
- Legal reserve
- Other reserves
- Dividends to shareholders
- Retained earnings
The distribution is not recorded at the time of payment, but on the official decision date (resolution). The payment is only the subsequent phase of settling the debt to the shareholders.
- From the Retained earnings account, the amounts are transferred to the various accounts established by the resolution.
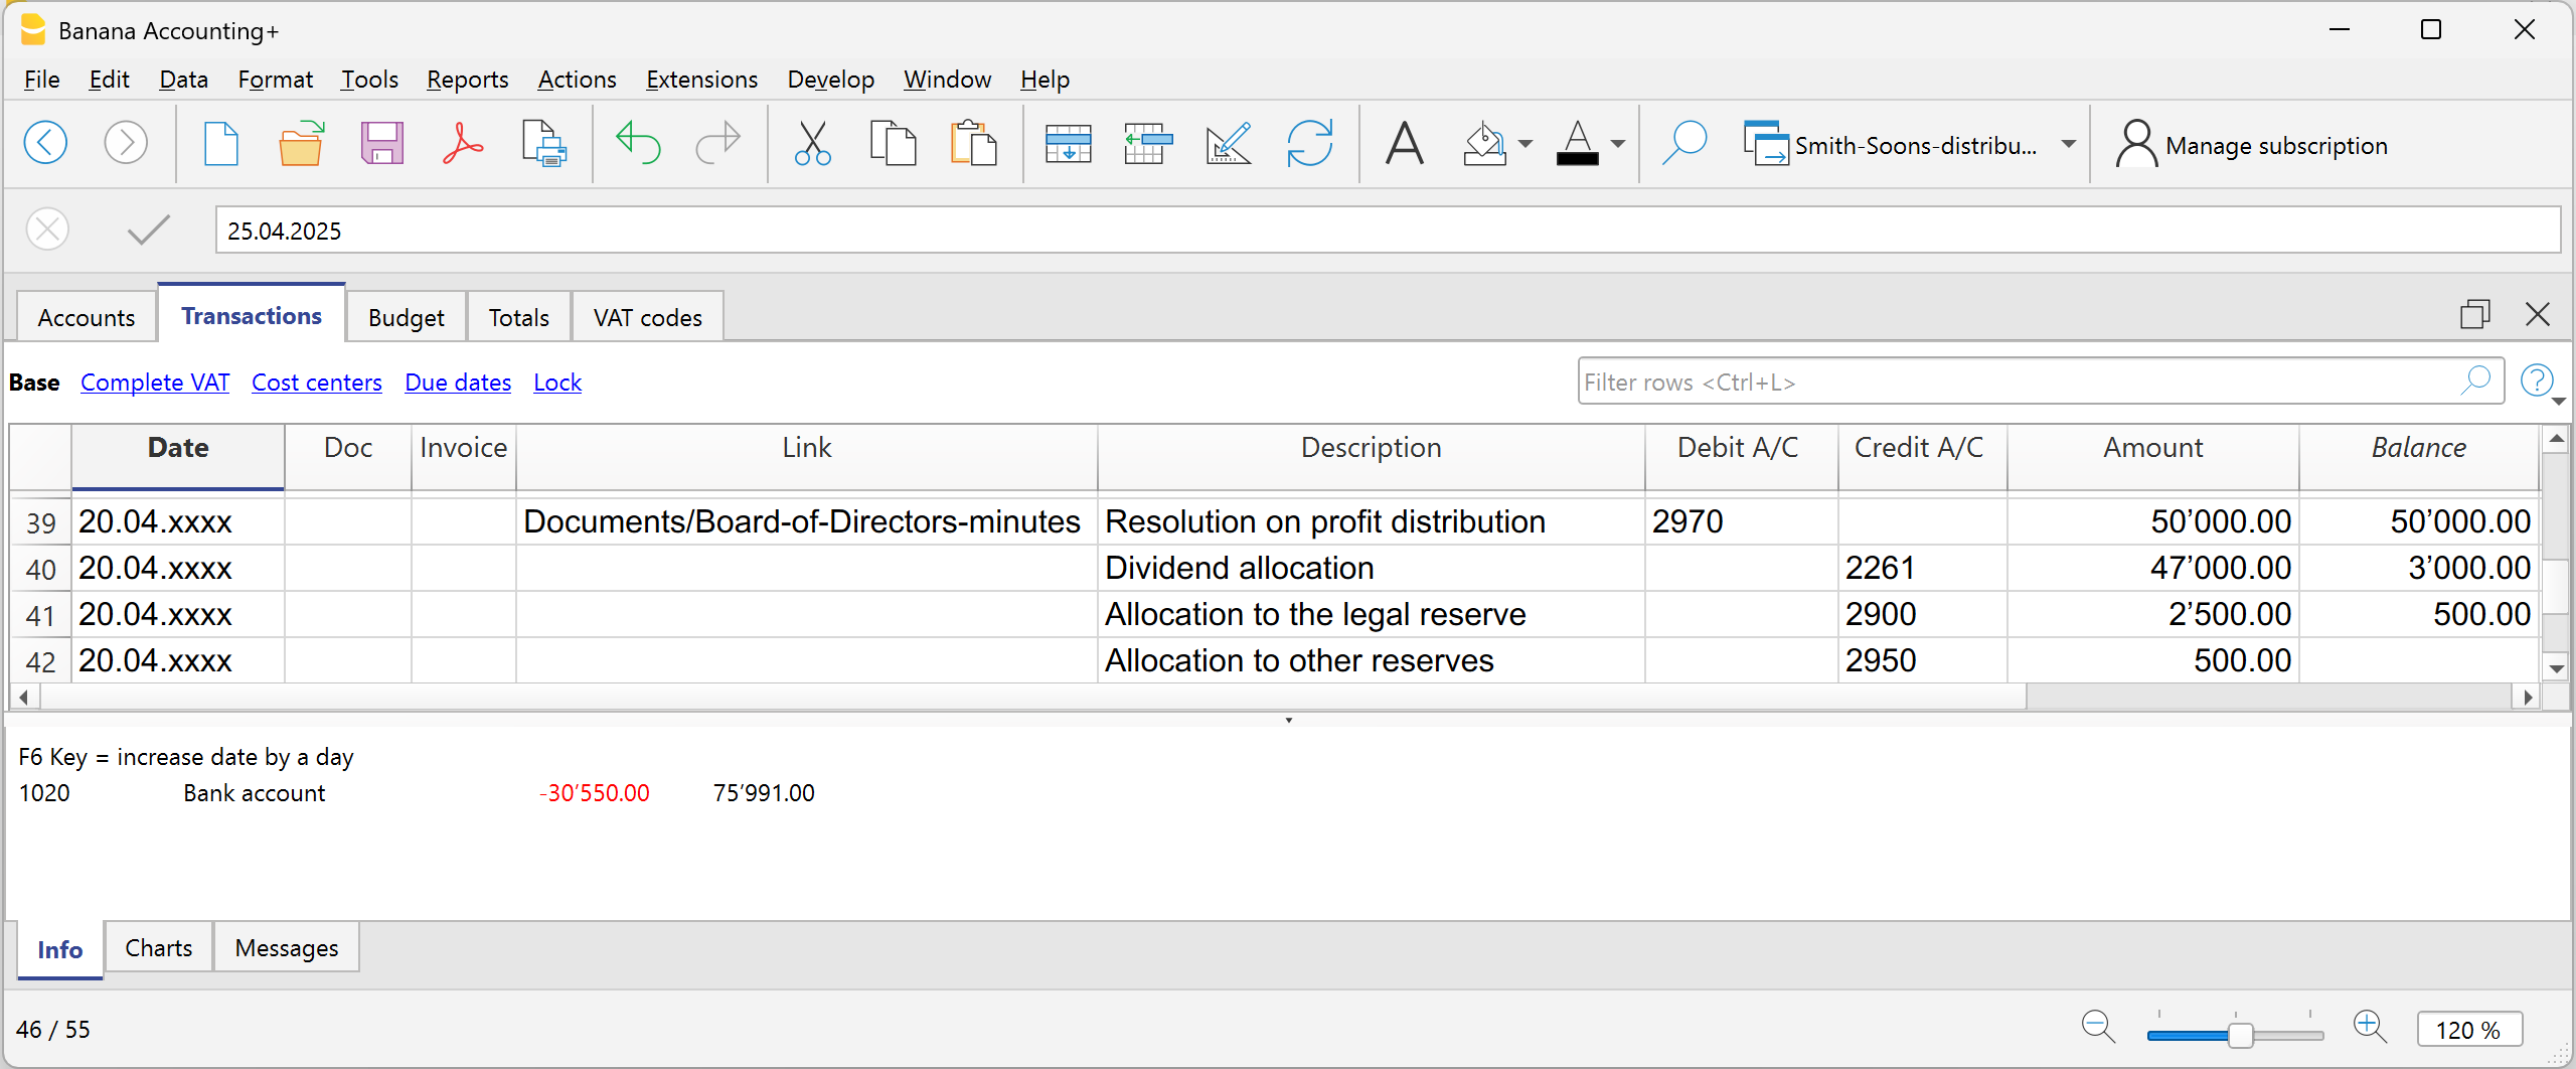
Withholding Tax on Dividends in Switzerland
In Switzerland, when a company distributes dividends to its shareholders, it must withhold a tax called “withholding tax” equal to 35% of the distributed amount.
It is called “withholding” because it is collected at the source, meaning immediately, at the time of payment, before the shareholder receives the money.
The withholding tax on dividends is a mandatory 35% tax deduction, which serves two purposes:
- Ensure tax revenue (the State receives the tax immediately).
- Prevent tax evasion (those who do not declare dividends do not recover the withholding).
Dividend Payment
At the time of dividend payment, the company withholds 35% as withholding tax.
The withholding tax must be declared on the official portal and subsequently paid to the Swiss Federal Tax Administration (SFTA).
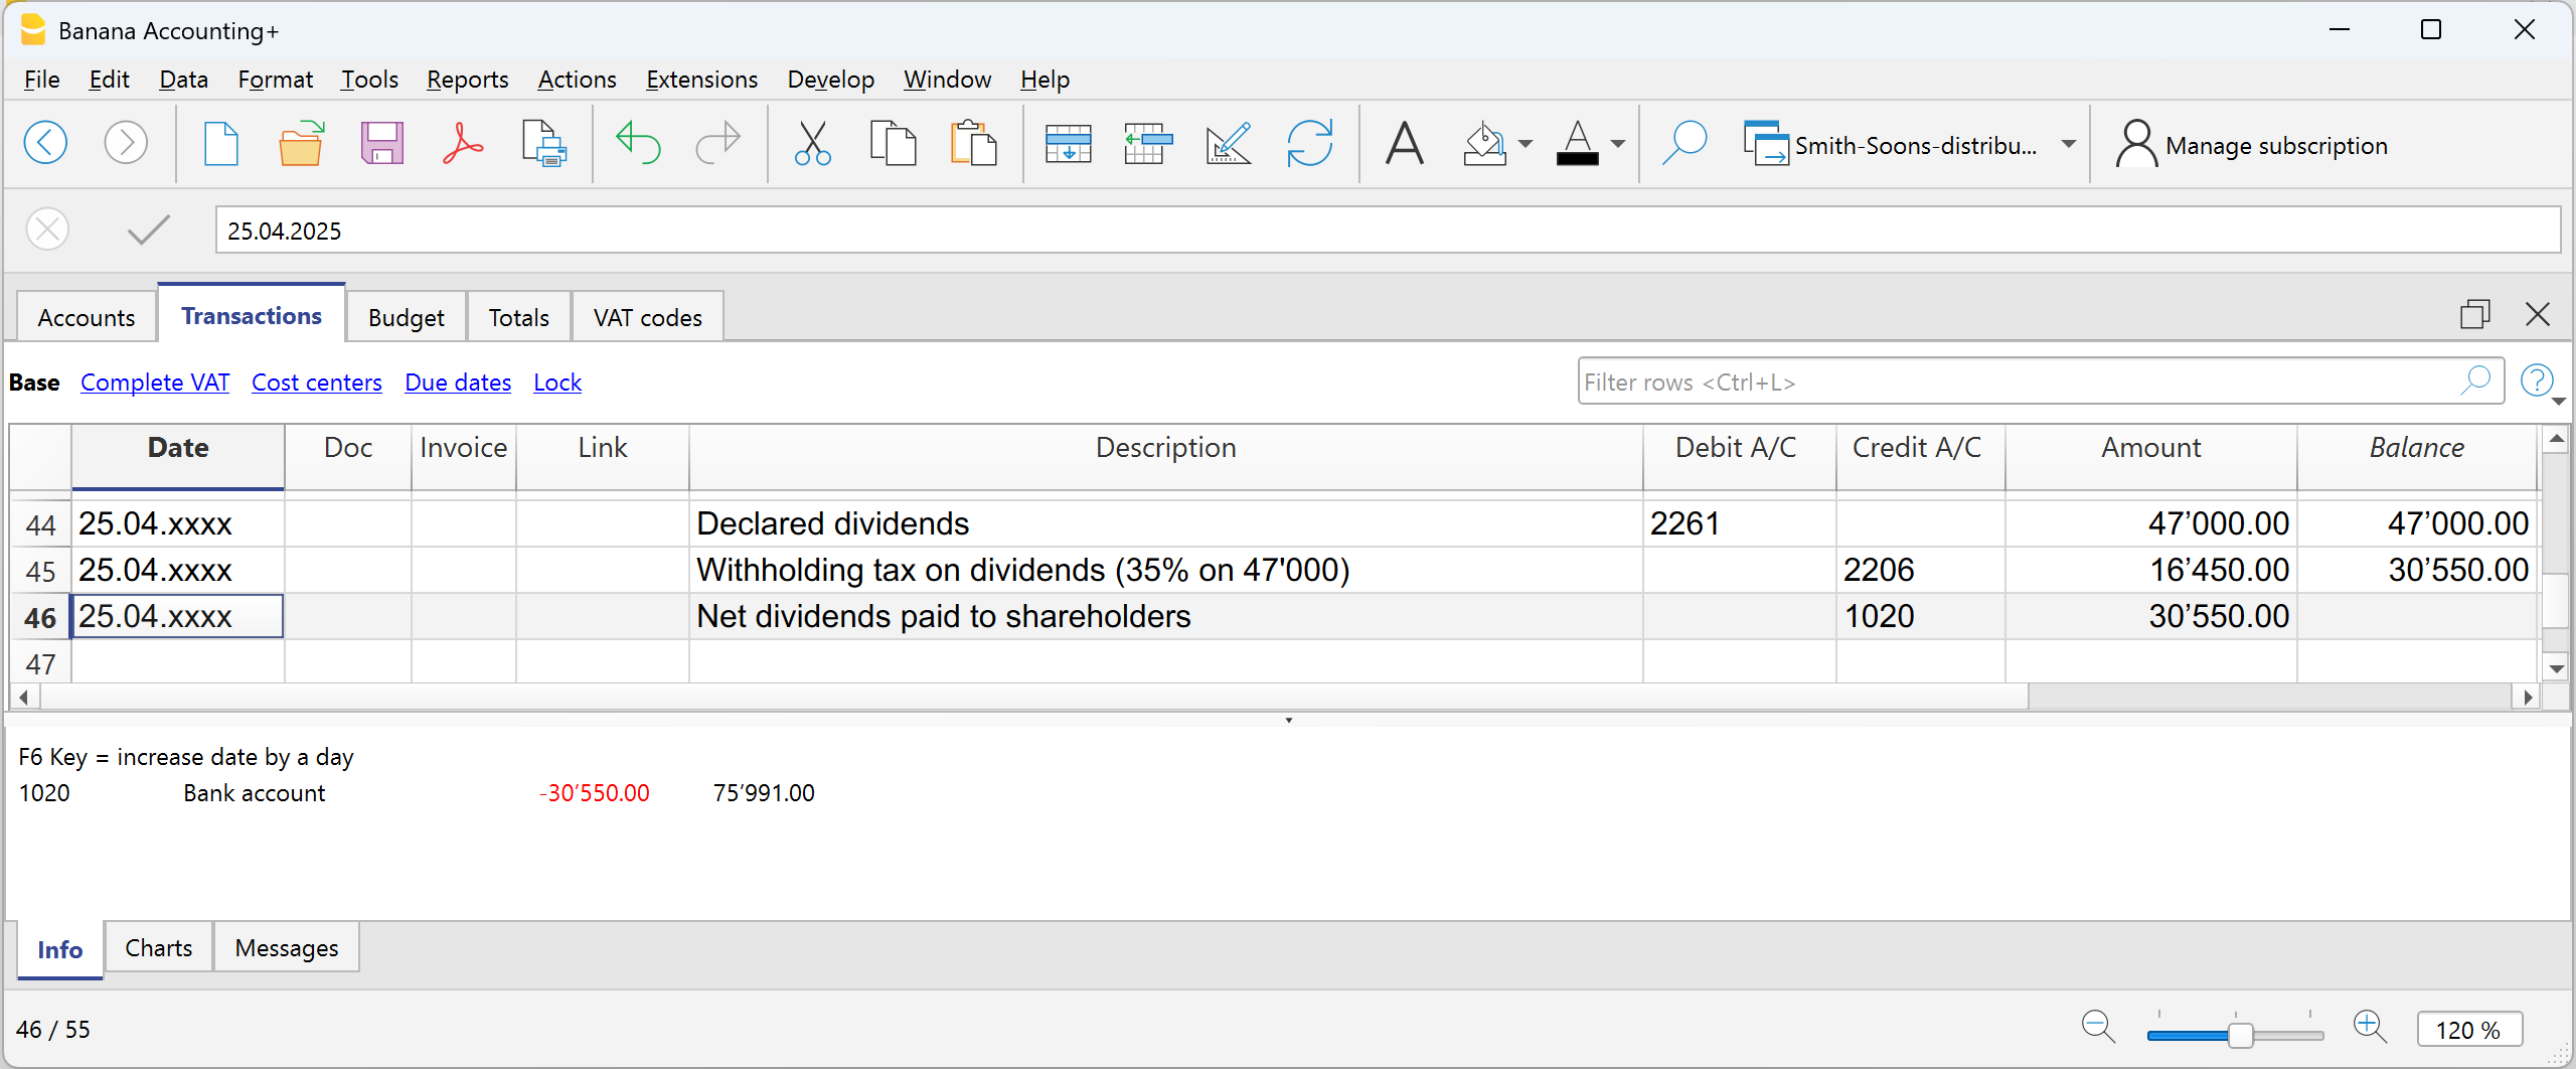
Refund of Withholding Tax on Dividends
- Shareholders residing in Switzerland can recover the full withholding by filing a tax return (the tax office offsets it against taxes due).
- Shareholders abroad can recover it partially, depending on the double taxation treaties between Switzerland and the country of residence.
Preparing the documentation for Audit
Before sending the accounting to the auditor, it’s important to make sure the closing work is complete and consistent. We recommend visiting the page Year-end closure, where you’ll find guidelines on preliminary checks and the Banana Accounting features useful for properly finalizing the year.
Since the documents requested by the auditor may vary each year, we suggest preparing a custom checklist, noting which documents were requested in past years and what closing or adjustment operations were needed.
Preliminary preparation
Good organization throughout the year greatly simplifies the work for both the person doing the accounting and the auditor. We recommend:
Creating a folder for digital documents
Store all digitized documents for the fiscal year in a single folder: invoices, cash receipts, AVS statements, insurance and pension documents, bank communications, and other relevant documents.
Scanning the supporting documents
Regularly scan paper documents. This allows you to have organized and always accessible documentation.
Linking documents to transactions
With Banana Accounting Plus, you can attach supporting documents directly to accounting entries. The auditor will be able to view them with a single click, without searching through paper folders, making the work faster and more efficient.
How to send accounting to the auditor or fiduciary
With Banana Accounting Plus, you can digitally share all fiscal year data: the accounting file (.ac2), digitized documents, and required reports.
Sharing via Cloud
If you store your data on a cloud service (Dropbox, OneDrive, Google Drive), you can share the folder containing the accounting and supporting documents.
For added security:
- Share the most sensitive documents as read-only
- or create a copy of the folder before sharing it
- if necessary, prepare a second folder with edit permissions
See the page Accounting in the Cloud for more information.
Sharing via USB stick
If you store the data on your hard drive, you can copy it to a USB stick or another storage device and hand it over directly to the auditor or fiduciary.
If the auditor or fiduciary doesn’t have Banana Accounting Plus
The auditor can download Banana Accounting Plus for free from our website and use the Free plan to open the accounting file (.ac2).
With the Free plan, they will be able to:
- open and review the accounting
- view the transactions and account details
- access the attachments linked to the entries
The Free plan does not allow saving changes or printing, but it still allows the auditor to carry out all necessary checks.
Sending documentation in PDF format
If you prefer not to share the .ac2 file or if the auditor does not use Banana Accounting Plus, the program still allows you to generate a complete PDF dossier.
Using the command from the File menu > Create PDF dossier you can include:
- Account cards
- Journal
- Enhanced balance sheet with groups
- Accounting report
- VAT summary
- End-of-year PDF printouts
With the Advanced plan, you can also include the digital attachments linked to the entries, creating a single comprehensive document to send via email.
Support for closing operations
If the year-end checks or closing are managed by the fiduciary:
- you can send them the .ac2 file
- or share the Cloud folder that also contains the digitized documents
This way, there is no need to deliver paper files and the fiduciary can work faster by consulting the digital documents independently.
If they do not use Banana Accounting, you can send them the PDF dossier. The fiduciary will be able to review the data and inform you of any changes or entries to be made.
Documents to be sent to the auditor
Below is a list of documents that are normally requested during an audit. You can use it as a base and customize it according to the needs of your company or the requests of your auditor.
Employee Declarations
- AVS salary declaration and adjustment as of 31.12
- Family allowance declaration (included in the AVS declaration)
- Employee salary journal
- Salary account cards
- Salary certificates
- LAINF and complementary LAINF declarations with adjustment
- Sickness benefit declarations
- LPP statement as of 31.12
- Withholding tax calculations, quarterly and annual
Bank/Post Account Statements and Calculations
- Final statements as of 31.12
- Bank calculations for withholding tax
- Loan statements
- Investment statements
- Copy of form 103 sent to the FTA
VAT Declarations
- Quarterly VAT calculations
- Quarterly VAT declarations
- Turnover – VAT reconciliation
- Any VAT adjustments
Documents for Year-End Closing
- List of open customer and supplier invoices as of 31.12
- Inventory valuation
- Details of accruals and deferrals
- Details of fixed assets and depreciation
Official Documents
- Minutes of ordinary and extraordinary meetings
- Tax ruling from the previous year
- Payment order for withholding tax
- Copies of active contracts (leasing, loans, rental)
- Insurance values of buildings
- Documents for any patents
- Annual reports and appendix to the financial statement
Printouts and Archiving
With Banana Accounting Plus you can automatically generate:
- Account cards
- Journal
- Enhanced balance sheet with groups
- Watch the video tutorial showing how to create and print the enhanced balance sheet with groups.
- Accounting report
- VAT summary
- Year-end PDF printouts
PDF Dossier
The Create PDF dossier command allows you to generate a single file with the entire documentation of the fiscal year.
Archiving
It is good practice to keep:
- the accounting file
- the PDF printouts
- backup copies on an external drive.
Tools and exports useful for the auditor
Banana Accounting Plus allows you to export data in various formats.
- The auditor can use the Free plan to open the accounting file.
- Data can be copied and pasted into other programs.
- Tables can be exported in various formats.
- The Create PDF dossier command generates a complete file ideal for reading.
- Extensions allow specific exports:
- Audit File Reports creates reports that can be useful for the auditor and can be copied and pasted into Excel.
- Standard Audit File - for Tax.
Export of data in XML and other formats according to OECD guidelines and for specific countries. - Search the extensions to see if there are specific extensions for your country.
Other Useful Information
Changes after the end of the financial year
Closing the fiscal year is the moment when you verify that the accounting is complete, consistent, and ready for the next year. Once completed, ideally no further changes should be made. However, it may happen that missing transactions, errors, or unrecorded exchange rate differences are identified.
This page explains when it is necessary to make changes after closing and which tools Banana Accounting offers to do so correctly.
When it is necessary to intervene after closing
The most common situations are:
- Exchange rate differences not recorded in multi-currency accounting.
- Missing transactions entered late.
- Posting errors identified afterwards.
In any case, it is important to document the reason for the intervention and ensure that the changes comply with the fiscal and legal framework.
Adjustments in the following year (recommended procedure)
If you have already reviewed the accounting or submitted the tax return, you should not make changes to a closed year.
In this case, we recommend that you:
- Record the adjustment in the new year.
- Clearly describe the issue in the entry or in an attached document.
- Check the tax impact with your accountant.
Multi-currency case
For unrecorded exchange rate differences in a closed year:
- record the difference in a transition account (e.g. Prior year exchange adjustment)
- create an opening entry to reset the account
- allocate the change to the exchange gain/loss account
This procedure allows you to keep balances correct without retroactively modifying the closed year.
Changes to a closed year
If you have not yet reviewed or submitted the tax return, you can still make corrections directly in the file of the closed year. In this case:
- Proceed with caution, limiting yourself only to essential changes.
- Run the Check accounting command again to verify that the entries are correct and balanced.
- Save and reclose the year.
- Open the new year and run the Update opening balances command to realign the balances.
Useful Banana tools to manage adjustments
Create exchange rate difference entries
Allows you to automatically generate transactions for exchange rate differences as of the closing date, using the rates in the Exchange rates table. This is especially useful if the year has not been definitively closed.
Update opening balances
This command, available from the Actions > Update opening balances menu, transfers the final balances of the previous year into the new fiscal year. Use it whenever you make changes to the closed year or to the chart of accounts, to ensure consistency between years.
Check accounting
This command, available from the Actions > Check accounting menu, performs a complete check of imbalances, posting errors, or inconsistent entries. It is recommended after each change, both in the previous year and in the new one.
Common errors and how to fix them
- Opening balances of the Income Statement reported by mistake
Delete the amounts from the Opening column and run Update opening balances. - Profit or loss for the year not reported correctly
Correct the entry in the previous year and then update the opening balances in the new year. - Imbalances after changes to the previous year
Use Update opening balances and run Check accounting again.
Best practices
- Always run the checks and record all exchange rate differences before creating the new year.
- In case of changes after closing, always document the reasons for the intervention.
- Before making changes to a closed year, consider the legal and tax implications with a professional.
- After each adjustment, use the Update opening balances and Check accounting commands to ensure data consistency.
Printouts
All the printouts of the Financial Statements, the profit and loss Statement, and the various accounting Reports are available from the Reports menu. Each command has various options for customizing the various printouts.
To print the content of the tables, please refer to the Page setup section (last paragraph).
Enhanced Balance sheet with groups - colored columns
This example has been realized with the following features:
- Enhanced Balance sheet with groups.
- Columns setup to indicate which columns are to be displayed (in the example the columns of the Current and the Previous year are being displayed)
- Style: Lugano (Groups highlighted), Style properties: Groups and totals: Color.

Enhanced Balance sheet with budget
This example has been realized with the following features:
- Enhanced Balance sheet
- Options Include in print : to indicate which columns to display (in the example the Current, Estimate column is displayed).
- Style: Berlin, colored columns.

Enhanced Balance sheet
This example has been realized with the following features:
- Enhanced Balance sheet
- Options Include in print : to indicate which columns to display (in the example the Current, Previous,% Difference columns have been activated).
- Style: Berlin, colored columns.

Subdivision by semester
This example has been realized with the following features:
- Enhanced Balance sheet with groups.
- Columns setup to indicate which columns are to be displayed (Current and Budget).
- Subdivision -> Subdivision by period in order to set up the sub-divsion by period
- Style: Lugano (Groups highlighted), Style properties: Groups and totals: Color.
- Color column properties to color the columns differently.

Subdivision by segment
This example has been realized with the following features:
- Enhanced Balance sheet with groups
- Subdivision -> Subdivision by segment in order to choose the segment level to be displayed.
- Print style:
When printing the segments, it is not possible to set up the colors of the columns.

Pdf dossier with all the accounting data
The file is being created with a summary that provides access to the different printouts in an easy way.
The following data can be saved in Pdf
- Balance sheet and Profit & Loss statement
- Accounts table, Transactions, VAT Codes, Totals
- VAT reports
- Account cards
If you save this file on a non re-writable CD (to keep together with your accounting documents), this will comply with the legal requirements for archiving the accounting data.
This example has been realized with the following features:
File menu, Create Pdf dossier command

Printing an extra column
In order to print an extra column in the Balance sheet, the following features are used:
- Add a new column in the Accounts table, via the Data → Columns setup menu.
- Enhanced Balance sheet with groups
- Columns - advanced, to make the column visible.
Account cards - Ledger
The account card corresponds to the Ledger and allows you to have a comprehensive list of accounting movements concerning the same account, a cost center, segments and groups.
An Account card contains the following information:
- The name of the account represented by the card.
- The date of the financial transaction.
- The type of financial transaction (e.g., sale, purchase, payment, receipt).
- The amount.
- The description (e.g., the name of the supplier or customer, the nature of the goods or services bought or sold).
Banana Accounting automatically records all transactions entered in the Table Transactions table, allocating them to the corresponding specific accounts. Therefore, the ledger cards are updated every time a transaction is recorded in the Transactions table.
Opening the Account card
There are two methods to open an account card:
First method
This method is recommended when you want to display and print all or several account / category cards.
- Select the Reports → Account Cards in the menu

A dialog box will appear, with the following sections:
For detailed information on the sections, click on the corresponding links.
Second method
- Click on the small icon that appears when you select the cell that contains the account, category or group number.
Updating the Account card
The account or category card is temporary and is calculated at the time of the request. If transactions are changed or added in the Transactions table, the account card is not simultaneously updated.
To update the account card, following changes, the Account / category card command must be issued again, or if the account card is still open, click on the symbol shown in the image below.

Deleting or modifying data
In the accountcards or group cards, it's not possible to directly modify or delete data. If changes are required, they must be made in the Transactions table or in the Budget table (if they concern estimate transactions). After recalculating, the changes are automatically applied to the corresponding account card.
If you are in the account card and you notice an error or a modification to be made, you need to:
- Within the account card, position yourself on the row number related to the modification.
- Double-click on the row number, and the program automatically redirects to the Transactions table, right on the row related to the modification.
- Make the modification and recalculate the accounting (press Shift + F9).
The changes are automatically reflected in the corresponding account card.
The Account Selected column
Starting from any Account card, the Account Selected column, can be displayed, via the Data → Columns setup menu, the account on which the transaction took place will be shown.
When you get an account card of one or more accounts, groups and segments, you will see the exact account that has been used.
The contra account in the account cards
In the Account cards, the "Contrp" Account column (C-Acct.) is present, which indicates the account that completes the transaction.

When there are transactions on multiple accounts (transactions on multiple rows) as in the example below, and there is one account entered in debit and several accounts in credit, or the other way round, the software deducts the possible contra account using the following logic:
- In the first transaction row, the 5000 account is considered the common contra account of the transactions that follow.

- On the Account card 5000, the multiple transaction (Gross salaries for the month of December) displays the [*] symbol as the contra account. It is impossible to have the indication of the contra accounts directly in the account card, because the account has several contra accounts (1020, 5700, 5730). For this reason the program indicates the [*] , which signals that we are dealing with a transaction on multiple accounts.

- On the Account cards of the next transaction rows (1020, 5700, 5730), the common contra account is indicated between square brackets [5700], and indicates a deducted contra account.

Cards of groups and classes
In the Account card of a group or a class, all the transactions of the accounts that belong to the selected group or class are being grouped together.
The accounts of the group or the class can be displayed by making the Account Selected column visible.

Budget Account card
If the budget transactions have been entered in the Budget table, it is possible to have the account or group cards of the budget:
- Via the Reports → Account cards → Budget transactions must be activated.

Print the Ledger (all account cards)
To print the Account cards:
- Reports menu→ Account cards command
- Using the Filter, all the account cards that need to be printed entirely or partially (for example, only accounts, cost centers, segments) can be selected automatically.
- In the various sections Period, Options, Customization, activate the desired options (for ex. period, 1 account per page, ...)
- Press OK to confirm, after having selected the desired options.

For the explanations of the different tabs, please visit the next few pages: Accounts/Categories tab, Period and Options.
The program will show the selected account cards.
In order to print, choose the Print command from the File menu.
When you have activated the Budget table in your file, you may choose which transactions you wish to see (actual transactions or budget transactions).
Include a logo in the account cards
From Banana Accounting 9 it is possible to include a logo in the account cards printout as well. After obtaining your account cards details (with the Reports→ Account cards command), use the File -> Print preview command. From the print preview click on the the Setup icon, and in the dialog window that will open, select your logo with the Logo option (instead of the none option).
You can also check the how to setup a logo page.
Save the settings
In case you regularly print the account cards of specific accounts for example, all those that concern the Sales accounts, it is useful to create a specific customization.
- Go to the Customization tab
- Create a new customization, using the New button
- Indicate the name of the customization, for example "Sales accounts", in the Description field.
- Select the accounts that you want to be printed.
- Set the view options for the tab. It is possible to select and change the view, from those available, but not to create a new one. If you change the layout of a column, for example by changing its header, this will be applied to the associated view of all customisations.
Each time you want to print accounts, select the customisation you have created.
Page setup
In Page setup, you can specify the margins & other settings of the page.
Accounts
You can access this windows by choosing the Reports menu > Account cards command (see the Account cards page).
Accounts
The list of all available accounts appears.
Select all
By activating this option, all the accounts that are part of the Chart of accounts are automatically selected.
If you wish to print one or more account cards activate only the desired accounts.
Selecting accounts with the mouse
- Clicking on the account name selects the account, and if a previous selection was made, it is deselected.
- Clicking on the account tick box (within the checkbox) selects/deselects the account and the previous selection remains unchanged.
- To select multiple adjacent accounts at the same time, simply click on the first one, hold down the left mouse button, move the mouse over the list to select the desired accounts, and press the spacebar.
- To select multiple non-adjacent accounts, hold down the Ctrl key (or Cmd on Mac), and use the left mouse button to move over the list, selecting the desired accounts, and then press the spacebar.
Selecting accounts with the keyboard
- You can navigate the account list using the up/down arrow keys, and select/deselect an account by pressing the spacebar.
Search
The option allows the immediate search of one or more accounts. The account number or description of the account is entered in the box; the program filters the accounts using the search values entered.
You can also enter multiple accounts to be displayed simultaneously, or combine accounts and segments (see developer explanations):
- 1000|1001 will display the transactions for account 1000 and 1001.
- 1000:01 will display all transactions of the 1000 account with the 01 segment.
Sort by account number
If this option is activated, the accounts are sorted according to the selection applied in the Filter (at the bottom of the dialog box). If, for example, there are accounts, cost centers or segments with abbreviations, they are listed in alphabetical order.
Filter
This function allows you to filter all account cards or just a selection, specifically:
- Accounts, cost centre and segments - if no selection is made they are filtered by default
- Accounts/categories (existing cost centres and segments are excluded)
- Accounts, Cost centres (only segments are excluded)
- Cost centres (accounts and/or categories and segments are excluded)
- Segments (accounts and/or categories and cost centres are excluded)
- Groups - existing groups will be shown - you need to select the ones to be printed
- Classes - all classes will be shown - you need to select the ones to be printed.
Actual or budget transactions
When you have activated the Budget table in your file, you may select:
- Actual transactions
The entries in the Transaction tab will be processed.

- Budget transactions
The entries in the Budget tab will be processed.
If the Budget table is not present, but amounts have been entered in the Budget column of the Accounts table (Budget View), these amounts are converted into monthly amounts. The division performed by the program is based on the start and end date of the accounting period (if the duration is 1 year, the division will be into 12 monthly installments).

Account card 00 - Differences in accounting transactions
When there are discrepancies in the transactions (see Debit - Credit Difference error page), to identify where the error is located, the account statement for Group 00 is displayed (or the statement for the group in your chart of accounts that includes all accounts from Class 1, 2, 3, and 4).
You will have a list of all transactions with the successive balances, which after each entering should equal zero. The row where the balance is not at zero contains the error.
Viewing the Details of transactions
Using the Group 00 account statement, it is also possible to view the details of the transactions.
Once you have selected the Group 00 account statement, the list of transactions will appear. Select any column, double-click on the column, and a screen will appear to select the visible columns. Select the "TransactionAmount" column. After making this change, the screen opened from the Group 00 account statement will display the "Transaction" column in CHF with detailed specific amounts.
Double-click on a column:

Select the "MovementAmount" column
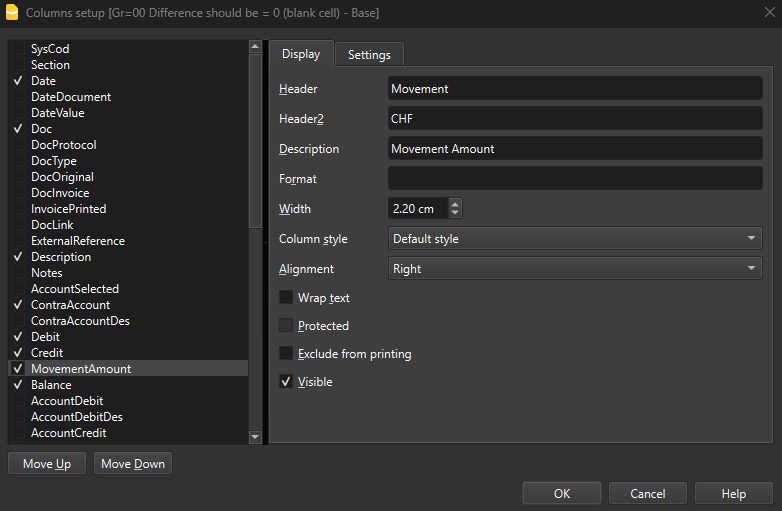
Next, a new column "Movement CHF" will be added, which will display the details of the amounts of individual transactions. This modification can be useful, for example, when a transaction includes VAT, and you want to see the details of that transaction while keeping the VAT separate.
Invoice recording with VAT:

Details of the invoice recording with VAT, with Account Card 00 and the "MovementAmount" column activated:

Period Accounting Card
The explanations of the Period tab are the same as those for the Enhanced Balance Sheet with Groups, tab Period.
Options tab
Via the Reports → Account cards → Options menu you can access the various options that can be included or excluded from displaying and printing.

Lines before end of page
This function was created in order to avoid printing an account partially on one page and partially on the following. If the account card to be printed doesn't have at least a number of rows corresponding to the number input in this field, printing the whole card will be moved to the next page.
One account per page
By activating this function, each card will be printed on a separate page (even those with few transactions).
Repeat column's headers
By activating this function, the column headers will be repeated for each account, within the page.
Include accounts with no transactions
By activating this function, cards without transactions will be printed as well.
View
You can select the columns view to be included in the account cards display and printout:
- Base
- VAT
- Cost centers
- Expiration dates
If no criteria are specified the program will keep the order present in the Transactions table.
Sort column
In the account card, transactions can be sorted according to different data criteria:
- Document date
- Value date
- Expiration date
- Payment date
Journal
In Accounting, the "journal" is a book of original entry where all financial transactions of a company are recorded in chronological order. It is a fundamental tool for recording accounting transactions and plays a crucial role in the bookkeeping process.
In Banana Accounting, the Journal is represented by the Transactions table, where transactions are entered in chronological order. From this table, the program provides a detailed and complete record of all financial activities of the company and serves as the basis for preparing other accounting documents such as the general ledger, balance sheet, and income statement.
Each transaction is recorded with detailed annotations, divided into specific columns:
- Date: The date on which the transaction occurred.
- Description: A brief description of the transaction, indicating the nature of the accounting operation.
- Debit Account: The account debited for the amount of the transaction.
- Credit Account: The account credited for the amount of the transaction.
- Amount: The amount of the transaction.
Journal prints can be generated either by selection or by using a command that also allows defining a period.
For further information, please refer to the following pages.
With Banana Accounting the Journal corresponds to the Transactions table. It is possible to print the entire journal or just a part of it, selecting the rows that you wish to print.
There are different methods to print the Journal:
- Position yourself in the Transactions table and click on the Print preview icon; then click on the Print icon
- From the Transactions table and select from the File menu → Print preview → Print icon.
- From the menu Reports menu → Journal by period ...
Period

You can choose whether to print all or a defined period. To print a specific period, enter the start date and the end date.
Sorting

In the Sort column tab it is possible to choose the criteria by which the journal should be sorted and printed.
Customize the printing of the Journal
To customize the printing of the journal, you can change the arrangement and header of the columns. Information can be found on the Columns setup page; while the options to include in the printout are found in the Page Setup lesson.
Enhanced Balance Sheet
The Balance Sheet represents all the Assets, Liabilities, Expenses and Income at a specific moment. The difference between Assets and Liabilities determines the equity capital. In Banana Accounting, the embellished Balance Sheet has the following characteristics:
- The grouping of the accounts is done according to the contents of the BClass column.
- The Enhanced Balance Sheet (Reports menu), shown in the preview, can be saved in different formats (PDF, HTML, MS Excel) and can be copied to the clipboard.
- It is possible to calculate, display and print the budget at the end of the year, or for a specific period.
- Transactions without date are considered as opening transactions and will not appear in the printouts of the Profit & Loss Statement.
To calculate, view and print out the Enhanced balance Sheet, click on the menu Report > Enhanced balance Sheet. A window appears with several sections allowing you to set the printing parameters.
See also Printout Examples.

Print pages and Include in printout
In these sections, by activating the different options listed, you can choose the content to be displayed and printed in the Enhanced balance sheet.
The option "Previous year balances" is only available if the field All is selected in the Period section. If a specific period is defined instead, the option is not active. In this case, the Enhanced balance sheet with groups should be used instead.
Page headers
Rows 1 - 4
Rows available to define the heading of the balance sheet.
Logo
It is possible to insert the logo in the header of all pages of the report.
If one or more logos have been added in the menu File > Logo setup, you can select one from the list.
If no logo has been added, the Edit button can be used to add the logo.
Print page number
If this option is activated, the number is printed in footer progression.
Print date
If this option is activated, the date is entered in the footer.
Cover page
Print cover page
Activating the function prints the cover page.
Logo
It is possible to insert the logo in the cover page of the report.
If one or more logos have been added in the menu File > Logo setup, you can select one from the list. If no logo has been added, the Edit button can be used to add the logo.
Column headers
The boxes at the bottom of the enhanced Balance Sheet dialogue box are used to insert the current and previous year headings in the printout.
The first two vertical boxes refer to the dates of the balance sheet, the second to those of the income statement.
At the moment, when opening the dialogue window of the Enhanced Balance Sheet, the boxes for entering the current and previous year are not clearly visible.
To view the boxes mentioned, one must scroll all the way down the vertical scroll bar, located on the right-hand side of the dialogue box.
Current year
Insert the final date of the current accounting.
Previous year
Enter the final date of the previous year's accounting in this field.
When switching to the new year from the menu Actions > Create New Year, the header of the previous year is not adapted automatically, so it must be changed manually. This issue will be resolved in the future.
Dialogue not fully visible
To display the Enhanced Balance dialogue box completely, choose one of two procedures:
- Enlarge the dialogue box.
- Slide the scroll bar, located on the right-hand side of the window, downwards.
Other tabs
The explanations for the other tabs are available at the following pages:
Attachments / Notes in the Balance sheet
The notes in the annual report (explanatory notes) are texts that accompany the balance sheet and the income statement.
They serve to:
- explain how the annual report was prepared (principles and criteria used)
- clarify important items or specific aspects of the year (e.g. depreciation, VAT, extraordinary events)
- provide contextual information for a correct interpretation of the data.
The notes do not change the totals of the balance sheet, but they improve its clarity and transparency.
How to insert notes / attachments
In Banana Accounting, the notes are managed as attachments and are included in the balance sheet printout.
The Attachments section is accessible from the menu: Reports > Enhanced Balance Sheet with Groups > Attachments.
The attached texts are printed after the balance sheet and the income statement, each on a new page.
How to prepare the attachments
The notes or attachments to be included in the balance sheet printout can be prepared in two different ways:
- with the Document table
- with the Attachments section of the Enhanced Balance Sheet with Groups
Below you can find the detailed explanations.
Create attachments in the Documents table
The notes or attachments to be included in the balance sheet printout can be prepared via the Documents table.
To make it visible, go to the menu Tools > Add/Remove functionality > Add Documents table.
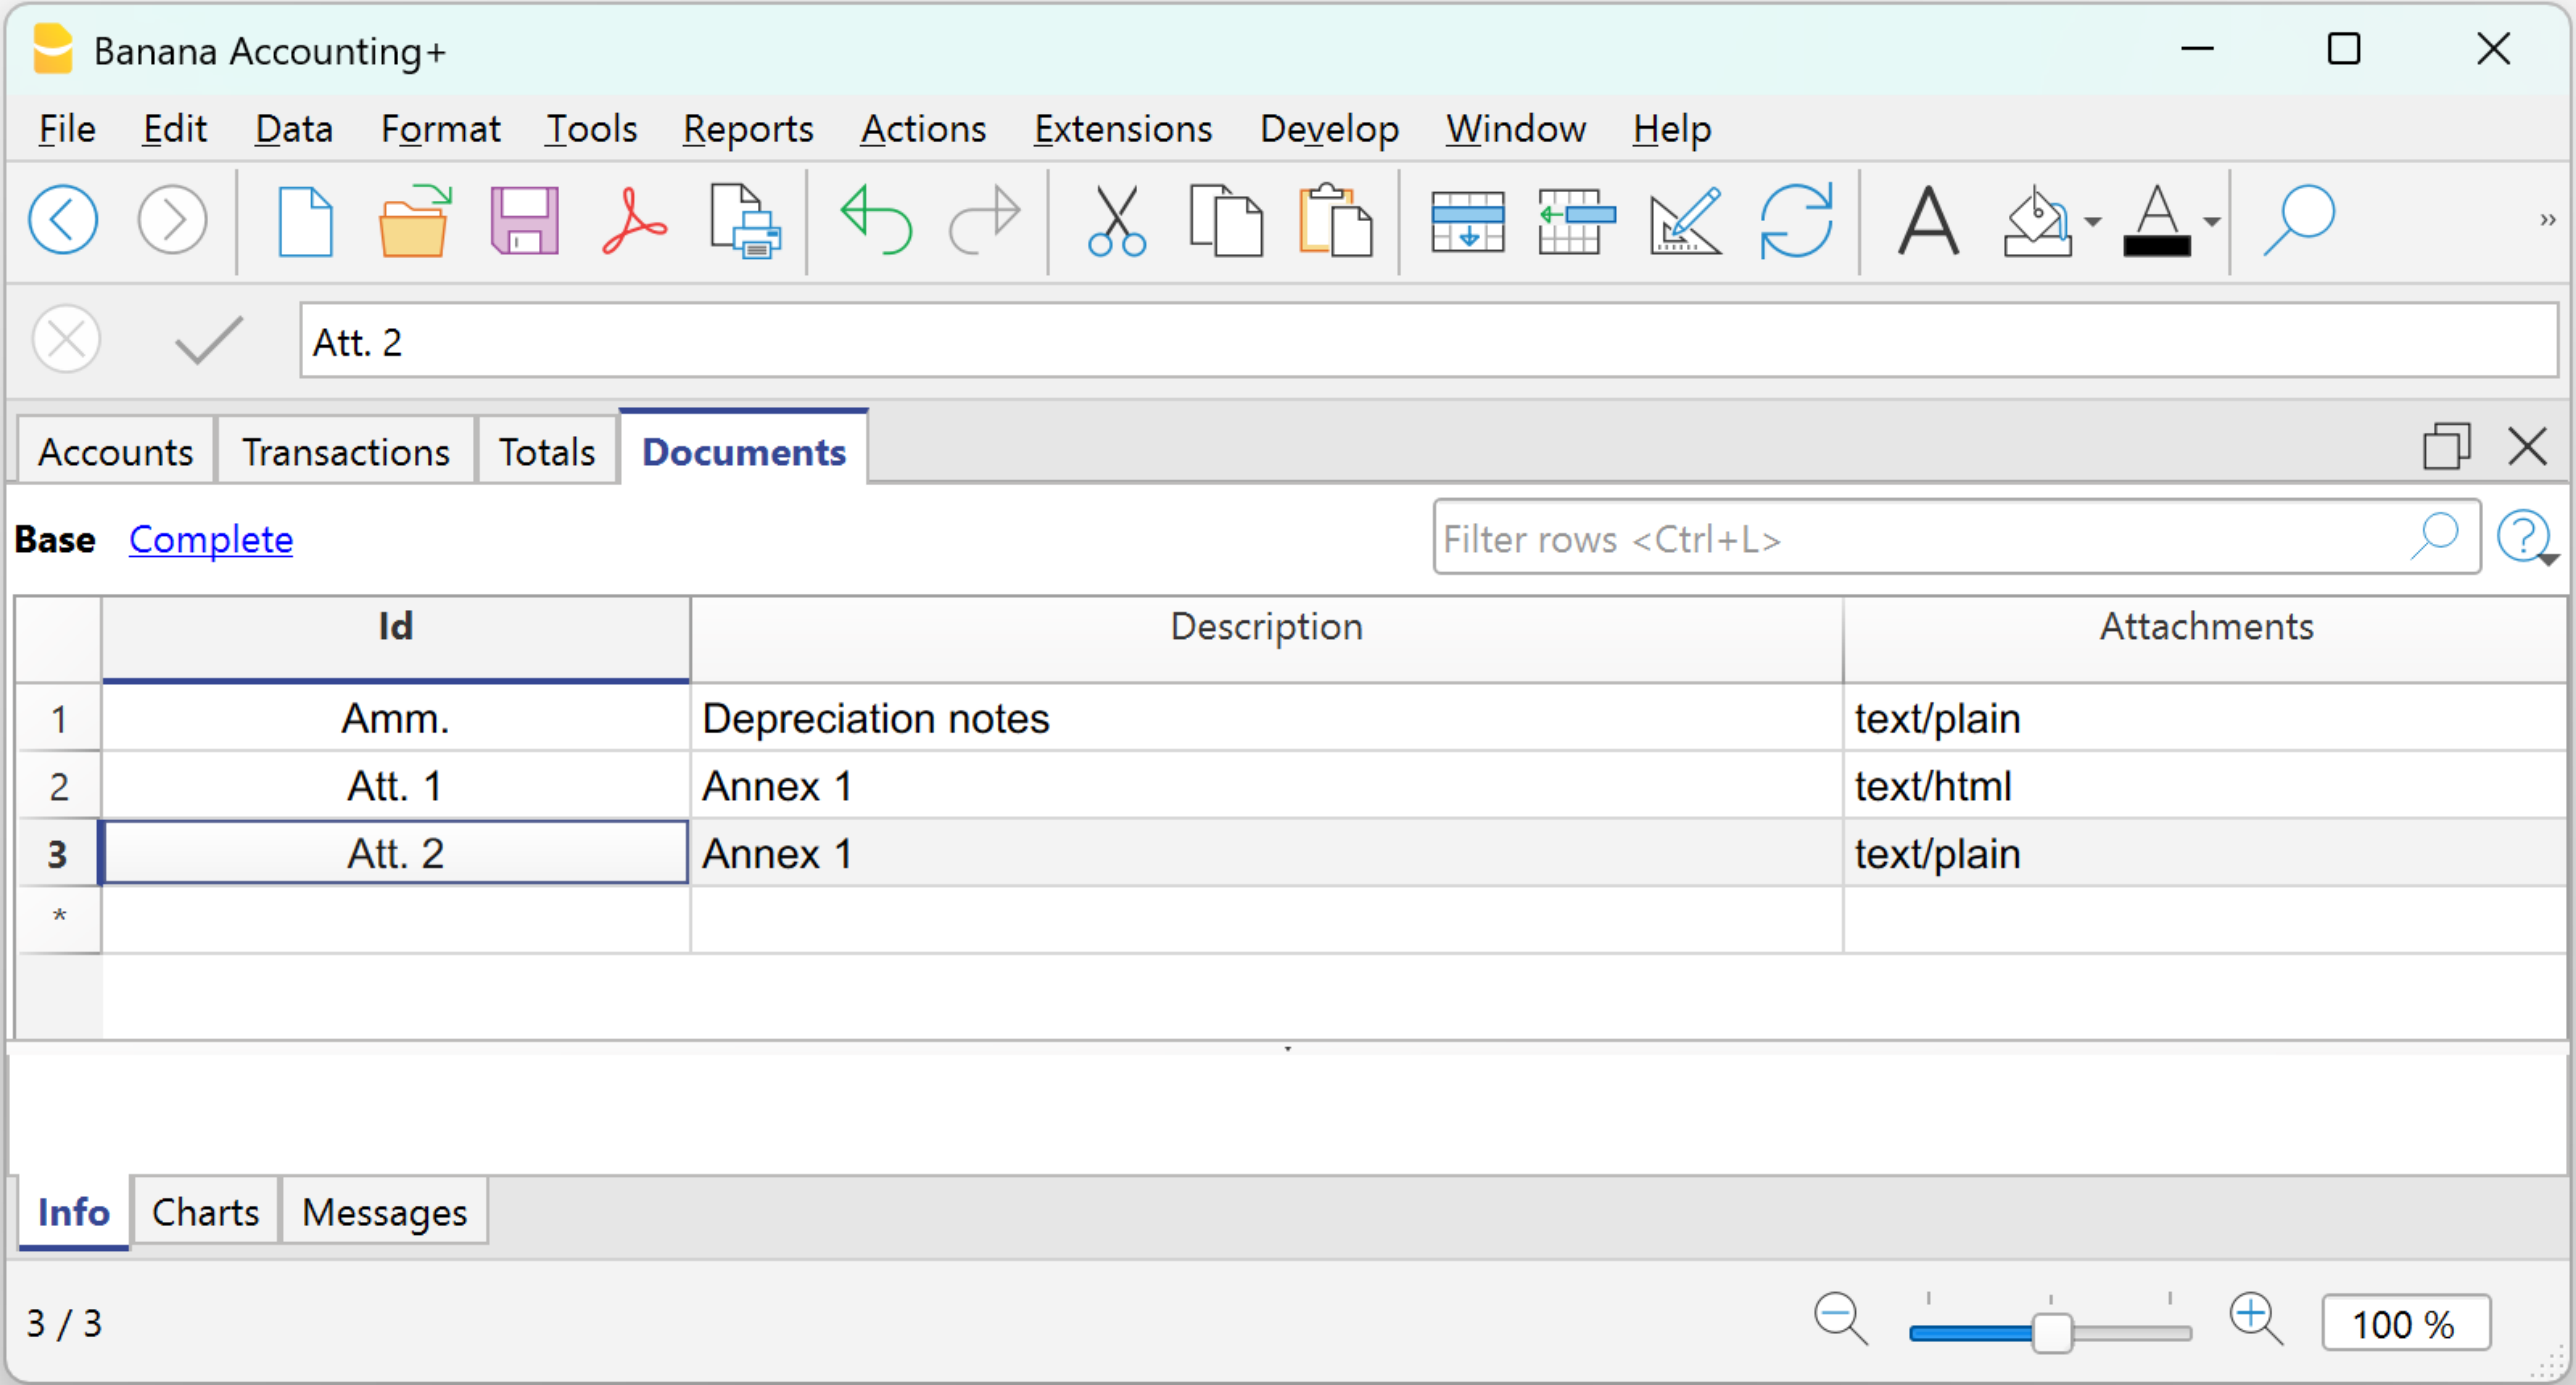
Procedure:
- In the Id column, indicate the type of note.
- In the Description column, enter the description of the note.
The description text is used as the document name in the Attachments section of the Enhanced Balance Sheet with Groups. - In the Attachments column, click the pencil icon, select the document type, and enter the text in the editor.
You can choose between two types of documents:- Text
Plain text with no formatting (e.g. for simple notes). - HTML Text
Text with formatting (bold, bullet points, etc.). You can choose to write the text normally or enter the HTML source code in the dedicated section.
- Text
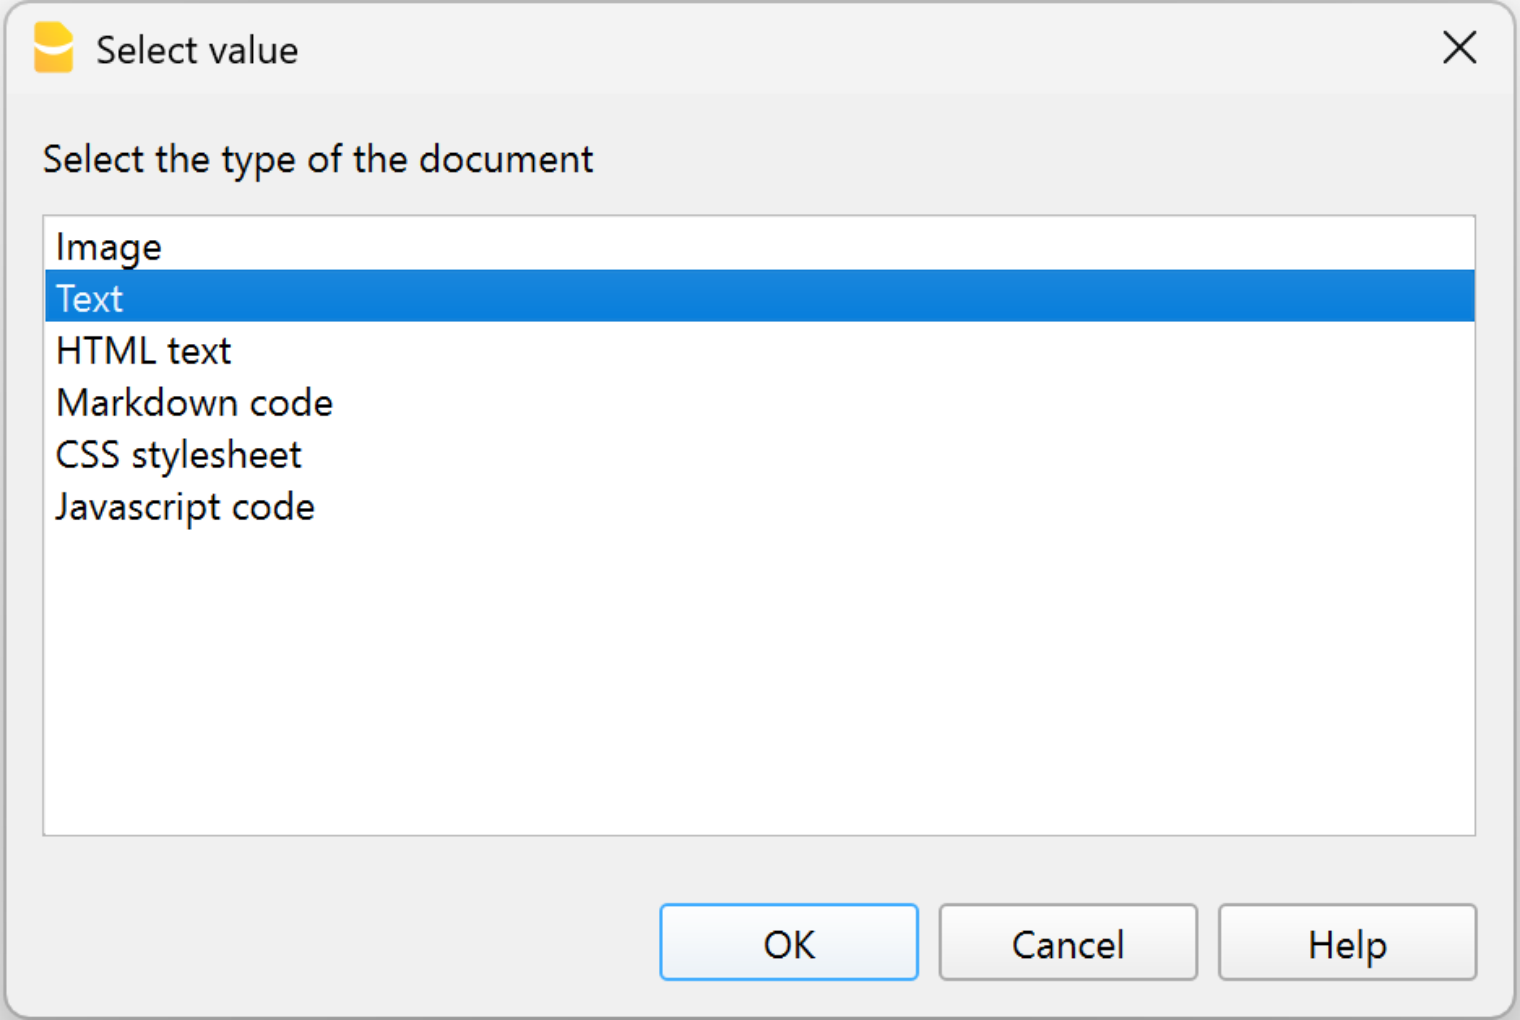
The texts created in the Documents table are displayed in the section Attachments of the Enhanced Balance Sheet with Groups.
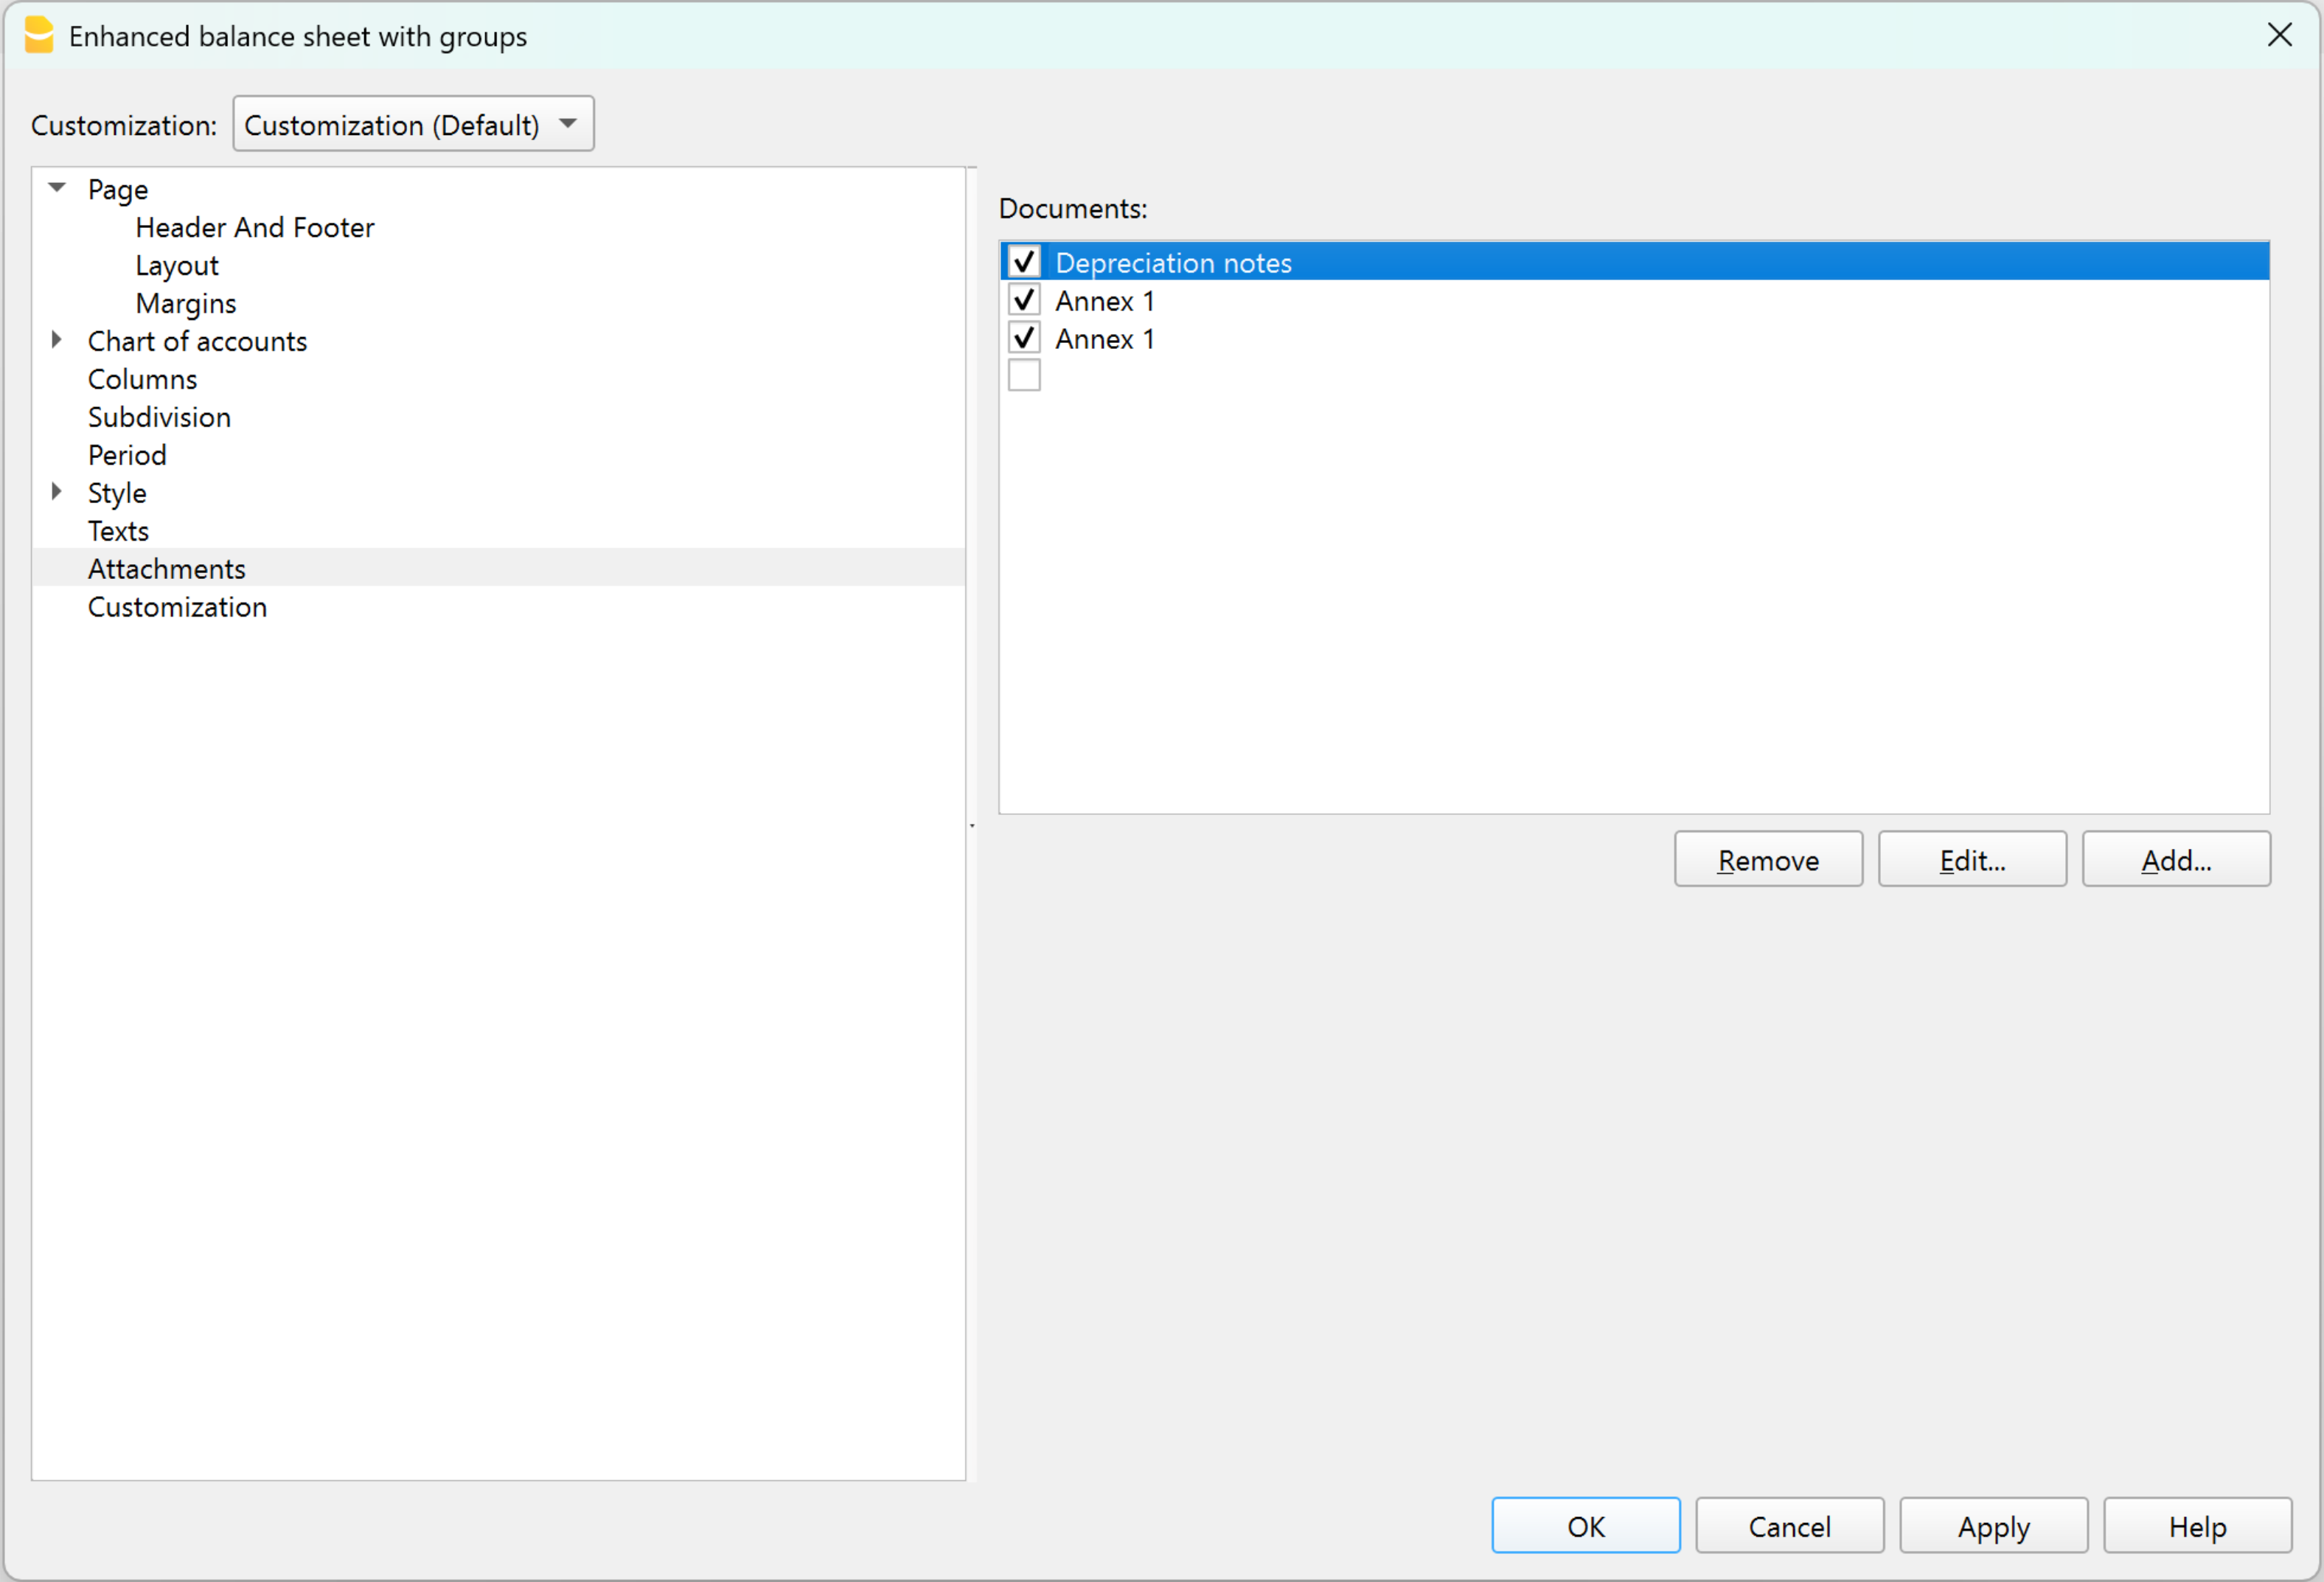
Create attachments in the Enhanced Balance Sheet with Groups
The notes or attachments to be included in the balance sheet printout can be prepared directly from the Attachments section of the Enhanced Balance Sheet with Groups.
Procedure:
- open Formatted Balance Sheet by Groups > Attachments
- click on Add
- The HTML Text editor dialog opens.
- Enter or modify the text in the editor.
You can choose to write the text normally or insert the HTML source code in the dedicated section.
The text is formatted (bold, bullet points, etc.).
The texts entered in the editor are automatically shown in the Documents table.
View and print notes / attachments
In the Attachments section of the Enhanced Balance Sheet with Groups, check the documents to be included in the printout. Only checked documents will be printed. The notes are printed at the end of the balance sheet and income statement, each on a new page.
Enhanced Balance Sheet with groups
Banana Accounting automatically calculates, displays, and prints the Balance Sheet and the Profit and Lost account. These are two fundamental financial documents used by businesses to monitor and report their financial and operational activities.
The Balance Sheet and the Profit and Lost account can be customized both based on the period and the columns to be displayed. Balance Sheets can be generated for monthly, quarterly, semi-annual, and annual periods. Additionally, when selecting a period (e.g., semi-annual), the data can be further broken down by periods (month, quarter).
The Balance sheet with groups differs from the Balance sheet for the following characteristics:
- Displays the subgroups in detail.
- Offers the possibility to exclude groups or accounts (for instance, to display only the total of the group and not the accounts of which the total is composed).
- In the Chart of accounts > Sections it is possible to select which accounts to include or leave out from the printouts
- It is possible to sort by a given period (for example in the first semester, you can choose whether to obtain the data by month or by quarter)
- It is possible to have a subdivision by segment.
In order to calculate, display and print the Enhanced Balance sheet by groups, click on Reports > Enhanced balance sheet with groups command from the menu: a window appears, with different sections that allow the user to define the print setup.

Features:
- Reports with actual balance data, or budget data, or both, with indication of variances.
- Free arrangement with groups and subgroups.
- Updated results directly visible in the accounts table.
- Customizable prints:
Watch the video tutorial that shows how to create and print the Enhanced Balance Sheet with groups.- Addition of your own logo.
- Choice of columns to include.
- Choice of sections to include.
- Detailed or grouped printing.
- Prints for a single period.
- Columns with breakdown by period (month, quarter, semester, year).
- Previous year values.
- Comparison with forecast value.
- Columns with breakdown by segment.
- Addition of attached notes.
- Grouping as in the chart of accounts or according to your own scheme.
- Saving customization
- Tabular reports (similar to customizable prints, but with data present in the table).
- Export to PDF for data preservation and export in other formats for data processing.
See also Print Examples.
FAQ
- If I exclude the groups with a zero balance, the title rows that refer to the excluded groups are still being displayed; how can I erase them?
Go to Sections and activate Hide current row on the title rows that you wish to exclude. - I would like to exclude the display of the period in the titles of the printouts ("1st Semester 2013"); how can I do that?
Go to the Headers section and deactivate the Print period option. - On the cover page, when there are long titles, I would like to be able to choose how to subdivide the texts into two rows and wish to apply bold print. Is this possible?
It is not possible to change the fonts on the cover page. - Some amounts are not included in the indicated period. Why?
Transactions without a date are counted as openings and do not appear in the printouts of the Profit & Loss statement. Be sure to enter the date into all the transactions. - The total groups that contain all the accounts of the classes 3 and 4 are being renamed with the text Profit or Loss, depending on the result of the accounting period. How can I change that text?
Go to the Sections and overwrite the original text in the Alternate text zone of the active row. - How can I display the data of the previous year if it is longer than the standard year?
In the "Enhanced Balance Sheet by groups" dialogue box, under the heading "Columns", for the "Income Statement" section, click on the "Advanced" button, in the "Columns" window click on "Add". At this point, activate the Prior option in the "Print Columns" window. Then close all windows by pressing the "ok" button. You can customize the header of the columns in the "Columns" window, by clicking on the "properties" button, if necessary.
Headers
In the Page → Headers section are the options for heading the pages and the logo when printing the Financial Statements and Income Statement.
Header 1, Header 2, Header 3, Header 4
Enter as headers the text you wish appearing in the printouts. The headings inserted are shown on the first page (cover page) and on each sheet as main headings.
Logo
It is possible to insert the logo in the header of all pages of the report.
If one or more logos have been added in the menu File→Logo Setup, you can select one from the list.
If no logo has been added, the Edit button can be used to add the logo.
Print period and/or subdivision
This option is active only when a specific period has been defined. When you deactivate this option, the period will not be indicated in the titles of the printouts.
Footer
Print page numbers
By activating this function, page numbers will be printed.
Print date
By activating this function the date will be printed.
Cover page
Print cover page
By activating this function the cover page will be printed.
Logo:
It is possible to insert the logo in the header of all pages of the report.
If one or more logos have been added in the menu File→Logo Setup, you can select one from the list.
If no logo has been added, the Edit button can be used to add the logo.
Layout
In the Page → Layout section you set the font size and the page orientation for printing the Balance Sheet and Income Statement.

Font size
The display of the printout varies according to the entered value.
Page orientation
You can select the page orientation: automatic, landscape and portrait.
Logo
The Set Logo option is available in various Banana Accounting dialogs. The main Logo settings such as width, height, and alignment must be entered from the File > Logo Setup menu.
Each printout refers to these settings. Depending on the type of document to be printed, the corresponding option must be activated to include the logo in the printout.
Below is an example of how to retrieve and use the logo in the Enhanced Balance Sheet with groups printout.

It is possible to insert the logo in the header of all report pages.
If one or more logos have been added in the File > Logo Setup menu, you can select one from the list.
If no logo has been added, you can add one using the Edit button.
Margins
In the Page → Margins section you set the margins for printing the Balance Sheet and Income Statement.

Top, Bottom, Left, Right
It's the distance between the page border and the content.
Header
Is the distance between the page header and the content.
Footer
Is the distance between the page footer and the content.
Increase margins to printable area
If the content exceeds the page margins it will be automatically adjusted to fit the printable area.
Sections
The Section section shows how the chart of accounts is structured and subdivided.
The structure is set up using the Section column in the Chart of accounts.
It allows you to set:
- Items to be printed together.
- Page changes.
- Items to be excluded from the print.
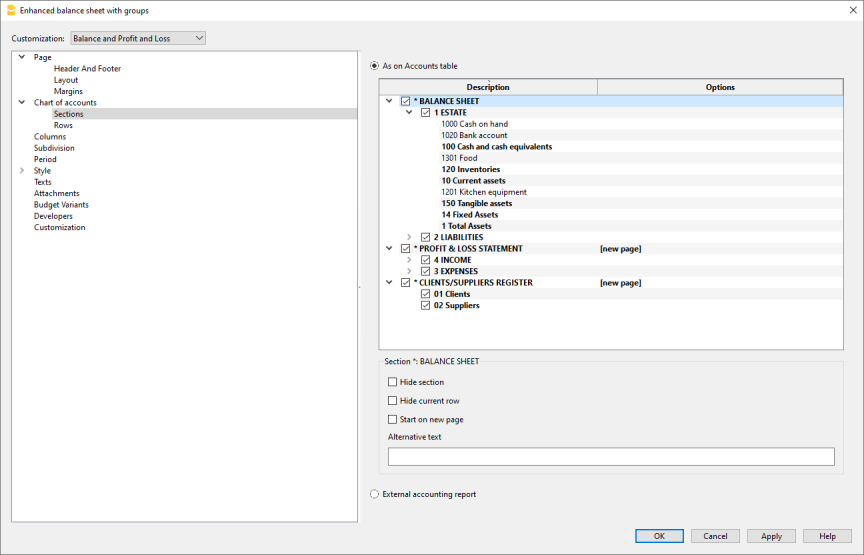
As on Accounts table
The display and the printout settings of the Enhanced Balance Sheet with groups, are the same as in the Accounts table.
By clicking on the arrow on the left you can display the components of the section. Normally only groups with a balance are displayed.
To also display the groups with zero balance, go to the Rows section and click on view groups with zero balances.
To preserve the structure of the accounting report with empty rows, the "Empty rows" option in the Rows section must not be activated.
Depending on the selection, there are different sections with different options:
- Sections 1, 2, 3, 4, 01, 02, 03, 04... refer to the main items of the Balance Sheet
- Account sections refer to the selected account
- Group sections refer to the selected group
Section*
If you select a section with an asterisk, you will have the following options:
Hide section
Click on the section that you wish to hide.
Hide current row
Click on the row that you wish to hide.
Start on new page
Click on the header that you want to have on a new page and activate the option.
Alternative text
Enter an alternative text if you want to have a different one for the selected section or row.
If you select a number or a group section (1, 2, 3, 4.....), there are extra options:

Group for % calculation (%)
Is visible when you select a section (assets, liabilities, costs, income ....).
It is the group that serves as the basis for calculating the percentage of the section accounts and groups.
- Determined by the software.
The group is established by the program. As a rule, it is the last group in the section (total assets, liabilities, costs and income). - Group indicated by the user.
For the income statement, a group must be indicated (for example, total sales).
Hide child rows
If you select a group and you activate this function, child rows of this group won't be printed in the Enhanced Balance Sheet.
Show as account
If you select a group and you activate this function, the group will be displayed as an account in the Balance sheet. 
External accounting report
Print the Enhanced Balance Sheet by groups, based on the structure of the Accounting report file.

Report File
You can select the file of the External Accounting report with the Browse button.
Grouping column
Column in which the accounts refer to the groups defined in the External Accounting report. Available columns: Gr1, Gr2, Gr, BClasse and GrVat.
Signal missing grouping
Checks whether all accounts belong to a group in the External Accounting report.
Rows
In the Chart of Accounts → Rows section you can choose to print the following elements: Accounts, Accounts with zero balance, Accounts with transactions, Groups with zero balance, Empty rows.
Double entry columns setup
The Chart of accounts > Columns section contains the most important options for customizing the columns to be displayed and printed in the Financial Statements and in the Income Statement and Notes.

Balance Sheet, Profit and Loss Statement and Notes
If the various options are activated, the following data will be included in the display and printing of the reports:
Account number
In addition to the account description, the account numbers are also included.
Current
The balance or movement in the basic currency, referring to the selected period or to the subdivision of the period.
% of row
Includes the column with the percentage referred to the total (e.g.% total assets).
The total group to base the percentage calculation on can be set in the Sections tab.
The group is set by the program, but especially for the Income Statement, it is not always determined ideally, so it must be set manually.
Foreign currency
This option is only visible in a multi-currency file.
By activating the option in the printout, the balance will also be displayed in foreign currency for the selected period or the subdivision of the period.
Opening
The opening balance for the period.
Budget
The amount of the budget, referring to the selected period or the subdivision of the period:
- If the Budget table has not been set up, the amount in the Budget column of the Chart of accounts is indicated.
The total amount of each account is divided over 12 months. - If the Budget table has been set up, the budget amount of the accounts is calculated based on the transactions entered in the Budget table.
Previous period
The amount for the period prior to the selected period or period split.
Previous year
The amount for the same period of the previous year.
Difference
Is the difference between the amount of the current period and that of the other column (Budget, Previous period, previous year).
% Difference
Is the difference between the amount of the current period and that of the other column (Budget, Previous period, previous year).
Year-to-date
The balance or movement from the beginning of the accounting to the date of the last posting.
Advanced
With the Advanced button you can further customize the arrangement, texts and colors of the columns.
Hide/Show.
You can hide or display a column that is indicated in the list.
Change sequence
Use the Move Up and Move Down buttons or drag the column with the mouse.
Add new column
You can include other columns from the Accounts table or one of the columns calculated by the report in the report.
Remove the column from the list
With the Delete button the column is deleted. You can always add it again:
Special cases
Previous accounting year beyond the current accounting period
If the previous accounting year is longer than the normal duration of the current year (for example, it starts in November or December), the Previous column of the Accounts table is used to correctly display the totals of the income statement of the previous year, as otherwise, Banana accounting calculates the totals of the income statement taking the same duration as the current year and the totals will differ from what is displayed in the financial statements of the previous year.
In this case proceed as follows.
- For the Income statement, deactivate the Previous year and Previous period columns
- Click on Advanced ...
- With the Add ... command, add the Columns table Accounts > Prior column
- With the Properties ... command, enter the text to be displayed as the header for the Prior column
- Row 1 > Text > "2021", "2022", ...
- Confirm and display Enhanced Balance Sheet.
Columns (Advanced)
This dialog allows you to see the list of different columns as they appear in the report and to customize their column display, headers, and column content colors or background colors.
You can change the list of columns with the Add or Remove buttons:
- Accounts table columns
Complete list of columns in the Accounts table - Acounting amounts [A]
List of columns calculated for the current accounting period. (A=Actual) - Budget amounts [B]
List of columns calculated on the basis of data from the Budget table. (B=Budget)

The following options are available:
- Hide/Show columns
With the check you can hide or make a column that is indicated in the list visible. - Change sequence.
Use the Move Up and Move Down buttons or drag the column with the mouse. - Add new column
You can include other columns from the Accounts table or one of the columns calculated by the report in the report. - Remove the column from the list
With the Delete button the column is deleted. You can always add it again. - Change text or background colour.
- Change the header or other properties of the column.
Columns - add
In the Balance sheet, Profit and Loss Statement and in the Notes, it is possible to add further columns.
Starting from the Reports menu > Enhanced Balance sheet with groups > Columns > Advanced button > Add button.

Available columns list
The dialog lists all the columns that can be included in the report:
- Columns present in the Accounts table.
- Columns with Accounting amounts .
- Columns with Budget amounts.
Activating the column from the list adds it to the report. In the Advanced dialog you can change the sequence and headings.
By removing the check, the column is removed from the report.
Columns present in the Accounts table
You can include any column of the Accounts table, for example:
- Note.
- Aditional description.
- Description in another language.
- Import or other columns added by you.
Accounting amounts
These are the columns with the amounts calculated by the program, the opening balances and the entered transactions, for the indicated period or for the subdivision period
Amount in the Account currency
Only visible for multi-currency files. Account balances in foreign currency are also displayed.
Current
The balances of the current year will be displayed.
Opening
The Opening balances will be displayed.
Previous (period)
The balances of the previous period are being displayed (month, quarter, semester, etc).
Previous Year
The balances of the previous year are being displayed.
YTD (Year To Date)
This column is only available in the Profit & Loss Statement. The balances from the beginning of the year until the last transaction date are being displayed.
Budget amounts
These are the columns with the amounts calculated by the program based on the budget amounts entered in the Accounts Table or in the Budget Table. If you created the Budget table and if some rows have been entered, the program will use the data of this table for its calculation, even if there are values in the Budget column of the Accounts table. Also see informations on Budget.
Budget (Current period)
The amounts related to the foreseen budget of the current period are being displayed.
Budget Previous
The amounts related to the foreseen budget of the previous period are being displayed.
Budget Previous year
The budget amounts are displayed for the same period as the current one, but from the previous year.
Calculation period annotations
The program cannot calculate values for periods that overlap between different accounting years or for years with start and end dates that do not match.
To obtain balances from the previous year that exceed one calendar year, activate the Prior column. This column replaces the "Previous year" column, which only shows the previous year's balances from 01.01.xx to 31.12.xx.
You get to this column from the menu Reports > Enhanced balance sheet by groups > Columns > Advanced button > Add. Clicking on the Account table columns header will display the list of all the columns defined in the Accounts table. Activate the Prior column.
Headers and options (Columns properties)
In this section there are options to change the column headers in reports.

Headers
Row 1/ Row 2 / Row 3
It is possible to change the columns headers by selecting the Text option (from the drop down menu) and by entering the new header. If you select the Column option, the column name of the selected column will be shown.
Options
Visible
If this cell is activated, the column header will be shown.
Display as a total column
If activated, this option only shows the amounts in the Totals column.
Colors (Columns properties)
The dialog box is accessed via the Reports → Enhanced statement by groups → Columns → Advanced button → Properties → Colors menu. There are options to change the colors of the texts and columns.

Change
With this button you can change the text or the background color
Default color
With this button you can restore the default color for the text or the background.
Subdivision
Via the Chart of Accounts section → Subdivision you can access the options to choose the subdivision of the period (year, semester, quarter, month).

None
Only the data for the overall period are present in print.
Subdivision by period
With the breakdown by period, the program creates columns for the indicated periods. For each period you will see the same columns for the overall period.
The function allows you to view the data of the period for:
- day
- month
- bi-monthly
- quarter
- four monthly
- semester
- year
- 5 years
- 10 years.
The selected period appears in the column header.
In order not to have an excessive number of columns in print:
- Limit the number of items you want to print.
- Indicate a shorter period.
- Indicate the maximum number of periods.

Create periods for the entire year
When the accounting period does not coincide with the calendar year, but you want to view all the months anyway, simply activate this function.
Totals column
This function creates a Totals column of the selected periods in the income statement and in the Totals view.
Maximum number of divisions
The maximum number of periods is by default 36. In particular cases, if you want particular statistics that are very detailed and over long periods, you can manually change this value. A very high maximum number of periods can slow down the program.
Subdivision by Segment
The segments allow you to have reports for a certain section of the company. Segments are defined in the Chart of accounts. With the breakdown by period, the program creates columns for the different segments. For each segment you will see the same columns for the overall period.
Each subdivision takes the name of the header given in the Chart of accounts. The split data (based on your selection) is displayed.
The Subdivision by Segment option is active only if segments have been set up in the Accounts table.
You can select:
- All segments - This way, when new segments are added, they will be automatically added to the printout.
- Blank - The amount not assigned to any segment is displayed.
- Choice of segments - Indicate only the segments you want to see in print.

Totals column
When this option is being checked, the totals for the selected segment will be obtained.
Segment header
You can choose the text to be displayed as column header for the segments.
Period
In the Chart of accounts → Period section, you can limit the processing of data, display and print only to an indicated period or, in the case of a budget, it allows you to obtain forecasts over several years.

All
All accounting entries are included.
Period selected
It means the specified period, indicating the start and end date.
In order to get forecasts over several years, it is necessary to enter the end date of the future year of the budget required, in the File Properties, basic data (File menu). Enter the start and end date of the period in the Period section of the Enhanced balance sheet with groups as well.
To have budgets beyond the accounting period, in the Budget table, the movements must have a repetition code.
The forecast will be displayed in the Budget column.
Movements without date
If transactions without dates have been entered in the accounting, they are considered only if All is selected.
If, on the other hand, you enter, for example, from January 1st to December 31st, the transactions without date are not displayed in the report.
Style Tab
This dialog section includes the option to choose the templates and the number format for printing the Balance Sheet and Income Statement. Each template can be customized by changing the style properties and colors. Columns can also be customized in the Columns section.

Use style
There are different models of the Enhanced balance sheet provided. By selecting one, the user can obtain the Enhanced balance sheet of his choice.
Style property
For each style, the color of the fonts and the backgrounds can be defined.
Value / Change... / Default
These functions allow the user to change style or to restore the default style.
Ignore line formatting
If this function is activated, the formatting will not be maintained.
Number formats
From the menu Report > Enhanced Balance sheet with groups in Banana Accounting Plus, in the Style section you can change the number formats and choose how negative numbers are displayed.

Divide by 1'000
If there are big amounts, by activating this option, three zeros will be taken off.
Show cents
By activating this option the cents will be shown.
Show zero amounts
By activating this option it is possible to choose between having the zero amounts shown with the 0,00 number or with the -,- symbol.
Negative numbers
Negative amounts can be shown with a minus sign before the amount, after the amount or the amount can be shown between parenthesis. You can also activate the option to have the negative numbers shown in red.
Texts
Via the Style → Texts section you can change the texts of the fixed headers that the program uses in the printouts.
To change the value, just double click on the Value cell corresponding to the key to be changed and enter the new text.

Attachments
Attachments are additional text documents (such as reports, explanatory notes, or comments) that can be included in the printing of the financial report to provide complementary information to the accounting data.
The Attachments section is accessible from the Reports > Enhanced balance sheet with groups > Attachments menu. All added attachments:
- Texts are printed after the Balance sheet and Profit & Loss statement.
- Each document begins on a new page

Documents
All documents listed in the Documents table (Html or text format) are listed here.
- You can change the report sequence, just by dragging the item with your mouse
- All documents with a check mark will be printed.
Edit
A text editor will open allowing you to enter new text or edit the existing one.
Add
Adds a new element without text. To add plain text or Markdown documents, use the appropriate commands in the Documents table
If the Documents table is not yet present, the program creates it automatically. It is not immediately visible, but will appear the next time the accounting file is reopened.
Remove
This button will remove the selected element and its content. It's the same as removing a row from the Document table.
Add an attachment with Markdown text
- Add a new document with Markdown text as explained on page Markdown Editor
- Tick (select) the document in the list of attachments.
- The text will be printed together with the financial report.
Notes
- Printing of Markdown text is only available with the Advanced plan subscription.
- This feature is not available in previous versions.
- If the file is open with a previous version of the Banana Accounting software, you will get a message that the file is not totally compatible.
- If you edit this section and you press OK, in order to undo the operation you need to enter the Undo command more that once.
How to create attachments
For more information on how to create attachments or notes in the financial statement, see the page:
Customization
Customizations allow you to create and save print settings and recall them later.
See the page relating to Customizations.
End of Year PDF printouts
From the print preview of a document, you can save in PDF format and print.
You can save in a PDF format the following documents:
- Balance sheet and Profit and Loss Statement
- Accounts, Transactions, VAT, Totals tables
- VAT Reports
- Account cards
This PDF file will have an index that allows for easy access for the different printouts.
If you save this file on a non rewritable CD (to be kept along with the accounting documents), you will comply with the requirements for accounting data archiving.
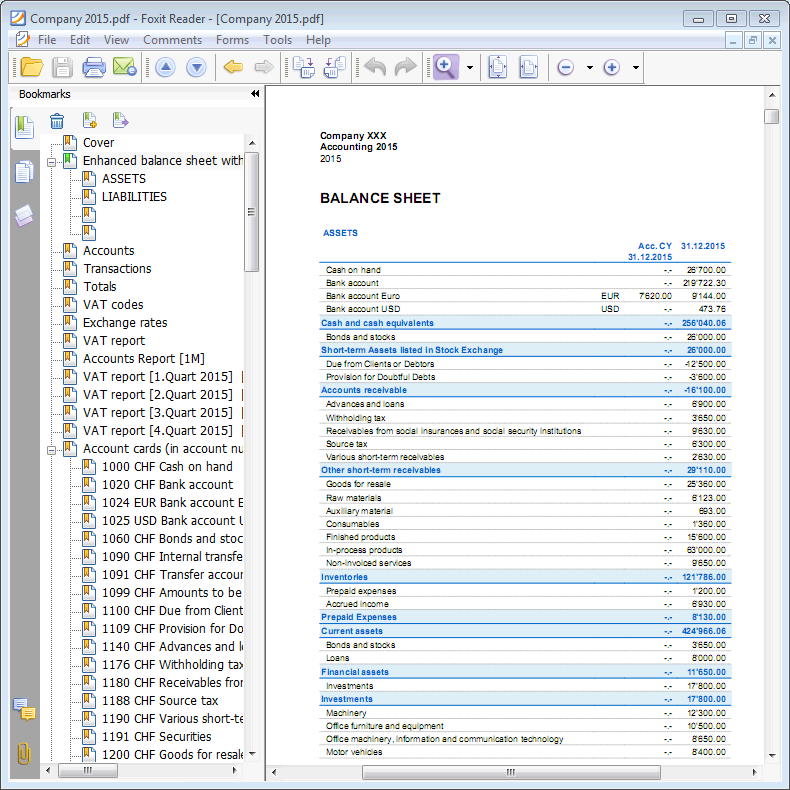
Reports over several years
A statement over several years allows for a simple and immediate comparison of the evolution of your business. Banana Accounting can display balance sheets up to two previous years in the same report, so for example the balances of the years 2022, 2021 and 2020 on a single page.
In order to view the balances over several years it is necessary that the "file previous year" option is indicated correctly in the File and accounting Properties, → Options tab, otherwise Banana Accounting is not able to retrieve the balances of the previous accounting periods, which would therefore remain empty.
In the following example we indicate how to get a report for the years 2022, 2021 and 2020. Here is how to proceed:
- Reports menu → Enhanced balance sheet with groups ...
- Check Current and Previous year in the Columns section.
- Advanced Button (click on the button for both the Balance Sheet and the Profit and Loss Statement).

- From the dialog window that opens, click on the Add button to add a column.

- Scroll down the list until you see -2 Years (we have to go 2 years back, from the current year).

- Confirm with OK to get the report.
Accounting report
The Accounting Report generates and prints an overview of the balances of all accounts in the chart of accounts, grouped according to specific criteria and related to a defined period or its subdivision. The Accounting Report is displayed in a new table called Accounts Report and is based on the column structure of the Accounts table.
To create and print an Accounting Report:
- From the menu Reports > Accounting Report

Basic
Report
Choose the desired grouping:
- Like in the accounts table – the report lists accounts as shown in the accounts table, including Opening and Balance columns.
- Accounts by class – the report lists accounts, but without subgroups.
- External Accounting Report – The report is displayed through a file external to the accounting file, with a specific grouping defined by the user. It is created by selecting Menu > File > New > Accounting type > Accounting Report.
The report is always shown in the Accounts Report table, as illustrated in the following image.

Note: The rows of the accounting report are protected. If they are unprotected, the data can be modified, but it is not possible to save the changes.
Accounting Report Dialog
Options
Choose which accounts to include or exclude from the report:
- Show only group totals – only group totals are displayed.
- Include accounts with transactions – only accounts with movements are included.
- Include accounts with zero balance – accounts with zero balance are also included.
- Exclude groups without accounts – groups that only contain accounts with zero balance are excluded.
- Entries without a date are considered as openings and do not appear in the Profit and Loss report.
Other Sections
Explanations of the other sections are available at the following web pages:
Report Output
A new table is created where the results are displayed.
Print the logo in the accounting report
To include a logo in the accounting reports, after creating the report, follow these steps:
- Menu File > Print Preview > Page Setup
In the dialog window that opens, under Logo, specify the logo (instead of selecting None).
See also the page on how to insert the Logo.
VAT summary (only for files with VAT options)

XBRL CH report
This document is Work in Progress
Definition of XBRL
The acronym for XBRL is eXtensible Business Reporting Language and this is the global standard of digital business and financial reporting.
It is the representation standard used to codify accounting data.
An XBRL report, historically called an instance document, contains the facts reported by a specific entity.
Each fact is associated with a concept defined by the applicable taxonomy and with contextual information such as:
- The reporting entity.
- Reporting period.
- Unit of measurement.
The taxonomy defines the applicable reporting model, including the available concepts, labels, relationships, presentation structures, calculation rules, references and validation constraints.
A taxonomy defines the reporting model for a specific domain, including:
- The concepts that can or must be reported.
- Their labels and relationships.
- Presentation and calculation structures.
- References and validation rules.
It was developed by XBRL International, a global non-profit organization that operates in the public interest with the goal of improving:
- Accountability.
- Transparency of corporate performance globally.
- Providing an open standard for data exchange for corporate reporting.
The XBRL CH
Scope
The XBRL CH taxonomy provides a standardised framework for:
- Representing Swiss financial statements and tax-related information in a structured Machine-readable format.
Its financial reporting concepts are based on the Swiss Code of Obligations, while additional concepts support the reporting needs of cantonal tax authorities.
Its purpose is to facilitate:
- The preparation.
- Processing.
- Analysis.
- Electronic transmission of financial and tax-related information for legal entities.
It is not intended for individual tax returns.
State of Development of the XBRL CH Taxonomy
Swiss XBRL is a recent standard.
The first version was published in 2025.
It is currently in a pilot phase and is not yet in production.
The XBRL CH Association and the Swiss Tax Conference developed the taxonomy, defining a standard for the presentation of balance sheets and annual financial statements for Swiss companies.
The taxonomy of XBRL CH, is based on the Swiss Code of Obligations and practical needs.
The taxonomy concepts include references to the Swiss SME chart of accounts.
In Banana Accounting, the accounts in the entity’s operational chart of accounts are mapped to the corresponding XBRL CH taxonomy concepts through the XBRL Mapping Reference field.
The mapping between the chart of accounts and the XBRL chart of accounts was based on the chart of accounts for SMEs and is under development.
Legal forms covered
This taxonomy is applicable to:
- Stock companies (AG).
- Limited liability companies (GmbH).
- Cooperatives.
- Associations and foundations subject to accounting requirements under the Swiss Code of Obligations.
Users
Companies
- To digitize operational accounting and financial data structured according to the XBRL CH taxonomy.
Fiduciaries
- To manage the financial statements of multiple clients in a more standardized manner.
Receiving authorities/entities
- To achieve greater consistency and standardisation of accounting and financial data.
Auditors and consultants
- To perform financial analyses more efficiently, having a uniform basis.
Content
The content of the XBRL CH file corresponds to the following documents:
- General and tax-relevant data (Global common document).
- Statement of Financial Position.
- Statement of Income.
- Statement of Cash Flows.
- Notes to Statement of Financial Position.
- Allocation of Profits.
- Allocation of Reserves.
These components are designed to support financial and tax reporting by Swiss SMEs.
The financial statement component are based on the requirements of the Swiss Code of Obligations, while the taxonomy also includes concepts relevant to the reporting needs of cantonal tax authorities.
The components actually reported depend on the reporting entity and applicable legal and reporting requirements.
Global common document
This data allows the tax authority receiving the XBRL file to identify:
- The company.
- The company's fiscal period.
- The currency used for tax returns.
Specifically, the following information is required:
- Reporting period (corresponding to the tax period of the declaration).
- Company information (name, address, city, zip code, legal form).
- Identification information (UID number).
- Currency.
Statement of Financial Position
The Statement of Financial Position, also known as the balance sheet, presents the entity's financial position at the end of the reporting period.
It reports:
- Assets: representing the entity's economic resources.
- Liabilities: representing its obligations to third parties.
- Equity: representing the residual interest attributable to the entity's owners.
In the the XBRL CH taxonomy, each line items is identified by a standard concept and associated with:
- The reporting entity.
- The reporting date.
- The relevant currency.
Statement of Income
The Stetement of Income, also know as income statement or profit and loss statement, presents the entity's income and expenses for the reporting period and resulting net profit or loss.
In the XBRL CH taxonomy, it is identified as "200 - Stament of Income".
Each amount is mapped to a standardised concept and associated with the reporting entity, the relevant reporting period and the reporting currency.
The taxonomy organises income and expense items within:
- A defined hierarchy.
- Uses calculation rules to validate certain subtotals.
- Resulting profit or loss.
Extension: XBRL Report Switzerland (eBilanz) [TEST]
With the XBRL Report Switzerland (eBilanz) [TEST] extension offered in Banana Accounting, you can:
- Map the operating chart of accounts to the XBRL file.
- Create an instance of the XBRL file.
The Banana Accounting extension is currently available for testing and is not intended for production use.
XBRL Mapping Reference
Mapping Definition in the Context of the XBRL File
Mapping is an association process that occurs between the reference chart of operating accounts and the corresponding XBRL concepts.
XBRL concepts are the individual information items that define an account, such as "Equity" grouping all the accounts corresponding to that item, such as shareholders' equity, capital reserves, premiums, etc.
The account mapping reference in the XBRL file is the Swiss chart of accounts for SMEs. Therefore, any association made through the accounts used in operational accounting will reference the Swiss chart of accounts for SMEs.
The mapping is in development and is not final.
If you find any inaccuracies, missing mappings, or have suggestions, we would appreciate your feedback. Your contribution will help improve the quality and completeness of the XBRL mapping.
Mapping process
The XBRL extension includes a standard mapping between the accounting operating accounts and groups in the Swiss chart of accounts for SMEs (Swiss chart of accounts for SMEs) and the corresponding XBRL concepts.
The XBRL file export process occurs through mapping, in which each accounting element is associated with the element of the selected taxonomy.
The accounts and groups defined in the Swiss chart of accounts for SMEs are associated with one or more XBRL tags.
If your operational chart of accounts differs from the Swiss chart of accounts for SMEs, the extension allows you to add an "SME Account" column to the account table.
To allow for customization of the mapping, you can also use the "SME Accounts" column to associate the account with the SME chart of accounts, ensuring correct mapping in the XBRL application.
The tables below list the concepts used in the XBRL extension.
The account and group number ranges refer to the Swiss chart of accounts for SMEs.
Mapping Table SME Accounts with Xbrl concepts
Version 20260610 / XBRLCH 2025-05-31
| Group | From Account | To Account | XBRL Tag Debit XBRL Tag Credit (if different) | Reverse Sign | Description |
| 1 | ct:Assets | No | Total assets | ||
| 10 | ct:CurrentAssets | No | Current assets | ||
| 100 | 1000 | 1051 | ct:CashAndCashEquivalents ct:ShorttermInterestBearingLiabilities | No | Cash and cash equivalents |
| 106 | 1060 | 1079 | ct:CurrentAssetsWithMarketprice ct:ShorttermInterestBearingLiabilities | No | Short-term assets listed on the stock exchange |
| 109 | 1090 | 1099 | ct:OtherReceivablesByThirdParties ct:OtherShorttermLiabilitiesToThirdParties | No | Transfer accounts |
| 110 | ct:TradeReceivables ct:TradePayables | No | Receivables from deliveries and services | ||
| 110 | 1100 | 1109 | ct:TradeReceivablesByThirdParties ct:TradePayablesToThirdParties | No | Receivables from deliveries and services from third parties |
| 110 | 1110 | 1119 | ct:TradeReceivablesByParticipations ct:TradePayablesToParticipations | No | Receivables from deliveries and services from participations |
| 110 | 1120 | 1129 | ct:TradeReceivablesByShareholdersAndGoverningBody ct:TradePayablesToShareholdersAndGoverningBody | No | Receivables from deliveries and services from related parties and governing bodies |
| 114 | 1140 | 1199 | ct:OtherReceivablesByThirdParties ct:OtherShorttermLiabilitiesToThirdParties | No | Other short-term receivables |
| 120 | 1200 | 1289 | ct:InventoryAndUnbilledServices | No | Inventories and non-invoiced services |
| 130 | 1300 | 1303 | ct:AccruedIncomeAndPrepaidExpenses | No | Accrued income and prepaid expenses |
| 14 | ct:NoncurrentAssets | No | Fixed assets | ||
| 140 | 1400 | 1470 | ct:FinancialAssets | No | Financial assets |
| 148 | 1480 | 1489 | ct:Participations | No | Participations |
| 150 | 1500 | 1599 | ct:MobileTangibleFixedAssets | No | Movable tangible assets |
| 160 | 1600 | 1689 | ct:LandAndBuildings | No | Fixed tangible assets |
| 170 | 1700 | 1799 | ct:IntangibleAssets | No | Intangible assets |
| 180 | 1850 | 1851 | ct:NonPaidInCapital | No | Unpaid share capital or foundation capital |
| 2 | ct:EquityAndLiabilities | Yes | Total liabilities | ||
| 20 | ct:CurrentLiabilities | Yes | Short-term third party capital | ||
| 200 | 2000 | 2068 | ct:TradePayables | Yes | Accounts payable |
| 210 | 2100 | 2170 | ct:ShorttermInterestBearingLiabilities | Yes | Short-term interest-bearing debts |
| 220 | 2200 | 2279 | ct:OtherShorttermLiabilities | Yes | Other short-term debts |
| 230 | 2300 | 2303 | ct:DeferredIncomeAndAccruedExpenses | Yes | Accruals and deferred income |
| 233 | 2330 | 2391 | ct:ShortTermProvisions | Yes | Short-term provisions |
| 24 | ct:LongtermLiabilities | Yes | Long-term third party capital | ||
| 240 | 2400 | 2491 | ct:LongtermInterestBearingLiabilities | Yes | Long-term interest-bearing debts |
| 250 | 2500 | 2570 | ct:OtherLongtermLiabilities | Yes | Other long-term debts |
| 260 | 2630 | 2695 | ct:LongtermProvisions | Yes | Long-term provisions and similar statutory positions |
| 28 | ct:Equity | Yes | Equity | ||
| 280 | 2800 | 2810 | ct:IssuedCapital | Yes | Nominal capital or capital of the foundation |
| 290 | 2900 | 2985 | ct:RetainedEarningsAccumulatedLosses | Yes | Reserves and profit or loss carried forward |
| 2900 | 2903 | ct:FiscallyRecognisedCapitalReserves | Yes | Fiscally recognisedcapital reserves | |
| 294 | 2940 | ct:RevaluationReserve | Yes | Revaluation reserve | |
| 295 | 2950 | ct:StatutoryProfitReserves | Yes | Statutory profit reserves | |
| 296 | 2960 | 2961 | ct:VoluntaryProfitReserves | Yes | Voluntary profit reserves |
| 297 | 2970 | ct:ProfitOrLossCarriedForward | Yes | Profit or loss carried forward | |
| 2979 | ct:ProfitOrLoss | Yes | Annual profit or loss | ||
| 3 | ct:OperatingIncome | Yes | Net revenues from supplies and services | ||
| 30 | 3000 | 3097 | ct:ProductionRevenues | Yes | Manufactured products revenues |
| 32 | 3200 | 3297 | ct:TradingRevenues | Yes | Revenues from resale of goods |
| 34 | 3400 | 3497 | ct:ServiceRevenues | Yes | Revenues from provided services |
| 36 | 3600 | 3691 | ct:OtherOperatingRevenues | Yes | Other revenues from deliveries and services |
| 37 | 3700 | 3790 | ct:SelfPerformedServices | Yes | Own contributions and own consumption |
| 38 | 3800 | 3809 | ct:RevenueReductions | Yes | Decrease in revenues |
| 39 | 3900 | 3940 | ct:ChangesInventoriesUnfinishedFinishedGoodsAndUnbilledServices | Yes | Changes in inventories of semi-finished products, finished products and value of non-invoiced services |
| 4 | ct:ExpenseForMaterialsGoodsAndServices | No | Costs for material, goods, services and energy | ||
| 40 | 4000 | 4096 | ct:ProductionMaterialExpense | No | Material costs |
| 42 | 4200 | 4296 | ct:TradingGoodsExpense | No | Costs of goods for resale |
| 44 | 4400 | 4496 | ct:ExpensesForPurchasedServices | No | Expenses for purchased services |
| 45 | 4500 | 4540 | ct:EnergyExpenseForProduction | No | Energy consumption for production |
| 46 | 4600 | 4660 | ct:ProductionMaterialExpense | No | Other costs of materials, goods for resale and services |
| 47 | 4700 | 4702 | ct:OtherDirectExpenses | No | Direct purchasing expenses |
| 48 | 4800 | 4886 | ct:ChangesInventoriesUnfinishedFinishedGoodsAndUnbilledServices | No | Changes in inventories, material and goods losses |
| 49 | 4900 | 4906 | ct:ProductionMaterialExpense | No | Purchase price reductions |
| 5 | ct:PersonnelExpense | No | Personnel expenses | ||
| 50 | 5000 | 5090 | ct:SalaryExpense | No | Personnel expenses - Production |
| 52 | 5200 | 5290 | ct:SalaryExpense | No | Personnel expenses - Trading Activities |
| 54 | 5400 | 5490 | ct:SalaryExpense | No | Personnel expenses - Services Activities |
| 56 | 5600 | 5690 | ct:SalaryExpense | No | Personnel expenses - Administration |
| 57 | 5700 | 5790 | ct:SocialSecurityExpense | No | Social insurance expenses |
| 58 | 5800 | 5890 | ct:OtherEmployeeExpensesTotal | No | Other personnel expenses |
| 59 | 5900 | 5901 | ct:CompensationFromThirdParties | No | Benefits from third parties |
| 6 | ct:OtherOperatingExpense | No | Other operating expenses, depreciation, value adjustments and financial results | ||
| 60 | 6000 | 6090 | ct:RentalExpense | No | Facility expenses |
| 61 | 6100 | 6145 | ct:RepairsMaintenanceEnhancementsOrLeasing | No | Maintenance, repairs, replacements (MRR): leasing of movable tangible assets |
| 62 | 6200 | 6282 | ct:VehicleExpenses | No | Vehicle and transport expenses |
| 63 | 6300 | 6371 | ct:InsuranceContributionFeeApprovalExpenses | No | Property insurance, charges, fees, permits |
| 64 | 6400 | 6462 | ct:EnergyAndDisposalExpense | No | Energy and disposal costs |
| 65 | 6500 | 6590 | ct:AdministrativeAndITExpense | No | Administrative and IT expenses |
| 66 | 6600 | 6690 | ct:AdvertisingExpense | No | Advertising expenses |
| 67 | 6700 | 6791 | ct:AllOtherOperatingExpense | No | Other operating expenses |
| 68 | 6800 | 6849 | ct:DepreciationAndValueAdjustmentFixedAssets | No | Depreciation and value adjustments to fixed assets positions |
| 69 | 6900 | 6999 | ct:FinanceExpenseIncome | No | Financial expenses and revenues |
| 7 | ct:ExpenseFromAuxiliaryOperationsAndOperationalProperties ct:RevenueFromAuxiliaryOperationsAndOperationalProperties | No | Ancillary operating result | ||
| 70 | 7000 | 7019 | ct:ExpenseFromAuxiliaryOperationsAndOperationalProperties ct:RevenueFromAuxiliaryOperationsAndOperationalProperties | No | Result from ancillary activities |
| 75 | 7500 | 7519 | ct:ExpenseFromAuxiliaryOperationsAndOperationalProperties ct:RevenueFromAuxiliaryOperationsAndOperationalProperties | No | Result from operational real estate |
| 8 | ct:NonOperatingExpenseAndIncome | No | Non-operating, extraordinary, non-recurring or unrelated to the period result | ||
| 80 | 8000 | 8100 | ct:NonOperatingExpenseAndIncome | No | Non-operating costs and revenues |
| 85 | 8500 | 8719 | ct:ExtraordinaryExpensesAndIncome | No | Extraordinary, non-recurring or unrelated to the period expenses and revenues |
| 89 | 8900 | 8901 | ct:DirectTaxes | No | Direct taxes |
| 9200 | ct:ProfitOrLoss | No | Profit or loss for the year |
Update opening balances
The Update Opening Balances (Actions menu) command takes data from the previous year's file and updates the opening balances for the current year.
When do you need to use the Update Opening balances command?
The Update Opening Balances command is required in the following cases:
- You have created the New Year with the Create New Year command, but you still made changes to the previous year's file (additional transactions, new accounts, ..).
- You decided to change the allocation of the the profit or loss for the year.
Check the previous year accounting
In order to avoid differences between the previous year closing balances and the New Year and opening balances, it is important, before using the Update opening balance command, to make sure that you have carried out all the checks, verification operation and all the closing accounting entries as indicated in the Year end closure page.
The Update Opening balances dialog window
In order to access this dialog, use the Actions menu → Update opening balances command.
You need to enter the path to where the previous year's file is located:
- The program will suggest the name of the saved file
- If the file's name or the location path is changed you the Browse button

Operations carried forward by this command
The command resumes the data from the previous year, without changing its contents. This command can therefore be repeated without any impact on the previous year's file.
The command performs the same operations as in Create New Year , except those referring to the creation of the file.
If the opening balances of the Profit and Loss Account accounts were reported in error, follow the information on the Difference in opening balances page (item 5 Solutions) to correct this.
Change of the Chart of Accounts of the previous year
If after creating the New Year you add accounts to the previous year and carry over the balances, the program may indicate an error.
- Update the Chart of Accounts for the current year.
- Repeat the Update Opening balances operation
You can import changes with the Import Accounts command.
Edit current year chart of accounts
If, after creating the new year, you change the numbering of the accounts, when you issue the command Update opening balances, the programme will indicate that it cannot find the accounts.
In this case, you must update the account balances manually:
- Opening column ( Accounts table > Base view)
- Previous column ( Accounts table > Previous view)
Opening balances | Double-entry accounting
On this page, you will find all the information you need to enter, modify, and restore initial balances (or opening balances) in Banana Accounting.
Opening balances when starting an accounting
When using Banana Accounting for the first time, the opening balances need to be inserted manually in order to create the opening balance sheet.
- Position yourself in the Accounts table, Base view, Opening column.
- Enter the opening balances of the Assets and Liabilities accounts manually. Liabilities are to be entered preceded by the minus sign.
- Check if the total Assets equal the total Liabilities so that your accounting squares. If there are differences in the opening balances you need to check and correct them.
Difference in opening balances
At the opening of the accounting year, the Assets accounts (positive) must balance with the Liabilities accounts (negative). If this is not the case, the accounts do not balance and error messages are displayed in the information window at the bottom; in this case, the reasons must be checked and corrected, until the message Difference in opening balances disappears. For more information and solutions see:
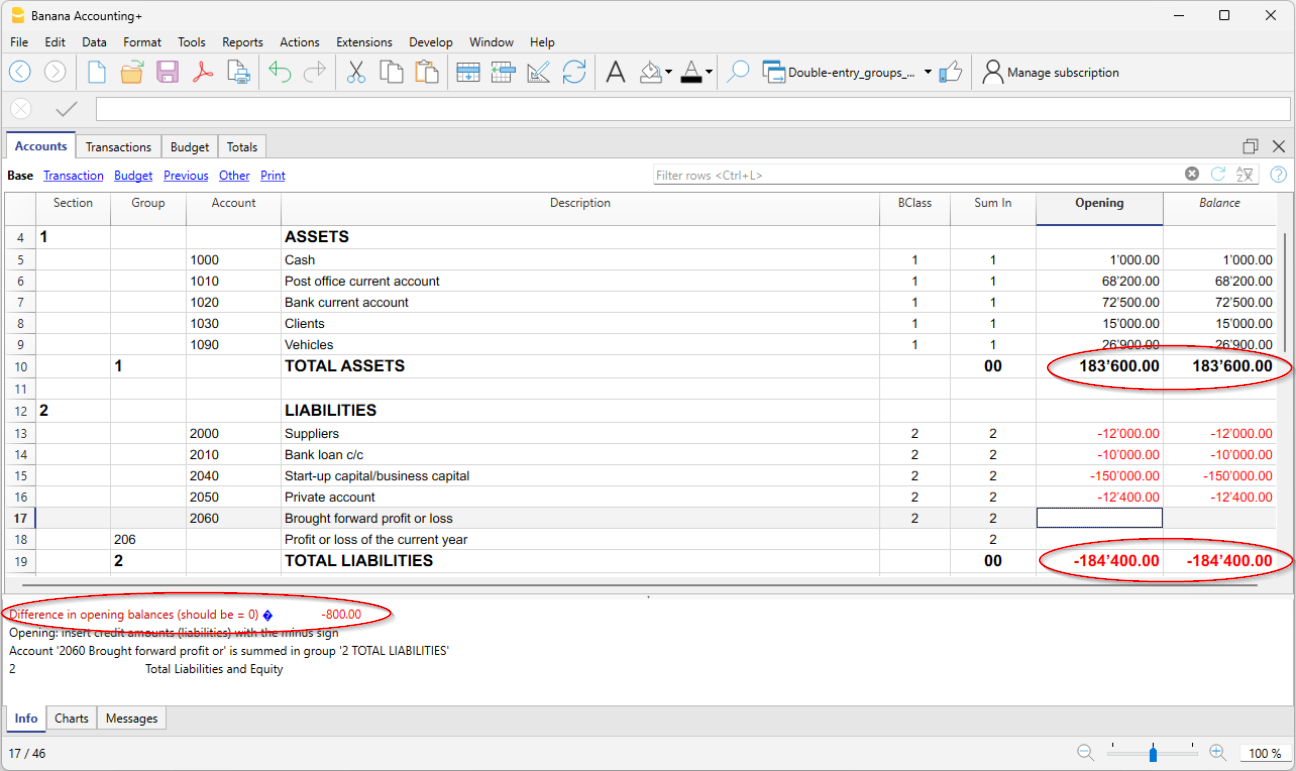
Opening balances of Cost Centers
In the Accounts table, the Opening column can also be used to enter the opening balances of the Cost Centers.
Opening balances for Segments
To enter the opening balances of the segments, opening transactions must be entered instead.
More details are available on the Segments page.
Opening balances for an already started accounting
If you start a new accounting, taking over work already done with other programs, there are two possibilities:
- Start accounting from the beginning of the year, by entering the opening balances for the beginning of the year (Accounts table, Opening column) and the transactions (Transactions table) that have already been previously recorded with other programs (also see Transferring data from other software). Thus you will have all the accounting details in one file.
- Starting from the date when the accounting is resumed:
- Enter the opening balances (Accounts table, Opening column), taking over the values of the other accounting.
In addition to entering the opening balances of the Assets and Liabilities accounts, it is also necessary to enter those of the Expenses (positive amounts) and Revenues (negative amounts). - The operating result up to that point must be disclosed in the Profit / Loss carried forward account.
If it is a profit, the opening balance must be entered in negative, if it is a loss as a positive. - Check that the sums of the opening balances are zero, so that the program does not signal any differences.
- Enter the new entries in the Transactions table.
- Enter the opening balances (Accounts table, Opening column), taking over the values of the other accounting.
Opening balances as opening transactions
Opening balances can also be entered as opening transactions in the Transactions table.
For each opening transaction, proceed as follows:
- Indicate the accounting start date as the transaction date.
- In the Doc Type column, enter the code "01".
- Indicate the debit or credit account and the amount.
- The total of the opening debit balances must match those in credit.
Opening balances entered as transactions are used when preparing reports. The opening balance of the transactions is added to the amount entered in the Opening column of the Accounts table.
Balances of the previous year
If you start a new accounting by taking over an existing accounting and you want the previous year's values to appear on the printouts, it is necessary to enter the previous year's balances in the Previous view, Previous Year (Prior) column of the Accounts table:
- Enter the closing balances of the previous year of the Assets accounts.
- Enter the closing balances of the previous year of the Liabilities accounts (insert the minus sign in front of the amount).
- Enter the last year's closing balances of the Expenses.
- Enter the final balances of the previous year of Revenues (insert the minus sign in front of the amount).
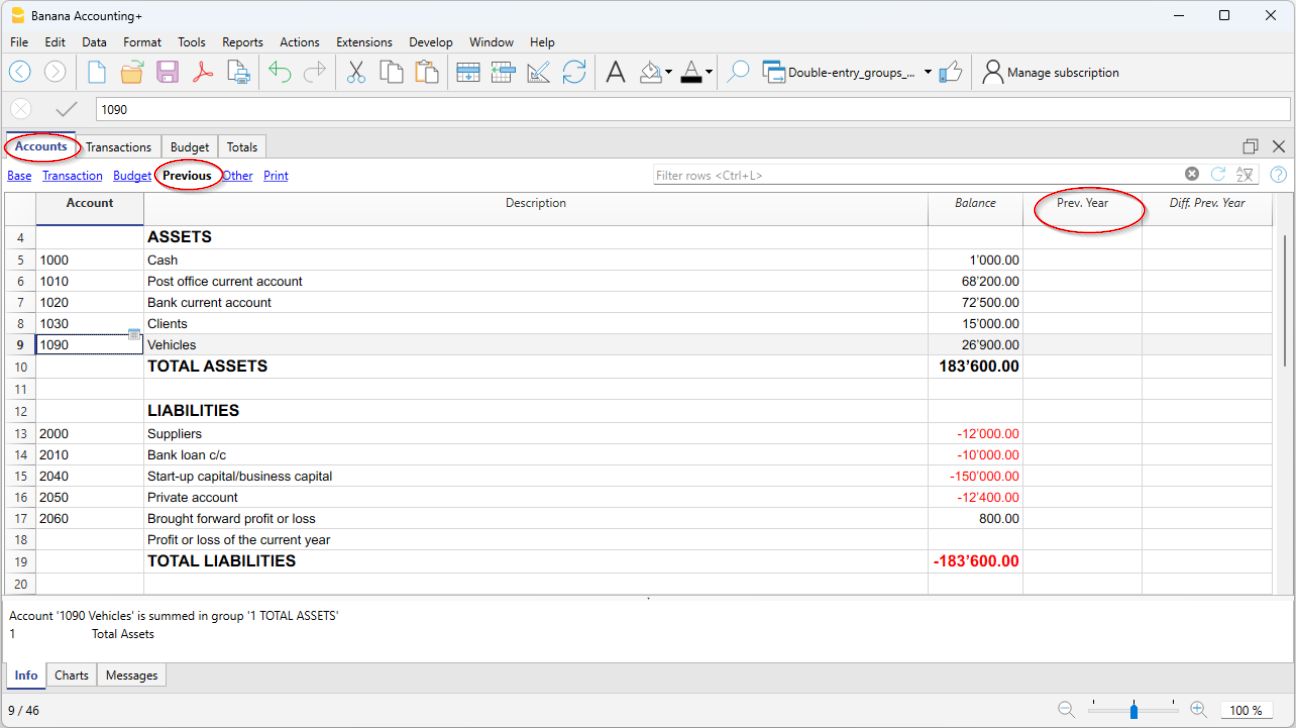
Create new year
When you start the new year, the program automatically carries over the opening balances to the following year.
Consult the Create New Year lesson.
If for some particular need, opening balances need to be changed, these can be modified manually in the Opening column of the Accounts table. After each modification, make sure that there are no accounting differences. Anyway, we recommend carrying over the opening balances with the Create new year command or, if the accounting for the new year has already been created, use the Update opening balances command.
The account card is in automatic and it is not possible to directly enter the opening balance or make changes.
To change an opening balance of an account card, you need to go to the Accounts table, Opening column, whereas to correct movements, you need to change the entry in the Transactions table.
Print opening balances
To print the opening balances:
- To print the contents of the table, use the Print / Preview command, by selecting the rows of the Balance Sheet.
- You can also use the Accounting printouts and set the printout for the Balance Sheet part and the opening column only.
Create New Year | Double-entry accounting
The Actions > Create New Year command prepares a file for the new year based on the accounting file that is about to be closed. The command does not modify the current file, so it can be executed without any effect.
Transition logic to the new year
With Banana Accounting, you have a separate file for each year. When the new year begins, the operational logic is as follows:
- With the Actions > Create New Year command, the program creates a new file for the following year using the same chart of accounts, settings, and balances of the current year that is being closed.
- Once the file for the new year is created, you must save it with a new name.
- The operation of creating the new file can be repeated if you decide not to save the file.
- It is possible to work on both files simultaneously:
- In the new file, the entries for the new year will be recorded. You can also make changes to the chart of accounts, VAT, or other items without affecting the previous one.
- In the previous year's file, you will continue to enter transactions to complete the year and carry out the typical closing operations, such as verifying balances, printing financial statements, etc.
- In the file for the new year, using the Actions > Update Opening Balances command, the changes made in the previous year's file are imported. This operation should be performed at the latest when there are no more changes in the previous year.
Note: Users with a subscription to the Professional plan of Banana Accounting Plus will see the following message at the bottom after creating the new year file: Active subscription: Professional Plan. Advanced plan features are available up to 70 transactions.
Check and close the previous year's accounting
Before updating the opening balances, to avoid discrepancies between closing and opening balances for the next year, it is important to ensure that all checks, verifications, and closing accounting entries have been completed.
In Banana Accounting Plus, in the Advanced plan, there is a Filter feature that is especially useful during closing to quickly search for rows with the same texts or values, based on the key entered for the filter (word, account, amount, etc.). With this function, you can make corrections directly on the filtered rows without having to scroll through the Transactions table—very convenient especially at year-end when the number of entries is high.
For more details, refer to the following pages:
- Filter (paragraph Filter rows)
- Check and close double-entry accounting
- Closing and exchange rates for multi-currency accounting
Specific information for setting closing rates and recording unrealized exchange gains and losses.
Operations performed by the Create New Year command
The Create New Year command, based on the parameters set by the user, automatically performs the following operations:
- Creates a new file (unnamed) with the same chart of accounts and settings as the open file, without transactions.
- Copies the data from the Balance column of the current file and inserts them into the Opening column of the new file (only for the specified classes).
- Adds the previous year's profit or loss to the opening balance of the account(s) specified for allocation (usually the Retained Earnings account).
- Copies for all Balance Sheet accounts the data from the Balance column of the current file and inserts them into the Previous Year column of the new file.
- Updates file properties:
- Sets the start and end dates of the fiscal year, adding one year to the existing ones.
- In the Options section, sets the name of the previous year’s file and enables the option to use previous year’s transactions for autocomplete.
- In multi-currency accounting, it sets the opening exchange rates to match the closing exchange rates of the previous year.
- If there is data in the Budget table, it carries forward the transactions to the new year according to the settings.
- If the Segments option is enabled, it creates opening entries for the segments.
Carry forward new balances dialog
The Carry forward new balances dialog allows you to specify parameters for creating the new year's file:

Carry forward opening balances of accounts
The opening balances of the activated items are carried forward:
Balance Sheet
Transfers balances of asset, liability, and equity accounts. This option should generally be activated.
Income Statement (not recommended)
Cost and revenue account balances should NOT be carried forward to the new year.
Activate this option only in special cases and only if you are sure of the implications.
Off-Balance Sheet
Transfers accounts with BClass (5 and 6 for off-balance asset and liability accounts and 7 - 10 for other off-balance accounts). If the closing balances should not be carried forward, deactivate the relevant option.
Cost Centers
Activate only if cost centers are used to manage positions that must continue over time, such as customers, suppliers, and members.
Cost Center CC1
Those starting with a dot ".".
Cost Center CC2
Those starting with a comma ",".
Cost Center CC3
Those starting with a semicolon ";".
For more information see the page Cost/Profit Centers.
Segments
The opening balances of segments are created with opening entries in the Transactions table.
- For more information see the page Segments.
- The program creates one entry for each combination of account and segment, reproducing exactly the final situation of the previous year.
- It is preferable not to enter segment opening balances using the Opening column. If this was done in the previous year, the program will again transfer the balance into the Opening column of the new year.
Note: adjusting operations such as recording and closing transitional accounts must be entered manually.
Allocation of profit/loss
When carrying forward the opening balances into the new year, the amounts indicated are added to the profit carryforward accounts.
Total to be allocated
The program automatically shows the amount of profit or loss to be allocated.
Accounts
Select the account or accounts (up to three) in which the result of the financial year should be allocated. If there are more than three destination accounts, you must manually enter the amount in the appropriate fields.
If only one account is indicated, the amount will be automatically entered in the selected account from the list.
The program automatically updates the opening balances. The total assets exactly match the total liabilities.
Allocation of the financial result to more than three accounts
In this case, automatically allocate the result only to the Retained Earnings account and continue with the creation of the new year.
In the new year (new file), in the Transactions table, perform a multiple entry to transfer the result from the Retained Earnings account to the desired accounts.
Postpone the allocation of the financial result
If you do not want to allocate the financial result yet, you can still proceed with the creation of the new year by clicking the OK button. You can later allocate the result from the Actions > Update Opening Balances menu. The program will display the same window as the Create New Year command.
Save the new file
The program creates a new accounting file for the new year:
- Confirm the Basic data of the new year. The program takes the headers from the previous year and automatically enters the start and end date of the new year.
- Click on the File menu > Save As, indicating the folder where you want to store the new accounting file. It is recommended to use the company name and year as the filename.
See also Organize your accounting files.
If there are differences or other error messages, you may choose not to save the created file and repeat the new year file creation later.
Professional Plan message with Advanced features up to 70 rows
The message that appears in the active Professional Plan, Active Plan: Professional Plan. Advanced features are available up to 70 rows, simply confirms that the Advanced plan features are also active and can be used free of charge for up to 70 transactions, without affecting the use of the Professional plan, where entries can continue without any limit. This message disappears automatically once 70 rows are exceeded.
Update opening balances
After saving the file for the new year and making modifications in the previous year, click on the Actions > Update Opening Balances menu to carry forward and reallocate the profit.
This operation can be repeated multiple times and can be performed safely, as data integrity during the transition to the new year is guaranteed and no data is lost.
If you want to switch to another type of accounting in the new year (with multi-currency or VAT), proceed with the creation of the new file and then use the Tools > Convert to New File command.
If instead you want to create a copy of the file without carrying forward the balances, use the Tools > Create File Copy command.
Modify carried forward balances
Once the balances have been carried forward into the new year (new file), if you need to modify the opening balances, you can manually change the amounts in the following columns:
- Opening column in the Accounts table.
- Previous column ( Accounts table > Previous view) , for balances related to the previous year.
- In the Transactions table for Segments.
If you have made changes in the previous year's file, click on the Actions > Update Opening Balances menu to carry forward and update the opening balances again.
Check the Rules in the Recurring Transactions table
When the Create New Year command is executed, the program carries over into the new year's file all the transactions that have Rules.
Before proceeding to post the transactions for the new year, it is advisable to check and update all the Transactions with Rules in the Recurring Transactions table.
If the conditions are no longer valid, you may:
- Modify the account, counterpart, VAT code, CC3, or segments.
- Delete outdated transactions.
- Add new transactions with Rules.
If, in the Recurring Transactions table, in addition to the transactions with rules, you have also saved:
you must also check and update these.
Performing this check immediately helps prevent errors and later corrections both in the Transactions table and in the Recurring Transactions table.
Resuming texts in the new year / Smart Fill
When a new year is created, the descriptive texts from the previous year are also transferred. This feature simplifies and speeds up the entry of transactions in the new year.
If you do not want the descriptive texts to be carried over automatically, simply disable the Smart Fill function:
- from the menu File > File and accounting properties > Options.
Differences in the opening balances | Double-entry accounting
At the opening of the Accounting year, the amounts of the Total Assets should correspond to the Total Liabilities. Otherwise, the accounting balance will not square and it is necessary to verify the reasons and correct the error, so that there is no Difference in the opening balances message displayed in the information window .
There may be several causes that lead to a difference in the opening balances:
- When using the program for the first time, the liabilities were not entered with a minus sign in front of the amount.
- The result of the previous year was not automatically allocated when creating a new year.
- The balances for expenses and income have been carried over, when creating a new year, whilst they should not have been.
- When opening balances have been entered manually, the previous year's operating result has not been taken into account. In this case the difference corresponds to the carried forward profit or loss.
- When allocating the profit to multiple accounts is performed manually, thousands separators and decimals other than those provided in Banana Accounting were used for the amounts.
The solutions for each single error are explained in the error explanation page, at the https://www.banana.ch/doc/en/contamsg_en_tot_teid11des?portal=banana link.
In the example, the program reports a difference in opening balances of 800.-
After having checked and corrected the opening balances the Total Assets must correspond to the Total Liabilities.
It is also possible to check and square the balances in the Totals Table.
Contabilidade de partidas dobradas com multimoeda
A contabilidade multimoeda baseia-se no método das partidas dobradas, consentindo também a gestão de contas e movimentos com moedas estrangeiras.
Os tópicos são comuns à contabilidade de partidas dobradas. De maneira a encontrar informações mais detalhadas, aconselhamos consultar a página de Contabilidade de partidas dobradas.
Características
- Contabilidade de partidas dobradas com contas e movimentos com moeda estrangeira
- Utilizo de qualquer moeda, códigos de moedas standard ou definidos livremente (para usar qualquer moeda virtual)
- Moeda com algarismos decimais configuráveis de 0 a 28. Geralmente usam-se 2 algarismos decimais, mas pode-se configurar a contabilidade para usar 0 algarismos decimais, ou 3 algarismos decimais (Tunisia) ou mais se se usa para cryptomoedas. 9 algarismos decimais (Bitcoin) o 18 (Ethereum)
- Cálculo automatico de câmbio, em base à taxa inserida na Tabela Taxas de câmbio
- Cálculo automatico das diferenças de câmbio
- Balanços, Contas económicas e relatórios, também numa segunda moeda
Para passar de uma contabilidade normal a uma com as multimoedas, veja o comando Convertir para novo arquivo.
Informações
Plano de contas, propriedade de contas e tabela câmbios
É aconselhado escolher um plano de contabilidade, partindo dum exemplo já existente no Banana Contabilidade e modificá-lo segundo as próprias necessidades. É fundamental que no plano de contabilidade estejam configuradas as Contas em moeda estrangeira e as Contas utéis e despesas de câmbio.
- Configurar o plano de contas
- Grupos e subgrupos
- Propriedades de conta - secção moeda estrangeira
- Configurar a Tabela Taxas de câmbio
Lançamentos
As operações de contabilidade têm que ser usadas como os lançamentos da contabilidade de partidas dobradas
Impressões
Convertir a contabilidade dobrada numa multimoeda
Veja a página Convertir em nuovo arquivo para adicionar as funcionalidade multimoeda à contabilidade dobrada.
Como começar uma contabilidade multimoeda
Criar uma contabilidade partindo de um modelo
Siga os seguintes passos:
- Menu Arquivo, comando Novo
- Selecionar a Região, a categoria e o tipo de contabilidade
- Da lista de modelos que aparece, escolha aquele que melhor se adapta às suas exigências
- Clicar no botão Criar.
Na caixa Procurar, ao inserir uma palavra-chave, o programa visualiza os modelos que contêm a palavra-chave.
Também é possível iniciar com um arquivo vazio, selecionando a opção Criar arquivo vazio. No entanto, para facilitar o início e evitar erros de agrupamento, aconselhamos começar sempre com um modelo existente.
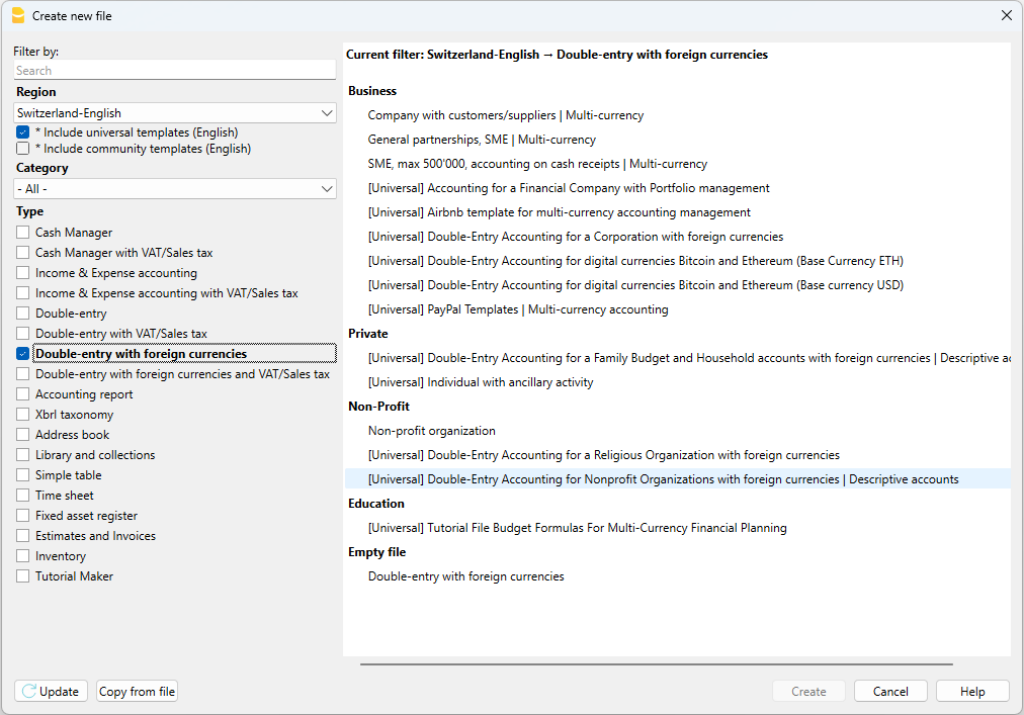
Mais informações sobre como criar un novo arquivo estão disponíveis na página Criar um novo arquivo.
Configurar as Propriedades do arquivo
No menu Arquivo, comando Propriedades do arquivo
Secção Contabilidade
- Indicar o nome da empresa que aparecerà no cabeçalho das impressões e de outros dados.
- Escolher da lista ou inserir as iniciais da moeda para a contabilidade.
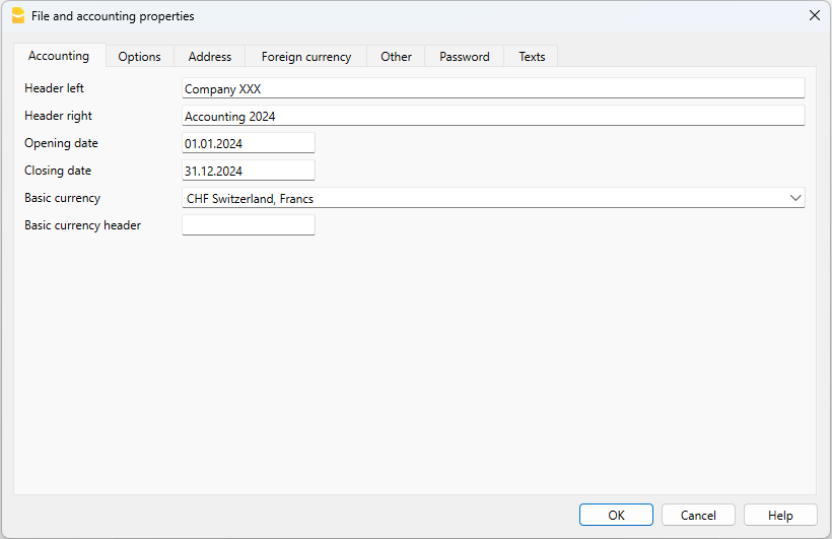
Salvar no disco
Com o comando Arquivo → Salvar como..., guarde os dados e atribua um nome ao ficheiro. Aperecerà o dialogo tipico do seu sistema operativo.
- É aconselhado usar o nome da empresa, seguido do ano "empresa-2020.ac2" para o distinguir de outros arquivos de contabilidade.
- Pode guardar quantos arquivos precisar, cada um com o seu próprio nome.
- Pode escolher o percurso e o suporte (guardar num disco, pen USB o cloud).
Se espera ter também documentos ligados à contabilidade do ano corrente, sugerimos criar uma pasta separada para cada ano de contabilidade para reunir todos os arquivos.
Uso do programa em geral
Banana Contabilidade foi inspirado no Excel. O modo de uso e os comandos são o mais semelhante possível aos do Microsoft Office.
Para informações sobre o uso, inviamo-lo a explicação na página Interface.
A contabilidade é mantida ao interno de tabelas e são usadas todas da mesma maneira.
A tabela Taxas de Câmbio
Na tabela Taxas de Câmbio configuram-se as iniciais da moeda, que serão usadas na tabela contas e lançamentos.
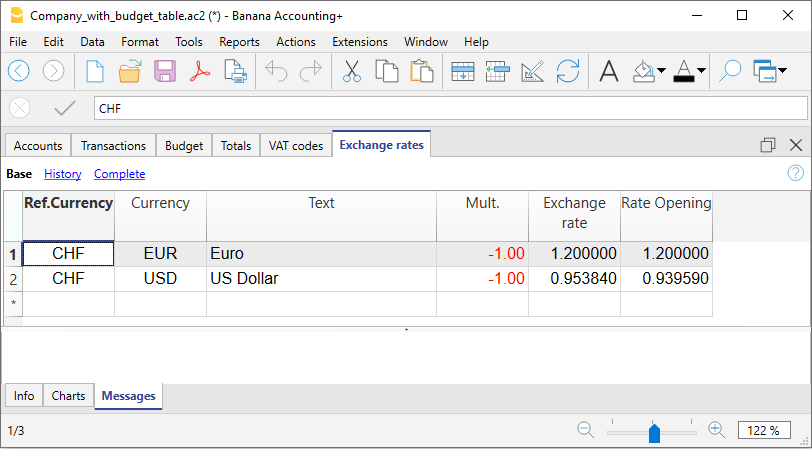
Personalizar o plano de contas
Na Tabela Contas moeda estrangeira, é possível personalizar o plano contábil segundo as próprias exigências:
- Adicionar e eliminar contas existentes (adicionar linha)
- Mudar os números de conta, a descrição (ex: inserir o nome do ccb do próprio Banco), inserir outros grupos, etc.
- Para criar subgrupos, consultar a seguinte página Grupos.
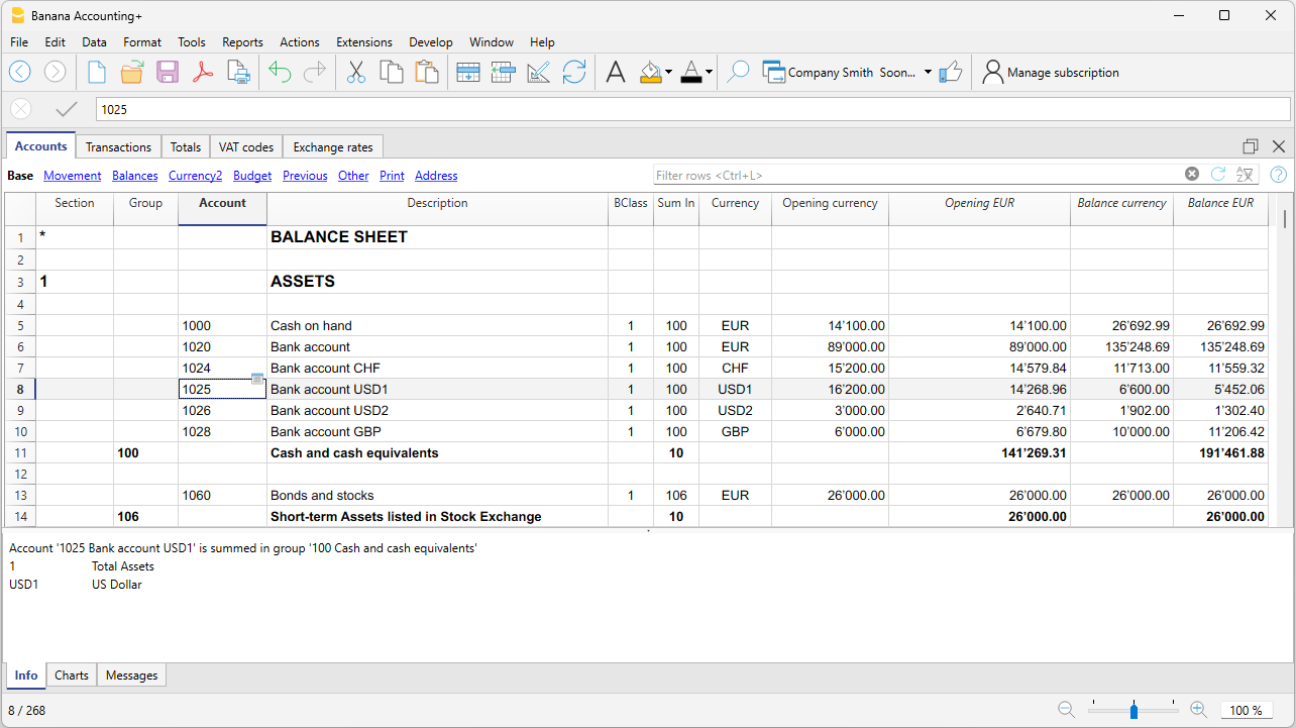
A tabela Lançamentos
Os lançamentos em multimoeda têm que ser inseridas na tabela Lançamentos e fazem parte do Livro Jornal.
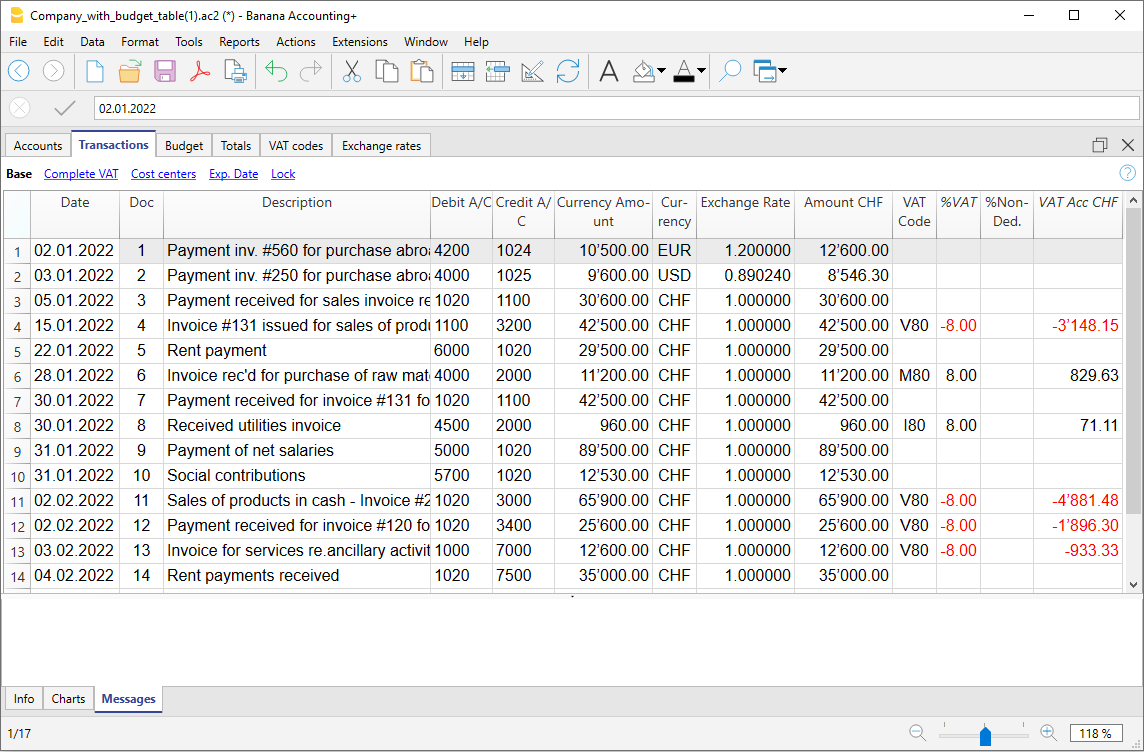
Acelerar a inserção dos Lançamentos
Para acelerar a inserção dos lançamentos utiliza-se:
- a função de Emissão de dados com preenchimento automático que consente recuperar automaticamente dados já inseridos previamente
- a função dos Lançamentos repetitivos (menu Conta2) que permite memorizar numa tabela os lançamentos repetitivos
- a importação de dados do extrato bancário ou postal.
Controlo faturas clientes e fornecedores
Banana permite ter sob controlo as faturas para pagar e aquelas por receber. Consulte:
As fichas Conta
A ficha conta relata automaticamente todos os movimentos registados numa mesma conta (ex: caixa, banco, clientes, etc.).
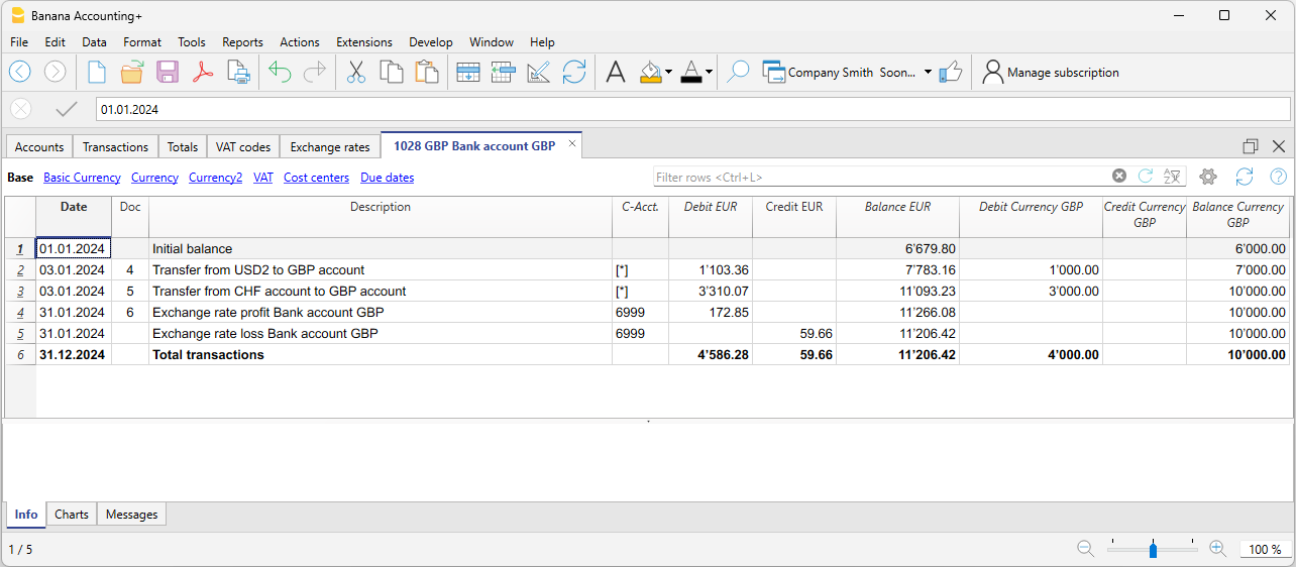
Para visualizar a razão de uma conta, basta posicionar o mouse no número de conta e clicar no símbolo azul que aparece.
Fichas conta por período
Para visualizar as razões de conta com os saldos referidos num determinado período, ocorre clicar no menu Conta1, comando Razão por conta e na secção Período ativar Período selecionado, inserindo a data de começo e de fim do período.
Para mais informações, consulte a página Periodo.
Imprimir as fichas de conta
Para imprimir uma ficha conta, basta visualizar a ficha a partir de qualquer tabela (Contas ou Lançamentos) e acionar a impressão no menu Arquivo.
Para imprimir várias ou todas as fichas conta, clicar no menu Conta1, comando Razão por contas e selecionar as fichas conta para imprimir. Através do filtro presente na janela, pode-se fazer uma seleção automatica de todas as contas, os centros de custo, os segmentos, os grupos, etc.
Mais informações estão disponíveis na página Razões por conta.
O Balanço e o Demonstrativo de Lucros e Perdas
O Balanço visualiza os saldos de todas as contas patrimoniais, Ativas e Passivas. A diferença entra Ativos e Passivos determina o Capital próprio.
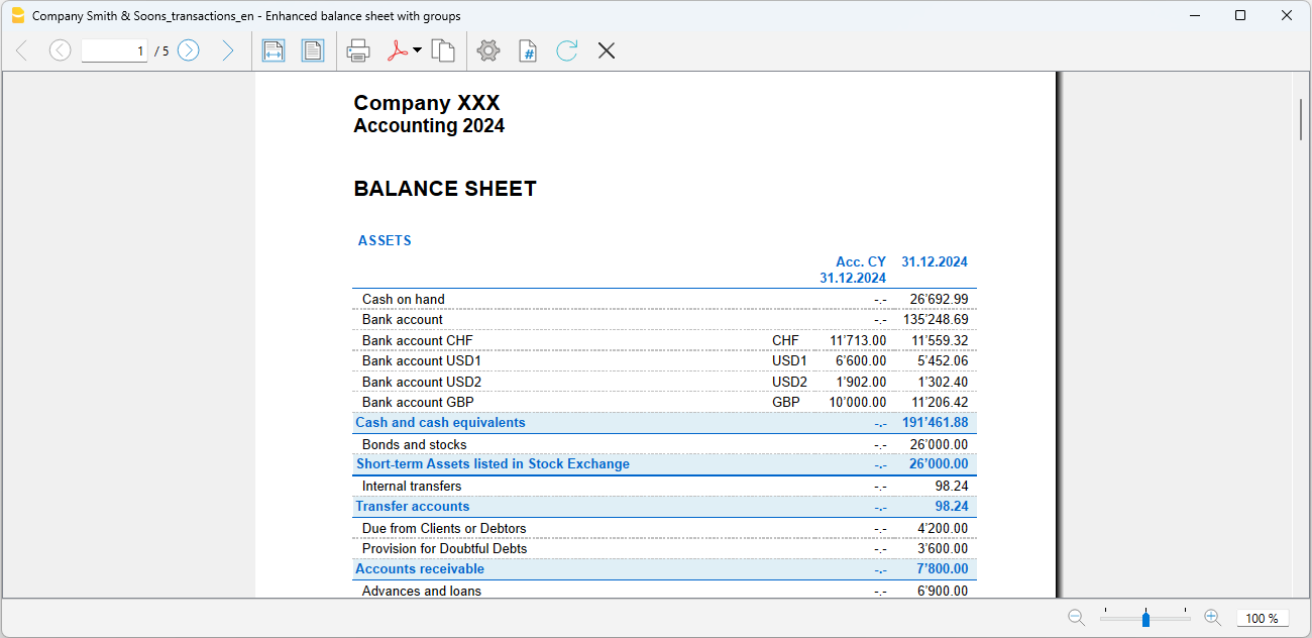
A visualização e a impressão do Balanço faz-se a partir do menu Conta1, comando Balanço Patrimonial analítico ou Balanço Patrimonial por grupos.
- O comando Balanço Patrimonial Analítico cataloga simplesmente todas as contas sem distinção de Grupos e Subgrupos
- O comando Balanço Patrimonial por grupos cataloga as contas con a separação dos grupos e subgrupos; além disso, apresenta tantas funcionalidades para personalizar as apresentações que não são previstas no Balanço Patrimonial Analítico.
Armazenamento de dados em PDF
Ao fim do ano, quando toda a contabilidade estiver completada, corrigida e revista, pode-se armazenar todos os dados da contabilidade com o comando Criar PDF, no menu Arquivo.
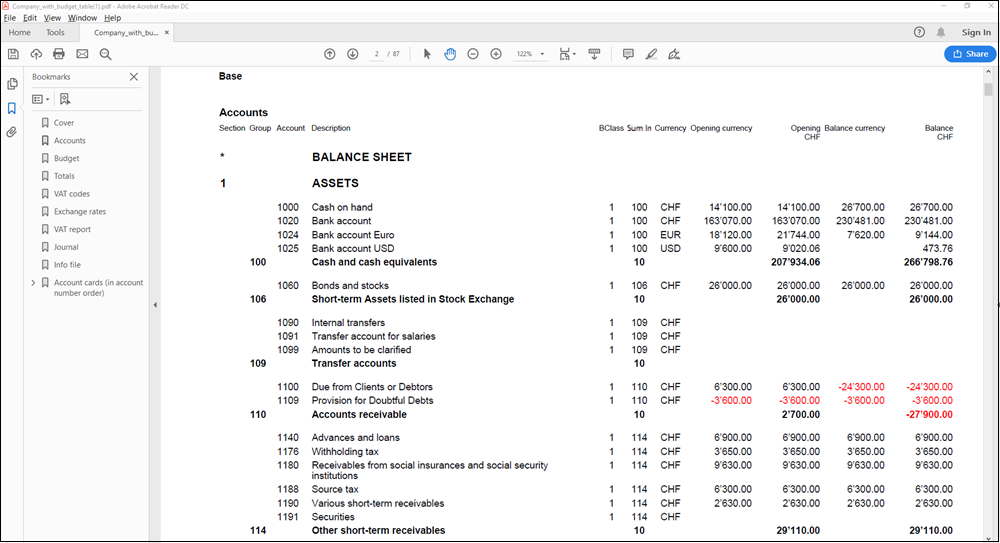
O Orçamento
Antes de começar um ano de contabilidade, pode-se criar um orçamento com possíveis despesas e receitas, de modo a ter sob controlo a situação económica e financiária da própria empresa.
O orçamento pode ser configurado de duas maneiras diferentes:
- Na tabela Contas, coluna Orçamento. Em cada conta é indicado o montante do orçamento anual.
Neste caso, quando se elabora o Orçamento no menu Conta1, comando Balanço Patrimonial por grupos, a coluna do orçamento descreve os montantes que se referem ao ano inteiro. - Na tabela Orçamento, que se ativa no menu Ferramentas, comando Adicionar novas funcionalidades.
Nesta tabela registram-se todos os orçamentos de despesas e de receitas com lançamentos. Caso se ative esta tabela, a coluna Orçamento da tabela Contas é desativada automaticamente.
Neste caso pode-se configurar um orçamento detalhado que tenha em conta possíveis variações durante o ano e nos diversos períodos do ano.
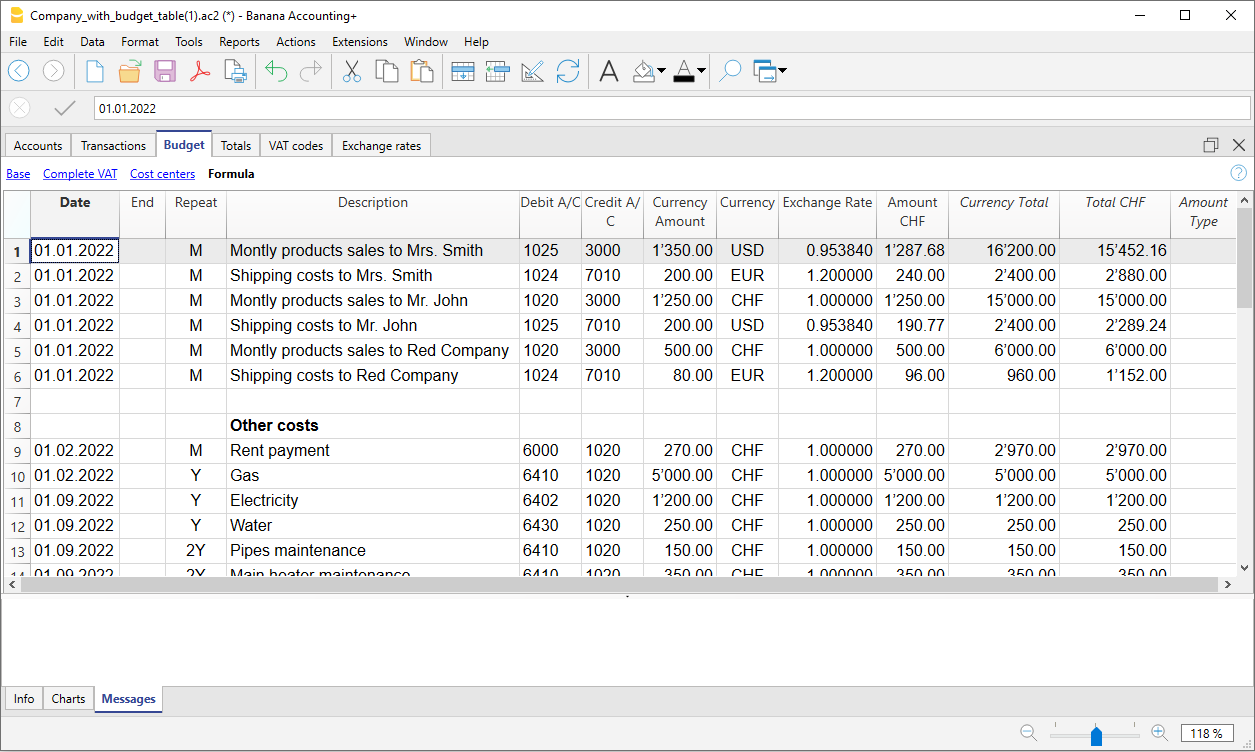
Mais informações disponíveis na página Orçamento.
Characteristics of the Multi-currency accounting
Thanks to Banana Multi-currency accounting, you can easily work on an international level, in the language you want and with the foreign currency accounts you need. Again, the structure is that of spreadsheets, similar to Excel and with all the resources of the other Banana applications. The functions are based on the Double-entry accounting methodology. Should you need to manage VAT you can activate the VAT features at any time.
It will prove particularly interesting for those who have foreign operations, for associations that generally operate all over the world or run projects and simply for those who require accounts in foreign currency in their bookkeeping.
The multiple functions of Multi-currency
- Manage as many accounts as you wish in foreign currency
You don't need to have separate managements to handle accounts in other currencies. In the same Chart of Accounts used for your accounting, enter the accounts in foreign currency, set the exchange rates in the exchange rate table for exchange differences and you are ready to transact. - You can set any currency, standard or freely defined curdrency codes (to use any digital currency).
- Decimals for currencies can be set from 0 to 28. Generally 2 decimals are used, but the accounting can be set to use 0 decimals, or 3 decimals (Tunisia) or more if it is used for crypto currencies. 9 decimal (Bitcoin) or 18 (Ethereum)
- Same methodology as double-entry accounting
You will work with the same double-entry accounting method, therefore register the debit and credit and you will have all the reports and details of a professional accounting. - Automatic exchange rate calculation
The moment you create a foreign currency account, you will not need to calculate the equivalent in foreign currency manually, the program automatically calculates the exchange rate. You can enter the exchange rate either by updating the exchange rate in the Exchange rate table or directly in the Transactions table in the Exchange rate column. - Transactions in different currencies
You are able to enter all necessary cases of transactions in foreign currency, including transfers and those that do not include the basic currency. This allows for complex operations to be carried out in your accounting. - Complete reports with balance sheet, income statement
Accounts of both the balances in foreign currency and of the equivalent value in the basic currency (national currency) will be displayed in the Balance Sheet and Income Statement.
If you have foreign business relationships and you need to present the Balance Sheet and Income statement in a second currency, this is possible without creating separate reports in Excel, just go to the Accounts table, select the Currency2 tab and you will have the display of all the accounts in the second currency and as well as in the basic currency.- Watch the video tutorial that shows how to create and print the Enhanced Balance Sheet with groups.
- Account cards with amounts in foreign currency and basic currency
The account cards can be viewed with the columns of the amounts in basic and foreign currency. This allows you to evaluate the balances in both currencies. - Free exchange rates in the Exchange table
You can set the exchange rates for various needs: variable exchange rates, fixed exchange rates, different exchange rates for the same currency, for example to manage investments and without affecting accounts with the same currency. - Automatic exchange rate differences
When you need to calculate the exchange rate differences, just update the exchange rate in the Exchange rate table and use the relative command; the differences will be entered in the Transactions table automatically. - Budgets are also possible with the Multi-currency
In the Multi-currency accounting file you can also budget the liquidity of the accounts in a foreign currency, as well as all the budgets related to the Balance Sheet and Income aspects. You can print Budgets and forecast reports, or combine them, with the columns of the Budget, Balance Sheet and relative variations. - Automatic check for unrecorded exchange differences
When using the Check Accounting command, you will no longer have unrecorded exchange differences, because if they exist, they will be reported. This function is particularly important to avoid having exchange rate differences in the opening balances when you create the new year. - Financial statements, economic accounts and reports, also in a second currency.
Multi-currency accounting, based on the double entry has many other characteristics identical to the double-entry accounting, which you can refer to on the following page:
Theory of multi-currency accounting
In this section, the basic theoretical notions about currency exchange are being explained.
Exchange rates and accounting issues
Every nation has its own currency and to obtain another currency it is necessary to buy it using the appropriate exchange rate. The price of a currency, as compared to another one is called the exchange rate. To exchange money means to convert the amounts of one currency into another. The exchange (exchange rate) varies constantly and indicates the rate of conversion.
For example, on January 1st
- 1 Euro (EUR) was equal to 1,22637 US Dollar (USD)
- 1 US Dollar was equal to 0,81529 Euro
- 1 EUR was equal to 1,08222 Swiss Franc (CHF)
- 1 EUR was equal to 126,52 Japanese Yen (JPY)
Basic Currency
Amounts referring to different currencies cannot be totaled directly. It is necessary to have a basic currency to refer to and to be used for the totals.
The central point of accounting is that the totals of the “Debit” balances must correspond to the totals of the “Credit” balances. To verify that the accounting is balanced, there must be a single currency with which to do the totals.
If there are different currencies, the basic currency must be indicated before anything else. Once the basic currency has been selected and some transactions have been executed, the basic currency can no longer be altered. To change the basic currency, the accounting must be closed and another one created with a different basic currency.
The basic currency is also used to establish the Balance Sheet and to calculate the profit or loss of the period.
Each amount has its equivalent in basic currency
To be able to add the totals and verify that the operations balance, it is necessary to have the equivalent in basic currency for every transaction. This way you can check that the total of the Debit entries is the same as the total of the Credit ones.
If the basic currency is EUR and there are transactions in USD, there needs to be an exchange value in Euros for every transaction in US Dollars. All the EUR amounts will be totaled to verify the accounting balances.
Account currency
Each account has its own currency symbol which indicates in which currency the account will be managed.
You must therefore indicate what the currency of the account will be. Each account will then have its own balance expressed in its own currency.
Only transactions in that currency will be permitted on this account. If the account is in EUR, then there can only be EUR entries on this account; if the account is in USD, then there can only be entries in USD currency on this account.
When you have to manage entries in YEN, then you have to have an account whose symbol is the YEN.
Account Balance in basic currency
For each account, alongside the balance in the account’s own currency, the balance in basic currency will also be kept, in order to calculate the balance sheet in basic currency.
The account card for the USD bank account has to correspond exactly to the bank statement as far as the USD amounts are concerned.
The value in basic currency will always be specified for each accounting entry. If the account is in USD, in the entries there will also be its value in EUR, beyond the amounts in USD. The EUR balance will be determined by the sum of all the entries expressed in EUR. The actual balance in basic currency will depend on the exchange rate factors used to calculate the exchange value of each single entry to EUR.
If on a given day you take the actual balance in USD and convert it to EUR at the prevailing daily exchange rate, you will get an exchange value that differs from the balance of the account in basic currency. This difference is due to the fact that the exchange rate used for entries on a daily basis is different from the actual daily exchange rate.
Thus there is a difference between the actual value at the daily exchange rate and the accounting balance in basic currency. This accounting difference is called the exchange rate difference.
The difference between the balance in basic currency and the calculated value has to be registered, when the accounting is closed, as an exchange rate profit or loss.
Balances in another currency (currency2)
All the accounting reports will be calculated in basic currency. If you take the basic currency values and change them into another currency, you will get the balance in another currency. The program has a Currency2 column where all the values are automatically entered and presented in the currency specified as Currency2. The logic for the conversion of the amounts is the following:
- If Currency2 is the same as the account or operation currency, then the original value will be used.
- If the account is in USD and Currency2 is USD, the USD amount will be used.
- In all other cases the basic currency amount will be used and changed into Currency2.
- The daily exchange rate is used. Even for past entries, the exchange value in Currency2 will be expressed on the basis of the most recent exchange rate, and not on the historical one used on the day of the entry.
You need to pay attention to the fact that a balance converted to another currency will show small differences in the totals. Often the converted value of a total is not equal to the sum of split exchange values, as can be seen from the following example:
|
Basic currency EUR |
Currency 2 USD |
|
|
Cash |
1.08 |
1.42 |
|
Bank |
1.08 |
1.42 |
|
Total Assets |
2.16 |
2.84 |
|
Personal capital |
2.16 |
2.85 |
|
Total Liabilities |
2.16 |
2.85 |
In the basic currency, total assets are equal to total liabilities. It is permitted to present a Balance Sheet that contains differences only if they are understandable and if it is indicated that they were due to calculations from another currency.
Accounts table, Currency 2 view

Converting currencies
Open a multi-currency model of Banana Accounting Plus
Learn more about the multi-currency feature of Banana Accounting Plus
Below, we explain the theory of how exchange rates work.
Variability of exchange rates
The purchase/sale of currencies occurs in a free market. The price (exchange rate) is based on the law of supply and demand. The differences in the exchange value can be more or less important according to the fluctuations of the exchange rate.
The exchange rates in the following examples, are not the actual daily ones, but are fictitious to explain the problematic.
| Date | Exchange rate EUR/USD | Equivalent in EUR of USD 1000.00 | Equivalent value difference compared to 01-01 |
| 01-01 | 1.32030 | 1'320.03 | |
| 31-03 | 1.33350 | 1'333.50 | 13.47 |
| 30-06 | 1.34750 | 1'347.50 | 27.47 |
| 30-09 | 1.42720 | 1'427.20 | 107.17 |
The exchange rate
The exchange rate refers to the basic currency. There are always two different exchange values between two currencies, according to the currency that is used as the basic currency.
For the USD and Euro currency, there are therefore two different exchange rates:
- If the basic currency of the exchange is EUR then the exchange rate is 1.32030
1 Euro (EUR) corresponds to 1.32030 US Dollars (USD) - If the basic currency of the exchange is USD then the exchange rate is 0.75800
1 US Dollar corresponds to 0.75800 Euros
In the current document, the Euro will be regularly used as the basic currency, to which other currencies will be compared.
Inverse exchange rate
Having the exchange of EUR/USD at 1.32030, it is possible to find the exchange rate of USD/EUR by dividing 1 by the exchange rate.
| Exchange rate | Inverse exchange rate 1/exchange rate | Inverse exchange rate rounded to 6 digits |
| EUR/USD 1.32030 | 0.75800 | 0.758000 |
The exchange values calculated with an inverse exchange can turn out to be different from the original one due to rounding.
| Exchange rate | Inverse exchange rate | Exchange value 10000 x original exchange rate | Exchange value 10000 x inverse exchange rate | Difference |
| EUR/USD 1.32030 | 0.75800 | 13'203.00 | 13'192.61 | 10.39 |
Don't use inverse exchanges rates in order to avoid differences.
For the transition to the Euro, for example, the use of inverse exchange rates was prohibited.
Multiplier
There are currencies that have very large exchange rate values.
Always on January 1st
- 1 US Dollar = 670,800 Turkish Lira
- 1 Turkish Lira (TRL) = 0.00000149 US Dollar (USD)
Instead of using that many zeros, it can be said that
- 1000 Turkish Lira (TRL) = 0.00149 US Dollar (USD)
In this case, the multiplier is 1000 instead of 1.
Preciseness
As a rule, an exchange rate is specified with a preciseness of at least 6 figures after the decimal.
There are, however, cases where it is necessary be more precise.
- 1 Turkish Lira (TRL) = 0.00000149 US Dollar (USD)
When the preciseness is changed and the exchange is rounded in a different way, the amounts also change. The preciseness with which the exchange is specified is very important.
Minimum denomination
Especially for paper money, minimum denominations are used. As a rule the lowest denomination for Swiss francs is five centimes (0.05). When an exchange occurs, for example EUR/CHF:
1 EUR = 1.60970 CHF
| EUR | Exchange rate | Actual exchange value in CHF | Rounded to lowest CHF denomination | Difference | Effective exchange rate |
| 10.00 | 1.60970 | 16.09 | 16.10 | 0.01 | 1.61 |
Calculation of exchange rates and values
When the Euro is the basic currency
The exchange factor for EUR/USD is 1.32030
1 Euro (EUR) is equal to 1.32030 US Dollars (USD).
Calculation of the exchange value:
Multiply the basic currency amount by the exchange factor:
EUR 100 x 1.32030 = USD 132.03
Calculate the basic currency amount:
Divide the destination currency by the exchange rate:
USD 132.03 / 1.32030 = EUR 100
Calculate the exchange factor:
Divide the basic currency amount by the destination currency amount:
Exchange rates for purchases and sales
Banks carry out the purchase and sale of currencies and include a transaction margin. They apply different exchange rates depending on whether a determined currency is being bought or sold.
Sale: the bank receives domestic money and provides (sells) foreign money.
Purchase: the bank receives (purchases) foreign money and provides domestic money.
Currency exchange and banknotes exchange (premium)
Currency exchange: exchange for scriptural transactions (from one account to the other).
Banknote exchange: exchange for banknotes.
Premium: commission for converting a scriptural amount to cash.
To exchange currency, the banks maintain a lesser margin (the difference between purchase/sale) compared to exchanging banknotes. When a scriptural value is to be transformed (credit on the account) into cash currency, the bank applies a commission, called a premium.
Differences when changing back to basic currency
When an amount is exchanged into another currency, it is expected that the reverse exchange will result as identical to the original amount .
| Basic amount | Exchange rate | Exchange value | Return |
| 100.00 | 1.32030 | 132.03 | 100.00 |
However, you do not always come up with the same amount when converting currency back. Because of rounding errors, there may be cases where the same return value cannot be obtained.
| Basic amount EUR | Exchange rate | Exchange value in USD | Return in EUR | Difference in EUR |
| 328.67 | 1.32030 | 433.94 | 328.66 | |
| 328.68 | 1.32030 | 433.95 | 328.67 | 0.01 |
| 328.69 | 1.32030 | 433.96 | 328.68 | 0.01 |
Differences of totals through splitting
The total exchange value of the components of an amount does not always result in the same exchange value as the overall amount.
In this example, the amount of 2.16 EUR produces an exchange value in USD of 2.85. By splitting the amount and adding the two exchange values, 2.84 will result.
| Amount in EUR | Exchange rate | Exchange value in USD |
| 2.16 | 1.32030 | 2.85
|
| 1.08 | 1.32030 | 1.42 |
| 1.08 | 1.32030 | 1.42 |
| Total 2.16 | 2.84 | |
| Difference | 0.01 |
These mathematic differences cannot be eliminated if they are not recorded properly.
Revaluations and exchange rate differences
Exchange rates vary all the time and therefore the exchange value to basic currency also varies. Between one period and another, there will inevitably be exchange rate differences.
Exchange rate differences are not accounting errors but simple adjustments of the values made necessary in order to keep the accounting figures in line with fluctuations.
As you open the accounting, the figures in the balance column are equal to those present in the opening column. When there are entries, these will update the figures in the balance column.
The calculated balance column contains the exchange value of the basic currency for the account balance, at the daily exchange rate (of the exchange rate table). The difference between the balance in basic currency and the calculated balance is the exchange rate difference.
|
|
Currency at opening |
Exchange value at opening in EUR |
Basic currency balance in EUR |
Calculate balance at 30.03.200xx in EUR |
Exchange rate difference |
||
|
Exchange rate |
|
|
1.32030 |
1.32030 |
1.30150 |
|
|
|
|
|
|
|
|
|
||
|
Cash |
EUR |
93.80 |
93.80 |
93.80 |
93.80 |
|
|
|
Bank |
USD |
100.00 |
75.74 |
75.74 |
76.83 |
1.09 |
|
|
Real estate |
EUR |
1'000.00 |
1'000.00 |
1'000.00 |
1'000.00 |
|
|
|
Total Assets |
|
|
1'169.54 |
1'169.54 |
1'170.63 |
|
|
|
|
|
|
|
|
|
|
|
|
|
|
|
|
|
|
|
|
|
Loan |
USD |
-500.00 |
-378.70 |
-378.70 |
-384.17 |
-5.47 |
|
|
Personal capital |
EUR |
-790.84 |
790.84 |
-790.84 |
-790.84 |
|
|
|
Total Liabilities |
|
|
-1'169.54 |
-1'169.54 |
-1'175.01 |
|
|
|
|
|
|
|
|
|
|
|
|
|
|
|
|
|
|
|
|
|
Loss |
|
|
|
|
-4.38 |
|
|
On March 30th the EUR/USD exchange rate is different from the one at the beginning of the year. In the above example, there were no accounting entries during the three-month period. The situation, from an accounting point of view, has not changed since the beginning of the year. Despite this the total of the updated balance, using the rate at the end of March, is different when compared to the beginning of the year. The credit bank balance and the loan in USD have a different value in EUR. There are therefore consequences for the accounting even though there have been no entries.
In the above example, you will notice that the Euro is now worth less against the dollar compared to the beginning of the year. The dollar is therefore worth more against the Euro.
The exchange value of the balance on the account in USD is greater than it was at the beginning of the year. You have a greater value of the asset and therefore a profit on the exchange rate.
On the liability side there is a USD 500.00 loan. Now the exchange value in EUR is greater compared to the value input at the beginning of the year. The value of the loan has increased and brings about a loss due to the exchange rate difference.
In the following example we shall use the hypothesis that there has been the opposite development. We imagine that the Euro has increased in value and is therefore worth more against the USD. The exchange value in EUR of an amount in dollars is less than the one at the beginning of the year.
|
|
|
Currency at opening |
Exchange value at opening EUR
|
Calculate balance at 30.03.20XX Eur (Hypothetical) |
Exchange rate difference |
|
Exchange rate |
|
|
1.32030 |
1.36150 |
|
|
|
|
|
|
|
|
|
Cash |
EUR |
93.80 |
93.80 |
93.80 |
|
|
Bank |
USD |
100.00 |
75.74 |
73.44 |
-2.30 |
|
Real estate |
EUR |
1'000.00 |
1'000.00 |
1'000.00 |
|
|
Total Assets |
|
|
1’169.54 |
1'167.24 |
|
|
|
|
|
|
|
|
|
|
|
|
|
|
|
|
Loan |
USD |
-500.00 |
-378.70 |
-367.24 |
11.46 |
|
Personal capital |
EUR |
-790.84 |
-790.84 |
-790.84 |
|
|
Total Liabilities |
|
|
-1’169.54 |
-1'158.08 |
|
|
|
|
|
|
|
|
|
|
|
|
|
|
|
|
Profit |
|
|
|
9.16 |
9.16 |
As a consequence of an increase in the Euro/dollar exchange rate, you have a USD bank deposit with an exchange value in EUR which is less than at the beginning of the year. The total worth has diminished and there is therefore a loss.
The USD loan has a lower exchange value in EUR. A lesser liability is an advantage for the company and there is thus an exchange rate profit.
Exchange rate profit
You have an exchange rate profit when:
- The exchange value of your assets increases (increase of the investments)
- The exchange value of the liabilities decreases (decrease of the loans).
Exchange rate losses
You have an exchange rate loss when:
- The exchange value of your assets decreases (decrease of the investments)
- The exchange value of the liabilities increases (increase of the loans).
Accounting features for exchange rate differences
Exchange rates can evolve in different ways. Often they rise, only to fall again. The principle rule for accounting is that the figures provided on the Balance Sheet must be true ones. When you present your Balance Sheet, the exchange values of foreign currency accounts must be made at the exchange rate on the day of presentation.
The exchange rate difference is calculated as if you had to definitively convert the amount to basic currency. In reality there is no definitive conversion so you are only dealing with a correction to the accounting.
Closing exchange rate
At the end of each year it is necessary to prepare the complete Balance Sheet. The exchange rates thus have to be updated with the closing exchange rates. It is also necessary to enter the exchange rate differences once and for all; if these are not entered, then there will be differences in the opening balances.
Entering exchange rate differences
|
|
|
Currency balance |
Account balance EUR |
Calculate balance at 30.03.xx EUR (hypothetical) |
Exchange rate difference |
|
Exchange |
|
|
1.32030 |
1.36150 |
|
|
|
|
|
|
|
|
|
Bank |
USD |
100.00 |
75.74 |
73.44 |
-2.30 |
|
|
|
|
|
|
|
|
Exchange rate difference |
EUR |
|
-2.30 |
|
|
|
|
|
|
|
|
|
|
Bank |
USD |
100.00 |
73.44 |
73.44 |
0.00 |
As can be seen from the above example, the bank balance is USD 100.00. For the accounting it has been valued at 75.74 EUR. Today’s actual value, though, is only EUR 73.44. There is a difference of EUR 2.30 EUR in basic currency. The entry must therefore decrease the EUR amount. You proceed with a transaction that debits the bank account and credits the exchange rate loss account by EUR 2.30.
As you can see, the actual bank account balance of USD 100.00 has not been altered. The entry only alters the basic currency balance.
When entering the exchange rate difference, you need to ascertain that the exchange value in basic currency corresponds to the actual exchange value, calculated at either the daily exchange rate or the closing one.
The figures in the account currency must not be altered. You must therefore proceed to make an entry that only alters the basic currency balance on the specific account.
You will have the exchange rate profit or loss account on the contra account.
Transactions at purchase exchange rates
Transactions valued at the purchase exchange rate
When the positions, valued with exchange rates at the time of purchase (historical) are increased or decreased, you will have to calculate the exchange rate of the exchange rate table, taking into account the development of the amounts of increase.
|
|
USD amount |
Exchange |
EUR exchange value |
Total USD |
Total EUR |
Historical Exchange |
|
Acquisition of shares |
100'000.00 |
0.9416 |
106'202.00 |
100'000.00 |
106'202.00 |
0.9416 |
|
Increase of shares |
50'000.00 |
0.8792 |
56'870.00 |
150'000.00 |
163'072.00 |
0.919839 |
Investments and special exchange rates
Investments valued at the exchange rate of the time purchase
Certain investments (shares, real estate abroad) are valued using the exchange rate of the time of purchase (historical exchange) and not the current one. The exchange rate profit and loss is not accounted for until it is actually realized. You must therefore make certain these accounts do not get valued using the current exchange rate.
In order to input a fixed historical exchange rate, you need to create an additional currency on the Accounts table (e.g. USD1) with a fixed exchange rate.
It is essential that in the Fixed column of the Exchange table, when viewed in Complete, for each currency with a fixed exchange rate, Yes must be inserted; otherwise, the currency and its related account are still revalued.
This currency will then only be used for this specific account ( ex: USD1) with a fixed rate.
If you have to make a transfer from the USD account to the USD1 account, you proceed exactly as if you were working with two different currencies. For this reason you will have to use a two-row entry.
Opening with special exchange rates
By inputting the opening balances in the Opening column, foreign currency amounts will be converted to basic currency at the opening exchange rate.
If this system does not prove flexible enough (i.e. you need various special rates or there are rounding differences) the opening can be done manually by making normal entries, indicating the amounts and the exchange rates you want for each account. In this case, the "Opening” column of the Accounts table will be left blank.
File properties | Multi-currency accounting
See also the File Properties (Basic Data) page for information about the other sections of the dialog.

Account for exchange rate profit
From the accounts list, select the account for the exchange rate profit present in the Chart of Accounts.
You can only choose from class 3 and 4 accounts that are in basic currency.
In the Accounts table, it is also possible to specify the exchange rate difference account for each individual account.
Account for exchange rate loss
From the accounts list, select the one for the exchange rate loss present in the Chart of Accounts.
Currency2
In this section, all foreign currencies entered in the Exchange Rates table are displayed. If no foreign currencies have been entered in the Exchange Rates table, the section remains empty.
Currency2 is used to display account balances in the Accounts table in a currency other than the base currency.
To add a new currency in the Currency2 section, proceed as follows:
- In the Exchange Rates table, insert a new row.
- In the Ref. Currency column, enter the base currency of the accounting file.
- In the Currency column, enter the desired foreign currency.
- In the menu File > File and Accounting Properties, under the Currency section, the new currency will be displayed and can also be defined as Currency2.
Decimal points Currency2
This is the number of decimal points to be used when rounding the amounts in Currency2.
Exchange rates table
In the Exchange Rates table, the basic currency (accounting currency) and foreign currencies with all their related parameters are entered.
Before setting up the Exchange Rates table, it is necessary to set up in the Accounts table, foreign currency accounts with their respective codes; you also need to define the basic currency in the File menu > File and accounting properties.

Exchange rates with and without date
There are two types of exchange rates:
- Exchange rates without date
For each currency used there must be an exchange rate line without date.
The exchange rate rows without a date are used as reference rates to convert foreign currencies into the basic currency according to the current exchange rate. They are used:- When there is no historical exchange rate (exchange rates with dates).
- At year end, to define official closing rates and calculate exchange rate differences (end of the accounting period).
During the closing process, it is mandatory to use exchange rate rows without a date in order to calculate exchange rate differences.
- Current exchange rate and closing exchange rate
- It is the exchange rate entered in the Exchange rate column; it is the current exchange rate or the closing exchange rate.
- This exchange rate is automatically used in the transactions, when there is no historical exchange (exchange rows with date).
If you modify the exchange rate in the Exchange rates table, the exchange rates and amounts previously used in the journal rows are not changed. - It is used for the calculation of the balance column calculated in the accounts table and for the conversion to Currency 2.
- Every time transactions in foreign currency are recorded, the resulting exchange rate differences are displayed in the Calculated Balance column of the Accounts table (Balances view). These differences are the foundation for calculating exchange rate differences and for the conversion into Currency 2.
- Closing exchange rate
- It is used as an exchange rate for exchange rate differences postings.
- It becomes the opening exchange rate when creating a new year.
- Opening exchange rate
It's the exchange rate entered in the Rate Opening column and it is used in the following cases:- When first creating a multi-currency file in Banana Accounting Plus
- When creating the new fiscal year, the opening exchange rate is automatically taken from the previous year's closing rate (in the Exchange Rate column).
The opening exchange rate is automatically used in the Accounts table to convert the opening amounts in foreign currency into the opening amounts in the basic currency of your accounting file.
If you need to edit the opening exchange rate, you must use the Recalculate accounting command.
- Current exchange rate and closing exchange rate
- Exchange rates with date (historical exchange rates)
When dates are entered in the Exchange Rates table, and foreign currency transactions are recorded in the Transactions table based on a date specified in the Exchange Rates table, the program selects the exchange rate with the date equal to or closest to but not exceeding the date of the transaction entry.
The program uses the historical exchange rate in these cases:- When entering transactions at a specific date and in the Exchange rates table there is an historical exchange rate.
- When creating exchange rate differences and specifying to use historical exchange rate.
In exchange rates with a date (historical exchange rates), no opening exchange rate should be indicated (Opening Rate column).
Columns of the Exchange rates table
All the columns available for the Exchange rates table are visible in the Complete view.
Date
Rows without a date are used as reference exchange rates by the program. Rows with a date are used as historical exchange rates.
Ref. Currency
It is the starting currency (basic currency) for the exchange (EUR in the example).
Currency
This is the destination currency (foreign currency). It's value is converted into the Reference currency.
Text
A text to indicate the foreign currency description
Fixed
True or false. If there is a fixed exchange rate, enter Yes in this column. In this case, for the foreign currency with a fixed exchange rate, the same rate is used consistently until it is modified. Typically, a fixed exchange rate is applied when there are accounts whose value should not undergo continuous fluctuations, such as real estate investments.
Mult. (Multiplier)
The multiplier is usually 1, 100 or 1000 and is used to obtain the effective exchange rate. The multiplier is used for currencies which have a very low unit value in order to avoid having to insert exchange rates with many zeros. In our templates, the negative multiplication (-1) is used in the Multiplier column of the Exchange rates table.
In this case:
- In the Ref. (Reference) Currency column, the base currency of the accounting system is entered
- In the Currency column, the foreign currency is entered.
When in the Ref. Currency and Currency columns the abbreviations of the currencies are reversed, the Multiplier 1 (positive exchange rate) must be entered in the column.
If transactions have already been made with the same currency, do not change the multiplier, otherwise the programme will report errors in the entries due to incorrect exchange rates.
Exchange rate
It is the current or closing exchange rate of the currency against the reference currency.
This is also used to calculate exchange rate differences. Before calculating exchange rate differences, it is necessary to update the rate in this column according to the official closing rate.
The exchange rate and the multiplier are being applied according to the following formulas
- With multiplier > 0
Currency amount = Ref. currency amount* (exchange rate / |mult.|)
- With multiplier < 0
Ref. currency amount = Currency amount * (exchange rate / |mult.|)
Opening Exchange rate
This is the exchange rate at the moment the accounting is opened. To be indicated only on a row without date.
- It is used to convert the opening amount of the foreign currencies into the opening amount of the accounting’s basic currency.
- Should be corresponding to the closing exchange rate of the preceding year.
When transitioning to the new fiscal year, the opening exchange rate is automatically updated based on the closing exchange rate from the previous year entered in the Exchange Rate column (Exchange rates table).
If the closing exchange rates are not equal to the opening exchange rates, the Assets and Liabilities might result into different totals; see Differences in the Opening Balances. - The opening exchange rate should never be changed in the course of the year, otherwise exchange rate differences are being created in the total of the opening balances.
- The opening exchange rate should not have a date.
Minimum
The minimum exchange rate accepted. If an inferior exchange rate is used for the transactions, there will be a warning.
Maximum
This column shows the maximum exchange rate accepted. If a superior exchange rate is used for the transactions, there will be a warning.
Decimal Points
The number of decimal points to be used when rounding the amounts of the foreign currency.
Modifications in the Exchange rate table
The current exchange rates for foreign currencies can be modified in the Exchange rates table, specifically in the Exchange rate column for rows without a date. In this scenario, when a transaction with an account in a foreign currency is entered in the Transactions table, the program automatically uses the exchange rate set in the Exchange rates table. If a change is made to an exchange rate in the Exchange rates table, there are no repercussions on previously entered transactions; the new exchange rate is applied to future transactions.
It is also possible to manually modify the exchange rate directly in the Transactions table by entering the desired rate in the Exchange rate column. This modification does not affect the exchange rate present in the Exchange rates table.
- Modification of the Opening exchange rate
If the opening exchange rate is modified, the next time you recalculate the accounting, the balances in basic currency of the accounts will be recalculated with the new exchange rate. Therefore, if you have opening balances, pay attention when modifying the Opening exchange rates.
If you modify the opening exchange rates and there are opening balances, it is important to recalculate the accounting. - Modification of the multiplier
- When changing the multiplier of a currency already used in the Transactions table, the program will report a warning as soon as the accounting is being recalculated. The transaction amount and the correct amount in the basic currency will have to be reentered.
- When the accounting is being recalculated, the opening balances in basic currency will be recalculated as a result.
Direct exchange rates
Direct exchange rates are those where the basic currency and the foreign currency are indicated on the same row.
In the example below, the direct exchange rate is EUR → USD.

Indirect exchange rates
Indirect exchange rates are those where a direct exchange between two currencies is not being indicated (not recommended).
The exchange rate is deducted by the program based on other combinations of entered exchange rates

Historical exchange rates
As explained above, if an exchange has a date, the program considers it to be a historical exchange rate.
In the cases indicated here, the program chooses the exchange rate with a date equal to or less than the date of the transaction row.
- When entering transactions, if there is a historical exchange rate, it is proposed and used as the default exchange rate.
- When the exchange rate differences transactions are created and the option to use the historical exchange rate is activated.
- In rows with a date, the opening exchange is not used.

If you import several historical exchange rates at the end of your accounting period, that is, when you have already entered accounting transactions, simply manually delete the transactions exchange rates (Exchange rate column, Transactions table) to make sure that the program uses the imported exchange rates instead of those entered in the transactions.
Monthly average exchange rate
When entering a monthly average exchange rate, this must be inserted manually in the Exchange rate table, in a row without date. In the Transactions table, for foreign currency accounts, the average exchange rate will always be included until it is updated again in the Exchange rate table.
For the monthly average exchange rate, we recommend consulting the page of the exchange rates proposed by the Swiss Confederation, available in Italian, French or German.
Incompatible exchange rates from previous versions
When the basic currency is entered as the reference currency, the exchange rates with a multiplier greater than 1 can present calculation differences between Banana Plus and the previous versions. In these rare cases, while opening an accounting file of a previous version, a warning message appears and the file is being opened as "read only".
- Open the file in Banana Plus and confirm the warning message;
- Recheck the accounting (Shift + F9);
- The warning messages "Transaction multiplier is not the same as the one in the Exchange rate table" can be ignored;
- Verify whether the balances and the result of the accounting period present differences compared to those displayed in earlier versions. If there are no differences, just save the accounting under a new name; otherwise, it is necessary to proceed as follows:
- In the Exchange rate table, correct the exchange rate by multiplying it with the value of the multiplier and define the multiplier as 1 for the exchange rates with a multiplier greater than 1. For example, if we have a multiplier of 100 and an exchange rate of 0.9944608, correct the exchange rate to 99.44608 and the multiplier to 1.
- Recheck the accounting (Shift + F9).
- The warning messages "Transaction multiplier is not the same as the one in the Exchange rate table" can be ignored, or it is possible to delete them by clicking, in the corresponding transaction row, on the amount in basic currency and by pressing the F6 key
- Verify whether the balances and the result of the accounting period correspond with the ones indicated in earlier versions
- Save the file under a new name
- At this time, you can define the exchange rates and the multiplier in the preferred format, reverse or direct, with or without multiplier, verifying the balances and the result of the accounting period after each modification.
Chart of accounts | multi-currency accounting
In contrast to Double-entry bookkeeping, Multi-currency Accounting has the Exchange rate table and columns for calculating foreign currency amounts and balances.
Grouping of the Accounts table
For the Accounts and Groups grouping system, please refer to the Grouping System page.
Setting the basic currency
The base currency is set from the menu File > Accounting properties
Account Currency
Each account has a currency abbreviation, which may be that of the base currency or a foreign currency abbreviation, indicated in the exchange rate table.
Assets and liabilities accounts can be set up in different foreign currencies in addition to the base currency (in the example EUR).
- Foreign Currency Accounts
Accounts in foreign currencies are set up in the Accounts table. In the Currency column , for each foreign currency account the currency code must be entered.
In the Exchange rate table, for each foreign currency, the abbreviations of the foreign currencies, set in the Accounts table, and the opening exchange rate must be entered.
In the example below, the base currency is EUR. The abbreviation of the base currency EUR appears in the column headings with the amounts in base currency.
- Accounts in base currency (accounting currency)
Accounts in base currency are set up in the Accounts table. In the Currency column, the abbreviation of the base currency must be entered.

Income and Expense accounts, other than in basic currency (EUR in the example), can also be set in different currencies.

Explanation of multi-currency accounting columns
Currency
Enter the symbol of the account currency. For foreign currency accounts, the symbol must also be present in the exchange rate table.
Opening currency
The initial balance is entered for each account, whether it is a basic or foreign currency account
Opening balance (basic currency)
- A protected column calculated by the program.
- The initial balance in basic currency is calculated by the program.
- For basic currency accounts, the opening balance in the Opening currency column is reported.
- For foreign currency accounts, the balance is converted according to the exchange rate in the exchange rate table.
Balance currency
- Protected column used by the program.
- The balance is calculated by the programme and corresponds to the sum of the opening balance (for accounts in foreign currency, this is the balance converted into the base currency) and the amounts of the transactions in base currency and in foreign currency (amounts converted according to an exchange rate, which can be found in the exchange rate table).
Balance
- Protected column used by the program.
- The balance is calculated by the program and corresponds to the sum of the opening balance (for accounts in foreign currency it is the balance converted into basic currency) and the amounts of the transactions in basic currency and in foreign currency (amounts converted according to an exchange rate present in the exchange rate table).
Calculated balance
- Protected column used by the program.
- This is the account balance in currency converted at the current exchange rate (exchange rate from the exchange rates table in the row without a date).
- This column therefore indicates the balances as if the exchange rate differences were recorded.
- Any exchange rate difference is added to or deducted from the respective income statement account for recording the exchange rate difference accounts.
Exchange rate difference account
- Visible in the Other view.
- In this column, you can enter an exchange rate profit or loss account for a given account.
The account you enter will be used by the Create Exchange Rate Difference procedure instead of the exchange rate profit and loss accounts defined in the multi-currency file properties. - In the Exchange Rate Difference Account column you can specify:
- "0;0" This means that no exchange rate difference is to be calculated for this account.
It is used for historical exchange rates, which must not change. - Two accounts separated by semicolons, "Currency Exchange loss account; Currency Exchange rate profit", e.g. "6949;6999".
If there is a loss the first account will be used, if there is a profit the second. - "One account only" for example "6949".
This account will always be used whether there is an exchange rate profit or loss.
- "0;0" This means that no exchange rate difference is to be calculated for this account.
Opening balances
Information on how to enter opening balances in multi-currency accounting is available on the Opening balances page in multi-currency accounting.
Exchange Profit and Loss Accounts
In the chart of accounts, it is necessary to insert the predefined accounts for the exchange gain and loss to be reported in the File menu File properties → Foreign currency.
Accounts for exchange rate differences must have BClass 3 (Costs - Exchange Loss) or 4 (Revenue - Exchange Profit).

Revaluation accounts and historical exchange rates
Exchange rates are fluctuating. The actual value of the balance in the account currency varies therefore depending on the foreign exchange fluctuation.
The basic currency amount of an account is being calculated using the opening exchange rate and the exchange rates that are indicated in the transactions. Because this value corresponds to equivalent of today's exchange rate, it is necessary to revaluate the account.
The revaluation takes place by calculating the exchange rate differences. With the automatic calculation of exchange differences, the software enters an amount in basic currency (exchange difference) so that the balance in basic currency is equal to the counter value (calculated balance column).
There are accounts (related to investments, for example) for which a so-called historic exchange rate is being used. By an historical exchange rate, we mean an exchange rate that doesn't vary over time.
There are two ways to have currencies that do not vary:
- Create an additional currency code in the exchange rate table (e.g. USD2) to which the same exchange rate will always be attributed.
- In the currency description, indicate that this is a historical exchange rate.
- This currency must then be used for the account with the historical exchange rate and of course also in the entries for the account.
- For each new account with a different historical exchange rate, create a new currency symbol.
You can create as many currency symbols as you need for different accounts with historical exchange rates. - Change the exchange rate of the historical account if there are additional purchases or sales that require an adjustment of the value, while creating a transaction for the exchange rate profit or loss.
- Entering opening balances as Opening transactions.
- Instead of using the opening balances column, the opening balances are entered as transactions. You can assign the opening exchange rate you want.
- In the Account exchange difference column enter the value "0;0" indicating that the account should not be revalued.
Group totals in foreign currency
Normally, the columns with amounts in foreign currency don't have totals, as it makes little sense to calculate totals for values in a different currency.
If you have a group that includes only accounts in a specific currency, the currency symbol can be indicated at a group level and, in the Accounts table, the program totals these amounts. If there were to be accounts with various currency symbols, there would be no amount indicated (the program would not report an error either).
Transactions table multi-currency accounting
Explanations of the columns
In the Transactions Table of the multi-currency accounting, other than the columns of the double-entry accounting, there are the following extra columns:
- Currency amount
This is the amount of the currency specified in the column with the currency symbol.
This amount is used by the program to update the balance of the related account in currency. Currency
This is the currency symbol of the currency to which the amount refers.
The currency symbol has to be the one of the basic currency, specified in the File and accounting properties (File menu), or the currency symbol of an amount indicated in the Debit A/C or Credit A/C columns.You can also use a different currency as long as the indicated Debit A/C and the Credit A/C are basic currency accounts.In this case the amount in currency is used as a reference, but will not be used for accounting purposes- Exchange rate
Used to convert the foreign currency amount in its basic currency equivalent. - Amount in Basic currency
The transaction amount, expressed in basic currency.
This amount is used by the program to update the balance of the related account in basic currency. Exchange rate multiplier
Normally not visible in the view, this value is multiplied by the exchange rate.
Useful advice
- While being positioned on the Currency Amount column and pressing the F6 key, the program rewrites all values with the earlier explained logic, as if there were no values present. This feature is useful when the Debit A/C or the Credit A/C is modified.
- If there is a registration with a single account in basis currency (in 'Multiple transactions' - see Transaction types) and its value of the Currency column has been changed manually in a currency symbol of a foreign currency, it is necessary to be positioned on the cell of the Currency column and press the F6 key in order to update the exchange rate and calculate the amount in basic currency.
- Smart fill for the Exchange rate column
The program suggests several exchange rates, picking them up from the Exchange rates table or from exchange rates previously used in the transactions.
Types of transactions in multi-currency accounting
All amounts, whether in basic currency or foreign currency must always be entered in the Currency Amount column.
As regards the exchange rates, multiplier and historical exchange rates, please refer to the Exchange rates table page.
Attention: in the transaction examples, the basic currency is the Euro.
For each transaction, there are two accounts (debit account and credit account). In the program, only one foreign currency per transaction row can be used. So there can be the following direct combinations:
- Entries between two accounts in basic currency with the amount in basic currency (in the image, transactions n.1 in the Doc column). The account currency is the basic currency.
Entries between two accounts in basic currency with the amount in foreign currency (Doc 2)
The indicated accounts are in basic currency, but the currency symbol and the amount in currency, indicated in the transaction row, are not in basic currency, but in a different currency.To insert the different currency, the user has to manually change the currency symbol.
This is being used when one goes abroad and money is being exchanged in order to pay in local currency. In this case we do not have a specific account.
For the calculation of the balance (both accounts being in basic currency) only the amount of basic currency column is being used.- Entries between an account in foreign currency and one in basic currency (Doc 3)
The currency needs to be the one of the account in foreign currency.
For the calculation of the balance of the account in foreign currency, the program uses the amount in foreign currency and for the balance in basic currency, the program uses the amount in basic currency. - Entries between two accounts with the same foreign currency (Doc 4)
The currency needs to be the same as the account currency of both accounts (USD1 and USD2). In order to update the exchange rate and calculate the amount in basic currency, it is necessary to be positioned on the cell of the Currency column and press the F6 key. - Entries with two accounts in different foreign currencies (Doc 5)
For example, the bank makes an exchange operation between two foreign currencies:
In this case, the transaction needs to be recorded on two rows.
The amount in basic currency needs to be the same. It is useful to use an amount close to the current exchange rate to avoid excessive exchange rate differences.
In order for the amounts in basic currency to be equal, the amount in basic currency needs to be indicated manually, and the program will calculate the exchange rate. - Exchange rate differences (Doc 6)
The goal of this transaction is to realign the balance of the basic currency account with the equivalent of the Foreign currency account at today's exchange rate.
On the Foreign currency account, only the amount in basic currency related to the exchange rate differences is being recorded.
They are automatically generated with the Create transaction for exchange rate variation command.- For the exchange rate profits, the program automatically indicates the account to be revaluated in debit and the exchange rate profit account in credit. The exchange rate profit account is indicated in the File and Accounting properties (Basic Data), or in the specified account -> Exchange rate differences account column of the Other view (intended for one or several specific accounts).
- For the exchange rate losses, the program automatically indicates the account to be revaluated in credit and the exchange rate loss account in debit. The exchange rate loss account is indicated in the File and Accounting properties (Basic Data), or in the specified account -> Exchange rate differences account column of the Other view (intended for one or several specific accounts).
- The Currency amount is being left empty
- The Currency symbol is the basic currency
- In the Basic currency amount column, the amount of the revaluation of the account (profit or loss) is being indicated.
Establishing the exchange rate
The accountant is the one who decides which exchange rate to use for each single operation. Generally, the following rules are being applied:
- For normal operations, the exchange rate of the day is being used
- For buying or selling currency, the values indicated by a money exchange office or a bank are being used.
First the amount in foreign currency is being indicated in the program and then the amount in basic currency. The program calculates the exchange rate. The exchange rate indicated by the bank can be slightly different, because banks specify exchange rates with few figures after the decimal point and often round the amounts. - When several operations with the same exchange rate are being recorded, it is useful to update the exchange rate in the Exchange rates table, so that the program can automatically apply it.
- For operations from abroad that are subject to VAT, the national authority might impose a standard exchange rate. In this case, that exchange rate should be inserted in the Exchange rate column of the transaction
- To purchase real estate or equity investments, an historical exchange rate is being used. In that case, a currency symbol needs to be created in the Exchange rates table (for example USD1) with an historical exchange rate, that is not being subject to the fluctuations of the exchange rate.
One can create as many currency symbols as desired for all historical exchange rates.
Transactions with VAT
The VAT account and the account from which the VAT is being deducted have to be in basic currency. It is impossible to use a VAT code to deduct the VAT from a foreign currency account. In order to record operations with VAT that have accounts in foreign currency as their counterpart, two transaction rows have to be used:
- First, the amount of the purchase is being recorded on an Internal transfers account in basic currency and the related VAT code is being applied. The amount in basic currency has to be calculated using an exchange rate in accordance with the requirements of the Tax administration.
- In a second row, the balance of the Internal transfers account is being put to zero; as its counterpart, the account in foreign currency should be entered.
The amount used for this transaction, both in basic currency and in foreign currency, has to be excluding VAT. Obviously, the exchange rate that has to be used is the same one as the one being used in the preceding transaction.
In the example, the basic currency is the EUR. We are dealing with a national purchase, but paid from a foreign currency account (USD).
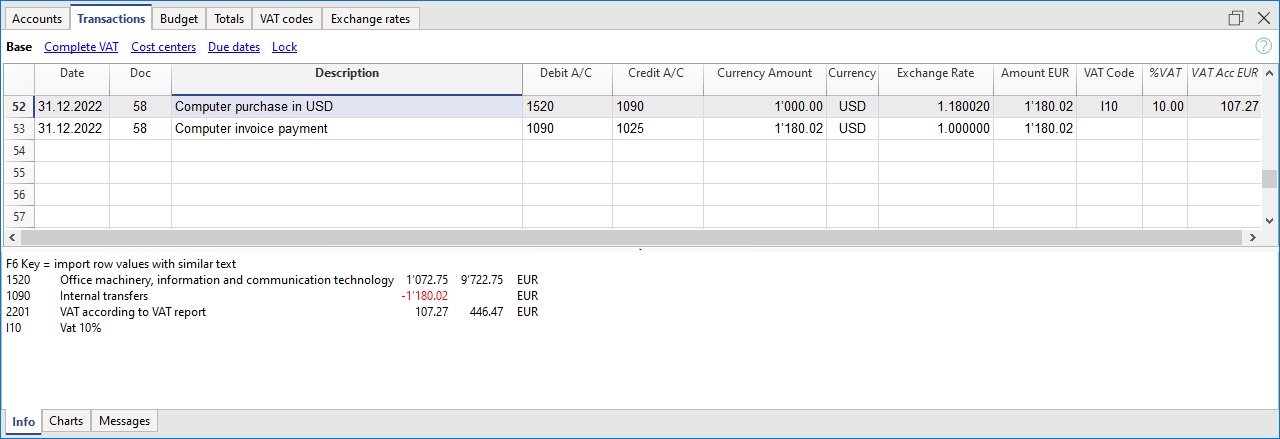
VAT and foreign currency transactions
In transactions with foreign currency accounts, it is possible to record VAT with a gross amount (Amount type 0, with VAT).
If you enter net values (Amount type 1, without VAT), the program indicates an error, because the calculation of the gross value would in many cases be incorrect due to the rounding up of VAT and of the exchange rate.
In these cases it is advisable to enter the gross value. See also the Explanations of the error.
Automatism while entering multi-currency transactions
When a new transaction is being entered, the data in the above mentioned columns have to be completed.
When some values of the transaction row are modified, the program completes the transaction with the predefined values. If these values do not satisfy the user's requirements, these have to be modified in the transaction row.
The modification of the values in the Exchange rates table have no effect on already entered transaction rows. Thus, when the exchange rate in the Exchange rates table is modified, this has no influence whatsoever on already inserted transactions.
- When the amount in currency is entered and there is either a Debit A/C or a Credit A/C, and no other values are entered, the program operates as follows:
- the currency symbol is retrieved from the account in use, giving priority to the account that is not in basic currency;
- the exchange rate, defined in the Exchange rates table, is applied with the following logic:
- the historical exchange rate is applied, with a date earlier or equal to the transaction date
- tf there is no historical exchange rate to be found, the exchange rate from the row without date is applied.
- the multiplier, defined in the Exchange rates table, is applied or the number 1 if it is the basic currency;
- the amount in basic currency is calculated.
- When the amount in currency is modified (and there are already other values present), the program operates as follows:
- the amount in basic currency is calculated with the existing exchange rate
- If the currency symbol is modified the program operates as follows:
- the exchange rate with the multiplier is applied and the amount in basic currency is calculated (like above)
- If the exchange rate is modified the program operates as follows:
- the amount in basic currency is calculated using the entered exchange rate
- When the amount in basic currency is modified the program operates as follows:
- the exchange rate is recalculated.
Info window
In the info window, the program indicates:
- Differences, if any, between the Debit and Credit total movements in basic currency
- Explanation on the different uses of the F6 key
For the accounts related to the transaction row on which one is positioned, the program always indicates in the Info windows:
- the account number
- the account description
- the transaction's amount in basic currency
- the current account balance in basic currency
- the account currency symbol
- the transaction's amount in the account currency (if different from the basic currency)
- the current account balance in currency (if different from the basic currency)
Transactions for opening balances
For multi-currency accounting, when entering the opening balances in the Accounts table, the program converts the amounts into basic currency, using the opening exchange rate defined in the Exchange rates table, Opening exchange rate column.
To use historical exchange rates as opening balances, you can create another currency symbol or create transactions in the Transactions table with the opening balances. This way you can use different exchange rates for different accounts.
- Enter a single transaction for each account with an opening balance (Assets and Liabilities), indicating the initial accounting date and the Debit or Credit account.
- In the DocType column enter the "01" value to indicate that it is an opening value.
- In the Banana Accounting reports or printouts this amount will be shown as opening balance.
- However the transaction doesn't update the Opening balance column in the Accounts table
When using opening transactions, please consider that:
- In order to avoid the revaluation of the accounts with the current exchange rate, in the Accounts table, enter the "0;0" value in Exchange rate difference account column
- The software allows you to add both some opening balances in the Accounts table and some opening transactions in the Transactions table (Assets and Liabilities).
In both cases the amounts are considered in the calculations and, if it is the same account, they are added together.
We do not recommend using the two methods simultaneously to avoid hard-to-find errors and differences. - Opening transactions must be entered manually.
Any debit and credit differences are shown as a transaction difference.
Data transfer from earlier versions
In version 4 or earlier, the absence of a currency symbol in the Transactions table was being interpreted as a transaction in basic currency.
In version 7 and in version 8, each transaction needs to have its own currency symbol. Therefore, when you update from version 4 to version 7 or 8, in the accounting file, the transactions without a currency symbol need to be completed. To do this, a new Currency column must be added to the Transactions table by executing the Columns setup command from the Data menu.
Transactions| Double entry accounting multicurrency
Types of Multi-Currency Transactions
With the multi-currency accounting application, it is also possible to record transactions involving accounts in foreign currencies. In the Transactions table, in addition to transactions in the base currency, foreign currency transactions are also entered: all the transaction elements are specified, including the amount and the account in foreign currency, and the exchange rate applied to the transaction. The amount in the base currency is calculated automatically based on the entered exchange rate.
All amounts, both in base currency and foreign currency, must always be entered in the 'Amount' column.
For information regarding exchange rates, multipliers, and historical rates, refer to the page Exchange rates table.
Note: in the transaction examples, the base currency is Euro.
Each transaction has two accounts (debit and credit). The program allows only one foreign currency per transaction row. The following direct combinations are possible:
- Transaction between two base currency accounts with amount in base currency (in the image, transaction no. 1 in column Doc 1)
The currency of both debit and credit accounts is the base currency. - Transaction between two base currency accounts with amount in foreign currency (Doc 2)
The debit and credit accounts are in base currency, but the currency code (currency column) and amount entered in the transaction row are in a foreign currency.
To enter the foreign currency, manually change the default base currency code.
This is used when traveling abroad and exchanging money to pay in local currency. In this case, there is no specific account in the accounting.
For balance calculation (as both are in base currency), only the base currency amount column is used. - Transaction between a foreign currency account and a base currency account (Doc 3)
The currency must match the foreign currency account.
To calculate the foreign currency account balance, the program uses the foreign currency amount, and for the base currency balance, it uses the base currency amount. - Transaction between two accounts with the same foreign currency (Doc 4)
The currency must match the accounts used (USD1 and USD2). To update the exchange rate, position on the Currency cell and press F6. - Transaction with two accounts that have different foreign currencies (Doc 5)
For example, the bank performs a currency exchange between two foreign currencies.
In this case, the transaction must be entered in two rows (with the same date).
The base currency amount must be identical. It's advisable to use a realistic exchange rate to avoid large exchange rate differences.
To ensure that the base currency amounts on both rows are the same, manually enter the base currency amount and let the program calculate the exchange rate. - Exchange rate difference transactions (Doc 6)
The purpose of this transaction is to realign the base currency balance with the foreign currency equivalent at the current exchange rate.
Only the base currency amount related to the exchange difference is recorded on the account.
These are automatically generated with the Calculate exchange rate differences command.- For exchange gains, the program automatically enters the revalued account as debit and the exchange gains account as credit, taken from File Properties, Basic Data, or from the account indicated in the Exchange differences column of the Other view (in the Accounts table) – defined for one or more specific accounts.
- For losses, the program automatically enters the revalued account as credit and the exchange losses account as debit, taken from File Properties, Basic Data (menu File), or from the account indicated in the Exchange differences column of the Other view (defined for one or more specific accounts).
- The foreign currency amount is left blank
- The currency code is the base currency
- In the base currency amount column, the revaluation amount (gain or loss) is indicated
Setting the Exchange Rate
The accountant decides which exchange rate to use for each transaction. Generally, the following rules apply:
- For regular operations, use the exchange rate of the day.
- For currency buying and selling operations, use the rates provided by the exchange office or the bank.
In the program, first enter the amount in foreign currency and then the amount in base currency; the program will calculate the exchange rate. The rate provided by the bank may be slightly different as banks often round rates to a few decimal places. - If you carry out multiple transactions at the same rate, it is helpful to update the exchange rate in the Exchange Rates table so that the program can use it automatically.
- For foreign operations subject to VAT, the national authority may prescribe a standard exchange rate. In this case, enter this rate in the Exchange Rate column of the transaction.
- For the purchase of real estate or investments, use the historical exchange rate. In this case, you need to create a currency code (e.g. USD2) with the historical rate in the Exchange Rates table, which will not fluctuate.
You can create currency codes for all desired historical rates.
Transactions with VAT
In a multi-currency accounting with VAT, to correctly record transactions without error messages, it is essential that the VAT account and the account from which VAT is deducted are in base currency. It is not possible to apply a VAT code to an account in foreign currency.
To record transactions with VAT that involve foreign currency accounts as counterparties, you must use two transaction rows:
- First, record the purchase amount on an intermediate account in base currency and apply the appropriate VAT code.
The base currency amount must be calculated using the exchange rate in accordance with tax authority regulations. - In a second row, clear the intermediate account and use the foreign currency account as the counterparty.
The amount used for this transaction, both in base and foreign currency, must be net of VAT.
You must use the same exchange rate as in the previous transaction.
In the example, the base currency is EUR. A domestic purchase is assumed, but payment is made from a foreign currency account (USD).

Transactions with VAT and Foreign Currency
In transactions involving foreign currency accounts, VAT can be recorded using the gross amount (Amount Type 0, VAT included).
If net values are entered (Amount Type 1, VAT excluded), the program displays an error because calculating the gross value would often be incorrect due to rounding differences in VAT and exchange rate.
In these cases, it is recommended to enter the gross amount. See also Explanation about the error.
Automation During Entry of Multi-Currency Transactions
When entering a new transaction, the data in the previously mentioned columns must be completed.
If certain values in the transaction row are changed, the program completes the transaction with default values. If these values do not meet your needs, they must be modified directly in the transaction row.
Modifying the values in the Exchange Rates table has no effect on transactions already entered. So, if you change the exchange rate in the Exchange Rates table, it will not affect existing transactions.
- When entering the foreign currency amount and either the Debit or Credit account is already filled, and there are no other values, the program behaves as follows:
- the currency code is taken from the account used, giving priority to the non-base currency account;
- the exchange rate is taken from the Exchange Rates table based on the following logic:
- the historical rate with the date equal to or earlier than the transaction date is used
- if no historical rate is found, the rate from the exchange rates row without a date is used
- the multiplier defined in the Exchange Rates table is used, or 1 if it's the base currency.
- the base currency amount is calculated.
- When the foreign currency amount is modified (and other values already exist), the program:
- recalculates the base currency amount using the existing exchange rate
- If the currency code is modified, the program:
- retrieves the exchange rate and multiplier and recalculates the base currency amount (as above).
- If the exchange rate is modified, the program:
- calculates the base currency amount using the entered exchange rate.
- If the base currency amount is modified, the program:
- recalculates the exchange rate.
Info Window
In the info window, the program shows:
- Any differences between the total debit and total credit in base currency.
- Information about using the F6 key.
For the accounts related to the transaction row you are on, the program always displays the following in the Info window:
- account number
- account description
- transaction amount in base currency
- current account balance in base currency
- account currency code
- transaction amount in account currency (if not in base currency)
- current account balance in account currency (if not in base currency)
Opening Balance Transactions
For multi-currency accounting, when entering opening balances in the Accounts table, the program converts the amount into base currency using the opening exchange rate defined in the Exchange Rates table, Opening Exchange Rate column.
To use historical rates for opening balances, you can create another currency code or create entries in the Transactions table with the opening balances. This way, different exchange rates can be used for the accounts.
- Enter a transaction for each account with an opening balance (Assets and Liabilities), indicating the start date of the accounting and the debit or credit account.
- In the DocType column, enter the value "01" to indicate it is an opening balance.
- In Banana Accounting's calculations and printouts, this amount will be treated as an opening balance.
- However, the transaction does not update the opening balance column in the Accounts table.
Points to consider when using opening transactions:
- To avoid revaluation of accounts at the current exchange rate, enter "0;0" in the Exchange Rate Difference Accounts column in the Accounts table for accounts that should not be revalued.
- The program allows entering opening balances either in the Accounts table or as opening transactions (Assets and Liabilities) in the Transactions table.
In both cases, the amounts are included in the calculations, and if it’s the same account, they are summed.
It is not recommended to use both methods simultaneously to avoid errors and hard-to-find differences. - Opening transactions must be entered manually.
Any debit and credit differences will be shown as a difference in the transactions.
Useful Tips
- By pressing the F6 key while on the Amount column, the program rewrites all values using the logic explained above, as if no values existed. This function is useful when changing the Debit or Credit account.
- If there is a transaction with a single base currency account (in compound transactions) and the Currency column has been changed to a foreign currency, to update the exchange rate, position on the Currency cell and press F6.
- Smart fill for the Exchange Rates column
The program suggests various rates, taking them from the Exchange Rates table or from rates previously used in transactions.
Importing Data from Previous Versions
In version 4 or earlier, the absence of a currency code in the Transactions table was interpreted as base currency.
In version 7, each transaction must have its own currency code. Therefore, when upgrading from version 4 to version 7, you must complete the transactions that lack a currency code. To do this, you need to add a new Currency column to the Transactions table by executing the Arrange Columns command from the Data menu.
Exchange rate differences
Create transactions for exchange rate differences
For theoretical aspects please visit the Revaluations and exchange rate differences page.
- The exchange differences transactions are adjustment transactions that balance out the foreign currency account balance with the basic currency calculated balance. In essence, it is a matter of re-adjusting the values in the basic currency, taking into account exchange rate loss or gain, due to the fluctuations of the exchange rates.
- If these exchange rate differences are not recorded, there may be differences in the opening balances of the following year.
- The exchange rate differences can be calculated at the end of the closing year or during the accounting period (for example at the end of a quarter). In this case the historical changes can be useful, as they allow you to have different exchange rates at specific dates.
- The program calculates the exchange rate difference based on the balances at the specified date. It is therefore possible to calculate the exchange rate difference at a specific date, even if you have entered transactions after that date.
- For further explanations, see also the Exchange rate differences not booked page
- Exchange rate differences are not calculated on the accounts belonging to the profit and loss account. Exchange rate profit/losses, which are generated by exchange rate differences, are financial and non-operating items and are therefore not included in the determination of operating income or the profit and loss account.
The Calculate exchange rate differences dialog
The Create transaction for exchange rate variation... command, from the Actions menu, calculates the revaluations for the foreign currencies accounts.
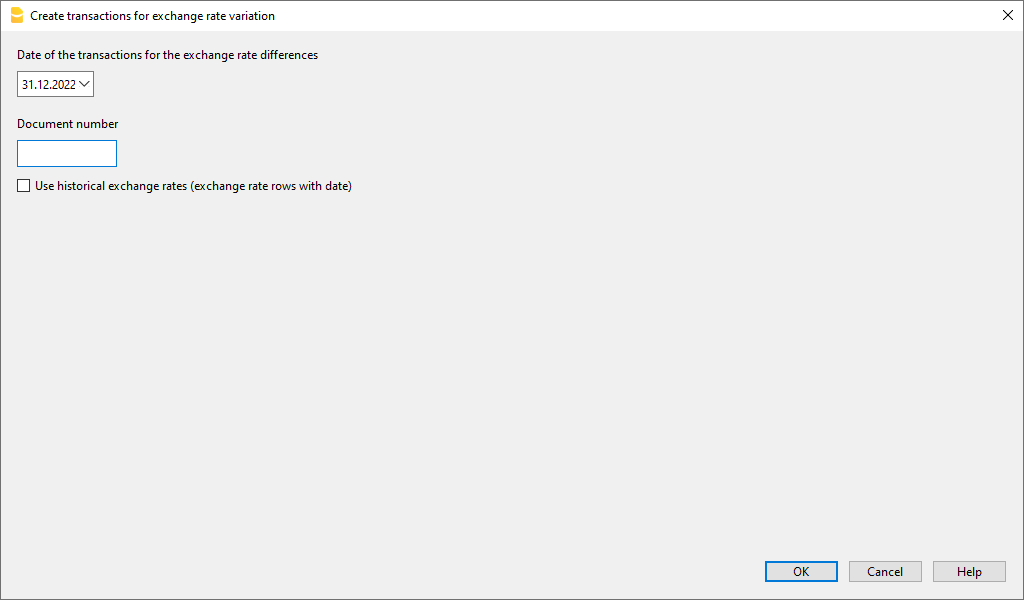
Date of the transactions for the exchange rate differences
The program is able to calculate the exchange rate difference on a date even if there are postings beyond the date.
- Enter the date for your exchange rate differences transactions.
- The program will suggest the final date of the current month, related to the last entered transaction.
- If there are transactions for exchange rate differences with the same date, the program asks whether they should be replaced. The program considers the transactions for the exchange rates differences as existing if they have the same date, doc, description, accounts and currency and when there is no amount in the account currency.
Document number
Enter the document number your exchange rate differences transactions should have.
Use historical exchange rates (exchange rate rows with date)
- Use when option is not activated
- If in your Exchange rate table there are no historical exchange rates (exchange rates with a date) this option is not activated.
- The program will use the exchange rate in your Exchange rate table of the rows without date
- if you are using historical exchange rates for the year closure, be careful that the exchange rate used should be the same as the current one.
- Use when option is activated
- The program will indicate the date of the exchange rate, found in the Exchange rates table, that will be used to calculate the exchange rate difference.
This is going to be the exchange rate with a date equal or prior to the indicated date. - When calculating exchange rate differences at year end we suggest this option not to be activated
- When booking exchange rate difference transactions at year end, the historical exchange rate must be the same as the current exchange rate, otherwise you get an error message saying that the exchange rate differences have not been calculated (even though they have been).
- The program will indicate the date of the exchange rate, found in the Exchange rates table, that will be used to calculate the exchange rate difference.
Values used to create the transactions
For more information, we refer to our page Multi-currency transactions.
Amount of the transaction
- Transactions for exchange rate differences are being created only for the accounts in foreign currency which, at the specified date, have a different balance in basic currency compared to the calculated one.
- For the amount in basic currency, the difference between the account balance in basic currency and the account balance in foreign currency converted in basic currency is being used.
Account balance
For the calculation of the exchange rate differences, the balances in the account currency and in basic currency are being used, at the specified date.
Exchange rate profit and exchange rate loss accounts
As exchange rate profit and loss accounts are being used, in order of priority:
- The indicated accounts entered in the specific column of the chart of accounts.
- The exchange rate profit & loss accounts indicated in the File and Accounting properties.
Position of inserted rows
When using the command, while in the Transactions table, the rows are being inserted at the position of the cursor.
Otherwise, they will be inserted at the end or at the previous position in case they are replacing existing transactions.
Before using the command
- In the File and Accounting properties of the File menu, Foreign Currency section, make sure that the Exchange rate profit and loss accounts are being indicated. It is equally possible to indicate the same account for both the exchange rate profits or losses.
- Make sure that the accounts in foreign currency are being updated and that the balances in foreign currency of these accounts (for example bank accounts) correspond to the balance indicated by the bank.
- Update the current exchange rates of the Exchange rate table.
You should indicate the closing exchange rates or those of a period's end in the rows without a date, in the Exchange Rate column (do not modify the opening exchange rate in the Rate Opening column). In order to calculate the Exchange rate differences, the program uses the exchange rates of the rows without a date. If these last ones are absent, the program produces an error message.
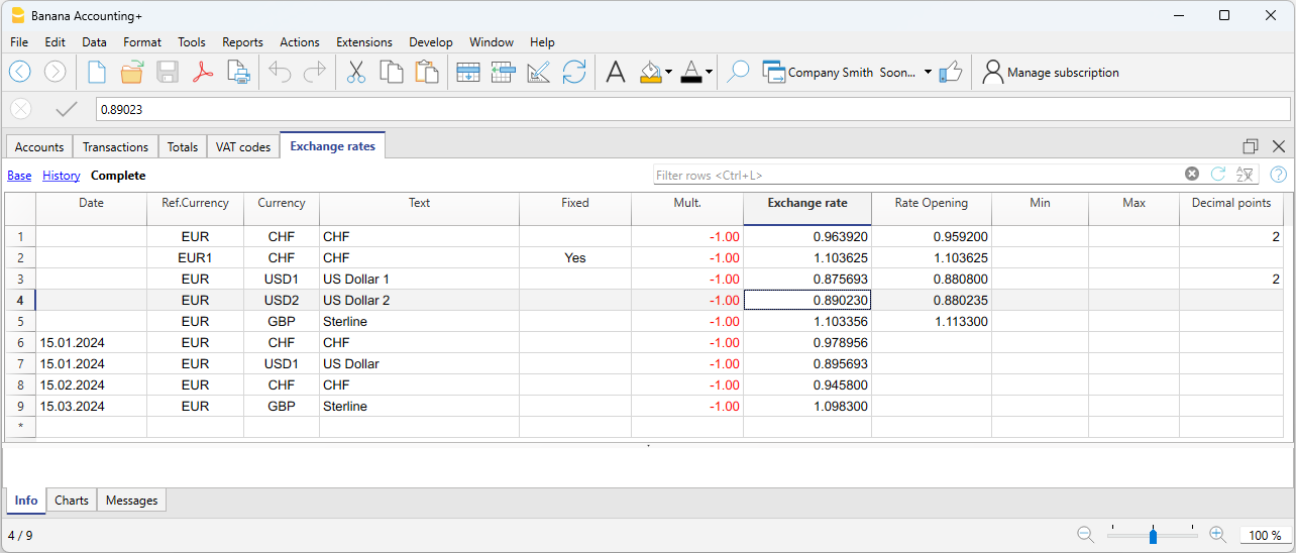
Opening exchange rates for the New Year
To make the Opening balances of the New Year in Basic currency correspond exactly with the closing balances of the preceding year, the Opening Exchange rates of the New Year, indicated in the Exchange Rate table, have to be the same as those being used for the closing of the accounting, so:
- The closing exchange rates have to be indicated in the Exchange rate column of the rows without a date;
- The opening exchange rates have to be indicated in the Rate Opening columns of the rows without a date.
The procedure of creating a new year or of the updating of the opening balances, copies the closing balances (Exchange rate column, rows without date) of the previous year into the opening exchange rates (Exchange rate table, Rate Opening column, rows without date) of the new year's file.
Exchange rate differences with cost centers
The Create transaction for exchange rate variation... command does not include any exchange rate differences present in cost centers in currencies other than the accounting currency. These differences must be recorded manually at the end of the year. The transaction should present only the accounting currency amount; indicate this amount first, then the cost center involved and the cost center currency. When the currency is entered, the amount in the currency of the accounting will be deleted and must be re-entered.
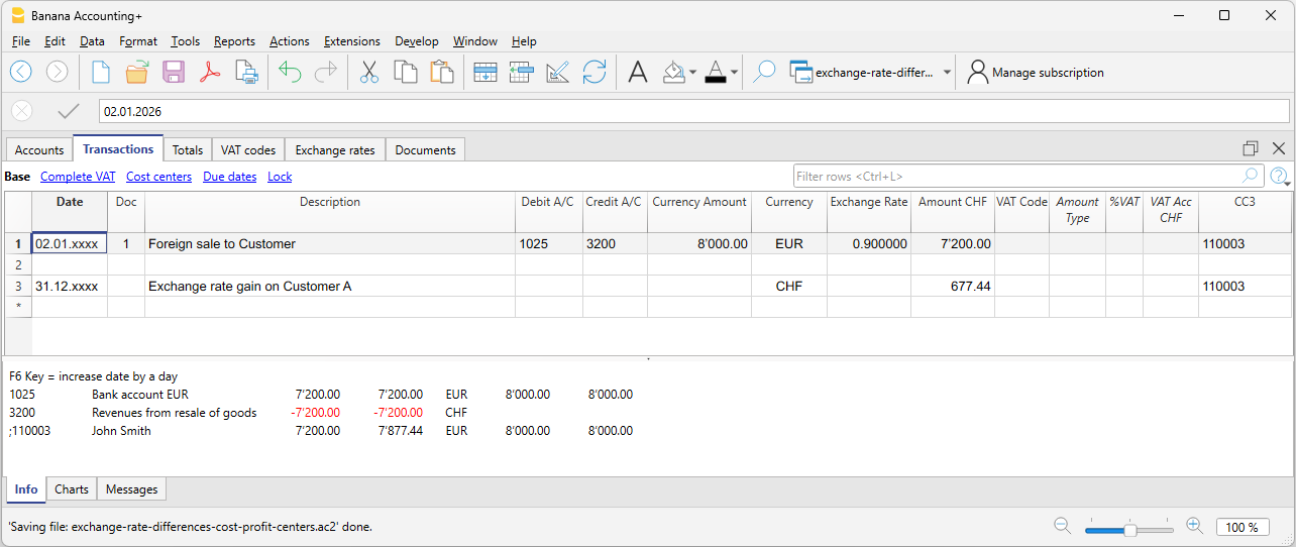
Change the basic currency in the multi-currency accounting
In multi-currency accounting all amounts are shown both in the account currency and in the basic currency. If you change the basic currency all exchange rates and amounts in basic currency must be re-entered manually.
It is recommended to change the base currency at the beginning of the year, when there are no operations yet. Anyway, you can still do it during the year, for example, if you want to change the basic currency of an existing accounting file (for example if your accounting file is in EUR and you want it in USD), proceed as follows:
- Save the file under a different name
- In the File properties
- Indicate the new basic currency
- Delete the reference to the previous year file ('Options' section)
- In the Exchange rates table enter the exchange rates referred to the basic currency:
- If there are many transactions to be converted, you can enter median exchange rates for each month in the exchange rate table, indicating the beginning of the month's date).The program will use the historic exchange rate in the transactions.
- In the Chart of accounts:
- Replace the old currency with the new one
You can use the Find and Replace function - If there are opening balances, you need to re-enter them in the new currency
- Also, the Previous year balance, budget and other columns must be converted
- Replace the old currency with the new one
- In the Transactions table:
If there are transactions, you need to correct them row by row:- For those transactions that are already in the correct currency, with the F6 key the program recalculates the amount in the new basic currency.
- For other transactions you need to enter the right amount in the basic currency and then press F6.
- In the Budget table:
Proceed just as in the Transactions table - Use the Check accounting command of the Actions menu, fix possible errors, and keep using the Check accounting command until there are no more error messages.
Budget
In the Budget Table the financial planning is entered. The entry of the transactions is identical to that of the Transactions table.
Depending on the type of accounting there can be different columns for the Budget.
There are also columns for entering Quantities and Prices and calculation formulas.
For more information about the Budget, see the Budget Table page.
Currency 2 balances conversion
Currency 2 is displayed in the Currency2 view of the Accounts table. It allows you to get an estimate of all account balances, including those in the base currency, in a different foreign currency defined as Currency 2.
To convert account balances into Currency 2, the currency must be defined in the Exchange Rates table, even if it is not listed in the Chart of Accounts. Currency 2 represents a temporary value: each time the exchange rate is updated, the converted balances are automatically recalculated.
The conversion uses the exchange rate indicated in the Exchange Rates table, in the Exchange Rate column.
If the Currency 2 exchange rate is changed, the amounts shown in the Currency2 view of the Accounts table are updated accordingly.
Since this is a current conversion and not a historical one, there may be differences between the balances in the original currency and the converted ones. For more details, see the Exchange rate issues page.
If you want to convert account amounts into a Currency 2 that is not yet present in the Exchange Rates table, you must first add it to the Exchange Rates table and then select it as Currency 2 in File > Basic data file properties, Foreign currency section.
Conversion logic
The conversion of amounts into Currency 2 takes into account the account currency, with the following logic:
- If Currency 2 matches the account currency, the amount in the account currency is used directly.
- If Currency 2 matches the base currency, the amount in the base currency is used.
- In all other cases, the amount is converted from the base currency to Currency 2 using the current exchange rate from the Exchange Rates table (Exchange Rate column).
Historical exchange rates are not used.
Opening Balances in Multi-Currency Accounting
Opening balances when starting with Banana Accounting
When using Banana Accounting for the first time, the opening balances must be entered manually to generate the Balance Sheet.
Before proceeding to enter the opening balances, it is important to make some fundamental settings:
Exchange rates table
- In the Exchange rates table, set the foreign currencies and the corresponding opening exchange rate, referred to the basic currency.
The opening exchange rate is only inserted if Banana Accounting is used for the first time, and is automatically updated in the subsequent years, when creating the new year via the Actions → Create new year menu, based on the final exchange rate of the the previous year's file. - The opening exchange rate must always be indicated in an undated row and must never be modified, except for errors or in case of special situations.
- The opening exchange rates must be identical to those of the previous year. See Differences in opening balances.
Accounts table
- Make sure that there is an account to record the exchange differences in the Chart of Accounts (Income Statement) and that this has been indicated in the File → File Properties (Basic Data) → Foreign currency menu.
- The opening balances must be entered in the Base view of the Accounts table, Opening currency column, for both the basic currency and the foreign currency.
- The Opening column (basic currency) is protected. The program automatically calculates the exchange value for the basic currency according to the opening rate indicated in the exchange rate table.
- Liabilities balances must be entered with a minus sign in front of the amount.
- After entering the opening balances of the financial statements, check that the total Assets are equal to the Liabilities, so that the accounting is balanced. If there are any differences in the opening balances, they must be checked and corrected.
- Go to the Accounts table, Base view, Opening column.
- Manually report the opening balances of the Assets and Liabilities accounts. Liabilities balances must be entered with a minus sign in front of the amount.
- Check that the total Assets is equal to the total Liabilities to have a balanced accounting. If there are any differences in the opening balances, they need to be checked and corrected.

Opening balances of Cost Centers and Segments
In the Accounts table, the Opening column can also be used to enter the opening balances of the Cost Centers.
To enter the opening balances of the segments, opening transactions must instead be made. More details are available on the Segments page.
Start with Banana Accounting during the year
If you start a new accounting, taking over work already done with other programs, there are two possibilities:
- Start accounting from the beginning of the year, by entering the opening balances at the beginning of the year (Accounts table, Opening column) and the transactions (Transactions table) that have already been previously recorded with other programs (also see Transferring data from other software). Thus you will have all the accounting details in one file.
- Starting from the date when the accounting is taken over:
- Enter the opening balances (Accounts table, Opening column), taking over the values of the other accounting.
In addition to entering the opening balances of the Assets and Liabilities accounts, it is also necessary to enter those of the Expenses (positive amounts) and Revenues (negative amounts). - The operating result up to that point must be disclosed in the Profit / Loss carried forward account.
If it is a profit, the opening balance must be entered in negative, if it is a loss, in positive . - Check that the sums of the opening balances are zero, so that the program does not signal any differences.
- Enter the new entries in the Transactions table.
- Enter the opening balances (Accounts table, Opening column), taking over the values of the other accounting.
Opening balances as opening transactions
Opening balances can also be entered as opening transactions in the Transactions table, both for all balance sheet accounts and for some categories of accounts, such as those of the segments, which must be manually posted in the Transactions table.
For each opening transaction, proceed as follows:
- Indicate the accounting start date as the transaction date.
- In the Doc Type column, enter the code "01".
- Indicate the debit or credit account and the amount.
- The total of the opening debit balances must match those in credit.
Opening balances entered as transactions are used when preparing reports. When there are opening balances in the Opening column of the Accounts table and the opening balances of some accounts are also manually entered in the Transactions table (e.g. opening segments balances), these are automatically added to those present in the Opening column of the Accounts table.
Entry via transactions can be useful if different opening rates than those of the exchange rate table are required. If you use this procedure, you need to be clear about the accounting and legal implications.
Balances of the previous year
If you start a new accounting by taking over an existing accounting and you want the previous year's values to appear on the printouts, it is necessary to enter the previous year's balances in the Previous view, Previous Year column of the Accounts table:
The previous amounts are displayed in the printouts of the Enhanced balance sheet in the Previous Year column.
- Enter the closing balances of the previous year of the Assets accounts.
- Enter the closing balances of the previous year of the Liabilities accounts (insert the minus sign in front of the amount).
- Enter the last year's closing balances of the Expenses.
- Enter the final balances of the previous year of Revenues (insert the minus sign in front of the amount).

Create new year
When you start the new year, the program automatically carries over the opening balances to the following year.
Consult the Create New Year lesson.
Print opening balances
To print the opening balances:
- To print the contents of the table, use the Print / Preview command, by selecting the rows of the Balance Sheet.
- You can also use the Accounting printouts and set the printout only for the Balance Sheet part and the opening column.
Printouts
All the printouts of the Balance Sheet, Profit and Loss Statement, and the various Accounting Reports are available from the Reports menu. Each command has various options for customizing the various printouts.
To print the content of the tables, please refer to the Page setup section (last paragraph).
The printouts have the same features as those of the Double-entry accounting, but with the display of columns and values of foreign currencies, exchange rates and counter values in basic currency.
The principal printouts available:
Account card multi-currency accounting
Columns and views of the account card
In the Account card, there are three groups with of columns. In the headers of the Debit, Credit and Balance columns, the initials of the respective coins are indicated.
- Basic currency
Indicated are the opening balance, the transactions, and the balance in basic currency. - Account currency
The transactions in the Account currency are being indicated.
When the accounts are in Basic currency, these values are identical to those of the Basic currency. - Currency2
For every transaction, the amount in Currency2 is being indicated. The logic of for converting amounts depends on the account currency, see Converting to Currency 2 on the Multi-Currency File Properties page.
For the account card the amounts of the transactions are converted with the following logic:- For the opening or carry forward rows, the account balance is converted.
- For the transactions
- The Debit and Credit amounts in Currency 2 are converted.
- The balance of the account in Currency 2 is calculated by adding the amounts in Currency 2 resulting from the conversions.
It is possible that the final balance of the Currency 2 account is not equal to the balance of the currency account converted to Currency 2. See the Exchange rates issues page for possible rounding differences
-
Transaction currency
It is not visible if it is not equal to the account currency or not in Basic currency. If an account is registered in a currency different from the account currency, but equal to Currency2, the amounts in Currency2 will not be the original ones, but those converted from the basic currency.
Views of the Account cards
In the multi-currency account card there are several views, each of which displays certain columns at the same time. As you move from one view to another, the columns change.
You can change the arrangement of the columns and create additional views. More details about the views can be found at the following link: Tables setup.
Data editing
It is not possible to modify the data in the Account card. Double-click on the (underlined) row number to go back to the original corresponding row of the Transactions or Budget table. More details are available on the Account card page (paragraph Updating the Account card).
Info Window
In the lower part of the screen, the Info window, the values of the accounts related to the active transaction are being indicated.
- Account number
- Account description
- Transaction amount of the account in Basic currency
- Actual Account Balance in Basic currency
- Account's currency symbol
- Transaction amount of the account in the Account currency
- Actual Account Balance in Account currency
Enhanced balance sheet multi-currency accounting
The Enhanced Balance Sheet in the multi-currency accounting is done the same way as the one in double-entry accounting. Information is available at the following link: Enhanced Balance Sheet.
The difference consists in the fact that the foreign currency accounts report the amounts in foreign currency as well as in basic currency (amount converted).
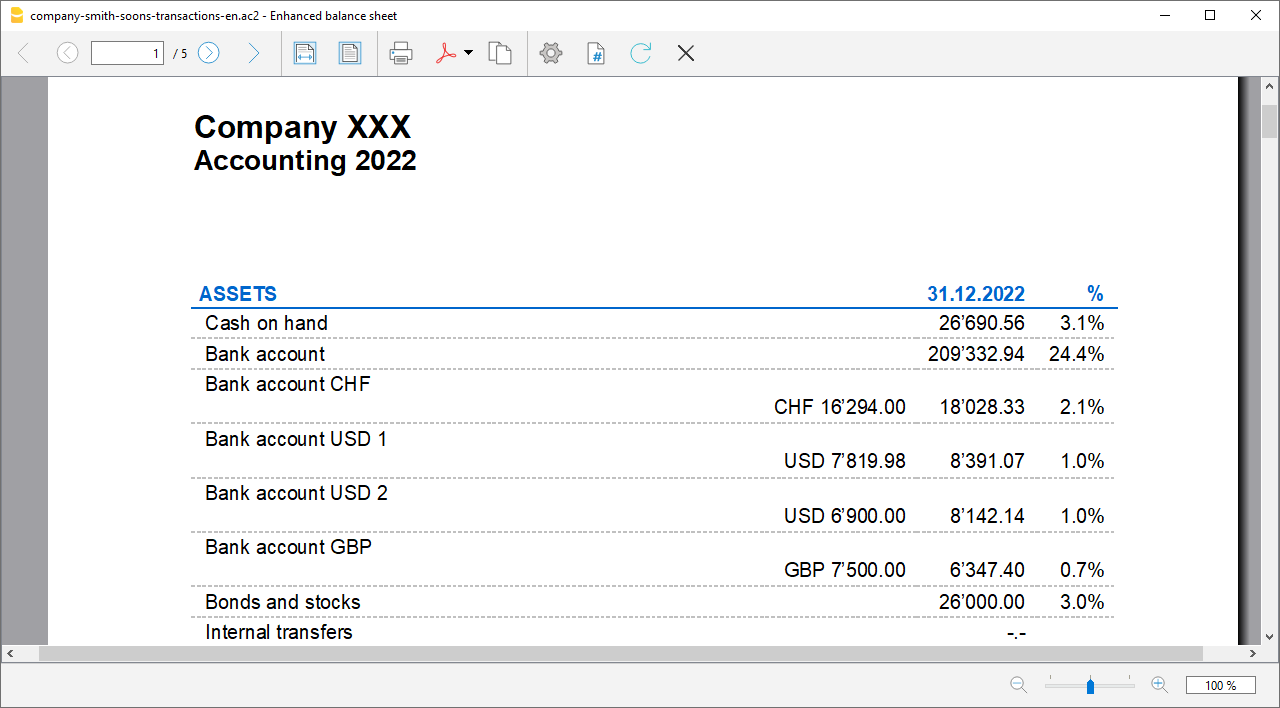
Enhanced balance sheet by groups multi-currency accounting
The Enhanced Balance Sheet by groups in multi-currency accounting is done the same way as the one in double-entry bookkeeping. Information is available at the following link: Enhanced Balance Sheet by groups.
Watch the video tutorial that shows how to create and print the Enhanced Balance Sheet with groups.
The difference consists in the fact that the foreign currency accounts report the amounts in foreign currency as well as in the basis currency (amount converted).
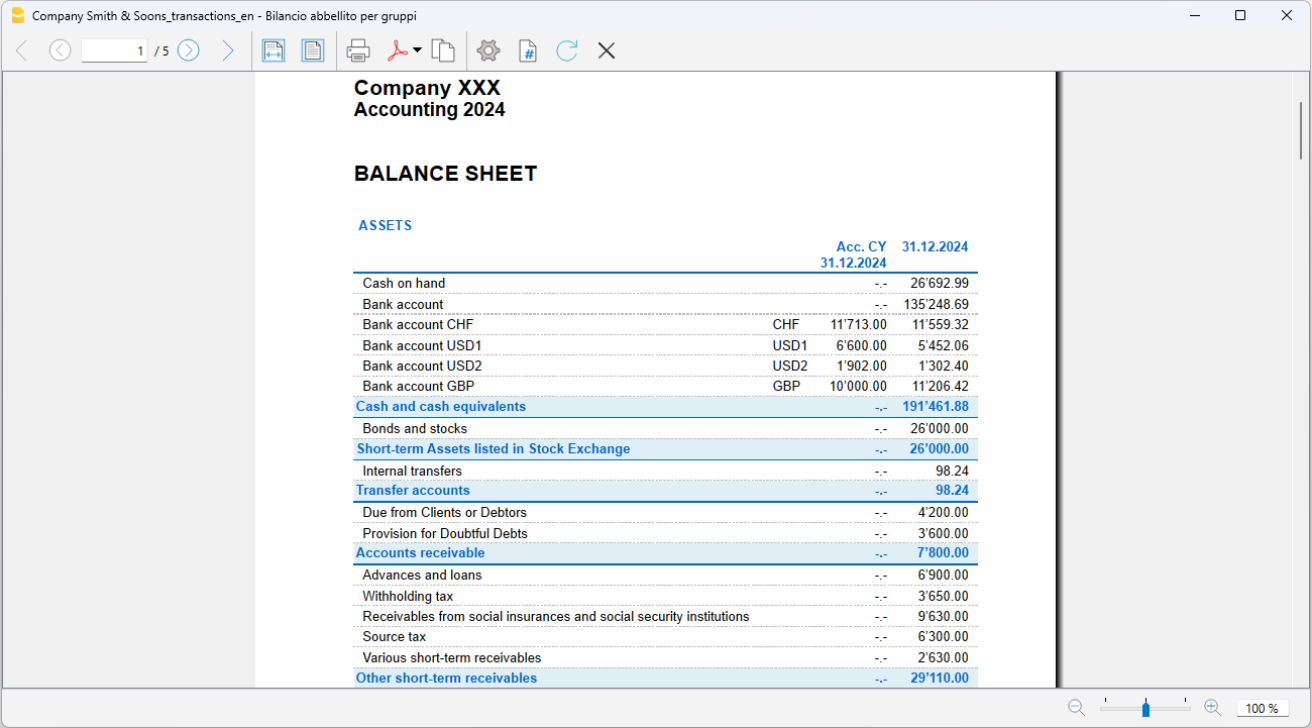
Accounting reports multi-currency accounting
Accounting Reports in multi-currency accounting are done the same way as the ones in double-entry bookkeeping. Information is available at the following links: Accounting report; External accounting report; XBRL CH report
Bilancio in una seconda moneta
Banana Contabilità consente di visualizzare il bilancio anche in una seconda moneta, oltre alla moneta base (normalmente la moneta nazionale).
La funzione della seconda moneta (Moneta 2) permette di visualizzare il bilancio e i saldi dei conti in una valuta diversa dalla moneta base, senza generare registrazioni contabili.
Come ottenere un bilancio in una seconda moneta
- Impostare un file in partita doppia Multimoneta
- Inserire la sigla della moneta base:
nel menu File > Proprietà file (Dati base) > sezione Contabilità - Inserire la sigla della seconda moneta
nel menu File > Proprietà file (Dati base) > sezione Moneta estera - Impostare la seconda moneta nella tabella Cambi.
Nota importante
I saldi dei conti, nella vista Moneta 2, vengono convertiti in base all’ultimo cambio impostato nella tabella Cambi e sono visibili nella Tabella Conti – vista Moneta 2.
Come evitare il ricalcolo automatico dei saldi in moneta 2
Quando il cambio viene modificato, il programma ricalcola automaticamente tutti i saldi nella Moneta 2, in base all'ultimo cambio inserito nella tabella cambi.
La conversione dei saldi nella Moneta 2 è sempre visibile nella Tabella Conti – vista Moneta 2.
Ogni variazione del cambio influisce esclusivamente sulla visualizzazione dei saldi e non modifica i valori contabili nella moneta base.
Se si desidera evitare che i saldi in moneta 2 vengano ricalcolati ogni volta che si modifica il cambio, è possibile procedere come segue:
- Inserire nella tabella Cambi una moneta supplementare per la Moneta 2 (ad esempio USD 1).
- Nelle Proprietà file (Dati base), sezione Moneta estera, selezionare la sigla della moneta supplementare inserita, che apparirà nell’elenco delle monete estere.
- Quando si desidera visualizzare i saldi nella Moneta 2, impostare manualmente il cambio desiderato per la relativa sigla nella tabella Cambi.
Maggiori informazioni sono disponibili alla pagina:
Year end closing operations | Multi-currency accounting
At the end of the accounting year, before moving into the New Year, in addition to checking for errors and differences in the accounts, it is necessary to perform a series of closing operations. These are very important because they give a correct and complete overview of your business, and they also have fiscal implications.
Technical aspects and new year
With Banana Accounting each accounting year has its own separate file; technically there is no concept of accounting closure:
- When a New Year starts a new file is created with the Create New Year command.
- You can keep working on both the New Year's file and the previous year file at the same time. Once the closing operations are complete, you can update the opening balances of the New Year's file.
Tax matters
Before closing the accounting, a series of operations with tax implications must be carried out. This includes balancing the inventory account, recording depreciations, accruals (both active and passive), filing VAT declarations, determining how and on which accounts profit should be allocated, and performing various other verification and control operations.
From a program perspective, the amount of profit at the end of the year may be irrelevant, but it significantly changes from a tax standpoint. These aspects need to be reviewed with your tax advisor and accountant. If you're managing accounting for the first time, it can be helpful to consult an expert before proceeding with closures to understand the requirements. Accountants are usually very busy towards the end of the year and in the months leading up to the tax filing deadline; therefore, it may be useful to meet with your accountant or send them the accounting records a few months before closing to determine the appropriate course of action.
The Check Accounting command
Banana Accounting allows you to quickly record transactions and even leave some operations pending without interrupting the workflow
The Actions > Check Accounting command performs a series of checks, as if entering the data again from the beginning, and whenever errors or discrepancies are detected, they are reported.
It is recommended to use the Check Accounting command regularly and every time there are differences or error reports, significant changes (initial changes, VAT codes), and especially before closing the accounts.
Control and verification operations
Before printing the final financial statements it is important to proceed with the verification operations:
Checking the opening balances
- Differences in opening balances
Current year opening balances must correspond to previous year's final balances, and there must be a balance between the Assets and Liabilities payable, otherwise the accounting is not correct. - In the Accounts table, in the Opening and Balance columns, the row 'Difference must be zero' should not have any amount. Otherwise, it is necessary to find the error and correct it to have the opening balance squared. Note: In the Movement view, in the Debit and Credit columns, it is normal to have amounts
- Differences in opening exchange rates
As a rule, opening exchange rates are set at the beginning of the year. It may happen however that some verification procedures have been left pending; therefore before closing the accounting it is important to make sure that:- The exchange rates at the beginning of the year are the same as the final ones on 31.12 of the previous year,
- The exchange rates used are the ones provided by the Federal Administration, as indicated below.
- Differences between bank balances on bank statements and account balances (CheckBalance function)
It is important to check the correspondence of bank, postal, credit card, and other account balances that have to be included in your tax returns. - Differences in the Transactions table
In the Information window at the bottom of the screen, no difference must be shown. Banana Accounting Plus, in the Transactions table, also offers the possibility to view the Balance column, which allows you to detect all the rows where differences are created. - Ensure that the active and passive carryovers from the previous year are closed.
- Verify that the opening balances match the final balances of the previous year, already audited and declared to the Tax Office.
- For multi-currency accounting, refer to the specific page Opening balances for multi-currency accounting
- Detailed explanations can be found on the Double-entry accounting closing operatitions page.
- The Actions > Check Accounting command performs a series of checks and reports any differences and errors.
Closing accounting transactions
In a multi-currency accounting, as in double-entry accounting, before moving on to the New Year, some closing accounting operations are necessary. These are adjustment transactions, value adjustments, and adjustments related to personnel contributions. Here are the main ones:
Import payroll transactions into the accounting file
This operation is only applicable if the payroll is managed using specific software that allows for the import of transactions into the Banana Accounting Plus file.
The import is performed from the Actions menu > Import into accounting > Import transactions with column headers.
Remember to include the recording of the December thirteenth salary installment if it is not generated by the payroll software.
Adjustment of the Delcredere account
Companies that include potential losses in their turnover must adjust the Delcredere account.
Detecting open invoices from customers and suppliers as of December 31st.
To streamline the process, you can quickly identify the values as of December 31st using the function for open invoices by customer and open invoices by supplier.
Closures and VAT declaration
Before submitting the VAT declaration, we recommend the following checks:
- Use the Check Accounting command. In case of errors and discrepancies, you will find messages in the information window at the bottom, in the Messages section.
- Verify that there are no differences in the Balance column of the Transactions table.
- Check bank balances to ensure they match those sent by the bank.
- Verify that the automatic VAT account after reversing the balance in the due VAT account (VAT to be paid to the tax authority) is zero. The due VAT account should show the amount to be paid or the credit amount to be received.
- Before submitting the final VAT declaration, review the VAT statements from previous quarters again to ensure that the amounts paid to the tax authority are still consistent with those displayed.
- Use the VAT Summary command to view various reports and create a PDF printout for data archiving. These will be useful in case of tax audits.
Adjust the Source tax account
After calculating and recording the December salaries, based on the calculation sent to the Source Tax Office, register the adjustment.
Reimbursements for upper-level employees
If applicable, include in the December salary the amount specified by the tax authorities as a flat-rate reimbursement.
Adjustment of Private Account
Verify the balance of the private account. In the case of debit/credit relationships between the company and the owner(s) or related individuals, record active or passive interests according to the terms of the loan agreement or prevailing tax regulations.
Adjustment of the Taxes and Duties Account
Verify that the installments paid during the year correspond to the current year. Payments of taxes related to previous years should be recorded when closing the related provisions that appear in the "Direct Taxes" account (balance sheet). If the balance of the provisions is not sufficient or is excessive, the difference should be recorded as extraordinary expense/income or related to previous periods.
Registration of AVS/AD/IPG/AD Adjustments
- Throughout the year, in the AVS contributions account, advances paid to the AVS Compensation Fund (credited) and contributions withheld from employees' salaries (debited) are usually recorded.
- If family allowances paid to employees during the year have been recorded in a dedicated account, for example, in the "Family Allowance Contributions" account, to reconcile the accounts with the AVS closing balance and record the corresponding adjustment, the balance of this account can be transferred to the AVS/AD Contributions account.
Registering Lainf, Complementary Lainf, and LPP Pension Adjustments
When recording the last salaries of December and the payment of the thirteenth salaries, it's necessary to print the list of salaries showing all gross salaries. The overall AVS gross amount must be communicated to the personnel insurance companies, which will determine any adjustments to be paid.
In multi-currency accounting, similar to double-entry accounting, certain closing accounting operations are required before moving to the new year. These include adjustment entries, value adjustments, and reconciliations related to personnel contributions.
On the Year end closing operations page in double-entry accounting, both accounting and tax-related closing operations are listed.
Below, we will address the topics related to closing entries for exchange rate differences.
Year-end exchange rates and unrealized gains/losses
In order to obtain financial statements, foreign currency accounts must be converted to the base currency at the current or historical exchange rate. Exchange rates variations result in unrealized exchange rates gains or losses. These must be recorded with the following command from the Actions menu:
- Create transactions for exchange rate differences
- Please refer to this page for the entire subject of setting exchange rates and calculating unrealized gains and losses.
- Please note that the closing exchange rates must be entered in the Exchange rate table in rows without a date. These exchange rates are taken over by the program for the calculation of the opening balances of the New Year. If exchange rates with dates are entered, there will be differences in the opening balances of the New Year.
- If there are rows with dates in the Exchange Rates table (historical exchange rates), when closing the accounts, for calculating exchange rate differences, it is recommended not to activate the Use historical exchange rates (rows with dates) option. This ensures that the program uses the updated exchange rate found at the beginning of the exchange rates table, in the rows without dates (in the Rate column)
After the recording of the exchange rate differences, the balances in basic currency are updated according to the closing exchange rates entered in the Exchange rates table (rows without date). In the Chart of Accounts, the balances in the Balance column are equal to those in the Calculated Balance column.
Sending the file to the accountant for closures
If closures and/or checks are carried out by your trustee, you can simply send the file of your accounting created with Banana Accounting Plus via email or save the data on a USB stick.
- If your trustee uses Banana Accounting, you can simply transmit the AC2 file via email or through a USB flash drive. You can also save your file and digital documents in a shared folder with your trustee on Dropbox. You will no longer need to bring heavy binders of paper documentation to the trustee. Furthermore, the trustee will work quickly without having to search through paper documentation.
- If your trustee doesn't have Banana Accounting, you can create a PDF of the accounting data through the File > Create PDF folder menu and transmit the documentation via email. The trustee will indicate all the changes and additions to be recorded to properly close the accounting period.
Alternatively, your trustee can open your accounting file using the Free plan of Banana Accounting Plus, downloading it from our Download page. If your file has more than 70 transactions, your trustee won't be able to add new transactions or make changes, but they can still view all the data, obtain details of each account with a simple click on the account number, etc., and advise you on possible corrections or improvements.
Once the closing and verification entries are executed, it is recommended to lock the transactions
- Actions > Lock Transactions
The transactions rows will be numbered and will have a blockchain code that ensures their security.
End of year printouts
For end-of-year financial statement printouts, you can find the information by clicking on the following links:
PDF Folder
The Create PDF folder command allows you to have all the documents of the entire accounting exercise (account sheets, journal, VAT statements, monthly, quarterly, and annual reports...) in a single PDF file.
You can archive the accounting data by saving the accounting file and prints in PDF format. Optionally, make backup copies on an external disk drive.
On the Preparing documentation for the Audit page, we have published a series of notes and suggestions regarding the documentation to be sent to the auditor. The completeness of the documentation is a good basis for making the auditor's work more efficient and faster.
In Banana Accounting, the allocation of profit or loss occurs automatically at the beginning of the new year. For more information, please refer to the Create New Year page.
Normally, once the closure has been completed, there should be no recorded modifications. However, sometimes there is a need to make changes to the accounts, as in the following cases:
- Unrecorded exchange rate differences at closure
- Unrecorded missing transactions
- Errors in the transactions.
In these cases, it is recommended to proceed as follows:
- If you have already submitted the data to the authority, or if the accounts have already been audited and the balance sheet presented to shareholders or stakeholders definitively, do not make any changes to the accounts, as any modifications could be considered falsifications, with potential legal consequences.
- Make necessary adjustments in the following year, clearly describing the issue in a document that you will need to attach to the adjustment transactions.
- If you forgot to record exchange rate differences, follow the information on our website under Differences in opening balances.
- Obviously, depending on the situation, there may be tax consequences, so it is better to seek advice from your accountant.
- If the legal framework allows you to make changes to a closed year:
- Proceed with caution, limiting yourself to only the truly necessary modifications. If you forgot to record exchange rate differences, follow the information on our website under Create exchange rate differences.
- Review the accounts and perform all necessary checks to ensure that the changes do not cause any issues.
- After the modifications, open the file for the following year and update the opening balances using the Update opening balances command.
New Year | Multi-currency Accounting
Before moving on to the new year make sure you have carried out all the checks, verifications and closing entries as indicated on the following pages
- Year end closure of the Double-entry Accounting
- Year end closure of the Multi-currency accounting for exchange rate issues
All accounting information relating to the opening of the new financial year can be found on the page
In the following, we will limit ourselves to information on exchange rate issues in Multi-currency accounting.
Creation of a new accounting period
When switching to a new accounting year, the program automatically carries over the opening balances to the following year. More details are available on the page Create new year.
Also in the Multi-currency accounting, it is possible to decide to switch to the new year, even if the previous year has not been definitively closed (because entries have not yet been made, exchange differences have not yet been calculated, or the operating result has not been distributed).
It is important, however, that before closing the year, the exchange rate differences are calculated in the year that is about to close, from the menu Actions → Calculate exchange rate differences.
Then, in the new accounting period previously created, you can update the opening balances from the menu Actions → Update opening balances.
Differences in opening balances
In the event that there are differences in the opening balances in the new accounting period, we advise you to carry out all the checks and controls suggested on the Checks and verifications page.
If the differences are due to exchange rate differences not calculated in the previous accounting period, follow the instructions on the page Differences in the opening balances.
Print opening balances
To print the opening balances:
- To print the contents of the Table use the Print/Preview command, selecting the rows of the Balance sheet.
- It is also possible to use the Accounting Printouts and set the print only for the part of the Balance sheet and the opening column.
Differences in the opening balances | Double-entry accounting multicurrency
When the opening balances do not match the closing balances of the previous year, the program indicates a currency exchange difference in the initial balances.
This happens because the foreign currency values, converted into the base currency, are no longer aligned.
The most common causes are:
- Exchange rate differences not recorded in the previous year.
- Changes to foreign currency transactions after the exchange rate differences were created.
- Use of a historical exchange rate instead of the closing rate, which is present in the Exchange Rates table, in the Exchange Rate column.
- During the year, you can use the exchange rates with a date from the Exchange Rates table (historical rates).
- For year-end closing and opening of a new accounting file, you must not use historical exchange rates.
The program considers only the exchange rates of the rows without a date.
If you recorded the exchange rate differences using a historical exchange rate, remember to also update the row without a date in the previous year:
The exchange rate indicated must match the last rate used to generate the exchange rate differences.
The procedure is described on the documentation page Exchange Rates Table in the following paragraph.
How to record exchange rate differences
To correctly record exchange rate differences, you must:
- Update the Exchange Rates table, column Exchange Rate, with the official rate of 31.12, provided by the Federal Tax Administration.
- The closing rate must appear in the rows without a date.
- It is not possible to use a historical exchange rate (rate with a date), otherwise exchange rate differences may occur.
If, when opening the new year (from the menu Actions > Create new year), or when updating opening balances (from the menu Actions > Update opening balances), the exchange rate differences are not recorded, the program will indicate a difference in the initial balances in the new accounting year.

To resolve this issue, there are two possible solutions:
- If the accounting year has not yet been definitively closed (and, if applicable, also audited):
- Enter in the Exchange Rates table, column Exchange Rate, in the rows without date, the official exchange rates of 31.12 (or the closing rates provided by the company's statute).
- Activate the command from the menu Actions > Create exchange rate difference transactions.
- Open the file for the new year and Update opening balances.
- If the accounting year has been definitively closed (and, if applicable, also audited):
- Open the newly created accounting file.
- Enter in the Assets or Liabilities (Accounts table), in case of a positive or negative exchange rate difference, a new account Unrecorded exchange rate differences, or simply record the amount in account 1090 Transfer account (as in the example below).
- In the Opening currency column, enter the amount corresponding to the exchange rate difference.

- In the accounting of the new year, in the Accounts table, Opening currency column, a balance related to the exchange rate differences has been generated.
To adjust the difference, proceed as follows:- In the Transactions table, on January 1st (or on the statutory opening date), record the exchange rate difference amount in the account Unrecorded exchange rate differences, or as shown in the example, in account 1090 Transfer account, using as counterpart the exchange rate differences account (Gains and/or losses on exchange) in the income statement.

After recording the adjustment for exchange rate differences, the account used should have a balance of 0, or equal to the balance prior to recording the exchange rate difference.
If it is a gain on exchange, the difference amount should be entered in a liabilities account, or in assets with a minus sign in front of the amount.

This amount, which initially affects the income statement of the new year, is then canceled with the first exchange rate update operation, which can be done according to your needs during the year. Otherwise, if the exchange rate update is only done at year-end, the exchange rate gains and/or losses account will still be correctly adjusted.
Warning:
If the exchange rates are updated only at year-end, the interim Balance Sheet and Income Statement will be “affected” by the amount of the Exchange Rate Difference related to the Opening adjustment.
Accounting with cryptocurrencies
Banana Accounting allows you to manage any currency, including the Bitcoin, Ethereum and any other cryptocurrency, even the ICO (Initial Coin Offering), using any abbreviation and allowing for up to 27 decimals and freely settable exchange rates. Precise values and account statements are generated. In Banana Accounting, you will always have the exact values for each individual currency.
Any currency can be selected as the base currency, EUR, US$, Bitcoin and any currency can be managed.
Single or multiple currencies
When you are keeping accounts, you must first decide whether you are doing so in one single currency or if multiple currencies are required.
The Cash book and Income & Expense accounting work with one single currency, whereas Double-entry accounting allows for you to keep accounts in several different currencies.
The base currency is defined in the File prpoerties of the accounting (of the File menu). The program displays a list of predefined currencies, but you may indicate any other currency code.
For Double-entry accounting, amounts are indicated in the account currency as well as the base currency. Amount in the base currency can be added up and are therefore used for the preparation of the Balance Sheet, the Profit & Loss statement, as well as the different reports.
When selecting Multi-currency accounting, the currencies that you require can be be set up in the Exchange rates table, indicating the exchange rates between the different currencies. National or cryptocurrencies can be managed without restrictions and any code can be used.
Changing decimal points for the accounting
Decimal points are implemented when the accounting file is created, in order to avoid rounding up differences. Amounts are rounded up according the same method, thus avoiding differences that sometimes occur in Excel.
When starting a new accounting, it is advised to use an existing template, which is usually set up with 2 decimal points.
If you need to manage your accounting or accounts with a higher number of decimal points, you need to "re-create the file" with the following command
- Tools Menu → Convert to new file ...
The program will generate a copy of your file with the new Outline created for your new file, including the appropriate decimal points required. For Multi-currency accounting you will have to indicate:
- The decimal points in the base currency.
- The decimal points for accounts in foreign currencies.
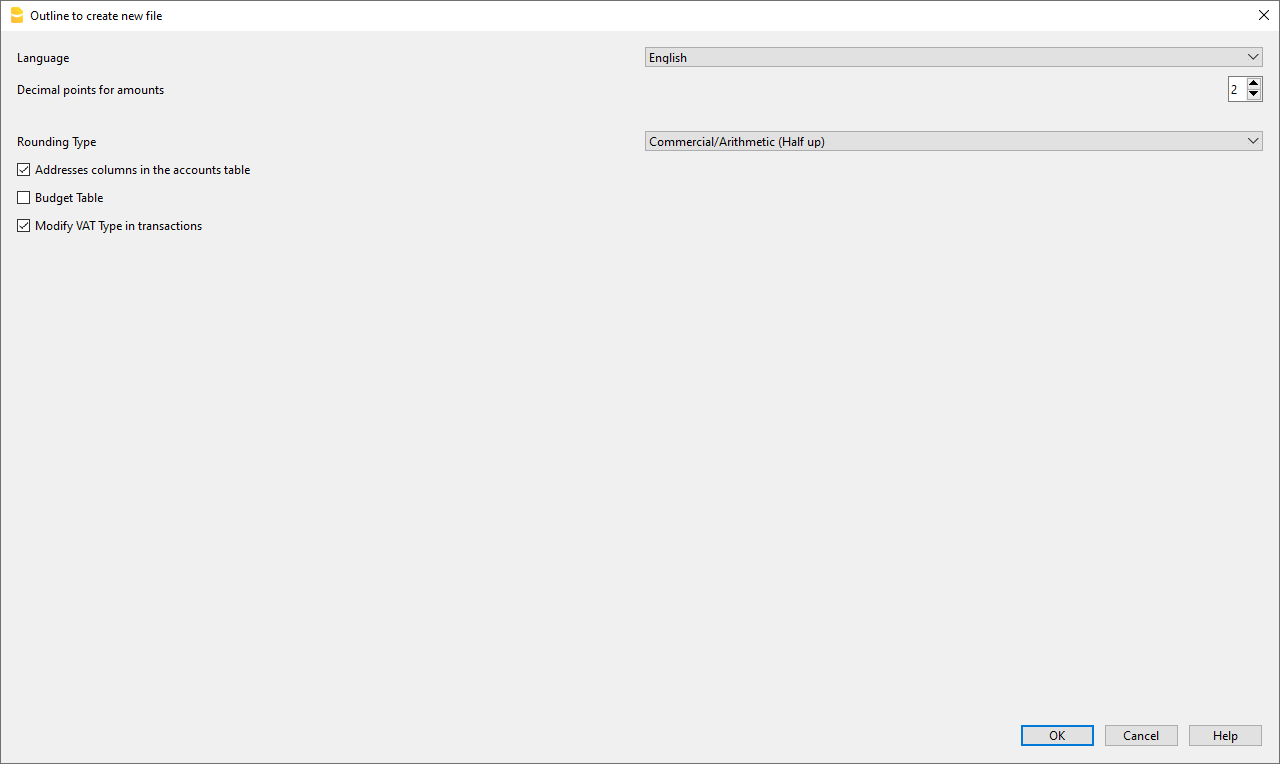
Setting up decimal points for foreign currencies
When using multi-currency accounting in Double-entry accounting, rounding up needs to be indicated for amounts in foreign currencies.
Decimal points for foreign currency should generally not be inferior to those in use for the base currency.
When managing cryptocurrencies such as ETH, you must indicate 18 as a value in the conversion file.
The different currency codes must be indicated in the Exchange rates table, with the related opening and current exchange rates.
The currency code must be indicated for each account in the Accounts table of the Chart of Accounts.
In the Currency column, the amounts are therefore displayed therefore with the maximum number of decimals, also for the currencies that do not use as many decimals. If you want to have a smaller number of decimals, you can set it up in the format of the desired column. For example with "0.00000" will display only 6 decimals.
Currencies and decimal points
Currency codes are available and can be consulted in the relative Wikipedia page, with indication of decimal points commonly used.
- Currencies generally use 2 decimal points.
- Currencies with 0 decimal points are
- BIF Burundian Franc
- CLP Chilean peso
- DJF Djiboutian franc
- GNF Guinean franc
- ISK Icelandic króna
- JPY Japanese yen
- KRW South Korean won
- PYG Paraguayan guaraní
- RWF Rwandan franc
- UGX Ugandan shilling
- UYI Uruguay Peso en Unidades Indexadas
- VUV Vanuatu vatu
- XOF CFA franc BCEAO
- XPF CFP franc (franc Pacifique)
- Currencies with 3 decimal points are
- BHD Bahraini dinar
- IQD Iraqi dinar
- JOD Jordanian dinar
- KWD Kuwaiti dinar
- LYD Libyan dinar
- TND Tunisian dinar
- Currencies with 4 decimal points are
- UYW Unidad previsional
Cryptocurrencies
There is a multitude of cryptocurrencies, each carrying their own name and code.
There is no indication for their decimal points. For the best known they are
- BTC Bitcoin with 9 decimal points.
- ETH Ethereum with 18 decimal points.
Multiple other virtual currencies are based on the Ethereum blockchain and require 18 decimal points.
Indicate the appropriate decimal points for the required currency in the Outline create new file dialog (see image above).
Income & Expense accounting
The Income and Expense Accounting is exclusive to Banana Accounting Plus and is designed for those who are not accounting specialists.
Thanks to the intuitive interface, you can easily enter your income and expenses, and generate professional reports in just a few clicks, even if you’ve never done accounting before. You always have everything under control: your data is clear, organized, and visible in the table.
Ideal for those new to accounting
This type of accounting is based on a table and column structure, similar to Excel, but specifically designed for accounting management. There’s no need to enter formulas: everything is made to be intuitive and straightforward. You can edit and correct the data at any time, without worrying about making mistakes.
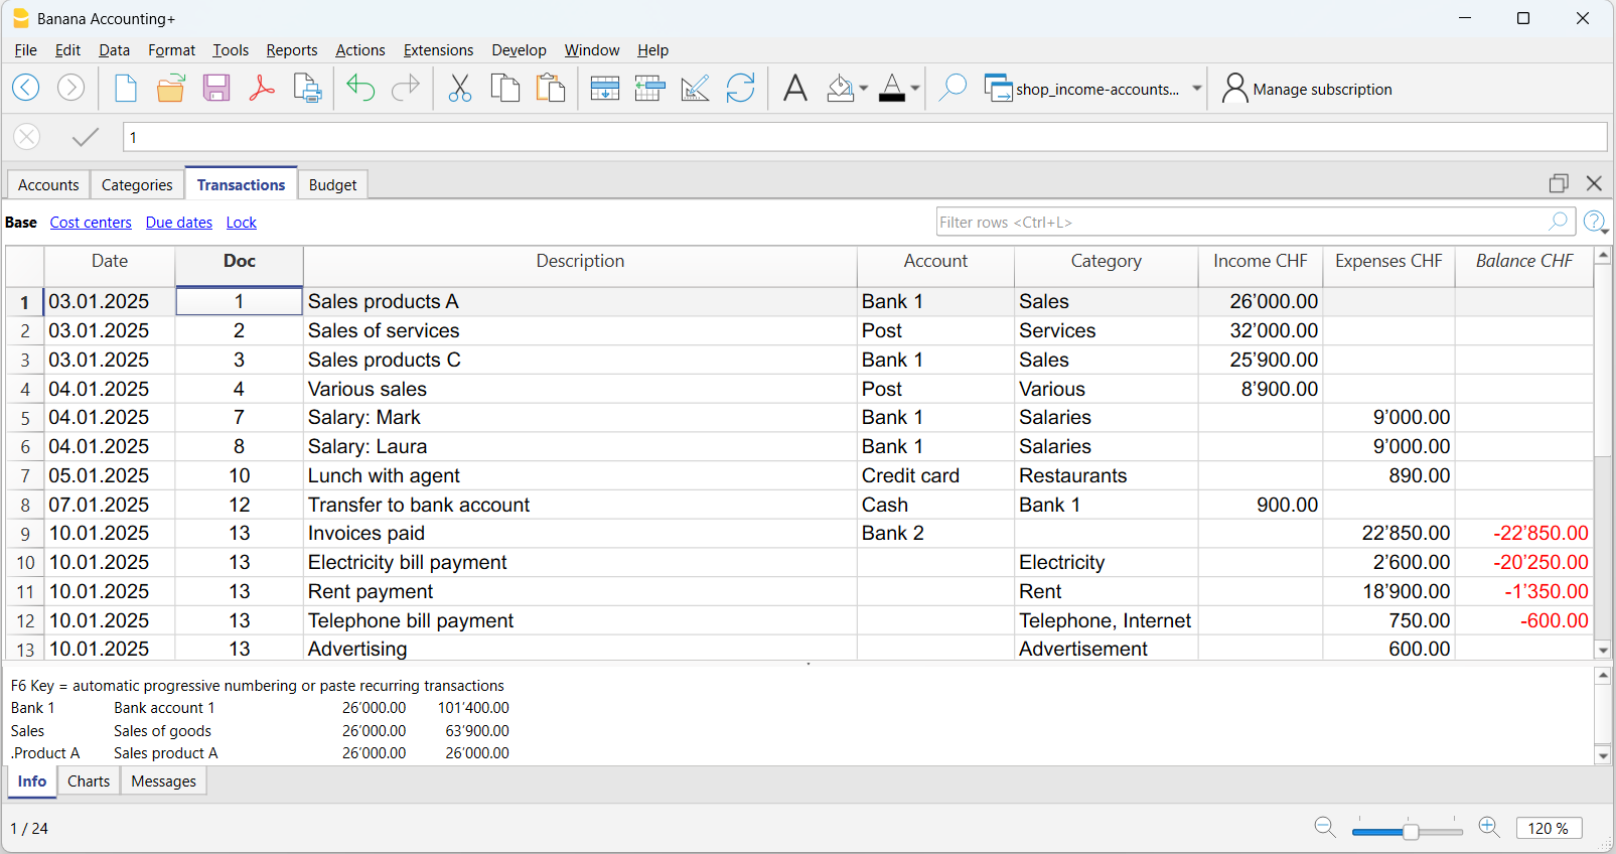
A versatile solution ideal for:
- Micro businesses and freelancers
- Associations, foundations, and guardianships
- Families and individuals
- Accounting management of projects or real estate
Everything you need to get started right away
Easily enter income and expenses
Recording income and expenses is very simple. In the Transactions table you’ll find all the columns ready for you to enter data in a clear and organized way. You just need to enter:
- The date
- Optional document number and link to the digital document
- The amount received or spent
- The account where the money comes from or is going to (cash, bank, post)
- The category, which represents the reason for the income or expense (rent, phone bills, etc.)
The program takes care of the rest!
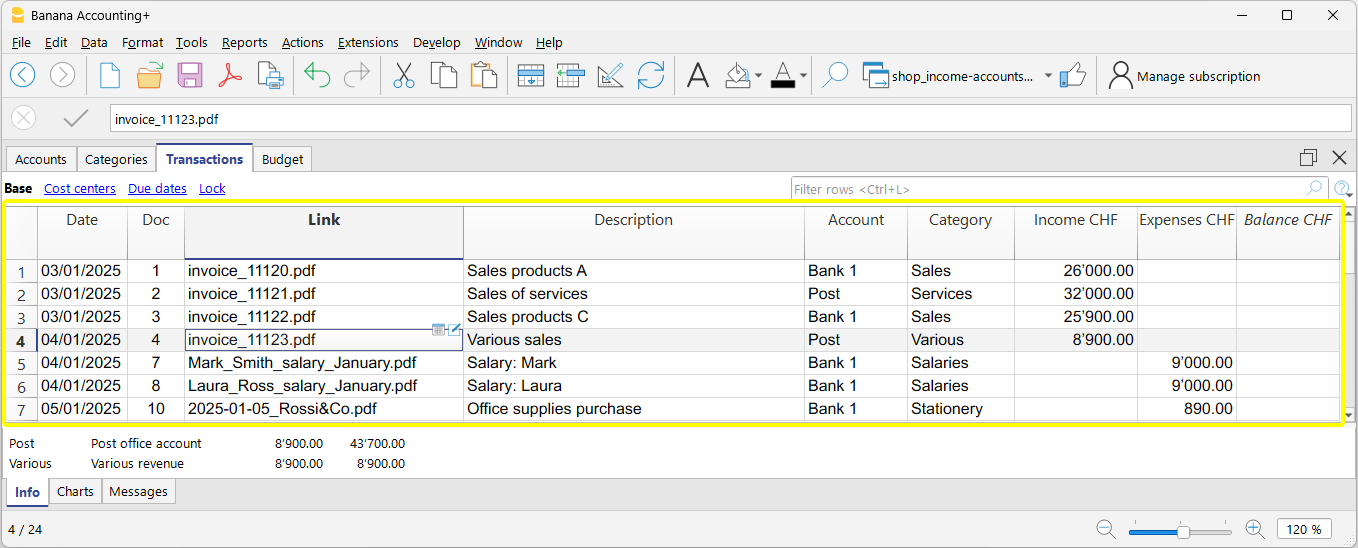
At any time, you can correct and edit the data you've entered, copy and paste data, highlight rows with colors, filter rows by keyword, and much more. All entered data remains always visible both in the Transactions table and in the account and category cards.
To work faster, check the page Speed up data entry.
All your documents at your fingertips
Thanks to the Link column, visible in the Transactions table, you can directly attach a receipt or PDF invoice to each transaction, providing the following advantages:
- Instant access to documents, without having to search for them manually.
- Optimal preparation for tax inspections or audits by authorities.
- Easier collaboration with your accountant, who can see documents already linked to the accounting transactions.

Import your bank transactions
Despite its simplicity, with the Income / Expense accounting you can import transactions from your bank, postal accounts, and credit cards, taking full advantage of the power of professional accounting software. Additionally, by using Rules, you can instantly have a complete and accurate accounting.
You save time, avoid mistakes, and ensure that your data is always up to date and accurate from the start.
Automated checks
Many features check for errors and discrepancies to ensure your accounting is always correct. This allows you to work with greater peace of mind and confidence, knowing your accounting is always consistent, accurate, and ready for any audits or reviews.
Automatic and ready-to-print reports
A report is a document that neatly shows all the money coming in and going out over a period of time. It’s like a summary that helps you understand where the money comes from and how it was spent.
After each transaction, the program automatically updates all the balances of Accounts and Categories, automatically generating professional reports.
The report created by Banana puts everything together, in order, to help you monitor your finances and know whether you are in surplus (money left over) or deficit (you spent more than you earned).
Available report types
From the Report menu, you can choose from:
- The Enhanced statement displays all accounts and categories without subgroups
- The Enhanced statement with groups displays all accounts and categories including subgroups
- Period reports are also available.

Additional printouts
Also from the Report menu, you can access the following printouts:
- Journal – printout of the transactions in the Transactions table
- Account cards (ledgers) – details of the transactions of one or more accounts or categories with totals
Expand features at your own pace
With Banana Accounting Plus, you can start simply and, when needed, move on to more advanced features without changing your working method. For example:
- You can add Cost centers and Segments to analyze in detail projects, departments, or activities, without needing to create new accounts or categories. Using the same report layout, you can check which sectors are most profitable and which generate costs that can be optimized.
- As you become more familiar with accounting and your business grows, you can choose to switch from Income / Expense accounting to double-entry accounting. With the Convert to new file function, your data is automatically transferred to a double-entry accounting file, preserving your work.
Common information for double-entry accounting
In the Income and Expense documentation pages, you will find detailed and specific information. For all general features, please refer to the double-entry accounting documentation. In particular:
Examples of Income / Expense Accounting Templates
Banana Accounting includes a series of templates with predefined chart of accounts, designed to help you get started quickly based on your activity or needs.
Universal templates are standard models but easily adaptable for any country.
Income and Expense Templates for Micro-businesses
- Accounting for Business (Switzerland)
- Accounting for Freelancer (Switzerland)
- Income and Expense Accounting for Yacht (Universal)
Income and Expense Templates for Associations and Non-Profit Organizations
- Parish with Numeric Accounts (Universal)
Income and Expense Templates for Individuals and Families
- Household Budget and Home Accounts (Universal)
- Family Accounting (Switzerland)
- Easily manage your vacation expenses (Universal)
Start now with Income and Expense Accounting!
The Income and Expense Accounting of Banana Accounting Plus is a unique tool that allows you to immediately start your business with full control, meeting the reporting requirements set by the authorities, at a minimal cost! It is the only tool that gives you the flexibility to grow and change without losing your work and without wasting time and resources.
Como começar uma contabilidade de Despesas e Receitas
Criar uma contabilidade partindo de um modelo
Siga os seguintes passos:
- Menu Arquivo, comando Novo
- Selecionar a Região, a categoria e o tipo de contabilidade
- Da lista de modelos que aparece, escolha aquele que melhor se adapta às suas exigências
- Clicar no botão Criar.
Na caixa Procurar, ao inserir uma palavra-chave, o programa visualiza os modelos que contêm a palavra-chave.
Também é possível iniciar com um arquivo vazio, selecionando a opção Arquivo vazio. No entanto, para facilitar o início e evitar erros de agrupamento, aconselhamos começar sempre com um modelo existente.
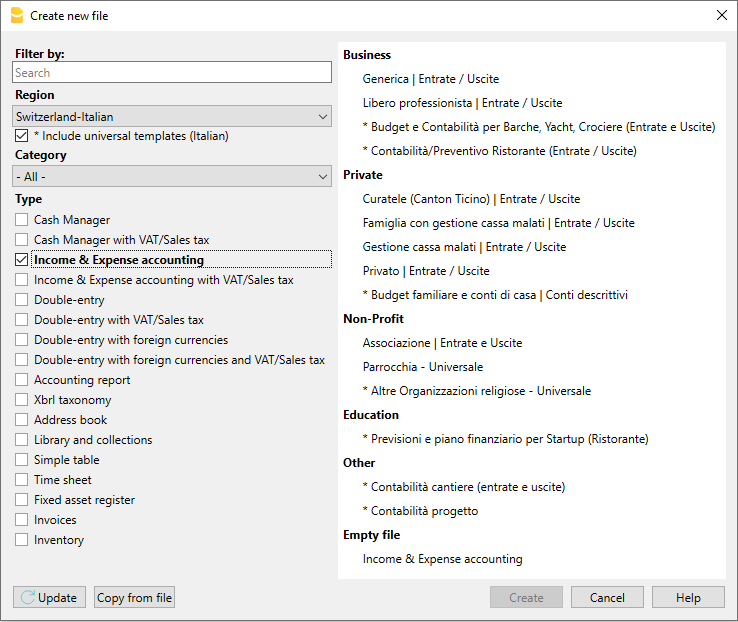
Mais informações sobre como criar un novo arquivo estão disponíveis na página Criar um novo arquivo.
Configurar as Propriedades do arquivo
Configurar os próprios dados nas Propriedades do arquivo e salvar o arquivo com nome.
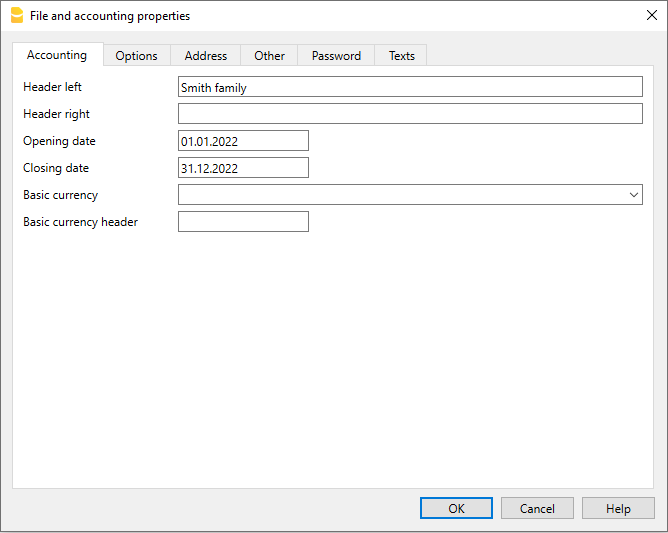
Salvar no disco
Com o comando Arquivo → Salvar como..., guarde os dados e atribua um nome ao ficheiro. Aperecerà o dialogo tipico do seu sistema operativo.
- É aconselhado usar o nome da empresa, seguido do ano "empresa-2020.ac2" para o distinguir de outros arquivos de contabilidade.
- Pode guardar quantos arquivos precisar, cada um com o seu próprio nome.
- Pode escolher o percurso e o suporte (guardar num disco, pen USB o cloud).
Se espera ter também documentos ligados à contabilidade do ano corrente, sugerimos criar uma pasta separada para cada ano de contabilidade para reunir todos os arquivos.
Personalizar a tabela Contas
Na tabela Contas é possivel personalizar as contas patrimoniais, segundo as próprias necessidades:
- podem-se mudar os números de conta
- pode-se mudar as descrições
- na coluna Abertura, insira o saldo inicial.
Os saldos de abertura das contas passivas têm que ser inseridas com i sinal de menos antes do montante.
Esta operação é efetuada só na primeira vez em que se usa Banana Contabilidade, visto que cada vez que o programa cria un ano novo (menu Conta2, comando Criar novo ano) o saldo de abertura é atualizado automaticamente.
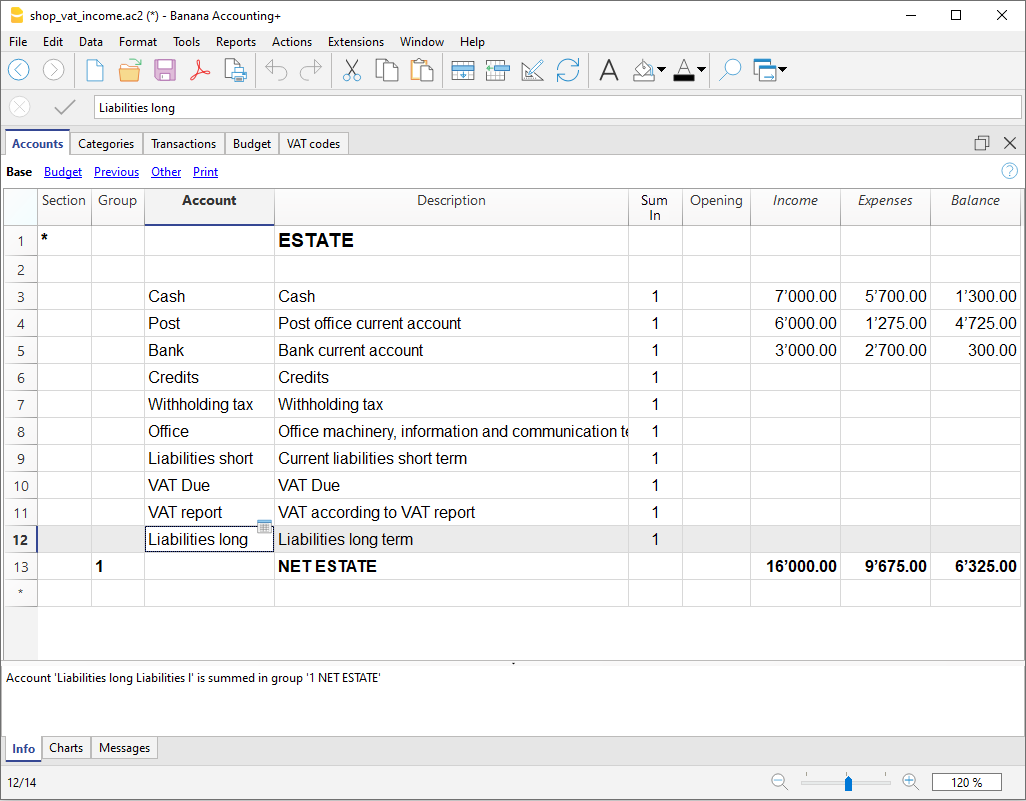
Personalizar a tabela Categorias
Na tabela Categorais é possível personalizar as categorias de receita (ganho/receitas) e de despesa (despesas/custos).
Os números das categorias podem ser mudados, assim como as descrições.
As categorias, ao início do ano, não devem ter nenhum saldo de abertura, para poder determinar os resultados do ano de contabilidade correspondente.
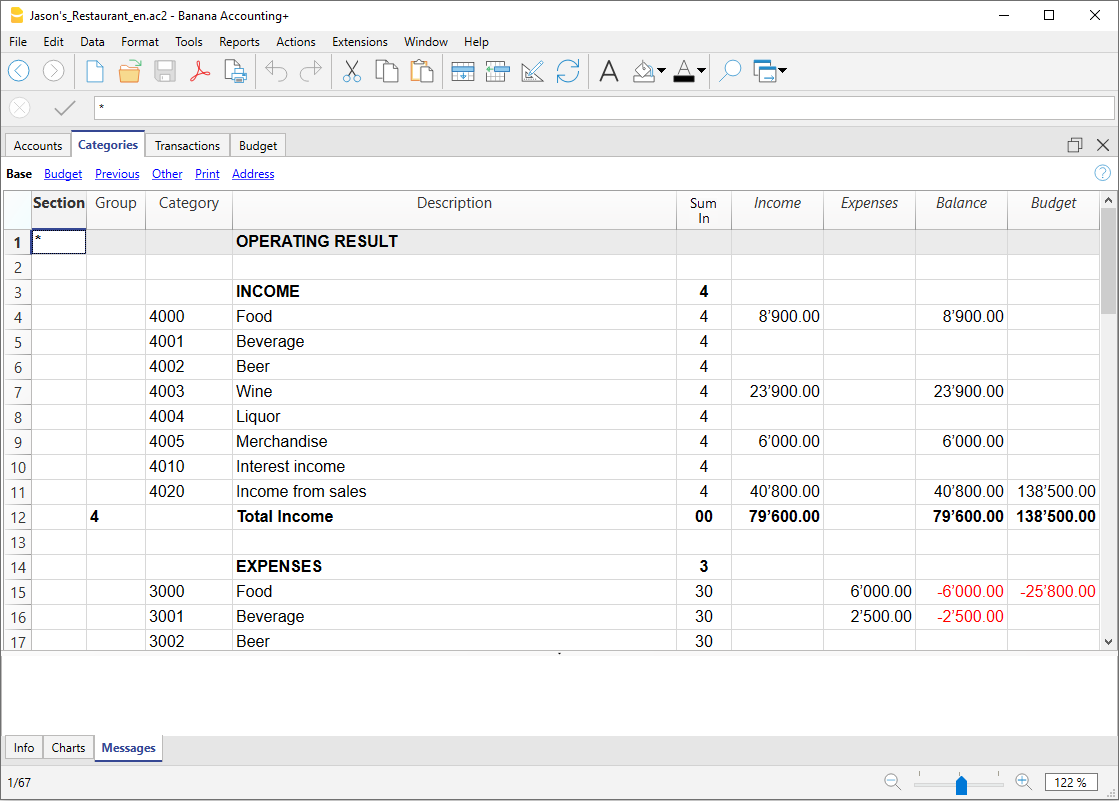
Tabela Lançamentos
Na Tabela Lançamentos inserem-se as receitas e as despesas, indicando a conta sobre a qual foi efetuado o movimento e a categoria à qual é atribuida a despesa ou a receita.
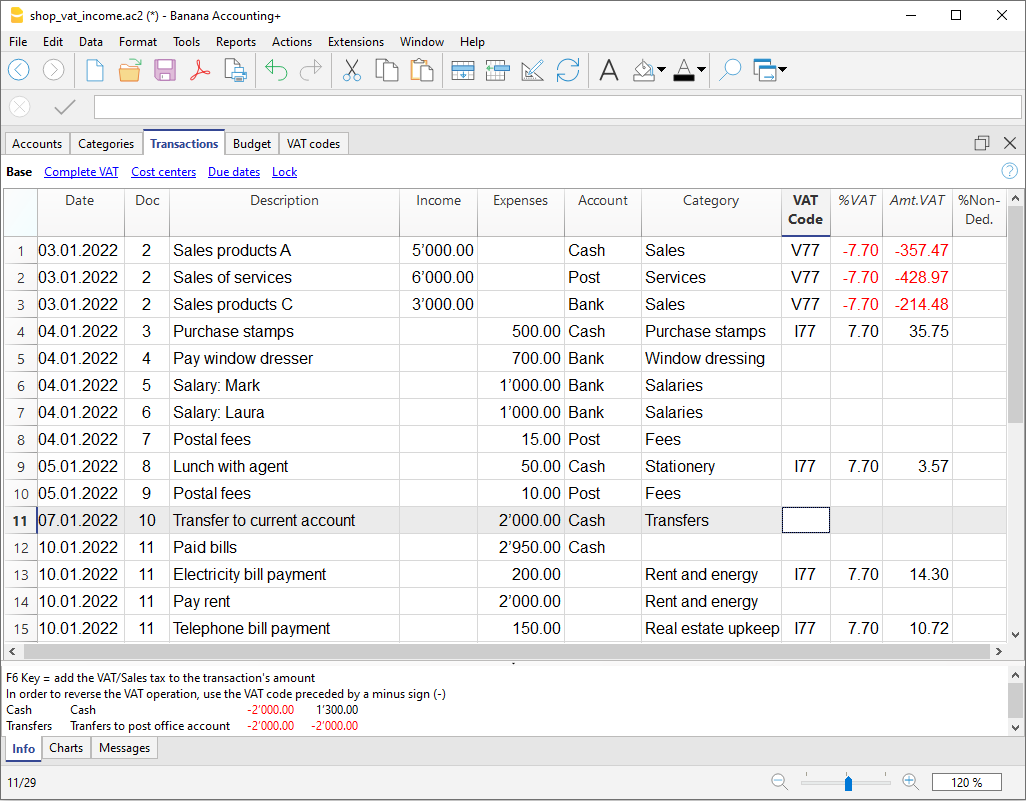
Nas colunas correspondentes:
- Inserir a data
- Inserir o número de documento que foi atribuído ao documento em papel manualmente. Isto permete recuperar facilmente o documento, uma vez contabilizada a operação
- Inserir a descrição
- Na coluna Receitas, inserir o montante ganho
- Na coluna Despesas, inserir o montate gasto
- Inserir a 'conta' (uma conta presente na tabela Contas, ex: Banco)
- Inserir a 'categoria' de despesa ou de receitas (uma categoria presente na tabela Categorias).
Acelerar a inserção dos Lançamentos
Para acelerar a inserção dos lançamentos utiliza-se:
- a função de Emissão de dados com preenchimento automático que consente recuperar automaticamente dados já inseridos previamente
- a função dos Lançamentos repetitivos (menu Conta2) que permete memorizar numa tabela os lançamentos repetitivos
- a importação de dados do extrato bancário ou postal.
Lançamentos com IVA
Para poder registrar operações com IVA ocorre:
- No menu Arquivo, comando Novo escolher como Tipo a Contabilidade de Despesas e Receitas com IVA/ICMS
- Escolher um dos Modelos já predisposto segundo a nação e que seja do tipo Contabilidade de Despesas e Receitas com IVA/ICMS.
Para os lançamentos com IVA, consultar a página Lançamentos.
Lançamentos compostos
Para os Lançamentos compostos, aqueles que concernem débitos e/ou créditos em várias contas e/ou categorias (ex: quadno se pagam faturas diferentes com a conta corrente bancária) ocorre registrar em mais do que uma linha:
- na primeira linha, registe o montante total de receitas ou de despesas e a conta da qual partem os pagamentos das faturas
- em cada linha sucessiva, registe o montante de receitas ou de despesas e na coluna categoria, insira a categoria de receita ou de despesa.
Cada montante único é registado numa linha. Quando todas as receitas e despesas única forem inseridas não deveria existir nenhuma diferença.
A ficha Conta
A ficha conta permete obter um elenco completo dos movimentos que fazem parte da mesma categoria ou do mesmo grupo.
- Para abrir uma ficha conta clique na célula que contem o número da conta, seguido de um clique no símbolo azul pequeno presente no canto superior direito da célula.
- Para abrir mais fichas conta ocorre selecionar o comando Razão por conta do menu Conta1.
- Para atualizar as fichas conta, depois de modificar a tabela Lançamentos, ocorre clicar no símbolo azul, com duas setas circulares, que se encontra no canto superior direito da ficha conta.
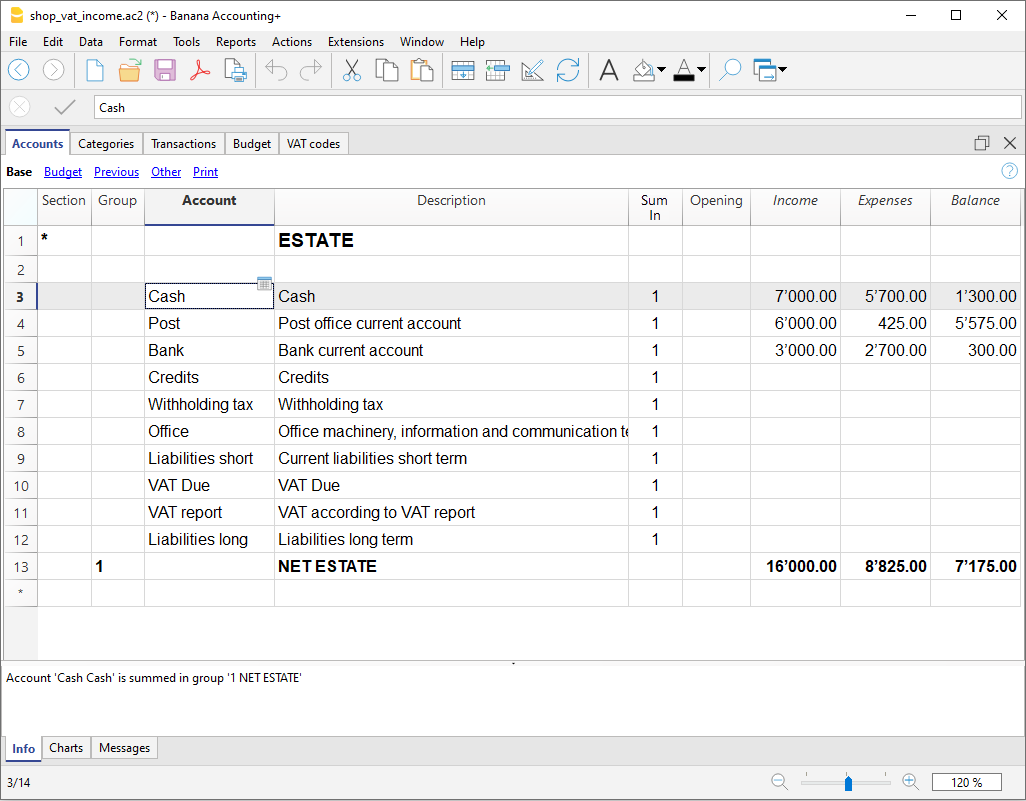
A ficha Categorias
A ficha categorias permete obter um elenco completo dos movimentos que fazem parte da mesma categoria.
- Para abrir uma ficha categoria clique na célula onde se encontra o número da categoria, seguido de um clique no símbolo azul pequeno que se encontra no canto superior direito da célula.
- Para abrir mais fichas categoria ocorre selecionar o comando Razão conta do menu Conta1.
- Para atualizar as fichas categoria, depois de modificações na tabela Lançamentos, ocorre clicar no símbolo azul, com duas setas circulares, que se encontra no canto superior direito da ficha.
Fichas conta por período
Para visualizar as fichas conta com os saldos referidos num determinado período, ocorre clicar no menu Conta1, comando Razão conta e na secção Período ativar Período selecionado, inserindo a data de começo e de fim do período.
Para mais informações, consulte a página Periodo.
Imprimir as fichas conta
Para imprimir uma ficha conta, basta visualizar a ficha a partir de qualquer tabela (Contas ou Lançamentos) e acionar a impressão no menu Arquivo.
Para imprimir várias ou todas as fichas conta, clicar no menu Conta1, comando Razão conta e selecionar as fichas conta para imprimir. Através do filtro presente na janela, pode-se fazer uma seleção automatica de todas as contas, os centros de custo, os segmentos, os grupos, etc.
Demonstrativo analítico
Para visualizar o Demonstrativo analítico e o Demonstrativo analítico por grupos, clicar no menu Conta1 e depois no comando Demonstrativo analítico ou Demonstrativo analítico por grupos. Também é possível fazer demonstrativos por período.
- O Demonstrativo analítico visualiza todas as contas e as categorias sem eventuais subgrupos
- O Demonstrativo analítico por grupos visualiza todas as contas e as categorias também com os subgrupos
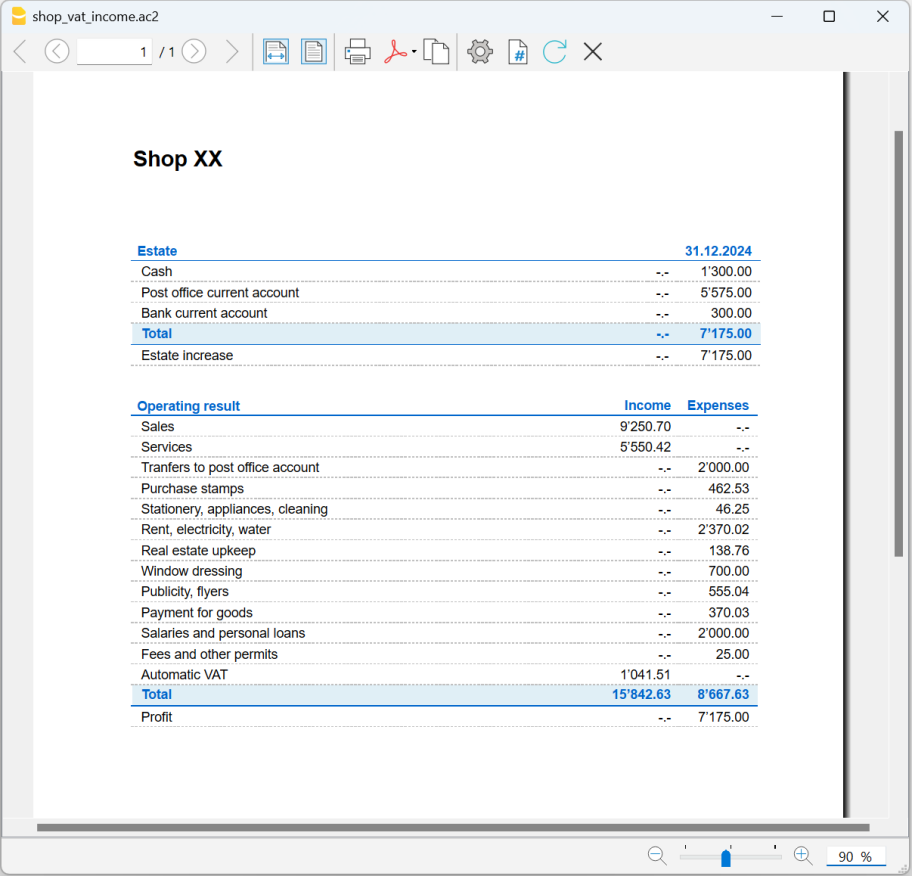
Armazenamento de dados em PDF
Ao fim do ano, quando toda a contabilidade estiver completada, corrigida e revista, pode-se armazenar todos os dados da contabilidade com o comando Criar PDF, no menu Arquivo.
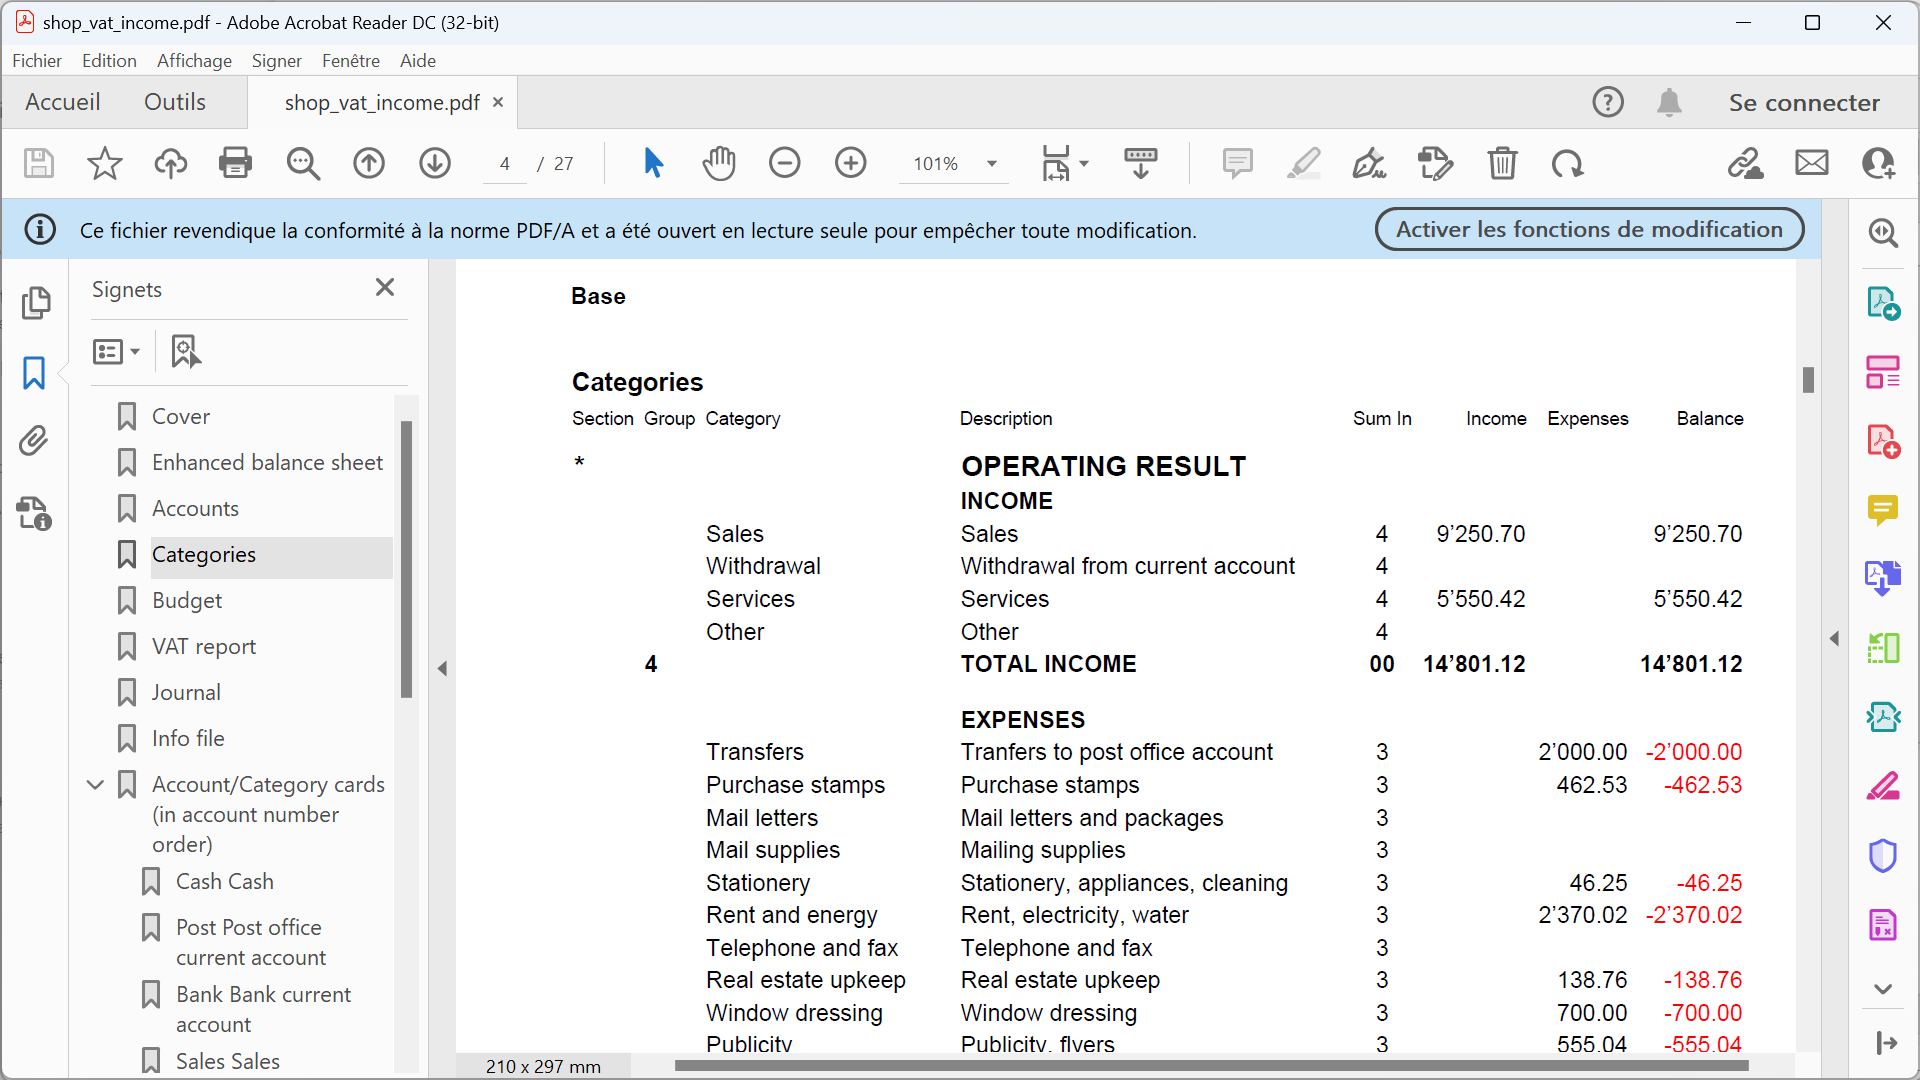
O Orçamento
Antes de começar um ano de contabilidade, pode-se criar um orçamento com possíveis despesas e receitas, de modo a ter sob controlo a situação económica e financiária da própria empresa.
O orçamento pode ser configurado de duas maneiras diferentes:
- Na tabela Categorias, coluna Orçamento. Em cada conta é indicado o montante do orçamento anual.
Neste caso, quando se elabora o Orçamento no menu Conta1, comando Demonstrativo analítico por grupos, a coluna do orçamento descreve os montantes que se referem ao ano inteiro. - Na tabela Orçamento, que se ativa no menu Ferramentas, comando Adicionar novas funcionalidades.
Nesta tabela registram-se todos os orçamentos de despesas e de receitas com lançamentos. Caso se ative esta tabela, a coluna Orçamento da tabela Contas é desativada automaticamente.
Neste caso pode-se configurar um orçamento detalhado que tenha em conta possíveis variações durante o ano e nos diversos períodos do ano.
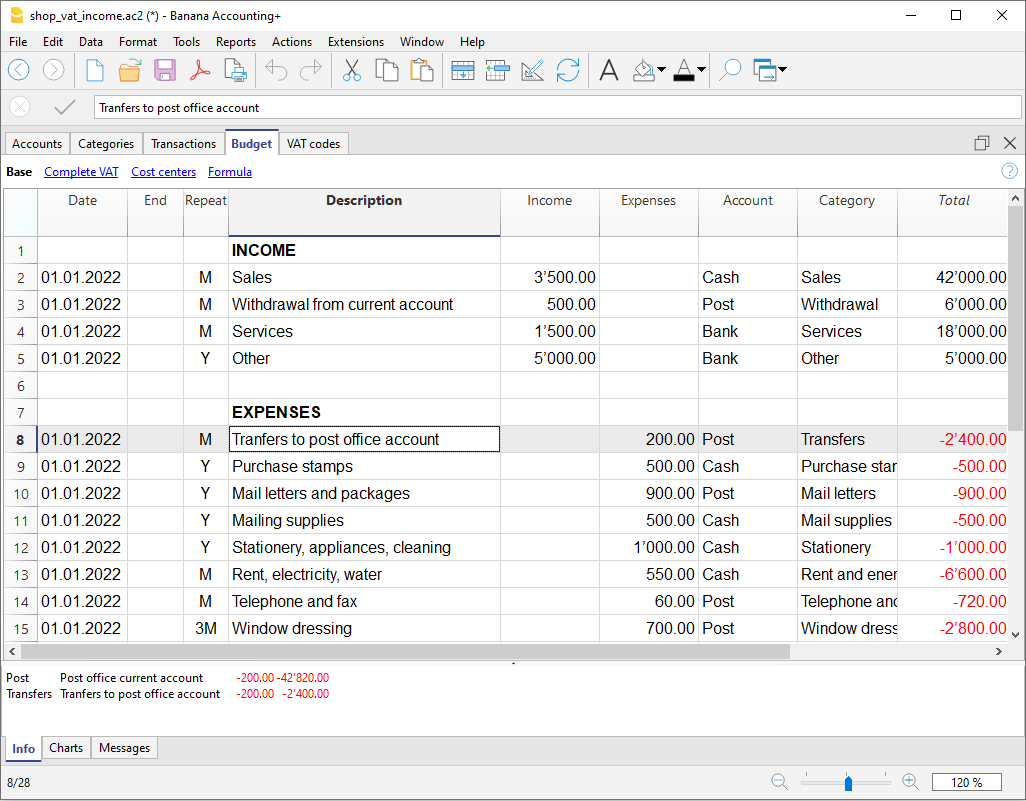
Accounts table | Income /Expense accounting
The Accounts table is made up of all the items of what you own (cash, assets, receivables) and what you owe (debts, loans, taxes).
In accounting terms:
- what you own → Asset accounts or Assets.
- what you owe → Liability accounts or Liabilities.
The difference between what you own and what you owe is your net worth, meaning what remains after subtracting debts from your assets.
- Net worth = Assets − Liabilities
With the Accounts table, you can always keep your financial situation under control in a simple and organized way.
- You can immediately see how much liquidity you have
- The amount of your receivables and debts
- The amount of your net worth
Structure of the Accounts table
The Accounts table at the structural level is mainly composed of the following elements:
- The asset and liability accounts in the Accounts column
- The totalization groups in the Group column
In the example below, in the Accounts table, all accounts are grouped in Group 1 (Total assets). The asset accounts are added to the liability accounts and the difference determines the Net Worth. - The opening balances must be entered the first time the file is created in the Opening column.
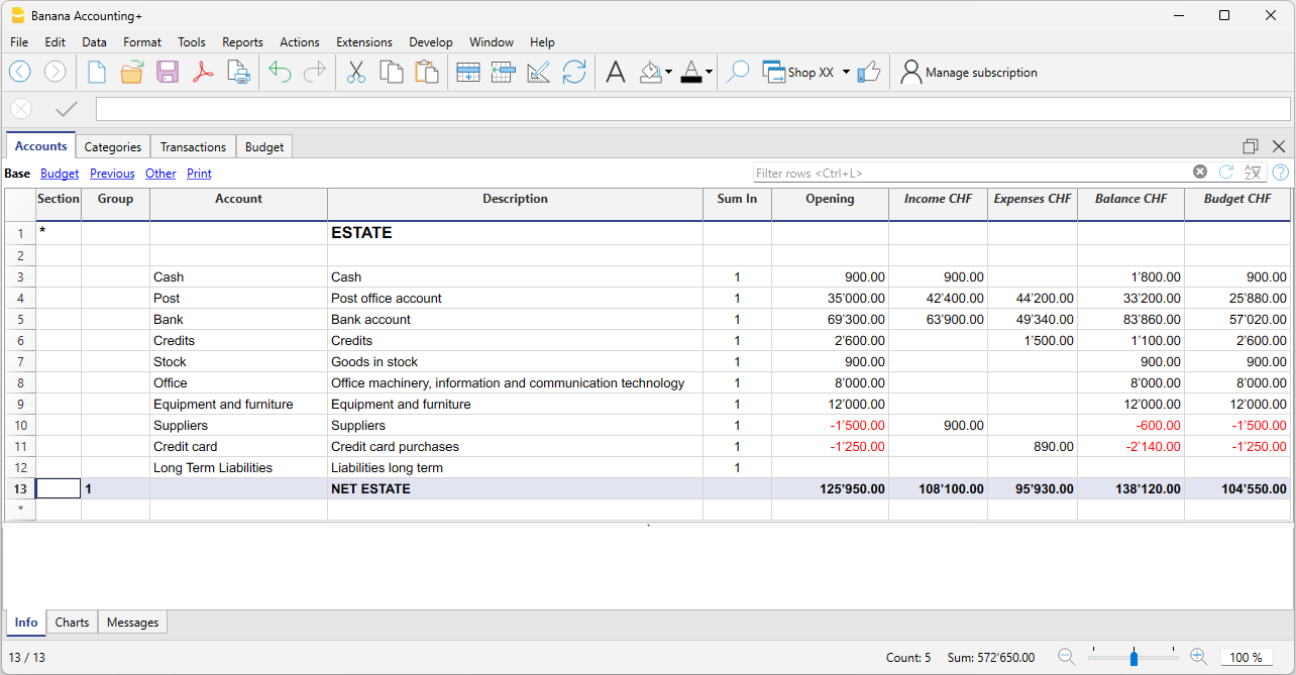
The final balances of the asset accounts are always carried forward as opening balances in the file for the following year.
Positive asset accounts (Assets)
Positive asset accounts represent the goods and values you own, so they are the resources available to you.
Some examples of positive asset accounts:
- Cash on hand or in the bank.
- Invoices to be collected from customers (money they owe you).
- Goods in stock.
- Assets such as equipment, furniture, computers, cars.
The amounts are positive.
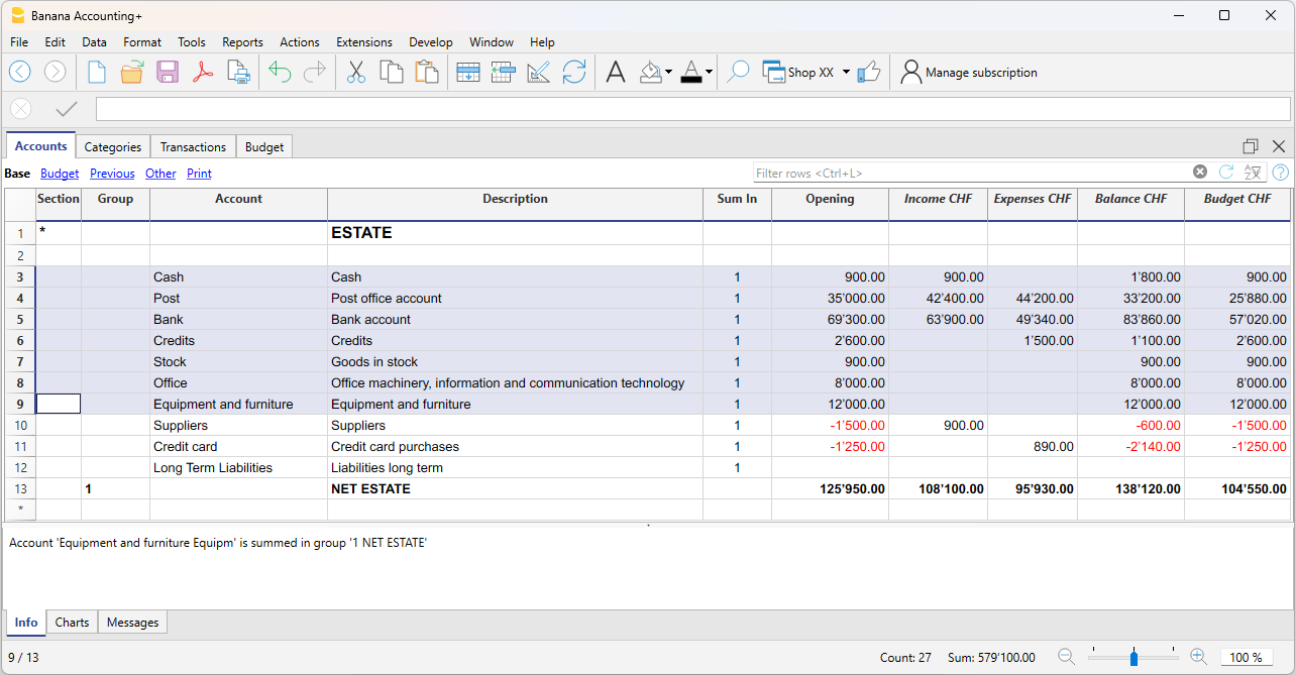
Negative asset accounts (Liabilities)
These accounts indicate debts and obligations to be settled, such as:
- Debts to suppliers
- Loans to be repaid
- Taxes to be paid
- Contributions still due
These are therefore amounts you owe to third parties. The amounts are negative and shown in red.
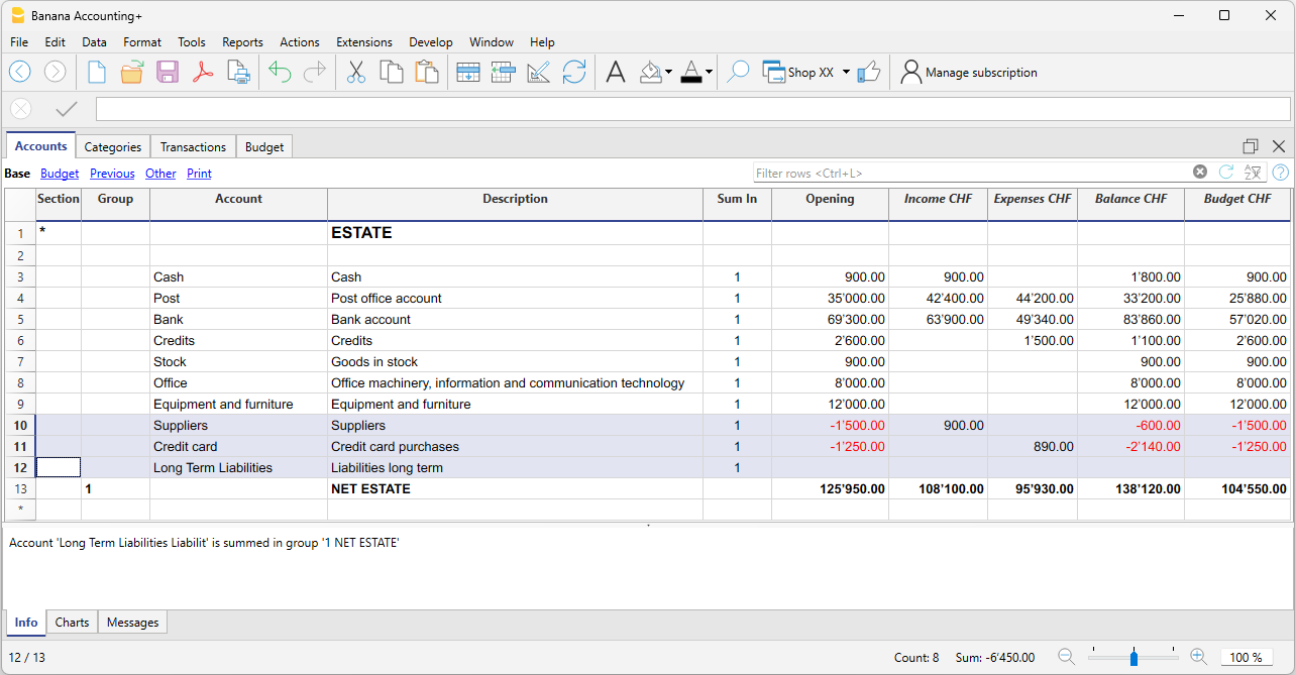
Net Worth
Net worth is the difference between positive and negative asset accounts. It represents what actually remains after subtracting your debts from what you own.
- Net Worth = Positive asset accounts − Negative asset accounts
The value of your net worth reflects your financial strength and your ability to carry on operations without relying on external financing.
A positive net worth indicates that the entity (business or individual) has a book value greater than its debts. A negative net worth means that the value of the negative accounts exceeds the positive ones, signaling potential financial difficulties.
Columns of the Accounts table
In the Accounts table, you can view the account balances, the columns for incoming and outgoing transactions, and the budget. You therefore get an immediate and constantly updated view of your financial situation. Asset values are shown as positive amounts, while liabilities (debts) are shown as negative.
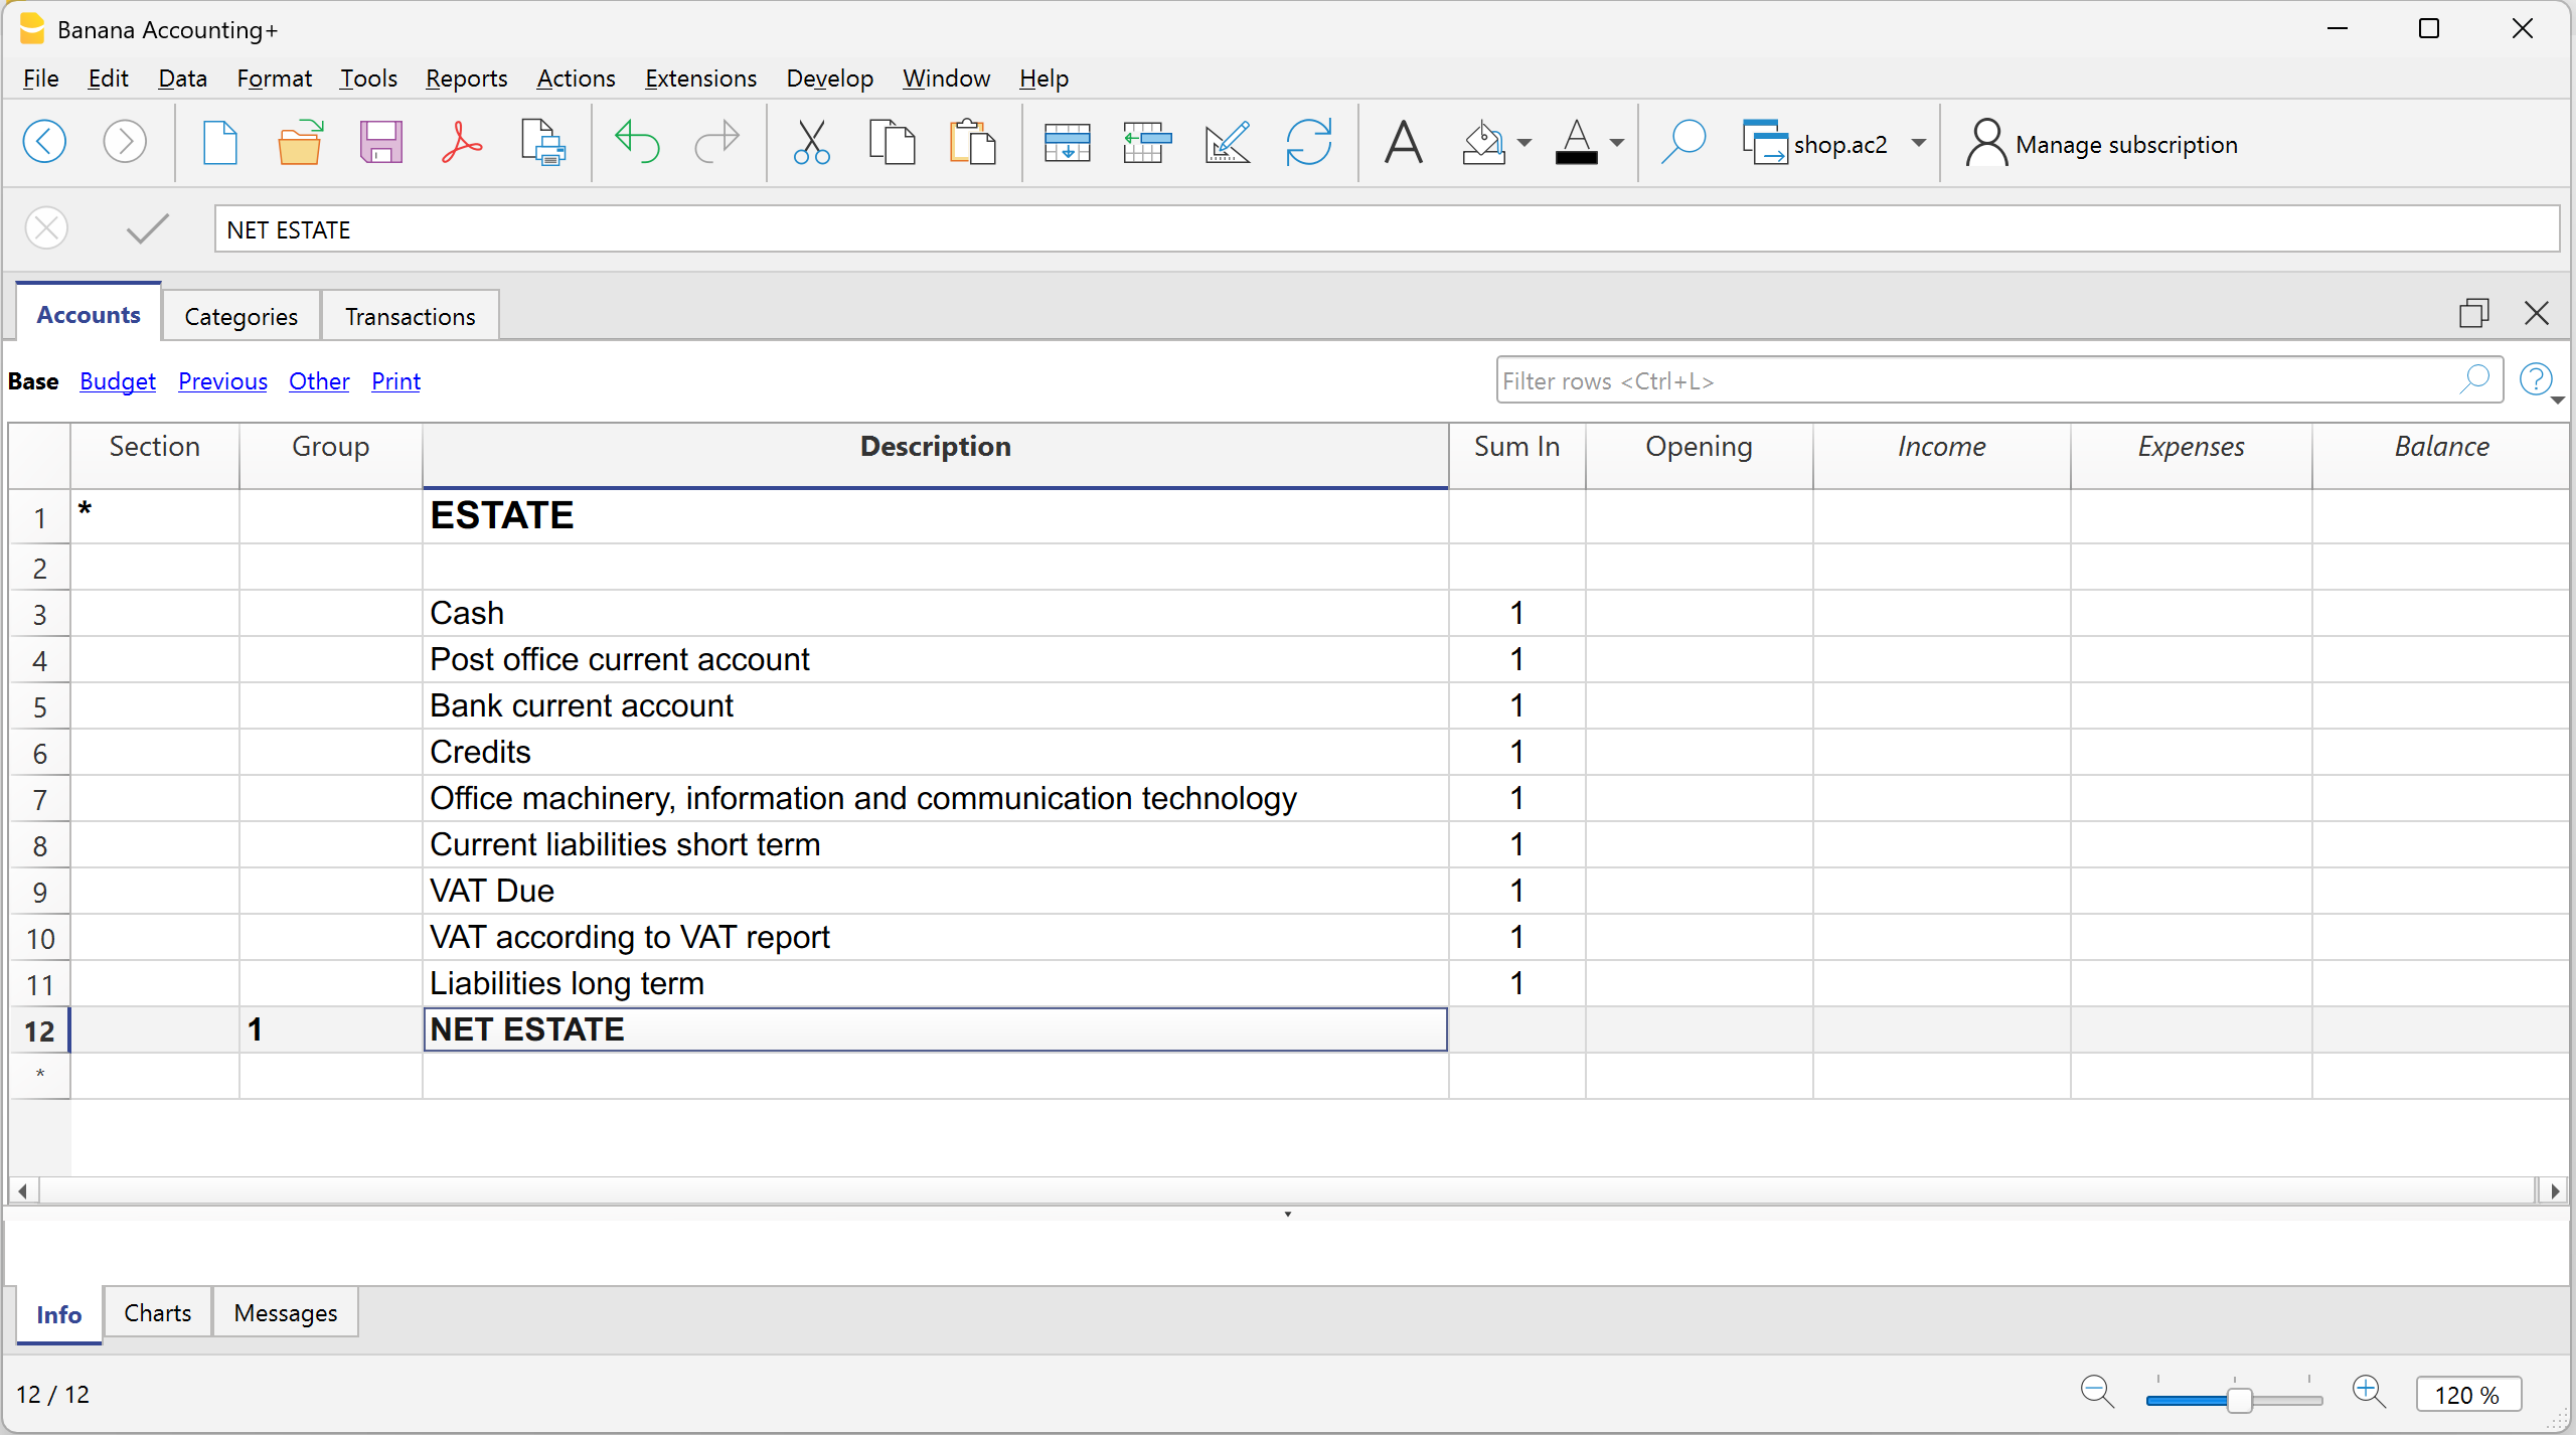
As you enter income and expenses (in the Transactions table), you immediately see the updated balances of the various accounts in the Accounts table.
Below are the main columns of the Accounts table. The column display changes depending on the selected view.
You can add additional columns, both system and custom, via the menu Data > Columns setup.
Section
An asterisk is entered to indicate a section change. For example, to separate Total assets from cost centers.
The values entered in the Sections table are essential for displaying the enhanced Balance Sheet with groups.
More details about Sections are available on the web page Sections.
Group
Values are entered here that summarize the categories sharing the same grouping in the Sum in column. These are essential for totalization.
Account
Enter the account number or code to manage (cash, bank, post).
Description
Enter a description for the account. This description is automatically used in the Account Description column of the Transactions table (if visible).
Sum in (Gr)
Enter the code of a group so that the program can total the row’s amount into that group.
The "Sum in" header was introduced in Banana Plus and replaces the "Gr" used in previous versions.
Opening
This shows the opening balances. These must be entered manually only the first time you open Banana Accounting or use a new file. Later, at the beginning of a new year with automatic opening, this column is automatically filled with the closing balances from the previous year.
Income
This column is protected and shows the balance of incoming transactions. After each entry, the balance is updated automatically.
Expenses
This column is protected and shows the balance of outgoing transactions. After each entry, the balance is updated automatically.
Balance
This column is protected and shows the total balance between income and expenses. After each entry, the balance is updated automatically.
Sections
The Sections available in the Accounts and/or Categories table allow you to define the group of accounts and categories you want to print using the Report > Enhanced Statement with Groups command.
- Sections are indicated in the Sections column of the Accounts table and the Categories table.
- A * (asterisk) marks the start of a section.
- A ** (double asterisk) marks the start of a subsection.
- A # marks the beginning of the notes section.
- A section ends when a new one begins.
- Unlike double-entry accounting, in income and expense accounting you cannot use numeric sections.
- If no section is indicated, the first time the command is used, the program will insert it automatically:
- In the Accounts table: "Balance Sheet"
- In the Categories table: "Operating Result"
- It is useful to create separate sections if you have cost centers, segments, or customer/supplier ledgers. This allows you to print reports focused only on what you need.
Personalizing the Accounts table
In the Accounts table, you can customize the asset accounts according to your needs:
- You can change the account numbers
- You can change the descriptions
- In the Opening column, enter the initial balance of your accounts.
For more information, visit the following pages:
Account for allocating results from previous years
In Income/Expense accounting, the total line that groups income and expenses directly represents the net worth (equity). For this reason, there is no need to create a specific dedicated account.
Viewing results from previous years
If you want to display the amount of results from previous years, you need to:
- Add an account "Results from previous years".
- Manually enter the amount in the Opening column (in the Accounts table) at the beginning of each new year.
Categories Table | Income/Expense accounting
The Categories table contains a list of all the items that represent the reasons why you have income and expenses. It is the central tool for organizing and analyzing income and expenses, and for monitoring the progress of your activity.
In the Categories table, all income and expenses are organized in a clear and orderly way.
The categories are divided into two groups:
- Income categories
- Expense categories
The difference between income and expense categories determines the result (profit or loss).
- Operating result = Income - Expenses
Income categories
Income categories are the items that represent the reasons why you received income, so they include all sources of earnings.
Examples of income categories:
- Sales, Membership fees, Donations, Public grants, Bank interest

Expense categories
Expense categories represent the reasons why you incurred expenses.
Examples of expense categories:
- Rent, Utilities, Office supplies, Salaries, Travel expenses

Profit or Loss (Operating result)
The difference between total income and expenses is your profit or loss (Operating result), automatically calculated by the program.
- Operating result (for the year) = Total income – Total expenses
In Banana Accounting, for automatic total calculation reasons, income amounts are shown in red and negative. In reports and printouts, the amounts appear as positive.

The columns of the Categories table
Below are the main columns of the Categories table. The column view changes depending on the selected view.
You can add extra columns, either system or custom ones, using the menu Data > Arrange columns.
Section
An asterisk is inserted in the row where a title is added, which will then be used in the enhanced report with groups (in our example, the asterisk is inserted in the row with the Result title).
If there are other sections beyond income and expenses (e.g. cost and profit centers), another asterisk can be inserted in the Sections column, also on the title row. More details are available on the web page Sections.
Group
An identifier (number or code) is entered that matches what is entered in the Total in column for each category. It is used to total all the categories that belong to the same grouping in the Total in column (in the example, Group 4 totals all income categories and Group 3 totals all expense categories).
Category
Enter the category number that identifies the income or expense.
Description
Enter a description to identify the income or expense category. This description is automatically copied to the Category description column in the Transactions table (if displayed).
Total in (Gr)
Enter the code of a group so that the program totals the amount of the row into that group.
The header "Total in" was introduced with the Banana Plus version, while "Gr" was used in previous versions.
Each category has an identifier that defines in which group it should be totaled (in the example, all income categories have group 4 in the Total in column, because they are totaled in Group 4, Total income).
Income
This column is protected and shows the balance of the income transactions. After each entry, the balance is automatically updated.
Expenses
This column is protected and shows the balance of the expense transactions. After each entry, the balance is automatically updated.
Balance
This column is protected and shows the total balance between income and expenses. After each entry, the balance is automatically updated.
Customize the Categories table
In the Categories table, you can customize the income and expense items:
- Change the category numbers
- Change the category descriptions
- Add new categories
- Delete unused categories
For more information, visit the following pages:
Speed up your transactions | Income/Expense accounting
In the Transactions table, to speed up data entry, you can use several automation functions.
Keyboard shortcuts
Keyboard shortcuts let you perform actions instantly, without opening menus or using the mouse.
They are a great way to save time and make your work smoother.
With keyboard shortcuts you can, for example:
- Copy and paste data.
- Quickly move between cells, columns, and tables.
- Insert the current date with one keystroke.
- Apply formatting such as bold text.
- and much more.
Data entry with auto-completion
In the Transactions table, when you start typing in the Description column, the program suggests a list of previously entered transactions with the same text at the bottom of the window. If you want to reuse a previous transaction:
- Type the first letters of the description.
- Press F6.
- The transaction is automatically recalled: you just need to adjust the amount (if different) or any other necessary details.
This trick is very useful for repetitive operations, because it saves you from retyping everything each time.
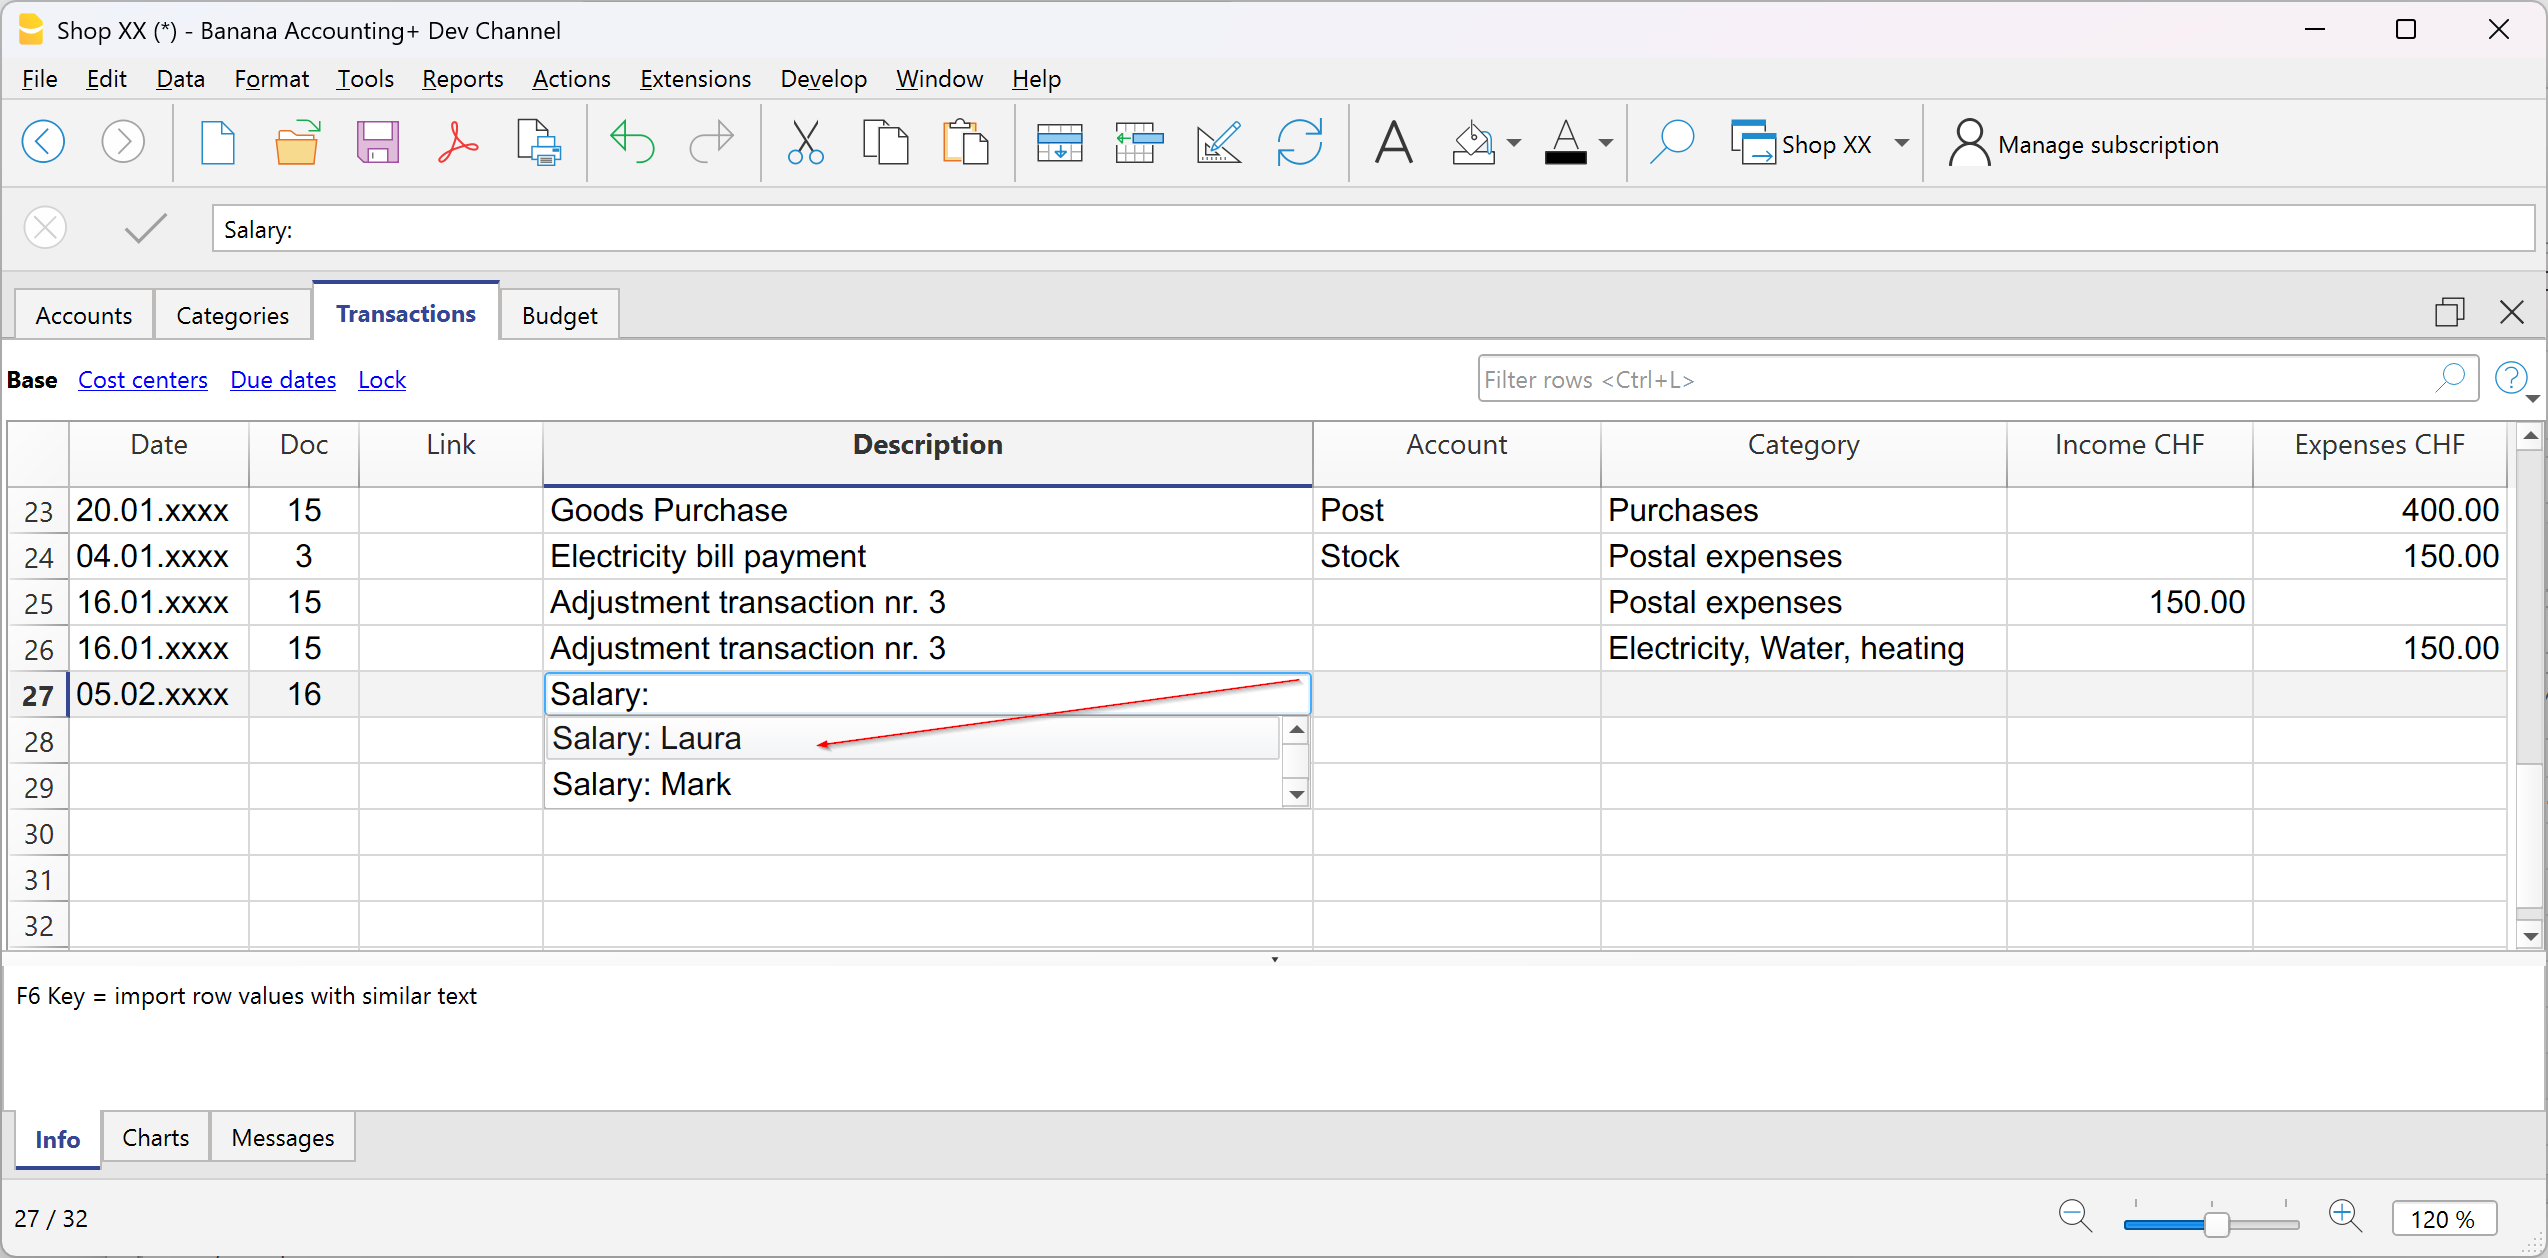
Recurring transactions
In the Recurring transactions table you can save operations that are repeated during the year and reuse them when needed in the Transactions table.
More information can be found on the page:

Importing bank transactions
You can download your bank, credit card, or other account statements, as long as they are in a format compatible with Banana Accounting (csv, ISO 20022, ...), and import all the transactions into the Transactions table. This saves a lot of time and avoids errors.
More information about importing is available on the page:
Setting Rules in automatic import
Even with Income and Expense accounting, you can take advantage of the advanced Rules function to further automate your work.
With Import Rules you can automate the recording of repetitive transactions. For each imported transaction that you expect to recur, you can create a Rule, assigning not only the counterpart account (that is, the reason for the expense or income), but also other details such as cost center, VAT code, row color, and so on. This way, in subsequent imports, the program will automatically apply the Rule to the corresponding transactions, importing them already complete with all the information you have defined.
More information is available on the page:
Import bank transactions | Income/Expense accounting
Download the file with your transactions from your bank and import it directly into the Transactions table. The date, description, account, and amount will already be filled in; you will only need to assign the income or expense category.
Proceed as follows:
- Go to the Actions menu > Import into accounting.
- Select your bank. If you don’t see it in the list, click the button at the bottom left Manage extensions. Search for it and install it in the dialog window that opens, then return here.
- Select the format of the file downloaded from the bank, postal account, or credit card.
- Confirm with the OK button.
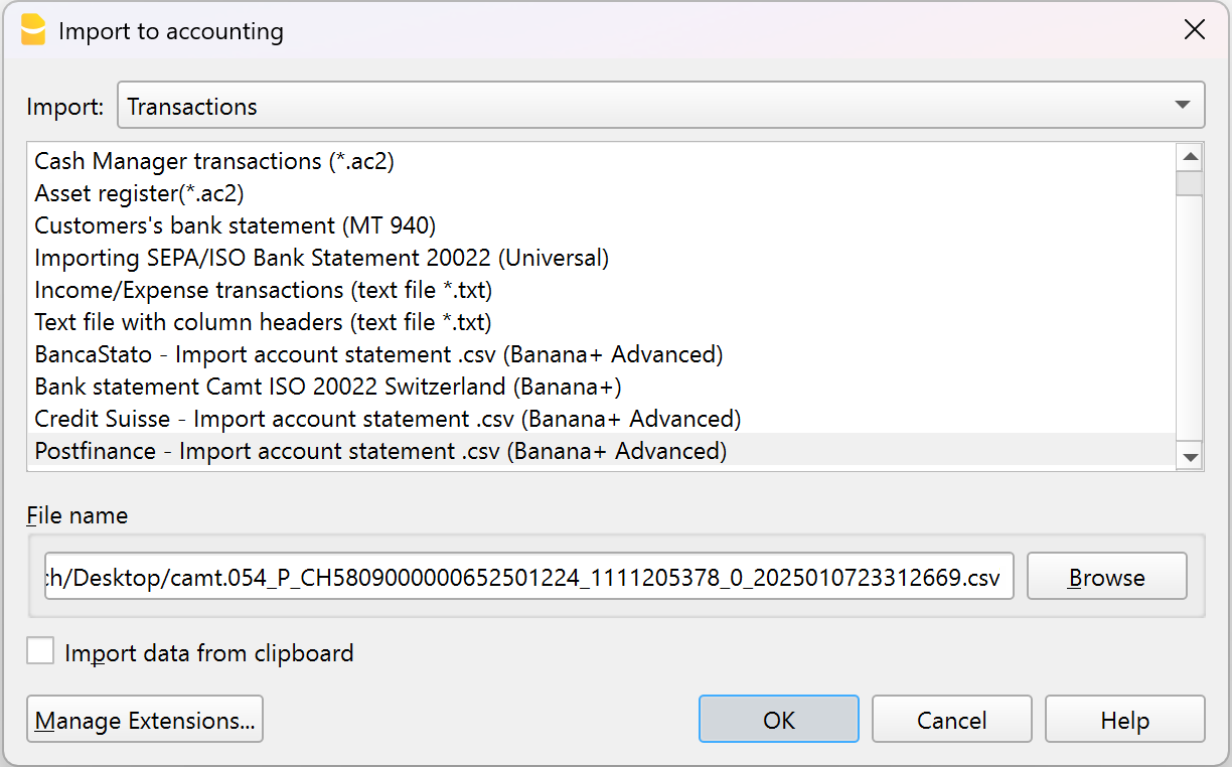
Standard formats such as ISO 20022 and .txt are available with the Professional plan, while bank-specific .csv files are included only in the Advanced plan.
Once you have selected the import file, the next dialog will appear:
The program will import all transactions into the Transactions table: you will only need to enter the counterpart, any VAT code, cost centers, or segments.
From this dialog, you can also enable the Apply Rules option (available only in the Advanced plan) to further automate transaction entry.
More information about importing is available on the page:
Recurring transactions | Income/Expenses accounting
The Recurring transactions table allows you to save transactions that repeat during the year and automatically recall them in the Transactions table when needed. You can store, for example:
- Salaries
- Rents
- Subscriptions
- Periodic payments
How to save a recurring transaction
- Go to the Transactions table.
- Select one or more transactions that are repeated.
- Copy them (Ctrl+C).
- Paste them into the Recurring transactions table (Ctrl+V).
In the Recurring transactions table you can also manually enter the transactions that are repeated during the year.
How to recall a recurring transaction
- In the Transactions table, place the cursor on the row where you want to insert it.
- Double-click in the Doc column: a list of saved transaction codes will appear.
- Select the code of the transaction you want to use.
- Press Enter.
The program automatically inserts all the transaction data: you only need to update the amount or date if necessary.
Advantage: with this method you avoid rewriting identical operations each time, saving time and reducing the risk of errors.
More information is available on the page:
Rules for automatic completion of imported transactions | Income/Expenses accounting
Even with Income and Expense accounting, you can take advantage of the advanced Auto-completion Rules for imported transactions to further automate your work. Rules are available only in the Advanced plan of Banana Accounting Plus.
With Rules you can automate the recording of recurring transactions. For each imported transaction that you expect to recur, you can create a Rule, assigning not only the counterpart account (i.e. the reason for the expense or income), but also other details such as cost center, VAT code, row color, and so on. This way, in future imports, the program will automatically apply the Rule to the corresponding transactions, importing them already complete with all the information you have defined.
You can set up Rules:
- from the Transactions table
- from the Apply Rules dialog
- from the Recurring transactions table
Below we explain how to set up Rules from the Transactions table
Rules from the Transactions table
In the Transactions table you can use already imported and completed recurring transactions to create Rules.
- Select the imported transactions (after completing counterpart, VAT if applicable, cost centers, and segments).
- Right-click and choose Create rules from selection from the menu that appears.
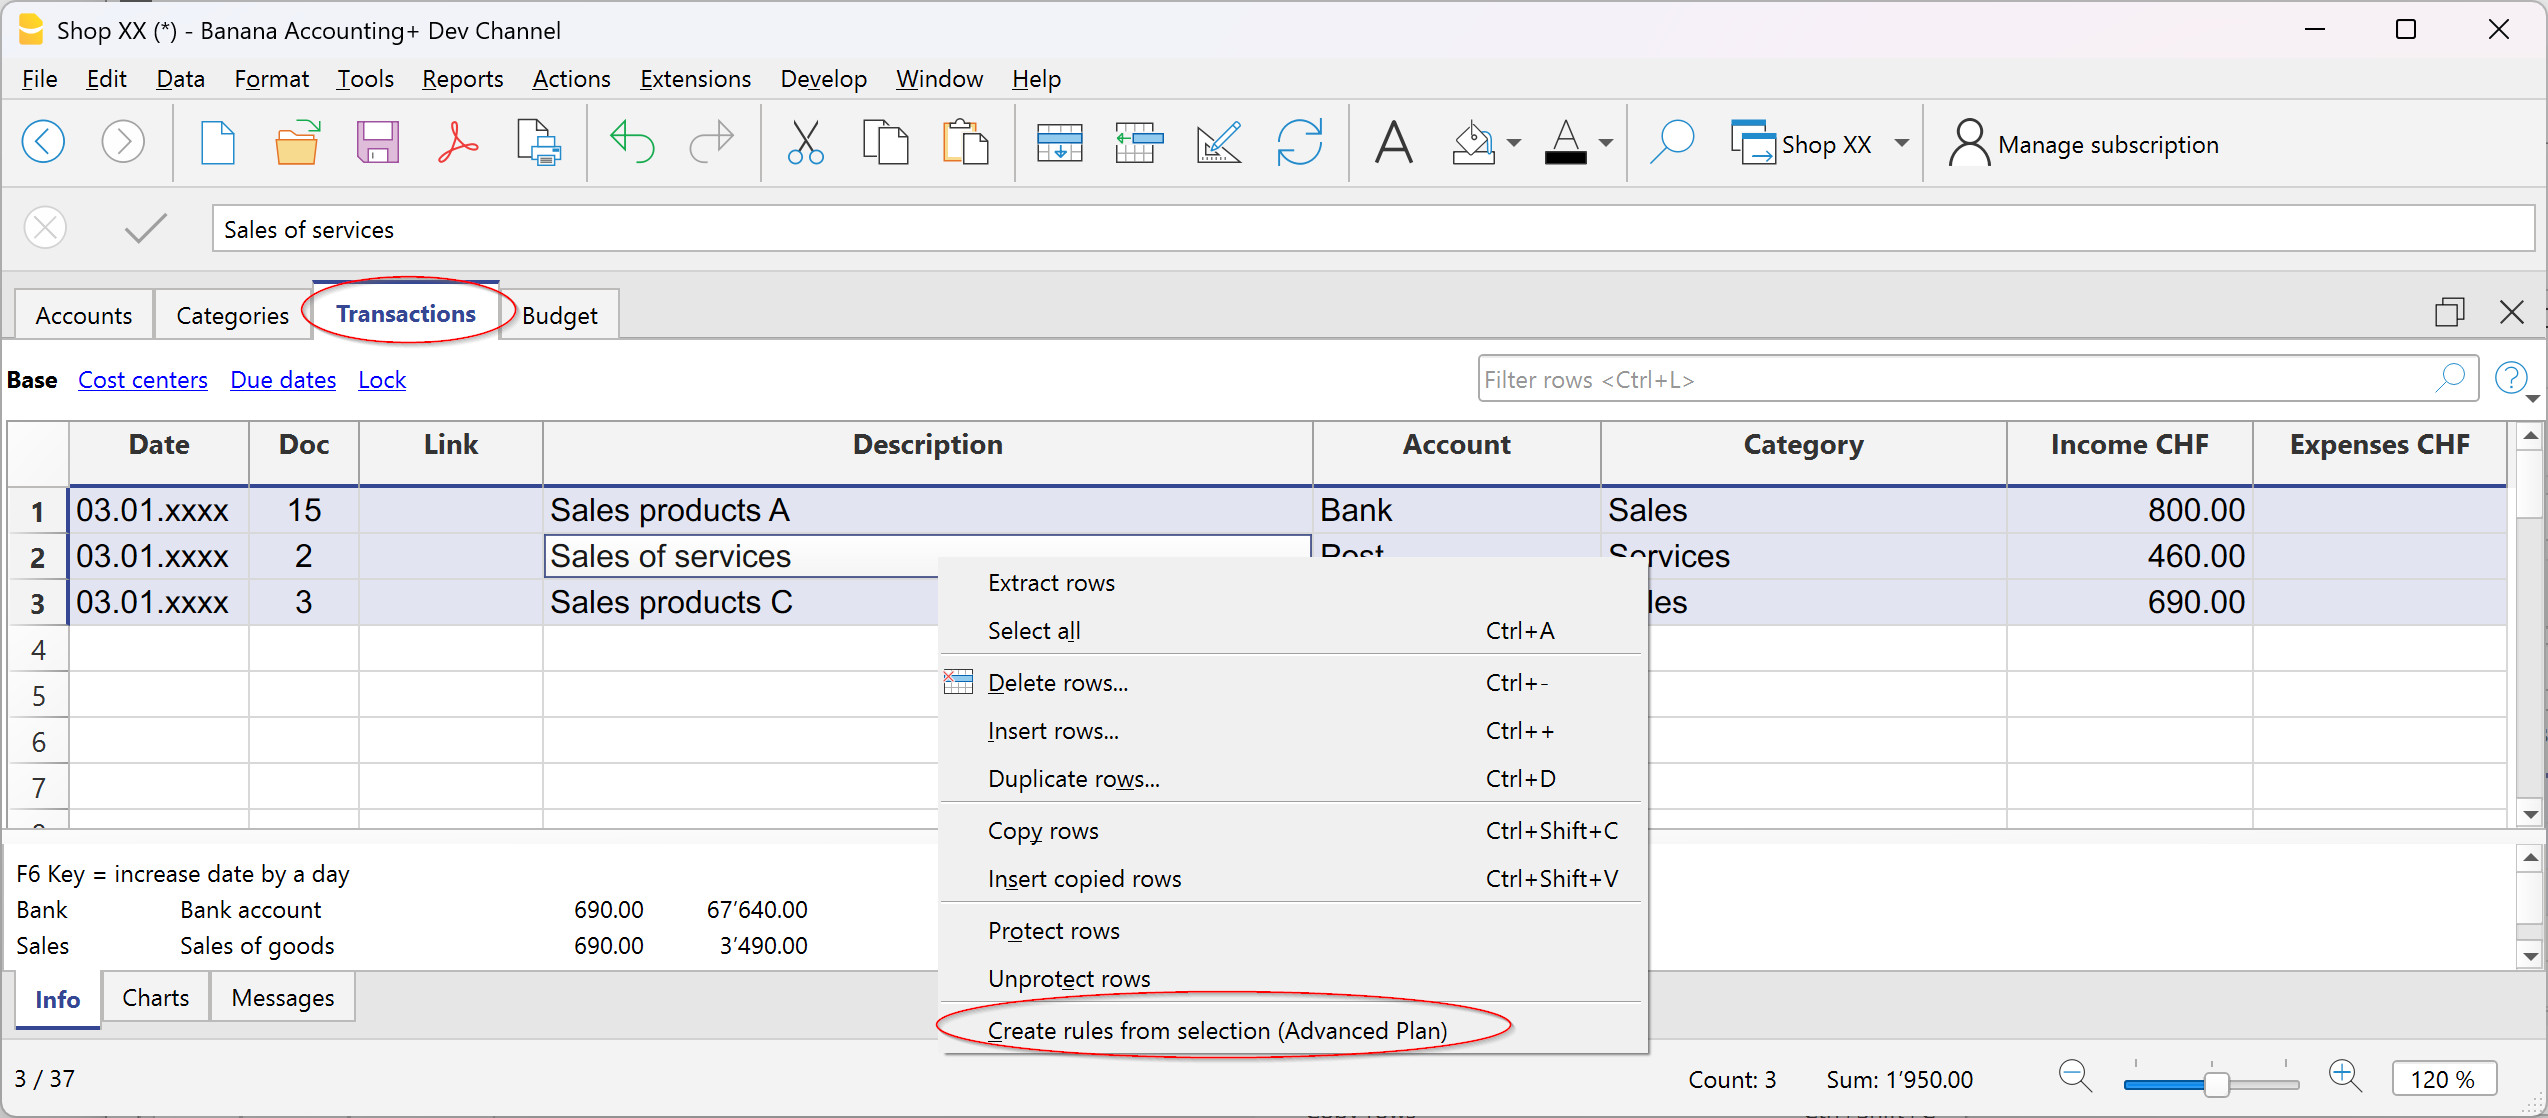
Transactions with rules are saved in the Recurring transactions table and can be identified in the Doc column by the “!Rule” identifier.
By saving rules complete with all details, at the next data import from the bank or postal statement, the program will insert the transactions automatically completing the counterpart and all the other stored elements. The amount is updated based on the latest import.
In the Recurring transactions table you can edit rule-based transactions at any time:
- add more transactions with rules
- delete transactions with rules that are no longer needed
- modify rules of already existing transactions
Rules from the Apply Rules dialog
Rules can also be set at the moment when transactions are imported from the bank statement or other statements through the Apply Rules dialog.

More information is available on the following pages:
The indicated pages use double-entry accounting files as examples, but the principles are the same for income/expense accounting.
Rules from the Recurring transactions table
This procedure requires manually entering recurring transactions directly in the Recurring transactions table before recording the transactions in the Transactions table.
To follow this procedure, see the information on the following page:
The indicated page uses double-entry accounting files as examples, but the principles are the same for income/expense accounting.
Customising Accounts and Categories | Income/Expense accounting
All Banana Accounting templates already include the Accounts and Categories tables, with all the essential items to manage your accounting. However, if you want to adapt the chart of accounts to your business, you can easily customize these tables.
Customize Accounts
The Accounts table contains the items that represent what you own (assets) and what you owe (liabilities).
You can modify it as you wish:
- Change account descriptions
Example: in the Bank account row, enter the name of your bank (e.g. UBS Bank).
Add new accounts
If you have multiple bank accounts, add a new row and enter the bank name.
The same applies to customers and suppliers: you can create a separate account for each one, with the corresponding description. - Change account numbers
If the template uses numbers, you can replace them with descriptive names or assign different numbering. - Remove unused accounts
If you don’t need them, simply delete the corresponding row.
Customize the Categories table
The Categories table contains the reasons for your income (revenues) and expenses.
You can also freely adapt the items here:
- Change category descriptions
Example: instead of Sales, you can write Retail sales or Sales to resellers. - Add new categories
Insert a new row and define the item you need. - Change category numbers
You can replace numbers with descriptive names or assign new ones. - Remove unused categories
If you don’t need them, delete the row.
Advanced customization
As your business grows, you might need more detailed information. With Banana, you can expand the structure by adding:
- New total groups (subtotals), to get more homogeneous breakdowns.
- Customer and Supplier ledgers, to monitor each balance.
- Cost and profit centers, to analyze expenses and revenues.
- Segments, to differentiate sales or costs by area, sector, or project.
- Project management, to monitor specific activities.
- Invoicing and reminders features, if you want to issue invoices and manage reminders.
Example of customization in the Accounts table
In the following example, we explain how to add the Liquidity group in the Accounts table. This group allows you to see the total liquidity, separate from other amounts.
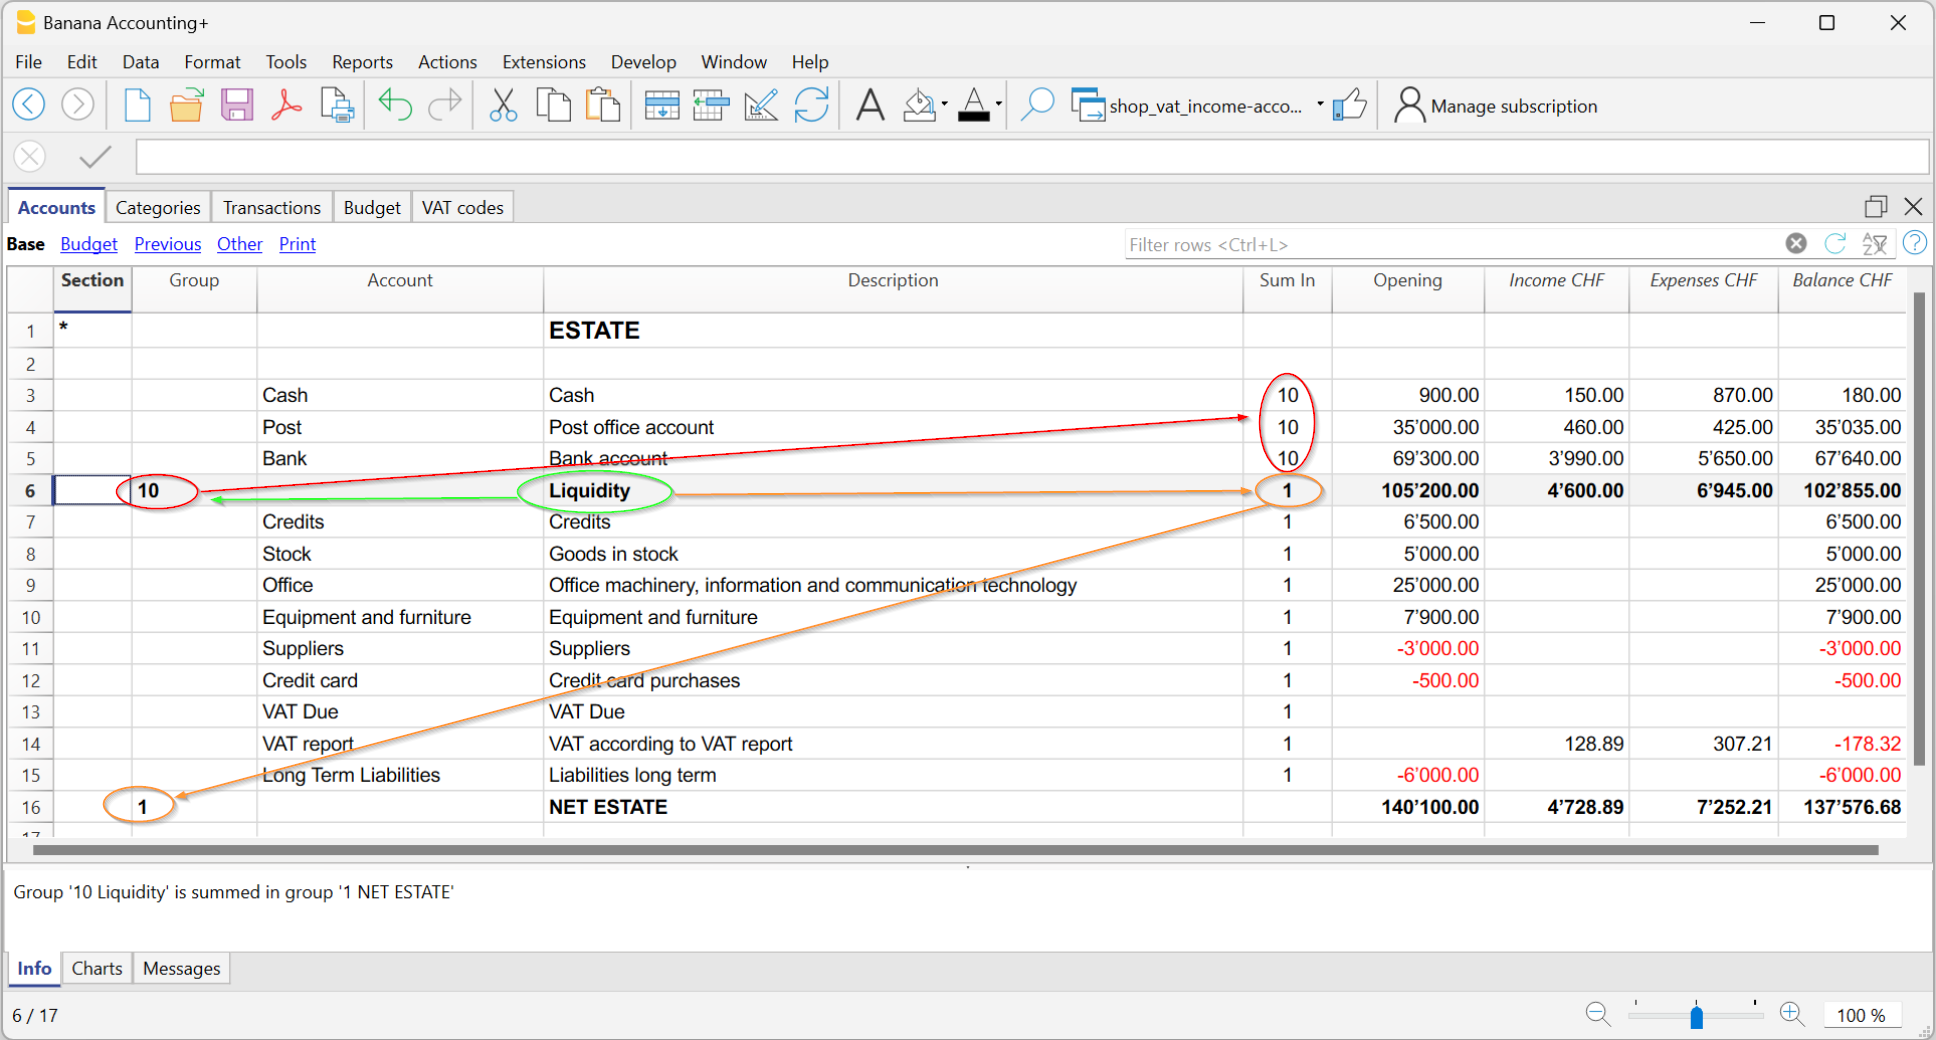
You can create a total group to sum the accounts related to liquidity (cash, postal account, bank).
- Add a new row below the bank accounts.
- In the Group column, enter the code 10 (new group).
- In the Sum in column of the Cash, Postal, and Bank rows, write 10.
This way, they will all flow into Group 10. - In the Sum in column of the Liquidity row (Group 10), write 1 so the total flows into Group 1 – Equity.
Result: a new "Liquidity" subtotal separate from other amounts.
You can also find information on the pages:
Opening Balances | Income/Expense accounting
Opening balances are the values your accounting starts with when you begin a new year or create a new file.
They represent your financial situation at the beginning of the year or your accounting period.
- What you own → cash in hand and bank, assets, receivables.
- What you owe → debts, loans, taxes to be paid.
- Net worth → the difference between what you own and what you owe.
Opening balances the first time you create a file
The first time you use Banana Accounting or create a new file:
- Manually enter the balances in the Accounts table, Opening column.
- Active accounts (positive) → enter them normally.
- Passive accounts (debts) → enter them with a minus sign (-) before the amount.
From the second time on, it's no longer necessary: when you use Actions > Create New Year, the program automatically carries over the balances.

Start with Banana Accounting during the year
If you start with Banana mid-year, you can choose one of the two methods:
- Start from the beginning of the year
- In the Accounts table, Opening column, enter the initial balances you had at the beginning of the year.
- In the Transactions table, enter all the transactions of the year (previously done with other programs), so you will have a complete file. To import data, you can use copy and paste or see the information on the page Retrieving data from other programs.
2. Start from the current date
- Enter the opening balances in the Accounts table (Opening column).
- Enter Income (positive) and Expenses (negative) balances in the Categories table.
- Enter only the new transactions in the Transactions table.
Previous year balances
If you start a new accounting file based on an existing one and want your reports to also show the previous year’s values:
- Go to the Previous view of the Accounts table.
- Enter last year's closing balances in the Previous Year column.
Note:
- Positive asset accounts → enter normally.
- Negative asset accounts → use a minus sign.
- Income categories → enter as positive.
- Expense categories → enter as negative.

Create a new year
To move to the next year:
- Go to the Actions menu > Create New Year.
- Save the new file with a clear name (e.g. Accounting 2026).
The program will automatically carry over the opening balances to the new file.
For more details, see the page Create New Year.
Print opening balances
You can print the opening balances in two ways:
- Print/Preview → print the Accounts table selecting only the rows in the Opening column.
- Accounting reports → configure the report to display the Opening column.
Transactions table | Income/Expense accounting
The Transactions table is the core of accounting management: this is where all accounting transactions are entered, always visible and sorted chronologically. Each entry can be modified or corrected at any time, ensuring maximum flexibility.
Main columns of the Transactions table
The column display varies depending on the selected view. You can add extra columns through the Data > Columns setup menu.
Below is a list of the main columns of the Transactions table.
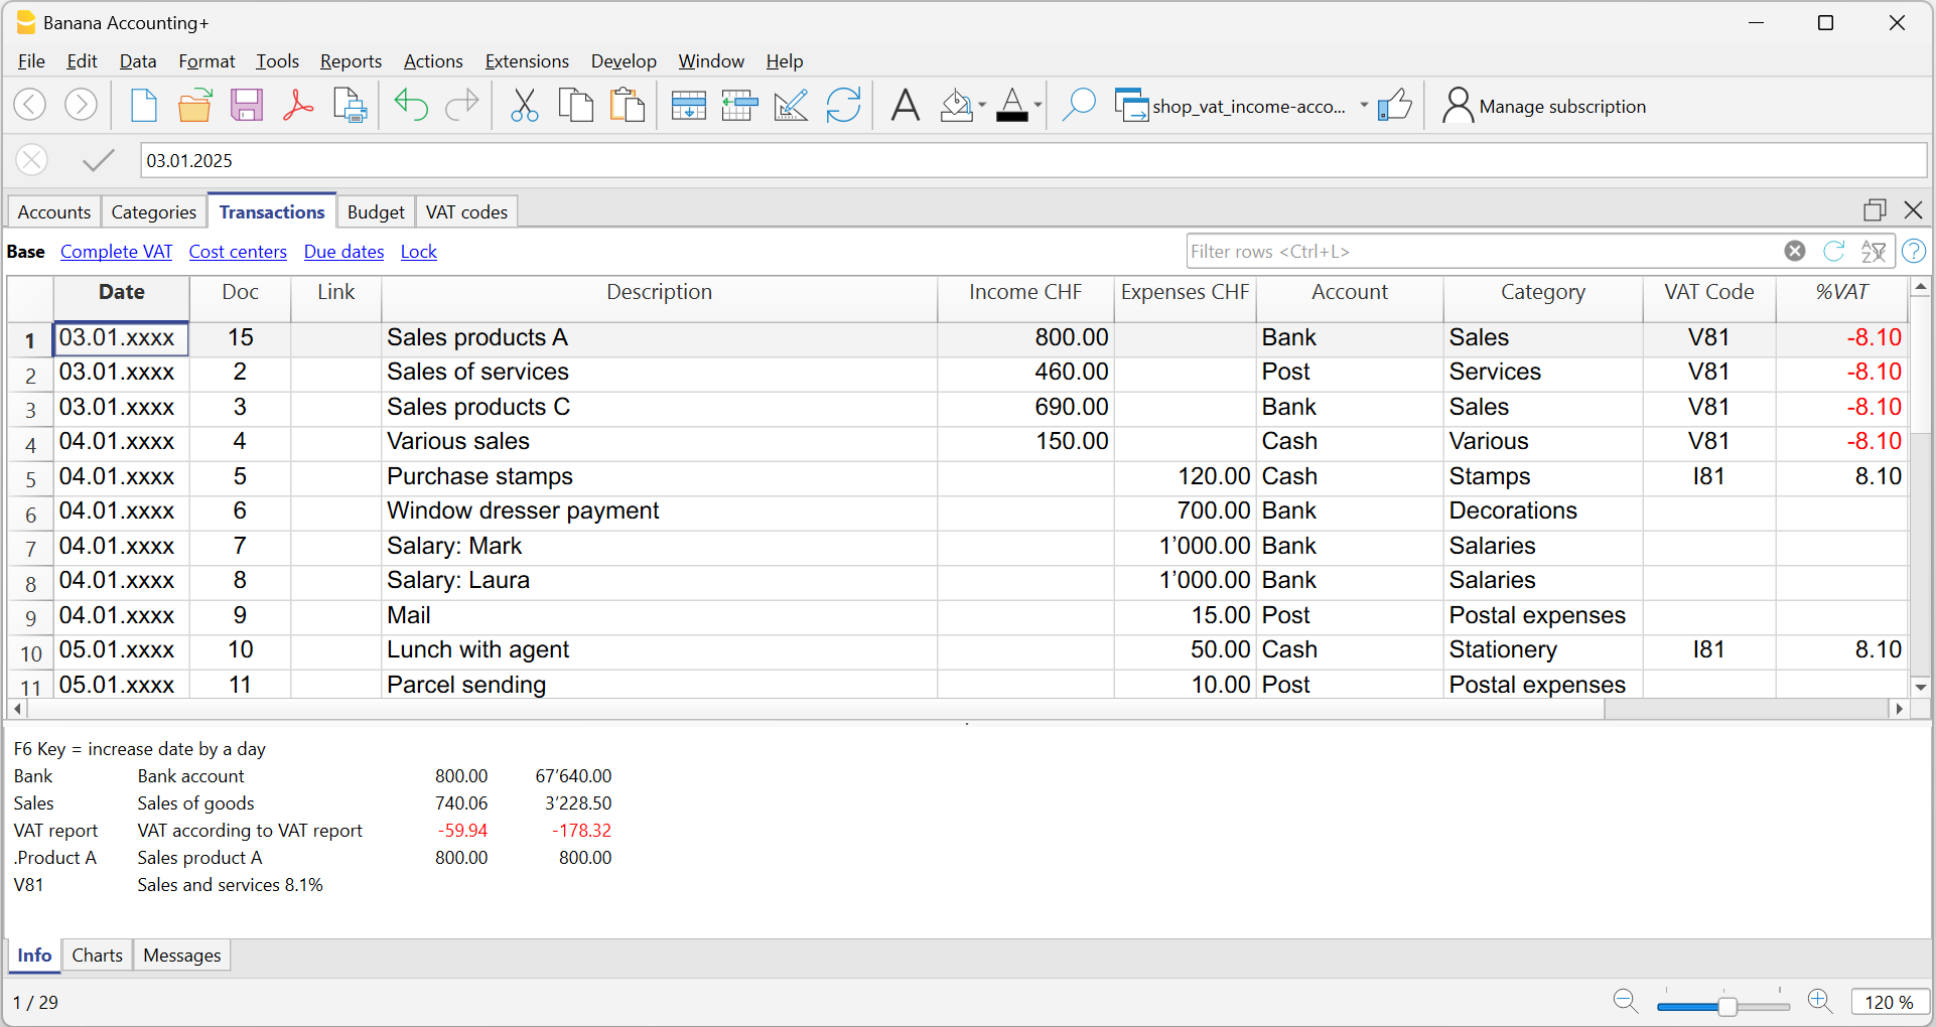
Date
The date of the income or expense transaction.
Doc
The document number. Usually it matches the number assigned to the physical document to be recorded. With the increase of digital documents, the use of the Doc column has become less essential.
Link
In this column, you can enter the link to the digital document corresponding to the accounting transaction.
Description
The description used to identify the income or expense transaction.
Income
The income amount. You can also add a value as a “comment or commented” within square brackets [...].
All values within square brackets are not considered by the program as actual values, but as annotations.
Expenses
The expense amount. You can also add a value as a “comment or commented” within square brackets [...].
All values within square brackets are not considered by the program as actual values, but as annotations.
Account
The asset account involved in the transaction, selected from those defined in the Accounts table (e.g. cash, bank, post office, customers, suppliers…). You cannot enter a category in this column. You can also add an account as “commented” within square brackets [...].
All accounts within square brackets are not considered by the program as actual values, but as annotations.
Category
The category that explains the transaction, selected from the Categories table (e.g. Sales, Rent).
Alternatively, you can also enter an account from the Accounts table, useful for transactions between asset accounts (internal transfers).
You can find more details on the pages:
In the Category column, you can also add a “commented” category within square brackets [...].
All categories within square brackets are not considered by the program as actual values, but as annotations.
Category Description
In the Category column, a category defined in the Categories table is entered (or an account, in case of internal transfers).
If the description of a category is modified in the Categories table, to display the updated text, it is necessary to recalculate the accounting.
Balance Columns
The Balance column is not predefined: the user can choose whether to display it or not.
It is a very useful column, as it highlights differences between income and expenses. By recording line by line, it allows you to immediately identify and correct any discrepancies.
In the example, the Balance column shows the discrepancy in row 4:
- the account is missing in the Account column

Entering transactions | Income/Expense accounting
The Transactions table is the core of accounting: here you enter all incoming (income) and outgoing (payments) transactions. After each entry, the amount is automatically updated in the account and category cards, so you always have totals under control.
You can enter transactions in two ways:
Record data automatically
With Banana Accounting Plus you no longer need to waste time with manual entries: thanks to automation features you can record data automatically, quickly and accurately.
Speed up data entry
To speed up transaction entry, use the following automation features:
- Data entry with auto-completion – automatically retrieves previously entered data.
- Recurring transactions – allows you to store recurring entries in a dedicated table.
Import data from bank statement
With Banana Accounting, you can speed up your work by entering transactions directly from your bank statement. Instead of recording each operation manually, simply import the file you downloaded from your bank (usually in CSV or ISO20022 format). For more information, visit the page Importing data from bank or postal statements.
Apply Rules to imported transactions
Transactions with Rules – You can define instructions for the software to automatically complete imported transactions from bank statements, with contra account, cost centers, segments, and VAT code if needed.
Manual entry
Manual entry is quite intuitive. However, we explain the most common operations.
Manual entry of an income
Below is a practical example of an income. Specifically, it's a merchandise sale.
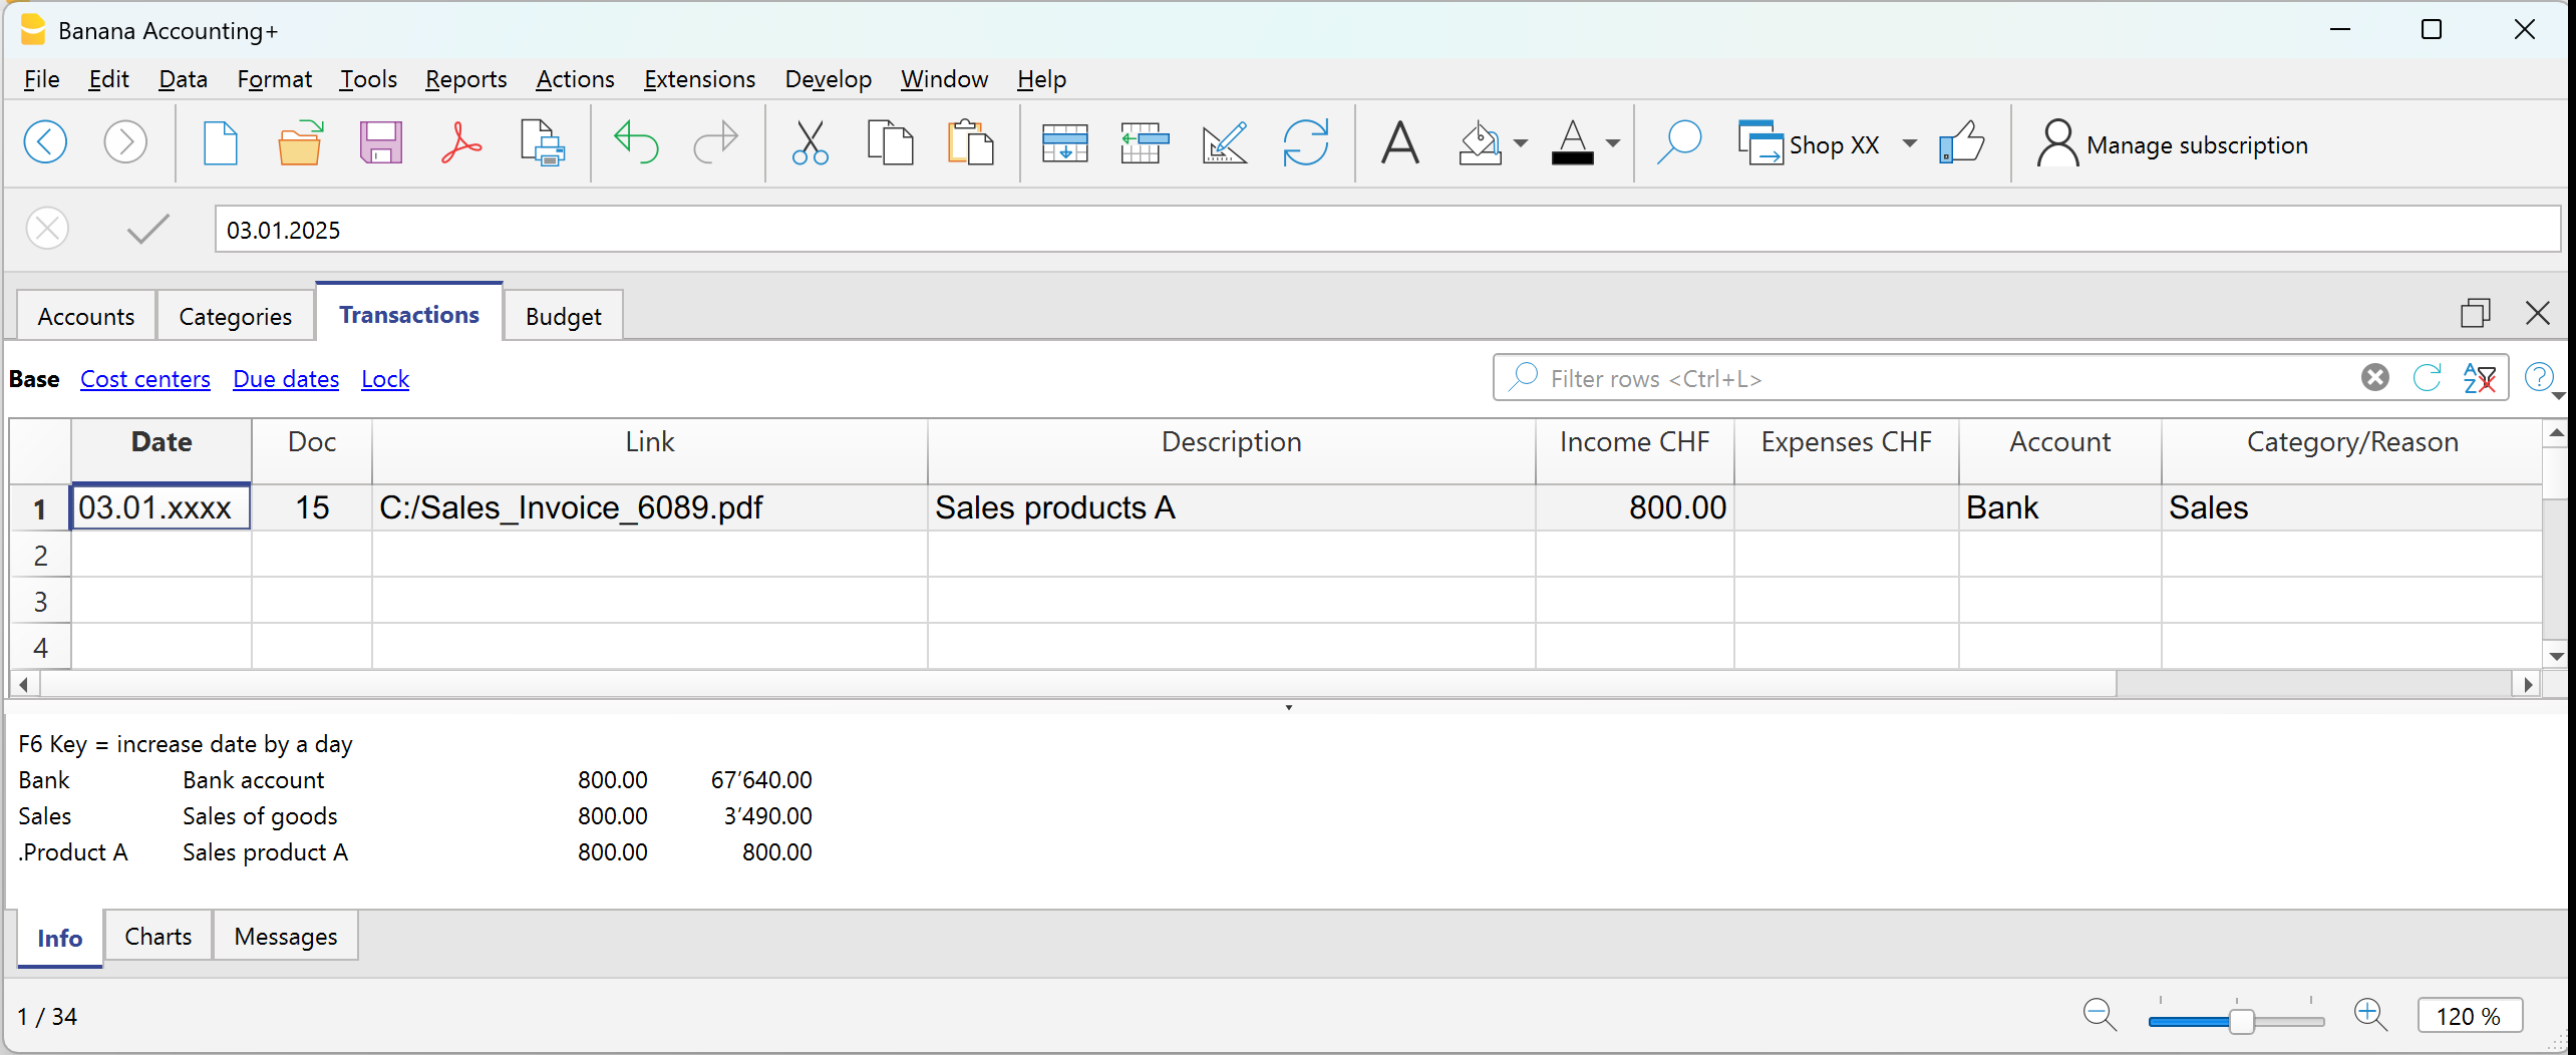
Example: payment received for a sale via bank.
- Date → enter the date of the document (e.g. invoice date).
- Doc → document number (optional).
- DocLink → link to the digital document (if available).
- Description → short description (e.g. Sale of goods to customer Rossi).
- Income → amount received.
- Account → liquidity account used (e.g. Bank).
- Category → reason for the income (e.g. Sales).
The amount will be shown as positive both in the account card and the category card.
Manual entry of an expense
Below is a practical example of an expense. Specifically, it's a merchandise purchase.
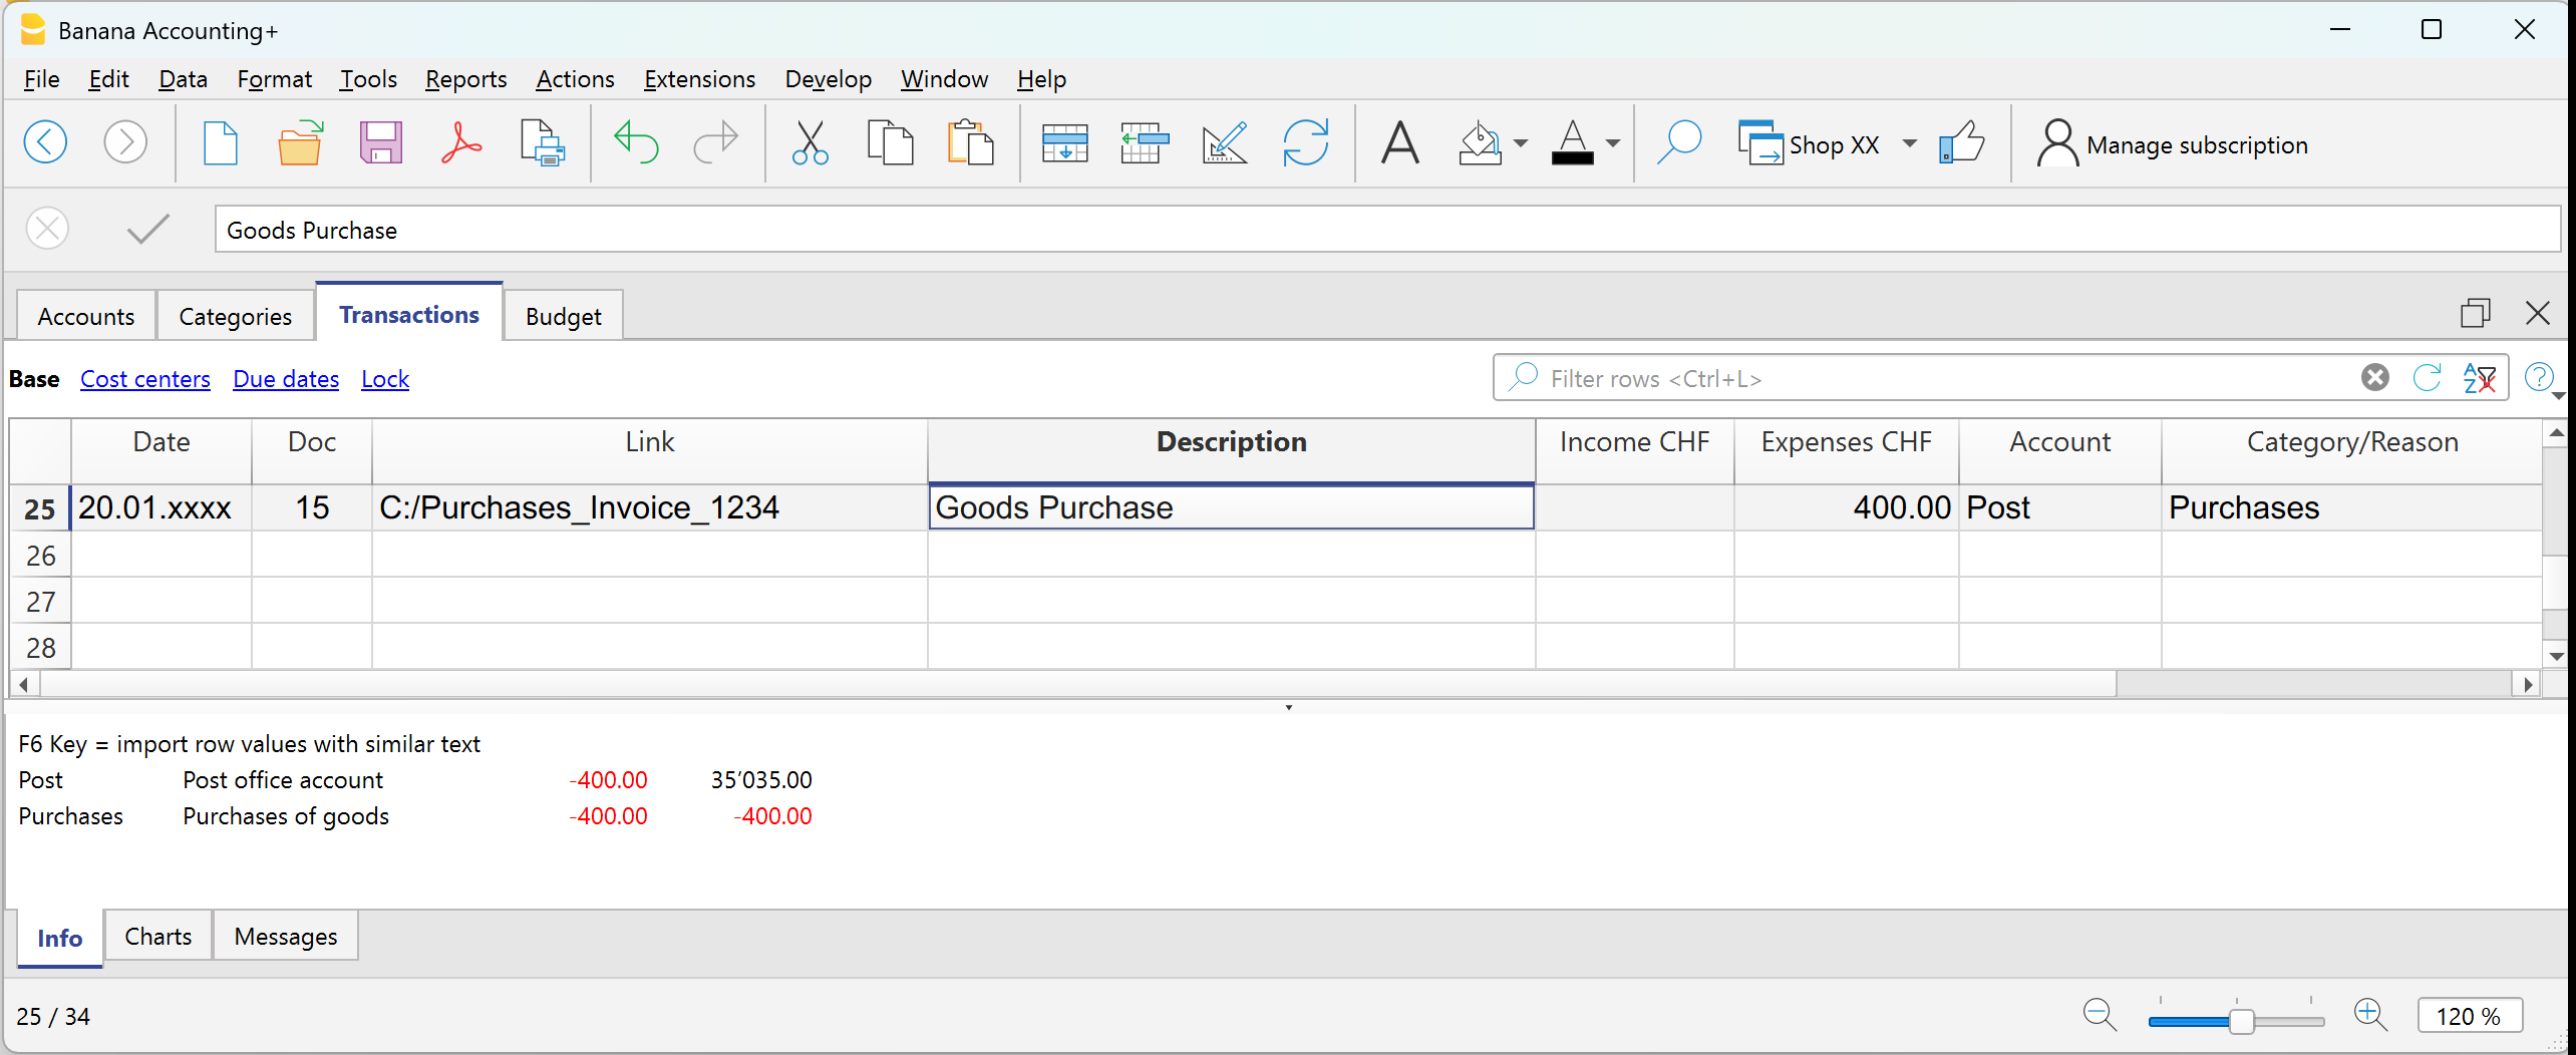
Example: paid invoice for merchandise purchase via bank.
- Date → enter the date of the document.
- Doc → document number (optional).
- DocLink → link to the digital document.
- Description → short description (e.g. Purchase of goods from supplier Bianchi).
- Expenses → amount paid.
- Account → liquidity account used (e.g. Bank).
- Category → reason for the expense (e.g. Purchases).
The amount will be shown as negative both in the account card and in the category card.
Multi-row transaction
When you have a transaction that involves multiple accounts and/or categories, you must enter it using multiple rows.
Example: payment of several invoices using cash.
- Use the same date and document number for all rows.
First row:
- Enter the total amount paid in the Expenses column.
- In the Account column, indicate the liquidity account used (e.g. Cash).
- Leave the Category column empty.
Following rows:
- Enter each paid invoice in a separate row, with the amount in the Expenses column.
- The Account column remains empty.
- In the Category column, indicate the corresponding expense item.
If you have enabled the Balance column, you will see that the remaining total decreases row by row, until it reaches zero.
Transactions between two accounts | Income/Expense accounting
In Income / Expense accounting, a transaction is generally recorded with one account entered in the Account column and one category entered in the Category column.
- The accounts are those listed in the Accounts table.
- The categories are those listed in the Categories column.
It is also possible to record a transaction involving multiple accounts or categories, by entering one account or category per row, until the entry is complete.
When you need to record a transaction that involves two accounts, without using a category, you can use the Category column to enter the second account from the Accounts table.
An example could be the recording of a cash withdrawal from the postal account. The transaction should be entered as shown in the example below.
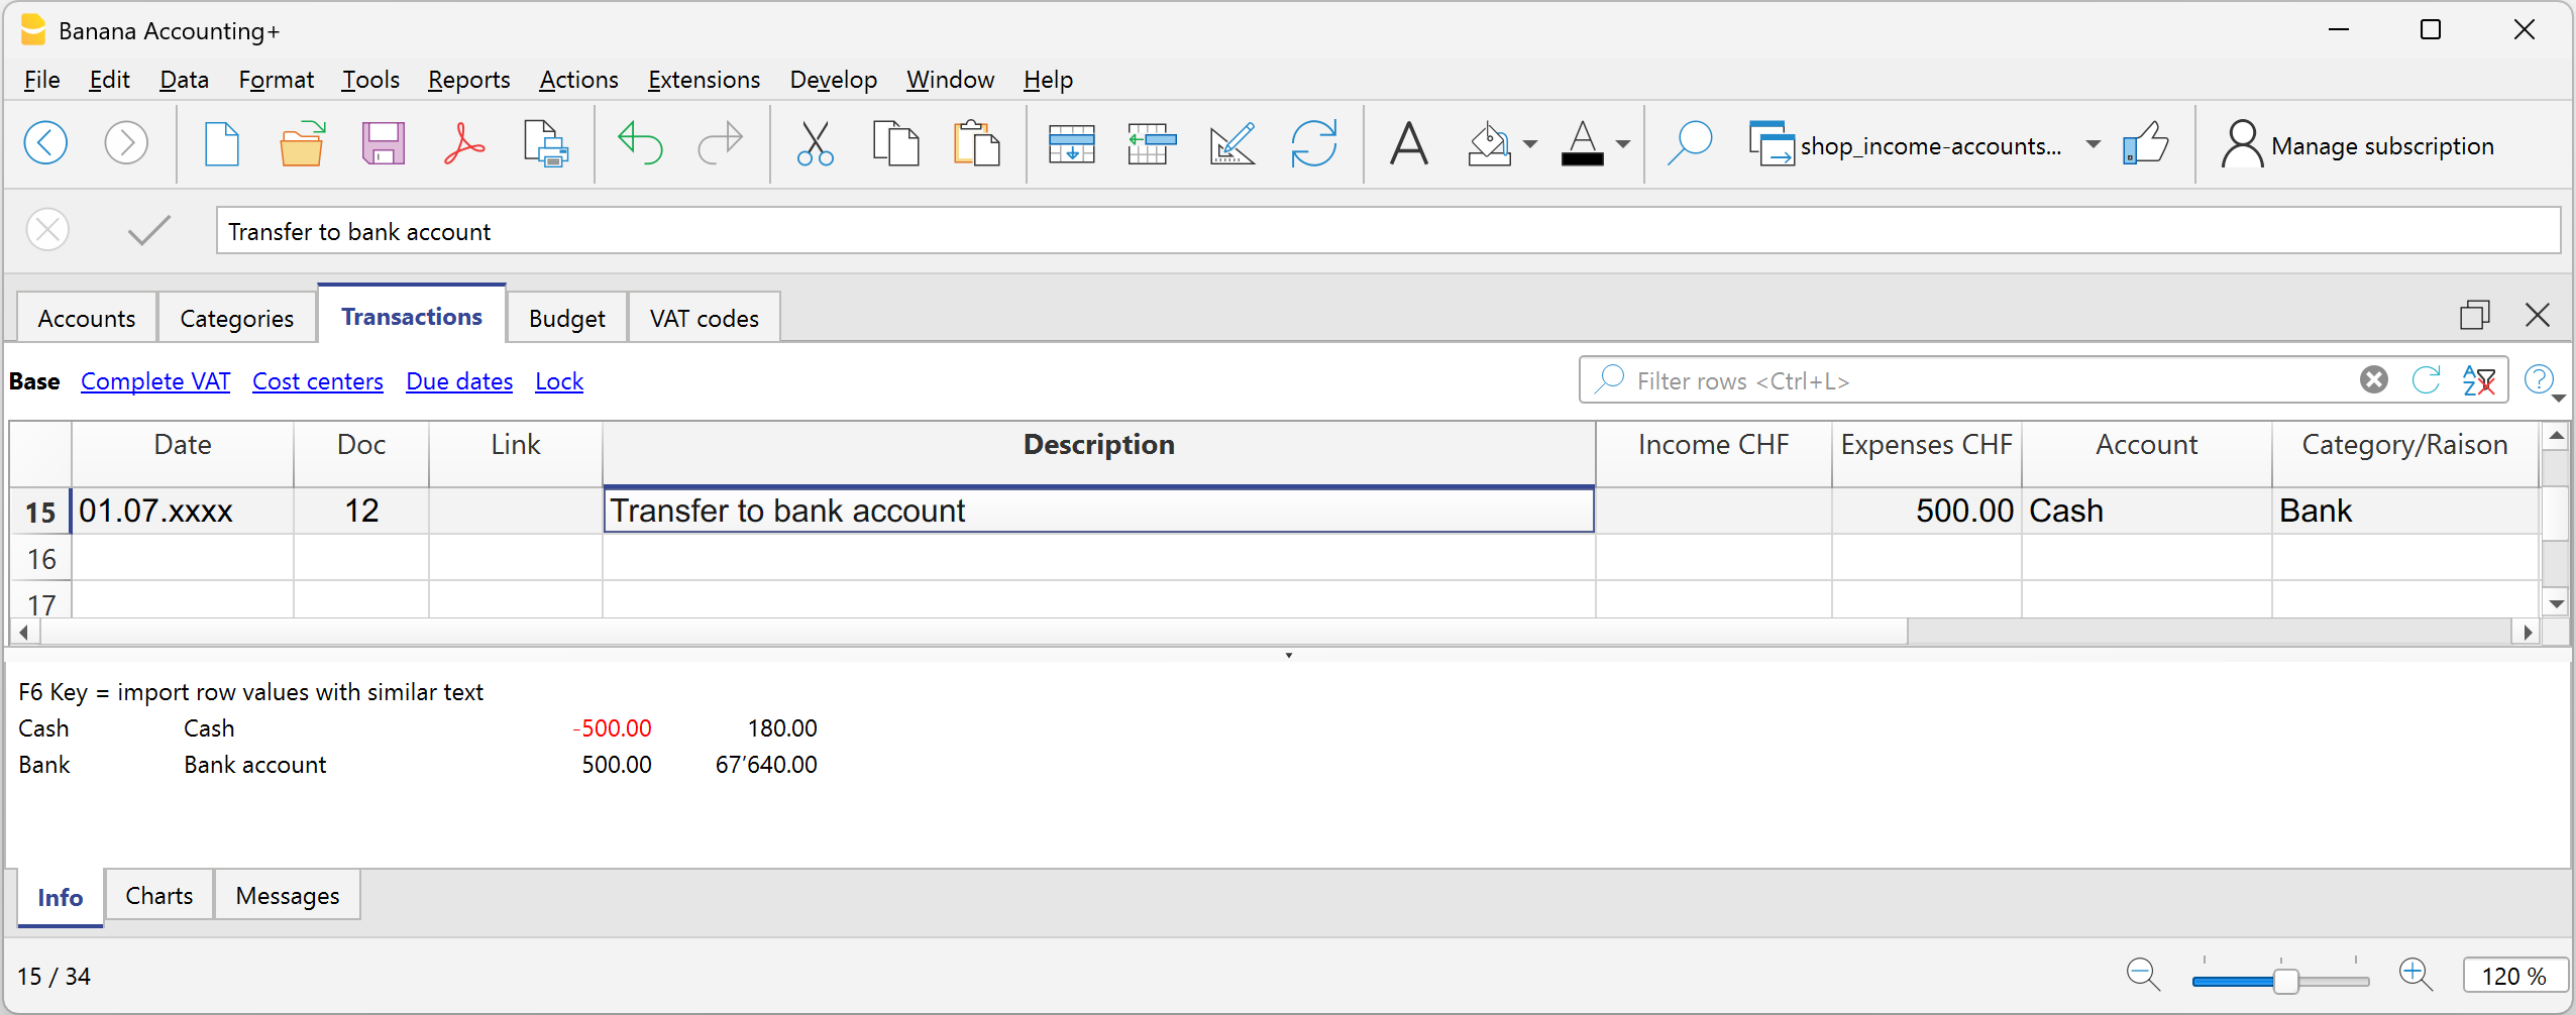
- Enter the Date and Description in the respective columns
- In the Income or Expense column, enter the amount
- In the Account column, enter the first account
- In the Category column, enter the second account
Transactions between two categories | Income/Expense accounting
In Income / Expense accounting, a transaction is generally recorded with one account, entered in the Account column, and one category, entered in the Category column.
It is also possible to record a transaction involving multiple accounts or multiple categories, by entering one row for each account or category, until the transaction is complete.
- The accounts to be used in the trasnsactions are those listed in the Accounts table.
- The categories to be used in the transactions are those listed in the Categories table.
When it is necessary to record a transaction between two categories, it is not possible to do so on a single row. A category cannot be entered in the Account column.
Therefore, the transaction between two categories must be recorded over two rows:

- On the first row:
- Enter the Date and Description in the respective columns
- Enter the amount in the Income or Expense column
- Leave the Account column empty
- Enter the first category in the Category column
- On the second row:
- Enter the Date and Description in the respective columns
You can also copy the data from the previous row - Enter the amount in the Income or Expense column.
If necessary, you can reverse the income or expense amount compared to the previous entry. - Leave the Account column empty
- Enter the second category in the Category column
- Enter the Date and Description in the respective columns
Transactions with VAT | Income/Expense accounting
To record transactions with VAT in Banana Accounting, you need to use an Income / Expense template with the VAT management option.
These templates already include all the settings needed to manage VAT:
- The Accounts table includes VAT report and VAT payable accounts.
- In File properties > Basic data > VAT, the VAT report account is set.
- The VAT Codes table already contains VAT codes updated according to regulations.
How to record transactions with VAT
The Transactions table includes specific columns for VAT. If you activate the Complete view, you can see all the dedicated columns.

For each transaction, enter:
- Date → the date of the document (invoice, receipt, etc.).
- Doc → the document number (if available).
- Invoice No. → enter the invoice number from the customer or supplier.
- Doc Link → enter the path to the PDF document to attach.
- Description → short text describing the operation (e.g. Sale of goods or Rent payment).
- Income/Expense → the amount received or paid.
- Account → an account related to the transaction from the Accounts table (e.g. Cash, Bank).
- Category → the reason for the transaction represented by a category from the Categories table (e.g. Sales, Rent).
- VAT Code → indicate the applicable rate:
- V81 → sales.
- M81 → purchases related to main business activity.
- I81 → purchases related to investments or general costs.
Automate the VAT code
To speed up entries, you can make the VAT code fill in automatically.
- Go to the Accounts and Categories table.
- From the menu Data > Columns setup, activate the VAT Code column.
- Enter the VAT code in the corresponding rows. The VAT code must exist in the VAT Codes table. For Switzerland, for example:
- On fixed asset purchase accounts → I81.
- On sales categories → V81.
- On purchase categories → M81 or I81.
This way, when you enter a transaction linked to that account or category, the program will automatically fill in the VAT Code and immediately calculate the related data.
Learn more
- VAT Summary
- Swiss VAT Management
- Various VAT transaction cases (double-entry accounting)
- Swiss VAT reports → Only with Advanced plan.
Record credit card transactions | Income/Expense accounting
Credit card purchases are becoming increasingly common, not only in businesses but also in households. In order to have a better control of the expenses for credit card purchases, it is necessary to record the movements in your accounting. In this regard, it is necessary to verify that the Accounts table contains the credit card account, otherwise it should be added.
Record credit card transactions with advance payments
The credit card account is a debit account and is entered in the Account column.

In Income/Expense accounting, whenever advance payments are made on the credit card, you must record as follows:
- Enter the date, the description
- In the Expenses column, enter the expense amount
- In the Account column, enter the liquidity account (bank, post office).
- In the Category column, enter the credit card account.
When the credit card invoice arrives and the expenses are covered by the advance payments, it is necessary to record the credit card transactions to identify the costs incurred and write off the credit.
In this case you record on multiple rows:
- Enter the same date and the same Document No. for each transaction for all the rows that make up for the transaction.
- Enter the description indicating the type of expense.
- In the Expenses column enter the total amount paid by the credit card.
- In the Account column enter the credit card account.
- In the next rows to record each expense paid by credit card, record in the Expenses column the amount of the expense, and in the Category column, the category of the expense.
After all transactions have been recorded, check your credit card balance (open your credit card account card).
Transactions on private account | Income/Expense accounting
The private account is a financial account used in accounting to record transactions that do not directly concern the business, but rather relate to the owner's private sphere. This account tracks withdrawals and contributions made by the owner for personal purposes; it serves to keep business and personal finances separate, avoiding confusion in the company's bookkeeping.
Withdrawals from the company by the owner
If the owner uses business funds for personal expenses, the amount is debited to the private account. The amounts withdrawn by the owner appear in the Accounts table, in the Income column of the private account, because they represent a receivable of the company from the owner. In the Balance column of the private account, the amount is positive.
Deposits into the company by the owner
If the owner deposits private funds into business accounts, the amount is credited to the private account. The amounts deposited by the owner appear in the Accounts table, in the Expenses column of the private account, because they represent a liability of the company to the owner. In the Balance column of the private account, the amount is negative.
Balance of the private/partner account
- Positive balance: indicates that the owner owes money to the company.
- Negative balance: indicates that the company owes money to the owner.
Credit card December invoice paid the following year | Income/Expense Accounting
The December credit card invoice is usually received in January of the following year, and consequently, the payment is also made in January.
All expenses listed in the December credit card invoice belong to the previous year; therefore, they must be recorded in the accounting of the previous year.
Recording the December credit card invoice
To record it correctly, it is necessary to have the liability account Costs to be Paid in the Accounts table, which is a transitional account. If it is not present, it must be added.
In the Transactions table, enter:
- Date and any document number in the respective Date and Doc. columns.
- Description
- Total credit card amount in the Expenses column
- Costs to be Paid account in the Account column
- Expense category in the Category column. If the invoice includes multiple expenses, record each expense on a separate row.
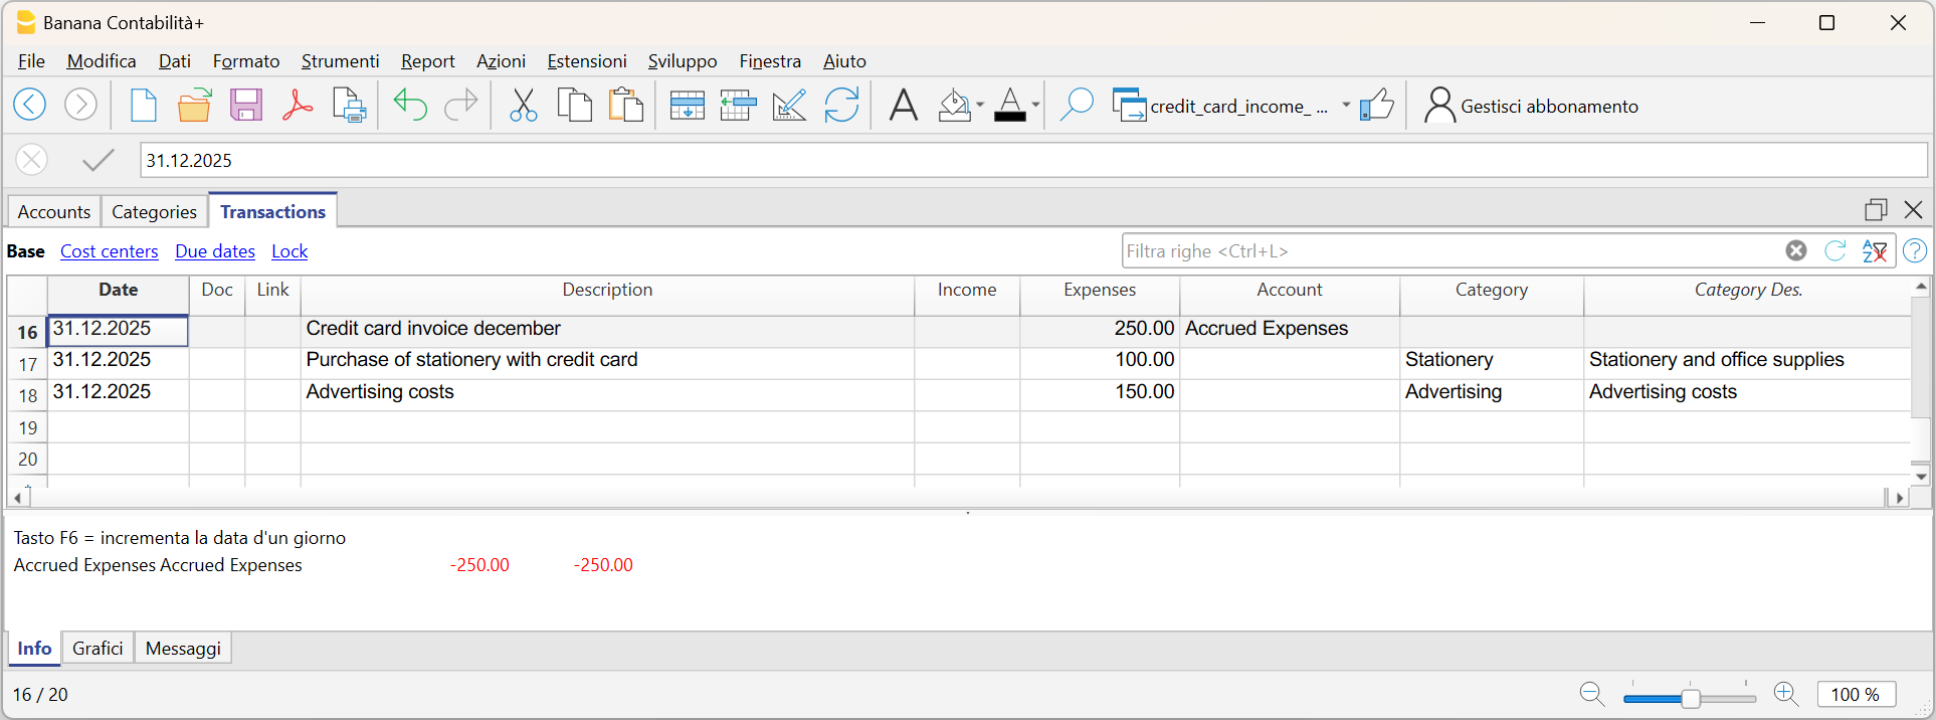
Recording the payment of the December credit card invoice in the following year
In the following year, when the new year is created, the balance of the Costs to be Paid account is displayed as an opening balance in the Accounts table.
When the credit card invoice is paid, the Costs to be Paid account is cleared.
To record the payment of the credit card invoice, enter:
- Date, any document number
- Description
- Total amount of the credit card invoice in the Expenses column
- Liquidity account from which the invoice is paid in the Account column
- The Costs to be Paid category in the Category column.
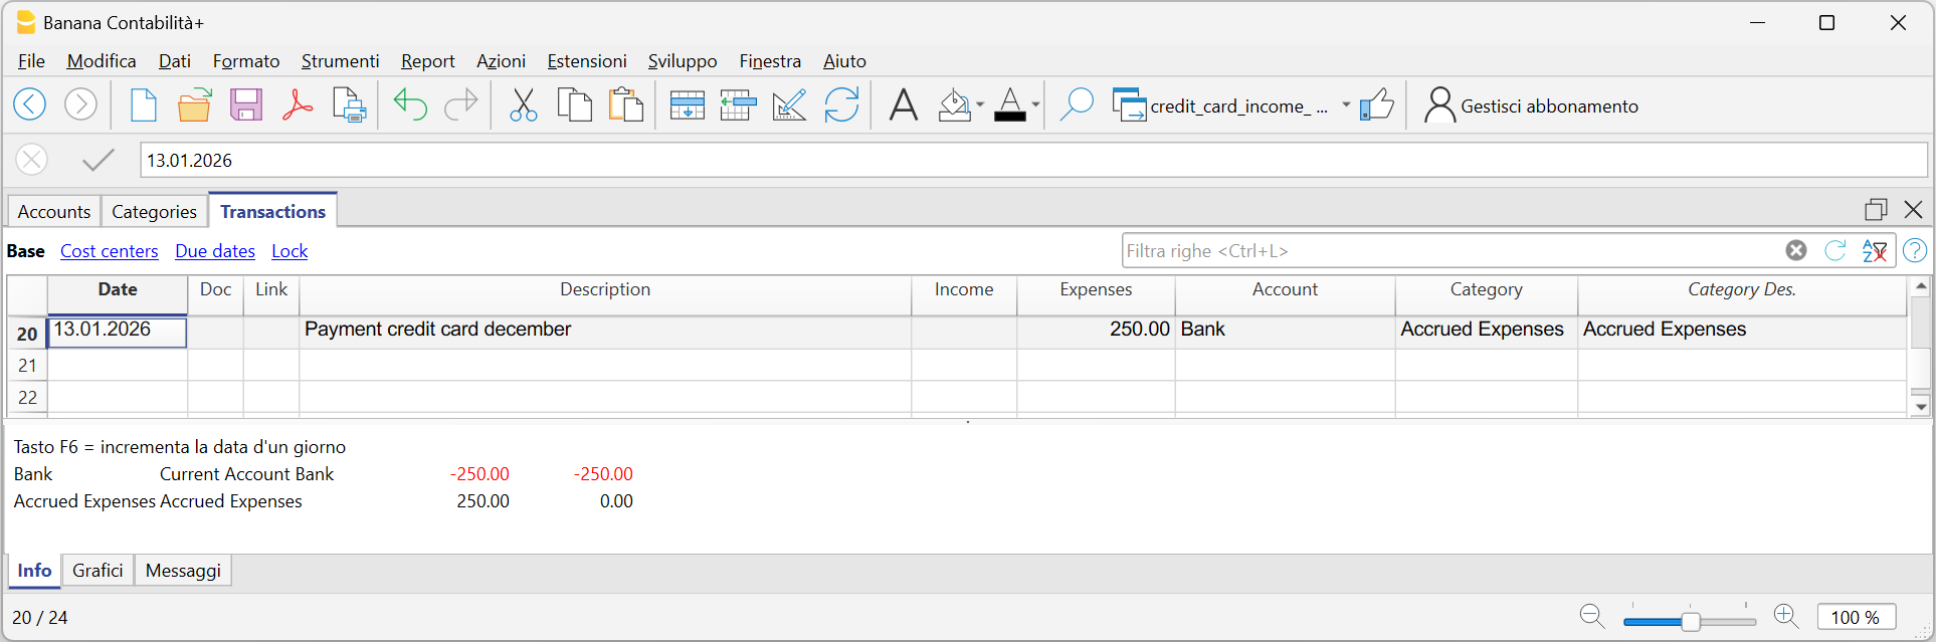
Budget |Income /Expenses Accounting
The annual budget is a tool that allows you to plan income and expenses in advance for the year, providing a clear view of the future and helping you make the best decisions. During the year, you can compare the budget with the actual values (actuals) to assess how reality aligns with your planning.
Thanks to the budget, you can:
- Make informed decisions: understand whether conditions allow you to invest in a project or if it's better to cut some expenses.
- Monitor financial performance: by comparing budget and actuals, you can easily see if you're spending more or less than planned.
- Manage responsibly: for associations, organizations, and small businesses, it is also a tool of transparency and good management.
How to set up the budget in Banana Accounting
There are two available methods:
- Annual budget in the Accounts or Categories table
A very simple and traditional method:
- Enter the budget values directly in the Budget column of the Categories table.
More information is available on the Budget in column page.
- In the Accounts table, you can also add additional columns to manage different types of budgets.
A useful case is adding a column dedicated to the next year's budget, so you can plan the future while staying in the current year's accounting file.
More details are available on the page Budget for the next year in the current accounting.
- Enter the budget values directly in the Budget column of the Categories table.
- Full financial planning using the Budget table
This is a more advanced and detailed approach:
- You activate the Budget table and enter forecasted transactions not only for costs and revenues but also for liquidity.
- The Budget column in the Accounts table is updated automatically based on the transactions recorded in the Budget table.
This method gives you a dynamic view of financial developments, month by month or quarter by quarter, including liquidity.
The following sub-pages explain how to manage the budget in an Income and Expenses file.
If you are using a double-entry accounting file instead, refer to the section on budgeting by clicking the following link: https://www.banana.ch/doc/en/node/10211.
Comparison between Budget in column and Budget in the Table Budget
Here below is a comparison table between the budget in column in the Accounts table and the budget in the Budget table.
| Feature | Budget Column | Budget Table |
|---|---|---|
| Where it is located | In the Accounts table, Budget column | Dedicated table: Budget |
| Activation | Always available (default) | Must be activated: Tools > Add /Remove functionalities > Add Budget Table |
| Level of detail | Annual budget per account/category | Detailed entries with dates and repetition |
| Data entry | Total amount for the year | Individual entries with date, account, and category |
| Additional fields | Only amounts | Quantity, Price, Calculation formulas |
| Recurring transactions | Not available | Available (Repeat column) |
| Future liquidity by period | Not calculated | Automatically calculated (forecasted cash/bank) |
| Results | Totals per account/category | Periodic details (day/month/year) + totals |
| Typical use | Simple forecasts, annual budget | Detailed forecasts, precise financial planning |
Annual budget in column | Income/Expense accounting
This is an annual budget, set in the Budget column of the Categories table.
The Budget column is active only if the Budget table has not been activated. If the Budget table is already active, you need to deactivate it.
In addition to the Budget column, there is the Budget Diff. column, visible in the Budget view. It shows the difference between the expected and actual values. It updates automatically as accounting transactions are recorded.
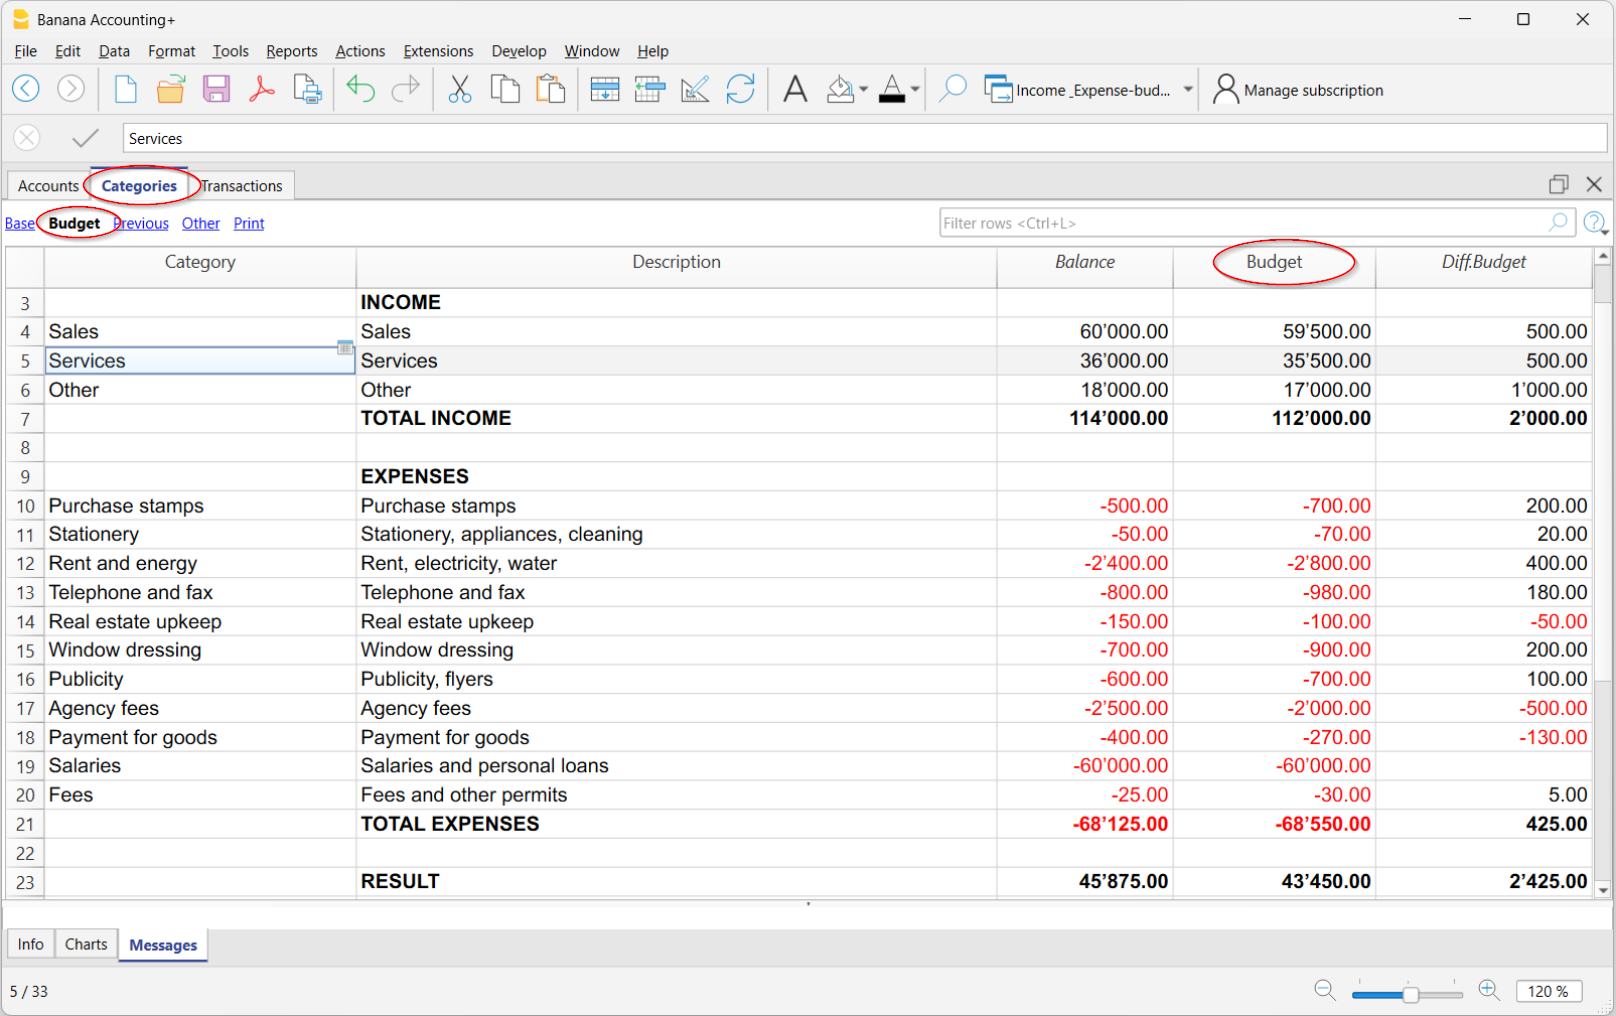
Deactivate the Budget table
If you want to use the Budget column in the Categories table to set the annual budget, the Budget Table must not be active.
If it is active, to deactivate it, go to the menu:
- Tools > Add/Remove Functionalities
- Select Remove Budget Table.
Once the table is removed, you can directly enter the budget amounts in the Budget column of the Accounts table.
Budget Printing
You can print the Budget using one of the following methods:
- Directly from the Categories table:
To print, go to the Categories table and select the Budget or Print view. From the menu File > Create Pdf, the program displays the PDF ready to print.- Budget View
The printout shows the columns as they appear in the Categories table. - Print View
The printout appears like the Categories table but without the Sum In column and other grouping columns. In this case, you need to show the Budget columns using the menu Data > Columns setup.
- Budget View
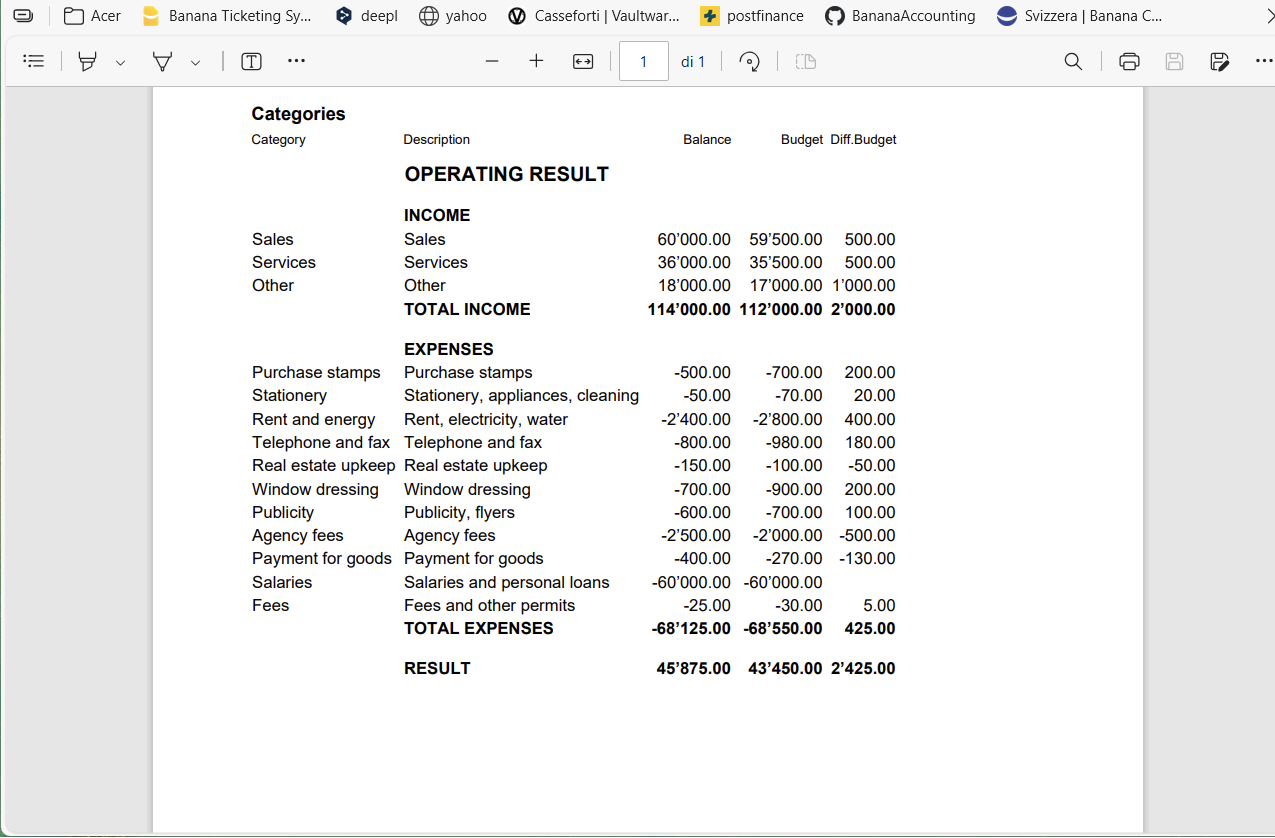
- From the menu Report > Enhanced Balance sheet with Groups.
In the Columns section, the Budget option must be enabled for the Categories and optionally for the Accounts.
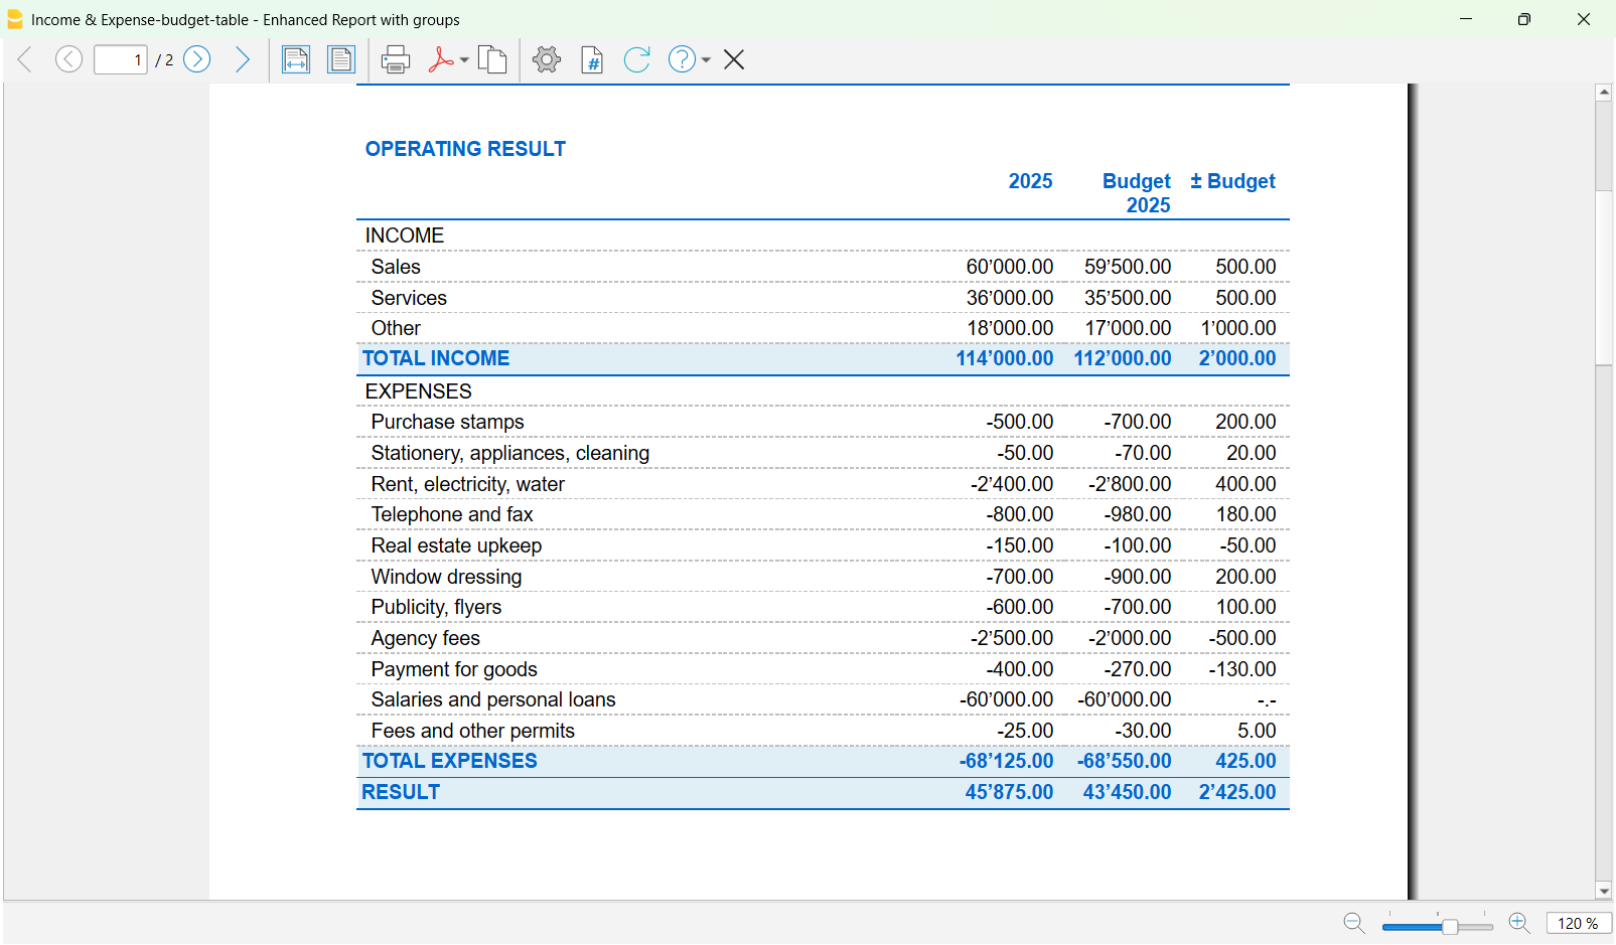
Budget for the following year in the current accounting | Income / Expense accounting
In Banana Accounting, in the Categories (or Accounts) table, you can add, in addition to the column for the current year's budget, an extra column to create a Budget for the following year. This is a very practical solution, for example for associations, where members must approve not only the final accounts of the year, but also the budget for the following year.
How to add the Budget column for the following year
You need to add the Budget for the following year column in the Categories table.
- Go to the Categories table of your accounting file.
- From the Data menu > Columns setup > Add.
- Enter as the title of the new column: Budget following year (e.g. Budget year xxxx).
- Set the Data type = Amount, so that Banana automatically calculates the group totals.
- Confirm with OK.
The new column for the following year’s budget will be visible in the Categories table.
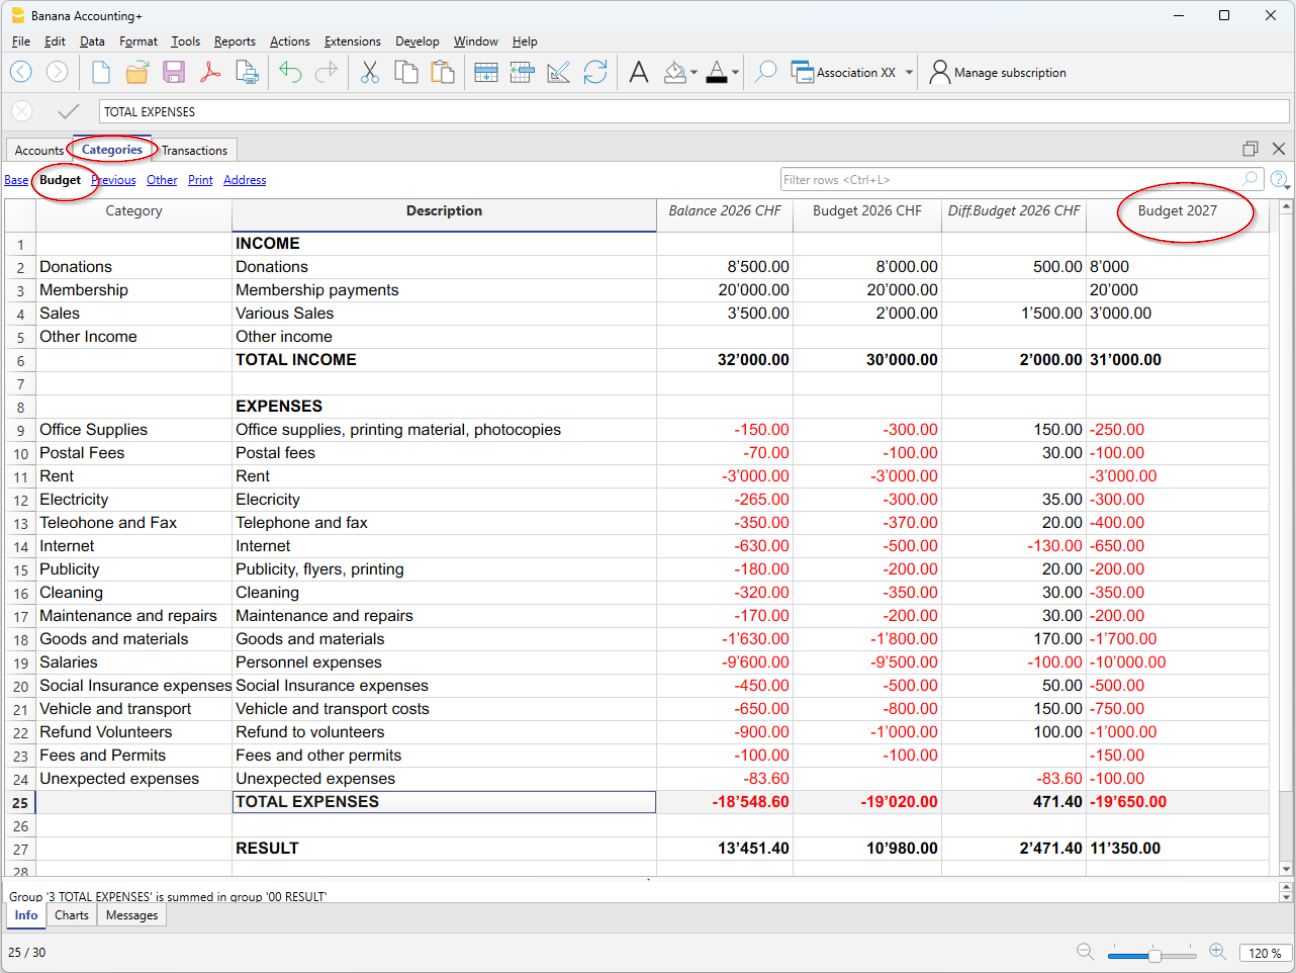
Entering the values
In the column you added, enter the estimated amount for the following year for each income and expense category.
- Income column → positive amounts
- Expense column → negative amounts.
Printing the Budget
Currently, it is not possible to print the Statement with the additional Budget column for the following year. It will be available soon.
At the moment, the Statement must be printed directly from:
- The Categories table, in the Budget view
- or from the Print view, displaying the Budget columns via the menu Data > Columns setup
In this view, the Section, Group, Sum In and Opening columns are not displayed. - Create the PDF from the File > Create PDF menu
Before creating the PDF, you can also select the rows of the Categories table.
Budget, Financial Forecasts and Liquidity Plans
The advanced budget allows you to create a very detailed budget. Based on the transactions and dates entered, the program automatically calculates the expected results for each period.
▶ Video: Income and Expense Accounting Budget
Activate the Budget Table
To activate the Budget table, go to the menu:
Once activated, the table will be available in the accounting file.
Entering the forecasts
In the Budget table, enter the future transactions by indicating:
- Liquidity account (e.g. bank, cash).
- Category (reason for expense or income).
You can also specify:
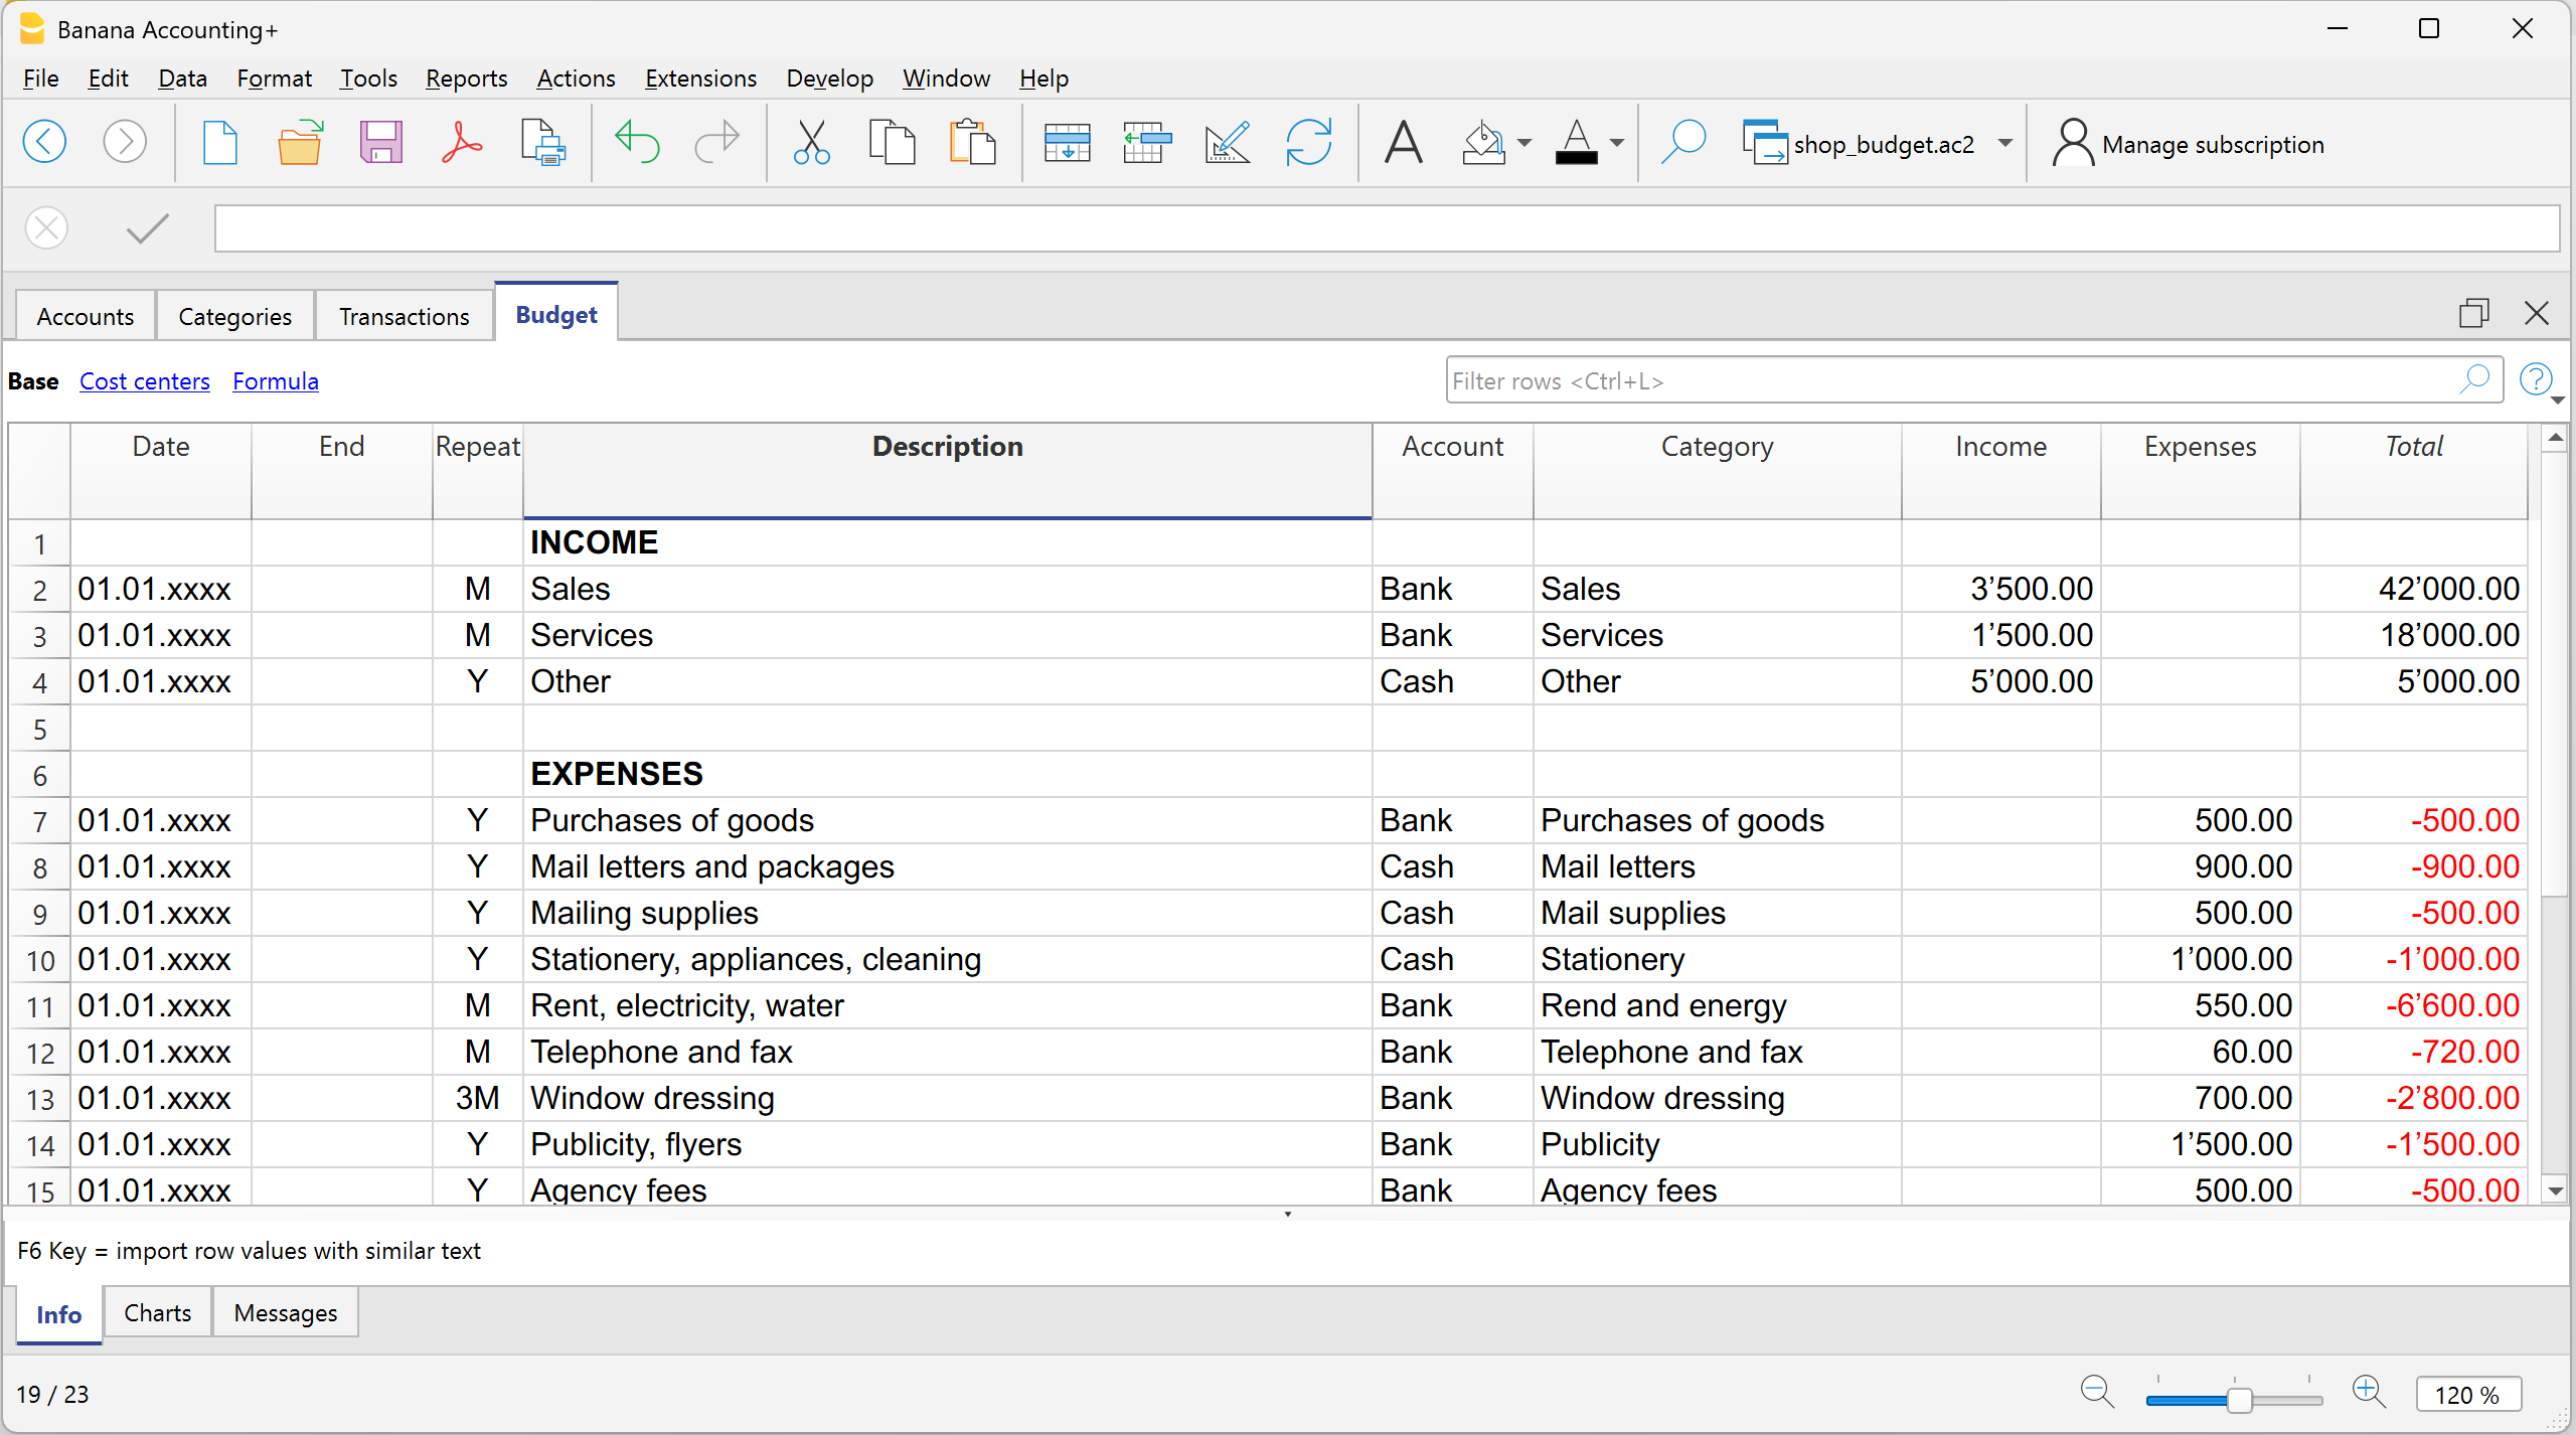
Columns of the Budget table
In the Income and Expense Accounting, the columns of the Budget table are the same as in the double-entry accounting, with a few differences:
- Budget amounts → entered in the Income or Expenses columns.
- Instead of the Debit/Credit columns → there are the Account (items of what you have and what you owe) and Category (reason for income or expense) columns.
- Optional columns: Quantity, Price, Formula → if filled in, the program automatically calculates the amount. When the program automatically calculates the amount based on the Quantity, Price or Formula columns, the result is entered in the Income column if positive, and in the Expenses column if negative.
Both positive and negative values can be entered in the Quantity and Price columns.
More information:
Results
Thanks to the data entered for the expected future transactions and the recurrence, the program automatically calculates:
- Expected income and expenses.
- Future liquidity movements, showing at any time how much money will be available.
- Specific results per period, useful for detailed analysis and forecasts.
Printing the Budget
You can print the Budget using one of the following methods:
- Directly from the Accounts table, Budget view.
This method is used when selecting the budget in the Accounts or Categories table (on a yearly basis).
The printout appears with the same column layout as shown in the image.
- From the menu Report > Enhanced balance sheet with groups.
This method is used when using the detailed budget from the Budget table.
In the Columns section, you need to activate the option:- Budget for the Categories and optionally for the Accounts.
Printouts | Income/Expense accounting
In the Accounts and Categories tables, the updated balances of all accounts are always visible: you can check your assets, receivables, and payables at any time.
After each transaction, the balances are updated automatically, without needing to generate reports: just open the Accounts or Categories table to keep the situation under control.
To print the contents of the tables, see the page Page setup (last paragraph).
Advanced printouts
All printouts are executed from the Reports menu, which contains the main functions:
Journal – (Chronological list of all transactions).
- Command Journal by period.
Allows you to view and print the entire period or a specific range.
Account, category, or group cards – (Detail of transactions for each account or category).
- Command Account / Category cards.
You can print all cards or just a selection.- In the Period section choose the desired interval
- In the Options section, activate or exclude elements to include in the printout.
- The Customization section allows you to save print settings for future use.
Enhanced Statement – (Formatted income and expense report)
- Command Enhanced Statement
Prints the list of income and expenses without subtotals (in case subgroups were entered in the Accounts and Categories table).
Enhanced Statement with groups – (Formatted income and expense report with more details)
- Command Enhanced Statement with groups
Same as above, but with the option to display and print group subtotals as well.
Accounting Report – (Summary report with various comparison options)
- Command Accounting Report
Displays in the Accounts table the reports with the chosen options. It is possible to generate reports by period, with comparisons between periods or previous years. Each report can be divided into sections and customized, with the possibility of saving the settings for later use.
Journal | Income/Expense accounting
In Banana Accounting, as in all applications, transactions are entered in the Transactions table.
If you want to print the Journal (that is, the complete list of all accounting entries), you can do it in two ways:
- from the Transactions table
- from the Journal by period command (Reports menu)
Printing the Journal from the Transactions table
- Go to the File > Page setup menu to set margins and print options.
- Return to the File > Print menu to obtain the journal with all entries.
Printing the Journal from the Reports menu
From the Reports menu select the Journal by period command.
This option allows you to print the journal with more filter options.
- Enter the start and end dates of the period you want to print.
- Confirm to obtain the journal of the selected period or the whole year.

Sorting options
In the Column for sorting section you can decide by which type of date to sort the entries, for example:
- by document date,
- by transaction date,
- or other available criteria.
More information about the Period section is available on the page Period of common functions.

Example of Journal Preview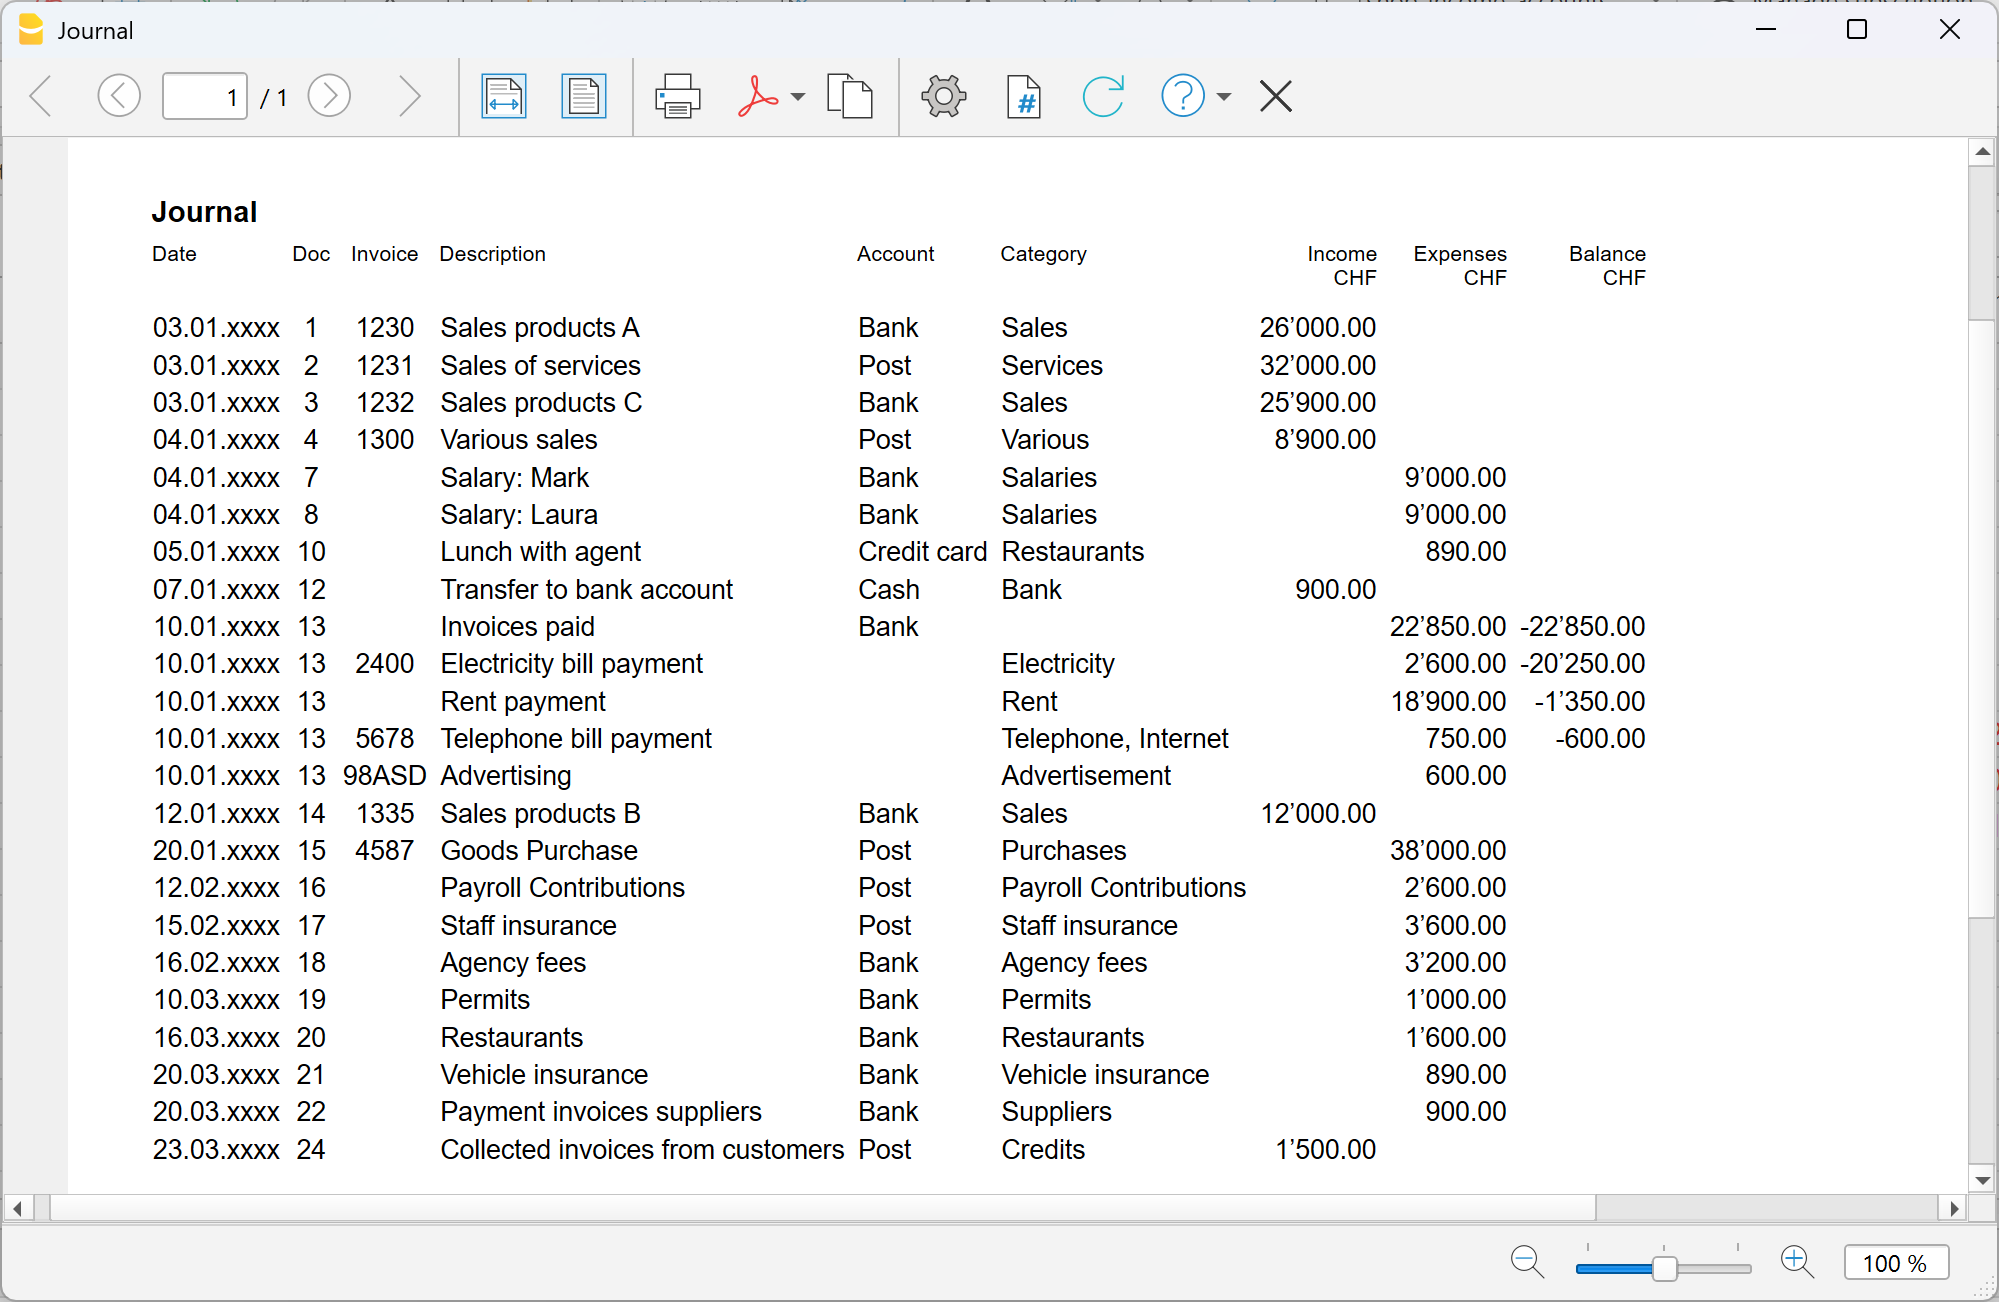
Account/Category Cards | Income/Expense Accounting
In Banana Accounting, as in all applications, transactions are entered in the Transactions table.
If you want to print the Account card and Category card (the complete list of all entries for a specific account, category or group), you can do it in two ways:
- in the Cash account card you see all cash movements,
- in the Customers card you find the receipts collected from customers,
- in the Rent category card you see all payments related to rent.
In accounting, the set of all account cards is called the General Ledger.
How account/category cards work
When you record a transaction in the Transactions table, Banana Accounting automatically updates the account and category cards.
- Each income or expense is posted to the corresponding account and category.
- In this way, every new transaction is immediately reflected in the cards.
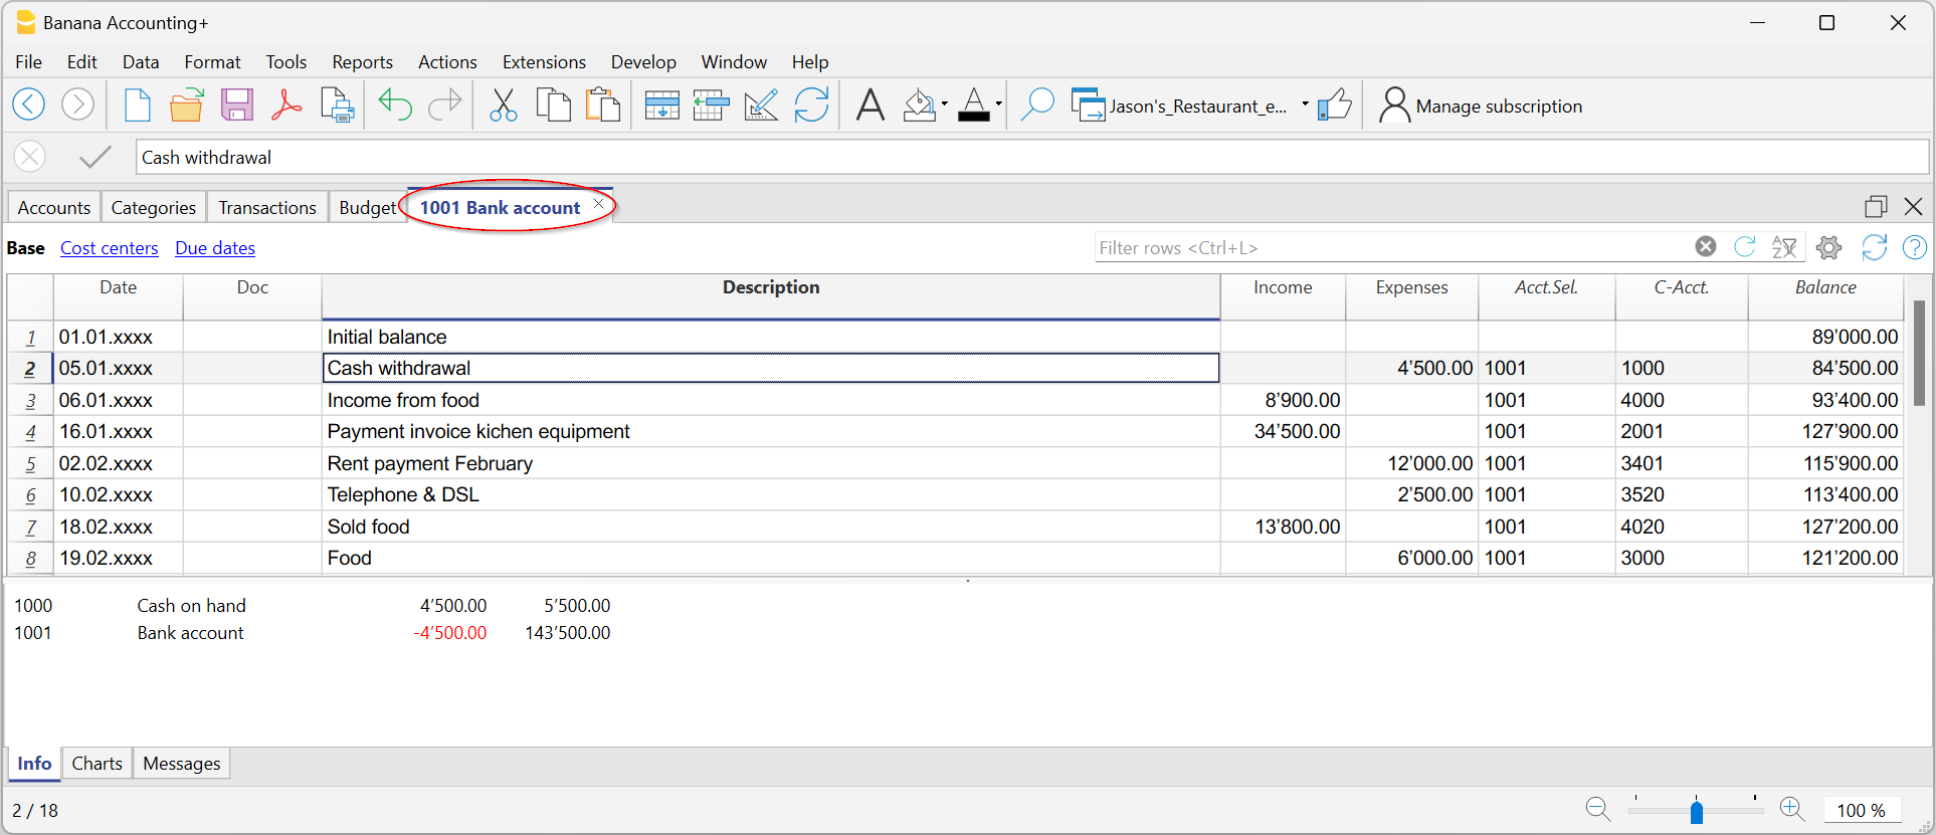
Structure of Account and Category cards
Each Account card or Category card has a header, i.e. the name of the account or category (for example UBS Bank or Rent), which distinguishes it from the others.
The card is made up of several main columns, which neatly list the data of each recorded transaction.
The most important columns are:
- Date → the date of the transaction.
- Document number (if present) → for example the related invoice or receipt.
- Description → a short text explaining the operation (e.g. payment to supplier Rossi).
- Income / Expenses → the amount recorded as positive (income) or negative (expense).
- Selected account → shows the number of the account or category to which the card belongs.
- Contra account → the account linked to the transaction (e.g. Rent expense paid via Bank).
- Balance → the running balance of the account or category, updated line by line.
In this way, each card becomes a sort of automatically updated “account statement”, allowing you to check in detail the movements of a single account or category.
Open the account or category card
You can open it in two ways:
- From the Transactions table or from the Accounts or Categories table → click the account/category number and then the small blue icon that appears.

- From the menu Report > Account cards → useful if you want to open or print multiple cards at once.

The account/category cards dialog has the following sections:
For detailed information about the sections, click the corresponding links.
Update the account or category card
The cards are recalculated on request.
If you modify or add transactions:
- reopen the card with the command Report > Account/Category cards,
- or, if the card is already open, click the refresh icon (two circular arrows).
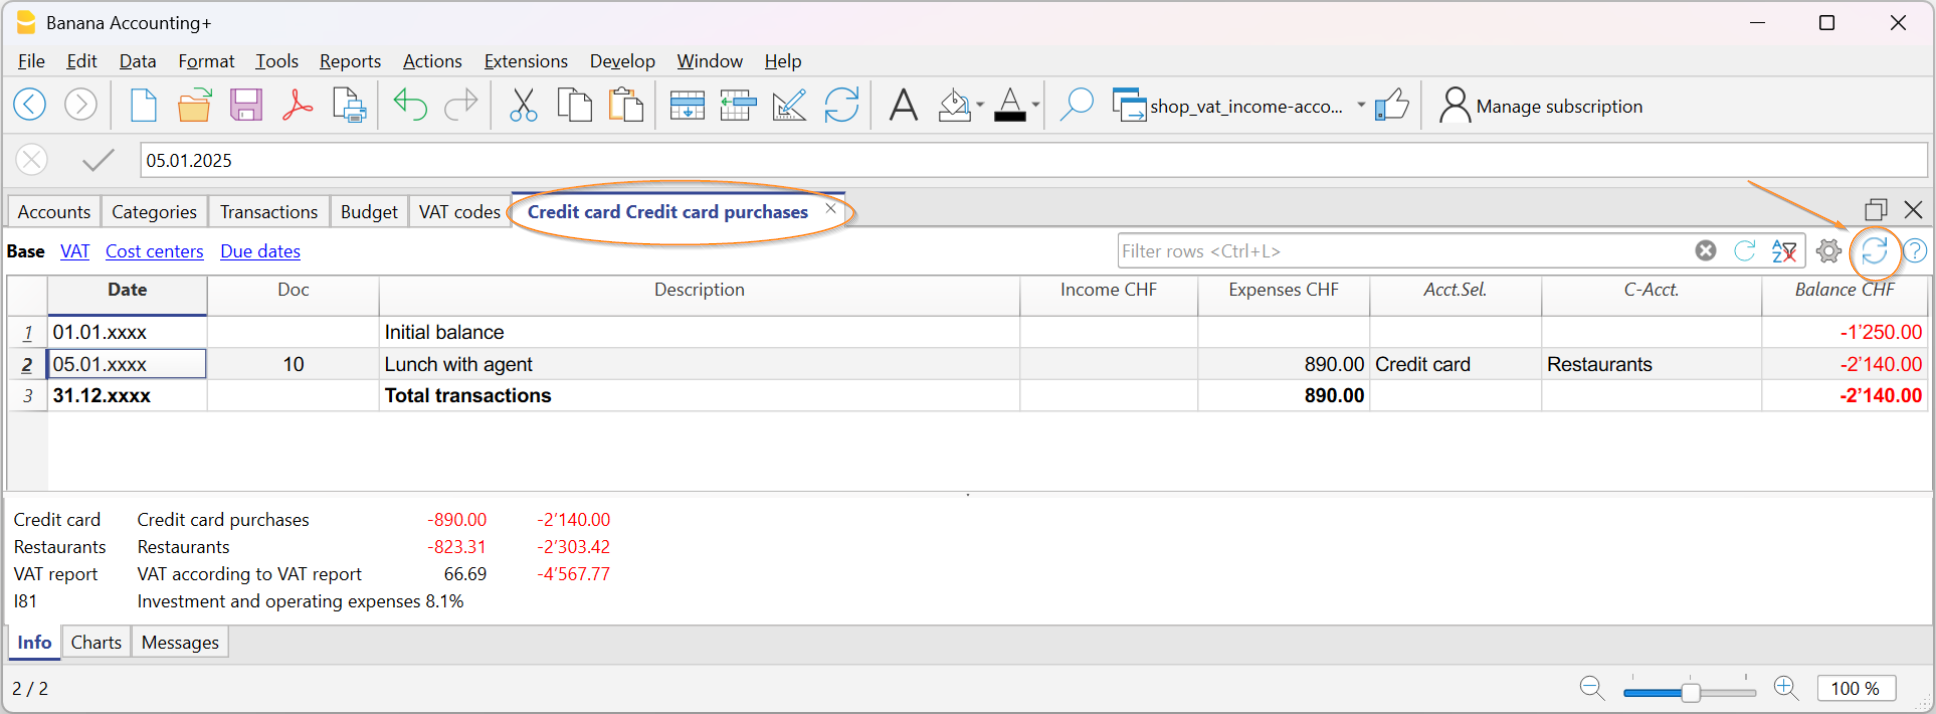
The Selected Account column
From any account card, via the menu Data > Columns setup you can make visible:
- Selected account column, indicating the account on which the movement took place.
When you obtain a card for one or more accounts, categories, groups, and segments, you can see exactly which account was used.
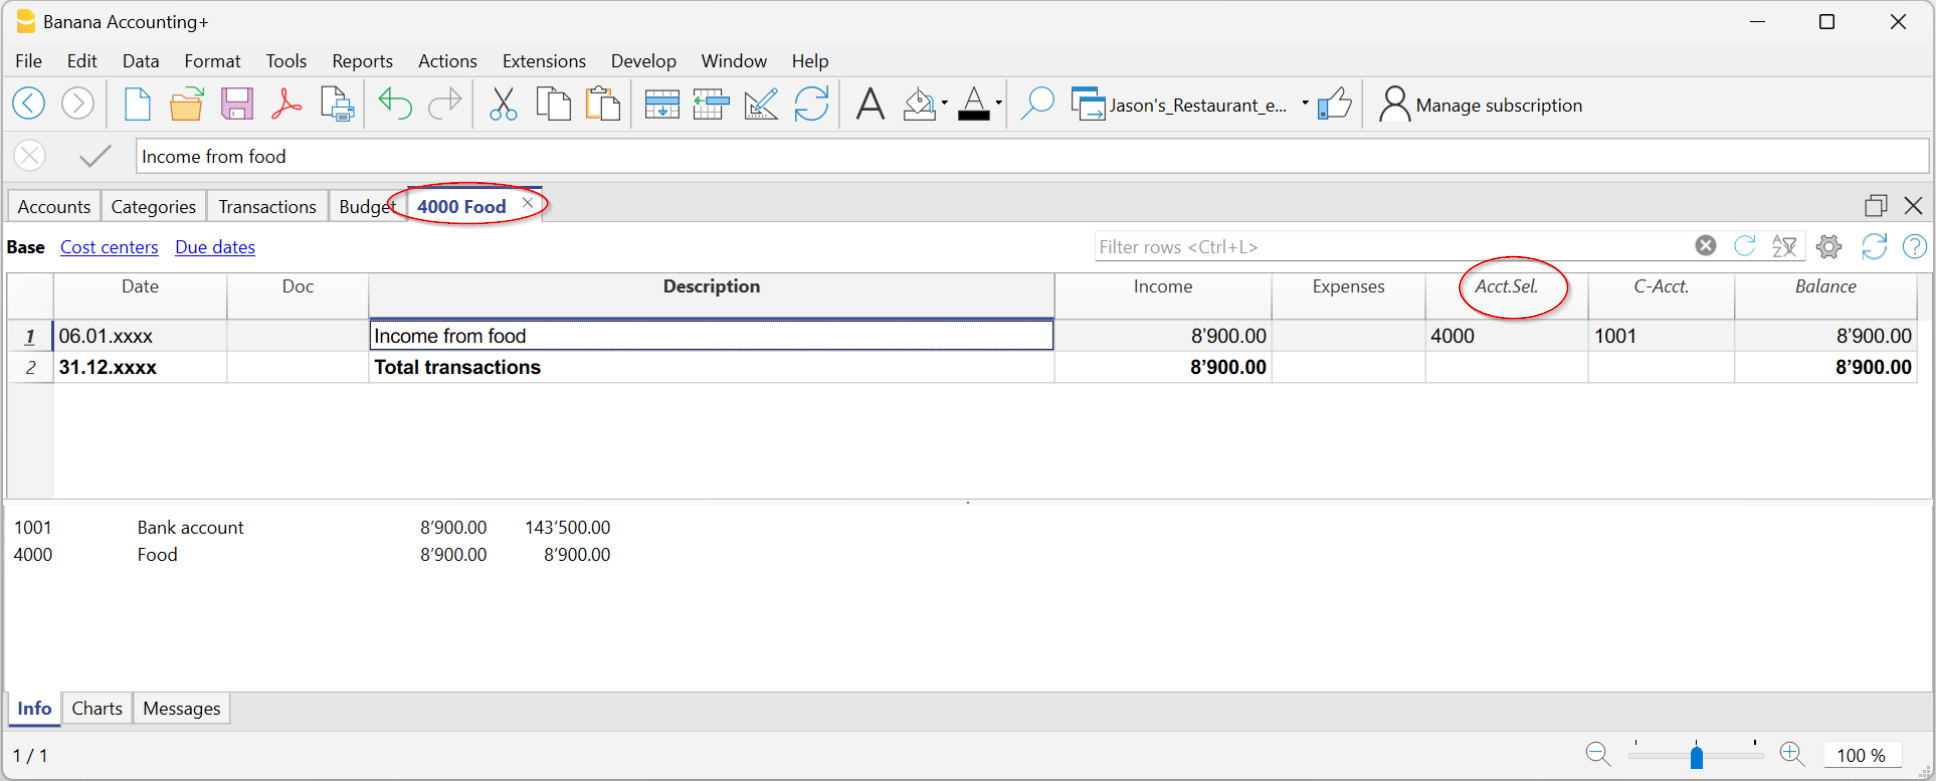
The Contra Account column
In the account or category cards you can see:
- the C-Acct column, which indicates the contra account that completes the transaction.

Print account cards
You can print a single account/category card, a selection, or all cards.
To print one account card:
- display the card from any table (Accounts or Transactions)
- Start printing from File > Print.
To print multiple account cards:
- Menu Report > Account cards, choose which cards to include and confirm.
- You can also use the Filter to automatically select Accounts, Cost centers and Segments.
- Once shown in preview, start printing from File > Print.
Print Account cards by period
To view the account cards with balances for a specific period:
- click the menu Report > Account cards.
- in the Period section, enable Specified, entering the start and end dates.
- For more information see the page Period.
Print Budget account cards
If budget transactions have been entered in the Budget table, you can display the budget account/category or group cards:
- Report menu > Account/Category cards > Budget transactions.

Delete or edit data in account or category cards
In the cards you cannot modify or delete transactions.
If you need to correct:
- Go back to the Transactions table (or to the Budget, if it concerns planned transactions).
- Make the change.
- Recalculate the accounting (Shift + F9).
- Reopen the card to see the update.
From the card you can also go directly to the transaction to edit:
- double-click the row number.
Group cards
A group card is a statement that combines the data of several accounts or categories belonging to the same group.
In practice, instead of seeing the movements of a single account (e.g. only Bank), you can view all those of an entire group (e.g. Liquidity, which includes cash, post and bank).
To open and print a group card:
- Go to the menu Data > Columns setup
- Enable the Selected account column.
In this way, in the group card you will also see the accounts that make up the group.

Accounts and Categories in the Formatted report with groups
From the menu Report > Enhanced report with groups you can open a dialog that lets you decide how to print accounts and categories.
In this window you can:
- choose whether to include accounts, categories or both
- decide which groups to show (e.g. only administrative expenses, only sales)
- enable or disable some display options (e.g. show period balances, hide empty items, etc.)
- customize the look of the printout (headers, margins).
This way you can get a clear and organized report, with group totals and a layout suitable for official printouts or for presenting data to third parties.

Add a logo to account/category cards
If you want to personalize the account cards with your business logo, you can do it directly at print time.
Proceed as follows:
- File > logo setup and insert the logo
- Go to Report > Account cards and open the card you are interested in.
- From File > Print preview click the settings icon.
- In the dialog that opens, look for the Logo option.
- Instead of None, select Logo.
In this way, every printed account card will also show your logo, making the documents more professional.
For more details you can see the page Logo settings.
Create a print customization for account cards
If you often print the same cards (for example all the sales ones), you can create a customization that saves you from repeating the same settings every time.
Here’s how:
- Go to Report > Account cards.
- In the Customization section, click New.
- Enter a name that clearly describes the print, for example Sales accounts.
- Select the accounts you want to include.
- From File > Page setup define margins and other print settings.
From now on, whenever you need to print those cards, just select the saved customization: in a few clicks you’ll have the report ready.
Enhanced Statement | Income/Expense Accounting
The Enhanced statement is a clear summary of the financial position and performance of your business.
What it’s for:
- to see income and expenses,
- to check the result of the period
- to have an overview of the financial trend.
How to view the Enhanced statement
- Go to Report > Enhanced statement.
- You can see a preview and, if you want, save the report in PDF, HTML, or Excel formats, or copy it to the clipboard.
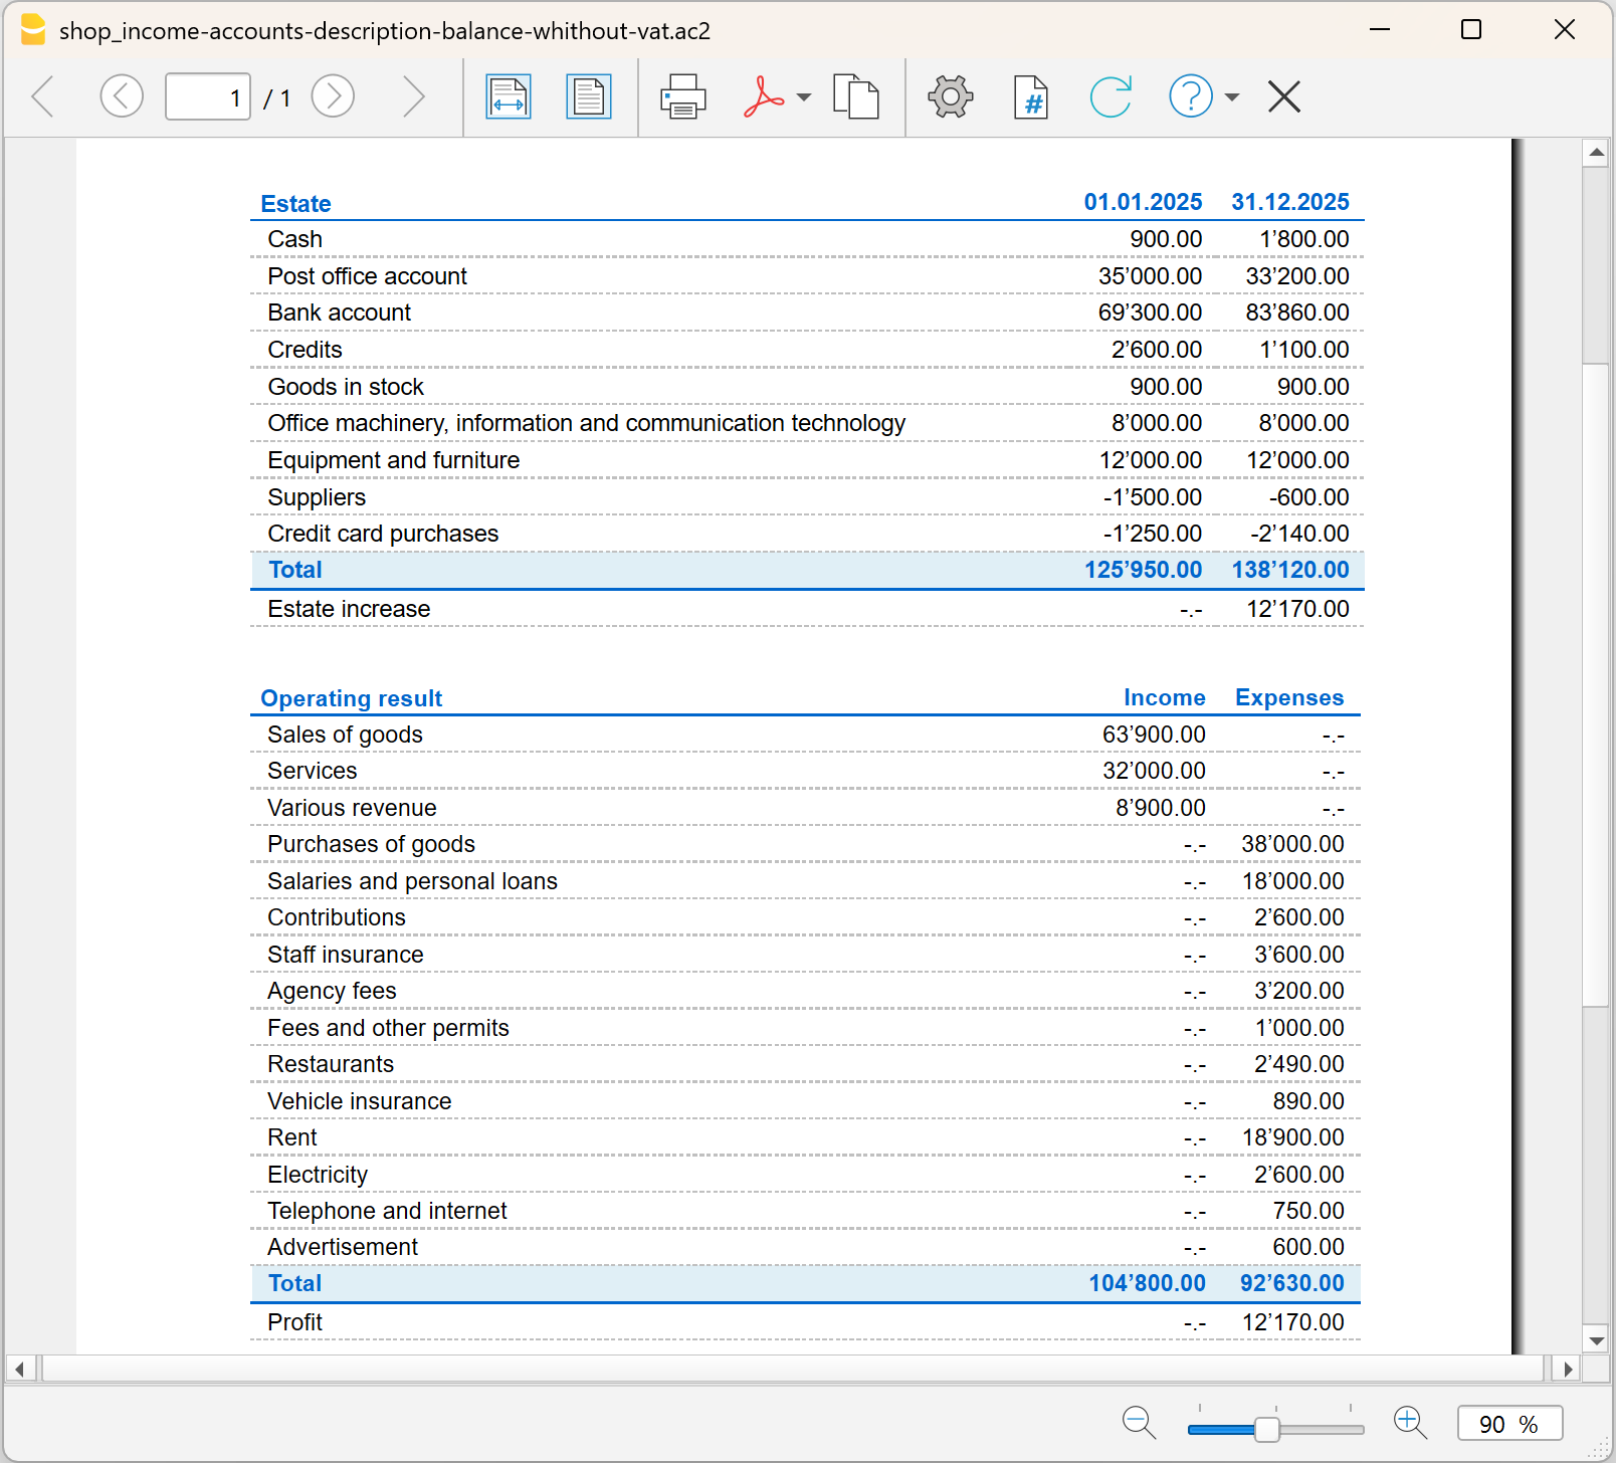
Customize the Report
The report can be customized in different ways. Below you find the explanation of the different options.

Page header
- Lines 1–4: space to enter a title or other information.
- Logo: you can insert your business logo.
- If you have already loaded logos in File > logo setup, you can select one from the list.
- Alternatively, using the Edit button, you can add a new one.
Column header
- Start date: start of the accounting period.
- End date: end of the accounting period.
- Previous year: end date of the previous period (for comparisons).
Cover page
- You can print a dedicated cover page.
- Here too you can insert a logo, choosing from the ones set or adding a new one.
Print pages
You can choose what to include:
- Accounts → list of accounts.
- Categories → list of categories.
- First page → prints the document header.
- Page break after accounts → prints accounts and categories on two separate pages.
Include in printout
In the Include in print section you can enable other choices, such as showing or not certain data (some options, for example budget balances, are not available if you choose a specific period).
Other sections
The explanations for the other sections are available at the following pages:
Enhanced Statement with Groups | Income/Expense Accounting
The Enhanced report with groups is a statement that shows a summary of the financial position and performance of your business. Compared to the Enhanced report, it is the most complete and detailed version, because, in addition to the main totals, it also displays subgroup totals.
This way you not only have an overview, but you can also analyze in detail income and expenses grouped by categories or sections, getting a more precise and in-depth picture.
How to get the Enhanced report with groups
- Go to Report > Enhanced report with groups.

Options of the Enhanced report with groups
From the Enhanced report with groups dialog you can:
- Include all groups → all the groups present in the Accounts and Categories tables are printed.
- Exclude single groups or accounts → if you don’t want to show them in the report.
- Split by period → for example, in the first half-year you can choose a monthly or quarterly breakdown.
- Split by segments → useful to distinguish results by projects, sectors, or other business areas.
All the sections of the Enhanced report with groups are explained on the page Enhanced Balance Sheet with groups, with reference to double-entry accounting.
The exceptions in the contents are the following:
In the options, besides the Accounts settings there are also those related to Categories, but the approach is the same.
Accounting Report | Income/Expense Accounting
The Accounting Report is a tool that allows you to view the Accounts or Categories table based on the options you choose in the configuration dialog.

What you can view
You can decide the type of grouping to display:
- Accounts → the report lists all the accounts with the following columns:
- Opening
- Income for the period
- Expenses for the period
- Transactions of the period
- Final balance
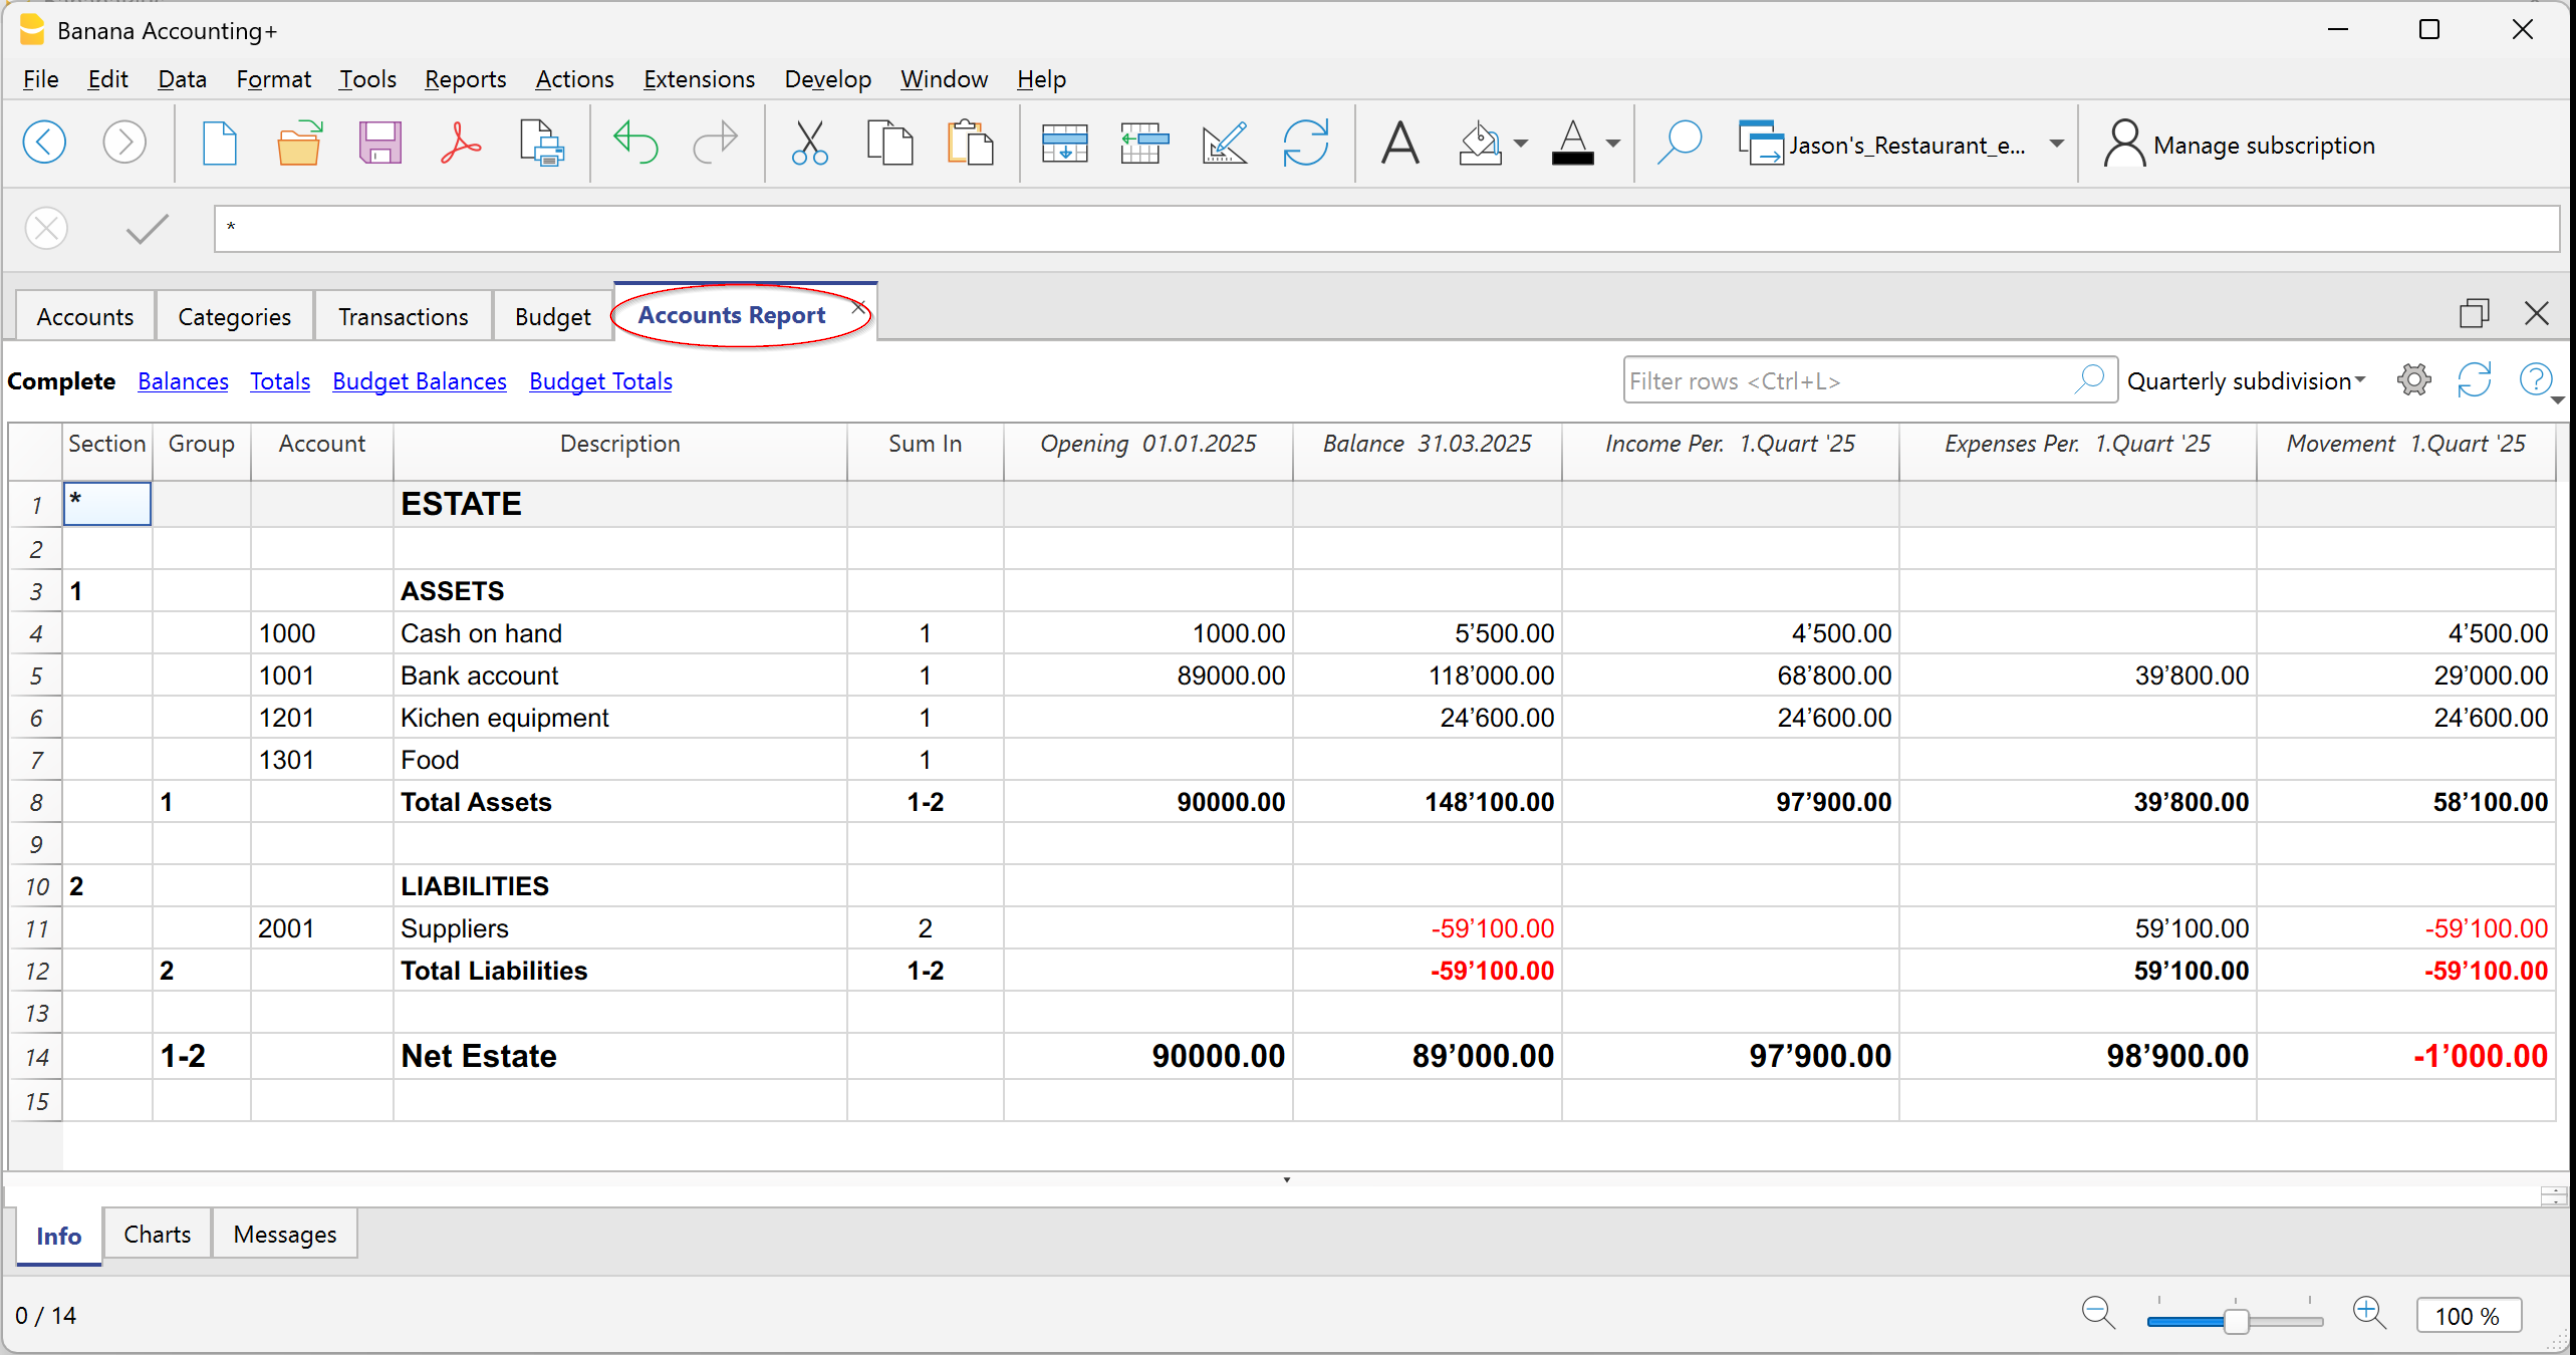
- Categories → the report lists all the categories with the same columns:
- Income for the period
- Expenses for the period
- Transactions of the period
- Final balance
In the categories report, the Opening column is always empty.
This is because categories are used to calculate the annual result (that is, the difference between income and expenses) and should not have opening balances carried over from the previous year.
Therefore, each year categories start from zero, so it is possible to correctly calculate the result only for the current period.

Print options
You can choose whether to include or exclude certain items:
- Exclude accounts → only the categories will be printed.
- Include accounts without transactions → also shows accounts that have no transactions.
- Include accounts with 0 balance → also includes accounts that have no balance.
- Exclude groups without accounts → hides groups made up only of accounts with a zero balance.
Other sections
For the other sections, see the following web pages:
VAT Report | Income/Expense Accounting (only with VAT option)
The VAT Report in Banana Accounting is a report that gives you a complete and up-to-date overview of all VAT transactions recorded in your accounting. It is a useful tool both for internal control and for preparing periodic VAT returns.
The VAT Report function is only available in the Income and Expenses templates with VAT.
What the VAT Report is for in Banana Accounting
With the VAT Report you can:
- clearly see VAT on sales (VAT payable),
- check VAT on purchases (VAT receivable),
- calculate the VAT balance to be paid or recovered,
- get a summary of the transactions divided by VAT codes.
This way you always know your VAT position without having to make manual calculations.
How to get the VAT Report
Based on the transactions with a VAT code, the program calculates and displays the VAT Summary.
To get the VAT Summary:
- From the menu Reports > VAT /Sales tax report.
- In the window that opens you can select:
- the period to analyze (e.g. month, quarter, year),
- optional filters to display only certain codes or transactions.
The program processes the data and shows you a report with the totals of VAT collected and paid.

VAT Report options
When you generate the VAT Report, you can activate several options that allow you to create a customized VAT Report, from the details of individual transactions to totals by account, code, or rate, so that you always have your VAT position under control.
Include transactions
Shows in detail all the accounting records with VAT.
Include totals by Accounts
Sums up VAT operations grouped by each account (e.g. Bank, Cash).
Include totals by Code
Shows the totals of VAT operations grouped by VAT code (e.g. V81, M81, I81).
Include totals by Percentage
Groups the totals of VAT operations based on the applied VAT rate (e.g. 8.1%).
Include unused codes
Adds to the report also the VAT codes present in the table but not used in transactions.
Use own (group and Gr)
VAT operations are sorted according to the groupings defined in the VAT Codes table.
Sort transactions by filter
You can choose how to sort the transactions: by date, document number, description, etc.
Partial Report
Allows you to get a VAT summary limited to a specific element:
- only one VAT code (by selecting it from the list),
- only a group of codes (for example all codes related to purchases).
What the VAT Summary contains
The report shows, for each VAT code:
- the taxable amount (the amount on which VAT is calculated),
- the VAT rate applied,
- the corresponding VAT amount,
- the overall totals of VAT payable and VAT receivable.
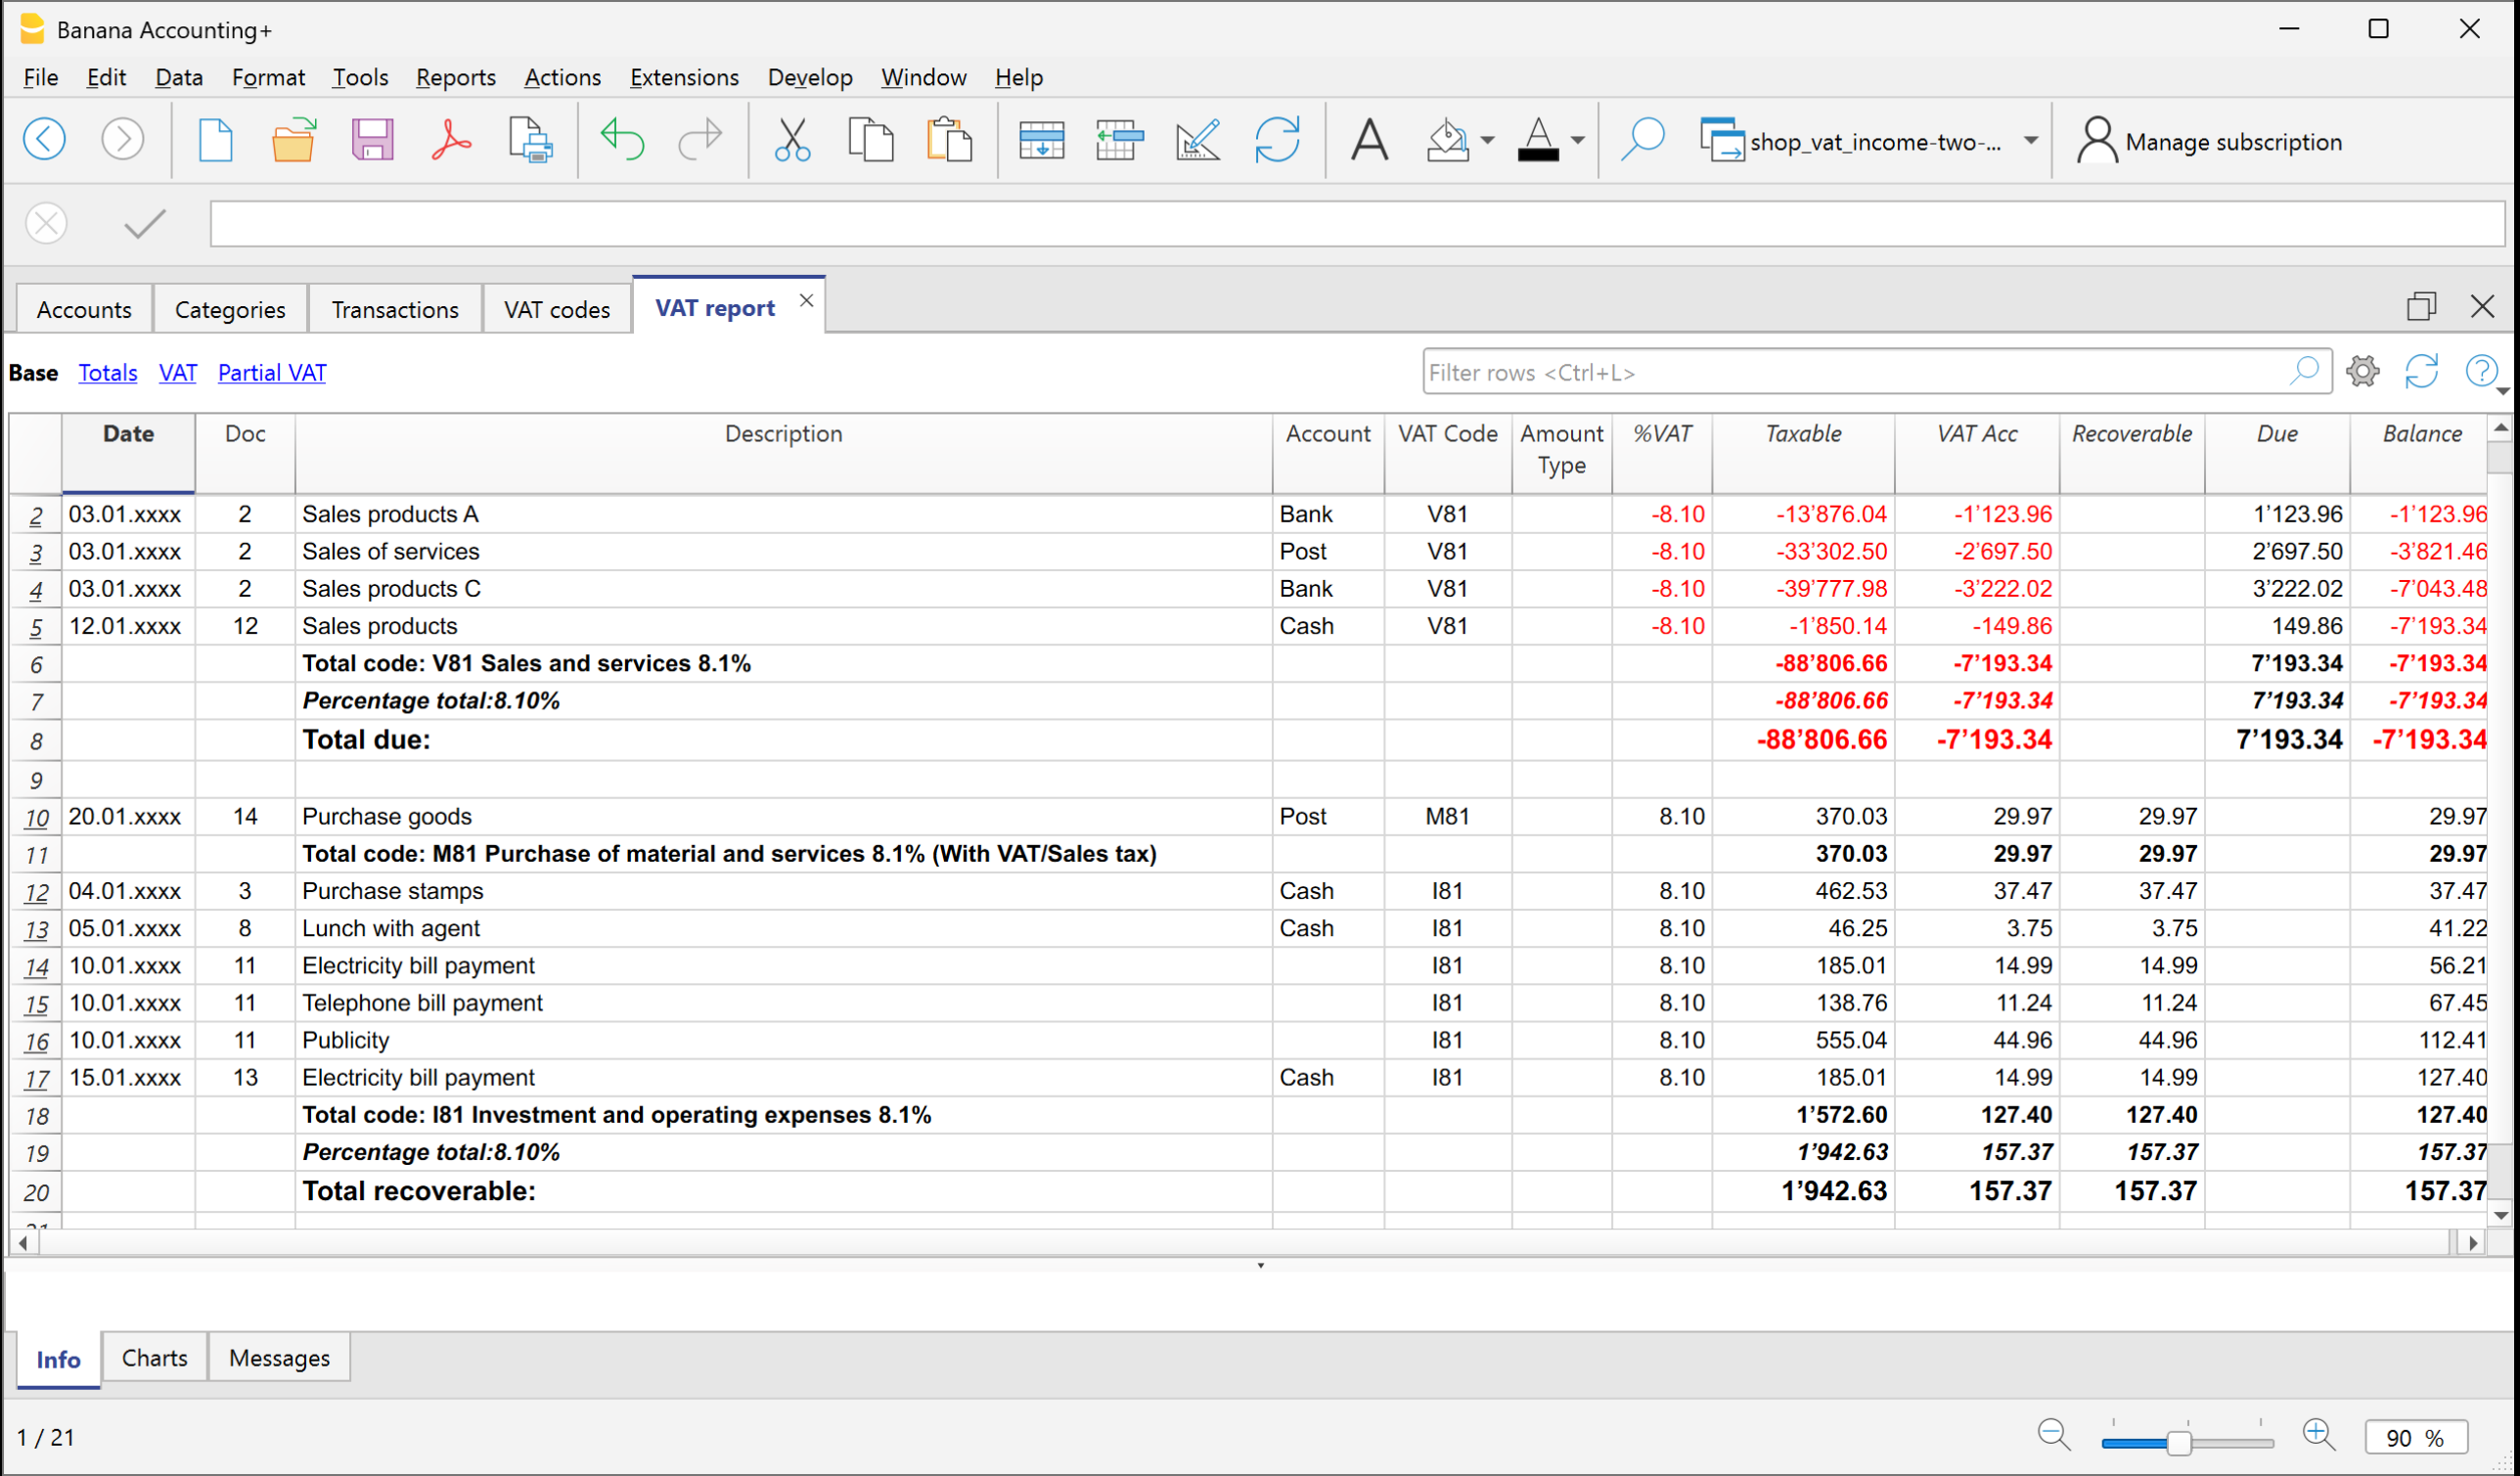
Printing and saving the VAT Report
The VAT Report can be:
- printed on paper,
- saved in PDF, HTML or Excel for digital archiving,
- copied to the clipboard to be pasted into other documents.
Save accounting data as PDF | Income/Expense Accounting
At the end of the year, when the accounting has been completed, checked, and reviewed, you can create an archive of your data in PDF format.
To do this:
- Go to the menu File > Create PDF dossier.
The program gathers all the main accounting information of the year into a single PDF document. You can keep the file as a digital archive, print it, or share it.
This allows you to have an organized and non-editable copy of your accounting, useful for long-term storage or for presenting to auditors, partners, or external entities.

Closures, Accounting Aspects – Advanced Concepts
On this page you will find useful information for closing the accounting at the end of the year.
If you do not have basic accounting knowledge or do not feel confident in carrying out these operations, we recommend contacting a trustee or a professional accountant. This way you will be sure that the closing is done correctly and in compliance with tax regulations.The suggestions provided in no way replace the advice of your trusted tax consultant.
At year-end closing, before moving on to the new year, some adjustment and correction entries must be made. These are needed to correctly determine the year’s result and ensure that the accounting reflects the true financial and economic situation.
Salaries and staff
- Import salary transactions - if you use dedicated payroll software, you can import the transactions into Banana (Actions > Import into accounting > Import transactions with column headers).
- Thirteenth month salary - remember to record it in December, if not already managed automatically.
- Social security adjustments (AVS/AD/IPG/AD) - reconcile AVS contributions paid with the statements from the Compensation Office.
- Pension adjustments (LAINF, LPP, etc.) - report the total gross salaries to the insurance companies for possible corrections.
- Withholding taxes - record the adjustment based on the statement received from the Tax Office.
- Executive reimbursements - if applicable, include in the December salary the amounts established by the tax authorities.
Accounting adjustments
- Doubtful accounts (Allowance for doubtful debts) - record any expected losses on receivables.
- Depreciation - record the depreciation of movable and immovable assets as of 31.12. You can use the Fixed assets register application to automatically generate the entries.
- Inventory - update the values with the Inventory application to have accurate counts of quantities and values.
- Open customer and supplier invoices - record balances as of 31.12 using the dedicated functions (open invoices by customer - open invoices by supplier).
- Private use - record personal use of company assets (e.g. car) with the appropriate VAT.
- Private account - check and record any interest income or expenses relating to the owners.
- Taxes and duties - check the advances paid during the year, close the provisions from previous years and record any differences as extraordinary costs/income.
VAT closing and return
- Use the Check accounting command to verify that there are no errors.
- Make sure the VAT payable account correctly shows the amount to be paid or recovered.
- Check the quarterly VAT statements and compare them with the amounts paid to the FTA.
- Use the VAT Report to generate detailed reports and archive the data in PDF.
Collaboration with the trustee
If the closing is handled by your accountant/trustee:
- you can send the ac2 file by email or share it via Dropbox,
- if they don’t have Banana, you can create a PDF of your file from File > Create PDF dossier and send it,
- alternatively, they can open the file with the Free plan of Banana Accounting Plus (view-only mode beyond 70 rows).
Year end Closing Checks | Income/Expense Accounting
Accounting closings are all the verification and control operations carried out at the end of the year (or accounting period) to ensure that the data is correct and that the year’s result is calculated without errors.
With Banana Accounting, many operations are simplified and automated, but it is important to use the available functions, including:
- The Balance column highlights any discrepancies and carries them forward to the following rows until they are corrected.
Tip: keep an eye on this column during the year to immediately correct errors and prevent them from accumulating.
With the Filter rows (only with the Advanced plan), you can quickly search for transactions with the same texts, amounts, or accounts, and correct them without scrolling through the entire table.

Automatic accounting check
The Check accounting command (Actions menu) automatically performs a series of checks to immediately detect any errors or differences.

We recommend using it:
- when error messages appear
- after modifying Accounts, Categories, or VAT Codes
- during the annual closing
- after creating the new year and making further changes.
Errors are shown in the Messages window, with the indication of the table and row to be corrected.
With the Check accounting command, the program searches and reports:
- Differences in the Transactions table
All amounts must balance: income and expenses must not generate differences. Differences between accounting balances and actual balances
With the CheckBalance function you can automatically compare recorded balances with those from bank statements and detect discrepancies.
This is essential to ensure the truthfulness and accuracy of the accounting: the balances of the accounts must match the actual balances:- bank and credit card accounts must match bank/postal statements,
- the cash balance must match the actual cash,
- the VAT payable account must match the balance of the VAT Report account.
More information about Verification entries is available on the page Verification balance transactions.
- Summation errors in the Accounts and Categories table
If in the Accounts or Categories table you have added, deleted, or renamed accounts, groups, or subgroups, grouping errors may occur.
These are reported by the Check accounting command and must be corrected, otherwise the totals in the reports will be wrong.
- Differences in opening balances
In the Accounts table, the balances of the balance sheet accounts must always exactly match the closing balances of the previous year (previous year’s file).
Differences may occur for the following reasons:- In the previous year’s file, transactions were added or deleted after creating the new year.
- In the previous year’s file, errors were corrected after creating the new year.
- In these cases, to correct the opening balances, you need to use Update opening balances.
How to start the new year
In Banana Accounting, each year has its own separate file:
- from the menu Actions > Create New Year you generate the new year’s file,
- you can work simultaneously on the old file and on the new one,
- once the closing is complete, update the balances in the new file with Update opening balances.
Annual Report printing
The Annual Report is the document that summarizes all the year’s income and expenses, showing the final balance and the result (profit or loss).
It is based on the following calculation scheme:
- Sum of income → revenues and proceeds.
- Sum of expenses → costs and charges.
- Difference between income and expenses → profit or loss.
You can prepare it from the menu Reports > Enhanced statement with groups, customizing columns and print settings.
Carry forward the year’s result in Income / Expenses accounting
In Income/Expenses accounting, it is not necessary to allocate profit or loss, because the Net worth total in the Accounts table already represents equity.
The year’s result (income – expenses) is automatically carried forward into the balance sheet.
If you also want to display the results of previous years, you can create a specific account Previous years’ results and manually enter the amount in the Opening column.
Locking transactions
Once the checks and closings are completed, you can lock the transactions:
- From the menu Actions > Lock transactions
- The rows will be numbered and protected by a blockchain code that ensures their integrity.
PDF Dossier
With the Create PDF dossier command you can save all the year’s documents (account cards, journal, report, VAT report, etc.) in a single PDF file. We recommend saving it and, for security, making copies on external media.
Create a new year | Income and Expense Accounting
At the end of each fiscal year, to start working with the new year, you don’t need to close or delete anything. With Banana Accounting, each year has its own separate file.
The Create New Year command prepares the file for the next year without modifying the current one. You can therefore run it safely: the old year’s file remains intact.
Create the new year file
To create the New Year proceed as follows:
- Go to Actions > Create New Year.
- The program generates a new file that contains:
- the same chart of accounts,
- the same settings,
- the closing balances of the old year, carried forward as opening balances.
- Immediately save the file with a clear name, for example Accounting_2026.ac2.
You now have two separate files:
- one for the previous year,
- one for the new year.
Which operations are carried out by the Create New Year command
When you use the Create New Year command, the program:
- Creates a new unnamed file (so you can decide how to save it).
- Transfers the balances:
- the closing balances of the accounts → carried forward as opening balances,
- the balances of the report → carried forward in the Previous year column.
- Updates the file properties: new start and end dates of the fiscal year, link to the previous year’s file, auto-completion of transactions (via the Options section).
- Transfers the transactions to the Budget table if present (https://www.banana.ch/en/doc/node/9710), keeping the chosen settings.
Work in parallel
If you have not finished the accounting of the previous year you can work on both files:
- In the New Year file → record the transactions of the new year. You can also change the chart of accounts, VAT rates, or other settings without affecting the old year.
- Previous year file → complete the missing entries, perform final checks, print the reports, and close the accounts.
Update opening balances
If, after creating the new year, you add more entries in the old year’s file:
- Open the new year’s file.
- Actions > Update opening balances.
In this way, the latest changes are also transferred to the new year. It is advisable to do this only when you are sure the previous year is final.
Note for Professional Plan users
If you have a Professional Plan subscription, inside the new file you may see a message regarding the Advanced functions.
Professional Plan. The functions of the Advanced plan are available up to 70 transactions
This means that you will be able to use the Advanced plan functions up to 70 transactions: it is a trial mode automatically included.
Check the accounting of the previous year
Before updating the opening balances in the new year, make sure that the old year’s data is complete and correct. This prevents differences between closing balances and opening balances.
What to do:
- Record all closing entries (invoices, taxes, depreciation, etc).
- Use the Accounting check command to automatically verify that there are no errors.
- If you have the Advanced plan, use the Filter to quickly find and correct rows with the same account, text, or amount.
- Print or save the final reports for archiving.
Carry forward profit/loss in Income and Expense accounting
In Income/Expense accounting it is not necessary to allocate profit or loss as in double-entry accounting.
The difference between income and expenses is automatically carried forward as an increase or decrease in equity.
If you want to keep track of accumulated profits or losses over the years, you can create a specific account “Previous years’ results” in the Accounts table and manually enter the amount in the Opening column.
Review Rules in the Recurring Transactions Table
When you run the Create New Year command, the program transfers to the new year’s file all the transactions that have Rules.
Before recording the transactions of the new year, it is recommended to check and update all the Transactions with Rules in the Recurring Transactions table.
If the conditions are no longer valid you can:
- Modify account, counterpart, VAT code, CC3 or segments.
- Delete transactions that are no longer valid.
- Add new transactions with Rules.
If in the Recurring Transactions table, in addition to transactions with rules, you have also stored:
you must also check and update these.
Performing this check right away helps to avoid errors and later corrections both in the Transactions table and in the Recurring Transactions table.
Update opening balances | Income & Expense accounting
The Update opening balances command is used to retrieve the data from the previous year’s file and update the opening balances of the current year’s file. It is very useful when, after creating the new year, changes are still made in the old year’s file.
When to use the Update opening balances command
The Update opening balances command is used in the following cases:
- you created the new year with Create New Year, but the fiscal year is not yet closed;
- you added or modified transactions in the previous year;
- you added new accounts or made changes to the chart of accounts of the old year.
Check the accounting of the previous year
Before launching the command, it is essential to check that the previous year is complete and correct:
- record all closing operations (invoices, credit notes, depreciation, taxes, etc.);
- use the Check accounting command to verify totals;
- make any final prints.
This way you avoid differences between the closing balances of the closed year and the opening balances of the new year.
How to access the Update opening balances command
- Go to Actions > Update opening balances.
- A dialog box opens with the path of the previous year’s file.
- Banana automatically suggests the saved file name.
- If the name or location of the file has changed, click Browse to select it.
What the Update opening balances command does
- Retrieves balances from the previous year’s file.
- Does not modify the old year’s file in any way.
- Can be repeated multiple times without risk.
It is important to know that Update opening balances performs the same operations as the Create New Year command, but without creating a new file.
If you modified the chart of accounts of the previous year
It may happen that, after creating the new year, you added new accounts in the previous year’s file. In this case Banana will display an error.
To solve this:
- add the same new accounts also in the new year’s file;
- repeat the Update opening balances command.
If you want to speed up the operation, you can use the Import Accounts command to align the two charts of accounts.
Cash Manager
The Cash Manager (or Cash Book) is an application of Banana Accounting Plus, to manage the cash or any other account. It is free and unlimited because it is included in the Free plan of Banana Accounting Plus. It is ideal for:
- Families - to keep track of expenses and income and plan a family budget.
- Children and Students - to learn how to manage their first expenses and be aware of their savings.
- Companies and Associations - to budget and manage cash income and expenditure, keep the first note and manage cash in a separate file from accounting.
Check out our resources for an easy and immediate start:
Getting Started with the Cash Manager
For a quick and easy start, choose one of our Cash Manager templates and save it as a name. For more information visit the generic page of How to get started with Banana Accounting Plus.
In the Transactions table you are immediately operational and can enter incoming and outgoing transactions. Entry is extremely easy and intuitive, even for those with no accounting knowledge.
The Transactions Table
The Transactions table is at the heart of the Cash Manager's bookkeeping.
It allows you:
- Clarity and order of the columns: thanks to the table layout you always have an immediate and complete overview of the data entered.
There are main columns, already predefined, in which you can enter:- The date of the transaction
- Any document number
- The incoming or outgoing amount
- The category for the entry or exit
- To insert digital attachments: in the Transactions table, you can also make the DocLink column visible, which allows you to add the receipt or invoice to each movement in PDF format, ensuring the immediate availability of the documents in case of future audits or to transmit them to the accountant.
- To always make corrections: if there are errors, you can easily correct them, ensuring correct and accurate results every time.
Speeding up the transaction registration
Banana Accounting Plus offers several functions to speed up the data entry process, such as:
- Auto-completion. In the Description column, by typing the first few characters, the programme automatically suggests similar movements that have already been entered previously and, by pressing F6, completes the current movement with the selected data.
- Recurring Transactions. It is possible to store recurring transactions in a special table, taken from the menu Actions > Recurring Transactions, and to resume them with a single click, saving time and simplifying work.
Reports and Printouts
After each transaction, the programme automatically updates all account balances in the Category table and in the account. You can easily print statements and reports for easy monitoring of income and expenditure and the status of available cash in the cash account.
Professional and accurate reports at the touch of a button:
From the menu Reports > Enhanced statement or Enhanced statement with groups, get your reports in no time. Reports by period are also possible.
- The Enhanced statement displays all accounts and categories without any subgroups.
- The Enhanced statement with groups displays all accounts and categories also with subgroups.
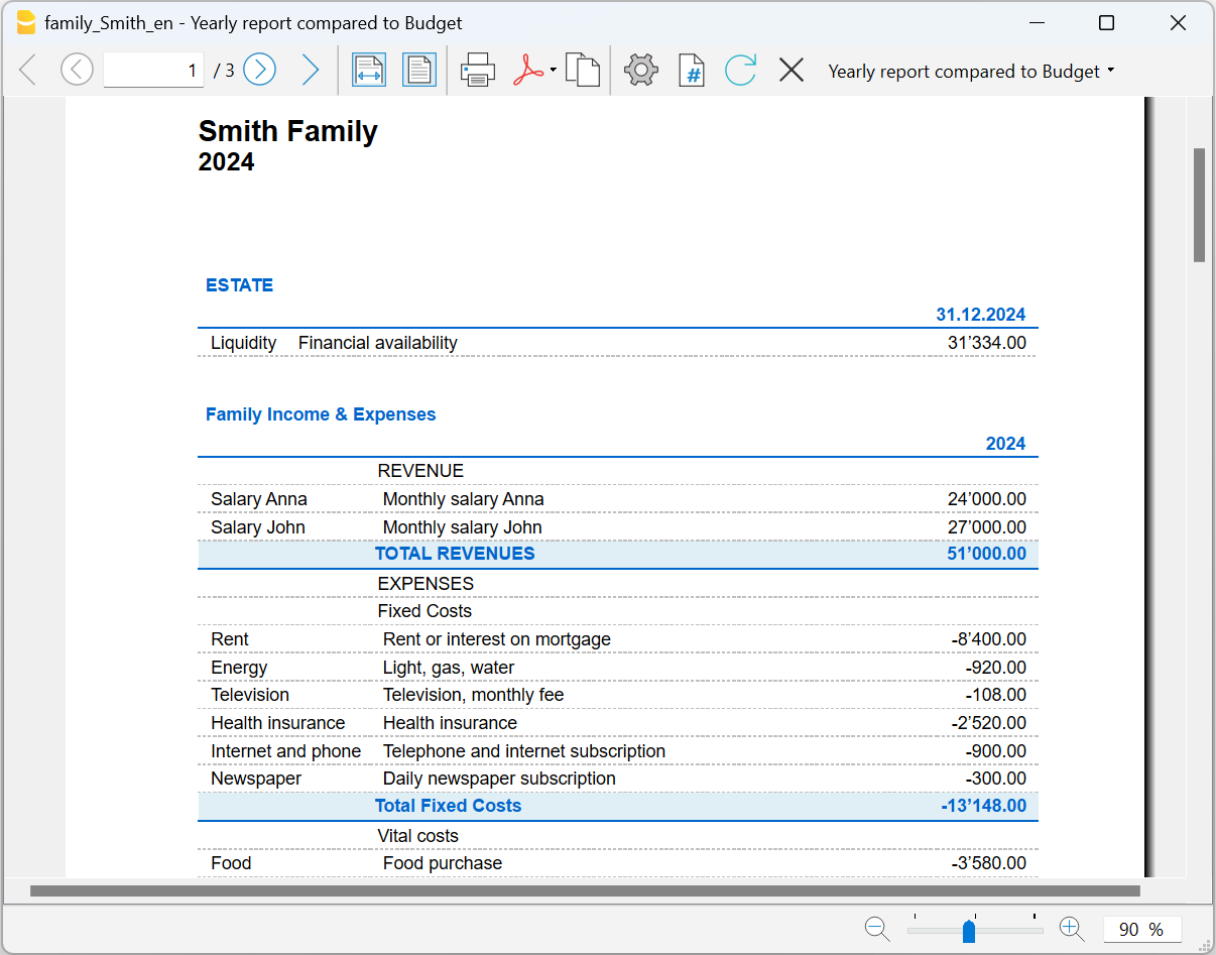
PDF data archiving
All accounting data, over a period of years, must be available at all times, both for tax purposes and for any internal requirements.
Simple and comprehensive archiving. From the menu File > Create Pdf dossier, you can easily archive all accounting data in a single PDF document. This allows you to store the entire accounting for the year in an orderly and complete manner, making it easier to access and consult the data in the future.
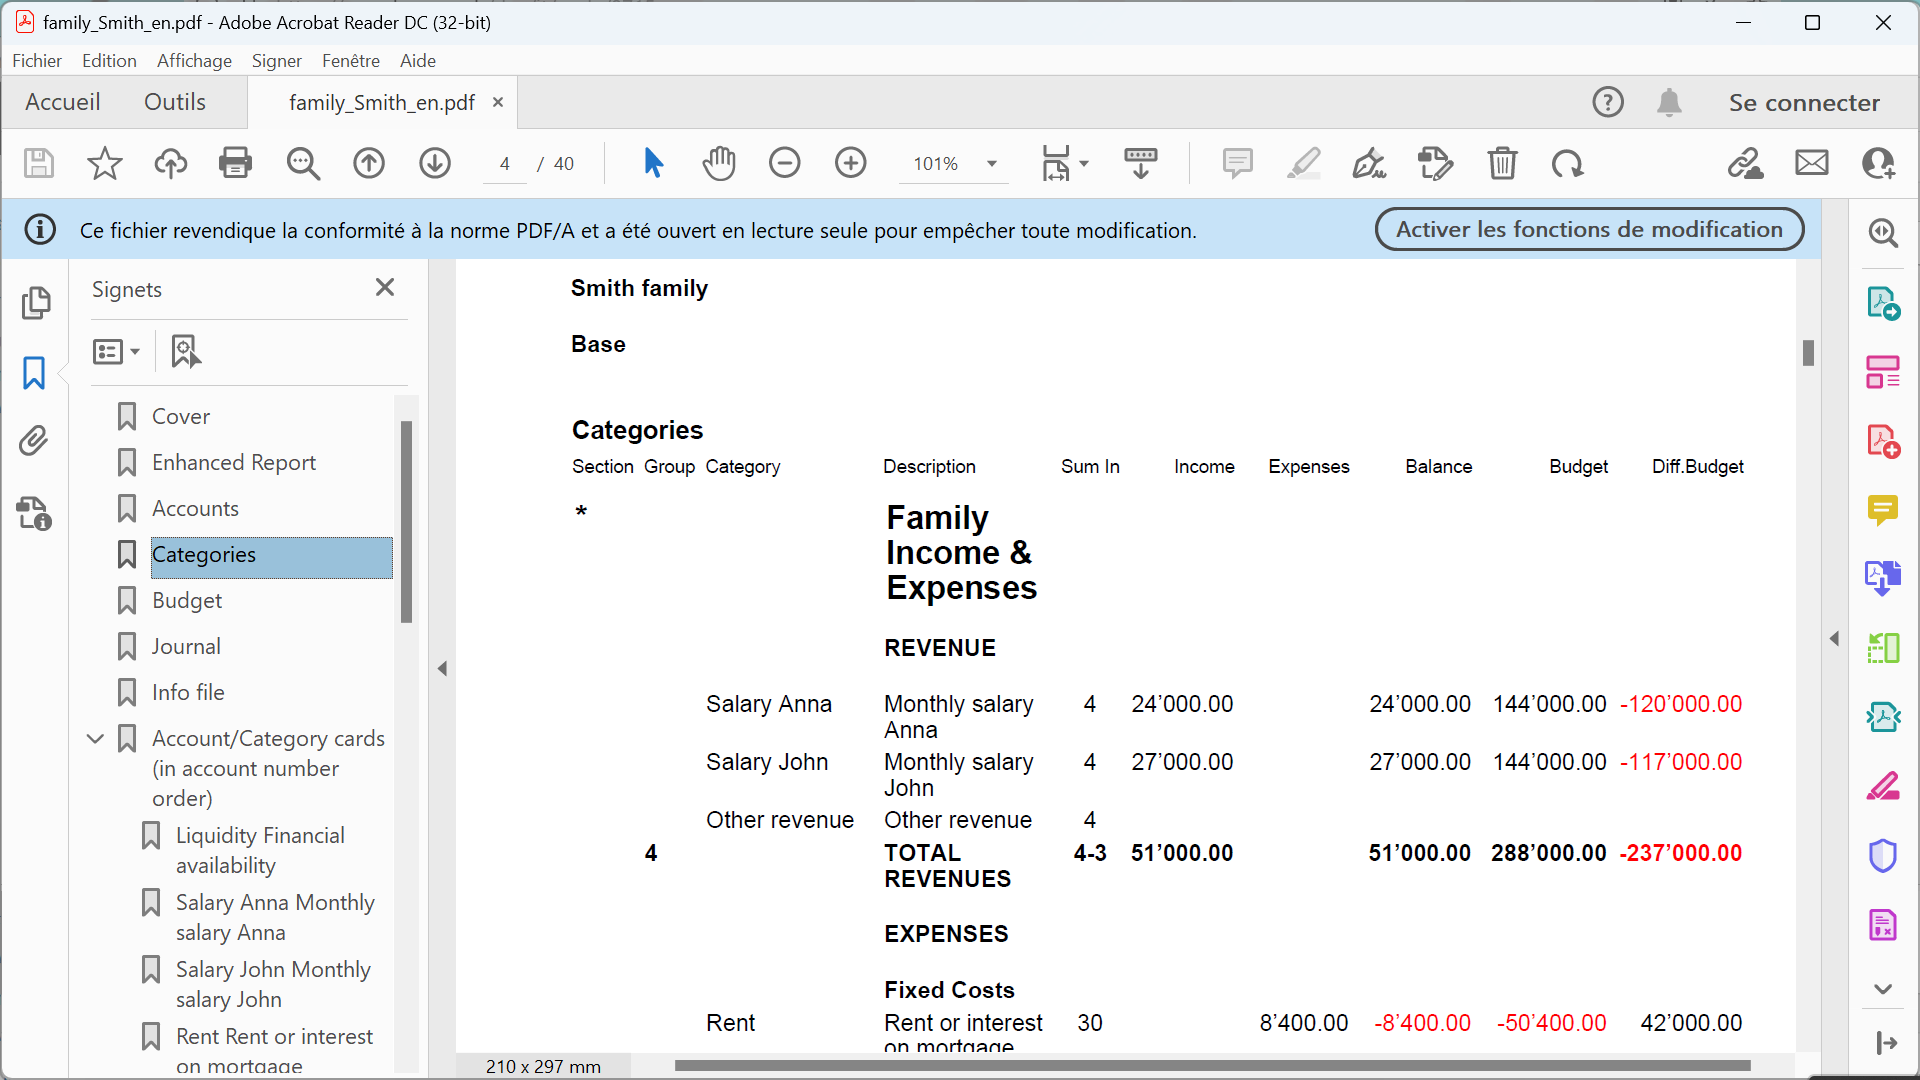
Topics common to other applications
- Add, cancel an account
- Rename an account
- Insert groups
- Cost and profit centers
- Segments
- The Balance column
Printouts
Como criar um Cash Manager
Criar um ficheiro de contabilidade a partir de um modelo
Siga os seguintes passos:
- Menu Arquivo, comando Novo
- Selecionar a Região, a Categoria e o tipo de contabilidade
- Da lista de modelos que aparece, escolha a que mais se aproxima às suas exigências
- Clique no botão Criar.
Na caixa Procurar, ao inserir uma palavra-chave, o programa visualiza os modelos que contêm a palavra-chave.
Também é possível começar a partir de um ficheiro vazio, ativando a opção Criar arquivo vazio. No entanto, para facilitar o começo e evitar erros de agrupamento, aconselhamos começar sempre com um modelo existente.
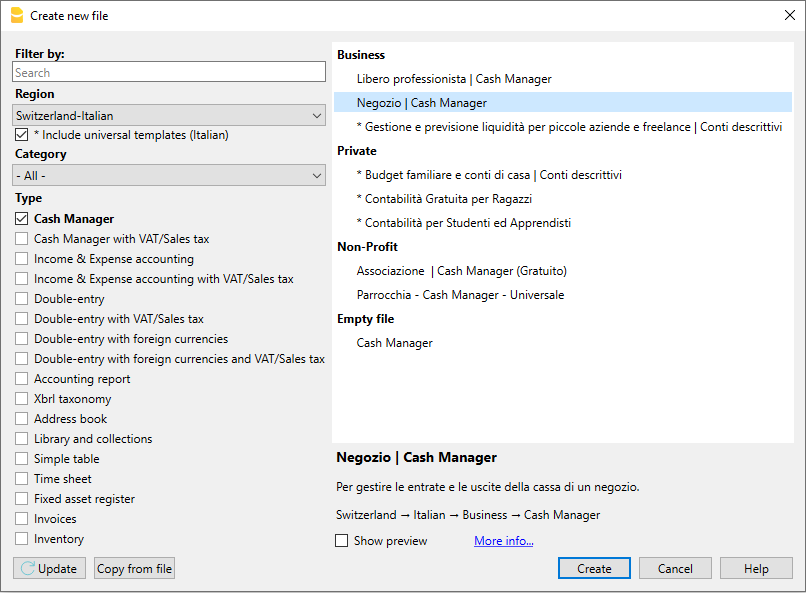
Mais informações sobre como criar um novo arquivo estão disponíveis na página Criar novo arquivo.
Configurar as Propriedades do arquivo
Configurar os próprios dados nas Propriedades do arquivo (inglês) e salvar o arquivo com nome.
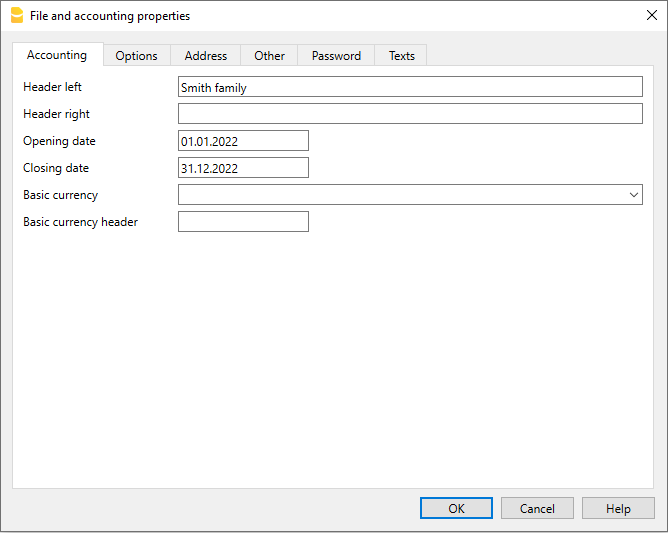
Salvar no disco
Com o comando Arquivo → Salvar como..., guarde os dados e atribua um nome ao ficheiro. Aperecerà o dialogo tipico do seu sistema operativo.
- É aconselhado usar o nome da empresa, seguido do ano "empresa-2020.ac2" para distinguir de outros arquivos de contabilidade.
- Pode guardar quantos arquivos precisar, cada um com o seu próprio nome.
- Pode escolher o percurso e o suporte (guardar num disco, pen USB o cloud).
Se espera ter também documentos ligados à contabilidade do ano corrente, sugerimos criar uma pasta separada para cada ano de contabilidade para reunir todos os arquivos.
Inserir o saldo inicial da conta
No Livro caixa, na tabela Contas, insira a conta que pretende gerir e na coluna Abertura, insira o saldo inicial. Com a passagem ao ano novo, com o comando Criar novo ano do menu Conta2, o saldo de abertura é referido automaticamente.
Não é possível inserir mais de uma conta.
Personalizar a Tabela Categorias
Na tabela Categorias personalizar as categorias de receitas e de despesas, segundo as próprias necessidades. É possível:
- mudar os números de categoria
- mudar a descrição
- eliminar categorias
- adicionar categorias
- inserir subgrupos
- eliminar subgrupos
Todos os saldos das categorias determinam os resultados do ano de contabilidade (ganho ou perda) e, por este motivo, ao início do ano não pode existir saldo algum.
Adicionar novas categorias
Se houver necessidade de adicionar novas categorias num grupo já existente, proceda da seguinte maneira:
- Inserir linhas (menu Editar, comando Inserir linhas...) antes da linha do Grupo do total
- Inserir na coluna Categoria o número ou iniciais da categoria
- Inserir a descrição para identificar a categoria
- Inserir na coluna GR, o mesmo GR das outras categorias, que pertecem ao mesmo Grupo de total.
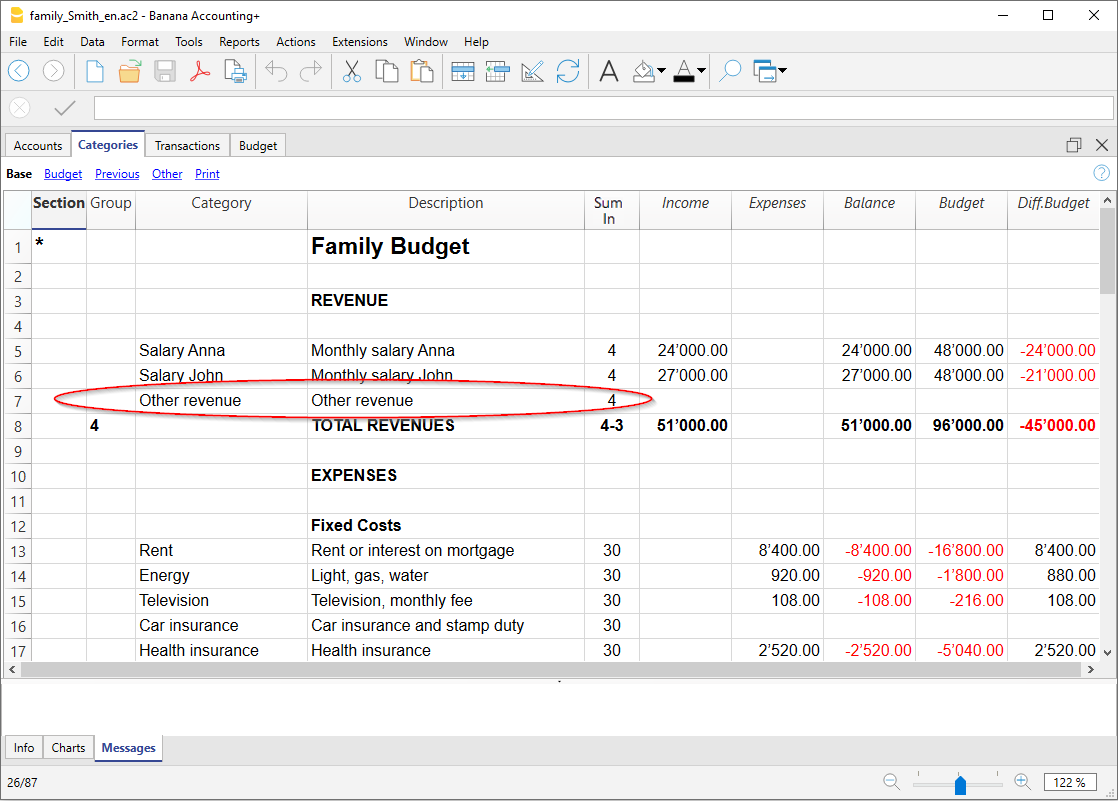
Adicionar subgrupos
Para adicionar novos subgrupos, proceda da seguinte maneira:
- Inserir linhas (menu Editar, comando Inserir linhas...) na zona onde deseja inserir o novo subgrupo
- Na última linha vazia inserir na coluna Grupo um número ou inicial para o total (no exemplo PA - Resultado Patrimonial Inicial)
- Inserir a descrição para identificar o novo subgrupo
- Inserir na coluna GR o Grupo do total (no exemplo T - Diferença Total).
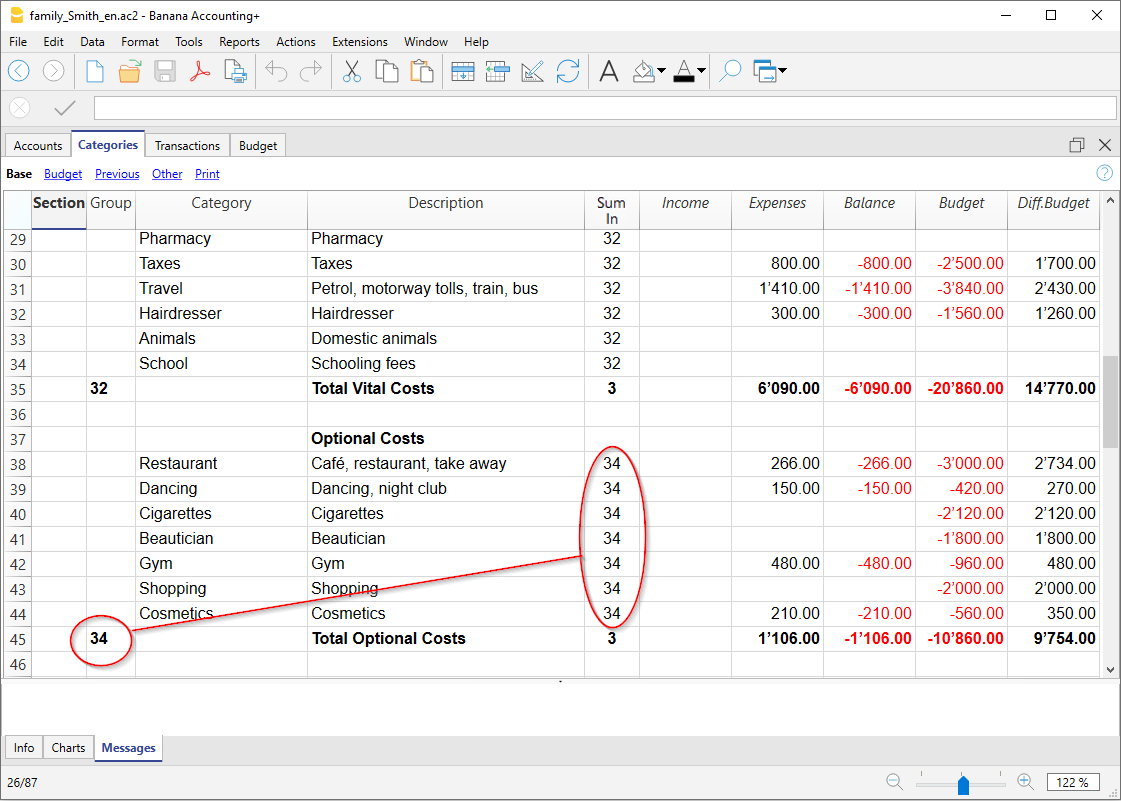
Eliminar categorias e subgrupos
Para eliminar categorias ou subgrupos ocorre selecionar as linhas com as categorias e o subgrupo para eliminar e selecionar o comando Excluir linhas do menu Editar.
Lançamentos
Na Tabela Lançamentos são inseridas as receitas e as despesas, indicando a categoria à qual é atribuida a despesa ou a receita.
Acelerar a inserção dos Lançamentos
Para acelerar a inserção dos lançamentos utiliza-se:
- a função de Emissão de dados com preenchimento automático que consente recuperar automaticamente dados já inseridos previamente
- a função dos Lançamentos repetitivos (menu Conta2) que permete memorizar numa tabela os lançamentos repetitivos
- a importação de dados do extrato bancário ou postal.
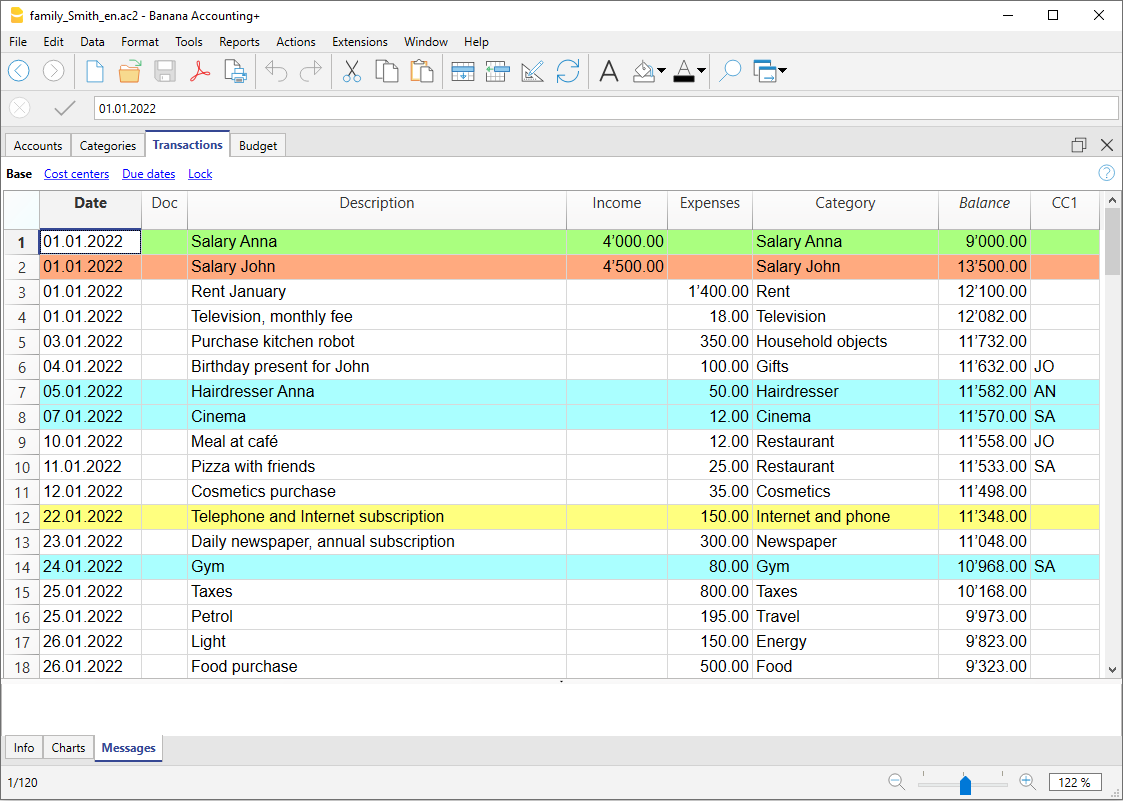
Lançamentos com IVA
Para poder registrar operações com IVA ocorre:
- No menu Arquivo, comando Novo escolher como Tipo o Cash Manager com IVA
- Escolher um dos Modelos já predisposto segundo a nação.
Para os lançamentos com IVA, consultar a página Lançamentos.
A ficha Categoria ou Grupo
A ficha categoria ou grupo permete obter um elenco completo dos movimentos que fazem parte da mesma categoria ou do mesmo grupo.
- Para abrir uma ficha categoria ou grupo clique na célula onde se encontra o número da conta, categoria ou grupo, seguido de um clique no símbolo azul pequeno que se encontra no canto superior direito da célula.
- Para abrir mais fichas categoria ou grupo ocorre selecionar o comando Razão conta do menu Conta1.
- Para atualizar as fichas categoria ou grupo depois de modificações na tabela Lançamentos, ocorre clicar no símbolo azul, das duas setas circulares, que se encontra no canto superior direito da ficha.
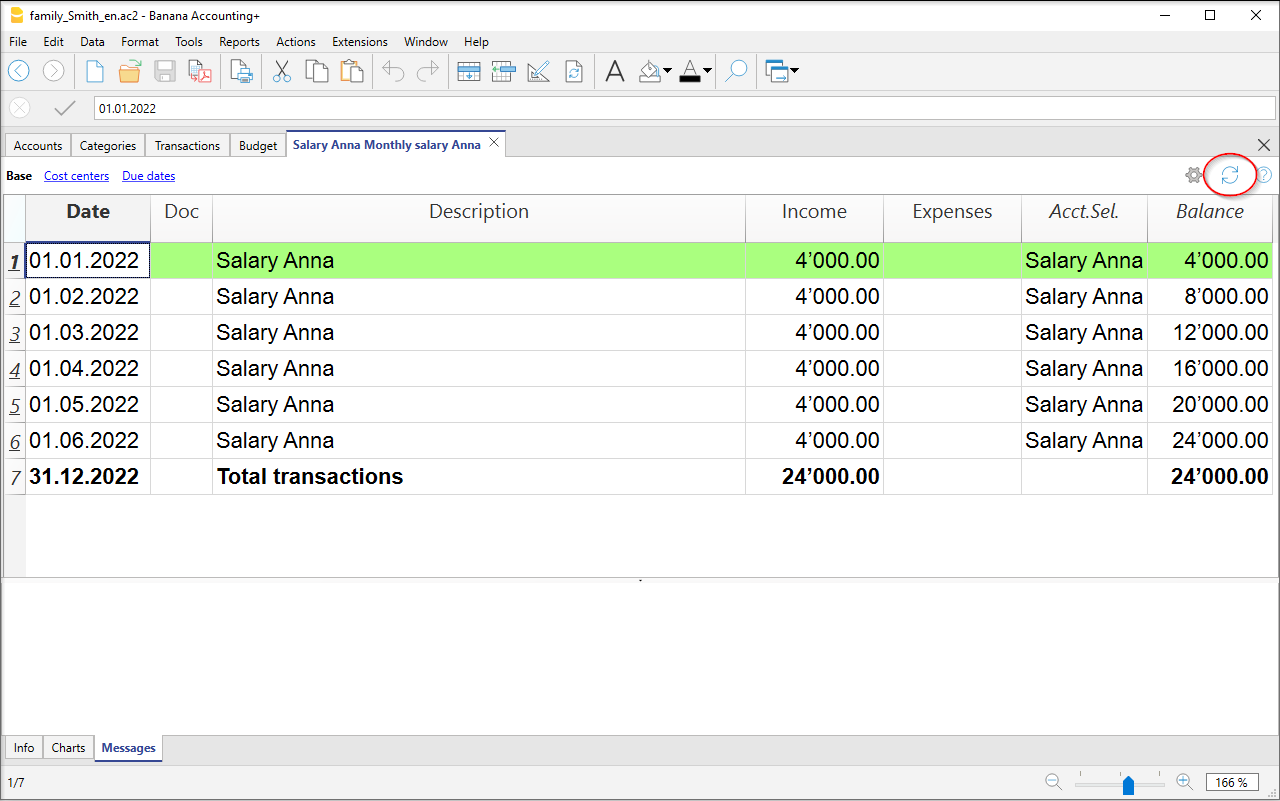
Fichas de categoria por período
Para visualizar as fichas categoria com os saldos referidos num determinado período, ocorre clicar no menu Conta1, comando Razão conta/categoria e na secção Período ativar Periodo selecionado, inserindo a data de começo e de fim do periodo.
Para mais informações, consulte a página Periodo (inglês).
Imprimir as fichas categoria
Para imprimir uma ficha categoria, basta visualizar a ficha a partir de qualquer tabela (Contas ou Lançamentos) e acionar a impressão no menu Arquivo.
Para imprimir várias ou todas as fichas conta, clicar no menu Conta1, comando Razão por contas/categorias e selecionar as fichas conta/categoria para imprimir. Através do filtro presente na janela, pode-se fazer uma seleção automatica de todas as categorias, os centros de custo, os segmentos, os grupos, etc.
Mais informações estão disponíveis na página Razão de contas/categorias.
Demonstrativo analítico
Para visualizar o Demonstrativo analítico e o Demonstrativo analítico por grupos, clicar no menu Conta1 e depois no comando Demonstrativo analítico ou Demonstrativo analítico por grupos. Também é possível fazer demonstrativos por período.
- O Demonstrativo analítico visualiza todas as contas e as categorias sem eventuais subgrupos
- O Demonstrativo analítico por grupos visualiza todas as contas e as categorias também com os subgrupos
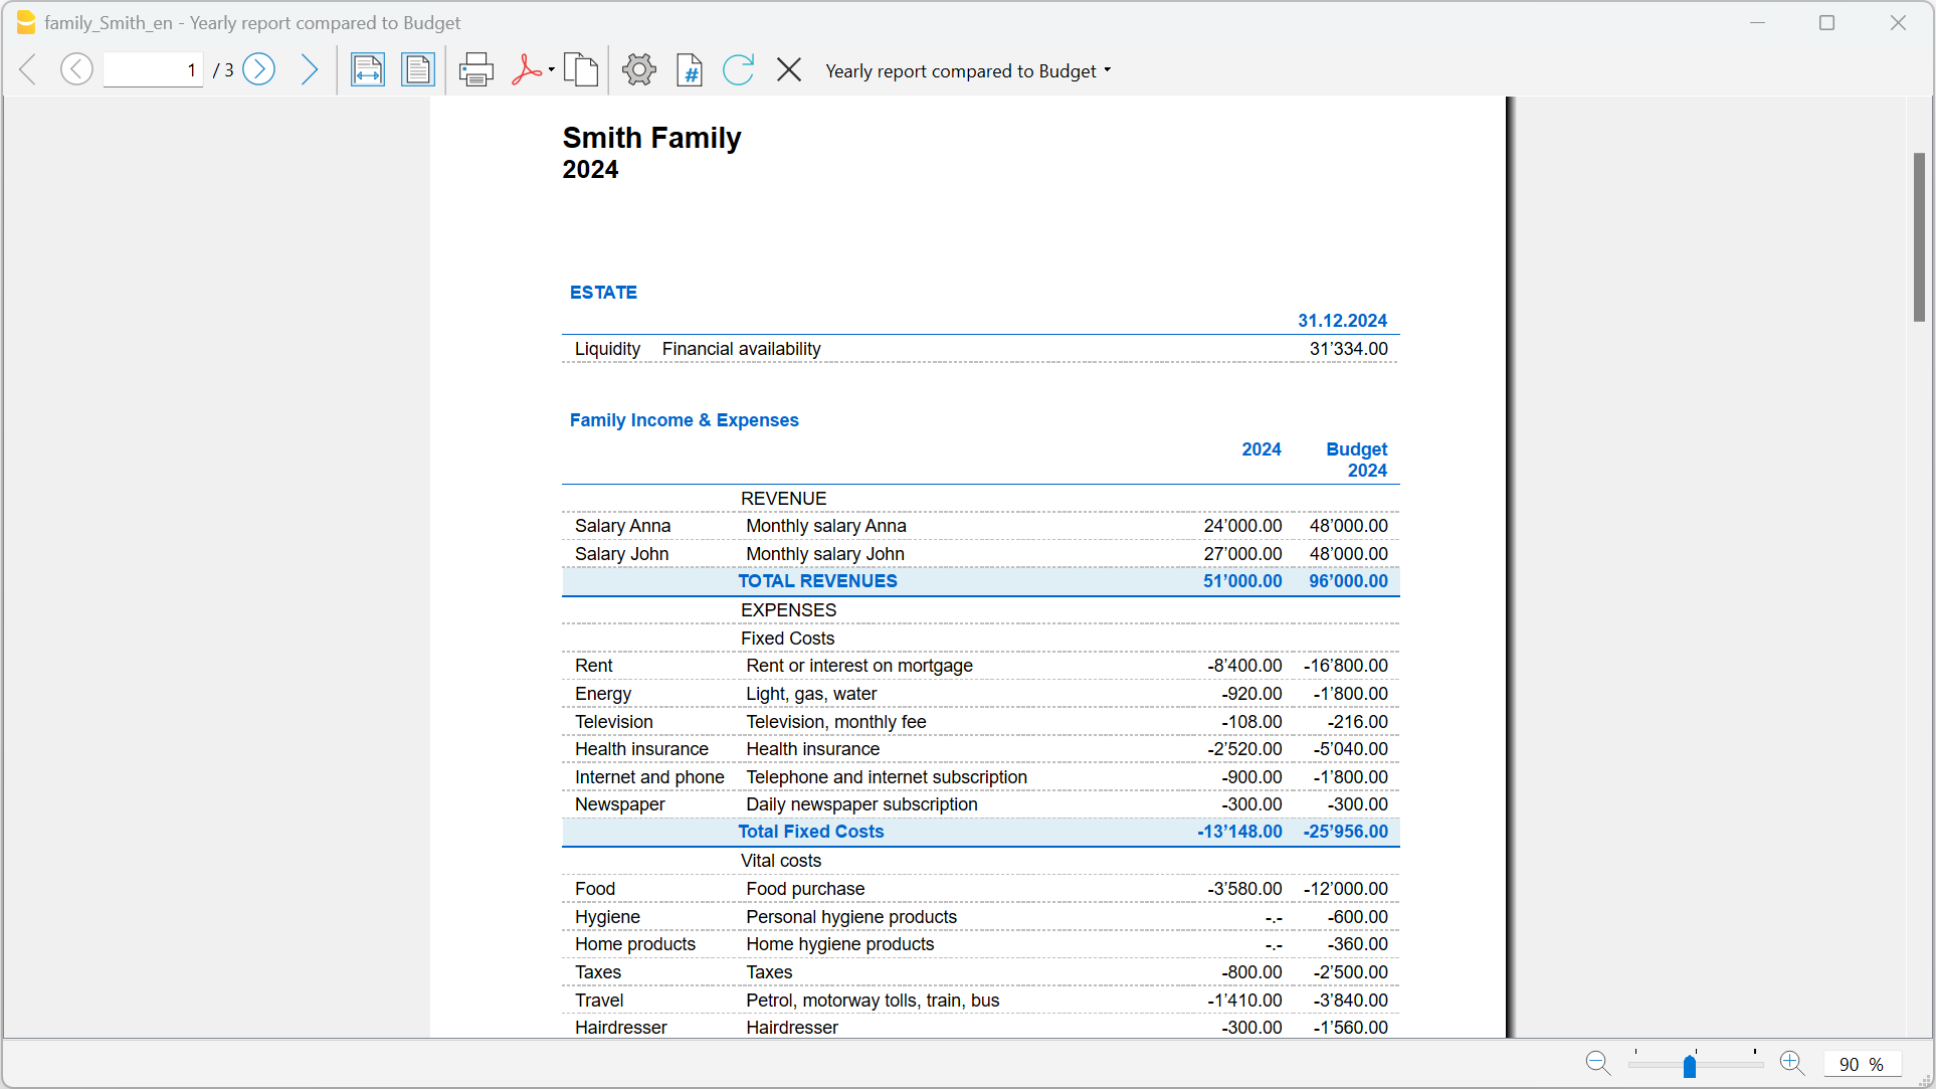
Armazenamento de dados em PDF
Ao fim do ano, quando toda a contabilidade estiver completada, corrigida e revista, pode-se armazenar todos os dados da contabilidade com o comando Criar PDF, no menu Arquivo.

O Orçamento
Antes de começar um ano de contabilidade, pode-se criar um orçamento com possíveis despesas e receitas, de modo a ter sob controlo a situação económica e financiária.
O orçamento pode ser configurado de duas maneiras diferentes:
- Na tabela Categorias, coluna Orçamento. Em cada categoria é indicado o montante do orçamento anual.
Neste caso, quando se elabora o Orçamento no menu Conta1, comando Demonstrativo analítico por grupos, a coluna do Orçamento descreve os montantes que se referem ao ano inteiro. - Na tabela Orçamento, que se ativa no menu Ferramentas, comando Adicionar novas funcionalidades → Adicionar tabela Orçamento.
Nesta tabela registram-se todos os orçamentos de despesas e de receitas com lançamentos. Caso se ative esta tabela, a coluna Orçamento da tabela Contas é desativada automaticamente.
Neste caso pode-se configurar um orçamento detalhado que tenha em conta possíveis variações durante o ano e nos diversos períodos do ano.
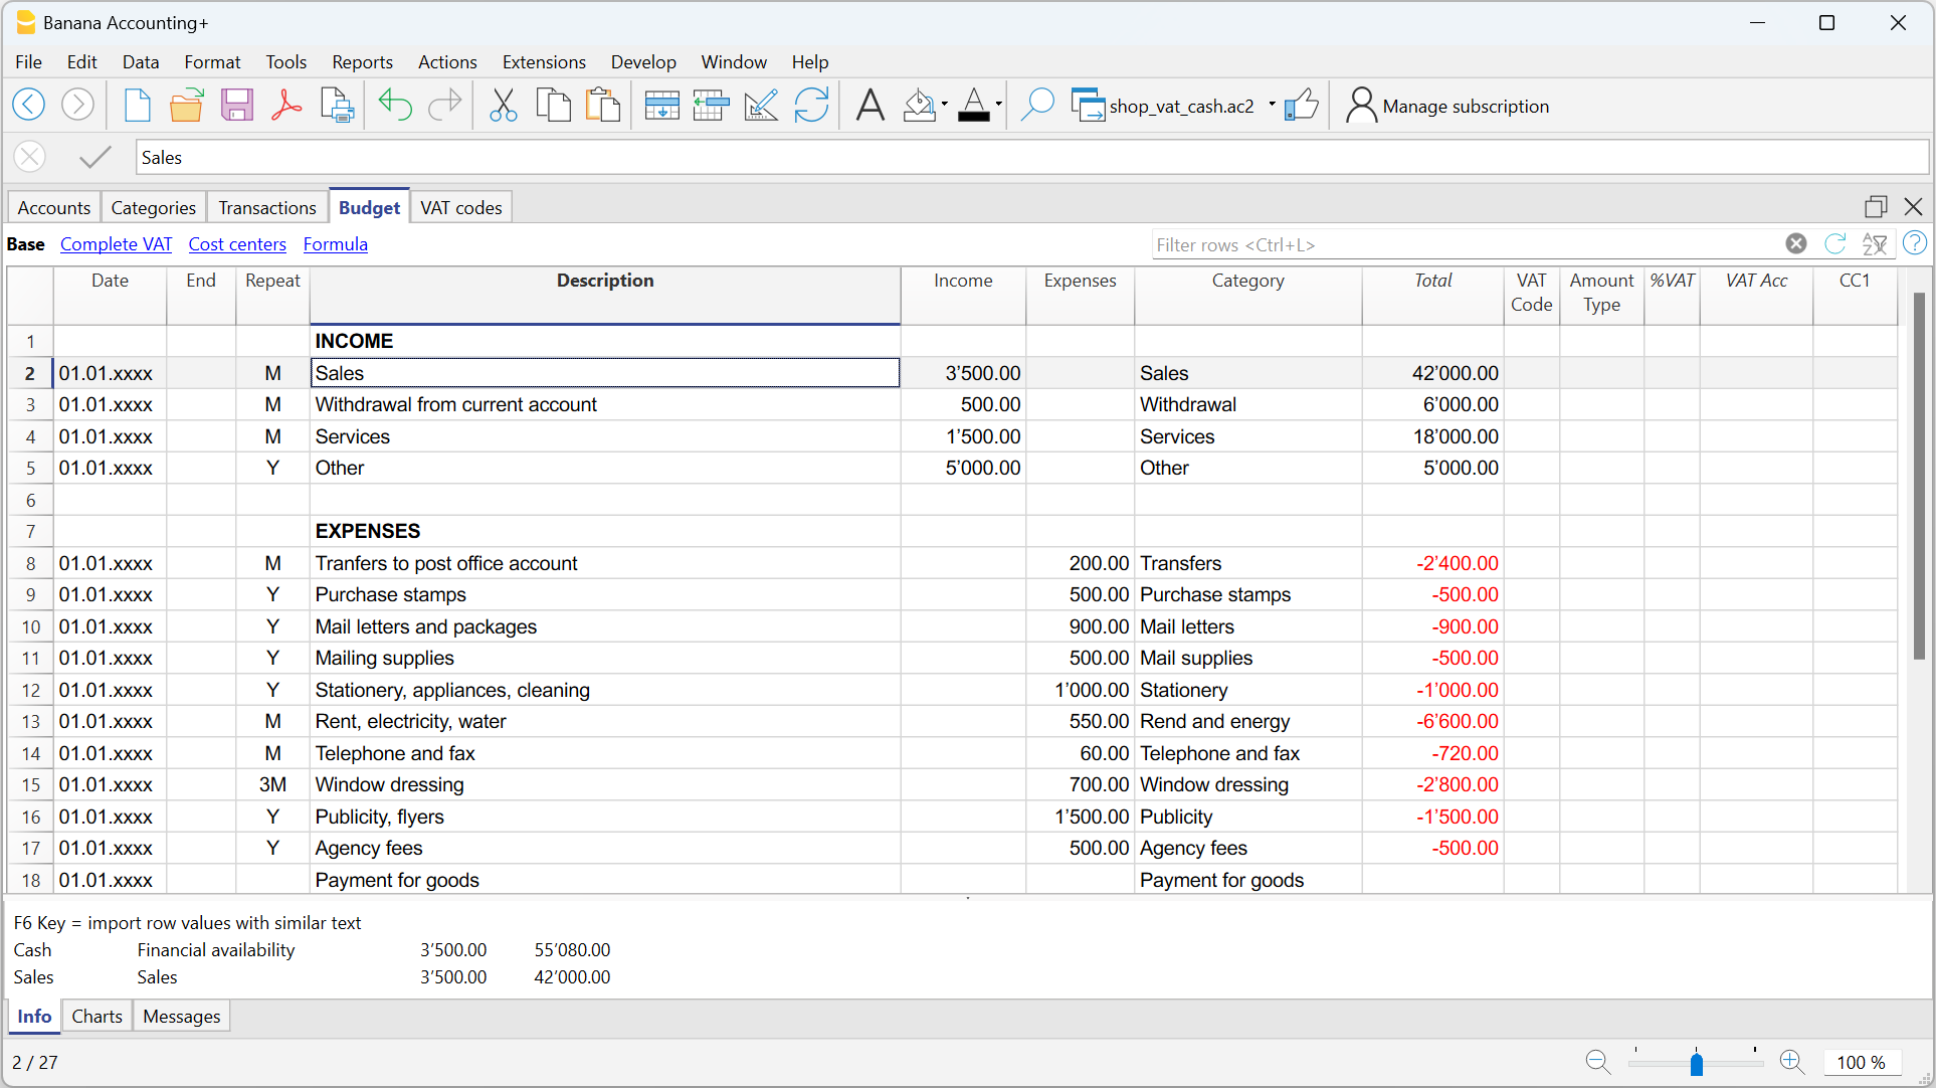
Cash Manager Accounts Table
The Cash Manager Accounts table contains only one account and no other accounts can be added.

The columns of the Accounts table:
The main columns of the Categories table are listed below. The display of columns changes according to the selected View.
Additional columns can be added either system or own columns via the menu Data > Columns setup.
Group
This column remains empty.
Account
Enter the number or initials of the account to be managed (cash, bank, post office).
Description
Enter a description relating to the account entered.
Opening
You need to enter the opening balance only the first time you use a new file or when using Banana accounting for the first time. At the beginning of the new year with automatic opening, the account balance is automatically updated.
Income
The column is protected and shows the balance of income transactions. The balance is updated automatically after each transaction.
Expenses
The column is protected and shows the balance of outgoing expenses. After each transaction the balance is updated automatically.
Balance
The column is protected and shows the total balance between income and expenses. After each transaction the balance is updated automatically.
Cash Manager Categories table
The Categories table presents the Income and Expenses situation.
The Categories table
In the Categories column, for each income and expense, the respective categories are set.
In addition to the Categories column, there are columns to set:
- Sections
- The Totalization groups.
For further information on the grouping system, refer to the Grouping system. - Any Cost and Profit centers.
In the example there are three main groupings:
- Group 4 - Totals all the Categories that have grouping 4 in their Sum in column (total Income)
- Group 3 - Totals all the Categories that have grouping 3 in their Sum in column (total Expenses)
- Group 00 - Totals groups 3 and 4 (Total Income and Expenses), which determine the Result for the accounting period.

The columns of the Categories table
The main columns of the Categories table are listed below. The display of the columns changes according to the selected View.
You can add additional system columns as well as your own columns via Data > Columns setup.
Section
An asterisk is inserted in the row where a title is entered, which will then be taken over in the Enhanced Statement with groups
(in our example the asterisk is inserted on the line of the title Operating result).
If other sections are provided in addition to income and expenses, such as cost and profit centers, another asterisk can be inserted in the Sections column, again on the title row. More details are available on the Sections page.
Group
Enter an identifier (numerical or sign) identical to the one entered for each category in the Sum in column. The totals for each category belonging to the same grouping of the Sum in column will then be added up (in our example, Group 4 totals the Income Category and group 3 the Expenses category).
Category
Enter the Category number that will identify the type of expense or income.
Description
A description is entered to identify the income or expenses category. This description is automatically taken from the Category Description column of the Records table (if displayed).
Sum in (Gr)
The code of a group is indicated so that the programme totals the amount of the line in the group.
The heading ‘Sum in’ has been adopted with the Banana Plus version.
The column name has remained Gr, to maintain compatibility with previous versions of the programme.
Each category has an identifier that is used to define in which group it is to be totalled (in the example, all revenue categories, in the Sum in column, have the grouping 4, because they are totalled in Group 4, Total Revenue).
Income
The column is protected and shows the balance of income transactions. The balance is updated automatically after each transaction.
Expenses
The column is protected and shows the balance of outgoing expenses. After each transaction the balance is updated automatically.
Balance
The column is protected and shows the total balance between income and expenses. After each transaction the balance is updated automatically.
Customising the Categories table
You may customise the entry and exit categories in the Categories table according to your needs. You can:
- Change category numbers
- Change description
- Delete or add categories
- Insert or delete subgroups
All category balances determine the operating result (profit or loss) and must therefore have no balance at the beginning of the year.
Adding new Categories
If you need to add new categories to an existing group, proceed as follows:
- Insert empty rows (menu Edit > Insert Rows) before the Totalisation Group row
- Enter the category number or abbreviation in the Category column
- Enter a description to identify the category
- Enter in the Sum in column , the same grouping number as the other categories, belonging to the same Totalisation Group.
Adding Subgroups
To add new subgroups, proceed as follows:
- Insert empty rows (menu Edit > Insert rows) in the area where you wish to insert the new subgroup
- In the last empty row enter a number or abbreviation for the totalisation in the Group column (in the example "34 - Total Optional Costs")
- Enter a description to identify the new subgroup
- Enter in the Sum in column the Totalisation Group (in the example "3 - Total Costs").
Deleting categories and subgroups
To delete categories or subgroups, select the rows with the categories and subgroup to be deleted and issue the command Delete rows from the Edit menu.
Opening Balances | Cash Manager
You only need to enter the Initial Balance the first time you use Banana Accounting Plus.
Opening balances when you start with Banana Accounting
When creating a new file for the first time with Banana Accounting, the opening balances must be entered manually in the Accounts table, Opening column.
When you move to the new year, using the Actions > Create new year command, Banana accounting reports all the opening balances automatically.
It is not possible to enter more than one account; for this you must use the Income/Expense Accounting.

Start with Banana Accounting during the year
If you start a new accounting, taking over the work already done with other programs, you have two possibilities:
- Start accounting from the start of the year, by entering the opening balances at the beginning of the year (Accounts table, Opening column) and the transactions (Transactions table) that have already been previously recorded with other programs (also see Transferring data from other software). Thus you will have all the accounting details a single file.
- Starting from the date when the accounting is resumed:
- Enter the opening balances (Accounts table, Opening column), taking over the values of the other accounting.
In addition to entering the opening balances of the Cash in the Accounts table, it is also necessary to enter the income (positive) and expenses (negative) balances in the Categories table. - Input the new entries in the Transactions table.
- Enter the opening balances (Accounts table, Opening column), taking over the values of the other accounting.
Balances of the previous year
If you start a new accounting by taking over an existing accounting and you want the previous year's values to appear on the printouts, it is necessary to enter the previous year's balances in Accounts and Categories > Previous view > Previous Year column:
- Enter the closing balances of the previous year's Cash (Accounts table).
- Enter the closing balances of the previous year's Expenses (Categories table).
- Enter the final balances of the previous year of Revenues (insert the minus sign in front of the amount).

Create new year
When you start the new year, the program automatically carries over the opening balances for the following year.
Consult the Create New Year lesson.
Print opening balances
To print the opening balances:
- To print the contents of the table, use the File > Print / Preview command, by selecting the rows of the Balance Sheet.
- You can also use the Accounting printouts and set the printout only for the Statement part and the opening column.
Transactions table of the Cash Manager
The transactions of the Cash Manager are entered in the Transactions table.
There are specific columns to enter:
- the date
- the document number
- the description
- the income or expense amount
- the category relevant to the income or expense in the Category table
- should the transaction be subject to VAT tax, enter the VAT code in the VAT code column.
The VAT codes are listed in the VAT codes table.
Speeding up the recording of the Transactions
In order to accelerate the recording of the transactions, you can use:
- the Smart fill function that allows the automatic auto complete of data that have already been entered at an earlier date.
- the Recurring transactions function (Actions menu), used to memorize recurring transactions into an appropriate table.
Examples of transactions without VAT
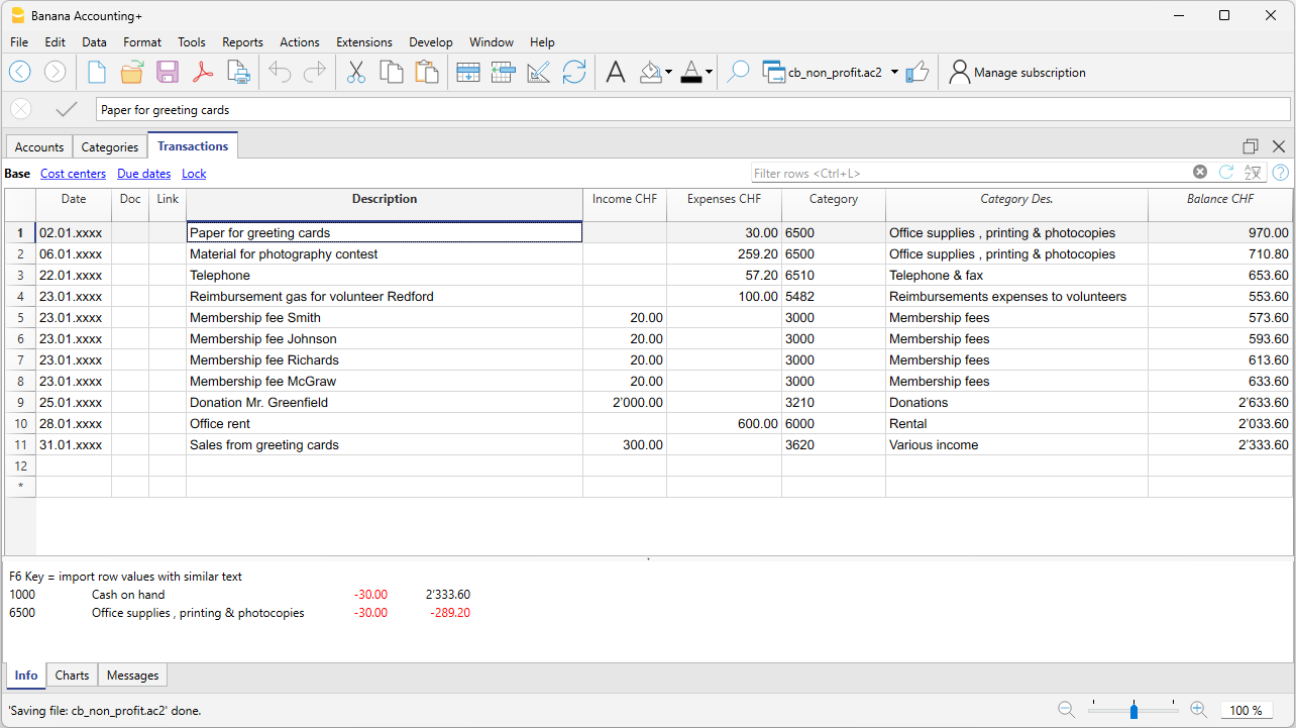
Examples of transactions with VAT
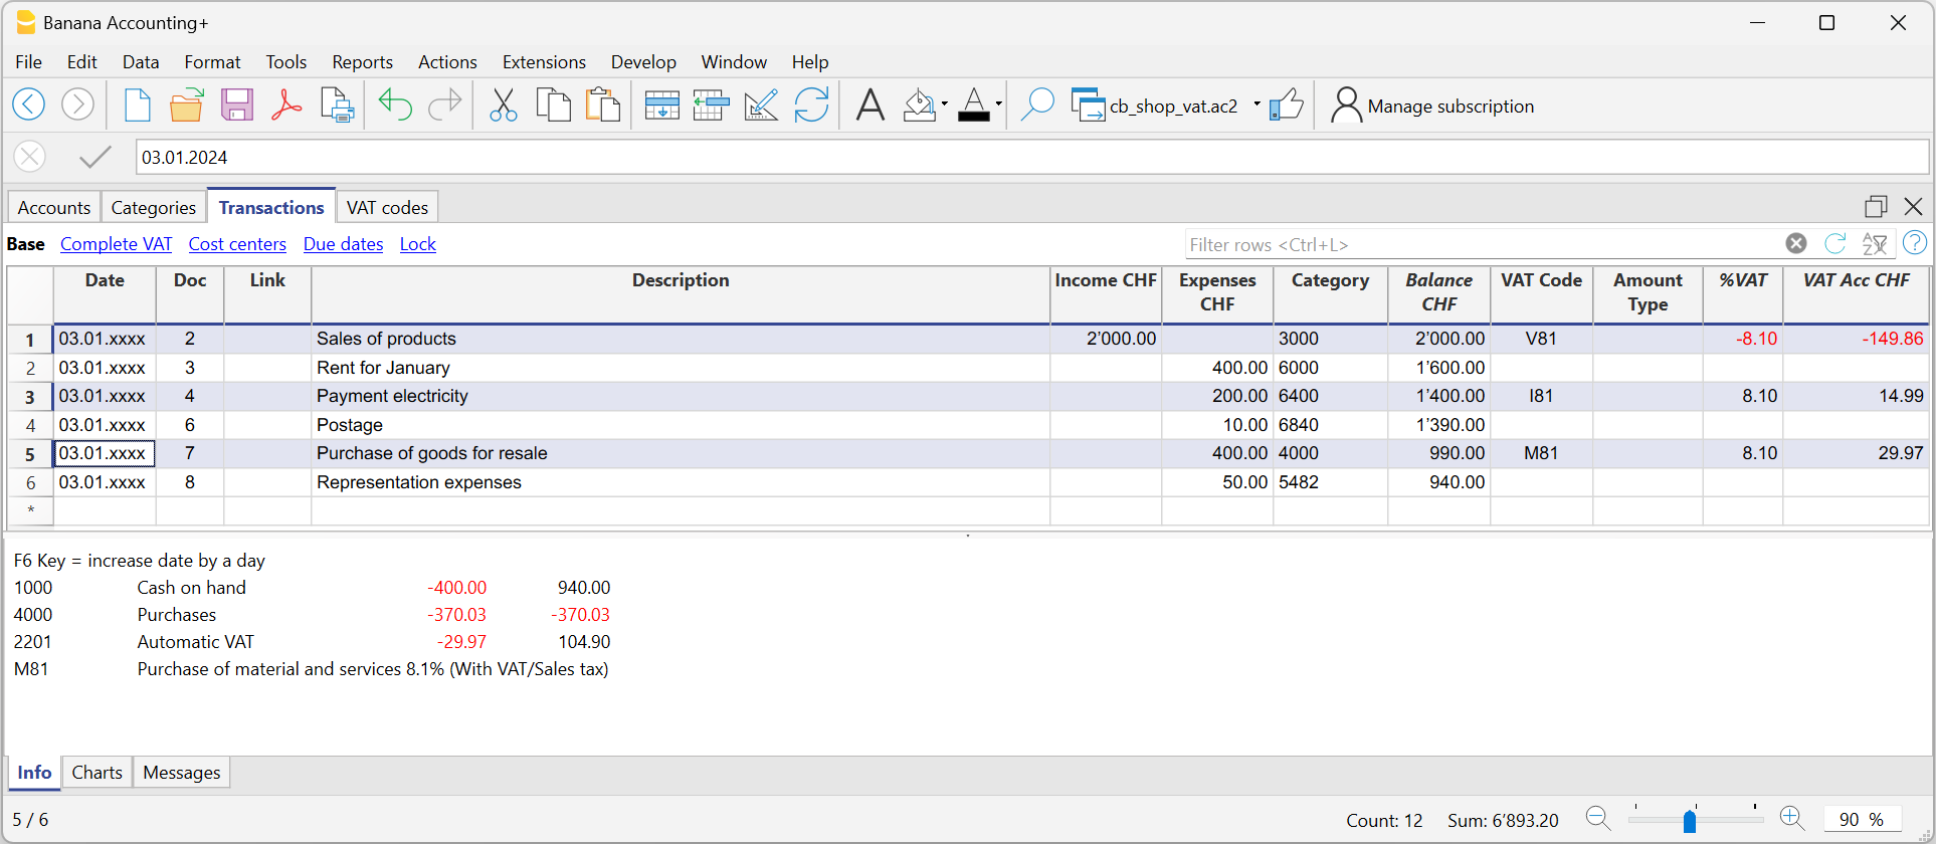
Category card
To display the transactions of a category, click once on the small blue arrow appearing in the upper right corner of the cell.
The display of entries in the Categories table is similar to the one in the Transactions table.
When new transactions are added or changes are made (i.e. in the Transactions table), it is possible to update the tab of a category by clicking on the Update symbol (blue symbol, of two circular arrows, located in the right part of the window).

Budget table of the Cash Manager
Financial planning is carried out in the Budget table.
Before starting a financial year, you can budget expenses and estimate income to keep the economic and financial situation under control.
The budget can be set in two different ways:
- In the Categories table, under the Budget column. For each category, the annual budget amount is indicated.
In this case, when you generate the Budget from the Report menu using the command Enhanced Statement with groups, the Budget column shows the amounts that refer to the entire year. - In the Budget table, which can be activated from the Tools menu > Add/Remove functionalities > Add Budget Table.
In this table, all budgeted expenses and incomes are recorded with transactions. If this table is activated, the Budget column in the Accounts table is automatically disabled. In this case, you can set a detailed budget that takes into account possible variations during the year and in different periods of the year.

Create new year
It is possible to transition to the new year automatically in the following ways:
- Open the file of the year that has just ended and from the Actions menu > Create new year.
- Confirm the basic file Properties.
- Save the file with a new name.
- The account, carrying over the initial balance.
- The categories are carried over without bringing an initial balance, as they start from zero, to determine the operating result of the new year.
Printouts
Instant information
In the Accounts and Categories tables, the balances of the accounts and the categories of income and expenses are displayed immediately. After each individual entry, the balances are updated automatically, and there is no need to generate reports to keep the situation under control; you simply need to position yourself in the Accounts and Categories table.
To print the content of the tables, please refer to the Page setup section (last paragraph).
Advanced printouts
All printing is run from the Reports menu, where the different functions for printing are located:
- Journal - command to define the period. You can display and print the whole table or just a specified period.
- Account/Category cards - Account cards / Categories. You may select all cards or define your selection.
Define the required period in the Period tab and click the required settings in the Options tab. Print settings can be saved in the Customization tab so they can be resumed without them to be having defined again.
- Enhanced statement - Enhanced statement command. You may also print a defined period and various options and customizations may be included.
- Enhanced statement with groups - Enhanced statement with groups command. You may also print a defined period and various options and customization may be included.
- Accounting report - Account report command. The required options are displayed in the Accounts table. Reports are possible for current, previous periods or previous years; each period may contain subdivisions and the customizations can be saved.
Example of printout of Enhanced statement with groups

Cash Manager account / category card
The account or category card corresponds to the ledger and allows you to have a complete list of the accounting entries concerning the same account, the same category, a cost center, a segment or a group.
Open the account card
There are two ways to open and print an account or category card.
First method
This method is recommended when you want to view and print all or several account/category cards.
- Via the Reports > Account / Category Cards menu

A dialog box with the following sections appears:
For detailed information on the sections, click on the corresponding links.
Second method
This method can be used when you need to open only one card at a time within the tables.
- Click on the small icon that appears when you select the cell that contains the account, category or group number.

Update the account card
The account or category card is temporary and is calculated at the time of the request. If transactions are changed or added in the Transactions table, the account card is not updated simultaneously.
To update the account card, following changes, it is necessary to use the Account / category card command again, or if the account card is still open, click on the symbol shown in the image below  .
.

Note
It is not possible to change the data in the account, category or group card. Within the account card, by double clicking on the row number, the program switches to the corresponding row of the Transactions table or of the Estimate.
The Account Selection column
In the Account selected column, which can be made visible, starting from any account card, via the Data > Columns setup menu, the account on which the transaction took place will be displayed.
When you get an account card of one or more accounts, categories, groups and segments, you see exactly which account is used.
Cards of groups or classes
In the account card of a group or class, all the transactions of those accounts belonging to the selected group or class are regrouped.
The accounts or categories of the group or class can be viewed by making the Account Selected column visible.
Budget Account card
Once the budget transactions have been entered in the Budget table, it is possible to have the account or group cards of the budget:
- Reports menu > Account / category cards > activate Budget transaction.

Print the ledger (account cards)
To print the cards:
- Reports menu > Account cards
- Through the Filter it is possible to automatically select all the account cards to be printed or partially (eg only accounts, cost centers or segments).
- In the various sections Period, Options, Customization the desired functions are activated (eg period, one account per page ....).
- Confirm with OK after setting the desired options.
The selected account cards will be displayed on screen. To print, click on the File > Print menu.
Insert a logo in the account cards
As per Banana 9 version, it is possible to insert a logo also in the printout of the account cards.
After creation of the account card detail, proceed as follows:
- Reports menu > Account cards
- File menu > Print preview
- In the dialog box that opens, under Logo, indicate your logo (instead of none).
More detailed information is available on the Logo setup page.
Save the settings
If you happen to regularly print the cards of certain accounts, for example all those of sales, it is useful to create a relevant customization:
- Report menu > Account cards > Customization section
click on the New button - Indicate the name in the description, for example "Sales Accounts"
- Select the accounts you want to print
- From the File > Page setup menu you can determine the margins and other page settings.
Whenever you need to print the accounts, select the customization you created.
Movement Column
The Movement column, available in the Account card table, shows the debit and credit movements in a single column: positive amounts for debit entries and negative amounts for credit entries. The amounts are the same as those contained in the Debit and Credit columns.
A single column should allows for better control of your accounting.
You can activate the Movement column in the Account card, via the Data → Columns setup menu.


Journal Cash Manager
Journal
As in all Banana Accounting applications, transactions are entered in the Transactions table. If you want to print the Journal (list of all transactions), you can proceed in several different ways:
- Position yourself in the Transactions table and click on the Print preview icon; then click on the Print icon
- From the Transactions table and select from the File menu > Print preview > Print icon.
- From the menu Reports menu > Journal by period ...
Journal by period
Banana Accounting, through the menu Report > Journal by period, offers the possibility to print the Journal with the movements of the entire period or of the selected period, by entering the start and end date of the period.

The information on the Period section is available on the Period page of the common functions.
In the Sort column tab, you can select the base on which type of date to order and print the journal.
Enhanced Statement
The information on the Enhanced Statement is identical to that of the Enhanced Statement of Income / Expenses.
Enhanced Statement with groups
The information on the Enhanced Statement with groups is identical to that of the Enhanced Statement of Income / Expenses.
Accounting report
The information in the Cash Manager Accounting Report is identical to that of the Income / Expenses Accounting Report.
VAT/sales tax report (only with VAT option)
Information on the VAT Report is available on the web page VAT/Sales tax report.
Banana Accounting Plus features
All the functions you need
The program includes a set of features to manage your business efficiently and professionally. Our users are thrilled to save time on handling accounting tasks that would otherwise take up much of their time. Additionally, you will save money by reducing the need for a financial consultant's intervention and associated costs.
Financial reports at a glance
Quickly print all the reports you need and at any time:
- Chart of accounts
- Balance sheet and Income statement
- Transaction journal
- Budget and much more!

Invoices with QR codes
You can enter invoices as simple records by indicating the invoice number and the customer's account. If you have multiple products, you can also use columns for Quantity, Unit, and Unit Price.
With a single command, your records will transform into professional invoices, ready to be printed or sent via email to your customers.

Customer and supplier management
Thanks to the ready-made templates with the customer and supplier ledger, you can manage everything optimally: simply enter the customer or supplier account in the entry.
Get the full list of suppliers and customers and keep track of payments and receipts.

VAT management
Great simplicity: indicate the VAT rate code in the transactions and the programme takes care of the rest!
Get the Swiss VAT form, detailed summaries by period, by VAT code, account and percentage in just a few clicks, either by totals or with all transactions.

Cost centres and Segments
Highlight particular areas of your business easily and efficiently with a higher level of detail!
Cost centres and segments in Banana Accounting Plus offer the possibility to see details of projects, events, construction sites, members and other specific activities, or to highlight costs and revenues by unit, department or branch.

Budget and Cash plan
Easily create your budget for effective cost control and an eye on the future!
In the Budget table enter forecast entries with a future date and indicate their repetition. The programme projects your forecasts by month, quarter, half-year, year and over several years.
A great tool for anticipating times and taking timely action to achieve your goals.
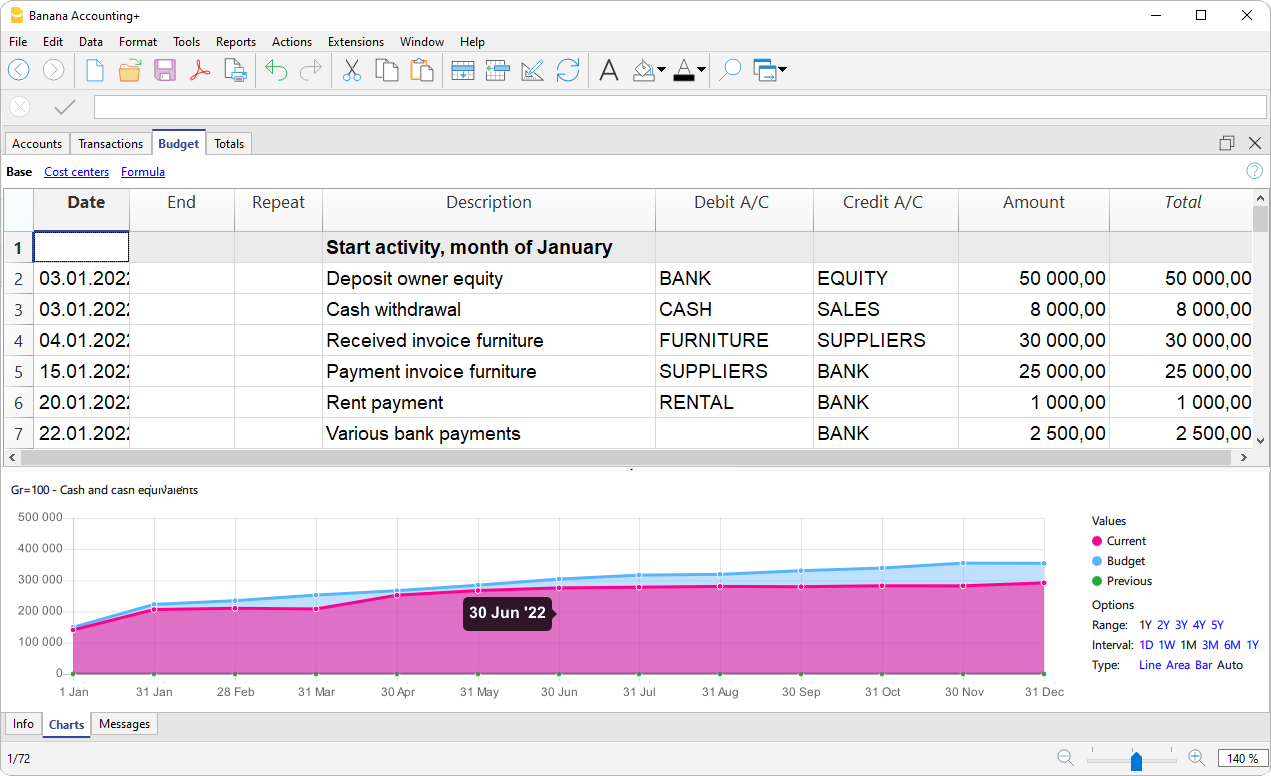
Import and Automation.
Thanks to the innovative data import features from bank statements and the automation of saved rows using Rules, accounting becomes simple, immediate, and error-free.
During the import process, for each transaction that is expected to repeat in the future, you can create a Rule by entering the corresponding account, VAT code, and optional cost or profit center. In subsequent imports, all transactions that match these Rules will be automatically entered and completed by the program, drastically reducing data entry times.
Unique prints thanks to the Extensions
The Extensions are additional programs that extend the functionalities of Banana Accounting Plus. Thanks to them, you can also obtain:
- Donation certificate for associations
- List of books for libraries
- Financial analysis and cash flows
- Portfolio management for securities
- Construction and renovation management
Many of these extensions require the Advanced plan
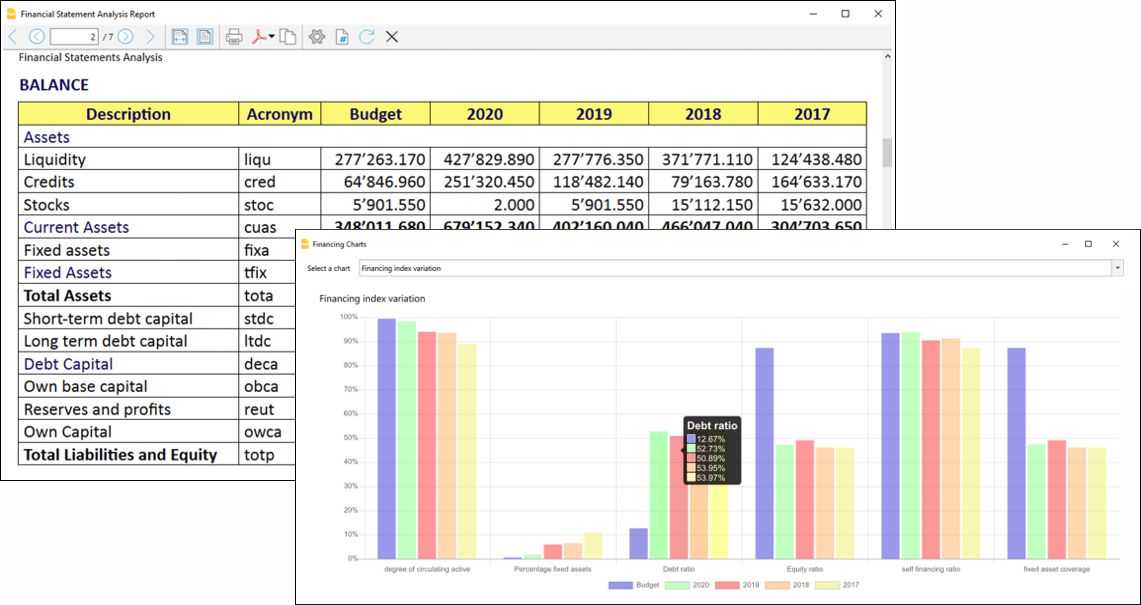
Customers and Suppliers
The features dedicated to customers, suppliers, and invoicing in Banana Accounting allow you to fully manage your business activities directly within your accounting.
You can monitor balances, due dates, transactions, and documents, keeping everything synchronized with the accounting records.
Thanks to these features, you can:
- Manage customers and suppliers integrated with accounting;
- Create and record invoices without duplicate work or risk of errors;
- Monitor due dates, receivables, and payables in real time;
- Speed up invoice entry using the Items table;
- Get clear and updated reports for full control over business relationships;
- Work more efficiently and save time in administrative tasks.
Customers
Customer management allows you to keep track of receivables, due dates, and transactions for each customer.
You can record issued invoices, received payments, and automatically generate customer statements and reports.
This way, you always have an up-to-date view of incoming payments, can easily monitor who has paid and who hasn't, and keep customer accounting perfectly aligned with the general ledger.
Suppliers
With the Suppliers function, you can manage payables to those who provide you with goods or services.
Each recorded payment is automatically linked to the corresponding invoice, so you always know how much you owe, to whom, and by when.
You can also generate payment lists and detailed reports for a complete overview of your supplier situation.
Customer Management
Customer management in Banana Accounting Plus allows you to record, organise, and manage customer information and allows you to keep track of customer transactions and payments, payment due dates, and contact information. You can track customer payments, update the payment status of issued invoices as well as enter and print invoices.
Customer management is a feature available in all accounting applications of Banana Accounting Plus, but it is especially used in double-entry accounting.
Please also visit Supplier management
Recording customer transactions
The Transactions table is the heart of Banana Accounting and is used to record all transactions, including customer transactions, simply by entering the customer's account. You work quickly because you can select, copy and paste customer transactions that have already been entered previously. If you make mistakes you can correct them so it is easy to record:

There are columns for entering various information, as:
- The date of the transaction, due date, expectation date and payment date.
- The Invoice Number.
- The Debit and Credit Account where to indicate the customer account and the counterpart.
- The amount.
- The VAT codes for the automatic calculation of VAT.
- Links to digital documents (e.g. the invoice issued to the customer, or notes in pdf).
Customer accounts
Customer accounts are used to record all transactions relating to the customers of a company.
The main functions of customer accounts are as follows:
- Create an account for each customer and keep track of all transactions made.
- Record the invoices issued for each customer.
- Record customer payments and associate them with the invoices issued.
In Banana Accounting:
- Customer accounts and addresses (first name, surname, company name, address, customer language, VAT number, etc.) are set up in the Accounts table.
- Account movements on the accounts are entered in the Transactions table.
- After each entry, all customer account balances (Accounts table) are automatically updated and you immediately have an overview of the outstanding balances.

Recording issued invoices
The invoice is used for accounting and tax purposes, as it allows you to accurately record the company's revenues and expenses, and to calculate sales or purchase tax.
If you issue invoices in Word, Excel or other programs, you can record the issuance in accounting so that you know what the customer owes and, if necessary, send reminders.
In Banana Accounting, the invoices are recorded in the Transactions table:
- By entering the date and description
- By entering an invoice number
- By recording in the Debit account the customer's account and in the Credit account the revenue
- By entering the VAT code for sales or services. The calculations and VAT amounts are entered automatically.
When the invoice is posted, the programme automatically creates the invoice and prints it out.
Creating and printing invoices
Directly in the Transactions table, you can also enter transactions to create invoices as simple entries in the Transactions table.
By entering the Debit and Credit account, in addition to printing the invoice, you have the accounting of the invoice in the accounting file at the same time.

From the menu, Reports > Customers > Print Invoices, you can:
- Preview and print the invoice.
- Choose the Print Layout and set other information to customise the printout, such as the QR Code.
More customisation is possible with the Advanced plan.

Recording collections
In Banana Accounting, collections are recorded in the Transactions Table in one of the following ways:
- Manually:
- The date and description are recorded
- In the Invoice column, by entering the customer's account, a drop-down menu displays the invoices still open, simply select the invoice collected and press the Enter key, the program automatically enters the customer's account in Credit, and the amount of the invoice. Then simply enter the cash account in Debit to complete the transaction.
- Importing Data from Account Statements with Rules
- The programme imports data from ISO 20022 account statements and with the use of Rules the programme enters the complete entry, entering all data, without manual intervention.
Open invoices
Open invoices per customer are issued invoices that remain open or outstanding because the customer has yet to make full payment.
Open invoices per customer can be managed via an accounting ledger that keeps track of invoices issued, payment due dates and payments received. In this way, the seller can monitor the financial situation of each customer and send payment reminders if invoices remain open for too long.
It is important to note that open invoices per customer can affect the liquidity of the seller's company, as the money tied up in these invoices has not yet been collected.
Banana Accounting automatically generates an open invoice report where you can immediately see which invoices are still outstanding and from which customer, as well as the total amount of outstanding invoices.
There are two types of reports:
- Open invoices by customer, where all open invoices for each customer are listed.
- Open invoices by due date, where open invoices are listed in order of due date.

The due date of an invoice can be set in different ways. More information can be found on the following page Due dates and payment terms

Account card
Account cards are documents used in accounting that record the financial transactions of a company. Each card represents a specific account in the company's general ledger and contains detailed information on the transactions involving that account, such as the date of the financial transaction, the type of transaction, the amount and the description of the transaction.
In Banana accounting, on the basis of the data entered in the Transactions table, the programme automatically prepares the Account card for each customer, where the opening balance, all transactions and relative closing balance are shown. You can also have the account card by period.

Reminders
Payment reminders are used to request customers to pay overdue or outstanding invoices.
Through the function of payment reminders you speed up the payment process from customers, reducing delays, and at the same time effectively manage cash flow.
Banana Accounting provides functions to:
- Identify overdue or outstanding invoices.
- Generate payment reminders.
- Customise payment reminders.
In Banana Accounting Plus you can print recalls in two different ways:
- With Reminder layouts
- Print reminder summary (list of overdue invoices).
- Print without QR payment slip.
- Limited customisations.
- Function available in Banana Accounting Plus - any plan (excluding Free plan limitations).
- With Invoice layout
- Print with QR payment slip.
- Layout customisations.
- Requires Banana Accounting Plus Dev-Channel version and Advanced plan.

Credit notes
A credit note is an accounting document used to correct or cancel an invoice already issued. It may be issued for a number of reasons:
- Reimbursement of an overpayment
- Reduction in the price of a product or service
- Product return
- Correction of an invoicing error
In Banana Accounting you account for credit notes in the Transactions table, entering the revenue account in the Debit account and the customer account in the Credit account; the VAT code must be entered with a minus sign in front, so that the VAT amount is reversed at the same time.
The programme uses the accounting entry of the credit note to automatically create a printout of the credit note.

Setting up and using the customers and invoices features
- Setting up accounting on actual bills issued (accrual principal) or
- Setting up accounting on a collected cash basis.
- Setting up Customers settings.
- Setting up the Transactions table and entering the invoices.
- Reports for open, overdue and issued invoices.
- Generating invoices.
Notes
- Multi-currency accounts: reports are based on the customer's account currency balances; possible exchange rate differences will not be taken into account.
In the Issued invoices table, the recordings of exchange rate differences are also listed, whereas only the customer's currency amount is used in other printouts.
Example file
Customers' register and checking of open invoices
Directly in the accounting you can:
- Prepare customers' accounts, with the related addresses and other customers' data.
- Add to the transactions:
- the data related to the issued invoices (invoice number, customer, amount, due date).
- the data related to the payment for the invoices and the issuing of credit notes, if any.
- Retrieve the list of your Payments schedule
Other features available:
Addresses | Customers / Suppliers register | Members
In the Addresses view of the Accounts table, there are columns to manage the addresses of customers, suppliers or members.
Address data are essential in order to manage billing, reminders and to control receipts and payments.
If columns for managing address data are missing in the Accounts table, you can add them:
If IBAN column is missing, your accounting file has an old configuration and you need to convert it with the command Tools > Convert to new file...

In the Accounts table the command will add:
- The Address view which displays columns for entering address data.
To change the display or arrangement of the columns use the Setup columns command.
The columns of the Address view
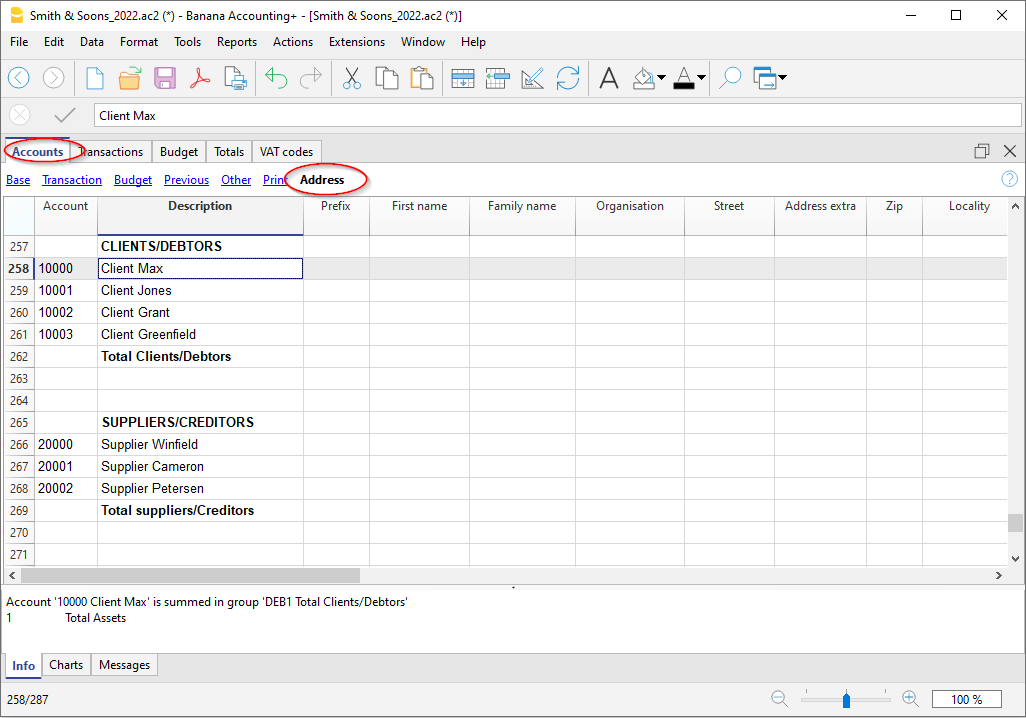
Prefix
Insert courtesy code (Mr., Mrs., Doctor or other).
First name
The name of the customer, supplier or member.
Family name
The name of the customer, supplier or member.
Organization
Enter the name of the company, of the association.
Street
The street where the customer, supplier or member resides.
Building Number
The building number of the address.
Address extra
Column to enter other address data, such as the post office box, or to enter a very large address.
Postal Code /ZIP
The postal/ZIP code.
Locality
The name of the city of the customer, supplier or member.
Country
The nation inherent in the city.
Country Code
The country code.
Language
You can define the language for each customer, supplier or member account. This allows you to view and print the documents (eg invoice) in their language.
Indicate:
- de - for German
- fr - for French
- it - for Italian
- en - for English
- es - for Spanish
- nl - for Dutch
- zh - for Chinese
- pt - for Portuguese
- ru - for Russian
Main phone
Landline phone number
Mobile
Mobile phone number
Fax
Fax number
Email work
email address.
www
website address of the customer, supplier, association.
Birth
The date of birth of the customer, supplier, association.
Days
Enter a number of days within which the collection and payment must take place
Limit
If a credit is made, the credit limit is indicated, or the debit limit if it is a supplier.
Bank name
The name of the customer's, supplier's or member's bank.
IBAN
IBAN number of the customer's, supplier's or member's bank.
Bank clearing
The identification code of the customer bank, supplier or member.
The accrual method management
Introduction
Banana Accounting allows you to manage the customers both on an accrual or cash method. A detailed explanation is available at the page Accounting with accrual or cash method.
The following explains how to set up separate accounts for each customer and a group for customers, so that you can have a list of separate invoices per customer available.
In case you only have few invoices and don't want to keep a detail per customer, you may also keep one single account only to record all customer invoices. The list of invoices will thus apply for all customers and not for any single customer.
Setting up the Customers' register
The customer ledger with its accounts and/or groups is inserted at the end of the chart of accounts with a separate section.
The following settings must be added to create the ledger:
- A * section (header) (see Sections)
- A 01 section for the Customers (see Sections)
- The Customers accounts that are required (see Adding a new account). Each customer will be allocated one row in the Chart of Accounts and a his/her single account number. Account numbers is at your discretion (see Accounts) it is however advisable to use numbers only, especially for the management of payments.
- A group where all customer accounts are totaled.
- This group, in turn, is totaled into a group present in the Assets.
Alternatively, customer accounts and/or groups can be entered directly in the assets section.
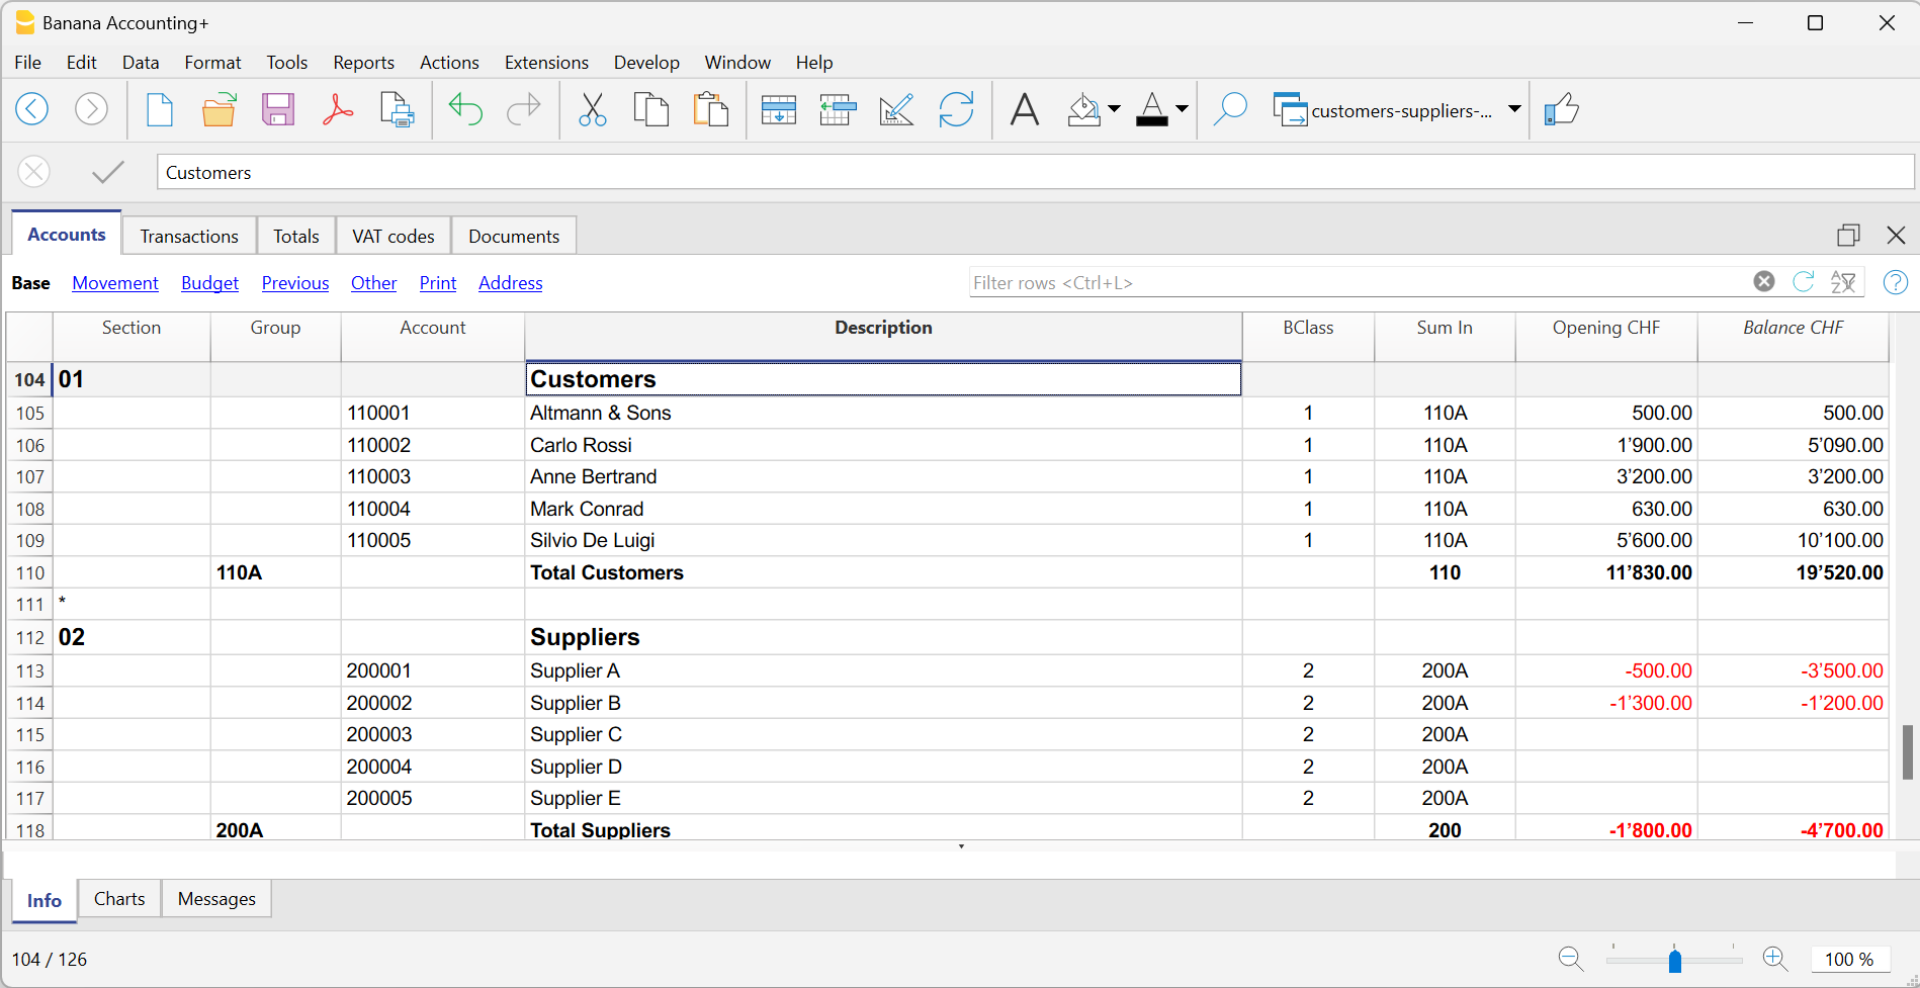
- The total for Customers will be totaled in the summary group 110A of the Sum in column.
- The same code or number used in the Sum in column (110A), must be used in the Assets Group column, in the row corresponding to the Total Customers of the Balance Sheet.
- The groups' numbering can be freely chosen (see Groups).
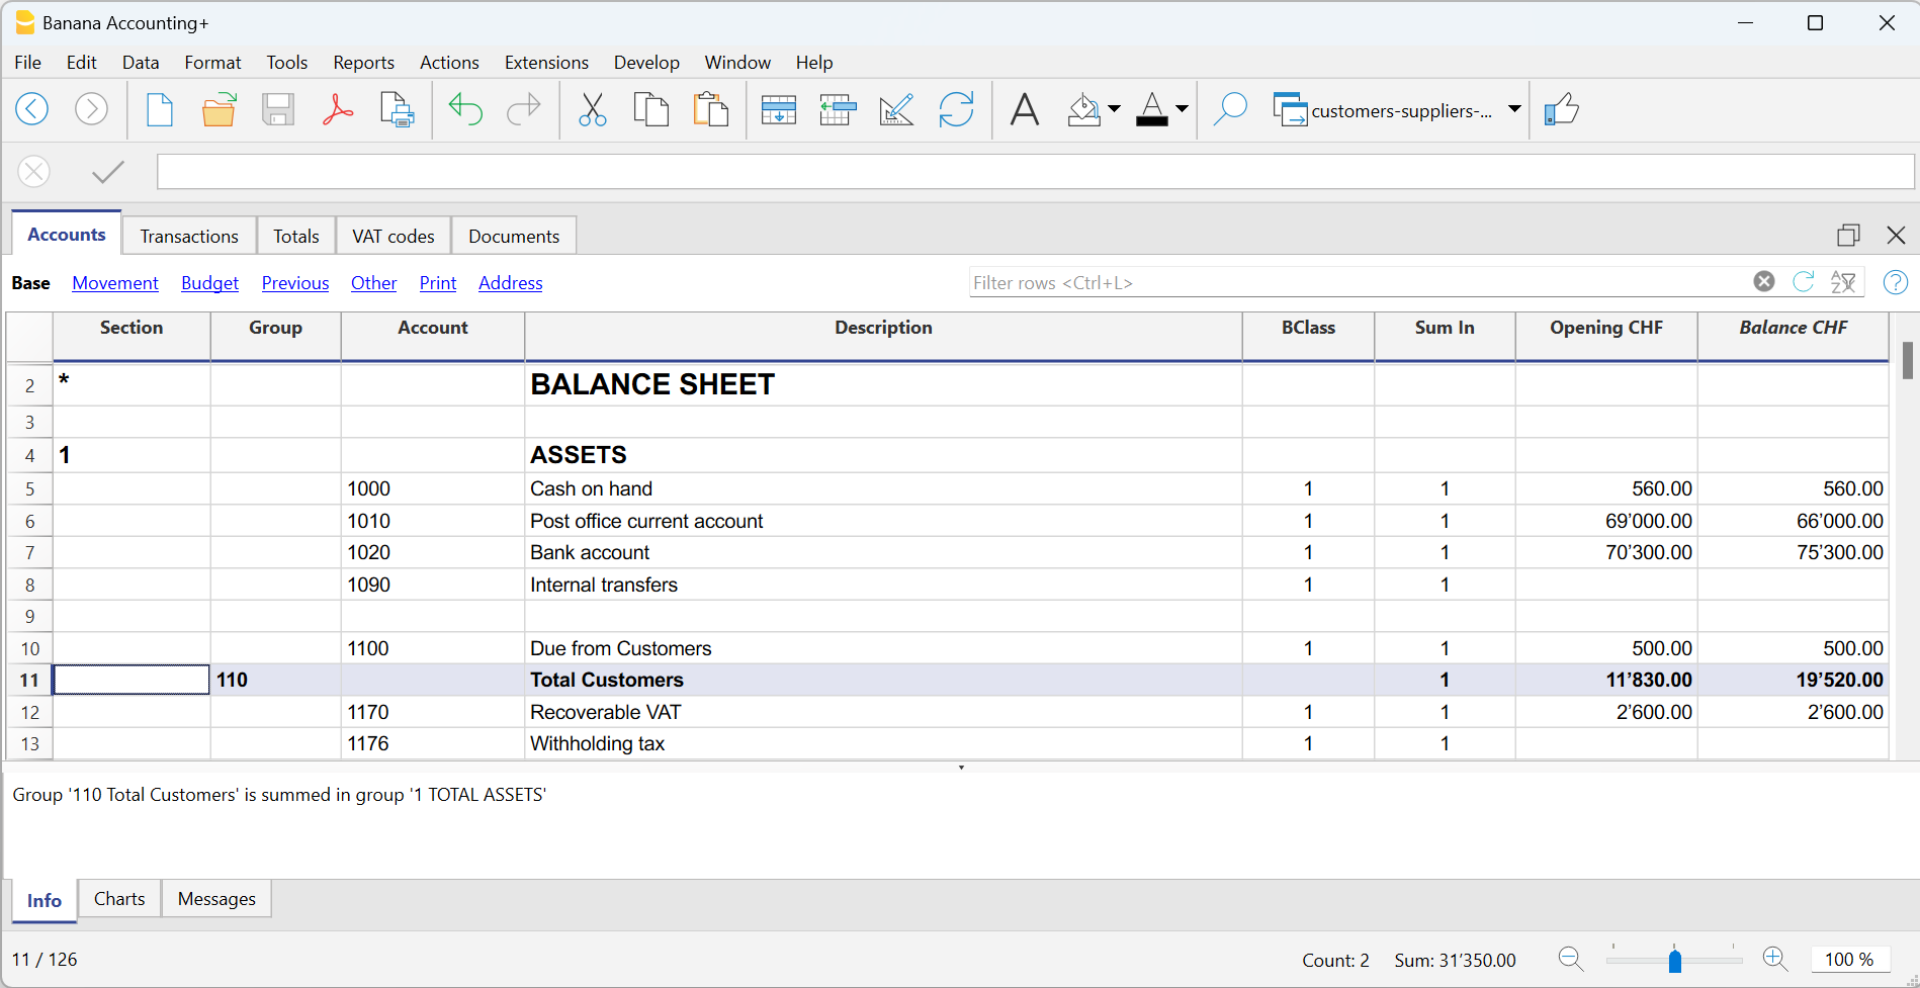
Recording an issued invoice
The issued invoice is registered by entering the following data in the respective columns:
- Date of the invoice and any document number
- Invoice number - It is very important to enter the invoice number in the Invoice column, because it is used to automate the various customer reports and to automatically close the customer's open invoice when recording the payment.
- Customer account in Debit and Revenue account in Credit
- The VAT code corresponding to the sale.
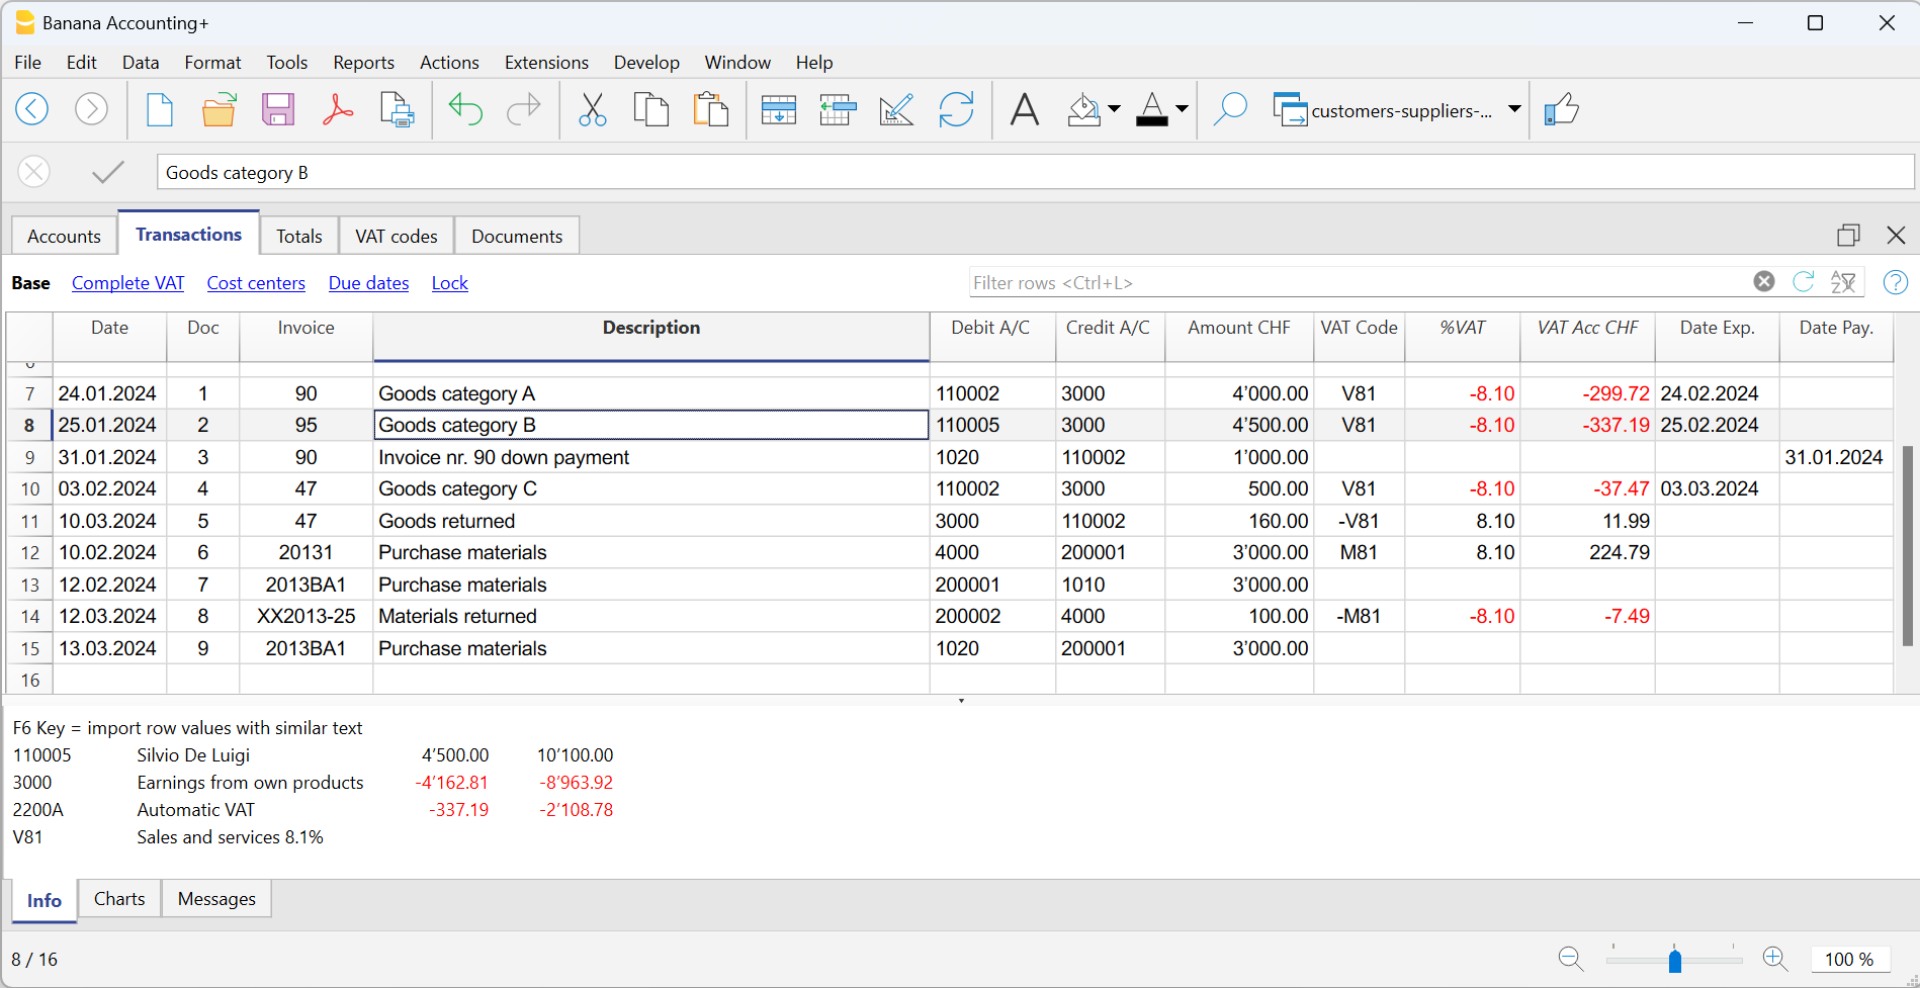
Recording a payment
There are two ways to record the collection of a customer invoice:
- Manual recording of customer invoice collection.
- Automatic recording with data import from account statement in ISO 20022 format.
The collection of a customer invoice is recorded by entering the following data in the respective columns:
- In the Date column enter the transaction date
- In the Type column enter 11 (customer payment)
Note: If an advance payment is to be recorded by the customer and is to appear on the invoice, the cell in the Type column must remain empty. - In the Invoice column enter the paid invoice number.
- With a double-click on the cell, the program will show a list of all open invoices.
Alternatively, you may also press the F2 button. If the F2 button doesn't work, you need to activate your customers/suppliers settings, by entering your customers register group, via the Reports menu → Customers → Settings. - Select the number of the paid invoice. The program will automatically enter:
- In the Description column, the payment description
- In the the Credit account column, the customer account number
- In the Amount column, the invoice amount.
If the entered amount does not include VAT and the customers are set up as cost centers, you must configure the cost centers correctly to use the amount with VAT in File and accounting properties (basic data), VAT/Sales tax tab. See also VAT amount with cost and profit centers.
- With a double-click on the cell, the program will show a list of all open invoices.
- In the Debit column, you must manually enter the conra account (the bank account where the amount has been credited).

Recording a credit note
In order for the amount to be deducted from the initial invoice, the same invoice number must be used.
- If the adjustment document (for example a credit note) has a different numbering that you still need to keep available, write this reference in another column, for example Doc Original.
- Enter data for the columns Date, Doc., Original Doc, Description
- The VAT Code must be preceded by the minus sign "-" so that the VAT operation is reversed, or use a specific VAT Code for debit notes (set in the VAT Codes table).
Note: to print the credit note to be sent to the customer, it is necessary to indicate in the DocType: 12 column, see Entering a credit note.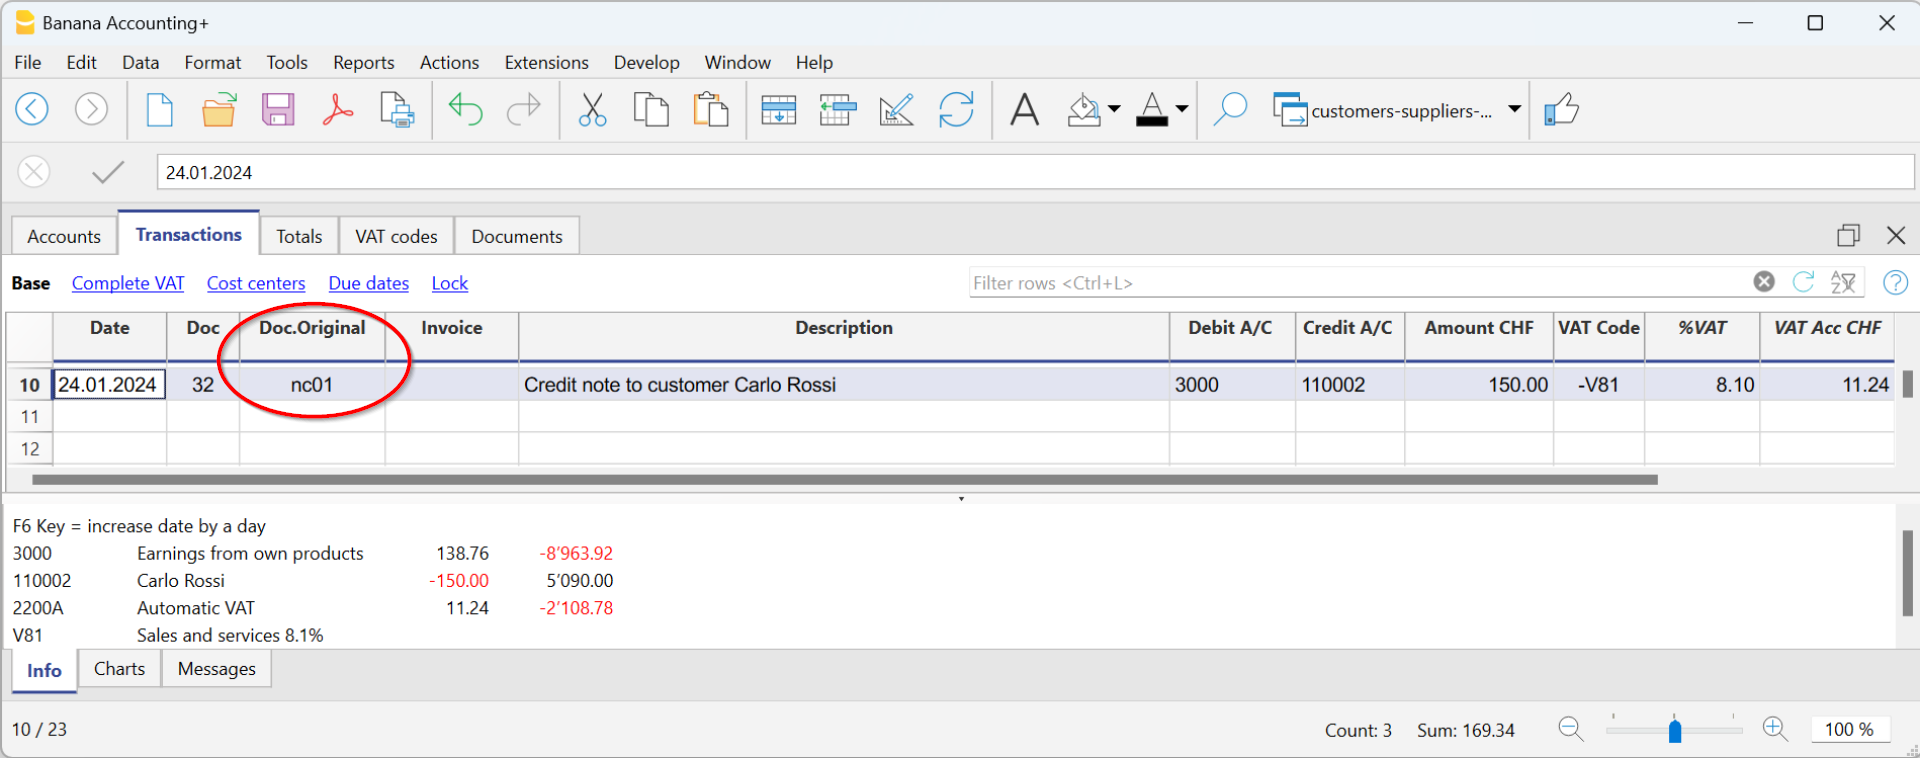
The cash method management
It is possible to manage the customers/suppliers register, even when using the cash method, as with the Cost and Profit Centers.
- We advise you to use the CC3 cost center (where the accounts are preceded by a semi-colon ";") to set up the customer and supplier register
- Set up the customers group via Reports → Customers → Settings.
For all Swiss users who manage the VAT on cash received, this setup is the best to manage the VAT. This setting allows to manage VAT optimally and to know the details for customers and suppliers.
By using this setup, the cost center balances for customers and suppliers will not appear in the Balance Sheet, but you will have all data and reports for internal purposes.

How to record when issuing an invoice
When you issue an invoice, record it as follows:
- In the Date column, enter the date of the invoice.
- In the Doc column, enter the document number if available.
- In the Invoice column, enter the invoice number.
- In the Description column, enter a description.
- In the Debit, Credit and VAT Code columns, do not enter any data.
- In the Amount column, insert the gross amount without any VAT code.
The VAT code in the case of cash management is recorded when the invoice is collected. - In the CC3 column, insert the CC3 account of the client without the ";" (ex. 10004).
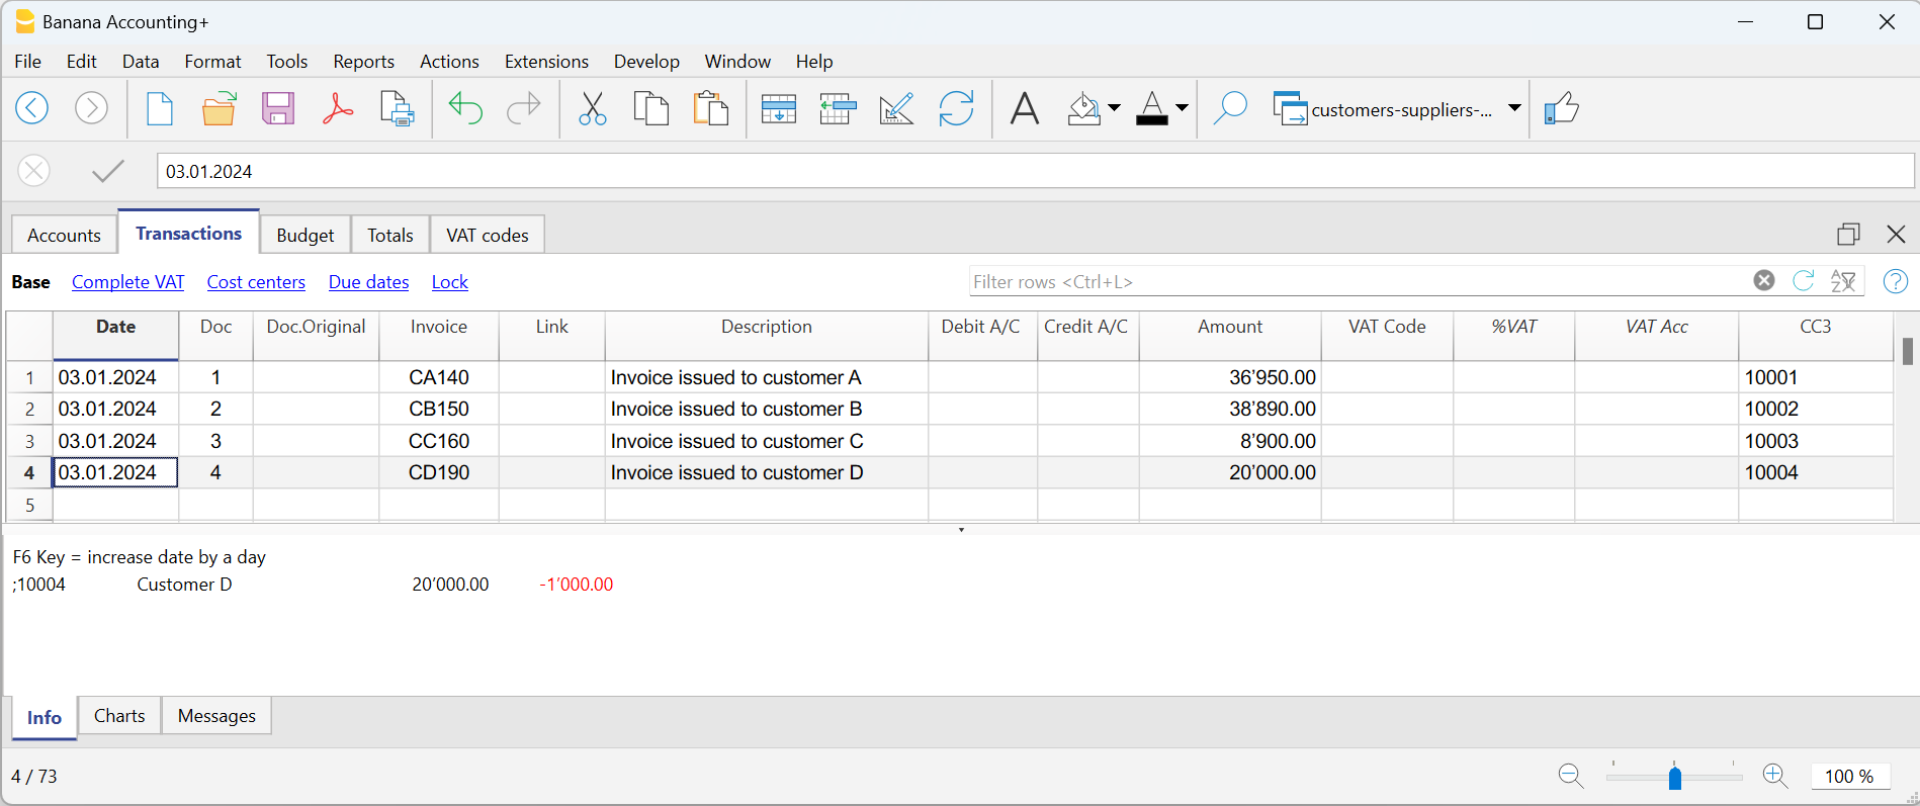
How to record when an invoice is paid
When you collect an invoice, record it as follows:
- In the Date column, enter the date the invoice was collected.
- In the Doc column, enter the document number if available.
- In the Invoice column, enter the invoice number collected.
- In the Description column, enter a description.
- In the Debit column, enter the bank account (or other cash account).
- In the Credit column, enter the revenue account corresponding to the invoice.
- In the Amount column, enter the gross amount.
- In the VAT Code column, enter the VAT code of the invoiced sales or service.
- In the CC3 column, enter the customer's CC3 account without the ";", with the minus sign "-" in front of the account (e.g. -10004).
In Integrated invoicing with Income/Expense accounting, with a customer ledger configured with profit centres, the option Record (+/-) cost centres as category should not be activated, as the account and category are not indicated when the invoice is issued.
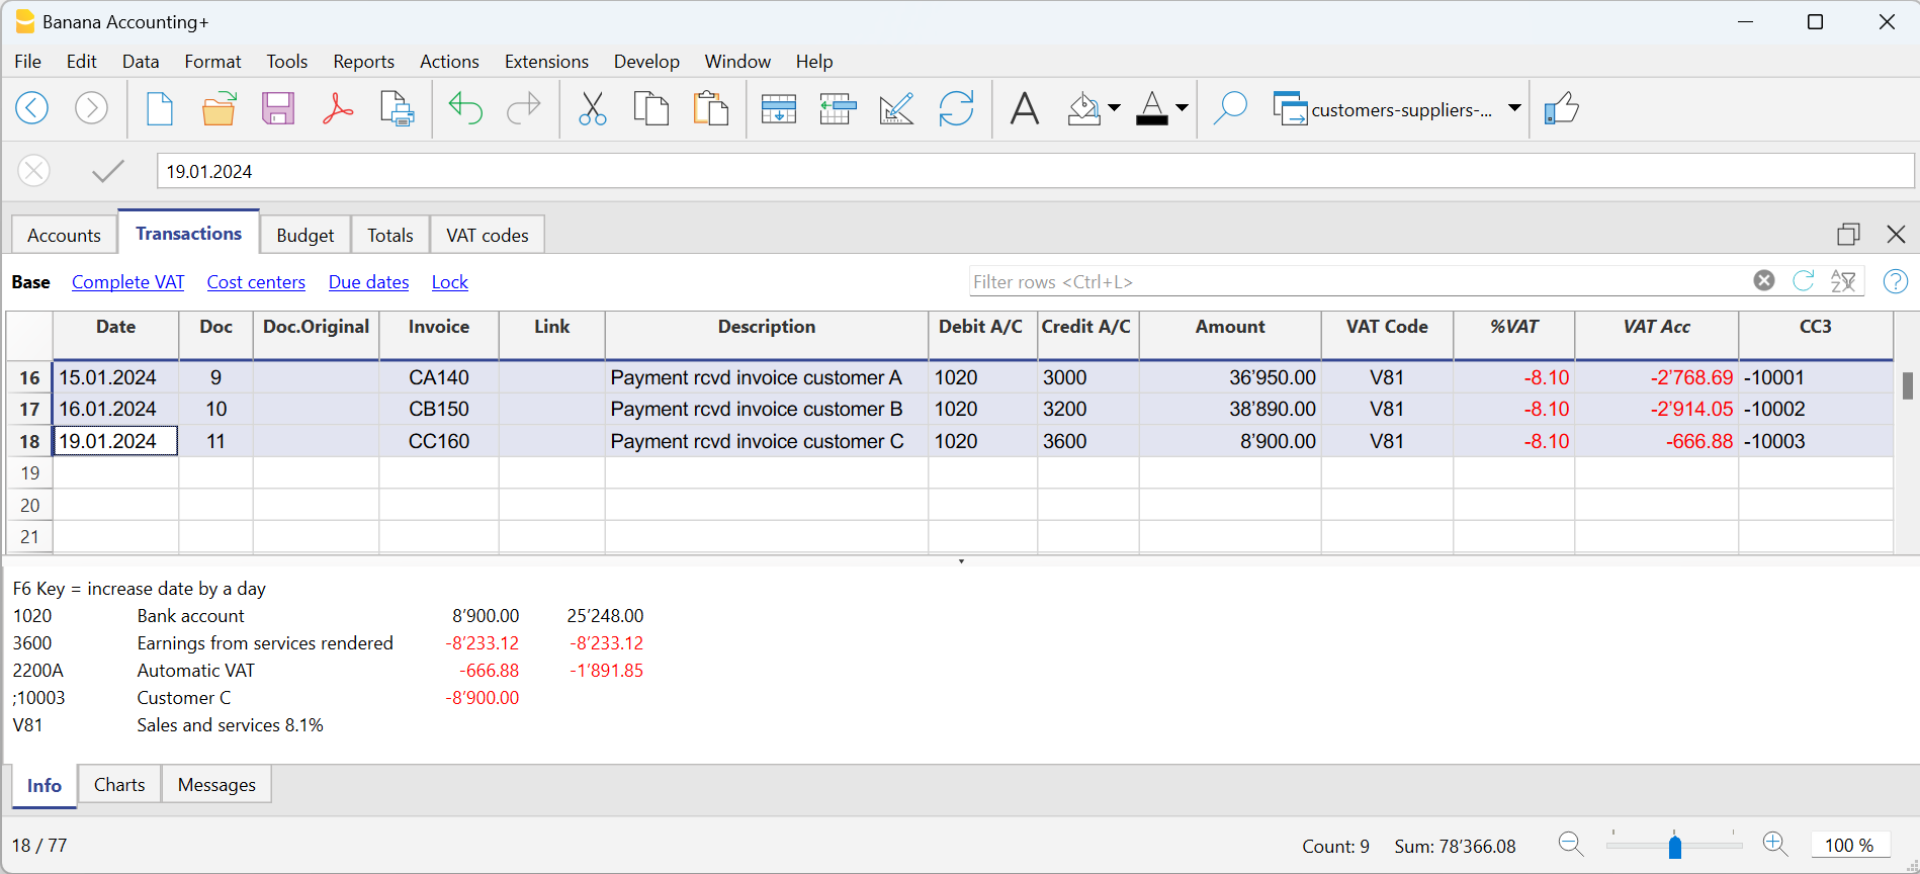
More information can be found on page Clients and suppliers with VAT, using the Cash method.
How to record a credit note with cash method
For the amount to be deducted from the initial invoice, the same invoice number must be used.
- If the adjusting document (e.g. a credit note) has a different number, which you must still keep, write this reference in another column, e.g. Doc. Original
- Enter the data for the Date, Original Document, Description columns
- Leave the Debit and Credit columns blank
- Enter the amount and in column CC3, enter the customer's cost centre with a - sign.
N.B: In order to print the credit note to be sent to the customer, you must indicate in the column TypeDoc: 12, see Credit notes.
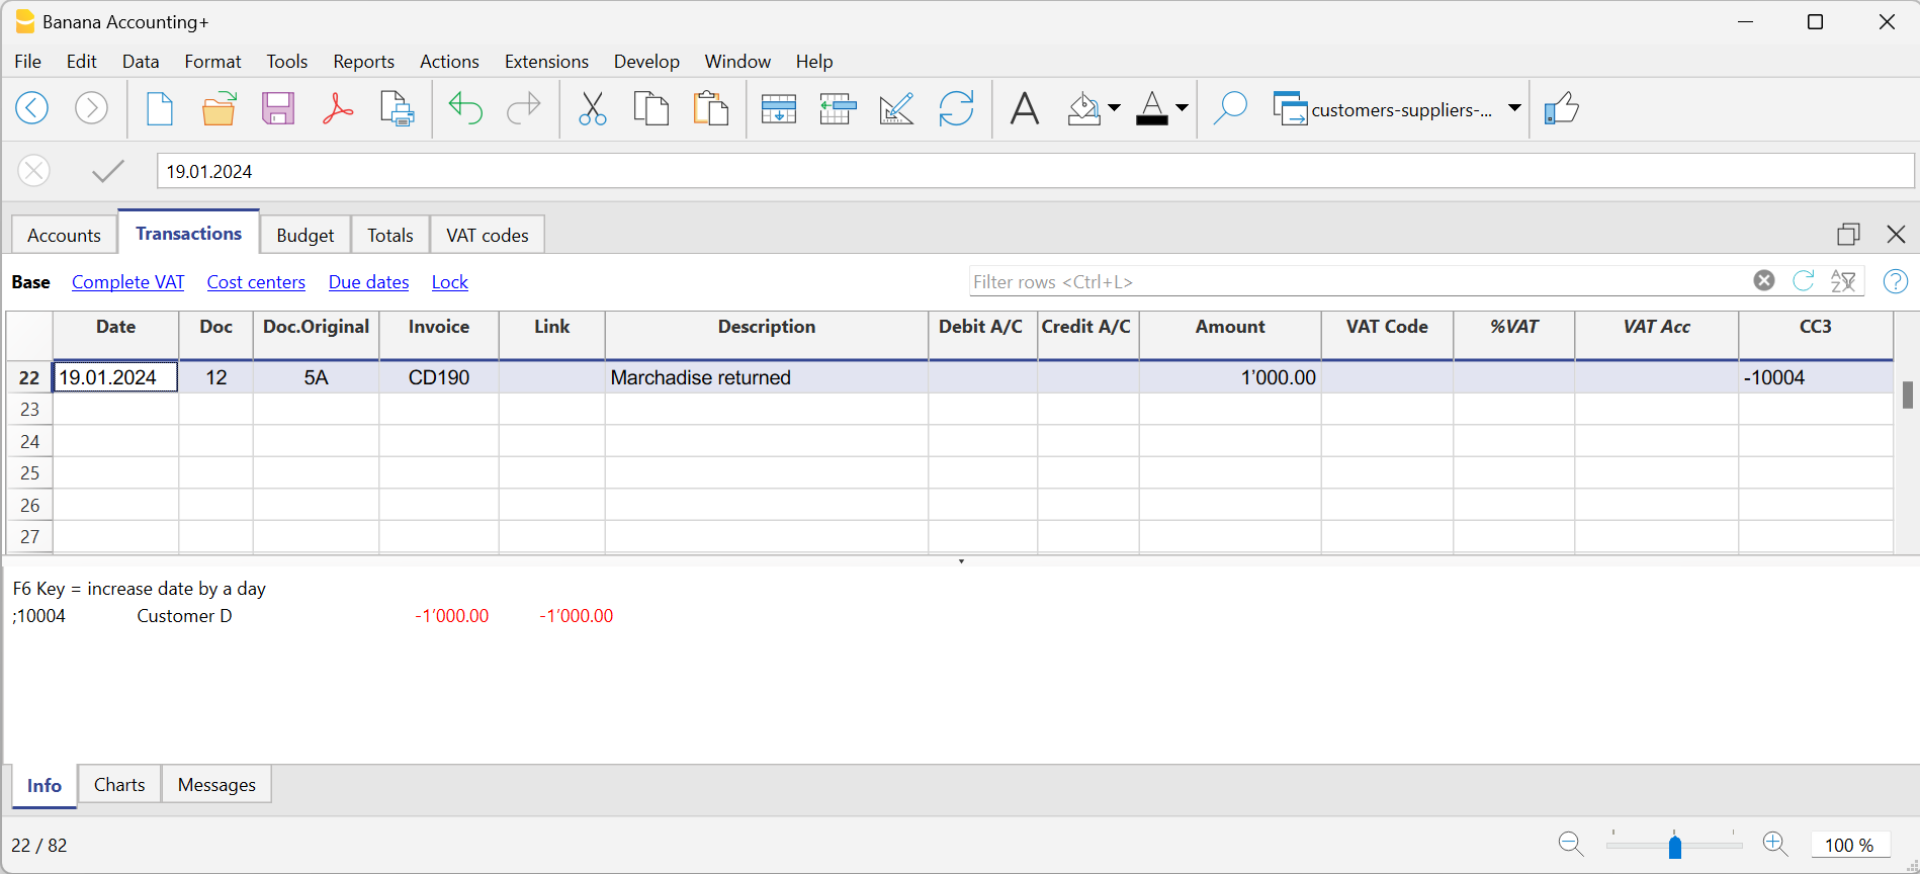
Customers' settings
To activate the options in the Customers menu, you need to set the customer group via the menu Reports → Customers → Settings menu.
The functions related to customers are explained below, but also apply to those of suppliers (Reports → Suppliers → Settings). the dialogues that follow are identical for both customer and supplier functionalities.
Without the indication of the group in the settings of the Customers menu, all functions are disabled.

General
Group or account
Select the generic group or account that contains the Customers or Suppliers list. The group or the account needs to be already present in the Accounts table.
For further details on customers or suppliers settings see:
- Setting up the Customers' register and Setting up the Suppliers' register (accrual method).
- Setting up the Customers' register and Setting up the Suppliers' register (cash method).
Due date invoices (in days)
The program uses the following order of priority to calculate the invoice deadline:
- The due date if you entered it in the transaction row.
If there are several dates for the same invoice number, the program takes into consideration the most recent one. - If the number of days is indicated in the PaymentTermInDays column of the Accounts table, the transaction date is incremented by the number of days set.
- The date of the transaction is incremented by the days indicated in the settings dialog box.
Include transactions from previous (years)
- If 0, the program will not display invoices from the previous year, but only the opening balances of the customer account.
- If 1, the program will also include the invoices of the previous year in the customer card.
- If 2 or more, the program will also include invoices from years before in the customer card.
Advanced

Link to the invoice document
You can save invoices (pdf, doc or other) and insert the link in the Link to invoice document cell. In the Transactions table, Invoice column, the program will open the document if the invoice number is indicated, allowing access to the content.
The link may contain:
- The XML name <DocInvoice> or the name of another column contained between <>.
If you use the "<DocInvoice>.pdf" command and you are on the row with invoice number 100, the program will try to open the "100.pdf" file. You can also prefix the filename with the name of a directory. - Any file name extension can be used. This extension must, however, be included in the list of file extensions considered safe (Tools- Program options-Advanced).
- It is also possible to indicate a path preceding the field name, that contains the name of the document to be opened.
- With the "c:\temp\<DocInvoice>.pdf" link and the invoice number 100, the program proceeds to open the file c:\temp\100.pdf.
- The name of the directory is relative to the directory where the file is located.
Alternative text for payment auto-completion (Payment %1)
The entry of a payment for an invoice can be facilitated by the auto-completion of the payment, which can be activated via the F2 key in the Invoice field of the Entries table.
The auto-completion completes the entry columns such as invoice number, description, amount, accounts. In the Description column, it is possible to edit the text 'Payment' followed by the description of the first line of the invoice (%1), indicating the desired text.
Invoice rounding (base currency)
Indicate the minimum amount for rounding the invoice total. For example:
0.01 rounds the invoice total to the nearest cent, 0.10 rounds to the nearest 10 cents.
If the field is empty, the invoice total in CHF is rounded to the nearest 5 cents, for other currencies rounding is to the nearest cent.
Disable auto-completion of invoice data
This option is usually deactivated when there are many entries in the accounts and the data entry is slowed down by the display of the list of open invoices in the Invoice field of the Entries table.
Disable automatic compensation of open invoices with opening balances
Automatic compensation (or settlement) refers to the process where the opening balance of the account is used to offset open invoices. When the opening balance can fully cover the amounts in the transaction table, the invoices are considered paid, and their status will be marked as "paidOpening." If the opening balance is insufficient to cover the invoices, they will remain open.
Disabling this function means that the system will no longer use the opening balance to offset open invoices. As a result, the opening balance will be displayed separately from the invoices in the invoice list.
If you wish to offset an invoice with the opening balance, regardless of the 'Disable automatic compensation' option, simply enter 'openBalance' in the invoice number field.
Opening an invoice document
- Position yourself in the Invoice column of the transaction row related to the invoice you wish to open
- Open the context menu with the right mouse button
- Select the Open Invoice Link command.
Miscellaneous operations
Below we will explain some very important features and settings to best manage your customers, to speed up the work and get the reports correctly.
- Displaying the Invoice column in the Transactions table
- Auto-complete of invoice data
- Extract invoice rows and Open invoice link commands
- Activating the Address columns (optional)
- Setting up the expiration date for invoices
- Setting up the Customers' parameters
Displaying the Invoice column in the Transactions table
If the Invoice column is not displayed in the Transactions table, it can be activated via the Data Menu → Columns setup → Invoice Doc column.
It is very important to enter the invoice number for various program automatism that concern the processing of the various reports and the closing of the amount in the customer card when the invoice is collected.

Access the invoice saved in pdf format by clicking on the cell in the Invoice column.

Auto-complete of invoice data
When a payment is being recorded or an issued invoice is being corrected, the program offers suggestions to complete the transaction automatically. Proceed as follows:
- Create a new transaction row and add the date and the eventual document number.
- Press the F2 key in the Invoice column :
- The list of still open invoices will appear. If you type an invoice number or a customer number, the list will be filtered according to the entered text.
- Select the invoice you want from the list and press Enter. The program will automatically complete the registration with the description, the debit or credit account and the amount. The data can of course also be changed manually.
- In addition to the date, it is also possible to indicate the customer account before pressing F2 to display the list of open invoices, in this case the list will be filtered with the customer account present in the transaction row.
Note
The list displayed in the Invoice column includes both the Customers' and Suppliers' invoices. A supplier's invoice may have the same number as the invoice of another supplier, because the criterion for display takes into consideration the invoice number besides the Supplier's account number.
Extract invoice rows and Open invoice link commands

The Extract invoice rows command displays the transactions for the selected invoice.
The command is available by clicking on the small blue icon at the upper right corner of the cell or with the right mouse button.
The Open Invoice link command provides the text, as defined in the Customers' settings (Reports - Customers - Settings - Advanced - Link to the Invoice document).
On the command line, you can also indicate other columns in the table using their XML name.
If the message 'File with extension considered unsafe' appears, add the extension (for example .doc) using the Tools - Program options, Advanced, File extension command.
Activating the Address columns (optional)
It is possible to add some specific columns in the Chart of Accounts, to insert the address and other customers data:
- Choose the Tools → Add new functionalities command from the menu
- Choose the Add addresses columns in the Accounts table command
(If you don't see this option in the list, it means that this function has already been activated).
In the Accounts table, the program will add :
- An Address view, where the added columns are made visible.
- The columns that allow the insertion of the address data and other information.
- To display one or more of these columns, use the Columns setup command from the Data menu.
- To create other views with only selected columns, use the Tables setup command (Data menu).
Select Accounts table, Address view and add the required information to the customers' accounts.

Setting up the expiry date for invoices
To set / modify invoice expiration dates, you may act on three levels, where higher priority is given to the first one. Expiration data will be displayed in the payments schedule and printed out on the invoice document.
1. level - setting the expiry date on an individual invoice
In the row of the Transactions table, where your invoice is entered, you will find an Date Exp. column when using the Due Date view. If a date is set up, it will have priority over dates set up on the 2nd or 3rd level.
2. level - setting the expiry date on an individual customer/supplier account
In order to set up an expiration date on a customer level, for example +20 days after issuance of the invoice, select the account in the Accounts table, using the Address view, go to the Days Column (PaymentTermInDays) to set up the number of days to be used.
3. level - general setup
Expiration dates applying to all Customers/Suppliers can be set up via menu Reports → Customers → Settings.
Setting up the Customers' parameters
- Select the Reports → Customers → Settings command
- Please indicate the group of the Chart of Accounts in which the different customers' accounts are grouped in "Group or account".
- For an explanation of the different options, go to Customers and Suppliers settings.
List of customer invoices
Displaying invoices issued to customers
Reports menu → Customers → Invoices issued to customers...

This dialog box is identical for both Customers and Suppliers functionalities.
The following explains the functions related to customers, but they also apply to suppliers.
All customers
Displays the account statement of all customers belonging to the group, as defined in the Customers and Suppliers settings.
Select a single customer
Displays the account statement for the customer selected belonging to the group defined in the Customers and Suppliers settings.
Displaying open invoices
Command: Reports → Customers → Open invoices by customer
Invoices showing an open balance are being listed in this table.
For multi-currency accounting, if there are unposted exchange rate differences for a particular customer, an 'Adjustment exchange rate differences' line will be displayed that balances the balance in the open invoice list with the balance on the account card.

Displaying overdue invoices
Command: Reports → Customers → Open invoices by due date
In this table, invoices showing an open balance are being listed, filtered by due date.

The due date of an invoice can be set in different ways. More information can be found on the following page: Due dates and payment terms.
Print statements
To view this window, it is necessary to configure customer settings.
Access the printing of the statements via the menu Reports > Customers > Print statements.
It is essential to install the Customer Statement layout for printing the statement. There are two ways:
- From the Extensions menu > Manage extensions select the Customer Statement layout from the list of the extensions and click onto button Install.
- From the menu Reports > Customers > Print statements > More layouts select the Customer statement layout.

Statement date
This is the date printed on the statement. It is not possible to set up a date prior to the date of the last existing transaction.
Layout
The styles allow you to change the print layout.
Export PDF
The programme displays a preview of the extracts, with the Export PDF command you can then create the file containing all extracts or PDFs for each extract.
Print payment reminders
Feature available with Banana Accounting Plus - any plan (excluding Free plan limitations)
The printing of Payment reminders is accessed from the Reports menu > Customers > Print reminders.

The program automatically creates payment reminders from past due invoices.
- In addition to the printouts, the program directly creates the transactions in the Transactions table, which are used to recreate the issued reminders history.
- These transactions show the document date and the document Type: 16-1 first reminder, 16-2 second reminder and 16-3 third reminder.
Use last payment reminders
If in the Transactions table there are reminder transactions with the indicated date, the program will suggest to print these reminders.
Create new payment reminders
For all invoices that have expired, automatic reminder transactions are created in the Transactions table, which allow the printing of reminders.

Payment reminders
The program will show the expired invoices, which you can deactivate if you do not wish to send the reminder.

Template
Two reminder templates are available, one with a logo and one without (see Logo setup) . It is not possible to include the payment slip, insert notes and free texts.If you need the payment slip, use the Print Reminders Invoices dialogue.
Manage extensions
To update the templates with the latest ones or to add your own custom templates go to the Extensions menu.
It allows you to set the parameters of the selected style.
Show expiry dates
Customers & Suppliers Management
In order to automatically manage the invoices issued or received, we advise you to use the Customers Menu and the Suppliers Menu.
Associate an expiry date to a transaction
As an alternative to the customers and suppliers management, or for simpler checking purposes, you can also enter the payment date manually in the transaction row, in the Date Payment column.
This is an operating mode that consents simplified checkup.
With the Data menu → Columns Setup command, you should display the Date Exp. and Date Pay columns.
You should then enter the invoice expiration date in the Date Exp. column, and the invoice payment date in the Date Pay. column, when the payment is being recorded.
The due date of an invoice can be set in different ways. More information can be found on the following page: Due dates and payment terms.
Show expiry dates
With the Show expiry dates command of the Actions menu, the program displays in the Expiry dates table the transaction rows that have a due date and no payment date.
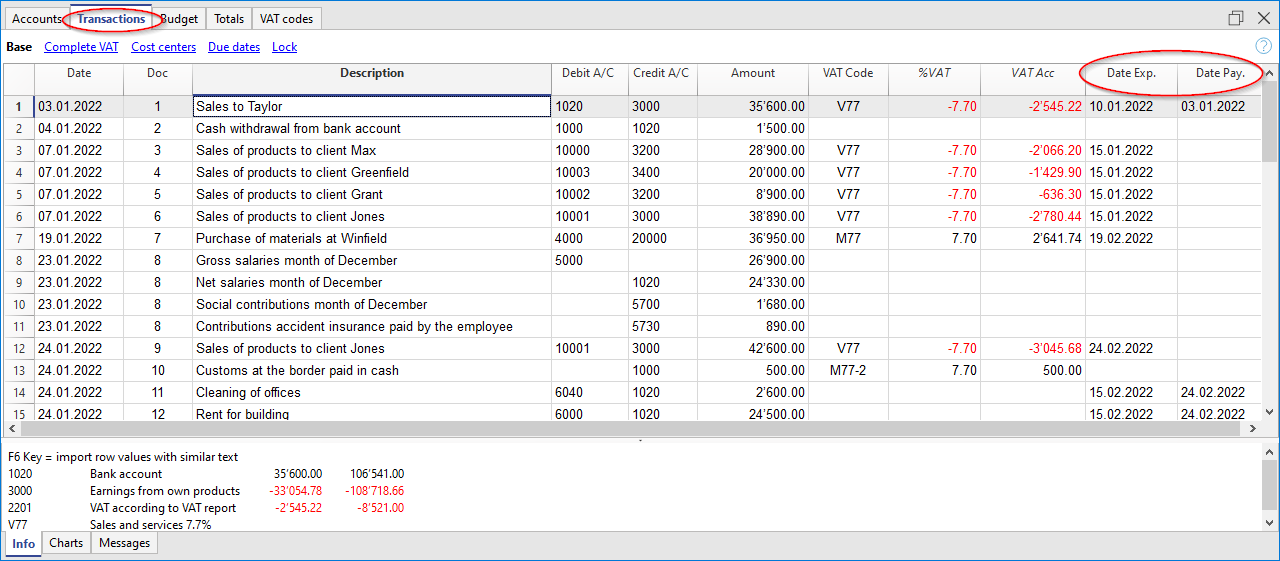
To obtain an automatic expiration schedule (Customer and Supplier open positions), see the List of customer invoices page.
Supplier Management
The supplier management allows you to record, organize, and manage supplier information, enabling you to keep track of supplier transactions and payments, payment deadlines, and contact information. You can monitor due invoices, paid invoices, and the account balance for each supplier, as well as the total open balance.
Supplier management is one of the features of Banana Accounting Plus available in all accounting applications.
Supplier master data settings include both revenue and cash management. Foreign currency supplier accounts can also be managed.
The function of making supplier invoice payments via e-banking is only available in the Advanced plan.
Recording Supplier Transactions
The Transactions table is the heart of Banana Accounting and is used to record all operations, including supplier transactions, simply by specifying the supplier's account. You can work quickly because you can select, copy, and paste supplier transactions that have been entered previously. If you make any mistakes, you can always correct them.
The supplier transactions recorded in the Transactions table include the following:
- Receiving invoices
- Making invoice payments
- Receiving credit notes or refunds
- Managing payments via e-banking
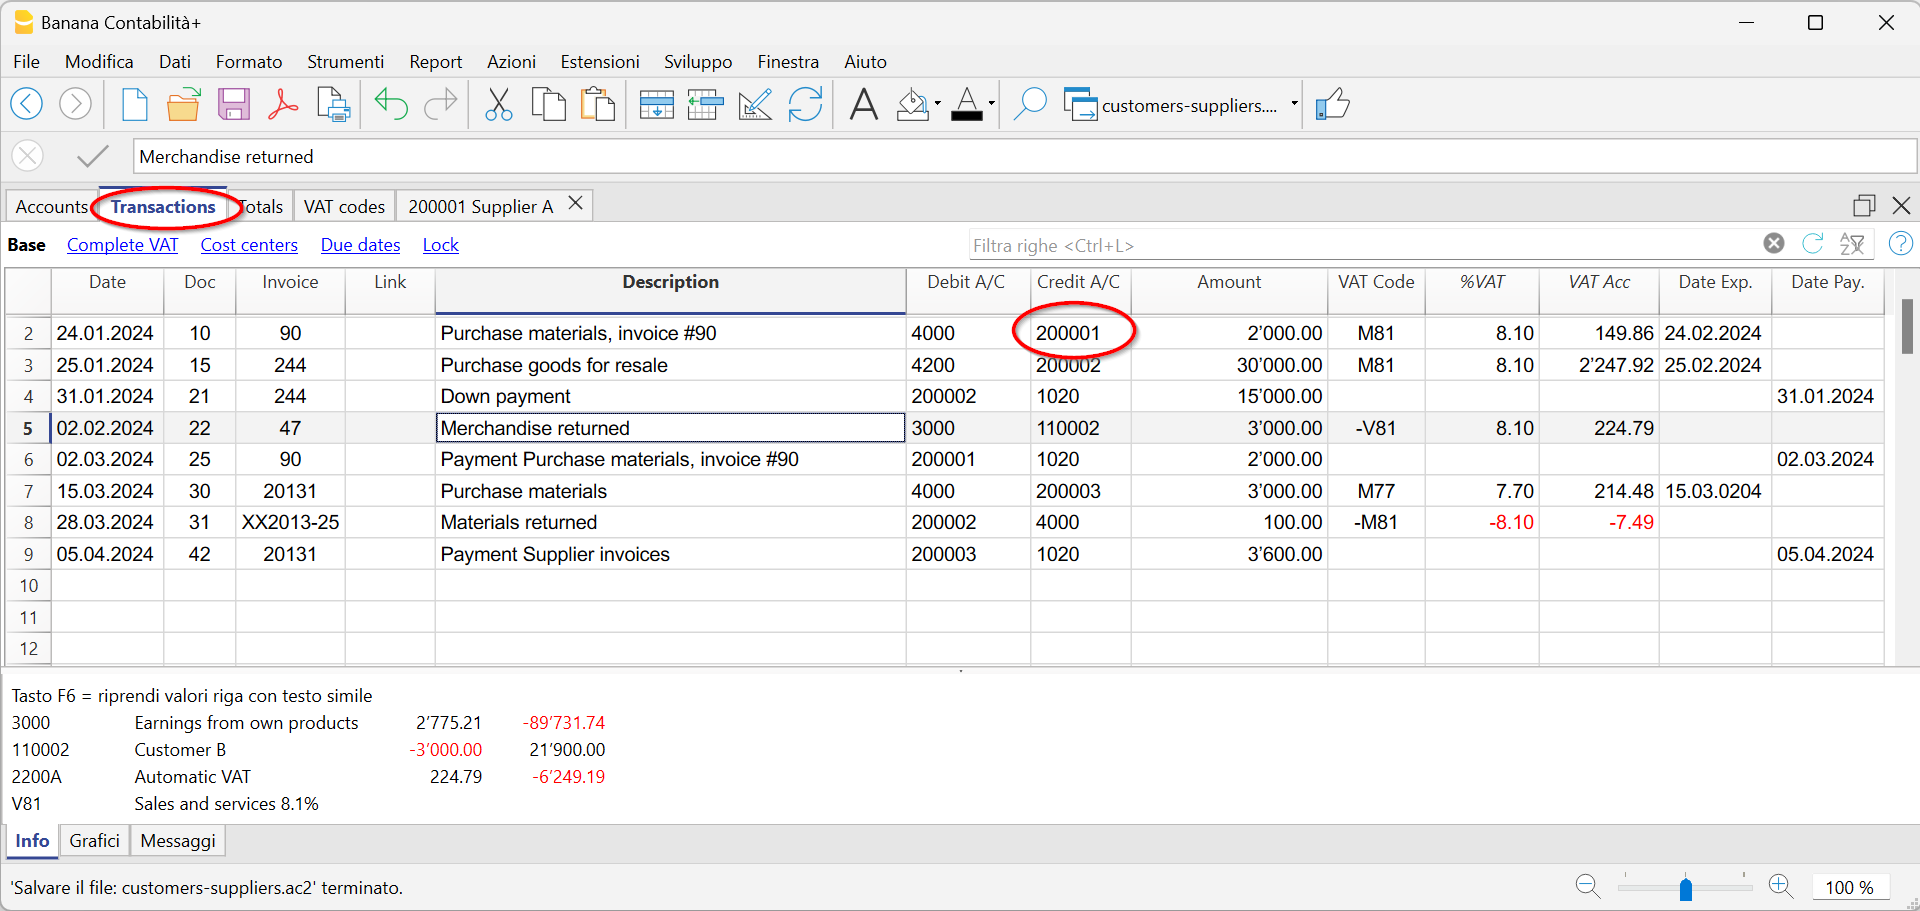
There are columns where you can enter various pieces of information, including:
- Date of the Transaction, Due Date, and Payment Date.
- Invoice number.
- Debit and Credit Accounts where you specify the supplier's account (Credit) and the counterpart account (Debit).
- Amount.
- VAT codes for the automatic calculation of VAT
- Links to Digital Documents (such as the invoice received from the supplier or PDF annotations).
Supplier Accounts
Supplier accounts are used to record all transactions related to a company's suppliers.
The main functions of supplier accounts are as follows:
- Create an Account for Each Supplier and Track All Transactions.
- Record Received Invoices for Each Supplier.
- Create an E-banking Payment Order Directly from the Supplier Invoice.
- Record Payments to Suppliers and Associate Them with Received Invoices.
- Generate Lists for Payment Verification.
In Banana Accounting Plus:
- Supplier accounts and their Addresses (name, surname, company name, address, VAT number, etc.) are set up in the Accounts table.
- Accounting transactions related to these accounts are entered in the Transactions table.
- After each entry, all supplier account balances (Accounts table) are automatically updated, providing an immediate overview of outstanding balances yet to be paid.
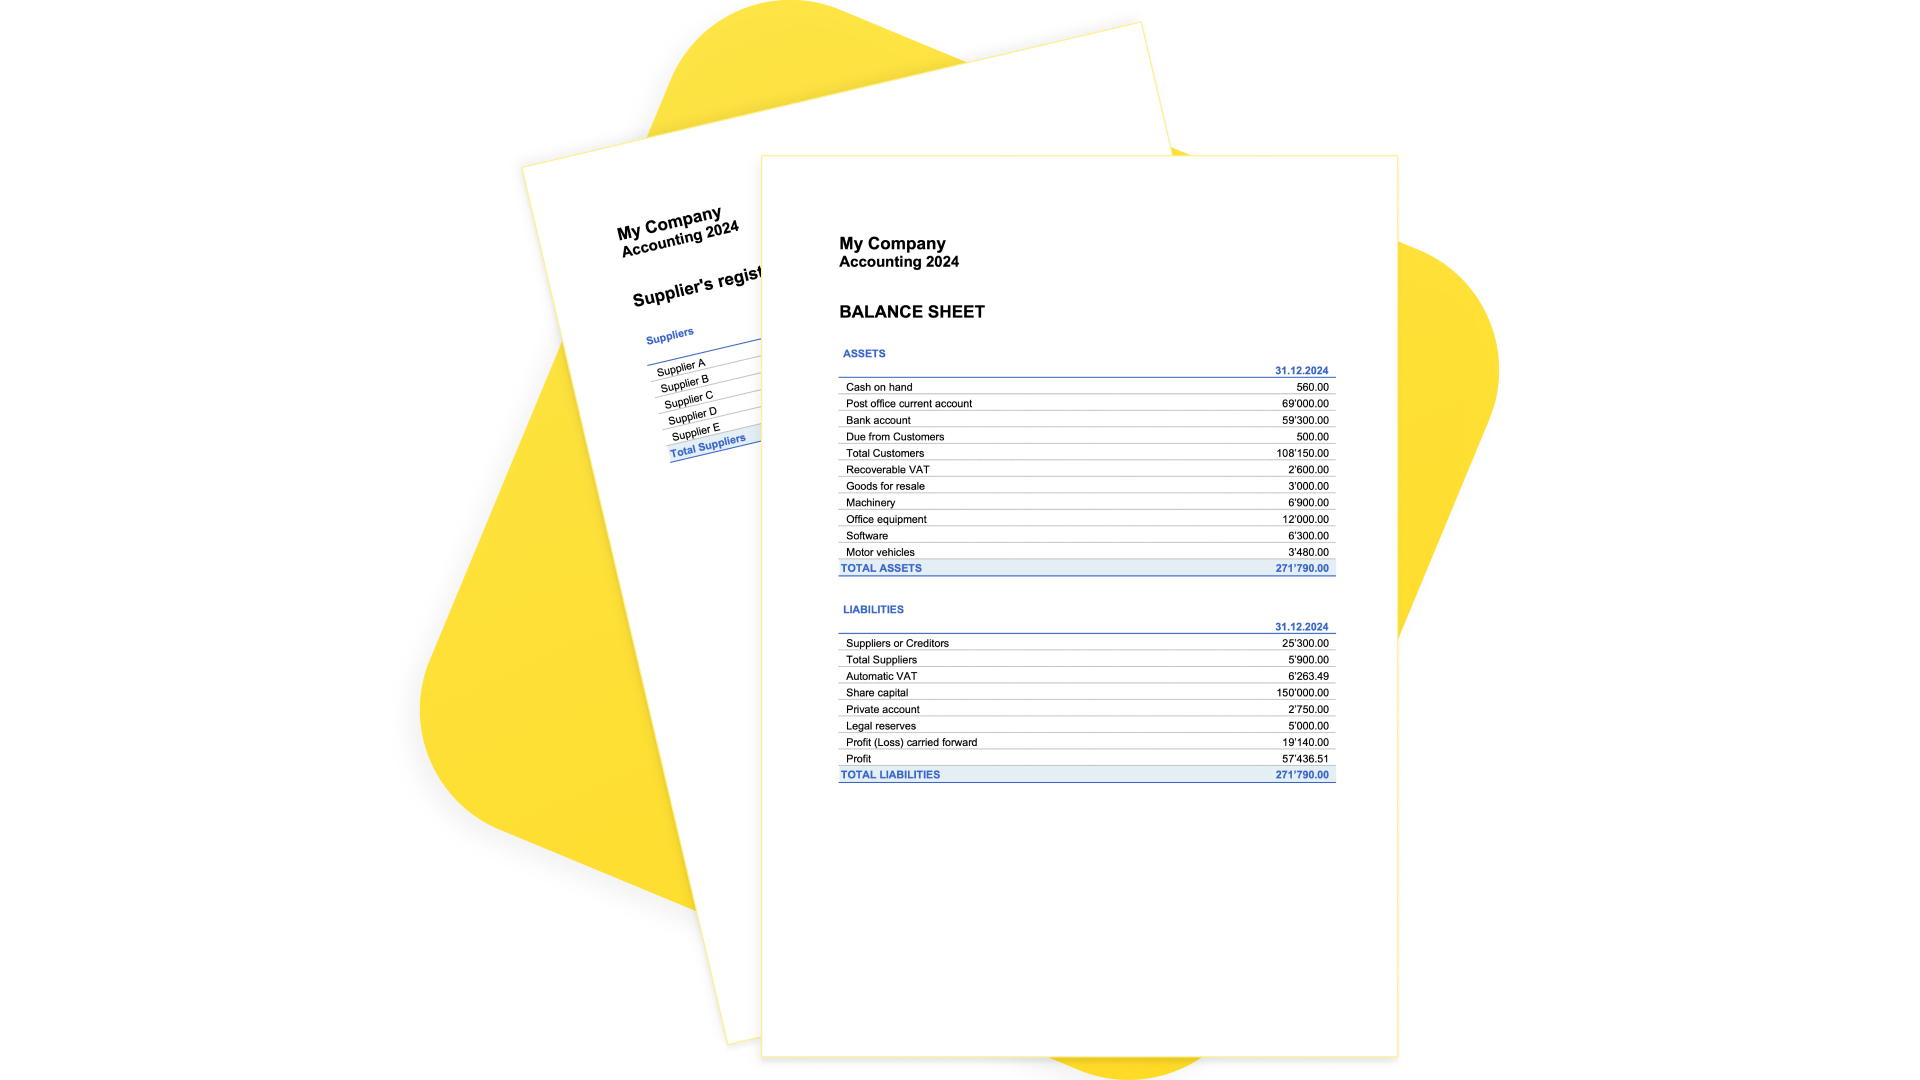
Recording Received Invoices
The invoice received from the supplier is used for accounting and tax purposes as it allows for the accurate recording of a company's costs and expenses, as well as the calculation of VAT.
In Banana Accounting, invoices are recorded in the Transactions table by:
- Entering the date and description.
- Adding an invoice number.
- Recording the cost account in the Debit column and the supplier account in the Credit column.
- Specifying the VAT code for goods or services purchased. Calculations and VAT amounts are automatically inserted.
Recording Payments
In Banana Accounting, payments are recorded in the Transactions table using one of the following methods:
- Manual Recording:
- Enter the date and description.
- In the Invoice column, specify the supplier's account. A dropdown menu will display the open invoices. Simply select the invoice received from the supplier, press Enter, and the program will automatically fill in the supplier's account in the Debit column, along with the invoice amount. Basta poi Then, enter the cash account in the Credit column to complete the recording.
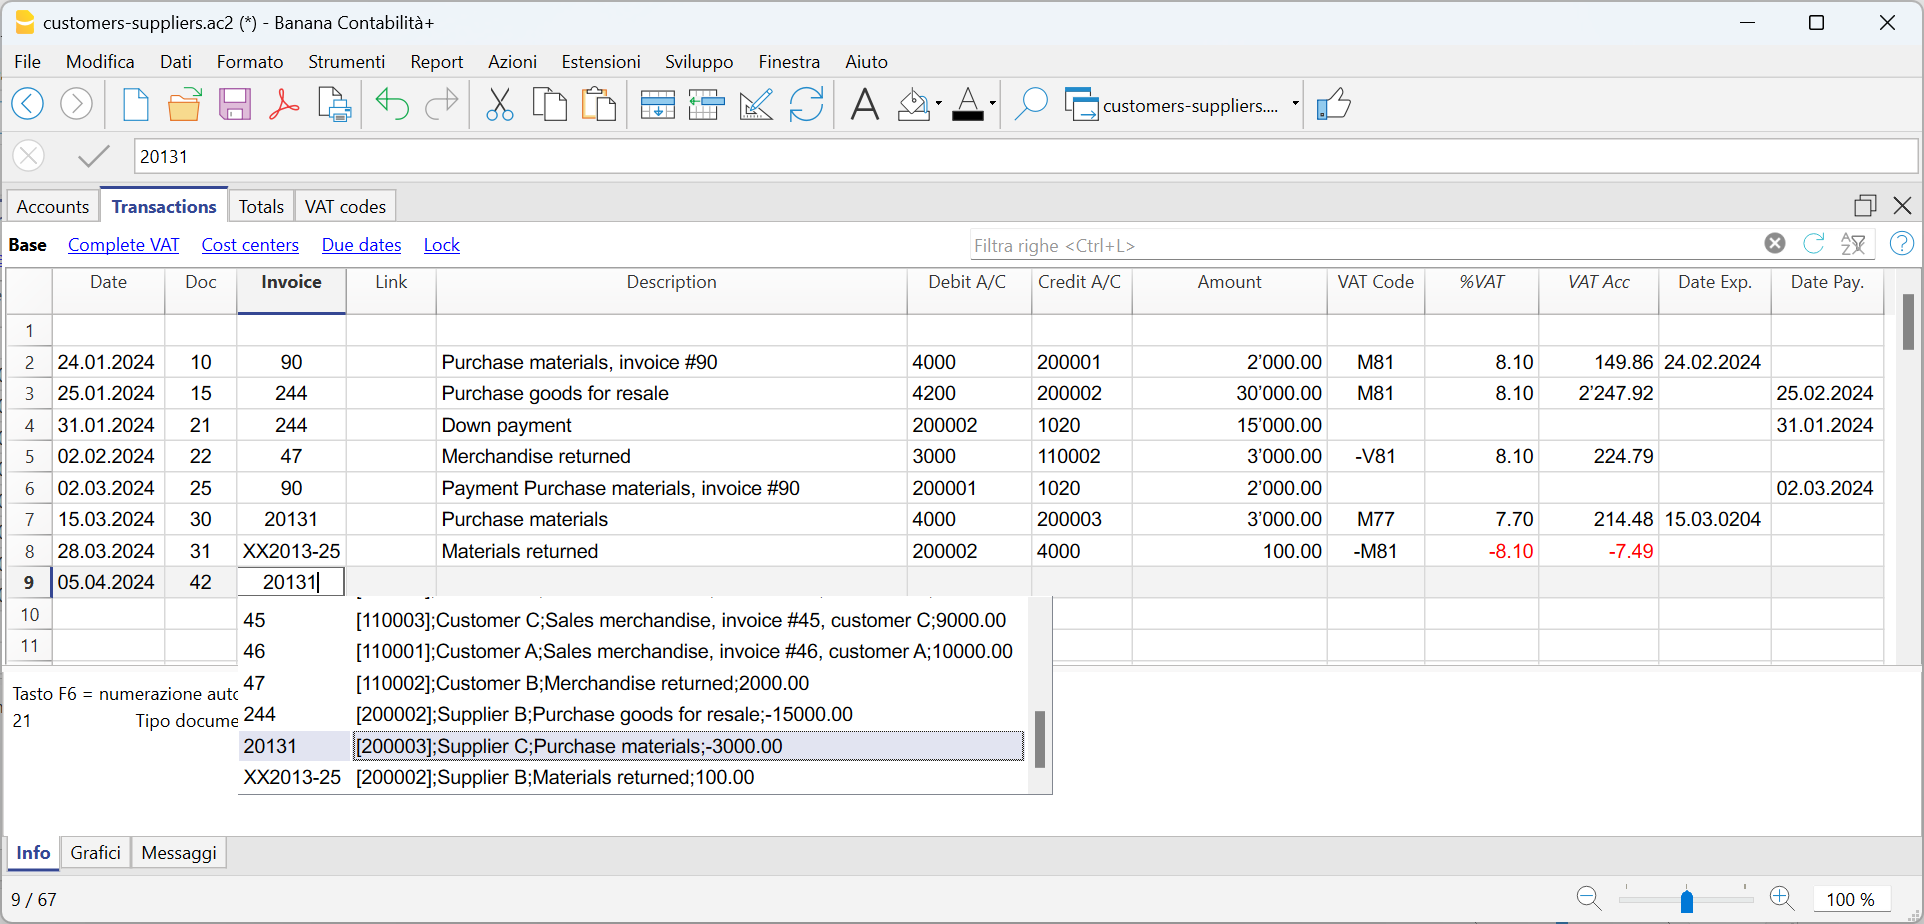
- Data Import from Bank Statements Using Rules
- The program imports data from ISO 20022 bank statements, and with the use of Rules, it automatically enters complete transactions, including all necessary details, without the need for manual intervention.
Outstanding Invoices
Outstanding invoices from suppliers are those invoices that have been received but are still pending payment.
Supplier's outstanding invoices can be managed through an accounting register that tracks issued invoices, payment due dates, and received payments. This allows the seller to monitor the financial status of each supplier and send payment reminders if invoices remain unpaid for an extended period.
It's important to note that outstanding supplier invoices have an impact on a company's liquidity, as they represent funds that need to be allocated for payment.
Banana Accounting automatically generates a report of outstanding invoices, where you can quickly verify which invoices are still pending payment, from which supplier, and the total amount of outstanding invoices.
There are two types of reports:
- Open Invoices by Supplier, where all open invoices for each supplier are listed.
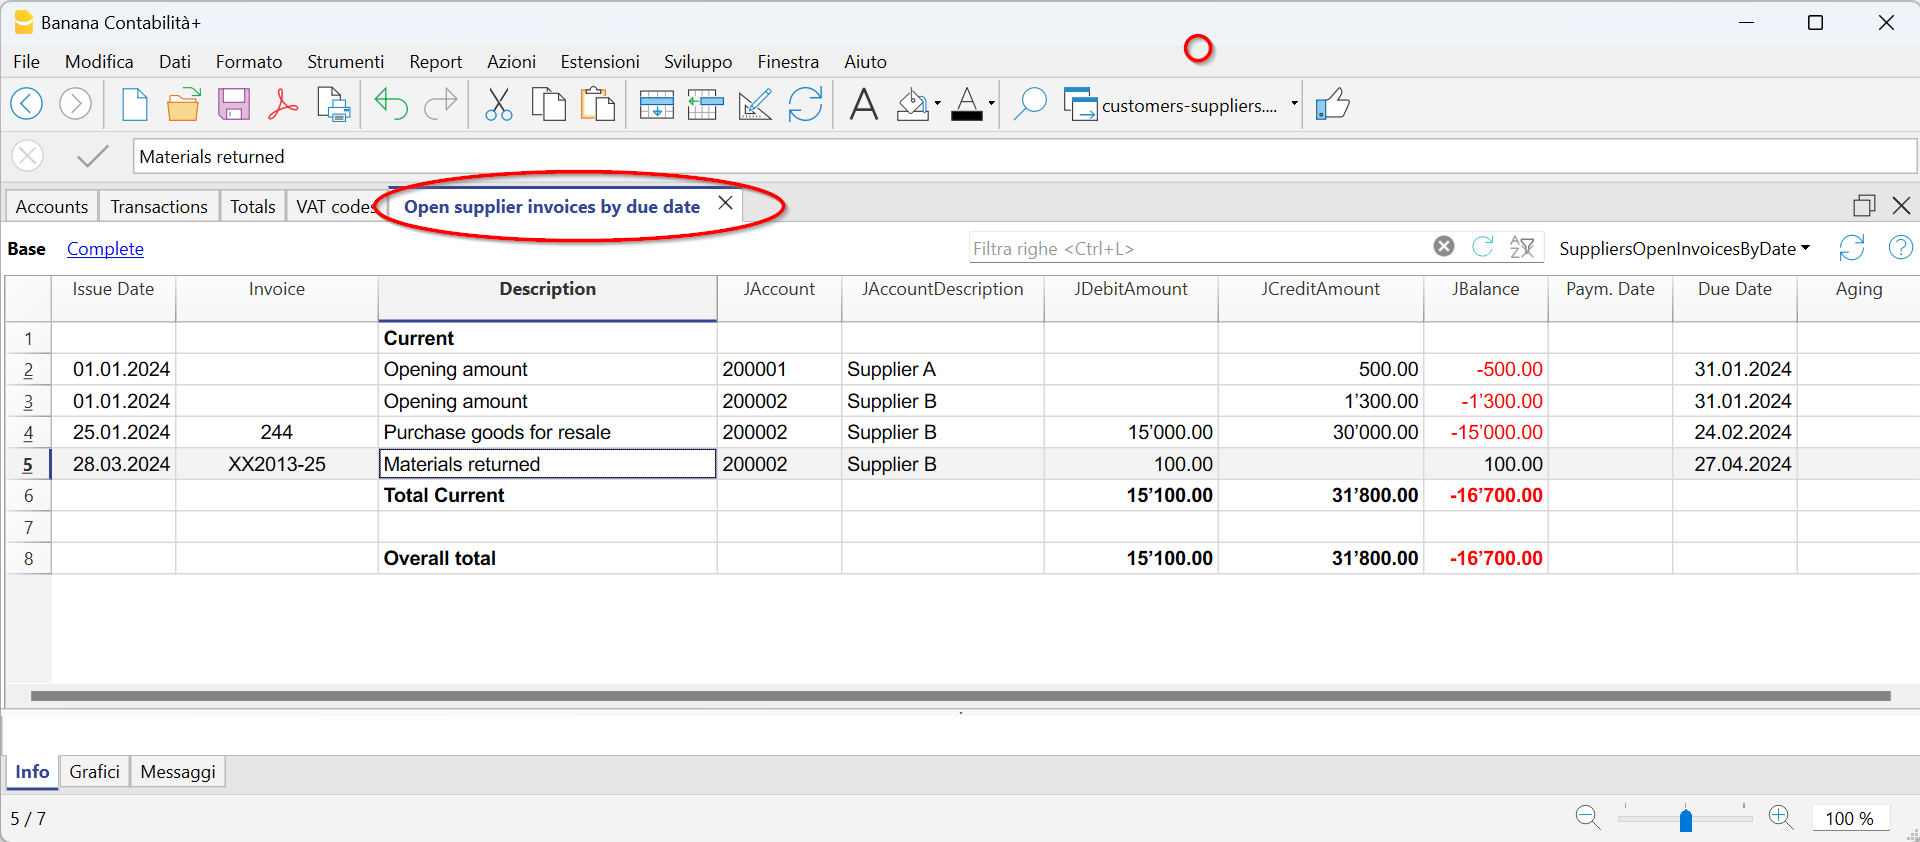
2. Open Invoices by Due Date, where open invoices are listed in order of their due dates.
The due date for an invoice can be set in various ways. Further information is available on the following page: "Expiry Dates and Payment Terms."
Accounts Cards
Accounts cards are accounting documents that record the financial transactions of a company. Each card represents a specific account in the company's general ledger and contains detailed information about the transactions related to that account, such as the date of the financial transaction, the type of transaction, the amount, and the description of the transaction.
In Banana Accounting, based on the data entered in the Transactions table, the program automatically generates an Accounts Card for each supplier. These cards display the opening balance, all transactions, and the final balance. You can also generate account cards for specific time periods.

Set up and use supplier features
- Set up accounts for turnover accounting (accrual principle).
- Set up accounts for collection accounting (cash principle).
- Configure supplier settings (explanation as for customers).
- Set up the transactions table and post supplier invoices.
- Open, overdue or received supplier invoice reports.
Notes
- In multi-currency accounting, the reports are based on the balances in the currency of the supplier's account, so any exchange rate differences are not taken into consideration.
- In the Invoices received table, the exchange rate differences transactions are also listed, while in the other printouts only the supplier's currency amount is valid.
- The Description column of the reports includes the first transaction row for each invoice.
- For the accounting on the collected, it is possible to set up a suppliers register with cost centers.
Example file
Managing with the accrual method
Introduction
In Banana Accounting it is possible to manage suppliers both with the accrual and cash method. A detailed explanation is available on the accounting with the accrual or cash principle page.
Below we explain how to set up the group and supplier accounts, so that you can have a separate invoice list for each supplier.
If you have few invoices and do not want to keep a detail by supplier, it is also possible to have only one account where all the invoices of the suppliers are recorded. In this case, the list of invoices will be grouped by all suppliers and not by a single supplier.
Setting up the Suppliers' register
To create the Suppliers' register, add at the end of the Chart of accounts:
- A* section (header) (see Sections)
- A 02 section for suppliers (see Sections)
- The Suppliers' accounts that are needed (see Adding a new account). Each supplier is entered on a row of the Chart of Accounts and has its own account number. The account numbering can be freely chosen (see Accounts), however it is recommended to use only numbers, in particular for the management of payments.
- A group where all the accounts payable are totaled.
- This group is in turn totaled into a group present in the liabilities.

- The total Suppliers will be totaled in the 200A summary group of the Sum in column.
- The same code or number used for the Gr (200A), must be used in the Liabilities Group column, in the row corresponding to the Total Suppliers. The groups numbering can be freely chosen (see Groups).

Record a received invoice

Record a payment
- Enter the transaction date
- Position yourself on the Invoice field and press the F2 key or double click on the cell.
The list of open invoices will be displayed. - Select the paid supplier invoice and press Enter.
The program will complete the transaction with the Description, Debit Account and Amount fields. As long as the contra account is not entered, the program will report the difference in the transactions.

Record a credit note
The same invoice number must be used for the amount to be deducted from the initial invoice. If the adjustment document (for example a credit note) has a different numbering that you still need to keep available, write this reference in another column, for example DocOriginal.

Collection management (cash principle)
Set up the suppliers register with the cost centers
For Swiss users who have VAT on their receipts, this setting allows you to manage VAT in an optimal way.
It is possible to manage the customers and suppliers register as cost centers (see also the Cost and Profit Centers page). A detailed explanation is available on the Accounting page on accrual or cash method.
- It is advisable to use the cost center CC3 (accounts preceded by a semicolon ";")
- The balances of the cost centers will therefore not appear in the balance sheet.

Transactions
The information is available on the Customers and suppliers page with VAT using the cash principle.

Miscellaneous operations
The various functions listed use the same methods as those used for clients. For further information, please refer to the relevant client pages.
View the Invoice column in the Transactions table
See Clients - Display Invoice columns.
Auto-complete
Extract invoice rows and open invoice link commands
Vedi Clients - Extract invoice rows commands.
Activating the Address columns (optional)
See Clients - Address column setup.

Configure supplier settings
- Select the Reports → Suppliers → Settings command.
- It is important to indicate in the "Group or account", the group of the chart of accounts where the various accounts of the suppliers are grouped.
- For explications of the different options see Customers/Suppliers settings.
List of supplier invoices
Displaying invoices received
Command: Reports → Suppliers → Open invoices by supplier.
All invoices that belong to the supplier register or to an individual supplier are displayed in this table.

Displaying the open invoices
Command: Reports → Suppliers → Open supplier invoices
In this table, only invoices that have an open balance are being listed.
For multi-currency accounting, if there are unrecorded exchange rate differences for a particular supplier, an 'Adjustment exchange rate differences' line will be displayed that balances the balance in the open invoice list with the balance on the account card.

Displaying invoices by due date
Command: Reports → Suppliers → Open supplier invoices by due date
Only invoices that have an open balance, are displayed in this table, grouped by due period.

Payment files for invoices from suppliers
The new Payments function allows you to create payment orders (pain.001) either from a list of transactions or by scanning the QR codes on received invoices.
The pain.001 files are XML messages that contains details of the payments to be made and that can be uploaded to the portal of the major financial institutions. Banana currently supports the Swiss payment standards (SPS).
More info Payment orders PAIN.001.
Migration to structured addresses
Prerequisites and important notes
Currently the payment functionality
- Is available in the Dev-Channel version, so please install the latest version of Banana Accounting+ Dev Channel.
- This extension works only with the Advanced Plan, you can request a 1 month promo code from our support service.
- The extension is currently in Beta Test, please check everything and report any problem.
How to create the payment file (pain.001)
- Open your accounting file (double entry accounting or income-expense accounting ) or download our example file Payments_2024_en.ac2
- In the Accounts table, verify the presence of the Address view.
You can add it using the menu command Tools > Add/Remove functionalities... > Add Address columns in Accounts table.
If your Address columns are different (e.g. missing IBAN, see the documentation Address view.
- The first time, install the Payment functionalities with the command Tools > Add/Remove functionalities... > Add payment functionalities
- Set up the debit bank account, which will be used when creating the payment order. In the Accounts table, select the debit account and complete the following data (Address view):
- Name, surname or company name (bank account holder)
- IBAN (IBAN account of the bank or postal account to be debited)
- Bank clearing (BIC code of the financial institution to be debited)
- Check and update the address and payment information of your suppliers in the Accounts table (Address view).
If you don't have a list of suppliers, please define it according to our explanation in the Suppliers section.
If you make payments by scanning QR-Codes you don't need to setup the addresses because all information for the payment is included in the QR-Code
- In the Transactions table enter the invoices of your suppliers or scan your QR-Codes

- Enter and complete the payment details by clicking directly on the Payment Data column. Ensure that all transactions to be paid are completed with the payment information.
If the supplier list (Account ID) is empty, it is necessary to configure the Payments extension by setting up the Suppliers group.
See the Payment orders extension (Payment Data dialog) for guidance.
- Select the command Reports > Suppliers > Create payment file

- Please fill in with the name of the account holder to be debited, their corresponding IBAN, and BIC code. If you have previously entered this information in the Accounts table, it will be automatically suggested.
If you want to display each payment separately on the bank statement, you must enable the "Individual booking" option when creating the payment order; otherwise, only the total amount will be shown on the bank statement.
Press the "Next" button.
- A summary of the payment file is displayed and you can specify where to save it. Click on Finish, you will be asked to save the payment file, which you can upload to your bank. Note: In Banana it's not possible to connect to your bank and transmit the file, you need to upload the file from your computer into the bank app or website.

- After saving the payment file, a row containing the payment/file object will be inserted into the Transactions table.
You can view the content of the XML file again by double-clicking on the Payment Data cell or by clicking on the edit icon located at the top right of the cell.
This is a receipt, and it is no longer possible to modify the payment file or send it again.
Warning! The payment/file objects are used to determine whether a payment has been transmitted to the bank.
Therefore, it is recommended not to delete the rows containing these objects; otherwise, payments that have already been transmitted will continue to appear among the pending ones.

- When creating a payment order in Banana, the related payment entries are not generated immediately, as the file must first be transmitted to the bank and the payment is only executed after bank confirmation.
Once the payments have been made, it is recommended to import into Banana the ISO 20022 file provided by the bank, which contains the details of the completed payments.
After importing the invoice payments, you can complete them by pressing F2 in the Invoice column, so that they are marked as paid in the Supplier Invoices table (menu Reports > Suppliers).
Opening a new year
The payment file (XML file) can only be created in the accounting file that contains the necessary payment data for its generation. When opening the new year, only customer and supplier invoices are carried forward, without their related payment data; therefore, it is not possible to create a payment file for invoices recorded in the accounting file of the previous year.
However, through the menu Report > Suppliers > List of payment files, you can also view the payment files from previous years, based on the Suppliers settings, by enabling the Include transactions from previous years option in the Report > Suppliers > Settings command.
Create payment file
The command Reports > Suppliers > Create payment file creates an XML message collecting information from payment data objects.
See How to create the payment file (pain.001)
Scanning QR-Codes
The Reports→ Suppliers→ Scan QR-code command displays the Scan code dialog,which allows you to enter one or more QR codes and create the accounting entries and related payment files from these data.
We tested the functionality with the Datalogic QuickScan reader (more on scanner configuration).
It is also possible to scan the QR-Codes with a mobile app, copy the data to the clipboard and paste them into the Banana Scan code dialog. You can search for an app that scans QR codes and saves them to the clipboard in the Apple or Android store. Our company does not provide or publish any software of this type.
If you have multiple QR codes to scan, use the Next Scan button after each scan.
If you are picking up a list of QR codes from the clipboard, they must be separated by semicolons, without adding spaces or line breaks (...EDP;SPC...).
To automatically retrieve the supplier's account number, you must correctly specify the supplier's name in the Organization column of the Accounts table, Address view. The text in the Organization column must exactly match the name indicated in the QR code.

Configure and Use QR Code Scanner
- Configure and connect the scanner.
- In Banana, select the command Reports > Suppliers > Scan QRCode (Ctrl+8) and place the cursor in the input field.
- Press the button on the scanner.
- The scan dialog will be automatically filled in.
- Complete the process.
Configure and Use Mobile App
- Install the mobile app, scan QR codes with the app, and save the data to the clipboard.
- Transfer the saved text to your computer with Banana (e.g., via email or AirDrop).
- In Banana, select the command Reports > Suppliers > Scan QRCode (Ctrl+8) and place the cursor in the input field.
- Paste the copied text into the scan dialog.
- Complete the process.
List of payments
The command Reports > Suppliers > List of payment files display all payments included in payment files present in the Transaction table (Payment file).

Payment List

Invoicing with Banana Accounting
In Banana Accounting Plus, you can create your invoices directly within the accounting file or manage them completely separately using the Estimates and Invoices application.
- Integrated invoicing in accounting
Additional functionality included in all accounting applications (double-entry, income/expense, multi-currency, cash manager). - Estimates and Invoices application
A separate application from all other accounting applications, used only to create offers and invoices without any connection to the accounting file. There is no link to the accounting file.
Below is a summary table for the two methods, detailing what they allow you to do and the customisations available.
Legend: ✅ with Professional or Advanced plan, 🔒 only with Advanced plan, ❌ not available
Features | Integrated Invoicing | Offers and Invoices Application |
| Common Features | ||
| Invoice Creation | ✅Yes, directly in the Transactions table. | ✅Yes, in the dedicated dialog. |
| Proforma Invoice Creation | 🔒 Yes, create the invoice in the Transactions table and print it as a Proforma Invoice (Advanced plan only). | 🔒 Yes, create the invoice in the dialog and print it as a Proforma Invoice (Advanced plan only). |
| Estimates Management | 🔒 No, but an invoice can be created with the "Estimate" label and print it as Estimate (Advanced plan only). | ✅Yes, in the dedicated dialog. |
| Payment Reminders Management | ✅Yes, automated management with the Print Reminders command. | 🔒 No, create the invoice with the "Reminder" label. and print it as a Reminder. (Advanced plan only). |
| Delivery Notes Creation | 🔒 No, only invoice with "Delivery Note" label. From the Invoice Printing dialog > Print as > Delivery Note. (Advanced plan only). | 🔒 No, only invoice with "Delivery Note" label. From the Invoice Printing dialog > Print as > Delivery Note. (Advanced plan only). |
| Order Confirmation Creation | 🔒 No, only invoice with "Order Confirmation" label. From the Invoice Printing dialog > Print as > Order Confirmation. (Advanced plan only). | 🔒 No, only invoice with "Order Confirmation" label and print as Order Confirmation. (Advanced plan only). |
| Header Logo | ✅Yes, with the Logo setup command | ✅Yes, with the Logo setup command |
| Sender Address in Header | ✅Yes, with File and Accounting Properties command. | ✅Yes, with File and Accounting Properties command. |
| Invoice Information | ✅Data of the invoice (invoice number and date, customer number, due date, etc.). | ✅Data of the invoice (invoice number and date, customer number, due date, etc.). Customizable with additional fields. |
| Invoice Address (Customer) | ✅Customer ledger management in the Accounts table, Address view. | ✅Customer address management in the Contacts table. |
| Title / Subject | ✅Yes, customizable via the DocType column in the Transactions table, or in Invoice Settings. | ✅Yes, customizable in the Dialog, or in Invoice Settings. |
| Free Initial Text | ✅Yes, through the DocType column in the Transactions table, or in Invoice Settings. | ✅Yes, in the Dialog, or in Invoice Settings. |
| Default Columns and Column Layout | ✅Columns in the Transactions table and Items ( Items, Description, Quantity, Unit, Unit Price, Amount, VAT Code). Display columns in the printout from Invoice Settings. | ✅Columns in the Dialog (Date, Item, Description, Quantity, Unit, Unit Price, Discount, Amount, VAT Code). Display columns in the printout from Invoice Settings. |
| Custom Columns (Transactions / Items Table) | 🔒 Uses custom columns in the Transactions and Items tables (Advanced plan only). | 🔒 Uses custom columns in the Items table (Advanced plan only). |
| Discounts and Reductions | ✅Yes, add a line to the invoice via accounting transaction | ✅Yes, item discount column and overall discount via Invoice Dialog. |
| Advance Payments | ✅Yes, add a line to the invoice via accounting transaction. | ✅Yes, via Dialog. |
| Notes and Final Text | ✅Yes, from the Dialog Options or Invoice Settings or DocType column | ✅Yes, via Invoice Dialog > Final Text or from Dialog options or from Invoice Settings |
| QR Bill with IBAN Account | ✅Yes, invoices with Swiss QR bill with IBAN account. | ✅Yes, invoices with Swiss QR bill with IBAN account. |
| QR Bill with Special QR-IBAN Account | ✅Yes, invoices with Swiss QR bill with special QR-IBAN account. | ✅Yes, invoices with Swiss QR bill with special QR-IBAN account. |
| Style and Color Customization | ✅Yes, from dialog Invoice Settings > Font type and Colors. | ✅Yes, from dialog Invoice Settings > Font and Colors. |
| CSS Customization | 🔒 Yes, customize invoice styles and appearance via CSS customization (Advanced plan only). | 🔒 Yes, customize invoice styles and appearance via CSS customization (Advanced plan only). |
| JavaScript Customization | 🔒 Yes, set invoice printing via JavaScript customization (Advanced plan only). | 🔒 Yes, set invoice printing via JavaScript customization (Advanced plan only). |
| Product Images | 🔒 Yes, add product or service images to invoices. See Invoice with Product Images (Advanced plan only) | 🔒 Yes, add product or service images to both offers and invoices See Invoice with Product Images. (Advanced plan only). |
| VAT management | ✅ Yes, print invoices with VAT and manage in accounting. ⚠️ Limitation: Net VAT management | ✅ Yes, only print invoices with VAT |
| Multi currency invoices | ✅ Yes | ✅ Yes |
| Exclusive Features of Integrated Invoicing | ||
| Integrated Data in the Accounting File | ✅Yes, in the Transactions table. | ❌No |
| Revenue Management | ✅Yes, create invoices on revenue with customer subledger in the Balance sheet. | ❌No |
| Cash Basis Accounting Management | ✅Yes, create invoices upon cash method with Customer subledger via profit centers (CC3). | ❌No |
| Reporting | ✅Yes, account card per customer, history, and open invoice reports per customer and due date. | ❌No |
| Payment Reminders Management | ✅Yes, overdue invoice management and reminder printing with the Print Reminders command. | 🔒No, manual management of overdue invoices and reminder printing. (Advanced plan only). |
| Invoice Payment Management | ✅Yes, registration of invoice collection. | ✅No, it is possible to manually track paid invoices using the Payment column in the Invoices table. |
| Exclusive Features of the Estimates and Invoices Application | ||
| Offers Management | 🔒No, create the invoice with the label "Estimate" and print it as an Estimate (Advanced plan only) | ✅Yes, manage Estimates separately from invoices. |
| Offer Conversion | 🔒No, create the invoice with the label "Estimate" and print it as an Estimate (Advanced plan only). | ✅Yes, convert estimates into invoices with a simple command. |
Invoicing integrated in the accounting file
The integrated invoicing feature of Banana Accounting Plus uses the customer invoice recording system directly in the Transactions table. It allows you to create prints, including customizable ones, based on customer transaction records.
You can print both invoices for Switzerland with a QR payment slip and international invoices for other countries, even in foreign currency without a QR payment slip.
Creating invoices
The Transactions table is the heart of Banana Accounting and is also used to issue invoices. Nothing could be simpler: To create an invoice, enter a normal transaction that charges the customer.
Banana Accounting also allows you to create invoices in foreign currency.
The main columns for invoicing:
- Date - Invoice date
- Invoice - The invoice number.
- Description - Description of the item to be invoiced.
If there is more than one item to be invoiced, use another row that has the same customer number. - Debit - Customer account.
- Credit - Profit account.
- Amount - Invoice amount
You can also indicate the quantity, the unit price and the programme calculates the amount. - VAT code- VAT code of the profit
Advantages
With Banana Accounting's integrated invoicing you simplify your administrative work, reducing the time needed to manage invoices, customers and accounting transactions:
- Invoice transactions are always the same for both invoicing and accounting, reducing the possibility of errors and omissions.
- Banana Accounting automatically generates the related accounting documents, such as VAT registers, customer accounts, receipts registers.
- You have a more accurate and real-time view of your customers with constantly updated balances.
- Lots of automation to make your work easy and with immediate professional results:
- Automatic retrieval of addresses from contacts so that the data do not have to be re-entered on the invoice.
- No manual calculations. All calculations are automatic, always accurate and up-to-date.
- Setting of the language, currency, number of decimals and rounding for each individual invoice.
- Deadline display.
- Invoice archiving for a tidy history that is always available for tax audits.
Differences with the Estimates and Invoices application
Integrated invoicing is an additional feature included in all accounting applications: double-entry, Income / Expense, Multicurrency, Cash Manager.
Integrated invoicing is ideal for billing services or sales without the need for many structured details on the invoice.
- The elements and details for invoices (such as quantities, prices, units, etc.) are recorded solely in the Transactions table. In the Estimates and Invoices application, there is a Invoices table with an Invoice Dialog where various columns and options are available to detail the various items and data to be inserted. In this aspect, the Estimates and Invoices application is much more flexible and comprehensive because it allows for greater customization.
- In the Transactions table, in addition to the data for invoicing, by entering the Debit and Credit account, the registration remains accounted for in the accounting file without the need to register the invoice subsequently. This is ideal for managing revenue accounting.
In Estimates and Invoices, the data is not accounted for, so it is necessary to register the invoice in the accounting file. - In integrated invoicing, it's not possible to create offers. However, it is possible to create and print an invoice with the title "Estimate" (instead of "Invoice.")
The Estimates and Invoices application is specific for creating also Estimates.
Items Table
The Items Table allows you to manage the article catalogue, keep track of available quantities, sales and purchase prices.
Data for managing articles or services to be invoiced are entered in this table. Each article is assigned an ID, and groupings of articles and services in the same category can be created.
Various columns are available for complete and detailed information:
- Article (IdArticle): the code of the article.
- Description: the description of the article.
- Group membership
- Account (for accounting)
- VAT code of the sale
- Unit: an abbreviation to define the type to which the quantity refers (pieces, hours...)
- Sale: the unit sales price.
- Purchase cost.
The Items table is linked to the Items columns of the Transactions table.
The use of the Articles table speeds up the entry of invoice data into the Transactions table. By entering the ID (article code), the programme automatically takes over the description, unit and unit price. By entering the Quantity, the total price to be invoiced is calculated and entered.

Print invoice with Swiss QR Bulletin
After entering the invoice data in the Transactions table, you can create and print invoices with the Print Layouts.
From the Menu, Reports > Customers > Print Invoices:
- Choose CH10 Invoice layout with Swiss QR Code for Switzerland
- Customise your printing. More customisation is possible with the Advanced plan.
- Preview the invoice. You can save it as a PDF and send it electronically or print it.
If you use this layout, the bulletin with Swiss QR will be printed on the invoice and the reference data will appear on the statements. You can import customer payment data from the bank with the Bank statement extension Camt ISO 20022 Switzerland (Banana+). You have invoice receipts under control.
It is possible to print the invoice with a QR bulletin even without an amount and without an address, leaving an empty box to manually insert the data. More information is available on the QR-Code Customization page, section Include/Exclude from printing.
With the same registration, from the Print Invoices dialogue box, under Preferences Layout > Print as you can also choose to print Delivery Notes, Offers and Reminders.
Print International Invoices
After entering the invoice data in the Transactions table, you can create and print invoices with the Print Layouts.
From the Menu, Reports > Customers > Print Invoices:
- Choose the Layout 11 programmable Invoice
- Customise your printing. More customisation is possible with the Advanced plan.
- Preview the invoice. You can save it as a PDF and send it electronically or print it.
With the same registration, from the Print Invoices dialogue box, under Preferences Layout > Print as you can also choose to print Delivery Notes, Offers and Reminders.
Invoice Structure
In this image you can see how the invoice is structured:
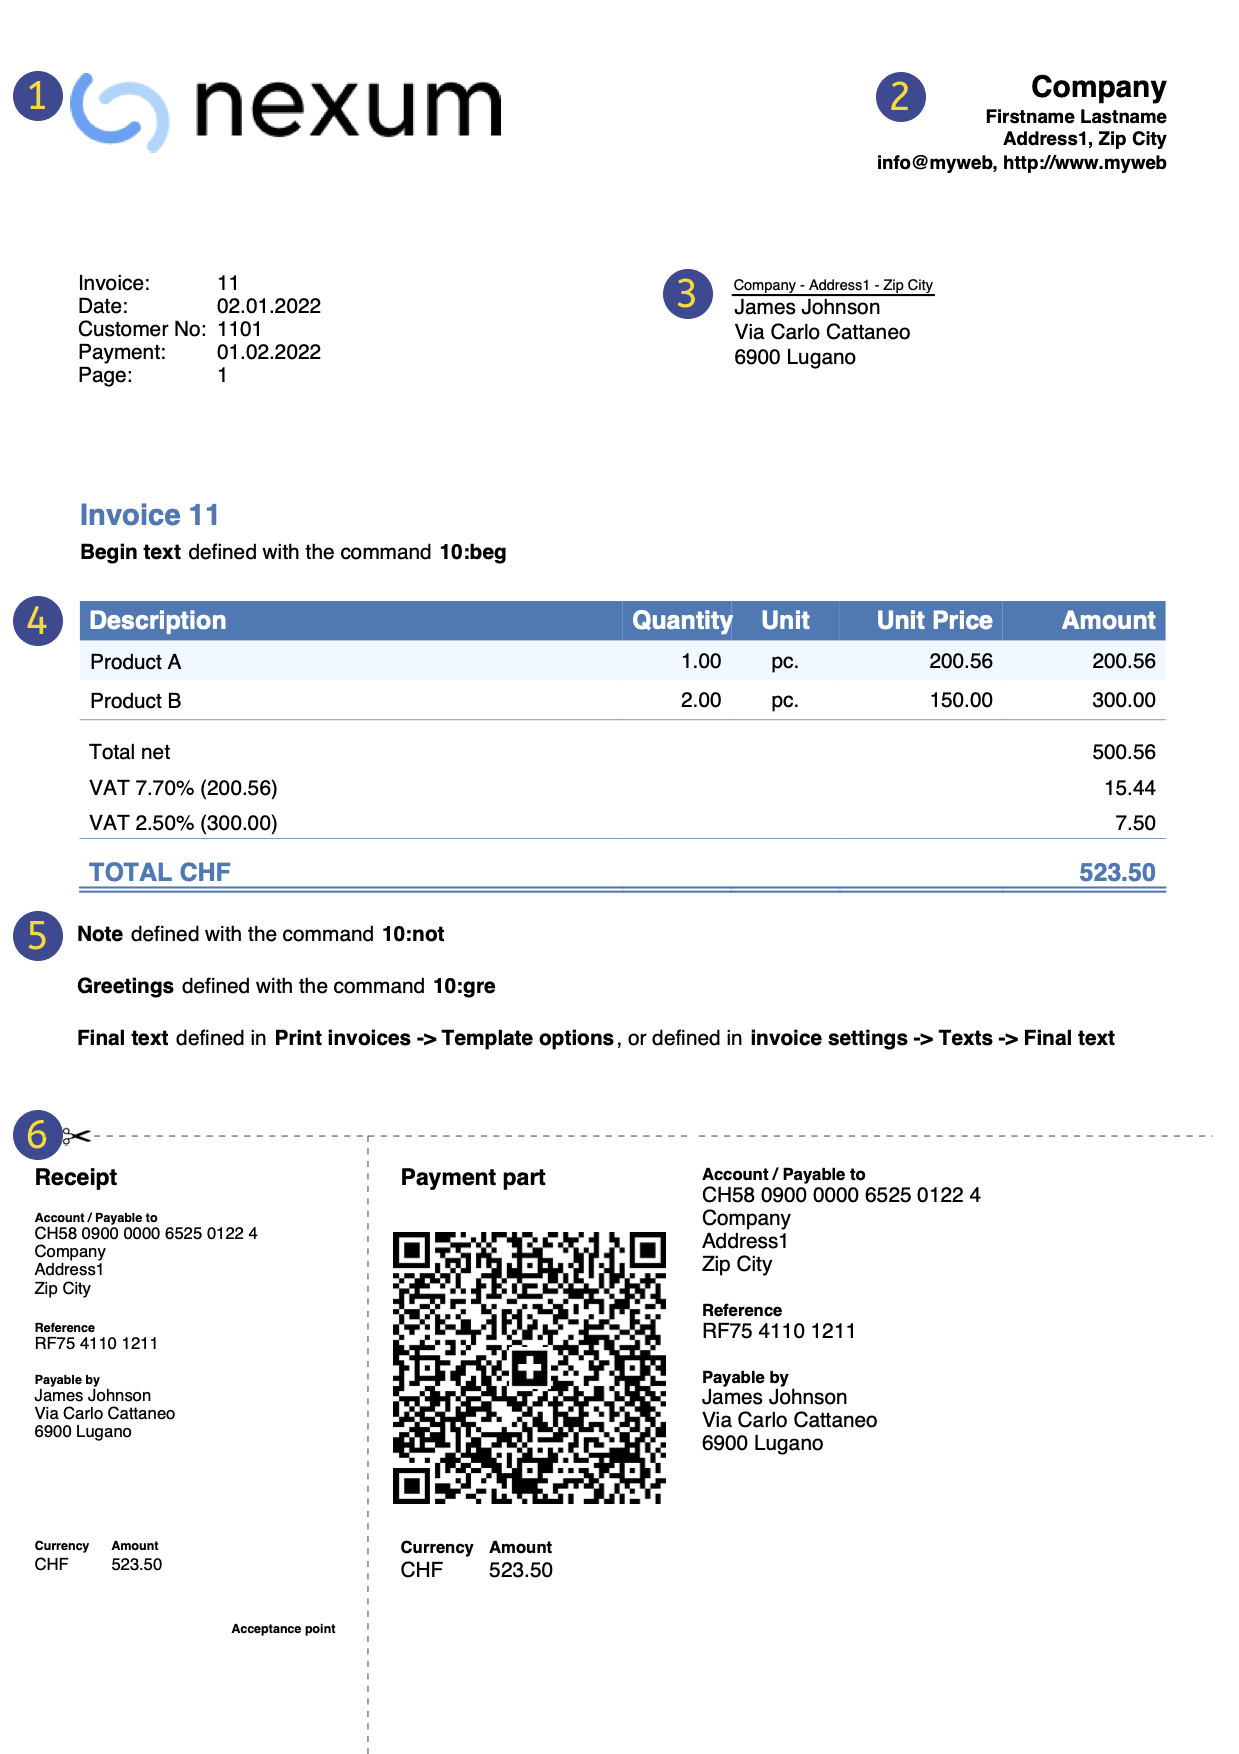 | LogoInsert a personalized logo from menu file → Logo setup | |||
HeadingThe heading of the invoice will be identical to the one entered | ||||
Customer AddressThe customer's address will be retrieved from Accounts table, see Setting up customer accounts. | ||||
Invoice dataThe contents of the invoice must be entered in the Transactions table, learn how to enter invoices. | ||||
Free textsInsert begin text, notes and greetings using the Column Type, and ending texts from menu Reports→ Clients → Print Invoices → Option layout. | ||||
Settings Swiss QR-CodeSettings can only be defined for Switzerland and with the [CH10] Swiss QR Code layout . |


Customer Management
Customer Management allows you to record, organise and manage customer information, keeping track of customer transactions and payments, payment due dates and contact information. You can track customer payments, update the payment status of issued invoices as well as enter and print invoices.
In Banana Accounting the customer data is set up in the Accounts table.
In order to create invoices, it is necessary to:
- Define the Customer Register
- Create invoices, entering the transactions in the Transactions table, debiting the customer's account.
With a range of functions you can manage the:
- Invoice collections by entering them in the Transactions table:
Creating an invoice from a profit centre
When the customer ledger is set up with profit centres (cash method management), the profit centre column CC3 is used in the invoice transactions.
In the appropriate columns of the Transactions table indicate:
- The date.
- The invoice number.
- The description of the invoice item, which you want to appear on the invoice.
If there is more than one item to be invoiced, use another row with the same customer number. - In the Debit account do not record any account
- In the Credit account do not record any account
- The amount. You can also enter the quantity and the unit price and the programme will calculate the amount.
- In column CC3 enter the customer's profit centre account (Accounts table).

Features currently not available
These features, although requested by some users, are not available at the moment:
- Automated invoice sending by email.
- Creation of estimates.
The programme allows you to print an invoice with the indication 'Estimate'. - Creation of delivery notes.
The programme allows an invoice to be printed with the indication 'Delivery Note'. - Link with Inventory application.
- Link with Timesheet.
- Creation of invoices in foreign currency with VAT in base currency (e.g. invoices in EUR with VAT in CHF).
- Automatically add reminder fees to the invoice.
Alternatively, you can insert a line in the invoice indicating the invoice date and number, and specify in the description the text related to the reminder fees along with the desired amount.
If you want to issue invoices separately from accounting (useful for cash accounting) and also prepare estimates, you may use:
This also allows you to add additional information more easily.
Full list of features currently not available in Banana+
Insights
- Invoice printing and VAT (based on turnover and cash received)
- Set customer language in invoices
- Due dates and payment terms
- All extensions with QR invoicing
Related topics:
- Example file in Income/Expense accounting
- Example file invoices in Double-entry accounting
- Example file invoices using Cost centers
Useful for registering invoice with VAT on the cash-in basis (with customer and supplier accounts as cost centres CC3) or if you want to exclude invoice details from the balance sheet accounts.
Setting up the file
There are two ways to set up your accounting file for your invoicing
- Create a new accounting file, using an existing template.
- Adapt your existing accounting file.
New Accounting File
Several templates are available, containing a preset ledger of clients. Creating Invoicing is possible in the following accounting types:
- Double-entry accounting with or without vat.
- Multi-currency accounting with or without vat.
- Income & Expense accounting with or without vat.
A new accounting file is created as follows:
- File Menu > New.
- Select the Region and the language.
- Type Invoice in the Filter by field.
- Select a template in the right hand section.
- Save your file with a name.
Please follow the instructions contained in the Invoicing documentation.
In the accounting types with VAT, in order to correctly set up the file, we advise you to consult the explanations on the page Invoice printing and VAT.
Adapt your existing Accounting File
If you wish to adapt your existing accounting file for creating your invoices, you will have to add certain functions and settings in order to be able to print them:
Insert the data for your company
- In the File menu > File and accounting properties... > Address, you can setup your company's address and data, which will be used as the header of the invoice.
- To use your personal logo, check instructions here.
Set the list of customers in the Accounts table
- In the Accounts table, you can setup your customers register
- Add and display customer address columns.
- In the Accounts table, you can select the Address view and enter your customer's data.
- If the Address view is not visible, you can add it using the Tools menu > Add new functionalities... command > Add Address columns in the Accounts table.
- Manage your customer settings via the Reports menu > Customers > Settings.
Add the columns you wish to use in the Transactions table
- Display the columns for Invoicing in the Transactions table:
- Data menu > Columns setup and check the DocType and DocInvoice boxes.
- Add the columns for Quantity and Unit Price (optional).
Tools Menu > Add new functionalities > Add Items Columns in Transactions table. - Add Items table (optional).
This will assist you keep track of your Items and micro-manage your inventory.
Tools Menu > Add new functionalities > Add Items table.
In the accounting types with VAT, in order to correctly set up the file, we advise you to consult the explanations on the page Invoice printing and VAT.
Invoicing managed in a file dedicated to Invoicing only,
If you wish to manage your invoicing separately from your main accounting, you will have to create a new file. You will insert the accounts for the clients you need for the Invoicing only, in your Plan of Accounts. Invoices are entered via the Transactions table.
This approach is suitable for when:
- Accounting on a cash-in basis. Only the the payed amount is entered in the accounting file.
- Wishing to keep the management of your invoices completely separate from your main accounting ledger, for example for an Association that needs to send membership fees to their members.
How to create a separate accounting file for invoices:
- Download the template, open it and adjust it to your requirements.
Alternatively, you may start out with any template and adapt it - as previously indicated - for use with invoicing. - Make sure al setups and and columns are present, as explained above.
Issuing invoices in the transaction rows.
With integrated invoicing, invoices are created and simultaneously recorded in the accounting. You can create invoices with or without VAT.
Before creating and recording invoices, you must define the accounting method. The available methods are:
- Invoicing on turnover (revenue-based accounting).
- Issued invoices are immediately recorded and accounted for.
- Revenue is recognized when the invoice is issued.
- Customer ledger through balance sheet accounts.
- Cash-based accounting.
- Issued invoices are only recorded when payment is received.
- Revenue is recognized only when the invoice is actually paid, by recording the transactions at the time of payment.
- Customer ledger through profit centers CC3.
VAT Management
- Accounting with the effective method
- Invoices are issued with rates according to the effective method (e.g. 8.1%, 3.8%, 2.6%).
- Revenue is recorded when the invoice is issued.
- The amount to be recorded is usually gross of VAT.
- The VAT code is entered on the revenue line when the invoice is issued.
- With cash-basis accounting, if the amounts are net, the invoices must be managed in a separate file (Quotations and Invoices application or accounting file).
- Accounting with flat rate VAT.
- Invoices are issued with a VAT rate different from the one used for accounting.
- Revenue is recognized only when the invoice is actually paid, by recording the transactions at the time of payment.
- If the amounts are gross, accounting can be done on issuance or on payment, entering the VAT code in square brackets.
- With both accounting methods (turnover or cash-based), if the amounts are net, the invoices must be managed in a separate file (Quotations and Invoices application or accounting file).
Invoice with net VAT and VAT management on payment:
- When creating invoices with VAT, there are limitations if in the accounting the amounts are recorded net and the cash method is used. In this case, it is not possible to enter net VAT amounts, because at the time of issuing the invoice the VAT codes must be enclosed in square brackets. VAT is not calculated automatically, but shown only as an indication for printing purposes.
The columns to create invoices
To enter the standard invoice data, there are basic columns. If more details are needed, such as quantity, unit price, etc., additional columns can be added by adding the Items table.
The columns can also be customized in terms of display order.

Basic columns
Date
The invoice will show the date indicated in this column. All rows belonging to the document must show the same date.
Invoice
To manage invoices, it is mandatory to indicate an invoice number in the Invoice column.
Description
A description of the goods or services to be invoiced. These texts appear on the invoice.
Debit
Use this column only to record the payment of the invoice, entering the liquidity account (bank, postal account,...).
Credit
Use this column only to record the payment of the invoice, entering the revenue account.
Amount
An amount. If VAT is managed, enter the gross amount (including VAT).
VAT Code
The VAT code corresponding to the revenue account (sales or services):
- When issuing the invoice, the VAT code must be entered in square brackets (e.g. "[V81]").
- When recording the payment of the invoice, the VAT code must be entered without square brackets.
CC3
A customer account present in the Accounts table, in the Profit Center CC3 group.
Optional columns
Type
In the Type column you can define detail rows, such as subtotal rows or specific payment terms for an invoice.
This column is not visible by default but must be displayed through the Data menu > Columns setup command and by selecting the DocType column.
Quantity
The quantity of goods or services to be invoiced.
To add the quantity column, use the menu Tools > Add new features > Add Item columns in the Transactions table.
Unit
A type of unit (e.g. 'pcs', 'h', 'm', 'kg').
Unit Price
The unit price for the goods or services.
The program automatically calculates the total amount based on the quantities entered in the Quantity column.
Other columns
When printing the invoice, you can add other columns from the Transactions table, including those that were manually added to the table. See example Use columns from the Transactions table.
Invoice with multiple rows
When the invoice includes multiple items to be charged (products, services or both), you must enter each item on a separate row.
- Enter a new transaction row for each item you want to include in the invoice.
- On each additional row, repeat the invoice date and number, identical to those in the first row.
Customer account management
- Composed transactions (on several rows)
If the customer account is not indicated in the detail rows, but only the account opposite, you must specify the customer account in the first row.
Otherwise, the accounts of the following rows will not be correctly displayed in the invoice printout. - Simple transactions (on one row)
Alternatively, you can enter both the customer account and the income account on each detail row, ensuring a correct data association.
How to define Customer Number and Invoice Number
This page explains how to correctly define the length and format of the Customer number and the Invoice number when invoicing with Banana Accounting Plus.
Important: Correctly setting the Customer number and the Invoice number is essential, especially if you issue Swiss QR invoices and want to automatically record payments. Both numbers are included in the reference number on the QR slip and are used to automatically link imported payments to the related invoices.
This setting applies to:
- Invoicing integrated in the accounting file (with or without Swiss QR)
- Invoicing with the Estimates and Invoices application (with or without Swiss QR).
Customer number
The Customer number is the identifier of the customer in accounting (subaccount or cost center). In QR invoices, it is also used to automatically record payments of the invoices.
Customer number format for QR invoices
In QR invoices, the customer number is included in the reference number. For this reason, it must follow specific rules, which vary depending on the type of account used (IBAN or QR-IBAN) and the type of reference number chosen.
- QR Invoice with IBAN account:
- Only numbers or letters are allowed (A‑Z, 0‑9).
- Spaces, separators, or other characters (-, /, #, etc.) are not allowed.
If you insert separators or other characters, they will be removed from the invoice printout and may cause problems in automatically recording payments. - Customer number + Invoice number ≤ 19 characters.
The two numbers together must not exceed 19 characters. It is recommended to keep the Customer number to a maximum of 7 characters.
- QR Invoice with QR-IBAN:
- Only digits (0–9) are allowed.
- No spaces, letters, separators or other characters (-, /, #, etc.). If you insert separators or other characters, they will be removed from the invoice printout and may cause problems in automatically recording payments.
- Maximum length 7 digits.
- Customer number + Invoice number: together must not exceed 14 digits.
Customer number format for invoices without QR
For invoices without QR, there are no constraints regarding the format of the customer number. Best practices apply.
Best practices for customer numbers
- Uniqueness: each customer must have a unique number.
- Consistency: use a fixed scheme (e.g. 1000001, 1000002, etc.).
- Compatibility: if you plan to issue QR invoices with both standard IBAN accounts and special QR-IBAN accounts, or switch from IBAN to QR-IBAN, use only numbers.
Invoice number
The Invoice number uniquely identifies the invoice (mandatory). In QR invoices, it is also used to automatically record payments.
Invoice number format for QR invoices
In QR invoices, the invoice number is included in the reference number. For this reason, it must follow specific rules, which vary depending on the type of account used (IBAN or QR-IBAN) and the type of reference number chosen.
- QR Invoice with IBAN account:
- Only numbers or letters are allowed (A‑Z, 0‑9).
- Spaces, separators, or other characters (-, /, #, etc.) are not allowed. If you insert separators or other characters, they will be removed from the invoice printout and may cause problems in automatically recording payments.
- Customer number + Invoice number: ≤ 19 characters.
The two numbers together must not exceed 19 characters. It is recommended to keep the Customer number to a maximum of 7 characters.
- QR Invoice with QR-IBAN:
- Only digits (0–9) are allowed.
- No spaces, letters, separators, or other characters (-, /, #, etc.). If you insert separators or other characters, they will be removed from the invoice printout and may cause problems in automatically recording payments.
- Maximum length 7 digits.
- Customer number + Invoice number: together must not exceed 14 digits.
Invoice number format for invoices without QR
For invoices without QR, there are no constraints regarding the invoice number. Best practices apply.
Best practices for invoice numbers
- Uniqueness: each invoice must have a unique number.
- Consistency: use a fixed scheme (e.g. year+progressive: 2500001, 2500002, etc.).
- Compatibility: if you plan to issue QR invoices with both standard IBAN accounts and special QR-IBAN accounts, or switch from IBAN to QR-IBAN, use only numbers.
Issuing invoices with VAT with the Cash method
In integrated invoicing, invoices are created and recorded in the same file. As for cash-based accounting, invoices must be recorded at the time of payment.
In managing cash-based invoicing, it is necessary to set up the customer subaccount in the Accounts table using the Profit Center CC3.
- All customer accounts must have complete information (first name, last name or company name, address), because when creating the invoice, the program uses this data for the invoice header.
It is possible to create and record invoices with or without VAT.
Cash-based Invoice
In the cash-based system, the invoice is created to be sent to the customer, but the accounting entry is made later when payment is received.
Therefore, to create the invoice, the items to be invoiced are recorded using the customer’s CC3 profit center:
- In the Date and Doc. columns, enter the date and any document number.
- In the Invoice column, enter the invoice number.
It is important that the invoice number complies with certain requirements: see how to correctly create the invoice number. - In the Description column, enter the items to be invoiced that should appear on the customer’s invoice.
- The Debit and Credit columns must remain empty because the accounting entry is made when the customer's payment is received.
- In the Amount column, enter the gross amount.
- In the CC3 column, enter the customer's CC3 profit center account.
It is important that the customer number complies with certain requirements: see how to correctly create the customer number.
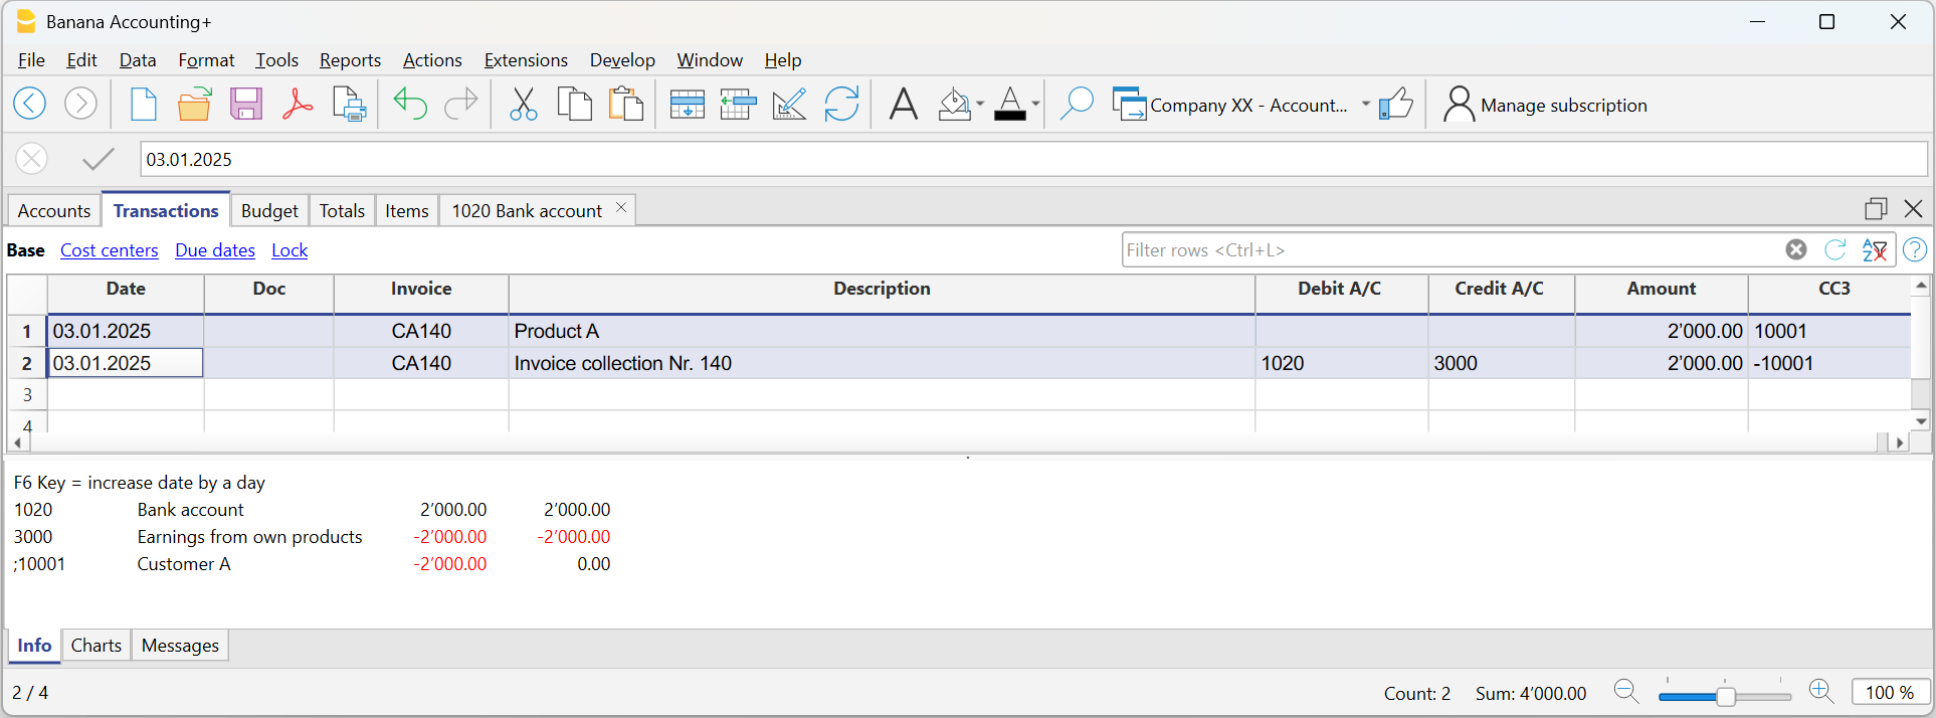
Cash-based Invoice and Effective VAT Method
The Banana Accounting VAT management procedure requires that the VAT code is always entered on the line where the income is recorded.
Income is recorded only when the invoice is actually paid. Therefore, in cash-based VAT management, the VAT code is entered only when the invoice is paid.
Invoice data is entered in the Transactions table. Enter a new transaction row for each new invoice.
- Enter the transaction date
- The invoice number
It is important that the invoice number complies with certain requirements: see how to correctly create the invoice number. - The description text (products, services, consulting...) that will appear on the customer’s invoice
- The Debit account must remain empty
- The Credit account must remain empty
- Enter the gross amount
- In cases subject to VAT, enter the sales VAT code in square brackets (e.g. "[V81]").
The VAT code entered in square brackets allows the VAT amount to be displayed on the invoice, without its accounting entry, which will occur when the payment is recorded. - In the CC3 column, enter the customer’s profit center account (CC3). It is important that the customer number complies with certain requirements: see how to correctly create the customer number.
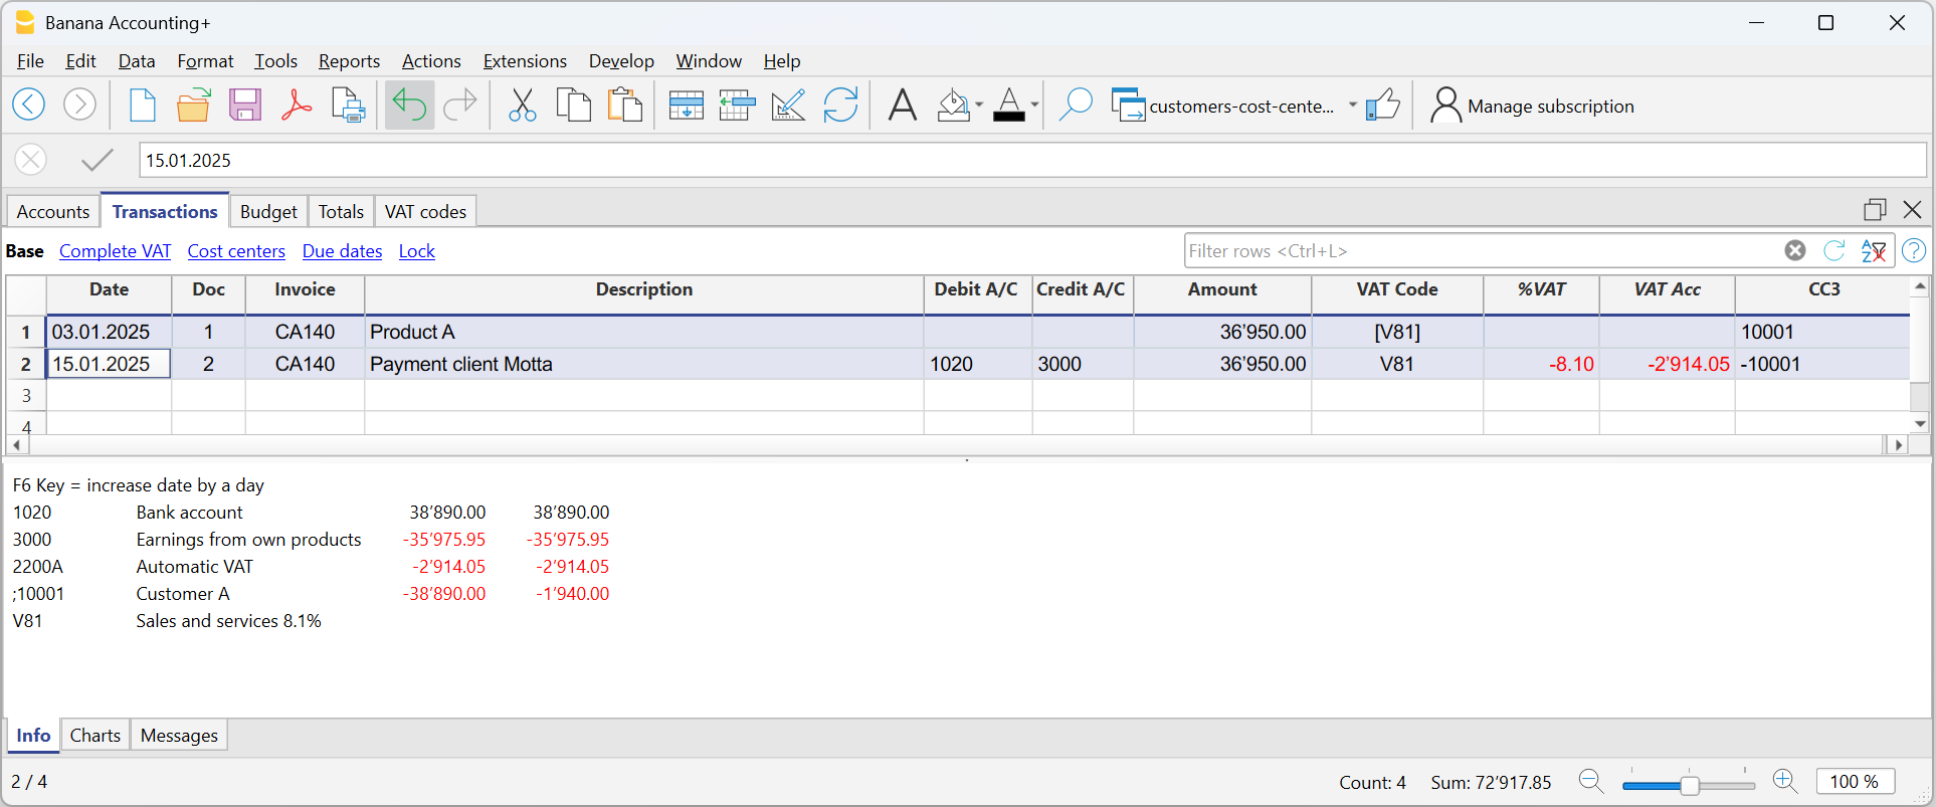
Invoicing on turnover
In integrated invoicing, invoices are created and recorded in the same file. Regarding accrual-based accounting, invoices must be recorded at the time of issuance.
In accrual-based invoicing management, it is necessary to set up the customer subaccount in the Accounts table as shown in the balance sheet.
- All customer accounts must have complete data (first name, last name or company name, address), because when creating the invoice, the program uses this data for the invoice header.
It is possible to create and record invoices with or without VAT.
Accrual-based Invoice
In the accrual-based system, the invoice is created to be sent to the customer, and it is recorded at the same time.
Therefore, with a single transaction, both the invoice is created and recorded:
- In the Date and Doc. column, enter the date and any document number.
- In the Invoice column, enter the invoice number.
It is important that the invoice number complies with certain requirements: see how to correctly create the invoice number. - In the Description column, enter the items to be invoiced that should appear on the invoice.
- In the Debit column, enter the customer's account from the subaccount.
It is important that the customer number complies with certain requirements: see how to correctly create the customer number. - In the Credit column, enter the revenue account.
- In the Amount column, enter the gross amount.
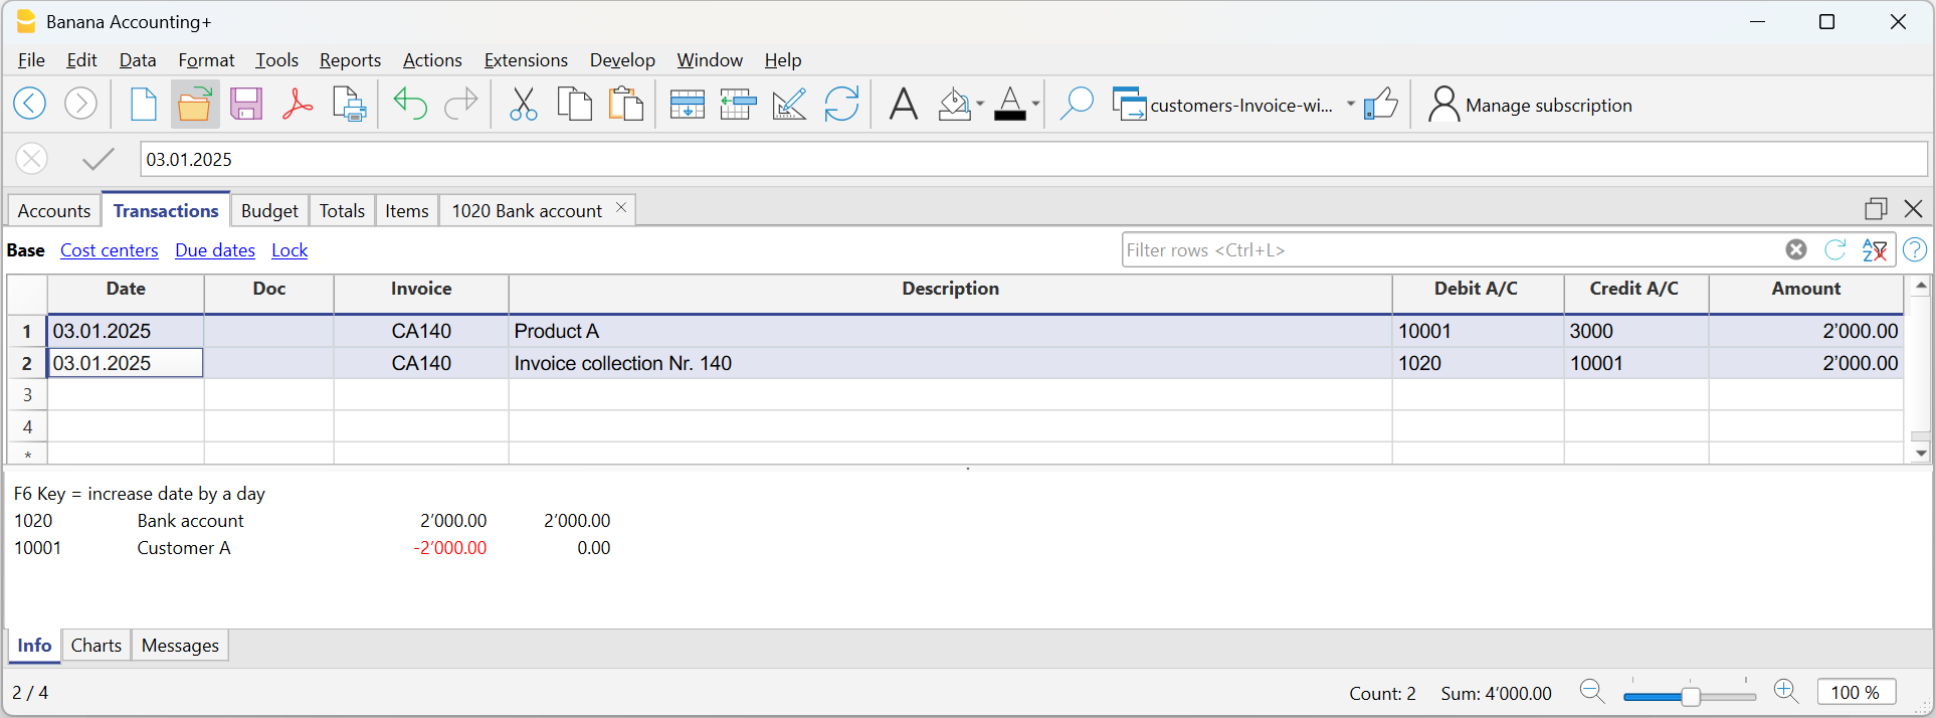
Accrual-based Invoice and VAT – Effective Method
The standard procedure in Banana Accounting for VAT management requires entering the VAT code on the same row where the income is recorded.
Issued invoices are immediately recorded and posted. Income is recognized at the time the invoice is issued.
Therefore, in accrual-based VAT management, the VAT code is added when the invoice is created.
The invoice data is entered in the Transactions table. For each new invoice, enter a new transaction row.
- Enter the date of the transaction
- The invoice number
It is important that the invoice number complies with certain requirements: see how to correctly create the invoice number. - The description text (products, services, consulting...) that will appear on the customer invoice
- In the Debit account, enter the customer account number
It is important that the customer number complies with certain requirements: see how to correctly create the customer number. - In the Credit account, enter the counterpart (Sales account, Consulting or other)
- Enter the amount
- In cases subject to VAT, enter the VAT Code with the applicable VAT rate. See Print invoices and VAT management.
Invoicing and VAT net tax rate method
If you are subject to VAT under the balance rate or flat-rate regime with the cash-based system, you must record the invoice issuance to the customer and its accounting registration separately, for the following reasons:
- Invoice to be sent to the customer:
It must show a normal commercial VAT rate (e.g., 8.1%), as required by tax regulations. - Accounting of the invoice:
It must instead be recorded in accounting with the effective balance rate (e.g., 6.2%), using the corresponding VAT code (e.g., F1).
This approach is essential to ensure that the VAT paid corresponds to the applicable reduced regime, while still maintaining a formally correct invoice for the customer.
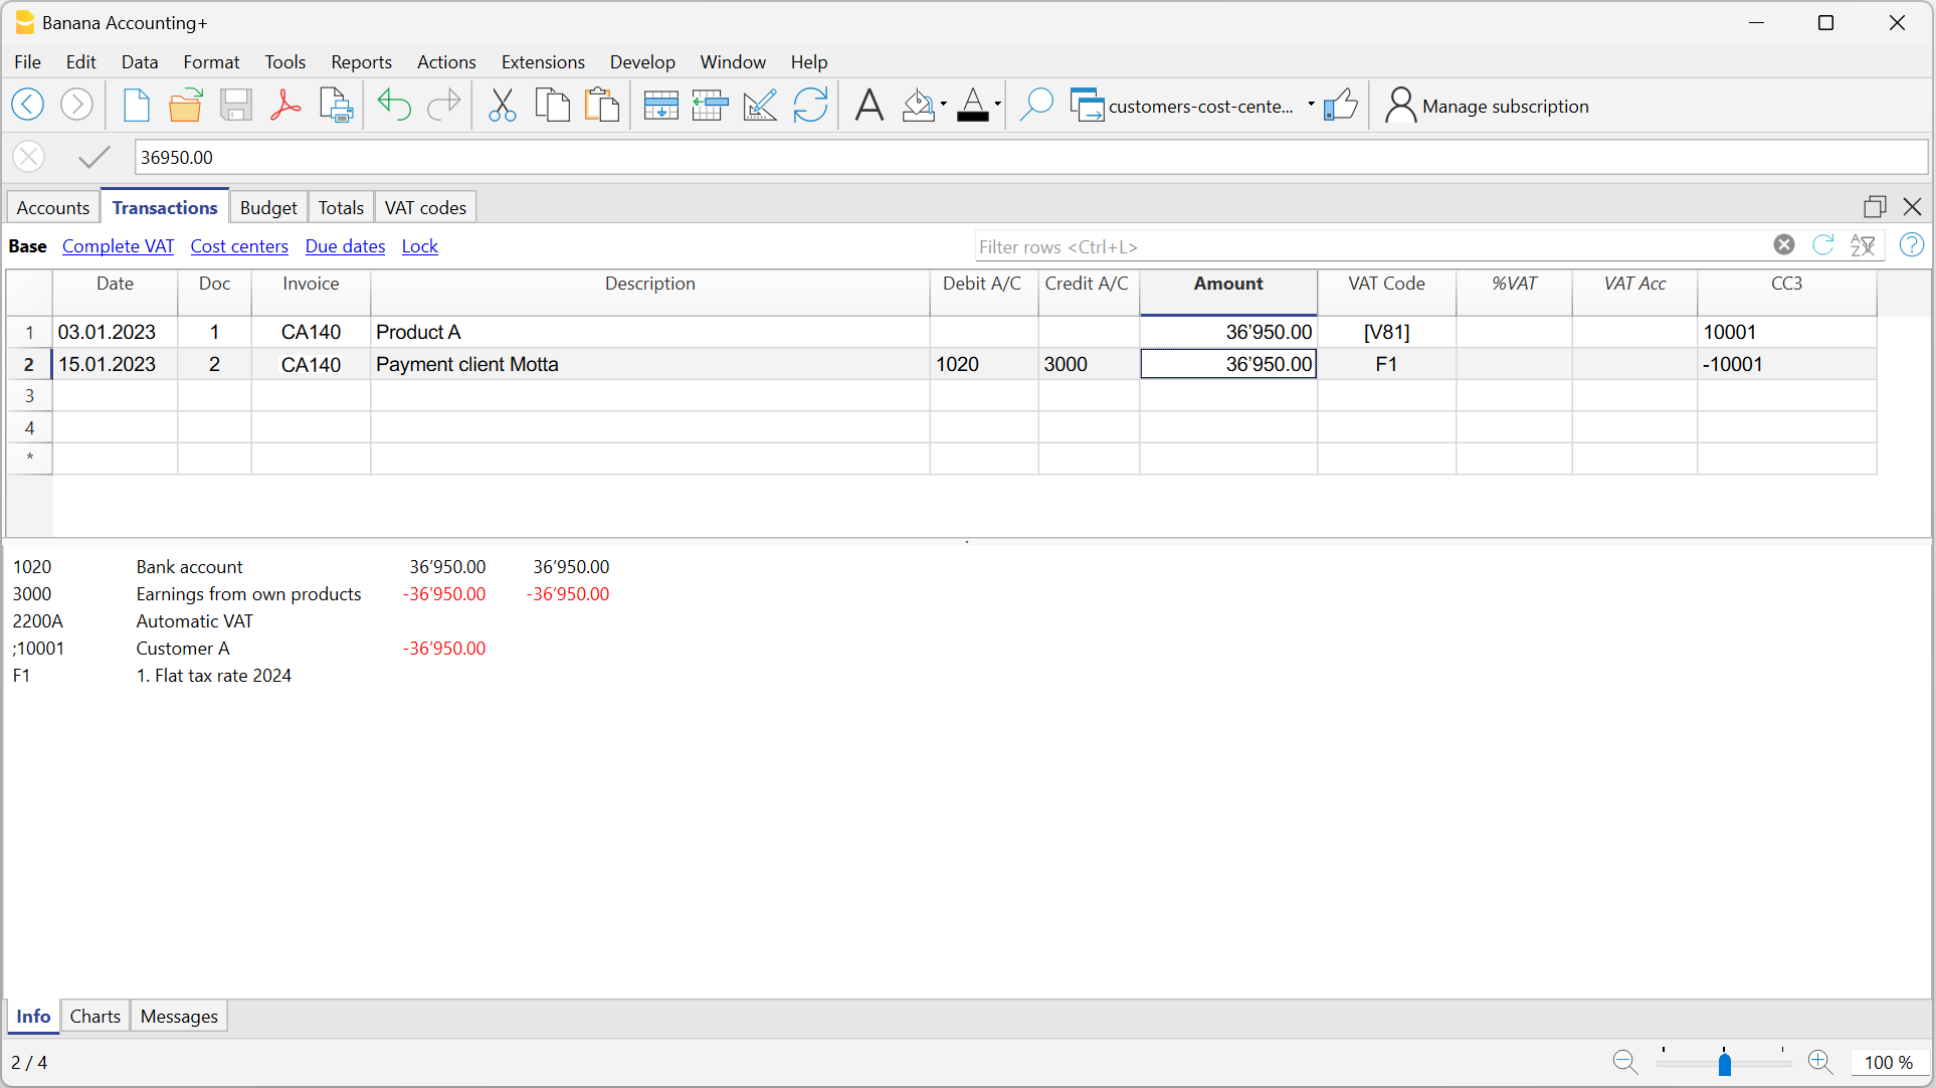
Issuing the invoice to the customer
To issue the invoice to the customer, proceed as follows:
In the Accounts Table:
- Create a customer sub-account with the profit center CC3 (example: ;10001 for customer XX)
- In the Address view, enter all customer data.
In the Transactions table:
- In the Date column, enter the invoice issue date.
- In the Invoice column, enter the invoice number.
It is important that the invoice number complies with certain requirements: see how to correctly create the invoice number. - In the Description column, enter the description that should appear in the invoice details.
- In the Amount column, enter the amount
- The Debit and Credit columns must remain empty.
- In the VAT Code column, type the code V81 in square brackets [V81].
VAT codes in square brackets do not generate any VAT entry. - In the CC3 column, indicate the profit center number without semicolon (e.g., 10001).
It is important that the customer number complies with certain requirements: see how to correctly create the customer number.
Since there are no accounts in the Debit and Credit columns, the invoice creation entry will not be recorded in accounting.
Recording the invoice with VAT balance rate
When recording an invoice subject to VAT with a balance rate in accounting, it is sufficient to proceed as with a normal entry, indicating the accounts in the Debit and Credit columns and entering the VAT code corresponding to the balance rate (e.g., F1).
Two recording systems can be used to register the invoice with the balance rate:
- Recording with split
In the VAT codes table, VAT percentages have been assigned to balance rate VAT codes. In the transactions table, by entering the balance rate VAT code (e.g., F1), the program automatically enters the corresponding VAT percentage (e.g., 6.2) and the VAT amount. - Recording without split, by entering the balance rate VAT code (e.g., F1), percentage and amount are not entered. At the end of the period, the specific extension for calculating balance VAT is used.
Based on the rate defined in the extension dialog, the program:- Identifies all entries with balance rate VAT code.
- Automatically calculates the VAT due for the reporting period.
- Totals the amounts on a periodic basis (e.g., monthly, quarterly, yearly).
Discounts and reductions
To enter a discount or reduction in an invoice, add a new row and enter:
- Invoice date
- Invoice number
- Description of the discount or reduction
- Accounts in the Debit and Credit columns. It is important to invert the accounts compared to the sales transaction.
When the customers / suppliers register is set up with cost centers and there are registrations with discounts and reductions, in order for the amount to be reversed, the sign of the cost centers must be inverted. - In case of VAT, indicate the VAT code with the minus sign, so that the VAT is deducted, or, if present use the VAT code for discount and reductions.

Invoicing and VAT with balance rate using the invoicing method
The Banana Accounting procedure for VAT management requires entering the VAT code always on the line where the income is recorded. When accounting is managed based on turnover, the income is recorded when the invoice is issued.
When subject to VAT using the balance rates or flat-rate method, customer invoices must be issued using the normal rates (e.g., 8.1%). However, the accounting of invoices under the balance rates or flat-rate method involves reduced rates (e.g., 6.2%).
- If the amounts are gross, you can record them based on turnover or on cash received, by entering the VAT code in square brackets.
- If the amounts are net, it is not possible to create and post the invoices at the same time. In this case, it is necessary to manage:
- The creation of invoices in an accounting file, using the integrated invoicing or with the Offers and Invoices Application
- The posting of invoices in the accounting file.
In this case, the creation of the invoices must be handled in an accounting file or with the Offers and Invoices Application, and the posting in a separate accounting file.
Issuing an invoice with balance tax rate and gross amounts
To issue an invoice to customers with the standard VAT rate (e.g. 8.1%), you need to create a customer subaccount with profit centers CC3 (example: ;10001), completing all customer information in the columns of the Address view.
In the Transactions table:
- In the Date column, enter the invoice issue date.
- In the Invoice column, enter the invoice number:
It is important that the invoice number follows certain rules: see how to correctly create the invoice number. - In the Description column, enter the invoice details.
- The Debit and Credit columns must remain empty.
Since there are no accounts in the Debit and Credit columns, the invoice creation entry will not be recorded. - In the Amount column, enter the amount.
- In the VAT Code column, type the V81 code in square brackets [V81].
VAT codes in square brackets do not trigger VAT accounting. - In the CC3 column, enter the customer account, without semicolon (e.g. 10001).
It is important that the customer number follows certain rules: see how to correctly create the customer number.
Posting an Invoice with Balance Rate and Gross Amounts
When recording the invoice in the accounting, to post it using the VAT balance rate, you must enter the transaction as usual, also entering the accounts in the Debit and Credit columns and the VAT code of the balance rate:
- If the VAT breakdown method is used, enter the VAT code for the balance rate (e.g., F1). In this case, the VAT Codes table includes the VAT rates for the balance. In example F1 corresponds to 6.2%.
- If the non-VAT breakdown method is used, enter the VAT code without rate (e.g., F1). In the VAT code table, the balance rate codes do not have rates.
To post the invoice using the balance rate, it is necessary to create in the Accounts table:
- A customer sub-account using balance sheet accounts.
- Enter the date and description in the corresponding columns.
- In the Debit column, enter the customer account (e.g., 10001).
- In the Credit column, enter the income account.
- In the Amount column, enter the amount.
- In the VAT Code column, type the VAT code for the balance rate (e.g., F1)
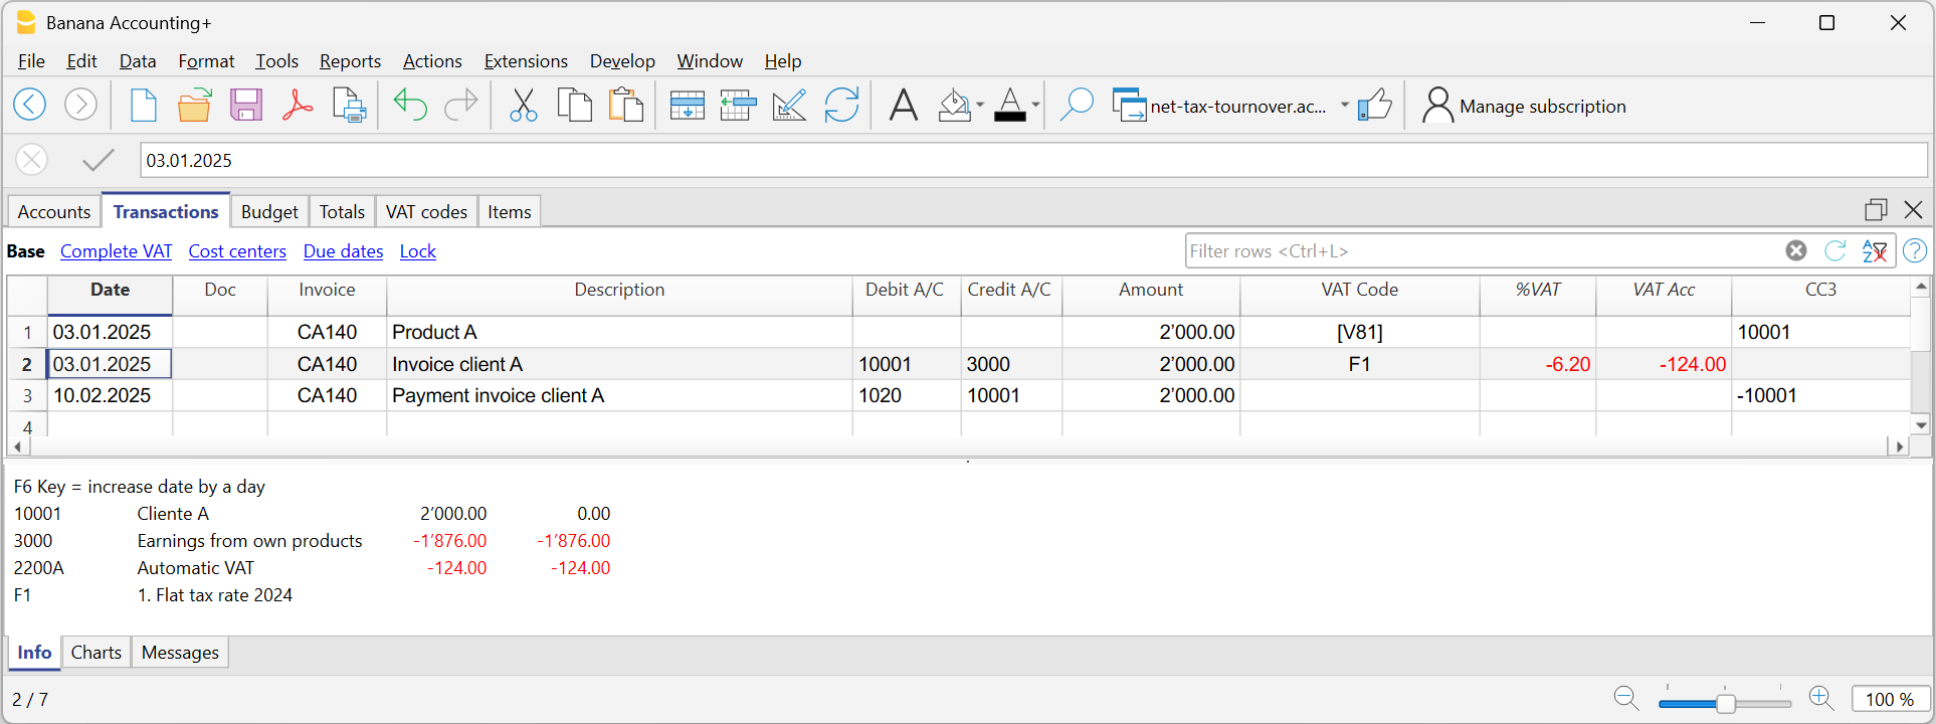
Rounding in invoice printout
In the printout of invoices integrated in accounting, the total VAT amount corresponds to the sum of the individual VAT transactions that make up the invoice. Since the individual VAT transactions are rounded to the nearest cent, there may be a difference compared to the VAT calculated on the total invoice amount.
To better understand, let's consider the following example:
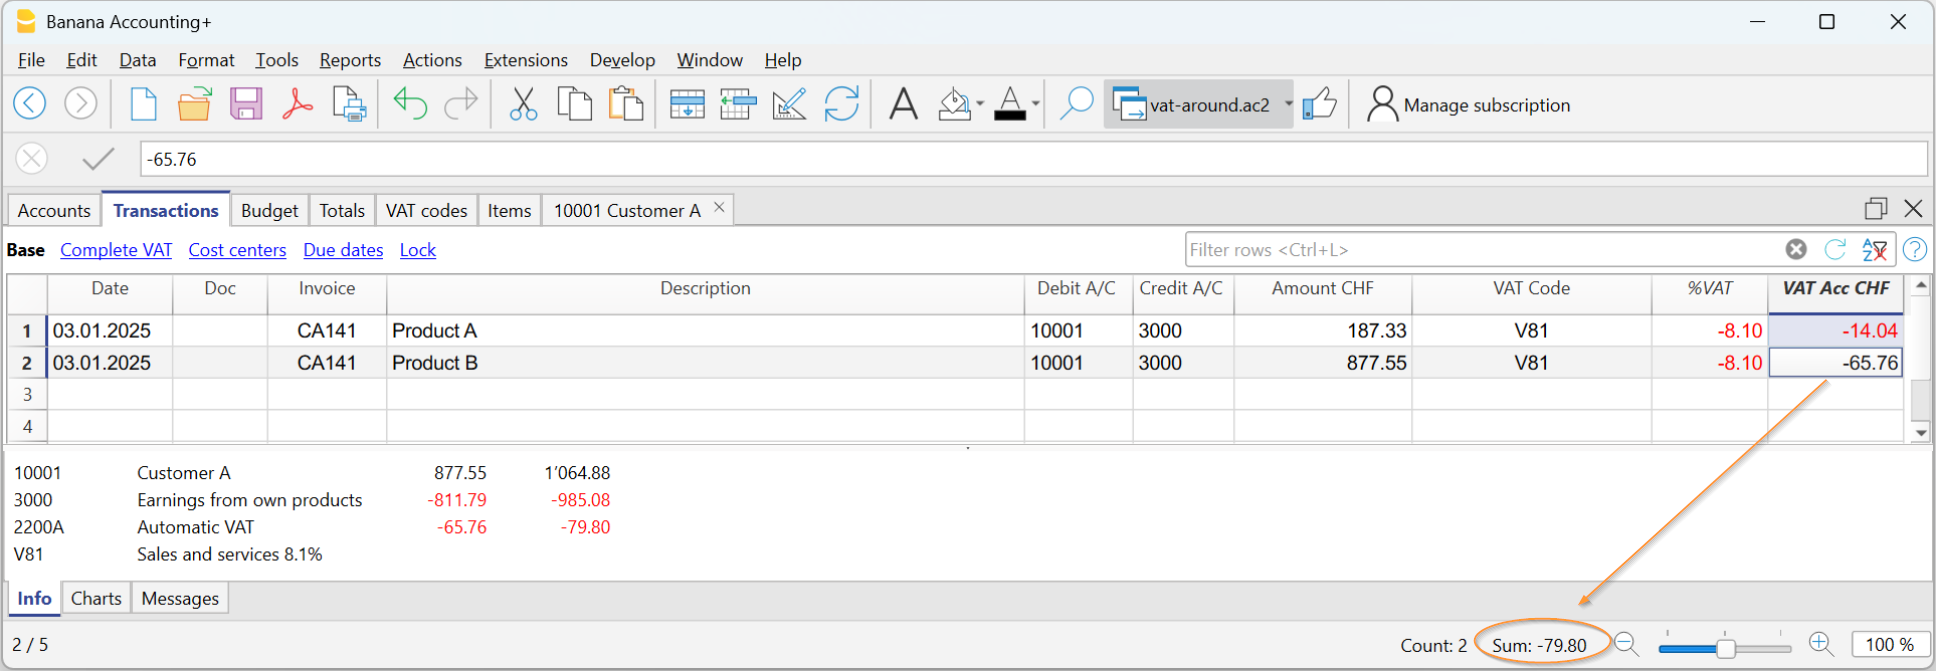
- Row 1: 8.1% of CHF 187.33 = Rounded: CHF 14.04
- Row 2: 8.1% of CHF 875.00 = Rounded: CHF 65.76
- Total: 8.1% of CHF 1064.88 = Rounded: CHF 79.80
The invoice shows a VAT amount of CHF 79.80 instead of CHF 79.79 (amount calculated directly on the total of 1064.88). In fact, the amount of CHF 79.80 corresponds to the sum of VAT individually calculated for each item (CHF 14.04 + CHF 65.76).
This logic is adopted to avoid discrepancies between the VAT amounts recorded in accounting and those shown on the invoice. In this way, the total VAT in accounting matches the one printed on the invoice.
Set customer language
The default layouts include the following languages: Italian, German, English, French, Dutch.
Invoice texts are printed in the customer's language, provided that this is set in the Language column (Accounts table, Address view).
The language is an ISO code, generally of 2 lowercase letters (it=italian, de=german, en=english, fr=french, nl=dutch).
When no language has been indicated for the customer account, the language of the accounting is used, defined in the File menu→ File and accounting properties (basic data) → Other.

Due dates and payment terms
The due date of an invoice can be set up in different ways:
- Generalized due date - identical due date for all invoices
Select menu Reports→ Customers → Settings → General → Invoices are due, indicate the period (in days) after which the invoice is considered due. As an example, if the date of your document is the 10th of May and you enter a value of 10 days, the due date will be the 20th of May. - Due dates per customer - specific for each customer
In the Accounts table, a DateExpiration column is available (if not on display set up via Data → Columns setup ...). The period (in days) after which the invoice is considered to be due can be set up in this column. - Specific dates per invoice
In the Transactions table, Due dates view, the Date Exp. column is visble; you can indicate the expiration date directly in this column. -
Alternative text for the expiration date
It is possible to define a text of your choice as a payment term for each invoice. This will replace the text of the expiration date. Revert to Advanced input -Type column for detailed information.
Print invoices in other currencies
With Banana Accounting Plus, you can also print invoices in foreign currency.
Invoices in foreign currency
Required settings:
- Open one of our multi-currency accounting templates.
- Set up in the Accounts table, in the customer ledger, the customer with the foreign currency. Invoices are printed in the currency of the customer's account.
- If you want to send invoices in different currencies to the same customer, you must create accounts in different currencies for the same customer (Accounts table).
- Use the UNI11 layout for printing invoices to be sent abroad.
Invoices in foreign currency with VAT in base currency
It is not normally possible to enter a foreign currency invoice with VAT in base currency. This can be overcome with the following procedures:
Invoices in foreign currencies with VAT using Cash principle
- Open one of our multi-currency accounting templates with VAT with cost centres CC3.
- Set up in the Accounts table, customers in foreign currencies as CC3 cost centres (;).
If you wish to send invoices in different currencies to the same customer, you must create accounts in different currencies for the same customer (Accounts table). - From the menu, Reports > Customers > Settings, set the Customer group/account to use the CC3 cost center.
- In the Transactions table, you must enter the invoice data on several rows:
- In the first row:
- In the Amount Currency column (Currency Amount) enter the amount net of VAT (without entering any debit or credit account).
- In the column CC3 enter the customer's cost centre account in foreign currency.
- In the second line:
- In the Amount Currency column (Currency Amount) enter the VAT amount in foreign currency (without entering any debit or credit account), manually calculating the VAT amount in foreign currency.
- In column CC3 enter the customer's cost centre account in foreign currency.
- In the first row:
- For printing invoices with Swiss QR code use layout CH10.
To register the receipt:
- In the Debit column enter the liquidity account.
- In the Debit column enter the revenue account.
- In the VAT Code column enter the VAT code of the sale.
- In the column CC3 enter the customer's cost centre account in foreign currency with a negative sign.
Example: Invoice entry in foreign currency (EUR) with VAT on receipts in base currency (CHF):
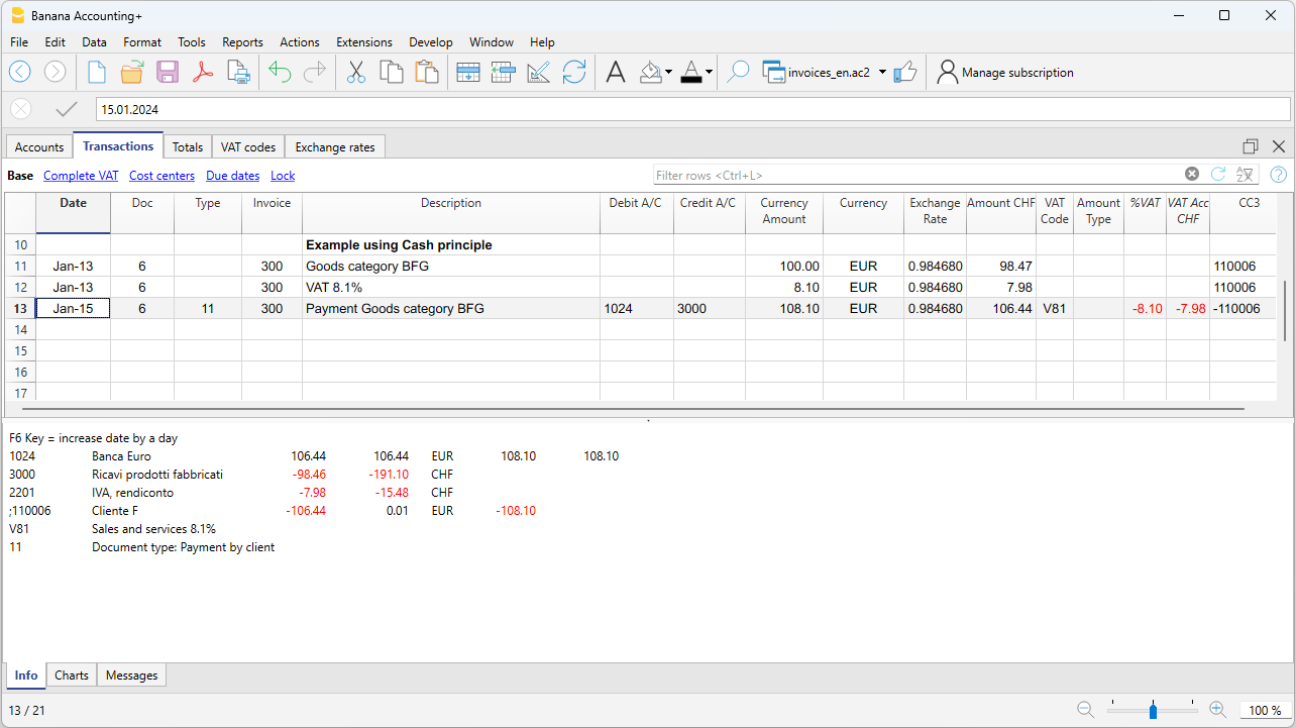
Invoices in foreign currencies with VAT on turnover
- Open one of our multi-currency accounting templates with VAT and a customer ledger.
- In the Accounts table, set the customers in foreign currencies both as a ledger (Accounts) and as CC3 cost centres (;).
From the Reports > Customers > Settings menu, set the Customer group/account to use the CC3 cost centre.
Note: If you set this option to CC3, invoices issued to a normal account will no longer be created. Therefore, we recommend also setting up your customers as CC3 cost centres.- In the Transactions table, you must enter the invoice data on several rows:
- In the first line enter the invoice issue normally:
- The date, the description, in the Debit account the customer account in foreign currency and in the Debit account the revenue, the amount before VAT and the VAT code of the sale.
- The invoice number does not have to be entered.
- In the second line:
- In the Amount Currency column (Currency Amount) enter the invoice amount net of VAT (without entering any debit or credit account).
- In column CC3 enter the customer's cost centre account in foreign currency.
- Where the columns Quantity, Unit and Unit Price are used, the unit price must be net of VAT.
- In the third line:
- In the Amount Currency column (Currency Amount) enter the VAT amount in foreign currency (without entering any debit or credit account), manually calculating the VAT amount in foreign currency.
- In column CC3 enter the customer's cost centre account in foreign currency.
- In the first line enter the invoice issue normally:
Rows with cost centres are simply used to search invoices in foreign currency with VAT.
To register the receipt:
- In the Debit column enter the liquidity account.
- In the Debit column enter the customer's foreign currency account.
- In the column CC3 enter the customer's cost centre account in foreign currency with a negative sign.
Example: Invoice entry in foreign currency (EUR) with VAT on turnover in base currency (CHF):
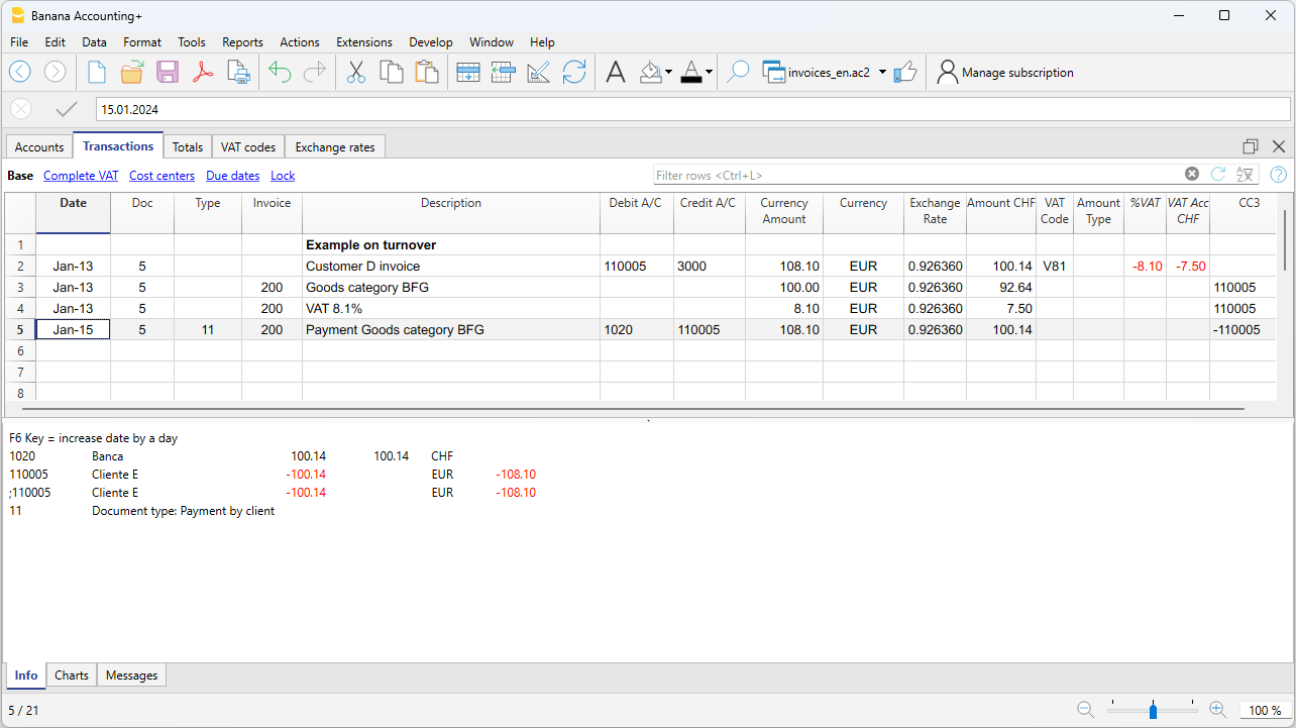
Advanced input Type column
The Type column in the Transactions table can be used to define the commands that are relevant to the display for printing data specific to your Invoice.
Check the DocType column via menu Data → Columns setup ..., to display the column and use it.
Entering data
Once the column is displayed, you may proceed by entering your data. You will need to:
- Add an empty row after the Date of the Invoice.
- Enter the date of the Invoice in the Date column.
- Enter the required command in the Type column (refer to table below)
- Enter the Invoice number in the Invoice column.
- Enter the data relevant to appear on the Invoice in the Description column.
Invoice to the customer
Typing 10: the Type column will list all possible options available to customize the data of your invoice.
These command lines should, except for the total lines, be placed at the end of the invoice, after all detail lines related to items or services.
| Invoice data | Column Type | Description column |
|---|---|---|
Client address If you want the address to look differently from the one defined in the Accounts table (Address view), you can change it using using the appropriate options. On each row a different element of the address is indicated (name, surname, address...). | 10:adr:fna 10:adr:lna 10:adr:bna 10:adr:str1 10:adr:str2 10:adr:str3 10:adr:cod 10:adr:cit 10:adr:sta 10:adr:cou | Enter name Enter surname Enter name of company/organization Enter line 1 of address Enter line 2 of address Enter line 3 of address Enter postal code Enter the location Enter the state /province Enter the country |
| Shipping address | 10:sadr:pna 10:sadr:fna 10:sadr:lna 10:sadr:str1 10:sadr:cod 10:sadr:cit | Enter prefix Enter name Enter surname Enter line 1 of address Enter postal code Enter the country |
Greetings After the invoice details, you may add a line of text for your final greetings (also see Examples invoices). | 10:gre | Enter your greetings |
Final notes One or several rows of notes can be inserted after the details of the invoice and before the greetings (also see Examples invoices). | 10:not | Enter your notes |
| Order date | 10:ordd | Enter the order date |
| Order number | 10:ordn | Enter the order number |
Parameters (advanced) When wanting to print personalized data on the invoice, you can use the appropriate command. This option is aimed at users with JavaScript programming knowledge, and allows you to change the invoice layout, so as to use the parameters indicated via this command. For further information please revert to Printing custom data. | 10:par | Enter your customized parameters |
Payment term Should you want to indicate an alternative text as a payment term, enter the desired text. This will be displayed on the invoice. | 10:ter | Enter the alternative text for the payment term |
| Text begin | 10:beg | Enter the text printed before the invoice title |
Title If you do not wish to use the default invoice title, you can choose a different title. | 10:tit | Enter your text to appear as the invoice title |
Items subtotals It is possible to enter intermediate totals for your invoice in the table with the details of the invoice (also see Examples invoices). | 10:tot 10:tot:0 10:tot:1 10:tot:2 | Enter level 0 subtotal (tot and tot: 0 is always level 0) Enter level 1 subtotal Enter level 2 subtotal |
Header line text In the invoice details table you can add headers to group items (also see Examples invoices). | 10:hdr | Enter the text you want to add to the invoice details. Leave empty to add an empty line. |
Intermediate Totals
In order to insert intermediate totals, you will need to add additional rows in the Transactions table:
- Enter 10 in the Type column: select :tot from the drop down menu, 10:tot will display. Enter again : and enter :1
- Enter the appropriate description in the Description column (ex. Total goods)
- Enter the Invoice number (in the absence of number, the total will not be printed).

Example of Invoice with intermediate totals.

Alternative text for payment terms
It is possible to define your own wording as a payment term for each invoice and this will replace the existing text for the expiry date.
- Enter an additional line with the same invoice number in the Transactions table.
- You will need to enter 10: in the Type column and select :ter from the drop-down menu, therefore the wording 10:ter will appear
- In the Description column, enter your text (ex 30 days net, 60 days etc ..).
When the invoice is printed, the value assigned as a payment term will be displayed.
Additional customisations
Other customisation options, such as the definition of bank details or final greetings, are available in the Print invoices dialog.
Customise invoice printing
Invoice printing can be customised and adapted to specific needs.
Set your company address (sender)
In the File menu > File and accounting properties (Basic data) > Address , set the address of your company.
Set the customer number and invoice number
It is important that the customer number and invoice number comply with certain constraints: see how to correctly create the customer number and invoice number.
Set up the list of customers in the Accounts table
- In the Accounts table, set up the customer's register.
- Display the address columns from the Address view and enter the customer addresses.
If the Address view is not visible, add it via the menu Tools > Add new functionalities > Add address columns in the Accounts table. - Configure the customer settings in the menu Reports > Customers > Settings.
Retrieving customer addresses from Excel
When customer data is on an Excel file, it can easily be taken back to the Accounts table, Address view.
It is assumed that in the Accounts table, at the end of the Chart of Accounts, there is the customer or shareholder register set up. Make sure you have enough empty rows to insert the data copied from Excel.
Proceed as follows:
- Select from Excel the column with the data to be copied and use the Copy (Ctrl+C) command.
- Go to Banana, Accounts table (Address view), position yourself in the corresponding column and issue the Paste (Ctrl+V or Paste) command from the Edit menu.
- Repeat this operation for all address columns (Account, First Name, Last Name, Organisation, Street, Zip, Country Code, Language).
The data corresponding to the mentioned columns are required for printing the invoice. - If you do not have all the columns mentioned in the Excel file, you must add the missing information manually.
Set customer language
You can print invoices in the customers' language. To do this you must first set the customer's language.
Logo setup position and sender address
To set the logo, you must:
- Upload the logo image in the menu File > Logo setup.
- To use the logo in the invoice, in the Invoice Settings you must activate the Logo box and enter the name of the customisation you used, respecting upper and lower case, in the Logo Name field.
For example, you can place the logo on the left and the address on the right and change the size of the logo.
The sender's address, if the default settings are not changed, is entered on the right, regardless of the presence of the logo.
If you want to set the sender address on the left without any logo, please see the following page:
Customise address in invoice header
The style of the sender's address in the invoice header (colour, size, font..) is set by default by the program.
The Advanced Plan of Banana Accounting Plus allows you to customize the style of the address. For more information see the Examples page.
Set invoice information
Invoice information is information about the date, customer number, due date, etc., which is usually located just below the header and next to the customer address.
The CH10 and UNI11 layouts allow you to define which invoice information to include and which to exclude from printing. You can find instructions on the Invoice Settings page.
For the other print layouts (CH01-CH09 / UNI01-UNI08), the information cannot be modified.
Set the payment term
The payment term for invoices by default is 30 days from the invoice date.
To change the payment term proceed as follows:
- In the Transactions table, ad a row to the invoice
- In the Date column enter the invoice date
- In the DocType column enter 10:ter (:ter Term of payment)
- In the Invoice column enter the invoice number
- In the Description column enter the desired payment term (for example "10 days")
Your text will be shown in the invoice Information.
Set customer address position
The CH10 and UNI11 layouts allow you to define the position of the customer address and the elements of the address. Please visit the Invoice Settings page for more information.
For other print layouts (CH01-CH09 / UNI01-UNI08), the location and composition of the customer address cannot be changed.
Set shipping address
To enter a shipping address in addition to the customer address, proceed as follows:
- Use the Type column of the Transactions table , command 10:sadr.
- Add a line to the invoice in the Transactions table .
- In the Date column, enter the date of the invoice
- In the Type column, enter::
- 10:sadr:fna for the name.
- 10:sadr:lna for the surname.
- 10:sadr:str1 for the address (street and number).
- 10:sadr:cod for the postcode.
- 10:sadr:cit for the location.
- In the Invoice column, enter the invoice number.
- In the Description column, enter the text to be displayed.
- With the CH10 and UNI11 layouts, go to Invoice settings > Customer address section and tick the Shipping address entry.
The data entered via the Type column of the Invoice table are taken over and inserted on the printout of the invoice.
Set title/object
To enter the title/object of the invoice, you have two options:
- Use the DocType column from the Transactions table, entering the text 10:it
- For each invoice you can define a title.
- If you leave the field empty, the default text is used.
- A text entered in the DocType column always has priority over entering the title in the layout settings (see next point).
- With the CH10 and UNI11 layouts, you can enter the text in the invoice Settings > Texts section > Invoice title.
- The title applies to all invoices printed with this layout.
- The title applies only if no title has been defined as per the first point.
If no text is entered, the program will use the default text.
Set initial text
To enter the title/object of the invoice, you have two options:
- Use the DocType column from the Transactions table, entering the text 10:beg
- For each invoice you can define a title.
- If you leave the field empty, the default text is used.
- A text entered in the DocType column always has priority over entering the title in the layout settings (see next point).
- With the CH10 and UNI11 layouts, you can enter the text in the invoice Settings > Texts section > Begin text.
- The title applies to all invoices printed with this layout.
- The title applies only if no title has been defined as per the first point.
Setting up the invoice details
Use the Transactions table to enter invoice data.
See also Discounts and rebates.
With the CH10 and UNI11 layouts, you decide which columns to display in the printout. See how to do this on the page Invoice Settings > Invoice Details.
For the other print layouts (CH01-CH09 / UNI01-UNI08), the columns are not editable.
Set final texts
To enter the final text of the invoice proceed as follows:
- From the Invoice Print Dialog > Options section
- Select the desired language
- Enter the text in the Final text field
- This text is applied to any print layout.
The CH10 and UNI11 layouts also allow you to define a final text from the Invoice Settings
- Go to Invoice Settings > Texts section > End text field and enter your text for each language.
- This text is applied to all invoices in the same .ac2 file created with that layout.
- This text has priority to whatever text has been entered in the has priority over the text entered from the Invoice Print Dialog.
To set different final texts for each invoice, you must use the DocType column of the Transactions table:
- In the DocType column, enter 10:not (Notes).
- In the Description column, enter the desired end text. The text you enter will appear on a single line.
- To add additional rows of notes, you must repeat the entry in the DocType and Description columns on multiple rows.
Set bank account number
If you don't use the QR-Code, you need to enter the bank account number as a reference for the invoice payment.
See the chapter above Set final texts to enter the bank account number.
Set IBAN for Swiss QR-Code printing
If you want to create QR invoices with IBAN account, you need to:
- Use the Layout CH10 for Banana Accounting Plus
- Set up IBAN account
- Set up the printing of the Swiss QR-Code
On the QR-Invoice with IBAN account page you will find more information for setting up QR-invoices with IBAN account.
Set up QR-IBAN for Swiss QR-Code printing
If you want to create QR-invoices with QR-IBAN account, you have to:
- Use the Layout CH10 for Banana Accounting Plus
- Set up QR-IBAN account
- Set up Swiss QR-Code printing
On the QR-Invoice with QR-IBAN page you can find more information about the settings of QR-invoices with QR-IBAN account.
Print QR form without amount and address
If you want to print only the QR-bill without amount and customer address, you have to:
- Use the QR-Invoice extension without amount and address.
- Set the currency, address and IBAN account.
- Create the bulletin with QR code.
See also how to print an Invoice without amount.
Set styles and colors
Invoice print layouts also have a setting where you can define:
- The font
- Enter the name of the font (e.g. Arial, Helvetica, etc).
- The colors
- You can use the English designation (black, yellow, white, blue, red, etc.).
- Or the hexadecimal value (HEX) preceded by the # sign (e.g. #000000, #009FE3, #FF00EA).
- Color codes are easily found on the internet. For example, you can consult the table at https://www.w3schools.com/cssref/css_colors.asp.
The CH10 and UNI11 layouts also have an Invoice Settings to define font size.
Set Bold texts
In the Invoice settings page you will find information on how to apply bold style to invoice texts.
Adding images to invoices
The Advanced Plan of Banana Accounting Plus allows you to add images to the offers and invoices to be sent to customers.
This functionality makes the invoice even more customizable and the client who receives it has a more complete and direct vision of the invoicing of the items.
See our information pages on how to add images:
Close cashed invoices
There are two ways to close open invoices:
Other resources
Print invoices | Integrated Invoicing
- You can choose the Print layout.
- You can customise invoice printing by changing the settings.
- Several layouts are available for invoice printing, here are the recommended ones:
- The CH10 layout for all users in Switzerland (with Swiss QR-Code).
- The UNI11 layout for all users in other countries. (Same as CH10, but without the QR-Code).
For more information on customisation, see:
With the Advanced plan of Banana Accounting Plus it is also possible to print several invoices at the same time and obtain single PDFs for each of them! For more information visit the page Print invoices or customer statements as separate PDFs.
Print invoice dialog Estimates and Invoices

From here you can:
- Select the invoice or invoices you wish to print.
- Set the layout to be used for printing the invoice.
- Access the layout settings to customise the printout.
Once the print options have been chosen, the OK button displays the invoice in the print preview window.
From the invoice preview you can:
- Print the invoice.
- Save it in PDF so that you can easily send it by e-mail
- Save the invoice in other formats.
- Access the Print Invoices dialogue.
Print tab
Invoice numbers
You can print single or multiple invoices:
- For single prints, indicate the number of the invoice.
- For multiple prints, indicate the numbers of the invoices between commas "1,3,6".
- To print a range ( from..to..) indicate the numbers separated by hyphen "1-3" .
If the invoice itself contains a '-', for example if you have an invoice number '2016-1', this must be enclosed in brackets {}, to distinguish the numbering of a range of documents {2016-1}-{2016-3}.
Invoices from
This option allows you to print all invoices included in the selected period. You need to enter an initial and final date.
Unprinted invoices
Invoices where the InvoicePrinted column of the Transactions table is empty are printed. All unprinted invoices are therefore printed.
Layout
The styles allow you to change the invoice layout.
Layout Preferences
Requirements to be able to use the layout preferences:
- Banana Accounting Plus (version 10.1.7 or more recent).
- Advanced plan
This option allows you to set the preferences offered by the selected layout.
If a layout with no preferences is selected, this section is not displayed in the dialogue box.
- Print as
You can select the type of document you wish to print, the choices are:- Automatic: prints the document in invoice format.
- Delivery note with amounts: prints the document as a delivery note.
- Delivery note without amounts: prints the document as a delivery note, without showing the amounts and the total.
- Estimate: prints document as estimate.
- Order confirmation: prints the document as order confirmation.
- Proforma Invoice: prints document as proforma invoice.
- Invoice: prints the document in invoice format.
- QR Slip: prints only the QR slip (for layout CH10 only).
- 1st reminder: prints the document as first reminder.
- 2nd reminder: prints the document as second reminder.
- 3rd reminder: prints document as third reminder.
The chosen document type is not saved for the next time, instead it is set to "automatic" again.
Layout preferences are offered by the following layouts:
Other layouts
This button takes you to the Manage extensions dialog window, where you can install new layouts, update existing ones with the latest versions, or add your own customised layouts.
Settings
Allows you to access the settings dialogue of the selected layout, where you can customise the printing of the invoice. Each layout has its own customisable settings.
Update the InvoicePrinted column after printing
You can make this column visible by using the Data menu → Columns setup command.
The program will update the content of the column Printed after the print preview, adding the text 1. This will allow the Select unprinted invoices command to only print the invoices with no content in this column.
Options tab
In this section, language-specific texts can be added, for example, to indicate final greetings or bank details for payment. Depending on the customer's language, the programme will display at the end of the invoice the texts saved for the language indicated.
Only one type of text can be entered, one for each language.
The texts entered here are taken over when printing all invoices, whichever print layout is used.
To enter a final text:
Menu Reports > Customers > Print invoices.
In the Options section, enter the desired text.
Confirm with OK.
The text entered will appear in the print preview of the invoice.

Adding different types of end texts
In order to add different types of notes in invoices, please refer to the following paragraph in page:
Export to PDF
The program displays a preview of invoices or customer statements. From the print preview, using the Export PDF command, you can create:
- A single file that contains all invoices or customer statements.
- Separate files for each individual invoice or customer statement.
Print Delivery notes | Integrated Invoicing
With Integrated invoicing, when you create an invoice, it is automatically recorded in the accounting system and the customer's account. It is possible to print an invoice with the wording "Delivery Note" containing the same invoice data, using layouts CH10 and UNI11.
However, it is not possible to create a standalone record for the delivery note without any accounting impact, one that doesn't debit the customer's account or credit other accounts.
Mandatory requirements to use the layout preferences:
- Banana Accounting Plus (Release 10.1.7 or later).
- The Advanced plan
How to print a delivery note
In the Transactions table select the row where the delivery note to be printed is located and proceed as follows:
- Menu Report > Customers > Print invoices
- Select Layout CH10 or UNI11
- Under Print as, select:
- Delivery note with amounts
In this case, amounts in details and total amount are included in the delivery note. - Delivery note without amounts
Only the details of the dispatched goods are displayed in the delivery note, without any amounts.
- Delivery note with amounts
- Conferm with OK.
Delivery address
When printing the delivery note with an address other than the billing address, the delivery address must be entered in the Transactions table, using the Type column.
In this case, the delivery note will print the address entered in the Transactions table and not that of the respective customer, which is instead found in the Accounts table, Address view.
Printing customization
All settings that characterise Layout CH10 and UNI11 are also retained when printing the delivery note.
To change the settings, go to Print Layout Settings.
Under Texts > Delivery Note you can define the initial and final texts in the delivery note.
Print example:
Print Estimates | Integrated Invoicing
With Integrated invoicing, when you create an invoice, it is automatically recorded in the accounting system and the customer's account. It is possible to print an invoice with the wording "Estimate" containing the same invoice data, using layouts CH10 and UNI11.
However, it is not possible to create a standalone transaction for the Estimate without any accounting impact, one that doesn't debit the customer's account or credit other accounts.
Requirements in order to use layout preferences to select the label "Estimate" are
- Banana Accounting+ (version 10.1.7 or later).
- Advanced plan
How to print an estimate
In theTransactions table, select the row that corresponds to the estimate and proceed as follows:
- Menu Reports > Customers > Print invoices
- Select Layout CH10 or UNI11
- Select the option Print as, and choose Estimate
- Confirm with OK.
The offer is always printed without the Swiss QR bulletin.
Printing customization
All the settings that characterize the CH10 and UNI11 Layout are also retained in the printing of the estimate.
To modify the settings, go to the Print Layout Settings.
In the Texts > Estimate section, you can define the initial and final texts of the quote.
Print Reminders | Integrated Invoicing
In Banana Accounting Plus you can print reminders in two different ways:
Print Reminders from the Print Invoice dialogue | Integrated Invoicing
Banana Accounting Plus, with the CH10 and UNI11 layouts, also allows you to print reminders.
Requirements for using layout preferences:
On the basis of the invoice data entered in the Transactions table, reminders can be printed.
How to print a reminder
In the Transactions table select the row where the invoice for which you need to print the reminder is located and proceed as follows:
- From the Menu Reports > Customers > Print Invoices
- Select Layout CH10 or UNI11
- Under Print as, select one of the following options:
- 1. reminder
- 2. reminder
- 3. reminder
- Confirm with OK
Print customization
All settings that characterise the CH10 and UNI11 layouts are also retained in the reminder printout.
To change the settings, go to Print Layout Settings.
Under Texts → Reminder you can define the start and end texts in the reminder.
Print example: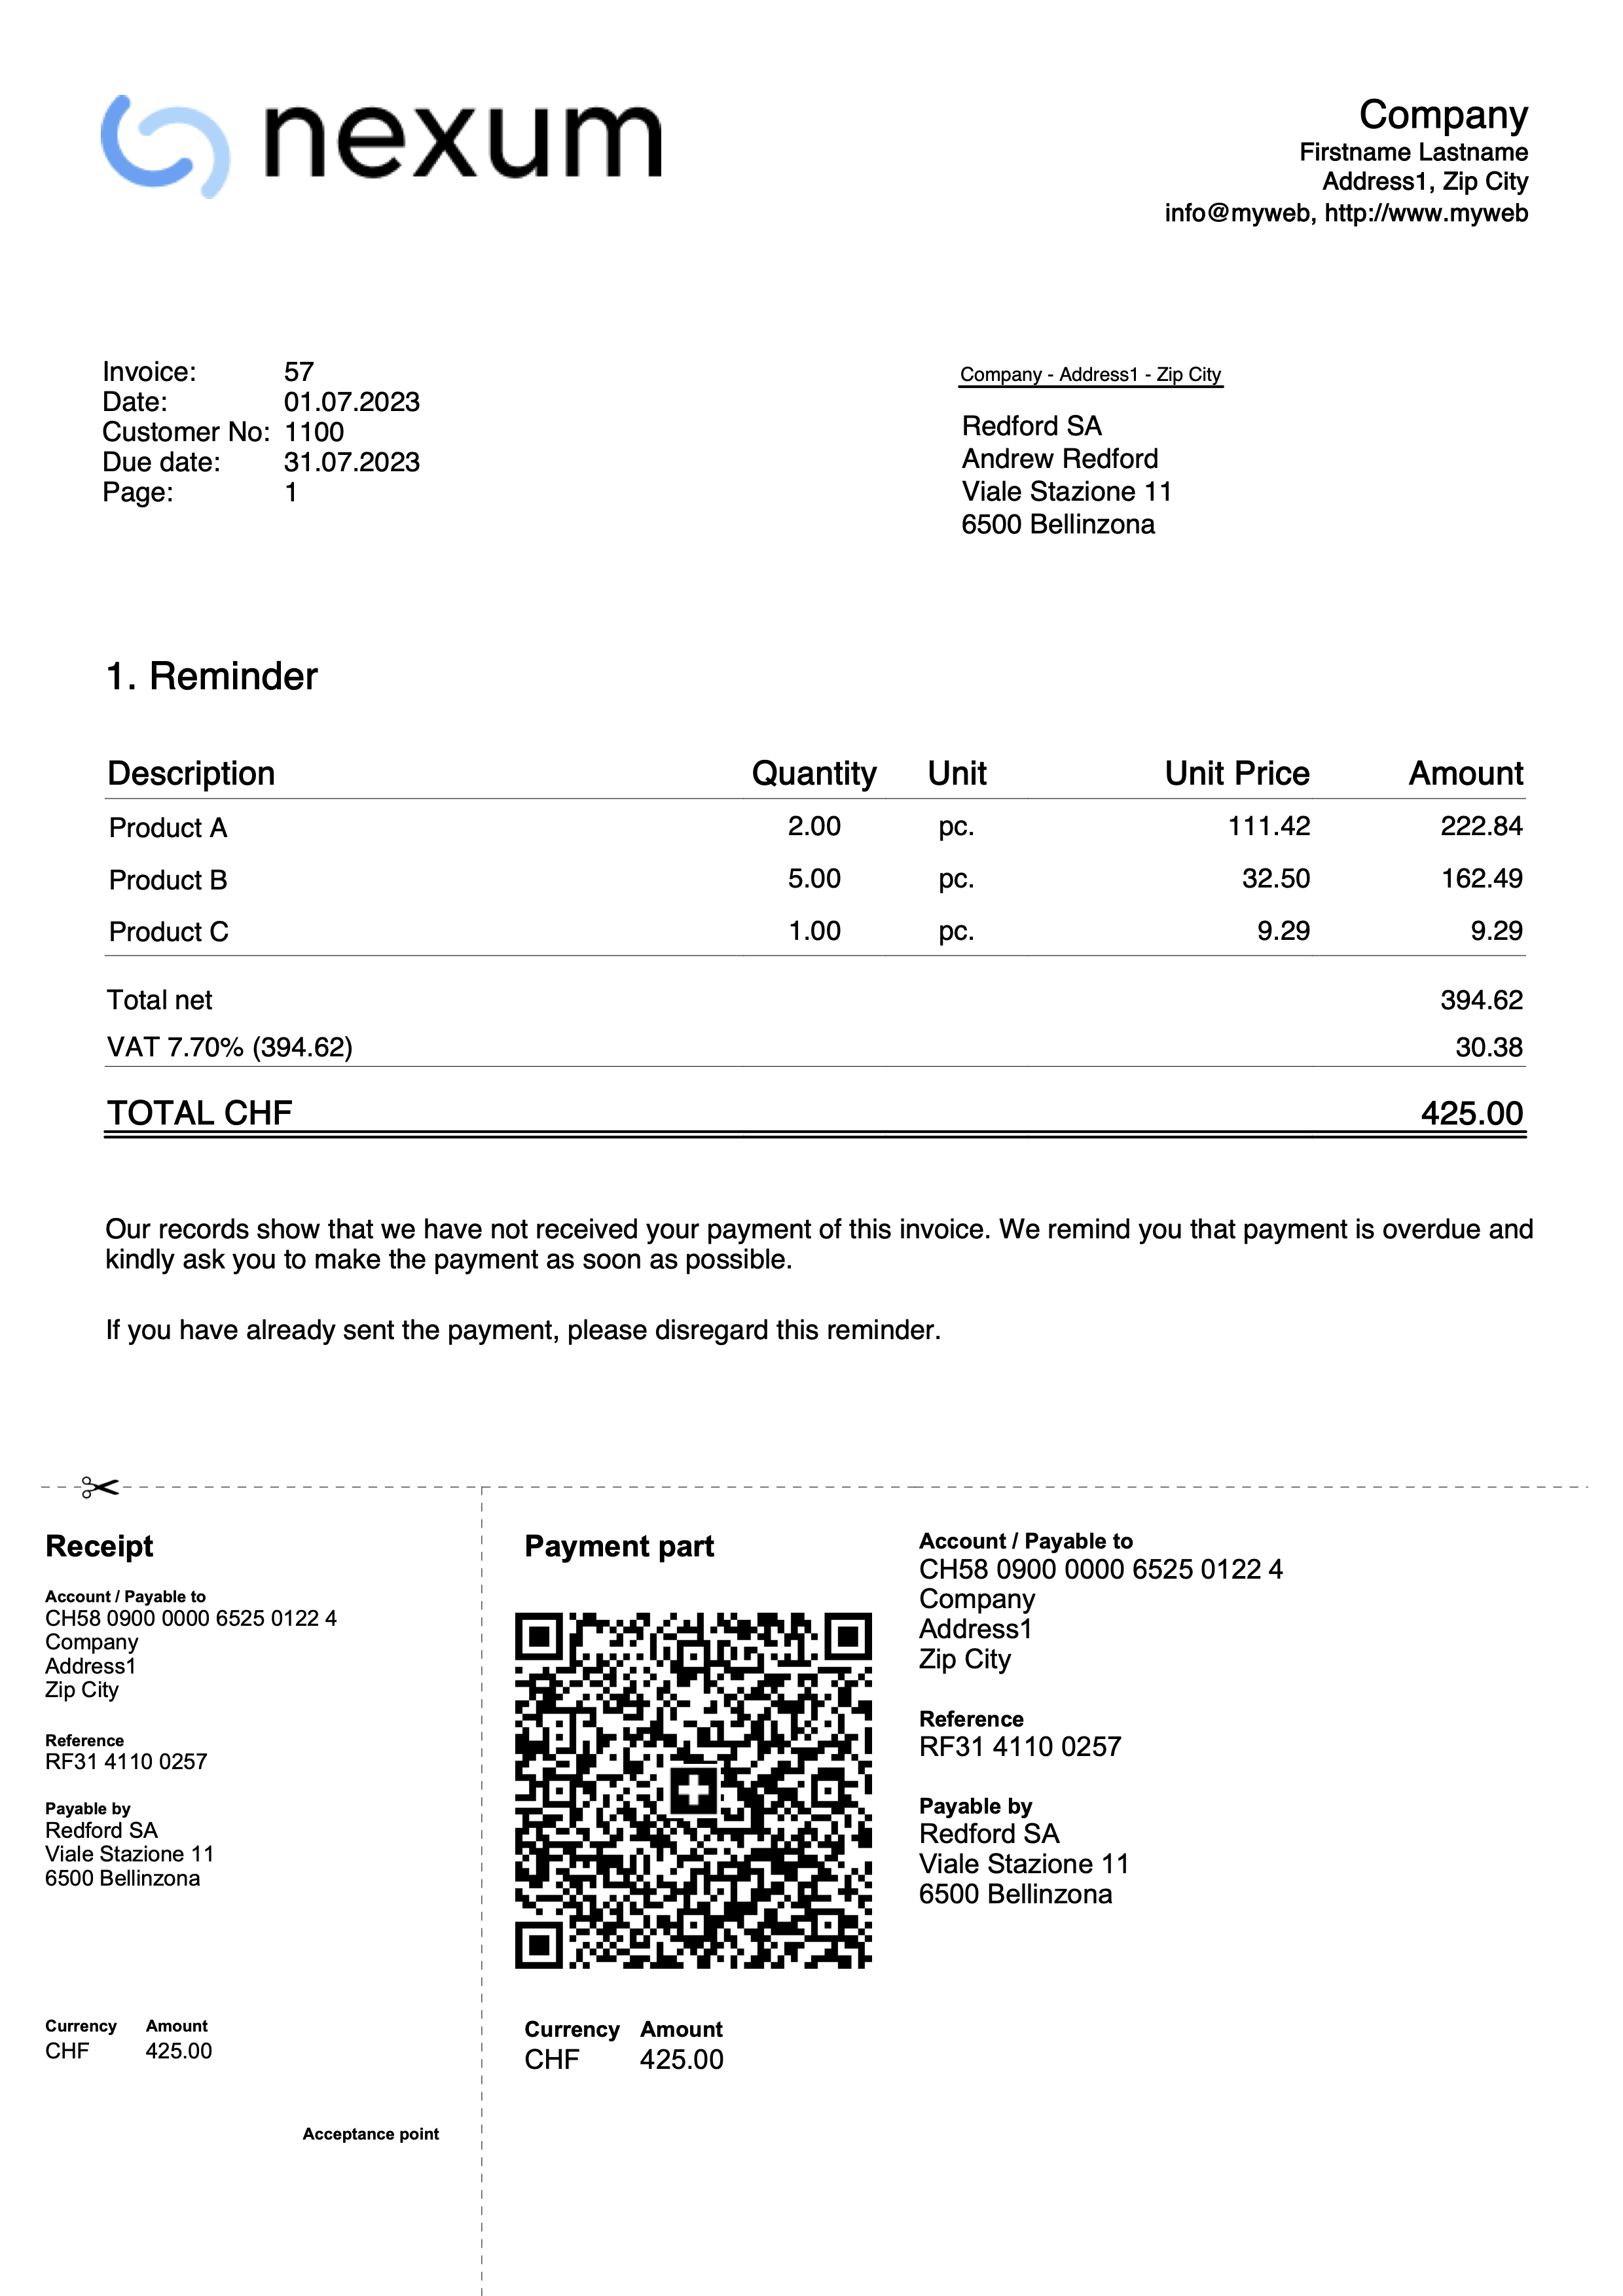
Export invoices in PDF
This dialog window appears from the print preview when you need to export invoices and customer statements to PDF.
To export invoices to PDF:
- From the menu Reports > Customers > Print invoices
- Specify the invoices to print (e.g. 1-10)
- Confirm with OK.
- From the print preview, click the PDF icon.
Export single invoices or customer statements to PDF
This function allows you to export an invoice or a customer statement into a PDF file.
The option is visible when only one invoice or one customer statement has been selected for PDF export.
To export a single invoice or customer statement to PDF, you must:
- From the print preview, click Export > Create PDF.
- Click Browse and select or create the folder where to save the file.
- Enter the PDF file name. The name is automatically filled in the File name field.
- Enable the Open file immediately option to view the created PDF.
- Confirm with OK.
Export multiple invoices or customer statements into a single PDF
This function allows you to export several invoices or customer statements into one single PDF.
The option is only visible when multiple invoices or customer statements have been selected for PDF export.
To export invoices or customer statements into a single PDF, you must:
- From the print preview, click Export > Create PDF.
- Enable the Save as single file option.
- Click Browse and select or create the folder where to save the file.
- Enter the PDF file name. The name is automatically filled in the File name field.
- Enable the Open file immediately option to view the created PDF.
- Confirm with OK.
Export multiple invoices or customer statements as separate PDFs
This function allows you to export several invoices or customer statements in a single operation, generating separate PDF files.
This option is only available:
- With the Advanced plan of Banana Accounting Plus.
- When multiple invoices or customer statements have been selected for PDF export.
To export invoices or customer statements as separate PDFs, you must:
- From the print preview, click Export > Create PDF.
- Enable the Save as individual files option.
- Click Browse and select or create the folder where to save the files.
- In the File names field, you can customize the file name using variables available in the dialog window.
- Click Variables to view the full list of variables.
- Double-click the variables you want to use and compose the file name. While composing, the resulting file name preview is updated automatically.
Example: <doc_date> for the document date, <customer_name> for the customer name, and <doc_number> for the document number.
- Enable the Open file immediately option to view the created PDF.
- Confirm with OK.
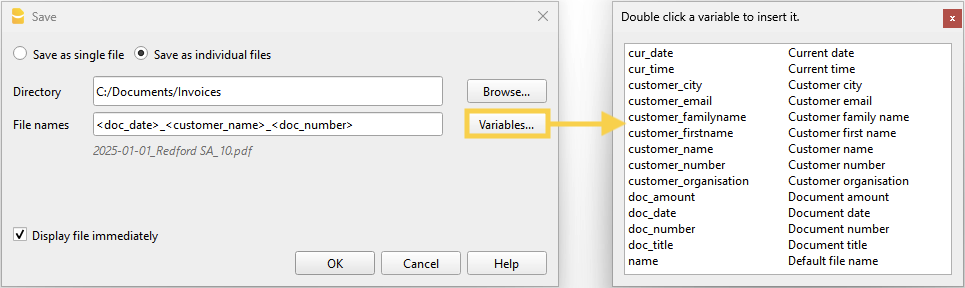
If a file with the same name already exists in the selected folder, the program will ask for confirmation during saving.
List of available variables
To customize the file names, use the following variables:
- cur_date: the current date when the PDF documents are created.
- cur_time: the current time when the PDF documents are created.
- customer_city: the customer's city.
- customer_email: the customer's email address.
- customer_familyname: the customer's last name.
- customer_firstname: the customer's first name.
- customer_name: the full name of the customer or the company name.
- customer_number: the customer number.
- customer_organisation: the company name.
- doc_amount: the amount of the document.
- doc_date: the date of the document.
- doc_number: the document number.
- doc_title: the invoice title with number, customer name or company name.
- name: the default file name (invoice title with number, customer name or company name).
Export other types of documents
From the print preview, you can export any document to PDF using the Create PDF command.
For more information, visit:
Invoice collection registration
There are two ways to close open invoices:
- Manually register the collection of customer's invoice
- Automatically register by importing the data in the bank statement in ISO 20022 format.
Closure with manual recording
To manually record the receipts of the invoices, see the following pages
- Closing with transaction on the turnover principle method
- Closing with transaction on the cash method
Closing with ISO 20022 data import (Switzerland)
To automatically close open invoices by importing statement data, you must:
- Download and save on your computer the data in ISO 20022 format directly from the bank's website.
Files in ISO 20022 formats camt052, camt053 and camt054 are supported for Swiss specifications. - Install the ISO 20022 Camt Bank Statement (Switzerland) extension.
- Set some parameters of the extension.
- Import the transactions by selecting the Camt Bank Statement ISO 20022 (Switzerland) extension.
With the import, the program automatically creates records in the Transactions table and enters the data in the corresponding columns:
- In the Date column, the date of the invoice collection.
- In the Invoice column, the invoice number extracted from the QR reference number (see parameters).
- In the Description column, the QR reference number.
- In the A/C Credit column, the customer account extracted from the QR reference number (see parameters);
- The extracted customer account will be saved as an account/category or cost center based on the parameters.
- In the Amount column, the invoice amount.
- In the A/C Debit column, the counterpart account (the bank account where the amount has been collected) if this has been enabled during the import.
For more information, see the Camt ISO 20022 (Switzerland) Bank Statement page.
QR References
The codes of the QR references are explained on the following pages:
- With the IBAN account, the Structured Creditor Reference (SCOR) type is used.
- With QR-IBAN account the QRR Reference type is used.
Kundenkonto und Rechnungsnummer bearbeiten
Wenn Sie die Kundennummer sowohl im Postenbuch als auch in den Kosten- und Profitstellen ändern oder die Rechnungsnummer anpassen, stellen Sie sicher, dass keine offenen Rechnungen aus den Vorjahren vorhanden sind.
Kundenkonto bearbeiten ohne Anfangssaldi
Das Kundenkonto kann mit dem Befehl Umbenennen geändert werden.
Wenn bereits Buchungen mit dem alten Konto existieren, werden diese automatisch auf das neue Kundenkonto aktualisiert.
Es wird empfohlen, ein Kundenkonto zu Beginn des Jahres umzubenennen, sofern keine offenen Rechnungen vorhanden sind.
Kundenkontos bearbeiten mit Anfangssaldi
Wenn ein Kundenkonto mit Eröffnungssalden (offenen Rechnungen) umbenannt werden soll, kann das Konto nicht einfach geändert werden. Stattdessen muss ein neues Konto mit der neuen Nummerierung angelegt werden. Der Eröffnungssaldo wird anschliessend durch eine Buchung vom alten Konto auf das neue Konto übertragen.
- Fügen Sie in der Tabelle Konten das neue Konto mit der neuen Nummerierung hinzu.

- Erstellen Sie in der Tabelle Buchungen eine Buchung, um den Eröffnungssaldo vom alten Konto auf das neue Konto umzubuchen.
- Falls im neuen Jahr noch Rechnungen existieren, die sich auf das alte Konto beziehen, können diese dem neuen Konto zugeordnet werden. Dazu muss die Kontonummer in allen zugehörigen Buchungen geändert werden.
Wichtige Hinweise:
- Seien Sie besonders vorsichtig, wenn Rechnungen bereits an den Kunden gesendet oder bezahlt wurden.
- Falls die Belegnummer auch die Kundennummer enthält, prüfen Sie, ob eine Änderung erforderlich oder möglich ist.

- Im Menü Aktionen > Kundenbericht > Offene Rechnungen pro Kunde wird ein Bericht angezeigt, der die Schliessung des alten Kontos sowie die Übertragung des Saldos auf das neue Konto dokumentiert.
- Ein Konto mit der alten Nummerierung und einem Nullsaldo kann im folgenden Jahr gelöscht werden, sofern der Anfangssaldo Null beträgt.

Ändern einer bereits gebuchten oder ausgestellten Rechnungsnummer
Wenn Sie die Nummer einer noch nicht bezahlten Rechnung ändern möchten, stehen Ihnen zwei Möglichkeiten zur Verfügung:
- Ersetzen Sie die Rechnungsnummer direkt in der ursprünglichen Buchung der Rechnung.
Diese Vorgehensweise wird nicht empfohlen, wenn die Rechnung mit der alten Nummer bereits in der Vorjahresdatei erfasst wurde.
- Stornierung und erneute Buchung
- Stornieren Sie die ursprüngliche Buchung der Rechnungsausstellung.
- Erfassen Sie eine neue Buchung mit folgenden Angaben:
- Spalte Rechnung – Geben Sie die neue Rechnungsnummer ein.
- Spalte Typ – Tragen Sie den Wert 15 ein (schliesst den Kundenbeleg).
- Spalte Soll – Geben Sie ein Transferkonto an.
- In der Spalte Haben – Geben Sie das Kundenkonto an.
- Spalte Betrag – Erfassen Sie den Rechnungsbetrag.
Diese Vorgehensweise wird empfohlen, wenn die Rechnung mit der alten Nummer in der Vorjahresdatei erfasst wurde, da sie sicherstellt, dass die Änderung korrekt nachvollzogen werden kann.

How to create a credit note – Invoiced and collected
With Banana Accounting you can create a credit note both when recording on an accrual basis (Accrual principle) and on a cash basis (Cash principle).
Below are the two separate procedures:
Credit note on an accrual basis (Accrual principle)
Credit notes have their own DocType, different from invoices.
Entering the transaction
- Enter the transaction as if it were an invoice.
- In the Invoice column, indicate the credit note number.
- In the DocType column, enter 12.
- In the Description column, enter the text that will appear in the credit note details.
- In the Debit column, enter the sales account and in the Credit column, enter the customer account.
The accounts will follow the posting logic of a credit note. As a result, the amount in the document will be negative.
VAT reversal (if necessary)
If you also need to reverse VAT in the credit note:
- In the VAT Code column, enter the sales VAT code with a minus sign in front (Example -V81).

Printing the credit note
To print the credit note, use the same command as for invoices:
Credit note on a cash basis (Cash principle)
Also in this case, credit notes have a specific DocType.
Entering the transaction
Enter the transaction as if it were an invoice, without entering any account in the Debit and Credit columns.
- In the DocType column, enter 12.
- In the Invoice column, indicate the credit note number.
If the credit note must be shown as a reduction of the invoice amount:- The credit note number must be the same as the invoice number.
- In the Description column, enter the text that will appear in the credit note details.
- In the Amount column, enter the amount.
- In the CC3 column, enter the customer’s CC3 account with a minus sign in front.
VAT reversal (if necessary)
If you also need to reverse VAT in the credit note:
- In the VAT Code column, enter the sales VAT code in square brackets with a minus sign in front (Example [-V81]).
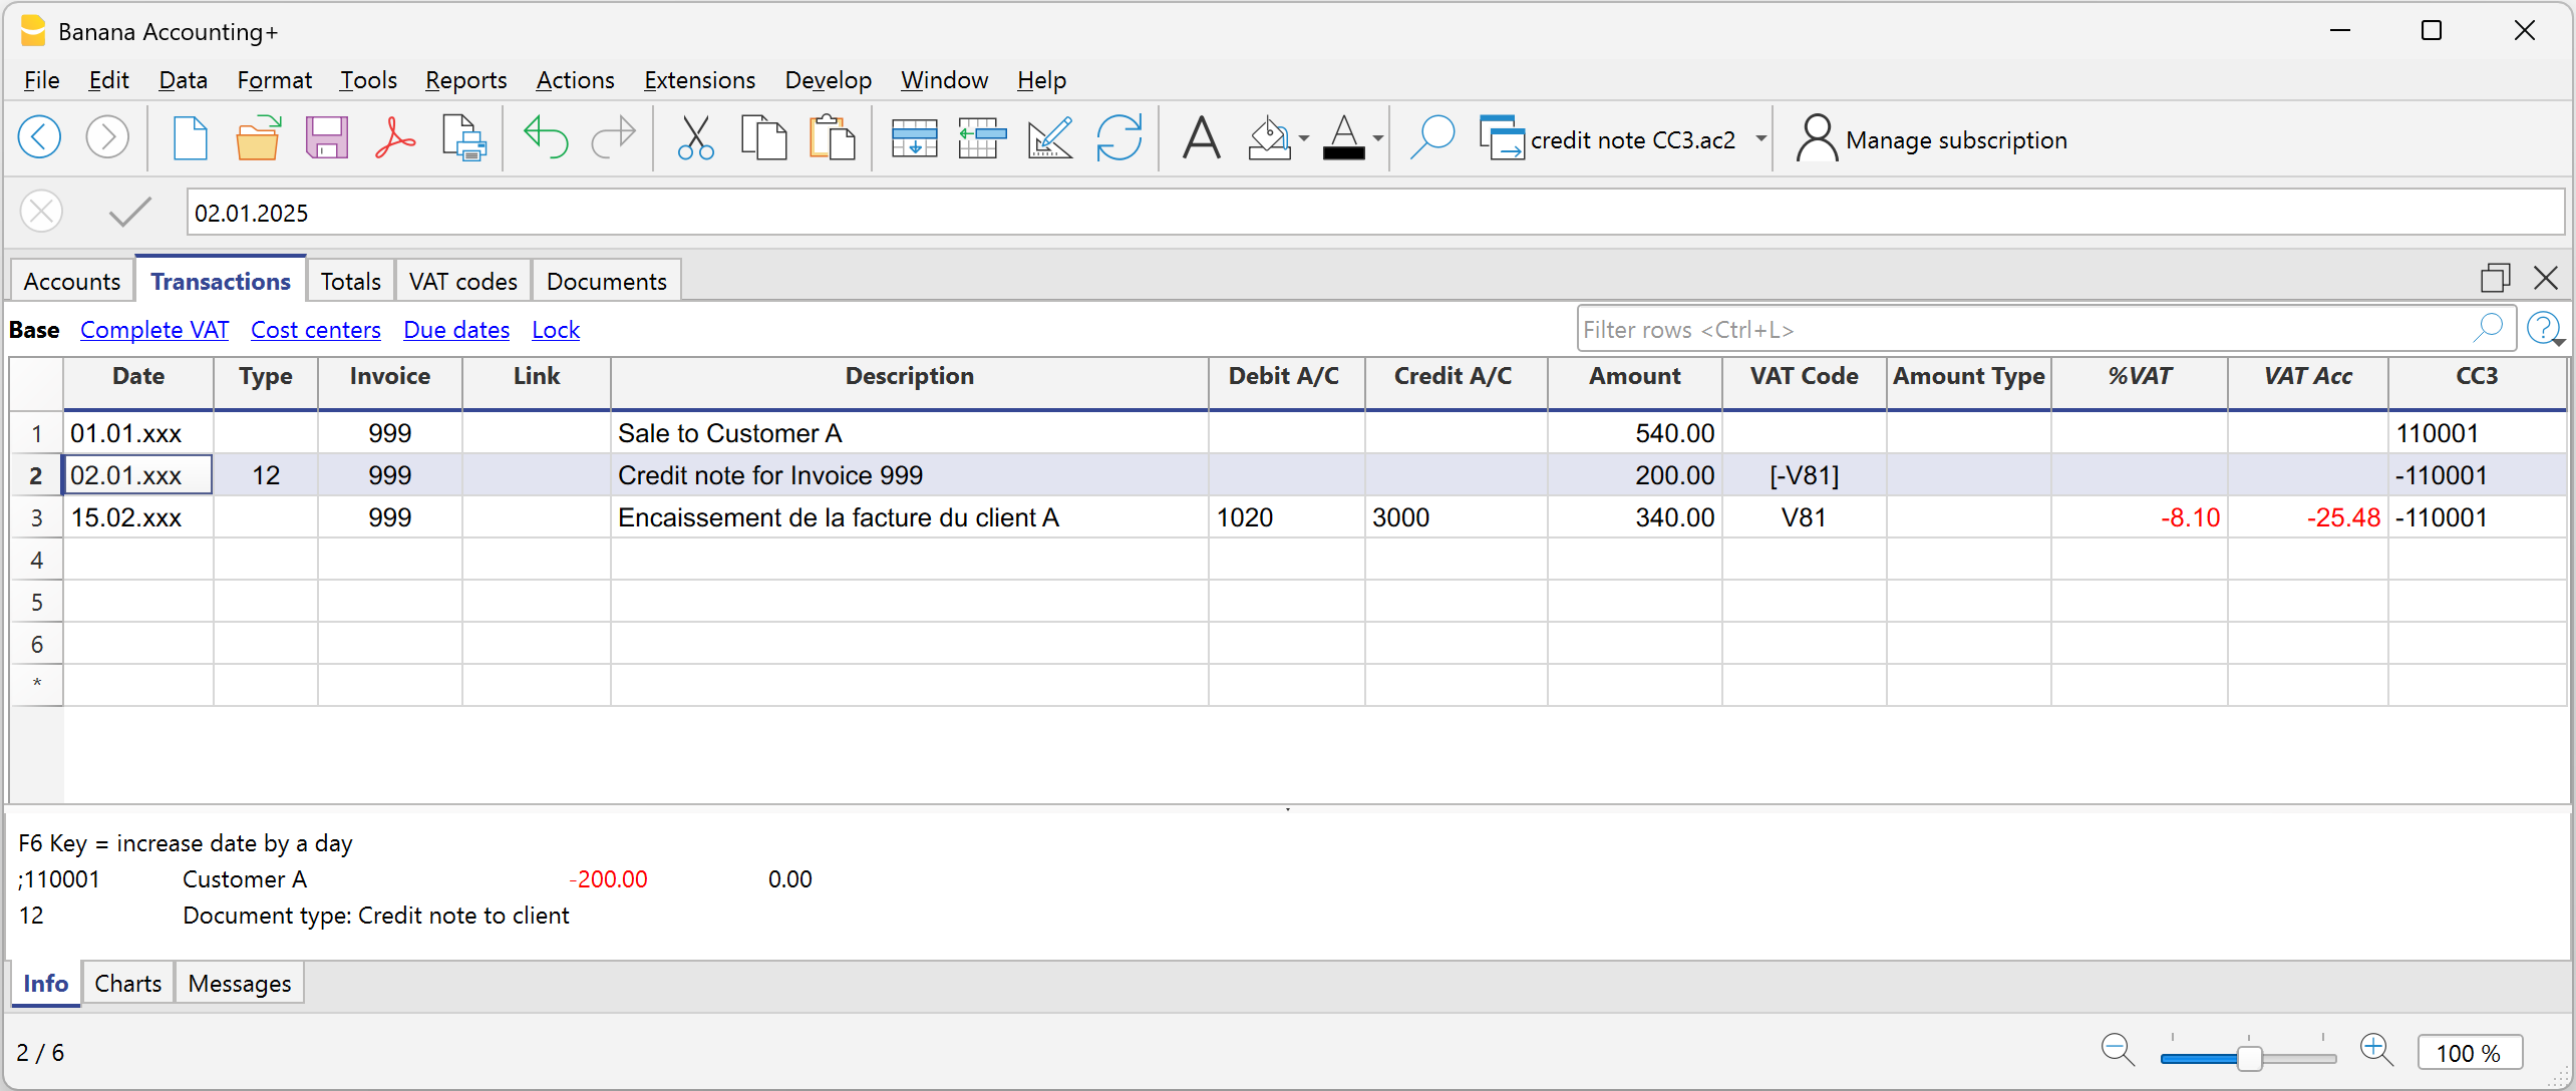
Printing the credit note
Also in this case, printing is done using the same command as for invoices:
Roundings in invoices
If there is a rounding in the invoice printout, the rounding must be reported into the accounting, otherwise the programme will report an error, indicating the difference to be recorded.
From the menu Reports > Customers > Settings > Advanced it is possible to set the roundings of the invoice to the desired cents, but only in base currency.
If you do not wish to round the invoice amount, you must set the rounding in the field Invoice rounding (basic currency) to 0.01; the invoice total will correspond to the amount of the transactions.
In the Exchange Rates table, the Reference Currency column typically contains the base currency, while the Currency column contains the foreign currency.
When the reference currency is not the base currency, it is not possible to set rounding from the customer settings (menu Report > Customers > Settings > Advanced). In this case, to set rounding, you need to use the Rounding column in the Exchange Rates table (menu Data > Columns setup > display the Rounding column). If you do not wish to round the invoice amount, set the rounding to 0.01 in this column.
Record positive roundings in customer chart of accounts
When there is a positive rounding, enter the following in the Transactions table:
- Enter the date of the invoice in the Date column.
- Enter the invoice number in the Invoice column.
- Enter a description in the Description column.
- Enter the customer's account in the Debit column.
- Enter the counterpart (Sales, Consulting or other account) in the Credit column.
- Enter the hundredths of the rounding in the Amount column.

Record negative roundings in customer chart of accounts
When there is a negative rounding, enter the following in the Transactions table:
- Enter the date of the invoice in the Date column.
- Enter the invoice number in the Invoice column.
- Enter a description in the Description column.
- Enter the counterpart (Sales, Consulting or other account) in the Debit column.
- Enter the customer account in the Credit column.
- Enter hundredths of the rounding in the Amount column.
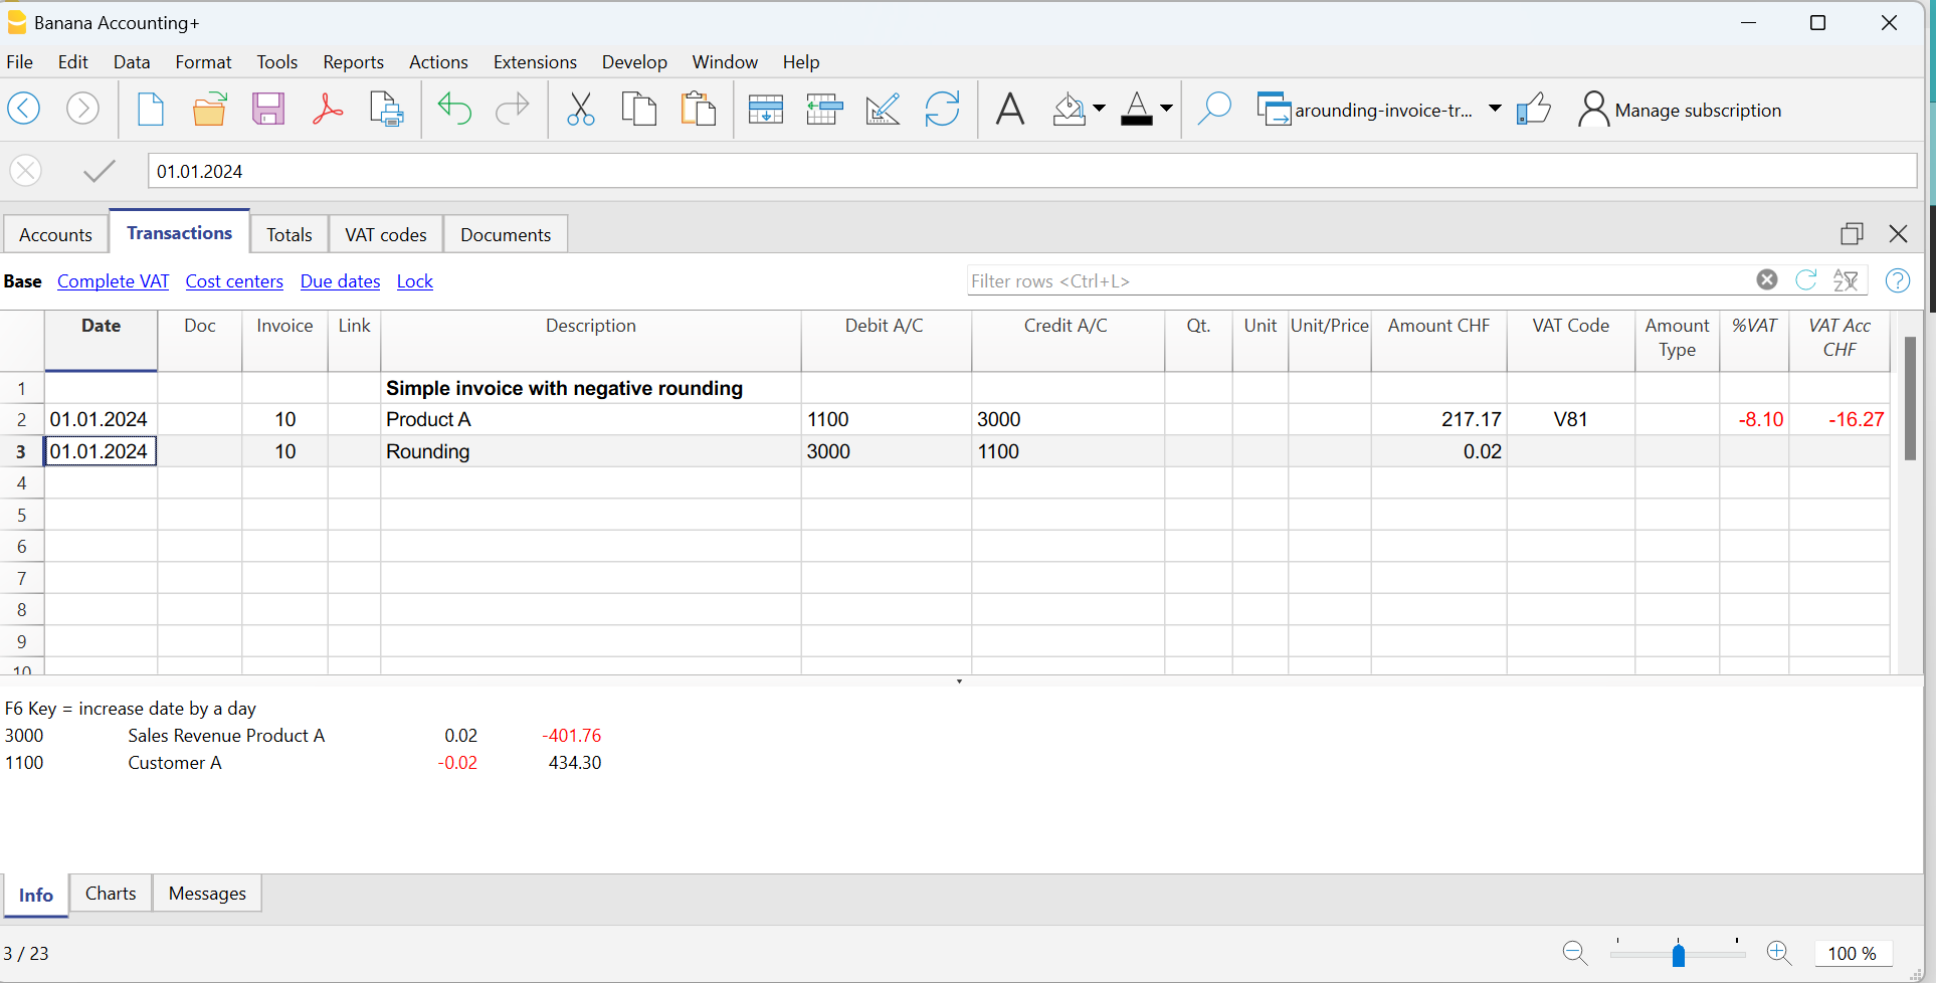
Record positive roundings in the cost centre (CC3)
When there is a positive rounding, enter the following in the Transactions table:
- Enter the date of the invoice in the Date column.
- Enter the invoice number in the Invoice column.
- Enter a description in the Description column.
- Leave the Debit column blank.
- Leave the Credit column blank.
- Enter hundredths of a rounding in the Amount column.
- In the CC3 column, enter the customer's cost centre.
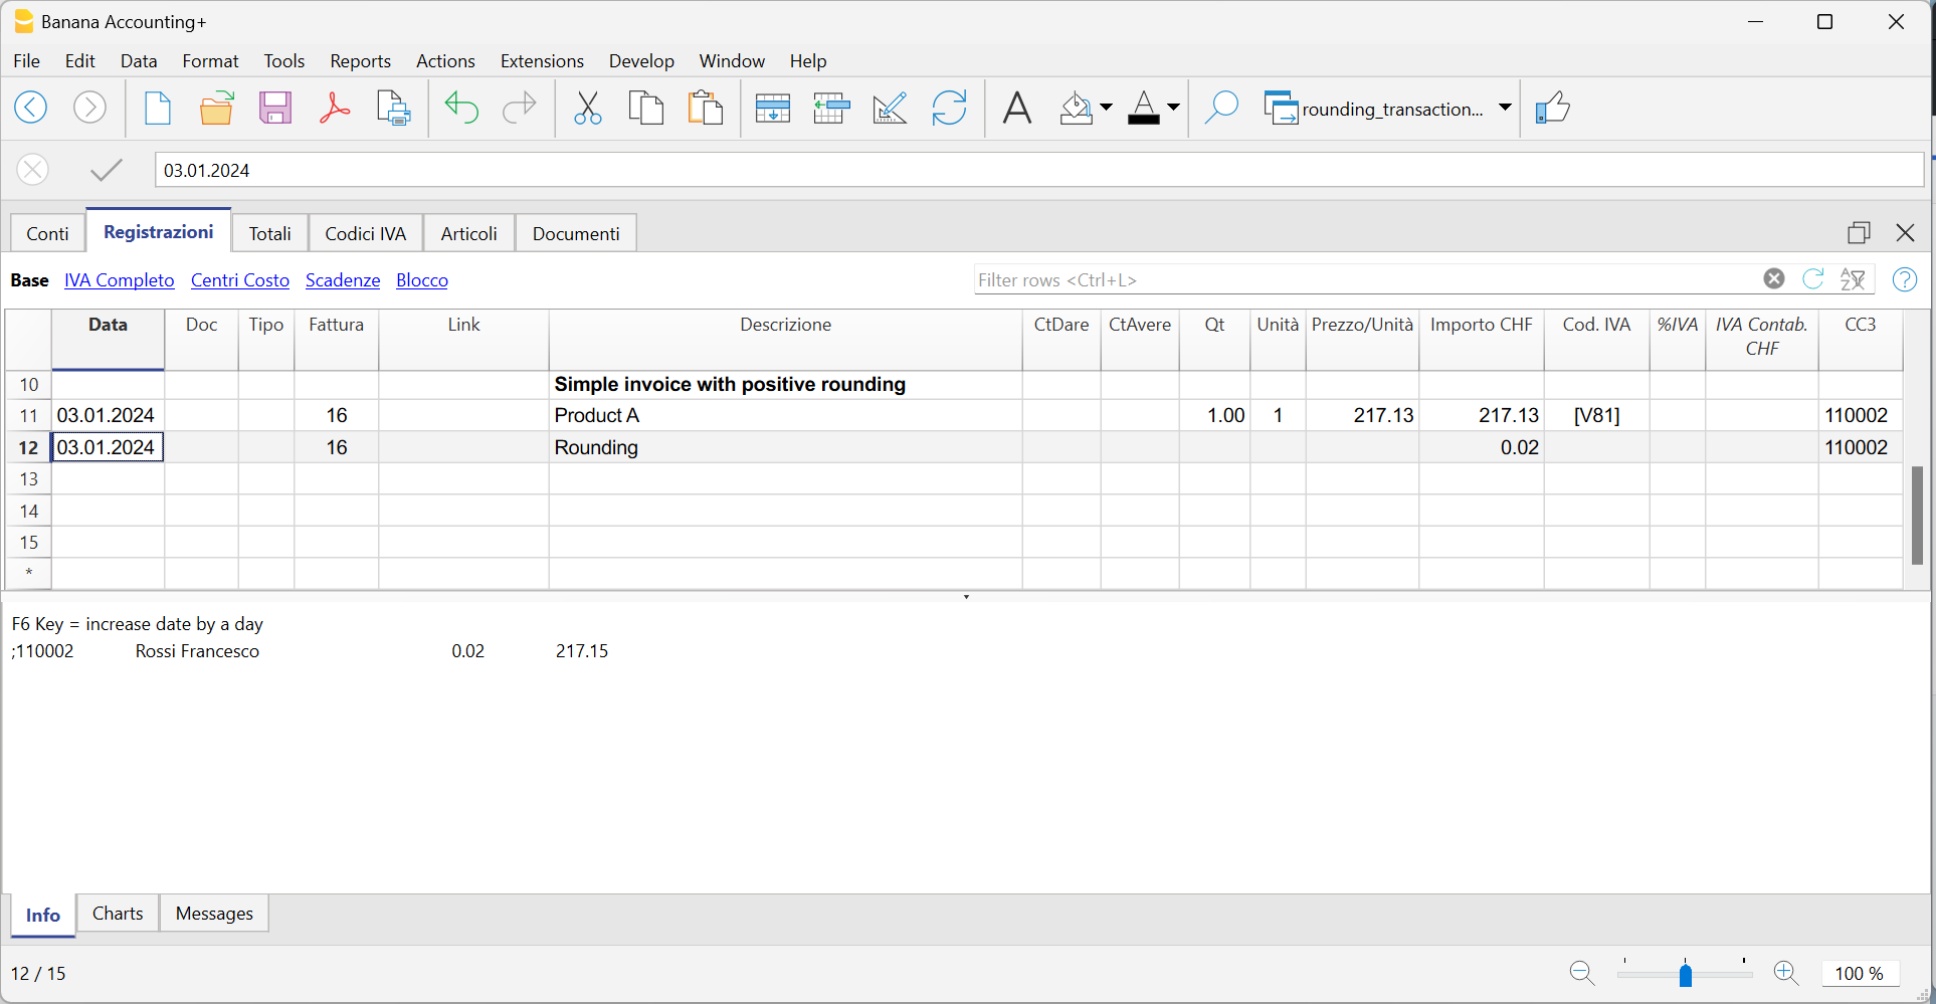
Record negative roundings in cost centre (CC3)
When there is a negative rounding, record in the Transactions table as follows:
- Enter the date of the invoice in the Date column.
- Enter the invoice number in the Invoice column.
- Enter a description in the Description column.
- Leave the Debit column blank.
- Leave the Credit column blank.
- Enter hundredths of the rounding in the Amount column.
- Enter the customer's cost centre with a minus sign in front in the CC3 column.
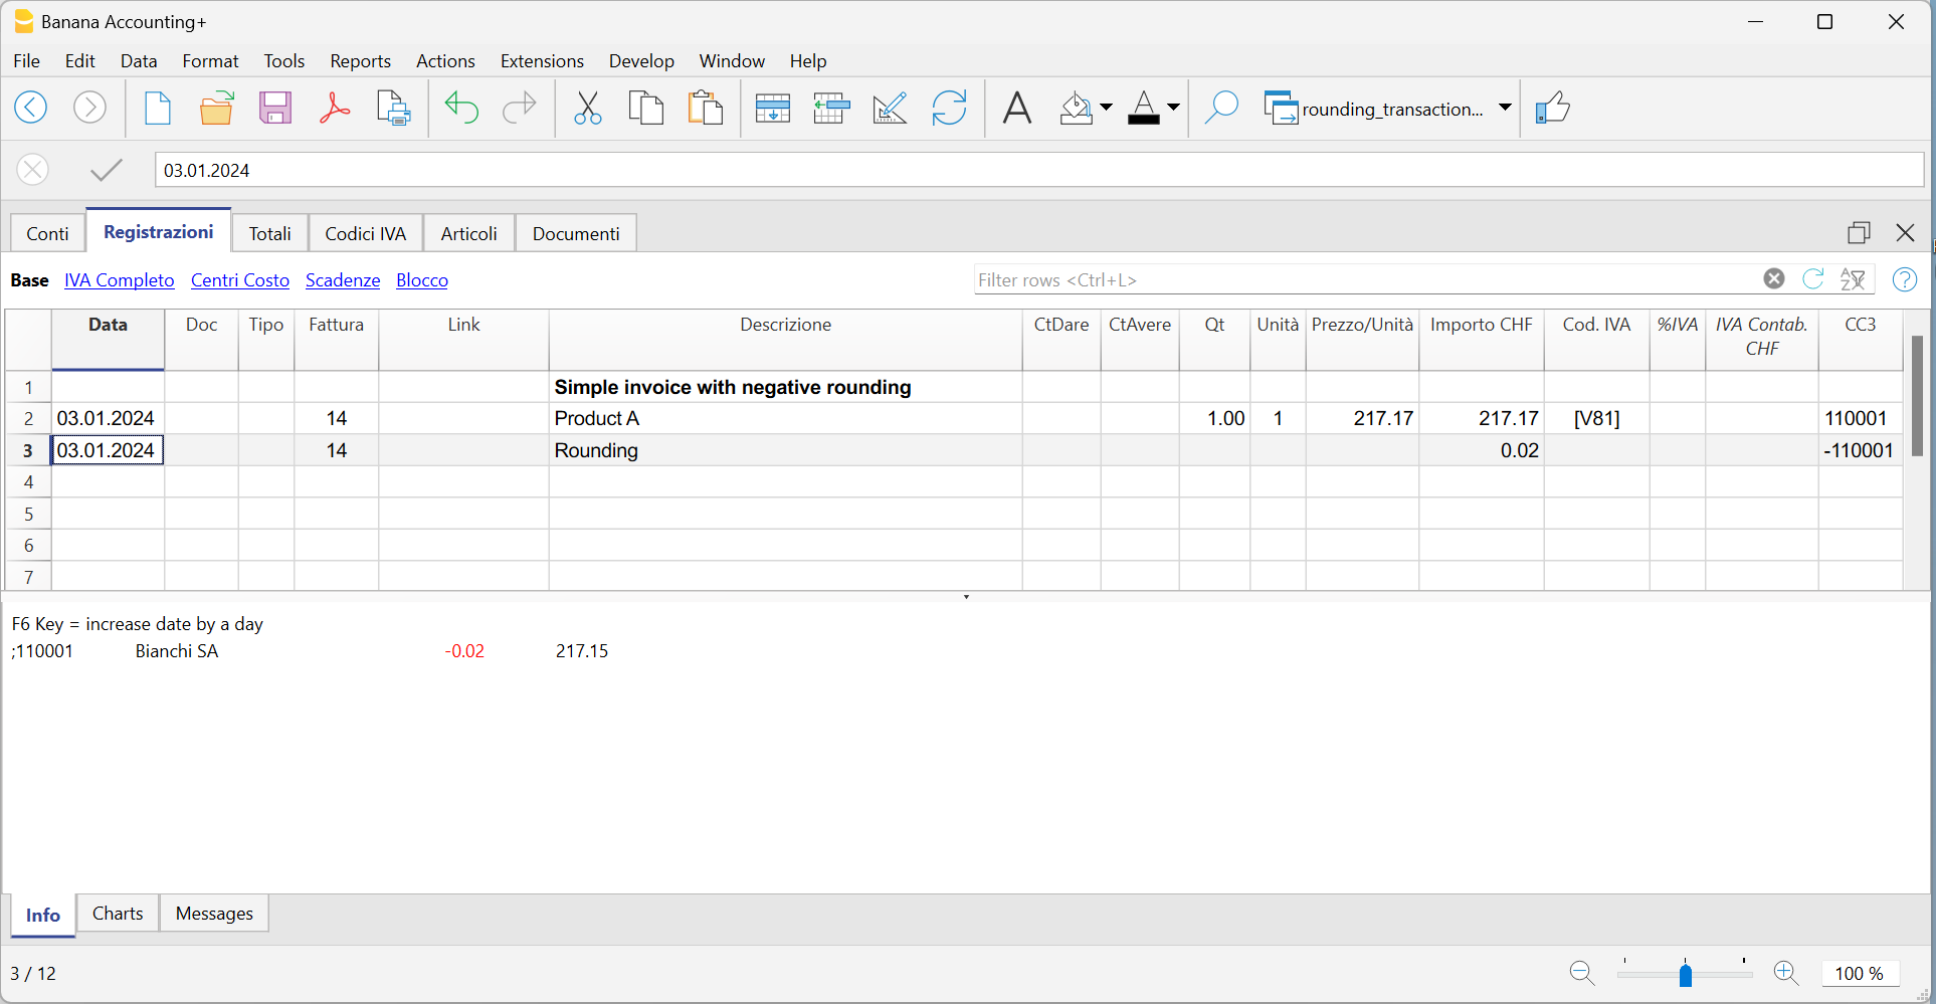
Item management integrated into accounting
In the accounting file, a table can be added to manage items and link them to individual transactions via the Item Id (item identifier) that is entered in the Item column.
This feature is very powerful and useful because it allows the following automations:
- To integrate a list of products or an inventory with descriptions, quantities, prices and groupings into the accounting.
- In the Transations table, by entering invoices and simply indicating the Item Id (Item identifier) in the Item column, the description, price and account are taken over.
- In the transaction row, by entering the quantity (positive or negative), the programme automatically updates the existing quantity balance. It thus functions as a small warehouse.
Some extensions, such as those for securities management, make use of this functionality, to manage the list of securities, have an inventory and calculate the accounting profit or loss at the time of sale.
Activate the functionality
The functionality is enabled from the menu Tools menu > Add/remove functionalites.
The options are as follows:
- Add Items table
Adds the Items table in the accounting file. - Add Items table and Items Columns in the Transactions table.
Adds the Items table and Items columns to the Transactions table at the same time.
Items table in the accounting file
The Items table is a kind of mini-warehouse integrated in accounting.
It is used to:
- Manage the list of products, with their prices.
- You can group products into groups.
- In the Transactions table, you enter the item and the programme takes up the description and price.
- If you enter the quantity in the Transactions table, the programme updates the current quantity in the Items table.
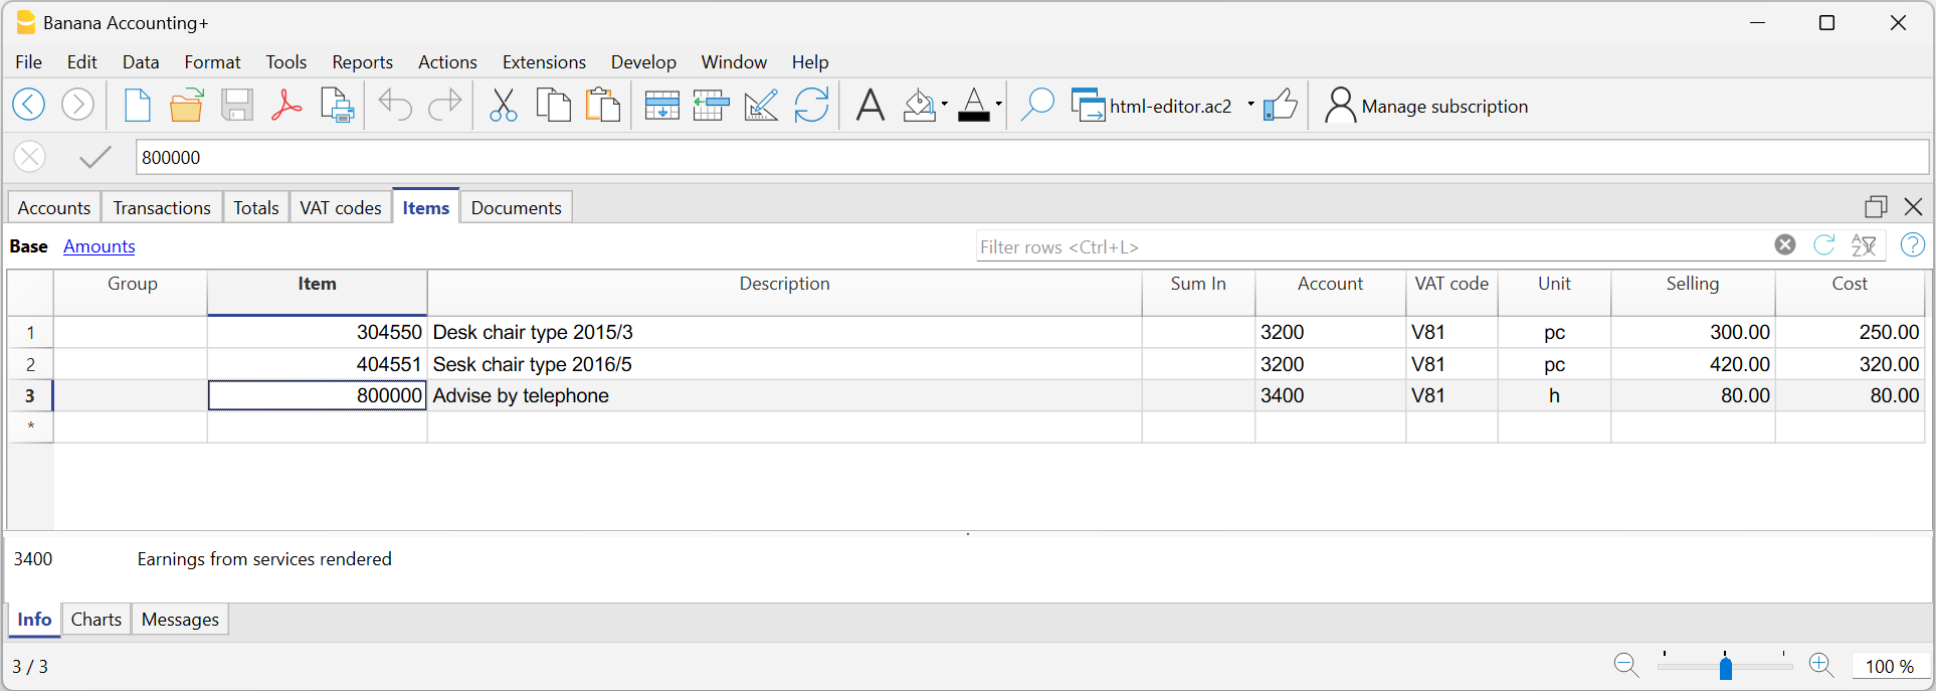
In order to use the Items table, you need to:
- Add the Items table.
- Add the Items columns in the Transactions table.
- Display the Item column in the Transactions table via the Data menu > Columns setup.
The content of the ItemId column must be an item defined in the Items table.
Adding the Items table
The Items table can be added from the Tools menu > Add new functionalities > Add Items table
In the Items table, you can enter items, products, or other items, and it can also be used as a small inventory control tool.
Items table columns
The predefined columns are the following:
- Group: Generates the totals rows.
- Item: Item code.
- Description: Item description.
- Sum in: the group in which to total a set of items.
- Account: account used in the transactions.
- AssetAccount: is the Balance Sheet account indicating where this item is recorded.
It is used to link the double-entry accounting with the inventory accounting of the items.
If the AssetAccount is specified:- The currency of the AssetAccount must be the same as that of the Item.
- The opening balance of the AssetAccount should correspond to the total of the initial values of all items having the same AssetAccount.
- The balance of the AssetAccount should be equal to the total book value of all items having the same AssetAccount.
- AssetType: Defines the type of the Asset. This is an internal program classification used by the investment accounting extension to calculate values; it is not a standard classification and has no reporting purpose. The currently supported values are:
- 1: Stocks, ETFs, funds,...
Investments Measured by Quantity. - 2: Bonds, debt securities,...
Investments Measured by Nominal Value.
- 1: Stocks, ETFs, funds,...
- Currency: Currency to be used (for multi-currency accounting only).
- VATCode: VAT code to be used (for VAT accounting only).
- Unit: an abbreviation to define the type to which the quantity refers.
- Selling: Unit sale price. It is retrieved in the Transactions table when the Item Identifier is entered.
- Cost: Unit cost price, It is a value used for reference only and not used by the program.
- Begin Qt.: initial quantity amount of the item
- Price Begin: the initial unit price of the item. In multi-currency accounting, it is expressed in the item's currency.
- Value Begin Currency: In multi-currency accounting, the initial quantity multiplied by the initial unit price in the item's currency.
- Value Begin: In the base currency.
In multi-currency accounting, it represents the initial value in currency converted at the opening exchange rate specified in the Exchange Rates table. - Current Qt.: current quantity, calculated by program, taking into account Begin Qt. and transactions of Item in Transactions table. The Quantity column of the Transactions table is being used.
- Movement Qt.: the total of the quantity movements. This value is automatically calculated by the program based on the movements entered in the Quantity column of the Transactions table.
- Price current: The current price of the item.
- In multi-currency accounting, it is expressed in the item's currency.
- It must be entered manually by the user or imported from other programs.
- It is also used as the closing value of the accounting, and in securities accounting, it is the value used to calculate any unrealized gain or loss compared to the book value.
- Currency value: Calculated by the program. The current quantity multiplied by the current price in currency.
- Current value: The current value at the current exchange rate indicated in the Exchange Rates table.
The table does not contain columns indicating the average book value or the value calculated based on the LIFO or FIFO methods.
These values are, if needed, calculated by specific extensions, such as the Securities Accounting extension, which calculates the book value based on the transactions.
Items columns in the Transactions table
The Items columns of the Transactions table are used to enter the quantity and price.
- They can be added to the Transactions table from the menu Tools → Add/Remove functionalities → Add Items columns.
- The transaction amount is calculated based on the values entered in the quantity and unit price columns.
- If the Items table is present, the quantity is used as in inventory management, increasing or decreasing the current quantity.
For more information, see:
Columns added in the Transactions table
- ItemId
- It is the item contained in the Items table.
- By default, in the Transactions table the ItemId column is not visible.
Using the command Data → Columns setup, it is possible to make the column visible so that it can be used. - If the Items table is not present, it serves only as a reference.
- Quantity
- A positive value (+) is added to the item's quantity.
- A negative value (–) is subtracted from the item's quantity.
- A neutral value (±) is considered for calculating the transaction amount, but does not affect the quantity in the Items table.
- Together with the Unit price, it is used to calculate the transaction amount.
- If an ItemId is present, the quantity increases (positive values) or decreases (negative values) the quantity in the Items table.
- Neutral values (±123) are used to calculate the transaction amount, but do not modify the quantity in the Items table.
- Unit
An abbreviation indicating what the piece refers to (for example pcs, m, h). - Unit Price
Can be a positive, negative or neutral value.

Reconciliation of turnover with VAT returns
VAT Management in Banana Accounting+
Banana Accounting Plus simplifies VAT management by automating the calculation, recording, and submission of VAT returns to tax authorities. Cutting-edge features reduce manual errors, ensuring tax compliance. Banana Accounting Plus simplifies VAT management by automating the calculation, recording, and submission of declarations to tax authorities. Cutting-edge features reduce manual errors, ensuring tax compliance. Pre-set templates with VAT options and pre-configured codes are available for all accounting applications,
For Switzerland, the new 2024 VAT rates are already available. The new VAT extension for submitting returns digitally is available.
- Swiss VAT management
- ▶ Video: Swiss VAT return (in French, German, Italian)
Recording transactions with VAT
With Banana Accounting, VAT management is very simple because it is completely automated. Transactions with VAT are recorded in the Transactions table, the main hub of all accounting, by entering for each VAT transaction the corresponding VAT code, referring to the sale or purchase, according to the rates in force.
Several pre-set columns are available, the display of which can be customised.
In addition, the programme offers:
- Accounting with different VAT rates in the same transaction
- Add the invoice in PDF in the link column.

In the Transactions table there are specific VAT Columns for various VAT-related information.
To record a transaction with VAT, enter the following data:
- The date of the transaction.
- The invoice number.
- In the Link column, you can enter the digital link to the Pdf accounting document.
- The Debit and Credit Account where you can indicate the account and the contra-account
- The amount.
- The VAT code relating to the purchase or sale (codes found in the VAT Codes table).
For each transaction, the programme performs the following automatisms:
- Accurately records the VAT paid on purchases and the VAT received on sales.
- Automatically calculates the VAT amount.
- Breaks down the VAT amount from the cost or revenue.
- Retreives the VAT amount, taxable amount and VAT amount on the VAT accounts.
Predefined VAT accounts and settings
In the Banana Accounting Plus VAT models, the VAT accounts are already set up in the Accounts table. In the passive accounts, there are the automatic VAT split account and the VAT due account (or VAT receivable account).
To speed up VAT transactions, it is possible to set the VAT code to each account that has VAT transactions in the Accounts table. This setting allows you to automate the entry of the VAT code when you enter the account in the Accounts table.
More details can be found on the page Match the VAT code to account.

VAT Codes Table
The VAT Codes table defines the VAT codes for the rates in force and other parameters for calculating VAT.
- There are columns in which to set VAT codes for calculating VAT gross, net or by VAT amount only.
- There are both VAT codes for the effective method and for the flat rate method
- Swiss templates have the VAT Codes table already set up:
- with the VAT codes relating to the rates in force
- for each VAT code, in the GR1 column, the reference figure is set, which will allow the VAT data to be reported in the VAT reporting template and also in the Xml file to be transmitted to the Federal Tax Administration (FTA).
- For each country, there are files with the VAT codes already set according to the national reporting requirements.
Automated VAT reports and returns
The programme automatically generates various reports with very detailed summaries by VAT code, account, percentages, records and period. VAT summaries can be customised by displaying columns specific to the data you wish to obtain. VAT summaries are useful for understanding the movement of VAT (VAT due, recoverable and payable) and allow effective control and in the event of audits by tax authorities, targeted details are available to facilitate audit work.
More information is available on the VAT Report page.

The VAT functionalities of Banana Accounting Plus offer several advantages:
- Efficiency
You avoid preparing calculations and statements manually, saving time and effort - Accurate calculations and statements
Errors are avoided because calculations are performed automatically and accurately by the programme on the basis of the data recorded by the system. - Compliance with current regulations
The programme is updated according to current rates. Simply update the VAT Codes table and the calculations and statements are performed correctly and in a manner consistent with the regulations. - National VAT Reports Extensions
These are additional modules, different per country, that print or export VAT data in the format required by the tax authorities. Please refer to the national VAT documentation - Archiving of VAT printouts
All printouts with VAT data can be saved in pdf or other formats and archived. Archiving allows the data to be available at all times in case of tax audits.
Calculation methods
Banana Accounting is a powerful calculation tool and in VAT management, too, you can take advantage of its potential to always have accurate and correct VAT calculations and reports.
There are two calculation methods:
- Effective Method - calculations and accounting of VAT using the cash principle and on turnover
- Flat tax rate Method - Calculations and accounting of VAT upon the VAT rates granted by fiscal authorities
Accounting methods
- Turnover
Demands the for the keeping of a customer and supplier ledger.
Costs and revenues, with the corresponding VAT code, are recorded when the invoice is issued and received.
More information can be found on the page How to manage VAT on turnover.
- Cash principle/ Collection
It is not compulsory to keep a customer and supplier ledger, but if you still wish to have one, it is important to set it up with cost centres.
Costs and revenues, with the corresponding VAT code, are recorded when collected or paid.
More information can be found on the page Clients and Suppliers with VAT using the Cash principle
Features currently unavailable
These features are not available at the moment:
- In multi-currency accounting, the account to which VAT is recorded net (usually Revenue and Expense accounts) must be in base currency.
It is not possible to deduct VAT from accounts that are not in base currency. - The VAT amount is calculated by the programme and recalculated when the Recalculate accounting is done. This gives the auditor or others who check the accounts the certainty that the calculations are always made with the same logic.
For VAT rounding, it is not possible to enter a different VAT amount than the one calculated by the programme. Generally, these are VAT amounts that have been rounded on the invoice, even by a few cents.
Insights
VAT documentation specific to Switzerland, Italy and other countries.
In the section of each country you will find the most specific documentation on VAT.
English not being an official language, you will be redirected to the relevant pages in official languages for Switzerland.
- VAT management for Swizerland
Information pages specific to Switzerland:- Swiss VAT codes table.
- How to register VAT.
- Prepare the VAT return.
- Use the Swiss VAT Extension.
- VAT management for Italy
- Information pages specific to Italy:
- Italian VAT codes table.
- How to register VAT.
- Prepare the VAT return.
- Use the Italian VAT Extension.
Extensions for national VAT reports
For some countries there are Extensions that can be easily installed and allow you to print or export the VAT report in the format required by the authorities.
Each country's VAT extensions work in conjunction with the country's VAT Codes table.
Theory
VAT (Value-added Tax) is a tax that weighs on the final consumer. Every VAT subject must calculate and periodically deposit the tax to the Revenues Authority.
Every country has its own VAT rates that are established in different percentages depending on the type of merchandise or service. Certain merchandise and services are exempt or excluded.
The percentages vary according to the financial necessity of the country; therefore, there can be changes over the years.
VAT rate
In this document, to make calculations easier, we will use the following rates:
- 10 % normal rate
- 5% reduced rate
- 0% excluded operations or exempt operations
VAT calculation
Net Price x VAT Percentage / 100 = VAT Amount
Example:
Net price 300
Tax rate 10%
VAT amount = 300 x 10 / 100 = 30
Gross price calculation
Net price + VAT Amount = Gross Price
Example:
300 + 30 = 330
Sometimes the gross amount is known and it is necessary to find the net and VAT amounts.
Net price calculation
Gross Price / (100 + VAT rate) x 100 = Net Price
Example:
330 / (100 + 10) x 100 = 300
The net price represents the cost (purchase) or the revenue (sale) of the company
VAT amount calculation
Gross Price - Net Price = VAT Amount
Example:
330 - 300 = 30
or
330 - [330 / (100 + 10) x 100] = 30
The VAT amount represents the debit (sales) or the credit (purchases) towards the Revenues Authority.
VAT rate calculation
VAT Amount / Net Amount x 100 = VAT Rate
Example:
30 / 300 x 100 = 10%
or
[330 - 330 / (100 + 10) x 100]/100 = 10%
Another example:
20 / 400 x 100 = 5%
This way of calculating is used when the rate is not known.
File properties (VAT/Sales tax tab)
This tab will only appear if an accounting template with VAT/Sales tax management is selected.
The VAT section for setting up VAT accounts is accessed via the File menu > File properties (basic data) > VAT/Sales tax tab.

VAT Account
The automatic breakdown VAT account, present in the chart of accounts, is set by default. For Swiss users it corresponds to the VAT according to VAT report. In this case it is not necessary to enter the VAT account in the VAT Code Table.
With the setting of the automatic breakdown VAT account only, all the VAT amounts, both of the sales and of the purchases, flow respectively into the credit and debit of this account and it is not necessary to set up the recoverable VAT account. At the end of the quarter, the balance of the automatic breakdown VAT account is turned over to the VAT payable account (or Inland Revenue VAT account).
Recoverable VAT Account
If the automatic breakdown VAT account is not set up as the only VAT account, the recoverable VAT account is set up. In this case it is not necessary to enter the account in the VAT Codes table.
VAT rounding
It is defined how the VAT amounts must be rounded; for example, if you enter 0.05, the VAT amounts are rounded to multiples of 0.05.
Cost centers 1 (CC1), 2 (CC2), 3 (CC3)
For each type of Cost Center it is possible to choose which amount to use for registration in the cost center:
- Use the transaction amount.
- Use the amount with VAT included
(In the case of cost centers used for customer or supplier accounts) - use the amount without VAT
Setting whether the cost center is used for costs or revenues.
Note
if one of these parameters is changed, the accounting will have to be recalculated.
Related documents:
VAT Codes Table
The settings in the VAT Codes table allow you to define all the parameters necessary to manage the procedures for registering with VAT. The settings concern:
- VAT due or recoverable.
- Transaction amount recorded as net, gross, or VAT amount at 100% (Customs VAT).
- Percentage of applicable VAT rates.
- The account in which VAT is be recorded.
- Special rounding off for each code.
- Grouping and totaling method.
The VAT Codes table has a Base view and a Complete view. The difference between the two is the fact that the Complete view presents several columns that are not available in the Base view.
Calculation method
The parameters indicated in the VAT Codes table are being used to calculate the VAT of the individual transactions.
The parameters established in the VAT Codes table cannot be changed in the transactions. This modality guarantees that the VAT calculations are correct and consistent.
Please note: if the values of a VAT Code, which has already been used in the transactions, are being modified, the changes are not active immediately; in this case it is necessary to use the Actions > Check accounting command.
When modifying the VAT table, the program, as a precaution, displays a message in the Info window inviting for a complete recalculation.
The following Table refers to the codes being used according to the Swiss legislation:
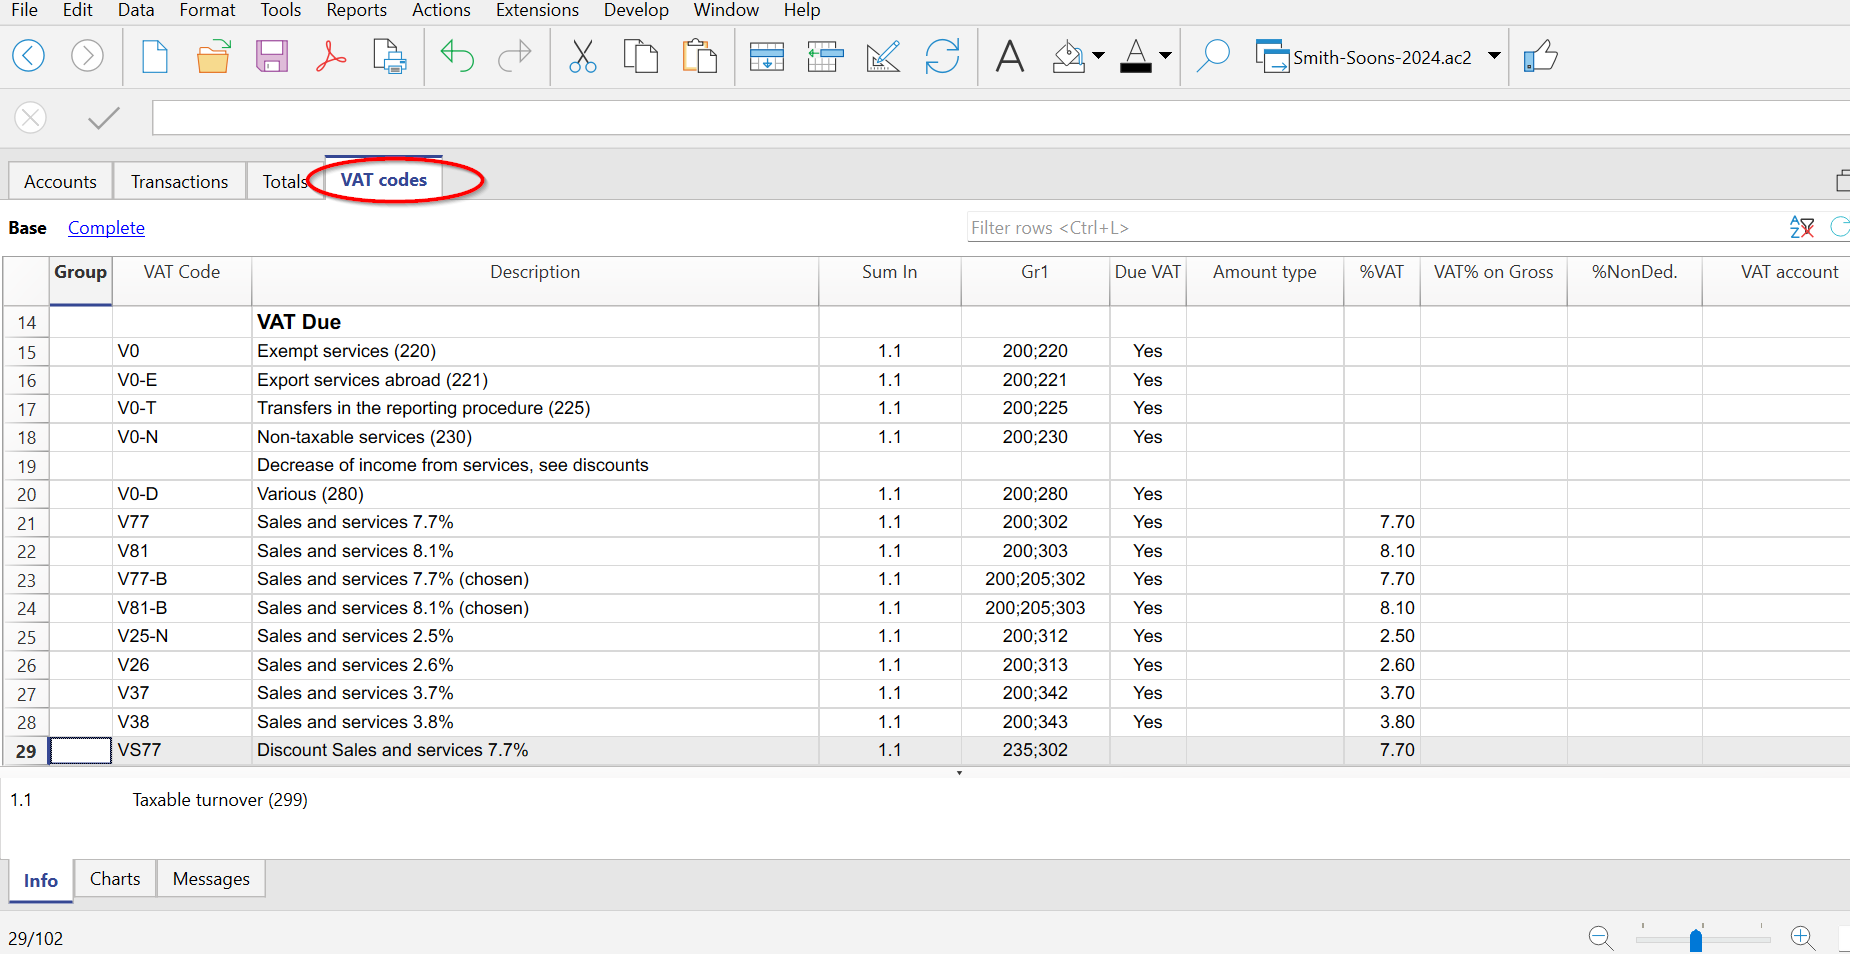
Detailed description of the columns
In the following columns, insert the following data:
- Group: an abbreviation or a number that indicates the group to which the codes belong.
For more information on the grouping system, please refer to the Grouping System page. - VAT Code:
The program provides for three types of codes- Normal VAT codes
The abbreviation used to identify and apply the VAT code in the transactions
Used in the Transactions table, VAT Code column (e.g. V81)
Note: they cannot contain the character ":" - Special codes prefixed by the character ":"
These are not VAT codes but are used to specify VAT cases in more detail
Used in the Transactions table, Extra VAT column (e.g. :ESCL) - Reverse charge VAT codes
In reverse charge transactions, two VAT codes separated by a colon are entered; the program calculates both the VAT payable and receivable
Used in the Transactions table, VAT Code column (e.g. B81:M81)
Note: in the VAT Codes table only the two individual codes are defined; the combination is entered in the Transactions table.
- Normal VAT codes
- Description: a text for the description of the VAT Code or the group.
- Disable:
Allows you to disable VAT codes that are not used. Facilitates data entry in the Transactions table.- 1 - the VAT code is not visible in the auto-completion list (Transactions table), but it can still be used;
- 2 - the VAT code is not visible in the auto-complete list and must not be used.
- Sum in: abbreviation or number of the Group in which the row of a code must be totaled.
- Gr1: this column is used for specific groupings.
The screen capture shows the groupings for the encoding of the figures of the Swiss VAT return. - Gr2: code for additional groupings.
- Due VAT:
If the word Yes is being inserted, this means that the VAT is at debit (due to the State)
If the cell is empty, this means that the VAT is at credit (recoverable) - Amount type:
The code indicates how the VAT amount of the transaction is to be understood.- 0 (or empty cell) - with VAT/sales tax (the transaction amount is considered VAT included)
- 1 = without VAT/Sales tax (the transaction amount is considered VAT excluded)
- 2 = VAT amount (the transaction amount is considered the VAT amount, 100%)
The amount type 2 is used in particular to account for customs VAT paid or charged on the shipper's invoice. More details on the recording are available on the page: Entering VAT at customs for import
- % VAT: VAT code percentage.
- % NonDed.: if, for a VAT code, it is not possible to deduct the full 100%, enter the non deductible percentage here (example 100%)
- VAT% on gross: is usually left empty. The word "Yes" has to be inserted only if the VAT percentage has to be applied on the gross amount (VAT included) and not on the taxable amount (e.g. for flat rates).
- VAT account: The account to which the broken down VAT automatically is posted.
In the File and Accounting properties (File menu), a general account, that will be used as the VAT account, can be defined. - Round Min: minimum rounding value.
If left empty, the rounding indicated in the basic accounting data is used. - Don't warn: there are particular entries that the program might interpret as wrong, but which are in fact correct. To prevent the program from reporting error warnings, enter Yes to the code of interest.
Rechecking the accounting file
When the accounting is recalculated and the transactions are not blocked, the program resumes the VAT parameters assigned to each code in the transactions. Therefore, if a setting of a VAT code has been changed, the change is resumed in the respective columns of the transactions which are not editable by the user.
For this reason, when editing the VAT codes table, the program suggests to operate a full accounting recheck.
Adding a new percentage
When a new percentage is added, a new row has to be added; in the new row, insert the data of the new VAT code with the new percentage, while paying attention to insert the correct grouping. Don't change a code that has already been used in the transactions.
VAT codes for services provided abroad
In the VAT Codes table, it is possible to set up, in separate groups, VAT codes for the provision of services provided abroad, with specific rates for the country in which one operates and for which VAT is also due to foreign countries.
The corresponding VAT code is set for each country, which can be totaled in its own group or in a totalization group that refers to the VAT to be paid to foreign countries.
To view the amounts to be paid, go via the Reports > VAT /Sales tax report menu and select the specific code for the country or the totalization group for the VAT to be paid to foreign countries.
For the VAT to be paid in foreign countries, it is not possible to send it electronically.
Own Groupings
By creating groups with multiple totaling levels, the user can obtain the totals that are necessary for the VAT declaration.
In the VAT report, by activating the option Use own grouping scheme, the software calculates the totals exactly as indicated in the sequence of the indicated groupings in the VAT Codes table.
The groupings are being used to obtain totals for groups of transactions, for example, the totals for all exportations or importations.
Match the VAT Code to an Account
All the codes listed in the VAT Codes table can be linked to the VAT-related accounts in the Accounts table. This way, when entering transactions in the Transactions table, the program automatically inserts the corresponding VAT code.
The procedure for linking a VAT code is described on the page:
Related document:
- Import VAT codes
- National VAT documentation
Link to specific VAT documentation for Switzerland, Italy and other countries.
Match the VAT code to the account
In accounting with VAT, in the Accounts table, you can automate the entry of the VAT code by associating each account with its corresponding VAT code. In this way, in the Transactions table, when you enter the account, the program automatically inserts the VAT code and completes the columns with the corresponding data.
Link a VAT code to an account (effective method)
To link a VAT code to an account:
- The VAT Code column is visible by default in the Advanced view.
If you want to display the VAT Code column in the Basic view, go to the menu Data > Columns setup > VAT Code. - Once the column is visible, enter the VAT codes related to the accounts.
If the VAT code is entered in square brackets, such as [V81], VAT will appear only on issued invoices and will not be posted.
Link a VAT code to an account (flat rate method)
The procedure is the same as described in the previous paragraph:
- In the Accounts table, in the VAT Code column, enter the VAT code on the rows of the accounts related to sales.
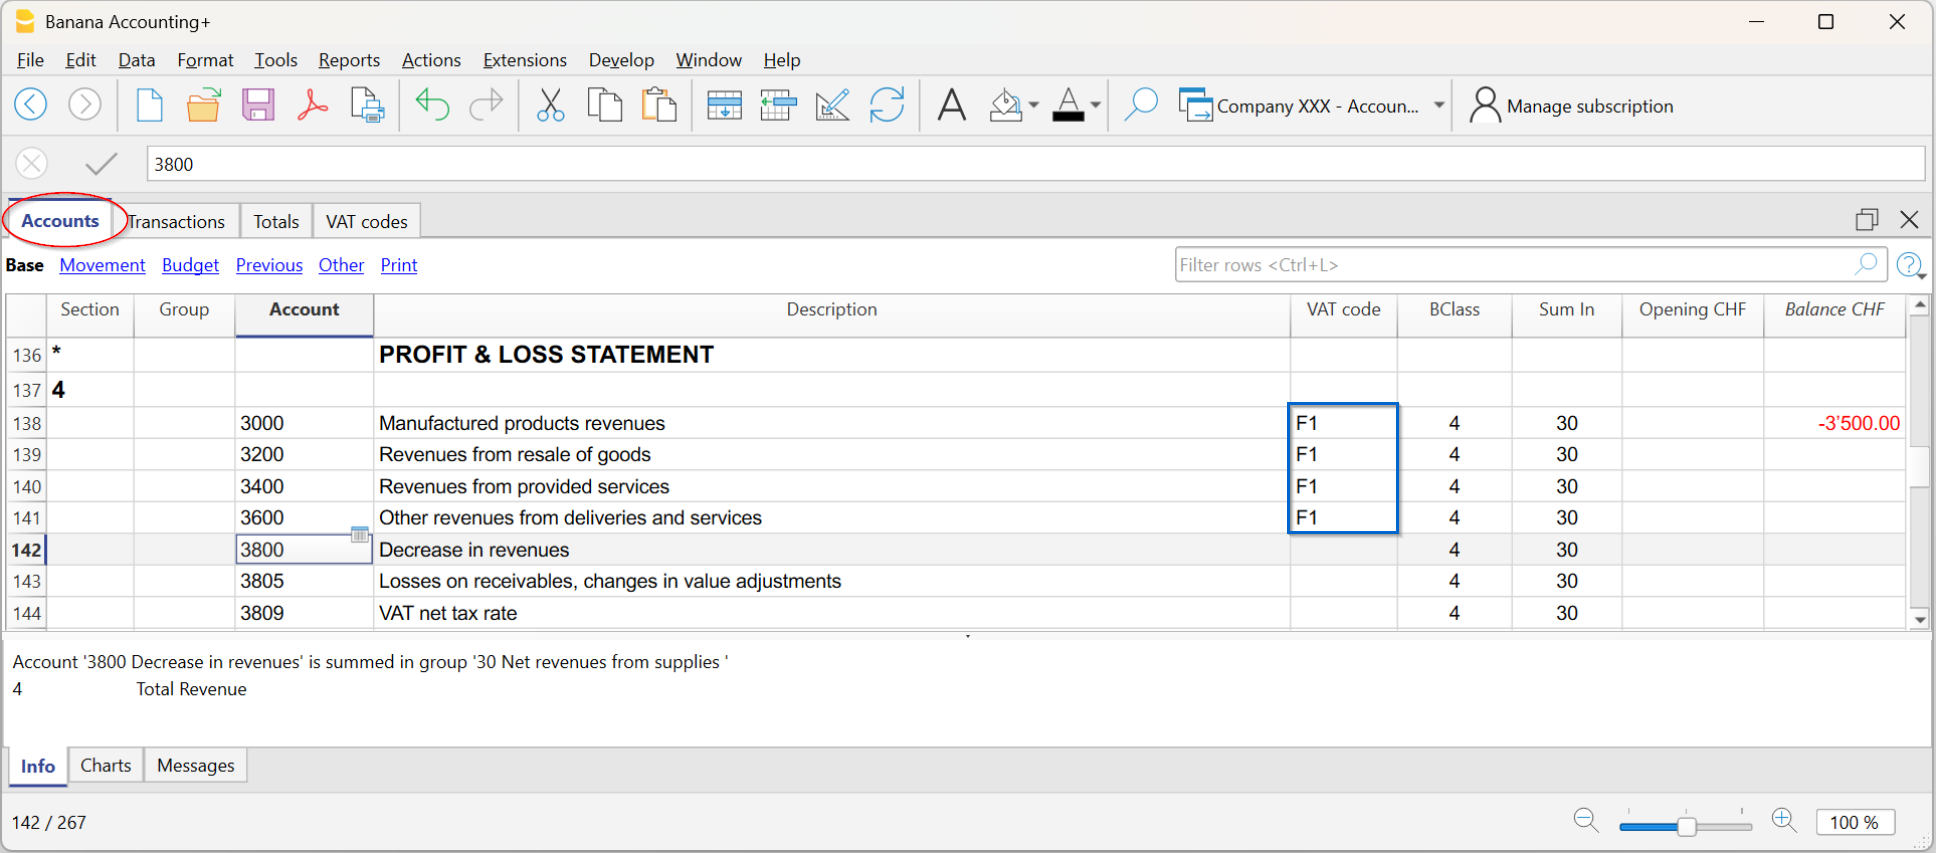
Depending on the type of transaction, there are two cases:
Case 1 – Transaction with VAT breakdown
If you want to record with VAT breakdown:
- In the VAT Codes table, enter the flat rate VAT rate(s).
- The program will show for each transaction:
- the gross sales amount
- and the corresponding VAT breakdown.
In this way, you get a complete detail of the taxable amount and the tax.
Case 2 – Transaction without VAT breakdown
If you want to record without VAT breakdown:
- In the VAT Codes table, the flat rate VAT rates must not be entered.
- In the Accounts table, in the VAT Code column, simply enter the corresponding code.
At the end of the semester (or the defined period), the program automatically calculates the VAT due based on the gross turnover amount determined from the sales transactions marked with the flat rate VAT code.
Note: if the VAT rates have changed (see New VAT Rates), the values entered in the VAT Code column must be updated manually. The same applies to transactions already present in the Transactions table (VAT Code column), which must be manually edited row by row or all at once using the Replace command.
VAT rounding
The Swiss system for VAT calculation, provides for calculated to the cent, without rounding.
For those who need to have VAT amounts rounded up to cents, the following procedure is followed:
- In the Transactions table, post normally by applying the appropriate VAT code
- On the next row, post the expense or revenue account used in the previous line in debit and credit
- In the amount column, enter the cents to be rounded
- In the VAT Code column, enter a VAT code with amount type 2 (100% VAT amount), for example M81-2
- When the cents are to be decreased, enter the code with the minus sign in front of "-M81-2".

Setting up VAT accounts
VAT accounts are ledger accounts used to automatically record VAT amounts calculated by the program when a VAT code is used.
They are used to record and monitor VAT due on sales and input VAT (recoverable) on purchases. Thanks to the automation of VAT codes, it is not necessary to manually calculate or record VAT amounts: Banana Accounting performs the calculations and postings automatically.
How VAT accounts work
When a VAT code is used, Banana Accounting automatically calculates:
- the taxable amount
- the VAT amount
- the amounts to be recorded in the Debit and Credit accounts
- the VAT amount to be recorded in the VAT account.
Based on the VAT account settings defined in the menu File > File and accounting properties > VAT/Sales tax or in the VAT Codes table, the program automatically records the VAT amounts in the appropriate accounts.
To check the calculation details, simply place the cursor on the transaction. In the information window at the bottom, the amounts recorded in the different accounts are displayed.
Use one automatic VAT account or specific VAT accounts?
In most cases, it is sufficient to use one automatic VAT account, a simpler solution to manage and control.
From a tax perspective, it is necessary to distinguish VAT due on sales from input VAT on purchases. In Banana Accounting, this distinction can be achieved either through separate VAT accounts or through VAT codes and the related reports.
In programs that do not use VAT codes, it is often necessary to record each type of transaction in separate VAT accounts in order to obtain the details required for checks and the VAT return.
With Banana Accounting, however, thanks to VAT Codes and the VAT Report, it is possible to obtain detailed information even when using a single VAT account.
In fact, it is possible to view:
- transactions and totals by individual VAT code
- transactions and totals by VAT rate
- transactions and totals by VAT account
- transactions and totals of VAT due and input VAT
- taxable amounts and recorded VAT amounts.
For this reason, in the standard Swiss templates of Banana Accounting, account 2201 - VAT settlement is normally used.
Using a single VAT account (2201 - VAT settlement)
If in the menu File > File and accounting properties > VAT /Sales tax the account 2201 - VAT settlement (automatic VAT account) is set as the default VAT account, it will be automatically used for all transactions containing a VAT code, both for VAT due and for input VAT.
In this case, in the VAT Codes table, column VAT account, it is not necessary to specify any VAT account.
All VAT amounts are recorded in the account 2201 - VAT settlement
- in Debit, input VAT amounts on purchases are recorded;
- in Credit, VAT amounts due on sales are recorded.
The account balance therefore represents the VAT amount to be paid to the tax authority or the VAT credit to be recovered.
Using specific VAT accounts
If you wish to use specific VAT accounts, you can associate a different VAT account with each VAT code.
For example, in Swiss charts of accounts it is common to use:
- accounts 1170 and 1171 for input VAT
- account 2200 for VAT due
- additional accounts for particular categories of VAT transactions.
To use specific VAT accounts, you must:
- add the desired VAT accounts to the chart of accounts (for example accounts 1170 and 1171 for input VAT);
- leave the Automatic VAT account field empty in the File and accounting properties > VAT/Sales tax (File menu)
- specify in the VAT Codes table, VAT account column, the VAT account to be used for each code.
In this way, VAT amounts will be automatically recorded in the accounts specified for each VAT code, instead of in a single automatic VAT account.
Advantages of using the automatic VAT account
After years of experience and user support, we have found that using a single VAT account is often the most intuitive solution.
Unlike many traditional accounting programs, Banana Accounting allows you to obtain all this information directly from VAT Codes and the VAT Report, while at the same time maintaining a simpler and more orderly chart of accounts.
The main advantages are:
- a simpler and more orderly chart of accounts;
- an easier-to-read balance sheet;
- simplified management of transactions with different VAT rates;
- immediate view of the overall VAT balance;
- the possibility to check all VAT transactions in a single account card.
In the VAT account card, all VAT transactions are visible, both in Debit and in Credit.

When to use specific VAT accounts
In Banana Accounting, thanks to VAT Codes and the VAT Report, in most cases it is not necessary to use separate VAT accounts, as all the information required for VAT control and analysis is already available through the program reports.
In some countries or in certain organisations, however, it is common practice to use separate VAT accounts for each type of transaction. For example, in Germany it is common to use separate accounts for:
- VAT on sales
- VAT on purchases
- intra-community transactions
- other specific types of VAT transactions.
In these cases, the VAT return can be prepared directly using the balances of the individual VAT account cards.
To ensure compatibility with these operational requirements and different accounting practices, Banana Accounting allows you to associate a specific VAT account with each VAT code.
Closing VAT accounts at the end of the period
At the end of each VAT period, it is advisable to close the VAT accounts and transfer the balance to a single summary account.
This operation allows you to:
- To accurately determine the VAT amount to be paid or reclaimed
- keep the different VAT periods separate
- facilitate checks and the identification of any errors
- start the new period with a VAT balance of zero.
In templates that use account 2201 - VAT Report, the periodic closing allows the VAT situation to remain clear and easily verifiable at all times.
For more details, see the Periodic VAT Closing and VAT Payment page.
Transactions with VAT
In Banana Accounting, in the Charts of Accounts prepared for Switzerland, the VAT accounts and the VAT rates currently in force are already set. In particular, the 2201 "VAT according to VAT report" account (VAT account with automatic splitting) is set both in the Chart of accounts and in the File properties (basic data) → VAT section. In this case no VAT account needs to be inserted in the VAT Codes Table.
In case you are not using the Charts of accounts already available in Banana, make sure that the necessary VAT accounts are present in your own Chart of accounts. Our advice is to use the 2201 "VAT according to VAT report" account (VAT account with automatic splitting) and to enter it into the File properties (basic data) → VAT section.
In the VAT codes table, there are codes for the sales, the purchases and for services rendered. When entering the transactions, use the appropriate VAT code.
The software automatically splits the VAT amounts and records them in the "VAT according to VAT report" account or in the VAT account that has been indicated by the user in the File and Accounting properties.
VAT columns in the Transactions table (Complete VAT view)
You can find the full explanation of the main Transactions table columns in the Columns and Views page.
In the Double-entry accounting with VAT or in the Income & Expense accounting with VAT, you will find the following VAT columns:
- VAT Code: for each transaction with VAT you need to enter one of the VAT codes from the VAT codes table. In Reverse Charge operations, two VAT codes can be used, separated by the symbol ":".
- VAT %: the program automatically enters the VAT percentage associated with the VAT code you entered. If the amount is preceded by a "+/-" sign, it is a Reverse Charge operation.
- VATExtraInfo: A code related to extra info about the VAT, to be used only in very exceptional cases.
It is possible to enter a symbol to identify specific VAT cases. The program suggests options, corresponding to the VAT Codes that start with a colon ":". - %Eff.: the program automatically enters the VAT percentage referred to the net amount (taxable amount). It is different from the percentage applied when the latter is calculated on the gross amount (balance rate).
- Taxable: once you enter the VAT code, the software automatically indicates the taxable amount (without VAT).
- VAT amount: the program automatically indicates the VAT amount.
- VAT A/C: the account where the VAT is registered is automatically indicated (for Switzerland, this is normally the 2201 "VAT according to VAT report" account) previously entered in the File Properties (basic data), VAT tab (from the File menu).
- Amount type: this is a code that indicates how the software considers the transaction amount:
- 0 (or empty cell) with VAT/sales tax, the transaction amount is VAT included.
- 1 = without VAT/Sales tax, the transaction amount is VAT excluded.
- 2 = VAT amount, the transaction amount is considered the VAT amount at 100%.
- Amount type not editable: Default mode.
- The column is protected.
- The program uses the associated value of the VAT Codes table.
- When you edit the value in the VAT Codes table and you recalculate the accounting, the program uses the new value associated with this VAT Code.
- Amount type editable: this option can be activated with the Add new functionalities command. The activation of the option cannot be undone.
- When you edit the VAT Code, the program uses the Amount type associated with this code.
- The value can be edited manually.
- When the accounting is being recalculated, the value indicated in the Transactions table is being maintained.
- Non. Ded. %: this indicates the non deductible %.
- The program uses the Non. Ded. % associated to a VAT Code that is present in the VAT Codes table.
- You can manually edit the value.
- VAT Acc.: this is the VAT amount registered in the VAT account.
It is calculated by the program according to the transaction amount, the Amount type and the non deductible percentage. - VAT number: this is the code or VAT number of your client/supplier.
When you enter a transaction with VAT, it is possible to enter the VAT number of your counterparty. If in the Accounts table, Address view, in your clients/suppliers register accounts, you enter their VAT number, this is automatically loaded in the Transactions table, in the VAT number column.
Transactions with VAT
Before entering transactions with VAT, you must keep in mind all the information on the Transactions page.
Entering a VAT transaction is very easy:
- Enter the date, document number and invoice number in the respective columns
- Enter the description, the Debit account and the Credit account
- Enter the gross amount (including VAT)
- Enter the VAT code provided for the type of transaction (purchases, sales, investments...) and present in the VAT Codes Table.
How to correct VAT transactions
In case of an error in a transaction with VAT, it is possible to correct it directly on the transaction row, provided that no VAT declaration has been submitted or no accounting lock has been executed.
If however your accounting file is locked or if you have already sent your VAT declaration, you cannot simply delete the wrong transaction, but you need to operate some cancellation-transaction and then re-enter the correct transaction.
In order to rectify VAT operation(s), you need to:
- Make a new transaction by inverting the Debit and Credit accounts used in the wrong transaction.
- Enter the same amount.
- Enter the same VAT code but preceded by the minus sign (ex.: -V81).
- Enter a new transaction with the correct accounts, amount and VAT code.
Depending on the entity of the mistake, you should consider informing your local VAT office; usually they ask you to download a specific form for correcting mistakes in the previous VAT period that you already declared.
How to only enter the VAT amount
There are cases where only the VAT amount needs to be recorded, such as when you receive compensation from the car insurance.
In these cases, you can proceed as follows:
- Enter the date, document number and description in the appropriate columns.
- In the Credit A/C column enter the account used to pay the VAT amount (the Debit A/C column remains empty).
- In the Amount column enter the VAT amount to be paid.
- In the VAT code column enter the VAT code I81-2 (the code that refers to 100% amount VAT).
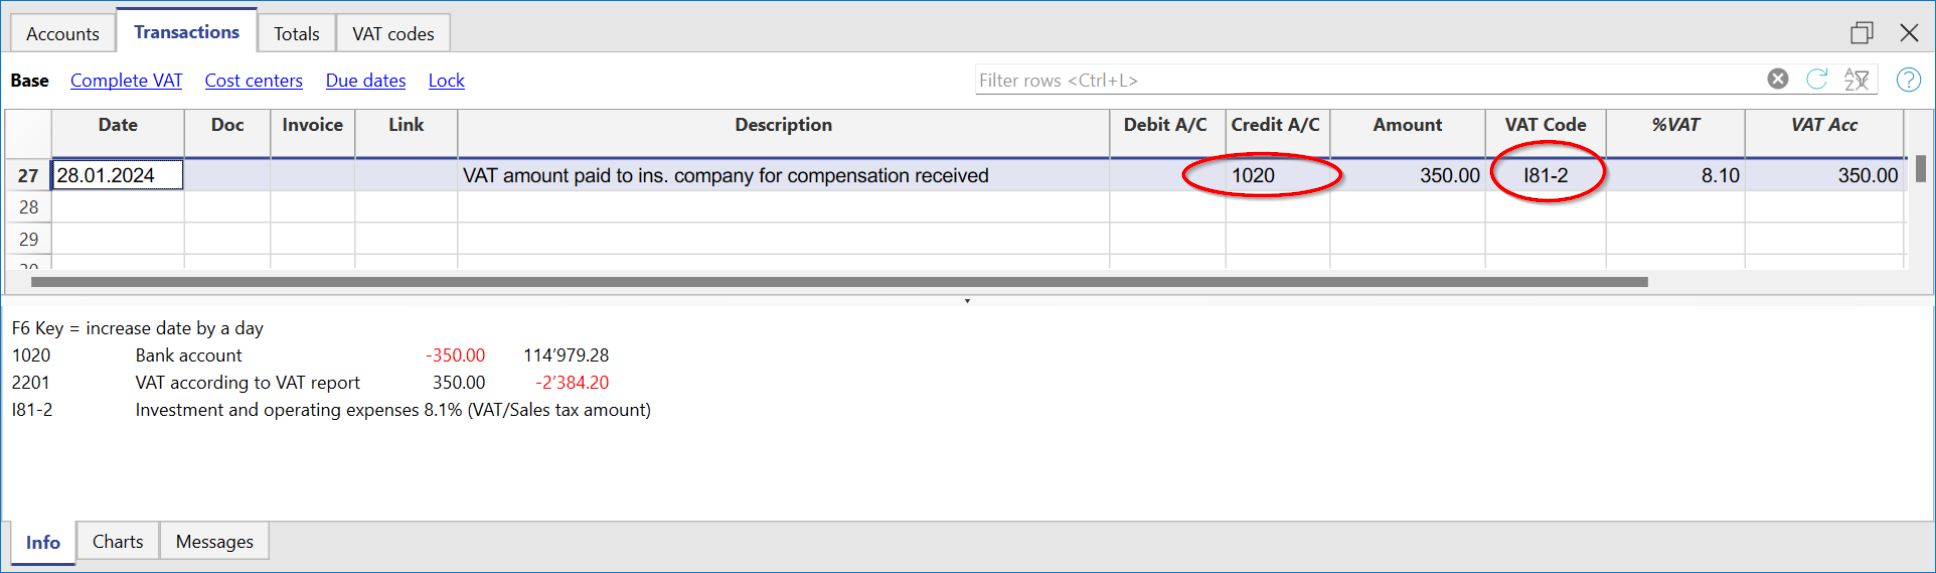
Transactions with different VAT rates
There may be cases in which the total amount is composed of several taxable amounts with different VAT rates. In this case the transaction is recorded on several rows.
For the transaction, it is necessary to:
- Subdivide the overall amount into the various amounts, each of which is subject to a specific VAT rate.
- On each row, enter the amount (amount with VAT) and insert the VAT code with the specific rate.
- Once the transaction is completed, check that the sum of the single gross amounts and the VAT amounts correspond to the invoice total.
Example
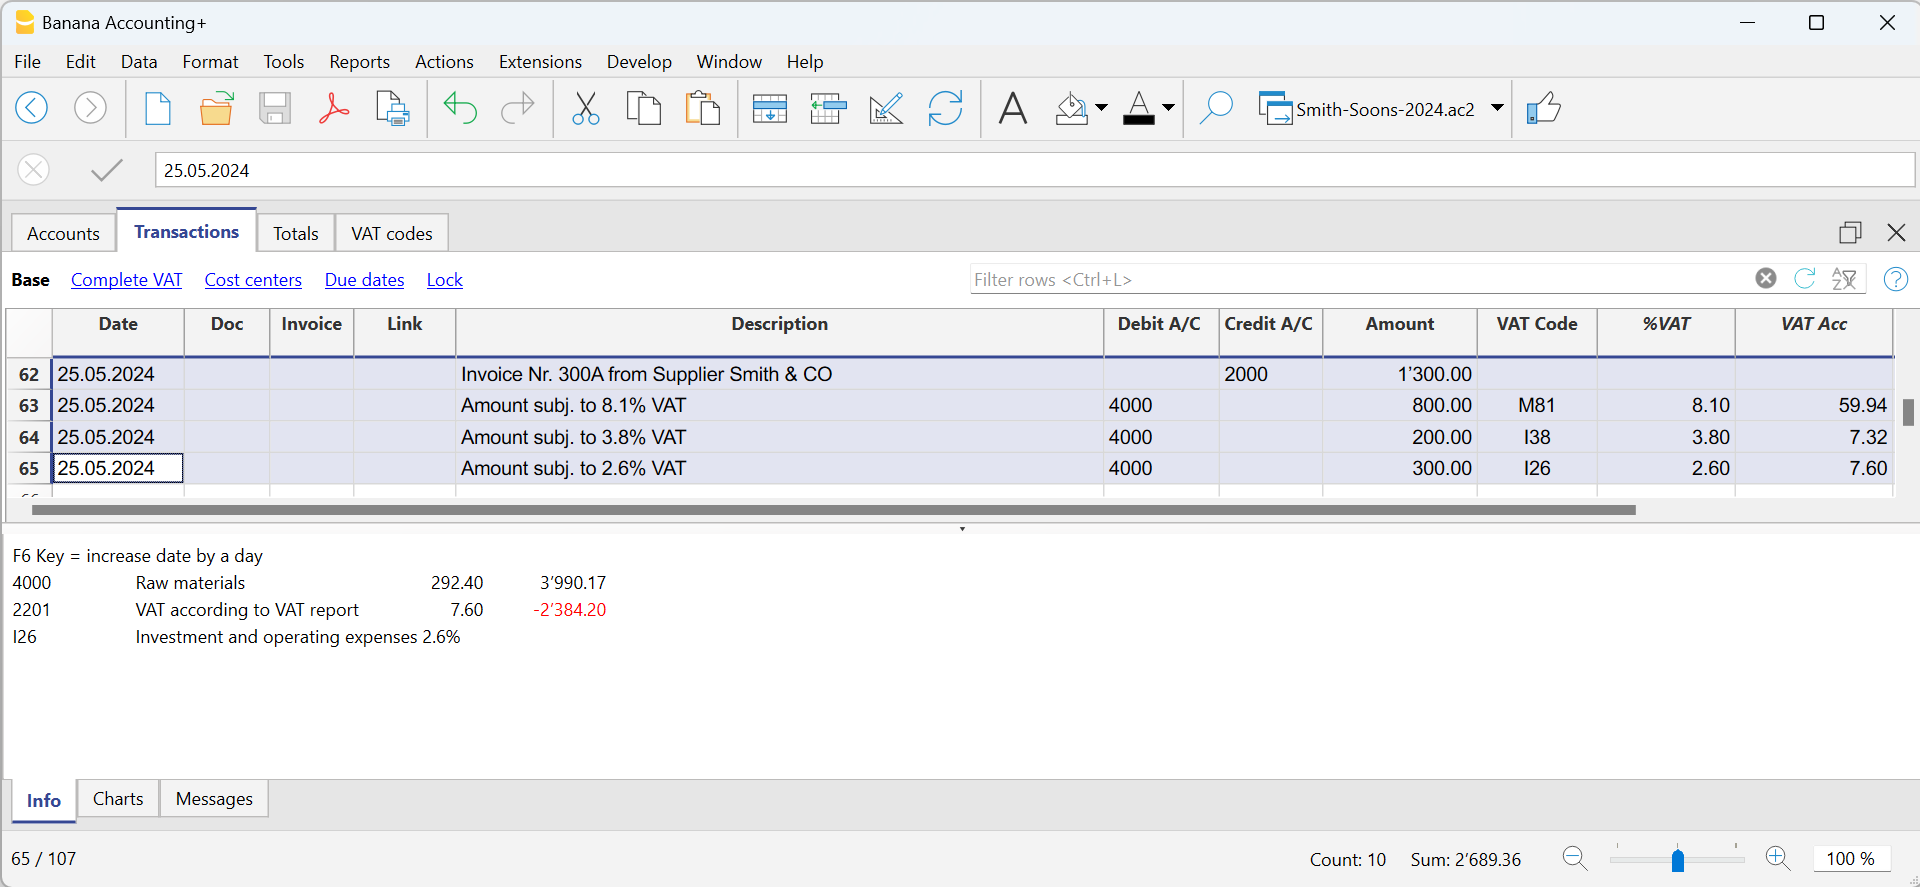
VAT EXEMPTION
When in the invoice the total amount subject to VAT is made up of a taxable part and a VAT-exempt part, it is necessary to register on more than one row as in the previous case, applying the exempt VAT code, present in the VAT Codes table.
Reversals/Credit note
When there are reversal operations for credit or debit notes, or simply to rectify previously recorded transactions whose amounts are subject to VAT, the VAT must also be reversed in the reversal transaction.
For the transaction:
- Reverse in the Debit and in the Credit column the accounts that were used in the previous transaction, to which the credit note refers.
To reverse the VAT there are two possibilities:
- Put the minus sign in front of the VAT code (e.g. -V81).
- Use one of the codes that refer to discounts, already set in the VAT Codes table.
With these procedures the VAT amount will be adjusted.
Example of a credit note on a sale
When a client finds a defect on a sold product, usually a credit note on his behalf is being issued. The credit note implies a decrease of the income and as a result a recovery of the VAT (Sales tax).
For example, we enter a sale amount of 12'000 including a 8.1% VAT. We then issue on the client's behalf a credit note of CHF 200.- for a product defect.
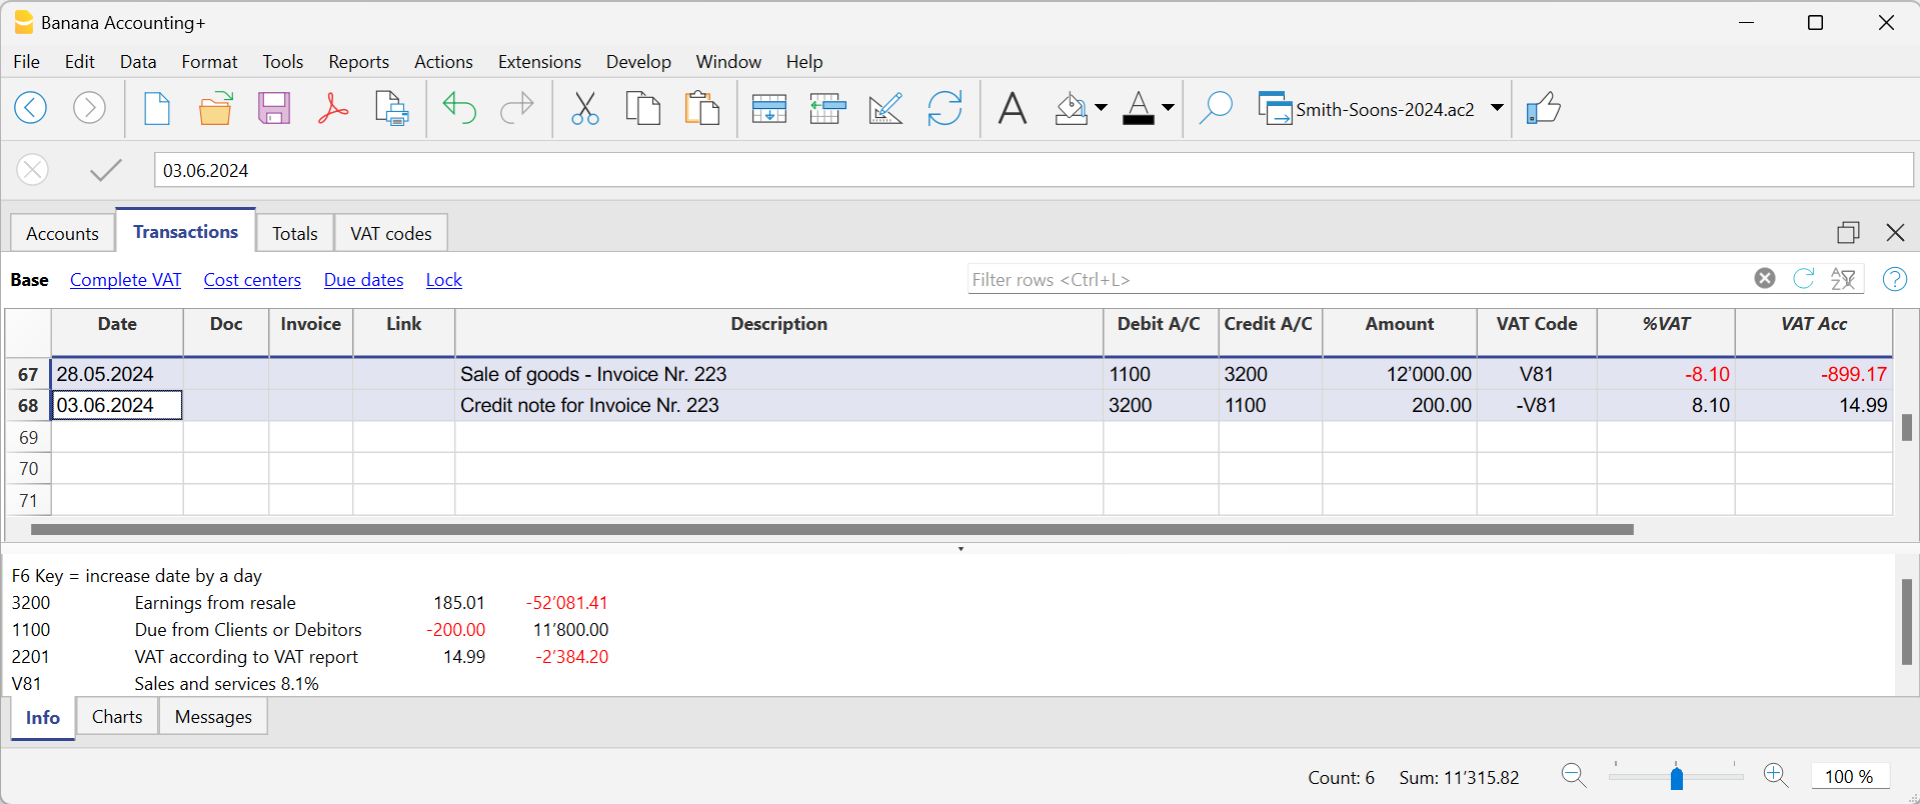
In the transaction of the credit note issued to the customer:
- The accounts of the sale, to which the credit note refers, have been reversed
- For VAT recovery on the credit note, the VAT code of the sales is recorded, preceded by the minus sign.
Example of a credit note on a purchase
When we receive a credit note from a supplier, the procedure for the transaction is similar:
- The accounts used for the purchase are reversed.
- Enter the same VAT code used for the purchase, preceded by the minus sign.
For example, we record an invoice for the purchase of goods for CHF 3'000 including a 8.1% VAT. We then receive a credit note of CHF 300.- from our supplier for a product defect.
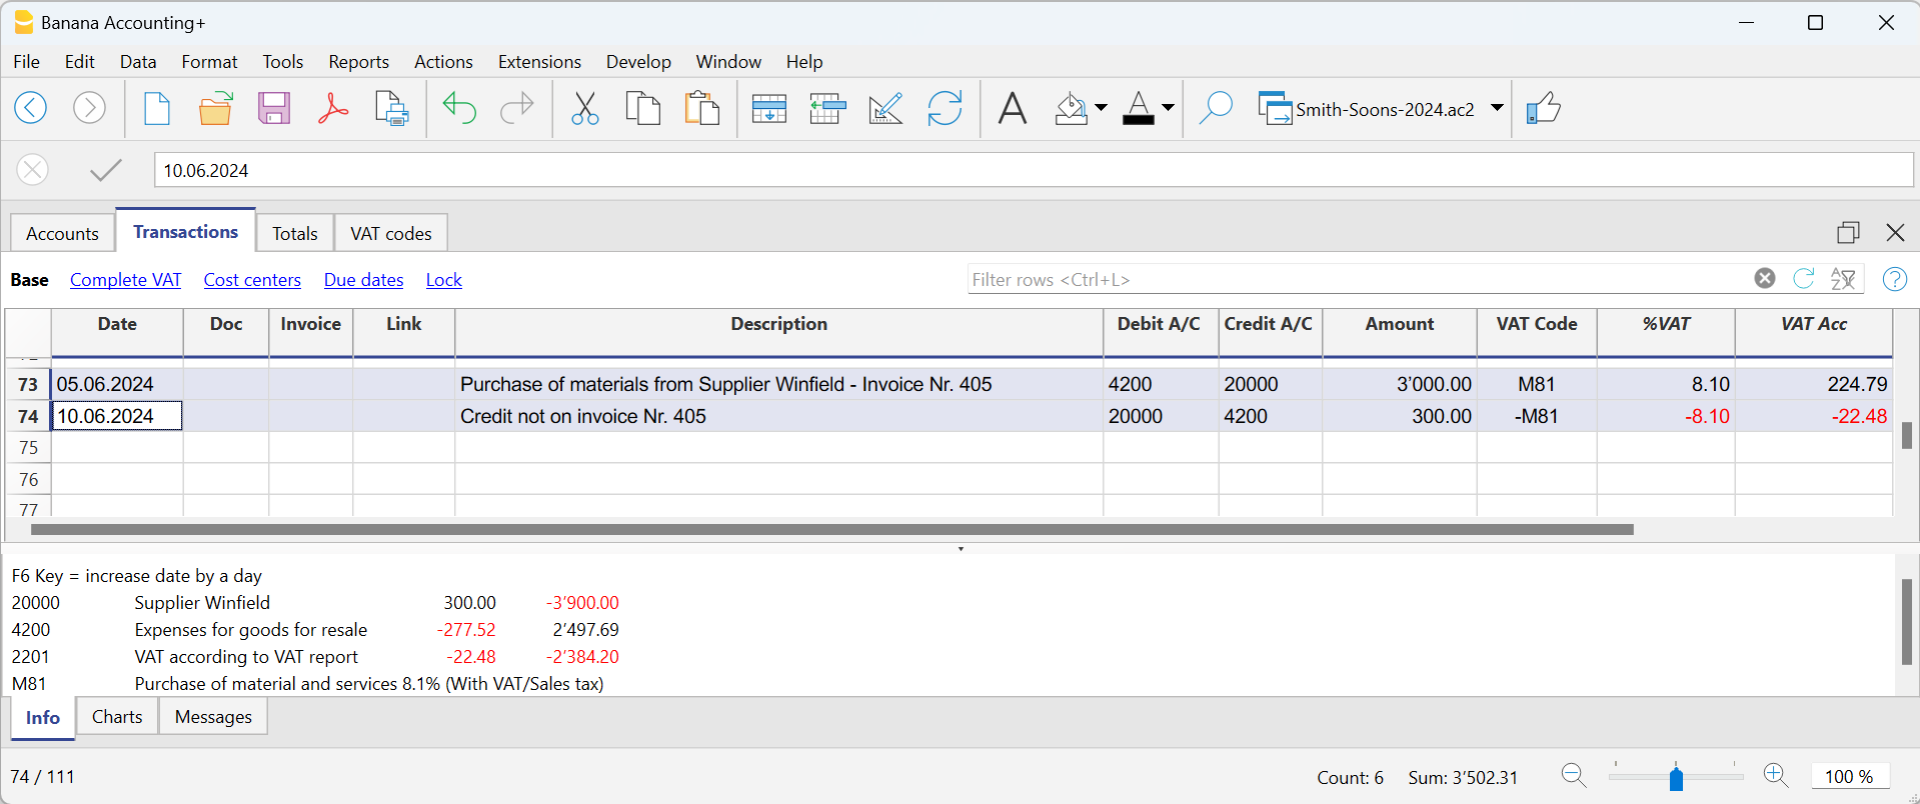
In the transaction of the credit note received from the supplier:
- The accounts of the purchase, to which the credit note refers, have been reversed.
- For VAT recovery on the credit note, the VAT code of the purchases is recorded, preceded by the minus sign.
Reverse charge: cos’è e quando si applica
Normalmente l’IVA è a carico del venditore, che la addebita in fattura e la versa all’autorità fiscale.
Con il reverse charge (o inversione contabile), questo meccanismo viene invertito: l’IVA è posta a carico dell’acquirente.
Il reverse charge non modifica l’importo dell’operazione, ma cambia il modo in cui l’IVA viene dichiarata e registrata.
Si tratta di una gestione particolare dell’IVA che richiede attenzione sia dal punto di vista fiscale sia nella registrazione contabile.
Nel reverse charge:
- il fornitore emette una fattura senza IVA
- il cliente calcola e dichiara l’IVA
- l’IVA risulta, nella maggior parte dei casi, sia a debito sia a credito
Dal punto di vista fiscale, l’IVA risulta quindi:
- dovuta
- e, se previsto dalla normativa, recuperabile
Nella maggior parte dei casi, l’effetto finale sull’IVA è neutro, ma l’operazione deve essere comunque registrata correttamente.
Quando si applica
Il reverse charge si applica principalmente quando:
- si acquistano beni o servizi all’estero
- l’operazione non è stata assoggettata all’IVA in dogana
- il fornitore è esonerato dall’applicazione dell’IVA
Oltre agli acquisti all’estero, ogni Paese prevede altri casi specifici di applicazione del reverse charge, definiti dalla propria legislazione fiscale.
Non tutte le fatture senza IVA rientrano nel reverse charge. È quindi necessario verificare, caso per caso, se l’operazione è soggetta a inversione contabile.
Logica generale di registrazione dell’IVA
Quando un’operazione è soggetta a reverse charge:
- l’IVA deve risultare come IVA dovuta
- se deducibile, deve risultare anche come IVA recuperabile
Questa logica è comune a tutti i tipi di contabilità, ma le modalità di registrazione cambiano a seconda del sistema contabile utilizzato.
Reverse charge in Banana Contabilità
In Banana, la gestione del reverse charge è facilitata dall’uso dei codici IVA già impostati nella tabella Codice IVA, che permettono di calcolare correttamente l’IVA dovuta e l’IVA recuperabile.
Nel caso in cui l'IVA può essere recuperata, nella registrazione Banana Contabilità permette di inserire un doppio codice che va a contabilizzare sia l'IVA dovuta sia l'IVA recuperabile.
Questa modalità semplifica la registrazione e riduce il rischio di errori, mantenendo al tempo stesso la correttezza fiscale.
La possibilità di registrare l'operazione soggetta al Reverse Charge, assoggettamento e recupero IVA, su di un'unica riga, è disponibile nella versione Banana Contabilità Plus.
A seconda del caso, l’operazione può essere registrata:
- con un solo codice IVA, quando l’IVA è solo dovuta
- oppure con due codici IVA, quando l’IVA è sia dovuta sia recuperabile
I dettagli operativi dipendono dal tipo di contabilità utilizzato e sono spiegati nelle sezioni dedicate.
In Banana, il reverse charge utilizza la stessa logica IVA sia nella contabilità in partita doppia sia nella contabilità Entrate/Uscite.
La differenza riguarda la rappresentazione contabile: nella partita doppia i movimenti sono registrati su conti in dare e avere, mentre nella contabilità Entrate/Uscite gli importi sono registrati nelle colonne Entrata e Uscita.
In entrambi i casi, l’effetto IVA è determinato dai codici IVA utilizzati.
Applicazione del reverse charge per nazione
L’applicazione del reverse charge dipende dalla normativa fiscale nazionale. Le regole descritte in questa pagina illustrano il principio generale; i casi concreti variano in base al Paese.
VAT registration with the Reverse Charge
VAT with the Reverse Charge
Normally VAT is applied to the seller of the goods. Reverse Charge is the term used to indicate that the VAT tax is applied to the buyer.
The Reverse Charge is used mainly when buying goods or services abroad and that have not been taxed at customs. In these cases, the exporting seller is exempted from VAT, while the importing buyer is taxed at the local rate and can possibly deduct it. In addition, there are other cases of purchases abroad subject to the Reverse Charge and each country, in its tax legislation, provides for different situations. When registering VAT with the Reverse Charge:
- The transaction must be included so that it will result as VAT due.
- If the VAT is also deductible, the deductible part of VAT must also be recorded.
Software prerequisites
The possibility of recording the transaction subject to the Reverse Charge, tax liability and VAT recovery on one single row, is available for the Banana Accounting Plus.
Reverse Charge with tax liability only
If you have to include the purchase of goods or services, but do not have the possibility to deduct VAT:
- Indicate the VAT code due to the appropriate case in the transaction.
The liability with the Reverse Charge without deduction is generally used in the case one is benefiting from a flat-rate scheme or when the type of expense is not considered deductible.
Reverse Charge with tax liability and VAT deduction
If the amount of VAT due is equal to that of the deductible VAT, the Reverse Charge can be registered on a single row, by simultaneously entering both the code for the VAT due and the code for the recoverable VAT.
- The pre-defined VAT codes are used and there is no need to change the VAT table.
- In the row of the entry with VAT Reverse Charge, enter the two predefined VAT codes in the VAT Code column, separated by a colon ":".
- The two VAT codes must be complementary in order for the result to offset one other.
- One of the two codes must be set up with VAT due and the other with recoverable VAT.
- The VAT rate and all other calculation parameters must also be identical.
- If the VAT codes do not have the same parameters, an error message will be displayed.
- The sequence of codes is not relevant, you can put one or the other first.
- When reversing an operation, the first VAT code must be preceded by the minus sign "-".
Reversal is used to cancel an incorrectly posted transaction. In this case, the same elements are kept, but the original transaction is reversed:- The VAT payable code is recorded as recoverable.
- The recoverable VAT code is posted as due.
- In the VAT columns, the amounts are preceded by the sign "+/-", which signals that the amounts offset each other for VAT purposes.
- In the account card and in the VAT summary there are separate entries for the debit and credit entries.
Example of transaction with Reverse Charge
Below are some examples of the Reverse Charge transaction inclusive of VAT due and recoverable:
- VAT included and excluding operations.
- Cancellation transactions, with VAT codes preceded by the "-" sign.
Notes: The examples in the image below are purely indicative. These codes must be adapted according to the rates in your country. Further information:
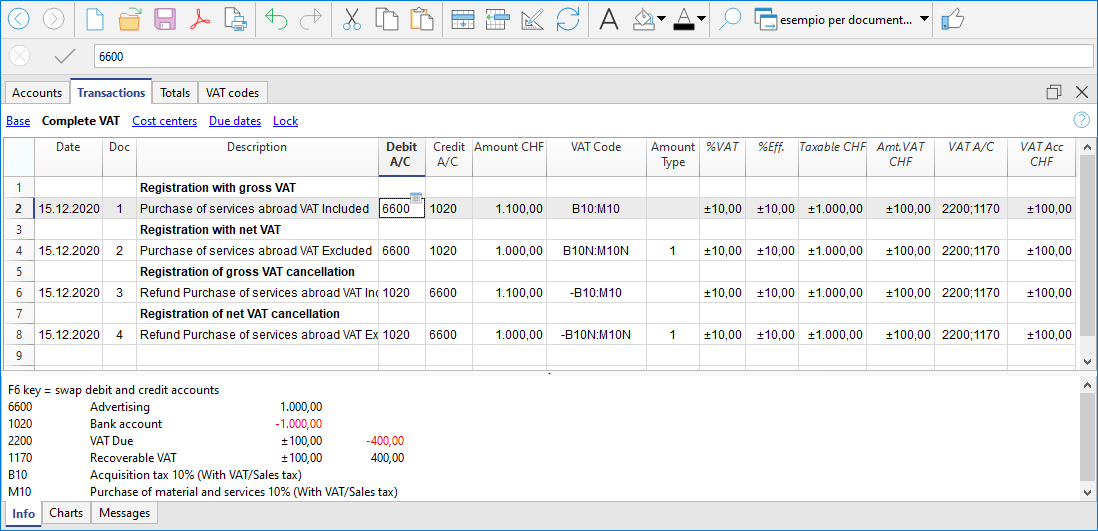
Reverse Charge with account in foreign currency
When the invoice is presented in a currency other than the accounting currency, the posting must be carried out on two lines:
- the invoice in foreign currency is entered on the first row
- the second line records the taxation and deduction of VAT, taking up the amount calculated in the accounting currency.
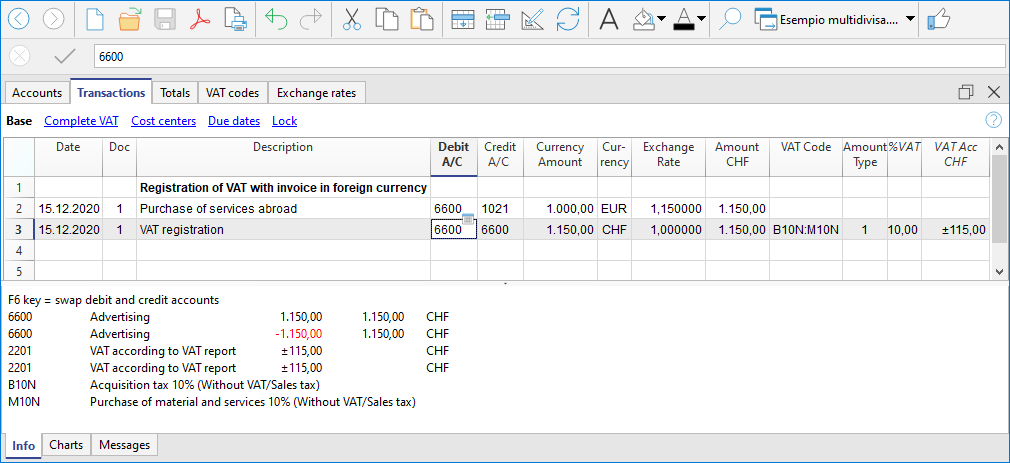
Reverse Charge at different rates
When different rates are to be considered in the taxation of the due and recoverable VAT or the VAT is partially deductible, the transaction must be made on several rows:
- On one row, enter the VAT due code (tax liability).
- On another row, the recoverable VAT code is entered.
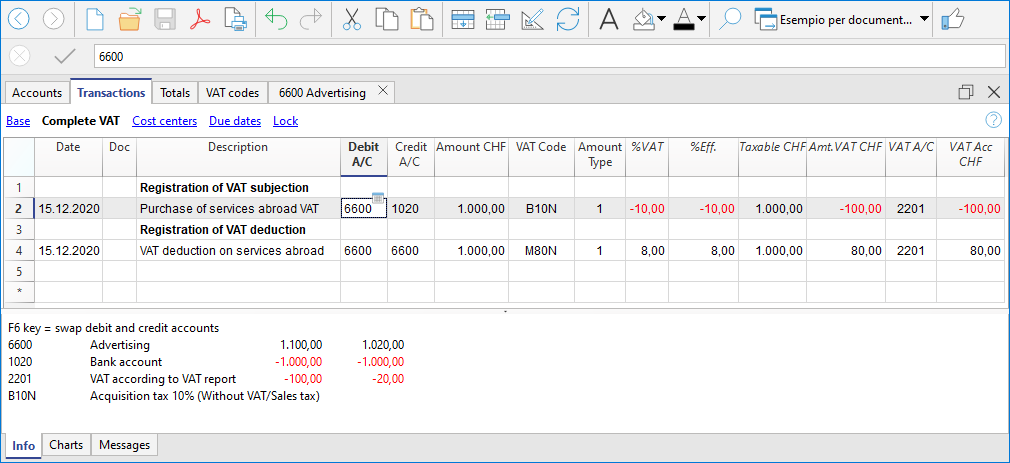
Reverse charge with the net / flat rate method (CH)
In this case, it is not possible to post the VAT deduction, as it is not possible to recover the VAT on purchases. In any case, the tax liability must be registered.
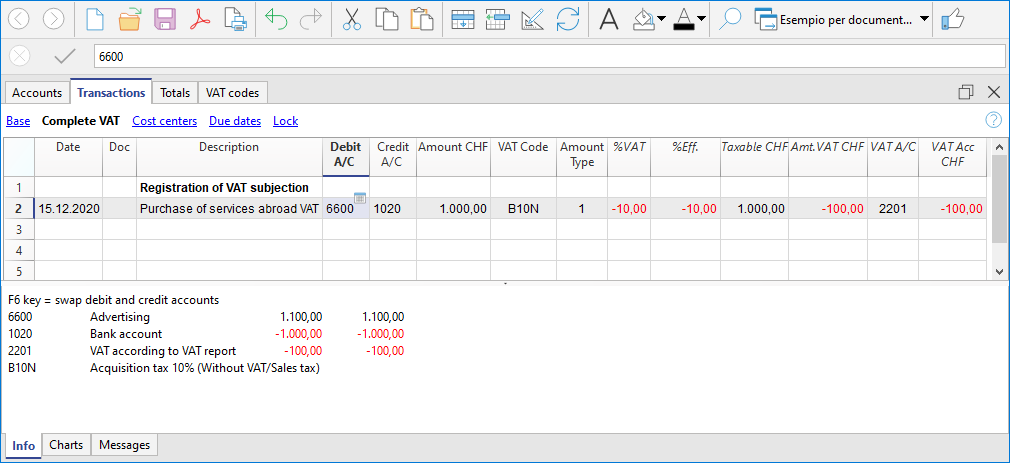
Registrazioni Reverse charge nella contabilità Entrate/Uscite
Nella contabilità Entrate/Uscite, il reverse charge viene gestito registrando correttamente l’IVA dovuta e, se prevista, l’IVA recuperabile, in modo che l’imposta risulti conforme alla normativa fiscale e correttamente esposta nei report IVA.
Anche nella contabilità Entrate/Uscite, Banana facilita la gestione del reverse charge tramite l’uso del doppio codice IVA nella stessa registrazione.
Principio contabile
Con il reverse charge:
- il fornitore non addebita l’IVA in fattura
- l’acquirente deve assoggettare l’operazione all’IVA
- se ne ha diritto, può dedurre la stessa IVA
Dal punto di vista fiscale, l’IVA deve quindi risultare:
- come IVA dovuta
- e, se deducibile, come IVA recuperabile
Quando l’IVA dovuta e l’IVA recuperabile hanno lo stesso importo, l’effetto finale sull’IVA è neutro, anche nella contabilità Entrate/Uscite.
Modalità di registrazione
Le modalità di registrazione del reverse charge dipendono dal diritto alla deduzione dell’IVA:
- reverse charge con solo assoggettamento IVA
- reverse charge con assoggettamento e deduzione IVA
Reverse charge con solo assoggettamento IVA
Se l’IVA è dovuta ma non deducibile:
- si utilizza un solo codice IVA, impostato come IVA dovuta
- l’IVA risulta come IVA da versare
- non viene registrata alcuna IVA recuperabile
Questo caso si presenta, ad esempio, quando:
- si applica un regime forfettario
- il tipo di spesa non consente la deduzione dell’IVA
Reverse charge con assoggettamento e deduzione IVA
Se l’IVA dovuta è interamente deducibile, il reverse charge può essere registrato su un’unica riga, anche nella contabilità Entrate/Uscite.
In questo caso:
- nella colonna Codice IVA si inseriscono due codici IVA
- i codici sono separati dal segno ":" (due punti)
- un codice è impostato come IVA dovuta
- l’altro come IVA recuperabile.
I due codici IVA devono essere:
- complementari
- con stessa aliquota
- con stessi parametri di calcolo
Se i parametri non coincidono, Banana visualizza un messaggio di errore.
La sequenza dei codici non è rilevante.
Effetti sulla contabilità e sui report IVA
Con questa modalità di registrazione:
- l’IVA dovuta e l’IVA recuperabile si compensano
- l’operazione risulta neutra ai fini IVA
- nei report IVA Banana evidenzia correttamente:
- l’IVA dovuta
- l’IVA recuperabile.
Questo garantisce:
- correttezza fiscale
- trasparenza nei controlli
- tracciabilità delle operazioni.
Operazioni di storno
Per annullare una registrazione di reverse charge effettuata in modo non corretto:
- si utilizza lo storno
- il primo codice IVA viene preceduto dal segno “-”
- i ruoli dei codici IVA vengono invertiti:
- l’IVA dovuta diventa recuperabile
- l’IVA recuperabile diventa dovuta
Lo storno mantiene gli stessi elementi della registrazione originale, ma ne annulla gli effetti.
Esempi e casi particolari con reverse charge
Gli esempi che seguono illustrano alcuni casi tipici di reverse charge nella contabilità Entrate/Uscite:
- operazioni con assoggettamento e deduzione IVA inclusa
- operazioni con assoggettamento e deduzione IVA esclusa
- operazioni di storno.
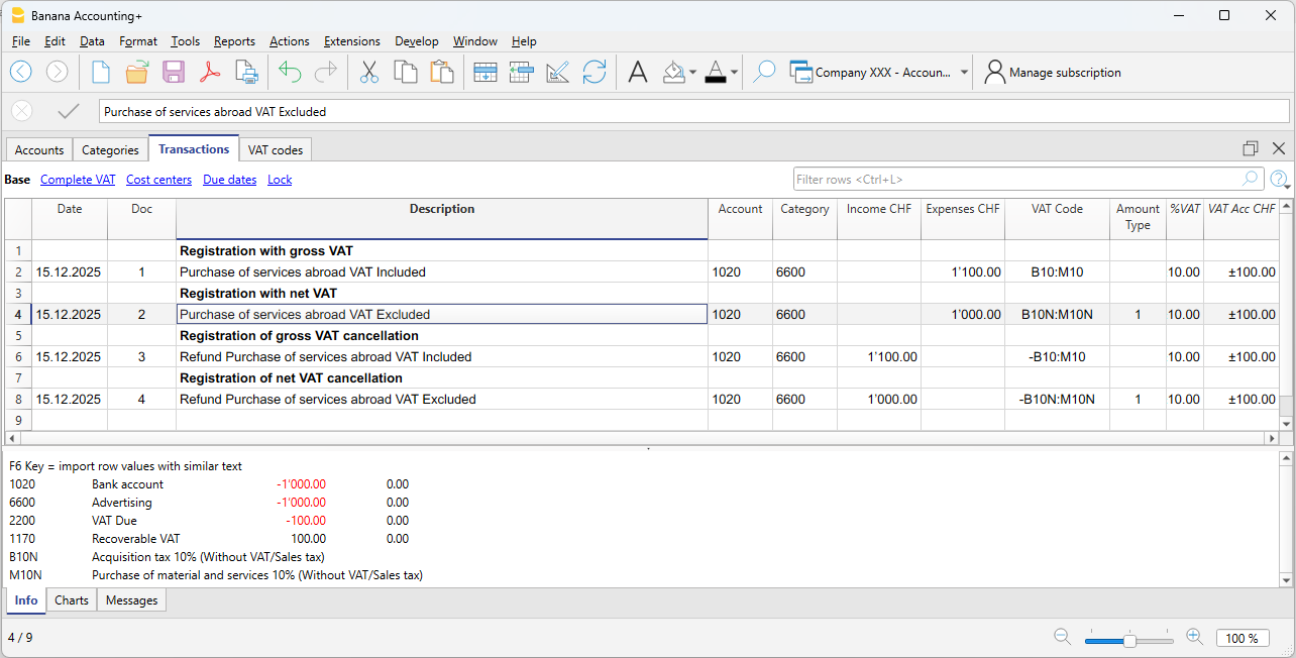
Nota
Gli esempi sono indicativi e devono essere adattati alle aliquote e alle disposizioni fiscali del proprio Paese.
In sintesi
Nella contabilità Entrate/Uscite di Banana, il reverse charge:
- non è un automatismo
- si basa sull’uso corretto dei codici IVA
- utilizza il doppio codice IVA quando l’IVA è dovuta e recuperabile
- riflette fedelmente la logica fiscale dell’operazione.
Le modalità operative sono pensate per garantire precisione contabile e chiarezza nei controlli IVA.
VAT Summary (Report)
The VAT Summary is a document or a section of an accounting ledger where transactions subject to Value Added Tax (VAT) are summarized for a specific period (monthly, quarterly, or yearly).
Main elements of the VAT summary
- VAT payable: total amount of VAT due on issued or collected invoices (sales).
- VAT receivable: total amount of VAT recoverable on received or paid invoices (purchases).
- VAT to be paid or credited: Difference between VAT due and VAT recoverable.
- If VAT payable > VAT receivable: The company must pay VAT to the State.
- If VAT receivable > VAT payable: The company has a VAT credit that can be offset or claimed for a refund.
The VAT Summary in Banana Accounting Plus is a journal that records VAT transactions and balances, based on the set parameters and selected options.
It is automatically generated by the program through the Reports > VAT Summary menu and can be saved and archived in PDF format. All transactions with a VAT code, depending on the selected options, can be broken down by account, VAT code, and percentage.
There are two main groups:
- Total Due
- Total Recoverable
The difference between these two totals results in the VAT to be paid or recovered with respect to the FTA (Federal Tax Administration).
Below is an example of a VAT summary table for the first quarter of 2025:
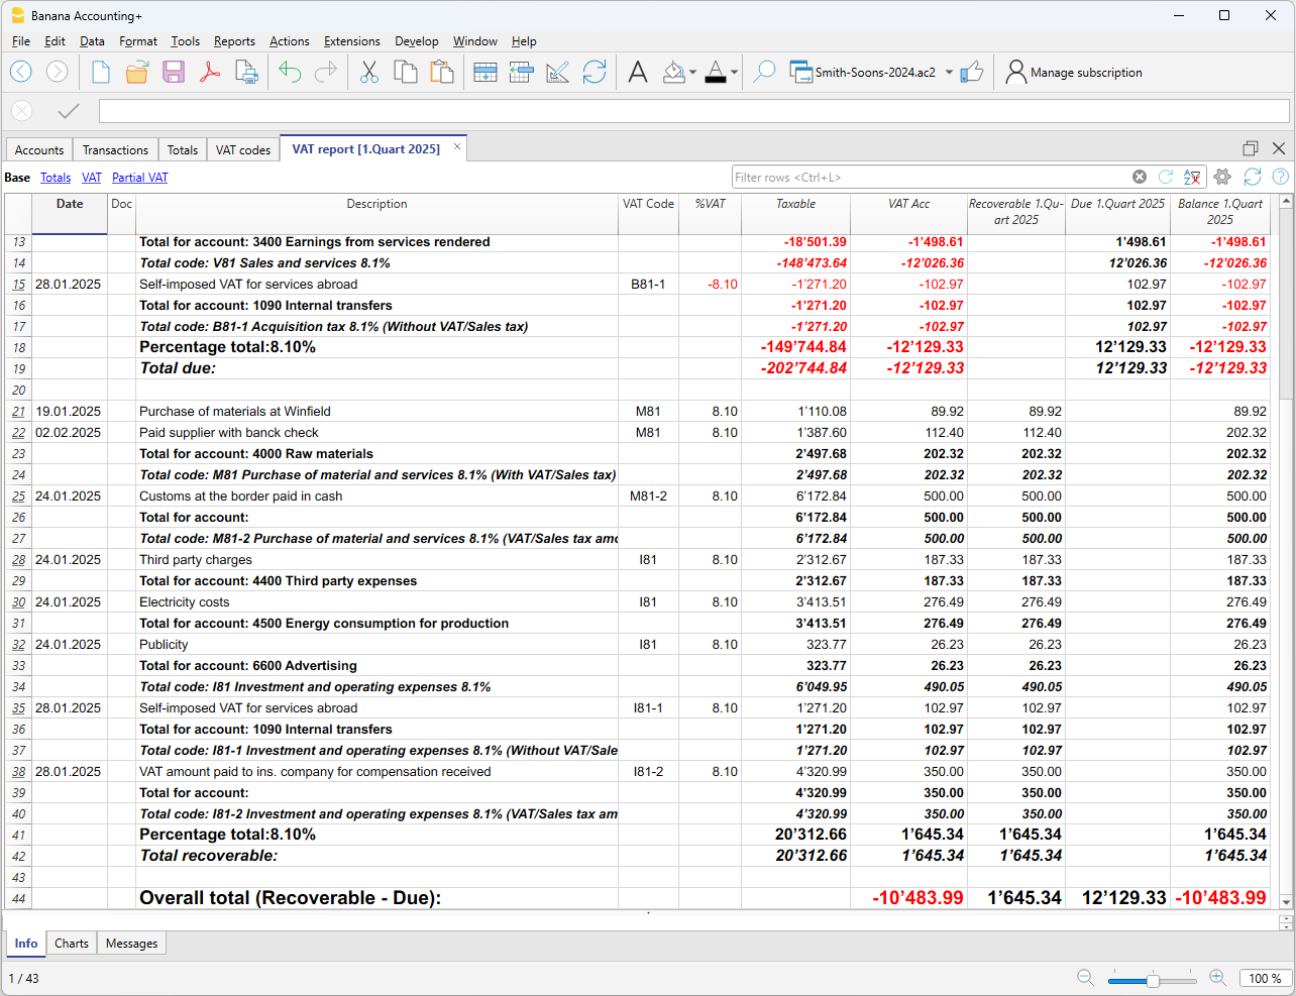
For users who do not wish to use automated solutions for managing and submitting VAT data online, the VAT Summary is essential for calculating the VAT amounts to be manually entered into the Swiss paper VAT return or the FTA online portal.
If you wish to have a fully automated Swiss VAT return and electronic VAT data transmission, we recommend using the new VAT extensions, available in the Advanced plan of Banana Accounting Plus.
Comparison between VAT summary and VAT extension
To better understand the differences between the VAT Summary and the VAT Extension, below are their main features:
VAT Summary
- Available in all plans of Banana Accounting Plus, in all accounting applications with VAT management.
- It is an integral part of accounting because it represents a ledger where all VAT transactions are recorded.
- It is particularly important as it provides details that allow monitoring of sales.
- Serves as a basis for manually preparing the VAT declaration and settlement.
- It is a support tool for auditors and tax inspections, facilitating the verification of VAT records.
- In case of tax audits, it provides all the details necessary to verify VAT transactions.
- Does not allow automatic preparation of the VAT form. Everything must be manually reported.
- The user must identify and manually sum the amounts to be reported in the various sections of the VAT return.
- Does not provide automatic submission of data to the Federal Tax Administration (FTA).
VAT Extension
- Available only with the Advanced plan of Banana Accounting Plus.
- A set of advanced features to automate VAT management and data submission to the FTA.
- Filters, calculates, and automatically fills in VAT amounts in the correct sections of the VAT return.
- Always performs calculations according to predefined rules, reducing the risk of errors.
- Automatically generates an XML file for electronic submission of VAT data to the FTA portal.
- Creates a PDF file with a facsimile of the VAT return, facilitating documentation and archiving.
At the end of the return, there is a section where any calculation and rounding differences are reported.
Thanks to the VAT Extension, VAT management becomes simpler, faster, and free from manual errors, improving administrative efficiency.
The Advanced plan includes the two VAT calculation and reporting methods:
The VAT summery dialog
The VAT report is obtained by clicking on the menu Reports > VAT report

When activated, the following options allow you to include the following data in the VAT report:
Include movements
All transactions with VAT are included.
Include totals for accounts
The totals of transactions with VAT are included, grouped by single account.
Include totals by codes
The totals of transactions with VAT are included, grouped by single VAT code.
Include totals by percentages
The totals of transactions with VAT for each individual rate are included.
Include unused codes
Also included are the unused codes present in the VAT Codes table.
Use own grouping (group and Gr)
Transactions with VAT are grouped according to the grouping of the VAT Codes table.
Order registration by
This function allows you to sort the recordings based on the selected option (date, doc.,
description, etc ....).
Partial Report
By specifying a code or a group and checking the appropriate boxes, the total of transactions with VAT is obtained:
- just the code indicated (by selecting from the list)
- just the indicated group (by selecting from the list).
Other sections
Information for the other sections is available on the following web pages:
VAT Report / transactions with totals by code
The overall total in the last row of the VAT report has to correspond with the amount for the end of period of the Automatic VAT account, Balance column, on the condition that both of them refer to the same period.
The data of the VAT report can also be transferred to and elaborated by other programs (f.i. Excel, XSLT) and be presented in formats that are similar to the forms of the tax authority
For Switzerland, one can automatically obtain a document similar to the form that has to be sent to the VAT office. This form shows the amount to enter for each number. Please consult (in German, French, or Italian) Swiss VAT Report.
Periodic VAT return and payment
In VAT management, each country requires specific VAT accounts within the chart of accounts. These accounts are used to record and manage input and output VAT:
- VAT payable – Account where VAT amounts related to sales and services are recorded.
- VAT receivable – Account where VAT amounts on purchases of goods and services are recorded.
- VAT payment account – Account where, at the end of the period, the balances of VAT payable and VAT receivable are transferred.
The account balance represents the VAT to be paid to the tax authorities or the credit to be received. This account is cleared once the VAT payment is made.
In Banana Accounting, to manage VAT, you must choose an accounting model with VAT that already includes the following settings:
- In the Banana chart of accounts, the VAT accounts are already set up according to the country
- The VAT Codes table is already prepared with country-specific VAT codes
- In the menu File > File properties, basic data > VAT section, the two VAT accounts where VAT is automatically recorded are set, one VAT payable account and one VAT receivable account.
- You can also set only one VAT account. This is used for both VAT payable and VAT receivable.
- In the VAT Codes table, you can set a specific VAT account for a single VAT code.
- If these settings are missing, it is possible to:
- Add an additional VAT account in the chart of accounts, named Automatic VAT account.
- Set the automatic VAT account as default by going to File > File properties, basic data > VAT section.
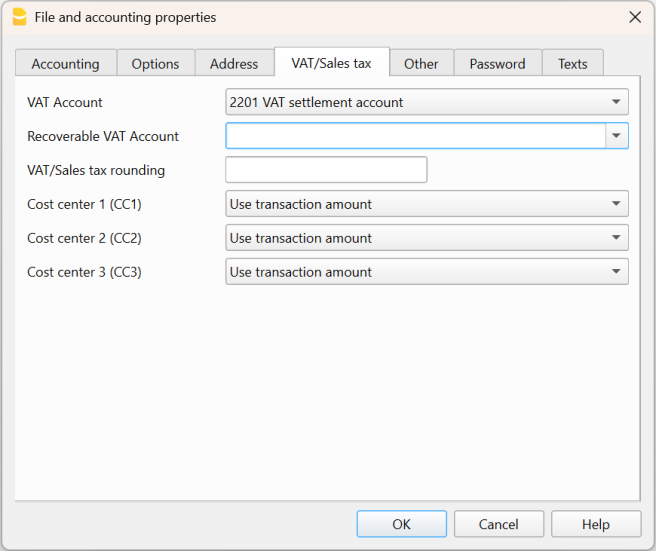
How to automatically clear VAT accounts at the end of the period
To better understand how the automatic VAT account is used, let’s look at a practical example.
Note: the VAT account numbers shown in the following example refer to the numbering used in Switzerland. In your own chart of accounts, you must adapt the account numbers according to your country.
- VAT account 2201 – Represents the automatic VAT account.
- VAT account 2200 – Represents the VAT payment account.
At the end of the period, to clear the balance of the automatic VAT account, the VAT amount recorded automatically must be transferred to the VAT payment account. This step allows you to determine the VAT to be paid or the possible VAT credit, simplifying accounting management.
In our example shown in the image, at the end of the period, scheduled for VAT submission and payment, the balance of the automatic VAT account shows a balance of 10,995.92.

The balance of account 2201 VAT Report (automatic VAT account) must be cleared with a reversal entry by entering:
- In the Debit column, account 2201 VAT report (automatic VAT account)
- In the Credit column, account 2200 VAT due (VAT payment account).
This entry is made in this way if there is an amount owed to the tax authorities. If there is a VAT credit, the VAT account transactions are reversed.
This operation results in:
- Clearing of the balance in account 2201, VAT Report (automatic VAT account).
- Transferring the VAT balance to the VAT due account (VAT payment account).

Payment of the VAT due account balance
When the VAT amount is paid to the tax authorities, the balance of the VAT due account is cleared.
For the entry:
- Enter the date, document number, and description in the respective columns.
- In the Debit column, enter the VAT Due account.
- In the Credit column, enter the liquidity account.
- In the Amount column, enter the VAT amount paid.
With this system, it is possible to monitor the balance of each quarter, and in case of errors, it is possible to identify in which period the balance no longer matches.
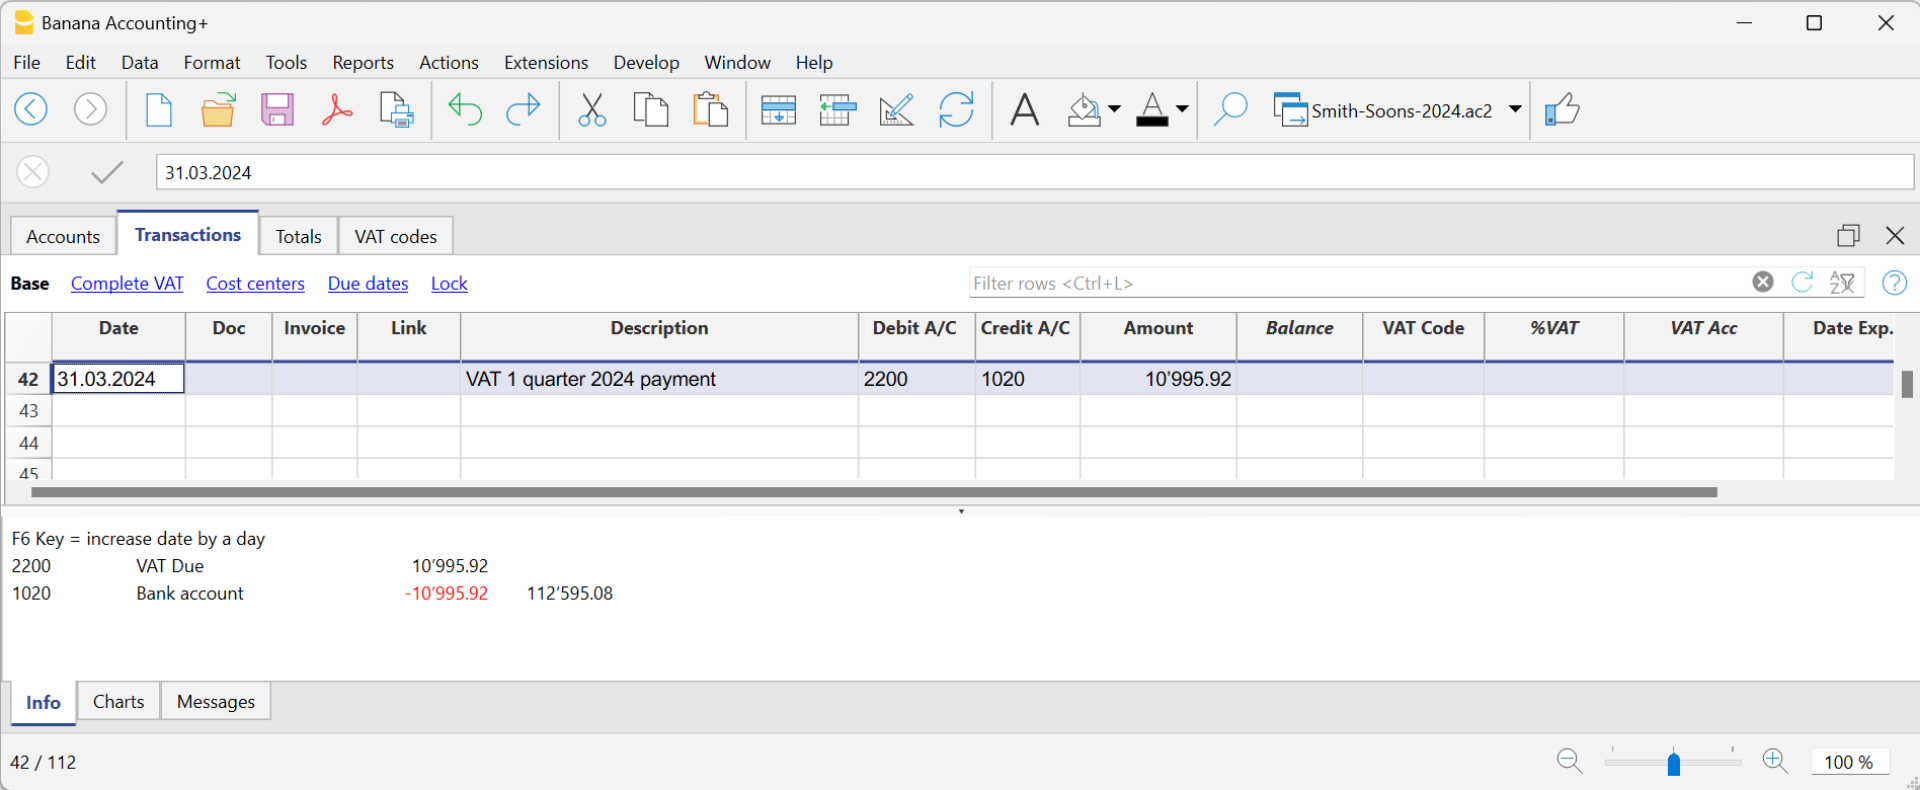
Ledger of account 2200 VAT due after recording the payment

Import and automation
The import and automation features of Banana Accounting allow you to easily integrate data from your bank statements and automate your transactions.
These tools simplify daily management, reduce errors, and improve the efficiency of accounting work.
Thanks to these features you can:
- Save time by automatically importing transactions and data;
- Reduce posting errors thanks to automation rules;
- Ensure transaction balancing through the transfer account;
- Keep your accounting always up to date;
- Work faster, more accurately, and in a more integrated way.
Import into accounting
The Import into accounting function allows you to automatically insert transactions, contacts or other data from external files into your accounting file.
You can import transactions from bank statements, invoicing software or spreadsheets, choosing the most suitable format (CSV, Excel, MT940, ISO 20022, etc.).
During the import process, Banana matches the data with the correct accounts, greatly simplifying the posting of transactions.
Automation
The Automation features allow you to speed up repetitive or complex workflows.
You can define Import Rules, create custom extensions, or use scripts that automatically perform specific actions such as updating tables, importing data, or generating reports.
Automation allows you to keep your accounting up to date quickly and accurately, with minimal manual intervention.
The Clearing account in imports
During the import of transactions, the Clearing account serves as a temporary account to ensure the balancing of entries. When importing transfer entries from different bank accounts, to avoid recording a transfer twice when importing data from multiple banks, using the transfer account as a counter account ensures the balances are correct.
It is a useful method for correctly checking and balancing imported transactions.
Import data from other programs
The Import data from other programs function allows you to import entire accounting files from other software or previous versions of Banana.
You can easily transfer the chart of accounts, opening balances, transactions, and contacts, maintaining continuity in your work. You can import data using various formats, such as .Txt, Excel, CSV, etc.
Banana also includes extensions that allow you to import data from other programs, such as:
Import into accounting command
The import command is activated from the Actions menu → Import into accounting and allows you to import data from files in the following tables:
- Transactions - Bank transactions
Used to import bank statements into the Transactions table. - Transactions - Generic transactions
Used to import transactions in the Transactions table. - Accounts
Used to import accounts in the Accounts table. - VAT Codes
Used to import VAT codes into the VAT Codes table. - Exchange rates
Used to import exchange rates into the Exchange rates table. - File
Imports data into multiple tables and also into the Accounting File Properties. This type of import is used for example when converting the chart of accounts.
To import data from other programmes, see the page Retrieving data from other programs.
Import procedure
- Choose the destination table for the data.
- Choose the file type to be imported.
- Specify the name of the file.
- Choose the movements to be imported.
Supported import formats
Various import formats are available depending on the type of destination table.
- Import from other Banana Accounting files (.AC2)
Prepared to convert data from files. - Text files with header (CSV/TXT)
For files created that export data in the format required by Banana Accounting.
See the technical instructions on how to prepare these files. - Default file formats (generic)
ISO 20022 (generic). - Import via an import extension
Usually for bank statements.
The import extension is an additional Banana Accounting program that transforms data from a specific format
The user must install the appropriate extension.
Should there be a need to import from other file types not included in the list, a specific Banana Import Extension can be developed.

Import parameters
File name
- Indicate the name of the file of which the data need to be imported.
- For certain types of imports (e.g. bank statements)
- You can also indicate multiple files together, either by selecting them with the browse dialog or by entering them separately with a semicolon ";".
- You can indicate a zipper file that contains multiple import files.
- If you specify multiple files, they must all be of the same type.
Import data from clipboard (Excel)
With this option active, the data, instead of being read from the file, is read from the clipboard.
It is used to import data from files that cannot be directly read by Banana, such as bank statements in Excel format, or from another programme.
The advantage of importing data and not simply using the copy-and-paste function is that the data are converted by the import programme and completed automatically.
Proceed as follows:
- Open the file with the data using Excel.
- Select the data to be imported, including eventual header rows.
- Issue the copy command (Ctrl+C).
This option is shown only for certain import types.
UTF-8
Select whether the data to be imported is in the utf-8 format.
This option is shown only for certain import types.
Manage extensions...
This command brings you to the Mange extensions dialog window.
You can use it to:
- Look for, add or remove an import extension
- Edit the extension parameters.
Also use the command to change the extension settings.
Settings
The button allows you to change the settings of the extension.
The button is visible from the Banana version 10.1 and only if the extension allows parameters to be set.
OK Button
It starts the import process.
Error messages
If errors are reported during the execution of an import, the Import Extensions must first be updated.
If errors persist, please send us feedback, it may be that the file format has been updated by the originating bank or institution, and we will update our import filter accordingly.
Import transactions from ebanking
This page deals with the importing of transactions from bank statements, the most widely used and most useful feature, which allows you to automate the entry of transactions in the Transactions table.
Bank statement files are defined as those containing incoming and outgoing amounts on a single account. The import dialogue requires the entry of the account and the counterpart, and allows the use of the Auto-completion Rules.
On the other hand, in order to import from files that have other types of movements, e.g. from double-entry bookkeeping, please refer to the page Import Transactions (Generic). For these types of files, there is no possibility of applying the auto-completion rules.
Import procedure
- From Actions in the menu > Import into accounts > in the Import box select Transactions.
- Choose the file type to be imported.
See explanations below. - With the Browse button, choose the file from which you wish to import the transactions.
- Set the parameters as required.
See also: Import into accounting.
Next Steps
Once OK is confirmed, the data is read and the following dialogues are displayed:
- Import transactions dialog
Where instructions for completing the imported rows are to be given. - Apply rules (Advanced plan only)
When importing, records can be stored so that the programme will automatically complete the transactions in all subsequent imports.
Bank Statement Import Formats
In the dialogue for importing transactions you can choose between different file types:
- Import extensions for bank statements (the majority only with the Advanced plan)
These are additional programs that must be installed by the user and that convert the data to be imported in the formats foreseen by Banana Accounting Plus.
By using the Manage Extensions button you can install the extensions programmed for importing bank statements of different banks, credit cards and other formats.
Once the extension is installed it appears in the Extensions menu ready for import.- Bank statement Camt ISO 20022 Switzerland (Professional plan)
Reads the standard format made available by Swiss banks.
This extension also decodes the payment reference number, generated by the Invoice Layout CH10, and inserts the invoice or customer number. - Updated list of Banana Extensions for import.
- Bank statement Camt ISO 20022 Switzerland (Professional plan)
- Standard formats included in Banana Accounting Plus (Professional plan)
These are standard formats that banks make available and are included in Banana Accounting Plus:- MT 940 account statement
- Generic ISO 20022 Account Statement
Several banks in Europe make the account statement available in the standard ISO 20022 format.
- Generic format with Incoming and Outgoing Transactions TXT (Professional plan)
This is a text file of the CSV type, which uses the tabulator as a separator and presents the incoming and outgoing amounts of an account as columns.
File name
You indicate a file or even multiple files separated by a semicolon ";". You can also indicate a ZIP that contains multiple import files.
Import multiple files at the same time:
- If your bank provides daily camt053, you can select all the files for the month and import them in one step.
- If your bank provides a zip file, you can choose the file that contains all the statements.
The import files must, of course, be of the same type. You cannot import different formats together.
Import File Structure
The import file contains the typical movements of a bank statement:
- Date
- [transaction number] optional
- Description
- Incoming or outgoing amount.
When importing, the user indicates to which account the transactions are to be recorded, so that the Debit or Credit account is already created.
Import extensions can be created for any bank statement.
See Technical instructions for importing an Income and Expenses file.
Frequently asked questions:
I cannot see the format of my bank statement. What should I do?
Click onto Extensions menu > Manage Extensions... then on the Update Extensions button and enable the filter for the desired format.
I cannot see the format of the Postfinance xml statement (.tgz file). How can I import my movements?
This format is no longer supported. Please contact Postfinance and ask to receive your statement in ISO 20022 format.
I get the message "This ISO 20022 file does not contain a bank statement (camt.052/053/054)". How should I proceed?
This error message is displayed if the ISO 20022 file does not contain a bank statement. The ISO 20022 format is a generic format that can contain different types of information, such as bank statements and execution confirmations. In Banana Accounting Plus, it is only possible to import bank statements (camt.052/053/054).
My bank is not in the list of supported formats. Can it be added?
It is possible to create new extensions for formats that have not yet been implemented. Support for implementing custom formats is also available for a fee.
In eBanking (e.g. Raiffeisen Bank), when entering payments, you must choose the option 'individual order' instead of 'collective order'. Only in this way are payments imported as individual orders.
Download bank transactions
To keep the company's accounting up to date, it is essential to regularly import bank transactions. These transactions allow the automation of the accounting process, avoiding the manual entry of individual transactions and potential errors.
Where to download the transactions
The documents containing the bank transactions, regardless of how they are obtained, should always be saved in the same folder. This folder can be located inside the main accounting folder or in an external one. For better organization, it is recommended to structure your folders by creating a general folder and more specific subfolders: this reduces the risk of errors, especially if you decide to import the transactions manually.
By keeping the data always in the same location, import issues are avoided and there is no need to update the default import path each time. Additionally, it is not recommended to open or modify these files before importing, as this can cause errors in recognizing the transactions.
Different file formats for bank transactions
Our software offers numerous extensions that allow you to import accounting data in different formats. Among the most common formats are CAMT, CSV and XLSX.
The CAMT format (Cash Management), defined by the ISO 20022 standard, is used by banks to provide electronic account statements in a structured way. The files contain detailed information such as the date, amount, description, and references for each transaction. There are several types of CAMT files:
- camt.052: intraday statement (transactions during the day)
- camt.053: end-of-day statement
- camt.054: notification of debits and credits with details of individual transactions
The CSV format (Comma-Separated Values) is a text file that uses commas to separate the data contained within individual cells of a table. This format is compatible with most software applications. The CSV format varies from one bank to another and is updated regularly.
The XLSX format is a Microsoft Excel file used to store spreadsheets. The XLSX file can contain data, formulas, formatting, charts, and multiple worksheets within the same document.
Methods for downloading transactions
The main methods for obtaining these data are:
- Online banking
- Multibanking
- Software by Mammut Soft Computing AG
Depending on the chosen method, more or less attention should be paid to where the files are saved. Manual download from the bank portal requires extra attention.
Online banking
The manual method, traditional and most common, involves direct access to your bank’s online banking portal. Once logged in, you can navigate to the section dedicated to account transactions and download the files in one of the standard formats compatible with accounting software.
Although simple, this process requires manual interaction: the user must log in to the banking platform, select the account, download and save the files on their computer, and then import them into the accounting software.
Multibanking
Multibanking is an evolution of traditional manual methods, designed for businesses or professionals managing multiple current accounts across different banks. Thanks to this functionality, you can access a single e-banking platform or interface that aggregates multiple accounts, even from different institutions, simplifying interactions with each bank. Most multibanking solutions are based on the international EBICS standard (Electronic Banking Internet Communication Standard), which ensures secure exchange of information and payment orders between companies and banks.
The main steps for implementing multibanking are:
- Update the contract with the main bank
The first step is to contact your main bank to request activation of the multibanking service. You will need to sign an addition to the existing contract that authorizes the bank to act as the manager of multiple bank accounts. - Sign mandates with the linked banks
For each third-party bank you want to connect, you need to sign an authorization allowing the main bank to access the corresponding account information. - Technical activation and credential provisioning
Once the contractual steps are completed, you will need to follow technical instructions to enable access via API or third-party tools. This may include providing credentials or activating specific authentication methods.
Once all banking relationships are connected, it becomes possible to centrally download bank transactions and data, and process payment operations from a single tool. Although still partly a manual process, multibanking helps optimize time and resources by reducing the number of logins and simplifying overall management.
Software by Mammut Soft Computing AG
A more modern and fully automated solution is offered by the software developed by Mammut Soft Computing AG. Once implemented, this system allows you to completely skip the manual step of downloading bank files, as they are automatically saved in a folder defined during setup.
The software focuses on data exchange interfaces between banks and companies, offering connections to multiple banks worldwide and securely and automatically retrieving bank data in the required formats. These data are then automatically synchronized with the accounting software, making user intervention unnecessary.
The steps to start using the Mammut Soft Computing AG software are as follows:
- Choosing the solution
Based on your needs, you can choose a cloud solution or an on-premise installation, the latter being a physical installation on the user's devices. - Configuring bank connections
To configure and activate the bank connections, it is necessary to sign the corresponding bank agreements. These connections with banks (EBICS, SWIFT, API) allow downloading account statements and sending payments. Mammut provides support for activation with the banks. - Authorization for account access
The client, for whom the accounting is managed, grants the accountant access to their data so that all necessary information is available. - Integration with accounting/management software
The software is connected to the internal accounting or management system for automatic import and export of bank data.
The true added value of the software is the constant update of the accounting: automated downloads from all banks and direct synchronization with the accounting system ensure that the data is always up to date and ready to use.
Automated import and accounting
Once transactions are available, you can take advantage of the various features offered by Banana. Regardless of the method chosen to download the bank data, the “Import bank transactions in ISO 20022 format (advanced) [BETA]” function allows you to automate the update of the accounting in double-entry or income/expense mode using CAMT files (052/053/054). The program reads the XML files from a designated folder, saves them to a local database, identifies new transactions not yet recorded, and suggests them for import, avoiding duplicates.
Once imported, bank transactions are automatically transformed into complete accounting entries thanks to our auto-completion rules (Advanced plan), saving time and avoiding input errors. This makes accounting faster, more efficient, and more accurate.
Import Transactions dialog
The dialogue Import transactions is activated from the menu:
Dialogue contents
The display of dialogue elements depends on the type of file being imported:
- Single account transactions and bank statements
All elements are displayed. - Double-entry accounting transactions or others
The following elements are not displayed:- Account
- Temporary contra account
- Apply rules.
- Grouping by invoice
This element is only displayed if there is content in the import file in the DocInvoice column.
Import Transactions dialogue
This is followed by the dialogue box that allows the data to be integrated into the accounts.

Destination account
This option appears when data is imported from a bank or postal statement or the entry and exit transactions of an account in text format.
- Enter the bank account number of your chart of accounts, relative to the imported statement.
- If it is left blank, the programme enters account [A] (Account) so that you can tell whether it is a Debit or a Credit movement.
Select transactions
Start date, End date
Insert the start and end dates of the period related to the transfer of the transactions. The period can also be selected automatically in the boxes under the dates area.
Don't import if exists same External reference, Date, Amount
If activated, this option allows the user to not import already entered transactions, in order to avoid recording transactions twice. This option can only be activated when the column "ExternalRef" is present in the transactions that are going to be imported. If not, this option will be deactivated.
Sort by date
The option is active by default and allows you to have the imported transactions sorted by date.
Complete the transactions with
Autocomplete values
The option is only necessary for accounting with VAT/Sales tax and multi-currency. If activated, it allows the automatic completion of values that are missing in the imported data (for example, the exchange rate in the Exchange rate table).
Apply Rules (Advanced plan only)
The option is not available for imports of transactions from double-entry accounting files (.ac2 format).
See: Rules for transactions auto-completion.
- If this option is activated, when you confirm with OK, the Apply Rules dialogue opens.
- If you have not activated this option, you can also access the Rules by issuing the command from the menu Actions → Recurring transactions→ Apply rules...
- This option is activated by default if there are already import rules in the Recurring Transactions table.
Temporary contra account
The option is not available for imports of transactions from double-entry accounting files (.ac2 format).
A temporary account needs to be indicated to complete the contra account of the entry. The account must then be replaced with the correct contra-account, either manually or with the auto-completion rules.
The programme suggests the commented account [CA] (ContraAccount) by default.
Once the entries have been completed, there should be no more transactions using the temporary account.
Initial document number
The option is not available for imports of transactions from double-entry accounting files (.ac2 format).
This is the document number that is allocated to the first record among those imported.
The number is incremented.
Group transactions by invoice number
If the import file contains values in the DocInvoice column, the dialogue will also contain the following options:

- Group transactions by invoice number
In this case, the rows of the same invoice are being grouped in such a way that there is only one transaction for the same account and the same VAT code. Please check the explanation Import invoice data.
- Destination account for balance differences
When VAT codes are being applied, there may be rounding differences of just a few cents.
In this case, Banana Accounting Plus creates an additional transaction for every invoice into which this difference can be recorded.
Of course, it is necessary to pay attention that the data to be imported obtain a balance between debit and credit. If not, the transaction row will contain the difference between Debit and Credit.
Editing of imported transactions
The programme creates transactions and adds them to the end of the Transactions table.
The transactions can be edited or deleted.
In double-entry accounting, in the DebitAccount and CreditAccount columns and in Income/Expenses accounting, in the Account and Category columns, the programme inserts symbols.
The symbols must be replaced with the appropriate account or category.
- [A]
This symbol is shown if no account is indicated in the dialogue.
Instead of the symbol [A], the account of the bank account is to be entered. - [CA]
This symbol indicates that the contra account must be entered in the cell so that Debit transactions offset Credit transactions.
For rows with only one contra account, both the account or symbol [A] and the counterpart symbol [CA] will be on the same row.
For rows with several contra accounts (transactions on multiple rows), each row will have the account or contra account symbol [CA]. If the symbol [CA] were not indicated, it would be impossible to tell whether the movement is a Debit or a Credit movement.
Import file ISO20022
Banana Accounting Plus allows the import of bank transactions in various formats.
The ISO 20022 format is an international standard that should now be provided by all European banks. This format may also be called ISO xml, xml, camt.053, camt.054 or other names. Importing bank transactions in ISO 20022 format is possible in two ways:
Generic manual ISO20022 import
Manual import of transactions one file at a time - available with the Professional plan.
- The user downloads the ISO 20022 file from their bank and saves it in a folder on their computer.
- Then, from Banana, they manually import this file.
This import is made possible by the extension Bank Statement Camt ISO 20022 Switzerland (Banana+) for Switzerland and a generic filter distributed with the application for other countries.
The import must be repeated manually each time.
Advanced ISO20022 import [Beta]
Advanced import of transactions from multiple files simultaneously - available with the Advanced plan.
It significantly speeds up the workflow because the user no longer needs to check for which periods transactions need to be imported.
- The user defines a folder containing ISO 20022 files from different bank accounts.
- In Banana, with a command, the program notifies if there are new transactions to be imported.
This new advanced import function is made possible by the extension Swiss Camt ISO20022 Reader.
Requirements
- Use of Banana Accounting Dev-Channel with the Advanced plan.
- Use of a Double-entry accounting or Income & Expenses system.
Import bank transactions in the ISO20022 format (generic)
Banana Accounting Plus allows the import of bank transactions in different formats.
The ISO 20022 format is an international standard for the transmission of financial data that should by now be available to all European banks. This format can also be referred to as ISO xml, xml, camt.053, camt.054, and others. For some banks, the ISO 20022 format may not be available by default but needs to be requested. The ISO 20022 format replaces the old MT940 standard.
By importing bank data with the ISO20022 format, Banana Accounting Plus also allows you to automatically close open invoices of customers.
The CAMT category regroups the formats used for the account statement, reporting of account transactions and account balance confirmation:
- camt052: Account Reporting
- camt053 (including version 4): Account Statement
- camt054: Credit / Debit Notification
Preview the ISO-20022 file
Banana. offers the possibility to preview contents of a camt file.
Data importing into the current accounting
Proceed as indicated from the menu Actions > Import into accounting.
Compressed files can also be opened with this function. In this case, the program will prompt the user to select the file from which to import the data of the compressed file.
Technical notes on converting ISO 20022 files
Banana, when reading the file, tries to adapt itself to the ways in which the ISO 20022 file has been prearranged.
- As opening balance, it reads similar encodings
- As closing balance, it reads similar encodings
- All contents are read and converted into transactions
- Transaction date (Date)
- Currency date
- Transaction amount (positive or negative)
- Description
For the time being Banana Accounting displays the different descriptions as a single text. In the future, it will be possible to extract this information on a distinctive basis and indicate the columns where to allocate data. - Distinction between single transactions or transactions with details
For transactions with details, there is a row for the total and separate rows for each single transaction that constitutes the total.
Country specifications
Each country and/or bank has the possibility to insert additional information in the ISO 20022 file according to its needs. Banana Accounting Plus offers a generic filter distributed with the application and multiple country- and/or bank-specific filters distributed as Banana Extensions. To import this additional information into your accounting, you must install and use the filter that is most specific to your country and/or bank (for example Bank statement Camt ISO 20022 Switzerland (Banana+)).
Import bank transactions in the ISO20022 format (advanced) [BETA]
This new feature allows you to update your accounting by automatically importing bank transactions from Camt files (052, 053, 054). Thanks to this innovation, you can:
- Accelerate the entire transaction recording process.
- Reduce the risk of manual errors.
- Avoid duplicates, since only transactions not yet present in your accounting are imported.
The program reads the Camt files from a selected folder, saves their content in a local database, and detects any new transactions not yet recorded. These are then proposed for import into your accounting, greatly simplifying financial management. Once imported, you can leverage auto-completion rules to further streamline your work.
This feature is currently in BETA version, available for experimental use with Banana Accounting Plus (Advanced plan) in double-entry or income & expense accounting. We welcome any suggestions and feedback to improve it.
Prerequisites
- Use Banana accounting Dev-Channel with the Advanced plan.
- Use a Double-Entry or Income & Expense accounting file.
Data Preparation
Before starting the import, make sure you meet the following requirements:
- Organizing Camt Files:
Create a dedicated folder containing all the Camt (*.xml) files you want to import into your accounting.
You can organize the files within the folder as you prefer, for example, by accounting year or by financial institution. - Access Permissions:
Ensure that the selected folder is both readable and writable by the program. This guarantees the proper saving of data and import information. - Setting IBANs:
For each account in the accounting file, make sure you have entered the IBAN in the 'BankIban' column of the 'Accounts' table.- If the column is not present, add it through the menu: Tools → Add/Remove functionality → Add address columns to the Accounts table.
- Write the IBAN in uppercase, without spaces or special characters.
- Swiss Camt ISO20022 Reader Extension:
Install the Swiss Camt ISO20022 Reader extension. This is required for the program to correctly interpret Camt files and start the import process.
First Use
The first time you use the "Import bank transactions (Camt ISO20022)" command, available under the Actions menu, the program will ask you to select the folder containing the Camt files. This choice will be saved, so that for subsequent imports the program will automatically use the same folder without asking for the path again.
Note that the first execution may take longer. The program must read, process, and save all the files in the folder, and it analyzes the content of each file. During this phase, a progress bar will display the current status of the operation, indicating both the percentage of completion and the number of files processed out of the total. The same progress indicator is shown both during the reading of the files from the folder and during the opening and reading of their contents.
On subsequent imports, the process will be much faster since the program will read and import only the content of new files, already knowing which data has been previously saved in the database. This way, future operations require significantly less time and ensure a smoother, more efficient workflow.
File Processing

The processing of Camt files occurs in two distinct phases:
- Reading Files in the Folder:
In the first phase, the program analyzes the selected folder and identifies all the files present, adding them to the internal database. During this process, a progress bar is displayed, indicating how much of the file reading has been completed compared to the total number of files. - Reading the Content of the Files:
Once file reading is completed, the program moves on to the second phase, in which it opens the files saved in the database, reads their content, and processes the data. In this phase, a dedicated progress bar is also shown, clearly displaying the percentage of completion and the number of files processed.
If, for any reason, one of these processes is interrupted, the program retains the data already saved. On the next import execution, it will automatically resume from where it left off, without having to start over. This ensures an efficient workflow and avoids repeating already completed processing steps.
Bank Transactions Import Dialog
The import dialog provides an overview of the processed files, the parameters used, and the transactions to be imported. You can modify the parameters in the dialog at any time, and the data will be recalculated immediately.
Folder Tab

The “Folder” tab provides a general overview of the import, showing the currently selected folder, the files to be processed, and some options to filter the content.
- Select Folder:
Here you can view and modify the working folder path. The program constantly checks the validity of the selected path and, if the folder does not exist or is not accessible, it displays an error. - Renaming or Moving the Folder:
If you change the folder’s name or location, remember to update the path in this dialog. The program stores the last used path and, if it cannot find it, will show a warning. - Renaming Files in the Folder:
You can freely rename the files in the folder; the program does not rely on the file name but on its content. Even if two files have different names but identical content, the program considers them duplicates and will only import one of them. - Ignore Subfolders:
By default, this option is enabled, allowing you to exclude the files located in subfolders. This is useful if, for example, you only want to import files relevant to the current accounting period, avoiding older or irrelevant data. If you disable this option, all Camt files in subdirectories will be included in the database, regardless of date or file organization. - Ignore Files Older Than...:
If you set a date in this field, the program will not read the content of files older than that date. By default, files older than the accounting opening date are saved in the database but not analyzed. Adjusting this date allows you to further refine the time filter. If you enter an invalid date, the program automatically replaces it with the current date. - Read All Files:
Clicking this button forces the immediate re-reading of all files in the folder instead of waiting for the normal daily check. This function is especially useful when you add new files and want to import them right away, without waiting for the next automatic update.
Bank Accounts Tab

The “Bank Accounts” tab provides a detailed overview of all the bank accounts present in your accounting. For each account, the program shows both static information (such as the current balance in your accounting) and dynamic data, updated based on the latest imports.
Information Displayed for Each Account
- Accounting Balance:
Shows the current amount recorded in the accounting for that account. - Last Bank Balance:
Displays the most recent bank balance detected directly from the Camt files. This lets you instantly compare the figure in your accounting with the actual bank amount. - New Transactions:
Indicates how many new movements, not yet recorded in accounting, have been detected in the Camt files. - Total New Transactions:
Shows the total monetary value of the new transactions to be imported for that account, helping you quickly assess the volume of pending operations. - Last Import:
Indicates the date when the folder was last fully read, providing a useful time reference for when the last update occurred. - Status:
- Updated: There are no new movements to import for this account.
- New transactions: Unrecorded movements have been found, ready to be imported into the accounting.
Transaction Details Tab

In the “Transaction Details” tab, you will find all the banking operations identified in the Camt files that are not yet imported into the accounting, organized by account. This view allows you to quickly analyze pending movements, verify their relevance, and select which ones to import.
- Selecting Transactions to Import:
You can temporarily exclude specific transactions or, if you prefer, all those related to a particular account using the provided checkboxes. Excluded transactions are not permanently removed; they will be proposed again the next time you open the dialog, allowing you to reassess their import at any time. Currently, it’s not possible to permanently exclude a transaction. - Consider Only Transactions Starting from a Specific Date:
To reduce the number of displayed movements, you can set a date from which to consider new transactions for import. By default, the program uses the accounting start date. By setting a different date, it will only display operations occurring after that day, ignoring previous ones. This function is particularly useful if, in the past, transactions were imported without a unique ID (ExternalReference column), typically when importing from CSV files. In these cases, simply set a date after the last recorded transaction to avoid re-proposing older movements. If you enter an invalid date, the program automatically replaces it with the current date. - Unique Identification of Transactions:
Transactions from Camt files (052, 053, 054) should always include a unique ID as required by the ISO20022 standard. This identifier enables the program to accurately detect which movements have already been imported and which are new, reducing the risk of duplicates or errors.
Settings Tab

Settings Tab
In the “Settings” tab, you can manage some advanced aspects of the import process, including the possibility to restore the initial data state and define how to recognize already processed files.
- Delete Saved Data:
This function allows you to delete all data related to previous imports stored in the internal database. Once deletion is confirmed, you will be automatically redirected to the “Folder” tab, where the default values will be restored.- New Import: If you want to perform a new import after deleting the data, simply click on the “Read all files” button.
- Limited Impact on Import Data: Deleting data from the internal database does not affect any information already present in the accounting.
- Complete Database Removal: The command here only clears the database tables. If you want to completely remove the database, you must manually delete the “*.db” file in the selected folder.
- Always Verify the Existence of Files Using Hashing:
This option allows you to choose how the program identifies already processed files:- Hashing (slower): If you select this option, the program will compute a unique hash for each file, ensuring accurate duplicate detection even if names or paths change. However, this method can slow down file reading.
- Check Name, Date, and Size (default): If the checkbox is not selected, the program simply compares the file name (including path), creation date, and file size to determine uniqueness. This approach is faster but may not be as robust in scenarios where files are renamed while retaining the same content.
Changing the accounting account assigned to an IBAN
It is possible to change the accounting account associated with an IBAN directly in the Accounts table.
However, if bank transactions for the same bank account have already been imported in the past using a different accounting account, it is necessary to delete the data stored in the database.
This operation can be performed from the Settings tab of the import dialog, using the Delete saved data button.
Afterwards, the data must be reloaded from the folder using the Read all files button, available in the Folder tab.
This procedure allows the program to recreate the correct associations between the IBAN and the accounting account according to the new settings.
Deleting the data from the database does not affect in any way the accounting data already recorded.
Database File
The program uses an SQLite database to store import-related data. The first time you activate this function, if the selected folder is valid, a database file (*.db) will be created in it.
It is important not to move or delete this file, as the program uses it as a reference for all subsequent operations. In case of loss or deletion, the program will generate a new .db file, forcing you to re-read and re-process all the files in the folder.
What is Saved in the Database?
- File List:
All the files detected in the folder are saved. If you have chosen to ignore subfolders in the settings, the files they contain will not be saved. This option is enabled by default. - Bank Accounts and Related Data:
The database stores information about the bank accounts present in the accounting. If these data are modified in the accounting file, the database updates them accordingly. - Imported Transactions:
Transactions found in the opened and read files are saved in the database, allowing you to reprocess or view them later without having to re-read the files. - Import History:
The program records who performed the import operations, when they were executed, and with which software version, providing a detailed historical trace of activities.
Log File
During the import process, the program generates a log file to help identify and diagnose potential issues. In case of anomalies or unexpected behavior, the log file provides detailed information about the operations performed, aiding developers in understanding the source of the error.
If you need assistance locating or interpreting the log file, contact our support team: they will guide you step-by-step to find the file within your active directory.
Features currently not available
These features, requested by users, are currently not available:
- Extraction of the customer invoice number and customer account from the QR reference number
For this functionality, it is recommended to use the dedicated extension: Bank Statement Camt ISO 20022 Switzerland (Banana+) .
Troubleshooting
If no transactions are displayed for import despite having selected the correct folder, check the following:
- Bank Accounts: Make sure that the data related to bank accounts (including IBANs) in the “Accounts” table is complete and correct.
- Accounting Period: Check that the currently set accounting period includes the dates of the transactions you want to import. If the transactions fall outside the defined period, the program will not propose them for import.
If the problem persists after these checks, contact our technical support for further assistance.
Import transactions (generic)
The following explanation refers to the import of data into the Transactions table from files containing transactions of the double-entry type, from Banana Accounting, or other formats.
The Import of bank transactions is similar to importing transactions, but is dealt with separately in detail on the appropriate page.
Import procedure
- Via Actions in the menu > Import to accounting > In the Import box, select Transactions
- Choose the file type from which to import
See explanation below. - With the Browse button, choose the file from which to import the transactions
- Set the parameters as required.
See also: Import into accounting
Once OK is confirmed, the data are read and the following dialogue is displayed:
- Import transactions dialogue.
Where instructions must be given for the completion of the imported rows.
Importing from other Banana Accounting files
In the type of file to be imported, the programme provides a number of configurations to import data from other Banana Accounting files:
- To import transactions from an Income & Expenses accounting file (*ac2)
In order to import transactions from an Income & Expenses accounting file into a double-entry accounting file, it is necessary that the categories of the Income & Expenses file correspond to the accounts of the double-entry accounting file. - To import Cash book transactions (*ac2)
See the specific page Import Cash book transactions. - To import Double-entry accounting transactions (*ac2)
In order to import transactions from a double-entry accounting file into another double-entry accounting file, it is necessary that the accounts correspond. - To Import Fixed Asset register
Imports transactions from the Fixed Asset register .ac2 file.
Import TXT/CSV files
This format must be used to export data from another programs, which provides an export format compatible with that required by Banana Accounting. See the information at the following link:
Importing account statements with import extensions
Import Extensions are additional programs that must be installed by the user and convert the data for import into Banana Accounting.
There are extensions for importing bank statements from various banks, credit cards and other formats.
These extensions only work with the Advanced plan. All old filters will be updated over time and the new versions will only be usable for those with the Advanced plan.
Search for and install an extension:
Search and install an extension:
- Click on Manage Extensions
- Choose Import.
- Navigate to the desired extension and click onto Install.
- If the Settings button appears, it means that this extension has parameters that you can customise.
Once the extension is installed, it appears in the list of available types, directly in the Extensions menu, and you can choose it for import.
Import data from a Cash book file
Cash movements can be managed separately from the main accounting file via the Cash Manager. On a regular basis, the movements are imported into the main accounting file, grouping them according to a chosen period.
In this case you have two separate files:
- One file contains all the general accounting data (including the cash account).
- A file contains only the cash register data.
In order to integrate the cash data into the main accounting, a link must be established between the main accounting and the Cash Manager file.
There are two different ways to create the link:
- In the Cash Manager file, give the categories the same numbers as the accounts of the main accounting (double-entry accounting or Income / Expense).
- Enter the corresponding accounts of the main accounting file in the Category2 column (Categories table).
If the Category2 column is not present, it must be displayed via Data → Columns setup.
Set up the internal transfer account
When importing the cash data into the accounting file, certain settings are required so that there are no overlaps of accounting entries for payment operations between the cash account of the main accounting and the transactions imported from the Cash Manager file.
In the Main accounting file:
- In the Accounts table, enter the Internal transfer account.
In the Cash Manager file:
- In the Categories table, Categories column in the Revenue group, enter the internal transfer account (the same number set in the main accounting) as a category for payments from the bank or postal current account.
- Alternatively, in the Categories table, Categories2 column in the Revenue group, enter the internal transfer account. In this case, a category is set in the Categories column to determine payments from the bank. The internal transfer account, located in the Categories2 column, creates the link when you import the transactions into the main ledger.
Payments from the bank account to cash account
Whenever a payment is made from the bank account to the cash desk, the movement is recorded both in the main accounting file and in the cash register file. To avoid overlapping of accounting entries when importing data from the cash desk, the internal transfer account account is used
- The receipt of funds is recorded in the cash register file, using the tour account as category or alternatively the category for payments from the bank account, if the tour account has been set in the Category2 column.
- The outflow of funds is recorded in the main accounting file, with the bank account in credit and the internal transfer account in debit.
When importing the cash register data into the main accounting file, the tour account is reset.
Import the cash register data
- Open the main accounting file
- Click Action→ Import to accounting
- In the window that appears, from the drop-down menu Import → select Transactions → Cash book movements (* .ac2) "
- Using the Browse button, select the Cash Manager file.

The explanations of this window are available at the page Import to accounting.

In accounting
Destination account
You must select the cash account number, present in Double-entry accounting or Income / Expense accounting, where the movements are to be imported.
Initial document number
An initial document number can be entered which will be attributed to the first imported transaction. In subsequent recordings, the program automatically assigns a progressive number, starting from the initial one entered.
If you do not wish to assign progressive numbering automatically, leave the box empty.
Select movements
Start date / End date (inclusive)
Enter the start and end date of the period to which the imported transactions refer.
Group transactions
By activating one of the options it is possible to choose how the movements of the period should be grouped:
- No period groupingAll rows are imported with their column contents. The Doc number present in the corresponding column of the cash register file is also imported.
- If you want to use a different numbering in the accounting and simultaneously keep the original document of the file, in the Cash Manager insert the document in the DocProtocol column.
- Monthly - groups the transactions by month.
- Quarterly - groups movements by quarter.
- Semi-annual - groups the movements by semester.
- Annual - groups the transactions by year.
One registration per account
If several categories are grouped into a single account in the accounting, but separate transactions are desired for each category, this box must be activated; the program creates recordings for each category. When using VAT codes, postings are created not only by category, but also by different VAT codes for the same category.
Note
When you have an accounting with VAT, the VAT calculations may be slightly different. If the transaction amounts are entered net, the cash account balance may also differ due to rounding differences.
The accounting file is updated with the cash register data.

Import transactions from Paypal
On the page Web filter for PayPal transactions you will find the information about the new feature that makes it possible to import all the Paypal transactions directly into Banana Accounting and the instructions on how to proceed (see below).
We have also prepared specific predefined templates for double-entry or multi-currency accounting that you can look at as an example or use as a separate accounting file just for the accounting transactions from Paypal.
More information about all types of import filters can be found on the Import filters page.
- Banana extension for importing Paypal transactions - how to proceed
- examples for the Double-entry accounting
- examples for the Multi-currency accounting
Learn more
- Double-entry accounting
- Multi-currency accounting
- Import filters - complete list
Import accounts
This command imports the accounts from a Double-entry or Income & Expenses file (*.ac2) or a text file (*.txt), and integrates them automatically in the existing Chart of accounts.
To import accounts from another file, proceed as follows:
- Via Action → Import to accounting → select Accounts in the Import box.
- Select the * .ac2 or text file type to import the accounts.
- With the Browse button, choose the file where you want to import the Accounts to imported from.

Accounts or categories can be included in current accounting by activating the following options:

Options
Include Cost Centers
When there are cost centers, these will also be carried forward.
Add new accounts
When this option is activated, all new accounts are added to the accounting plan.
Replace text description
If already existing accounts are imported, but with different descriptions, the existing descriptions are replaced by the imported ones when this option is activated.
Replace opening balance
If already existing accounts are imported with different opening balances, the existing opening balances are replaced by the imported ones when this option is activated.
Import VAT codes
This function is only available in the Accounting with VAT management, and allows the user to Import VAT codes from:
- Other accounting files (*.ac2)
- A text file with column headers (text file *.txt)
Import from an accounting file
If you manage several accounts and use customised VAT codes, you can prepare the VAT code table and then import it into your other files.
- Prepare the VAT Codes table in your accounting file.
- Command Actions > Import to Accounting > VAT Codes
- Choose the name of the file containing the updated VAT Codes table.
- Choose replace all rows.
VAT Code Import Options
When importing from another file, several options are available.
Add new codes and groups
If this option is chosen, new codes are added and existing codes are retained.
Replace all lines
If this option is chosen, all existing VAT codes are replaced with the imported VAT codes.
VAT account not found message
If the message VAT account not found appears, the VAT account must be entered automatically in the menu File > File properties > VAT /Sales tax section.
Importing Predefined Swiss VAT Codes
This procedure shows how to import VAT codes from the model with the default VAT Codes 2024, which contain both the 2024 (VAT 8.1%) and 2018 (VAT 7.7%) rates.
See also page Swiss VAT Codes
In order to import VAT Codes, please proceed as follows:
- Click Actions > Import into accounting command.
- Select VAT Codes.
- Select Switzerland new VAT Rates: in the lower field the file containing the new VAT Codes 2024 will be automatically displayed.
In the case of VAT codes of another country, you must select the file containing the VAT codes in force according to your country. - Confirm by clicking on OK
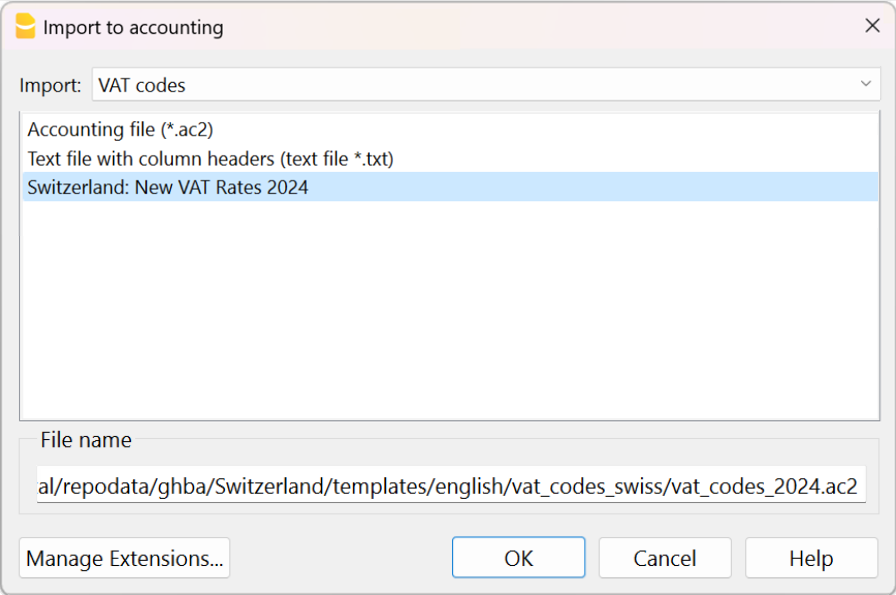
- The following window will display
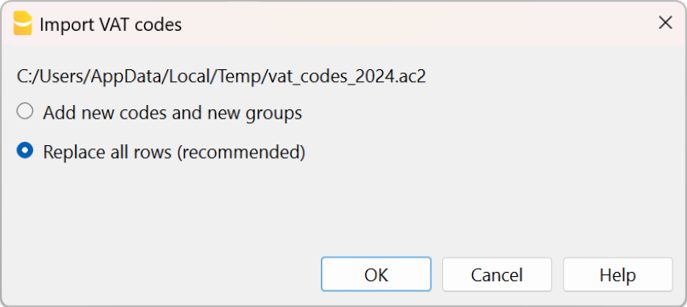
VAT Management Documentation
For more information see the VAT Management page.
Import file
To import data from a Banana Accounting File, proceed as follows:
- From the Actions→ Import to accounting menu → select File in the Import box .
- Select the * .ac2 file type to import the data.
- With the Browse button, choose the file from where you want to import the data.

The below dialogue box will be displayed with several options that allow you to determine which data to import from the file.

Source file
This is the file from the which the data are being taken.
Destination file
The file that is to receive the data.
Options
Import transactions
All the rows of the Transactions table, present in the source file, will be imported.
Import recurring transactions
All the rows of the Recurring Transactions table, present in the source file, will be imported
Import budget transactions
All the rows of the Budget table, present in the source file, will be imported.
Replace amounts in Account table
The amounts of the Opening, Budget and Previous columns of the Accounts table of the destination file are being deleted and replaced with the amounts that are present in the source file.
The accounts need to correspond, thanks to the same account numbers, or when there is a replacement, in that case the option Convert account numbers should be used.
Replace accounting properties (basic data)
The File and accounting properties of the destination file will be replaced by the ones of the source file.
Convert account numbers
Using this function, the imported account numbers will be replaced with those indicated in the alternative column.
If you use this function, you must also specify the column that contains the account numbers to be used in the import instead of the existing ones.
Next to the account number column, there should be a column that indicates the alternative number to be used when importing. If no alternative number is specified, the original account number of the source file will be used.
- The account matches are in the source file
This option is to be used when for example you keep an accounting file in a country, with a specific number system, and then you need to regularly import your transactions in a different accounting file, that uses a chart of accounts with a different numbering system.- You need to add a new text column in the accounting plan (Columns setup command)
- For each account, indicate the destination account number in the table.
- The account matches are in the destination file
This option is used when for example you want to switch to a chart of accounts with a new numbering and grouping- You create a new accounting file with the new chart of accounts.
- In the chart of accounts, you create a new column where you indicate the account matches (Columns setup command).
- In this column, indicate the account numbers of the source file.
Separate the accounts with a semi-colon "1000;1001" to indicate that several accounts need to be grouped into this account.
- Column containing the account matches (Accounts table)
Indicate a column of the chart of accounts that has been added by the user and that contains the account matches.
This option is used when switching from one chart of accounts to another, and when you need to convert accounts from one numbering to another.
For more information on converting the chart of accounts, see the page transfer data to a new accounting plan.
Results and possible errors
The program will have carried forward all the data of the previous accounting, converting the account numbers.
In case the program indicates errors (absence of accounts or other), it might very well be necessary to cancel the import operation, complete the account matches and repeat the import operation.
The program, finding different charts of accounts, cannot automatically execute extended check-ups to make sure that all the data have been imported and grouped correctly.
It is therefore advised to check the result manually, verifying that the totals of the Balance sheet and the Profit and Loss statement are indeed correct.
Advanced import options
For different and more complex and automated conversion needs, we suggest to use the scripts, that allow a total customization of the conversion and the import.
Import exchange rates
This option is only present in Double-entry accounting with multi-currencies.
It lets the user import the exchange rates from another file.
How to proceed:
- From the Actions > Import to accounting > menu select Exchange rates in the Import box.
- Select the file type * .ac2 of the exchange history or the text file:
- With the Browse button, choose the file from where you want to import the data.
Note: Exchange rate history files only show the Foreign exchange rate table and keep a record of past exchange rates.

A box with the following options are displayed:

Select date
The window lists dates with recently used changes. If you select a date, the program resumes the changes used on that specific date.
Substitute exchange rates
If you activate this option, all the exchange rate rows are replaced in the exchange rate table with the imported ones.
Add rows
If you activate this option, only the exchange rate rows that have different values are updated in the exchange rate table.
Advanced Bank Transaction Import (Beta version)
The new feature allows you to update your accounting by automatically importing bank transactions from Camt files (052, 053, and 054). The program reads the files stored in a dedicated folder, identifies new transactions, and suggests importing only those transactions that have not yet been recorded.
- The feature is available in the Dev Channel, Beta version.
- You need to install the Swiss Camt ISO20022 Reader extension and correctly associate IBANs with the accounting accounts.
How it works
- Download the Camt file from your bank.
- Open the folder containing the Camt files and select it.
- The program reads and processes the files, storing the information in a local database.
- It automatically identifies new transactions thanks to the unique identifiers defined by the ISO 20022 standard.
Only transactions that have not yet been recorded are suggested for import. - After the import, you can automatically complete the transactions using Banana Accounting Rules.
More information is available on the Advanced ISO20022 Import page.
Main advantages
The feature provides advanced import options and, thanks to much more detailed settings, bank transactions are read and imported immediately, ready to be posted, including with the use of Rules.
You will benefit from:
- Time savings: your accounting will always be up to date in the shortest possible time.
- Fewer manual errors: all transactions are imported exactly as they appear on your bank statement, reducing the risk of errors.
- No duplicates: only transactions that are not already present in your accounting are imported.
- Faster imports over time: after the initial processing, the program analyzes only newly added files.
- Greater control: before importing, you can review, filter, and select the transactions to be recorded.
- Instant bank reconciliation overview: for each account, the accounting balance, bank balance, and the number and value of new transactions are displayed.
- Integration with completion Rules: after the import, you can apply Banana Accounting's automatic Rules to complete transactions quickly.
- Transaction traceability: the local database keeps a history of imports, and the program generates log files that are useful for audits and support.
Automation
Banana Accounting Plus provides several ways to import transactions or other data to speed up and automate bookkeeping.
Importing and completing bank transactions
This is the functionality that allows you to keep your accounting quickly:
- Import bank transactions into your accounting file
The programme creates the entries with date, description, amount, account and exchange rate. Additional data such as the counterpart must be completed by hand.
Standard formats, such as ISO 20022 or TXT, are included in the Professional plan; other formats require the Advanced plan. - Automatically complete the transactions by using the rules (Advanced plan)
You can set auto-completion rules to import transactions, including the counterpart, VAT code, cost centres and other information you have specified.
You can always edit and further complete your entries.
Bank transactions import formats
- Banana Accounting Plus reads the transactions in different formats. Visit the Import transactions page.
- Thanks to the customised Import Extensions, you can import data from various bank statements and other standard programmes. Some extensions are only available in the Advanced plan.
Other commands for importing data
Banana Accounting Plus provides different ways to import data:
- Import into Accounting
You can import in any table and from different formats. - Import Rows
All tables allow the import of data from the CSV format. - Copy and paste from Excel or other programmes.
You can prepare movements or other data in an Excel table and copy and paste them in bulk into the Transactions table or any other table.
Manual completion and undo import
Once movements or other data have been imported, you can easily complete and edit them. This makes it very easy to automate processes, because if there are unforeseen exceptions, you can edit the data directly.
Like all commands, the import command can also be undone. So you can easily try importing the data and see if it works as expected. If you have not chosen the right format or have not set the parameters correctly, simply Undo the import and do it again.
Useful links
Rules for the automatic completion of imported transactions
Artificial Intelligence (AI) is increasingly used in automation systems. In collaboration with our users, we have developed an automatic completion system for imported transactions based on predefined rules.
This feature automates and simplifies the accounting entry process, saving time and reducing data entry errors.
Rules are predefined transactions that include all the information necessary to automatically complete accounting operations accurately and quickly.
Below is the introductory video on Rules, as well as videos on how to create Rules:
- ▶ Video: Import and automatically complete transactions (introduction) - 0'55"
- ▶ Video: Rules for completing imported transactions (Apply rules dialog) - 7'26"
- ▶ Video: Rules for completing imported transactions (Recurring Transactions table) - 3'34"
To use the automatic completion Rules, the Advanced plan and the version 10.1 or higher of Banana Accounting Plus are required.
What are Rules?
Rules are pre-set transaction lines, containing useful information for the program to:
- Identify imported transactions to complete
If you enter Description in the column"Swisscom", the rule will apply to imported transactions that contain "Swisscom" in the description. - Specify elements to complete the entry
- In the Debit Account column, enter the account "Phone expenses".
- In the VAT column, enter the code "I81".
Completion rules are saved in the Recurring Transactions Table. You can enter and modify them directly in the table or use the Add/Modify Rules dialog during the rule application phase.

What are the purposes of Rules?
Normally, when you import bank movements into the Transactions table, you must manually complete the transactions by entering the Debit or Credit account, VAT code, Cost centers, or other information.
Example: when you import an outgoing transaction indicating a payment to the company "Swisscom," you must complete the Debit Account column with "Phone expenses" and the VAT Code column with "I81."
With the creation of Rules, imported movements are entered and completed automatically by the program, without any manual entry.
Depending on the method used for rule creation, these can be created either before or during the import. Once created, the Rules are also valid for all subsequent imports.
Workflow procedure
- Import bank transactions
The program creates transaction lines with date, description, amount, account, document number, and exchange rates. - Create the rule using one of the available methods.
- In the Transactions table, the program automatically completes all imported movements with counterpart, VAT codes, Cost centers, and more.
- In the Recurring Transactions table, the program saves transactions with the Rules.
Methods for creating Rules
We have created a system that provides various methods for creating Rules. You can choose how you prefer to work:
- Rules from the Transactions table.
- Rules from the Recurring Transactions table.
- Rules from the Apply rules dialog.
The benefits of rules
The benefits of the completion system are immediately evident:
- Complete transactions in just a few seconds.
- High control and precision.
- Avoid errors and omissions.
- You can easily delegate the task of importing data into accounting.
- You can see how specific transactions were recorded.
- The auditor can define how to record certain transactions.
- Immediate operation, even without a learning database.
- You can add, modify, and delete rules at any time.
Transition to the new year
When you create the file for the new year from the Actions > Create new year menu, all the Rules in the Recurring Transactions table are carried over and included in the new file.
When you import bank statement movements, the Rules are immediately applied.
You can add new Rules and adapt existing ones to new needs, such as VAT changes, adding or removing accounts.
Copying Rules from one file to another
When creating a new file, you can copy rules from one file to another, starting from the Recurring Transactions table:
- Go to the Recurring Transactions table.
Check the column arrangement to ensure they are identical in both files. - Select the rows of the Rules you want to copy.
- Copy the rows from the Edit > Copy rows menu, or with the Ctrl + C keyboard shortcut.
- Paste the copied rows into the Recurring Transactions table in the new file from the Edit > Insert copied rows menu, or with the Ctrl + V keyboard shortcut.
Rules vs. Artificial Intelligence
Artificial Intelligence (AI) is increasingly being used in automation systems.
In collaboration with our users, we have developed a system for the automatic completion of imported entries based on Rules. We believe this is a much more effective approach because:
Rules follow a deterministic logic, whereas Artificial Intelligence uses a probabilistic approach that involves a series of risks in accounting and tax contexts.
Rules offer a very high degree of control and precision.
For example, payments made to insurance companies can be accurately assigned to an account based on the contract number.All the rules form a valuable knowledge base.
They are listed in the Recurring Entries table, can be easily modified (for example when VAT changes) and serve as a reference and control tool. You can, for instance:If you do not remember, see how certain transactions have been recorded.
Explain to people who are responsible for accounting how to record various transactions.
Define for the auditor how certain transactions should be recorded.
Adapt the rules if VAT codes change or if accounts, cost centers, or other elements are added or removed.
Delete rules that are no longer applicable.
Copy and paste the rules into another accounting system and adapt them to specific needs.
They do not require a learning phase and work perfectly even for payments that occur only once or a few times a year.
Rules can be immediately adapted to regulatory changes. Artificial Intelligence, on the other hand, learns from the past and thus tends to repeat previous actions even if the situation has changed.
Currently unavailable features
These functions, while requested by some users, are not currently available:
- Ability to change the transaction text to shorten and simplify it.
- For multi-line transactions, the ability to use formulas that calculate amounts based on the imported transaction amount.
- Ability to apply a rule based on the transaction date (condition: Date column).
How the rules for completing imported transactions work in 3 steps
The following explains the procedure for how Rules work and how they are applied.
The process can be summarized in three steps:
- Import bank transactions into the Transactions table.
- Create the rules.
- Apply the rules for the automatic completion of transactions.
1. Import bank transactions
When bank transactions are imported, the program inserts a temporary counteraccount [CA]. Typically, the completion of contra accounts must be done manually for each entry.

In the example figure, in the Transactions table, it can be seen that:
- (1) - The cells have the same temporary contra account, related to sales via Twint.
- (2) - The cell has a temporary contra account related to monthly expenses for May.
- (3) - The cell has a temporary contra account related to Swisscom telephone expenses.
- (4) - The cell has a temporary contra account related to insurance costs, policy number 892-948.
- (5) - The cell has a temporary contra account related to insurance costs, policy number 987-650.
2. Creating the Rules
The Rules are used to automatically complete all temporary contra accounts of imported transactions, adding VAT codes, cost centers, links, and more.
The rules are template transactions that are already complete, found in the Recurring transactions table, where:
- The Description column contains the text (one or more keywords) that the imported transaction must include.
- The Debit Account and Credit Account columns contain the Contra account that will replace the temporary one.
We have created a system that provides different methods for creating the Rules:
- Rules from the Apply Rules dialog
- Rules from the Transactions table
- Rules from the Recurring transactions table
Regardless of the method used, the created Rules are saved in the Recurring Transactions table.
In the example, in the Recurring Transactions table, a Rule has been created for the following transactions:
- (1) - For the "Twint" transactions, the rule replaces the temporary contra account with the "Sales" account. The VAT code has also been added.
- (2) - For the "Interac Electronics" transaction, the rule replaces the temporary contra account with the "Goods" account. The VAT code has also been added.
- (3) - For the "Swisscom" transaction, the rule replaces the temporary contra account with the "Admin" account.
- (4) - For the "Best insurance" transaction with policy number "892-948", the rule replaces the temporary contra account with the "Insurance Health" account.
- (5) - For the "Best insurance" transaction with policy number "987-650", the rule replaces the temporary contra account with the "Insurance Car" account.
Important: where there is a contract number, a policy number, a customer number, etc., it is recommended to add a "+" in front of the rule. The + allows the rule to search for individual words (or sequences of numbers) regardless of their position within the description of the imported transaction.
3. Applying the Rules for Automatic Completion (Result)
In the Transactions table, the program completes the imported transactions by adding the contra account, VAT code, etc., regardless of the method used for creating the Rules.

In the example, in the Transactions table, the imported transactions have been automatically completed:
- (1) - For the "Twint" transactions, the temporary contra account has been replaced with the "Sales" account and completed with the VAT code.
- (2) - For the "Interac Electronics" transaction, the temporary contra account has been replaced with the "Goods" account and completed with the VAT code.
- (3) - For the "Swisscom" transaction, the temporary contra account has been replaced with the "Admin" account.
- (4) - For the "Best insurance" transaction with policy number "892-948", the temporary contra account has been replaced with the "Insurance Health" account.
- (5) - For the "Best insurance" transaction with policy number "987-650", the temporary contra account has been replaced with the "Insurance Car" account.
Additionally, the program recognizes the transactions with the VAT code and completes all the columns related to VAT (VAT account and amounts).
Create Rules from the Apply Rules Dialog
One of the methods for creating Rules is from the Apply Rules dialog. The main advantages are as follows:
- You can see all imported transactions.
- The imported transactions are divided into incoming and outgoing transactions, with Rules and without Rules.
- For each group of identical transactions, the Rule being applied is shown in bold.
- Rules that are duplicated or in conflict are highlighted.
- You can add new rules and modify or delete existing ones.
- By changing the conditions of a Rule (description, amount, account), you can immediately see the list of transactions that comply with it.
- You can decide which rules to activate and which to deactivate.
Below is the complete procedure for creating Rules from the Apply Rules dialog.
1. Give the command Import into accounting
Before accessing the Apply Rules dialog, you must first import bank, postal, or other transactions as follows:
- Use the command from the Actions menu > Import into accounting > Transactions
- Select the appropriate format and indicate the path where the file with your bank statement data is located
- In the dialog that opens:
- Enter the account related to the statement from which you are importing the transactions (bank, postal service, etc.).
- Specify the start and end dates for the period of the transactions to import.
- Indicate the temporary contra account if you want it to be different from the default "[CA]".
You can use any account, and if you write it in square brackets, it will not be accounted for. - Activate the Apply Rules option (available only with the Advanced plan of Banana Accounting Plus).
- Confirm with OK.

2. Dialogue Apply Rules
The program opens the Apply Rules dialog.
In this dialog, you will find:
- The temporary contra account you entered previously or the default one "[CA]".
- The bank account entered, where all transactions imported from your bank or postal account are recorded.
- The imported transactions from the bank account, divided into:
- Incoming transactions without rules (Money In without rules).
- Outgoing transactions without rules (Money Out without rules).
- Incoming transactions with rules (Money In with rules).
- Outgoing transactions with rules (Money Out with rules).

3. Create new rules
To create new Rules:
- Position yourself on one of the transactions for which you want to create a rule.
- Go to the right-hand side until you see "...".
- Click on Add New Rule.

The Add Rule - Edit Rule dialogue appears.
In this dialog, you need to enter:
- In the Description, the text (keyword) that the program uses to find the matching Rule in the imported transactions.
Example:- Best Insurance Contract 892-948
applies to lines that contain exactly the specified text. - +Best Insurance Contract 892-948
applies to lines that contain the words "Best Insurance" and "892-948" in any position.
- Best Insurance Contract 892-948
- The contra account, used to replace the temporary contra account.
- Any other information (Cost centers, VAT codes, etc.).
Important: where there is a contract number, a policy number, a customer number, etc., it is recommended to add a "+" in front of the rule. The + allows the rule to search for individual words (or sequences of numbers) regardless of their position within the description of the imported transaction.
The program shows the transactions found based on the entered conditions to which the new rule will be applied. In the example, we have a single transaction.
- Confirm with OK.

4. Confirm Apply Rules
In the Apply Rules dialog, you will see:
- The row of the created Rule ("NEW") where the data of the temporary counteraccount [CA] and the other information entered in the rule are indicated.
- Below are the lines of the transactions to which the rule has been applied.
You can decide when to execute the Apply Rules command:
- You can apply the rules selectively and continue working on the others.
- You can exit the dialog and return later.
- You can cancel the operation of applying the rules and repeat it later.
- The Apply Rules command also saves any changes you made to the rules.
By clicking on the buttons:
- Apply Rules:
- The program adds the new Rules to the Recurring transactions table.
- The program completes the transactions in the Transactions table.
- The dialog remains open so you can add the rules to the other transactions.
- OK
- Confirms the applied rules and closes the dialog.
- Confirms the applied rules and closes the dialog.

Undo changes made
Once the dialogue is closed, you will see the completed transactions in the Transactions table.
If you wish, you can undo the changes you have made:
- Menu Edit > Undo edit
- With the Cancel button (green arrow).
To also cancel the import of the data, you need to repeat the Cancel command a second time.
Complete other transactions with Temporary contra account
After importing bank transactions, the aim is to complete all transactions so that there are no more transactions with Temporary contra accounts [CA].
You can manually complete the remaining transactions. This is useful for special cases that do not tend to repeat.
You can create new rules by chosing one of the following methods:
Adding information to completed transactions with rules
It is possible to add supplementary information to the Rules through the Recurring Transactions table.
Auto-completion rules from the Apply Rules dialogue
The Apply Rules window offers an excellent level of control over changes to accounting transactions because it shows a preview of existing rules, with an indication of which transactions match each one and which transactions do not yet match any rules. You then have the option of creating new rules, modifying or deleting existing ones.
▶ Video: Rules for completing imported transactions (Apply Rules dialogue)
The dialogue may be displayed:
- From the Import Transactions dialogue, when the Apply Rules option is checked
Rules are only applied to imported rows
- From the Actions menu > Recurring transactions > Apply rules...
Rules are applied to the entire contents of the Transactions table
The Apply Rules dialogue, coupled with the import of banking data, becomes a crucial tool for setting up all repetitive records. In this dialogue window, when faced with multiple repetitive transactions of the same type, it suffices to set the rule for just one of the transactions, and the rules are automatically applied to all other transactions in the dialogue, eliminating the need to set the rule again.
Once the rules are confirmed, all transactions are listed in the Transactions table, ensuring consistency and accuracy in records of the same type, and speed in accounting for all transactions.
This dialogue box is divided into three sections:
Apply rules to transactions with...
- Temporary contra account:
This field is mandatory.
It filters all imported transactions that contain that specific contra account, e.g. [CA], which was indicated in the Import transactions dialogue. - Account:
Filters all imported transactions that contain a specific account, usually a bank account or [A], which has been indicated in the Import Transactions Dialogue.
The rule-based auto-completion system assumes that once the transactions have been completed, there is no longer any transaction containing the temporary contra account.
Imported data corresponding to rules or not
The window shows all transactions that have temporary contra accounts indicated above (e.g. [CA]). These are grouped in four main sections:
- Incoming transactions with rules
Transactions with positive change of account (credit) and with indication of the rule to which they correspond - Outgoing transactions with rules
Transactions with negative account variation (debit) and with indication of the rule to which they correspond - Incoming transactions without rules
Transactions with positive change of account (credit) and not belonging to any rule - Outgoing transactions without rules
Transactions with negative account variation (debit) and not belonging to any rule
Contextual commands
From the row of a transaction without a rule, a simple click or the three dots (...) to the right, or a right click anywhere on the row, opens a menu allowing you to:
- Add/Edit Rule
- Cancel an existing rule
- Change an overlapping rule

The commands at the bottom of the dialogue
- Expand All/Collapse All: displays or hides the elements of the Transactions.
- Display unused rules: checking this option displays all rules defined in the Recurring transactions table; if the option is not checked, the programme only displays rules that have matches.
- Display rows without rules: if this option is checked, all imported transactions are displayed; if the option is not checked, the programme only shows transactions that match a rule.
- Remove accounts between [ ]: in multi-row transactions, the import account is placed in square brackets [ ] in the detail rows. If this option is activated, the programme removes the import account from the detail rows.
Rules with transactions on multiple rows can only be defined in the Recurring transactions table. - OK: this button applies the active rules and closes the window.
- The temporary contra account is replaced in all transactions that have a match with a rule.
- New or changed rules are also saved in the Recurring Transactions table.
- Cancel: this button closes the window without applying the rules.
- If there have been changes to one or more rules, you will be asked for confirmation before closing the window.
- With this button you cannot undo the Apply Rules command; to do so, you must close this window and use the Undo command from the Edit menu.
- Apply Rules: this button applies the rules without closing the window.
- The temporary contra account is replaced in all transactions that have a match with a rule.
- Rules that are added or changed are saved in the Recurring transactions table.
- If you wish to undo changes, you must close the window and use the Undo command from the Edit menu.
Tips on how to use the Apply Rules window
The most effective way to work with the Apply Rules window is as follows:
- Check that the transactions matching rules are correct.
- Use the Apply Rules button to update the Transactions table with the selected rules.
- Add new rules for the remaining transactions and check that they are applied correctly.
- Use the Apply Rules button again.
- Repeat steps 3 and 4 until all recurring transactions are associated with rules.
Recurring transactions table
Rules are saved and may be edited in the Recurring transactions table.
You can complete or add rules also with transactions on multiple rows in the Recurring transactions table.
As time goes by, you will see that more and more imported transactions will have matches with rules; the more rules you add, the more your accounting work will be reduced.
Apply Rules dialog – Add Rule
From the Apply rules dialogue you may access the Add/Edit rule section as follows:
- By right-clicking on one of the transactions or rules:
- For transactions that already have a rule, you can choose Edit Rule or Delete Rule.
- For transactions that do not have a rule, you can choose Add New Rule.
Add New Rule example
The following example in the dialogue below is an outgoing transaction of the payment of a health insurance.
To add a new rule:
- Right-click on the movement row and choose Add New Rule.
- The dialogue Add rule appears.
- Fill in the fields available.
- Confirm with OK.

Add New Rule dialogue
The Add New Rule dialogue shows the data of the selected transaction from which you are creating the rule.
- Complete the rule with the matching parameters (conditions) and the rule completion parameters.
- All rules are saved in the Recurring Transactions table (rules for completion), where you can also:
- Edit, add and delete rules.
- Add any other column for completion, which is not available in this dialogue (e.g. Notes or DocLink columns).
- Colour the row if you want to highlight the imported transaction.
- Add transactions on multiple rows (SplitRule).

The Rule
- Rule type.
The programme, depending on the type of transaction, if in credit or debit on the bank account, sets the rule as Money in or Money out transaction. - Rule title.
It is optional, it is displayed in the Apply Rule dialogue.
Conditions
These are the elements that are used to check whether there is a match for each individual transaction.
- A match is given if all conditions are found.
- If a match is given, the entry is listed among the transactions with rule.
The description
In the description, enter the text to be searched in the text of the imported transaction. If the text is found the transaction will be considered suitable for applying the rule, if the other conditions are then met.
- Exact word or phrase
- If you write only Best Insurance 982-948 as a condition of the rule, only transactions containing those words in that exact order will be considered matches.
- If you write only Insurance, as a condition of the rule, all entries containing this exact word will be considered matches.
- All words (starting with the "+ "sign)
- If you write +Best Insurance 982-948 as a condition of the rule, all records containing these exact words, in any position, will be considered matches.
All words must be present in the description of the transaction.
The position of the words in the sentence is not relevant.
The "+" sign is not considered in the search.
- If you write +Best Insurance 982-948 as a condition of the rule, all records containing these exact words, in any position, will be considered matches.
- List of words (using |)
- If you enter "coffee|restaurant", the program searches for imported transactions that contain the word "coffee" or "restaurant".
- This mode is useful for identifying multiple categories without having to create separate searches.
- Upper and lower case
When searching for input text, no case difference is made.
The text you enter is applied to both upper and lower case text.
Amount
If you indicate an amount in the rule, only transactions with the same amount, as well as a match in the Description, will be considered as matches.
If you do not indicate any amount, any transaction of any amount that meets all other criteria will be treated as a match.
Account
In this field you will already find by default the account from which you imported the transactions. If you leave the account field empty, all transactions, imported from any account, that meet all other criteria will be considered as matches.
Actions
These are the elements used to complete the transaction row if a match is given.
If the contra account or other items to be completed are not present, you can abort the Apply rules command, add the missing account, and call up the Actions > Recurring transactions > Apply rules... command.
Contra account
Enter the account in your chart of accounts that is to be matched in the rule. In this example, the correct contra account is the Health Insurance account.
VAT
You can already enter in the rule the VAT code that the programme must add to each movement considered as a match.
CC1, CC2, CC3
You can already enter in the rule the Cost Centres that the programme must add to each movement considered as a match.
By confirming with the OK button, the new rule is saved. You will return to the previous window where the imported movements with and without rules are displayed again.
Matching Transactions
This table shows all imported transactions selected in the Apply Rules dialogue, which fall under this rule.
Buttons
- The Delete button, cancels the rule.
- The OK button, saves the rule data.
Be aware though that, until you do not give the command Apply Rules, the new rules won't be saved in the Recurring transactions table.
Rules from Transactions table
One of the methods provided for creating Rules is from the Transactions table. The main advantages are as follows:
- You work directly in the Transactions table that you already use regularly. You are already familiar with the table.
- You see all the columns.
- You create Rules simply by completing the imported transactions.
You complete the transactions manually only the first time when creating the Rules. For subsequent imports, the program applies the already created Rules to the new imported transactions. - Speed in creating Rules.
Select the rows with completed transactions and, with a single click, create all the rules in the Recurring Transactions table. You only need to modify the description of each rule to ensure a precise match for future transactions. - You do not need to insert Rules through additional dialogs.
- You do not need to manually enter all the Rule data in the Recurring Transactions table.
Below is the complete procedure for creating Rules from the Transactions table.
Import transactions
In the Transactions table, import transactions from bank, postal, or credit card statements.
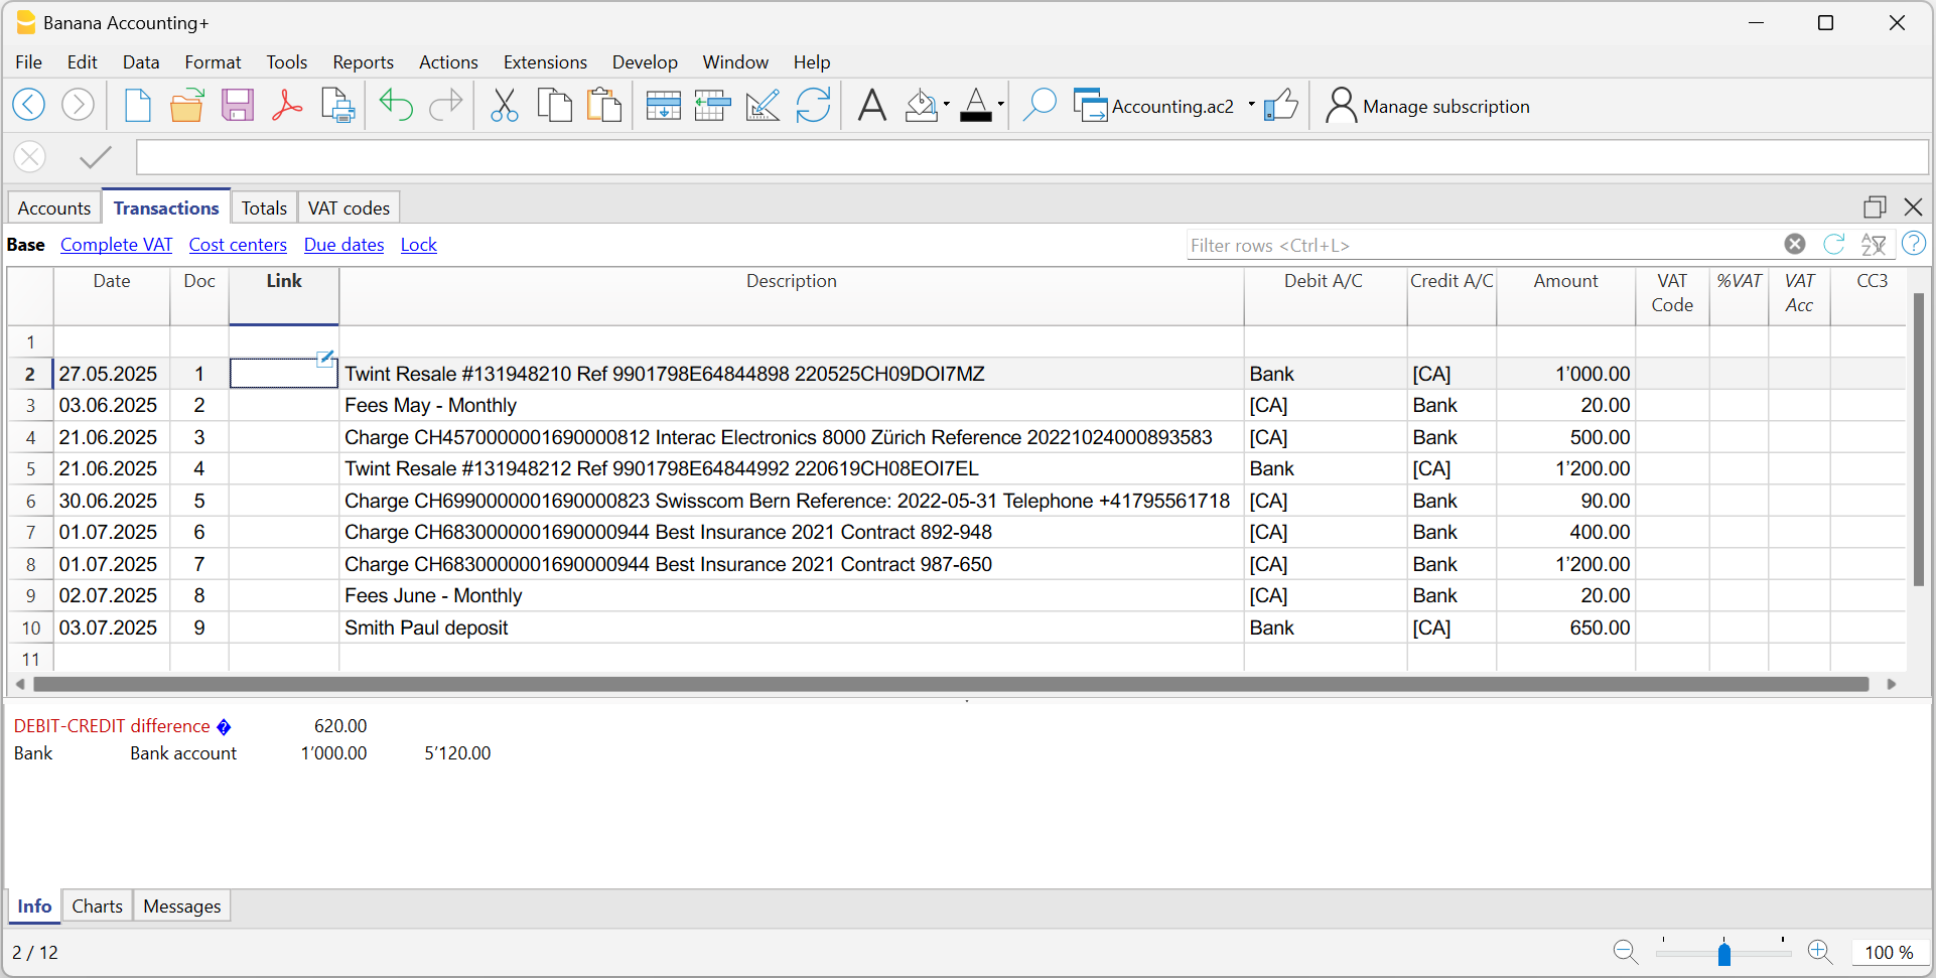
Complete the imported transactions
For each imported transaction, enter the counterpart, VAT code, cost center, or other information.
When you import a transaction that needs to be recorded on multiple lines, the program inserts a single entry with the total amount and a temporary counterpart [CA].
Proceed as follows:
- Remove the temporary counterpart account [CA] from the transaction.
- Insert new rows following the transaction. For each row, enter the complete transaction with description, counterpart, amount, any VAT code, and cost center.
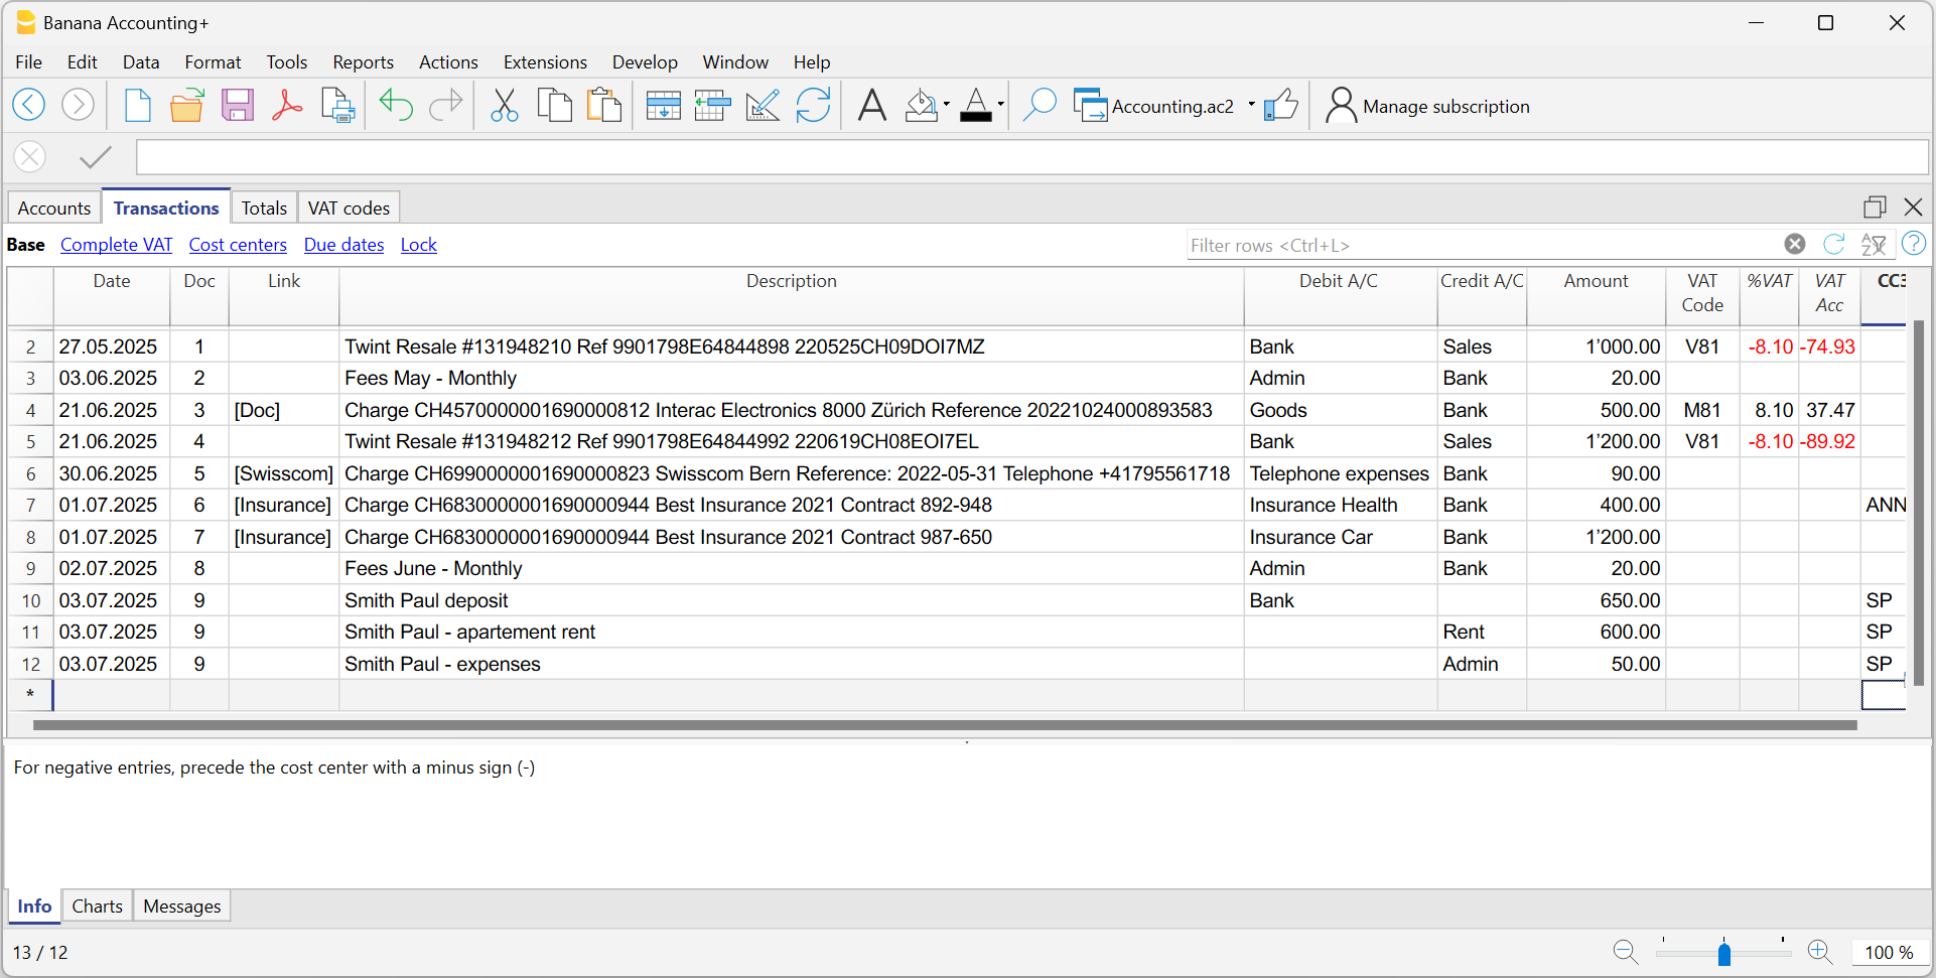
Create Rules
Starting from the completed transactions, you can create Rules:
- Select from the Transactions table the entries to which you want to apply Rules.
- Right-click on a transaction without rules > Create rules from selection.
Alternatively, go to the Actions menu > Recurring Transactions > Create rules from selection.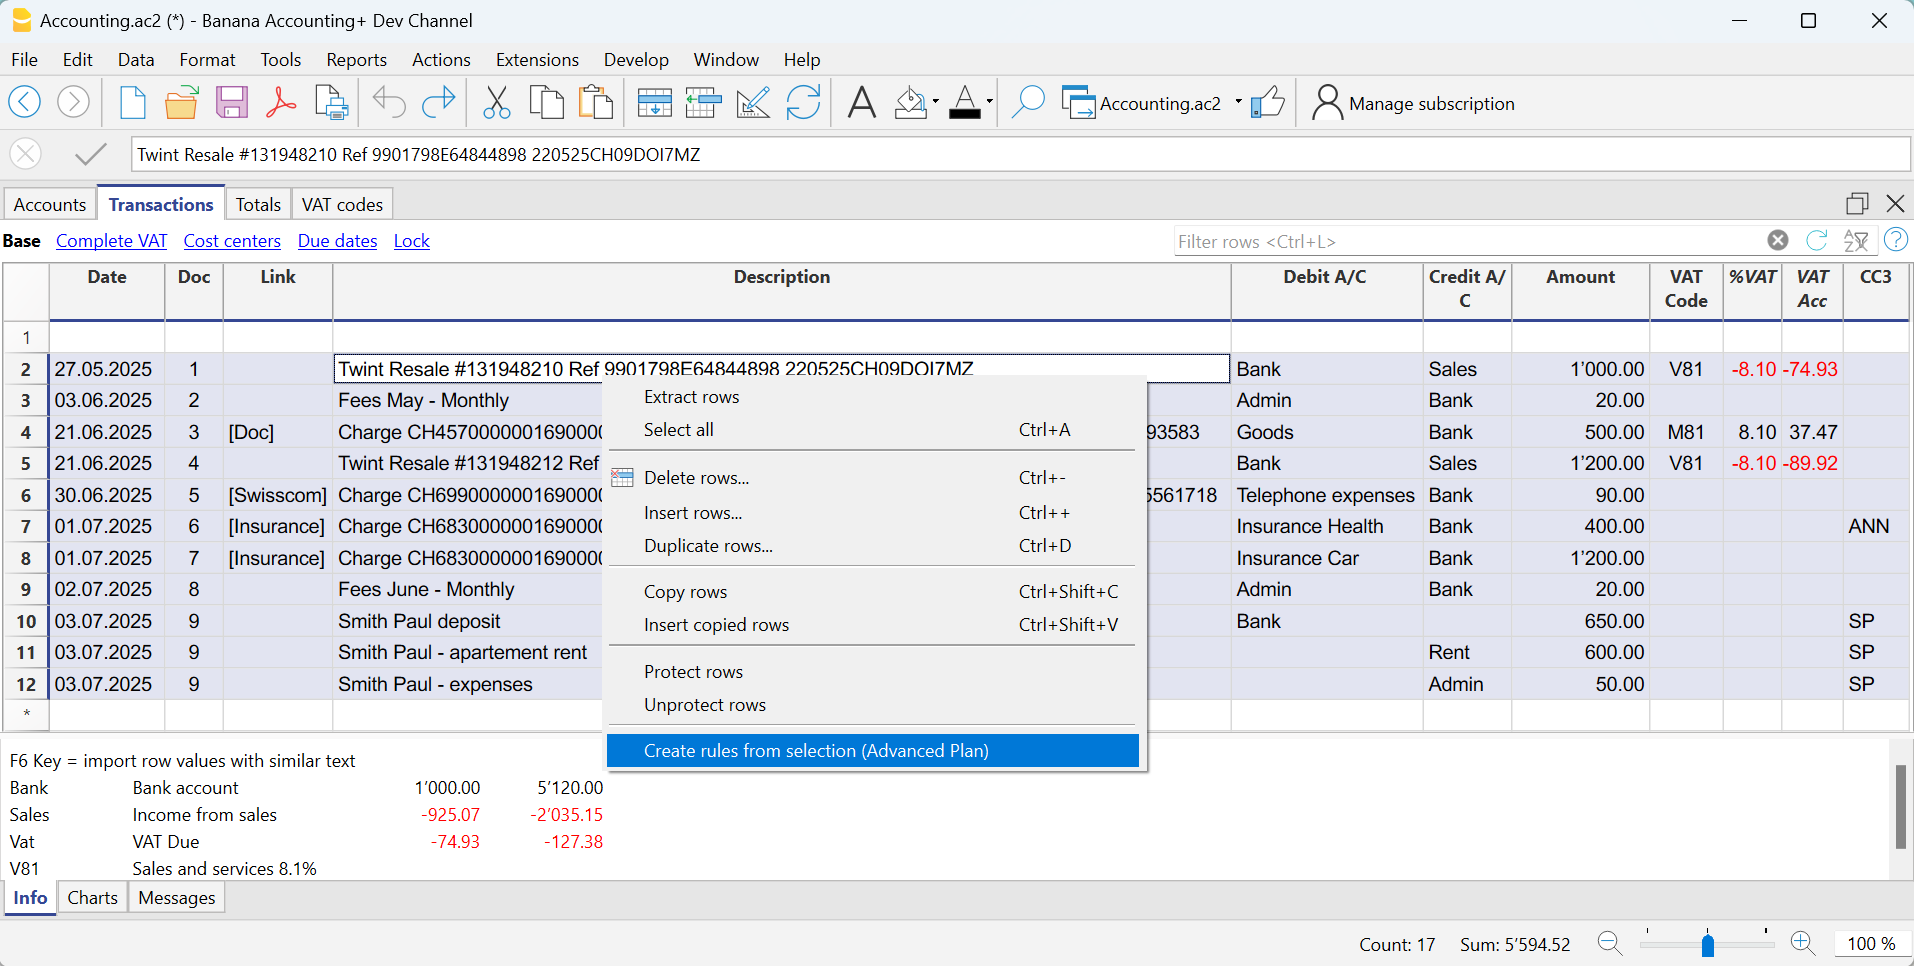
All selected transactions are transferred to the Recurring Transactions table, exactly as they were completed in the Transactions table.
How to complete the Rules
In the Recurring Transactions table, you need to complete the Rules:
- Edit the Description column.
Modify the text of the description to search for in the transactions from the imported bank statement. Initially, the program automatically uses the description found in the imported transaction.
Replace this text with one or more keywords so that the program can find matches in the description of the imported transaction (e.g., +Best Insurance).
See also Condition on Description - Debit and Credit Account Columns
The Debit and Credit columns show the counterpart and the imported bank account.- First, check whether the indicated counterpart is already the desired one; if not, update it accordingly.
- The main import account, used to identify matching transactions, must not be marked as a commented account (account enclosed in square brackets).
If the account matches the bank's main account from which the transactions are imported and is marked as a commented account, the brackets must be removed, otherwise the rule will not be applied correctly.
This may happen with detailed transactions imported from the statement for which no specific rules exist yet. - Alternatively, you can remove the main import account and leave only the counterpart. In this case, the rule will be applied based on the Description column (match with the transaction description) and will be valid for all imported bank accounts.
- For multi-line transactions, edit the Doc column.
In the first row of the transaction, enter empty square brackets [] in the counterpart column.
In subsequent rows, enter !RuleSplit in the Doc column (see rows 7,8,9 in the image below).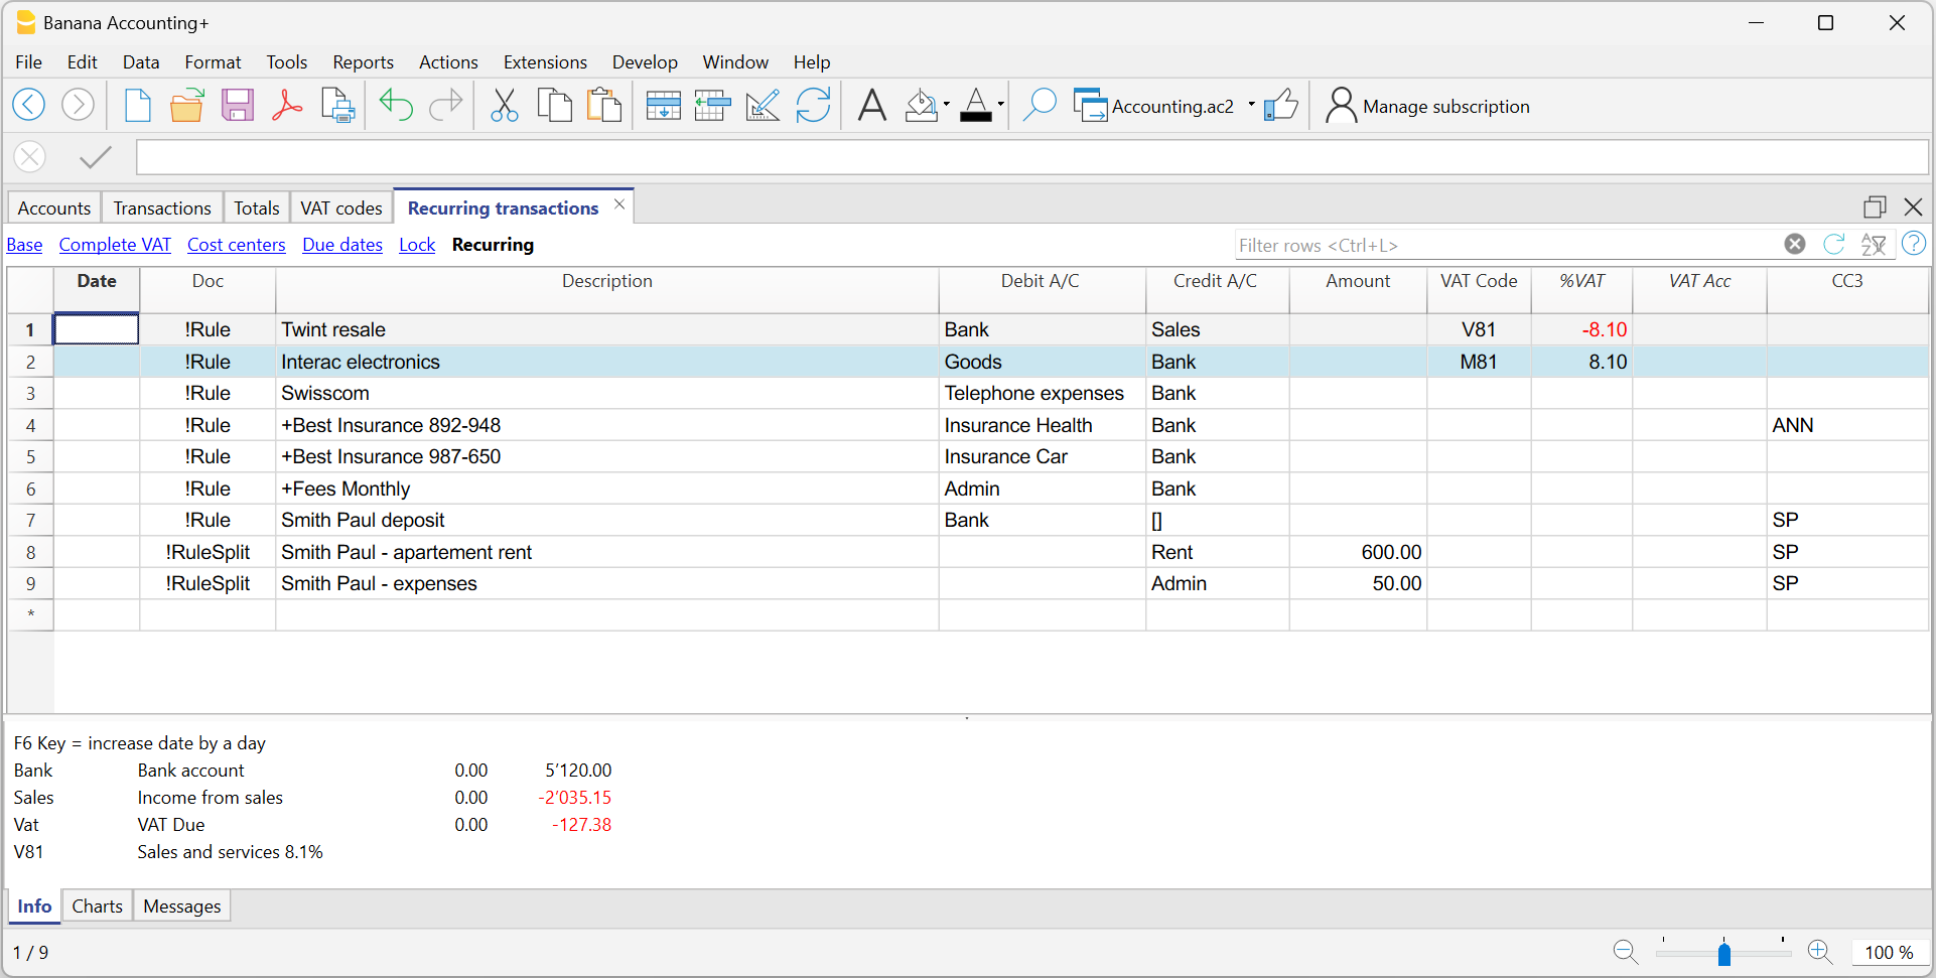
The explained procedure only needs to be performed the first time to set up the Rules. For future imports, the Rules found are applied automatically. You only need to complete the new imported transactions without a rule using the same procedure.
To find all imported transactions in the Transactions table that do not have a rule, you can use the Row filter function, entering the text "[CA]".
Recurring Transactions table Rules
The rules can be accessed via the command Actions > Recurring Transactions > Transactions table.
- Rule rows are those that contain !Rule or !RuleSplit in the Doc column.
- In rule rows, the columns have a different meaning:
- Condition Columns
Contain the values to be compared to determine whether the rule should be applied.
The condition columns are: Doc, Date, Description, Account Debit/Credit, Amount. - Action / Substitution Columns
Contain the values that will be applied and complete the imported transactions.
All columns that are not used as condition columns are considered substitution columns.
- Condition Columns

Condition columns
Condition columns (or search columns) contain the data used to search for matches in the imported transactions.
- Doc column (required)
- Must contain !Rule or !RuleSplit
- !Rule indicates it is a rule.
- !RuleSplit indicates that the rule above must also create split transactions.
- Must contain !Rule or !RuleSplit
- Description column (required)
- The Description column must contain the text to be searched in the description of imported transactions.
- When a description begins with text in square brackets, it is used as the rule name. The rule name is optional and can be used to better identify rules.
- Account column (recommended)
- In double-entry accounting: use the Debit column (to filter incoming transactions) or the Credit column (to filter outgoing transactions).
- In income and expense accounting: use the Account column.
- This is usually the bank account from which the transactions are imported.
- Date column (optional)
- Limits the application of the rule to a specific period of the transactions.
- Amount column (optional)
- Limits the application of the rule to a specific amount or range of amounts.
- In income and expense accounting: use the Income (incoming transactions) or Expense (outgoing transactions) column.
Substitution Columns
Substitution columns must be filled in with additional information.
- DocLink column
- Contra Account column
Enter the contra account that replaces the temporary contra account [CA] or the temporary contra selected in the Apply Rules dialog.- In double-entry accounting: use the Credit column (for incoming transactions) or the Debit column (for outgoing transactions).
- In income and expense accounting: use the Category column.
- VAT Code column
Enter the VAT code to be applied to the imported transaction.
The program automatically completes all VAT-related columns. - Cost Centers (CC1, CC2, CC3) columns
Specify the cost center to assign to the imported transaction. - Notes column
Enter any additional information to be included in the imported transaction. - Other columns
All columns that are not condition columns, except ExternalReference, are considered substitution columns.
ExternalReference is a reserved column used by the bank import to identify each transaction and prevent duplicates.
The DocLink column
In this column, it is not possible to insert a specific link to a document because each transaction will have its own document. However, you can add an annotation in square brackets (e.g., "[Doc]") to distinguish the rows that need to be associated with a digital document.
Once the transactions are imported, it may be necessary to link them to accounting documents. To speed up this process, it is recommended to proceed as follows:
- In the DocLink column of the Recurring Transactions table, use text enclosed in square brackets [ ].
- Within the square brackets, enter the text that should be searched for in the name of the supporting document file.

- In the Transactions table, the transactions are imported with the text in square brackets in the Link column.

- In the Transactions table, use the Row Filter function and enter the text "!link![ ]". This will display all the rows in the Link column that contain square brackets where a link to the supporting document needs to be added.
- When editing the Link column in the Transactions table, the program will show, in the auto-completion, the files of supporting documents that have not yet been linked to a transaction and contain the text entered between the square brackets.
For example, if you enter "[invoice]," the program will display all the unlinked files containing the text "invoice" in the cell.
It is possible that after importing transactions with the Rules, some transactions may need to be manually completed with additional information.
To quickly find the transactions that need to be completed, you can use one of the following methods:
- Using the Notes Column
To quickly locate the transactions that need to be completed, we recommend adding temporary search texts that can be used to filter the transactions. For example:- In the Notes column of the Recurring Transactions table, or in any other column of the Rule row (except for those predefined for the Rule), enter a hashtag, such as #city.
- In the Row Filter function of the Transactions table, enter the same hashtag. This will display the rows that you need to complete.
- Coloring Rule Rows
You can color the Rule rows in the Recurring Transactions table. The row color will be transferred to the Transactions table and used to highlight the transactions to which the rule is applied.
To identify only the colored rows, you can use the Row Filter function by entering the text "!_co!"

Split row transactions
Normally, when you import transactions from a bank statement with the Rule, a single counterpart account is recorded. If the total amount of the counterpart needs to be split across multiple counterpart accounts, you can create a multi-row Rule.
For example:
- You regularly receive a payment of 550 that must be recorded on three different accounts and therefore on three rows:
- (550) rent collection (no contra-account, as this involves recording the global amount split over three rows)
- (500) flat rent (contra account rent)
- (50) extra expenses (contra-account for extra expenses) .
To create a multi-row Rule:
- The first row corresponds to the total amount collected.
- In the Doc column, enter the text !Rule.
- In the Description column, enter the text to search for in the imported transactions.
- In the counterpart column, enter square brackets [].
In the following rows: - In the Doc column, enter the text !RuleSplit.
- In the Description column, enter the text to search for in the imported transactions.
- In the counterpart column, enter the counterpart accounts.
- In all other columns, input the values that should be included in the additional rows. In this example, we have added the tenant’s Cost Center.
In the following example, you can see the tenant’s Cost Center.
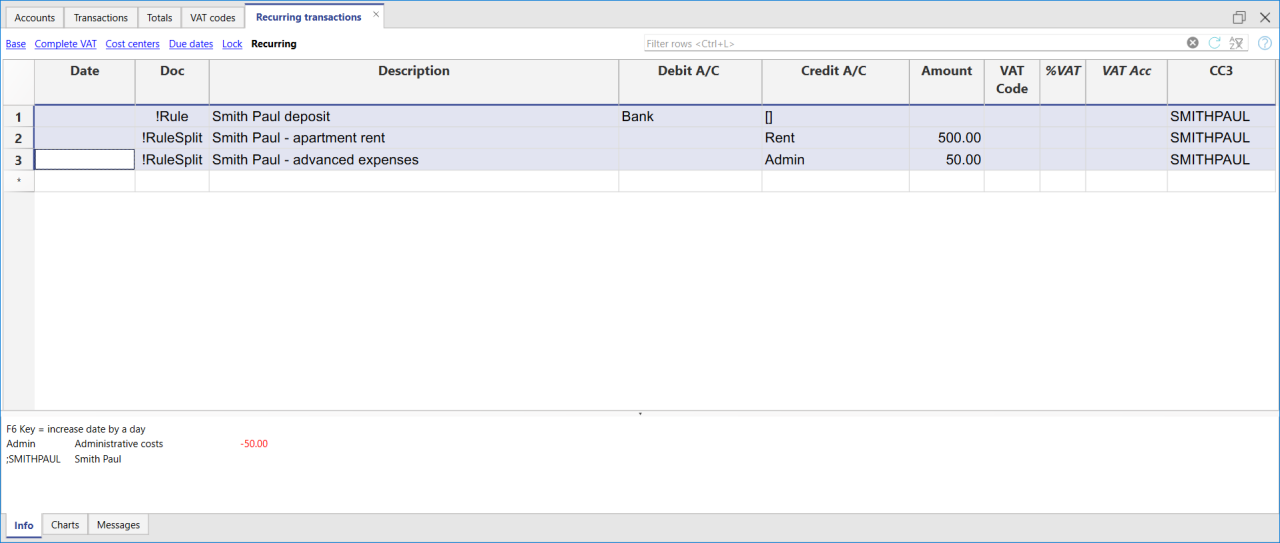
In the example of a multi-row rent transaction, it is assumed that the collected amount is always 550. If the collected amount is different from 550, the transaction will need to be completed manually.
Modifying rules in the Recurring Transactions Table
All completion Rules saved in the Recurring Transactions table, even if they were created from the Apply Rules dialog, can be modified, deleted, or new ones can be created in anticipation of a future import without a Rule.
Set a different description from the imported one
All imported transactions display the description from the bank statement in the Description column of the Transactions table. Typically, these descriptions are very detailed.
It is not possible to automatically change this description at the time of import.
If you wish to change the imported description, you can use the Notes column in the Recurring Transactions table.
Note: if the Notes column is already used for your own annotations, it cannot be used to modify the description.
If the Notes column is not being used, proceed as follows:
- Display the Recurring Transactions table.
- Make the Notes column visible by going to the menu Data > Columns set up > check the Notes column.
- In the Notes column, enter the description text that you want to appear in the Transactions table (Description column).
Repeat this step for each desired transaction.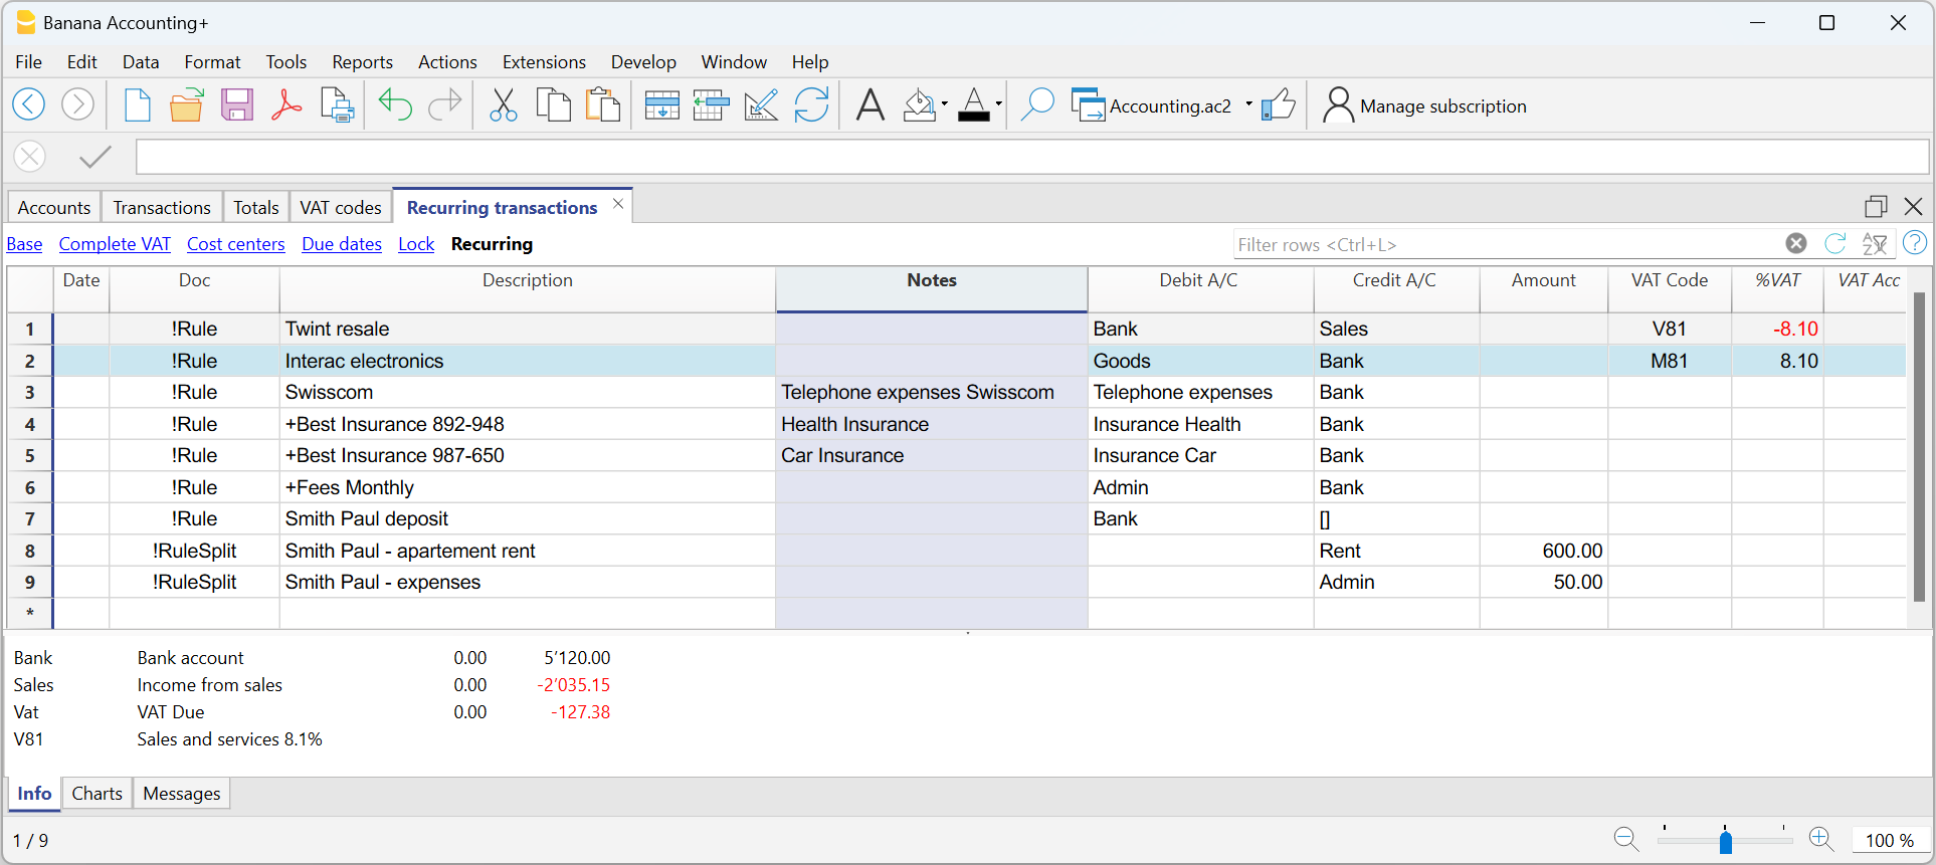
Import the transactions - After importing into the Transactions table, make the Notes column visible (menu Data > Columns setup > check the Notes column)
The Notes column will display the notes defined in the Recurring Transactions table.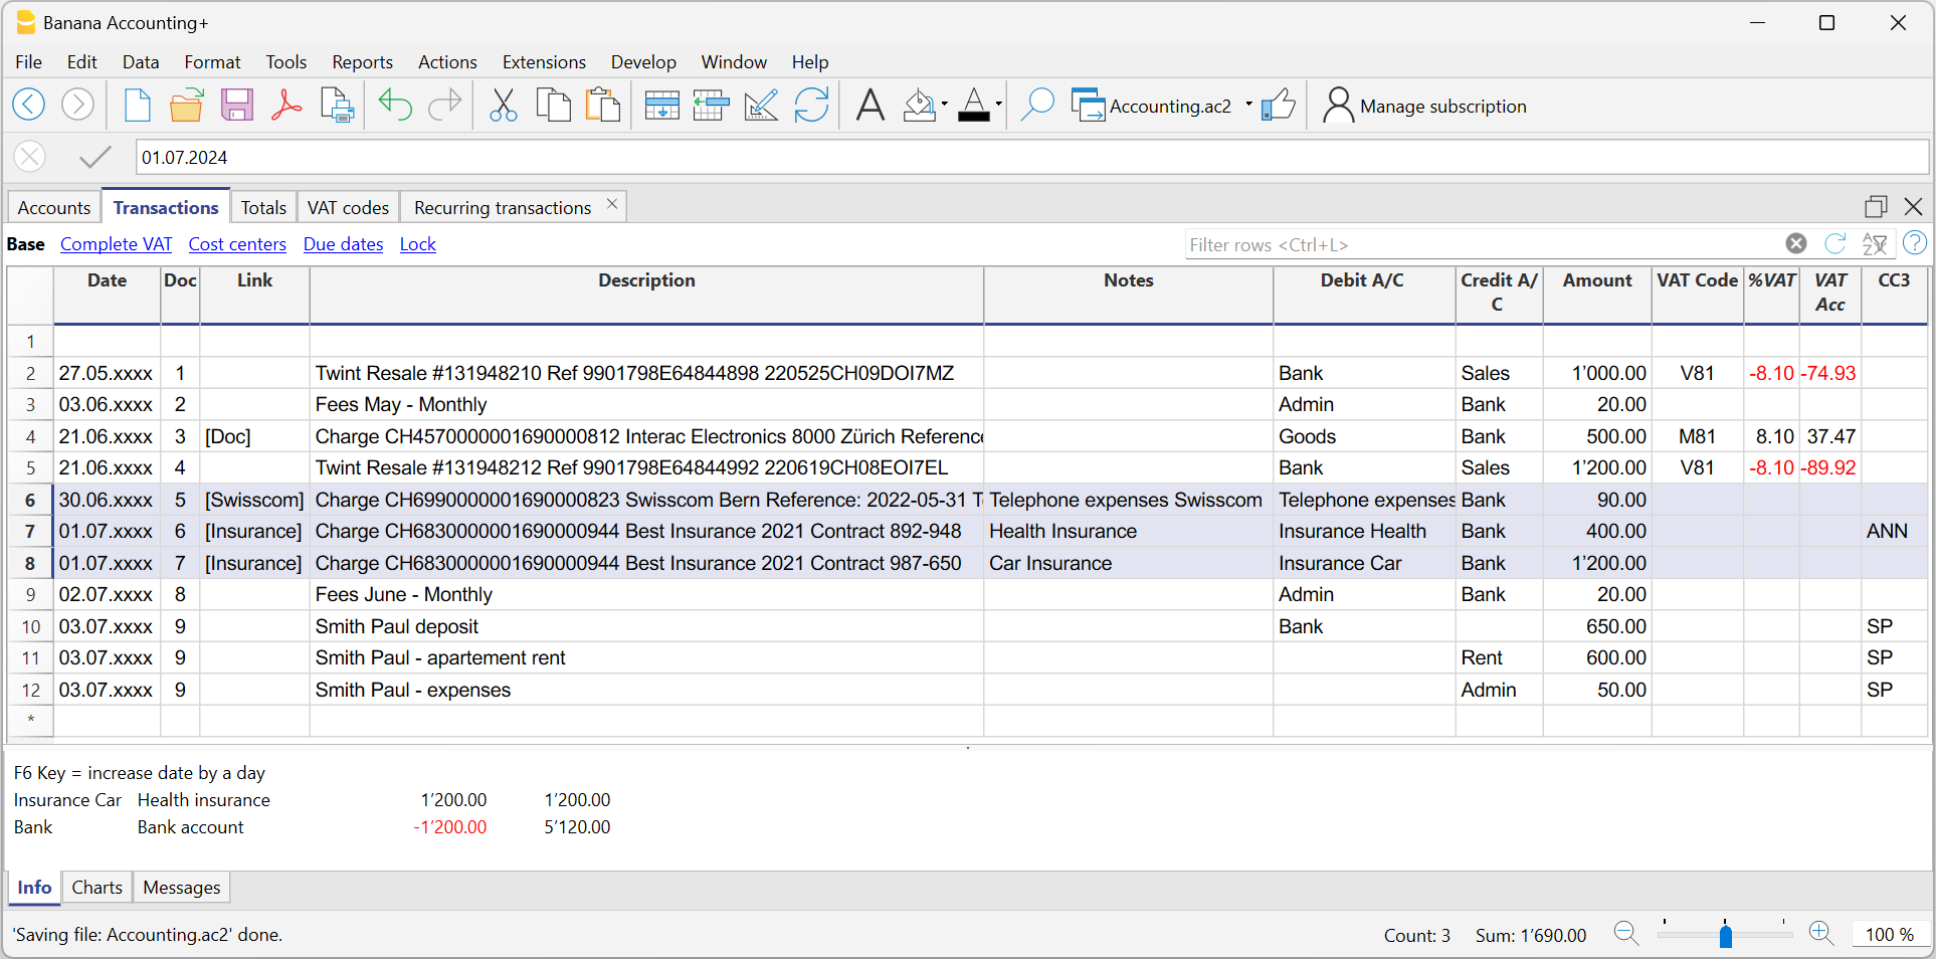
- For each transaction, copy the content from the Notes column and paste it into the Description column.
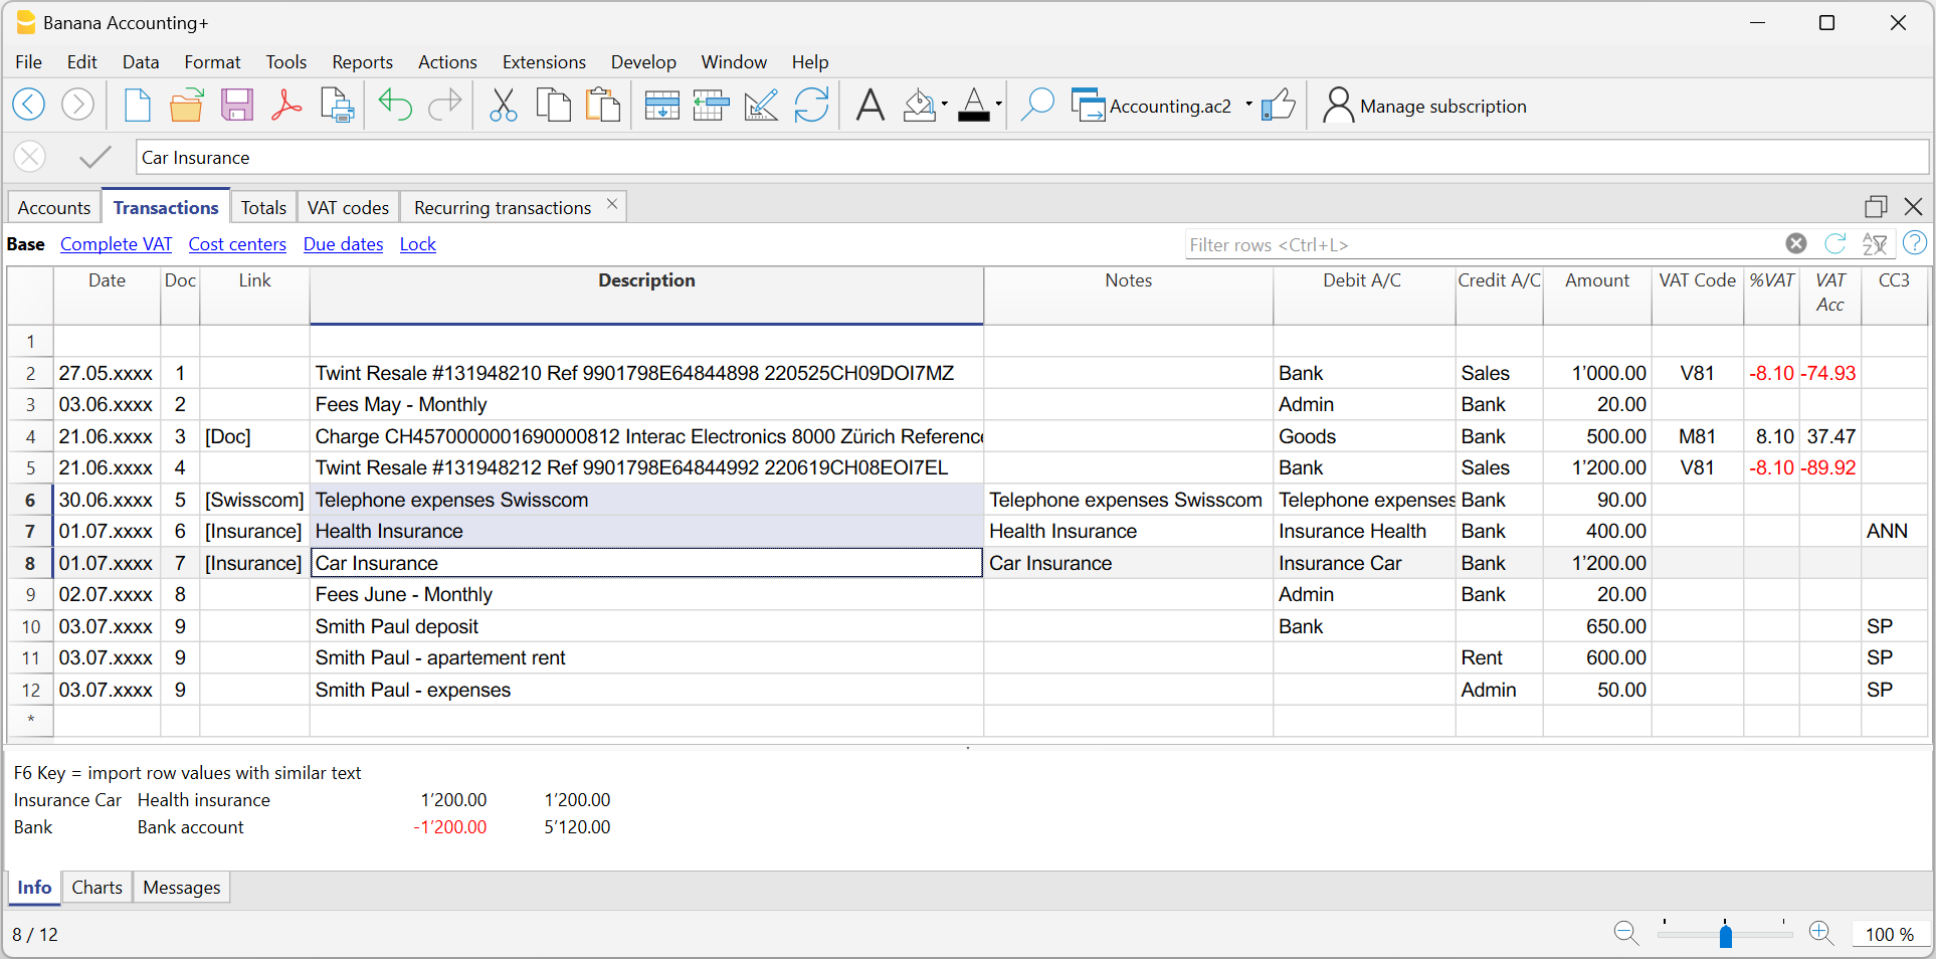
- For each transaction, copy the content from the Notes column and paste it into the Description column.
In the Recurring Transactions table, it is not possible to directly add custom columns.
To use a custom column in the Recurring Transactions table, you need to add the custom column to the Transactions table.
Once the column is added to the Transactions table, it will also be visible in the Recurring Transactions table and can be used to set a different description from the imported one.
Therefore, the insertion procedure is the same as described in the section Set a Different Description from the Imported One - Notes Column.
Create a new year with rules
When you create a new year using the command Actions > Create New Year, the existing Rules in the Recurring Transactions table are automatically carried over to the new year's file.
Accounting with the same rules
If you manage several similar accounting files (for example for clients with similar characteristics), it can be useful to reuse rules that have already been created, avoiding rewriting them every time.
When the accounting files have the same chart of accounts, or at least a compatible structure, you can copy the Recurring transactions from one file to another.
How to copy the rules
- Open the source file (the one that contains the rules to be reused).
- Display the Recurring transactions table using the command
Actions > Recurring transactions > Recurring transactions table. - Select the rows you want to copy.
- Use the Copy rows command, Edit > Copy rows.
- Open the destination file and display the Recurring transactions table.
- Paste the rules using the command Edit > Insert copied rows in the Recurring transactions table.
You can also create a dedicated accounting file, used as a rule library.
In this way, when you create a new accounting file, you can easily copy the necessary set of rules and paste it into the destination file.
Rule conditions
The rule conditions are criteria that define when a completion rule should be automatically applied to a transaction.
They are set during the creation or editing of a rule in the Apply Rules dialog, or directly in the Recurring Transactions table.
The conditions may refer to the Description, Account, Amount, and Date.
A rule is applied only if all the set conditions are met. If even a single condition is not fulfilled, the rule will not be executed. Empty conditions are ignored.
Condition on Description
Enter a word or short phrase as a keyword to identify transactions to be automated, based on the text shown in the Description column of the bank statement.
Banana Accounting automatically compares the description text of each transaction with the one specified in the rule and, if it finds a match, applies the associated rule.
To achieve more effective results, it is advisable to use only a few representative keywords (for example, the supplier or service name), so that the rule matches multiple similar transactions.
The search texts can be entered in several ways:
- Exact word or phrase
- For example, if you enter "Best Insurance 982-948", the program searches imported transactions that contain exactly "Best Insurance 982-948".
- If you only enter "Insurance", the program searches imported transactions that contain the word "Insurance".
- All words in any order (+ at the beginning)
- If you enter "+Best Insurance 892-948", the program searches imported transactions that contain the words "Best", "Insurance", and the number "892-948" in any order.
- All words must be present in the transaction description, but the order is not relevant.
- The "+" symbol is not considered in the search.
Important: where there is a contract number, a policy number, a customer number, etc., it is recommended to add a "+" in front of the rule. The + allows the rule to search for individual words (or sequences of numbers) regardless of their position within the description of the imported transaction.
- List of words (using |)
- If you enter "coffee|restaurant", the program searches imported transactions that contain the word "coffee" or "restaurant".
This method is useful to identify multiple categories without creating separate searches.
- If you enter "coffee|restaurant", the program searches imported transactions that contain the word "coffee" or "restaurant".
- Uppercase and lowercase
- The search does not distinguish between uppercase and lowercase letters. The entered text will be applied regardless of case.
All text entered in the Description is displayed in the Description column of the Recurring Transactions table.
- The search does not distinguish between uppercase and lowercase letters. The entered text will be applied regardless of case.
Warning: Do NOT use the entire text from the bank statement as the description, because it is unique for that transaction.
Condition on Account
- Enter the account from which the transactions are imported (bank, post, etc.).
- The program records in Debit or Credit depending on the imported transaction.
- The program automatically posts to Debit or Credit based on the transaction type.
- If the Account field is left empty, the rule applies to all accounts that meet the description condition.
Condition on Amount (or Currency Amount)
- Allows applying a rule only when the transaction has a specific amount.
- Alternatively, if the exact amount is not known, you can define a range of amounts by specifying a minimum, maximum, or a specific interval in which to apply the rule.
- Available from version 10.2.3 of Banana Accounting Plus (Dev Channel)
- The condition must:
- start with the symbol !
- be enclosed in square brackets [ ]
- use the unformatted amount, that is, without thousand separators and with a period as decimal separator
(other formats are not recognized) - The operators that can be used are greater >, less <, greater or equal >=, less or equal <=, not equal <>
- Example: to select transactions with amount greater or equal to CHF 1'000.00:
[!>=1000.00]

The image shows the Apply Rules dialog where you can select the Amount field and define a number range (in this example, account 1510 Furniture and Fixtures is applied to transactions with the description equal to 'Office supply purchase' and amount greater or equal to CHF 1'000).
Using this filter is useful when assigning different counterpart accounts based on the transaction amount.
Examples of conditions applicable to the Amount column
| Syntax | Meaning |
| [!=1000.00] | transactions with the exact amount of CHF 1'000.00 |
| [!>1000.00] | transactions with amount greater than CHF 1'000.00 |
| [!>=1000.00] | transactions with amount greater or equal to CHF 1'000.00 |
| [!<1000.00] | transactions with amount less than CHF 1'000.00 |
| [!<=1000.00] | transactions with amount less or equal to CHF 1'000.00 |
| [!>=1000.00 !<=2000.00] | transactions with amounts between CHF 1'000 and CHF 2'000 |
| [! |!100.00 |!<150.00] | transactions with amount exactly CHF 100.00 or CHF 150.00 |
Condition on Date
Starting from version 10.2.3 of Banana Accounting Plus (Dev Channel) you can apply a rule to transactions that fall within a specific period (for example, only transactions from January).
How to proceed:
- Add a new rule as explained on the page Apply Rules Dialog - Add Rule
- Select the Date field
- Enter the filter condition in the Comment field.
The condition must:- start with the symbol !
- be enclosed in square brackets [ ]
- use the date in ISO format YYYY-MM-DD
(other formats are not recognized)
- Example: to select transactions with dates equal or before April 1st, 2025:
[!<2025-04-01]

The image shows the Apply Rules dialog where you can select the Date field and define a date range (in this example, it is applied to transactions before April 1st, 2025).
Using this filter is helpful when differentiating processes by month, quarter or year — for example, if a specific VAT code applies until a certain date and a different one after that, such as when switching to a new VAT method.
Examples of conditions applicable to the Date column
| Syntax | Meaning |
| [!=2025-03-31] | transactions with date 31.03.2025 |
| [!>2025-03-31] | transactions with date after 31.03.2025 |
| [!>=2025-03-31] | transactions with date on or after 31.03.2025 |
| [!<2025-03-31] | transactions with date before 31.03.2025 |
| [!<=2025-03-31] | transactions with date on or before 31.03.2025 |
| [!>=2025-03-31 !<=2025-06-30] | transactions in the range from 31.03.2025 to 30.06.2025 |
| [! |!2025-03-15 |!<2025-03-18] | transactions with date 15.03.2025 or 18.03.2025 |
How to define conditions in the Recurring Transactions table
Conditions can be entered directly in the Recurring Transactions table using the same syntax explained in the previous sections.

Rule weight and conflict resolution
The weight of an autocomplete rule is determined by the number of conditions defined in the rule itself. The greater the number of specified conditions, the greater the weight assigned to the rule.
When multiple rules apply to the same transaction, Banana Accounting selects the rule with the highest weight, considering it more specific. This makes it possible to define generic rules and more detailed rules; in the event of a conflict, the more specific rule is always applied.
For example, the Recurring transactions table may contain the following rules:
| Date | Doc | Description | DebitAcc | CreditAcc |
| !Rule | Credit | 1100 Debtors | ||
| !Rule | Credit Fratelli Bernasconi | 1030 | 1150 Customer Bernasconi |
If a transaction with the description "Credit Fratelli Bernasconi" is imported into account 1030, both rules apply. However, the second rule has a higher weight because it contains an additional condition on the DebitAcc field. Since it is more specific, it is applied with priority over the first rule.
Recurring Transactions Table
The Recurring Transactions table is used to store transactions that are used repeatedly.
It contains three types of recurring transactions:
- Recurring transations stored and retrieved using the Doc column in the Transactions table.
These have an identifier code without any punctuation in the Doc column. - Rules for completing imported transactions.
These define how imported entries should be completed.
They have "!Rule" or "RuleSplit" in the Doc column. - Automatic transactions with regular intervals.
These are used to automatically generate transactions that repeat with a certain frequency, for example, monthly, quarterly, semi-annually, or annually.
They have "!Auto" in the Doc column.
Display and arrange columns and views in the Recurring Transactions table
Before inserting repetitive entries, you must display the Recurring Transactions table from the Actions > Recurring Transactions menu.
The Recurring Transactions table does not allow saving custom display settings but inherits views and column settings from the Transactions table.
To customize the columns and their layout in the Recurring Transactions table, you need to:
- Add a new view in the Transactions table.
- Arrange the columns setup the Transactions table in the desired order.
- In the Recurring Transactions table, choose the view that was created (in the Transactions table). The columns will be displayed in the same order as the created view.
Insert recurring transactions using the Doc column
- If the "End date" column is present (see Automatic transactions), you can also specify a date after which the entry should no longer be used in the Transactions table.
Transactions that are no longer used must be deleted manually.
The Recurring Transactions table in Income and Expense Accounting
The functionality of the Recurring Transactions table is the same as in Double-entry Accounting, only the columns differ:
- In Income/Expense accounting, the Account and Category columns are used.
- The Account column refers to the bank, postal, credit card account, etc. It indicates where the money is taken from or where it goes.
- The Category column indicates the category of the expense or income. It represents the reason for the expenditure or income.
- The Income and Expenses columns indicate the amount of the transaction.
- In double-entry accounting, the Debit Account and Credit Account columns and the Amount column are used.
Progressive numbering of documents "docnum"
If you need a different progressive numbering in the Doc column of the Transactions table, other than the automatic one, you can set it via the Recurring Transactions table.
Insert a row with the code docnum in the Doc column. From the following rows, the program will use the type of numbering indicated in the Description column.
"0" – If you don’t need automatic numbering.
"1" – For simple progressive numbering.
"doc-1" – For progressive numbering with a prefix, for example cash-1, cash-2, cash-3. Replace "doc-1" with the prefix you want (e.g., cash-1, cash-2, etc.).
The program replaces the number at the end of the text with a progressive number.
Managing display in suggestions
If you want only one row per code to be shown in the suggestions, you can use these prefixes in the description:
A single "*" – Displays only this row and not those with a similar code.
A double ""** – Displays only this row, but does not use it (title row only).
A backslash + asterisk "\*" – Allows you to start the description with an asterisk without it being interpreted as a command.
Retrieve recurring transactions in the Transactions table
In the Transactions table, you can retrieve the rows defined in the Recurring Transactions table:
- In the Transactions table, enter the date in the transaction row. You can also add other missing columns compared to those in the Recurring Transactions table, depending on the view you're using.
- In the Doc column of the Transactions table, select one of the codes defined in the Recurring Transactions table (Doc column) and press Enter:
- The program inserts the repetitive rows with the same code.
- If needed, you can always modify or complete some values.
- Rows stored in the Recurring Transactions table can also be retrieved in the Transactions table by entering the code in the Doc column and pressing the F6 key.
Copy transactions from the Transactions table to the Recurring Transactions table
Repetitive entries can also be inserted by copying entries from the Transactions table and pasting them into the Recurring Transactions table.
Proceed as follows:
- In the Transactions table, select the rows to copy.
- Edit Menu > Copy rows.
- Go to the Recurring Transactions table.
Edit Menu > Paste copied rows
You can also use the Ctrl + C and Ctrl + V keys to copy transactions.
Automatic transactions with recurring deadlines
Automatic transactions are useful for facilitating the recording of repetitive entries, such as subscriptions, insurances or taxes. By using automatic transactions, you only have to enter the entry of interest once, set a few parameters such as the start date, the frequency and the end date and then Banana Accounting Plus will inform you when an automatic transaction is ready to be created and will create it for you.
In Banana Accounting Plus, there are two ways to create automatic transactions:
- From the Recurring Transactions table
- From the Manage Automatic Transactions dialogue.
Requirements
- This feature is available in the latest release of Banana Accounting+ Dev Channel.
- It requires the Advanced plan. If you do not have this plan, you can request a promotional code valid for 1 month via the contact form.
- You need to add the End Date and Repeat columns to your accounting file.
- This feature is in Beta Test; we kindly ask you to test it and report any problem.
Adding the End Date and Repeat columns to your accounting file
To be able to activate the commands for automatic transactions, the End Date and Repeat columns must be added; without these columns the commands will not be displayed.
- Open your accounting file or create a new accounting from the File menu > New command.
- Select the command from the Tools menu > Add/Remove Functionalities...
- The Add/Remove Functionality dialogue will appear with the list of available functionalities.
- Select the option Add End Date and Repeat columns in Transactions table.
If this option is not available, check the Banana version and the plan you are using, as described in the Requirements section. - Click on the OK button.

Creating an automatic transaction from the Recurring Transactions table
- Select the command from the Actions menu > Recurring transactions > Create automatic transaction.
- The Recurring transactions table will appear with a new row, showing the date of the day in the Date column and the text !Auto in the Doc column, which serves to identify the automatic transaction.
- Update the Date column with the date of the first occurrence you wish to schedule.
- Display the End Date and Repeat columns with the command from the Data menu > Columns setup...
Make sure to check the Visible box for both the End Date and Repeat columns.
If these columns are missing, you can add them as described in the Adding the End Date and Repeat columns paragraph.
Note: The new columns are added to the Transactions table, but are only used in the Recurring Transactions table, visible in the Recurring view. - Add the desired repetition to the Repeat column. For example, if you want a quarterly repetition, enter the text 3MS in the Repeat column.
- If the automatic transaction has an expiry date, set it in the End Date column.
- Complete the Description, Debit Account, Credit Account and Amount columns.
- Select the command from the Actions menu > Recurring transactions > Manage automatic transactions to display the scheduled transactions.
Note: If you use the command from the Actions menu > Recurring transactions > Create automatic transaction from an existing transactions in the Transactions table, the Description, Amount and Accounts columns will show the text of the original transaction.
The Create automatic transaction command is also available in the context menu of the Transactions table (right-click on a transaction, and choose the Create automatic transaction command).
Creating an automatic transaction from the Manage automatic transactions dialogue
- Select the command from the Actions menu > Recurring transactions > Manage automatic transactions.
- The Manage automatic transactions dialogue will appear.
- Click on New automatic transaction button at the bottom of the dialogue.
- Complete the necessary fields:
- Start date
Date from which the first automatic transaction will start. When the transactions are generated, this date will be updated with the date of the last automatic transaction created. - End Date
- Repeat
- Description
- Account
- Contra-account
- Amount
- CC1, CC2, CC3
- Name or description (optional)
- Start date
- Click on the OK button.
Auto-completion rules for income and expenses accounting
In Income and Expenses Accounting and the Cash manager, the functionality for Completing Imported transactions works in the same way as for Completing transactions in Double-entry Accounting.
The main difference is as follows:
- In the Income / Expenses accounting, the columns Account and Category are used.
- The Account column refers to the bank account.
- The Category column is where the category is specified. It represents the counterpart account entered automatically.
- The Income and Expense columns are where the amount for the transaction is indicated.
- In double-entry accounting, the Debit Account and Credit Account columns, along with the Amount column, are used.
Therefore, even with income and expense accounting, it is possible to create rules using one of the following methods:
- Rules from the Apply Rules dialog.
- Rules from the Transactions table.
- Rules from the Recurring Transactions table.
The Recurring transactions table in Income / Expenses accounting
In the Recurring Transactions table, all imported transactions to which Rules have been applied are saved:
- The columns associated with the amount are the Income and Expenses columns.
- If no amount is specified, the rule will be applied to both outgoing and incoming transactions.

The Clearing account in import operations
The clearing account is an interim account used to record temporary transactions. It is specifically used in the following cases:
- Post self-taxation and recovery operations on purchase tax (VAT on services abroad).
- Import data into the main accounting from the cash book and credit cards.
- Record the net salaries debited by the bank, pending the complete recording of the gross salaries with the various monthly deductions.
- Recording incoming payments in camt.054 and camt.053 formats to avoid duplicate credits.
Use of the clearing account when importing data from the cash book or credit card
When the cash book or credit card movements are kept in separate files from the main accounting, it is used as a counterpart account in order not to create overlapping records in the import, regarding payments from the bank to the cash or credit card accounts.
- In the cash book or credit card file, the receipt of funds will be recorded (the cash book or credit card account balance is increasing).
- The outflow from the bank or postal current account and the increase in cash book or credit card will be recorded in the main accounting file.
The internal transfer account must be used as a counter-entry, both in recording the withdrawal from the bank (main accounting), and for payment at the cash book or on the credit card (separate file).
When you import the cash book or credit card data, into the main accounting file, the internal transfer account is reset to zero:
- The data imported from the cash file or the credit card account will be recorded as credits in the clearing account.
- The movements relating to payments already recorded with debit on the bank or post office account, will be credited to the clearing account.
More details on importing with the clearing account are available on the Importing data from the Cash book file.
Using the Clearing account for camt054 and camt053 Receipts
Those who collect payments via QR-IBAN can use the camt054 XML file to automatically import and record incoming payments. At the same time, they can import the entire electronic bank statement using the camt053 XML file.
- The camt054 XML file contains only the details of receipts for each customer.
- The camt053 XML file, on the other hand, reports the total daily credit without details.
- Payments received on the QR-IBAN account, imported via the camt054 XML file, are transferred daily to the associated IBAN account (bank account listed in the chart of accounts).
Problem: If both XML files (camt054 and camt053) are imported into the bank account ledger, the same credit is recorded twice: once with the details of individual receipts (camt054) and once with the total daily amount (camt053). This results in a duplication of credited amounts.
To solve this issue, the transfer account is used by following the procedure described on the page Bank Statement Camt ISO 20022 Switzerland (Banana+).
Retrieving data from other programs
Banana Accounting Plus allows you to retrieve transactions from other programs, both as a first step to start your accounting and on a recurring basis.
Import bank transactions
This is the most common data import situation. Please refer to the dedicated section:
You can use these features to import data either on a recurring basis or as a one-time operation.
Example of importing a bank CSV file using Excel
If you need to import bank data and no import extension is available, you can also proceed via Excel by creating a data structure similar to that of the Transactions table and then copying and pasting the data:
- Create an Excel sheet called "Transactions" with the same columns as the Transactions table in your accounting file.
- Date, Doc, Description, Debit account, Credit account, Amount
- Import the bank data into Excel in a separate table.
- Copy it or transfer it using formulas into the Transactions sheet.
- Select and copy the Transactions data in Excel.
- Go to the Transactions table in Banana Accounting.
- Move to the end and give the Paste command.
The program will add new rows.
To convert data from one format to the Banana Accounting format, you can also use formulas, as shown in the example in this image, where the
The Debit and Credit accounts are assigned using a formula based on the sign of the amount.

Multi-currency accounting columns
If the accounting is multi-currency, also add the columns.
- Currency code
- Amount in base currency.
If you have the amount in foreign currency and in base currency, the exchange rate is calculated by Banana Accounting.
Additional tips
- If the amount columns do not contain thousand separators, Excel may not convert them into numbers. In this case, select the entire column and use the "Replace" command, then enter the thousand separator.
- If the data is sorted in reverse order compared to how you keep it in Banana, before proceeding with field mapping, position yourself on the Date column, click the arrow on the right and sort from oldest to newest.
- You can add any additional columns you need.
- With Excel Office Scripts, you can also create a macro to automate file conversion.
Use ChatGPT or another AI assistant
If the data is not confidential, you can use ChatGPT or another AI assistant to create an Excel file with the same columns as those in the Transactions table.
- Upload your transaction file to the AI assistant.
- Indicate that it is a file containing bank transactions and, if possible, briefly explain the format, logic, and meaning of the columns.
- Ask to transform the content into an Excel file and specify that:
- The file must be compatible with Banana Accounting, so that the assistant can correctly use the format information.
- The columns must correspond to those of the Transactions table in Banana Accounting, for example:
Date, Doc, Description, Debit account, Credit account, Amount. - It must complete the Debit account and Credit account with the related bank account number, based on the sign of the amount.
- Specify the character used in the file as the thousands and decimal separator, for example.
Thousands separator ".", decimals "."
- Open the generated file in Excel and verify the result.
- You may need to make manual changes or provide further instructions to the AI assistant to refine the result.
- When the file is correct, select and copy the data from Excel.
- Go to the end of the Transactions table in Banana Accounting and paste it.
Recurring import from other programs
It may also be necessary to regularly import data:
- Import monthly transactions from the payroll program.
- Import invoices issued with an invoicing program.
- Import payments recorded with the invoicing program.
- Import sales recorded in an online shop.
- Import data from another accounting program.
- Import data from a cash register management program (for example for a restaurant or a hotel).
In these cases, there are two possibilities:
- Make sure your application exports the data in the txt (TSV) file format, specifically prepared for import into Banana Accounting.
See the Instructions for creating a file to import into Banana Accounting (in English). - Use an import extension that converts the data exported from the program into the format accepted by Banana.
- Check whether there is already a prepared extension.
See: Import extensions. - Create an import extension.
See: Develop an Import Extension
- Check whether there is already a prepared extension.
Creating a new accounting file starting from existing data
If you want to use Banana Accounting starting from accounting managed with other software, or if you want to reconstruct the accounting from existing data.
Retrieving data from audit files or other formats
You can recreate an accounting file in Banana Accounting starting from files that contain all accounting data such as:
One-time data import with Excel
If you start keeping your accounting with Banana and need to retrieve transactions from another accounting software, it is probably faster to use Excel to copy and paste the data.
- With the old accounting program, export the data in a format readable by Excel (CSV, txt, ..).
- Import the data into Excel (see below)
- In Excel, arrange the columns exactly in the same sequence as they appear in the Transactions table of Banana.
- Instead of changing the column order, it may be more convenient to add new columns next to the existing ones and copy the data there, or use formulas to retrieve and convert the data. With formulas, you can remove spaces, modify texts or convert amounts and dates.
- Open the new accounting file in Banana Accounting.
- In Excel, select the data to copy and use the Copy (Ctrl+C or Copy from the Edit menu) command.
- Go to Banana and use the Paste (Ctrl+V or Paste from the Edit menu) command.
This method is useful for retrieving data from MS-Money, Intuit Quicken and QuickBooks, and from most other accounting programs.
Import from other programs to switch to Banana
To facilitate switching to Banana Accounting from other programs, we have developed some extensions that allow users to import into Banana Accounting transactions already entered in other software. We therefore recommend consulting the specific pages related to the program you want to migrate from:
Analytical accounting
Banana Accounting Plus offers various features for analyzing costs, revenues, and results. The following pages explain the characteristics of each solution and when to use it.
Cost and Profit Centers
The Cost and Profit Centers in Banana Accounting Plus allow you to allocate costs and revenues to specific activities, departments, projects, or other analysis units, even if they are independent of one another. They allow you to monitor costs, revenues, and results separately, without changing the structure of the chart of accounts. For more information, see the Cost/Profit Centers page.
Segments
The Segments in Banana Accounting Plus allow you to systematically divide the accounting by organizational units, branches, sectors, or other business dimensions. For each segment, you can obtain a separate Income Statement and other reports, without having to create specific accounts for each unit. For more information, see the Segments page.
Projects, branches and sectors
To manage projects, branches, sectors, or other separate activities, Banana Accounting Plus allows you to use Cost Centers and Segments. Depending on your analysis needs, you can monitor the costs and revenues of individual activities or obtain separate reports for the different units of the organization. For more information, see the Projects, sectors and branches page.
Cost and profit centers
The Cost and Profit Centres of Banana Accounting Plus are used to analyse and monitor the performance of different areas or divisions of a company: organisational units, departments and branches, even if they are not related to each other. They allow records to be catalogued according to different criteria than normal accounts. The main objective is to minimise operating costs and optimise revenues, while guaranteeing the quality and efficiency of services.In Banana Accounting Plus, the cost and profit centre feature is available in all accounting applications.
Cost centers and profit centers are used solely for internal information purposes to monitor and control operating costs; therefore, they are not included in the Financial Statements.
▶ Video: Cost and profit centers
If you wish to have a Balance sheet broken down by projects, sectors or branches, we recommend using Segments.
Registering transactions in cost/profit centers
In Banana Accounting, cost/profit centers are recorded in the Transactions table, specifying the accounts related to the cost/profit centers in the appropriate columns, as set in the Accounts table. Cost centers are attributed to the transaction row and can be used simultaneously with segments.
Here are the most frequent uses:
- Cataloging specific expenses
- Events and manifestations
- Clients, suppliers, members
- Additional details for certain expenses (e.g., accessory expenses)

The columns for entering data are located in the Cost Centers view. If they are not visible, you can display them from any view via the menu Data > Columns setup. Three different columns are available: CC1, CC2, CC3, each of which is independent of the others.
For registration, proceed by entering:
- The date, the description, and other usual elements
- The Debit and Credit account
- The amount and any applicable VAT code
- In the appropriate column (CC1, CC2, CC3), enter the cost/profit center account without the preceding punctuation.
- To record a credit on the cost/profit center, precede the cost center with a minus sign.
In the Income/Expenses accounting and the Cash Manager, you can set the option Record (+/-) cost centers as categories so that the cost centers follow the sign of the category.
If an overall amount needs to be divided among multiple cost/profit centers at the same level, multiple transaction rows must be created. Each row specifies the amount to be allocated to the cost/profit center and the relevant account.
Recording cost centers in the Income & Expense Accounting and Cash Manager
In the Income & Expense accounting, cost centers can be set either in the Accounts table or in the Categories table, depending on the purpose for which they are created:
- Cost/profit centers related to customers/suppliers or to members/donors should be set in the Accounts table.
- Cost/profit centers related to expenses or revenues (such as refunds to members, events, projects, etc.) should be set in the Categories table.
To record an entry in a cost/profit center, simply enter the abbreviation or number defined in the Accounts table in the column designated as the cost/profit center.
When an amount needs to be reversed from a cost/profit center, it must be entered in the corresponding column with a minus sign (-) in front of the center’s abbreviation/number.
In the example:
- In the member 1 profit center, the CC3 column contains the abbreviation MEMBER 1 to indicate the credit for the membership fee owed by member 1.
- When member 1’s fee is collected, the CC3 column contains -MEMBER 1, so that the payment is recorded in member 1’s account and the credit owed by member 1 is thus zeroed out.
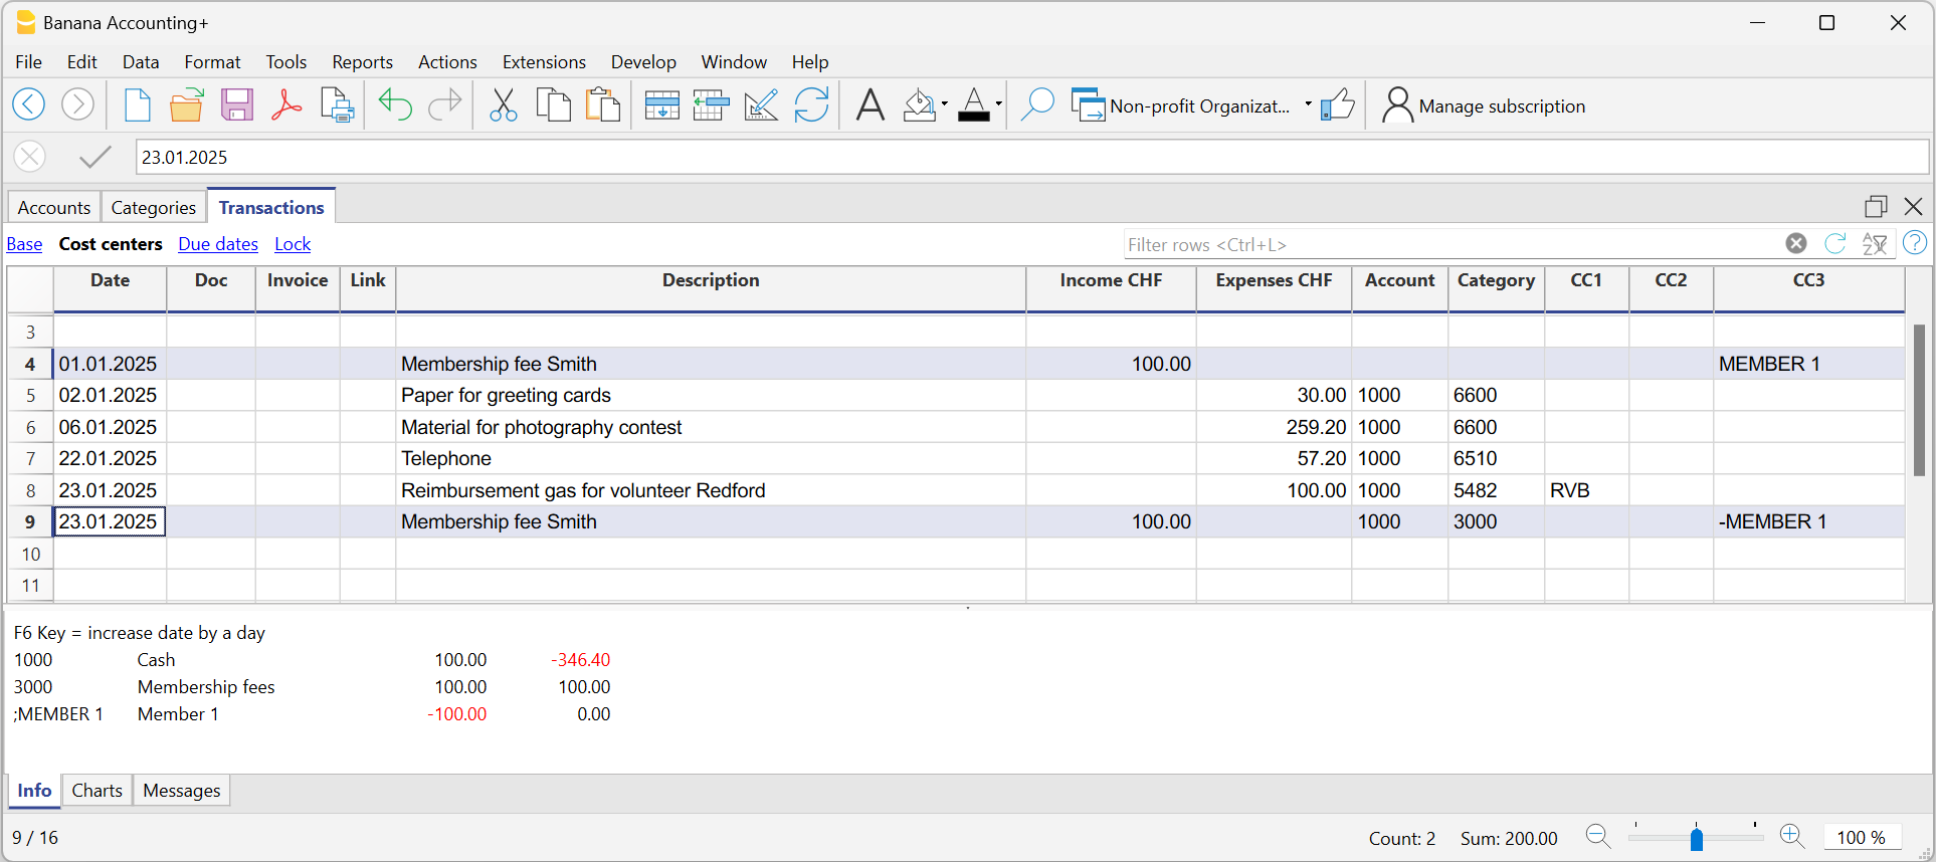
In the Income & Expense accounting and in Cash Manager, you can enable the option Record (+/-) cost centers like the category so that cost centers follow the category's sign.
However, be cautious when using this option, because if there are transactions that always go into the income or expenses column, while for the cost/profit centers the amount should be reversed, the program will sum up the amounts in the related cost/profit center ledgers.
In the previous example, the membership fee (credit and payment) is recorded in the income column for both entries. However, in the MEMBER 1 profit center, you need to reverse the amount to zero out the credit for member 1.
In this case, if you use the Record (+/-) cost centers like the category option, the balance in the corresponding profit center ledger would be incorrect. Since in both transactions the amount is always recorded in the Income column, in the corresponding profit center ledger it would be added instead of reversed, which is necessary to zero out the credit for member 1. Therefore, in these cases, you should not use this option, but rather manually place a minus sign before the cost/profit center.
It is therefore recommended to use this option only in cases where you are certain that the amount recorded in the cost/profit center aligns with the category.
Accounts of cost/profit Centers
The accounts of cost centers are set up in the Accounts table, except for the Cash Manager, where they are set up only in the Categories table.

- The Cost and Profit centers (CC) are accounts, preceded by the ".", "," and ";" signs
- There are three levels of cost centers:
- CC1 preceded by a period "."
- CC2 preceded by a comma ","
- CC3 preceded by a semicolon ";"
- Each level is independent of the other.
- For each level, there can be an unlimited number of cost and profit centers.
- A superior level can be used without using an inferior one.
- Cost center codes can be alphabetic or numeric.
- Cost centers can have their own grouping, different to that of normal accounts.
For the same level of cost centers, subgroups can be created. Be careful not to mix cost center groups with other groups of a different level or with normal accounts or segments. - Each cost and profit center has its own account card, complete with transactions and balances.
- A transaction on the cost center is independent of the account recorded in debit or credit.
It is possible to record on cost centers even if there is no account in the debit and credit column (as in the case of customer/supplier ledger with VAT on cash basis).
Setting up cost centers in the Accounts table
To set up the cost/profit centers in the Accounts table, proceed as follows:
- Create a specific section for the cost centers at the end of the chart of accounts:
- Enter a Section with an asterisk * for a section change and in the Description column, enter the title cost and profit centers.
- In the next row, on the Section column enter 03 and 04 for a profit center and the related description.
- Add rows for the cost center:
- In the Group column, enter the group to which the cost center account is assigned
- In the Account column, Add the cost or profit centers:
- With a preceding dot (.) for transactions in the CC1 column.
- With a comma (,) for bookings in the CC2 column.
- With a semicolon (;) for transactions in the CC3 column.
- In the Gr column, indicate the group into which the amounts are to be totaled.
- In a Multi-currency accounting, the account currency is also specified.
- Add the cost center groups
- In one and the same group, total only for one specific level.
- As for normal accounts, different levels can be created.
VAT amount with cost and profit Centers
In the File and accounting properties command, in the VAT tab you can set the amount of cost centers with the following options:
- Use transaction amount - The amount of the cost center is registered according the transaction amount
- Use amount excluding VAT - The amount of the cost center is registered net of VAT.
- Use amount including VAT - The amount of the cost center is registered including VAT.
Account card cost center
The cost center is treated as any other account, so each cost center has its own account card with account balance and account transactions.
Unlike all other accounts, the cost center account does not have a contra account. If you want to view the contra account we recommend using the Segments.
In order to view all cost center account cards, click on the menu Reports > Account/Category cards > Cost centers (Filter option).
Differences between Cost/Profit Centers and Segments
Cost and profit centers are units where costs or profits are assigned and accumulated with the purpose of monitoring a specific business area (departments, divisions, projects, operational units, or even specific machinery) to improve efficiency and expense management, and they serve an internal control function.
Segments, on the other hand, are assigned to a part of the business activity for external reporting purposes and strategic analysis. They are used to analyze profits and other financial metrics across different business areas, sectors, subsidiaries, projects, markets, customers, and other business dimensions to assess their economic performance
- Cost centers CC3 in Banana Accounting are used to manage Customers and Suppliers with VAT on a cash basis and to manage Members in non-profit organizations.
Differences in Settings and Transactions
In Banana Accounting, the settings and transactions for cost/profit centers and segments differ as follows:
Accounts Table
- Up to 3 cost/profit centers (CC1, CC2, CC3) can be set up, and each can have an unlimited number of cost/profit centers. They are entered in the Account column of the Accounts table with a comma, a period, and a semicolon (respectively, CC1, CC2, CC3) before the account number (or account code).
- Segments can be set up to 10 levels, and each level can have an unlimited number of segments. They are entered in the Account column of the Accounts table, with a double colon (:, ::, :::, etc.) before the code or number that defines the segment.
Transactions Table
- Cost/profit centers are recorded only in the CC1, CC2, CC3 columns of the Cost Centers view. The account is recorded without any punctuation in front.
- To record on the credit side of a cost/profit center, the cost center must be preceded by a minus sign.
Segments are recorded in the Debit and Credit columns, after the main account (e.g., 4000:P1). This means that the amount recorded in the Amount column is assigned to both the 4000 account and the P1 segment. Alternatively, they can be recorded in the specific Segment column of the Accounts table. - Segment amounts follow the debit and credit designation of the accounts.
Reports
- With Cost/Profit Centers, it is not possible to generate a Balance Sheet and an accounting report.
- Using Cost/Profit Centers, you can obtain an account statement for each cost and profit center.
- In the Accounts table, you can view the totalization of the different groups of cost and profit centers.
- With Segments, it is possible to generate a balance sheet with the breakdown of levels, showing the profit or loss for each segment.
- In the Accounts table, the total of the different segment groups is also visible, and you can view the account cards for the various Segments. Accounting reports are also possible.
- With Segments, you can also obtain a multi-level Report that combines accounts and segments, but specific extensions must be used.
Related documents:
Segments
Segments are used to systematically separate costs and revenues by unit, department, or branch. Using segments, you can generate an Income Statement divided by unit, department, or branch, without having to create specific accounts for each unit.
For example, a museum can use segments to track revenue, staff costs, and setup expenses for each individual exhibition.
In transactions, segments follow the account, unlike Cost Centers, which are specific to each entry and used for less structured categorizations (e.g., all expenses for an event or purchases for a specific purpose).
You can use both cost centers and segments simultaneously.
Segment Features
- Segments are accounts preceded by a colon ":".
- Account codes may use numbers or letters.
- Up to 10 segment levels are supported.
- The level is determined by the number of colons preceding the code:
- :LU → level 1 segment
- ::P1 → level 2 segment
- :::10 → level 3 segment
- Each level can include an unlimited number of segments.
- Segment levels are independent of one another.
- Segments do not have a class (BClasse) or a currency code.
- Calculations related to segments are made in the base currency.
- In transactions, the segment follows the debit or credit account.
There cannot be entries for segments without an associated account. - Account cards can be generated for transactions involving specific segments.
Segment Level Titles
Segment level titles are used to indicate what a specific segment level refers to.
- A segment consisting only of separators ":", "::", ":::", etc., allows you to specify a description for the level.
- Enter the segment level explanation in the Description column.
For example:
":" "Projects"
"::" "Branches"
Setting up Segments
Segments must be set up in the Accounts table, in the Account column, at the end of the chart of accounts.
- Enter an asterisk in the Section column to define the segment section.
- In the Description column, type the segment title.
- Enter segments using :
- In the Account column, prefix the segment identifier with a single colon for first-level segments.
- Second-level (and possibly third-level) segments are prefixed with :: or :::, depending on the level.
- Optionally, enter a description for the segment.
Unassigned Segment {}
If in the transactions you enter the debit or credit account without specifying a segment, the amount is recorded in the "empty" or unassigned segment.
In the chart of accounts, you can define a description for the unassigned segment of the level by following the colon with the text ":{}".
The unassigned segment symbol "{}" is useful for indicating in account cards and scripting that you want to see entries not assigned to any segment.

Transactions
Segments are recorded in the Transactions table, immediately following the main account.
When a segment includes multiple levels, you must follow the main account with the first-level segment, then the second-level one, and so on.

Using "-" as a segment separator
In transactions, the dash "-" can be used as a segment separator instead of the colon ":".
- In the file properties (basic data), activate the option Use dash (-) as segment separator.
- In the transactions, use the dash as separator.
- If using "-" as a separator, do not use accounts that contain dashes.
Segment Column
This column allows you to enter segments independently of the account.
- The Segment column is hidden by default; to use it, make it visible via the Data > Columns setup menu.
- Segments entered in the Segment column are applied to the accounts used in the transaction (columns Debit, Credit, VAT Account), if those accounts do not already specify a segment.
- You can use the Segment column along with segments directly in the Debit and Credit columns.
- When using the Segment column, the amount is recorded on the segment both in debit and credit, so the balance of the segment in the accounts table will be zero.

Movements between Segments
Usually, cost allocation is done for each individual accounting entry. However, in some cases, it's better to register costs to an account and only allocate them to segments at the end of the year. This applies, for example, to administrative costs that are distributed as a percentage across different company departments.
Here's how to proceed:
- During the year, enter transactions using the Debit and Credit columns, but leave the segment blank or assign the full amount to a single segment.
For example, all office supply costs may be recorded without a segment. - At the end of the year, enter allocation transactions for distributing the respective portion of each segment to a specific expense or income account:
- In the entry, use the same account in both the Debit and Credit columns.
- Indicate the source segment (which can be empty) and the destination segment.
- For example, to allocate office supply expenses to different departments:
- Create one transaction for each department.
- In each row, the credit account has no segment.
- The debit account includes the segment of the corresponding department.
- The amount is the portion of expenses to be allocated to that department.
- These entries assign each department its portion of unallocated expenses.

Opening Balances for Segments
Segments with an opening balance should preferably be entered as transactions, so that they can be associated with an account. If you enter the initial segment balance in the Opening column (Accounts table), it is assigned to the unallocated "{}" segment.
To assign opening balances to specific segments and accounts, you must enter opening transactions in the Transactions table.
- In the DocType (Type) column, enter value 01.
- The date must match the accounting start date.
With the segment opening entry, the amount is removed from the “empty” segment and assigned to the specific segment.
If the balance to be allocated is negative (credit), the account without a segment must be in the Debit column and the one with the segment in the Credit column.
Example of Segment Opening Transaction
Suppose account 1000 has an opening balance of 100.00 (without a segment, so assigned to the empty segment) and you want to assign 80.00 to segment 01 and 20.00 to segment 02, proceed as follows:
- The opening entries have the accounting start date and DocType value 01.
- The first entry has 1000:Events in the Debit column and 1000 in the Credit column. Amount: 80.00.
- The second entry has 1000:Courses in the Debit column and 1000 in the Credit column. Amount: 20.00.

Create New Year Command
The Create New Year or Carry Forward Opening Balances commands automatically generate opening entries for all segment levels.
If you don’t want to carry forward opening balances for a segment level, delete the automatically generated opening transactions.
Segment Account Card and Balance
Attention: do not interpret the segment movement as a standalone value.
The value shown for a Segment in the Balance or Movement column of the Accounts Table or the Categories Table should not be interpreted as an independent or standalone accounting value disconnected from the main account or category.
A segment is a subdivision of the total values of an account or category. It does not represent a separate accounting movement. As a result, the same movement may appear duplicated or zeroed out depending on how it's recorded.
- The amount recorded for a segment always follows the corresponding account or category.
- From an accounting perspective, it must always be considered in relation to a specific account or category.
- Typically, segments are used to subdivide the balance sheet or income statement into detailed columns without creating separate accounts for each entity.
To activate this feature, go to the menu Report > Accounting Report or Report with groups > Subdivision Section and enable Subdivision by Segment.
Segment Card Results in Double-entry Accounting
In double-entry accounting, the segment follows the account used in the Debit or Credit column, or both. Depending on how it's entered, the segment card shows different results:
- If in the Transactions table the segment is used in either the Debit or Credit column, the segment card displays the transaction amount.
- If the segment is used in both Debit and Credit, the segment card will show the amount on both sides, so the balance is zero.
- If the segment is entered in the Segment column, the amount appears in both Debit and Credit columns in the card, again resulting in a zero balance.
- In the Accounts table, the segment balance is the total of the transactions of accounts using that segment.
The segment card will only show a balance if the segment is used exclusively with Profit & Loss or Balance Sheet accounts.
Segment Card Results in Income & Expense Accounting
In income and expense accounting, the segment follows the account or category. Depending on how it's recorded, the segment card behaves as follows:
- If in the Transactions table the segment is entered after the category, the card shows the registered amount.
- If the segment is used in both the account and the category, the movement appears twice in the segment card (duplicated).
- If the segment is entered in the Segment column, the amount again appears twice (once for the account, once for the category).
- In these last two cases, the segment balance in the Accounts or Categories table may be double the recorded amount.
Reports
Segment-based reports can be generated from several accounting documents:
- Enhanced Balance Sheet by Groups
- Accounting Report
- Account Card
- Multi-level report
To generate reports that combine accounts and segments (e.g., all expenses for branch LU of P1), use Banana Extensions.
Subdivision Report by Level
In the Enhanced Balance Sheet by Groups, in the Subdivision section, specify the segment level you want to use.

Summary Report
This is a summary of all segments defined in the chart of accounts, with optional breakdown by period or by segment.

Unassigned Segment Report
The "empty" segment aggregates all entries without a specified segment. You can define a title for this segment in the accounts table. Also, enable the option Segment Header: Description in the Subdivision section.
Differences Between Segments and Cost Centers
Segments are assigned to part of the business activity for external reporting and strategic analysis. They are used to analyze profit and other financial metrics across different business areas, markets, customers, and other dimensions for evaluating performance.
Cost and profit centers are units where costs or revenues are assigned and accumulated to monitor a specific business area (departments, divisions, projects, operations, or even specific machinery) for internal control and management purposes.
- Objective: segments focus on assessing overall financial performance, while cost centers focus on cost tracking and management.
- Focus: segments are typically used for external reporting and strategic decisions, while cost centers are used for internal detailed cost analysis.
- Structure: segments are based on strategic criteria like product lines or markets, while cost centers can be any internal operational unit incurring costs.
- Accounting: segments are more relevant to financial and managerial accounting; cost centers are primarily used in analytical accounting.
Differences in Setup and Transactions
In Banana Accounting, the setup and registration of cost/profit centers and segments differ:
Accounts Table
- Segments can be defined up to 10 levels, each with unlimited segment codes. Entered in the Account column of the Accounts table, with colons (:, ::, :::) before the code.
- You can define up to 3 cost/profit centers (CC1, CC2, CC3), each with unlimited codes. They are entered in the Account column using punctuation (comma, dot, semicolon) before the account number or code.
Transactions Table
- Segments are recorded in the Debit and Credit columns after the main account (e.g., 4000:P1). Alternatively, they can be entered in the Segment column.
- Cost/profit centers are entered only in the CC1, CC2, CC3 columns of the Cost Centers view. Enter the code without punctuation.
Reports
- With Segments, you can generate a Balance Sheet with level subdivision, showing profit/loss per segment.
- In the Accounts table, totals of segment groups are visible, and you can view account cards by segment. You can also generate Accounting Reports.
- Segments also support multi-level reporting combining accounts and segments, but require specific extensions. Cost centers do not support Balance Sheet or accounting reports.
- With cost/profit centers, account cards can be generated per center.
- In the Accounts table, group totals for cost/profit centers can be displayed.
Further Reading
Differenze tra Centri di Costo e Segmenti
I Segmenti e i Centri di costo/profitto permettono di classificare e analizzare i dati contabili secondo criteri aggiuntivi, senza dover creare conti specifici per ogni attività.
I Segmenti sono indicati soprattutto quando si desidera ottenere una suddivisione sistematica del Bilancio e del Conto economico, per esempio per succursale, dipartimento o unità.
I Centri di costo/profitto sono invece indicati per attribuire costi e ricavi a specifiche attività o finalità, per esempio progetti, manifestazioni o eventi.
Segmenti e Centri di costo/profitto possono essere utilizzati contemporaneamente.
La seguente tabella riassume le principali differenze.
Funzionalità | Segmenti | Centri di costo/profitto |
|---|---|---|
| Impostazione | ||
| Numero di livelli | Fino a 10 livelli | Fino a 3 livelli: CC1, CC2 e CC3 |
| Numero di elementi | Numero illimitato di segmenti per ogni livello | Numero illimitato di centri per ogni livello |
| Impostazione nella tabella Conti | Nella colonna Conto, facendo precedere l'identificativo da :, ::, ::: ecc., in base al livello | Nella colonna Conto, utilizzando la punteggiatura prevista per CC1 (.), CC2 (,) e CC3 (;) |
| Indipendenza dei livelli | ✅ Sì, i diversi livelli sono indipendenti tra loro | ✅ Sì, i diversi livelli sono indipendenti tra loro |
| Registrazioni | ||
| Registrazione | Il segmento segue il conto Dare o Avere, per esempio 4000:P1 | Il centro di costo/profitto viene indicato nelle colonne CC1, CC2 o CC3 |
| Colonna specifica | ✅ Sì, consigliato inserire nelle colonne Dare e Avere o colonne Conto e Categorie (Entrate / Uscite) | ✅ Sì, colonne CC1, CC2 e CC3 |
| Associazione al conto | ✅ Sì, il segmento segue il conto | ❌ No, inserito nelle colonne specifiche |
| Utilizzo contemporaneo | ✅ Può essere utilizzato insieme ai Centri di costo/profitto | ✅ Può essere utilizzato insieme ai Segmenti |
| Analisi e report | ||
| Scheda conto | ✅ Sì, per ogni segmento | ✅ Sì, per ogni centro di costo/profitto |
| Totalizzazione nella tabella Conti | ✅ Sì, per i diversi gruppi di segmenti | ✅ Sì, per i diversi gruppi di centri di costo/profitto |
| Bilancio e Conto economico | ✅ Sì, con suddivisione per livello di segmento | ✅ Sì, ma senza suddivisione (solo elenco centri di costo e profitto) |
| Report contabile | ✅ Sì | ❌ No |
How to manage projects, departments, and branches
With the Segments feature it is possible to manage different sectors of a company or different projects of an association and to obtain for each one the balance sheet and the complete profit & loss statement with the breakdown of revenues, costs and profit or loss.
The segments are set out in the Chart of Accounts. When you enter a transaction, you also indicate the segment. Segments can also be used to manage branches, divisions or areas of business. A museum can use them to have reports of different exhibitions, a transport agency to have reports for each individual vehicle.
Setting up segments in your Chart of Accounts
It is useful for a company with several branches that organizes events and courses and wants separate statements for each field of activity and branch.
First level field of activity, accounts preceded by a colon ":":
- Courses
- Events
Second level branches, accounts preceded by a double colon "::":
- Rome
- Milan
It is generally more convenient to use acronyms rather than long names.
- Watch the video: Segments
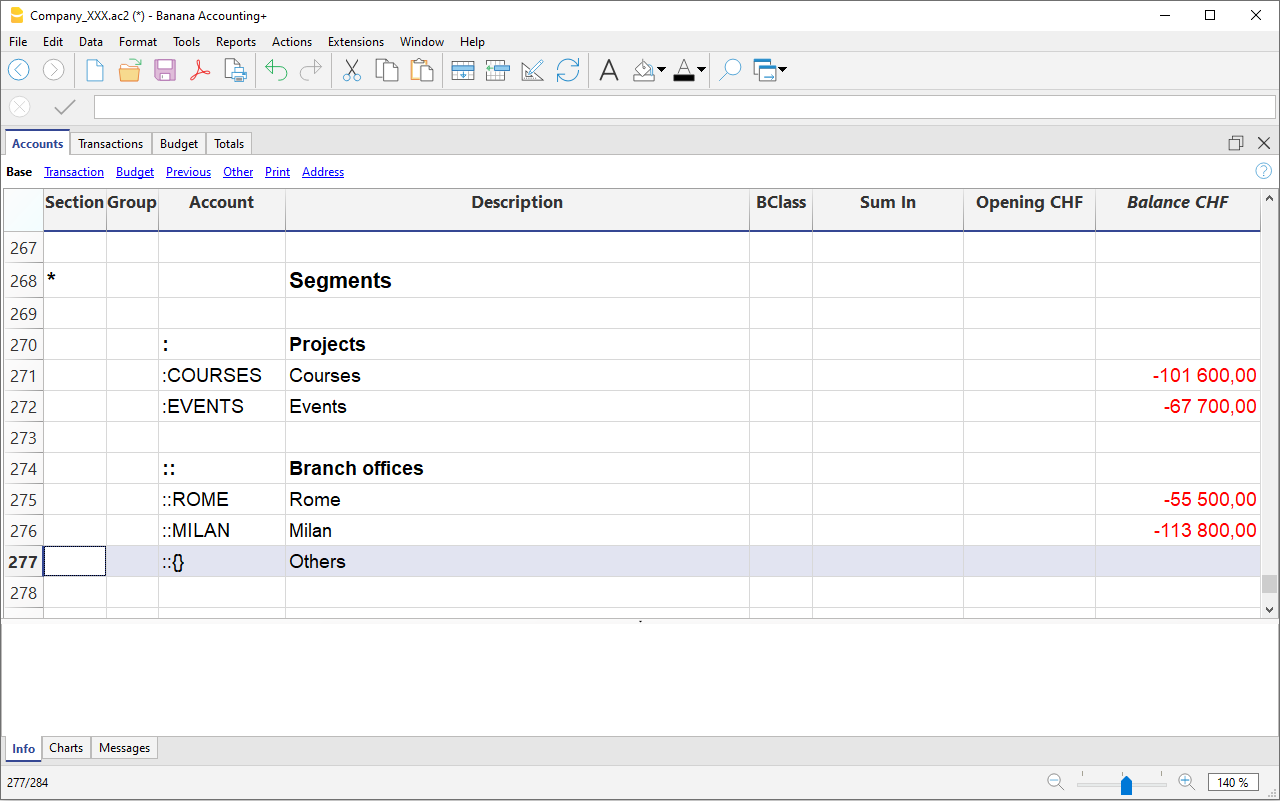
Entering transactions on the segments
Segments are entered into the Transactions table in the Debit and Credit columns following the account numbers.
- Segments can be recorded, by having them preceded after the account by either a colon (:) or a minus sign (-).
- If you want to enter segments with a minus sign preceding the segment code, you must activate the option 'Use minus sign (-) as segments separator, in the File menu, command File properties (basic data) > Options.
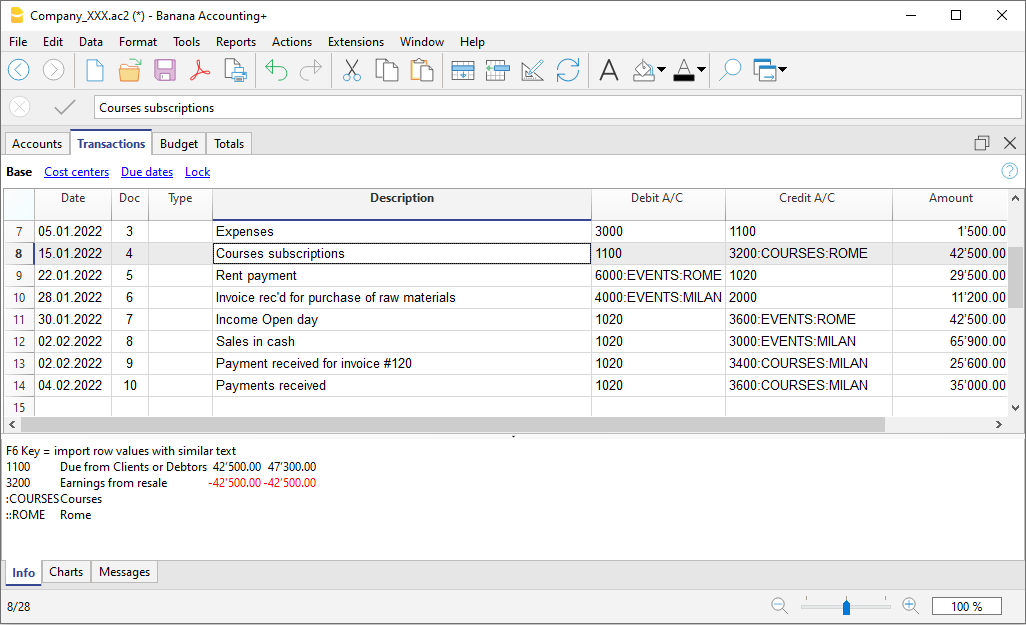
Profit & Loss Statement by segment
The report by segment can be obtained from the menu:
- Reports > Enhanced balance sheet with groups
- In the Chart of Accounts section and in the Sections section, select the Profit & Loss statement.
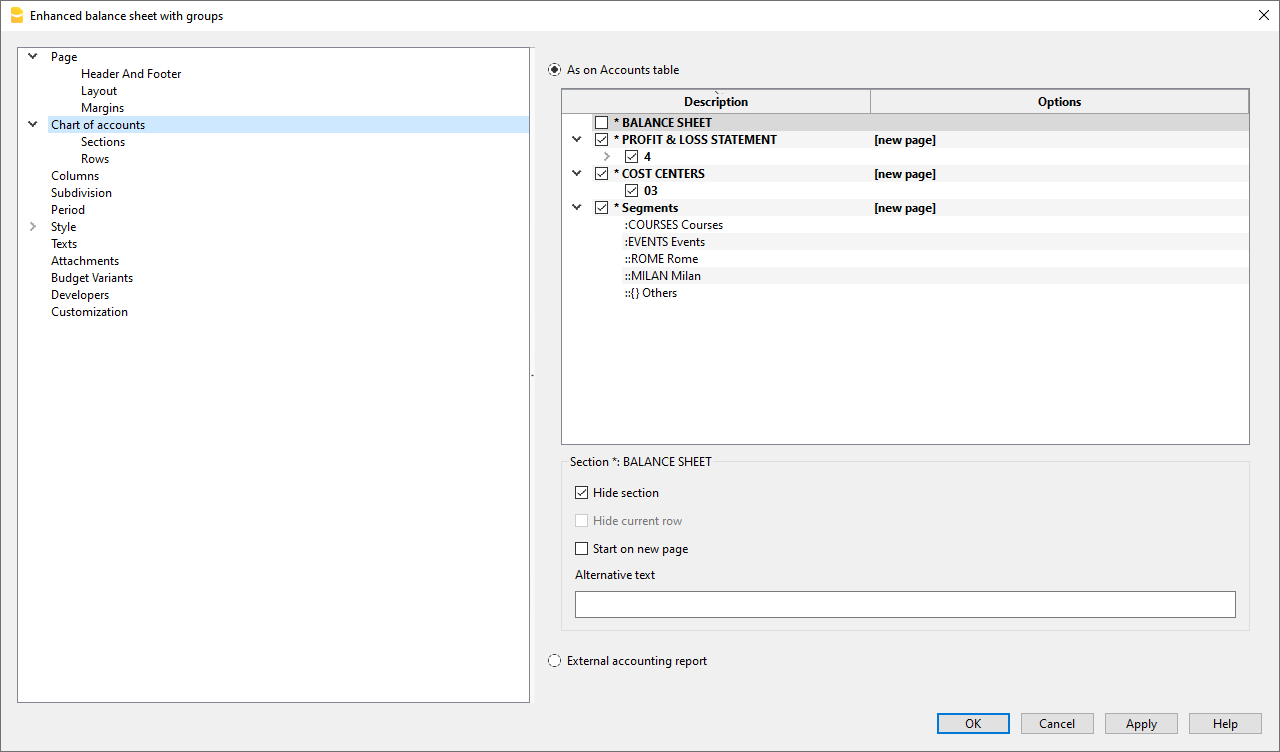
- Activate the Subdivision by segment option
- Select the segment for which the balance sheet should be obtained (by project or by branch office)
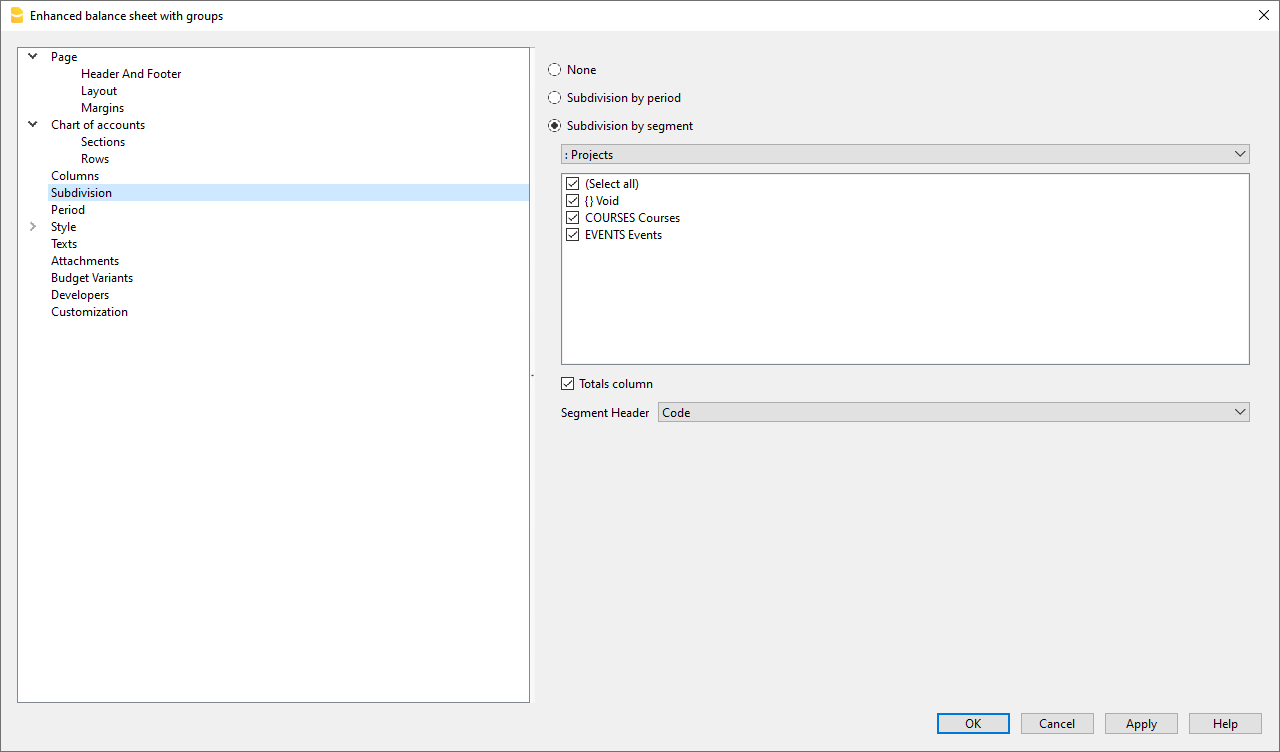
Report by Sector
The different segments appear in this report. The column with the curly brackets {} is that of values not assigned to any segment.
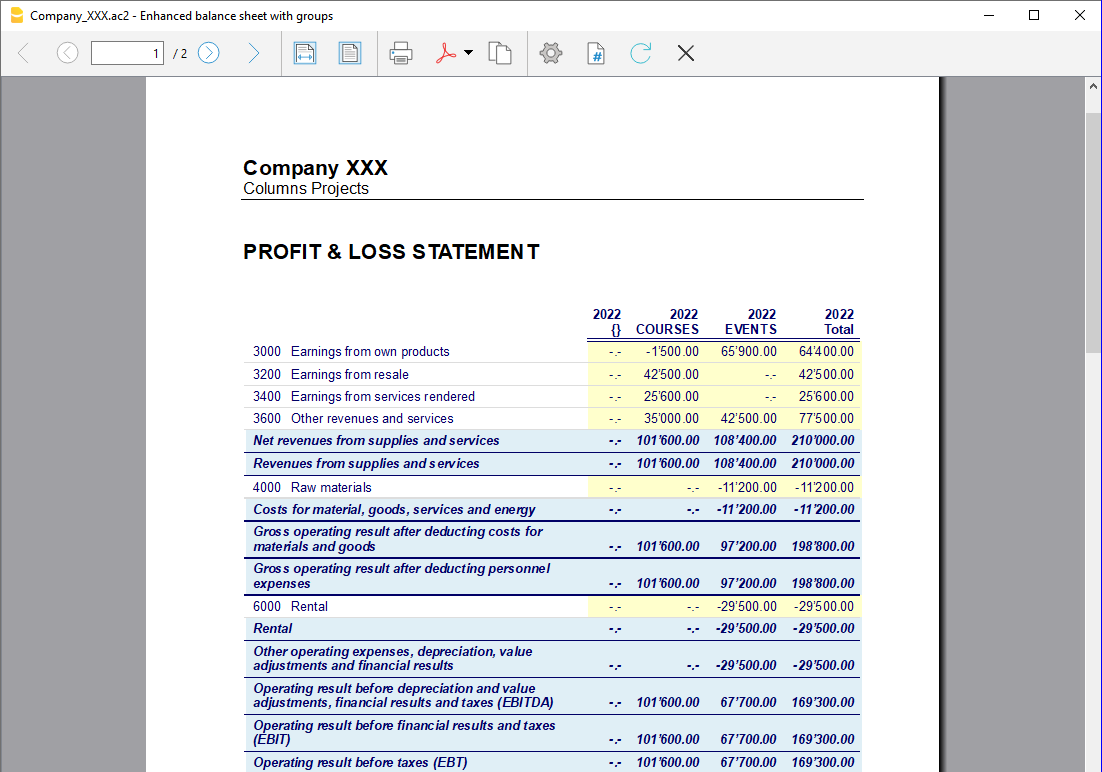
Report by Branch
The report shows revenues, expenses, and profit for the various branches.
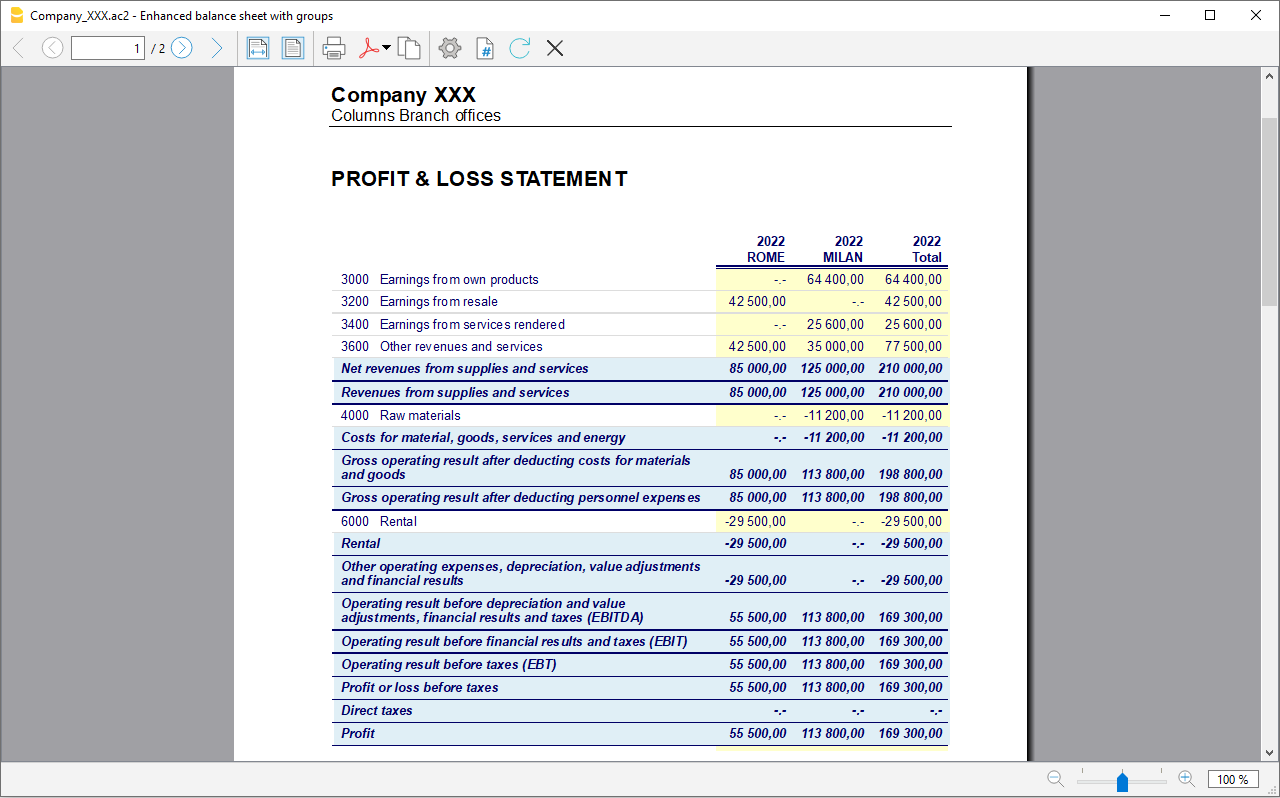
Data control and security
The control and verification functions of Banana Accounting help you ensure that your accounting is accurate, complete, and consistent.
With simple yet powerful tools, you can detect errors, prevent unwanted changes, and monitor balances in real time.
These functions are designed to let you work securely while saving time on checks.
Thanks to these functions, you can:
- Filter data to search, verify, and instantly change accounts, amounts, and text.
- Quickly and automatically check the correctness of the accounting;
- Detect and correct errors before closing or printing reports;
- Instantly view accounting differences
- Work with more confidence, accuracy, and peace of mind.
Row filter
The Row filter allows you to display only the transactions you are interested in, based on criteria such as dates, accounts, amounts, or text.
You can use it to specifically check data, identify inconsistencies, and edit directly on the filtered rows.
The filter is available in many tables and reports, allowing you to easily isolate and review the desired data.
Check accounting
The Check accounting function performs an automatic check of the entire file, highlighting errors, imbalances, or missing data.
Banana checks the accuracy of balances, consistency between debit/credit accounts, and any incorrect amounts.
It is an essential tool to quickly identify issues before printing the balance sheet or closing the year.
Lock transactions
The Lock transactions feature prevents accidental or unauthorised changes to already verified transactions.
You can lock all transactions up to a specific date or only a specific period, ensuring data integrity once verified or approved.
Balance Column
The Balance Column checks that, for each transaction row, the debit and credit amounts balance correctly.
When the two sides do not match, Banana highlights the difference, allowing you to immediately detect and fix any entry errors.
It is an instant check that helps you keep your balance sheet always in order.
A função Filtrar linhas temporárias
A função Filtrar linhas temporárias do Banana Contabilidade Plus permite filtrar temporariamente as linhas de uma tabela, sem modificar sua disposição permanente. É uma função muito útil para buscar imediatamente (e modificar) dados, tanto textos quanto valores.
Uma vez removido o Filtro, as linhas da tabela voltam à sua ordem original.
Para alterar a ordem das linhas de uma tabela de forma definitiva é necessário usar o menu Dados > Ordenar Linhas.
A função Filtrar linhas temporárias está disponível apenas no plano Advanced do Banana Contabilidade Plus.
A função Filtrar Linhas permite visualizar somente as linhas da tabela que incluem a palavra-chave inserida como critério de pesquisa. Proporciona uma economia considerável de tempo pelos seguintes motivos:
- Busca imediata: encontra em poucos segundos os registros desejados.
- Modificação direta: você pode intervir imediatamente nas linhas filtradas.
- Disponível em todas as tabelas: Contas, Registros, Câmbios e outras.
- Facilidade de uso: basta inserir uma palavra-chave no campo do filtro.
- Restauração simples: ao remover o filtro, você volta à ordem inicial da tabela.
O texto destacado em verde é apenas para fins explicativos; não aparece no software.
Funções e sintaxe do Filtro
O filtro permite encontrar as linhas simplesmente inserindo um texto como critério de pesquisa. Quando se insere o texto a ser pesquisado, o programa filtra todas as linhas que contêm o texto especificado, separado por espaços.
Aqui alguns exemplos de Filtro:
- fatura mario
Mostra as linhas que contêm as palavras "mario" e "fatura" em qualquer posição. - mar fat
Dependendo do número de linhas presentes, é possível obter o mesmo resultado inserindo apenas um texto abreviado. - "fatura mario"
Pesquisa de texto que inclui espaços: se o texto for inserido entre aspas, o programa o considerará como uma única palavra. - "!~Mario"
Normalmente a pesquisa inclui maiúsculas e minúsculas.
É possível especificar que a pesquisa seja apenas por maiúsculas ou minúsculas inserindo um caractere especial.
O espaço é sempre considerado como separador para o comando E.
- O espaço significa que as condições são aditivas.
- Nunca inclua espaços na pesquisa, a não ser que estejam entre aspas, por exemplo: "fatura mario ".
- Exemplos:
- fatura mario
O programa considera as linhas que contêm ambas as palavras "mario" e "fatura".- "fatura mario"
O programa considera o texto entre aspas como uma única palavra, incluindo o espaço. Portanto, buscará todas as linhas que contenham exatamente "fatura mario" (nessa ordem).
Caracteres especiais
É possível utilizar quase todos os caracteres na pesquisa.
Apenas o ponto de exclamação "!" e a barra vertical "|" no início de uma sequência de texto têm um significado particular.
- "|" para indicar OU
Pelo menos um dos elementos precedidos por "|" deve estar presente na linha.
No exemplo seguinte, a pesquisa exibirá as linhas que incluem "mario" e "fatura" ou "parcela".
mario |invoice |parcela
A barra vertical é o caractere Alt-124. Se não o encontrar no teclado, pesquise no Google- "Layout de teclado windows/mac brasil/suíça/usa" e veja na seção de imagens.
- Especificador de comando "!".
Qualquer texto precedido pelo ponto de exclamação é considerado um comando e tem um significado particular.
Por exemplo, para excluir um texto, utilize a sequência de comandos "!-".
mario !-fatura
Sintaxe avançada para a pesquisa com o Filtro
A sintaxe avançada da pesquisa é apenas experimental: pode estar sujeita a alterações e melhorias.
O caractere "!" no início de um texto indica que se trata de um comando especial de pesquisa.
- !
Quando colocado antes ou depois de um espaço, inicia uma sequência de comandos. - !!
É considerado como um simples "!" e não como uma sequência de comandos. - !-
O sinal de menos "-" é usado para excluir conteúdos e pode ser combinado com qualquer outro operador.
!-mario !-1000 !-=1000 !-^pagamento !-~10 - !~
O til "~" deve ser colocado imediatamente após "!" ou "!-".
Com "~" a pesquisa diferencia maiúsculas e minúsculas.
!~mario
!-~mario
Caracteres de comando
São os caracteres que seguem imediatamente o início do comando "!", "!-", "!~" ou "!-~".
Podem também ser usados com "-" para excluir e com "~" para tornar a pesquisa sensível a maiúsculas/minúsculas.
- !=
Encontra exatamente o texto especificado na célula.
!=1000
Pode ser usado com vários valores separados pelo caractere "|".
!=1000|2000|30000
Célula vazia.
Desde a versão 10.1.16 seleciona células com valores vazios.
!= - !+
Contém o texto especificado. Equivalente à pesquisa normal, mas permite combinações com outros caracteres.
!-+mario exclui linhas que contenham "mario".
!~+mario exclui linhas com "mario" diferenciando maiúsculas/minúsculas. - !<>
Diferente do texto fornecido.
!<>1000 - !.
Caracteres curingas (*,?) para pesquisa com caracteres especiais.
!.100*
!.100*|2?0* - !^
Começa com o texto especificado.
^mar
^mar|hom - !$
Termina com o texto especificado.
!$rio - !_
Pesquisa por palavra inteira.
!_100
!_100|200 - !:
Expressão regular.
!:\bmario\b
Maior, Menor e Intervalos
Caracteres usados para comparar valores numéricos ou datas.
- Data no formato yyyy-mm-dd
2024-12-31 - Valor com o "." como separador decimal e sem separador de milhar.
1999.99
Comandos de comparação:
- !> Maior que.
!>100 - !>= Maior ou igual.
!>=100 - !< Menor que.
!<100 - !<= Menor ou igual.
!<=100 - !<> Diferente de.
- !>< Intervalo exclusivo.
!><99.99|200 - !>=< Intervalo inclusivo.
!>=<100|199.99
Especificação de colunas
Permite especificar a coluna na qual executar a pesquisa.
- !descrição!
Pesquisa na coluna "descrição".
!descrição!mario
!descrição!=
!des*!mario
!des*;doc!mario
!descrição:xml!mario
!debit*!=1000
Mostrar linhas com cor
- !_co! ou !_color! Mostra linhas com uma cor.
- !_co!2 Mostra linhas com cor estilo 2.
- !_co!2|3 Mostra linhas com cor estilo 2 ou 3.
Mostrar linhas com formatação
- !_fo! Mostra linhas com formatação específica.
- !_fo!b Mostra linhas em negrito.
- !_fo!i Mostra linhas em itálico.
Mostrar linhas com erros
- !_er! Mostra linhas com erros ou avisos.
- !_er!e Mostra linhas com erros.
- !_er!w Mostra linhas com avisos.
Combinação de filtros
- 2022 !des*!mario !debit*!=1000
Mostra linhas com "2022", "mario" em colunas "des" e "1000" exato nas colunas "debit". - |!PeriodTotal_?_C:xml!<> |!PeriodEnd_?_C:xml!<>
Mostra as linhas com um valor, em colunas cujo nome XML começa com PeriodTotal_ e termina com _C
ou cujo nome XML começa com PeriodEnd_ e termina com _C
Motivação da sintaxe do Filtro
A sintaxe avançada de pesquisa pode parecer estranha, mas queríamos uma sintaxe que
- Não interferisse com a pesquisa natural, de modo que o usuário pudesse realizar a maioria das pesquisas de forma intuitiva, combinando os textos exatamente como está acostumado em aplicativos de smartphone.
- Não fosse específica de um idioma, utilizando apenas símbolos.
- Suportasse todas as possíveis pesquisas, podendo ser usada para expressar filtros semelhantes ao Excel.
- Abrisse a possibilidade de incluir comandos específicos do Banana, como cor, erros, etc.
Avaliamos várias outras sintaxes de pesquisa, mas todas utilizavam caracteres comuns como o sinal de menos "-" ou o "+", ou outros como "\", "(", "*", "?", que são frequentemente usados em contabilidade.
Assim, decidimos criar uma sintaxe especial em que o ponto de exclamação "!" é usado como indicador de comando. O "!" normalmente é usado no final de uma frase, portanto é pouco provável que interfira na pesquisa.
Todos os comentários e sugestões são bem-vindos!
GPT do Banana Contabilidade Plus gerador de comandos para usar o Filtro
O gerador de comandos GPT para a sintaxe avançada de pesquisa (Filtro) é apenas experimental: pode estar sujeito a alterações e melhorias.
Este GPT do Banana Contabilidade foi criado utilizando o ChatGPT e foi projetado para gerar uma sintaxe avançada de pesquisa para filtrar as linhas na tabela Registros.
Requisitos
Para usar este GPT, é necessário:
- Baixar e instalar a versão mais recente do Banana Contabilidade Plus
- Ter uma conta ChatGPT.
- Para usar este GPT, é necessário ter uma assinatura ChatGPT Plus. Sem ela, é possível testar o serviço gratuitamente até um máximo de dez solicitações. Depois, será necessário atualizar para o ChatGPT Plus ou aguardar algumas horas antes de fazer novas solicitações.
Como funciona
- Abra o GPT do Banana Contabilidade Plus através deste link:
- No campo Mensagem abaixo, insira uma frase que descreva o que você deseja pesquisar dentro da tabela Registros com o Filtro. Em geral, quanto mais específicas forem as solicitações, melhores serão os resultados.
- O GPT processará sua solicitação e retornará o resultado correspondente.
Com base no input fornecido ao GPT, será gerada uma cadeia de texto contendo o comando necessário para filtrar as linhas na tabela Registros. - Copie a cadeia de texto gerada.
- Cole a cadeia copiada no Filtro da tabela Registros no Banana Contabilidade Plus.

Exemplos de mensagens para inserir no GPT
A seguir estão exemplos de mensagens que podem ser inseridas no chat do GPT, juntamente com os resultados gerados:
- "Encontre todos os registros do terceiro trimestre de 2024"
- Resultado: "!date:xml!>=2024-07-01 !date:xml!<=2024-09-30"
- "Busque as linhas com um valor de 450.00"
- Resultado: "!amount:xml!=450.00"
- "Busque as linhas com um valor maior que 200"
- Resultado: "!amount:xml!>200"
- "Busque as linhas com o valor 3001 na coluna Conta Credito"
- Resultado: "!accountcredit:xml!=3001"
- "Me dê as linhas com o valor 1020 na coluna Conta Credito e um valor entre 1500 e 4000"
- Resultado: "!accountcredit:xml!=1020 !amount:xml!>=<1500|4000"
Ordenar linhas temporário
A função Ordenar linhas temporário do Banana Contabilidade Plus permite ordenar temporariamente as linhas de uma tabela, sem modificar sua disposição permanente. É uma função muito útil para buscar imediatamente dados, tanto textos quanto valores.
Uma vez removida a função, as linhas da tabela retornam à sua ordem original.
Para alterar a ordem das linhas de uma tabela de forma definitiva é necessário usar o menu Dados > Ordenar Linhas.
A função Ordenar linhas temporário é uma das novas funcionalidades. Pedimos, por favor, que nos envie seu feedback sobre como melhorá-la. Está disponível apenas no plano Advanced do Banana Contabilidade Plus.
Esta ferramenta permite ordenar rapidamente o conteúdo de acordo com a coluna a partir da qual é aplicada a função Ordenar:
- Clique com o botão direito do mouse no cabeçalho da coluna onde você precisa de uma ordenação.
- Posicione-se sobre a pequena seta e selecione o critério de ordenação ascendente ou descendente.
Vantagens
- Você pode ordenar as linhas exibidas, em ordem ascendente ou descendente, de acordo com a coluna desejada.
- Diferente do Excel, quando você remove a ordenação de exibição, as linhas retornam à ordem original sem precisar usar o comando Desfazer.


No cabeçalho da coluna escolhida para ordenar os dados aparecerá uma seta.
Nota importante
A função Ordenar linhas temporário é diferente do comando Ordenar linhas (do menu Dados):
- Ordenar linhas temporário é uma ordenação das linhas na tela de forma temporária, concebida para agilizar a revisão e a modificação dos dados inseridos anteriormente. É possível remover facilmente os critérios de ordenação para retornar à ordem original das linhas. Esta função está disponível apenas com o plano Advanced.
- O comando Ordenar linhas (do menu Dados) modifica de forma permanente a ordem das linhas da tabela e só pode ser desfeito com o comando Desfazer. Este comando está disponível para todos os planos.
Check and recalculate accounting
Banana Accounting offers several commands to recalculate data and verify the accuracy of your accounting. It is good practice to run these checks regularly, especially if the program reports errors or discrepancies.
- Shortcut keys to start the recalculation and primary check of the accounting:
- Shift + F9 (Windows and Mac)
- Cmd + 9 (Mac)
- Menu Actions > Check accounting to run extended accounting checks.
- The Balance column highlights differences in the Transactions table between the Debit and Credit columns. The Balance column can be made visible from the menu Data > Columns setup.
If errors or discrepancies are reported, it is advisable to correct them before proceeding with other accounting operations.
Recalculate and check accounting (primary)
The Shift + F9 key combination automatically performs the following actions:
- Checks the version of the program in use and notifies if updates are available
(it is always recommended to use the latest version). - Resets and recalculates balances for accounts, cost centers, and segments.
- Rewrites all transactions as if they were newly entered.
- Reports any errors in the following tables:
- Accounts
- Transactions
- VAT codes
- Exchange rates
- Multi-currency double-entry
- Updates opening balances.
- Recalculates balances based on the latest exchange rates entered in the Exchange table.
- Accounting with VAT
- Recalculates all VAT values based on the VAT codes used.
- Cash Manager
- Calculates the running balance in the Transactions table.
- Recalculates totals in the Accounts and Categories tables.
- Cash Manager and Income / Expenses
- Recalculates totals in the Accounts and Categories tables.
- Accounting with Budget
- Updates the Budget difference and Previous year columns in the Accounts table.
Check accounting dialog (extended check)
The Actions > Check accounting command opens a dialog window with advanced check options.
This command is recommended when you want to perform more thorough checks on the structure and consistency of the data.
Recalculate accounting and run extended checks
This is one of the most important commands for verifying accounting because:
- it recalculates the entire accounting,
- performs thorough checks,
- reports any errors in the Messages window.
It also updates the texts of the Account Description and Category columns in the Transactions table, if modified.
Basic data properties
This option is enabled by default and checks the consistency of the data set in File > File properties (basic data), such as:
- opening and closing dates,
- VAT accounts,
- accounts for exchange rate differences.
Transactions
Transaction differences
- Checks for any differences between Debit and Credit (or between Accounts and Categories).
- The affected rows are shown in the Messages window.
- The total amount of the difference is displayed in the information window at the bottom.
- The differences are also highlighted in the Balance column.
Include intermediate differences
- Verifies that there are no intermediate differences in multi-line transactions.
- Differences are often due to incomplete transactions or incorrect amounts.
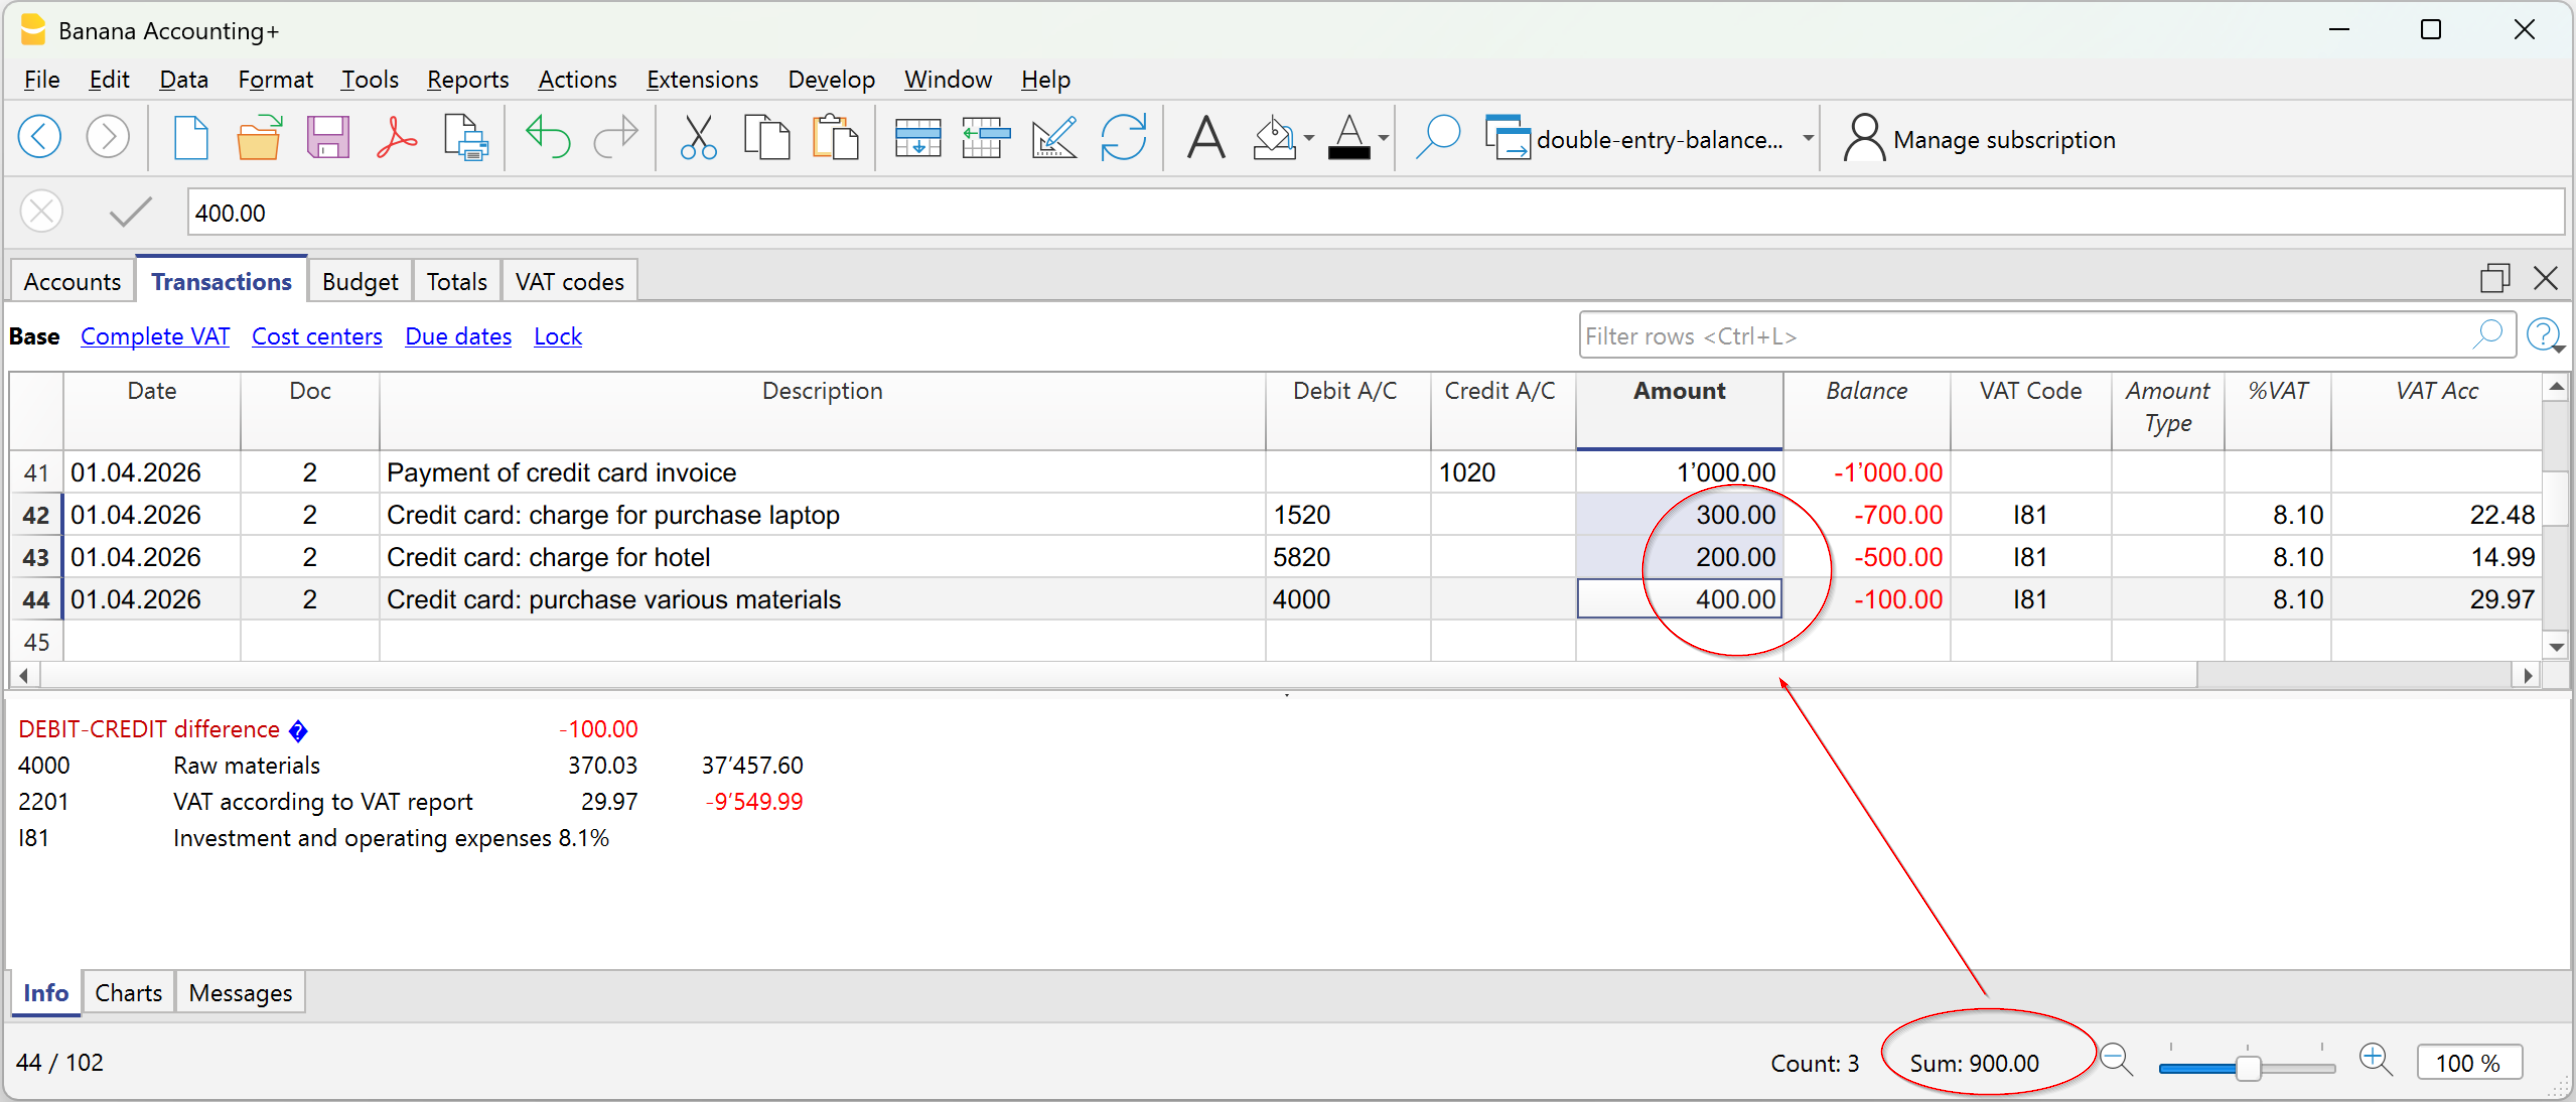
Check balances (#CheckBalance)
- Compares the accounting balance with the real balance (bank or post) entered manually.
- Any differences are reported by indicating the affected accounts.
More information on Check Balance transactions is available at Transactions #CheckBalance.
Same document with different dates
- Alerts if the same document number is associated with different dates.
- This situation can prevent the program from correctly determining the contra account.
Accounts
Chart of accounts structure
- Checks that the structure of accounting groups is correct.
Presence of exchange rate differences
- Reports any unrecorded exchange rate differences.
Opening balances differ from previous year's closing balances
- Checks that the opening balances of the new year match those of the previous year's closing balances.
- The differences between the previous year’s closing balances and the new year’s opening balances are shown as a total amount in the Messages window.
Items
Opening balances of Asset accounts
- Verifies that the opening value of the Items matches the balance of the associated Asset account.
- The check is performed only for items with an assigned Asset account.
Include extended checks with the Shift + F9 key
If the option "Include extended checks with the Shift + F9 key" is enabled, the program automatically performs all the checks selected in the Check accounting dialog also via the shortcut key.
If the option is not enabled, pressing Shift + F9 only performs the accounting recalculation.
Lock transactions with the Blockchain technology
Banana uses an accounting data certification system based on a technique that today is called blockchain. The certification method based on the chaining of data blocks "blockchain" is considered so reliable that it is used to ensure the validity of bitcoins and all modern crypto-currencies.
Banana.ch was the first company in the world to use blockchain technology in accounting. The method was filed as a patent in 2002 (US Patent No. 7,020,640). This method ensures high levels of data integrity and compliance with legal regulations.
For more information, see Blockchain for ensuring the integrity of accounting movements.
The lock transactions command
With the Lock transactions command of the Actions menu, the accounting transactions are locked and marked with control codes that can certify, over the years, that the transactions have not been modified.
- The validity of a possible already existing lock is being verified
- The transactions until the lock date are being numbered progressively and are being locked. For each transaction, the digital code of the row and the progressive one are being calculated.
The calculation of the digital codes is being done according to the sequence of the columns. - In the accounting is being indicated that transactions with an equal or earlier date than the lock date will no longer be accepted.
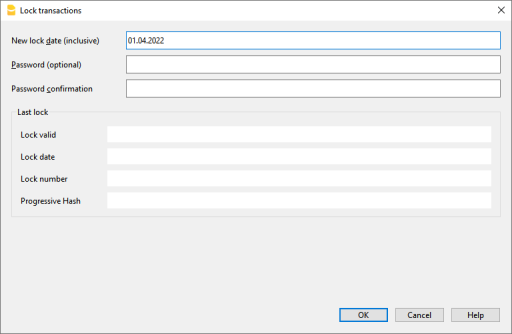
Date of new lock (inclusive)
Specify the date up until when the transactions will be locked.
Password (optional)
It is possible to insert a password to eventually unlock the transactions or to carry out a new lock in the future.
If the program finds no errors in the transactions included in the lock date, it will lock the transactions, calculate and assign individual numbers and codes to each row of transactions which can be viewed in the Lock view on the Transactions table.
Last lock
The data of the following fields are automatically filled out by the program based on the last executed lock.
Lock valid
A "Yes" is shown if the lock is valid.
Date of lock
The date of the last executed lock is shown.
Lock number
This is the value automatically entered by the program in the last row of the LockNum column.
When the lock is repeated, if the value of the last row lock number is unchanged, it means that the lock is valid and that the data have not been altered; if however the value is changed, the program shows the following codes:
- (-1) if the lock is invalid from the first row
- (-2) if there are rows that have the same LockNum.
Progressive Hash
This is the control code present in the last transaction.
Transactions: Lock View
All digital codes are shown along with all the information that the program used to create the digital signature.

- LockNum: the progressive number that identifies the row
- LockAmt: the cumulative transactions total, similar to the total at the end of the page, as required by some national regulations
- LockLine (hidden column): the digital code calculated according to the row values.
- LockProg: the global electronic signature (SHA-256).
The digital code LockProg
This is the main element of the certification; it uses the blockchain methodology.
The digital code is calculated according to the following values:
- The contents of the current entry, including amounts, descriptions and the description of the account at the moment of the lock
- The progressive number (LockNum)
- The cumulative balance (LockAmt)
- The progressive code of the preceding entry (LockProg).
In case the accounting data undergo even the slightest modification (for example, a date or an amount is changed), the digital code will be different. If the control number remains the same, it implies that the data are original and therefore have not been changed.
Check Lock
With the Actions menu → Check lock info command, the program verifies the validity of the lock and displays the data.
- The program recalculates the digital control codes and verifies if they correspond with the ones related to the transactions.
- If the codes correspond, the lock is considered valid, and therefore the data are original
- If they do not correspond, it means that the data have been changed and that they are not the original ones calculated at the time of the lock.

Unlock transactions
The Menu Actions → Unlock transactions command removes the lock and the control codes. If the lock was set with a password it will be necessary to reenter the password in order to remove the lock.
If later on you want to relock the transactions, and they have not been modified, the control numbers will be the same as the ones of the earlier lock; if however some data have been changed, the control numbers will be different.
Partial lock
If the transactions have been locked, it is possible to unlock them even partially, from a specified date. If a lock password has been set, in order proceed unlocking the transactions, you need to enter it in the specific field.

Why unlock the accounting?
In principle, the locked accounting should not be unlocked. It might happen that, after the lock, you find errors in the accounting and see the need to make corrections.
To have the opportunity to make further changes, users kept a copy of the file before the lock. If they found errors, they would restore the previous situation. In the meantime other transactions had perhaps been made, so often it happened that restoring previous versions of the accounting proved wrong. To avoid this unnecessary waste of time it was decided to make the Unlock transactions command available.
The certification must not be confused with data security. The data certification is a methodology that ensures that the accounting data are original. To prevent data from being modified, the methodology is the one related to data security. Data security procedures, however, can only be implemented in an environment that limits data access.
If the file is fully available to the user, such as when it is on a PC, people have complete control of the data. They can thus replace files easily. With a certification one cannot prevent that the data are being altered, but it will allow you to know if the data are the original ones.
The person who keeps the books is responsible for the accounting and decides whether a change is permissible or not.
Organizing the certification and data verification
Once you locked the transactions of the period, you need to:
- Print the lock information or print the last certified transaction row with its specific certification number (LockProgr).
- Sign and store this information along with the accounting documentation or in any other safe place.
In order to check that the accounting data are the original ones, you need to proceed as follows:
- Impart the Show lock info command.
- Go back to the document that shows the digital control number
- Check whether the row identified with the LockNum still has the same digital control number
- If the number matches , the accounting data are the same as those certified
- If the number does not match , it means that the accounting data have been modified.
Banana works on developing applications that make it possible to compare two files and obtain indications regarding data that have been altered.
Data security
Digital certification ensures that the data are still the original ones. It does not prevent the modification of data.
It is the responsability of the accountant to ensure that the data are not altered. Each administration must be organized according to its size and needs.
Those who want to make sure that the data are not being altered by unauthorized persons , must employ other methods and tools, such as :
- Save the data to a secure system (protected network drive), password protected.
- Keep the copies of the data.
- Encrypt archives.
Long-term archiving
The accounting file contains the entered data. In order to open the file and obtain a report or an account card, you need to have the program at your disposition.
Banana Accounting gives the possibility to export all the accounting data, and its printouts as well, to Pdf, Html and Xml.
The generated file can be saved on a CD and accessed on any computer even after many years, even by persons who do not have the Banana Accounting software.
Balance column to detect accounting differences
The Balance column is present in the Transactions table in the double-entry accounting, multi-currency accounting, income/expenses accounting, and cash manager files. It is very useful because it detects accounting discrepancies in the Transactions table.
The Balance column only shows a value when there is an accounting difference.
If the transaction is correct and the balance is zero, the cell remains empty and the column does not highlight any anomaly.
The presence of an amount in the Balance column therefore indicates that the transaction is incomplete or contains an error that needs to be checked and corrected.
▶ Watch the video: The new Balance column
How to activate the Balance column
The Balance column is not visible by default. It can be displayed via the menu:
Data > Columns setup > Balance
The Balance column can be positioned as desired using the Up (moves the column to the left) and Down (moves the column to the right) buttons in the Columns setup dialog.
Reasons for differences in the Balance column
When accounting discrepancies are encountered, it is essential to identify the cause and proceed with the correction.
Errors are likely due to the following reasons:
- The cell where the Debit account, Credit account, or Category is recorded was inadvertently left blank or is incorrect.
- For an entry spanning multiple accounts or categories, the total amounts do not match.
- In an entry with a VAT code, the VAT breakdown or the VAT account is incorrect.
Note: In composed transactions of several rows, the program will display a difference between Debit and Credit until the entry is completed.
The Balance column in Double-Entry Accounting
In double-entry accounting, the Balance column shows the differences between the Debit and Credit columns.
When the accounting is correct, the Balance column should have no value (empty cells):
- The balance is zero if the sum of the amounts in the Debit and Credit columns offset each other (no difference).
- For entries spanning multiple accounts, a balance is displayed until the entry is completed for all the accounts and/or categories involved. With the final entry, the balance should reach zero.

The example shown in the image concerns a transaction relating to the payment of multiple invoices. The accounts and their corresponding amounts are entered on multiple lines:
- In the first line, in the Credit column, bank account 1020 is recorded for a total amount paid of 1'000.
- In the following lines, in the Debit column, the following accounts are recorded:
- account 1520 – Investments, for 300
- account 5820 – Travel, for 200
- account 4000 – Material Purchases, for 400.
The total amount recorded in Debit is therefore 900, while the amount recorded in Credit is 1'000.
The transaction therefore has a difference of 100. This difference is highlighted in the Balance column, in the last line of the transaction, making it immediately clear that the transaction is not balanced.
The Balance column in Income/Expense Accounting
In Income/Expenses Accounting and Cash Manager, the Balance column shows the differences between the Account and Category columns.
When the accounting is correct, the Balance column should have no value (empty cells):
- The balance is zero if the sum of the amounts in the Account and Category columns offset each other (no difference).
- For entries spanning multiple accounts, a balance is displayed until the entry is completed for all the accounts and categories involved. With the final entry, the balance should reach zero.
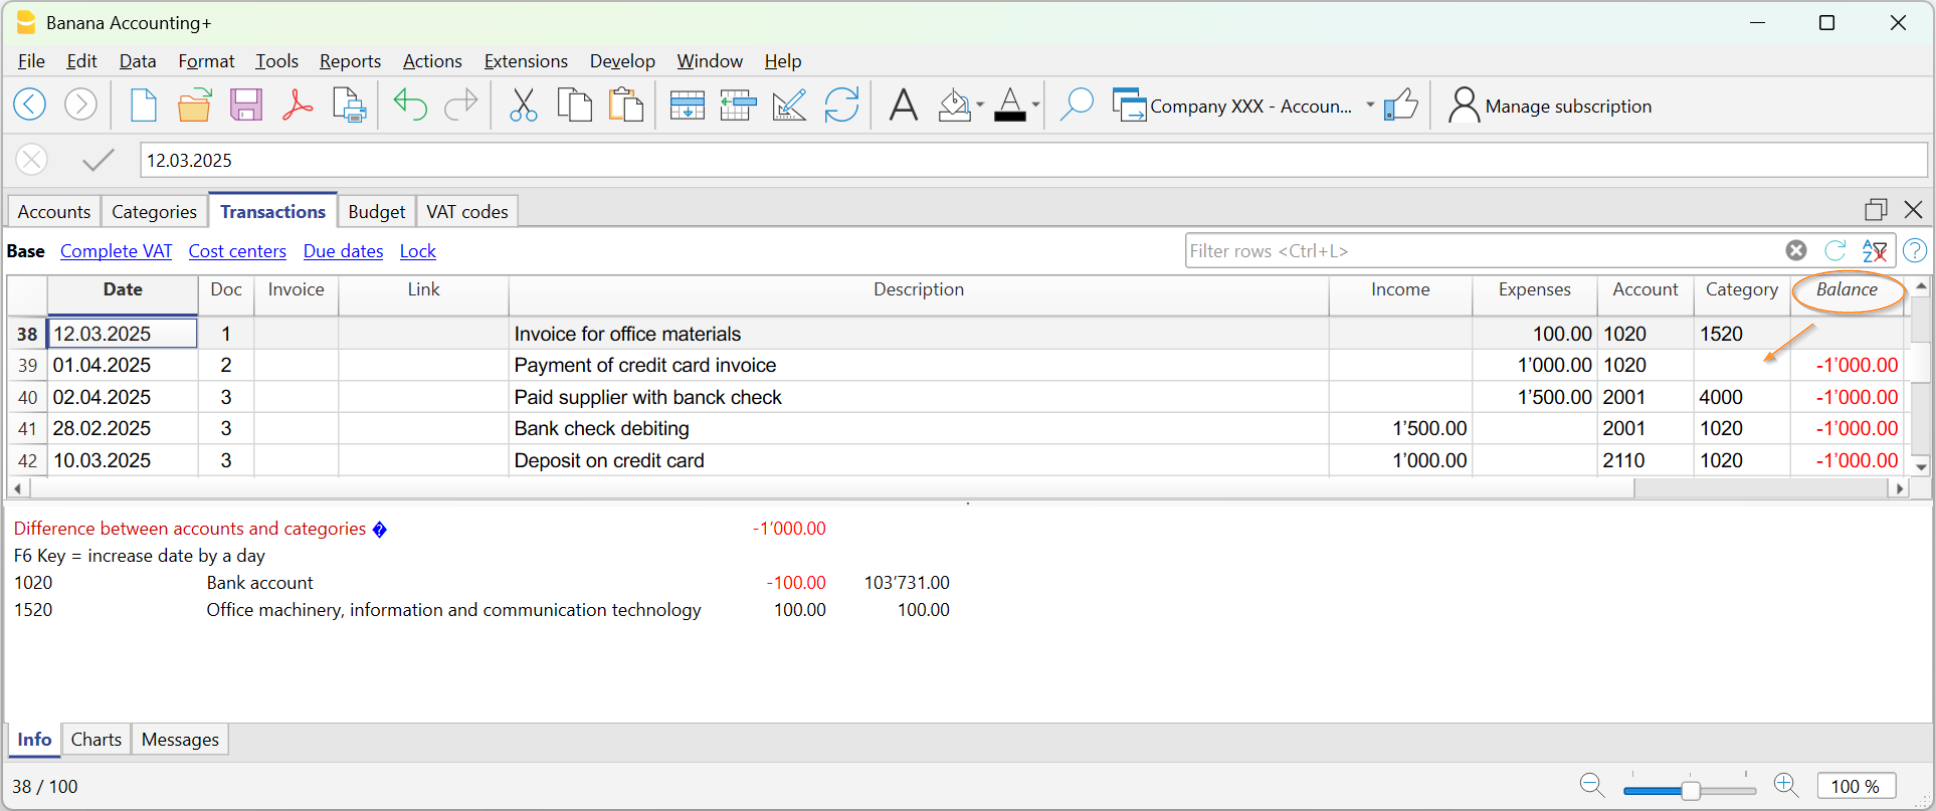
In the example image, a difference of 1000 was generated:
- In the entry on line Doc 2, the category was not entered in the Category column. Therefore, the amount, having been recorded only in the Account, resulted in a difference of 1000.
Checking the Accounting
The Check accounting command also includes a check of the Balance column.
If the Balance column is not zero, it means there are errors. To locate the first row where the accounting discrepancy occurred:
- Scroll through the Balance column to identify the first row where the discrepancy starts.
- Use the Recalculate accounting command, which indicates the row where the discrepancy begins.
Export from Banana Accounting+
Banana Accounting Plus offers several exporting possibilities. It is possible to export the data of a single table (export rows), of several tables (export files), or only the data contained in the print preview. You can choose to export in different formats: PDF, Xml, Excel, Html, txt, Json, etc.
New! It is now also possible to export the PDF file that also includes all digital attachments. All accounting is therefore truly included in one file.
The PDF export with digital attachments is only available in Banana Accounting Plus with the Advanced plan.
See all the advantages of the Advanced plan.
With Banana Accounting it is possible to export data from a single table or from multiple tables (files), in various formats.
Export rows
Choose Data > Export rows menu in order to export the content of a single table.
If rows are selected before giving the command, the option Only selected rows will be activated in the export dialogue.
Export file
Chose File > Export file command from the File menu in order to export several tables simultaneously.
In the Export file dialogue the following sections are also used:
- Those specific to the file type (see export formats).
- Include tab - to define the tables and the reports that must be included in the export
- Period (Accounting) tab, to define the period
- VAT tab (in the accounting files with VAT management)
- Customization tab
Export Print Preview
In the print preview toolbar:
- Click on the arrow beside the Adobe PDF button
- Choose the option that's right for you:
- Export to PDF
- Export to Html
- Export to Excel
- Copy to clipboard
Export formats
To set up a specific export, each format has one or more sections with options.
You can choose between different formats:
- PDF
This format allows to export the entire accounting file content in a unique PDF file.
New! Export PDF file including digital attachments - Excel
Creation of presentations in Excel, comparisons, estimates, index calculations, budget analysis, graphs that are directly linked to the accounting values. - HTML
With this format the data and accounting statements can be easily accessed with an Internet browser (Explorer, Mozilla, Opera).
This format fully complies with the legal requirements related to long-term archiving of accounting data. - XML
This format is the standard used for exchanging data. The accounting data can be easily read and reused with other programs or with XSLT style sheets. - Export rows in TXT
This format allows to export the table rows in a text format.
Export to Excel
To export to Excel click on the File → Export file → Export to Excel menu.

File name
In this area, you must enter the name of the new file that the program creates for exporting data. If, on the other hand, an existing file is selected using the Browse button, the program will overwrite the file with the new data.
Display files instantly
The program for viewing the newly created MS Excel archive is launched. In this way you can see the export result immediately.
Options
Define cell names
This option will automatically assign a name to each cell as the file is exported. For example, the cell that contains the balance for account 1000 will receive the name: "Accounts_1000_Balance" in Excel. This means the user can univocally identify each cell independently from its position on the sheet and thus create Excel reports that don't have to be corrected if the account plan is changed.
Define table names
With this option, the program will automatically give a name to the whole area of the cells belonging to a table, at the moment the file is exported. For example, the area formed by the cells belonging to the Accounts table will be identified by the name DB_Accounts. This option is necessary if database functions are used, when creating reports in Excel.
Use names Xml (English)
The cell names can either be defined in their original accounting language, or with their English name. In the original language, the names will be understandable to someone who speaks that language, but they will not be universally understood like a name in English would be. By selecting this option the user would have, for example, "Accounts_1000_Balance" instead of "Conti_1000_Saldo".
Protect tables
The entire content of cells is locked when selecting this option so that it is only possible to edit the format. This prevents the possibility of making any unintentional changes to the exported data. The user can remove this protection at any time by using the appropriate command in Excel.
Other Tabs
For the explanations of the other tabs, please visit the following pages:
Export result
Exporting to Excel creates a file with html content but with the extension '.xls'. The file is opened by Excel and converted automatically. Excel however warns that the file is not an actual Excel file, simply respond 'Yes' to continue.
Each accounting table is displayed in a different sheet in the Excel file
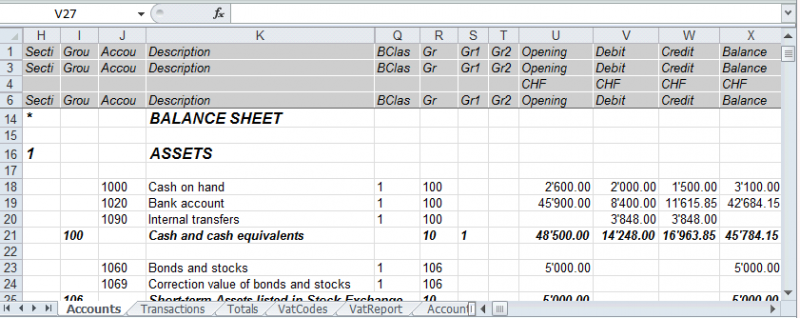
Use the cell names instead of the row/column references:
- The names return the desired value even when a new row or column is being entered.
- The names are easy to use and understand
"Accounts_1000_Balance" refers to the balance of the 1000 account
"Accounts_1000_Description" returns the value of the cell that contains the description of the 1000 account - The names can be used in the formulas
"=Accounts_1000_Balance" returns the value of the cell that contains the balance of the 1000 account
"=Accounts_1000_Balance/1000" divides the balance of the 1000 account by 1000 - By using the names, it is possible to create links to various files.
A link to a cell is being composed of:
- File name
- Table name
- Cell name
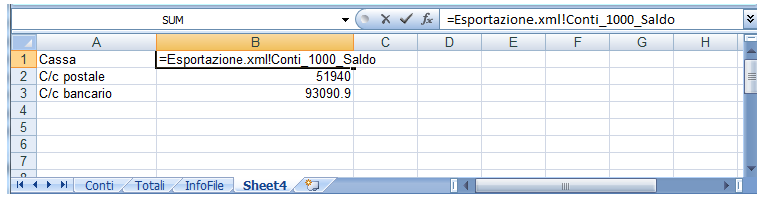
Copy/paste data from Banana to Excel
With Banana Accounting it is always possible, in addition to exporting, to copy/paste Banana data into Excel: only some cells, columns, or the whole table.
Some users have reported to us that in rare cases and only from Mac computers, when exporting data from Banana to Excel, the format of the amounts is not optimal.
However, the situation is easily resolved by simply selecting the columns with the amounts in Excel and changing the cell format to the "Number" type.
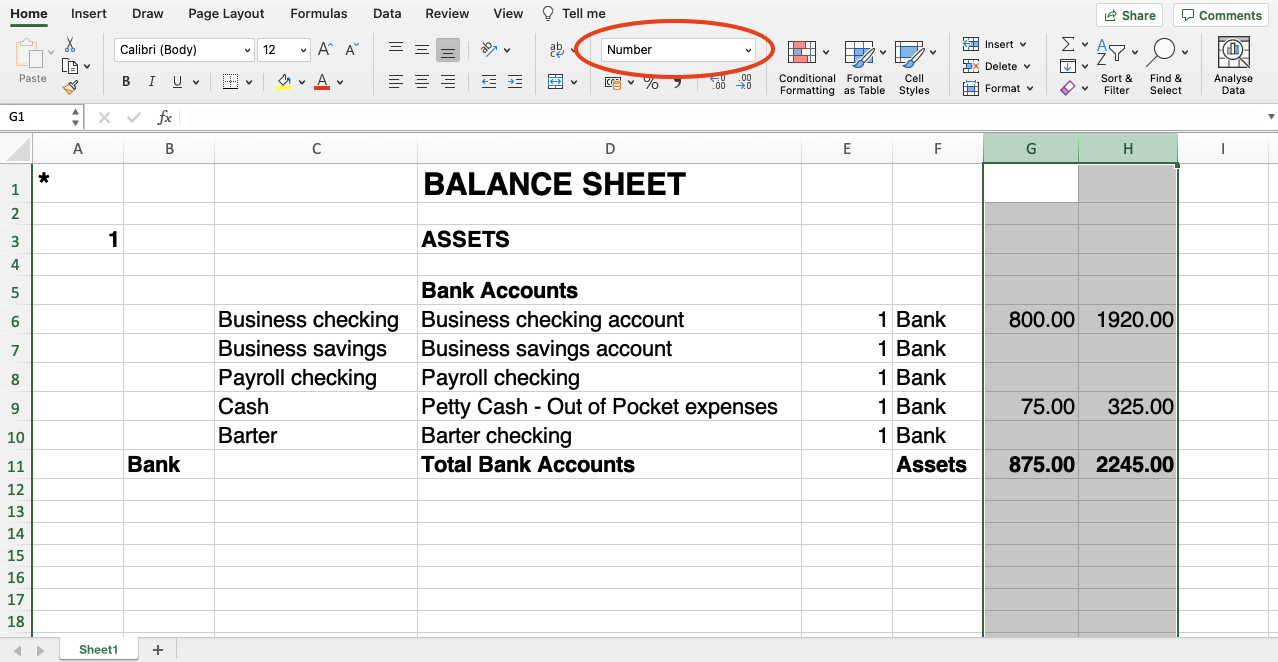
Include Tab
Via File → Export file → Export to Excel → Include section will open the dialog box that allows you to choose the tables and reports to include.

Recheck accounting
By ticking this box, the accounting will be rechecked before it is exported.
Include
Contains the list of tables and reports that can be exported. The list of data may vary depending on the type of file and accounting.
View
It is possible to select the view where the data are to be imported. This option is available for the export in PDF, Html and Xml format.
Period
This group allows you to indicate options for exporting tables with periods.
Accounts/Categories by period
Refers to the Accounting Period choice and indicates which repetition per period is desired.
VAT/Sales tax report
This option allows to export the VAT/Sales tax report according to the selected period.
Create periods for the whole year
By selecting this function, the partial balances for the whole year will be exported, and not only the ones of the specified accounting period or the selected export period.
Max number of periods
The maximum possible number of periods.
Export to Html
To export to Html click on the File menu → Export file → Export to Html.

File Name
In this area, the user must insert the name of the new Html file that the program will create to export the data. If however the user selects an existing file through the Browse button, the program will overwrite it with the new data.
Display file immediately
As soon as the Html file has been created, the software to view it will be launched. In this way, the result of the export can be seen immediately. It is best to remember that browsers like Mozilla and MS Explorer use a cache mechanism for files. When the export is made for a second time, it is possible that the user will see the previous version until the browser Reload button is pressed.
File creation options
Headers 1, 2 and 3
These are the file headers.
Other Options
For the explanation of other tabs, please visit the following pages:
Html Options Tab
From the menu File → Export file → Export to Html → Html Options section opens the dialog box that allows you to activate options when exporting the file in Html format.

Use style sheet CSS
Selecting this cell will allow the user to connect a style sheet to the exported file. By default the program will automatically use its own style sheets and incorporate it into the document.
Use predefined style sheet
The program's default style sheet is used. Disabling the box automatically activates the External style sheet option, where you can select the name of a personal style sheet.
External style sheet
File name
In case an external style sheet is being used, select the file name of the style sheet with the Browse button.
Include style sheet within html file
When the data are sent in HTML format, the style sheet file must also be sent. To avoid sending two separate files, by activating the box, it is possible to embed the style sheet in the Html accounting file.
Selecting the cells will allow the program to file the data with various graphic options:
- Export visible columns only
- Table with border
- Columns with headers
- Preserve page breaks within the table
- Export as data - data will be exported without any formatting
Export in Xml
To export to Xml click on the File menu → Export file → Export to Xml.

File Name
Enter the name of the new file to create or choose an existing one using the Browse button.
Display file immediately
The program for viewing the newly created Xml archive is launched. This way you can see the export result instantly. Remember that browsers such as Mozilla and MS-Explorer use a document cache mechanism. When exporting a second time, if you do not press the Update button on your browser, you may still see the previous version.
Style sheet XSLT
In this area you can set the style sheet (external Xml file) on the basis of which the program must graphically arrange the accounting data. Banana Accounting does not make Xslt files available.
Options
It is possible to choose between the following options:
- Export visible columns only.
- Include view list.
- Export as data.
Other Tabs
Other sections
For the explanations of the other tabs, please visit the following pages:
Export rows in txt
In order to export rows, please select the Data → Export rows → Export rows in Txt menu. The following options options are available:

File name
Enter the file name or select an existing one using the Browse button
Format
Select the desired format.
Display file immediately
As soon as the file has been created, the software to view it will be launched. In this way, the result of the export can be seen immediately. Please notice that browsers such as Mozilla or MS-Explorer have a documents cache mechanism. It is then possible that, when exporting a second time, you will still see the previous version if you don't use the Refresh browser's button.
Options
If activated, different options will allow the export of:
- selected rows only
- visible columns only
- columns header
- unicode (Utf-8)
Budget and Financial Forecasts
Banana Accounting allows you to create budgets and financial plans using the same methodology as accounting.
Integrated budget management makes it possible to simulate the future development of the business in a simple and professional way, without having to use separate tools for economic and financial planning.
Budgeting in Banana Accounting differs from many other management systems because it is not a separate module or a simple budgeting tool, but is integrated directly into the accounting logic of the program.
The planning function, with forecasts for costs, revenues and liquidity, is integrated and available in all Banana Accounting Plus applications.
Introductory videos
These videos show practical examples of budgeting and financial planning in the different accounting types available in Banana Accounting.
- Double-entry accounting
- Income & Expense Accounting
The advantage of managing the budget within the same accounting file
Banana Accounting allows you to create budgets and financial plans using the same methodology as accounting.
Integrated budget management makes it possible to simulate the future development of the business in a simple and professional way, without having to use separate tools for economic and financial planning.
Budgeting in Banana Accounting differs from many other management systems because it is not a separate module or a simple budgeting tool, but is integrated directly into the accounting logic of the program.
The planning function, with forecasts for costs, revenues and liquidity, is integrated and available in all Banana Accounting Plus applications.
Introductory videos
These videos show practical examples of budgeting and financial planning in the different accounting types available in Banana Accounting.
- Double-entry accounting
- Income & Expense Accounting
The advantage of managing the budget within the same accounting file
- Directly in the Budget column of the Accounts table.
Enter the budget amounts on an annual basis.
In reports by period, the program divides the amounts according to the period (month, quarter, half-year, year). In this case, the allocated budget values are the same for each period.
- Using the Budget table, ideal for highly customizable and precise budgets.
This is an advanced and detailed budget because, in addition to the amounts, future transactions are entered like normal transactions. In this case, if a transaction does not apply to the entire year but only to a specific period, when entering the forecast transaction you can indicate the period or the end date to which it applies.
In the reports, you always have updated:- Future costs and revenues
- Forecast financial position
- Liquidity plan
- Forecast balance sheet and income statement
The two methods differ in the level of detail, available features and type of planning they provide.
Comparison table
Below is a comparison table between the budget entered in the Accounts table column and the budget entered in the Budget table.
| Feature | Budget in column | Budget in table |
|---|---|---|
| Where it is located | In the Accounts table, Budget column | Dedicated table: Budget |
| Activation | Always available (by default) | To be activated: Tools > Add new features > Add Budget table |
| Level of detail | Annual budget by account/category | Detailed transactions with dates and recurrence |
| Data entry | Total amount for the year | Individual transactions with date, account and category |
| Additional entries | Amounts only | Quantities, Prices, Calculation formulas |
| Transaction recurrence | Not available | Available (Repeat column) |
| Future liquidity by period | Not calculated | Calculated automatically (forecast cash/bank balances) |
| Results | Totals by account/category | Periodic details (day/month/year) + totals |
| Typical use | Simple forecasts, annual budget | Detailed forecasts, precise financial planning |
Annual budget in columns
In Banana Accounting Plus, you can quickly set up an annual budget directly in the Accounts or Categories table. This approach is ideal if you want a simple and fast planning method, useful for immediately keeping the expected profit or loss of the year under control.
When to use the annual budget in the Accounts or Categories table:
- If you want simple planning of costs and revenues, without periodic details.
- If you only need an overall view of the year’s costs and revenues.
If instead you want to break down forecasts by month, quarter or project, use the Budget table, which offers more detailed financial planning tools.
Budget Columns in the Accounts or Categories table
In the Accounts and Categories tables, Budget view, the following columns are available:
- Budget → where you manually enter the forecast amounts for each income and expense account. This column is active only if the Budget table has not been activated. If it is active, you need to deactivate it.
- Entry rules:
- Income (Credit) → negative (Accounts table).
- Expenses (Debit) → positive (Accounts table).
- Income → positive (Categories table).
- Expenses → negative (Categories table).
- Entry rules:
- Budget Difference (Diff.Budget) → automatic column that shows in real time the difference between the current balance and the forecasted amount.
Each time you enter a transaction, the program automatically updates this difference, so you can compare the budget with the actual values.
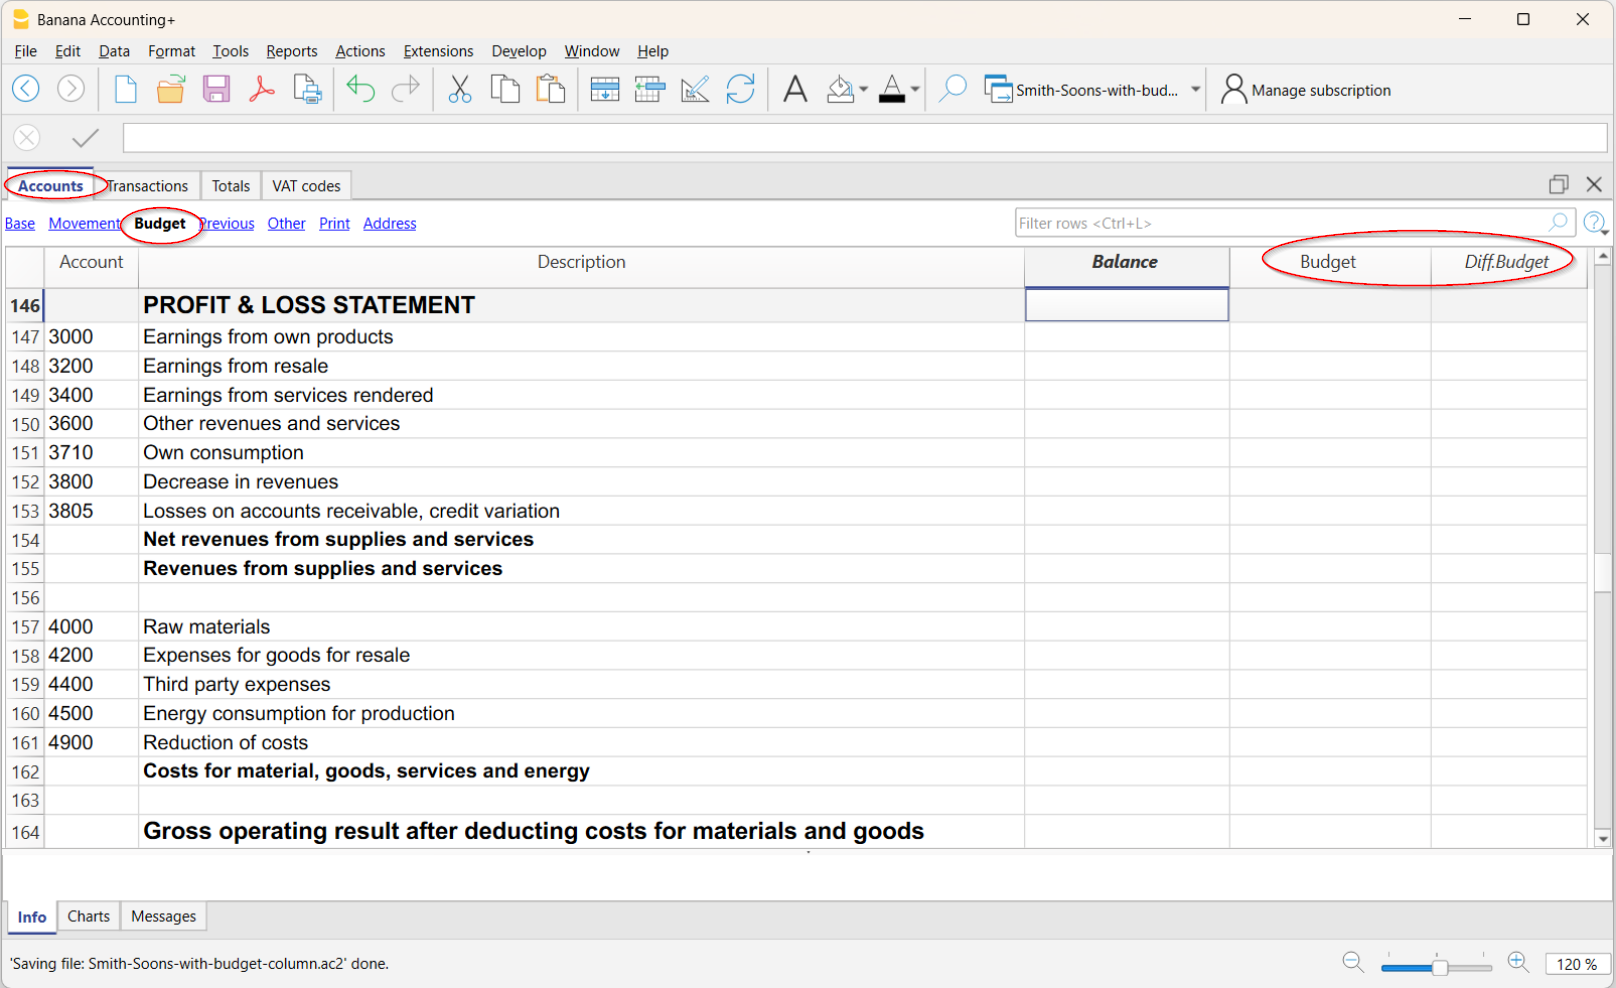
Annual budget and periodic printouts
If you print monthly or quarterly reports, Banana automatically splits the value of the annual budget into monthly portions, calculated based on the start and end dates of the year set in the menu File > File and accounting properties.
- The amount is divided by the number of months in the accounting period.
- Any rounding differences are added to the last month.
Example: with an annual budget of 10,000 → the program will generate 11 monthly amounts of 833.33 and 1 of 833.37.
If the display is by quarter, the value of the quarter is the sum of the individual months, not the annual value divided by quarters.
For a different planning structure that offers specific monthly, quarterly, or half-yearly details, you need to use the Budget table.
Adding a new Budget column
If you have specific needs, you can add new supplementary budget columns.
To add a new column, go to:
- menu Data > Columns setup > Add
- Give the new column a name
- Confirm with OK.
Examples of how to use new Budget columns:
- Manage different scenarios (e.g. optimistic budget, conservative budget).
- Keep a copy of the initial budget to compare it with the updated one.
To create a copy:- In the Accounts table, place yourself on the first row and select the entire column (by clicking on the column header).
- Edit menu > Copy.
- Place yourself on the first row in the added budget column where you want to paste the data.
- Edit menu > Paste.
- Budget for the following year.
- Alternative budgets for internal comparison.
When you add a supplementary budget column, you must set
- Data Type as Amount.
This way the program will calculate group totals.
For more information, see also:
Deactivate the Budget table
If you want to use the Budget column in the Accounts table to set the annual budget, the Budget Table must not be active.
If it is active, to deactivate it, go to the menu:
- Tools > Add/Remove functionalities
- Select Remove Budget table.
Once the table is removed, you can directly enter the budget amounts in the Budget column of the Accounts table.
Precision budgeting and financial forecasting in the Budget table
Precision financial planning is Banana Accounting's advanced budgeting system.
It allows you to build the company's financial future with the same rigour as actual accounting, creating detailed forecasts transaction by transaction and using the same chart of accounts and the same Debit/Credit logic as the accounting.
The forecast is not managed as a separate element: accounting and forecast data are part of the same system. Costs, revenues, financial position and liquidity therefore remain linked, and Banana automatically calculates the related projections.
In this tutorial, you will see how to use this method to create a complete economic and financial forecast, keep it up to date over time and compare it with actual data.
Origins of the system
Precision financial planning was developed from the need to use the same rigorous structure for the future that is already available for analysing the past.
Accounting makes it possible to know precisely how much has been sold, which costs have been incurred, how much customers still have to pay, which debts need to be settled and how much liquidity is available.
To make decisions, however, it is equally important to be able to look ahead and answer questions such as:
Precision financial planning is Banana Accounting's advanced budgeting system.
It allows you to build the company's financial future with the same rigour as actual accounting, creating detailed forecasts transaction by transaction and using the same chart of accounts and the same Debit/Credit logic as the accounting.
The forecast is not managed as a separate element: accounting and forecast data are part of the same system. Costs, revenues, financial position and liquidity therefore remain linked, and Banana automatically calculates the related projections.
In this tutorial, you will see how to use this method to create a complete economic and financial forecast, keep it up to date over time and compare it with actual data.
Origins of the system
Precision financial planning was developed from the need to use the same rigorous structure for the future that is already available for analysing the past.
Accounting makes it possible to know precisely how much has been sold, which costs have been incurred, how much customers still have to pay, which debts need to be settled and how much liquidity is available.
To make decisions, however, it is equally important to be able to look ahead and answer questions such as:
- sales and purchases
- receipts and payments
- salaries and other recurring costs
- investments and depreciation
- financing and repayments
For each event, you can specify when it will occur and the amount. If it is a recurring transaction, you can enter it only once and define the frequency and repetition period.
Banana uses these transactions to automatically generate future projections.
In practice, it is like doing the accounting of the future today.
An economic, balance sheet and financial forecast
Planning does not only mean forecasting costs and revenues.
Every business decision can simultaneously affect the financial result, financial position and liquidity. Precision financial planning keeps these effects linked by using accounting logic.
You can therefore automatically obtain:
- forecast income statement
- forecast balance sheet
- liquidity development
- comparison between budget and actual results
Each forecast transaction produces the corresponding accounting effects and keeps the different components of the forecast consistent.
Example: from sale to liquidity
Suppose you forecast a sale with payment at a later date.
Recording the sale determines:
- the expected revenue
- the receivable from the customer
When you also enter the expected receipt, the system determines:
- the decrease in the receivable from the customer
- the increase in liquidity
You can therefore see not only how much you expect to earn, but also when you expect to receive the money.
Liquidity-focused planning
A positive financial result does not necessarily mean having enough money to meet payments.
A company can be profitable and still face difficulties if receipts come after payments, or if investments, financing repayments or other outflows temporarily absorb the available liquidity.
This is why liquidity is a key element of precision financial planning.
By linking costs, revenues, receivables, payables, investments, financing, receipts and payments, you can see how planned operations will affect financial availability over time.
Planning thus becomes a tool for anticipating possible liquidity shortages and assessing decisions in good time, such as postponing an investment, changing payment terms or obtaining financing.
How to build the forecast
With Banana Accounting, you do not need to create a separate structure for planning.
You use:
- the same accounting file
- the same chart of accounts
- the same Debit/Credit logic
Future transactions are entered in the Budget table.
For each transaction, you can define, among other elements:
- date
- description
- Debit account and Credit account
- amount
- repetition frequency
- validity period
When necessary, you can also use VAT codes, cost centres, segments, formulas, quantities and prices.
For recurring transactions, you do not need to enter all future transactions. Enter the transaction only once, define the frequency and period, and Banana automatically generates the related projections.
The process can be summarised as follows:
Chart of accounts → Forecast transactions → Dates and repetitions → Forecast reports → Comparison with actual results
On the following pages of the tutorial, you will see step by step how to set up and use these elements.
Automating planning
Detailed planning can include a large number of future transactions. To avoid having to enter and update them manually one by one, Banana Accounting lets you automate many forecasting operations.
You can use repetitions, formulas, quantities and prices to automatically generate future transactions. This makes it possible to plan recurring operations, such as rent, salaries, sales, purchases and other periodic costs, by entering only the information needed to determine how they will develop over time.
Formulas also allow you to create forecasts based on other values and automate calculations such as depreciation, interest and other financial projections.
When you change a value on which the forecast is based, Banana automatically recalculates the linked values and updates the related projections.
In this way, you can also create detailed multi-year plans and keep them up to date without having to manually rebuild the entire budget.
Precise forecasts by period
With Precision Budgeting, you do not only get a forecast for the entire year.
Each transaction is assigned to the period in which you expect it to occur. You can therefore obtain detailed reports by month, quarter, year or other periods.
For example, if a cost is expected only in June, July and August, with different amounts for each month, you can enter the corresponding transactions with the expected dates and amounts.
In the reports, Banana will show each cost in the corresponding period, without affecting the other months.
The forecast therefore reflects when an event occurs and for what amount, instead of simply distributing an annual value evenly over the twelve months.
Planning that evolves over time
Financial planning should not be a static document prepared once a year.
During the course of business, conditions change: new orders arrive, some costs increase, investments are brought forward or postponed, and receipts may occur at different times from those originally expected.
You can update the plan at any time by:
- changing amounts
- changing dates
- adding new transactions
- deleting forecasts that are no longer valid
Banana automatically recalculates the projections and the related reports.
This makes it possible to use the system for continuous planning or a rolling budget, regularly updating forecasts based on the new information available.
The budget therefore does not remain a snapshot created at the beginning of the year, but becomes an operational tool that evolves together with the business.
Budget and actual results in the same system
One of the advantages of integration is that the forecast and actual accounting use the same structure.
As the accounting is updated, you can compare:
- what you had forecast
- what actually happened
- the related differences
You can therefore identify variances, understand their causes and use the information obtained to progressively update and improve future forecasts.
Compared with planning managed using separate spreadsheets, you do not have to manually keep the income statement, balance sheet and liquidity aligned: the links are created by the same accounting logic used to build the forecast.
An advanced tool
Precision financial planning is an advanced tool because it uses accounting logic to create and keep economic, balance sheet and financial forecasts linked together.
To make full use of its possibilities, it is therefore useful to be familiar with accounting, financial planning and receipt and payment flows.
This approach requires greater understanding than a simple annual budget, but it allows you to create much more detailed forecasts and consistently analyse the effects of future decisions on profitability, financial position and liquidity.
Who it is for
Precision Budgeting is aimed in particular at accounting experts, fiduciary firms, accountants and consultants who want to integrate detailed economic and financial planning into their accounting.
The system can be used both for your own accounting and for your clients' accounting.
For accounting professionals, this means going beyond recording and analysing what has already happened and offering clients a tool to:
- plan future business activities
- monitor profitability and liquidity
- assess investments and financing
- compare forecasts with actual results
- identify possible financial needs in advance
Precision financial planning therefore makes it possible to use accounting expertise not only to analyse the past, but also to support decisions about the future.
Financial Planning based on the double-entry method
The planning system of Banana Accounting is based on the same double-entry method used for accounting.
It is planned by always indicating an account of origin (credit) and one of destination (debit). This allows for a precise vision of the capital flows and offers the possibility to have a comprehensive vision which includes:
- Budget forecasts, therefore relating to the financial situation, liquidity, assets, third party and own means.
- Income statement forecast: revenues, costs and operating result.
Plan Execute Control
The planning of Banana Accounting is an integral part of the Plan-Execute-Control.
This offers a constant and dynamic control of the financial situation and evolution.
Planning and accounting in a single file
The same file contains both accounting and planning data. You can get started with a file prepared to keep the accounting and then add the schedule later, or you can start with a file to keep the planning and then also manage the accounting.
Common elements
- Basic accounting data
Header, currency, accounting period, address, other parameters. - Accounts and Categories table
Where to set up the Chart of Accounts with accounts and groups total.- Opening balances (Opening column)
They are inserted in the Accounts table and are used as the initial situation for both accounting (current values) and forecasts. - Annual Budget (Quote column)
- With the Budget table
The Budget column of the Chart of Accounts will be protected and the program indicates the budget amounts, calculated on the basis of the contents of the Budget table, referring to the accounting period. - If there is no Budget table
You enter the budget data manually.
When forecasting, the program generates the monthly value, dividing the annual value by the number of months of the accounting period.
- With the Budget table
- Opening balances (Opening column)
- The other tables
- VAT Codes Table
- Exchange rate table
Accounting data (past and present)
- The Transactions table
Where past (historical) movements are entered.
The Registration table is always present in the accounting file. If you don't use it, you can hide it - Current value (accounting, past and present)
This is the balance or movement of the period of an account or group.
In the reports, you can display the column of the Current value.
These are the values calculated on the basis of the accounting data, calculated taking into account the- Opening balances (Accounts table).
- The movements of the Transaction table
- Account card (historical)
These are the movements of an account or group prepared on the basis of the initial balances plus Transactions.
The Budget data
They are those used to make forecasts, budgets and schedules.
The term Budget is always used in the program for future data.
- The Budget table
Future budgeted transactions are inserted.
The method is the same as the one used in the Transactions table, there are the same columns, plus other specifications for planning.
Movements related to the future, included in the Budget table- Static values (as in the Transactions table).
- They use calculation formulas, which the program solves when calculating the forecast.
- Repetitive movements, which the program uses to automatically generate forecasts.
- The Budget value (future)
The forecasted value. In the reports you can display the column of the Estimate value, calculated taking into account- Opening balances (Accounts table)
- Transactions in the Budget table (if any).
- If the Budget table does not exist, using the value contained in the Budget column of the Accounts or Categories table.
- Budget Account card (future)
These are the transactions of an account or group prepared on the basis of the opening balances and budget transactions.
The Difference Budget values
Difference between the budget and current values (actual, final).
In the reports, there is a column for comparison, which displays the difference.
Mixed projection values (from a certain date)
The value at a certain future date calculated as follows:
- On the basis of current values and up to the indicated start date .
- Starting from the date indicated on the budget values.
Mixed projection values are only available through scripts and the web server.
Types of accounting
The accounting method chosen for accounting is used to insert budget transactions or movements.
- Income and Expense (Cash Manager and Income and Expense accounting)
- Double-entry (Double-entry and multi-currency accounting).
For budget calculations, the program internally always uses the double-entry based engine. The results and reporting that are obtained are therefore very similar.
Accounting, planning and forecasting period
Accounting or forecasting is always related to a period. The following periods are differentiated:
- Accounting period
Is the one defined in the file properties, with start and end date. - Budget period
It is the period for which the planning data is entered.. - Forecast period
It is the period used by the program to calculate the forecast. It is indicated when a print is requested.
For more information, see the Forecasting period.
Breakdown by period
With the double-entry method, each operation has its own date in the planning. When printing, the user chooses whether to have a forecast by month, quarter, semester or year, and the program will calculate everything automatically. Contrary to spreadsheets, there is no need, anymore to decide at the beginning whether to make forecasts by month, quarter or year and to divide the amounts manually in the columns.
Automatic projections
Thanks to the possibility of indicating that certain operations are repeated in the future, the program has the necessary elements to automatically prepare forecasts for future years. You can thus know how revenues, costs, liquidity and other assets and liabilities will evolve in the weeks, months, quarters and years to come
Details with all the operations
With the double-entry method, the forecasts are prepared by inserting transactions. The program is able to present the account card with the detailed movements for each account. This view is very useful for investigating elements and represents another advantage of liquidity-oriented planning, which is difficult to achieve with planning prepared with spreadsheets.
The calculation journal
The basis for all accounting and budget processing is the calculation journal. To prepare Financial Statements, Income Statement, Account Cards, VAT Reports, the program creates an internal data structure which is called a calculation journal. Movements are accessible through the API accounting with Journal function.
The logic for creating the calculation journal works as follows:
- It is created starting from the data entered by the user.
- For each financial movement, including also the opening balances, there is a row, where the main elements are:
- Origin
Indicates whether the transaction relates to accounting (current) or planning (budget). - Operation type
Opening balance, movement, carry forward, invoice compensation. - Date (the relevant date)
- Description
- Account
- Account Type
Indicates whether it is a normal account or a cost or profit center. - Amount (accounting base currency)
Positive values indicate an increase (debit), negative values indicate a decrease (credit) - Amount account currency
- Other columns
- All those that are present in the Transactions table.
- Several others that are used for calculations.
- Origin
The calculation log is emptied every time recalculation is performed and then the following are added:
- The rows of current transactions (relating to actual accounting).
- The rows of the budget movements.
The rows of current values (actual)
The rows for current values are added to the temporary journal starting from:
- Initial balances contained in the Accounts table
For each account with a balance, one row is created.- Date is the date of the start of accounting.
- Account is the account.
- The amount is the opening balance.
- Accounting movements from the transactions table.
If the movement has multiple accounts, debit account, credit account, VAT account, cost center, a row is generated for each account with the relative amount in positive or negative.
The rows of the budget values
The rows for the budget values are added to the temporary journal starting from:
- Initial balances contained in the Accounts table
As with accounting values, a budget line is created for each account with a balance.
- Planning movements (with the Budget table)
As for accounting, for each movement on the account, rows are created based on the Budget table.- Static ones, with all the values set.
- Repeated movements
- For the entire projection period defined, based on the repetition code, the program creates duplicates of the budget lines and sets the date.
- The program generates repeated rows based on the contents of the Start Date, End Date and Repetition columns
- If the projection period is the calendar year and in January there is the registration of the rent with monthly repetition, the program creates duplicates for the following 11 months.
- If the registration is on January 31, for the months that do not have 31 days, the day will be the last of the month.
- If the first registration is on March 28 and the repetition code is indicated as the end of the month, in the following months the day will become the last of the month.
- As for accounting entries, if there are multiple accounts on the budget row, one row is generated for each account.
- Movements starting from the annual Budget (if there is no Budget table)
If there is no Budget table, the budget rows are created based on the content of the Budget column of the Accounts and Categories table:- The number of months It is calculated how according to the accounting period.
- One row is created for each month.
- The amount contained in the Budget column is divided by the number of months.
- If there is a rounding difference, an additional row is created for the final month.
After creation, the rows are sorted by ascending order.
Amount column calculation
Once the calculation journal has been created, the contents of the amount column of all the budget rows which contain a formula or a quantity or unit price are recalculated.
Resolution of formulas in Javascript:
- Javascript interpreter creation
Every time the calculation journal is created, an instance of a Javascript interpreter, specific for the resolution of the Budget formulas, is also created - Javascript interpreter initialization
The Javascript interpreter is initialized by running scripts.- The default Banana Accounting scripts.
- The content of the _budget.js file possibly present in the Documents table.
This way the user can initialize variables or create his own calculation functions.
- Resolution of formulas
- The formulas contained in the rows of the temporary journal are solved one after the other in the progressive sequence of date.
- The state of the Javascript interpreter is maintained after each operation, therefore the formula can refer to variables defined in a row with a previous date.
- The formulas contained in the repetition lines are also executed by order of date, so the result varies according to when it is performed.
The calculation sequence is as follows
- The budget rows are processed by order of date (if they have the same date in the order of entry).
- The transaction amount is calculated, with this priority:
- If there is a formula by solving it
- If the quantity and the price are present, by multiplying them
- Otherwise the value contained in the amount column is kept.
- For multi-currency accounting, the currency amount formula is first performed and then the base currency amount formula.
If there is no formula for amount in base currency, the program reverts to the historical exchange rate and calculates the equivalent value in base currency. - For VAT accounting, VAT is recalculated based on the transaction amount.
- The previously processed rows are used for the calculations of the following lines:
- The balance of the accounts, as of the date of the estimate line, includes only the previously processed amounts.
- If you use a formula for calculating the balance for the whole year in a February transaction, you will only have the balance until February.
Calculation column Total Budget table
The Total column is calculated automatically and contains the total amount of the budget for the accounting period indicated in the file properties (start and end date of accounting).
- If it is a single transaction, the Total is equal to the amount.
- If it is a recurring operation, the Total is the sum of the amounts of all repetitions that fall within the accounting period.
- The Total column is empty if the date is preceding or goes beyond the accounting period.
Calculation of the current value, forecast and comparison
Once the calculation journal is generated, it is used to calculate the Balance Sheet and all the other processing necessary for accounting.
For the periods defined in the report, the program calculates:
- The current value (based on Transactions).
- The Budget values.
The following values are calculated for current and budget data:
- Balance at the beginning of the period.
- Debit movement
- Credit movement
- Movement (Total)
- Balance at the end of the period (Start + Movements)
The comparisons between Current and Budget are also calculated:
- Absolute Difference (Budget - Current).
- Percentage change
Automatic and manual recalculation
The budget values are automatically recalculated:
- If there is a change in the Budget table.
- If the accounting start or end date is changed.
- If the Accounts table is modified.
- When requesting a report and the Transactions table has been changed.
After each recalculation the program automatically updates:
- The Budget column in the Accounts and Categories table.
- The Total column in the Budget table.
If you modify the VAT table or the _budget.js file or other Javascript files that are used in the calculation of the formulas, you must perform a recalculation manually (Command check and control accounting).
The calculation speed depends on:
- Number of accounts and groups in the Accounts and Categories table
- Number of rows inserted in the Budget table.
- Number of rows with repetition.
- Presence of formulas.
- Schedule period set. The longer the period, the greater the number of repeat lines.
Manual recalculation
If the calculation takes a long time, it may prove difficult to enter data in the Budget table. You can switch to manual recalculation by checking the Recalculate totals manually option in the File menu → Files and accounting Properties → Options tab.
To have the updated values, you must therefore use the Recalculate Totals command.
Berechnungslogik des Budgets
Die Grundlage für alle Buchhaltungs- und Budgetberechnungen bildet das Berechnungsjournal. Für die Erstellung von Bilanz, Erfolgsrechnung, Kontoauszügen und MWST/USt-Auswertungen erzeugt das Programm eine interne Datenstruktur, das sogenannte Berechnungsjournal.
Auf die Buchungen kann über die Buchhaltungs-API mit der Funktion Journal (nur auf Englisch) zugegriffen werden.
Erstellung des Berechnungsjournals
Für die Verarbeitung der Buchhaltungs- und Planungsdaten erstellt Banana Buchhaltung automatisch ein internes Berechnungsjournal, das auf den vom Benutzer erfassten Daten basiert.
Im Berechnungsjournal wird für jede finanzielle Buchung – einschliesslich der Anfangssalden – eine Zeile erzeugt. Jede Zeile enthält die wichtigsten Informationen, die für die Berechnungen benötigt werden, darunter:
- Herkunft der Buchung, um zwischen effektiven Buchungen und Planbuchungen zu unterscheiden
- Art der Buchung, z.B. Eröffnungssaldo, Buchung, Übertrag oder Rechnungsausgleich
- Buchungsdatum
- Beschreibung
- Konto
- Kontotyp, z.B. normales Konto, Kostenstelle oder Profitstelle
- Betrag in der Basiswährung
- Betrag in der Kontowährung
- zusätzliche Spalten der Tabelle Buchungen.
Positive Beträge entsprechen Sollbuchungen, negative Beträge Habenbuchungen.
Das Berechnungsjournal wird bei jeder Neuberechnung automatisch neu erstellt. Dabei führt das Programm folgende Schritte aus:
- Das bisherige Berechnungsjournal wird gelöscht.
- Die Zeilen der effektiven Buchungen werden erzeugt.
- Die Zeilen der Planbuchungen werden erzeugt.
- Alle Berechnungen für Berichte und Auswertungen werden ausgeführt.
Für die Finanzplanung verwendet Banana Buchhaltung dieselbe Berechnungslogik wie für die doppelte Buchhaltung. Dadurch entstehen konsistente Ergebnisse und Berichte für alle unterstützten Buchhaltungsarten, darunter:
- doppelte Buchhaltung
- Einnahmen-Ausgaben-Rechnung
- Buchhaltung mit Fremdwährungen.
Erzeugung der effektiven Werte
Zur Berechnung der effektiven Werte fügt Banana Buchhaltung dem Berechnungsjournal automatisch die Zeilen der effektiven Buchungen hinzu.
Die effektiven Werte werden auf Grundlage folgender Daten erzeugt:
- der Anfangssalden in der Tabelle Konten
- der Buchungen in der Tabelle Buchungen
Anfangssalden
Für jedes Konto mit einem Anfangssaldo erstellt das Programm automatisch eine Journalzeile mit:
- dem Eröffnungsdatum der Buchhaltung
- dem Konto
- dem Betrag des Anfangssaldos
Diese Zeilen bilden die Ausgangssituation der Buchhaltung und dienen als Grundlage für alle weiteren Berechnungen.
Buchungen
Anschliessend fügt das Programm die Journalzeilen hinzu, die aus den effektiven Buchungen erzeugt werden.
Eine Buchung kann mehrere Journalzeilen erzeugen, beispielsweise für:
- Soll-Konto
- Haben-Konto
- MWST/USt-Konto
- Kostenstellen
- Profitstellen
- Segmente
Für jedes betroffene Konto wird eine Journalzeile mit dem entsprechenden Betrag erzeugt:
- positiver Betrag für Sollbuchungen
- negativer Betrag für Habenbuchungen
Dieses Verfahren ermöglicht dem Programm eine einheitliche Berechnung von:
- Salden
- Buchungen
- Bilanzen
- Berichten
- Budget-Ist-Vergleichen
Erzeugung der Budgetwerte
Zur Berechnung der Budgetwerte erzeugt Banana Buchhaltung automatisch Budget-Journalzeilen im Berechnungsjournal.
Die Budgetwerte werden auf Grundlage folgender Daten erzeugt:
- der Anfangssalden in der Tabelle Konten
- der Planbuchungen in der Tabelle Budget
- oder der Werte in der Spalte Budget der Tabellen Konten und Kategorien, wenn die Tabelle Budget nicht vorhanden ist.
Anfangssalden
Wie bei den effektiven Werten verwendet das Programm auch für das Budget die Anfangssalden der Tabelle Konten.
Für jedes Konto mit einem Anfangssaldo wird automatisch eine Budget-Journalzeile erzeugt, die die Ausgangssituation der Finanzplanung darstellt.
Planbuchungen
Wird die Tabelle Budget verwendet, erzeugt das Programm automatisch die entsprechenden Budget-Journalzeilen aus den erfassten Planbuchungen.
Die Funktionsweise entspricht derjenigen der Buchhaltung: Für jede Planbuchung werden die entsprechenden Budget-Journalzeilen erstellt.
Verarbeitet werden können:
- Planbuchungen mit festgelegten Beträgen
- Planbuchungen mit Formeln
- Planbuchungen auf Grundlage von Mengen und Preisen
- wiederkehrende/wiederholende Planbuchungen
Wie bei den Buchungen wird auch bei Planbuchungen, die mehrere Konten umfassen, für jedes betroffene Konto automatisch eine eigene Budget-Journalzeile erzeugt.
Wiederkehrende/wiederholende Planbuchungen
Für wiederkehrende Geschäftsvorfälle können in der Tabelle Budget wiederkehrende Planbuchungen erfasst werden.
Anhand des Wiederholungscodes erstellt Banana Buchhaltung automatisch die entsprechenden Budget-Journalzeilen für den gesamten festgelegten Planungszeitraum.
Die wiederkehrenden Buchungen werden anhand folgender Angaben erzeugt:
- Anfangsdatum
- Enddatum
- Wiederholungscode
Wird beispielsweise im Januar eine Mietbuchung mit monatlicher Wiederholung erfasst, erstellt das Programm automatisch die entsprechenden Budget-Journalzeilen für die elf folgenden Monate.
Ist eine Buchung auf den 31. eines Monats festgelegt, verwendet das Programm in Monaten mit weniger als 31 Tagen automatisch den letzten Tag des jeweiligen Monats.
Ebenso werden bei Buchungen, die als Monatsende definiert sind, die folgenden Termine automatisch auf den letzten Tag jedes Monats gesetzt.
Wiederkehrende Planbuchungen können zudem enthalten:
- Formeln
- Mengen
- Einheitspreise
- Kostenstellen
- Segmente
- MWST/USt-Codes
Dadurch lassen sich detaillierte Finanzplanungen erstellen, die automatisch aktualisiert werden können.
Jahresbudget ohne Tabelle Budget
Wird die Tabelle Budget nicht verwendet, erzeugt Banana Buchhaltung automatisch die entsprechenden Budget-Journalzeilen auf Grundlage der Werte in der Spalte Budget der Tabellen Konten und Kategorien.
Dabei:
- berechnet das Programm automatisch die Anzahl der Monate des Buchhaltungszeitraums
- erzeugt es für jeden Monat eine Budget-Journalzeile
- verteilt es den Jahresbetrag gleichmässig auf die einzelnen Monate.
Allfällige Rundungsdifferenzen werden automatisch dem letzten Monat zugewiesen.
Nach der Erzeugung werden alle Budget-Journalzeilen in aufsteigender Reihenfolge sortiert, damit Berichte und Budgetauswertungen korrekt erstellt werden können.
Berechnung der Spalte Betrag
Nachdem das Berechnungsjournal erstellt wurde, berechnet Banana Buchhaltung automatisch den Inhalt der Spalte Betrag für alle Budget-Journalzeilen, die Folgendes verwenden:
- Berechnungsformeln
- Mengen
- Einheitspreise
Dadurch entstehen dynamische Budgetwerte, die automatisch anhand der Planungsdaten aktualisiert werden.
Auswertung der Berechnungsformeln mit JavaScript
Für die Verarbeitung der Berechnungsformeln in der Finanzplanung verwendet Banana Buchhaltung einen integrierten JavaScript-Interpreter.
Jedes Mal, wenn das Berechnungsjournal erstellt wird, erzeugt das Programm automatisch eine neue Instanz des JavaScript-Interpreters für die Budgetberechnungen.
Initialisierung des JavaScript-Interpreters
Bevor die Berechnungsformeln ausgeführt werden, wird der JavaScript-Interpreter initialisiert. Dabei werden geladen:
- die vordefinierten Skripte von Banana Buchhaltung
- der Inhalt der Datei _budget.js, sofern sie in der Tabelle Dokumente vorhanden ist
Dadurch können Sie:
- benutzerdefinierte Variablen initialisieren
- eigene Berechnungsfunktionen erstellen
- individuelle Automatisierungen für die Finanzplanung definieren.
Reihenfolge der Auswertung von Berechnungsformeln
Die Berechnungsformeln in den Budget-Journalzeilen werden schrittweise in chronologischer Reihenfolge ausgewertet.
Haben mehrere Planbuchungen dasselbe Datum, verwendet das Programm die Reihenfolge, in der die Buchungen erfasst wurden.
Während der Berechnung:
- bleibt der Status des JavaScript-Interpreters erhalten
- können die Berechnungsformeln Werte und Variablen verwenden, die in den vorhergehenden Journalzeilen berechnet wurden
- werden die Berechnungsformeln wiederkehrender Planbuchungen in chronologischer Reihenfolge ausgewertet.
Das bedeutet, dass das Ergebnis einer Berechnungsformel davon abhängen kann, zu welchem Zeitpunkt sie innerhalb der zeitlichen Abfolge der Finanzplanung ausgeführt wird.
Priorität bei der Berechnung des Betrags
Für jede Planbuchung berechnet das Programm den Betrag in folgender Reihenfolge:
- Berechnungsformel
- Menge × Einheitspreis
- manuell eingegebener Betrag in der Spalte Betrag
Ist eine Berechnungsformel vorhanden, verwendet das Programm deren Ergebnis.
Ist keine Berechnungsformel vorhanden, aber Menge und Einheitspreis sind definiert, berechnet das Programm den Betrag automatisch durch Multiplikation der beiden Werte.
In allen anderen Fällen bleibt der manuell eingegebene Betrag unverändert.
Buchhaltung mit Fremdwährungen und MWST/USt
In Buchhaltungen mit Fremdwährungen:
- wird zunächst der Betrag in der Kontowährung berechnet
- anschliessend wird der Gegenwert in der Basiswährung berechnet.
Ist keine spezielle Berechnungsformel für die Basiswährung vorhanden, verwendet Banana Buchhaltung automatisch den historischen Wechselkurs zur Berechnung des Gegenwerts.
Bei Buchungen mit MWST/USt berechnet das Programm die MWST/USt automatisch anhand des endgültigen Buchungsbetrags neu.
Fortschreitende Berechnungen
Die Berechnungsformeln werden schrittweise entsprechend der zeitlichen Abfolge der Planbuchungen ausgewertet.
Das bedeutet, dass jede Planbuchung Folgendes verwenden kann:
- Salden
- Werte
- Ergebnisse
die bis zu diesem Zeitpunkt berechnet wurden.
Wird beispielsweise in einer Planbuchung vom Februar eine Berechnungsformel verwendet, die den Saldo eines Kontos abfragt, berücksichtigt das Programm nur die bis Februar berechneten Buchungen und nicht die Buchungen der folgenden Monate.
Dieser Ansatz ermöglicht realistische und konsistente Finanzsimulationen entsprechend der zeitlichen Entwicklung der Finanzplanung.
Berechnung der Spalte Total in der Tabelle Budget
Die Spalte Total der Tabelle Budget wird automatisch vom Programm berechnet. Sie zeigt den Gesamtbetrag einer Planbuchung innerhalb des in den Dateieigenschaften festgelegten Buchhaltungszeitraums an.
- Handelt es sich um eine einmalige Planbuchung, entspricht der Wert in der Spalte Total dem Betrag der Buchung.
- Handelt es sich um eine wiederkehrende Planbuchung, entspricht der Wert in der Spalte Total der Summe aller Wiederholungen, die innerhalb des Buchhaltungszeitraums liegen.
- Die Spalte Total bleibt leer, wenn das Datum der Planbuchung vor oder nach dem festgelegten Buchhaltungszeitraum liegt.
Berechnung der effektiven Werte und Budgetwerte
Nachdem das Berechnungsjournal erstellt wurde, verwendet das Programm dieses zur Berechnung der Bilanz sowie aller weiteren Auswertungen der Buchhaltung.
Für jeden im Bericht definierten Zeitraum berechnet das Programm automatisch:
- die effektiven Werte auf Grundlage der Buchungen
- die Budgetwerte auf Grundlage der Planbuchungen
Berechnete Werte
Sowohl für die effektiven Werte als auch für die Budgetwerte berechnet das Programm automatisch:
- Anfangssaldo des Zeitraums
- Sollbuchungen
- Habenbuchungen
- Gesamtbewegung des Zeitraums
- Endsaldo des Zeitraums
Der Endsaldo ergibt sich aus dem Anfangssaldo zuzüglich der Bewegungen des Zeitraums.
Budget-Ist-Vergleich
Banana Buchhaltung berechnet automatisch die Abweichungen zwischen den effektiven Werten und den Budgetwerten.
In den Vergleichsberichten werden angezeigt:
- die absolute Abweichung als Differenz zwischen Budget- und Ist-Werten
- die prozentuale Abweichung
Dadurch lassen sich einfach analysieren:
- die Zielerreichung
- die Abweichungen gegenüber dem Budget
- die wirtschaftliche und finanzielle Entwicklung des Unternehmens
- allfällige Unterschiede zwischen der geplanten und der effektiven Liquidität.
Abweichungswerte
Die Abweichungswerte stellen die Differenz zwischen den Budgetwerten und den effektiven Werten der Buchhaltung dar. Banana Buchhaltung berechnet diese Werte automatisch auf Grundlage:
- der effektiven Werte aus den Buchungen
- der Budgetwerte aus der Finanzplanung
In den Berichten und Auswertungen können spezielle Vergleichsspalten angezeigt werden. Diese zeigen:
- die absolute Abweichung zwischen Budget- und Ist-Werten
- die prozentuale Abweichung
Die Abweichungswerte ermöglichen:
- die Zielerreichung zu überprüfen
- Abweichungen zwischen Budget- und Ist-Werten zu erkennen
- Veränderungen bei Aufwänden, Erträgen und der Liquidität zu analysieren
- die finanzielle Entwicklung des Unternehmens im Zeitverlauf zu überwachen.
Kombinierte Finanzplanung
Banana Buchhaltung ermöglicht auch die Kombination von:
- effektiven Buchhaltungsdaten
- Budgetdaten
Bei dieser Art der Berechnung:
- werden bis zu einem bestimmten Datum die effektiven Buchhaltungswerte verwendet
- ab dem festgelegten Datum die Budgetwerte
Dadurch lassen sich aktuelle Finanzsimulationen erstellen, die Folgendes miteinander verbinden:
- bereits erfasste Ergebnisse
- zukünftige Budgetwerte
- die erwartete Entwicklung der Liquidität und der Vermögenslage
Diese Funktion steht zur Verfügung über:
- Skripte
- den Web Server
- die API von Banana Buchhaltung
Automatische und manuelle Neuberechnung
Banana Buchhaltung berechnet die Budgetwerte automatisch neu, sobald Daten geändert werden, die sich auf die Finanzplanung auswirken.
Eine automatische Neuberechnung erfolgt beispielsweise:
- nach Änderungen in der Tabelle Budget
- nach Änderungen des Anfangs- oder Enddatums der Buchhaltung
- nach Änderungen in der Tabelle Konten
- nach Änderungen der Buchungen beim Erstellen eines Berichts oder einer Auswertung.
Nach jeder Neuberechnung aktualisiert das Programm automatisch:
- die Spalte Budget in den Tabellen Konten und Kategorien
- die Spalte Total in der Tabelle Budget
- die Budgetberichte
- die Budget-Ist-Vergleiche.
Neuberechnung der JavaScript-Berechnungsformeln
Werden Elemente geändert, die in den Berechnungsformeln verwendet werden, muss die Neuberechnung manuell ausgeführt werden. Dies gilt beispielsweise bei Änderungen:
- der Tabelle MWST/USt
- der Datei _budget.js
- anderer JavaScript-Dateien, die in den Berechnungsformeln verwendet werden.
In diesen Fällen führen Sie den Befehl Buchhaltung nachkontrollieren und nachrechnen im Menü Aktionen aus.
Berechnungsgeschwindigkeit
Die Geschwindigkeit der Neuberechnung hängt von verschiedenen Faktoren ab, unter anderem von:
- der Anzahl der Konten und Gruppen in der Tabelle Konten
- der Anzahl der Zeilen in der Tabelle Budget
- der Anzahl der wiederkehrenden Planbuchungen
- der Anzahl der Berechnungsformeln
- der Dauer des Planungszeitraums
Je länger der Planungszeitraum ist, desto mehr Budget-Journalzeilen werden automatisch vom Programm erzeugt.
Manuelle Neuberechnung
Bei umfangreichen oder komplexen Finanzplanungen kann die kontinuierliche automatische Neuberechnung die Dateneingabe in der Tabelle Budget verlangsamen.
In diesem Fall können Sie die manuelle Neuberechnung über das Menü Datei > Eigenschaften (Stammdaten) > Registerkarte 'Optionen' > Totalsummen manuell nachrechnen (F9) aktiviert werden.
Ist diese Option aktiviert, werden die Budgetwerte nur noch mit dem Befehl Totale neu berechnen aktualisiert.
Budget table
Financial planning transactions are entered in the Budget table. It's setup is similar to the Transactions table of the accounting type you are using, but has specific columns that speed up entering the budget data.
You can also modify the data as you wish, to display reliable forecasts that are always perfectly updated.
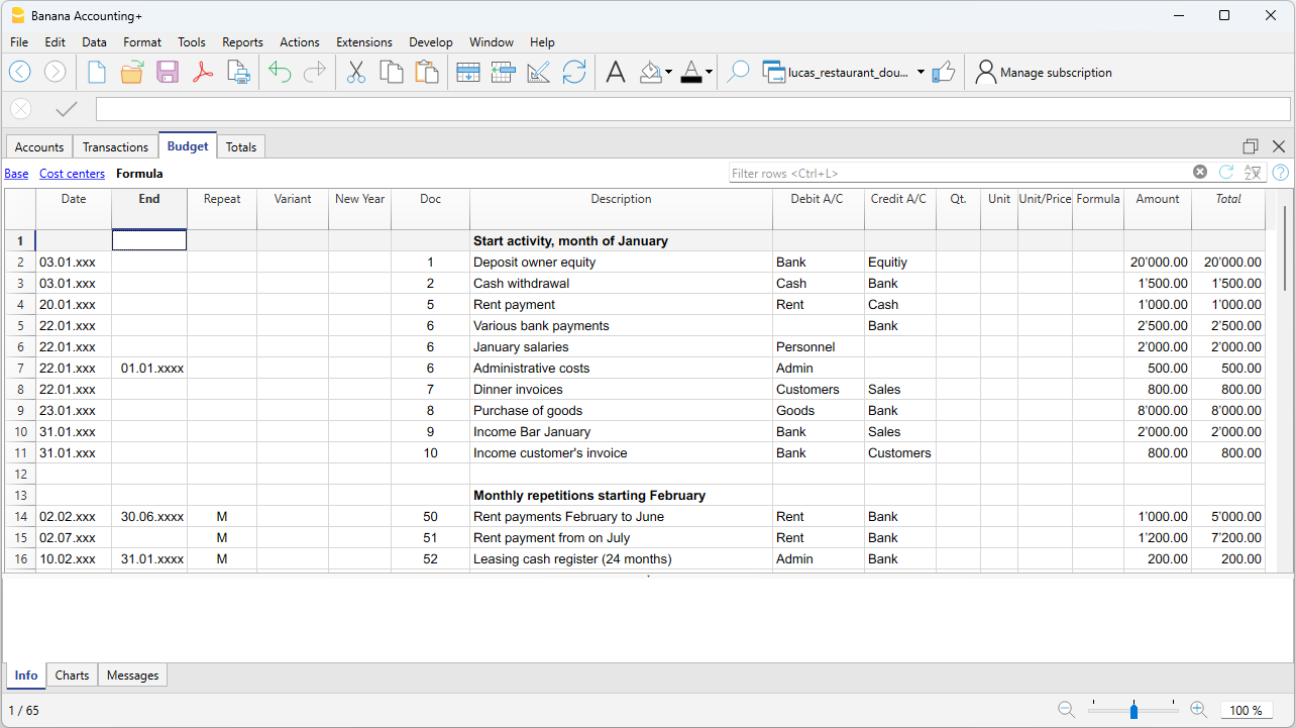
Easy and comprehensive forecasts
- You can enter all the operations in detail.
- You have comprehensive forecasts because they are based on the double-entry method:
- Based on the transactions entered, the program calculates and displays the forecasts.
- Indicate when an operation will be performed, and if and until when it will repeated.
- Indicate the account of origin and destination.
- Indicate the expected amount.
- You can complete the registration with:
- Customer account
- Accounts Payable.
- VAT code
- Cost / Profit Center
- Segments.
- Add more columns for additional information.
- You can enter the transactions in the order you want, so as to form groups.
- You can enter additional information to facilitate the transfer of data to the new year.
Budget table columns
The Budget table columns are very similar to the Transactions table columns. To facilitate understanding, letters have been used for account designation in the following example. If you have accounts with numeric accounts, you will obviously use your own account numbers.

Below you will find explanations for each Budget column:
- Date
The future date when you expect the operation to take place.
If an exact date is not available, for example a monthly sales budget, enter the end of the month date. - Repeat
A repetition code is entered. for further information on use, also see Dates and Repetitions.
When the forecast is calculated, the program internally creates copies of the rows with the date set successively and based on the indicated repetition code.- Blank - no repetition takes place.
- The initial row keeps the date indicated in the Date column..
- The date of the copy rows is progressively increased as defined by the repeat code.
- If the repetition is monthly or yearly, in the created rows:
- It is generally used on the same day as the Date column.
- If the day is greater than the number of days in the month, the last day of the month is used.
- If the end of month indication "ME" or end of the year "YE" is indicated, the last day of the month/year will be used.
- Basic codes for repetition:
- "D" for a daily repetition (Day)
- "W" for a weekly repetition (Week)
- "M" for a monthly repetition (Month)
- "Y" for a yearly repetition (Year)
- Multiples
If the code is preceded by a number, the repetition occurs with the multiplied frequency.- "2M" for bimonthly
- "3M" for quarterly
- "6M" for six months
- Repetition with a later date at the end of the period.
The "M" and Y "codes with the" E "at the end move the repetition date to the end of the month.- "ME" monthly repetition, but with a date at the end of the month.
If you enter the date 1.1.2022 the next date will be 28.2.2022 and the one after 31.3.2022
If the date is 28.2.2022, the next date will be 31.3.2022. - "3ME" for quarterly end of month
If you start on 30.6.2022, the next date will be 31.12.2022. - "6ME" for half-yearly end of the month
- "YE" each year, but at the end of the month.
If the date is 28.2.2022 the next date will be 28.2.2023. - "5YE" every five years, but at the end of the month.
If the date is 28.2.2022 the next date will be 28.2.2027.
- "ME" monthly repetition, but with a date at the end of the month.
- End - End date:
- Generally to be left blank.
- Enter the date after which there must be no repetition.
For a lease, the date on which the lease ends will be indicated as the final date.
- Variant
To indicate a possible variant relating to the budget, in combination with the Extensions. - Management of a New Year
To indicate how the transfer should take place when a new year is created.- No value - the date is incremented by one year.
- "1" The date remains the same.
- "2" The transaction is not transferred to the new year.
- Description
A descriptive text for the operation that appears in the account card.- You can use Calculation formulas by entering the value between ${} (see Javascript template literals).
When the account card is prepared the formula is resolved and the result is replaced.- For example the text "Amount ${10+20} year" will be "Amount 30 year".
- If you have defined a variable "quantity=10" and "price=20"
The text "Quantity: ${quantity} Price: ${price}" will result in "Quantity: 10 Price: 20". - You can use all the formulas, but to avoid confusion, it is recommended to avoid entering value assignments in the Description column.
- You can use Calculation formulas by entering the value between ${} (see Javascript template literals).
- Debit and Credit Account, CC1, CC2, CC3
As in the Transactions table, the accounts in which the transactions are to be registered are indicated.
Segments and cost centers can also be used. This way, a budget may also be prepared for segments or cost centers. - Quantity
The quantity which, multiplied by the unit price, returns the total amount (see Quantity and Price columns) - Unit
A description referring to the quantity, for example: m2, ton, pcs. - Price/Unit
The unit price which, multiplied by the quantity, returns the total amount- In the Income and Expense accounting, enter a negative value to have the amount entered in the Expenses column.
- Formula (in base currency)
Allows you to enter Calculation formulas, in Javascript, plus the programming functions of the Banana Accounting Extensions.
If there is a formula (or any text), the value in the Amount column is set based on the result of the formula.- In double-entry accounting, the result of the formula must always be a positive number.
- In the income and expense accounting, if the result is positive, it will be considered as an revenue, if negative as a cost.
- FormulaBegin
The text that you insert in this column is inserted before the text used in the Formula and then used for calculation.- The main use of the FormulaBegin to insert a variable setting like "A=", in the Formula you then only insert the value, so that it easier to modify.
- In multi-currency accounting, the FormulaBegin refers to the Currency Formula column.
- Amount (in base currency)
The amount that is used for the forecast.
In the event in the row includes a repetition, the amount of the first transaction is indicated. The amounts of subsequent repetitions are visible in the account card.
The amount is automatically calculated in the following cases:- If you entered a value in the Quantity or Unit price columns, the amount is calculated based on the contents of these two columns.
- In double-entry accounting, the result is converted into a positive value.
- In the income and expense accounting, if the result is positive, it will be considered as an revenue, if negative as a cost.
- If a formula has been entered, the amount will be the result of the formula.
The formula also has priority over quantity and price.
- If you entered a value in the Quantity or Unit price columns, the amount is calculated based on the contents of these two columns.
- Total
This is the total of the repeated row amounts that fall within the Accounting and Forecasting Period set in the file properties.
If there is no date or if the start or end date are outside of the accounting period, this column will remain empty.
Columns in Income and Expense accounting
For the Cash Manager and the Income and Expense Accounting, the amounts are indicated are follows:
- Income and Expense Columns
The budget amounts are entered in the income and expense columns. - Use of Quantity, Price and Formula columns
When the program automatically calculates the amount based on the Quantity, Price or Formula columns, the result will be entered in the Revenue column if it is positive, and in the Expense column if it is negative.
In the Quantity and Price columns you can indicate a positive or negative value.
Columns in multi-currency accounting
- Amount in account currency
Is the amount in the currency of the transaction account (see multi-currency transactions).
This amount is used to calculate the basic currency value at the indicated exchange rate.
If there is a formula, the value is the result of the formula calculation.
If the row includes a repetition, the amount of the first transaction is indicated. - Account currency amount formula
A Calculation formula can be entered.- If the line includes a repetition, the amount of the first transaction is indicated. The amounts of subsequent repetitions are visible in the account card.
- The FormulaBegin column refers to this column.
- Exchange rate
It is the exchange rate that is applied to convert the amount into the account currency into the base currency. - Total amount in the account currency
Is the total of the amounts of the repeated lines in the currency of the account, whose date falls within the accounting period defined in the file properties
If there is no date or if the start or end date is outside the accounting period, this column remains empty.
See also: Tutorial File Budget Formulas For Multi-Currency Financial Planning
Starting a financial forecast
You can easily prepare financial forecasts including liquidity plans, balance sheet and income statements.
The procedure is the same as for creating the accounting.
▶ Video: Financial Planning | Double-entry
1. Create the accounting/forecast file
With the File → New command , create a financial forecast file, using the accounting type and the accounting template that best suits your needs.
You can also start by using one of the templates already prepared for learning, which also contain examples of budget transactions.
- Financial planning for the family (with the Cash Manager)
To plan your family's expenses and income. - Financial planning for the opening of a restaurant (Income and Expenses Accounting)
This template uses alphabetical account numbers, which make comprehension more immediate.
With income and expenses; even without accounting knowledge, you can create a professional planning, including the liquidity plan, asset forecasts, costs and income. - Financial planning for the opening of a restaurant (Double-entry Accounting)
For complete financial forecasts, with the double-entry bookkeeping system, intended for those who are familiar with the double-entry bookkeeping method.
This model uses alphabetical account numbers, which make it easier to understand.
There are also sample files for more advanced functionalities:
- Double-entry accounting, using the quantity and formula columns
The different possibilities of using the formula column are listed. With examples and explanations. - Multi-currency accounting with examples of budget transactions with formulas
To use multi-currency specific formulas. - With examples of transactions on more complex themes.
Once created you can save the file under a new name, preferably composed of the company name and the year "company-2020.ac2".
2. Customize the file
Once you have created the file, adapt it to your specific needs:
- Set the File properties.
- The company name.
- The Accounting period.
Normally it is the one corresponding to the calendar year. However, you can indicate another one as needed. See Period for the forecast.
- Customize the Chart of Accounts.
You can change the description, add or delete accounts or groups.
If necessary, you can adapt the Chart of Accounts at any time later. - If it’s an activity already in progress, enter the Opening Balances.
3. Enter financial budgeting movements
In the Budget Table you can now enter the financial forecast movements.
4. View the forecasts
The forecast data are visible:
- In the Charts window.
- In the Accounts table, in the Budget column.
- In the Reports, in the Budget column.
- In the Account card, Budget values.
Adapt the forecast
You can change, add or delete transactions at any time. The forecast will be immediately recalculated.
Period for the financial forecast
The planning system based on the double-entry method allows you to prepare forecasts indicating when the operation will take place.
Unlike Excel, where you set up a sheet with the columns for the forecast periods (month, quarter or year), with Banana Accounting you simply indicate the expected date for the event. The assignment to a period is generated automatically by the program when it processes the data. You can decide to display forecasts by day, week, month, 2 months, quarter, semester, annual, 2, 5 or 10 years.
- Forecasts can be made for one or more years.
- Based on the data entered, the program calculates the liquidity, Balance Sheet and Income statement projections for the period in question.
- Daily forecasts can be obtained, particularly useful for liquidity, or even by month or year.
See Prints and financial forecast reports.
Accounting, planning and forecasting period
Accounting or forecasting is always relevant to a period. The following periods are differentiated:
- Accounting period
This is the one defined in the file properties, with start and end date.
Generally, it will be the same as the calendar year, but it can have any start and end date. - Planning period
The period for which the planning data is entered.- The schedule does not require a planning period to be set.
- It is generally assumed that it is the same as the accounting period.
- The planning period may be different from the accounting period. In the Budget table, rows are inserted which take effect beyond the accounting period.
- Transactions with dates outside the accounting period.
- Repetitive transactions without an end date or with an end date that is beyond the the accounting period.
- Forecast period
The period used by the program to calculate the forecast.- It is indicated when a print is requested.
- Use the accounting period as default.
- It can be set freely and in this way forecasts can be obtained for several years and even for several decades.
- The accounting period is used as the Forecast period for the calculation of the content of the Total column in the Budget table and of the Budget column of the Accounts and Categories tables.
- These values therefore refer to the accounting period defined in the file properties.
- If you change the accounting start and end date, the forecasts are recalculated.
- It is indicated when a print is requested.
Forecast with monthly logic
Forecast movements are entered in the Budget table indicating the date on which these are expected to occur. For the purpose of liquidity forecasting, it is important to indicate dates for revenues and costs as precisely as possible.
For all other income and expenses that occur on a day of the month or rather at the beginning or the end, such as rent, wages, bank charges and other expenses or income, it is important to indicate by selecting the day close to the actual day of payment.
For other revenues and expenses, approximations will be made. For example - except in special cases - for restaurant revenues, which come in daily, it is not adequate to make day-to-day forecasts. In this case it is sufficient to indicate the overall sales that are expected to occur in the month. We recommend to indicate day 15, the middle of the month.
Forecast for the current year
Movements with or without repetition are inserted in the Budget table.
The calculation of the forecast is generally generated, taking into account the movements that fall within the current accounting period, as defined in the file properties.
- The total amount for the current period is indicated in the Total column of the Budget table.
- The estimate balance for the current period is indicated in the Budget column of the Accounts and Categories table.
- In the various printouts, if it is indicated as the All period, there are forecasts for the current period.
If the file is also used to keep the accounting, the accounting period must obviously be the one referring to the accounting. Even when the file is used for forecasts only, it is better to set the accounting period referring to only one year. In fact, if a period of two years is entered in the base data, the values of the forecasts, in the Total and Accounts column, will be for the two years. This can lead to confusing values.

Forecasts over several years
If you insert the forecast movements with a repetition code, the program is able to prepare forecasts that extend beyond the defined period.
To obtain forecasts over several years, the movements are entered in the Budget table.
- Opening balances
- These are inserted in the Accounts table.
- Forecast movements prior to the accounting period.
- For special cases, it is also possible to insert transactions with dates prior to the accounting period.
- Attention must be paid, because these operations will change the balances at the time of opening.
- For these transactions, the Total column will be empty because it is outside the accounting period.
- Forecast movements for the accounting period.
- Movements are indicated with the date falling within the accounting period.
- If there are operations that will also repeat in the following years, the annual repetition code must be set to "Y".
- If the repetition of the operation occurs during several years, indicate the number of years before the Y, i.e. for every 2 years indicate "2Y", 5 years "5Y", 10 years "10Y".
- If the repetition does not extend beyond a set date (for example the payment of a lease), the end date must be indicated.
- Forecast movements for the following years.
- The future date, on which the transaction is expected is indicated.
- The repeat code and the end date can be indicated.
- For these transactions, the Total column will remain empty because they are outside the accounting period.
Use of formulas
The formulas allow you to automate amortization and interest calculations. When an investment increases, the income statement is also immediately updated. Formulas are especially useful when making forecasts over multiple years.
You can use the formulas to automatically adjust the amount in the repeat rows .
- The calculation of depreciation can be based on the balance of the fixed assets account.
- Interest can be calculated directly on the bank account movements.
- You can determine a sales progression.
- Purchases can be defined as a percentage.
Print with the forecast period
Thanks to the fact that movements with the repetition code or with the dates of the following years have been inserted in the Budget table, the program is able to calculate forecasts for future years.
When the report is printed, indicate the start and end date in the Period section.
Considering that the start date is January 1, 2022:
- If you want a 2-year forecast, indicate the end date as 31 December 2024.
- If you want a 5-year forecast, indicate the end date as 31 December 2027.
- If you want a 20-year forecast, indicate the end date as 31 December 2042.
The possibility of getting a forecast is available for the following printouts:
All accounting reports can contain accounting values, forecast values, or both together. The parameters available are the same for accounting reports and forecasts.
Thanks to these reports, you may generate a
- Provisional Balance Sheet,
- Provisional Income statement,
- Liquidity planning,
- Investment planning,
- Financing planning
and more, for future interest periods.
Columns divided by period
In the Subdivision section you can use the program to create columns for the period.
You can thus display the evolution by month, quarter or year.
With Customization you can set up print formats and call them up again later. If you run forecasts over several years, it is will be useful to have pre-set customizations, overall, per year, 5 years or with the comparisons between the final balance and the estimate, which can be called up immediately .
Budget - Four-year forecast

Income statement - Four-year forecast

Budget transactions
In order to prepare financial forecasts, based on the double-entry method, transactions are entered in the Budget table. Indicate origin and destination accounts for each one. The program has the information necessary to prepare Balance Sheets and Income statements, that will however relate to the future and not the past.
When one is planning with Excel, the Income statement is set up first, then the revenues and costs are listed. Generally, the liquidity and investment plan is prepared only later and on separate sheets.
When making forecasts with the double-entry method, we proceed instead as if we were keeping an accounting for the future. All the transactions that are expected to occur will be listed. The program will then automatically prepare the Balance Sheet and Profit and Loss account for the indicated period.
Structuring of budget transactions
For the preparation of a financial plan, we generally proceed by listing the different elements in the following order:
- Capital injections.
- Third party capital injections.
- Setting up expenses.
- Investments.
In furniture, equipment. - Recurring fixed costs.
Rent, staff, social security charges, energy, subscriptions. - Recurring revenues.
- Variable revenues
The turnover which is typically seasonal. - Variable costs.
Commissions, costs of the goods sold and others, which are related to the expected volume of revenues. - Year-end transactions.
Depreciation, taxes, interest on loans, dividends.
By the time you enter sales and variable costs, you already have the cost and capital structure. It will be possible to know instantly, whether the expected turnover will allow the company to generate sufficient profits and liquidity to guarantee its sustainability over time.
Amount and Formula column
As a rule, to prepare a budget, simply use the Amount column.
For more elaborate estimates, there is the possibility of indicating quantities, unit prices, or a formula. The program will automatically calculate the value in the Amount column.
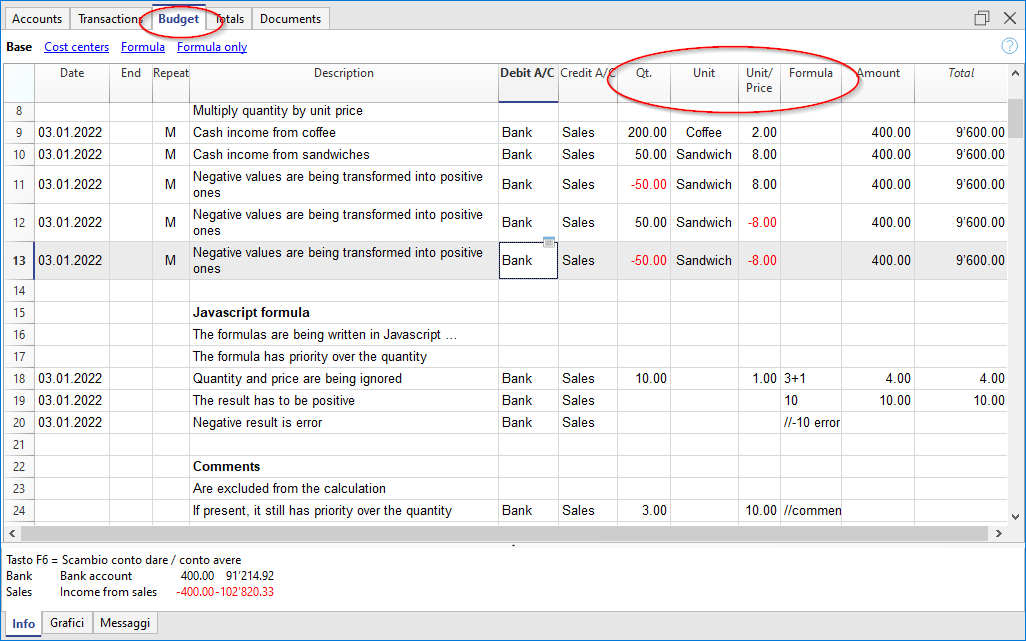
Updating forecasts
With the double-entry method, thanks to the possibility of indicating each operation in detail, it becomes easier to update and improve the forecast. Initially, estimates of different costs or investments will be entered. As you get closer to the operational phase and there will be more precise data, just replace the existing ones. Even when the activity has started and exact elements are known, the forecast can be updated easily. Precise and reliable indications on profitability and liquidity are thus available.
Dates and repetitions in financial forecast transactions
The Date column
The value contained in the Date column is the one that will validate the forecast.
- If there is no date, the transaction will be taken into account at the beginning of the planning.
If you require a forecast indicating a period, the amounts will be taken into account in the balance value at the beginning of the period.
Due to the fact that it does not fall within the period, no amount will be displayed in the Total column. - Dates in the accounting period set in the file properties.
These are the ones commonly used. The total amount will be indicated in the Total column, taking into account repetitive movements, within the accounting period. - Dates prior to the period.
You can enter movements that precede the forecast period. However, you must be careful that they do not conflict with the opening balances entered in the account table.
Due to the fact that it is not within the period, no amount will be displayed in the Total column. - Dates after the period.
If you make forecasts over several years, they allow you to indicate transactions for the years to come.
Due to the fact that it is not within the period, no amount will be displayed in the Total column.
The End date
This is used in combination with repetition, to indicate the last date beyond which there is to be no repeat.
- Must generally be left empty.
If you enter a date when it is not necessary (for example the end of the accounting period) the forecasts for the following years will not include this operation. - For leasing transactions.
Indicate the date on which the payment of the last installment will be made as the end date. - For loan repayment.
Indicate the last expected payment date. - For changes in the amount at set deadlines.
In the case, for instance, that the amount of a recurring transaction is adapted at certain deadlines (salary increase).- Create a transaction row with repeat "M" and End date as per the last payment before the increase.
Create transaction rows with Dates when the increase begins. - If the increase follows a precise and regular automation, this can also be programmed with formulas.
- Create a transaction row with repeat "M" and End date as per the last payment before the increase.
Repetitions
For recurring expenses or income, the repetition code is recommended (refer to Documentation on the columns).
- When calculating the forecast, the program creates copies of the operation and progressively increases the date, taking into account the indicated frequency.
- If there is no end date, the program will generate internal copies of the records for the entire period of the forecast indicated at the time of the report when calculating the forecast.
- If the start date is January, the frequency is monthly
- If the forecast period is the year, it will generate rows from February, 1 original row and 11 automatic rows, for a total of 12.
- If the forecast period is 10 years, it will generate rows starting from February, 1 original row and 119 automatic lines (11 the first year + 12 * 9 for the following ones), for a total of 120 lines.
- If the start date is January, the frequency is monthly
- If you want the program to automatically calculate forecasts for subsequent years.
- For recurring operations, indicate the relative repetition code.
- For transactions that occur only once a year (for example depreciation at the end of the year), indicate the repetition code "Y", so that the depreciation is also calculated in the following years.
- Don't use the repetition only if the operation will not occur in the following year.
Total column of the Budget table
The Total column is calculated automatically and represents the sum of the amounts of the current row and the repetition amounts that fall within the accounting period. The Total column is empty if the transactions have an earlier date or extend beyond the accounting period.
Schedule with precise date and monthly logic
Forecast movements are entered in the Budget table indicating the date on which these are expected to occur.
However, it is not always possible to predict all revenues and expenses with a daily precision. When making a forecast it is therefore useful, in some cases, to use approximations, generally reasoning on a monthly basis. In any case, it is useful to always follow a specific logic so that reliable liquidity forecasts can also be obtained in the short term:
- Punctual operations (capital payment, investments) are indicated with the date on which they are expected to occur.
If there is no precise date, it is useful to indicate them on the 15th day of the month in which they are expected to occur. - Recurring charges that have a precise payment date are to be set with the expected payment date and the relative repetition code:
- Bank charges, interest, amortization are to be indicated at the end of the month, quarter or year that they will take place.
- Rentals on the due expected date of payment.
- Salaries and social security charges
- For the calculation and monthly payment on the day that wages are paid.
- For thirteenths, bonuses or whatever at the moment they are paid.
- Payments for advances and adjustments of social security charges on the expected payment date.
- Payments and VAT adjustments on the typical payment due day.
- Revenue Forecasting.
The preparation of the forecasts depends on the type of activity.
If you do not know the exact day, but you will know that it will happen in a certain month, it is recommended to indicate the 15th of the month- Punctual revenue.
They are to be indicated on the date on which it is expected to take place or mid-month. - Recurring revenue.
To be indicated on the date of entry or mid-month. - In many cases a monthly forecast is well suited. The revenue can be indicated on the 15th of the month.
- If the revenues are recurring, the revenue can be entered with the monthly repetition. Using formulas you can predict growth.
- If there are seasonal differences, it is helpful to have a sales forecast row for each month.
- Forecast of projects or major works.
If there is a calendar with receipts, a transaction row is to be indicated for each expected entry. It can be approximated by indicating the 15th of the month. - Forecast for customers.
For a consultant or commercial advisor, who works both with budgets and projects, it can prove very useful to set up a detailed revenue forecast for each client, with the expected payment dates. This forecast will also be very useful to check if the customer has actually paid.
- Punctual revenue.
- Variable costs.
- Constant expenses linked to the turnover (a restaurant for example ), are indicated with the same date as the turnover. With a formula you can also calculate as a percentage value of the turnover.
- Costs can also be linked to other elements, such as the number of employees, rented premises or other.
Forecasting with the cash principle
Planning for small business and cash activities (such as shops, restaurants) it is useful to proceed with the cash principle, then indicate the revenues with the date on which they will be collected and the costs when paid.
For important operations, such as the purchase of a machine whose payment is deferred over time, it is however useful to insert forecast movements with precise details:
- Purchase of machinery (asset registration with suppliers) with date of purchase.
- Payment of the machinery, with the date(s) on which payment is expected.
Forecasts with the accrual method
In this case, the insertion of the operations takes into account when the payment will be made.
- Cash transactions.
They are obviously registered normally. - Transactions expected to be settled in the near future.
For simplicity, the operations that fall within the forecast month or the one immediately following, it can be useful to use the cash principle. - Deferred payments.
If the dates are not known with precision, you can use the 15th of the month.- Transactions with precise payment terms.
- One movement indicates the purchase date with the counterpart in the supplier account.
- One of the other movements indicates payment on the scheduled dates.
- Transactions with precise payment terms.
- Deferred collections.
- With precise payment terms, as is the case with a project:
- A movement indicates the billing date and the customer account with the counterpart.
- One of the other movements indicates payment on the scheduled dates.
- Late payment.
This is the case when a part of the revenues is collected in the short term, a percentage is collected later. It can be done like this:- Enter the revenue as cash collection.
- With the same date, a movement is created that moves a part of the collection to the customer account.
- At a later date, the cash collection is indicated with the client account of the counterpart.
- With precise payment terms, as is the case with a project:
- Use of variables for deferred collections and payments( see Example use of variables)
When the same value must be reused at the time of payment, it can prove very useful to use the formula column and variables.- In the billing transaction, the amount is assigned to a variable.
- In the payment movement, the variable is inserted so that the amount is automatically taken over.
- Variables can also be used to define the percentage of the amount that will be deferred, for example.
Examples of financial forecast movements
Scheduling transactions are entered like normal entries, with the date, description, amount, debit and credit account.
In addition, the Repeat column is used, which allows recurring transactions to be entered on a single line.
Below are several examples, taken from the template below, to which we refer for further explanation.
Start-up forecast registrations
These are forecast entries as those registered in the Transactions table.
The example shown here refers to the start of the activity, so it concerns transactions that are not repeated.

Monthly repetitive entries
Below are examples of entries with monthly repetition, code 'M'. The column Total shows the total amount for the year.
The first two entries refer to the rent, which from February to June is 1'000 monthly, while from July it is 1'200.
The date 2024, when the lease redemption amount must be paid, is also indicated. In this line, in the column Total, there is no amount, because the movement does not fall within the dates of the accounting period defined in the file properties.
The repetition code "ME" Month End is used for administrative expenses counted by the bank. For subsequent entries the day 28 is not used, but the last day of the month, thus March 31, April 30.

Quarter-end
Here we indicate some typical entries that repeat at the quarter end. We enter the 3ME repetition, which means repeat every 3 months, with end of month date.

End of Year
At the end of the year there are operations which are carried out. Use Repeat 'Y' so that these operations are also performed for subsequent years.

Forecast of income and purchase of goods
The income forecast is specific to each activity. In this case, the income and purchase forecast is shown month by month, with a specific amount.
Starting in March, the annual 'Y' repetition is indicated, so that these transactions are repeated in subsequent years.

Purchases and next year sales
The months of January and February, in the first year, were not considered significant for the following years, so they did not have a repeat.
For the first two months of the second year, we have to set sales. We also set the annual 'Y' repetition, so that we can repeat the income in the following year.

Forecasting with quantity and price
The Quantity, Unit and Unit Price columns of the Budget table allow you to prepare forecasts faster.
The value of the Amount column is calculated by the program by multiplying the Quantity by the Unit Price (under the condition that Formula column is empty).
The Quantity, Unit Price columns are set as visible in the Formula View.

Advantages of using the Quantity and Prices columns
The quantity and price columns are useful for making predictions based on quantities. For example:
- In the Unit column you can indicate what the price refers to.
- The Quantity column indicates the number of seats served daily.
- The Price column indicates the estimated revenue for each cover.
- The Amount column will be calculated automatically based on the values indicated.
This approach offers several advantages:
- All elements of the planning can be precisely detailed in the Budget.
- We remember the quantities and prices used to make the estimate.
- Changing the schedule is very simple, you can change the element you want only.
- How the profit varies, can be seen with a change in the quantities sold or in the price.
Break-even analysis.
Using formulas in the Budget table
The addition of Javascript formulas in the Budget table of Banana Accounting Plus, opens up several possibilities.
The use of formulas is available in Banana Accounting Plus with the Advanced plan only.
See all the advantages of the Advanced plan.
Formula column
The Formula column allows you to enter calculation formulas. The estimate amounts can thus be calculated on the basis of other values of the same budgeting (see Examples of formulas).
- Indicate the cost of goods based as a percentage of sales.
- Increase your sales budget based as a percentage of growth.
- At the end of the year, calculate the depreciation based on the value of the investments made.
- Quarterly, calculate interest on the bank account based on actual usage (days / 365).
- Monthly, calculate interest on the bank account based on actual usage (days / 365).
If you enter a value in the Formula column, the Amount column is calculated by the program based on that formula.
Formula Begin Column
In the Formula Begin column you can enter any formula, that is pre-pended to Formula and resolved (see documentation of the table Budget):
It is useful to specify a variable name and the assignment operator, so that you can easily change amounts:
- Instead of writing in the Formula "Price= 100", you can write
- Formula Begin "Price="
- In Formula "100" , so you can easily see the amount and change it
Formulas in Description column
You can also enter formula in the column text, so that the text is completed automatically when you request an account card (see documentation of the table Budget).
The Formula in the Description should be entered within curly brackets preceded by the dollar sign.
- Assuming that in the formula you have defined the variable Price "Price= 100"
- In the Description text you can use the variable price
"Sell of goods at price ${Price}" will results in the account card in
"Sell of goods at price 100"
Within the Description column you can use any Javascript formula, but you should avoid use assignment or other calculations, and use only the Description to for retrieving values.
Example files
For examples of the formulas, refer to the following explanations:
- Template with transactions using the Quantity and Formula columns.
- Template with transactions for Multi-Currency accounting using the Formula column in the base currency.
- Also refer to Examples of using formulas in financial forecasts.

Calculation formulas in Javascript
- The formula must be expressed in the Javascript language (not to be confused with the Java language).
- If there is a formula (or any text), the value in the Amount column is set according to the formula result.
- You can use all the functions of the Javascript language, plus the APIs provided by Banana.
Decimal separator
In JavaScript only the point "." is used as a decimal separator
If you use a different separator, the one used for numbers in the local format, the number is likely to be truncated.
Amount = result of the last instruction
In Javascript the semicolon ";" is used to separate expressions.
If the Javascript formula contains multiple expressions separated by ";" the value of the Amount column will be the result of the last executed expression.
- 10*3 //30 will be returned
- If there is a sequence of several operations separated by a semicolon ";", the last operation will be resumed.
10*3;7; //7 will be returned - If there is a return, the value is resumed after the return.
return 10; // 10 will be returned.
Variables
Javascript variables are the most powerful elements of programming, as they let you give a name to a value stored in the computer's memory, so you can easily save, reuse, and update that value in your formulas.
Variables do not exist in Excel formulas, but are similar to the name of the cells, with the difference that the name can be freely assigned.
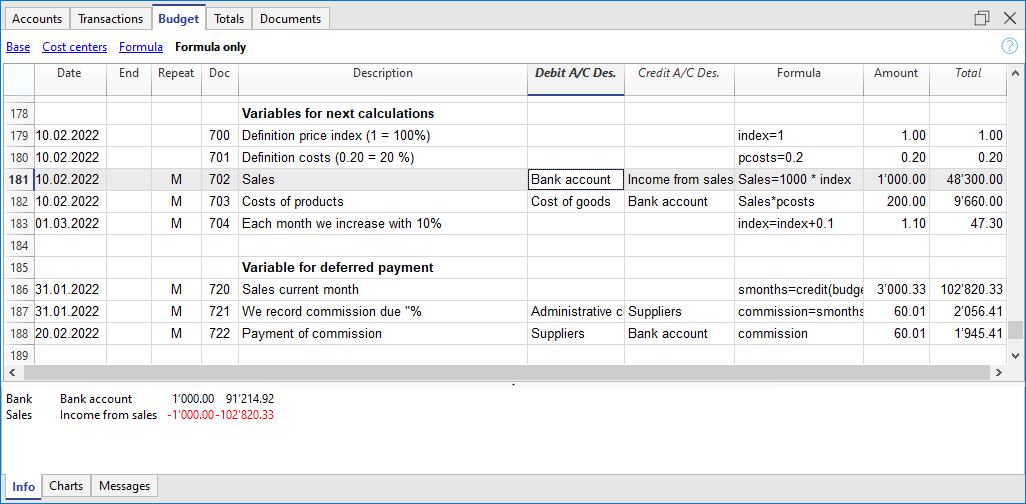
What is a variable?
A variable is like a labeled box where you store a value. For example:
price = 10This means you’re giving the name price to the value 10. You can then use "price" in other calculations:
total = price * 5This will multiply the value of "price" (which is 10) by 5 and store the result in a new variable "total".
You can also reassign the value of a variable later:
price = 20Variable initialization
To create a variable, just write a name, an equal sign (=), and a value.
There are two different ways to create and initialize a variable, and they behave slightly differently:
- Variable with the word "var"
var price = 10- This creates the variable "price" and the value 10 is assigned to it.
- The value will not appear in the Amount column. The cell looks empty.
- The value will be used and displayed only when you refer to "price" in another row.
- Variable without "var"
price = 10- This also creates the variable "price" and the value 10 is assigned to it.
- The value appears directly in the Amount column of the same row.
- Useful when you want to both define the variable and see its value immediately.
You can define and use variables directly within the rows. By entering the variable name in the formula, the saved value is taken over.
Nullish coalescing operator "??"
Sometimes, you want to give a variable a value only if it doesn’t already have one.
You can do this using a special symbol called the Nullish coalescing operator "??", in this case the value specified after the operator "??" is used only if the price has not been already assigned.
price = price ?? 10;
This means: “If price doesn’t already have a value, set it to 10. Otherwise, keep the current value.”
Before using "??", make sure the variable exists. You can write:
var price
price = price ?? 10
Or simply:
var price = price ?? 10The Nullish coalescing operator is useful for repetitions, due that it allows to assign an initial value, the first time only. So you can than increment the value and by the next repetition the value will not be assigned again.
Note: The Nullish coalescing assignment operator "??=" is not supprted.
Objects
Javascipt objects are variables that allow you to save multiple values, each indicated with a property.
The prices object is created below, indicating the curly brackets. To access and save the values, instead use the square brackets or indicate in the name of the property after the name of the object.
prices = {}
prices['car'] = 10;
prices.car = 10;
prices['computer'] = 20;
prices.computer = 20;
Array
Javascript Arrays are created using square brackets and also to access them.
The first element of the array has index 0.
costs = [1,2,3];
costs[0]=3;
result = prices['car'] - costs[0];
Repetition and variables
For more information on the calculation sequence, see Planning Logic.
- All rows (including those created for repetitions) are sorted by date. If there are rows with the same date, the order is that of insertion in the table.
- After the sorting, the rows (including the formulas) are recalculated.
- In the formulas, you therefore only have access to the budget data up to that date.
- A variable must be defined in a row that has the date preceding the row where it is used.
- If the budget entry has a repetition the variable will be reassigned each time.
sum = 10; - If you want to calculate the grand total instead.
- In an initial line create the variable with value zero.
sum = 0; - In the line that repeats in the sum also include the previous value.
sum = sum + 10;
or use the "+="
sum += 10
- In an initial line create the variable with value zero.
- Use the Nullish coalescing operator "??" for assigning a value to a variable that is not yet initialized.
Automatic variables
- budgetCurrent
It is a table that contains the budget rows after the repetitions creation.
These are used to record values in conjunction with the JRepeatNumber. - DEBUG is a variable that can be "true" or "false".
If "true", in the messages, all the results of the formulas are being displayed. - row
Is a Javascript object that refers to the current row.- The values of the cells can be retrieved with the value function ("columnNameXml").
row.value("date") returns to the date of the transaction. - row.value ("JRepeatNumber") returns the progressive of the repetition.
The first repetition is 0.
- The values of the cells can be retrieved with the value function ("columnNameXml").
- _totalPrice
This is the value of the Quantity column multiplied by the UnitPrice column.
Equivalent to the formula "row.value('Quantity')*row.value('UnitPrice')"
Budget Functions
In addition to the budget API defined in the accounting class API, there are specific functions.
budgetGetPeriod(tDate, period)
This function is used in combination with the use of repetition.
When repetitions are indicated, it is advisable to refer to a calculation period and not to a precise date.
- Parameter tDate.
The date to which the calculation of the period refers. Usually the date of the recording line. - Period parameter.
Abbreviations- For the current
- "BC" current bi-monthly (2 months)
- "DC" current day
- "MC" current month
- "QC" current trimester
- "SC" current half-year
- "YC" current year.
- "WC" current week
- For previous
- "BP" previous bi-monthly
- "DP" previous day
- "MP" previous month
- "QP" previous quarter
- "SP" previous shalf-year
- "YP" previous year
- "WP" previous week
- For the current
- Returned values.
An object composed of two dates- startDate
- endDate
// example
t = BudgetGetPeriod ('2015-01-01', 'MP') returns
t.startDate // 2014-12-01
t.endDate // 2014-12-31
Specific budget functions
The following are similar to those available with Banana.document, but can be used without indicating the object Banana.document.
To be taken into account:
- Instead of the startDate parameter, you can use one of the abbreviations "MC", "MP", explained in the budgetGetPeriod.
- If you use an abbreviation, the function calculates the start and end date of the period, based on the date of the current registration.
- It makes sense to use the end date only if it is earlier than the row date.
If it is equal or higher, it has no effect because the values after the current row are not yet available, because they have not been processed. - If the registration row date is April 15th:
- budgetBalance("1000","MP") the balance of the 1000 account returns at the end of March.
- budgetBalance("1000","MC") returns the balance at the current time is the same as budgetBalance("1000").
- budgetTotal("1000","QP") returns total of the movement for the previous quarter.
- budgetTotal("1000","QC") returns the total of the movement for the previous quarter, up to the current date.
budgetBalance(account, startDate, endDate, extraParam)
The balance up to the current row.
budgetBalance('1000', 'MP'); //returns the balance of 1000 at the end of the previous month- If budgetBalance returns a negative amount, the program generates an error, because it is not possible to enter negative values in the Amount column of the Budget table.
- When the account balance is not known in advance, it may be useful to enter two transactions using the debit() and credit() functions.
- Only one of the two transactions will show the correct balance, while the other will have an amount of 0, depending on whether the balance is a credit or a debit.
- The two transactions must of course reverse the debit and credit accounts: for example, in the first transaction debit 2210 and credit 1000; in the second debit 1000 and credit 2210.
debit(budgetBalance('1000'));  //returns the balance of account 1000 on the day of the transaction, 0 if negative

credit(budgetBalance('1000')); //returns the balance of account 1000 on the day of the transaction, 0 if positive
budgetOpening(account, startDate, endDate, extraParam)
The balance at the beginning of the period.
budgetTotal(account, startDate, endDate, extraParam)
The difference between the debit and the credit movement of the period.
budgetTotal('1000', 'MC'); //returns the total movement of the 1000 account for the current monthbudgetInterest( account, interest, startDate, endDate, extraParam)
Calculates the interest on an account, for the period indicated (at the maximum the current date)
If you use it to calculate interest on an account at the end-of-period, the row where the formula is shown should always be the last one for this date.
- Account parameter
This is the account number on whose movements interest will be calculated - Interest parameter,
Indicates the interest rate in percent.- Positive (2.5, 4, 10) calculates the interest on the account's debit movement
- Negative (-2.5, -4, -10) calculates the interest on the account's credit movement.
credit(amount)
- If the amount parameter is negative returns the amount as a positive
credit(-100) // returns 100 - If the amount parameter is positive, returns 0 (zero)
credit(100) // returns 0
This function is useful in conjunction with the other budgetBalance functions to work only on the balances you need.
If you want to calculate the percentage on sales, using this function is easier.
credit(budgetTotal('1000')) // enter the value only if it is a negative.
debit(amount)
- If the amount parameter is positive, returns the amount
debit(100) // returns 100 - If the amount parameter is negative, returns 0 (zero)
debit(-100) // returns 0
Useful if you have to make calculations using only the debit amount and avoid using the credit amount
include
Includes and executes a Javascript file, with the possibility to create its own functions and variables that can be recalled in the script.
- Include "file:test.js"
Executes the contents of the indicated file. The name refers to the file on which one is working. - Include "documents:test.js"
Executes the contents of the text document contained in the documents table.
This has to be a file of the "text/javascript" type.
Functions for multi-currency accounting
They can also be used for accounting without multi-currency, in this case the account is always in basic currency.
budgetBalanceCurrency(account, startDate, endDate, extraParam)
The balance in the account currency up to the current line.
budgetExchangeDifference (account, [date, exchangeRate])
This formula recalls the Banana.document.budgetExchangeDifference function.
budgetOpeningCurrency(account, startDate, endDate, extraParam)
The balance in the account currency at the beginning of the period.
budgetTotalCurrency(account, startDate, endDate, extraParam)
Starting with version 9.01, the following functions are also included : budgetCreditCurrency, budgetDebitCurrency.
User defined functions
The user can define personal function with the JavaScript language, and recall them in the formulas.
It is possible to define functions:
- Directly in a formula
- In a JavaScript coded attachment; this attachment must have as row id the "_budget.js" name
- In a text of the Documents table, that needs to be included with the Include command
Note:
In the user functions it is currently not possible to use functions that access current accounting data (currentBalance, ...).
function Taxcalculation(profit)
{
   var percentage = 10;
   if (profit > 50000)
      percentage = 10;
   else if (profit > 100000)
      percentage =20;
   return profit * percentage / 100;
}
Banana Accounting Plus GPT Budget formula creator
The GPT budget formula creator is only experimental: it might be subject to changes and improvements.
This Banana Accounting GPT was created using ChatGPT and is designed to generate calculation formulas to be used in the Budget table of Banana Accounting Plus.
Requirements
To use this GPT, you must have a ChatGPT Plus subscription. Without it, you can try the service for free for up to ten requests. After that, you’ll need to either upgrade to ChatGPT Plus or wait some hours before making additional requests.
How it works
- Open the Banana GPT from this link:
- In the Message field at the bottom, enter a sentence describing what formula you want to create. Explain what your purpose is. Generally, more specific requests will yield better results.
- GPT will process your request and return the corresponding result.
Based on the input provided to the GPT, examples and text strings are generated containing the formulas. - Copy the generated formulas.
- Paste the copied formulas into the Formula column of the Budget table in Banana Accounting Plus.
Examples of messages to enter in GPT
The following are examples of messages to enter into the GPT chat, along with their respective generated results:
Example 1
Input text:
I have the sales amounts for January, February and March 2024. Now I want to calculate the sales forecast for the same months in 2025. I predict that sales will increase by 20% compared to sales in 2024. Let me have the formulas keeping in mind that I want to see the calculated values right away, and then also the example records to enter.
Response:
| Date | Description | Account Debit | Account Credit | Formula |
| 2025-01-31 | January sales expected 2025 | 3000 | 4000 | var jan24 = 1000; jan24 * 1.2 |
| 2025-02-28 | February sales expected 2025 | 3000 | 4000 | var feb24 = 1200; feb24 * 1.2 |
| 2025-03-31 | March sales expected 2025 | 3000 | 4000 | var mar24 = 1500; mar24 * 1.2 |
Examples of the use of formulas in financial forecasts
The possibility to enter formulas is available in Banana Accounting Plus only with the Advanced plan. Update now!
Below you will find some examples of how to use formulas to automate financial forecasts.
Please refer to the specific documentations:
- Javascript formulas in the Budget table
- Templates with transactions using the Quantity and Formula column
Parameters
When planning, it can be useful to define variables that can and will be used later.
It is useful to create a parameter section with a posting date of January 1st, or another date that corresponds to the first day of the Budget. The parameter variables will then be used in the following rows.
// 30%
costOfGoodsSold = 0.3
// 5%
interestRateDebit = 0.05
// 2%
interestRateCredit = 0.02
// 10 %
latePaymentPercentage = 0.1
This way, all parameters that can be set are displayed instantly. When a parameter is changed, the forecast is recalculated.
Repetitions or values per month
By using the Repeat column, you can plan for the whole year on one recording row.
If however, the activity has seasonal variations, it is recommended to use a forecast by month. For each month, a row is created with the sales amount for the month.
If you wish to make forecasts automatic for several years, it is useful to insert the repetition "Y" in this row, so that the row of the year is also used for the next one.
Prices and sales quantities
When making a sales plan it will be easier to enter values using the quantity and price column. For example, a restaurant can enter the number of covers served per day, week or month and the program automatically calculates the amount. By changing the number of covers or the price, the impact on liquidity and on the result for the year is instantly displayed.
Use of formulas with variables for growth
When you use formulas, remember that they are expressed in the Javascript language:
- The variable must be defined before being used, hence the line, in which it is defined, must be a date preceding the the line in which it is used.
- Thousands separators in numbers can't be used.
- The decimal separator is always the "." (Full stop)
- The names are different for uppercase / lowercase.
You can assign a value to a variable (this name can be freely chosen) and enter the variable name in the following lines to resume the value.
By changing the value assigned to the variable, all the lines, in which the variable is used, are automatically modified.
As an example, you may set the expected sales amount, proceeding with the following months, by using a formula to increase the amount.
- Create a "S" (sales) variable , by entering the following text in the Formula column.
Sales=1000
The value 1000.00 will be inserted in the amount column - In the following lines use the variable by simply inserting the variable name in the formula:
Sales
The value 1000.00 will be inserted in the amount column - You can add 10% to the amount (multiplying by 1.1)
Sales*1.1
The value 1100.00 will be inserted in the amount column (The value of the Sales variable does not change) - You can increase the value of S
Sales=Sales+200
The value 1200.00 will be inserted in the amount column (The value of the Sales variable will change) - If the variable is used in the following line, there will be the new calculation
Sales
The value 1200.00 will be inserted in the amount column
You can also define a variable to define the percentage of growth.
- Percentage=1.1
- Amount=200
- In formulas you can use the variable name instead of the number
- Sales*Percentage
- Sales=Sales+Amount
Variables and repetitions
Let's say you expect the turnover to rise by 5% every month.
- Enter two lines where you assign the value to the variable, without putting any account with the start date of the year.
Sales=1000
Increment=5 - Then create a line with the repetition where you enter the accounts and the formula
Sales=Sales*(1+Increment/100)
Each time the row is repeated the value of the variable S will be increased by 5% and consequently also the amount of the transaction. By simply changing the growth percentage, the forecast will be recalculated.
In a row you can also insert multiple Javascript instructions, by separating them with a semicolon ";"
Sales=1000; P=5
Use of budget formulas
There are functions that allow you to access the balances and movements of the accounts for planning up to the row that is calculated.You can enter a formula that through the budgetTotal function, recovers the value of the sales account "SALES" of the previous month.
credit( budgetTotal("SALES", "MP") )
The budgetTotal function takes account numbers and periods as arguments. An abbreviation can be used instead of the period.
- MP stands for previous month.
- QP stands for previous quarter.
Revenues show in Credit, therefore the value returned by the function will be negative and will not be accepted as an amount in the double entry accounting.
Therefore use the credit () function, which uses the negative value and turn it into a positive value.
Objects for incrementing sales or costs
Instead of using a single variable you can group the elements in an objects, for sale or costs.
s = {} // sales
s.p1 = 100 // product 1
s.p2 = 200 // product 2
c = {} // costs
c.rent = 500
c.utilities = 200
c.admin = 100
You can now use a function to increments all element by a value
// function to increment the values within an object by a percentage
function Increment(obj, perc) {for (v in obj) { obj[v]+=obj[v]*(perc/100)}}
// Increment all values
Increment(s,20) // Increments sales by 20%
Increment(c,10) // Increments costs by 10%
// Decrement use a negative number
Increment(s,-10)// Decrements sales by 10%
Increment(c,-5) // Decrements costs by 5%
If you want to initialize the element in a repetition row use the Nullish coalescing operator "??"
// initialize objects
s = {} // sales
c = {} // costs
// repetition rows assign the value only the first time
s.p1 = s.p1 ?? 100
s.p2 = s.p2 ?? 200
c.rent = c.rent ?? 500
c.utilities = c.utilities ?? 200
c.admin = c.admin ?? 100

// Begin next year increments values
Increment(s,20) // Increments sales by 20%
Increment(c,10) // Increments costs by 10%
You can see an example how to insert all data:
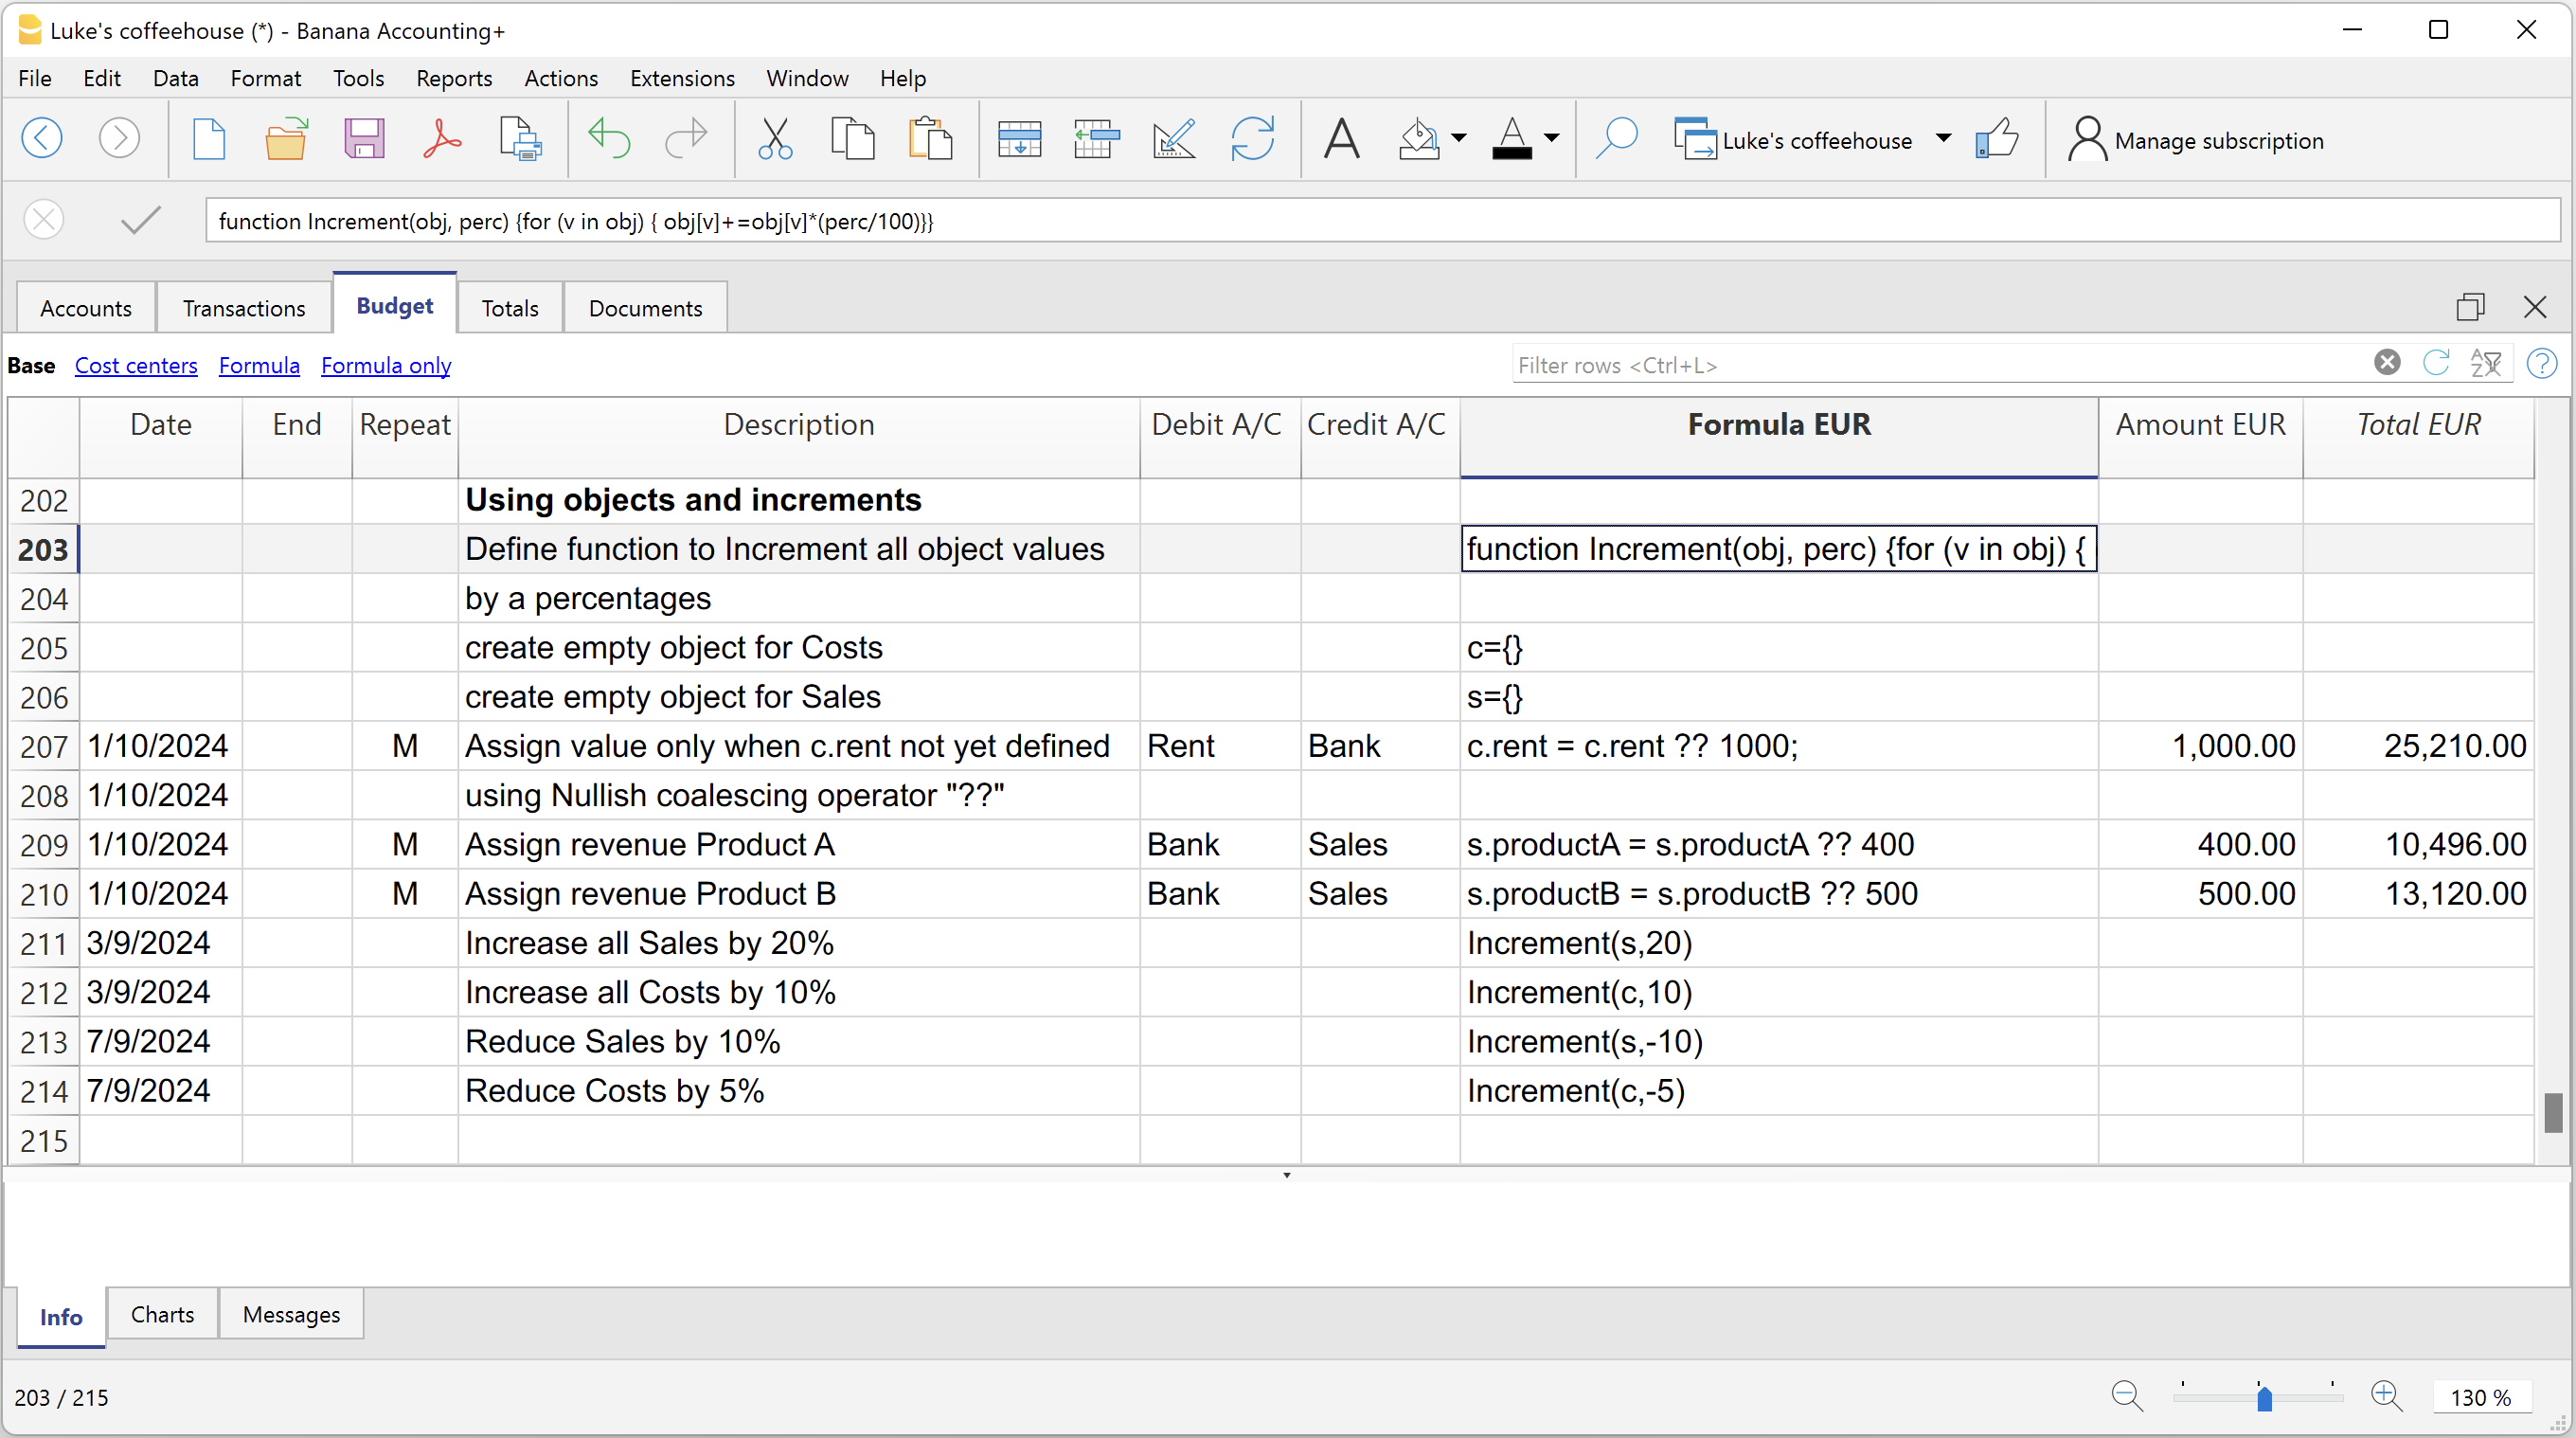
Variables for monthly sales
Sales may vary for each month. In this case it is useful to use separate registrations for each month with the variable name.
sales_01 = 1000
cost_01 = sales_01 * costOfGoodsSold
sales_01 = 1100
Deferred payments
If you want a very precise liquidity plan, it is useful to separate the sales, which are paid immediately and those that are deferred.
One approach may be to record all sales as if they were paid cash, assigning the value of the monthly variable to the amount.
sales_01 = 1000
A registration is then entered, which reverses the sales that are deferred, calculating the amount with the formula.
sales_01 * latePaymentPercentage
A payment registration with the same formula will then be inserted for the following month.
Selling costs
There are costs that can be related to sales (cost of goods) or to other costs (social charges, in relation to wages).
Cost calculation with variables
If the sales are defined with variables, the sales costs can also be indicated as a percentage of the sales.
- You can define variable S for sales and variable C for the percentage of the cost.
Sales=1000
Cost=60 - The formula for the calculation will be:
Sales*Cost/100
You can also use the same approach to calculate social security charges.
This formula can possibly be entered in a repetitive row.
Sales cost calculation with budget functions
When the costs are related to sales, the budget formula can also be used.
credit( budgetTotal("SALES", "MC") )*60/100
When the costs related to sales, "MC" stands for the current month.
This formula will return the sales value of the current month, turn them into a positive and multiply them by 60 and divide by 100.
The date must be beyond the sales registration dates, obviously.
It may be used it in a repeat row, inserting the month end date. Therefore, the costs of the sale will automatically be calculated based on the sales entered with the transaction.
The formula can be combined with variables.
- At the beginning of the year define the percentage of costs.
Cost=60 - Therefore, the formula C is used.
credit( budgetTotal("SALES", "MC") )*Cost/100
When you change the contribution percentage or any sale, the schedule will be updated automatically.
Sales commission calculation at the end of the year
At the end of the year, you calculate the commissions of 5% on the total net sales with this formula:
credit( budgetTotal("SALES", "YC") )*5/100
The bugetTotal function returns the movement of the sales account for the period "YC", current year. With the credit () function, the amount is turned into a positive value and then multiplied by 5 and divided by 100.
If you make forecasts over several years, remember to insert the repetition "Y" in the row, so that the same formula will be also calculated for the previous year. As indicated above instead of entering the 5 directly in the formula, you can assign it with a variable.
- Commission=5
- credit( budgetTotal("SALES", "YC") )*Commission/100
If the percentage changes from one year to the next, it is sufficient enter a transaction with the following year date that resets the variable for commissions.
Inflation with variables
If you want to forecast over several years, you can also take inflation into account.
- At the beginning of the planning, assign a base variable for prices and inflation (2%).
Base=1;Inflation=2 - When you use the Sales variable, you multiply it by the inflation rate
Sales=Sales*Base - At the beginning of the following year, with annual repetition, you increase the price base
Base=Base+Base*Inflation/100
Depreciation calculation
Thanks to the formulas, the calculation of depreciation can be automated.
If you change the value of your investments in planning, depreciation will be automatically recalculated. Make sure that the date of the depreciation calculation line has a date superior to that of the investments. Date is generally 31st December .
Depreciation calculation on book value
To calculate the depreciation of the "EQUIPMENT" account, insert a line at the end of the year with the following formula and the debit and credit accounts appropriately set up to register the depreciation.
budgetBalance("EQUIPMENT")*20/100
The budgetBalance function returns the balance to that date. The amortization of 20% is then calculated on this.
Use the debit function, in case you think the asset account can go into credit.
debit(budgetBalance("EQUIPMENT"))*20/100
Calculation of depreciation on the initial value
To calculate the initial value of the investments, it is necessary to use variables to remember the value of the initial investment.
Equipment=10000
If the depreciation is spread over 5 years, the formula will be inserted in the year-end depreciation line
Equipment=10000/5
The annual repetition "Y" and the end date, which corresponds to the date of the last installment of the amortization, will be inserted in the row to prevent the amortization from running on indefinitely.
For each investment you will have to create a variable and a specific row of depreciation. Numbers can also be entered in variable names.
Equipment1=10000
Equipment2=5000
Interest calculation
The budgetInterest( account, interest, startDate, endDate) function allows you to automatically calculate interest based on the actual use of an account.
The parameters are:
- Account
Whose movements are used to calculate interest, in case it will be the bank account or the loan. - Interest
The interest rate in percentage.
If the value is positive, interest on the debit balances is calculated.
If the value is negative, interest on the credit balances is calculated.. - Initial date, which may also be an acronym.
- End date, which may also be an acronym.
- The returned value is the interest calculated for 365/365 days.
Interest expense on the bank account
To calculate the interest expense of 5%, insert a line with the end date of the quarter and the repetition "3ME", which contains the formula
budgetInterest( "Bank", -5, "QC")
The interest rate is negative, because "QC" means current quarter. The debit and credit accounts must be the usual ones for recording interest expense. If the interest decreases the bank account balance will also be used in the registration. However, another account can be used if it is paid with another account.
It is important that the "3ME" repeat is used so that the date used will always be the last of the quarter.
To calculate the interest of the month use the abbreviation "MC"
budgetInterest( "Bank", -5, "MC")
Interest on the bank account
For interest income of 2%, use positive interest instead.
budgetInterest( "Bank", 2, "QC")
Interest on fixed-term loan accounts
For fixed-term loans, interest will be calculated and recorded on the specified date.
- Create an separate account for each loan.
Use the budgetInterest function indicating exactly the start and end dates .If the date is indicated as text, the notation "yyyy-mm-dd" should be used, then "2022-12-31" - Use variables.
As indicated for depreciation, the loan amount can be assigned to a variable. The interest calculation will be done with a Javascript calculation formula,- Define the loan variable
Loan=1000 - 5% interest calculation, for 120 days.
Loan*5/100*120/365.
- Define the loan variable
Profit tax calculation
Profit is the total of the group's profit for the specified period.
To calculate a 10% profit tax, use the following formula.
credit(budgetTotal("Gr=Result","MC"))*10/100
- Use the the budgetTotal function parameter in the "Gr = Result" group, which indicates that instead of an account it has to calculate the movements for the group.
- MC, current month, is indicated as the period.
- The budgetTotal function will return a positive value if there is a loss and negative (credit) if there is a profit.
- the credit function takes only negative values into account, therefore if there is a loss the tax will be zero.
Payments with deferred or different deadlines
For deferred payments or with different deadlines, you can proceed in two ways:
- Use variables to which payment amounts are to be assigned.
Use the variable in question when recording the payment. - Create customer or supplier accounts for different credit deadlines.
Other cases
Please tell us about your other requirements, so we can add more examples.
Budget separate from accounting
Preparing the file
If the Budget table is not visible in the accounting file, proceed to display it via the Tools → Add/Remove functionalities → Add Budget Table menu.
The Transactions table remains as preset in any case. If you don't need it, use the Data → Tables setup menu and un-tick Transactions table so it is not displayed.
The process will be the same whether you are managing only an accounting, a budget or both:
- Create an accounting file.
- Set the file properties.
- Set up the Chart of Accounts.
- Enter opening balances (if any).
- Enter the forecast values in the Budget table.
Accounting and budgeting are usually performed in the same Banana Accounting file. If you wish to manage the Budget separately from the accounting, just enter the Transactions in the Budget table only. In this case, the Transactions table, is left empty of posting of movements.
A Budget only file is used:
- To set up the Budget of a Startup:
- Prepare the financial plans of a new company, that has not yet started.
- Initially, if you don't have precise ideas, it might prove useful to select a template with few accounts, without VAT.
- If you plan to keep the accounting as well, it's helpful to start with one of our pre-set Charts of Accounts.
- For an existing company that keeps the accounting with another program:
- The Chart of Accounts will be modeled on the one used for the accounting.
- There are three possibilities to compare with the actual balance sheet:
- You can export the Budget data of Banana Accounting and import it into the accounting program.
- In case you wish to make a comparison between the Budget created in the Banana Accounting file and the actual data of your program on the other hand, you have to export the data and import them into the Budget file (Banana Accounting Budget table).
- Create Excel spreadsheets and report the Banana Accounting Budget data and the accounting data present in your own program.
Further information on Budget transactions can be found at the following links:
Budget period
It is not necessary to define the budgeting period. You can set up the budget for a year and still get forecasts for the following years.
Annual Budget
As a rule, the budget is prepared for the accounting period defined in the File properties, which is generally identical to the calendar year.
- Enter the opening balance at the beginning of the period in the Opening column of the Accounts table.
- Enter the forecasted data for the current year in the Budget table.
When requesting Reports, the program will use the accounting period, if you do not specify a period different from the one present in the File Properties
When you want to budget for the following year, you create a file for the new year. The program reports the budget postings, which can then be modified (see Create new year ... in Actions menu).
Multi-year budgeting
With Banana Accounting you can have planning over several years available. The planning period is free and is set at the time the report is requested.
To make a budget over several years, generally proceed by setting the budget for the first year, then extending it for the following years.
Technically, therefore, proceed as if you were establishing an annual budget, extending it for the following years:
- In the File properties, the date of the first year (which is generally the calendar year,) is indicated as the start and end date.
- The opening balances are entered in the Chart of Accounts.
- The movements of the budget are inserted in the Budget table
- Operations that are specific to the first year only, are indicated without repetition.
- Indicate the repetition code for all other operations, which are presumed to also be repeated in subsequent years.
- Operations that take place only once a year are indicated by the annual "Y" repetition code. For example, the calculation of depreciation, that is done at the end of the year.
- Specific operations for subsequent years are indicated with the respective date on which they occur.
- For repetitive operations that are limited to a single year or to a specific period (fixed-term leasing transactions) the End date will be indicated. After that date, no repetition will be made.
- Formulas may be used to make the amount of the row to be repeated automatic .
- The calculation of depreciation can be based on the balance of the fixed assets account.
- Interest can be calculated directly on the movement in the bank account.
- A progression of sales can be specified.
- Purchases can be defined as a percentage of the cost.
- To obtain the budget (Enhanced Balance Sheet or Enhanced Balance Sheet with groups, Account cards) indicate the start and end date of the required budget.
Changeover to the new year
The Banana Accounting function for Creating a new year ... also carries forward the budgeting transactions.
- At the level of each row you have the possibility to indicate whether the operation should be carried over or not, and whether the original data should be kept or replaced by that of the new year.
- Creating the budget for the new year is therefore very simple, because it is only a question of changing the items of expenditure and income that are expected to change.
Reports financial forecasting
There are several ways to access financial forecasting data. You can access all the information that interests you.
- Provisional Balance sheet
- Provisional Profit and Loss Account
- Liquidity Planning
- Forecasting sales
- Financial forecasting for customers
- Financial forecasting for suppliers
- Investments Planning
- Corporate finance Planning
- Project Planning
- Planning with segments
Budget table: Total column
The Total column contains the total amount of the budget for the accounting period indicated in the file and accounting properties (accounting start and end date). This delivers an instant indication of how much a certain expense will be for the current year.
For further information refer to Budget table columns and Dates and repetitions.
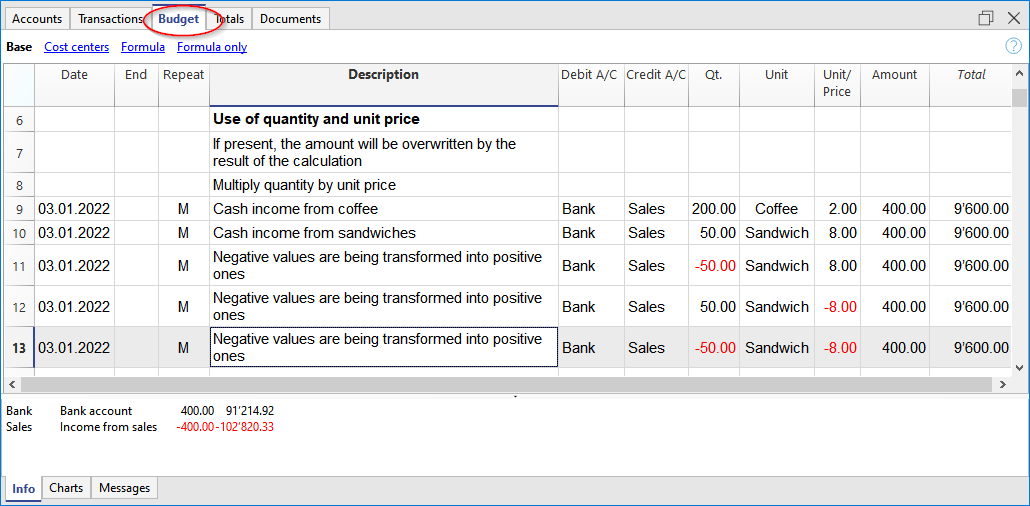
Evolution Charts - Charts window
In any table you are in, you will see the evolution of the account or group, on which the cursor is located, in the Charts window.

Budget column in the Accounts and Categories table
The Accounts and Categories table displays the updated budget values for the accounting period indicated in the file and accounting properties (accounting start and end date).
- Budget column
Indicates the total budget of the account for the accounting period.
The value indicated is inclusive of the initial balance and budget movements for the period. - Budget difference Column
Indicates the difference between the Budget and Balance column.

Account card with budget data
Via the Account card command, or in the Budget table, you can get the detail with all the forecast movements, by clicking on the button next to the account.
- In the Account card dialogue
- You can choose the account, cost center, group or segment whose movements you want to view.
- You can choose to view current data or budget data.
- In the Period accounting card, you can indicate the calculation period. If you choose an end date, beyond the accounting dates, the program automatically creates a projection of the indicated data.
- By opening the account card from the Budget table, the card for budget movements is displayed.
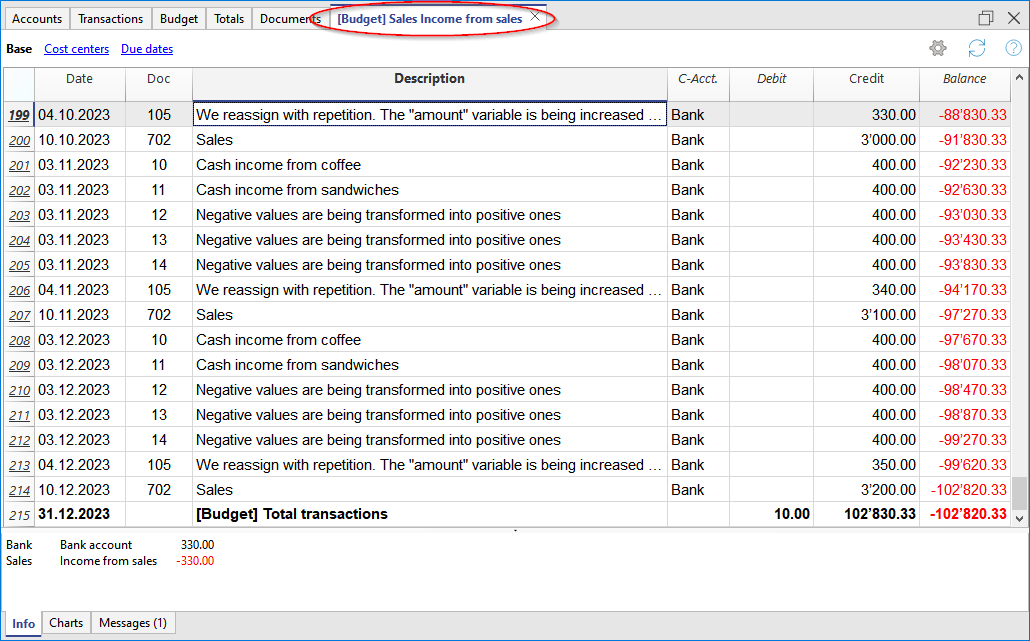
Enhanced Balance Sheet with groups
All the prints that are available for accounting, can include financial forecasts.
- It is sufficient to set up the Budget and Budget difference columns.
- In the Period Section, indicate the desired forecast period. You can also indicate a period over several years and the program immediately calculates and displays the forecast.
- In the Subdivision Section, you can select to display data by month, quarter, year or by choosing a segment.
Watch the video tutorial that shows how to create and print the Enhanced Balance Sheet with groups.
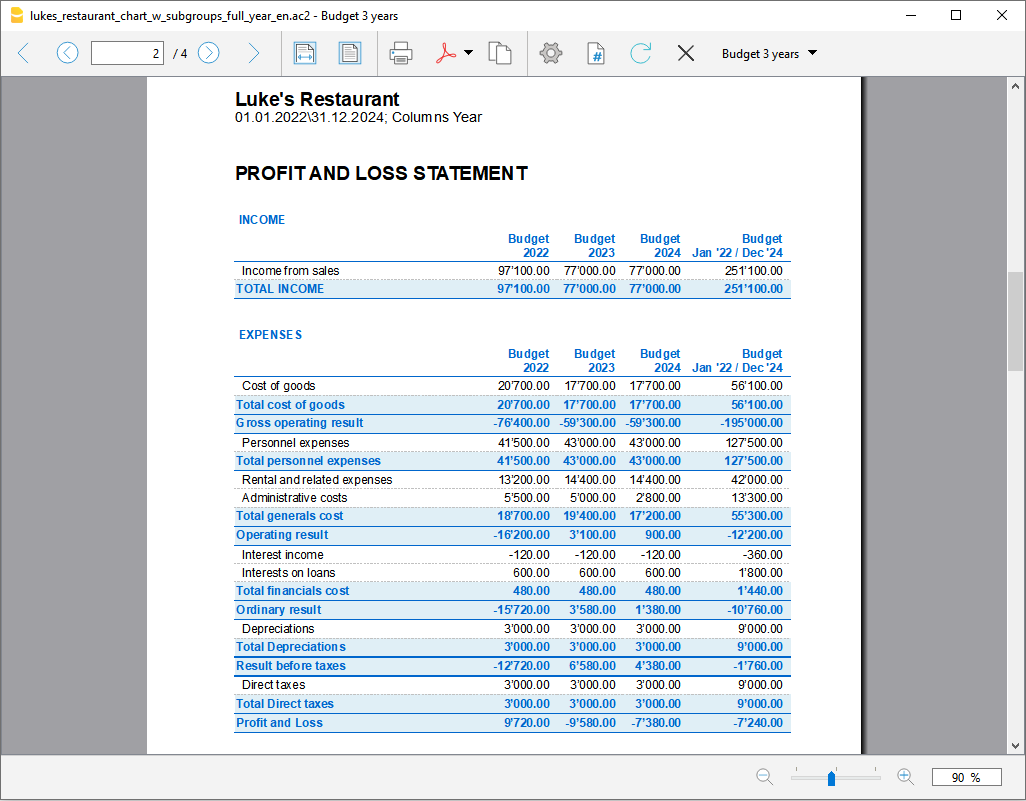
All customizations available in accounting are also applicable for planning:
- Select the desired grouping level.
Presentation with the account details or only with groups. - Choice of sections to include.
Balance Sheet only, Income Statement, Cost Centers can be printed. - Choice of the accounting period.
If you choose an accounting period beyond the accounting dates, the program automatically creates the projections up to the indicated date. - Breakdown by period (monthly, quarterly, half-yearly, annual).
By combining the calculation period and the frequency, ad hoc reports can be created.- By indicating a 1 year period without subdivisions, the forecast for the year is obtained.
- By indicating a 1 year period with quarterly subdivision, there is a printout with the columns for each quarter.
- By indicating a 6 months period with monthly subdivision, the month by month evolution can be seen in detail.
- By indicating a 5 years period with annual subdivision the columns with the evolution for the 5 years is available.
- Comparison between current and budget values.
- Addition of other columns.
- Change of print style.
- Saving Print Setups.
Print settings can be saved as a composition and can be recalled later.
You can create as many compositions as you require.
Provisional Profit and Loss account
The Profit & Loss statement forecast presents the profits, costs and result for a future period. It is an important tool for tracking the management of the company which allows you to understand how the situation will evolve, from an economic and financial point of view.
With Banana Accounting, thanks to the forecasts with the double entry method, you have complete forecast budgets that you can organize in different ways. The program also calculates forecasts over several years.
You can have a very precise vision of the evolution of the economical situation.
The structure of the Profit & Loss statement is the same as that used in accounting file. When printing, you can indicate which values to display, those of the final balance, or the budgeted balance or of both.
The forecast values are calculated taking into account the opening balances and forecast movements indicated in the Budget table. When you change a budget entry, the forecasts are instantly updated. You can simulate and test, relocate a payment, add an investment, modify sales and see how the profit and loss statement changes over time.
Profit and Loss statement values can be displayed in several ways.
Use of quantities and formulas
The quantity and price columns of the Budget table allow you to prepare more realistic forecasts, using the same methodology as spreadsheets. This allows for faster simulations. It is sufficient that you change the price and you access the new forecasts of the Profit & Loss statement automatically and also those of the Balance Sheet and Liquidity.
The formulas allow you to automate cost calculation, so that for example, when you change sales the purchase costs change in percentage. In this way you can use precise income statement forecasts that update automatically. Formulas are particularly useful when making forecasts over multiple years.
Detailed forecasts
The Income statement forecast, based on the double entry method, allows you to obtain the forecasts of the costs and revenues, using the same accounts and groups as those of the accounting file. The same structure of the items, that make up the income statements, is used for forecasting. Values and reports are available automatically to display in detail, day by day, how liquidity evolves and the situation of customers.
The structure of the Chart of Accounts, on which the forecast is also based, is customizable. This can be done by simply using the main groups and the accounts that are part of it, or more in a more complex way, by also inserting subgroups, for a more detailed view.
The structure of the Profit and Loss Account is gradually scaled and allows you to view the interim and final results for the year after paying the taxes.
PROFIT AND LOSS STATEMENT
- Revenues.
- Cost of goods.
Gross operating result (total of Revenues and Costs).
- Staff costs
- General costs.
Operating result (total of the gross operating result, personnel costs and general costs).
- Financial costs.
Operating result before taxes and depreciation(Total of operating result and financial costs).
- Depreciation.
Operating result before taxes (Total of ordinary Result and Depreciation).
- Taxes
Net operating result (total of the Result before taxes and Taxes and duties).
Accounts / Category Table
In the Accounts table, for Double entry accounting, and in the Categories table for Income and Expense accounting, the forecast values for all the accounts (or categories) and groups of the Profit and Loss statement are displayed. With a glance you have an instant view of the forecasted Profit and Loss statement. The values refer to the accounting period and the variations are compared to the current balance.
If you require more details, you can add accounts or groups.

Profit and loss with groups
Through Enhanced Balance Sheet with groups command, you can view the Provisional Profit and Loss Statement, choosing the presentation mode you need.
- Indicate in the Sections options to display the values of the Budget
You can display the current (accounting) values, the budget values or both. - Set up the Period.
If a period that exceeds the accounting period, is indicated, the program will automatically switch to budgeting over several years. - Indicate the subdivision by period required.
- In the Rows section, you can exclude accounts and thus have a view of groups only.
- If you think you're use this print setting again, create a Customization.
Using the different options you can customize your prints. Below are some examples.
Annual Budget Profit and loss
This print was set up with only the budget values for the current year.
You can also display the change as an amount and a percentage.

Budget Profit and loss statement and current year comparison
The final (current) values are compared with those of the forecast.

Quarterly forecast Profit and loss statement
In the Subdivision section set quarterly and the program shows the forecast Profit and Loss statement for the various quarters.
The evolution of the budget forecast during the year will now be displayed.

Budget and quarterly Profit and loss statement
This print is set up to print the budget and the final balance. Thus we have the budget and current situation for the quarters.

Three-year forecast for Profit and Loss account
If you insert the forecast movements with the repetition code, the program is able to prepare forecasts beyond the defined period.
To obtain forecasts over several years, the transactions are entered in the Budget table with repetition (Y).
The printout is set up to obtain the estimate of the Profit and Loss statement over three years.

Accounting Report for Budget Profit and Loss
From the Reports → Accounting Report menu you can get printouts of the Profit and Loss Statement displayed as in the accounts table, but with the required column values.
The options are similar to those explained for the Enhanced Balance Sheet by groups.

Liquidity Planning
Cash is King is the motto that indicates how important liquidity is. It is the main engine for carrying out business activities, meeting commitments and producing profits. To invest safely, it is essential to evaluate the ability to produce liquidity and its evolution over time a rational way.
The financial forecast of Banana Accounting is an important business management tool, which allows you to understand if there will be enough financial means to meet commitments and reduce your debt exposure to the maximum.
Liquidity projections are calculated on the basis of the initial balance and forecasts included in the Budget table. When a budget movement is changed, the forecasts are instantly updated. You can run different simulations, assign a payment, add an investment, modify sales and see how liquidity evolves.
Liquidity values can be displayed in several ways.
Accounts table
Set up accounts and liquidity groups in the Accounts table. In the Budget column you will also see the updated forecast balances for the accounting period. At a glance you will know what the liquidity situation will be at the end of the year.

Evolution graphs
When you open the Charts window, positioning the cursor on an account or a group you will see the graph representing the evolution of Liquidity.
In the legend are visible Current, Previous and Budget. By clicking on each one it is possible to hide or make visible the respective graphs.
Account card with Budget Group liquidity
Using the Budget Account card command, all forecast movements of the account card are displayed. Day by day you can see which movements will have an impact on the liquidity.

The Account card command allows you to specify if you want to see current or budgeted movements.
- Select budget movements.
- Set the period
If you indicate a period that exceed the accounting period, the program will automatically generate Forecasts over several years. - If you indicate a group, you will see the movements of all the accounts belonging to that group.
- When you are in the Budget table, you can access the account card with a click on the icon next to the account.
Liquidity in the Enhanced Balance sheet with groups
In the Enhanced Balance Sheet with groups you may select to work with values subdivided by column per period. In this way you can see the evolution of liquidity by day, week, month, quarter, semester, year, etc.
- In Sections options indicate the display of the Budget data.
- Select the Liquidity group.
You can choose to also display the liquidity accounts. - Set up the Period.
If a period that exceeds the accounting period, is indicated, the program will automatically switch to budgeting over several years. - Indicate the subdivision by period required.
- If you think you will use this print setting again, create a Customization.

Budget Liquidity Accounting Report
The Accounting Report is similar to the Enhanced balance sheet with groups, with the difference that the display of the data takes place in the Accounts table in columns.
You can therefore use the Accounting Report to get an instant view of the evolution of liquidity accounts.

Forecasting sales
Sales for a company are the main source of income and liquidity. Unlike costs that are more easily planned, sales are more difficult to budget. As a rule of thumb, you may base yourself on the figure of the sales of the previous year for the same period or, on the possibility important events that are in the pipeline and could lead to an increase in sales or even to the acquisition of new customers.
Based on this concept, Banana accounting, with the forecast based on double-entry accounting, allows you to simulate and project different scenarios over time. Just change the budgeted amounts for sales and the program automatically updates the forecasts and displays detailed reports for the current year or for future years.
The sales projections are calculated on the basis of the forecasts included in the Budget table and can be displayed in different ways.
Accounts table
Set up accounts and sales groups in the Accounts table. In the Budget column you will also have the updated forecast balances for the accounting period. You can check what the evolution of sales will be during the year, at a glance

Evolution charts for sales
When you open the Charts window, positioning the cursor on an account or a group you will see the graph representing the evolution of the Sales.
In the legend are visible Current, Previous and Budget. By clicking on each one it is possible to hide or make visible the respective graphs.
Account card with Budget for sales
Using the Budget Account card command, all forecast movements of the account card are displayed. Day by day you will be able to see the evolution of sales and which movements will have the greatest impact.

The Account card command allows you to specify if you want to display current or budgeted movements.
- Select the budget movements.
- Activate the account or group of Sales
You can also activate all sales accounts - Set the period.
- If you indicate a period that extends beyond the accounting period, the program will automatically generate Forecasts over several years.
- If you indicate a group, you will see the movements of all the accounts belonging to that group.
- When you are in the Budget table, you can access the account card with a click on the icon next to the account.
Income statement with Quarterly sales Budget
With the Enhanced Balance Sheet with groups you can choose which data columns to display and the reference period, to see the evolution of sales by day, week, month, quarter, semester, year, etc.
- In Sections options, you can select the Budget data to be displayed.
- Choose the sales group. You can choose to display sales accounts as well.
- Set up the Period.
If a period that exceeds the accounting period, is indicated, the program will automatically switch to budgeting over several years. - Indicate the subdivision by period required.
- If you think you will use this print setting again, create a Customization.

Accounting report with Sales estimate
The Accounting Report is similar to the Enhanced Balance Sheet with groups, with the difference that the data is displayed in columns, as in the Accounts table.
You can use the Accounting Report to have an instant view of the evolution of the sales accounts.

Financial forecasting for customers
Customers forecasting completes financial planning with customer data. For example, a company can forecast sales by indicating accounts for the most important customers.
Forecasting with the double entry method also allows you to indicate accounts for individual customers. Depending on the requirement, customer management can be done with balance sheet accounts, profit and loss accounts or with cost and profit centers.
When changing a budget movement, the forecasts for each customer are also updated individually.
Accounts table
Set up the customers in the Accounts table. In the Budget column, the forecast balances are automatically updated for the accounting period. At a glance, you can view what the forecast for the individual customer will be.

Evolution chart
When you open the Charts window, positioning the cursor on an account or a group you will see the graph representing the evolution of the Customers.
In the legend are visible Current, Previous and Budget. By clicking on each one it is possible to hide or make visible the respective graphs.
Customer Account card with budget data
With the Budget Account card command you have the possibility to see in detail all the movements for each customer.

- Select Budget movements.
- Indicate the customer account or group.
- Set up the period.
If you indicate a period that extends beyond the accounting period, the program will automatically generate Forecasts over several years. - When indicating a group, you will see the movements of all the accounts belonging to that group.
- When in the Budget table, you can access the customer's card with a click on the small icon next to the account number.
Customers in Enhanced Balance sheet with groups
With the Enhanced Balance Sheet with groups you can choose which data columns to display and the reference period, to see the evolution of the customer by day, week, month, quarter, semester, year, etc.
- In Sections options you can select the Budget data to be displayed.
- Choose the Customers group. You can choose to also view the accounts of each individual customer.
- Set up the Period.
If a period that exceeds the accounting period, is indicated, the program will automatically switch to budgeting over several years. - Indicate the subdivision by period required.
- If you think you will use this print setting again, create a Customization.

Accounting Report with Customers Budget
The Accounting Report is similar to the one for Enhanced balance sheet with groups, with the difference that the display takes place in columns, as in the Accounts table.
You can therefore use it to get an instant view of the evolution of customer accounts.

Provisional Balance Sheet
The Balance Sheet forecast displays the Balance Sheet for a future period. It is an important tool for tracking the management of your company and allows you to verify what the company's capital structure, the state of assets, of liabilities and the equity will be like.
With Banana Accounting, thanks to the forecasting with the double entry method, you have complete forecast budgets and that you can arrange in different ways. The program also calculates forecasts over several years.
You can access a very precise vision of what the future balance sheet will look like.
The structure of the budget is the same as that one used in the accounting file. When printing, you can indicate which values to display, those of the final balance, the budget or both of those.
The forecast values are calculated taking into account the opening balances and forecast movements indicated in the Budget table. When you change a budget entry, the forecasts are instantly updated. You can simulate and test, relocate a payment, add an investment, modify sales and see how the budget changes over time.
Budget forecast values can be displayed in several ways.
Detailed forecast
The financial forecast, based on the double entry method, allows to obtain the forecasts of the balance sheet values, using the same accounts and groups as those of the accounting file. The same structure of the items that make up the financial statements is used for forecasting. Values and reports are available automatically to display in detail, day by day, how liquidity , the situation of customers evolves and many more.
The Banana Accounting forecast presents the values for assessing the financial, equity and economic situation. The structure is customizable, it can be presented in a simple way, including the main groups and the accounts that are part of it, or in a more complex way, by inserting subgroups, for a more detailed view.
| ASSETS | LIABILITIES |
Current assets
Fixed assets
| Third party capital
Equity
|
Accounts table
In the Budget column of the Accounts table you access forecast values for all accounts and balance groups available. In a glance you have an instant overview of the budget. The values refer to the accounting period and the variations are calculated automatically with respect to the current balance.
If you need more details, you can add accounts or groups.
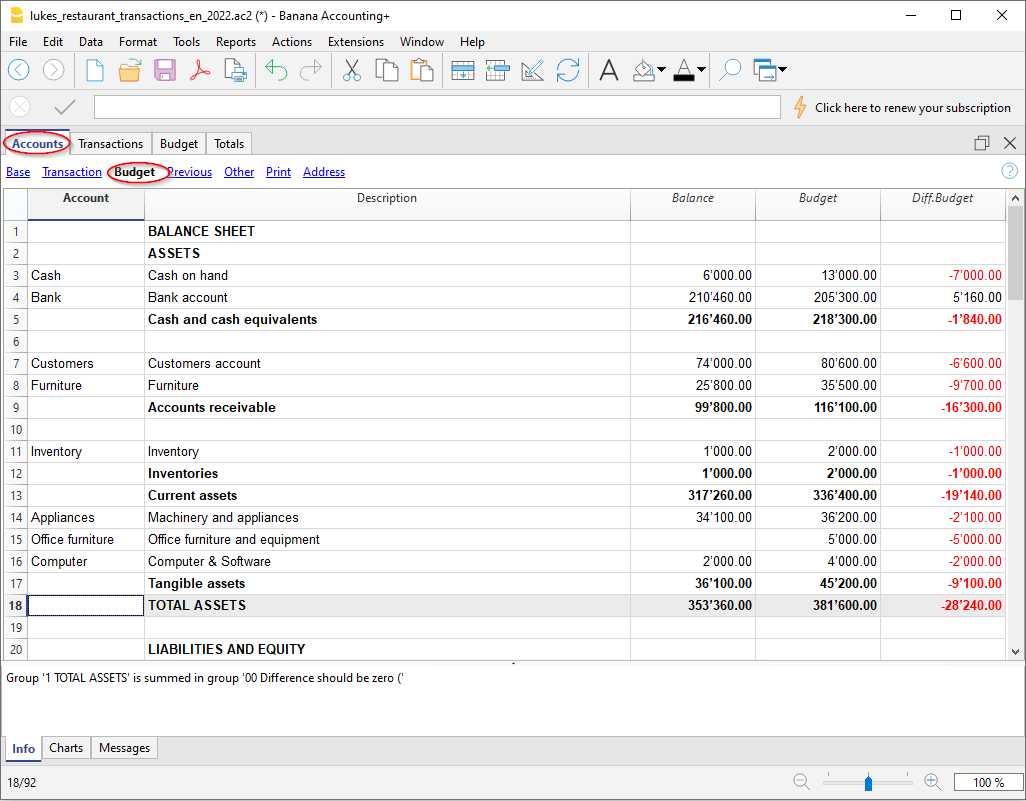
Enhanced Balance sheet with groups
Through Enhanced Balance Sheet with groups command, you can view the Provisional Balance Sheet, choosing the presentation mode you need.
- Indicate in the Sections options to display the values of the Budget
You can display the current (accounting) values, the budget values or both. - Set up the Period.
If a period that exceeds the accounting period, is indicated, the program will automatically switch to budgeting over several years. - With the subdivision by period the data are presented with the subdivisions chosen for the period.
- In the Rows section, you can exclude accounts and thus have a view of groups only.
- If you think you will use this print setting again, create a Customization.
Using the different options you can customize your prints. Below are some examples.
Enhanced Balance sheet annual Budget groups
This print has been set up to produce only the budget values for the current year.
Budget and Current Balance sheet
The actual (current) values are compared with those of the budget. You can also display the change in the comparison as an amount and a percentage.

Quarterly budget
IIn order to obtain an annual budget with a quarterly breakdown, the quarter must be indicated in the section Subdivision → Subdivision by period. The program will show the budget for the year, divided into 4 quarters.
Budget and current quarter Balance sheet
This printout is set up to display both the budget and the annual final balance with the breakdown per quarter. Thus we have the expected and current situation at the end of the quarters.

Three-year budget
This printout is set up to print the three-year budget forecast.
In the Period section set the reference period to three years and in the Subdivision section → Subdivision per period set to one year. In the File properties (File menu) there must be 3 years as the start and end period (e.g. start 01.01.2022 - end 31.12.2024).
Budget Accounting Report
From the Reports → Accounting Report menu you can get printouts of financial statements displayed as in the accounts table, but with the required column values.
The options are similar to those explained for the Enhanced Balance Sheet by groups.

Financial forecasting for suppliers
Supplier forecasting completes financial planning with supplier data. For example, a company can plan purchases by indicating purchases by indicating accounts for the most important suppliers. It will thus be able to analyze and optimize the relationship with the various suppliers, perhaps by requesting payment extensions.
Forecasting with the double entry method also allows you to indicate accounts for individual suppliers. Depending on the need, suppliers management can be done with balance sheet accounts, profit and accounts or with cost and profit centers.
When changing a budget movement, the forecasts for each individual supplier are also updated.
Accounts table
Set up accounts for suppliers in the Accounts table. In the Budget column, the forecast balances are automatically updated for the accounting period, according to the beginning and the end date, set up in the File properties. At a glance, you can view what the forecast for the individual supplier will be.

Evolution chart
When you open the Charts window, positioning the cursor on an account or a group you will see the graph representing the evolution of Suppliers.
In the legend are visible Current, Previous and Budget. By clicking on each one it is possible to hide or make visible the respective graphs.
Account card with Supplier budget data
With the Budget account card command you have the possibility to see in detail all the movements for each supplier.

- Select budget movements.
- Indicate the supplier’s account ot the supplier's group.
- Set up the period.
If you indicate a period that extends beyond the accounting period, the program will automatically generate Forecasts over several years. - When indicating a group, you will see the movements of all the accounts belonging to that group.
- When in the Budget table, you can access the customer's card with a click on the small icon next to the account number.
Suppliers Enhanced Balance sheet with groups
Through the Enhanced Balance Sheet with groups you can choose which data columns to display and the reference period, to see the evolution of the supplier by day, week, month, quarter, semester, year, etc.

- In Sections options you can select the Budget data to be displayed.
- Select the Suppliers group. You can also choose to view the accounts of each individual supplier.
- Set up the Period.
If a period that exceeds the accounting period, is indicated, the program will automatically switch to budgeting over several years. - Indicate the subdivision by period required.
- If you think you will use this print setting again, create a Customization.
Accounting Report with Suppliers Budget
The Accounting Report is similar to the one for Enhanced balance sheet with groups, with the difference that the display takes place in columns, as in the Accounts table.
You can therefore use it to get an instant view of the evolution of the Supplier accounts.

Investments Planning
The investment plan presents the expected evolution of the equipment, stocks, movable or immovable values that are necessary for the company.
With Banana Accounting, thanks to the forecasting with the double-entry method, you can track what the evolution of assets will be over time. You generate comprehensive forecasts, which you can organize in different ways. The program also calculates forecasts over several years.
The structure of the accounts is identical to the one used for accounting. When printing, you can indicate whether to select which values to display, the final ones only, the forecasted ones or both together.
You also have the Income statement forecasts, so you can display the evolution of amortization and interest. When a budget movement is changed, the forecasts are immediately updated. You can run simulations, assign a payment, add an investment, change sales and see how asset accounts evolve.
For the Investment Plan, you have the same options as in the Liquidity Planning and the Provisional Profit and Loss Account.
Using formulas
The formulas allow you to automate calculation of depreciation and interest. When you increase an investment, the Profit and Loss statement will also be instantly be updated. Formulas are particularly useful when making forecasts over multiple years.
Chart of Accounts
In the Budget column of the Chart of Accounts the forecast values for all accounts and balance groups are displayed, and therefore, for all those relating to investments equally. With a glance, you have an instant view of the values referring to the accounting period.

If you require more investment details, you may add accounts or groups.
Evolution charts
When you open the Charts window, positioning the cursor on an account or a group you will see the graph representing the evolution of the Suppliers.
In the legend are visible Current, Previous and Budget. By clicking on each one it is possible to hide or make visible the respective graphs.
Investments Account card with Budget data
Using the Budget Account card command will offer you the possibility to see in detail, all movements of the budgeted investments. You have the evolution, day by day, of every single Assets account and also of the depreciation accounts.

The Account card command allows you to specify if you want to see current or budgeted movements.
- Select budget movements.
- Indicate the account or the Investments group.
- Set up the Period.
- If you indicate a period that exceeds the accounting period, the program will automatically generate Forecasts over several years.
- If you indicate a group, you will see the movements of all the accounts belonging to that group.
- When you are in the Budget table, you can access the account card with a click on the small icon next to the account.
Investments in the Enhanced Balance sheet with groups
Through Enhanced Balance Sheet with groups you can choose which data columns to display and the reference period, to see the evolution of the investments by day, week, month, quarter, semester, year, etc.
- In Sections options you can indicate to display the Budget data.
- Choose the Investments group. You can also choose to display the accounts of each individual asset relating to an investment.
- Set up the Period.
If a period that exceeds the accounting period, is indicated, the program will automatically switch to budgeting over several years. - Indicate the subdivision by period required.
- If you think you will use this print setting again, create a Customization.

Accounting Report with Investments Budget
The Accounting Report is similar to the one for Enhanced balance sheet with groups, with the difference that the display takes place in columns, as in the Accounts table.
You can therefore use it to get an instant view of the evolution of the investments accounts.

Corporate financing plan
The corporate financing plan presents the expected evolution of the accounts relative to the origin of third party and own capital.
With Banana Accounting, thanks to the forecasting with the double-entry method, you have complete forecasts that you can arrange in different ways. The program also calculates forecasts over several years.
The structure of the accounts is identical to the one used for accounting. When printing, you can indicate whether to select which values to display, the final ones only, the forecasted ones or both together.
When a budget movement is changed, the forecasts are immediately updated. You can run simulations, assign a payment, add a new debit, change sales and see how liabilities accounts evolve.
For the Corporate financing plan, you have the same options as for the Liquidity Planing and the Provisional Profit and Loss Account.
Using formulas
The formulas allow you to automate calculation of depreciation and interest.Formulas are particularly useful when making forecasts over multiple years.
Chart of Accounts
In the Budget column of the Chart of Accounts the forecast values for all accounts and balance groups are displayed, and therefore, also for all those relating to funding. With a glance you get an instant view of the values referring to the accounting period.

If you require more details on third party capital, you may add accounts or groups.
Evolution graphs
When you open the Charts window, positioning the cursor on an account or a group you will see the graph representing the evolution of the financing of the company.
In the legend are visible Current, Previous and Budget. By clicking on each one it is possible to hide or make visible the respective graphs.
Account card with Budget for third party capital data
Using the Budget Account card command you have the opportunity to see on a day-to-day basis, how each account payable evolves, debt amortization, interest expense and understand the impact they have on financing.

The Account card command allows you to specify if you want to see current or budgeted movements.
- Select budget movements.
- Indicate the account or group of loans.
- Set up the Period
If you indicate a period that exceed the accounting period, the program will automatically generate Forecasts over several years. - If you indicate a group, you will see the movements of all the accounts belonging to that group.
- When you are in the Budget table, you can access the account card with a click on the icon next to the account.
Enhanced Balance sheet with groups
Through Enhanced Balance Sheet with groups you can choose which data columns to display and the reference period, to see the evolution of the funding of the company by day, week, month, quarter, semester, year, etc.

- In Sections options you can indicate the Budget data to be displayed.
- Choose the Third party capital group. You can also select to display the accounts of each individual funding account.
- Set up the Period.
If a period that exceeds the accounting period, is indicated, the program will automatically switch to budgeting over several years. - Indicate the subdivision by period required.
- If you think you will use this print setting again, create a Customization.
Accounting Report for Third party capital Budget
The Accounting Report is similar to the one for Enhanced balance sheet with groups, with the difference that the display takes place in columns, as in the Accounts table.
You can therefore use it to get an instant view of the evolution of third party accounts.

Project planning with profit and cost centres
Financial planning of projects allows you to take control over the income and expenses of a project. It is used to evaluate investments and returns on a project and to track its implementation.
Budgeting with the double-entry method allows you to indicate profit and cost centers as well. You only need to set up cost centers for the different projects, and in parallel to the balance and income statement forecasts, you will have the forecasts available for each individual project.
- Watch the video: Cost and profit centers
The projections are calculated on the basis of the initial balance and the forecasts entered in the Budget table. When a line is changed the budget, forecasts are instantly updated. You can produce simulations, reassign a payment, add an investment, modify sales and spot how the project changes.
Values of projects can be displayed in several ways.
Accounts table
Profit and Cost centers are set up in the Accounts table. After each movement, the updated balances of the forecast for the accounting period of reference are displayed in the Budget column. At a glance you can know immediately what the situation of the projects will be at the end of the year.

Evolution chart
When you open the Charts window, positioning the cursor on an account or a group you will see the graph representing the evolution of the projects.
In the legend are visible Current, Previous and Budget. By clicking on each one it is possible to hide or make visible the respective graphs.
Account card with budget data
With the Budget Account card command you have the possibility to display all the movements for the single project in detail, day by day.

The Account Card command allows you to specify whether you want to display current or budget transactions.
- Select budget movements.
- Indicate the cost or profit center accounts, or the group.
- Set up the Period.
- If you indicate a period that extends beyond the accounting period, the program will automatically switch to Forecasts over several years.
- When you indicate a group, you will see the movements of all the accounts belonging to that group.
- When in the Budget table, you can access the cost center tab by clicking on the small icon next to the account number.
Enhanced Balance sheet with groups
With the Enhanced Balance sheet with groups you can choose which data columns to display and the reference period, to see the evolution of the projects by day, week, month, quarter, semester, year, etc.
- In Sections options you can select the Budget data to be displayed.
- Select the Projects group. You can also choose to view the accounts of each individual project.
- Set up the Period.
If you indicate a period that extends beyond the accounting period, the program will automatically switch to Forecasts over several years. - Indicate the desired subdivision by period.
- If you think of continuing to use this print setting, create a customization.
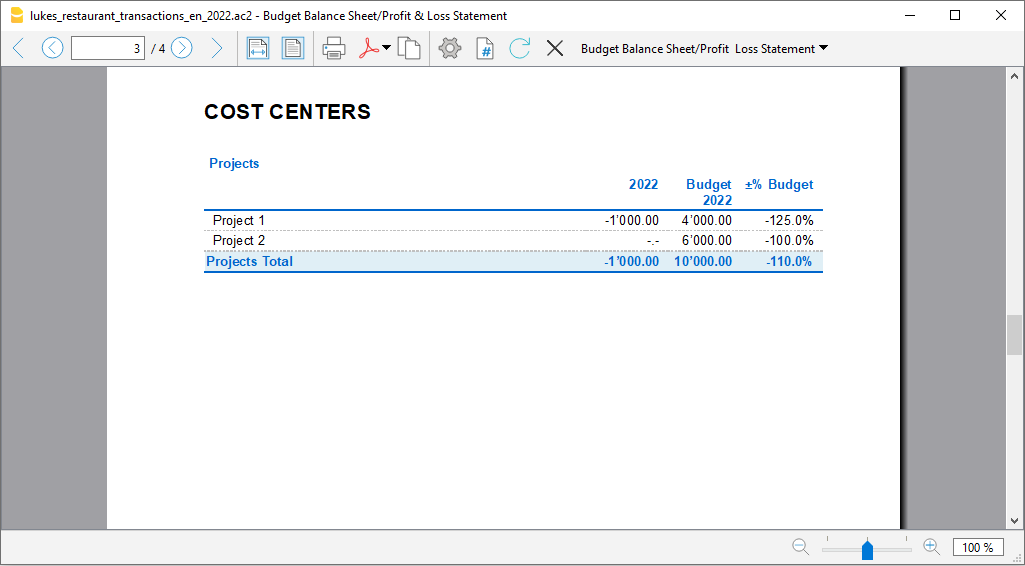
Projects Budget Accounting report
The Accounting report is similar to the Enhanced balance sheet with groups, with the difference that the display takes place in columns, as in the Accounts table.
It can therefore be used to display an instant view of the evolution of the projects.

Planning with segments per sector and branch
The financial planning by sectors allows you to run budget and income statement forecasts for each sector or branch of the company. With the Segments, you can then evaluate the different areas of the company and understand what contribution it makes to the overall business.
The forecast, with the double-entry method, also allows you to indicate the segments which are set in the Accounts table, at the end of the chart of accounts and are used both for accounting and forecasting. When recording the movements of the forecast, the accounts of the segments must be entered when necessary. Banana Accounting executes the Balance Sheet and Profit and Loss Statement of the forecast as well, with the subdivision by the different segments.
The projections are calculated on the basis of the initial balance and the forecasts entered in the Budget table. When a budget movement is changed, forecasts of the project are instantly updated. You can produce simulations, reassign a payment, add an investment, modify sales and spot how the project changes.
Sector or branch data with segments can be displayed in several ways.
Chart of Accounts
Segments are set up in the Chart of Accounts. When indicating the segments for the Balance Sheet and Profit and Loss statement accounts, the balance of the segment will always result as zero in the accounts.

Account card with Segments budget data
With the Budget Account card command you have the possibility to examine all the movements for each segment in detail.
 The Account card allows you to specify whether you want to display the current or budget movements.
- Select budget movements
- Indicate the required segment, or the group.
- Set up the Period.
If you indicate a period that extends beyond the accounting period, the program will automatically switch to Forecasts over several years. - If you indicate a group, you will see the movements of all the segments belonging to that group.
- When in the Budget table, you can access the Budget Account card by clicking on the small icon next to the account number.
Enhanced Balance sheet with groups
With the Enhanced Balance sheet with groups you can choose to divide the values into separate columns for each segment. Thus, you dispose of the Balance Sheet and Profit and Loss statement for each sector.
- Indicate that you wish to display the Budget values in the Columns section.
- In Sections you may choose to view the balance sheet or the profit and loss statement only.
- Set up the Period.
If you indicate a period that extends beyond the accounting period, the program will automatically switch to Forecasts over several years. - Indicate the required subdivision by segments.
- If you plan to continue to using this print setting, create a customization.

Accounting report for the Budget of Segments
The Accounting report is similar to the Enhanced balance sheet with groups, with the difference that, the display takes place in columns.
It can therefore be used to display an instant view of the evolution of the segments.

New year for financial forecasting
The Banana Accounting function to Create a New Year also takes up the budget movements.
For each row in the table Budget, in the New Year column, you have the possibility to indicate:
- Whether the operation is to be carried forward or not,
- If the date is to be kept or replaced with the date of the new year.
Creating the budget for the new year is therefore simple, because you have to modify or add the expense and income items that are expected to change.
Next year’s budget in the current accounting
In Banana Accounting, in addition to the Budget column (used to enter the current year's budget), you can add a custom column to manually enter the budget for the following year. This allows you to plan the future budget without changing the current year's one.
This feature is particularly useful, for example, for associations, where at year-end members are asked to approve both the final accounts and the budget for the following year.
How to add the Next Year Budget column
You need to add the Next Year Budget column in the Accounts / Categories table.
- Go to the Accounts table of your accounting file.
- From the Data menu > Columns setup > Add.
- Enter the title: Next Year Budget (e.g. Budget year xxxx).
- Set Data type = Amount, so Banana automatically calculates the group totals.
- Confirm with OK.
The new column for the next year's budget will be visible in the Accounts table.
Entering the values
In the column you added, enter the estimated amount for the next year for each cost and income account.
- Income (Credit column) → negative amounts.
- Costs (Debit column) → positive amounts.
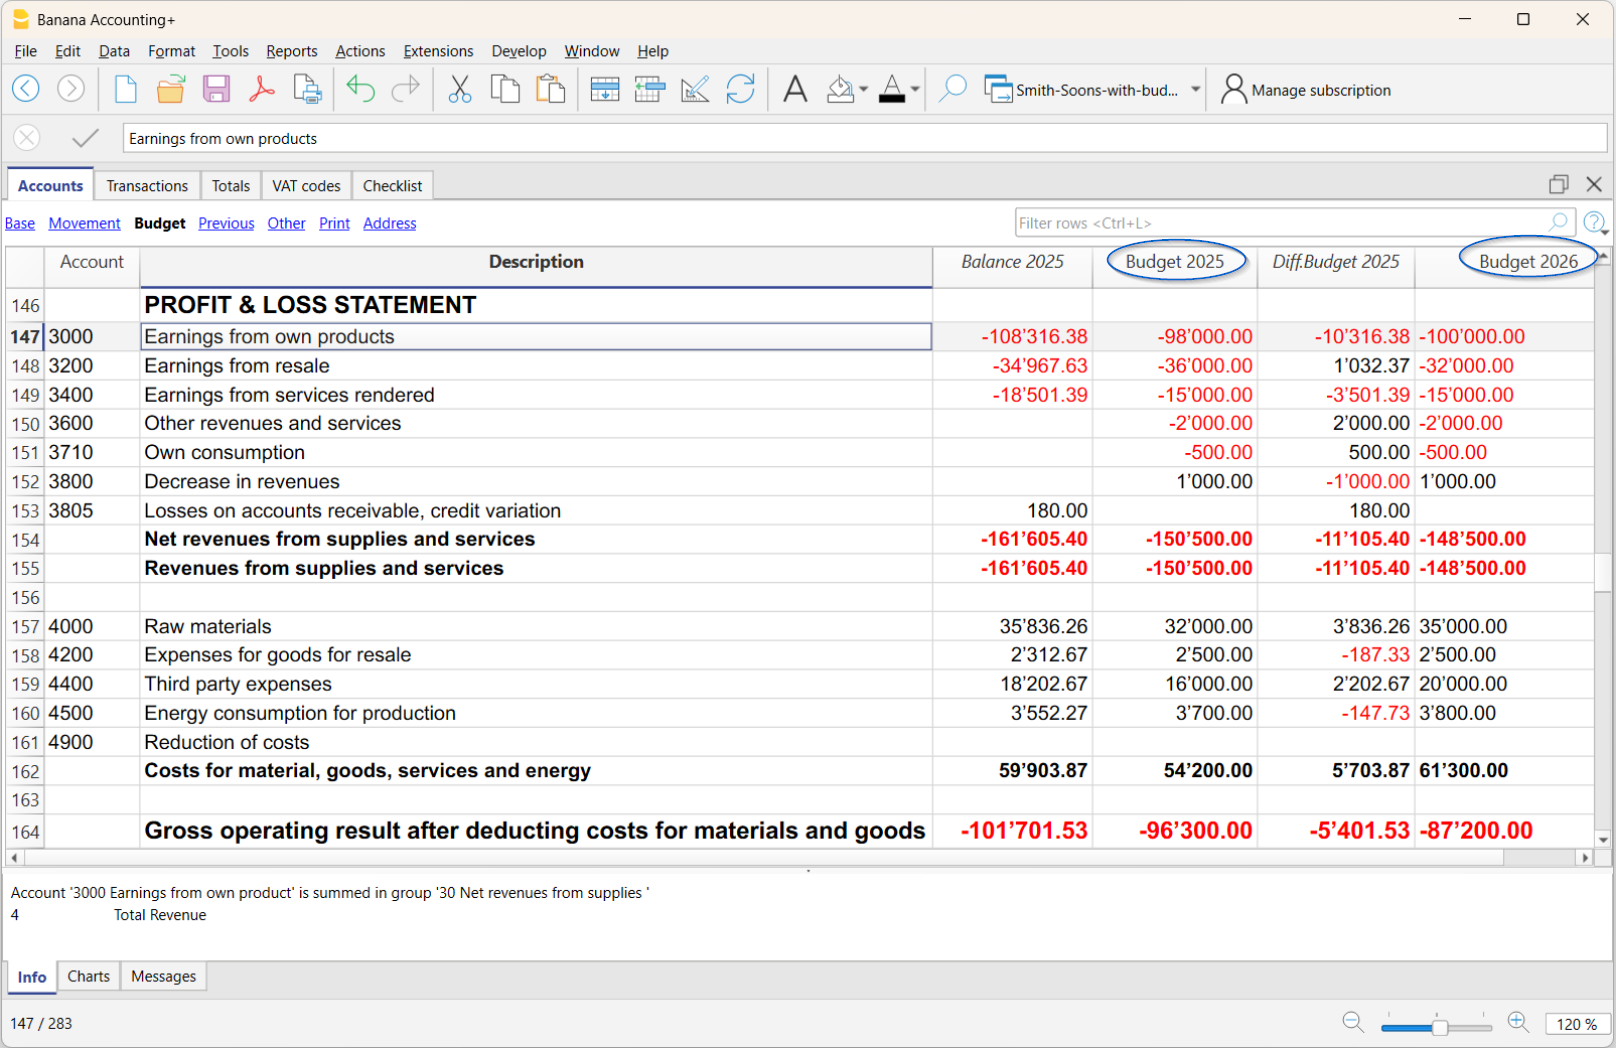
Print the Balance Sheet with the integrated Next Year Budget
Once all the budget values have been entered in the Next Year Budget column, you can print a balance sheet, integrating the new column in addition to the current year's budget column.
To print, go to:
- Reports > Enhanced Balance Sheet with groups menu
- In the Profit and Loss Account Columns section, activate:
- Current (if you want to display the actual column)
- Budget, Difference (if you want to display the variance column between Budget and Actual of the current year)
- Click on the Advanced button and then on Add:
A dialog opens listing all columns from the Accounts table that you can include in the report- Activate the added column for the Next year’s budget
- Confirm with OK.
- In the Profit and Loss Account Columns section, activate:
The balance sheet will then show, in addition to the current data, also the budget for the next year.
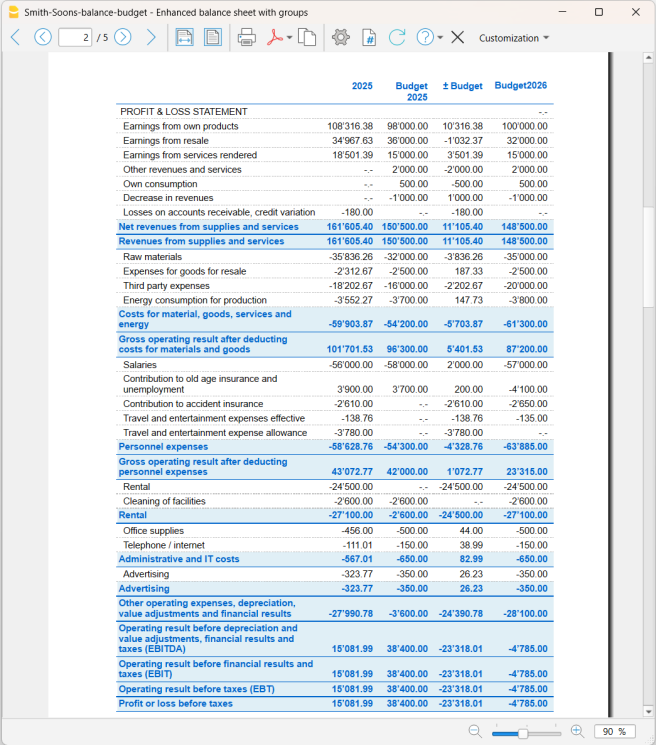
Preparing the Liquidity Plan
The liquidity plan is very important not only for startups, which need to assess possible investments based on available financial resources, but also for established companies to maintain balance over time.
A careful analysis of cash flows allows you to monitor that there are always sufficient funds available to meet financial obligations, such as salary payments, suppliers, taxes, and other operating expenses. Preparing a liquidity plan is essential for several reasons:
- Strategic planning: provides crucial information for strategic planning and decision-making, allowing the company to seize investment and growth opportunities promptly.
- Operational sustainability: ensures that the company always has sufficient funds to operate without interruptions, maintaining operational continuity.
- Prevention of liquidity crises: avoids emergency situations where the company cannot meet its financial obligations, preventing potential insolvency or bankruptcy.
- Optimization of financial costs: allows for efficient planning of financial resources, reducing financing costs and improving the return on available resources.
- Improvement of relationships with third parties: effective liquidity management strengthens the trust of investors, suppliers, employees, and other stakeholders in the company.
How to prepare the liquidity plan
To draft a liquidity plan, it is necessary to analyze a series of historical data and documents.
Data collection
Start by gathering a series of useful documents for the planning process:
- Bank Statements: to check recent transactions and balances from bank, postal, and credit card statements.
- Debtors and Creditors Accounts: to examine the receivables the company needs to collect and the payables it needs to settle.
- Current Balance Sheet: to draft a current balance sheet for an overview of all accounts.
- Balance Sheets of previous years and periods: to assess, based on historical data, especially revenue trends.
Banana Accounting Plus offers innovative features to create a liquidity plan, using the same chart of accounts as the accounting system and integrating it into the same accounting file without the need for separate spreadsheets.
To create the liquidity plan, forecasts are entered into the Budget table as regular entries, using the Debit, Credit, Amount columns, VAT codes if any, cost centers, and segments.
Estimating Inflows and Outflows
When forecasting costs and revenues, it is better to be cautious. Therefore, it is recommended to not underestimate costs and not overestimate revenues, while also considering unforeseen events to avoid liquidity shortages. It is also advisable to develop a strategy to identify which costs can be reduced because they are not strictly necessary and which revenues can be optimized.
Future Outflows
Enter forecasts for future costs based on historical data and potential extraordinary expenses:
- Operating Costs: forecast operating expenses such as salaries, rent, utilities, and production costs.
- Debts and Payments: plan payments to suppliers and loan repayments.
- Other Outflows: consider other expenses like taxes, extraordinary maintenance, or investments.
Future Inflows
Enter forecasts for future revenues:
- Revenue: based on sales from the previous year for the same period, market trends, and marketing strategies, prepare estimates for sales or services. If reliable data is not available, rely on historical data from previous years.
- Other Inflows: include other possible sources of income, such as interest from investments or potential loans.
Below is an image of the table. For an explanation of the columns, refer to the page Budget Table Columns.
Liquidity Plan from the Balance Sheet
Use the command Enhanced Balance Sheet with Groups to access the forecast balance sheet report.
- In the Sections options, enable the display of the Budget for the Balance Sheet (Assets and Liabilities).
You can view current (accounting) values, budgeted values together or separately. - Set the Period.
If you specify a period beyond the accounting period, the program automatically generates multi-year forecasts. - Specify the Period Breakdown you want.
- In the Rows options, you can exclude accounts and view only the groups.
- If the setup will be used in the future, it is advisable to create a Customization.
Liquidity Plan Report from the Accounts Table
The Accounting Report is similar to the Enhanced Balance Sheet with Groups, with the difference that data is displayed in columns, like in the Accounts table.
You can use the Accounting Report to get an immediate view of the liquidity accounts' evolution.

Banana Integrated Investment Accounting
Banana Integrated Investment Accounting combines professional double-entry accounting with investment management in a single, integrated solution. Manage shares, bonds, funds, and other financial instruments in multiple currencies, directly within your accounting file.
It brings advanced investment accounting features, typically found only in specialized software, within reach of businesses, accounting professionals, and private investors.
By integrating investment management directly into double-entry accounting, every investment transaction becomes part of your financial accounting. You can keep track of investments, book values, realized and unrealized gains or losses, and exchange rate differences, while maintaining an up-to-date Balance Sheet and Profit & Loss statement.
- ▶ Banana Integrated Investment Accounting - video 3'15"
Using Investment Accounting in a Separate File
Investment Accounting can also be managed in a separate file, independently from your main accounting file. This approach may be useful when:
- you use another software solution for your financial accounting;
- you want to keep detailed investment data separate from your main financial accounting;
- you want to maintain separate investment accounting and integrate only the required data into your main accounting, for example at the end of the year.
In this way, Banana Investment Accounting can be used either as a fully integrated solution within your financial accounting or as a separate system dedicated to managing and monitoring your investments.
Portfolio Accounting is officially available from Banana Accounting Plus release 10.2.8. For the time being, it is available with the Banana Accounting Plus Advanced plan for only CHF 179/year (€169/year). In the future, it may be offered under a specific subscription plan.
A Valuable Tool for Accounting Professionals
An increasing number of companies and individuals hold significant and increasingly complex investment portfolios. For accounting professionals, this creates new opportunities to provide specialized, value-added services.
Banana Investment Accounting makes it possible to manage financial accounting and investments within the same accounting system. By extending traditional accounting services to include investment accounting, professionals can better serve clients with complex financial assets and create opportunities for additional services, including financial reporting, investment monitoring, and advisory support.
Banana Investment Accounting can be particularly useful for:
- Companies holding and managing different types of investments
- Pension funds managing multi-asset investment portfolios
- Family offices managing multi-asset investment portfolios
- Independent accountants providing investment accounting services
- High-Net-Worth Individuals and Ultra-High-Net-Worth Individuals managing complex investment portfolios
- Non-profit organizations managing investments or endowment funds.
The Advantages of Double-Entry Accounting
Many people managing investments still rely on accounting software that does not integrate investment management. As a result, they often need separate spreadsheets to calculate book values, gains and losses, and other investment-related information. This can be time-consuming and makes reconciliation more difficult, especially when investments are held with multiple banks or custodians that provide reports using different formats and valuation methods.
With Banana Investment Accounting, investment transactions are integrated directly into a consistent double-entry accounting system. Investment data and financial accounting remain connected and can be reconciled and verified at any time.
Key advantages include:
- In the Items table, you can define your investments, including shares, bonds, funds, and other financial instruments, together with information such as the investment ID, currency, Asset Account, opening quantity, and prices.
- In the Transactions table you can record purchases, sales, dividends, interest, charges, and other investment transactions, together with the investment ID, amount in transaction currency, exchange rate, quantity, and unit price.
- When an investment is sold, the Investment Accounting extension can calculate the realized gain or loss and, where applicable, the exchange rate gain or loss, and create the related accounting transactions.
- At any time during the year, the extension can calculate unrealized gains and losses and create the adjustment transactions required to align book values with current market prices and exchange rates.
- The accounting data is immediately reflected in the Balance Sheet and Profit & Loss statement, providing an up-to-date view of your financial position.
- The detailed investment and accounting data remains available for reconciliation, customized reporting, performance analysis, and tax-related reporting.
- Your accounting data remains under your control: Banana Accounting runs locally on your computer, and you decide where your accounting files are stored.
Investment Accounting
Multi-currency investment accounting is one of the most complex areas in accounting.
It combines financial accounting, based on the double-entry method, with the need to track individual investments in a way that resembles inventory management, including quantities, purchase prices, book values, and market values.
- Introduction to Investment and Portfolio Accounting
Professional accountants working in finance are generally familiar with investment accounting and its specific requirements. For those who are less familiar with this specialized area, investment accounting can be challenging. Therefore, we have prepared a theoretical guide that explains the key concepts and challenges, including how to determine the book value of investments and how to calculate realized and unrealized gains and losses, including those arising from exchange rate differences. - How to start
A practical guide that explains the logic and workflow of Banana Investment Accounting. It covers the main steps:- Set up the accounting file and the information required for your investments.
- Record daily investment transactions in chronological order and follow the appropriate workflow to ensure that book values are calculated correctly.
- At the end of the year, update investment values to reflect current market prices and exchange rates and record the corresponding unrealized gains or losses.
- Banana Investment Accounting can also be used by finance and accounting professors to improve investment accounting education.
Table-based accounting
Banana Accounting uses a table-based interface similar to Excel, where accounting and investment data is entered and displayed in tables. This provides a clear overview of the information and makes it easy to search, select, and modify data.
If you are already familiar with investment accounting, this brief overview will help you understand how Banana Accounting works and whether it fits your needs. You will also find links to more detailed information.
A typical Investment Accounting template or file includes the following elements:
- File properties
- Company names, Currency and Accounting Period.
- Settings specific to Investment accounting.
- Accounts Table
- It contains the chart of accounts and defines how data is grouped for the Balance Sheet and Income Statement.
- This is where you enter the Opening amounts.
- Items Table
- It lists and identifies all investments, such as bonds, shares, and funds.
- The Asset Investment column links each security to its corresponding Balance Sheet account — a key element of the entire solution.
- Exchange Rate Table
It defines the currency codes and stores both opening and current exchange rates for accurate multi-currency management. - Transactions Table
- It records all investment transactions.
- This is where you enter the double-entry account, amounts, and exchange rate for financial accounting.
- This is where you enter the Item code, quantity, and price required for investment accounting.
- Double-Entry Accounting Reports
The software provides access to all standard accounting reports, such as the Balance Sheet, Income Statement, Account Cards, and more. - Investment Accounting Extensions
You need to install the Investment Accounting Extension, which provides specific functionalities for investment management, including profit and loss calculations, valuation reporting, and other analytical tools tailored to securities accounting.
Accounts Table
Within the Accounts table you define all the accounts including the ones necessary for the Investment accounting: Balance Sheet accounts for investments, Profit and Loss Accounts.
- The accounting chart is fully customizable based on your specific needs.
- In the Account table you also enter the opening amounts and you see the current balance.

Items Table with Investments
In the Items table, you enter the information for each investment.
Using the Asset Account, each investment is linked to the corresponding investment account specified in the Accounts table.
You also enter the opening quantity and price.

Transactions Table with Investment Details
The Transactions table is the core of the accounting system, where you enter double-entry accounting transactions.
- For investment transactions, you specify the investment ID, quantity, and price.
- You can easily manage all the information in one place, including purchases and sales of investments, realized and unrealized gains or losses on investments, realized and unrealized exchange rate gains or losses, commissions, expenses, and more.
- You can import transactions from bank statements and create rules that automatically complete them.

Balance Sheets & Income Statements
With a predefined, fully customizable chart of accounts and presentation, you can manage the accounting of any type of business, financial corporation, foundation, non-profit organization, or private fortune.
Instantly generate Balance Sheets, Income Statements, and all other double-entry accounting reports ready for auditing.
Investments and Portfolio Reporting
The software provides multiple investment and portfolio reports.

Documentation
Limitations
The current version has some limitations:
- Market prices are not automatically retrieved from financial data providers.
Current prices can be entered manually or imported using the Investment Accounting Extension. - The current account value of each item is available as a report, but it is not displayed in the Items table.
Dedicated Newsletter
Subscribe to our newsletter to stay updated on new features and tips for Investment Accounting in Banana. Interested? Just write to us at info@banana.ch and mention that you’d like to subscribe to the Investment Accounting newsletter.
Is there more you need?
The solution is already used by several customers, but we still consider it to be under development, as we continue to improve it based on user feedback and requests.
We also plan to add the automatic import of investment data (ISIN, quantity, price, commissions) from bank statements.
Please feel free to reach out if you have any specific questions or requests. Given the time invested in development and the high value it provides to customers with specific investment accounting needs, we may offer it through a specific subscription plan in the future.
How to start with an Investment Accounting
This page outlines the main steps required to set up an Investment Accounting file in Banana Accounting and links to the detailed documentation for each topic.
Download Banana Accounting
You need to install Banana Accounting Plus on your computer.
Investment Accounting is available with Banana Accounting Plus version 10.2.8 or later, and is included at no additional cost in the Advanced plan, available for only CHF 179/year (€169/year).
- Download Banana Accounting+ (version 10.2.8 or later).
See how it works by using one of our templates. - Adapt your current accounting in just a few steps.
- Install the Investment Accounting extension using Extensions > Manage Extensions.
Before You Start
Investment Accounting combines double-entry accounting with investment management to manage investments within a single accounting system
This page assumes that you are already familiar with concepts such as:
- book value of investments
- valuation methods
- realized and unrealized gains and losses
- exchange rate gains and losses.
If you are new to investment accounting, please refer to the Theoretical Introduction before continuing.
Setting Up the Accounting File
There are two ways to start working with Investment Accounting:
- Adapt an existing accounting file
If you already use Banana Accounting, you can add the Investment Accounting functionality to your existing accounting file by configuring the required accounts, Items, and settings. Each Asset account represents the accounting value of one or more investments. - Start from a template
You can also create a new accounting file from one of the provided templates. Templates already include the required tables, columns and settings, allowing you to start working immediately.
Available templates:
Setting Up the Exchange Rate Table
The Exchange Rate Table defines the currencies used in the accounting file and stores both opening and current exchange rates.
Before setting up the Accounts table, you need to define the currencies in the Exchange Rate Table.
- The current exchange rate is used as the default for revaluation and for calculating exchange rate differences (unrealized exchange rate gains or losses).
- The opening exchange rate is used to convert the opening amount of an account or the opening value of investments.
Setting Up the Accounts Table
Set up the chart of accounts and its structure (see Account table).
- Adapt the chart of accounts to your needs by modifying, adding or removing accounts and groups.
- Add the Asset accounts that will be used for the investments.
- For each Balance Sheet account with an opening amount, specify the opening amount in the account currency.
- Managing Cryptocurrencies
Cryptocurrencies such as Bitcoin and Ether can be managed like other currencies. The main difference is that they may require 6, 18, or more decimal places. Templates are usually set up with 2 decimal places, but you can easily convert the accounting file to use more decimal places for foreign currencies.- Menu Tools > Convert to a new file.
Setting Up the Items Table
Each investment (share, bond, fund, ETF, etc.) is represented by an Item. In the Items table you set up the list of securities (see Items table).
- Create an entry (a row with an ItemId) for each investment.
- Each Item must be linked to an Asset Account.
- The Item and its Asset Account must use the same currency.
- The sum of the opening values of all Items linked to the same Asset Account should equal the opening amount of that Asset Account.
- The sum of the current values of all Items linked to the same Asset Account should equal the current balance of that Asset Account.
- Specify the opening quantity and the opening price.
- The opening quantity and price should match the current quantity and price in the previous year's file.
- Also specify the Asset Type (1 Shares, 2 Bonds).
- The program calculates the current quantity by adding the opening quantity to the quantities of all transactions for the corresponding Item (ItemId).
- You need to manually enter the current price of the investment.
- You can also use the Update Market Prices command.
Enter or Import transactions
Transactions record both the accounting information and the investment-specific information.
In the Transactions table, you enter the transactions.
- Enter normal accounting transactions (debit credit).
- You can enter transactions manually.
- You can import transactions from a bank statement.
- Complete the Investment transactions.
For transactions involving investments, you need to enter additional investment information.- Enter at least the ItemId.
- For purchase and sales also, enter the Quantity.
- When you enter the quantity and an amount is already present, the program automatically calculates the unit price.
- Make sure that the Balance Sheet account is the same as the Asset Account defined for the investment.
- If you want to separate commissions, bank charges, interest, etc., you need to split the transactions across multiple lines.
- For each element, you should create a separate line.
- When selling investments, you also need to calculate the realized gain or loss on the investment and the related exchange rate gain or loss.
- Use the Calculate sales data command to automatically create the supplementary transactions.
End of Year Revaluation
Year-end revaluation updates the accounting value of investments to their market value by generating unrealized gain or loss transactions.
At the end of the year, or whenever you want to prepare financial statements based on market values, you need to recognize unrealized gains and losses.
- In the Exchange Rate table, update the current exchange rate with the rate you will use at the end of the period.
- In the Items table enter the market price of each investment in the Current Price column.
- Use the Create Adjustment Transactions command.
- The program automatically creates the transactions required to adjust the value and record the unrealized gain or loss.
- The Quantity column will contain a neutral number (±123.00), so that the quantity can be used to calculate the transaction amount without changing the current quantity of the Item.
- For exchange rate differences, use the Create Exchange rate differences command.
End of Year Operations and Checks
Before printing the final Balance Sheet, you need to complete all end-of-year adjustments and checks. See:
Adapt existing accounting file for Investment Accounting
If you already have a double-entry accounting file in Banana Accounting, you can extend it with Investment Accounting functionality instead of creating a new file. This page explains the additional configuration steps required before you can start managing investments.
Add Items Table and Transactions columns
If your accounting file was not originally created for Investment Accounting, you first need to enable the required tables and columns.
Complete the following steps:
- Add the Items table and the investment-specific columns to the Transactions table.
- Complete the fields by entering all the requid information about your investments.
After enabling the functionality, make sure that the ItemId column is visible in the Transactions table: menu Data > Display Columns, and check the ItemId column.
Adjusting the Chart of Accounts
Review your chart of accounts and add the accounts required for investment accounting.
In particular:
- Add the Asset Accounts that will hold your investments;
- Add any income and expense accounts required for investment transactions, such as realized and unrealized gains and losses, commissions, interest and dividends.
Note: If you currently use an Income & Expenses accounting file, convert it to a Double-entry Accounting file before continuing.
Change the Decimal Precision for Unit Price
Some investments require prices with more than four decimal places.
If necessary, increase the Unit Price decimal precision using:
This is particularly useful for cryptocurrencies, bonds and other securities quoted with many decimal places.
Example Templates for Investment Accounting
If you already have an accounting file, you can adapt it for Investment Accounting. Before making the necessary changes, we recommend reviewing one of the example templates, which illustrates the recommended accounts, tables and settings.
The templates illustrate the recommended structure of an Investment Accounting file and show how securities, Asset Accounts, Items and investment transactions work together.
You can use these templates either as a starting point for a new accounting file or as a reference when adapting an existing one.
The following templates are provided as reference examples for Investment Accounting:
- Multi-currency Example Template
The template includes:- Investment Asset Accounts (using account names instead of account numbers).
- The Items table with sample investiments.
- Profit and loss accounts for realized and unrealized gains and losses.
- Exchange rate gain and loss accounts.
- Example investment transactions.
The tutorial file contains practical examples of investment transactions in a multi-currency accounting file.
- Double-entry Example Template with accounts and tables
The template includes:- Asset Accounts (identified by account names rather than account numbers).
- The Items table with sample investments.
- Profit and loss accounts for realized and unrealized gains and losses
- Example investment transactions.
This template is intended for investment accounting in a single accounting currency.
Theoretical Introduction to Investment and Portfolio Accounting
Multi-currency investment accounting combines financial accounting, based on double-entry bookkeeping, with investment accounting, which uses inventory-like information such as quantities, unit prices, and investment values.
This combination makes it possible to manage both the accounting value of investments and the information required to track individual securities, including their quantities, prices, and valuations in different currencies.
Investment Accounting requires an understanding of both financial accounting and the specific principles used to track and value investments. This introduction provides a practical overview of these concepts and explains how they are applied in Banana Investment Accounting.
It covers key topics such as quantities and unit prices, book value and market value, investment valuation, realized and unrealized gains or losses, and the effects of exchange rate changes on investments denominated in foreign currencies.
This introduction provides a high-level overview of Investment Accounting and does not address specific accounting, regulatory, or tax requirements that may apply to individual circumstances or jurisdictions. Users should verify the appropriate accounting and tax treatment for their circumstances with their auditors or professional advisors.
Banana Investment Accounting can also be used by finance educators as a practical tool for teaching Investment Accounting.
Terminology
In the industry, several equivalent terms are used, which may vary depending on the context, such as Investment Accounting, Portfolio Accounting, and Securities Accounting. In this text, the term Investment Accounting will be used as a synonym for Securities Accounting. Portfolio Accounting, on the other hand, more specifically refers to information and trading systems for securities.
In Banana Accounting, investment accounting uses the inventory functionalities, specifically the Items table and the Item ID as the code for the security. Each Item therefore represents a security, although Items can also be used simply for other purposes, such as creating invoices.
When an Item is linked to an Asset Account, the program treats it as an asset with an accounting value. The term “asset” is therefore applicable to securities management, but it can also refer to other types of assets or, hypothetically, even to other balance sheet elements, including liabilities.
The use of different terminology can naturally be confusing, but this situation arises from the program’s flexibility, which allows the same features to be used in multiple ways. The investment accounting setup is therefore an additional extension of these core functionalities.
The Purpose of Investment Accounting
Online investment platforms provided by your bank or broker are designed to help you follow the market, compare assets, and make informed buy or sell decisions. However, they do not give you full control over your investments from an accounting perspective.
The purpose of Investment Accounting is to provide a comprehensive financial overview of your investments. It allows you to maintain an inventory of all your securities, track quantities and historical changes, and seamlessly integrate investment values, purchases, sales, and market fluctuations into your accounting records. Additionally, it ensures that revenues such as interest and dividends and costs like expenses and commissions are accurately reflected within your Balance Sheet and Income & Expense accounting.
Beyond financial tracking, Investment Accounting helps you optimize the fiscal impact of your investments, ensuring that tax-related aspects such as capital gains, withholding taxes, and deductions are properly accounted for. It also supports compliance and auditing, providing structured and transparent records that facilitate regulatory reporting and financial reviews.
Investment Accounting Goals and Future Developments
Over the years, we have refined the Investment Accounting solution in close collaboration with financial specialists, particularly those in the Swiss financial sector.
Our objective has always been aligned with their needs: to deliver a straightforward, reliable, and professional way to manage investments directly within financial accounting software. Traditionally, such functionality has only been available in specialized and costly financial systems.
With Banana Accounting, we have focused on creating a solution that is simple, intuitive, and efficient, yet powerful enough to give you full control over your investments while streamlining compliance and reporting.
We have also developed and introduced highly innovative features, such as the unique neutral numbers (±123.00) — exclusive to Banana Accounting. This groundbreaking concept makes it incredibly easy to record transactions that affect the value of investments without changing their quantity, ensuring both precision and simplicity in day-to-day accounting operations.
We highly value your feedback and suggestions, as they help us continuously improve the solution, its documentation, and this introduction.
Please use the form at the bottom of this page to get in touch with us — we’ll be glad to hear your thoughts and ideas.
Learning Tool for Finance Students
In line with our company’s mission, we aim to provide a solution that enhances financial literacy and supports practical learning.
By integrating investment management directly into Banana Accounting, students of Finance, Accounting, and Auditing can explore how an investment accounting solution works, gain hands-on experience, and avoid time-consuming manual exercises.
Using a professional accounting tool, they can easily experiment with real-world and complex scenarios, from managing investments to recording transactions, and immediately see how each operation affects the Balance Sheet and the Income Statement.
Differentiating Investments from Bank Deposits & Cryptocurrency Holdings
From an accounting perspective, it is crucial to distinguish between bank deposits or cryptocurrency holdings and investments (securities) based on how they are recorded and valued.
Bank Deposits & Cryptocurrency Holdings – Tracked with an Accounting Balance
- Bank deposits and cryptocurrency holdings are monetary assets recorded as part of a company’s or individual’s cash or financial reserves.
- These holdings are easily tracked using a standard accounting balance, as they have a single value expressed in the account’s currency.
- If held in foreign currency or cryptocurrency, their value is adjusted using the exchange rate at the reporting date.
- Example: A bank account with $10,000 is recorded as a cash asset, converted into the base currency if needed (e.g., €9,090 at an exchange rate of 1.10).
Investments (Securities) – Require an Inventory-Like System
- Investments such as stocks, bonds, and mutual funds share similarities with inventory management, as they involve:
- A quantity (e.g., number of shares or bond nominal value).
- A unit price (e.g., market price per share or bond percentage value).
- An exchange rate, if denominated in a foreign currency.
- Unlike bank holdings, investments cannot be tracked using a simple accounting balance because their value changes not just due to exchange rates but also due to market price fluctuations and transactions (buying, selling, reinvesting).
- Proper Investment Accounting ensures that each transaction and value change is accurately recorded, much like how an inventory system tracks stock levels and price variations over time.
Why Investment Accounting Matters
Because investments behave more like an inventory of financial instruments, traditional accounting methods used for bank balances are not sufficient to track them accurately. Instead, a dedicated investment accounting system is required to properly manage:
- Purchases & Sales – Tracking quantities and cost basis.
- Market Value Changes – Adjusting for price fluctuations.
- Revenues & Expenses – Including dividends, interest, and commissions.
- Exchange Rate Effects – Converting values in foreign currencies.
By structuring investment records similarly to inventory management, Investment Accounting ensures full control and accurate reporting of financial assets.
Structure of the Investment Accounting File
Banana Accounting is a highly modular financial accounting system that allows you to create files with features activated only when needed.
The multi-currency investment accounting setup is among the most advanced, as it combines double-entry financial accounting with inventory-style management for tracking securities, quantities, and valuations. A typical Investment Accounting template or file includes the following elements:
- File properties
- Company names, Currency and Accounting Period.
- Settings Specific to the Investment accounting .
- Accounts Table
- Contains the chart of accounts and defines how data is grouped for the Balance Sheet and Income Statement.
- Enter the Opening amounts.
- Items Table
- Lists and codes all investments, such as bonds, shares, and funds.
- The Asset Investment column links each security to its corresponding Balance Sheet account — a key element of the entire solution.
- Exchange Rate Table
Defines the currency codes and stores both opening and current exchange rates for accurate multi-currency management. - Transactions Table
- Records all investment transactions.
- Enter the double entry account, amounts and exchange rate for the financial accounting.
- Enter the Item code, quantity and price specific for the Investment accounting.
- Double-Entry Accounting Reports
Provides access to all standard accounting reports such as Balance Sheet, Income Statement, Account Cards, and more. - Investment Accounting Extensions
You need to install the Investment Accounting Extensions to add specific functionalities for investment management, including profit and loss calculations, valuation reporting, and other analytical tools tailored to securities accounting.
The Investment Accounting Elements
To understand investment accounting, it is important to understand the following key elements:
- Accounting period.
- Information regarding the investment.
- Investment Classification by Measurement Type.
- The Quantity element.
- Price and valuation methods.
- Investment account.
The connection between the financial accounting and the Investments Inventory System. - Book Value and Book Price.
- Realized Gains and Losses
- Unrealized Gains and Losses
- Investments Revenues and Costs.
- Impact of exchange rates
- Double-Entry Investment Transactions.
- Investments and Account Reconciliation.
- Investments (Items) card.
Accounting period
Financial accounting is always relative to a specific period. In the accounting you specify the start and end date:
- The balance sheet is prepared for a specific date (instant).
- The Balance at the beginning of the period (opening balance).
- The current balance or the balance at the end of the period.
- The Profit & Loss is prepared for a period (duration).
- Revenues, costs, gains, losses, and taxes are always related to a specific period.
Inventory systems do not have an accounting period concept. They record purchases and sales continuously over time.
There is a conceptual difference in the temporal logic between Financial Accounting, an Inventory system, and Portfolio management systems.
- Portfolio management systems
- Only track events that affect the change in a position (purchase or sale).
- The profit or loss is calculated based on the difference between purchase and sale.
- Accounting systems
- Require an initial balance and therefore a specific valuation. Quantity and price per unit for each investment at the beginning of the period.
- Require an end balance and a valuation of each investment. Quantity and price per unit for each investment at the end of the period.
The end quantity and price will become the opening quantity and price for the following year. - Under the fair value method, the Investment Value is adjusted and recorded as an unrealized gain or loss.
If the Investment Value increases over time, an increase in value and a gain are recorded for the period and contribute to the overall profit or loss. - When an investment is sold, the realized gain or loss is determined by comparing the value of the sale with the Book Value attributable to the quantity sold.
Information Regarding the Investments
To properly manage and account for investments, it is essential to record key identifying information and classify them based on their measurement type.
Every investment should be clearly defined with standard financial identifiers:
- Investment Id (ItemId):
The ItemId is used to uniquely identify the Investment. You can use a ticker symbol or an ISIN as the ItemId. - Ticker Symbol.
The unique exchange-listed symbol for publicly traded securities (e.g., AAPL for Apple Inc.). - ISIN (International Securities Identification Number).
A globally recognized unique identifier for financial instruments (e.g., US0378331005 for Apple Inc.). - Description.
The full name and type of the investment (e.g., "Apple Inc. – Common Stock" or "U.S. Treasury Bond 10Y"). - Investments can be grouped to provide clearer overviews and totals.
Investments are entered in the Items table.
Investment Classification by Quantity Type
Investments can be classified based on how their quantity and Unit Price are expressed:
- Investments Measured by Nominal Value (Asset Type = 2)
(e.g., Bonds, Treasury Notes)- These securities are expressed in terms of face value (nominal value).
- The Book Value is determined based on the purchase price, which may be different from the nominal value due to discounts or premiums.
- Example: A €100,000 corporate bond might be acquired at 97% of face value, meaning the actual acquisition cost is €97,000.
- Investments Measured by Effective Quantity (Asset Type = 1)
(e.g., Shares, ETFs, Mutual Funds)- These securities are recorded based on the number of units owned.
- Each unit has a Market Price, and the total investment value fluctuates accordingly.
- Example: 200 shares of XYZ Corp. at €50 per share have a Market Value of €10,000.
By properly identifying and classifying investments, Investment Accounting ensures accurate tracking of quantities, values, and financial reporting.
Quantity Element
Investment accounting shares similarities with inventory systems. When buying or selling investments, a quantity element is involved, which can be expressed as either an effective quantity or a nominal value.
The key quantities to manage include:
- Quantity at the beginning of the accounting period. Recorded in the Items Table.
- Quantity changes during the accounting period.
Tracked through transactions. - Current Quantity.
Calculated as the initial quantity plus increases and minus decreases.
Unit Price and Valuation
Each investment has a Unit Price, or simply a price.
- For quantity-based investments, such as shares, the Unit Price is expressed per unit.
- For nominal-value investments, such as bonds, the Unit Price is generally expressed as a percentage of nominal value.
The investment value is determined by multiplying the Quantity by the applicable Unit Price.
Cost Attribution Methods
Cost attribution methods determine how the historical cost of an investment is allocated to individual units when multiple purchases are made at different prices.
These methods affect the calculation of realized gains or losses, but do not determine the measurement basis of the investment itself.
- Weighted Average Cost (WAC)
The cost per unit is calculated as a weighted average of all purchase prices.
This method smooths price fluctuations over time and is commonly used for investment accounting. - Moving Average Cost with Market Adjustments (MAC-MA)
This method is based on the Weighted Average Cost approach but includes periodic adjustments to reflect market prices.
It combines cost averaging with market valuation elements.
This method is used by the Banana Accounting Investment Extension. - First-In, First-Out (FIFO)
The earliest purchased units are considered sold first.
In rising markets, this often results in lower costs and higher reported profits. - Last-In, First-Out (LIFO)
The most recently purchased units are considered sold first.
This method can reduce reported profits in rising markets but is rarely used for investments and is not permitted under IFRS.
FIFO
The FIFO (First-In, First-Out) method assumes that the investments purchased first are also the first to be sold.
FIFO is an accepted cost attribution method under IFRS and various national GAAP frameworks. In some jurisdictions, it may also be used for tax purposes when calculating realized gains on investment sales.
Banana Investment Accounting does not automatically calculate realized gains using the FIFO method, but the corresponding amounts can be calculated and recorded manually.
Weighted Average Cost (WAC)
The cost per unit is averaged over time with each purchase, smoothing price fluctuations.
Moving Average Cost with Market Adjustments (MAC-MA)
Investments may be measured at fair value, in which case their accounting value is periodically adjusted to reflect market prices.
Banana Investment Accounting uses the Moving Average Cost with Market Adjustments (MAC-MA) method, which combines moving average cost calculations with periodic market value adjustments. This approach allows the Book Value of investments to be adjusted to reflect market prices while maintaining the quantity information required for investment tracking.
Example Calculation (MAC-MA)
Step 1: Purchases and Moving Average Cost
- Buy 100 shares @ $10 → Cost = $1,000
- Buy 50 shares @ $15 → Total Cost = $1,000 + $750 = $1,750
- Total Quantity = 150 shares
- Moving Average Cost per share = $11.67
Step 2: Market Value Adjustment
Assume the market price increases to $14 per share.
- Market Value = 150 × $14 = $2,100
- Current Book Value = $1,750
- Unrealized Gain = $2,100 − $1,750 = $350
After recording the market value adjustment:
- Quantity = 150 shares
- Book Value = $2,100
- Book Price = $14 per share
- The $350 increase is recorded as an unrealized gain.
Step 3: Sale of Investments
Assume 50 shares are then sold at $15 per share.
- Selling Value = 50 × $15 = $750
- Book Value of Quantity Sold = 50 × $14 = $700
- Realized Gain = $750 − $700 = $50
After the sale:
- Remaining Quantity = 100 shares
- Remaining Book Value = 100 × $14 = $1,400
- Remaining Book Price = $14 per share.
Investment Valuation Methods in Accounting
Investments can be accounted for using different measurement bases and different cost attribution methods.
These two concepts serve different purposes and should not be confused.
Measurement bases define the value at which investments are recognized in the financial statements, independently of how costs are attributed upon sale.
- Historical Cost
Investments are recorded at their original purchase price, without considering subsequent market fluctuations, except in cases of impairment or disposal.
Compatible with: WAC, FIFO - Fair Value (Mark-to-Market)
Investments are remeasured at their current market price, reflecting changes in market conditions in real time.
Compatible with: MAC-MA. - Lower of Cost or Market (LCM)
Investments are measured at the lower of historical cost or current market value, applying a conservative valuation approach to prevent overstatement. - Amortized Cost
Used primarily for fixed-income securities.
The investment value is adjusted over time based on interest income and principal repayments, using an effective interest method. - Net Realizable Value (NRV)
Investments are measured at the estimated selling price minus any costs necessary to complete the sale. - Intrinsic Value
The investment is valued based on fundamental analysis of its underlying economic value rather than observable market prices.
This approach is typically used for analytical purposes rather than formal accounting measurement. - Recoverable Amount
The investment is measured at the higher of its fair value less costs to sell and its value in use.
This basis is commonly applied in impairment testing.
Market value of an investment
The market value of an investment is the current price assigned to it in the financial market, and this price can fluctuate according to market conditions. When securities are bought or sold, the portfolio management system informs the holder of the exact market price at which each transaction occurred. Unlike the book value, which is determined by the accounting process, the market price is directly provided by the market and does not require any calculation by the holder.
Within the Investment Manager, the market value of an investment is entered in the "Price Current" column of the Items table. By entering this market price, you can use the valuation report feature to calculate any unrealized gains or losses, which represent the difference between the current Market Value and the Book Value of the investment. This provides a snapshot of the potential profit or loss if the securities were sold at the current market price, even though they have not yet been sold.
Fair Value Adjustments and Realized vs. Unrealized Results
When investments are measured at fair value, changes in market prices give rise to fair value adjustments. These adjustments reflect changes in the value of an investment after initial recognition and before its disposal.
Accounting standards differ in how these fair value changes are presented and whether a distinction is made between realized and unrealized gains and losses.
IFRS approach
Under full IFRS, a clear distinction is made between:
- Realized gains and losses, arising from the sale or disposal of an investment; and
- Unrealized gains and losses, arising from changes in fair value while the investment is still held.
Depending on the classification of the financial instrument, unrealized fair value changes may be recognized:
- in profit or loss, or
- in other comprehensive income (OCI), for financial instruments measured at fair value through other comprehensive income (FVOCI).
In all cases, unrealized results remain analytically distinct from realized gains and losses, even if they are recognized in equity rather than in profit or loss.
IFRS for SMEs, Swiss GAAP FER, and International GAAP Approach
Under IFRS for SMEs, Swiss GAAP FER, and most national GAAP frameworks worldwide (including European continental GAAPs as well as accounting systems in North America, Asia, and other jurisdictions), the accounting model for investments is deliberately simplified.
Although investments may be measured at fair value in specific circumstances, these frameworks generally do not require a formal separation between realized and unrealized gains and losses at the equity level and do not apply an OCI or FVOCI model comparable to full IFRS.
When fair value changes are recognized, they are typically recorded directly in profit or loss as part of the period result, without mandatory reclassification into realized, unrealized, or OCI components. The emphasis is placed on prudence, understandability, and practical application, rather than on detailed presentation structures designed primarily for capital-market reporting.
Implications of Using the MAC-MA Method
Banana Accounting uses the Moving Average Cost with Market Adjustments (MAC-MA) method to manage investment portfolios.
This method is compatible with the accounting approaches applied under IFRS for SMEs, Swiss GAAP FER, and most national GAAP frameworks worldwide, which are based on simplified valuation and presentation principles for investments.
Under these frameworks:
- Investments may be measured at fair value without a mandatory formal separation between realized and unrealized gains and losses at the equity level.
- Fair value adjustments, when recognized, are generally recorded directly in profit or loss as part of the period result.
No OCI or FVOCI model comparable to full IFRS is required.
Within the MAC-MA method:
- The moving average cost is used to determine the carrying amount of investments sold and the resulting realized gains or losses.
- Market value adjustments reflect changes in fair value while investments are held and give rise to unrealized gains or losses.
By contrast, MAC-MA is not an IFRS-defined measurement model. Under full IFRS, financial instruments must be classified and measured according to specific categories (such as amortized cost, FVTPL, or FVOCI), each with prescribed recognition and presentation rules.
Accordingly, the MAC-MA method cannot be applied directly for IFRS financial statements and requires appropriate adjustments or reconciliations when IFRS reporting is required.
User Responsibility, Disclosure, and Professional Assessment
The applicability of the MAC-MA method depends on the specific accounting framework, regulatory environment, and tax rules applicable to each entity. In addition, the investment valuation and cost attribution method applied should generally be disclosed in the presentation of the financial statements, in accordance with applicable accounting standards.
Users are therefore required to assess the suitability of the MAC-MA method in consultation with their auditors and tax advisors, taking into account their individual reporting, disclosure, and compliance requirements.
Asset Account and Book Value
Investments are assets that are part of the balance sheet. In financial accounting, unlike an inventory system, there is no direct tracking of quantity and price. Instead, financial transactions are recorded based on monetary amounts, requiring the use of specific accounts to track changes in investments.
When setting up the accounting system, you must create the necessary investment Asset Accounts in the Accounts table to track securities. If you hold investments in multiple currencies, you need one investment account per currency.
- When creating investment elements in the Items Table, you need to specify for each Item a valid Asset account specified in the Account table of the same currency.
- The Asset account of the Item serves as the link between financial accounting and investment accounting.
- For each transaction affecting an investment account, you must also associate the corresponding investment item (Item ID).
If you post an amount to an Asset account without specifying the Item ID, discrepancies will arise between financial accounting and the investment inventory system.
Book Value and Book Price
The Book Value is the accounting value of an investment position. It represents the value assigned to the investment in the accounting records.
The Book Price is the accounting value per unit of the investment. When a single unit book price applies to the position, it is calculated by dividing the Book Value by the quantity:
- Book Price = Book Value / Quantity
Therefore:
- Book Value = Book Price × Quantity
The Book Value changes when transactions or accounting adjustments affect the accounting value of the investment. Purchases and sales may change both the quantity and the Book Value, while valuation adjustments and other book value adjustments may change the Book Value without changing the quantity.
The Book Price depends on the cost attribution and valuation method used. It is particularly important when an investment is sold because it is used to determine the Book Value attributable to the quantity sold.
Reconciliation between Financial Accounting and Investment Accounting
Financial accounting and investment accounting must remain reconciled through the Asset Account:
- The opening balance of each Asset Account must equal the sum of the opening values of all Items linked to that Asset Account.
- The opening value of each Item is calculated as Opening Quantity × Opening Price.
- The current balance of each Asset Account must equal the sum of the current Book Values of all Items linked to that Asset Account.
- The current Book Value of each Item is determined by its opening value and by the transactions and adjustments recorded for that Item through its Asset Account.
Gains and Losses on Investments
Changes in the value of an investment may result in realized or unrealized gains and losses.
- A realized gain or loss arises when all or part of an investment is sold.
- An unrealized gain or loss arises when the Book Value of an investment is adjusted to a different valuation, such as its current Market Value, while the investment is still held.
Realized and unrealized gains and losses are recorded separately through the appropriate accounting transactions.
Realized Gains and Losses
A realized gain or loss arises when all or part of an investment is sold. It represents the difference between the Selling Value and the Book Value attributable to the quantity sold.
- If the Selling Price is higher than the Book Price, there is a realized gain.
- If the Selling Price is lower than the Book Price, there is a realized loss.
The Book Value attributable to the quantity sold is:
Book Value of Quantity Sold = Book Price × Quantity Sold
The realized gain or loss is:
Realized Gain/Loss = Selling Value − Book Value of Quantity Sold
or, when expressed using unit prices:
Realized Gain/Loss = (Selling Price − Book Price) × Quantity Sold
Accounting Treatment
When the sale is recorded in double-entry accounting, the amount received is debited to the bank account and credited to the Asset Account. The realized gain or loss is then recorded separately so that the balance of the Asset Account corresponds to the Book Value of the investment quantity that remains.
When the entire investment is sold, the remaining quantity is zero and the Book Value must also be zero. After recording the sale, but before recording the realized gain or loss:
- A remaining debit balance in the Asset Account represents a realized loss.
- A remaining credit balance in the Asset Account represents a realized gain.
The realized gain or loss is then recorded in the appropriate account so that the Asset Account balance returns to zero.
When only part of an investment is sold, the realized gain or loss relates only to the quantity sold. The remaining balance of the Asset Account must correspond to the Book Value of the quantity still held.
Example – Complete Sale
Assume an investment has:
- Quantity: 10 shares
- Book Value: $200
- Book Price: $20 per share
If all 10 shares are sold at $25 per share:
- Selling Value = 10 × $25 = $250
- Book Value of Quantity Sold = 10 × $20 = $200
- Realized Gain = $250 − $200 = $50
- Remaining Quantity = 0
- Remaining Book Value = 0
The $50 realized gain is recorded in the appropriate Realized Gain account.
If all 10 shares are sold at $18 per share:
- Selling Value = 10 × $18 = $180
- Book Value of Quantity Sold = 10 × $20 = $200
- Realized Loss = $200 − $180 = $20
- Remaining Quantity = 0
- Remaining Book Value = 0
The $20 realized loss is recorded in the appropriate Realized Loss account.
Example – Partial Sale
Using the same initial position, assume that 4 shares are sold.
If 4 shares are sold at $25 per share:
- Selling Value = 4 × $25 = $100
- Book Value of Quantity Sold = 4 × $20 = $80
- Realized Gain = $100 − $80 = $20
- Remaining Quantity = 6 shares
- Remaining Book Value = 6 × $20 = $120
If 4 shares are sold at $18 per share:
- Selling Value = 4 × $18 = $72
- Book Value of Quantity Sold = 4 × $20 = $80
- Realized Loss = $80 − $72 = $8
- Remaining Quantity = 6 shares
- Remaining Book Value = 6 × $20 = $120
The Calculate Sales Data command can calculate the realized gain or loss and create the corresponding accounting transactions.
Unrealized Gains and Losses
An unrealized gain or loss arises when the Book Value of an investment is adjusted to a different valuation, such as its current Market Value, while the investment is still held.
Unlike a realized gain or loss, no sale takes place and the quantity of the investment remains unchanged.
When an investment is adjusted to its Market Value:
- If the Market Value is higher than the Book Value, there is an unrealized gain.
- If the Market Value is lower than the Book Value, there is an unrealized loss.
The Market Value is:
Market Value = Market Price × Quantity
The unrealized gain or loss is:
Unrealized Gain/Loss = Market Value − Book Value
or, when expressed using unit prices:
Unrealized Gain/Loss = (Market Price − Book Price) × Quantity
The adjustment is recorded between the Asset Account and the appropriate Unrealized Gain or Loss account. The adjustment changes the Book Value without changing the quantity.
Example – Unrealized Gain
Assume an investment has:
- Quantity: 10 shares
- Book Value: $200
- Book Price: $20 per share
- Market Price: $25 per share
The Market Value is:
10 × $25 = $250
The unrealized gain is:
$250 − $200 = $50
After recording the $50 adjustment:
- Quantity = 10 shares
- Book Value = $250
- Book Price = $25 per share
Example – Unrealized Loss
If the Market Price is instead $18 per share:
- Market Value = 10 × $18 = $180
- Unrealized Loss = $200 − $180 = $20
After recording the $20 adjustment:
- Quantity = 10 shares
- Book Value = $180
- Book Price = $18 per share
The Create Adjustment Transactions command can calculate the required valuation adjustments and create the corresponding accounting transactions.
Revenues and Costs of Investments
A key function of an accounting system is to track both revenues (such as interest and dividends) and costs (such as commissions, bank fees, and broker expenses) associated with investments.
Revenues and costs related to investments are recorded as transactions linked to the investment (ItemId) but using accounts different from the Asset account. This ensures that these transactions do not affect the Book Value of the investment itself.
Each transaction can be assigned to an appropriate revenue or expense account, allowing for detailed reporting on all income and costs associated with a specific investment. This approach provides clear insights into the performance and profitability of investments while maintaining accurate financial records.
Impact of Exchange Rates on Investments
For investments denominated in foreign currencies, their valuation in accounting is influenced by both market price changes and exchange rate fluctuations. In addition to affecting the value of the investment in the accounting currency, exchange rate changes may give rise to unrealized or realized gains or losses that require appropriate accounting treatment.
Key Factors in Exchange Rate Impact
- Initial Exchange Rate at Purchase.
The exchange rate used to record the investment at the time of acquisition. - Current Exchange Rate at Reporting Date.
The rate used to update the investment’s book value in financial statements. - Market Price and Currency Interaction.
A security's value may increase in its original currency, but if the exchange rate moves unfavorably, the gain may be reduced or turned into a loss when converted. - Realized Gains/Losses on Sale.
When an investment is sold in a foreign currency, exchange rate differences can lead to additional gains or losses beyond market price changes.
Example of Exchange Rate Impact
- You purchase 100 shares of a stock at $200 per share, for a total cost of $20,000.
- At the time of purchase, the USD/EUR exchange rate is 1.10, meaning the recorded book value is €18,182.
- If the stock price remains at $200 but the exchange rate changes to 1.05, the book value in EUR would increase to €19,048, reflecting a gain purely due to currency fluctuation.
Because investments can be impacted by both market price movements and exchange rate variations, a proper Investment Accounting System ensures accurate financial reporting, helping investors and accountants manage risk and maintain compliance.
Impact of Exchange Rates on Investments and Adjustments
For investments denominated in foreign currencies, their valuation in accounting is influenced by both market price changes and exchange rate fluctuations. These fluctuations impact both unrealized gains/losses (before sale) and realized gains/losses (after sale), requiring proper adjustments in financial reporting.
Key Factors in Exchange Rate Impact
- Initial Exchange Rate at Purchase
- The exchange rate at the time of acquisition is used to record the investment's book value in the reporting currency.
- Current Exchange Rate at Reporting Date
- At each financial reporting period (e.g., month-end, quarter-end, year-end), investments in foreign currencies must be revalued based on the latest exchange rate.
- Market Price and Currency Interaction
- A security’s value may increase in its original currency, but if the exchange rate moves unfavorably, the gain could be reduced or even turned into a loss when converted to the reporting currency.
- Unrealized Gains/Losses Due to Exchange Rate Changes
- Even if an investment is not sold, the difference in exchange rates between the purchase date and the reporting date can create unrealized foreign exchange gains or losses, which should be recorded separately.
- Realized Gains/Losses on Sale
- When an investment is sold, the difference between:
- The original exchange rate at purchase, and
- The exchange rate at the time of sale,
determines an additional realized gain or loss due to currency fluctuations.
- When an investment is sold, the difference between:
Example of Exchange Rate Impact
- Step 1: Initial Investment Purchase
- You buy 100 shares at $200 per share, for a total cost of $20,000.
- At the time of purchase, the USD/EUR exchange rate is 1.10.
- The recorded book value in EUR is 20,000 divided by 1.10, which equals €18,182.
- Step 2: Exchange Rate Adjustment at Reporting Date
- At the reporting date, the stock price remains $200, but the exchange rate changes to 1.05.
- The new book value in EUR is 20,000 divided by 1.05, which equals €19,048.
- The unrealized foreign exchange gain is 19,048 minus 18,182, which equals €866.
- This gain is recorded in the foreign exchange adjustment account as an unrealized gain.
- Step 3: Realized Foreign Exchange Gain/Loss on Sale
- Later, you sell 100 shares at $210 per share, for a total of $21,000.
- At the time of sale, the USD/EUR exchange rate is 1.08.
- The converted sale amount in EUR is 21,000 divided by 1.08, which equals €19,444.
- The initial book value was €18,182, so the total realized gain is 19,444 minus 18,182, which equals €1,262.
- This realized gain includes both the market price gain (from $200 to $210) and the foreign exchange gain (due to currency movement from 1.10 to 1.08).
Accounting Treatment
- Unrealized Exchange Gains and Losses
- At reporting periods, any changes in exchange rates affect the book value.
- These adjustments are recorded in an exchange rate adjustment account.
- Realized Exchange Gains and Losses
- When an investment is sold, the foreign exchange gain or loss is finalized and recorded in the profit and loss statement.
End of Year Exchange Rates
Different banks/custodians may use different exchange rates when preparing their reports.
- Due to the accounting principle of consistency, for the end of year revaluation you should always use the exchange rate defined in the Exchange Rate table.
- If, for auditing purposes, you need to reconcile the amounts reported by custodians or banks, you should create an Excel sheet and not change the values or exchange rates in the accounting records.
Double-Entry Investment Transactions
Investment account transactions are recorded in the Banana Accounting Transactions table. The Transactions table includes both standard double-entry accounting columns and additional columns used for investment tracking.
- Investment Id (Item or ItemId).
When recording a transaction that refers to an investment you always need to specify the Investment ID. - Quantity.
- If present, together with the Unit Price it is used to calculate the transaction amount.
- When you enter a positive or negative quantity the program will update the existing quantity for the Investment in the Items Table.
- When using quantities, you must always specify the security’s Asset Account as either the debit or credit account.
If not, the Investment unit price (Balance divided by the quantity) will be wrong. - Positive quantity values (123.00)
- Will increase the existing quantity.
- You will use when
- Buying investments.
- Stock split, which increases the quantity without affecting the value.
- Negative values (-123.00)
- Will decrease the existing quantity.
- You will use when selling investments.
- Neutral Values (±123.00) or zero quantity
- Neutral Values will be used to calculate the transaction amount.
- Neutral Values will not increment or decrement the existing quantity in the Item table.
- They are used to record changes to the Investments without affecting the quantity.
For example, Market price adjustments, the quantity remains the same, but the value of the investment (balance) is changed.
- Price per unit.
If present, together with the Quantity it is used to calculate the transaction amount. - Transaction amount
- If you enter the Quantity and Unit Price, the program automatically calculates the Amount.
- For market price adjustments the amount is entered without quantity or with a neutral quantity.
- Account Debit or Account Credit
- Asset account
- When changing the quantity or the balance of the investment you always need to enter as a debit or credit account that corresponds to the Asset account associated with the Investment.
- Revenues and Cost accounts
- When recording revenues and costs related to the investment, you specify the account that is related to the revenue or cost.
- The program will create reports that calculate all the costs associated with a specific investment.
- Asset account
Examples of Double-Entry Transactions
The Transactions Table is where you enter investment transactions. Here is a brief explanation:
- When buying or selling investments, multiple lines are typically needed to enter the necessary accounts, quantity, and price. The date and item are repeated.
- The Item column (Investment ID) allows you to specify the investment, while the Qt. (quantity) and Unit Price columns provide the necessary information for inventory tracking.
- The Account Debit and Account Credit columns enable you to specify the accounts for bank transactions, asset accounts, revenues, costs, and realized or unrealized gains or losses, including those related to exchange rates.
Opening Value
When starting a new accounting or a new year you need to enter:
- Opening amounts for Investment accounts.
As with any other accounts, enter the opening amount of each Investment account in the account currency.- The program calculates the opening amount in the base currency using the opening exchange rate from the Exchange Rate table.
- The opening balance should equal the sum of the opening values of all investments associated with that account.
- Opening Quantity and Price for Investments.
For each investment, enter the opening quantity and opening price.- The program calculates the opening value by multiplying the opening quantity by the opening price.
- The program also calculates the opening value in the base currency using the opening exchange rate.
Accounts and Investments Reconciliation
When an investment is entered in the Items table, it must be linked to the Asset Account where its accounting value is recorded.
For all investments linked to the same Asset Account, there must be full correspondence between:
- the opening balance of the Asset Account and the opening values of the linked investments
- the current balance of the Asset Account and the Book Values of the linked investments.
The command Reconciliation Report will calculate the book value of all accounts and check for the correspondence. If there are any differences it will notify you.
Investment Accounting Software
An Investment Accounting system is specialized software that records, values, and reports investments such as shares, bonds, ETFs, and investment funds.
Unlike a traditional accounting system, it manages both the accounting value and the investment-specific information required to track securities over time, including quantities, prices, market values, exchange rates, and realized and unrealized gains and losses.
Typical functions include:
- Recording purchases and sales of securities.
- Calculating book value and cost basis.
- Processing interest, dividends, and commissions.
- Perfoming market and foreign currency valuations.
- Calculating realized and unrealized gains and losses.
- Preparing accounting and investment reports.
Professional investment accounting systems may also support multiple accounting frameworks, such as IFRS and GAAP, as well as tax, reconciliation, and compliance reporting.
Elements
Investment accounting software consists of sophisticated solutions that are usually based on general accounting software or ERP (Enterprise Resource Planning) systems. These solutions typically include several components.
These solutions include several components.
- General ledger
- Double-entry accounting engine (Accounting Book of Record, ABOR) – Records all investment-related debits/credits.
- Multi-basis accounting – Supports IFRS, US GAAP, statutory, and tax accounting simultaneously.
- Chart of accounts & financial statements – Provides Balance Sheet and Profit & Loss outputs.
- Trade and transaction capture – Records purchases, sales, income events, fees, and settlements.
- Cash and liquidity management – Tracks cash movements, forecasts, and balances.
- Investment accounting
- Investment Book of Record (IBOR) – Tracks real-time quantities, cash, and exposures.
- Security master and reference data – Provides centralized instrument definitions and reference data, such as ISINs, coupons, and ratings.
- Market data & pricing engine – Imports or calculates prices, FX rates, yields, and curves.
- Valuation and revaluation logic – Calculates fair value, amortized cost, and unrealized gains and losses.
- Performance measurement – Calculates returns and contributions and compares performance against benchmarks (optional).
- Risk and exposure analytics – Provides duration, FX exposure, sensitivity, and VaR metrics (optional).
- Regulatory & compliance reporting – Supports filings (e.g., Solvency II, NAIC, UCITS).
- Reconciliation tools – Matches cash, positions, and transactions with custodians/brokers.
- Client & portfolio reporting – Generates statements, holdings reports, and dashboards.
Accounting and Investment Book of Record
- Accounting Book of Record (ABOR)
An ABOR is a double-entry accounting journal that records financial transactions. - Investment Book of Record (IBOR)
- An IBOR is similar to an inventory system and records the quantities and prices of securities bought and sold.
- It may be maintained in a separate database or as a subledger of the ABOR system.
Investment data from the IBOR is typically integrated into the ABOR through a process that creates double-entry accounting transactions at specified intervals, usually daily.
Single Book of Record
Instead of maintaining a separate IBOR, Banana Accounting uses a single ABOR journal that also integrates the information required for investment accounting.
Double-entry transactions include the information required for investment accounting, such as the Investment ID, quantity, price, and other details.
The Asset Account provides the connection between investment accounting and financial accounting. In the Accounts table, you define the Asset Accounts used to record the accounting value of the investments.
In the Items table, each investment is linked through the Asset Account column to one of the Asset Accounts defined in the Accounts table.
When entering transactions that change the quantity or value of an investment, you must use the Asset Account defined for that investment in the Items table.
The opening balance of each Asset Account must match the sum of the opening values of all investments linked to that Asset Account.
The current balance of each Asset Account must match the sum of the current values of all investments linked to that Asset Account.
Simplicity Through Innovation
Simplicity Through Innovation
Integrating investment management into a financial accounting system while keeping it simple to use is a significant technical challenge. Many investment accounting solutions rely on separate portfolio management systems or complex subledgers, making implementation and daily operation more complicated.
Banana Accounting follows a different approach by extending its standard accounting system with features specifically designed for investment accounting.
One of these is the integrated Items system, which allows investment information to be recorded directly in accounting transactions. Each transaction can include the Investment ID, quantity, and unit price, while the program automatically calculates the corresponding accounting amount. This makes it possible to manage investment movements without maintaining a separate investment journal.
Another distinctive feature is the support for neutral quantities (±). A neutral quantity is entered by typing ±123, which Banana Accounting automatically converts to ±123. Unlike positive or negative quantities, a neutral quantity does not change the number of securities held. Instead, it is used to calculate the accounting amount for transactions that modify the book value of an investment without affecting its quantity, such as market value adjustments, unrealized gains and losses, or other valuation entries.
These innovations allow Banana Accounting to manage complex investment accounting scenarios using the same transaction model employed for standard accounting, reducing complexity while maintaining complete integration between financial accounting and investment management.
Keeping Track of the Book Value
One of the most challenging aspects of investment accounting is maintaining the book value of each investment throughout its entire life cycle.
Unlike portfolio management systems, which primarily focus on market value, portfolio performance, and trading activities, investment accounting must determine and maintain the accounting value of each investment. The book value represents the accounting value of the investment and is used to determine realized and unrealized gains and losses. It may also be relevant for tax purposes, depending on the applicable tax rules.
To maintain the correct book value, every investment transaction must be recorded together with all the information that affects its accounting value. This includes:
- purchases and sales;
- quantities and unit prices;
- commissions and transaction costs;
- interest and dividends;
- realized gains and losses;
- unrealized gains and losses resulting from market value adjustments;
- realized and unrealized exchange rate differences.
Traditional accounting software generally records only monetary amounts and does not manage the quantities and prices required for investment accounting. As a result, accountants often maintain separate spreadsheets to calculate book values, realized gains and losses, and year-end valuations, increasing both workload and the risk of errors.
Banana Investment Accounting integrates investment management directly into the accounting system. By recording quantities, prices, expenses, commissions, and other investment data together with the accounting entries, the information required to maintain the book value of each investment and calculate realized and unrealized gains and losses, including those arising from exchange rate fluctuations, remains integrated within the accounting system.
Using the Moving Average Cost with Market Adjustments (MAC-MA) method, Banana Accounting produces both financial accounting reports, such as the Balance Sheet and Profit & Loss Statement, and investment reports for monitoring securities, eliminating the need for separate spreadsheets and manual reconciliations.
Banana Investment Accounting: Professional Wealth Management for the Individual
Banana Investment Accounting integrates investment management directly into a double-entry accounting system. It allows you to manage securities, maintain their book values, and produce both investment reports and financial statements from a single accounting file.
Unlike traditional portfolio management software, Banana Accounting maintains both investment positions and their accounting book values within a single integrated system. Every investment transaction is reflected in both the investment data and the financial accounting, keeping investment information and the Balance Sheet and Profit & Loss Statement directly connected.
Key Benefits for the Professional Investor
- Unified Financial View: Manage your assets, liabilities, revenues, and expenses within a single, integrated accounting environment. This provides a comprehensive view of your financial position and reduces the need to maintain information across separate systems.
- Professional-Grade Accounting: Leverage a professional accounting solution used by companies, pension funds, and family offices. This ensures your records are structured, controlled, and audit-ready, providing a high level of financial transparency.
- Integrated Reporting: Investment transactions update both the investment data and the financial accounting. This allows you to generate Balance Sheet, Profit & Loss, and investment reports from the same accounting data.
- Complex Investment Management: Manage different types of investments, including shares, bonds, funds, ETFs, and cryptocurrencies, with support for multiple currencies.
- Gain, Loss, and Valuation Calculations: The Investment Accounting Extension can calculate realized gains and losses when investments are sold. Investment values can also be adjusted to current market prices to calculate and record unrealized gains and losses.
- Data Privacy and Control: Banana Accounting runs locally on your computer, and you decide where your accounting files are stored, whether locally or using a cloud storage service of your choice.
Ease of Use & Accessibility
- Excel-Like Interface: Banana Accounting uses a table-based interface similar to Excel, where accounting and investment data is entered and displayed in tables. This makes it easy to view, search, select, and modify data.
- Simple Installation: Banana Accounting can be installed directly on Windows, macOS, and Linux, without requiring a complex server setup.
- Prerequisite Knowledge: A working knowledge of double-entry accounting is required to use the solution effectively.
How It Works: The Double-Entry Advantage
Banana Investment Accounting combines financial accounting, based on the double-entry method, with investment accounting, which uses information similar to inventory management, such as quantities and prices.
- Accounts Table: This table contains the Chart of Accounts and shows the current balance of each account. Transactions entered in the Transactions table update the corresponding account balances according to the double-entry accounting method, providing the data used for the Balance Sheet and Profit & Loss Statement.
- Items Table: In the Items table, you define your investments, such as shares, bonds, funds, and ETFs. Each investment is linked to an Asset Account defined in the Accounts table.
- Transactions Table: Investment transactions, such as purchases, sales, dividends, and fees, are recorded here. Along with the standard double-entry information, such as debit and credit accounts and amounts, you also specify the Investment ID, quantity, and price.
- Automatic Updates: The software automatically updates the quantities in the Items table and the balances in the Accounts table based on the transactions entered. The updated accounting data is reflected in the Balance Sheet and Profit & Loss Statement.
- Investment Reporting: Use the Investment Accounting Extension to generate detailed reports on investments, including quantities, values, gains and losses, and other investment-related information.
Get Started
To get started with Banana Investment Accounting, download Banana Accounting and explore the available documentation, templates, and examples.
Detailed guides and tutorials are available in the Banana Accounting documentation to help you set up Investment Accounting and manage different investment accounting scenarios.
How Finance Professors Can Use Banana Investment Accounting to Enhance Investment Education
Teaching investment and accounting concepts can be challenging when students only see theory or isolated examples. Banana Investment Accounting provides a practical tool for applying these concepts in an accounting environment. By combining traditional double-entry accounting with investment management, the software allows professors to demonstrate how investment transactions, valuations, and market changes are reflected in financial accounting and financial statements.
Whether used in financial accounting, investment accounting, portfolio management, or auditing courses, Banana helps students develop practical skills and understand how accounting principles are applied to real-world investment scenarios.
Students learn not only how investment transactions are recorded, but also why they affect the Balance Sheet, the Profit & Loss Statement, and the book value of each investment. By applying accounting principles and workflows used in professional investment accounting, students can connect theoretical concepts with practical application.
Free for students:
Students can use the Banana Accounting Free plan and manage up to 70 transactions at no cost.
Teaching Benefits
Banana Accounting gives professors a practical tool that supports both traditional accounting education and investment-related courses.
Strengthens Core Accounting Skills
Students learn double-entry accounting through realistic investment transactions and practical examples. Each transaction, whether a purchase, sale, dividend, fee, or adjustment, shows its impact on the Balance Sheet and Profit & Loss Statement. This reinforces the fundamental accounting principles taught in introductory and intermediate accounting courses.
Helps Students Understand Investment Concepts
Banana integrates quantities, prices, book values, and market values directly into the accounting system..
Students can see how:
- book values and market values are determined
- realized and unrealized gains and losses are calculated and recorded
- exchange rate differences affect financial results
This helps students connect investment accounting concepts with their practical accounting treatment.
Connects Theory With Real-World Practice
Students work with realistic investment scenarios, including:
- Recording purchases and sales
- Accounting for bond coupon accruals
- Performing multi-currency valuations
- Preparing year-end adjustments and reconciliations.
These exercises help students apply accounting concepts to situations they may encounter in professional accounting and finance roles.
Helps Reduce Teaching Workload
Ready-made templates, automated calculations, and reports such as the Appraisal, Security Card, and Reconciliation reports reduce the need to create complex spreadsheets and manual examples from scratch.
Suitable for Multiple Courses
Banana can be used across different accounting and finance courses:
- Financial Accounting – Double-entry accounting, financial reporting, and adjustments
- Investment Accounting – Book values, valuations, and realized and unrealized gains and losses
- Investment and Portfolio Management – Investment transactions, market values, and foreign currency effects
- Auditing – Transaction tracing, reconciliation, and accounting controls.
A single tool can therefore support different teaching and learning objectives.
What Professors Can Teach Using Banana Investment Accounting
This section explains concrete learning outcomes:
Securities Valuation and Book Value Tracking
Students learn:
- the difference between book value and market value
- the moving average cost method
- how unrealized gains and losses are calculated and recorded
- how to prepare year-end valuation adjustments using the Investment Accounting Extension.
Investment Transactions: From Theory to Double-Entry
Students practice recording:
- Purchases
- Sales
- Commissions and fees
- Accrued interest (for bonds)
- Dividends and coupons
- Realized gains and losses and exchange rate differences.
Multi-Currency Investment Accounting
Students learn how exchange rate changes affect:
- book values
- realized exchange rate gains and losses
- year-end revaluations using the Exchange Rate Table
- realized and unrealized exchange rate gains and losses.
Investment Reporting and Analysis
Using investment accounting reports, students can work with:
- Appraisal report
- Security Card Report
- Reconciliation and Check Balances.
Students learn to analyze investment positions, valuations, gains and losses, and their relationship with the financial accounting data.
By combining double-entry accounting with integrated investment management, Banana Accounting provides a practical learning environment for teaching investment accounting, securities valuation, portfolio management concepts, financial reporting, and the accounting treatment of investment transactions.
Accounts Table
To manage investments with Banana Investment Accounting, the Accounts table includes both standard financial accounting accounts and specific accounts used for investment accounting.
Each investment is represented by an Item linked to an Investment Balance Sheet Account. Investment transactions combine investment-specific information, such as the Item ID, quantity, and price, with the corresponding accounting entries, keeping investment data and financial accounting directly connected.
Investment accounts are organized into three categories:
- Investment Balance Sheet Accounts – represent the book value of investments
- Investment Value Adjustment Accounts – record realized and unrealized gains and losses and other adjustments affecting investment book values
- Investment Profit & Loss Accounts – record investment income and expenses such as dividends, interest, commissions, and fees.
Together, these accounts provide the accounting structure required to record investment transactions, maintain the book value of each investment, and reflect investment activity in the Balance Sheet and Profit & Loss Statement.
Investment Balance Sheet Accounts
Investment Balance Sheet Accounts represent the book value of investments reported in the Balance Sheet. Each account summarizes the book value of all investments linked to it.
Each investment (Item) is associated with one Investment Balance Sheet Account where purchases, sales, and other transactions affecting its book value are recorded.
The balance of each Investment Balance Sheet Account must equal the total book value of all Items linked to that account.
When to Create Investment Balance Sheet Accounts
The number of Investment Balance Sheet Accounts depends on the organization of the portfolio. Common configurations include:
- You need at least one Investment Balance Sheet Account to record the purchase and sale of investments.
- If you manage different types of securities, such as shares, bonds, or investment funds, it is recommended to create a separate account for each category.
- If you are using multi-currency accounting, you need at least one Investment Balance Sheet Account for each currency.
- If you manage bonds, it is recommended to create a separate Balance Sheet account to record recoverable withholding tax, where applicable.
- Key Characteristics:
- Every Item must be linked to one Investment Balance Sheet Account.
- The currency of the Item must match the currency of its Investment Balance Sheet Account.
- In investment transactions affecting quantity or book value, the Investment Balance Sheet Account is used together with the corresponding Item ID.
- Types of Balance Accounts:
- Investment Balance Sheet Accounts are normally asset accounts because they represent the book value of investments. Other Balance Sheet accounts, including liability accounts where required, may also be used for specific investment-related transactions.
- Account Configuration:
- Account: Account name.
- Description: Account description.
- BClass: 1 for Asset accounts or 2 for liability accounts.
- Sum In: Name of the group.
- Currency (multi-currency accounting only): Account currency.
- Opening (and Opening Currency for multi-currency accounting): The opening balance of the account.
- The opening balance must match the sum of the opening values of all securities (items) linked to the account in the Items table. See also Opening and closing page for more information.
- You can verify the opening balances using Actions > Check Accounting. Select “Items” and “Asset accounts opening balances” to check for inconsistencies.
Investment Value Adjustment Accounts
Unlike Investment Balance Sheet Accounts, Investment Value Adjustment Accounts do not represent the Book Value of investments. Instead, they record gains, losses, and other accounting adjustments that increase or decrease the Book Value of an investment.
They are used to record gains, losses, and other adjustments resulting from:
- the sale of an investment
- a market value revaluation
- an exchange rate fluctuation
- other accounting adjustments.
Investment Value Adjustment Accounts are used in investment adjustment transactions together with:
- the Investment Balance Sheet Account
- the corresponding Item ID.
Realized Gains and Losses
These accounts are used when an investment is sold and a gain or loss is realized.
- Realized Gain on Investments: Records a gain when the Selling Price is higher than the Book Price. The gain is calculated as:
(Selling Price−Book Price) × Quantity Sold - Realized Loss on Investments: Records a loss when the Selling Price is lower than the Book Price. The loss is calculated as:
(Book Price − Selling Price) × Quantity Sold - Realized Exchange Rate Gain: Records a gain when the base currency value of the investment increases due to exchange rate differences upon sale.
- Realized Exchange Rate Loss: Records a loss when the base currency value of the investment decreases due to exchange rate differences upon sale.
Unrealized Gains and Losses
Unrealized gain and loss accounts are used to record changes in the value of an investment while the investment is still held.
- Unrealized Gain on Investments: Records an increase in value when the market value is higher than the Book Value.
- Unrealized Loss on Investments: Records a decrease in value when the market value is lower than the Book Value.
- Unrealized Exchange Rate Gain: Records an increase in the base currency value resulting from exchange rate fluctuations.
- Unrealized Exchange Rate Loss: Records a decrease in the base currency value resulting from exchange rate fluctuations.
Other Value Adjustments:
Other adjustment accounts may be used to record specific changes to the Book Value of an investment that are not directly related to realized or unrealized gains and losses.
- Depreciation: Records decreases in the Book Value of assets resulting from depreciation or similar value adjustments.
- Capitalized Costs: Records costs that are capitalized and therefore increase the Book Value of an investment.
- Income Adjustments: Records investment-related income adjustments that affect the Book Value, where applicable.
- Rounding Differences: Records small adjustments required to correct differences resulting from rounding.
Investment Profit & Loss Accounts
These accounts record income and expenses associated with investments, such as dividends, interest, commissions, and fees.
Unlike Investment Balance Sheet Accounts and Investment Value Adjustment Accounts, these accounts do not represent or adjust the Book Value of an investment. They may be associated with the corresponding Item ID to track income and expenses related to individual investments.
- Common Profit & Loss Accounts:
- Interest Earned: Records interest income earned from investments.
- Interest Paid: Records interest expenses related to investments, borrowing, or margin accounts.
- Dividend Income: Records dividend income received from investments.
- Commission Costs: Records commissions and transaction fees recognized as expenses.
- Charges: Records other charges related to investments.
- Other Income: Records other investment-related income.
- Other Costs: Records other investment-related expenses.

These accounts record income and expenses related to investments but do not affect their Book Value.
Relationship Between Investment Accounts
Together with the linked Items and investment transactions, these account categories form the core of the Banana Investment Accounting model, ensuring consistency between investment positions, Book Values, and financial accounting.
Items Table with Investments List
The Items table contains one row for each investment and provides the information required to track quantities and determine the Book Values and Market Values of all securities managed in Banana Investment Accounting. Together with the Accounts table, it forms the core of the investment accounting model.
Each row represents one investment (Item). The Item identifies the security, tracks its quantity and valuation information, and links investment transactions to the corresponding Investment Balance Sheet Account.
Data to be entered
Enter all investments by specifying the following information:
- Item: The unique ID used to identify the investment, such as an ISIN or ticker symbol.
- Description: The description of the investment.
- Sum In: Defines the group to which the investment belongs, such as stocks, bonds, funds, or other investment categories.
- Groups are used to calculate subtotals in the Items table and organize investment reports.
- Investments belonging to the same group are often linked to the same Investment Balance Sheet Account.
- Asset Account: The Investment Balance Sheet Account to which the investment is linked.
- It represents the connection point between Financial Accounting and Investment Accounting.
- The Asset Account must be an asset Balance Sheet account, as it represents the accounting value of the investment. If a different type of account is entered, such as an Income Statement account, the program displays a warning message.
- The total Book Value of all securities linked to the same Investment Balance Sheet Account must correspond to the balance of that account. The Reconciliation Report verifies that the account balance and the total Book Value of investments remain consistent.
- Asset Type: Defines how the investment quantity and price are expressed:
- 1- Investments Measured by Effective Quantity: Stocks, ETFs, funds, and similar securities.
- 2- Investments Measured by Nominal Value: Bonds, debt securities, and similar investments.
- This internal classification is used by the investment accounting extension to calculate quantities and values. It is not part of the accounting reports.
- Currency (for multi-currency accounting only): The currency of the investment.
- The currency must be the same as the currency of the Investment Balance Sheet Account selected in the Asset Account field.
- Begin Qt: The opening quantity of the investment.
- Price Begin: The opening Book Price per unit of the investment.
- Price Current: The current Market Price per unit of the investment.
- This value can be entered manually or updated using the Import market prices, which allows market prices for multiple securities to be updated at once.
Data calculated automatically
The program automatically calculates:
- Value Begin (also Value Begin Currency for multi-currency accounting): Represents the opening Book Value of the investment.
- Value Begin = Begin Qt × Price Begin.
- In multi-currency accounting, the exchange rate applied between Value Begin Currency and Value Begin is the opening exchange rate without a date specified in the Exchange rates table for that particular currency.
- The sum of the Value Begin amounts of all investments linked to the same Investment Balance Sheet Account must correspond to the opening balance of that account in the Accounts table.
- See also the Opening and closing page for more information.
- Current Qt: Represents the current quantity of the investment.
- It is calculated from the Begin Qt plus or minus the quantity changes recorded in transactions.
- Value Current (also Currency Value for multi-currency accounting): Represents the current Market Value of the investment.
- Value Current = Current Qt × Price Current.
- In multi-currency accounting, the exchange rate applied between Currency Value and Value Current is the current exchange rate without a date specified in the Exchange rates table for that particular currency.
- Value Current represents the Market Value of the investment and should not be confused with its current Book Value.
- The totals for the different groups.
Grouping
Grouping allows investments to be organized into categories such as stocks, bonds, ETFs, or funds.
The Sum In field links each Item to the corresponding group, allowing subtotals to be calculated in the Items table and results to be organized in reports such as the Portfolio Valuation Report.
Grouping and Investment Balance Sheet Accounts serve different purposes. A group determines how investments are organized and totaled for reporting purposes, while the Investment Balance Sheet Account determines where their Book Value is recorded in financial accounting.
Transactions of purchase and sale of investments
The Transactions table is the core of the accounting workflow. It records all investment operations, including purchases, sales, income, expenses, transfers, and valuation adjustments.
By linking accounting entries to the corresponding Item, Banana Investment Accounting keeps the accounting records and the related investment data synchronized.
Before entering investment transactions, you must:
- create the required Investment Balance Sheet Accounts in the Accounts table
- define each investment in the Items table.
This documentation assumes that you are familiar with financial accounting, investment accounting, and the principles used to determine the Book Value and realized gain or loss when an investment is sold.
Recording Investment Transactions
Investment transactions are recorded in the Transactions table and linked to the corresponding Item. This allows Banana Investment Accounting to update the accounting records together with the related investment quantities and Book Values.
The information required depends on the type of investment operation. The sections below explain the general booking requirements, while the specific pages provide detailed instructions and examples for shares, funds, bonds, and other investment operations.
Preparing Transaction Data
Before entering an investment transaction, collect all the information required to complete the accounting entry.
The information is often provided by different sources:
- Bank statement – provides the net amount credited or debited
- Portfolio statement – provides the investment details, including quantity, unit price, currency, and transaction date.
Transactions can be entered manually or imported automatically.
Banana Investment Accounting supports several import methods:
- importing bank statements using Import into Accounting
- copying and pasting data prepared in Excel
- importing data generated by Excel macros
- using customized import extensions for specific banks or portfolio management systems.
Regardless of the import method, every investment transaction must contain the information required to correctly update the related accounting records and investment data.
Transaction Structure
Investment purchases and sales are generally recorded as compound (multi-line) transactions following the principles of double-entry accounting. Each row records one accounting component of the operation, while the same Item is used on all rows related to the investment.
A typical investment transaction may include:
- a row for the bank payment or receipt
- a row for the investment movement, including Quantity and Unit Price and, when applicable, Exchange Rate
- separate rows for commissions, bank charges, taxes, or other transaction costs
- for sales, separate rows for the realized investment gain or loss
- for foreign-currency sales, separate rows for the realized exchange rate gain or loss.
The Item identifies the investment involved in the transaction. Repeating the Item on the related rows allows Banana Investment Accounting to associate revenues, costs, gains, losses, and other accounting entries with the corresponding investment for tracking and reporting purposes.
For sales, the Calculate Sale Data command uses the historical investment data to calculate the realized investment gain or loss and, when applicable, the realized exchange rate gain or loss.
Required booking information
To correctly update both Financial Accounting and Investment Accounting, each investment transaction must include the information required to identify the investment and record the related accounting entries.
The required information depends on the type of transaction. The following information is typically required when recording investment purchases and sales.
Basic Transaction Information
- Date – The transaction date.
- Item – Identifies the investment defined in the Items table. Enter the same Item on all rows related to the investment.
- Description – A short description of the transaction.
Bank Payment or Receipt
This row records the payment for a purchase or the receipt from a sale.
- Debit Account (sale) – Bank account receiving the sale proceeds
- Credit Account (purchase) – Bank account used to pay for the investment
- Amount – Amount credited or debited by the bank for the transaction.
Investment Movement
This row records the purchase or sale of the investment and updates its quantity and the balance of the corresponding Investment Balance Sheet Account.
- Debit Account (purchase) – Investment Balance Sheet Account assigned to the Item in the Items table.
- Credit Account (sale) – Investment Balance Sheet Account assigned to the Item in the Items table.
- Quantity – Positive for purchases and negative for sales.
- Unit Price – Price per unit at which the investment is purchased or sold.
- Exchange Rate – Exchange rate used for the transaction, when applicable.
Banana Investment Accounting uses the Quantity and Unit Price to calculate the transaction amount. In multi-currency accounting, the applicable Exchange Rate is used to convert the amount into the base currency.
Note: The Investment Balance Sheet Account must correspond to the account assigned to the Item in the Items table. If a different account is used, Banana Investment Accounting displays a warning.
Bank Charges and Commissions
Use additional rows to record brokerage fees, bank commissions, taxes, or other transaction costs according to the applicable accounting treatment.
- Debit Account – Expense account for transaction costs recognized as expenses.
Additional Details for Sales Transactions
When an investment is sold, the sale is recorded at the Selling Value. The realized gain or loss adjusts the Investment Balance Sheet Account so that the Book Value attributable to the quantity sold is removed and the remaining balance corresponds to the Book Value of the quantity still held.
The realized gain or loss corresponds to the difference between the Selling Value and the Book Value attributable to the quantity sold.
Realized Gain/Loss = Selling Value − Book Value of Quantity Sold
Book Value of Quantity Sold = Book Price × Quantity Sold
The Book Price used for the calculation is determined according to the MAC-MA method used by Banana Investment Accounting.
These values can be entered manually or calculated using the Calculate Sale Data command.
Realized Gain/Loss on Investment
The realized gain or loss is recorded between the Investment Balance Sheet Account assigned to the Item and the appropriate realized gain or loss account:
- Realized Gain – recorded using the Realized Gain on Investments account.
- Realized Loss – recorded using the Realized Loss on Investments account.
The adjustment ensures that the remaining balance of the Investment Balance Sheet Account corresponds to the Book Value of the quantity still held.
Realized Exchange Rate Gain/Loss
For investments denominated in a foreign currency, an additional adjustment may be required to account for exchange rate differences realized upon sale.
- Realized Exchange Rate Gain – recorded using the appropriate realized exchange rate gain account.
- Realized Exchange Rate Loss – recorded using the appropriate realized exchange rate loss account.
The Investment Balance Sheet Account assigned to the Item is used as the corresponding account for the adjustment.
Transactions that change the Book Value without changing the investment quantity, such as market value adjustments, can be recorded using a neutral quantity or zero quantity, so that the accounting value changes without affecting the Current Quantity. See Adjustment to the Market Price for detailed instructions.
Specific Investment Transactions
The accounting structure and required entries vary depending on the type of investment and transaction. See the following pages for detailed instructions and examples:
- Booking Share Movements – purchases and sales of shares
- Booking Fund Unit Movements – subscriptions, redemptions, distributions, reinvestments, switches, and consolidations
- Booking Bond Movements – purchases, sales, accrued interest, coupons, and withholding tax
- Adjustment to the Market Price – year-end market value adjustments
- Book Rounding Differences – adjustments for rounding differences
- Calculate Sale Data – calculation of realized investment and exchange rate gains or losses on sales.
Booking share movements
Share purchases and sales are recorded as compound transactions, with separate rows for the different accounting components of the operation. This structure makes it possible to record the investment movement, bank payment or receipt, transaction costs, and any realized gains or losses while keeping the Book Value of the investment up to date.
The Item identifies the share involved in the transaction. Enter the same Item on all rows related to the investment so that Banana Investment Accounting can associate the accounting entries with the corresponding investment.
Purchase of shares
A share purchase is generally recorded using separate rows for the investment purchase, transaction costs, and payment.
- Purchase of shares
- In the Debit Account column, enter the Investment Balance Sheet Account assigned to the Item in the Items table.
- Enter the number of shares purchased in the Quantity column.
- Enter the purchase price per share in the Unit Price column.
- Banana Investment Accounting automatically calculates the corresponding amount.
- Transaction costs
- Enter the appropriate account for bank charges, commissions, or other transaction costs in the Debit Account column, according to the applicable accounting treatment.
- Enter the amount of the transaction costs.
- Payment for shares and transaction costs
- Enter the account used to make the payment, normally the bank account, in the Credit Account column.
- The payment corresponds to the total amount debited by the bank for the purchase, including any transaction costs included in the payment.

Sale of shares
A share sale generally requires additional rows because, in addition to recording the sale and the amount received, the Book Value of the investment must be updated and the realized gain or loss must be recorded.
- Sale of shares
- In the Credit Account column, enter the Investment Balance Sheet Account assigned to the Item in the Items table.
- Enter the number of shares sold as a negative value in the Quantity column.
- Enter the Selling Price per share in the Unit Price column.
- Banana Investment Accounting automatically calculates the corresponding Selling Value before transaction costs.
- Transaction costs
- Enter the appropriate account for bank charges, commissions, or other transaction costs in the Debit Account column, according to the applicable accounting treatment.
- Enter the amount of the transaction costs.
- The Selling Value less transaction costs corresponds to the net amount received, unless other transaction components are present.
- Net amount received
- In the Debit Account column, enter the bank account receiving the sale proceeds.
- Enter the net amount credited by the bank after deducting transaction costs and any other amounts included in the transaction.
- In multi-currency accounting, use a bank account with the same currency as the investment.
- Realized Gain or Loss on Investment
- The realized gain or loss corresponds to the difference between the Selling Value and the Book Value attributable to the shares sold.
- Use the Calculate Sale Data extension to automatically calculate the realized gain or loss based on the historical investment data.
- On the same row, the extension records the sale quantity as a neutral number, allowing the quantity to be used for the calculation without changing the Current Quantity of the investment.
- Record a realized gain using the appropriate realized investment gain account, or a realized loss using the appropriate realized investment loss account. Use the Investment Balance Sheet Account assigned to the Item as the corresponding account.
- Realized Exchange Rate Gain or Loss (multi-currency accounting only)
- When an investment is denominated in a foreign currency, its sale may generate a realized exchange rate gain or loss in addition to the realized gain or loss on the investment.
- The realized exchange rate gain or loss reflects the effect of exchange rate differences on the Book Value of the quantity sold when expressed in the base currency.
- Use the Calculate Sale Data extension to automatically calculate the realized exchange rate gain or loss based on the historical investment data.
- Record a realized exchange rate gain using the appropriate realized exchange rate gain account, or a realized exchange rate loss using the appropriate realized exchange rate loss account. Use the Investment Balance Sheet Account assigned to the Item as the corresponding account.

Booking fund unit movements
Fund units are generally accounted for in the same way as shares when they are purchased or sold. However, funds may involve specific transactions such as:
- subscriptions
- redemptions
- distributions
- reinvested distributions
- accumulation units
- switches or conversions between fund classes
- splits or consolidations.
Each fund is identified by an Item and linked to the Investment Balance Sheet Account assigned to that Item. Transactions affecting the number of units are recorded using the corresponding Item, Quantity, and Unit Price.
For funds, the price per unit is often referred to as the Net Asset Value (NAV). The NAV represents the value per fund unit and is generally used as the Unit Price when recording subscriptions, redemptions, reinvestments, and other transactions involving fund units.
Subscriptions and Redemptions
Subscriptions and redemptions of fund units are recorded in the same way as purchases and sales of shares.
A subscription increases the number of units held and the Book Value of the investment. Record the additional units as a positive value in the Quantity column and use the Investment Balance Sheet Account assigned to the Item.
A redemption decreases the number of units held. Record the redeemed units as a negative value in the Quantity column. If the redemption value differs from the Book Value of the units redeemed, the difference is recorded as a realized gain or loss on the investment.
For foreign-currency investments, a redemption may also generate a realized exchange rate gain or loss.
For detailed instructions on purchases and sales, see Booking Share Movements. For the calculation of realized gains or losses, see Calculate Sale Data.
Distribution / Income Units
Income or distribution units periodically distribute income to the investor without changing the number of fund units held.
Record the amount received as investment income and the corresponding increase in the bank account. Use the corresponding Item to associate the income with the investment.
If taxes, withholding taxes, commissions, or other charges are deducted from the distribution, record them on separate rows using the appropriate accounts.

Accumulation Units
Accumulation units do not normally distribute income in cash. Instead, the income generated by the fund is retained within the fund and reflected in the value of the units.
Because no additional units are normally issued and no cash is received, the quantity held does not normally change.
If the accumulated income must be recognized separately for accounting, tax, or reporting purposes, record the required adjustment according to the applicable accounting and tax treatment.
An increase in the NAV does not by itself change the Book Value of the investment. Any adjustment to the Book Value must be recorded according to the applicable accounting treatment.

Reinvestment
When a distribution is reinvested, the distribution income is used to acquire additional fund units instead of being paid out to the investor.
Record the investment income and the acquisition of the additional units as separate accounting components of the transaction. The acquisition increases both the Quantity and the Book Value of the investment, even when there is no net movement on the bank account.
The quantity of additional units is calculated as:
Additional Units = Reinvested Amount / Unit Price (NAV)
For example, if USD 100 is reinvested at a NAV of USD 50 per unit, 2 additional units are acquired. If the NAV is USD 37.50, 2.6667 additional units are acquired.
Fund quantities can therefore include decimal units.

Switch / Conversion
A switch or conversion transfers an investment from one fund or fund class to another. The accounting treatment depends on whether the operation is treated as a sale and subsequent purchase or as an internal transfer.
If the switch is treated as a sale and purchase, record the sale of the old Item and the acquisition of the new Item as separate investment movements. Any resulting realized gain or loss and, for foreign-currency investments, any resulting realized exchange rate gain or loss are also recorded.
If the switch is treated as an internal transfer, decrease the Quantity of the old Item and increase the Quantity of the new Item. Transfer the corresponding Book Value from the Investment Balance Sheet Account associated with the old Item to the Investment Balance Sheet Account associated with the new Item. No realized gain or loss is recorded if the transaction does not constitute a realization.
If both Items are assigned to the same Investment Balance Sheet Account, the transfer changes the quantities and Book Values attributed to the individual Items without changing the overall balance of the Investment Balance Sheet Account.
For Items denominated in different currencies, the transferred values and any exchange rate differences must be recorded according to the accounting treatment applicable to the conversion.

Split / Consolidation
A split or consolidation changes the number of fund units held without changing the total Book Value of the investment.
- In a split, the number of units increases and the Book Value per unit decreases proportionally.
- In a consolidation, the number of units decreases and the Book Value per unit increases proportionally.
No cash movement and no realized gain or loss are normally recorded.

Booking bonds movements
Bond transactions are recorded using the same general transaction structure as other investments, but bonds introduce specific concepts such as nominal value, accrued interest, coupon interest, and withholding tax.
For bonds, the Quantity represents the nominal value of the bond rather than the number of securities held. The Unit Price represents the bond price, generally expressed as a percentage of the nominal value.
Purchase of Bonds
A bond purchase generally includes separate rows for the bond purchase, bank charges, accrued interest, and payment.
- Purchase of bonds
- In the Debit Account column, enter the Investment Balance Sheet Account assigned to the Item in the Items table.
- In the Quantity column, enter the nominal value of the bond purchased.
- In the Unit Price column, enter the purchase price of the bond, generally expressed as a percentage of the nominal value.
- Banana Investment Accounting automatically calculates the corresponding purchase amount.
- Transaction costs
- In the Debit Account column, enter the appropriate account for bank charges, commissions, or other transaction costs, according to the applicable accounting treatment.
- Enter the amount of the transaction costs.
- Accrued Interest
- When a bond is purchased between coupon payment dates, the buyer normally pays the seller the interest accrued from the previous coupon date to the purchase date.
- Record the accrued interest using the appropriate account according to the applicable accounting treatment.
- In the Description column, you can indicate the accrual period and the applicable interest rate.
- Payment of Bonds
- In the Credit Account column, enter the account used to make the payment, normally the bank account.
- The total payment generally includes the bond purchase amount, accrued interest, bank charges, and any other transaction costs.

Collection of Interest Coupons
At each coupon payment date, record the interest earned on the bond. The gross interest may be divided between the net amount received and any withholding tax deducted.
- Net Interest
- In the Debit Account column, enter the bank account receiving the net interest.
- Enter the amount credited by the bank after deduction of withholding tax and any other applicable deductions.
- Recoverable Withholding Tax
- If withholding tax has been deducted and is recoverable, record the recoverable amount using the appropriate Balance Sheet account.
- In Switzerland, a 35% withholding tax may apply to certain Swiss investment income, including interest subject to Swiss withholding tax.
- Gross Interest
- In the Credit Account column, enter the appropriate interest income account.
- Record the gross amount of interest before withholding tax.
The net interest received plus the recoverable withholding tax corresponds to the gross interest, unless other deductions are present.

Sale of Bonds
A bond sale generally requires separate rows for the sale, bank charges, accrued interest, net amount received, realized gain or loss and, for foreign-currency investments, any realized exchange rate gain or loss.
- Sale of Bonds
- In the Credit Account column, enter the Investment Balance Sheet Account assigned to the Item in the Items table.
- In the Quantity column, enter the nominal value of the bond sold as a negative value.
- In the Unit Price column, enter the selling price of the bond.
- Banana Investment Accounting automatically calculates the corresponding Selling Value.
- Transaction costs
- In the Debit Account column, enter the appropriate account for bank charges, commissions, or other transaction costs, according to the applicable accounting treatment.
- Enter the amount of the transaction costs.
- Accrued Interest
- When a bond is sold between coupon payment dates, the buyer normally pays the seller the interest accrued from the previous coupon date to the sale date.
- Record the accrued interest received using the appropriate account according to the applicable accounting treatment.
- Net Amount Received
- In the Debit Account column, enter the bank account receiving the proceeds.
- Enter the net amount credited by the bank.
- The net amount received generally reflects the Selling Value plus accrued interest, less transaction costs and any other deductions.
- Realized Gain or Loss on Investment
- When a bond is sold, the difference between its sale value and its Book Value must be recorded as a realized gain or loss.
- Use the Calculate Sale Data extension to automatically calculate the realized gain or loss based on the historical investment data.
- On the same row, the extension records the sale Quantity as a neutral number, allowing the quantity to be used for the calculation without changing the Current Quantity of the investment.
- Record a realized gain using the appropriate realized investment gain account, or a realized loss using the appropriate realized investment loss account. Use the Investment Balance Sheet Account assigned to the Item as the corresponding account.
- Realized Exchange Rate Gain or Loss (multi-currency accounting only)
- When a bond is denominated in a foreign currency, its sale may generate a realized exchange rate gain or loss in addition to the realized gain or loss on the investment.
- The realized exchange rate gain or loss reflects the effect of exchange rate differences on the Book Value of the nominal value sold when expressed in the base currency.
- Use the Calculate Sale Data extension to automatically calculate the realized exchange rate gain or loss based on the historical investment data.
- Record a realized exchange rate gain using the appropriate realized exchange rate gain account, or a realized exchange rate loss using the appropriate realized exchange rate loss account. Use the Investment Balance Sheet Account assigned to the Item as the corresponding account.

Nominal Value
The nominal value, also known as the face value, is the amount on which the bond interest is calculated.
In Banana Investment Accounting, the nominal value of a bond is entered in the Quantity column.
Interest
Bond interest is generally determined by the coupon rate, expressed as a percentage of the nominal value. The bondholder receives the interest according to the coupon conditions, typically at regular intervals. Interest is calculated on the nominal value of the bond.
Adjustment to the market price
Market price adjustments are generally recorded at the end of the accounting period to adjust the Book Value of investments that are still held to their current Market Value.
The adjustment is based on the difference between the Market Value of the investment and its current Book Value:
Market Value Adjustment = Market Value − Current Book Value before the adjustment
- If the Market Value is higher than the Book Value, the difference is recorded as an Unrealized Gain on Investments.
- If the Market Value is lower than the Book Value, the difference is recorded as an Unrealized Loss on Investments.
The adjustment is recorded between the Investment Balance Sheet Account assigned to the Item and the appropriate Investment Value Adjustment Account.
The investment remains in the portfolio; the adjustment changes its Book Value without changing the Quantity held.
You can automatically create the required adjustment transactions using the Create adjustment transactions extension.

Book rounding difference
Small rounding differences may arise, especially at year-end, because banks, financial institutions, and Banana Investment Accounting may apply different rounding methods to investment prices and values.
When a rounding difference affects the Book Value of an investment, it can be corrected by entering a manual adjustment transaction.
Record the adjustment between the Investment Balance Sheet Account assigned to the Item and the appropriate Rounding Differences account.
The adjustment changes the Book Value of the investment without changing the Quantity held.
Command for calculating profit and loss investment's sales
When an investment is sold, the Book Value attributable to the quantity sold must be removed from the investment, and the realized result of the sale must be recorded.
Depending on the investment and its currency, the sale may require the calculation of:
- Realized Gain or Loss on Investment – the realized result arising from the difference between the Selling Value and the Book Value attributable to the quantity sold.
- Realized Exchange Rate Gain or Loss – for investments denominated in a foreign currency, the realized result arising from exchange rate differences associated with the Book Value of the quantity sold when expressed in the base currency.
The Calculate Sale Data extension uses the historical investment data to automatically calculate the values required to complete the sale transaction, record the realized results, and correctly update the Book Value of the investment.
Calculate Sale Data dialog

Investment Accounting Opening and Closing the Year
Beginning of the year
At the beginning of a new accounting year, make sure that the opening quantities and values of the investments in the Items table are consistent with the corresponding opening balances.
When a new accounting year is created from the previous year, Banana Accounting automatically carries forward the closing investment data and account balances required as opening values for the new year.
If you need to add a new security manually, enter its opening information in the Items table and make sure that its opening value is consistent with the opening balance of the Investment Balance Sheet Account specified in the Asset Account column.
Add a new security
To manually add a new security at the beginning of the accounting year, define it in the Items table and enter its opening values:
- Begin Qt. – Enter the opening quantity of the security. For bonds, enter the opening nominal value.
- Price Begin – Enter the opening unit price of the security.
Banana Investment Accounting automatically calculates the Value Begin based on the values entered in Begin Qt. and Price Begin.
In multi-currency accounting, the corresponding opening value in the base currency is also calculated automatically.

Matching Opening Values with the Investment Balance Sheet Account
The total opening value of the securities must correspond to the opening balance of the Investment Balance Sheet Account specified in the Asset Account column of the Items table.
If multiple Items are assigned to the same Investment Balance Sheet Account, the sum of their Value Begin amounts must equal the opening balance of that account.
For example, if two shares are assigned to the same Shares CHF account, the sum of their opening values in the Items table must correspond to the opening balance of the Shares CHF account in the Accounts table.
This correspondence keeps the investment values in the Items table and the related balances in Financial Accounting aligned.

The following image shows that the opening values in the Items table correspond to the opening balance of the related Investment Balance Sheet Account in the Accounts table.

Opening Exchange Rate
In multi-currency accounting, Banana Investment Accounting automatically calculates the Value Begin of each security in the base currency using the applicable opening exchange rate.
The same opening exchange rate is used to calculate the opening balance of the corresponding Investment Balance Sheet Account in the base currency. This allows the opening Value Begin amounts of the Items and the opening balance of the related Investment Balance Sheet Account to remain consistent.
For more information about the values calculated in the Items table, see Data calculated automatically.
Check initial balances
After entering the opening values, you can verify that the opening values of the securities correspond to the opening balances of the related Investment Balance Sheet Accounts:
- Use the Actions > Check Accounting command. Select the Items and Asset accounts opening balances options.

- Use the Check balances report extension to verify that the opening values of the securities are consistent with the corresponding opening accounting balances.

End of the Year
At the end of the accounting year, enter the current Market Price of the security in the Price Current column of the Items table, normally using the year-end market price.
Banana Investment Accounting automatically calculates the Market Value:
Value Current = Current Qt. × Price Current
The Current Qt. is automatically updated based on the investment transactions recorded during the year.
The resulting Value Current represents the Market Value of the investment.
Closing Exchange Rate
In multi-currency accounting, Banana Investment Accounting automatically calculates the Value Current of each security in the base currency using the applicable current exchange rate.
This allows the Market Value of investments to be expressed in the base currency and used when calculating the required year-end valuation adjustments.
This is particularly important when determining the difference between the current Book Value and Market Value of foreign-currency investments.
Create Adjustment Transactions
Before closing the accounting year, make sure that all required valuation adjustments have been recorded.
You can use the Create adjustment transactions extension to automatically calculate and create the required adjustment transactions based on the difference between the current Book Value and the Market Value of each investment.
The extension records the adjustment in the Investment Balance Sheet Account specified in the Asset Account column of the Items table, using the appropriate Investment Value Adjustment Account as the corresponding account.
After the adjustment, the Book Value of the investment corresponds to its Market Value. Consequently, the balance of each Investment Balance Sheet Account should correspond to the sum of the Value Current amounts of all Items assigned to that account.
To verify the balances, compare:
- the current balance of the Investment Balance Sheet Account in the accounting records
- the Value Current of the related Items in the Items table.
If multiple Items are assigned to the same Investment Balance Sheet Account, its balance should correspond to the sum of the Value Current amounts of all Items assigned to it.

In this example, the corresponding values in the Items table confirm that the Item values are consistent with the balance of the related Investment Balance Sheet Account.

Recording the adjustment using a separate Balance Sheet account
If required by the applicable accounting treatment, auditing requirements, or reporting structure, the valuation adjustment may be recorded in a separate Balance Sheet account instead of directly adjusting the Investment Balance Sheet Account specified in the Asset Account column.
In this case, you can:
- manually record the adjustment transactions
- modify the account used in the transactions generated by the Create adjustment transactions extension.
The Price Current should continue to represent the current Market Price of the investment, and Value Current therefore continues to represent its Market Value.
When the valuation adjustment is recorded in a separate Balance Sheet account, the balance of the Investment Balance Sheet Account alone will not correspond to the Value Current of the related Items. The separate Balance Sheet account used for the valuation adjustment must also be taken into account when reconciling the accounting values with the Market Value of the investments.
Creating a New Accounting Year
When you create a new accounting year using the Create New Year command, Banana Accounting automatically carries forward the closing values required for the new accounting year.
For each Item:
- the closing Current Qt. becomes the Begin Qt. of the new year
- the closing Price Current becomes the Price Begin of the new year.
The closing balances of the Investment Balance Sheet Accounts are also carried forward as opening balances for the new accounting year.
The opening Value Begin amounts of the Items should therefore be reconciled with the corresponding opening balances. When valuation adjustments are recorded directly in the Investment Balance Sheet Accounts, the Value Begin amounts should correspond to those account balances. When valuation adjustments are recorded in separate Balance Sheet accounts, the balances of those accounts must also be taken into account.
After creating the new year, use the Check balances report to verify the consistency between the opening values of the Items and the corresponding opening balances.
Planning and Analysis
The analysis and planning functions of Banana Accounting allow you to better understand the economic and financial performance of your business. With the budget, Cash Flow and chart functions, you can transform accounting data into clear and useful information to make informed decisions.
Thanks to these functions you can:
- Plan the future with a detailed and realistic budget;
- Monitor cash flow and anticipate possible liquidity shortages;
- Compare actual results with forecasted ones to evaluate performance;
- Better interpret accounting data through clear and dynamic charts;
- Make informed decisions based on up-to-date visual analyses;
- Transform accounting into a management and strategic tool, not just a recording tool.
Budget
The Budget function allows you to plan costs and revenues in advance by simulating the future performance of your accounting. You can set up an annual budget in the Accounts table, or have 360-degree planning with specific details by period using the Budget table, where you can record planned operations as transactions and obtain forecasted balance sheets by month, quarter, or year. It is an ideal tool for creating budgets, comparing forecasts with actual results, and monitoring the financial sustainability of projects.
Cash Flow
The Cash Flow shows expected or actual cash flows over time, based on accounting data.
It helps you understand how liquidity changes, when you will have cash surpluses or shortages, and whether incoming funds will be sufficient to cover future expenses.
With the projection function, you can view your financial situation in advance and make informed decisions to better manage liquidity.
Charts
The Charts function transforms accounting and budget data into intuitive visual representations.
You can create bar, line, or pie charts to analyze trends in revenues, costs, liquidity, or other accounting indicators.
Charts make it easy to compare periods or categories and help communicate results in a clear and visual way.
Liquidity management with the Cash Flow report
Starting from Banana+ Dev Channel 10.1.25, a new command Report > Cash Flow Report has been introduced, offering a detailed analysis of liquidity changes recorded in accounting.
This tool allows you to monitor receipts and payments, including future ones, providing valuable insights into your company's financial strength and operational efficiency.
- The logic behind this function is based on comparing the balances of liquidity accounts and the movements of counterpart accounts, which usually represent revenues or expenses.
- By understanding how the movements in liquidity accounts correspond to net cash flows for each period, you can gain an accurate view of your financial situation at any time. This comparison provides valuable information for effective financial planning and informed decision-making, helping you maintain balanced cash flow and achieve your financial goals.
- Thanks to the forecast functionality, you can analyze the evolution of liquidity over the year, using data from existing entries and budget items.
Prerequisites
Currently the Cash Flow report functionality
- Is available in the Dev-Channel version, so please install the latest version of Banana Accounting+ Dev Channel.
- This extension works only with the Advanced Plan, you can request a 1 month promo code from our support service.
- The extension is currently in Beta Test, please check everything and report any problem.
The Cash Flow Table
To view the Cash Flow table:
- select the command from the menu Report > Cash Flow Report
(if the command is not visible, check the prerequisites) - set the parameters in the Cash Flow Report dialog and confirm with OK

Rows
Vertical structure of the report
- Each liquidity account
- Total of all liquidity accounts (cash accounts)
- Counterpart accounts
- Total of counterpart accounts (cash flow total changes)
- Difference (displayed only if the total of liquidity accounts differs from the total of counterpart accounts)
Some commands to filter the rows displayed in the table
- To display only the rows with an amount in the Current view
|!Movement_?_C:xml!<> |!Balance_?_C:xml!<> - To display only the rows with an amount in the Budget view
|!Movement_?_B:xml!<> |!Balance_?_B:xml!<>
Columns
The columns with amounts
- Opening balance (only for liquidity accounts)
The initial amount of the liquidity account for the period. - Closing balance (only for liquidity accounts)
The final amount of the liquidity account at the end of the period. - Movements for the period
- Inflows (hidden column)
Indicates incoming money - Outflows (hidden column)
Indicates outgoing money - Net Cash Flow
- Liquidity accounts
Calculated as Inflows minus Outflows.
Represents the total of all revenues (positive amounts) and expenses (negative amounts) within the account for the considered period. - Counterpart accounts
The origin (positive amounts) and the destination (negative amounts).
- Liquidity accounts
- Inflows (hidden column)
Views
The report has three views
- Current
Uses the opening balances and the actual transaction data. - Budget
Uses the opening balances and the data from the Budget table. - Forecast
- Uses the opening balance and the data from the transactions up to the day before the forecast start date.
- Uses the budget entries starting from the forecast start date (inclusive).
The View Forecast
The forecast combines current accounting data (Transactions table) with budget data (Budget table).
Example:
- In the Transactions table, movements are recorded up to the end of September.
- In the Budget table, the budget for the months of the year is recorded.
- If you set the forecast start date to October 1st, the program will calculate the forecast including:
- Actual opening balance.
- Transactions from January through the end of September.
- Budget data starting from October 1st.
- The liquidity forecast will therefore use the actual liquidity account balances and calculate the forecast through the end of the year based on the budget data.
- The forecast can be particularly useful when combined with a monthly breakdown.
If you use a monthly breakdown, you can view the projected cash flow for October, November, and December, starting from the actual data up to September.
Example of a report for the period 01.01.2025 - 30.06.2025
- Forecast start date: 01.04.2025
- 1st quarter amounts are based on actual transactions.
- 2nd quarter amounts are based on forecasts:
- The opening balance of liquidity accounts is based on actual data.
- The net cash flow is calculated based on budget entries.
- The final balance (projection) is the sum of current and forecast data (transactions + budget).

Report logic
The report will show:
- For liquidity accounts:
the total of all inflows and outflows for the period. - For other accounts:
the total of the entries that affected the liquidity accounts.
How the report works
- The user defines which accounts are liquidity accounts.
- The opening balance of the liquidity accounts is used as the starting value.
- For all entries in the Transactions and Budget tables:
- The program only considers entries involving a liquidity account.
- The amount recorded in the liquidity accounts is analyzed individually for each account.
- The amount recorded in the counterpart accounts is also analyzed separately for each account.
Definition of counterpart account
A counterpart account is an account that does not belong to the list of liquidity accounts.
- For single-entry (debit/credit) records:
the counterpart account is the one used in opposition to the liquidity account. - For entries with multiple rows and different accounts:
The position of the row including the liquidity account does not affect the decision to include or not the entry in the report.- The first liquidity account (whether debit or credit) is considered the main liquidity account.
- All other accounts used are considered counterpart accounts.
Logic for grouping entries
In the Transactions table, accounting movements are listed sequentially, without the possibility to manually define a start and end for each entry. Therefore, the program automatically determines when an entry starts and ends, as well as which accounts are part of it. This logic directly impacts the correct assignment of the counterpart to liquidity accounts.
Understanding the grouping mechanism of entries in Banana is essential for achieving an accurate interpretation and reducing any discrepancies reported in the cash flow report.
Errors and Differences
When the program is unable to determine the counter-account in a multi-line transaction, a difference is reported. This warning does not necessarily indicate an accounting error, but rather the inability to identify the exact counter-account.
In these cases, you can assist the program by specifying the liquidity account in square brackets on the relevant line. This action:
- allows the transaction to be included in the cash flow calculation.
- Acts only as a comment and does not affect the accounting result.
Managing differences
The inflows and outflows in liquidity accounts must always be associated with:
- a source account (for inflows, from where the money comes)
- a destination account (for outflows, where the money was transferred to).
For each entry (whether single or spread over multiple rows), the system reports an error when the total amounts recorded in the liquidity accounts do not match the total amounts assigned to the counterpart accounts.
Differences and errors can therefore arise from:
- Partial or missing counterpart assignments.
- Amount errors between liquidity movements and their counterparts.
Practical examples
Below are some examples of accounting entries split over multiple rows, involving the liquidity accounts 1020 Bank and 1000 Cash.
Although these entries are accounting-wise correct, they can generate ambiguities in cash flow calculation, highlighting a possible discrepancy between the liquidity balance and the total of the counterpart movements.
Doc change (Doc column)
- Example: entry over multiple rows with different docs. Report of a 360.00 CHF difference at row 1.
Date Doc Invoice Description Debit Credit Amount Balance 14.01.2025 1 Various purchases 1020 360.00 -360.00 14.01.2025 2 Purchase on 12.01 4000 30.00 -330.00 14.01.2025 3 Purchase on 13.01 4000 330.00 Correction: indicate the liquidity account in square brackets in the second and third rows.
Date Doc Invoice Description Debit Credit Amount Balance 14.01.2025 1 Various purchases 1020 360.00 -360.00 14.01.2025 2 Purchase on 12.01 4000 [1020] 30.00 -330.00 14.01.2025 3 Purchase on 13.01 4000 [1020] 330.00
Change in invoice number (Invoice column)
- Example: entry over multiple rows with different invoice numbers and an empty Doc column. Report of an 8,000.00 CHF difference at row 1.
Date Doc Invoice Description Debit Credit Amount Balance 18.01.2025 Customer invoice collection 1020 8,000.00 8,000.00 18.01.2025 4545 Payment from customer 1 3000 3,000.00 5,000.00 18.01.2025 4546 Payment from customer 2 3000 5,000.00 Correction: indicate the liquidity account in square brackets in the second and third rows.
Date Doc Invoice Description Debit Credit Amount Balance 18.01.2025 Customer invoice collection 1020 8,000.00 8,000.00 18.01.2025 4545 Payment from customer 1 [1020] 3000 3,000.00 5,000.00 18.01.2025 4546 Payment from customer 2 [1020] 3000 5,000.00
Cash Flow Dialog
The Cash Flow Report dialog window allows you to customize your liquidity reports by selecting specific liquidity accounts, periods, breakdowns, and other settings to tailor the report to your needs. With the ability to save different configurations, you can create and store multiple customized reports.
In the Banana menu, select Report > Cash Flow Report

Basic tab
- Liquidity account or group
- Selection: type the name or ID of the liquidity account or group for which you want to generate the report, then click the Add button.
- When selecting a group (indicated by Gr=), all accounts belonging to that group will be included in the report as liquidity accounts. This is useful for analyzing multiple accounts simultaneously without adding them individually.
- To remove selected accounts or groups, click the "X" button next to the account name.
- Forecast checkbox
- Available only for accounting files that contain the Budget table.
- Select this checkbox to include forecasts in the cash flow report, allowing you to project future liquidity changes based on budget entries.
- Enter the start date from which forecast data should be calculated. This date is inclusive, meaning that from the specified day onward, the report will consider budget data (from the budget table). Data before this date will instead use actual data (from the Transactions table). This feature allows for seamless integration of historical actual data with future projections in the Cash Flow analysis.
Other sections of the dialog
Explanations for the other sections are available on the following pages:
- Period
Defines the reporting period. - Subdivision
Allows you to generate a report divided into multiple periods.
Segmentation by segment is currently not implemented. - Customization
Allows you to save report settings. For example, you can create and save separate configurations for:- Cash Flow Report: including liquidity accounts.
- Working Capital Report: including working capital accounts.
Banana Accounting+ charts
In Banana Accounting Plus, when opening a file, the Charts window is available at the bottom, which offers a graphical representation of the performance of a selected account, group, cost centre or segment.
The chart displays the data of the account or other selected item in a table, according to the settings that can be chosen in the right-hand panel:
- Placing the cursor on the curve or bar of the chart shows the exact values of the amounts.
- Clicking on a point in the chart opens the corresponding account tab at the corresponding position.

Control Panel
Using the right-hand panel it is possible to select the values and period to be displayed, the mode, as well as to print or save the chart.
If the size of the window does not allow all the controls to be displayed, only the controls concerning the legend will be displayed. To display all controls, either the main application window or the bottom window must be enlarged.
Time Values
The following accounting values can be displayed individually or simultaneously in the charts:
- Current - represents actual values.
- Budget - represents the budget values.
- Previous - represents the previous year's values.
By clicking on the name (Current, Budget or Previous) with the mouse, the respective values are displayed or hidden.
Legend
The Legend option selects whether to hide or display the legend within the chart window. As a rule it is hidden, but you can display it in case you need to print or save the chart.
- Off - The chart shows no legend.
- Low - The legend is displayed below the chart, in a central position.
- Left - The legend is displayed bottom left.
- High - The legend is displayed above the chart, in the middle position.
- Right - Legend is displayed bottom right.
Period
The period in years for which data is to be displayed.
1Y, 2Y, 3Y, 4Y, Y (Y indicates years).
Interval
The space between each value on the chart scale can be customised according to the following options:
- 1D (day), 1W (week), 1M (month), 3M (quarter), 6M (semester), 1Y (year).
Value
The chart can display the accounting balance at the end of the period or the accounting movement for the period. Depending on the selected value, the displayed date is adjusted accordingly:
- Balance - the chart shows the balance at the end of the period (e.g. 31 Jan '22 - period end date)
- Movement - the chart shows the movement of the period (e.g. Jan '22 - period)
- Automatic - the chart represents the balance for balance accounts and CC3, and the movement for income statement accounts, CC1, CC2 and segments.
Type
The chart can represent values in the following ways:
- Line - the chart is represented by lines.
- Area - the chart is represented by areas.
- Bar - the chart is represented by bars.
- Auto - the chart is represented as area for balance sheet accounts and CC3, and as bars for income statement accounts, CC1, CC2 and segments.
Print, Save or Copy the Chart
This feature is only available with the Advanced plan of Banana Accounting Plus.

In the top right-hand corner of the chart table, clicking on the Copy symbol displays a menu with the following commands:
- Print - Displays the chart in the print preview.
- Save - Saves the chart as a PNG image.
- Copy - Copies the chart to the clipboard as a PNG image. The copied image can be pasted into any text editor (Word, Excel, ...).
- Copy Data - Copies the values used to create the chart as a data table that can be pasted into any spreedsheet (Excel, Numbers, ...).
Additional features
Through the Add functionalities, Add tables and Extensions tools, you can enrich your accounting file with new tools, data and automations that simplify your work and make management even more complete.
These tools allow you to transform Banana Accounting into a tailored working environment that grows and adapts to your needs, without ever losing the ease of use that distinguishes it.
Add functionalities
The Add functionalities function allows you to activate advanced tools, such as the Budget table for budgeting and financial planning, the Items table used for invoicing, a simple table to enter additional data and link it to other tables, and much more.
You can start with simple accounting and then add additional features as your business and needs grow.
Add tables
With Add tables you can create customized spaces to manage additional data and link them to other tables already in use.
Everything remains in the same file, in an orderly and consistent way.
Extensions
With Extensions, you can add extra features: advanced reports, automatic checks, print templates or integrations with other tools.
Extensions are easy to install and allow you to expand the program’s capabilities only when needed.
Add or remove functionalities
In Banana Accounting Plus, you can customize your file by activating new features without complicating the main structure. To access the various options:
- go to the Tools > Add / Remove Functionalities > Add menu and select the desired option.
Important
- The options available in this dialog are specific to accounting files.
- In productivity applications (such as Offers and Invoices, Timesheet, etc.), the Add / Remove Functionalities dialog shows different options, designed for those types of files.
Enable Uppercase/ Lowercase in account description numbers and codes
Allows you to keep the descriptive accounts (Account column) as entered, without automatic conversion to uppercase.
Note: "Cash" and "cash" will be recognized as two different accounts.
Add Items Table
Information is available on the documentation Items Table.
Add Item Columns to the Transactions table
Information is available on the documentation page Items Columns in the Transactions table.
Add Items Table and Item Columns to the Transactions Table
The information can be found on the documentation page Items Table and on the documentation page Items columns in the Transactions table
Add Address columns in the Accounts table
Allows you to add addresses and personal details to the accounts in the Accounts table (customers, suppliers, members, etc.). When this option is selected, the Addresses view is added with all the new columns.
- You can make the columns visible in other views as well via the Data > Columns setup menu.
- To create additional views with specific columns, use the Data > Tables setup menu.
Add and Remove Budget Table
This function enables the accounting file for financial planning by adding the Budget table where you can enter transactions concerning the budget.
See the Budget table for more information.
Changing VAT amount type column in transactions
In accounting files with VAT, in the Transactions table, this function allows the column Amount type (VAT amount type) to be made editable. For each transaction, the program automatically enters the default data from the VAT Codes table (for each code) into the Amount Type column.
- 0 (or empty cell), this means VAT included
- 1 = VAT amount, means VAT excluded
- 2 = VAT amount, the amount of the entry is considered as 100 % VAT amount
If, exceptionally, the amount type for a VAT code changes, you can manually enter 1 or 2.
Note
This function is not compatible with files created in earlier versions that did not support this option.
Add tables
With Banana Accounting Plus, you can create simple tables to enter additional information directly into the accounting file, without using external documents and without complicating the main structure.
These are empty and fully customizable tables, ideal for organizing and collecting data according to your needs. They do not have built-in accounting functions but serve as a practical tool for organizing and collecting data related to business management.
You can add one or more simple tables to your file and, if necessary, link them either to one of the predefined tables in Banana Accounting Plus or to each other.
Possible uses of a simple table
Simple tables can be used to create lists and manage data that supports accounting, such as:
- Employment records
- Information, notes, appointments with customers and suppliers
- Services provided to clients
- Insurance policy deadlines
- Property key management
- Internal management notes and comments
- References to contracts, projects, or ongoing cases
- Task lists related to accounting
Advantages
- Flexibility: you can freely decide the content and structure
- Everything in a single file: your information remains always linked to the accounting
- Simplicity: just add rows and columns, with no accounting knowledge required
- Immediacy: once confirmed with OK, the table is immediately available in the file
How to add a simple table to the file
- Open your accounting file
- From the menu Tools > Add/Remove Functionalities > Add Simple Table
The program adds a new table to the existing file with the name you chose, including the following predefined columns:
- RowId → used to uniquely identify each item.
- Description → description of the item.
- Notes → additional notes or information.
For more information on tables you can add to your file, see the page:
- Simple Table
This page explains how to customize the table, show other predefined columns or add your own.
Examples of simple tables
To give you an idea of the possibilities, here are some examples:
- Internal Notes Table
In accounting, it’s often necessary to add notes about deadlines or messages for colleagues and managers. These notes are sometimes stored in Excel or Word files, risking they get lost or forgotten. By creating a simple table in the same accounting file, notes remain always available and easy to consult.
- Volunteers/Events Table
Useful for recording names, availability, and roles for events or association activities.
- Sales Agents Table
Allows you to collect information about agents, monitor areas of responsibility, and track client relationships.
In this way, simple tables become a real support tool for accounting, adaptable to the specific needs of your business.
How to create an Internal Notes table
In Banana Accounting Plus, you can create a simple table dedicated to Internal Notes, to collect reminders, annotations, and useful references directly within the same accounting file.
This way, you have all the information at your fingertips, without needing to use external documents.
How to create the Internal Notes table
- Open the accounting file
- Create the simple table and name it Internal notes
- Set up the columns:
- RowId = in our example, the Id column was hidden, as we don't need to link it to other tables
Hide this column from the menu Data > Columns setup > Id (uncheck "Visible"). - Description = in our example, we entered the subject of the note
- Notes = the content of the note
- Link = the link to the document related to the note.
Add this column from the menu Data > Columns setup > Links (check “Visible”).
- RowId = in our example, the Id column was hidden, as we don't need to link it to other tables

With this setup, you can create and manage a table of internal notes and documents directly visible in the accounting file, without needing additional files, and consult them at any time.
Using the Internal Notes table
- You can record reminders, checks to perform, document references, and any other useful information.
- The notes are always accessible and linked to the accounting file, without overloading the main structure.
- When notes become numerous, you can simplify searching using the Filter rows feature: just type a keyword, and the program will display all rows containing it.
How to create a Sales Agents table linked to the Transactions table
In Banana Accounting Plus, you can create a simple table dedicated to Sales Representatives (or Agents) and link it directly to the Transactions table.
This way, you can associate each sale with the name of the agent who handled it, keeping all information within the same accounting file, without needing external documents.
Structure of the Sales Representatives table
The Sales Representatives simple table can include the following columns:
- RowId → unique identifier code for the agent (also used for linking).
- Description → additional information about the agent.
- Commission Percentage → commission rate for each agent.
- Notes → specific annotations.
- Links → link to the commission contract or other related documents.

Linking with the Transactions table
To link the Sales Representatives table to the Transactions table:
- Open your accounting file.
- Go to the Transactions table.
- From the menu Tools > Add/Remove Functionalities > Add columns to link tables.
- Select the Sales Representatives table.
- Indicate after which column the link should be added.
- Confirm with OK.
The Transactions table will now include the linked columns:
- RowId → where to enter the identifier code of the Sales Representative
- Sales Representative → the description linked to the Id. When you enter the code, the agent’s name appears automatically.
For each sales transaction, you can select the agent’s name directly from the Sales Representatives table.
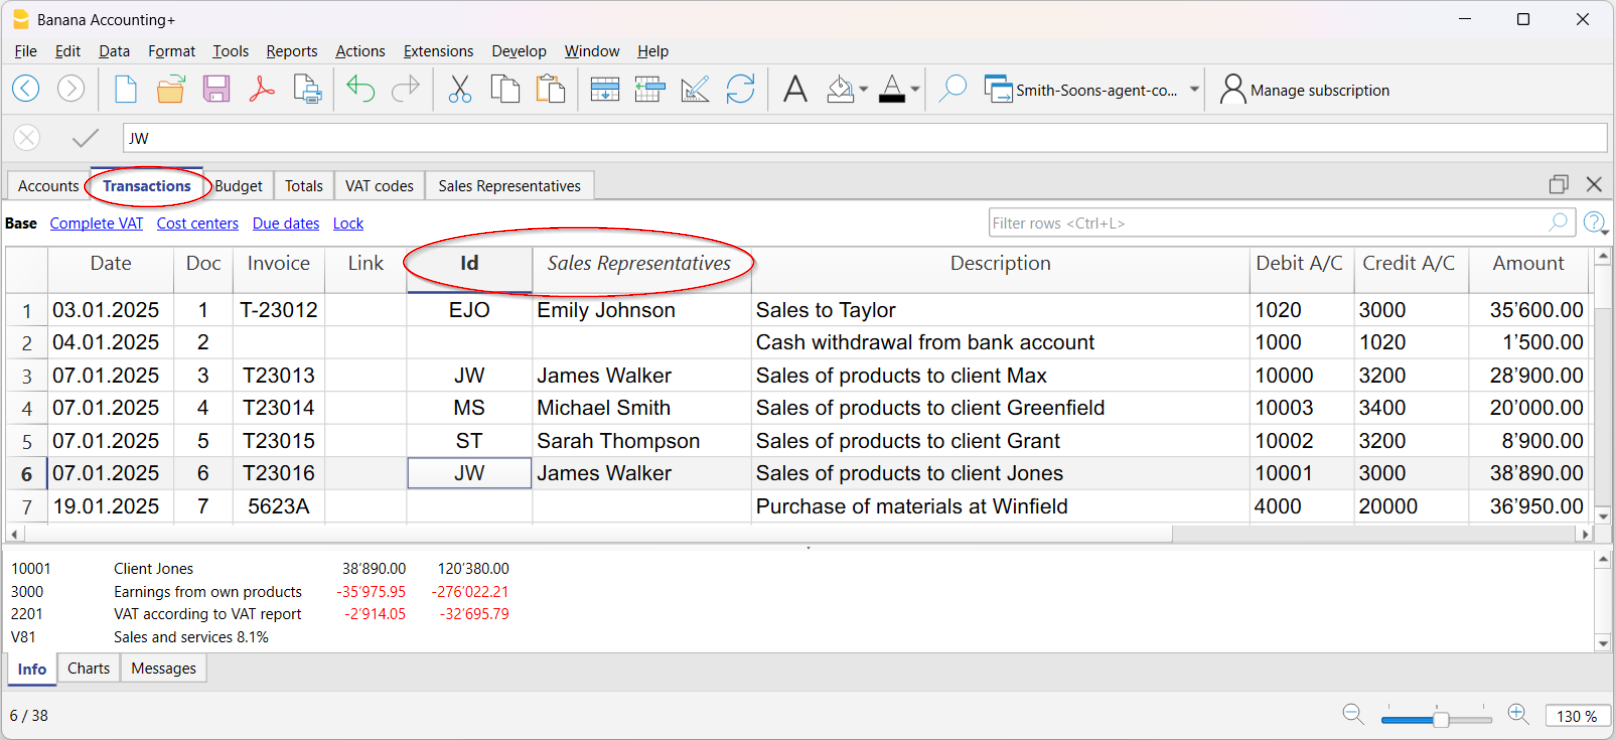
Advantages of linking
- Centralization → all agent information remains in the same accounting file.
- Traceability → each sale can be immediately associated with the agent who completed it.
- Quick analysis → with the Filter rows function, you can display only transactions related to a specific agent.
Calculating commissions
- Filter transactions by agent.
- At the bottom of the info window, you immediately see the total sales amount.
- To calculate the commission, you can:
- In the Amount column, copy the total shown at the bottom of the window (after selecting the cells) and multiply it by the commission rate.
- Export the filtered rows to Excel and apply the commission percentage formula.
With this setup, you can easily manage sales by agent, calculate commissions, and always have an up-to-date history within the same Banana file.
Extensions
Extensions are additional modules of the program that allow the use of supplementary features; most of these are exclusively available with the Advanced plan of Banana Accounting Plus.
Below is the list of the main ones:
VAT Statement 2024 for Switzerland
This extension is exclusively with the Advanced plan of Banana Accounting Plus. For more information...
QR Invoicing for Switzerland
Financial Analysis and Cash Flow
Advanced financial reports and charts for your double-entry accounting, including the financial statement, standard financial reports, Dupont analysis, and Altman index. You can compare historical data over multiple years and forecast data with the current year.
This extension is exclusively available with the Advanced plan of Banana Accounting Plus.
Securities Portfolio Management
To manage securities within your accounting file. It generates reports with details on the movements of your securities, reconciliation, and accounting valuation data for the portfolio.
This extension is exclusively available with the Advanced plan of Banana Accounting Plus.
Construction and Renovation Management
To manage construction and renovation projects. Easily keep track of your project costs, from the estimate phase to allocations and payments. See if costs align with estimates and avoid overruns and surprises. Data classification by expense category and companies involved.
This extension is exclusively available with the Advanced plan of Banana Accounting Plus.
List of all extensions
On our Extensions web page, you can find a list of all available extensions for Switzerland, Italy, and other countries.
Self-Programmed Extensions
For programming experts, it is possible to modify existing extensions or create new ones, and then manually install them into the program.
This possibility is exclusively available with the Advanced plan of Banana Accounting Plus.
Shared dialogs
In Banana Accounting there are dialog boxes that are shared by various functions and reports. One of these is the Period dialog.
This dialog is available in various printouts and reports. Here are some examples:
- Journal by period
- Account card(s), categories, cost and profit centers
- Balance sheet and Profit and Loss Statement
- Income and Expense report
Dialog - Period section
This section appears in various dialogues (eg in the account card, in the balance sheets ...) and has the function of limiting the display or processing of data only for a specified period.
If, for example, you enter a quarter, only the transactions for the quarter will be displayed in the account card and the results for the quarter will appear in the Balance Sheet.
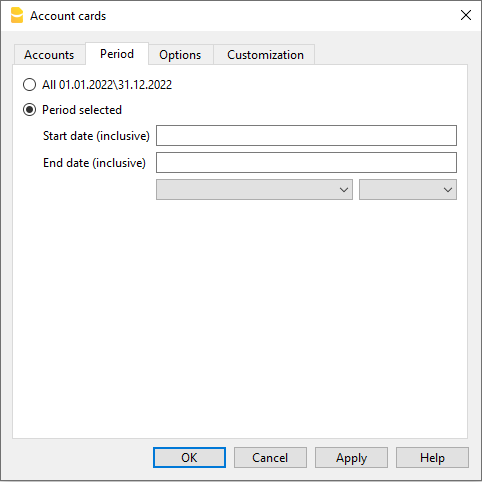
All
All accounting entries will be included.
Period selected
Defines a specified period, indicated by the start and end date.
Movements without date
If movements without dates have been entered in the accounting, they will only be considered if you select All.
On the other hand, if for example you enter, from January 1st to December 31st, the movements without a date will not appear in the report.
Features for Auditors and chartered accountants
With the Advanced plan of Banana Accounting Plus, you have tools designed for audit and accounting professionals. Faster checks, reliable financial statements, and automated processes: less time on controls, more time to deliver value to your clients.
Why choose the Advanced plan of Banana Plus
The Advanced plan combines reliability, automation, and control. It's the ideal solution for professionals who want to work with more precision and less effort. It's not just about managing numbers, but about getting a system that works with you, reducing errors and increasing the value of your service.
Main benefits:
- Efficiency – Automatic checks and verifications that drastically reduce audit times.
- Precision – Features that prevent errors and instantly detect inconsistencies.
- Versatility - Allows you to go beyond simple accounting, also including specialized areas such as forensic accounting, trusts and financial planning.
- Added value – More time for complex mandates and consulting activities.
Set up your client's accounting in just a few minutes
Thanks to the predefined templates of Banana Accounting Plus, you can start working immediately with a ready-to-use chart of accounts, configured based on language, legal form, and business sector. Of course, you can then customize every detail to suit your client's specific needs.

Simplify your client's accounting with automation
Many clients enter transactions independently, but they don't always have in-depth accounting knowledge.
With Banana Accounting Plus, you can set up rules and automations that ensure consistent data and reduce the time spent on manual checks.
Thanks to the automatic features, you can:
- Automatically create recurring transactions
- Store recurring transactions
- Set rules to automatically complete imported transactions from bank statements.
Fewer errors, more efficiency, and more time to dedicate to your clients.
Set up your clients' accounting in no time
If you manage accounting for several clients, you can significantly speed up transactions by importing them directly from bank statements.
- With the Advanced plan of Banana Accounting Plus, you have import filters compatible with .csv files from major Swiss banks.
- With the Professional plan, on the other hand, you can only import files in the ISO 20022 standard format.
In addition, by setting Rules for completing imported transactions, the program automatically enters the counterpart accounts, VAT codes, and other accounting elements (feature available only in the Advanced plan).
This way, you’ll have more time to:
- Handle more mandates
- Focus on more complex accounting
- Offer targeted analysis and consulting
▶ Video: Rules for completing imported transactions (Apply rules dialog).
Instantly spot accounting discrepancies
The Balance column helps you immediately identify any discrepancies between Debit and Credit (or between Income and Expenses), directly highlighting the non-matching amount from the row where it occurs. This way, you can promptly correct the differences and always have accurate and reliable accounting.
Since the discrepancy is also shown in the following rows until it is corrected, keeping an eye on this column allows you to spot errors immediately and prevent them from accumulating.
▶ Watch the Video on the Balance column
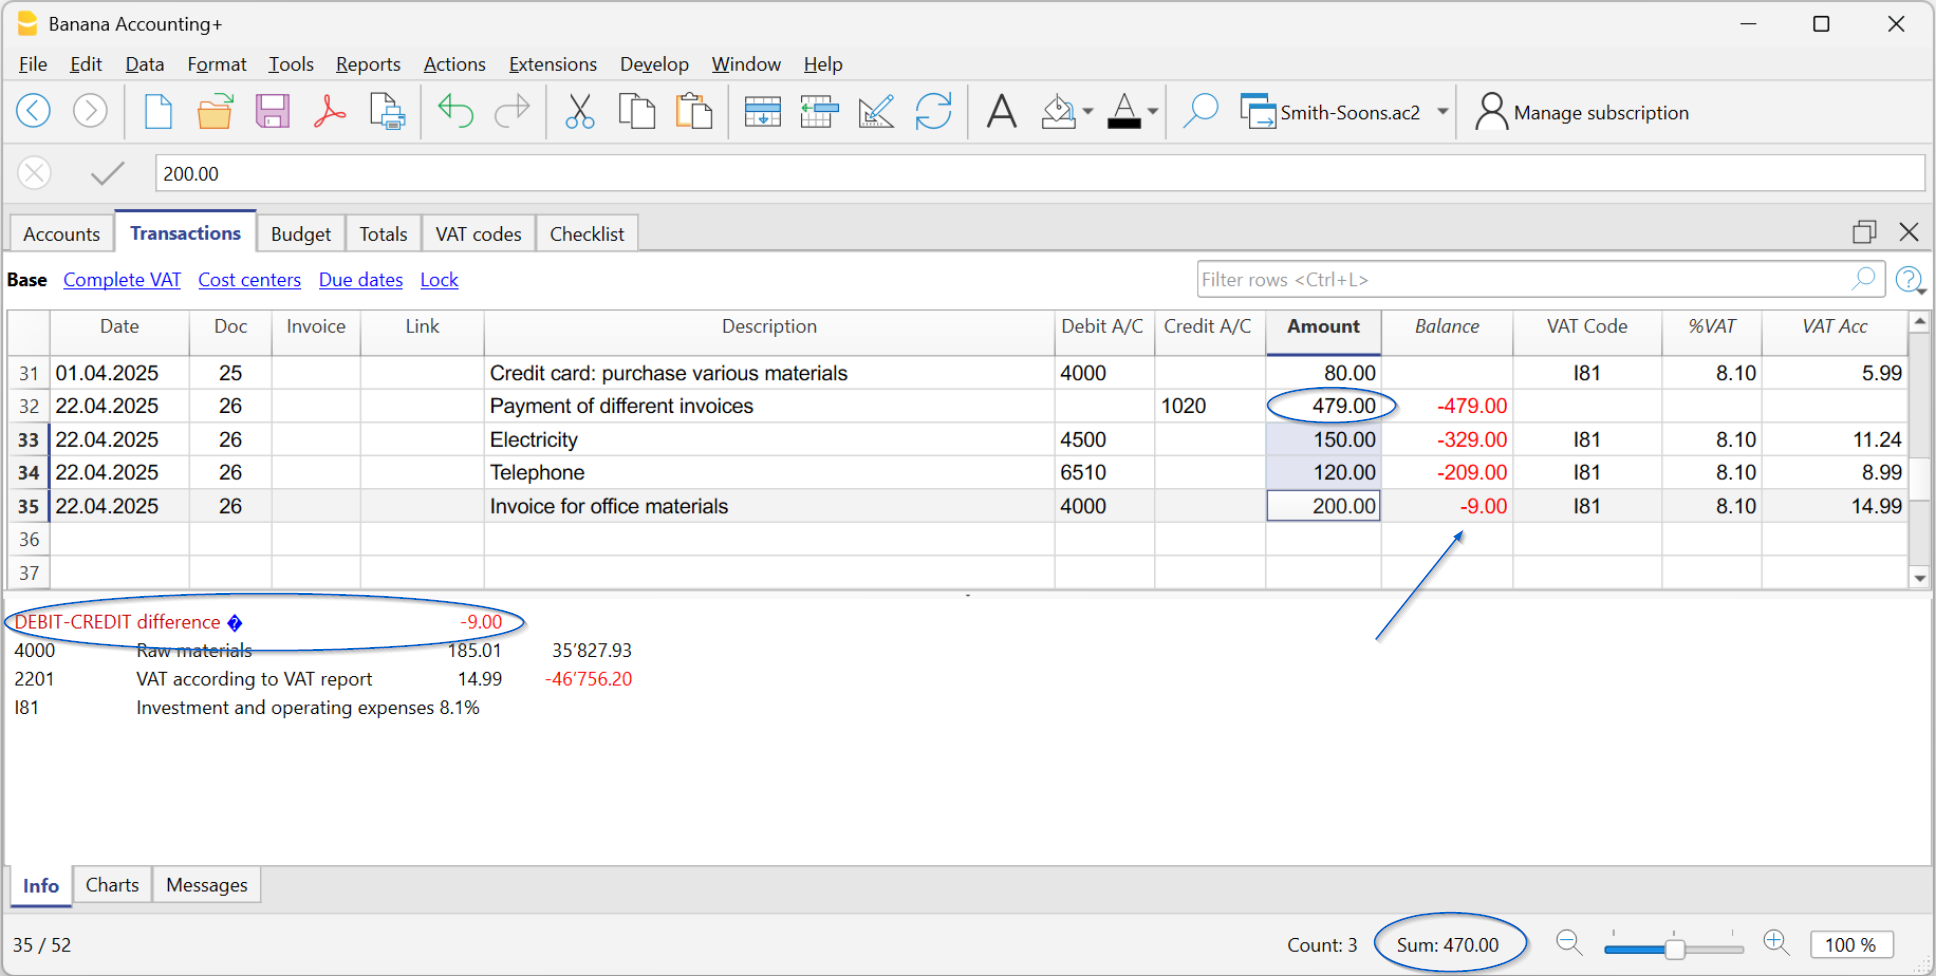
Instant checks and verifications
When the client sends you the Banana file, you have everything under control. With the Check accounting command, the program automatically performs checks on:
- Errors in the chart of accounts, in case it has been modified
- Differences in opening balances (Accounts table).
- Differences in transactions (Transactions table).
- Uncalculated exchange rate differences.
- Bank balances that do not match the statement balances.
More information about balance check transactions is available on the Balance check transactions page.
Find and fix errors instantly
With the Temporary filter feature, you can immediately find any transaction by typing a text or an amount, saving a lot of time in searches and checks.
For example, by entering a supplier’s name, you can check if all invoices have the correct VAT code and directly edit the filtered rows.
Or, by entering a bank account number, all rows of related transactions will be displayed, just like an account card. You can edit and correct directly in the filtered rows.
Client's VAT management
Banana Accounting Plus handles VAT according to Swiss Federal Tax Administration regulations. The Swiss VAT Report is automatically generated thanks to the following extensions, included in the Advanced plan of Banana Accounting Plus:
The extensions are based on current rates and VAT codes linked to the respective boxes of the VAT report.
In Banana Accounting Plus, for accounting transactions, the VAT code entry depends on the two reporting methods provided by Swiss VAT regulations:
- Cash basis reporting (Received).
- Accrual basis reporting (Invoiced).
VAT Return Reconciliation with Turnover
Banana Accounting Plus includes the Swiss Annual VAT Reconciliation extension (currently in Beta version), which allows you to compare the VAT data submitted to the Swiss Federal Tax Administration (FTA) with the data recorded in your accounting file.
The extension generates detailed reconciliation reports and, in the event of discrepancies, enables you to identify the transactions that caused them, making verification and any necessary corrections much easier.
This tool is particularly useful during accounting closing and auditing procedures, but it can also be used before submitting each periodic VAT return to verify the accuracy of the data and ensure that the information reported to the FTA corresponds to the accounting transactions recorded in the books.
Professional financial statements and reports
Thanks to automated functions, you instantly get the Balance Sheet and Income Statement, automatically generated using the Report > Formatted balance sheet by groups command. You can generate, for example:
- Annual and periodic balance sheet and income statement
- Balance sheet and income statement with budget comparison
- Balance sheet and income statement with previous year or period comparison.
- Reports directly in the Accounts table, with column customization.
Reclassified Financial Statements
Forecasts and cash flow analysis
With Banana Accounting Plus, you can offer your clients a more complete and timely financial analysis service. The forecasting and cash flow management features allow you to create real-time liquidity projections, integrating budget data with actual data.
This way, you can monitor liquidity trends, identify potential issues in advance, and support your clients in strategic decision-making.
Advanced management in specific areas
Banana Accounting also offers solutions for specialized fields, particularly appreciated by fiduciaries and accountants.
- Trust accounting
With Banana Accounting, it is also possible to manage the accounting of a trust in a simple and transparent way. Thanks to the flexibility of the chart of accounts, you can clearly separate assets, income, and distributions to beneficiaries, while always maintaining full control of the situation. Banana helps you keep orderly accounting, suitable for reporting requirements and compliant with the principles of clarity and traceability required for managing a trust. More information on the following pages: Trust accounting (double-entry and multi-currency) | Banana Accounting Software - Forensic accounting
Allows you to reconstruct accounting situations, analyze even incomplete data, and document every intervention accurately. More information on the following page: Forensic Accounting and Accounting Reconstruction - Financial planning
Allows you to create forecast scenarios, analyze cash flows, and support strategic decisions. More information on the following pages: Planning and analysis
These solutions allow you to offer a more complete service, going beyond simple accounting management.
Productivity Applications
The Banana Accounting Plus Productivity Applications complement the accounting ones in order to manage, all the other needs additional to accounting, of a company. Everything is done in an easy, fast way and with instant and professional results. The Timesheet is completely free, because it is included in the Free plan of Banana Accounting Plus; while the other applications are free up to 70 transactions in the Free plan and unlimited in the Professional and Advanced plans.
The Productivity Applications are independent from accounting, although there are functions and extensions that can be combined with the accounting file, to create reports and import data into the accounting file.
The Productivity Applications included in Banana Accounting Plus are the following:
- Estimates and Invoices separate from accounting: for the management of offers and invoices.
- Inventory: for the management of inventory items.
- Time sheet: to record the duration and hours of work.
- Fixed assets register: for the management of amortisable assets.
- Address book: for managing addresses and labels.
- Library and collections: for the management of books or other objects (eg collection of paintings, jewels ...).
- Simple table: the possibility to create a custom table is left to the user.

Additional useful functions for the Productivity Applications
The following commands are particularly useful when used with these applications:
- Extract and sort rows
In order to create lists of existing data. - Print labels
In order to print addresses or items labels. - Add new functionalities
- New table documents (Swiss Balance sheet attachment...)
- New simple table
- Extensions menu
In order to create personalized reports, calculations or else.
Link between tables
You can create a link between a field of one table to another one, through the Id field.
For example:
- Add a new simple table named "Projects"
- In the Id column indicate a project symbol and in the Description column a small explanation.
- In another simple table, add the following text columns:
- ProjectsId (Table name plus "Id")
When you go into edit mode a list of the available projects will be displayed. - ProjectsDescription (Table name plus "Description")
This column must be protected.
When you change the ProjectsId contents, the description text will be displayed.
- ProjectsId (Table name plus "Id")
- When you add a column, proceed with a check of the accounting or close and reopen the file to activate the link.
Estimates and Invoices separate from accounting
The Quotes and Invoices application of Banana Accounting Plus is a tool independent from the accounting file. It allows you to create and print quotes and invoices quickly and easily. It is ideal for replacing Excel in invoice management, offering a professional solution at no additional cost. Its use is intuitive and does not require accounting skills.
- Automatic retrieval of addresses: addresses are automatically retrieved from contacts, avoiding the need to re-enter them in invoices.
- Automatic calculations: all calculations are performed automatically, ensuring accuracy and constant updates.
- Advanced customization: possibility to set language, currency, number of decimals and rounding for each individual invoice.
- Flexible invoice management: options to edit or duplicate invoices and quotes easily. Simple conversion of quotes into invoices.
Application independent from the accounting file
Quotes and Invoices is an application separate from the accounting file and is used only to create and print quotes and invoices. There is no connection with the accounting file.
The invoice data in the Quotes and Invoices application cannot be imported into the accounting file and must be entered manually. Furthermore, it is not possible to import bank transactions (including payments). If you need these features, we recommend using the invoicing integrated in the accounting file.
For more details on the differences between the Quotes and Invoices application and the integrated invoicing, visit the page Invoicing in Banana Accounting.
How to get started with Estimates and Invoices
To use the application, you need to download and install Banana Accounting Plus. For a quick and easy start, check out our resources:
- ▶ Video: Getting started with Estimates and Invoices
- ▶ Video: QR Invoices in three simple steps
- Characteristics of Estimates and Invoices
From the File > New menu, you can open an Invoice template to immediately create your Quotes and Invoices file. Enter your data and your customer information and you're ready to go. For more information visit the page How to...
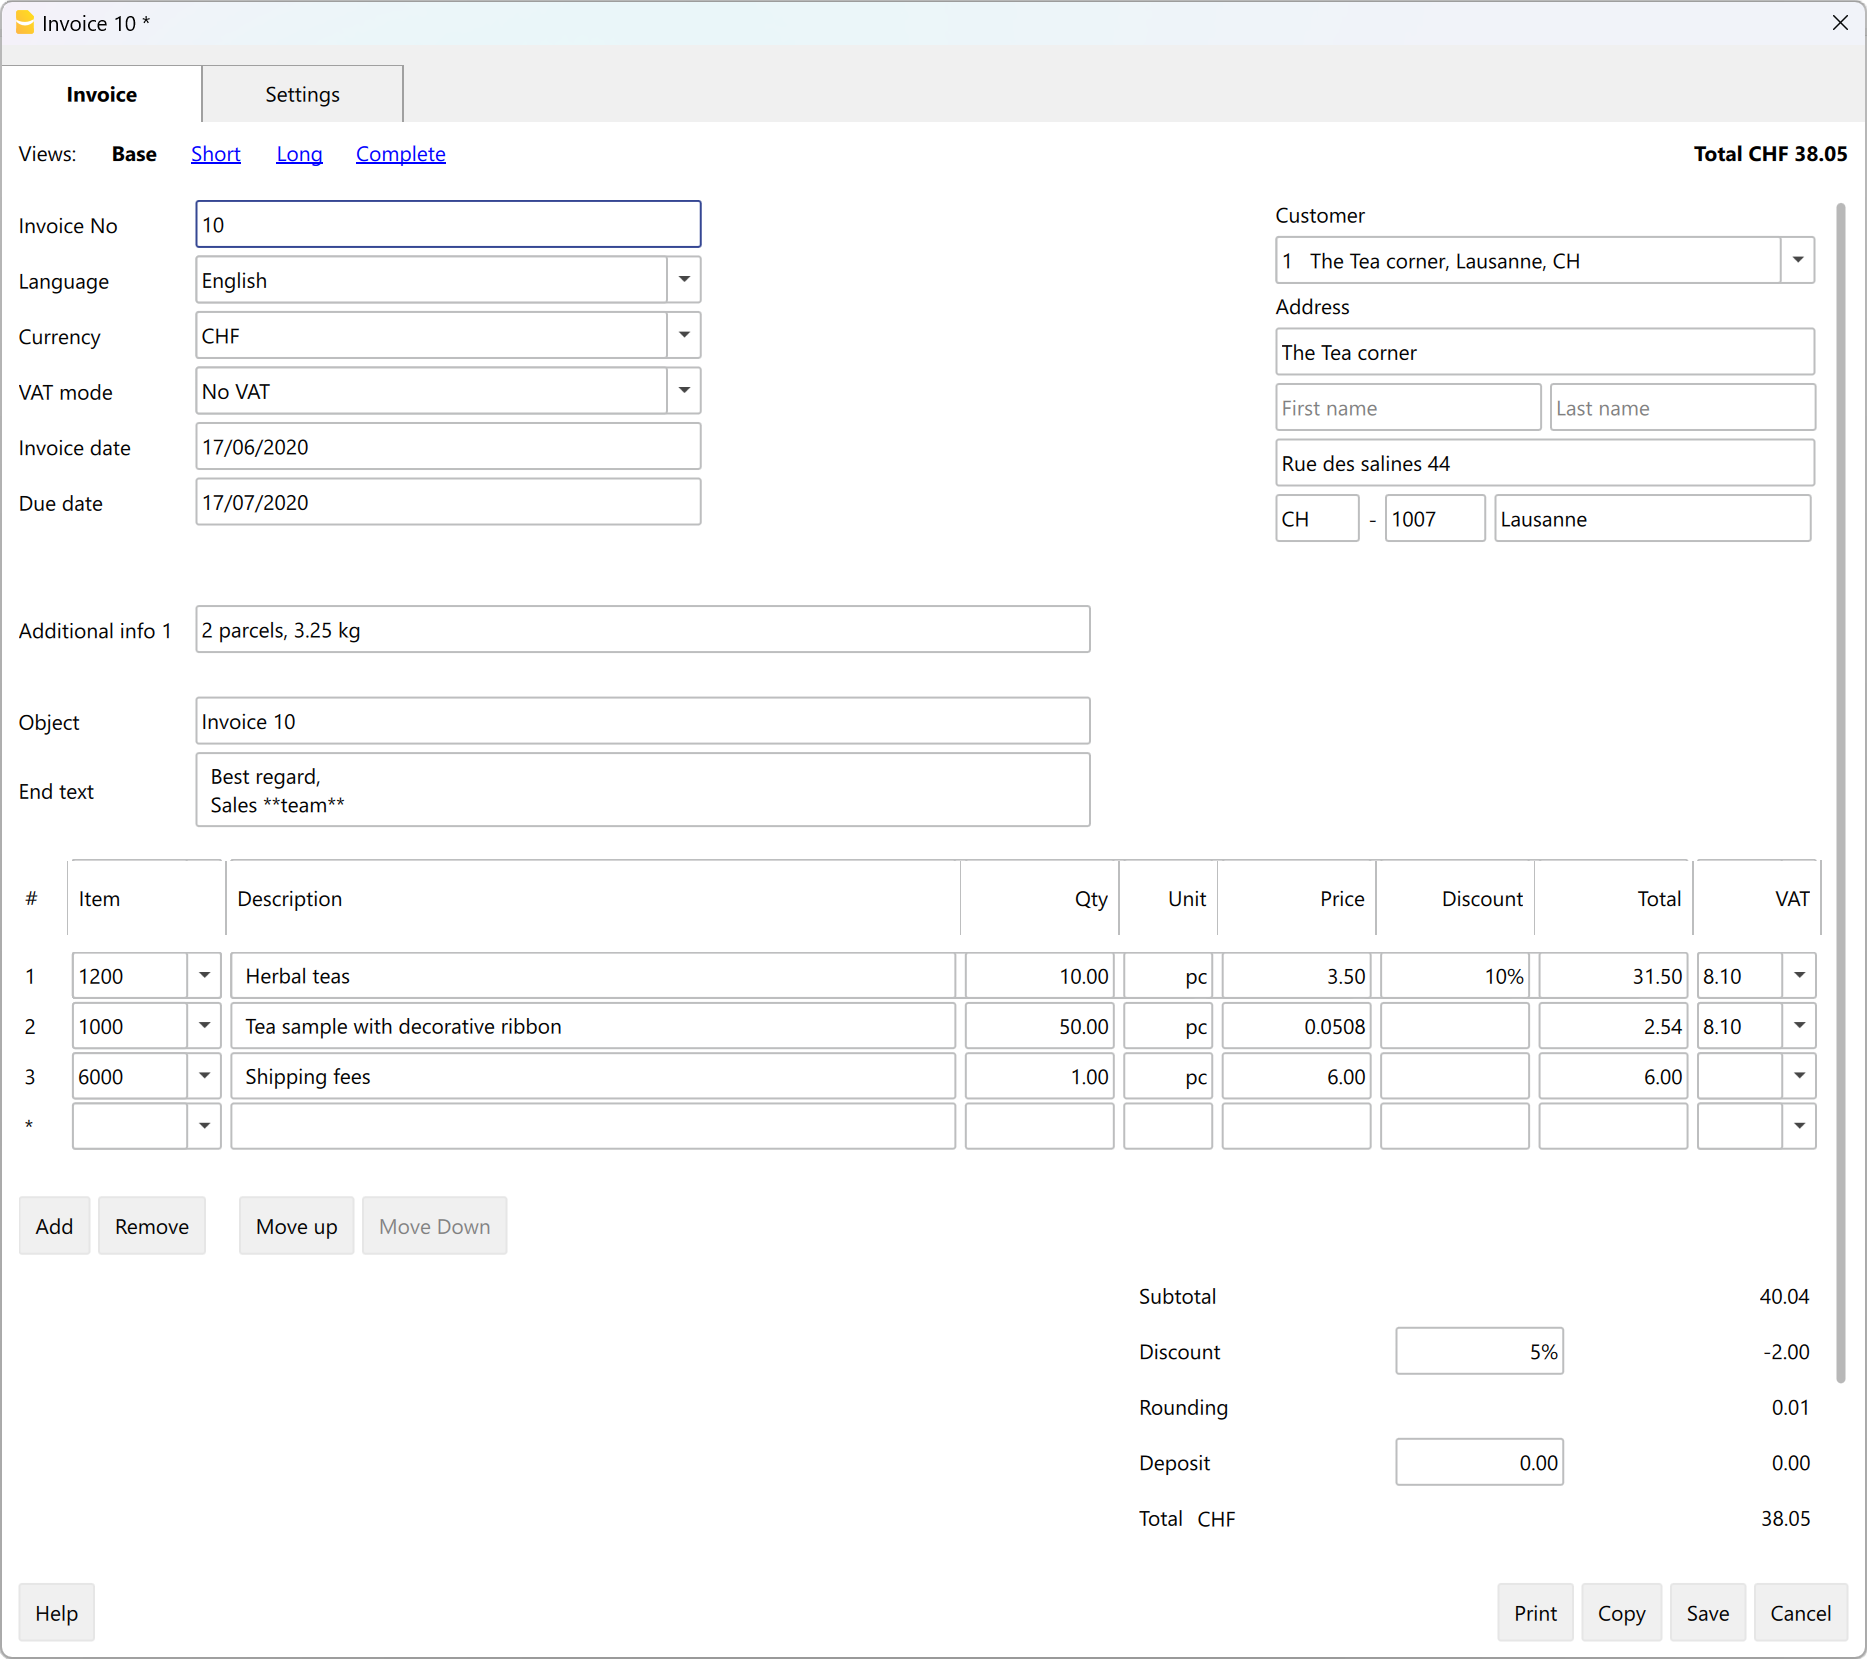
Various fields are available to enter all necessary information and the billable items. Here are the main ones:
- Invoice information: Invoice number, language, currency, VAT mode (invoices without VAT, VAT included in the amount, or VAT excluded with a separate amount), invoice issue and due dates.
- Customer address: all customer data entered in the Contacts table is automatically retrieved in the Quotes and Invoices.
- Invoice data: title, opening text, invoice details (list of items to be invoiced, quantity, description, amount) and closing text.
- Totals and discounts: discounts and advances, partial and total amounts are calculated by the program based on the entered values.
The Tables
The Quotes and Invoices application is based on several tables that are used similarly to those in Excel, but are already fully configured and programmed to generate quotes and invoices quickly and securely.
Contacts Table: this is the table where you precisely and neatly set up customer data. The data can always be updated and modified. It is possible to import data from SmallInvoice using a specific Banana extension.
Items Table: in this table, you enter the data for managing items or services to be invoiced. By assigning an ID, you can group different categories of items or services. You enter the quantity, unit price, and can indicate the related accounting account. Columns are also available to enter entry and exit dates of goods and for notes.
Invoices Table: this table is intended for entering all invoice-table items. It is the most automated:
- Automatic retrieval of the customer's address by simply selecting the customer's contact ID.
- Automatic retrieval of all invoice data: with a double-click on the Total column cell, a invoice dialog opens, displaying all the data entered in the other columns of the Invoices table (customer address, invoice date and number, reference, order number, unit price, VAT rate, and other possible data). Just enter the quantities and the invoice is ready. It can be saved as PDF or printed on paper.
Estimates Table: this is where you enter quote data. It is very similar to the Invoices table, with the same functions, calculations, and print modes – only the title changes. Estimates can be converted into invoices at any time, automatically retrieving data into the invoice, which can then be immediately saved, printed, and sent to the customer.
VAT Codes Table: in this table you set the VAT codes for invoice creation. During invoice preparation, VAT rates are retrieved automatically and calculations are automated. The rates can be modified if the regulations change.
Invoice structure
In this image, you can see how the invoice is structured:
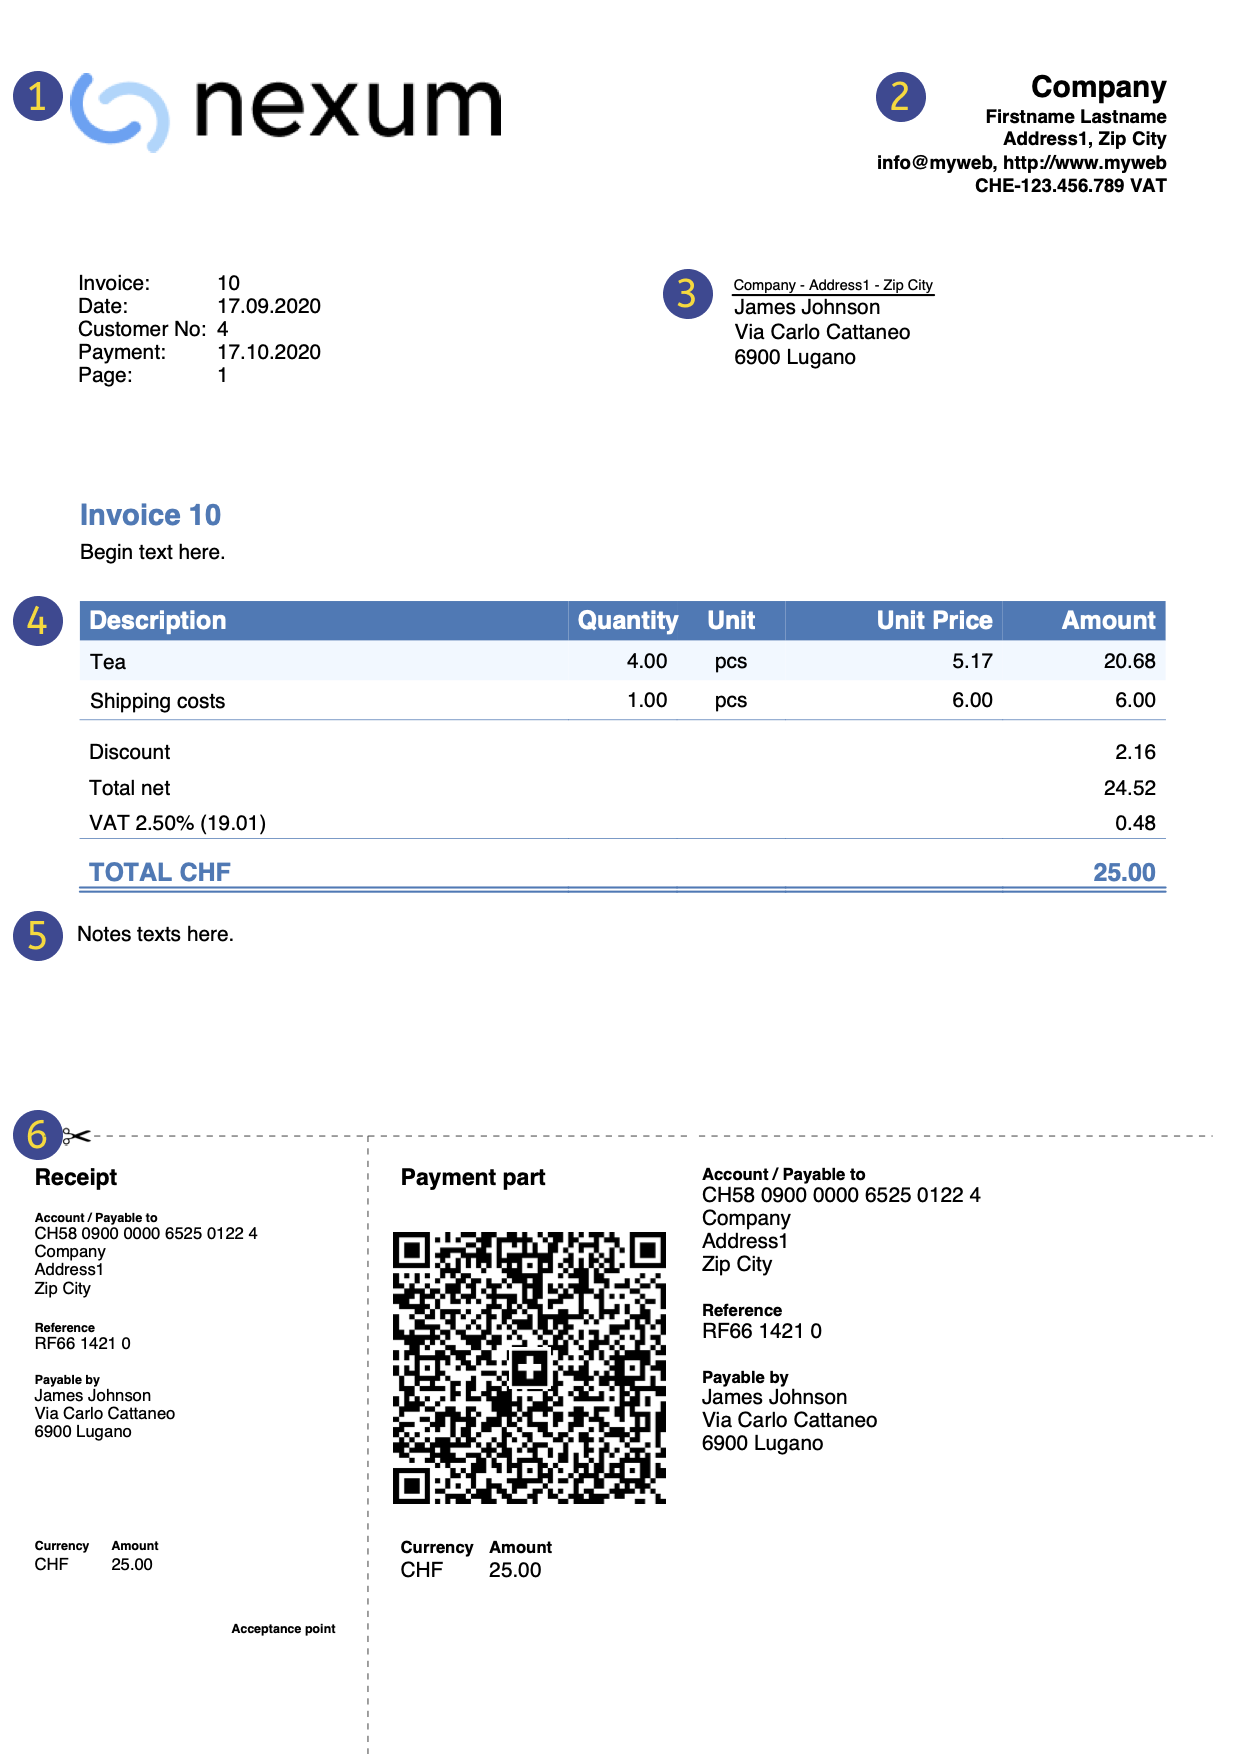 | LogoYou can insert a custom logo. | |||
HeaderThe invoice header data is taken from | ||||
Customer addressThe customer address is retrieved from the Contacts Table, where you must set the customer addresses. | ||||
Invoice dataThe invoice content must be entered in the new create/edit invoice dialog. | ||||
Free textYou can define title, introductory and final notes in the Invoice dialog. | ||||
Swiss QR CodeSettings can be defined only for Switzerland, using the layout [CH10] Layout with Swiss QR Code. |
Prints and reports
- Print invoice with QR code for Switzerland:
- It is possible to print the invoice with a QR slip even without amount and address, leaving a blank box to manually fill in the data. More information on the page QR Code Customization, section Include/exclude from print.
- Print invoice for all other countries.
- Print invoice on paper or in PDF format.
- Add your logo to the printouts of Estimates and Invoices.
- View open invoices.
- On the page How to... you will find information on printing and print settings.
- Customize the print layout of quotes and invoices:
- With the Professional Plan, you can use default settings and customize the printing of Estimates and invoices.
- With the Advanced Plan, in addition to customizing quotes and invoices print layout, you can apply several additional customizations.
Exporting and archiving data
- Copy and paste directly to and from Excel.
- Export tables to PDF and various other formats.
- Archive printouts and data in PDF or other formats.
- Save the file to any storage medium.
- Export quotes and invoices data in .csv format using the Estimates and Invoices Tools extension.
Other functions
Features available only with the Advanced Plan
- Set the discount for each individual item, either as a percentage or a fixed amount.
- For each item, specify the date the service was performed.
- Add fields in the invoice to insert specific information (project, additional references, etc.).
- Print delivery notes with or without amounts.
- Print reminders with or without Swiss QR slip.
- Add intermedia
Characteristics of Estimates and Invoices
The new Estimates and Invoices application is included in Banana Accounting Plus. Creating and printing estimates and invoices becomes quick and easy.
To start, just download for free the Free Plan. You may enter up to a maximum of 20 invoices and 20 offers.
With the yearly plan, you can add an unlimited number of estimates and invoices.
How to set up estimates and invoices
To create estimates and invoices, just set up your customer data, items or services to be invoiced, unit prices and VAT rates, while the program takes care of everything else.
There are many automations to make your work easy and with immediate professional results.
- Automatic retrieval of addresses from contacts to avoid having to re-enter the data in the invoice.
- Data import from SmallInvoice with specific Banana extension.
- No manual calculation. All calculations are automatic, always accurate and updated.
- Detailed estimates that can be quickly converted into invoices and sent to the customer.
- Invoices created with QR code for Switzerland.
- For every invoice, language, currency, number of decimals and rounding system can be set up.
- Changes and/or duplicates of invoices and offers already made to the customer. You just need to to add quantities and the new invoice is ready to be sent.
- Annotations for memos or other.
- Payment date to check receipts.
- View of overdue invoices to check due dates.
- PDF saving and paper-printable.
- Invoice archiving to have a history that is always organised and ready for possible tax inspections.
- Dark Mode on Mac and Windows.
Excel-like features
- Add as many rows as you want without limit, or delete the rows you don't require.
- You don't need to enter formulas because the calculations are updated instantly and you have a contextual view (like in spreadsheets).
- The columns are customizable, you can change their position, add new ones and change their width.
- Work with the format that suits you best.
- Colour the rows to immediately identify pending invoices or for other purposes.
Based on spreadsheets
The estimate and invoice application is built upon various tables, which are used in a similar way to those of Excel, but that are already fully set up and programmed with everything needed to manage your inventory in a fast and safe way.
- Contacts table
This is the table where customer data can be registered in a precise and orderly way. The data can always be updated and modified. - Items table
This is the table where the data for the management of the items or services to be invoiced are inserted. By assigning an ID it is possible to group the various categories of items or services to be invoiced. You enter the quantities, the unit price and you can indicate the reference account in the accounting. Columns are also available for entering the date of entry and exit of the goods and for annotations. - Invoices table
This table is intended for entering the items which need to be invoiced.It is the most automated:- Automatic resumption of the customer's address by simply selecting the customer's contact ID.
- Automatic retrieval of all invoice data: by double clicking on the cell in the Total column, an invoice dialogue opens up where you will find all the data entered in the other columns of the Invoices table (customer address, date and invoice number, reference, order number, unit price, VAT rate and other possible data). Just enter the quantities and the invoice is ready.It can be saved in PDF or printed on paper.
- Estimates table
The offer data is entered. It is completely similar to the Invoices table, with the same functions, calculations and printing methods, obviously the wording changes. The estimates can be converted into invoices at any time with automatic recovery of the data in the invoice, which can be immediately saved, printed and sent to the customer with automatic recovery of the data in the invoice, which can be immediately saved, printed and sent to the customer. - VAT codes table
VAT codes are set up for creating invoices. Whilst preparing invoices, both the rates and calculations are taken up automatically . The rates can be modified if the regulations in force change.
Accounting set up
Headings and basic data of Estimates and Invoices set up in a single dialog box, easy to display.
- Headings with free texts
- Address with all company data
- Link to predefined or customized extensions
- Password to secure your estimate and invoice
- You can create multiple Estimate and Invoice files in different languages.
File and data saving
- All your data is saved in a single file, where you can easily find everything without wasting time.
- Give the file the name you want.
- You can manage an unlimited number of files.
- Save data on any media, computer, network, cloud or send it by email. You can have access from wherever you are.
- Simultaneous access by multiple users, where, however, only one person can open the file to be edited.
- Make your accounting more secure by inserting password protection.
Handling Estimates and Invoices
- In the columns you can see the amounts in the format used by your computer.
- You choose the identifier of the article freely (numeric or alpha-numeric account, up to 256 characters).
- Balance, item movement and totals displayed at the same time and always updated.
- In the Links column of the Items table you can add a digital link for the registered item.
- In all tables you have predefined columns that you can make visible by choice.
- The Search command allows you to quickly search for the invoice or estimate data.
- The Replace command allows you to automatically replace texts or other data in the tables.
- You can sort the rows according to different sorting keys.
- Export to PDF for data storage.
- Export to other formats for data re-processing.
- Data import from other programs in Text, Ascii and CSV format.
- Data import from SmallInvoice.
Error reporting and control
- Command to quickly check accounting.
- Reporting of any wrong settings, differences or errors.
- Each report is linked to a help page that explains the causes and the solution.
- Possibility to amend at any time.
Prints and reports
- Print invoice with QR code.
- It is possible to print the invoice with a QR bulletin even without an amount and without an address, leaving an empty box to manually insert the data. More information is available on the QR-Code Customization page, section Include/Exclude from printing.
- Print invoice for all other countries.
- Print invoice on paper or in PDF format.
- Add your own logo in the printouts of estimates and invoices.
- Open invoice report.
- On the Customise invoice printing page you will find all information for printing and its settings.
- Customise the estimate and invoice print.
- With Banana accounting Professional you can use the preset settings and customize the printing of estimates and invoices.
- With Banana Advanced, you can not only customize the printing of estimates and invoices, but also add additional customisations.
Data export and storage
- Copy and paste directly to and from Excel.
- Export tables to PDF and various other formats.
- Storage of printouts and data to PDF or other formats.
- Saving of the accounting file on any device.
- Export estimates and invoices data in .csv format with the extension Estimates and Invoices Tools.
Comprehensive documentation
- Constantly updated estimate and invoice application documentation.
- Banana accounting Plus documentation.
- Banana Accounting Plus questions and answers.
- Documentation also available in PDF format.
Features only available with the Advanced plan
- Set the discount for each item, both in terms of percentage and final amount.
- Insert the date when the service took place for each item.
- Add fields to the invoice for additional specific information (project, additional references, etc..).
- Print delivery notes with or without amounts.
- Print payment reminders with or without Swiss QR payment slip.
- Add an interim total (Banana Accounting+ 10.1.8 or newer).
Some customisations of the printing layout CH10 and UNI11 are available only with Banana Advanced.
Features currently not available
The Estimates and Invoices application is one of the latest additions to the family and for the moment it supports the essential functions related to the preparation and printing of estimates and invoices. It does not yet support the following functionalities:
- It is not possible to import invoice data into the accounting file.
- Connect with Inventory application.
- Export individual invoice data.
- Automated sending of invoices by email.
- Automated sending of invoices by eBill.
- Define multiple IBAN codes.
- Add additional columns in the invoice details.
- Define a discount for a single contact.
- Define a discount for a single item - see Invoice Details page (only available with the Advanced plan).
- Importing QR-Code payments.
- Send a payment reminder.
- Create a new year.
- Enter the shipping address.
- The order number and date are not listed in the invoices table (this must be done manually).
- Automatically adding a charge for the reminder on the invoice.
How to start an Invoice
To use the Invoice application you must have downloaded and installed Banana Accounting Plus.
For a quick and easy start we recommend the use of one of our templates.
Create an Invoice file
Create an Invoice file starting with an existing template or by creating an empty file as follows:
- Menu File > New.
- Select Region / language.
- As Type, select Invoices.
- In the section on the right select the required template.
- Double-click on the template name or click the Create button. The program will open the selected file directly.
- Save the file indicating it's name.
Enter basic data
- Via File > File and accounting properties > Address tab, set the address of your company, which will be included in the header of the invoice.
- If you wish to insert a logo, see the Set up logo page.
Create new Invoice
Via the Invoice → New Invoice ... dialog a new invoice will be created.
- Enter the basic information of the invoice (invoice no, date, object, initial text and final text).
- Enter your billing address (customer address).
- Enter the invoice details (product, description, quantity, amount).
- Check subtotals and grand totals and enter any discounts.
- In Settings ... define some basic parameters of the invoice (currency, decimal points, rounding, payment term and VAT mode).
- Save and print the invoice.
It is important that the customer number and the invoice number comply with certain requirements: see how to correctly create the customer number and the invoice number.
Print an invoice
You can print the invoice via the Invoice menu > Print Invoice command. or by clicking Print in the dialog for creating or modifying an invoice, you access the window for printing the invoice.
On the Print Offers and Invoices page you will find information on how to customise and print invoices.
The tables
The Invoice file consists of the following tables:
Contacts table
The Contacts table displays the columns where you can enter customer addresses.
Contact addresses will be immediately available in the invoice dialogue when creating or editing the invoice, simplifying data entry.
Changing the data in the Contacts table does not change the data of existing invoices and offers. If you want an existing invoice or offer to be updated with the new customer data, you must:
- Change the invoice or the estimate in the invoice dialogue.
- You must select the customer again from the list in the customer address section.
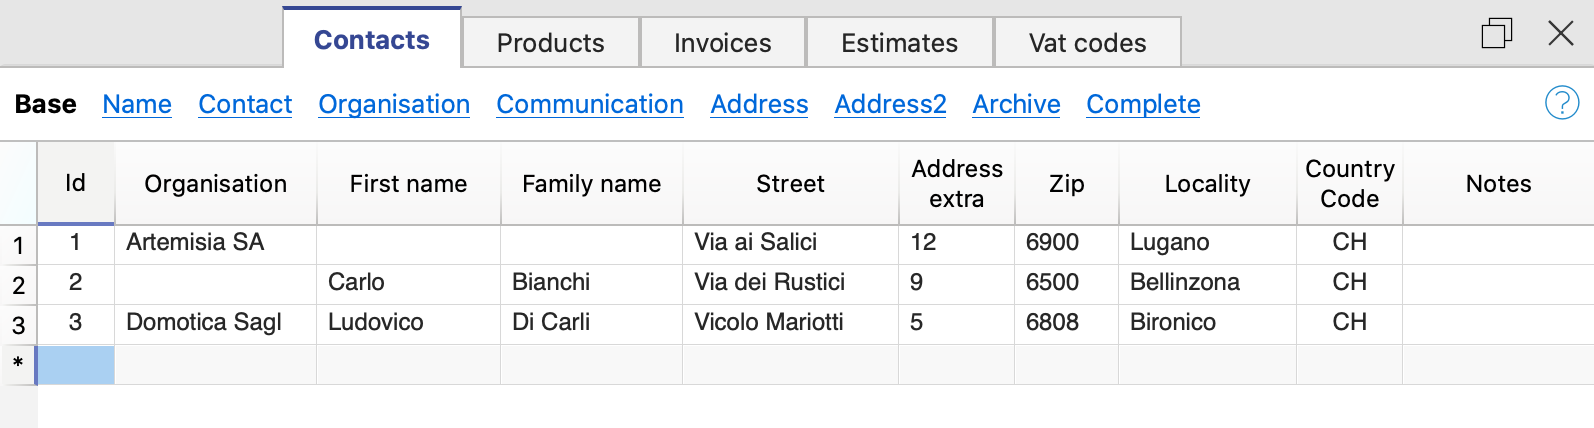
The columns
The Contacts table contains many columns, those displayed in the image are those in the Basic view. The complete list is visible in the Complete view. To customise the columns see the Columns Setup page.
Id
The contact number is entered.
The ID should be used only once and must not be repeated, even if multiple years are managed in a file.
It is important that the customer number complies with certain requirements: see how to correctly create the customer number.
Organisation
Enter the name of the company or organisation.
Title (Prefix)
Enter the title of the contact
Name
Enter the name of the contact.
Family name
Enter the surname of the contact.
Street
Enter the address.
Building number
Enter the building number.
The building number can be entered either in the Street column or in the Building number column.
Address extra
Enter extra address.
If you require the QR invoice layout, refer to the documentation Common elements for the QR invoice Switzerland for further information.
ZIP
Enter the postcode.
Locality
Enter the location.
Country code
Enter the Country code.
The country code must be formed by two characters conforming to the ISO 3166-1 standard (eg CH, LI, AT, DE, IT, FR).
Language
Enter the customer's language.
Invoice texts are printed in the customer's language, provided that it is set in the corresponding column.
The language is an ISO code, usually 2 lowercase letters (it=Italian, de=German, en=English, fr=French).
If no language is specified for the customer, the language of the file is used. This language is defined in the menu File → File properties (basic data) → Other → Current language.
Tax Code
Enter the customer's tax code
VAT number
Enter the customer's VAT number
Note
Any notes may be inserted.
Items table | Estimates and invoices
The Items table presents the columns where to insert the data for the management of the items and the warehouse.
The items will be available in the Invoice Dialogue when creating or editing the invoice, simplifying data entry.

The columns
The items table contains many columns; those displayed in the image are those in the Base view. The complete list is visible in the Complete view. To customise the columns, please refer to the Columns setup page.
All column contents can also be printed on the invoice. See customisation print layout detail CH10.
Links
Link to a product image file or descriptive PDF file
Id
The item number is entered.
The ID should be used only once and must not be repeated, even if multiple years are managed in a file.
Description
The description of the item is entered.
Unit
The type of unit is entered (pieces, hours, etc.).
Unit Price
The unit price is entered.
In the invoice settings dialogue you indicate whether the amounts are VAT excluded or including VAT.
Please note that if you change the setting from VAT excluded to including VAT or vice versa, the program changes the amounts, so that the same invoice can be printed with VAT excluded amounts or amounts including VAT.
Account
Any account is entered as information to be used for manual entry in accounting.
This value serves only as information, it is not used for creating invoices.
Note
Any notes are inserted.
Import of catalogue
Using the import functions, it is possible to automate the import of data from an existing product catalogue. See Retrieving data from other software.
It is also possible to integrate product catalogues into the invoicing program.
Invoices table
The Invoice table displays the columns where all invoice data that have been entered in the Invoice Dialogue are automatically retrieved.
From this table you can:
- Create new invoices
- Edit existing invoices
- Duplicate invoices
- Delete invoices
- Print invoices
- File invoices

The columns
The Invoices table contains many columns, those displayed in the image are those in the Base view. The full list is visible in the Complete view. To customise the columns, please refer to the Columns setup page.
Id
Enter the invoice number.
The program will automatically resume the value entered in the Invoice dialogue.
The ID should be used only once and must not be repeated, even if multiple years are managed in a file.
It is important that the invoice number complies with certain requirements: see how to correctly create the invoice number.
Date
Enter the invoice date.
The program will automatically resume the value entered in the Invoice dialogue.
Description
Enter the subject of the invoice.
The program will automatically resume the value entered in the Invoice dialogue
This text will also be used as the title of the invoice. If defined, it overwrites the title entered in the settings.
Contact Id
Enter the contact ID number, as used in the Contacts table.
The program will automatically resume the value entered in the Invoice dialogue
Address
The program will automatically resume the customer's address data, based on the contact id number entered.
Discount Amount
Enter the amount of the discount to be applied to the invoice.
The program will automatically resume the value entered in the Invoice dialogue.
Total Amount
The program will automatically resume the value entered in the Invoice dialogue.
Expiration
The expiration date is entered.
The program will automatically resume the value entered in the Invoice dialogue.
Payment
The payment date is entered.
Notes
Further notes are entered.
The program automatically resumes the text entered in the End Text field of the Invoice Dialogue.
Estimates table
The Estimates table presents the columns where all offer data that has been entered in the Invoice dialogue are automatically taken over.
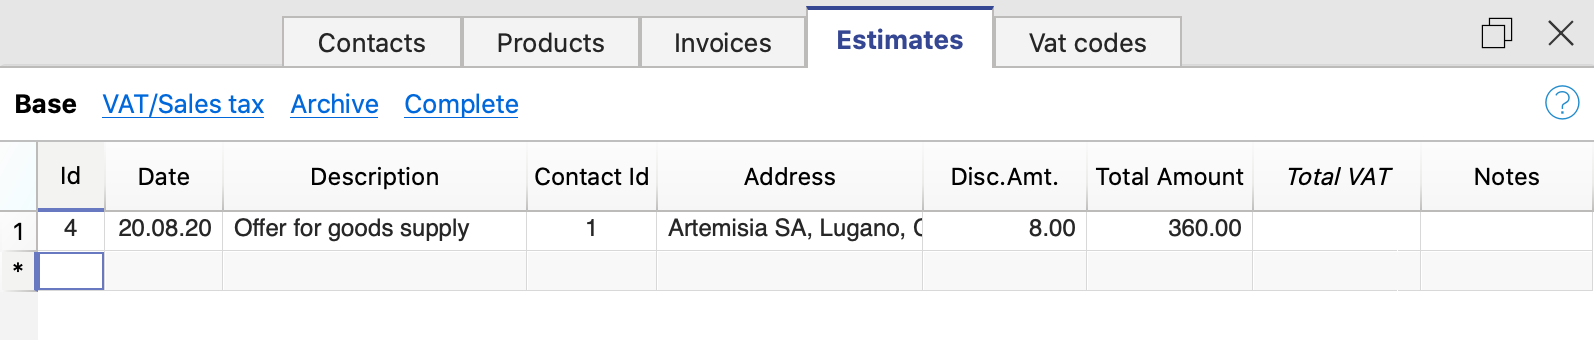
The columns
The Estimates table contains many columns, those displayed in the image are those in the Basic view. The complete list is visible in the Complete view. To customise the columns, please consult the Columns setup page.
Id
Enter the estimate number.
The program will automatically resume the value entered in the estimate creation dialog.
The ID should be used only once and must not be repeated, even if multiple years are managed in a file.
Date
Enter the estimate data.
The program will automatically resume the value entered in the estimate creation dialog.
Description
Enter the subject of the invoice.
The program will automatically resume the value entered in the estimate creation dialog.
Contact Id
Enter the contact ID number, as used in the Contacts table.
The program will automatically resume the value entered in the estimate creation dialog.
Address
The program will automatically resume the customer's address data, based on the contact id number entered.
Discount amount
Enter the amount of the discount to be applied to the estimate.
The program will automatically resume the value entered in the estimate creation dialog.
Total
The program will automatically resume the value entered in the estimate creation dialog.
Notes
Any notes may be inserted.
VAT codes table
The VAT codes table displays the columns where you can enter the VAT codes with the respective rates.
The data must be entered manually. When VAT rates change, the table must be updated by changing or adding the ID codes and percentages of the new tax rates.
VAT Codes will be automatically taken over in the invoice dialogue when creating or editing the invoice, simplifying data entry.
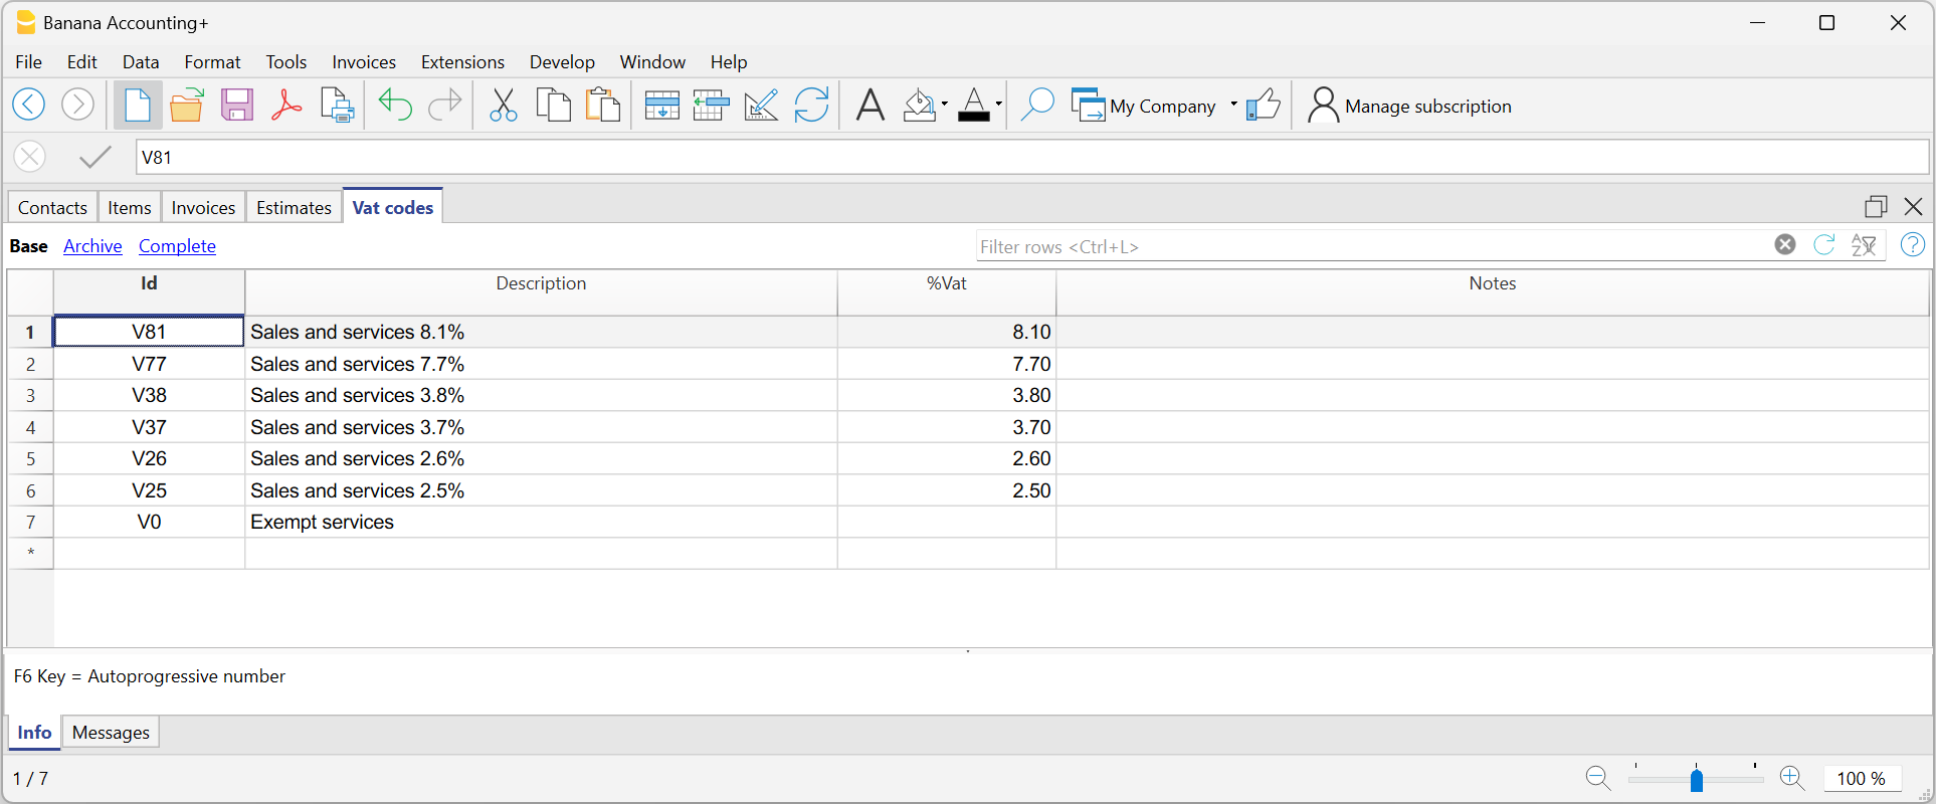
The columns
The VAT Codes table contains many columns; those displayed in the image are those in the Base view. The full list is available in the Complete view. To customise the columns, please consult the Columns setup page.
Id
The VAT code is entered.
The ID should be used only once and must not be repeated, even if multiple years are managed in a file.
Description
Enter the description of the VAT code.
%VAT
The VAT rate is entered.
Notes
Any notes may be inserted.
VAT on the gross or net amount
The setting for calculation on the net or the gross amount is done at the individual invoice level, in the Invoice settings dialogue.
Invoice Commands
Invoices menu
In the Invoices menu you will find the commands to:
- Create new invoices
- Modify existing invoices
- Duplicate invoices
- Delete invoices
- Print invoices
- Show open invoices
- Show customer's invoices
- Archive invoices
Create a new invoice
To create a new invoice you have two options:
- From the Invoices menu
- Use the command Invoices → New Invoice.
- The invoice dialogue is then opened where the data is entered.
- The new progressive invoice number is allocated by the programme. You can change it manually.
- Enter the invoice data and save
- Directly from the Invoices table:
- Select a new row in the table.
- In the Id column (invoice number), click on the small 'New Invoice' icon that appears at the top of the cell.
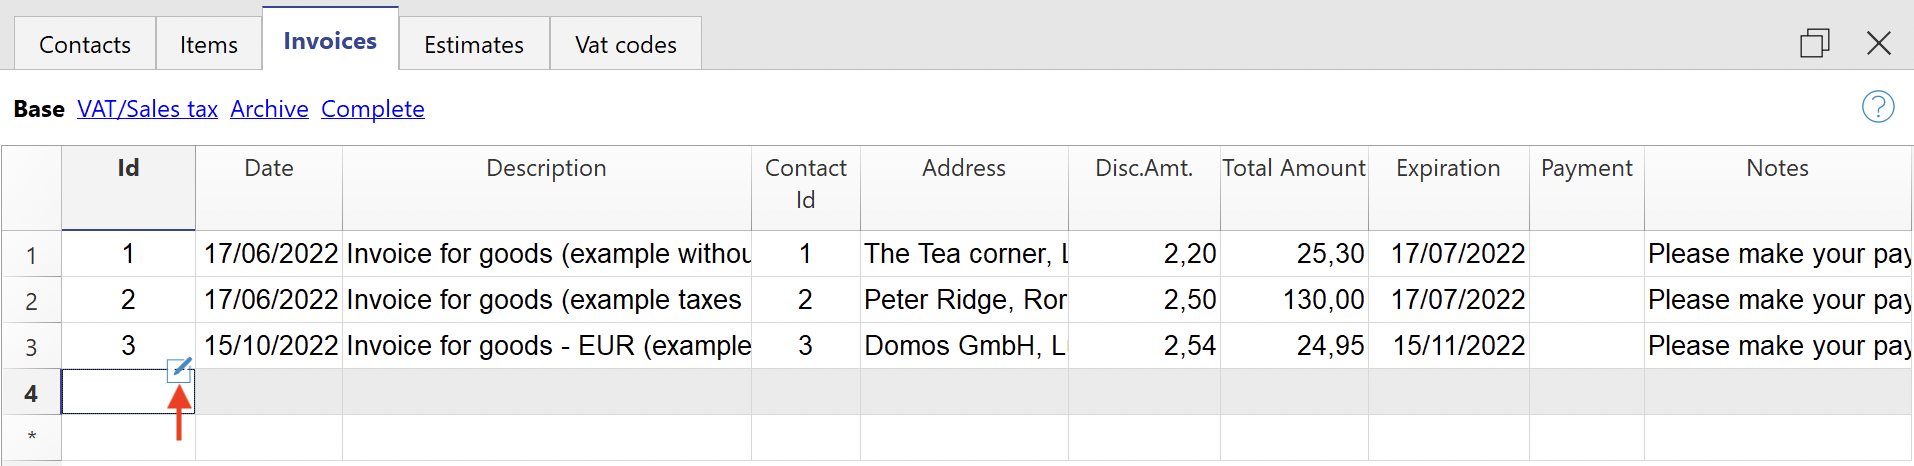
- The invoice dialogue then opens where you enter your data.
- Enter the invoice data and save.
When you create a new invoice, the programme automatically updates the Invoices table. The data of the new invoice are added to a new row in the table.
Edit Invoice
To edit an existing invoice, you have two options:
- From the Invoices menu:
- Select the line with the invoice you wish to edit.
- Use the command from the menu Invoices → Edit Invoice.
- The invoice dialogue opens where you can enter and edit data.
- Make the timely changes and save.
- Directly from the Invoices table
- Select the row with the invoice you want to edit.
- In the Id column (invoice number), click on the small 'Edit Invoice' icon that appears at the top of the cell.
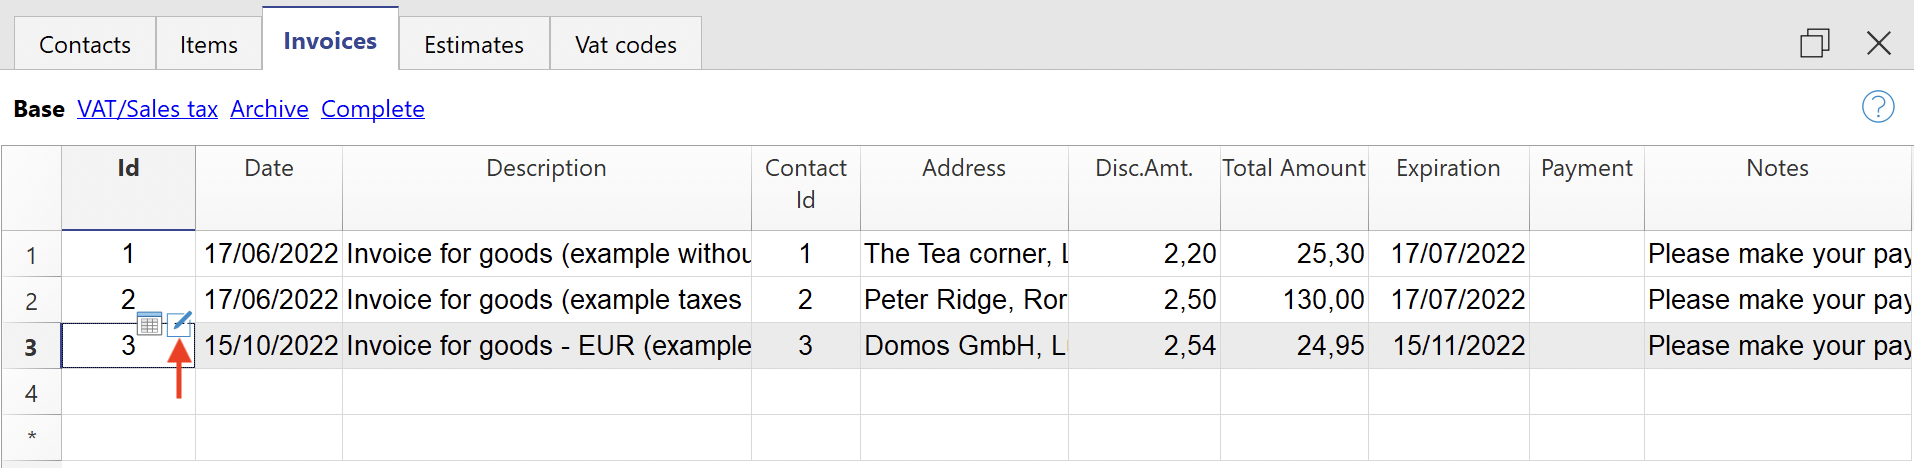
- The invoice dialogue then opens where you can enter and edit data.
- Make the timely changes and save.
When you edit an invoice, the programme automatically updates the data in the Invoices table.
Duplicate invoice
To duplicate an invoice, you have two options:
- From the Invoices menu:
- Select the row with the invoice you wish to duplicate.
- Use the command from the menu Invoices → Duplicate Invoice.
- The new progressive invoice number is allocated by the programme. You can change it manually.
- Then the Invoice dialogue opens with the data of the invoice you have chosen to duplicate.
- Make the timely changes and save.
- The programme automatically updates the Invoices table.
- Directly from the Invoices table:
- Select the row with the invoice you want to duplicate. You can also select several rows to duplicate several invoices at once.
- Use the command from the menu Edit → Duplicate rows.
- The programme automatically updates the Invoices table by adding the duplicate rows.
- For each duplicate invoice, you must then manually edit the invoice number and data.
Delete invoice
To delete an invoice:
- Go to the Invoices table.
- Select the row with the invoice you wish to delete. You can also select several rows to delete several invoices at once.
- Use the command from the menu Edit → Delete rows.
- The invoices are deleted from the table.
Print invoices
On the Print Offers and Invoices page you will find information on how to customise and print invoices.
To print an invoice you have two options:
- From the Invoices menu:
- Select the row with the invoice you want to print.
- Use the command from the menu Invoices → Print Invoice.
- Directly from the Invoices table:
- Select the row with the invoice you want to print.
- In the column Id (invoice number), click on the small icon 'Print Invoice' which appears at the top of the cell.
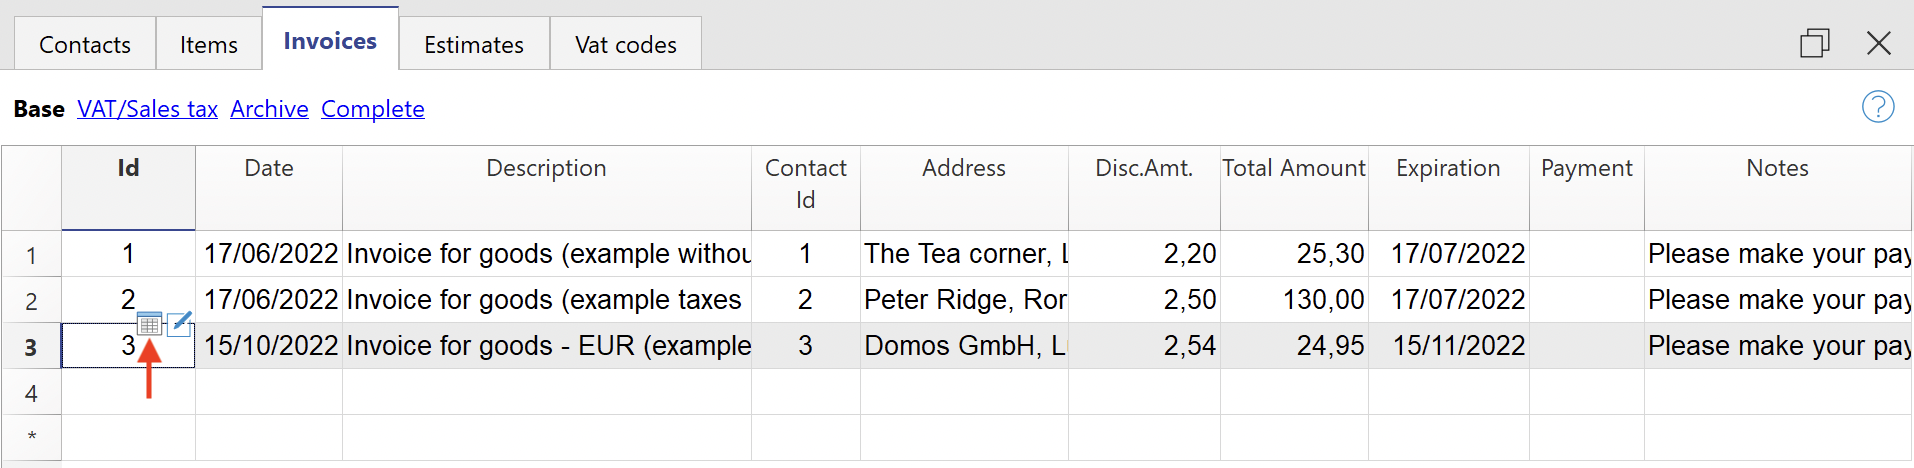
Show open invoices
You can extract invoices that have not yet been collected into a table:
- Go to the Invoices table.
- Use the command from the menu Invoices → View open invoices.
- The programme extracts all rows of invoices without a payment date.
Each time a new invoice is collected, enter the date of collection in the Payment column of the Invoice table.
Show customer's invoices
You can extract customer's invoices into a table:
- Go to the Invoices table.
- Under the Contact Id column click on the customer number whose invoices you want to have.
- Right-click on the selected field and select the Extract rows command
The program extracts all rows belonging to the customer.
Archive invoices
With the Estimates and Invoices application:
- You can enter as many invoices as you want, there are no limits.
- You can keep invoices from several years in one file.
- You do not need to create a new file for each new year.
Invoices from previous years can be archived at any time:
Invoice Dialog Add and Edit Invoices
The Invoice and Estimate dialog allows invoice data to be entered and edited.
Open the Dialog
The dialog can be opened via:
- For the Invoice
- The Invoice menu > New invoice.
- The Invoice menu > Edit invoice.
- The Invoice table > Double-click on the invoice line of relevance, in the Address column.
- The Invoice table > Double-click on the invoice line of relevance, in the Total Amount column.
- From the ID column, click on the small icon Edit invoice on the right-hand-side of the cell.
- For the Estimate
- The Invoice menu > New estimate.
- The Invoice menu > Edit estimate.
- The Estimate table > Double-click on the estimate line of relevance, in the Address column.
- The Estimate table > Double-click on the estimate line of relevance, in the Total Amount column.
- From the ID column, click on the small icon Edit estimate on the right-hand-side of the cell.
Dialog Sections
The dialogue is divided into two sections:
- Invoice
- In the Invoice section you enter the invoice data.
- Settings
- In the Invoice settings section, parameters for new documents and interface settings of the invoice dialogue are defined.
Dialogue extension
The dialogue for entering invoice data is implemented via the Estimates and Invoice Dialogue Extension.
- The extension is installed automatically when an Estimates and Invoice file is opened.
- The extension is updated automatically when a new version of the extension is released.
- The dialogue can therefore change even if the Banana Accounting programme has not been updated.
Invoice Edit Dialog
Here is how the invoice dialog window appears. Below, we explain its individual elements.
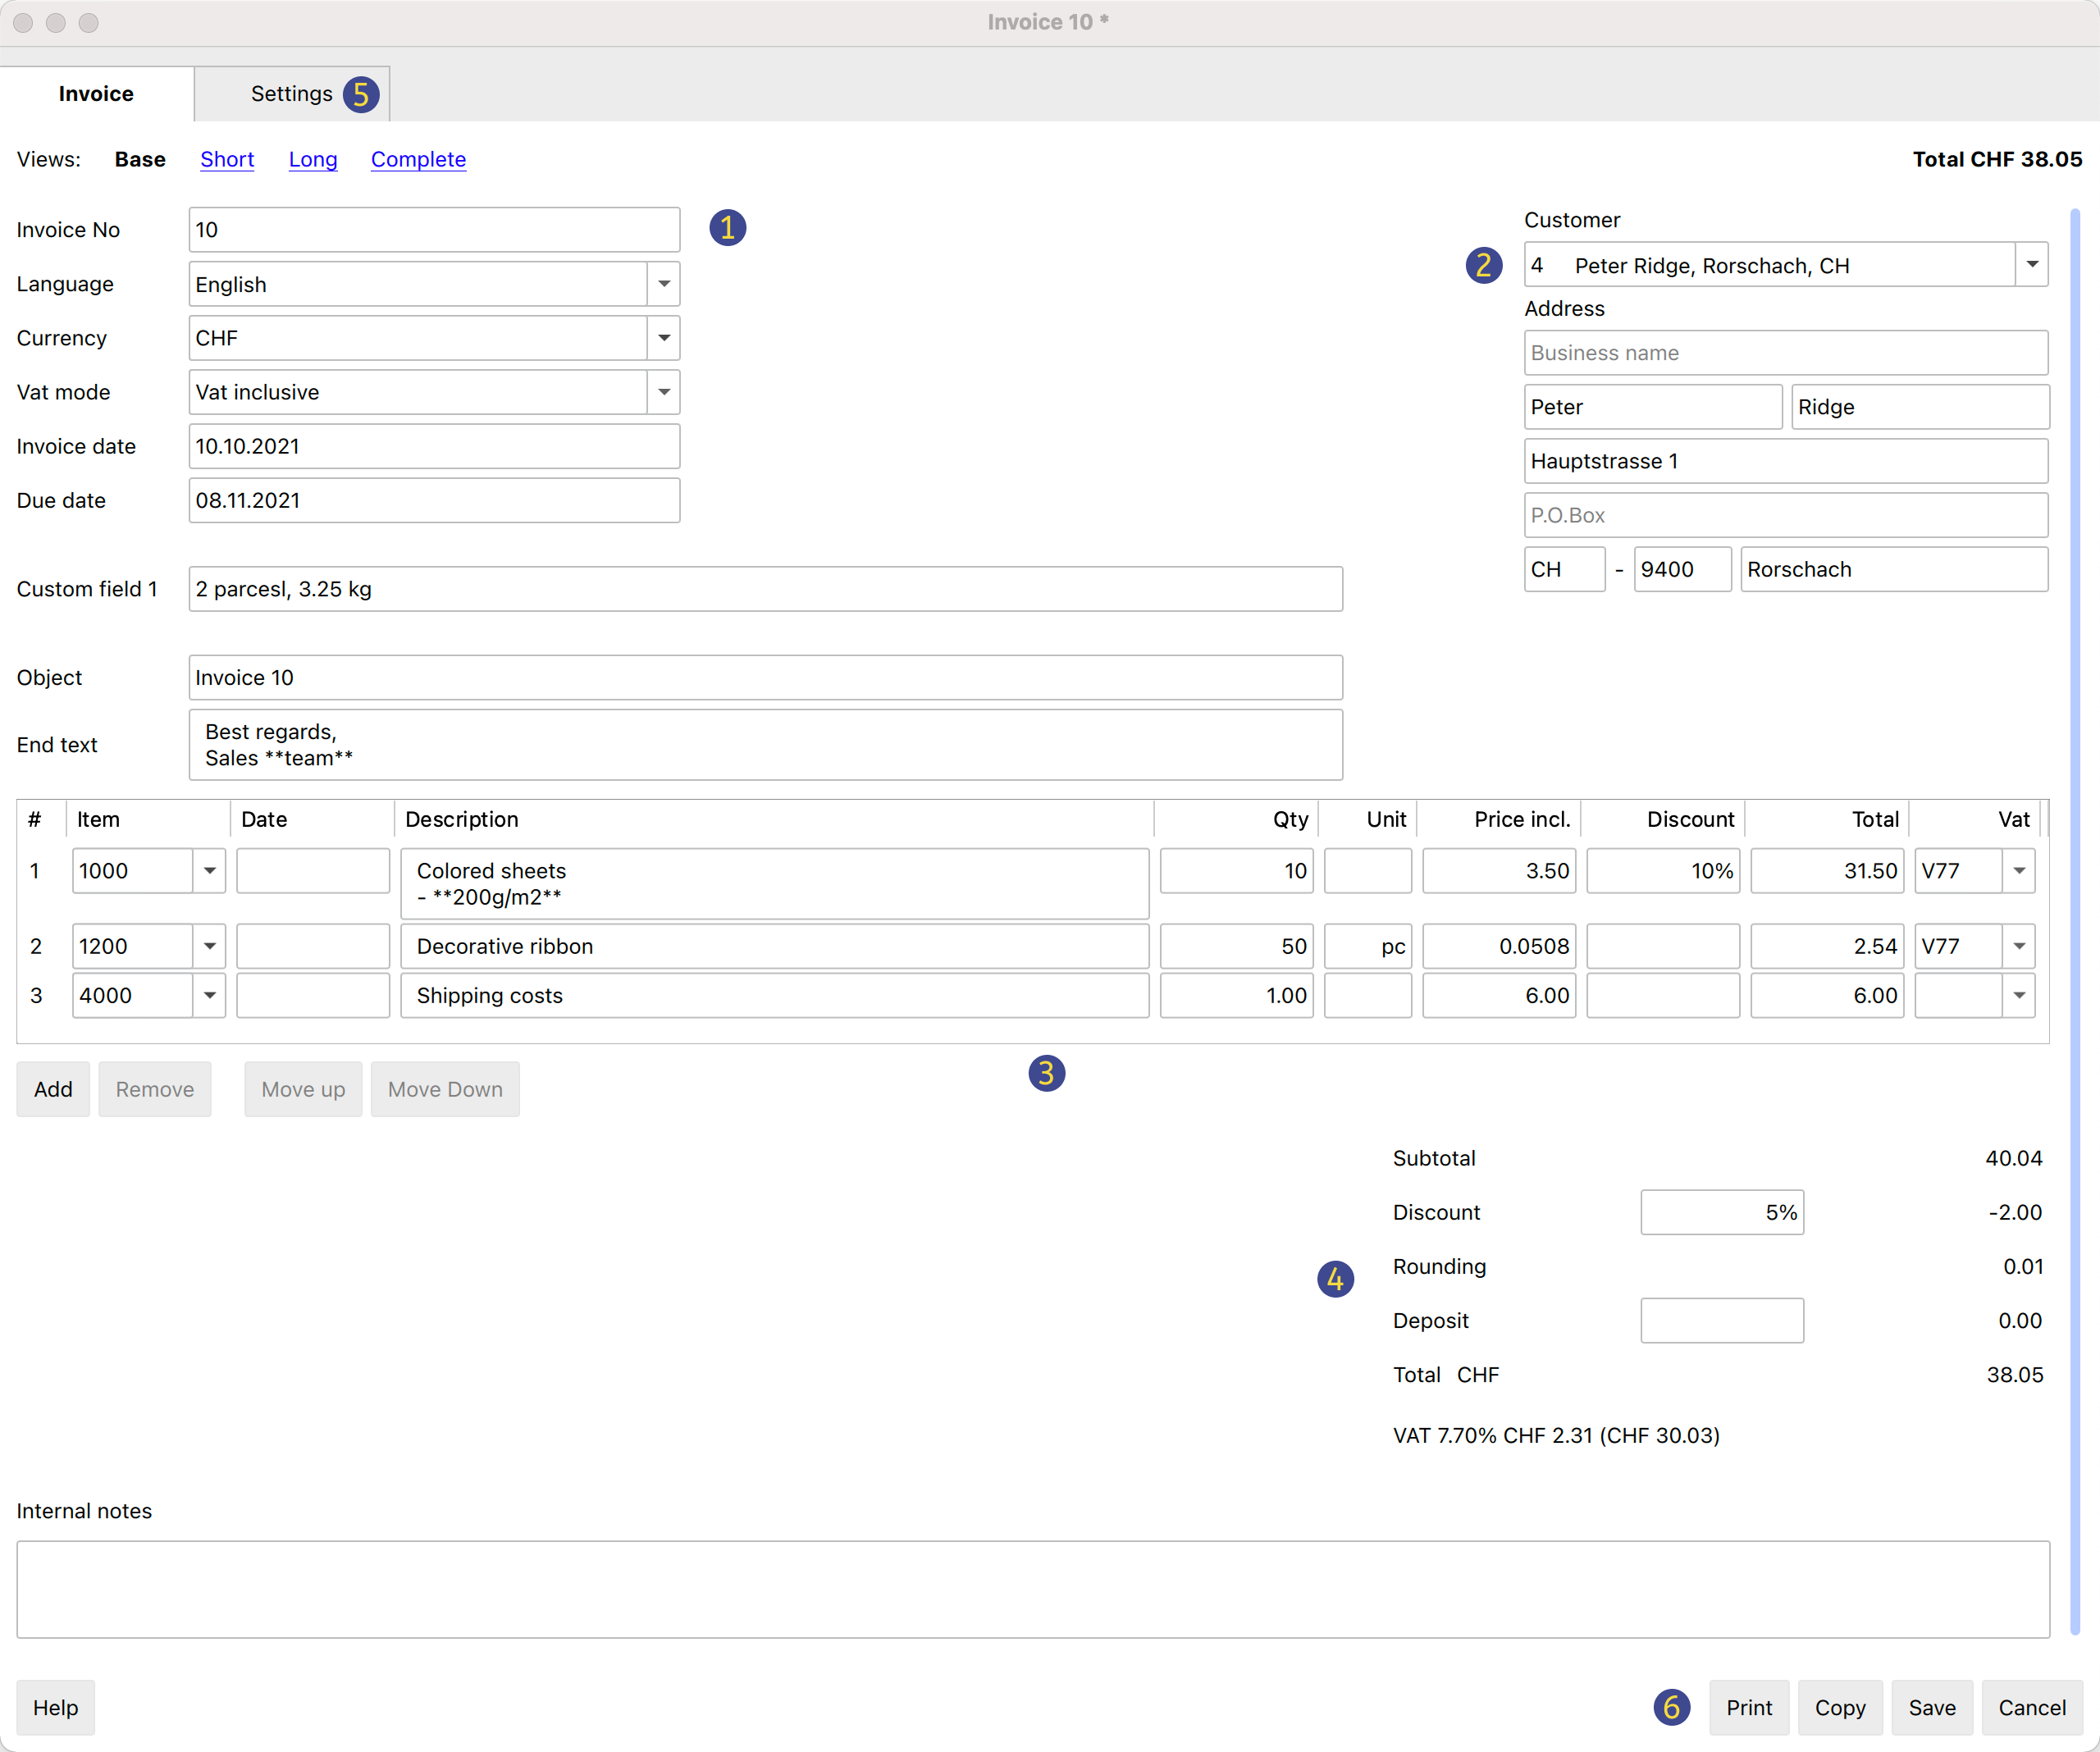
Views
These are shown at the top.
They define which data entry fields are visible and which are hidden.
By switching between the different views, you can switch between more general and more detailed views.
The following views are available:
- Base
- Shows the most frequently used fields.
- Can be adjusted to one's needs.
- Short
- Focuses on the Item table.
- Can be adjusted to one's needs.
- Long
- Complete view with all fields.
- Can be adjusted to one's needs.
- Complete
- Complete view with all fields.
- Cannot be adjusted.
Via the Settings section, for the Base, Short and Long views, it is possible to define which fields to make visible and which ones to hide.
Structure
(1) Information and Free Texts
This section allows you to enter information regarding the invoice and define free texts to be included in the printout.
- Invoice number
- The invoice number is entered.
- The number is taken and inserted automatically by the programme in the Id column of the Invoices table.
- It can be included in the invoice printout.
- Language
- The language in which the invoice is to be printed is entered.
- If defined, the customer language set in the Contacts table is taken over and inserted.
- Currency
- The currency in which to print the invoice is entered.
- You can indicate the abbreviation (CHF, EUR, USD, etc.) that will be printed on the invoice.
- The programme does not make exchanges and conversions to other currencies.
- VAT mode
- Select the VAT mode.
- If the VAT mode is changed, the programme modifies the amounts already entered, so that the same invoice can be printed with gross and net amounts.
- Without VAT
No VAT is applied. - VAT excluded
Amounts are net. - VAT included
Amounts are considered gross.
- Without VAT
- The total VAT amount may vary by a few cents compared to the calculation performed directly on the VAT taxable total. The reason for this is that the VAT total is calculated by adding up the (rounded) VAT amount of each individual item. This difference is not to be considered an error, but a feature of the calculation of invoice amounts.
- Invoice date
- The invoice date is entered.
- The date is taken and inserted automatically by the programme in the Date column of the Invoices table.
- It can be included in the invoice printout.
- Due date
- The payment due date is entered automatically by the programme for all invoices.
- It can be entered manually for each invoice.
- It can be included in the invoice printout.
- Order number
- It's optional.
- The order date is entered.
- It can be included in the invoice printout.
- Order date
- It's optional.
- The order date is entered.
- It can be included in the invoice printout.
- Invoice custom fields
- It requires the Advanced Plan.
- They are optional.
- Additional information fields can be defined and added to the invoice (maximum 8 fields) where customized texts can be entered.
- The value/content is entered. In the Settings section, you define the names/texts of the fields.
- They can be included in the invoice printout using the CH10 and UNI11 layouts. In the print settings of the layouts, under Print → Information . Custom fields must be activated.
- Invoice title
- It's optional.
- The text of the invoice subject is entered.
- The text is taken over and inserted automatically by the program in the Description column of the Invoices table.
- The text is included in the invoice printout as title/object. It takes priority over any title entered in the settings of the invoice layout.
- Begin text
- It's optional.
- You enter the initial text to be included in the invoice printout, immediately after the title/object.
- The text may be entered on several lines.
- You can put the text in bold, including the part of the text between double asterisks **.
Example: **text1 text2** text3 = text1 text2 text3.
- End text
- It's optional.
- You enter the final notes to be included in the invoice printout, immediately below the details table.
- The text is taken over and inserted automatically by the programme in the Notes column of the Invoices table.
- The text may be entered on several lines.
- You can put the text in bold, including the part of the text between double asterisks **.
Example: **text1 text2** text3 = text1 text2 text3.
(2) Customer address
This section allows you to enter the invoice address. You have two possibilities:
- Retrieve the data from the Contacts table.
- Select a customer from the list.
- You can also search directly for an address by entering the first name, surname, company, email or tax number.
- When you select a contact, the various address fields are automatically completed by the programme.
- Enter the data manually.
- Complete each element of the address field by field.
The address fields are as follows:
- Business name
- Enter business name.
- Prefix
- Enter customer's prefix.
- First Name
- Enter the first name.
- Last name
- Enter the last name.
- Address street
- Enter the street.
- Address extra
- If necessary, enter extra address.
- Post Box
- Enter Post Box
- Country code
- Enter country code.
- ZIP
- Enter ZIP.
- Locality
- Enter locality.
- Email
- Enter email.
- Phone
- Enter phone number
(3) Items / item columns
This is a table that allows you to enter the lines for the items that make up the invoice.
In the Settings section, you can choose for each view:
- Which columns to display.
- The maximum table height.
If you define a value, the table used for entering items will have a maximum size (calculated based on the height of a text line). If there are many items, you will be able to scroll through them while always keeping the buttons at the bottom visible.
While the cursor is on the table, the mouse wheel scrolls the table content. To scroll the form instead, use the vertical scroll bar.
This table includes the following columns:
- Row
- The sequential row number.
- Type
- Requires the Advanced Plan.
- Allows you to assign a special role to the invoice row, such as headings, notes, and subtotals.
See the detailed explanation of advanced entry in the Type column.
- Item
- Optional.
- By using the Items table, you can select an item from the list. The fields in the following columns (Description, Quantity, Unit, Unit Price) are automatically completed by the program.
- You can also search for an item by typing part of its descriptive text.
- Item date
- Requires the Advanced Plan.
- Optional.
- Enter a date for each item, useful for example to indicate the execution date of the billed work.
- Description
- Enter the description of the item or the object being invoiced.
- The description text can span multiple lines.
- You can make text bold by enclosing the relevant part between double asterisks **.
Example: **text1 text2** text3 = text1 text2 text3.
- Quantity
- Mandatory.
- Enter the quantity.
- To create, for example, a credit note or a discount, enter the quantity with a negative sign (the total amount of the row will be negative). See also Create a credit note.
- Unit
- Optional.
- Enter the text related to the unit (pcs, hours, etc.).
- Unit Price
- Mandatory.
- Enter the price of a single unit.
- Item Discount
- Requires the Advanced Plan.
- Optional.
- Specify a discount for each item.
The discount is calculated on the price of a single unit (Unit Price column), and can be entered:- As an amount. Enter the discount amount directly.
Example: Quantity 2; Unit Price 10.00; Discount 1.00; Total = 18.00
If the Discount is equal to or greater than the Unit Price, the Total is set to 0 - As a percentage. Enter a percentage (e.g. 10%).
Example: Quantity 2; Unit Price 10.00; Discount 10%; Total = 18.00
If the Discount is equal to or greater than 100%, the Total is set to 0
- As an amount. Enter the discount amount directly.
- Total
- The total is calculated and entered automatically by the program.
- VAT
- Optional.
- Enter the VAT code to use as defined in the VAT Codes table.
(4) Discounts and totals
This section allows any discounts to be entered and shows the invoice totals.
The programme automatically calculates the following
- Subtotal
- The sum of all amounts in the Total details column is shown.
- Discount
- It's optional
- You enter the discount to be applied to the invoice total by entering a description and the percentage or amount.
- If a percentage is entered, the programme automatically calculates and displays the discount based on the percentage value entered.
- Rounding
- Rounding is indicated.
- Deposit
- It's optional
- The deposit already paid by the customer is entered, indicating the description and amount.
- Total
- The final total of the invoice is shown.
- The total is also shown in the top right-hand corner of the dialogue to speed up invoice verification.
- VAT
- The totals of the VAT amounts are shown.
(5) Settings
The settings of the Invoice Dialogue.
For more information, please refer to the Invoice settings dialogue page.
(6) Commands
- Print
- Command to print an invoice.
- Copy
- Command to copy an invoice.
- Save
- Command to save changes.
- Close
- Command to end the dialogue.
- Cancel
- Command to delete changes and close the dialogue without saving.
- Help
- Command linking to online documentation where information on invoice dialogue can be found.
Customisation
The invoice dialog is programmed through a BananaPlus extension, and is updated independently of the application. The version provided is generic and covers most of the needs.
For contexts where invoices are complex, or many invoices are created, you can adapt the dialog to make creating invoices easier, more functional, and faster.
Advanced input Type column for Estimates and Invoices
Requires the Advanced Plan of Banana Accounting Plus.
The Type column in the Invoice Edit Dialog allows you to assign a specific role (e.g. header, notes, subtotals) to the invoice row.
To use the column, you first need to make it visible in the desired view, from the Settings tab (section Items columns > enable the Type column).

The available options in the Type column are as follows:
- Header
Allows you to insert a header text to be displayed in the invoice details (in blue in the image). - Note
Allows you to insert annotation text to be displayed in the invoice details (in green in the image). - Totals
Allows you to insert up to three levels of subtotals (in yellow in the image).

Header
Inserts a header row for the content of the following rows, where the items or services are listed.
- In the Type column, select Header from the list.
- In the Description column, enter text that will be displayed in bold as the header for the content of the following rows. The text can span multiple lines.
- The other columns must remain empty.
Example of data entry:
| Type | Item | Description | Quantity | Unit price | Total |
| Header | Consulting services | ||||
| A | Service A | 1 | 150 | 150 | |
| B | Service B | 2 | 100 | 200 | |
| Header | Development services | ||||
| C | Service C | 3 | 120 | 360 | |
| D | Service D | 1 | 90 | 90 |
Note
Inserts a note row to be displayed in the invoice details, before or after the list of items or services.
- In the Type column, select Note.
- In the Description column, enter text that will be displayed on the invoice. The text can span multiple lines.
- The other columns must remain empty.
Example of data entry:
| Type | Item | Description | Quantity | Unit price | Total |
| A | Consulting service | 2 | 100 | 200 | |
| Note | Remote assistance provided | ||||
| B | Technical support | 1 | 150 | 150 | |
| Note | Support provided in April |
Total 2
Inserts a subtotal row that sums up the preceding items.
- In the Type column, select Total 2.
- In the Description column, enter text that will be displayed on the invoice. The text can also span multiple lines.
- The other columns must remain empty.
The Total 2 row:
- Automatically calculates the subtotal of the items entered in the preceding rows.
- You can insert multiple Total 2 rows: each one sums all the items that precede it.
Example of data entry:
| Type | Item | Description | Quantity | Unit price | Total |
| A | Service A | 2 | 50 | 100 | |
| B | Service B | 1 | 30 | 30 | |
| Total 2 | Subtotal 2 | 130 |
Total 1
Inserts a subtotal row that sums up Total 2 rows and the previous items or services not included in a Total 2.
- In the Type column, select Total 1.
- In the Description column, enter text that will be displayed on the invoice. The text can also span multiple lines.
- The other columns must remain empty.
The Total 1 row:
- Automatically calculates the subtotal of the items entered in the preceding rows.
- If the preceding rows contain Total 2 rows, their values are included in the subtotal calculation.
- You can insert multiple Total 1 rows: each one sums all the items and Total 2 subtotals that precede it.
Example of data entry:
| Type | Item | Description | Quantity | Unit price | Total |
| A | Service A | 2 | 50 | 100 | |
| Total 2 | Subtotal 2 | 100 | |||
| B | Service B | 1 | 30 | 30 | |
| C | Service C | 1 | 70 | 70 | |
| Total 2 | Subtotal 2 | 100 | |||
| Total 1 | Subtotal 1 | 200 |
Total
Inserts a subtotal row that sums up Total 1, Total 2 and the previous items or services not included in Total 1 or Total 2.
- In the Type column, select Total.
- In the Description column, enter text that will be displayed on the invoice. The text can also span multiple lines.
- The other columns must remain empty.
The Total row:
- Automatically calculates the subtotal of the items entered in the preceding rows.
- If the preceding rows contain Total 1 or Total 2 rows, their values are included in the subtotal calculation.
- You can insert multiple Total rows: each one sums all the items or services and Total 1 and Total 2 subtotals that precede it.
Example of data entry:
| Type | Item | Description | Quantity | Unit price | Total |
| Header | Consulting services | ||||
| A | Service A | 1 | 150 | 150 | |
| B | Service B | 2 | 100 | 200 | |
| Total 2 | Total consulting services | 350 | |||
| Header | Development services | ||||
| C | Service C | 3 | 120 | 360 | |
| D | Service D | 1 | 90 | 90 | |
| Total 2 | Total development services | 450 | |||
| Total 1 | Total work | 800 | |||
| Header | Extra expenses | ||||
| E | Travel expenses | 1 | 100 | 100 | |
| Total | Subtotal | 900 |
Invoice settings dialogue
By clicking Settings (in the lower left corner) you enter the settings dialog of the invoice.
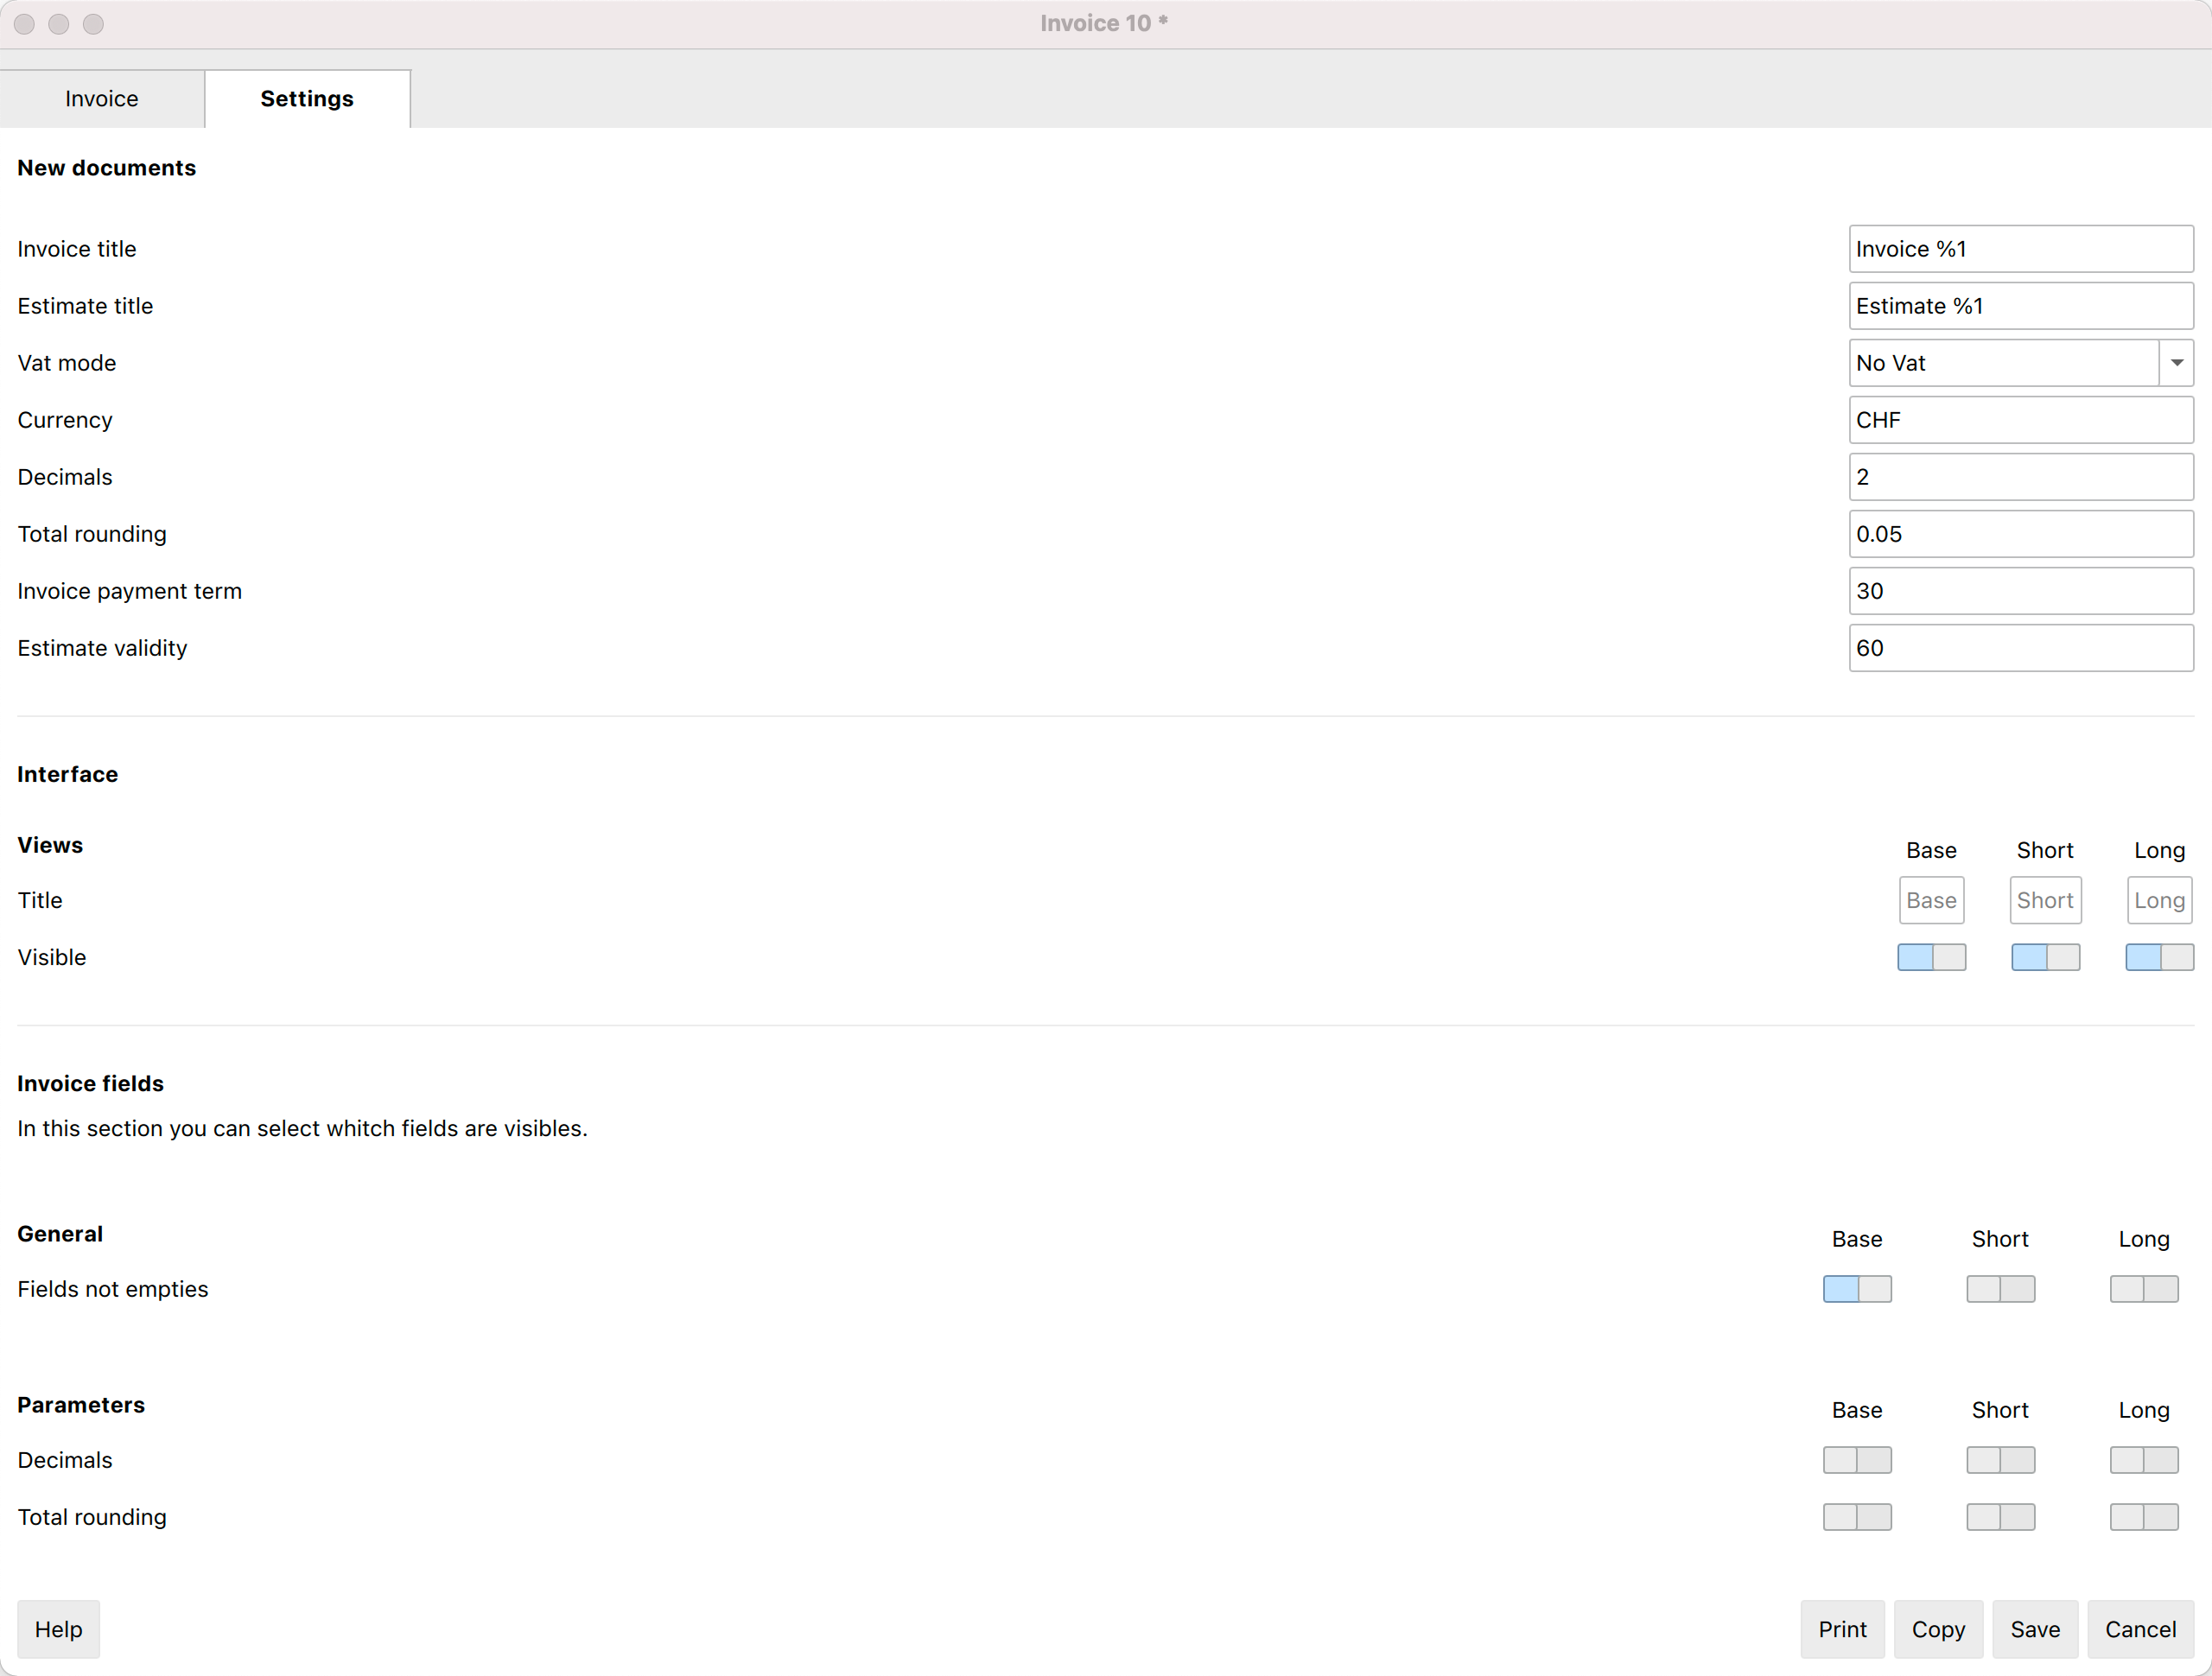
The settings you set are specific for the invoice.
- The currency code
You can indicate the code (CHF, EUR, USD, etc.) that will be printed on the invoice.
The program does not make exchanges and conversions in other currencies. - The number of decimals to be used for the amounts.
All amounts will have the number of decimals set. - Rounding up totals.
Put a "0.05", "0.10" amount that becomes the minimum rounding unit.
The decimal separator must always be the dot ".". - Payment term in days
It is used to preset the due date, which can then be changed manually. - Validity of the Estimate in days
This is used to preset the expiry date of the offer, which can then be changed manually. - The VAT mode
If the VAT mode is changed, the program modifies the amounts already entered, so that the same invoice can be printed with both gross and net amounts. If the VAT is set to gross and net amounts have been entered, once the setting has been changed, the amounts must also be changed so that they are net amounts.- No VAT. No VAT is applied.
- VAT Inclusive. The amounts are considered gross.
- VAT Exclusive. The amounts are considered net.
Use settings for new invoices
You can choose to use these settings for new invoices that will be created.
The settings of other existing invoices are not changed.
Translations of invoice's texts
In the Settings dialog, clicking on a text field, such as the title for new invoices or the description of one of the user fields, leads to the Translations dialog.
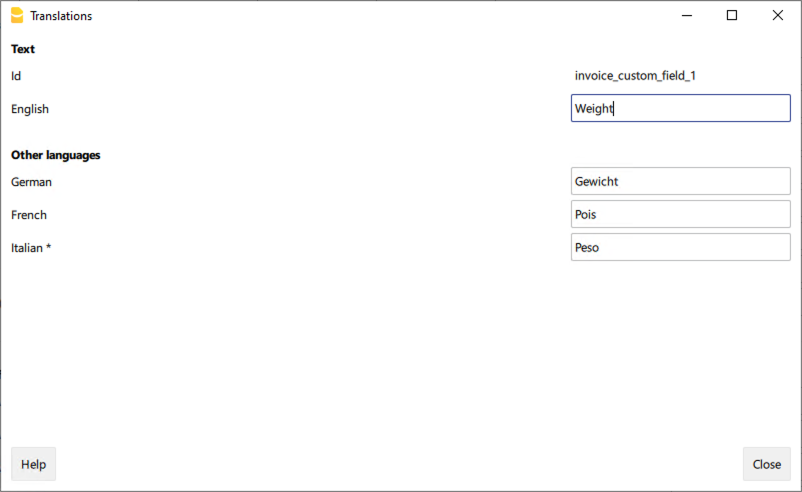
In the Translations dialog:
- You can enter the texts to be used in the various languages.
- Only the languages currently in use are listed.
- If a language is not listed, simply add a contact or invoice in the desired language.
- The first language listed corresponds to the programme language.
- The language marked with an asterisk * is the document language, defined in the menu File → File accounting properties→ Other tab → Current language.
Estimates and Invoices Dialogue Beta Release
The beta version of the Estimates and Invoices extension provides early access to new features and bug fixes before the official release.
How to install it
Watch the video tutorial which shows you how to try out the brand new Beta version of the Estimates and Invoices extension.
- Download and install the last Banana Accounting+
- Open the Extensions menu > Manage Extension dialog
- Select the Estimates and Invoices extension
- Select the Beta release as preferred channel.
You can change the release channel at any time without data loss.
Change history
View the change history.
Feedback
We would appreciate every feedback about this new release.
You can send us your feedback through the contact form, please also include a short description about the context where your are using this extension.
Estimates Commands
With the Estimates and Invoices application you can also manage estimates.
The creation, modification, duplication and printing of estimates are handled exactly as the invoices.
Here is the dialog to create or edit Estimates:

From the Estimates table:
- Create a new Estimate with the menu command Invoices > New estimate.
- Edit an offer with the menu command Invoices > Edit estimate.
- Duplicate an estimate with the menu command Invoices > Duplicate estimate.
- Print an offer with the menu command Invoices > Print estimate.
- Convert an estimate into invoice:
- Via the Invoices menu > Create invoice from estimate command.
- Or using the Create invoice button from the estimate creation / modification dialog (Invoices > Edit estimate)
The dialogue for creating and modifying an estimate is the same as that of the invoice. For more information visit Invoice dialogue.
How to customise your invoice
You can easily customise and adapt invoice printing to suit your needs.
Set your company address (sender)
In the File menu > File and accounting properties (Basic data) > Address , set the address of your company.
Set the customer number and the invoice number
It is important that the customer number and the invoice number comply with certain requirements: see how to correctly create the customer number and the invoice number.
Set customer language
You can print invoices in the language of your customers. For each customer set the language in the Contacts table. You can also change it from the Edit Invoice dialog.
Retrieving customer addresses from Excel
When customer data are on an Excel file, they can be easily transferred to the Contacts table.
Proceed as follows:
- Select from Excel the column with the data to be copied and use the Copy (Ctrl+C) command.
- Go to Banana, Contacts table, position yourself in the corresponding column and issue the Paste (Ctrl+V or Paste) command from the Edit menu.
- Repeat this operation for all address columns (Account, First Name, Last Name, Organisation, Street, Zip, Country Code, Language).
The data corresponding to the mentioned columns are required for printing the invoice. - If you do not have all the columns mentioned in the Excel file, you must add the missing information manually.
Logo setup position and sender address
To set the logo, you must:
- Upload the logo image in the menu File > Logo setup.
- To use the logo in the invoice, in the Invoice Settings you must activate the Logo box and enter the name of the customisation you used, respecting upper and lower case, in the Logo Name field.
For example, you can place the logo on the left and the address on the right and change the size of the logo.
The address is automatically taken from the file basic data.
The sender's address, if the default settings are not changed, is entered on the right, regardless of the presence of the logo.
If you want to set the sender address on the left without any logo, please see the following page:
If you want to enter a different address, via the Invoice Settings:
- Enter the texts you want using the Line 1 Text , Line 2 Text, Line 3 Text, Line 4 Text, and Line 5 Text.
Set the logo without the sender's address
On the Logo setup page you will find information on how to add and place the logo.
Through the Invoice Settings:
- Uncheck the Page header option to exclude the address in the header from printing.
- View the Logo option to include the logo in the printout.
Customise address in invoice header
The style of the sender's address in the invoice header (colour, size, font..) is set by default by the program.
The Advanced Plan of Banana Accounting Plus allows you to customize the style of the address. For more information see the Examples page.
Set invoice information
Invoice information is information about the date, customer number, due date, etc., which is usually located just below the header and next to the customer address.
The CH10 and UNI11 layouts allow you to define which invoice information to include and which to exclude from printing. You can find instructions on the Invoice Settings page.
For the other print layouts (CH01-CH09 / UNI01-UNI08), the information cannot be modified.
Add a new invoice information field
In addition to the default information fields (invoice number, date, customer number, etc.), you can also enter other custom fields.
In the Invoice section of the Invoice dialog:
- Go to the Complete view (top).
- Use the fields Additional info 1... Additional info 8 to add your own additional information fields.
- In the Information section of the Invoice Layout settings, view the Custom fields field.
- The new additional information fields are added at the end. It is not possible to change the order.
In the Settings section of the Invoice Dialog:
- Edit the texts of the Invoice User Fields as you wish.
- You can enter translations for each language.
Set the payment term
The payment term for invoices by default is 30 days.
To change the payment term you have two options:
- Change the default settings for all new invoices.
- Go to the Settings section of the Invoice dialog.
- In the New documents > Invoice Payment term(days) section set the value you want (e.g. 10).
- The invoice due date will be recalculated with the new payment term.
- Change the payment term individually for each invoice.
- Go to the Invoice dialog.
- In the Due date field enter the payment deadline date (e.g. 31.12.2022).
- The invoice due date will be replaced with the new payment term.
Set customer address position and composition
The CH10 and UNI11 layouts allow you to define:
- The location of the customer address.
- The elements of the address.
On the Invoice Settings page > Customer address section:
- In the Address composition field:
- Choose how to compose the address by entering the XML names of the columns in the Contacts table.
- You can use only the following columns (XML names):
NamePrefix, OrganizationName, FirstName, FamilyName, Street, AddressExtra, POBox, PostalCode, Locality, Region, Country, CountryCode. - Change the location of the address using the Move horizontally and Move vertically options.
For other print layouts (CH01-CH09 / UNI01-UNI08), the location and composition of the customer address cannot be changed.
If you need more than one line to print your customer's address, see print customer/company address on four lines.
Set title/object
To enter the title/object of the invoice, you have two options:
- Enter the text in the Invoice dialog > Object field.
- For each invoice you can define a title.
- If you leave the field empty, the default text is used.
- This title always has priority over entering the title in the layout settings (see next point).
- With the CH10 and UNI11 layouts, you can enter the text in the invoice Settings > Texts section > Invoice title.
- The title applies to all invoices printed with this layout.
- The title applies only if no title has been defined as per the first point.
Set initial text
To enter the title/object of the invoice, you have two options:
- Enter the text in the Invoice dialog > Begin text field.
- For each invoice you can define a title.
- If you leave the field empty, the default text is used.
- This title always has priority over entering the title in the layout settings (see next point).
- With the CH10 and UNI11 layouts, you can enter the text in the invoice Settings > Texts section > Begin text.
- The title applies to all invoices printed with this layout.
- The title applies only if no title has been defined as per the first point.
Setting up the invoice details table
The Invoice Details Table is the central table in the invoice where the invoiced items/services appear, with quantities, unit prices, totals, etc.
Use the Invoice dialogue to enter items or other items to be invoiced.
See also pages:
Set invoice item columns
With the CH10 and UNI11 layouts, you decide which columns to display in the printout. See how to do it in the page Invoice Settings > Invoice Details.
For the other print layouts (CH01-CH09 / UNI01-UNI08), the columns are not editable.
Create a Credit Note
To create a credit note:
- In the Invoices table, add a new invoice for the credit note.
The invoice can be created as new or you can copy an existing invoice and then modify it. - Open the newly created invoice for editing.
- Change the title/subject to "Credit Note."
- In the details table, add a row and set the quantity with a negative sign. This way, the total for the row will be negative.
Set final texts
To enter the final text of the invoice, you have several options:
- Enter the text in the Invoice dialog > End Text field.
- It is applied to any print layout.
- The text is inserted just below the invoice details.
- Enter the text in the Invoice Print Dialog > Options section > Final text.
- It is applied to any print layout.
- If you have already entered text as per step 1, the new text is added right after the previous one.
- Enter the text in Invoice Settings > Texts section > End text field.
- This text has priority over the text entered as per step 2.
- If you have already entered text as per step 1, the new text is added right after the previous one.
Set bank account number
If you don't use the QR-Code, you need to enter the bank account number as a reference for the invoice payment.
You have three ways to enter the bank account number as the final text:
- Invoice dialog > End text field.
- The bank account number appears in the printout only for the invoice you are creating/editing.
- It is applied to any print layout.
- The text is inserted just below the invoice details.
- Print Invoice dialog > Options > Final text.
- In this case, the bank account is inserted in all invoices you create.
- It is applied to any print layout.
- If you have already inserted text as per step 1, in this case the new text is added right after the previous one.
- Invoice Settings > Texts > End text.
- In this case the bank account is inserted in all invoices you create using this layout.
- This text has priority over the text entered as per step 2.
- If you have already entered text as per step 1, the new text is added right after the previous one.
Set IBAN for Swiss QR-Code printing
If you want to create QR invoices with IBAN account, you need to:
On the QR-Invoice with IBAN account page you will find more information for setting up QR-invoices with IBAN account.
Set up QR-IBAN for Swiss QR-Code printing
If you want to create QR-invoices with QR-IBAN account, you have to:
On the QR-Invoice with QR-IBAN page you can find more information about the settings of QR-invoices with QR-IBAN account.
Print QR form without amount and address
If you want to print only the QR-bill without amount and customer address, you have to:
- Use the QR-Invoice extension without amount and address.
- Set the currency, address and IBAN account.
- Create the bulletin with QR code.
See also how to print an Invoice without amount.
Set styles and colors
On the Invoice Settings page you will find instructions for defining:
- Font and font size.
- Colors.
Set Bold texts
In the Invoice settings page you will find information on how to apply bold style to invoice texts.
Add images in Offers or Invoices
The Advanced Plan of Banana Accounting Plus, with the new application Offers and Invoices, allows you to add images to the offers and invoices to be sent to customers.
This functionality makes the invoice even more customisable and the client who receives it has a more complete and direct vision of the invoicing of the items.
See our information pages on how to add images:
Print customer/company address on four lines
When the addressee is a company with several sectors/departments or a customer living in a housing complex with interiors, it may be necessary to have several lines available for printing the address.
This option is only available with the Advanced Plan of Banana Accounting Plus.
To activate the possibility of printing the recipient address on several lines, proceed as follows:
- Update extensions from the Extensions menu > Manage extensions > Update extensions.
- Open the invoice under Edit and in the Settings dialogue > Address section, make the fields Sector 1 ... 4 visible for the Basic view.
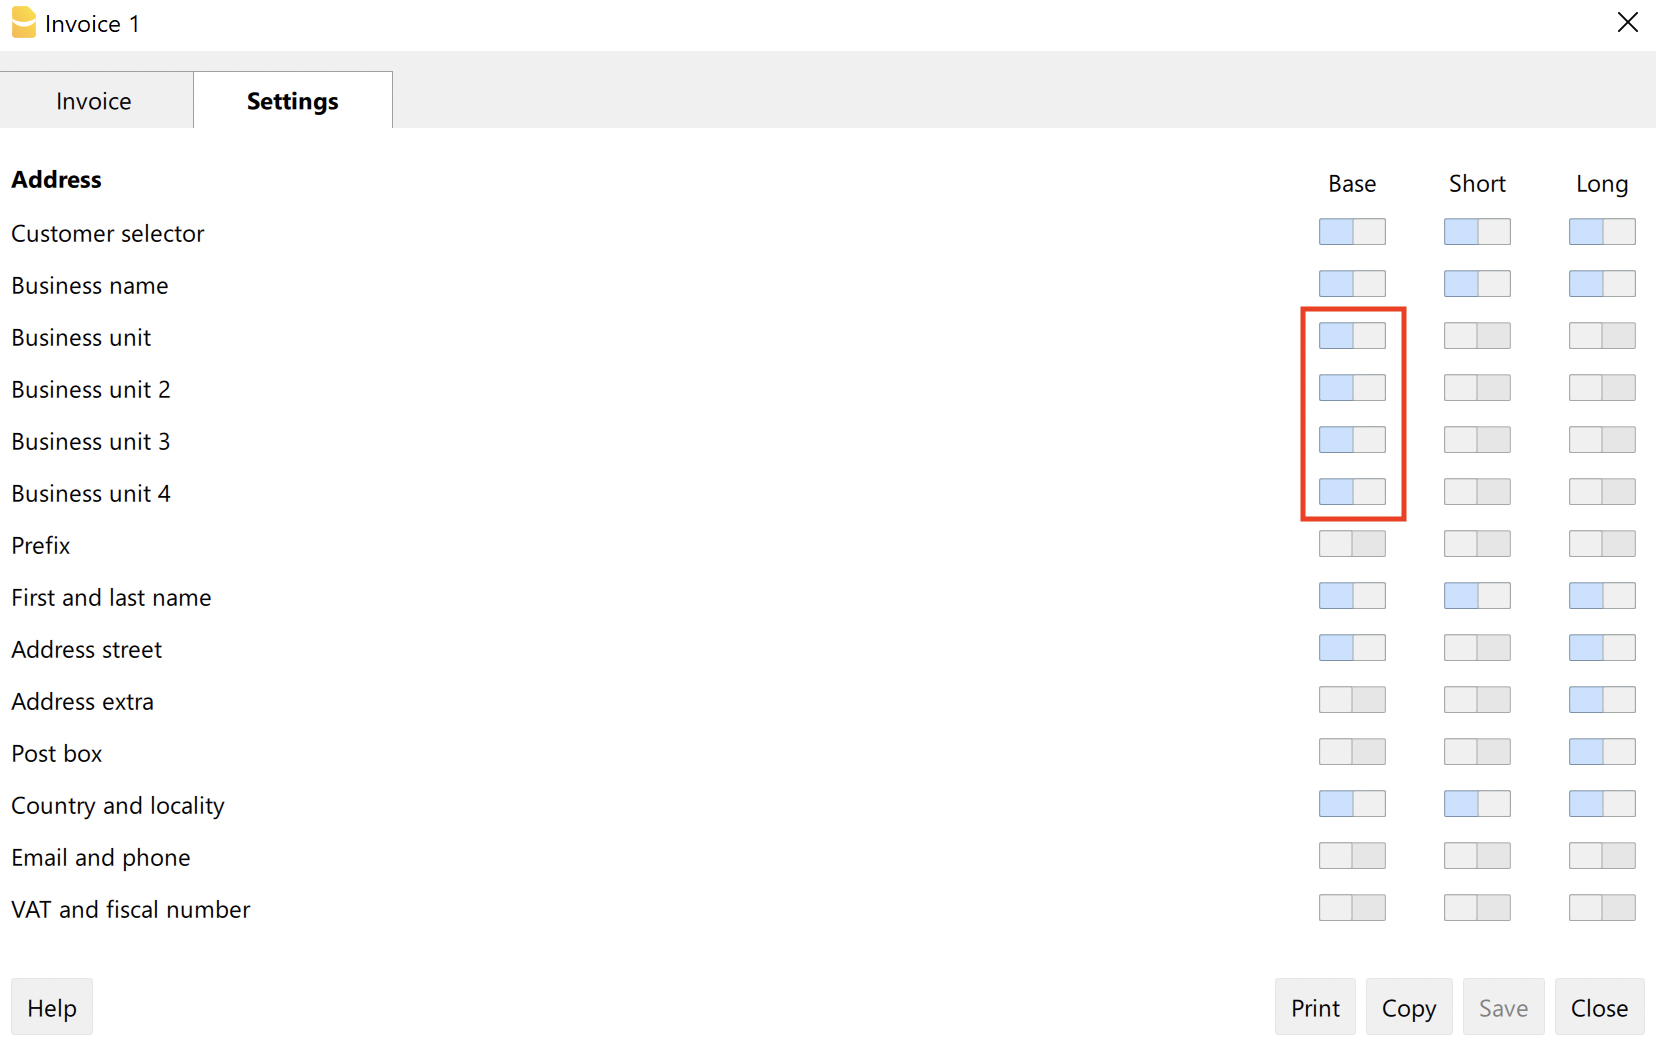
- Possibly switch from the Basic view to the Complete view without making the fields visible (in the Complete view all fields are visible).
- In the invoice address, enter text in the sector fields.
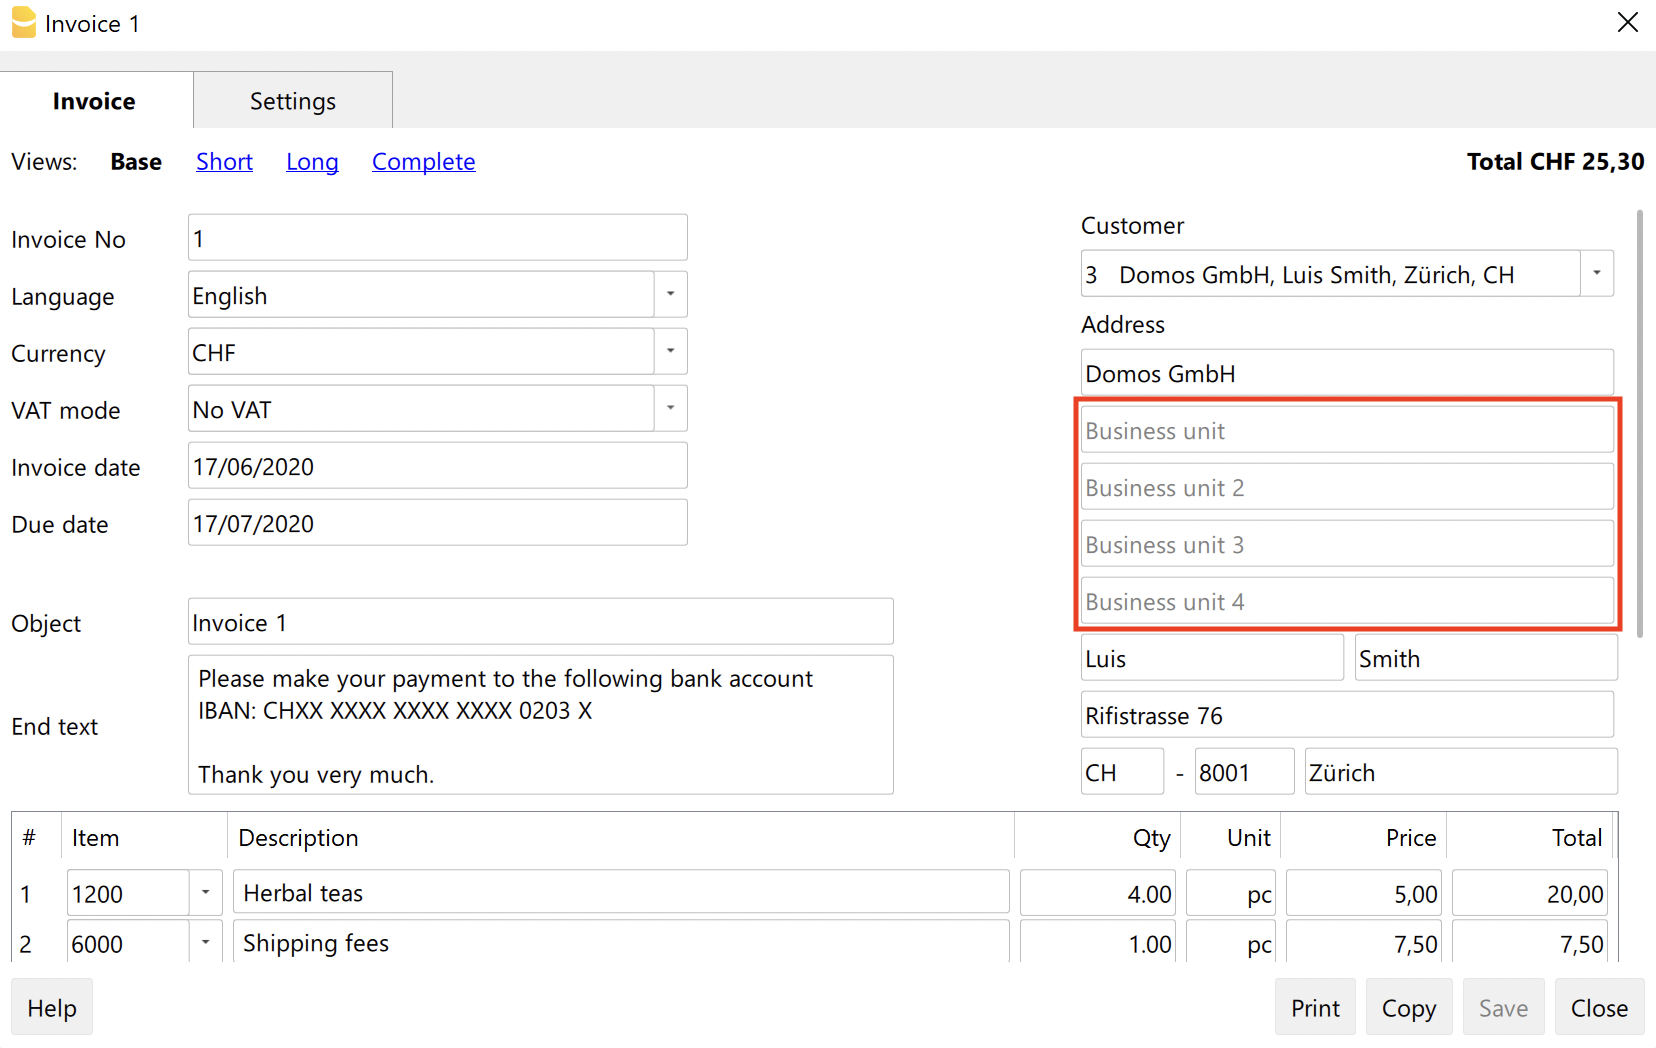
- In the print layout settings, add the Sector fields to the customer address composition.
The content will be as follows:
<OrganisationName>
<OrganisationUnit>
<OrganisationUnit2>
<OrganisationUnit3>
<OrganisationUnit4>
<NamePrefix>
<FirstName> <FamilyName>
<Street> <AddressExtra>
<POBox>
<PostalCode> <Locality>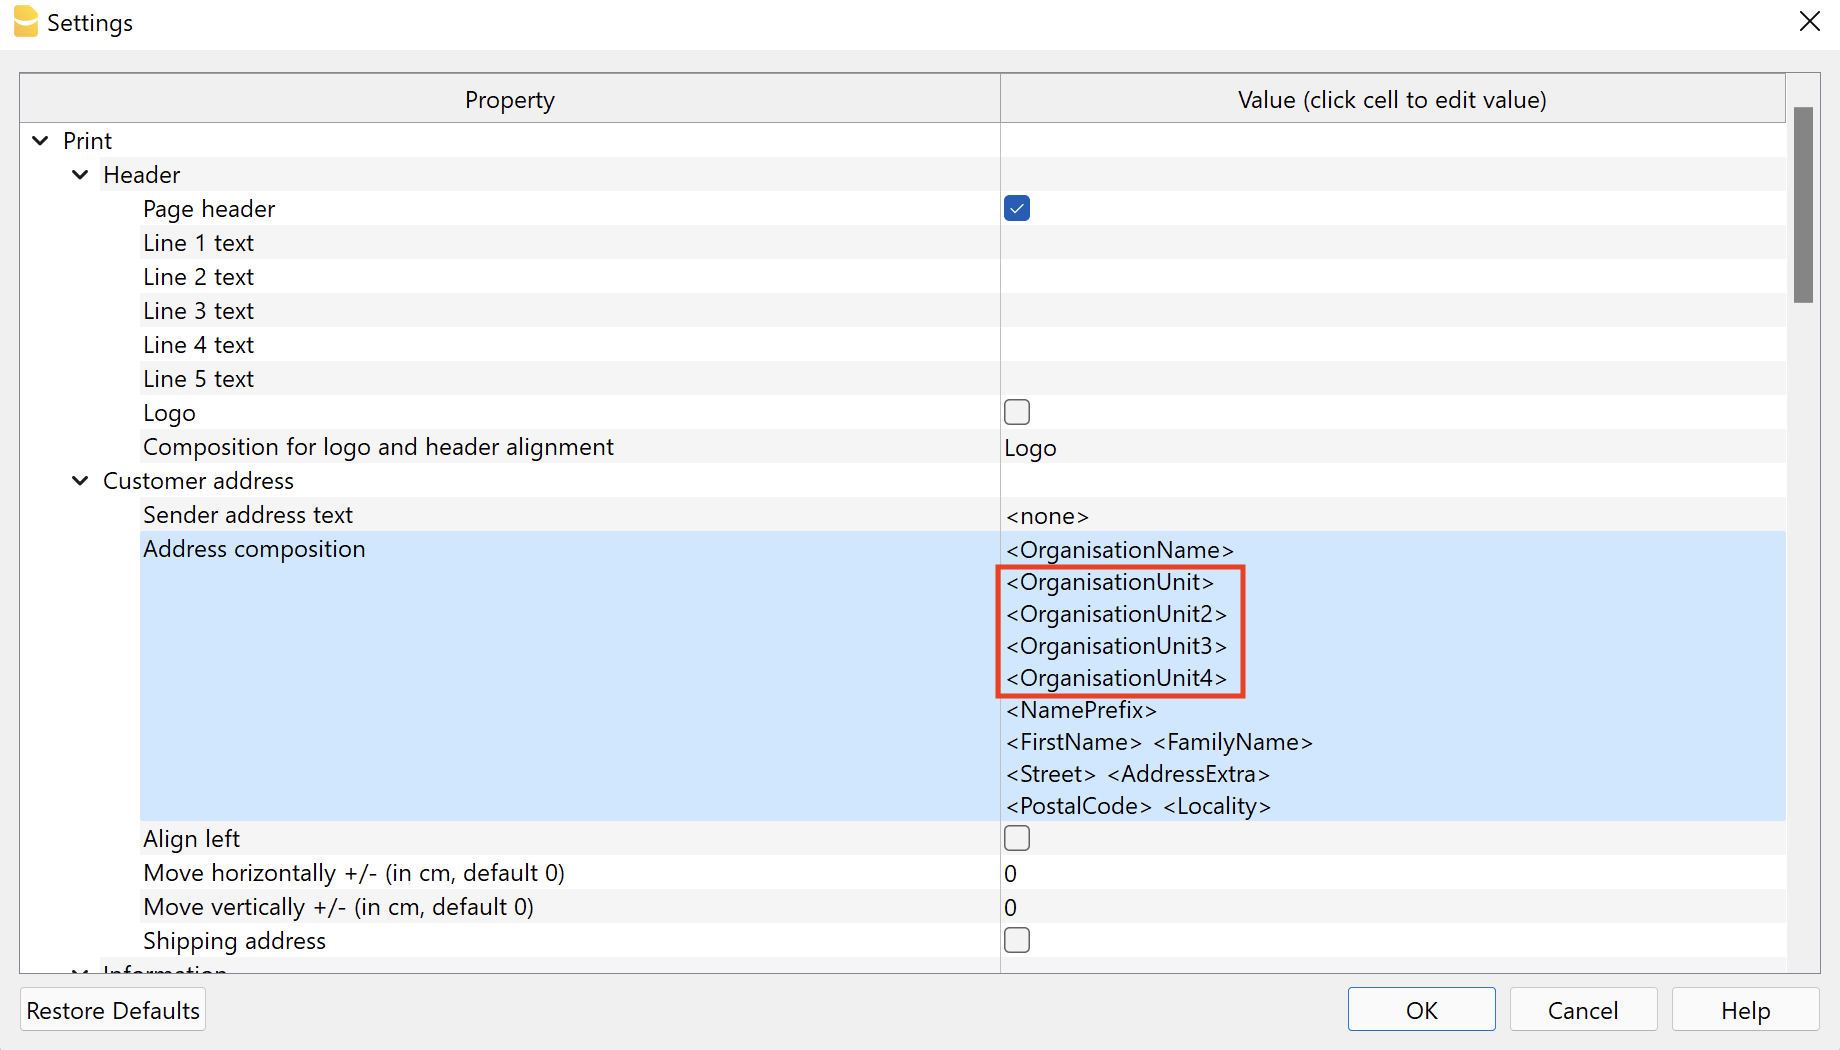
- If you wish to take these fields automatically from the Contacts table, add columns OrganisationUnit2, OrganisationUnit3 e OrganisationUnit4 to the Contacts table.
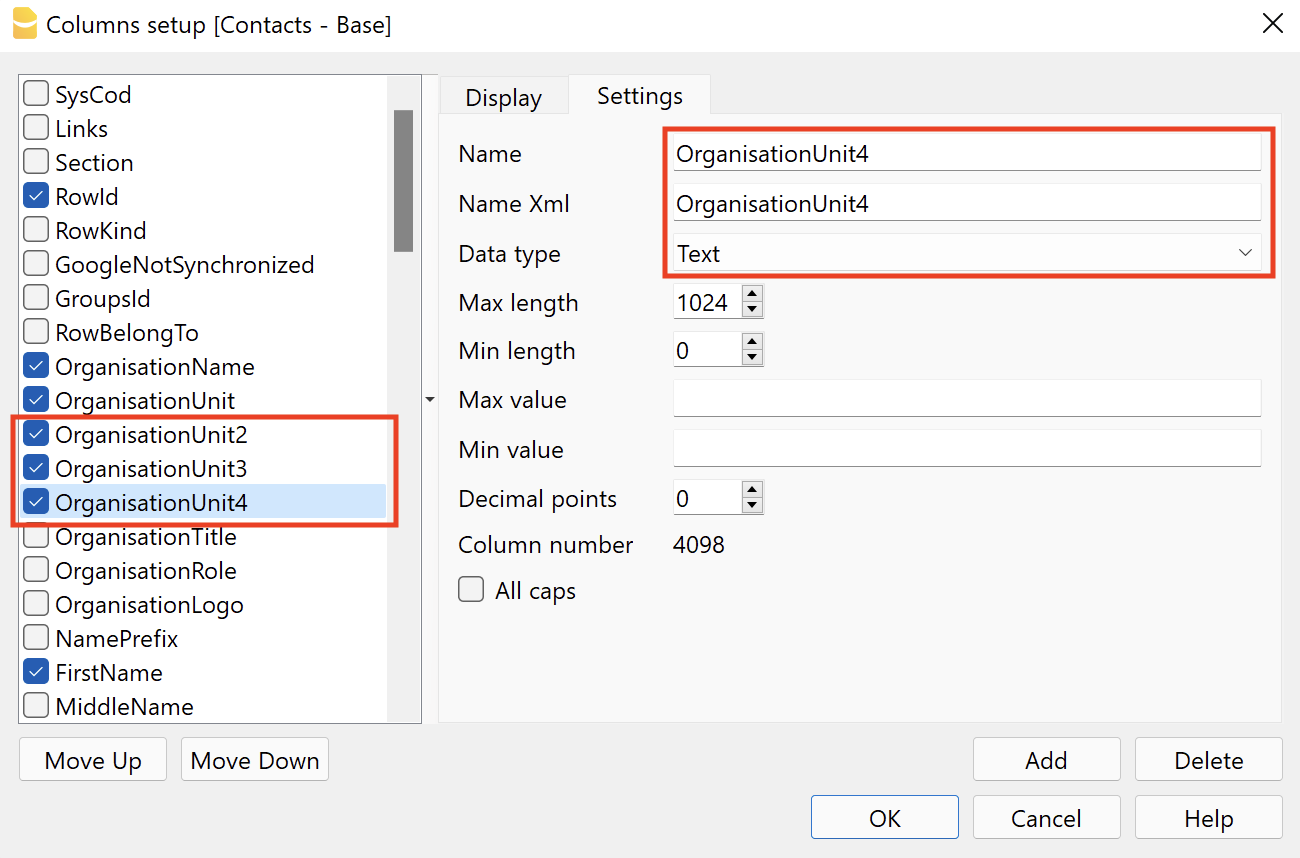
Other resources
Customize Address, Logo, Footers
Use Sub-Totals
Subtotals allow you to add partial totals to the invoice. For example, it is possible to insert a subtotal with labor costs and a subtotal with material costs.
To add a subtotal:
- Go to the Settings tab > Item Columns section and switch on the column Type
- Go to the Invoice tab
- Add a new row
- In the column Type select "Total", "Total 1" or "Total 2"
- Enter the desired description for the total line.
Example:
Subtotals in the dialog
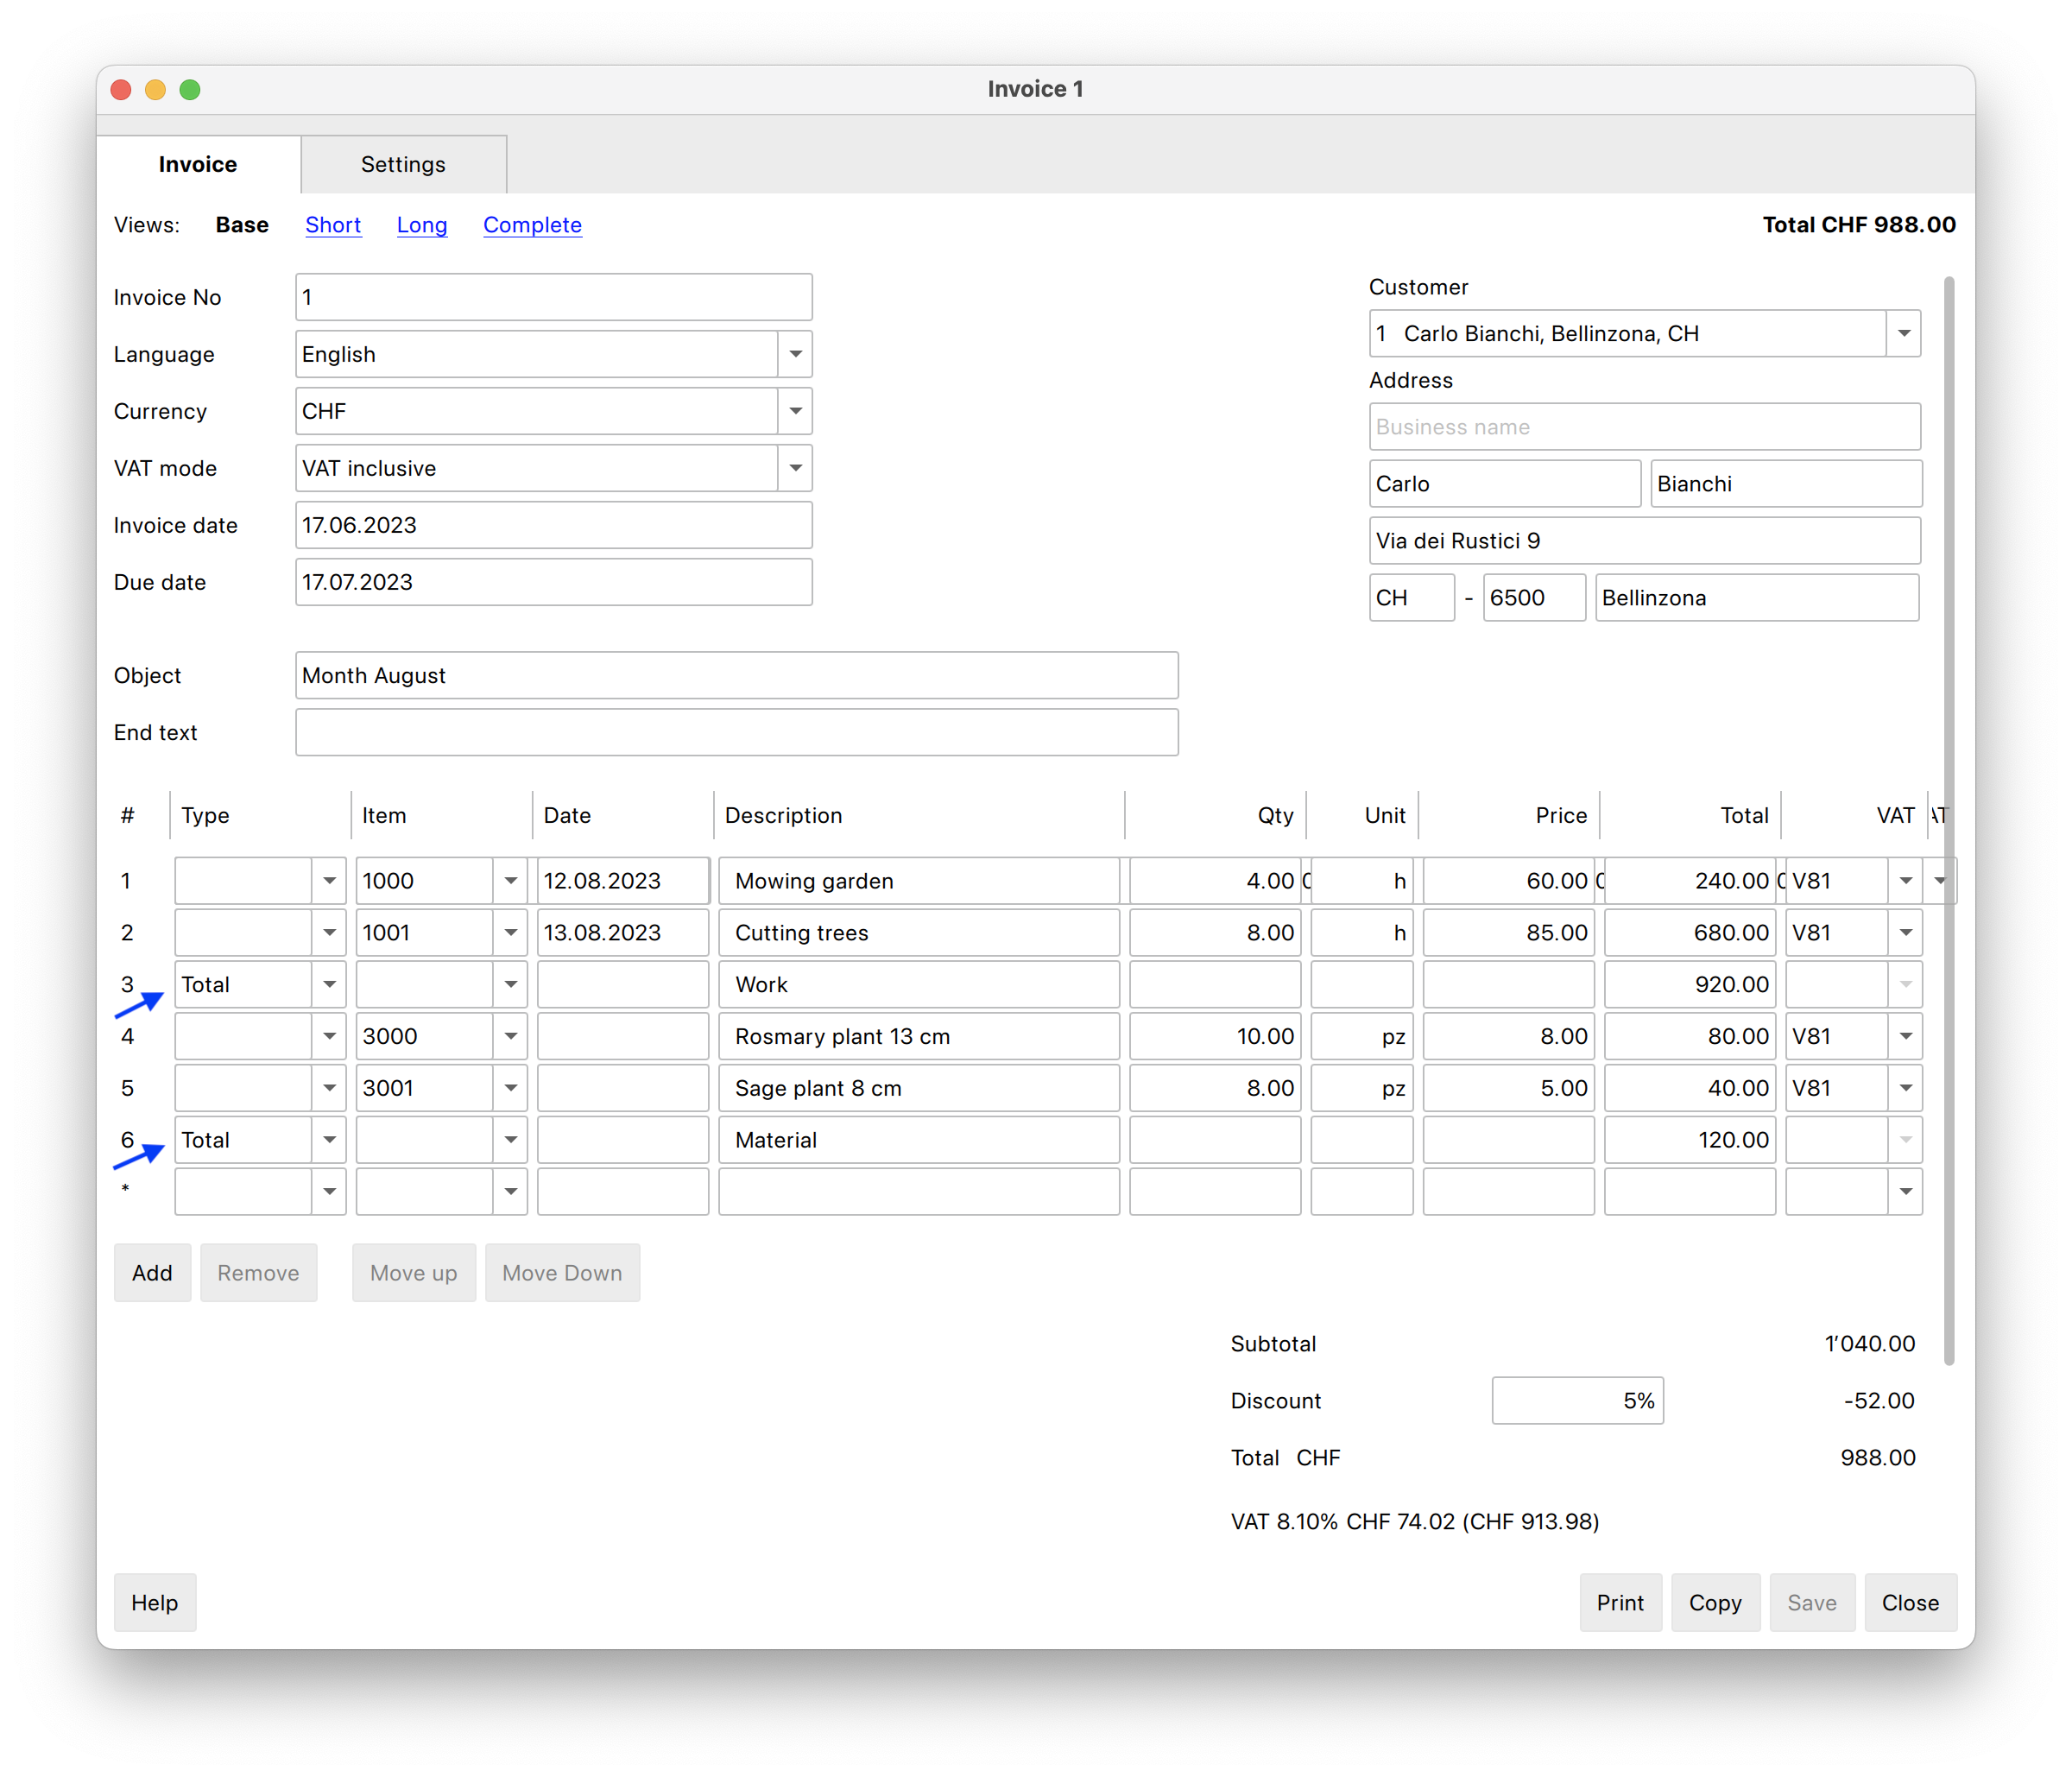
Subtotals on the invoice
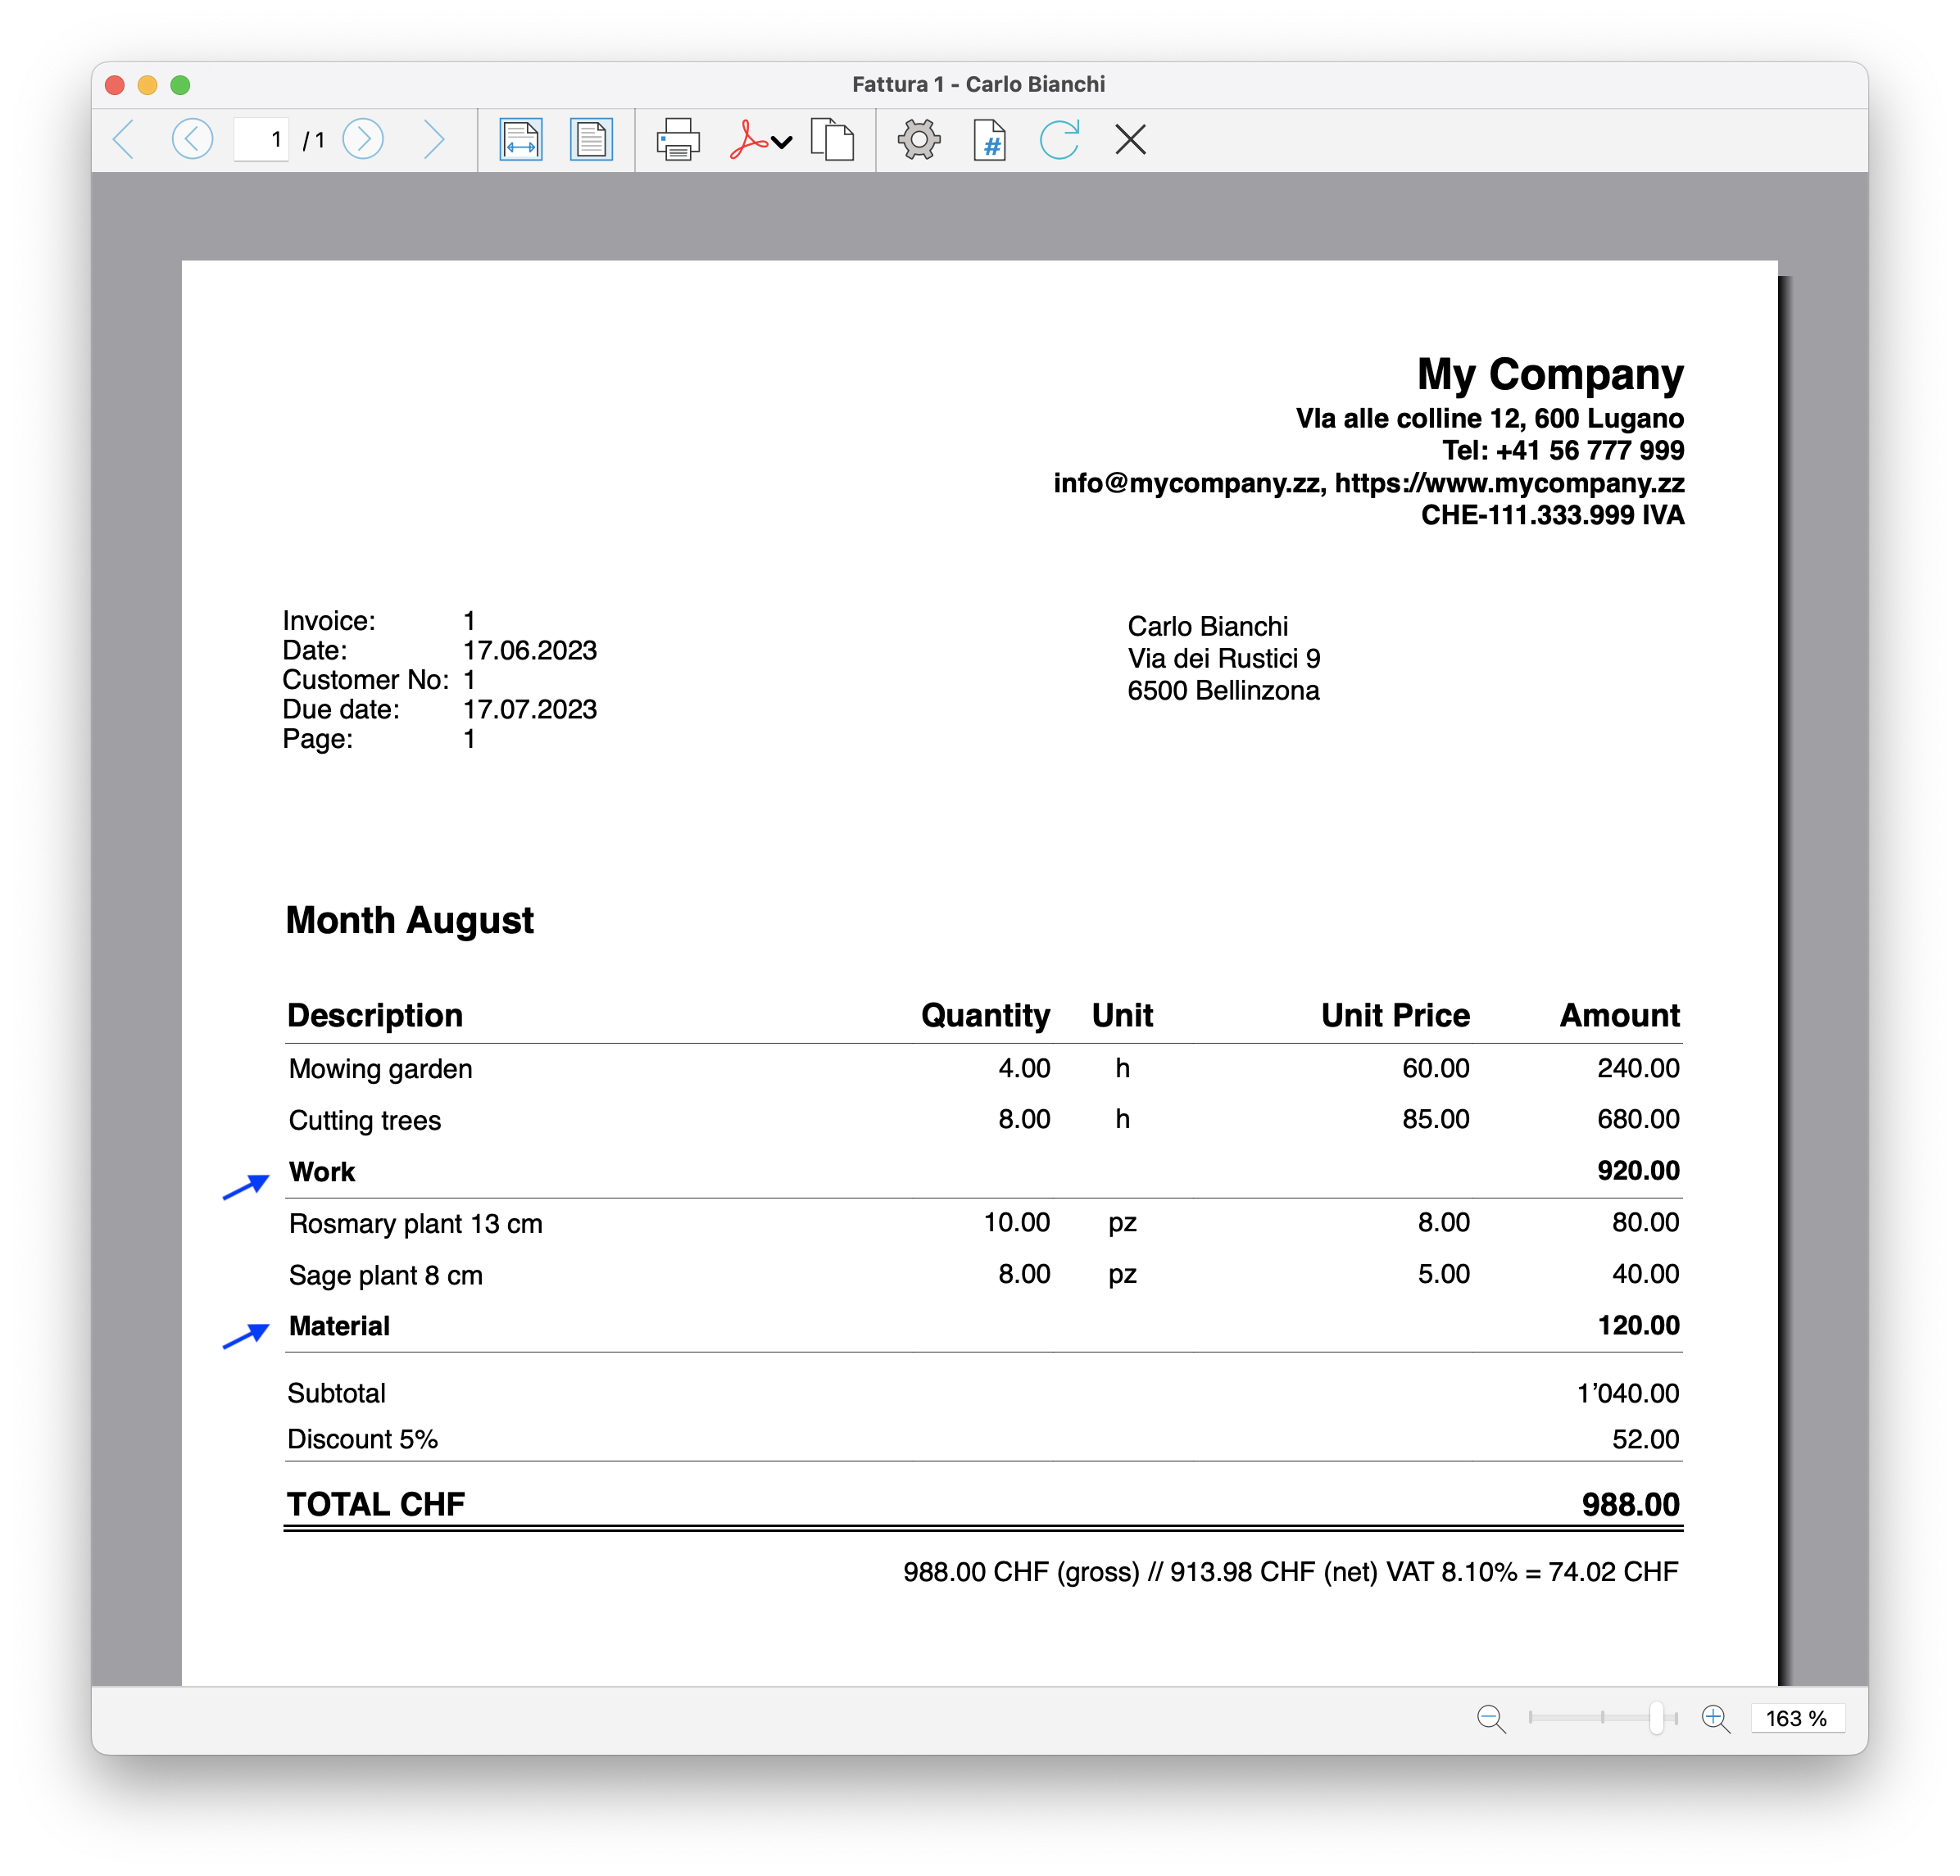
Upcoming new functionalities
- Add status to the invoice (draft, sent, reminder1, canceled, ...)
Print estimates and invoices
Command Print Estimates/Invoices
Invoice printing is done from the menu Invoices → Print Invoice.
This command creates a print preview of the invoice. Directly from the preview, by clicking on the settings symbol (cogwheel) in the toolbar, you access the following dialogue box:
- Print Invoices dialogue. From this dialogue box you can do various things:
- Set the layout to be used for printing the invoice.
- Access the layout settings to customise the printout.
- Change the print settings.
- Export the invoice in pdf or other formats.
With the Advanced plan of Banana Accounting Plus it is also possible to print several invoices at the same time and obtain single PDFs for each of them! For more information visit the page Print invoices or customer statements as separate PDFs.
Print layout and customisation
The printing of the offer or invoice is highly customisable for several reasons:
- You can choose the Print Layout.
- You can customise invoice printing by changing the layout settings.
- Several layouts are available for invoice printing, here are the recommended ones:
- The CH10 layout for all users in Switzerland.
With the option to include the Swiss QR-Code in the printout. - The UNI11 layout for all users in other countries.
Same as the CH10 layout, but without the QR-Code.
- The CH10 layout for all users in Switzerland.
For more information on customisation, please consult the following pages:
Print table content
Print Invoices dialogue - Estimates and Invoices
You can access the invoice printing dialog from the Print Preview by clicking on Settings (cog wheel symbol).
To access the print preview, you have three options:
- From the Invoices menu > Print Invoice command.
- From the Print button of the invoice creation/editing dialog.
- From the Invoices table, by clicking on the small Print Invoice icon at the top of the Id column cell (invoice number).
The program directly displays a preview of the invoice, using the default layout [CH10] Invoice layout with Swiss QR code.
With the Advanced plan of Banana Accounting Plus it is also possible to print several invoices at the same time and obtain single PDFs for each of them! For more information visit the page Print invoices or customer statements as separate PDFs.
Once you have chosen the printing options, with the OK button the invoice is previewed.
Print tab
Invoice numbers
You can print single or multiple invoices:
- For single prints, indicate the number of the invoice.
- For multiple prints, indicate the numbers of the invoices between commas "1,3,6".
- To print a range ( from..to..) indicate the numbers separated by hyphen "1-3" .
If the invoice itself contains a '-', for example if you have an invoice number '2016-1', this must be enclosed in brackets {}, to distinguish the numbering of a range of documents {2016-1}-{2016-3}.
Invoices from
This option allows you to print all invoices included in the selected period. You need to enter an initial and final date.
Unprinted invoices
Invoices where the InvoicePrinted column of the Transactions table is empty are printed. All unprinted invoices are therefore printed.
Layout
This option allows you to change the layout of the invoice. A number of predefined layouts are available.
Layout Preferences
Requirements for using layout preferences:
- Banana Accounting Plus (version 10.1.7 or later).
- The Advanced plan (with Professional plan up to 70 rows)
This option allows you to set the preferences offered by the selected layout.
If a layout with no preferences is selected, this section is not displayed in the dialogue box.
- Print as
You can select the type of document you wish to print, the choices are:- Automatic: Print the document in invoice format.
- Delivery note with amounts: Print the document as a delivery note.
- Delivery note without amounts: Print the document as a delivery note, without showing the amounts and the total.
- Invoice: Prints the document in invoice format.
- Order confirmation: prints the document as order confirmation.
- 1st reminder: Prints the document as first reminder.
- 2nd reminder: Print the document as second reminder.
- 3rd reminder: Print document as third reminder.
The chosen document type is not saved for the next time, instead it is set to "automatic" again.
Layout preferences are offered by the following layouts:
Additional layouts
This button redirects you to the Manage Extensions dialog, where you can install new templates, update existing ones with the latest versions, or add your own custom templates.
Settings
Allows you to set the parameters of the selected print layout. Each layout has its own customizable settings. Visit the Invoice Settings page for more information on customizing the CH10 layout.
Update the InvoicePrinted column after printing
You can make this column visible by using the Data menu → Columns setup command.
The program will update the content of the column Printed after the print preview, adding the text 1. This will allow the Select unprinted invoices command to only print the invoices with no content in this column.
Options tab
In this section you can add specific texts for each language, for example, to indicate final greetings or bank details for payment. Depending on the language of the customer, the program will display at the end of the invoice the texts saved for the indicated language.
Only one type of text can be entered, one for each language.
The texts entered in this section will be included in the printing of all invoices, with whatever printing layout is used.
To add a final text:
- Invoice menu > Print Invoices.
- Select from the Settings icon (cog wheel symbol) > Options section. Enter the desired text.
- Confirm with OK.
The entered text will appear in the print preview of the invoice.
Save Invoice as PDF
Invoices can also be saved in PDF format so that they can be conveniently sent via email.:
- From the Print preview Invoices > Print Invoices > OK
- select Create PDF from the toolbar
Print Invoice
Once the print preview is displayed, to print the invoice:
- Go to the Print icon on the toolbar (above).
- Or save the PDF and print it.
Print Reminders - Estimates Invoices
Banana Accounting Plus, with the CH10 and UNI11 layouts, also allows you to print reminders.
Requirements for using layout preferences:
- Banana Accounting+ (version 10.1.7 or later).
- The Advanced plan
On the basis of the Invoice data entered in the Invoices table, reminders can be printed.
How to print a reminder
In the Invoices table select the row where the invoice for which you wish to print the reminder is located and proceed as follows:
- From the menu Invoices > Print invoices
- Select Layout CH10 or UNI11
- Under Print as, select one of the following options:
- 1st reminder
- 2nd reminder
- 3rd reminder
- Confirm with OK

Print customization
All settings that characterise the CH10 and UNI11 layouts are also retained in the call-out printout.
To change the settings, go to Print Layout Settings.
Under Texts > Reminder you can define the start and end texts in the reminder
Print example:
Print delivery notes - Estimates Invoices
Banana Accounting Plus, with the CH10 and UNI11 layouts, also allows delivery notes to be printed.
Requirements for using layout preferences:
- Banana Accounting+ (version 10.1.7 or later).
- The Advanced plan
Delivery note data are entered in the Invoices table, as is the case for invoices.
If the data on the invoice match those on the delivery note, the same data can be used for both the printing of the delivery note and the invoice.
How to print a delivery note
In the Invoices table select the row where the delivery note to be printed is located and proceed as follows:
- From the menu Invoices > Print invoices
- Select Layout CH10 or UNI11
- Under Print as, select:
- Delivery note with amounts
In this case, amounts in the details and total amount are included in the bulletin. - Delivery note without amounts
Only the details of the dispatched goods are displayed in the delivery note, without any amounts.
- Delivery note with amounts
- Confirm with OK.
Print customization
All settings in Layout CH10 and UNI11 are also retained when printing the delivery note.
To change the settings, go to Print Layout Settings.
Under Texts → Delivery Note you can define the initial and final texts in the delivery note.
Print example:
Archiving Invoices
With the Offers and Invoices application you can archive your offers and invoices at any time of the year. The file in which the invoice data is entered remains the same over the years.
Archive invoices individually
If you want to archive one or more invoices individually, proceed as follows:
- From the Invoices table go to the Archive view.
- In the Archive date column, enter the date of when you wish to archive the invoice.
- Archive the invoice with the command Invoices > Archive data > Archive table data.
Archive invoices for the year
To archive invoices for the entire year, proceed as follows:
- From the Invoices table go to the Archive view.
- In the Archive Date column, enter the date 31.12 in the first line and copy and paste on all lines.
- Archive the invoice with the command from the menu Invoices > Archive data > Archive table data.
Invoice archive
In the invoice archive you will find all archived offers and invoices.
Archived invoices are displayed in the Archive (Invoices) table and removed from the Invoices table.
The Archive (Invoices) table:
- Is displayed automatically when archiving invoices.
- If you close the table, use the command from the menu Invoices > Archive data > Show archived data to display it.
Archiving Table Data
This feature is available in Banana Accounting+ Dev Channel.
Data from the following tables can be archived:
- Contacts
- Items
- Invoices
- Estimates
To archive table data:
- Position yourself in the table where there is data to archive.
- Activate the Arch. Date column.
- In the Arch. Date column, enter the date of when you want to archive.
- From the menu Invoices > Archive Data > Archive table data, choose the table with the data to be archived.
The programme creates the Archive table where all archived data (Contacts, Items, Invoices or Estimates) are stored.
Viewing Archived Data
This feature is available in Banana Accounting+ Dev Channel.
Archived data is saved permanently in the Archive table.
To view the tables with archived data
- From the menu Invoices > Archive data > Show archived data
- Choose the table with archived data to display
The programme shows the Archive table where all archived data (Contacts, Items, Invoices or Estimates) are stored.
New year
In the Estimates and Invoices application, it is possible to have all invoices created from one year to the next in a single file, without having to create a new file for the new year.
If, however, you wish to have separate invoices from one year to the next or not display the invoices from the previous year, there are two possible solutions:
1. Archive the registered invoices to empty the Invoices table
- From the Invoices menu, choose the option Archive data > Archive table data. More information can be found on the page Archiving Invoices.
- Archived invoices are displayed in the Archive (Invoices) table and removed from the Invoices table.
2. Create a new file by making a copy of the previous year
- Start from the current file and from File in the menu, click onto Save As command, naming the new year.
You can also create a copy of the file from the menu, Tools > Create file copy command. - In the Invoices table delete all rows where the previous year's invoices appear
For the Estimates and Invoices application, on the topic Create New Year, new developments will be possible in the future.
Import and Export
Estimates and Invoices Tools
Import/Export Estimates and Invoices
You can use the Estimates and Invoices Tools extension to import or export the following data from Banana:
- Invoices
- Offers
The imported/exported file format is described in the Estimates and Invoices Tools .
Import/Export Contacts and Items
You can use the "Data" menu to import or export the following data from Banana:
- Contacts
- Items
The imported/exported file format follows Text file with columns header.
Using catalogues for invoicing
It is possible to integrate product catalogues into the Estimates and invoice application. Companies can make catalogues available to their dealers so that they can prepare estimates and invoices more easily.
If you have any questions about this, please contact our customer service.
Serial invoices
With the Estimates and Invoices Application, you can quickly create serial invoices from a data list in Excel. It is ideal for sending bulk invoices to clients or members of an association.
- Enter the data in Excel.
- Import it into Banana Accounting Plus using the import functions.
- Create and print the invoices.
Prerequisites
To create serial invoices with the Offers and Invoices Application, you need to:
- Use the following pre-prepared Excel file to enter the contact data.
- Use the following pre-prepared Excel file to enter the invoice data.
- Use the Offers and Invoices Tools extension to import the invoice data into Banana.
Create Serial Invoices
Serial invoices can be created as follows:
- Install the Offers and Invoices Tools extension.
- Create the Offers-Invoices file and enter the basic data.
- Create and import the contacts.
- Create and import the invoices.
- Print the invoices.
Launch Banana Accounting Plus and install the Estimates and Invoices Tools extension.
From the menu Extensions > Manage Extensions, search for Estimates and Invoices Tools among the online extensions and click on Install.
There are two ways to prepare the file:
- Create a new file from the menu File > New, select the region and language, select the type Estimates and Invoices, select the blank template.
- Use your existing Estimates and Invoices file.
In the menu File > File Properties (Basic Data) > Address section, set the address of your association, which will appear in the invoice header.
If you have a logo you want to use, refer to the Logo setup page.
Create and Import Contacts
Contact data can be created using an Excel file. In this file, all the data is entered and then subsequently imported into Banana. There are two ways to do this:
1. One time data importing using Excel
The first method is described on the page Retrieving data from Other Programs > One-Time Data Importing using Excel.
- In Excel, arrange the columns exactly in the same sequence as they appear in the Contacts table of Banana accounting.
- Select the data in Excel that you want to copy and use the Copy command (Ctrl+C or Copy from the Edit menu).
- Go to Banana accounting and issue the Paste command (Ctrl+V or Paste from the Edit menu).
2. Import Rows command
The second method uses the Import Rows command from the Data menu.
- Download the specific Excel file to enter the contact data.
- The file is already set up with the necessary columns for entering the data.
- Row 1 contains the column headers. This row should not be deleted, and the column names should not be changed.
- The subsequent rows are example contacts.
- To enable editing of the file, click "Enable Editing" in the yellow bar at the top.
- Open the file and enter the address data of your contacts in the appropriate columns. The columns are as follows:
- RowId: The unique ID of the contact.
- OrganisationName: The name of the organization or company.
- FirstName: The first name.
- FamilyName: The last name.
- Street: The street.
- PostalCode: The postal code.
- Locality: The place.
- CountryCode: The country code.
- LanguageCode: The language of the contact used to create invoices. The invoice texts are printed in the defined language (it=Italian, de=German, en=English, fr=French).

- Save the file
- Select all the rows and use the Copy command (Ctrl+C or Copy from the Edit menu).
- Import the contacts into Banana accounting.
- In Banana accounting, open the Estimates and Invoices file type.
- Select the Contacts table.
- From the Data menu, select the Import Rows command.
- In the dialog that opens, check the option Import data from clipboard, then confirm with OK.
Create and Import Invoices
Invoice data can be created using an Excel file. In this file, all the data is entered and then subsequently imported into Banana accounting.
- Download the specific Excel file to enter the invoice data.
- The file is already set up with the necessary columns for entering the data.
- Row 1 contains the column headers. This row should not be deleted, and the column names should not be changed.
- The subsequent rows are example invoices.
- To enable editing of the file, click "Enable Editing" in the yellow bar at the top.
- Open the file and enter the invoice data in the appropriate columns.
- For more information on the columns, see the Column paragraph of the Estimates and invoices import page.
- Each row represents an invoice.
- You can enter an invoice with multiple items. For each item, add a row to the invoice (see example in the image, rows 5-6).

- Save the File.
- Convert the Excel invoice file into one of the two required formats (*.csv or *.txt) to import the data into Banana Plus.
- Open the Excel file with the invoice data.
- Click on File > Save As.
- Choose the option CSV (Comma delimited) if you intend to use the *.csv format; or choose Text (Tab delimited) if you intend to use the *.txt format.
- Save the file (once the file is created, it's advisable not to open it to avoid making any changes, even unintentional ones, that could compromise the import into Banana Plus).
- Import the Invoices into Banana.
- In Banana Accounting Plus, open the Estimates and Invoices file type.
- Select the Invoices table.
- From the Extensions menu, select Estimates and Invoices Tools > Import Invoices.
- Select the *.csv or *.txt file you saved.
- A dialog will show the changes that will be applied to the Banana file. Confirm by clicking OK.
- In the Invoices table you see the rows with the imported invoices.
If you do not see the imported invoices (you only see blank rows), use the command from the Invoices > Recalculate All menu.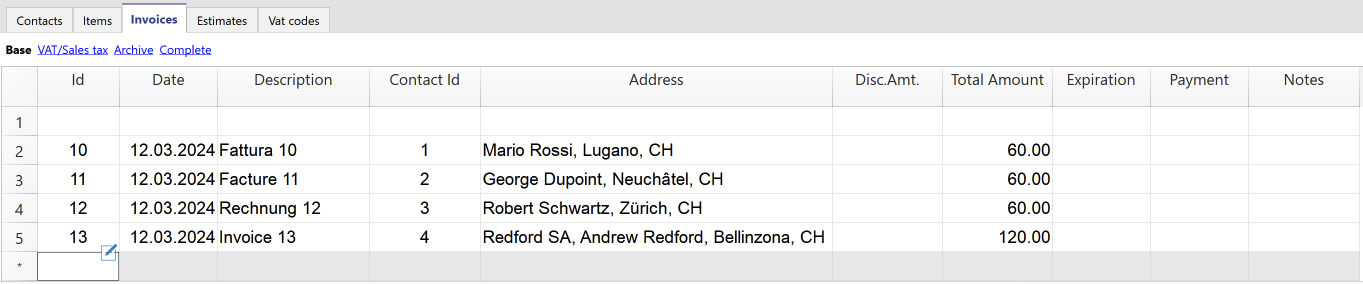
Print Invoices
See how to print invoices and customize the print settings.
Error Messages and Troubleshooting
Per eventualFor any error messages encountered during the import process, refer to the documentation on Error Messages and Troubleshooting.
Inventory in Banana Accounting+
Recording movements
The Transactions Table is the core of the application, allowing you to enter incoming and outgoing movements for each individual item, with quantities and prices. You can specify the source warehouse (location) from which the item originates and the destination warehouse it is intended for. You can also include descriptions and annotations.
The program keeps the quantities updated, and if you make a mistake, you can modify the transactions to always maintain an accurate situation.

The Items table
All the items in the warehouse are defined in the Items Table. Each item has an ID and a description. You can group items into categories and subcategories. In the Items Table, the program also displays the available quantities and other information that is updated based on the movements.
There are several columns available, and the display can be customized. You can also add new columns from the Data > Columns setup menu. Various parameters are defined for each item, which are then reflected in the Transactions Table.

Once the parameters for each item have been defined, recording merchandise movements becomes very fast. You simply need to enter the item ID in the Transactions Table and input the quantities. All the other values are automatically filled in.
Managing customers, suppliers and projects
With the Inventory application, you can add columns and tables to input information about the customers to whom the merchandise is sold and the suppliers from whom the merchandise is received. Additionally, columns can be used to manage projects related to the merchandise.
Using the Extract Rows function, you can display operations performed with customers, suppliers, and for projects.
For more detailed information, please refer to the Advanced Functionalities page.
Multiple and virtual warehouses
To manage merchandise that arrives or is shipped from branches, the Locations Table is used, where the location of each warehouse is indicated. In the case of your company having warehouses in various locations, you can specify which warehouse the merchandise enters or exits from, or keep track of which warehouse the merchandise is shipped to customers from.
The Locations Table can also be used for other purposes by changing the header. One practical use could be to record the movements of keys in the management of a block of flats, by setting the names of the tenants.
Additionally, you can manage an online shop, and in this case, the Locations Table is used to indicate virtual warehouses.
For more detailed information, please refer to the Advanced Functionalities page.
Printouts
All data contained in the various tables can be printed, either in its entirety or by selection. Before printing, you can customize the columns.
To to carry out the printing:
- Journal
By selecting the Print option from the File > Print menu while in the Transactions Table, you will be able to print all the warehouse movements in the desired chronological order.
- Items Cards
To print article data click on the menu Report > Item Cards
One or more item cards can be selected for printing. Item cards can be printed according to the following groupings:- Group
- Location
- Period

Many advantages
Automated calculations and specific functions keep your work to a minimum, saving you time and energy:
- You have accurate stock control at all times:
- Initial values and quantities.
- Current values and quantities.
- Separate columns for incoming and outgoing items.
- Unit and total prices.
- Single item card.
- Group of items card.
- Item and group cards by location.
- You can search for items immediately and, if they are no longer available, you can replace them with others.
- Corrections are possible at any time.
- Indication of which warehouse goods enter or leave from and the exchange of goods between locations.
- Export to PDF for archiving data.
- Import of data from other programmes in Text, Ascii and CSV format.
- Columns for archiving products that are no longer available.
Features currently not available
The Inventory application was conceived as a powerful yet easy-to-use tool, which works independently from the other Banana applications.
Its main element is the ease of use, so we have refrained from loading it with too many functionalities.
Here are some of the features that, although requested by some users, are not available at the moment:
- No connection to the accounting file. The transactions of purchase and sales invoices in the accounting file do not update the data in the warehouse. The data in the warehouse file must be updated manually.
- Calculation of cost prices and margins
In the Items table, unit prices must be entered manually.- Users expect the programme to calculate cost prices and margins automatically. There are very different calculation systems (average price, LIFO, FIFO). We thought about evaluating this functionality within the Items table, but we saw that it would make the programme too complex and it would be very difficult to cover all requirements anyway.
- We are considering adding specific printouts. We welcome suggestions and possible simple solutions from you users. It would be very helpful if you could send us an Excel file of how you would like the report and which methods and calculations you would use to calculate the prices.
- Printing of stock situation at a specific time (end of month).
- Print warehouse overlook by location.
- Create a new year.
It is possible that certain functionalities will be added in the future.
In all cases we appreciate your suggestions.
Further information:
How to start an Inventory file
To create an Inventory file, you must have Banana Accounting Plus installed and follow the steps described below.
Create a new file
For a quick and easy start, we recommend starting with one of our predefined templates and then customising it, rather than starting with a blank file.
Take the following steps:
- Menu File > New
- Select Region and language
- Select the Inventory type.
Set the basic data
Via File > File and accounting properties ... (Base data) set up your inventory data.
Set up the Articles table
In the Items table set the list of all your items.
For each item you must enter:
- The Id to identify the item. You can use numbers, letters or both.
- The description.
- The initial quantity.
- Initial price.
- Unit price.
Once the data has been entered, the program automatically updates the values of all the columns of the Items table.
Set up the Locations table
If your company manages several inventories located in different locations, you can manage the incoming, outgoing and transfers of items for all inventories by setting the locations. You will be able to find out how many items with their relative values are in each inventory and evaluate whether it is necessary to transfer the goods from one inventory to another depending on the stock and sales requests.
In the Locations table you must enter:
- the Id to identify the location
- The description
Enter the movements of the articles
In the Transactions table enter purchases, sales and any transfers from one inventory to another.
- Enter the date
- Enter the date
- The quantity in or out
Everything is done! The columns of the values will be updated automatically, at the same time also in the Articles table.
Item cards and reports
From the Report menu, Item cards you can get the cards of each item individually, by selection or for all items.
You can also get reports by item group and also by inventory location. The options are found in the Inventory cards dialog.
File properties
In the menu File → File properties (Basic data) set the data of your inventory.

File base data
Enter the inventory header.
Address
Enter the inventory address.
Other
The Other section contains the following options:
Current language
Is the current language of the inventory file.
Creation language
It is the language in which the inventory file was created.
Extensions
Link to any extensions for custom reports.
Password
Enter any password to make the file more secure.
Texts
To make changes to the texts and keys of the inventory application.
Items table | Inventory
In the Items table, enter all the inventory items which need to be managed, along with their respective quantities and purchase values.
Create the items list
In the Items table, all the available items in the warehouse are recorded. Each item is entered individually on each row. To total the amounts for a group of items, a totalization group must be entered.
The group is defined in the Group column, at the end of the list of items of the same category. The group number must be reported in the Sum in column for each item.
For further information on the grouping system, please refer to the Grouping System page
You can create further groups of items depending on your requirements.
To complete the registration of the items it is necessary to enter:
- The Id to identify the item.
- The description.
- The initial quantity.
- The initial price.
- The unit price.
Items table columns
The command Data > Columns setup allows you to add additional columns as needed (for example, an additional description or product expiration date).
Default columns:
Columns marked with "*" are protected and calculated by the program.
- Links
Link to a digital document. - RowGroup
Column and row to enter the totaling group of a given set of items. - RowId
Enter a value (number, letters or both) to identify the item.
When it is entered in the Transactions table, the item description and unit price are automatically added. - Description
Enter a text for the description of the item. - Sum in (in the arrange columns it is written RowGroupIn)
Enter the totaling group for each item in this column. - Notes
You can insert texts for annotations on items or for other needs. - Account
Enter the account present in the main accounting file that refers to the item. - ReferenceUnit
Insert an abbreviation to indicate the unit (eg pcs to indicate the pieces). - QuantityBegin
Enter the initial quantities referring to the total.
If you want to manage separate quantities by locations, leave this column blank, and enter the initial quantities as entry transactions, with the corresponding location. - UnitPriceBegin
Initial unit price
If you want to manage separate quantities for locations, leave this column blank and enter initial quantities as entry transactions, specifying the respective location. - *Valuebegin
Initial item value calculated by multiplying the Initial Quantity and Initial Unit Price. - *QuantityPlus
Total quantity of items resulting from the sum of the Quantity Plus in the Transactions table. Both the positive and negative values are added. The internal movements between two locations are not added up, when there is TransferId indicated. - *QuantityMinus
Total quantity of items resulting from the sum of the QuantityMinus in the Transactions table.Both the positive and negative values are added.The internal movements between two locations are not added up, when there is TransferId indicated. - *QuantityChange
Difference between the item's inbound and outbound quantities. - *QuantityBalance
Quantity of items currently in stock. Sum of the starting quantity and the Quantity change. - UnitPrice
Unit price of the item, must be entered manually:- When the purchase value of an item changes compared to the initial price, it must be updated in this column.
- This value is used in the Transactions table to calculate the value of incoming or outgoing goods
- Updates the total value of the item based on the quantities in stock.
- *AmountTotal
Amount calculated by the program based on quantities and unit price. (last purchase price) - ItemQuantityEffective
For insertion of actual quantity when inventory has been done. - ItemPriceEffective
The actual quantity multiplied by the actual price. - *ItemValueEffective
The actual quantity multiplied by the actual price
Transactions table
This is the table where the movements of the items are recorded:
- Purchases
- Sales
- Transfers from one warehouse to another, in case you are running several warehouses.
By inserting the movements, the Items table is also automatically updated, in relation to the quantities and corresponding values of the items.
If several warehouses (headquarters and branches) are run simultaneously, the ID codes, set in the Locations, can be recorded, which will refer to the places where the warehouses are located, in order to keep track of the internal movements of the articles.
The ID abbreviations must be entered in the Locations and Transfer columns of the Transactions table. If they are not visible, they can be displayed via the Data → Columns setup menu.

Transactions table columns
- Links
Link to a digital document. - Date
The date of the operation. - Doc.
Document number (e.g. delivery note number). - ItemsId
Numeric or alphanumeric value to identify the item. - ItemsDescription
Text taken automatically from the Id column of the Items table for the description. - Description
Text to be entered for the description of the items. - Notes
In the column you can enter notes about the items or for any other requirement. - QuantityPlus
Value to indicate the quantities of incoming items, purchased or transferred from other inventories. - QuantityMinus
Value to indicate the quantities of items that are outbound, sold or transferred to other inventories. - ReferenceUnit
Abbreviation to indicate the type of unit. - UnitPrice
The price of the item with which the total value of the items is calculated, based on quantities. - AmountTotal
Total value of the items purchased, sold or transferred. - LocationsId
Identification of the place where the Inventory is located and from which the items enter or leave. - LocationsDescription
Name of the place where the inventory is located, from which the items come in or out. - LocationsTransferId
Code of the place where the inventory is located for which the items are intended.
It works the opposite way to the LocationsId.- If there is an entry to LocationsId, there will be an exit to LocationTransferld.
- If there is an exit from the LocationsTransferId there will be an entry.
- If LocationsTransferId is indicated, but the LocationsId is left empty, the program will still consider it as an internal movement without a specific LocationsId.
- LocationsTransferDescription
Name of the place where the inventory is located, from which the items arrive or leave, to or from another inventory.
Locations table
The Locations table is used when the company has goods in different places or to keep track of incoming goods, goods to be shipped, etc. (see virtual warehouses below). You can also use locations to know if you have given goods on consignment, loan, or for other purposes.
In order to take into account the total number of items in and out of all inventories, by entering the ID for the locations in the Transactions table, in the columns Location and Transfer all the values of the items are known, also for a single warehouse and the relative movements.
Refer to the Transactions table for further information.

Places table columns
- RowId
Identification of the location where the inventory is located. - Description
Name of the location where the inventory is located. - Notes
You can insert text for notes.
Locations and Virtual Warehouses
The Locations table is used to indicate where the warehouses are located, including virtual ones.
You can also set up virtual warehouses to keep track of orders or other purposes. For example:
- To Ship
For ordered products waiting to be shipped. - To Pick Up
Products the customer needs to collect. - To Reserve
Waiting for the customer to decide whether to place the order. - Incoming
Products that have been ordered from the supplier and are awaiting arrival. - Returns
Products the customer has indicated they want to return. - Trial
Products provided to customers for testing, which have not yet been sold.
By using virtual locations, you can also manage more complex workflows, for example simulating that goods are in production, quality control, etc. See Advanced features.
Recheck everything
The program recalculates, double-checks and displays any errors or differences.
The command is available from the Actions menu > Recheck all...
Use this command whenever you are in doubt that there is a problem.
Inventory reports
Everything you see on video can be printed as a report, since, after each transaction, all values are updated.
You can print the table data from the File menu → Print command. Data can also be exported in PDF, Excel, XML, HTML, TXT and JsonCsv formats.
Reports are run from the Reports menu → Item cards command. You can obtain:
- Journal of a selected item or items.
- Complete journal of all items.
- Journal of items of a particular inventory location, in case there are multiple locations.

Inventory report

Note
To obtain the total of the articles for each location and the final balance of the articles, you need to group by article and by location.
If you want to manage separate quantities by locations, enter the initial quantities as entry transactions, with the corresponding location and don't use the column Quantity Begin in the Items table.
General
Filter
By entering the name of the item, a list of all items with the same name appears. The items of interest can be selected from the list or, by activating All, the journal with the values of all the items will be displayed.
Grouping by
Item
If this option is chosen, the tabs of all items or only those selected are displayed.
Location
If this option is chosen, the item cards related to the selected inventory location are displayed.
Display only totals
When this option is activated, the item cards are displayed with totals only.
Period

All
All item movements are included.
Period selected
It means the specified period, indicating the start and end date.
In this case, the items relating to the selected period are displayed.
Customization

Name
Enter text to define the name of the custom report.
Description
Enter a text for the description of the custom report.
Options
If one or more options are activated, the custom report will be displayed as follows:
Show this window every time
The custom report is displayed in the dialog box and can be edited.
Show in menu
The customized report is displayed in the Items cards menu.
Show in 'Favorites' menu
The customized report is displayed in the Favorites menu.
Read only
The custom report is in read-only mode.
Printout examples
Journal per Item
Journal per Items
Journal per Location

Journal per Locations

Inventory application advanced functionalies
The warehouse application can also be used for very advanced purposes.
Customer / project management
To find out to which customers a product has been sold or given, you can proceed as follows:
- Add a column in the Transactions table, where you enter the name of the customer / project.
- Add a table where you list the customers and assign a code.
- Add a column in the Transactions table that is linked to the customer.
You can add as many columns / tables as you wish to keep track of projects, suppliers or other.
To filter the transactions carried out by a customer, go to the Transactions table and in the column Customers or Projects, use one of the following commands: Extract and sort rows; right-click on the customer cell and choose Extract rows; use the filter function.
Online Shop / Virtual Stores
If you operate an online shop, you can use the Locations table to define virtual warehouses, where you can indicate the goods to be shipped, incoming, reserved, etc.
Here some cases:
- Online purchase of goods by a customer.
- As soon as the order is received, you record a movement between the physical warehouse and the virtual warehouse called "Dispatch".
- When the goods are then physically dispatched, you record the outward movement from the warehouse called "Dispatch".
- Ordering goods from a supplier.
- When you order goods, you record an incoming movement to the virtual warehouse called "Arrivals".
- When the goods arrive, record the movement from Arrivals to the main warehouse.
By creating other virtual locations, you can also manage more complex workflows.
Importing data
With the import command you can take data from other programmes, in any of the following ways:
- Open the file in Excel and arrange the columns as you have them in Banana and then use copy and paste.
You can also create a view, setting the columns in which to report movements. - Prepare extensions that import and convert data from existing formats.
Free Time Sheet application
The Timesheet is a free and unlimited application because it is included in the Banana Accounting Plus Free Plan. It works like Excel but is optimized for calculation of hours. It is therefore much more reliable and you can easily manage all kind of working hours. You have a comprehensive view of the hours and can always correct.
Follow specific settings:
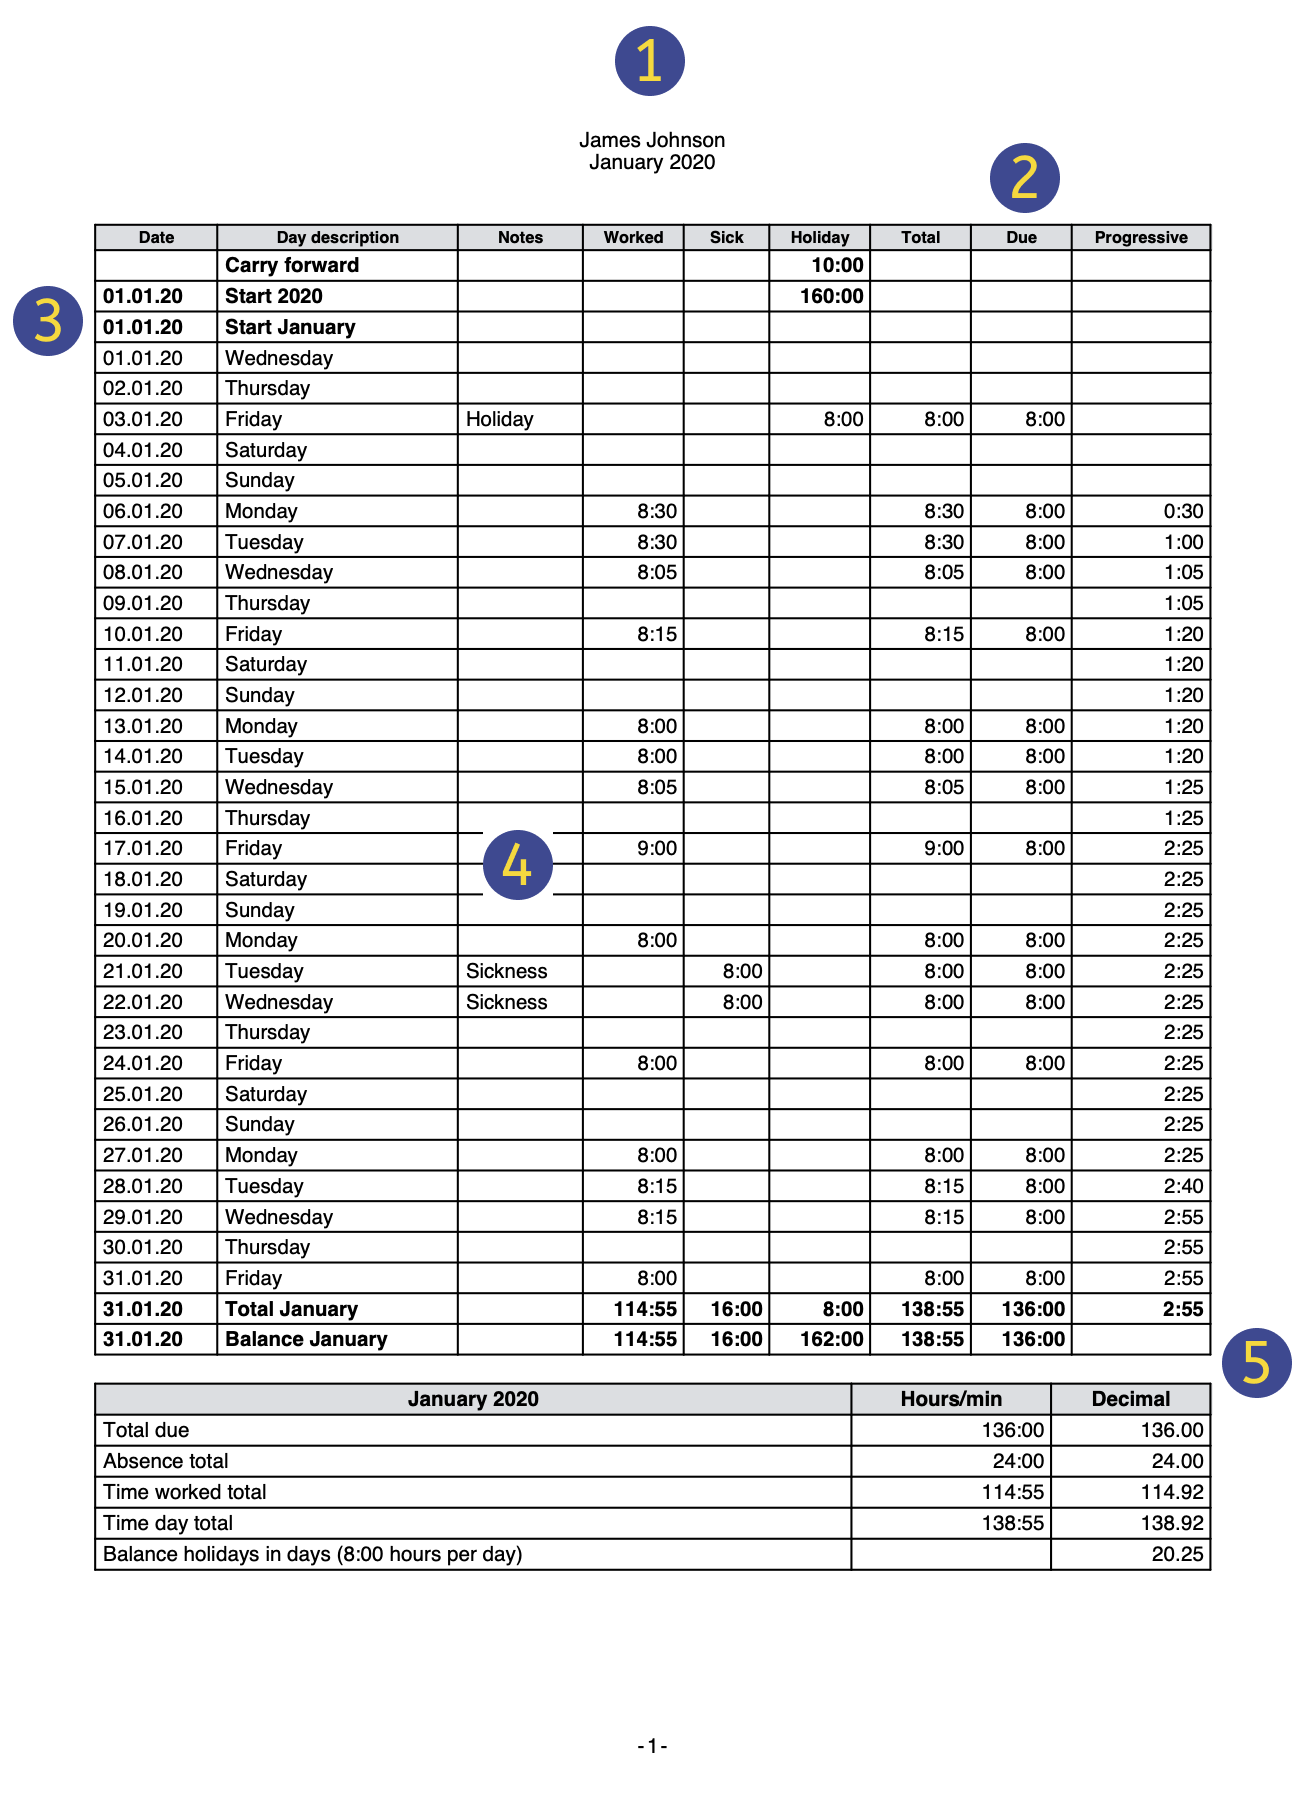 | HeadingThe Time sheet header data is taken from those entered in the menu | |||
Schedule Working time scheduleYou can plan your working hours by entering the hours carried over of the previous year, working days, holidays and working hours due in via the following menu | ||||
Dates, holidays and festive daysYou can define the period and customize holidays and non-working days. Use the Journal table of the Time Sheet, Festive column | ||||
Time sheet dataEnter the Time sheet data, recording your working hours, absences and planning your vacation day by day. Go to the Journal table of the Time Sheet to enter your data . | ||||
CheckStay in control of the totals and balances of hours worked, payment due, leaves and holidays. |
You can set the hours you have to work every day and thus have the balance of hours constantly updated. You can also indicate the vacation days you are entitled to, enter the holidays you will take, and will always know how many days are still have available.
The Time Sheet allows you to have a complete report to present to your employer, which allows you to comply with the legal obligation to keep track of hours worked.
Useful links
Characteristics of the Time Sheet
The Time sheet is the new Free Banana Accounting Plus application that allows you to easily manage your working hours and instantly know the situation of hours worked, overtime, holidays, absences.
To start, just download and install Banana Accounting Plus and, when creating a new file, choose the Time sheet template.
Multiple automations to allow for quick and easy management of hours .
- Software available free of charge, to work on any operating system, including mobile.
- Easy to use and implement solutions, no login and password required.
- Each employee keeps the file on their computer or mobile device.
- Fully adaptable to the requirements of the employee and the company.
- Great time savings and calculation errors are avoided.
- File templates available with the calendar of the current year.
- Powerful and automated calculation system.
- Uniformity of calculations. All calculations are based on hours and minutes and this makes it possible to adapt to every case and requirement.
- Balances and totals updated instantly by day, month and year.
- Data entered in predefined columns, for results that are always ordered and clear.
- Forecast for working hours.
- Management of project hours.
- Hours worked and indication of less or more hours worked and progressive balance.
- Indication of the holidays taken and remaining, with carry over to the following year.
- Possibility of coding other useful information for the company (projects, expenses, notes).
- Complies with the regulations of the European Court of Justice and Swiss regulations.

How to keep the hours
The Time Sheet supports different data collection methods:
- Systematic collection.
Enter the work start and stop times and the program will calculate the hours worked. Display the Start1-Stop1, Start2-Stop2, ... , Start5-Stop5 columns where you can enter the times of beginning and end. - Simplified collection.
Indicate the hours worked in a day,
Display Work1 and Work2columns to enter the hours worked of the day. - Mixed collection.
You can enter both the time of beginning and end, or the time worked.
Display the Start and Stop columns and the Work columns.
Accurate and uniform calculations for every use
The time sheet always uses the hour and minute format (for example: 8:15). Holidays and absences are also indicated daily with hours and minutes. This allows for easy and accurate management of situations with irregular working hours, or that are subject to change.
The totals are also always shown in hours and minutes. This uniformity allows an exact overview of one's work situation, fully compliant with legal regulations, and avoids discussions between employee and employer regarding the calculations.
Below is an overview of how data entry and calculations take place.
- Expected working time (hours due)
For each single day of the week, the exact number of hours and minutes of work expected can be indicated. The program indicates the expected total of hours per week. The working hours can also be changed only temporarily (for example change of hours during only one week). - Hours worked
The daily working hours can be entered with taking up work or leaving time(s), or even as a total of hours and minutes or a combination of both. The program then calculates the total number of daily hours worked. - Extra hours for nightshift or holidays
They can be specified both as hours and minutes and as a percentage; the program then calculates the total. - Holidays
They are indicated in hours and minutes for the entire year. It's simple, just multiply the total hours per week by the number of vacation weeks. The program calculates the remaining holiday balance which will be accurate to the minute, even if the working hours are variable. - Absences due to illness, military service or any other kind
They are also referred to as hours and minutes. The program then calculates the total number of absences per day. - Total hours
This is the sum in hours and minutes of hours worked, supplements and absences. The program calculates the daily difference between the hours due (expected) and the total. There is also a progressive counter of the differences so that you have an instant view of the hours balance. - Columns related to time counters
The program will calculate the monthly and yearly total, displayed in hours and minutes format, so that you have complete control and consistency of calculation. - Hours in decimal format
When entering hours, you can also indicate a decimal number (8.50) and the program converts it to hours and minutes (8:30). - The Time sheet also displays some totals in decimal hour format, so as to simplify the insertion into other programs.
- The monthly report presents the totals of the daily and monthly hours.
- Print extensions allow you to total and view working time in any other format.
File and data saving
- All the data is saved in a single file, where you can easily retrieve everything without wasting time.
- Give the file the name you want.
- You can manage an unlimited number of files.
- Save your data to any media, computer, network, cloud or it can be emailed. You can access it wherever you are.
- Make your Time sheet more secure by using password protection.
Based on columns such as Excel
The Time Sheet has a Journal table with columns already set up, where you can write down your working hours (start and end time), holidays, overtime or any sick leaves, day by day.
- The columns of the Journal table are predefined and can be displayed as desired.
- Predefined columns for many needs:
- Working hours forecast.
- Actual hours worked.
- Difference between hours worked and expected hours. Therefore, the overtime hours or hours to be recovered are reported.
- Annotations and Refunds.
- Hours for projects.
- Possibility to add multiple rows for the same working day.
- In the Links column you can add a Link to a document (example medical certificate).
- The Search command allows you to quickly search for data.
Error reporting and control
- Command for recalculating the Time sheet.
- Reporting of any wrong settings, differences or errors.
- Each report contains a link to a help page that explains the causes and the solution.
- Possibility to correct.
Monthly Printouts and Reports
- Printable ledger as seen on the screen, or by selection.
- Monthly Report.
Exporting, Importing and Archiving data
- Copy and paste directly to and from Excel.
- Export tables to pdf and various other formats.
- Archiving of printouts and accounting data in pdf or other formats.
- Saving the accounting file on any backup device.
- Importing time sheet data into other programs.
Comprehensive documentation
- Each dialogue and error has its own documentation page accessible in a click.
- Constantly updated documentation.
- FAQ.
- Documentation also available in Pdf format.
Features currently not available
These features, although requested by some users, are not available at the moment:
- Possibility to include the logo on the printout of the monthly report, as well as an indication for the signature, and to be able to select the columns to be printed.
- No link with billing. Working hours must be reported manually in the billing
How to start a Time Sheet
To use the Time sheet, Banana Accounting+ has to be be downloaded and installed. In the free version, the Time sheet is in unrestricted mode.
For a quick and easy start of the Time sheet, we recommend opening one of our templates.
Banana Accounting includes three types of template with preset columns:
- Systematic records - the start and end times of work are indicated, as generally required by law.
- Simplified registrations - enter the daily hours worked (with due hours setting).
- Hourly wages - the daily hours worked are indicated (without setting hours due).
Setting up your Time Sheet file
Proceed as follows to set up your file:
- File menu → New
- Select the Region/Language
- Select the Category -> All or Other
- In the Search area, type Time Sheet, or activate under Type -> Time Sheet. The program displays the available templates.
- In the section on the right, select the desired template.
- By double clicking on the name of the selected template or on the Create button, the program will directly open the file.
- Save the file under a new name.

Setting up your data
- Set up your own data from the File menu > File and accounting properties (Basic data) > Time Sheet.
- Enter your first and last name, start and end date, work percentage of work and other required data if available.

Set working hours as per contract
- Set the weekly working time via the File > File and accounting properties > Start.
- The cells of the Report are intended for unpaid hours of work and for hours of unused holidays carried over from the previous year.
- Enter working hours for each day and define working days, festive days and holidays. These settings are displayed in the Journal table.

Recording work time
In the Journal table you enter the daily data, the time of start and end of work, the hours of absence due to illness, holidays and leave. The data can be modified and entered as required.
- Write down the hours of vacation you are entitled to in the current year.
- Include, edit, add, personalize any holiday if needed.
- Enter your daily hours of work, sickness, vacation, etc.

- The first row of the Report shows the hours of holidays not taken from the previous year, present in the Start dialog.
- In the Start row of the first day of the month, you enter the hours of annual holidays to which you are entitled, as per contract.
- Non-working days are distinguished in blue, while holidays are in red.
- The program calculates on the basis of the data entered, the daily and monthly totals of the Due, the difference between the hours worked and those due and the progressive.
- In the window below, the balances of the weekly hours due and worked and the balance of the holiday hours are reported automatically.
Printing your end of month report
Using the Reports > Monthly Report... command, the program calculates and displays a summary report of the selected period with the main columns to be used.

For more detailed information and specific examples of the Time sheet application, please refer to the following pages:
- Time Sheet
- Characteristics
- Setting up the file
- Journal table
- Enter working hours
- Printouts
- Managing project hours
File properties - Time Sheet
Via the File menu → File and accounting properties ... → Time Sheet tab the following data must be set up:
Enter into the Timesheet tab:
- Name and Surname.
- Start and End date
You can enter any period of your choice. - Work percentage
- Any other available data.

Journal table of the Time Sheet
In the Journal table you enter the daily data of the Time sheet, which can be modified and entered according to your own requirements.
Thanks to the rows and columns with totals, it allows for an instant overview of the situation.
The Journal table includes several columns to suit all needs. Depending on your needs, the columns of your choice can be displayed.

Typology of rows, colors, and formats
When creating a new file, the rows of the Journal are generated automatically by the program. When using an existing template, they will already be predefined.
Daily rows
Daily rows are used for entering your data.
- Normal rows - refer to rows for working hours.
- Rows in red - refer to official holidays
- Rows in blue - refer to non working days.
- Rows high-lighted in yellow - refer to the current date.
Multiple rows for a day
By duplicating the day row, you can enter additional information about the same day, such as timetables by project, annotations, or other.
To differentiate between the following rows, the Day description is slightly indented.
Carried forward, Start, Total and Balance rows
The Carried forward, Start, Total and Progressive row are indicated in bold character.
- The Carried forward row will automatically display holidays and hours belonging to the previous year, that were entered via File property > Start.
- The Start rows refer to the start of the year and month. Enter the initial values for holidays and hours.
- The Total rows refer to the end of the year and month. The total of columns are automatically reported and totaled here.
- The Balance rows are automatically calculated by the program and will the progressive value of the columns that contain data.
Journal table view
The Journal table is created with a series of columns that will cover the major part of your requirements.
Predefined columns are displayed, depending on the view you select:
- Base - displays the main principal columns.
- Minimal - displays the columns to enter your data.
- Complete - displays all available columns of the Journal.
The columns of the Journal table
The columns in the Journal table can be customized according to your requirements.
Via Data > Columns setup you can display further columns or hide those you don't need, change existing headers, add your own columns and change the format.
In the columns, the program always works with hours and minutes, eg. 8:30 means 8 hours and 30 minutes:
- Internally, the values are saved as seconds and then displayed in the hours and minutes format.
- When entering schedules, the times are rounded to the minute.
Section
The column is protected. It is used by the programme to make a distinction between rows used for data entry and system-specific rows.
Rows used for data entry and editing (working hours, absences, holidays, etc.) have an empty cell in the Section column.
System-specific rows, used by the programme to make calculations, have a special identification code in the Section column cell.
This code must not be changed, otherwise the sums may be wrong.
Examples of codes used: AllStart, YearStart_2020, MonthStart_202001, MonthTotal_202001, MonthBalance_202001, SpaceAfterMonth_202001.
The value is an identification code consisting of several elements:
Period
- All - Refers to year rows.
- Year - Refers to year rows.
- Month - Refers to the month rows.
- Week - Refers to the week rows.
- Day - Refers to the day rows.
Type
- CarryForward - Carry-forward rows of hours and holiday balances from the previous year. Carryovers are automatically inserted by the programme in the file's Properties, for both positive and negative values.
- Start - Start Rows. To enter start values (planned holidays, holiday adjustments).
- Total - Rows where totals are indicated. They are summed in the total rows (daily time columns, Start and CarryForward adjustments).
- Balance - For the holiday balance. This is the difference between the sum of the holidays, found in the CarryForward and Start rows, and the sum of the daily holidays.
- SpaceAfterMonth -To indicate that there should be an empty line (year, month or day to which the identifier refers).
Date
Protected column. Is used for entering the date of the day.
Festive
Column for setting the day. If the cell remains empty, the value set in the File Properties is taken over, or the value defined with the W code (see below).
The possible values are:
- Blank - business day.
- 0 - to set the current day as a holiday (row displayed in red).
If it is a day that is generally considered as a "public holiday", but on which you are required to work, you must enter "working". - 1 - to set the current day as non-working (row displayed in blue).
- 2 - to set the current day as a working day. Overrides the default value.
- [0] - festive day set automatically, as per the File Properties. No value is indicated in the Due column.
- [1] - non-working day set automatically, as per the File Properties. No value is indicated in the Due column.
- W0 - to set the current day as festive. On the same day, in the following weeks it will be automatically set with the (0) value.
- W1 - to set the current day as non-working day. On the same day, in the following weeks it will be automatically set with the (1) value .
- W2 - to set the current day as a working day. On the same day, in the following weeks it will be automatically set with the (2) value.
- WR - to reset the current day with the value indicated in the File Properties.
- WA - to reset the current day with the value indicated in the File Properties. On the same day, in the following weeks it will be set automatically with the value indicated in the file properties.
Day description
Enter the description of the day.
- The program automatically completes the day based on the date.
- If the day has already been used, the description is indented by adding spaces at the beginning. This is useful for entering more information for the same date.
- Enter text preceded by the # character, for example #Christmas or #National holiday, to use text different from the one suggested by the program.
Description
Column for entering an additional description.
Code1
Column to indicate any customer, project or other number.
Work1 and Work2
The columns Work1 and Work2 are used in particular to register working hours in the Time Sheet - Systematic 2023 template. Furthermore, in the Banana Accounting Plus version they can be used to enter special working hours (e.g. nights, holidays).
Supplement columns are also used in parallel with these columns (see explanations below).
Start1, Stop1, Start2, Stop2 ...
These columns allow entry and exit times to be entered. There can be several entries and exits on the same day.
The programme calculates the time of attendance and adds up in the columns Total and Difference.
Sick leave
Column for entering the hours of absence due to illness.
Holiday
Column for entering holiday hours.
Service
Mandatory absences, such as military service, community service or other, can be entered.
Adjustment
Column for entering an adjustment value.
Other
Other types of absence, not indicated in the Service or Sick or Holiday column, may be entered.
Absence
Protected column. It is used by the programme to automatically calculate the sum of absences.
%Surcharge
You can enter the percentage of supplementary work that is paid differently.
If you do both hours without supplement and hours with supplement on the same day, you must enter the times on two lines:
- Add day row
- The first line indicates the work (start and end) normally.
- On the second line you indicate the supplementary hours and the appropriate percentage.
If you want the daily total directly in the table, you must add a daily total row.
Surcharge calculated
The column is protected. It is used by the programme to calculate theovertime, indicated in the Supplement or Supplement % column.
Surcharge total
The column is protected. It is used by the programme to calculate the total additional time, indicated in the Surcharge or Surcharge % column.
This value is added to the Total Hours column.
Total
The column is protected. It is used by the program for automatic entry of the sum of working hours, overtime, absences and adjustments.
Due Code
The column is used, in case of need, to change the value of the Due (hours of work due).
If it is left blank, the Due value is automatically resumed day by day based on the settings in the File → File Properties → Start menu.
If you wish to change the Due value from the Journal table:
- Reset due.
Codes to be entered in the Due Code column to reset the daily due from the row in which you are. The new value must then be entered in the Due column.- DS (Set Today) - Set the due hours of the current day, without changing the other days.
- WS (Set Week Day) - Sets the hours due for the day and for the same day of the following weeks.
- PS (Set Predefined) - Sets the due hours for the day and for all subsequent days without a different setting
- Daily Due Reset Codes
- WR (Reset Week Day) - Reset the default value for the day of the week.
- WA (Reset All Week Days) - Resets all the default values for the days of the week.
- PR (Reset Predefined) - Reset general default. Removes the default value set previously.
- PA (Reset Predefined and Week Days) - Reset the general default and those of the week. It is like starting everything anew.
- Progressive reset code
- RP (Restart progressive) - Restarts the value of the Progressive column from zero. You insert this code in the beginning of month row, when all hourly salaries, when all the hours of the previous month have been paid.
Due
The column is protected. The program automatically calculates the difference between the hours worked and those due. At the end of the month and year, the totals of the Due are also reported.
- If there are no values in the Due Code column, the program resumes, the values present in File Properties - Start in the Due Code column.
- If codes are entered in the Due Code column (see previous paragraph), the program calculates the due based on these codes.
- All rows that have 0 (holiday) or 1 (non-working) in the Festive column, the cell will remain empty in the Due column.
Difference
The column is protected. The program automatically calculates the difference between the hours worked (Total) and those due (Due). At the end of the month and at the end of the year, the totals of the difference are also reported.
Progressive
The column is protected. The program automatically calculates the difference between the hours worked (Total) and those due (Due). At the end of the month and at the end of the year, the totals of the difference are also reported.
Worked
The column is protected. It is used by the program for the automatic calculation of the sum of the hours worked.
Detail
The column is protected. It is used by the program to automatically display work details (eg projects). Also see details in Managing projects.
Surcharge
You can enter the additional working time paid differently, in hours and minutes. It can also be used to manage reclaims or penalties for delays or other.
Split1 and Split1
Columns that can be used to track hours invested in projects.
Hours in decimal format
You can also enter the hours in digital format (1.5 = 1:30).
- If you enter a value preceded by the sign ">" or "<" (greater or lesser), the program considers it as a decimal value and converts it to hours and minutes:
- "<1.50" is converted to 1:30
- "<1.75" is converted to 1:45 an hour and three quarters.
- In the hour counter, enter the number of hours with the decimal separator. For example, if you enter 1.75, the program displays the value in hours and minutes (1:45).
Display in digital format
- The info window also indicates the value of the hours in decimals.
- In the monthly printout certain values are also referred to as decimals (this is because payroll programs often work with decimals).
Speed up insertion
- Go to the current day.
- The row of the current day is the one marked in yellow.
- Actions → Go to today menu.
- Enter the time of entry and exit.
- With the "." computer time is entered.
- If for example, you enter +5 or -5 (or any other number), the program displays the current time with 5 minus plus minutes to the computer time.
- Copy from the previous week.
Using the Actions → Copy menu, the times of the previous week are resumed. - Take over the value of the previous row.
Use the Actions → Copy menu from above (or button F4 or Cmd 4). - Vacation or Absence Auto-Completion.
Go to cell modification (with a space) and the program suggests the hours due, minus the hours already performed.
Hour column blocks
The hours columns of the Journal table are organized into blocks, as explained below.
Hours worked columns
These are the columns used to indicate the daily working hours. The working time carried out in the day can be entered in two ways:
- As hours worked - data is entered in the Work1 and Work2 columns.
In the Banana Accounting Plus version, all columns of the hour counter type starting with TimeWork are considered hours worked. - As time of entry and exit - data is entered in the columns Start1, Stop, Start2, Stop2, etc.
The program will calculate the time elapsed.
Total hours worked
In the Total hours worked column, the hours indicated in the hours worked columns and those indicated as Start and Stop times are summed.
In the Banana Accounting Plus version there is also the total Detail column. If the Row Type contains the value "D", the working hours are summed in the Detail column and not in the Total column.
Extra hours
These columns are only available in the Banana Accounting Plus version.
They are used to insert surcharge hour. For example, in the case of holiday or night work which involves a surcharge.
The Extra Total is the sum of the extra hours, indicated as hours, and those calculated as a percentage.
Absences
Absences are entered in the Sickness, Holidays, Service or Other columns, as appropriate.
These hours are totaled in the Absence column (TimeAbsenceTotal) and then in the Total column. When calculating the difference between the hours due, absences are considered as paid.
In the Banana Accounting Plus version all the time counter columns starting with TimeAbsense are added to the total absence. The user can add absence columns for other cases.
If you need to keep track of the absences that do not have to be added to the Total hours, you have to add columns of the Hour counter type.
Adjustments
This column is used for accounting adjustments, as in the case of extra hours having been made and paid; then to scale them from the total, enter the value with the negative sign in the Adjustments column.
The Total hours
Is the sum of the total hours, considered as hours to be counted and as part of the amount due. It includes the following columns:
- Total hours worked.
- Total supplements.
- Totale absences.
- Adjustments.
Hours due
The Spreadsheet allows you to indicate the hours due. In the case of a Fixed rate salary contract, the hours of the working days are indicated per contract.
In the case of hourly wages, without a fixed number of hours included in the contract, the hours owed part is generally not used.
The employee's daily working time is indicated in the Due column. The value is indicated on the basis of various parameters (see columns of the Journal table):
- The working hours settings, indicated in File properties → Start.
- The Festive column.
The program completes the value due only for the days indicated as Business. - The Due Type column
By indicating a code, the content of the Due daily column can be set differently.
Difference and Progressive hours
In the Difference column, the program indicates the difference in hours between the Total and the Due.
In the Progressive column, the program indicates the cumulative difference.
If no Due has been indicated, the Progressive corresponds to the sum of the hours worked. This value can be reset by inserting the RP (Progressive Restart) code in the Due Type column.
Split
They are information columns that are used to indicate hours allocated to projects.
Journal Table - Additional Columns
In Banana Accounting Plus columns have been added for the calculation of the supplement (festive, night) and for the management of multiple lines for the same day.
Detail
The column is protected. It is used by the program to automatically display work details (eg projects). See Project management.
Surcharge
You can enter the additional work time paid differently, in hours and minutes. It can also be used to manage recoveries or penalties for delays or other.
%Surcharge
You can enter the percentage of additional work that is paid differently.
If both hours without supplement and hours with supplement are worked on the same day, the times must be entered in two lines:
- Add day row
- The first row will indicate the work (start and end) normally.
- The second row will indicate the extra hours and indicate the appropriate percentage.
If you want the daily total directly in the table, you will have to add a row for daily total.
Surcharge calculated
The column is protected. It is used by the program to calculate the overtime, indicated in the Supplement or Supplement% column.
Total Surcharge
The column is protected. It is used by the program to calculate the total overtime, shown in the Supplement or Supplement% column.
This value is summed in the total hours column.
New user columns
You can add columns which are then totaled into groups. The Xml name of the column must be of type time counter and must start as follows:
- TimeWork. Added to the total work.
- TimeSurchargeManual. Added to the total work.
- TimeAbsence. Added to the total absences.
- TimeSplit. Summed in the TimeSplitTotal if existing.
You can define the columns to indicate the hours of a project, also added up in the TimeWork, or, the hours of absences for training or other, considered absences and counted in the total absences.
Working Times and Hours
The program always works with hours and minutes, 8:30 means 8 hours and 30 minutes.
- Values are saved internally as seconds and then displayed in the hour and minute format.
- When entering timetables, time is rounded to the minute.
Hours in decimal format
The hours can also be entered in digital format (1.5 = 1:30).
- If you enter a value preceded by the sign ">" or "<" (greater or lesser), the program considers it as a decimal value and converts it to hours and minutes:
- "<1.50" is converted to 1:30
- "<1.75" is converted to 1:45 one and three quarters.
- In the hour counter, enter the number of hours with the decimal separator. For example if you enter 1.75, the program displays the value in hours and minutes (1:45).
Display in digital format
- The info window also indicates the value of hours in decimals.
- In the monthly printout certain values are also indicated as decimals (this is because payroll programs often work with decimals).
Speed up insertion
- Position yourself on the current day.
- The row of the current day is the one in yellow.
- Utilities menu → Go to day.
- Enter the time of start and stop.
- With the "." computer time is entered.
- If you enter +5 or -5 (or any other number) the program displays the current time with 5 minutes more or less than the computer time.
- Copy from the previous week.
Using the commands menu Actions → Copy, the times of the previous week are resumed. - Returns the value of the previous line
Use the commands menu Data → Copy from above (or the F4 or Cmd 4 button). - Vacation or Absence Auto-Completion.
Go to cell modification (with a space) and the program suggests the hours due, minus the hours already performed.
Hour column blocks
The hours columns of the Journal table are organized in blocks, as explained below.
Hours worked columns
- Data is entered as hours worked in the Start1 and Start2 columns.
In the Banana Accounting Plus version, all columns of the hour counter type starting with TimeWork are considered hours worked. - As time of entry and exit - data is entered in the columns Start1, Stop1, Start2, Stop2, etc.
The program calculates the time elapsed
In the Experimental version there is also the total Detail column. If the Row Type contains the value "D" the working hours are added together in the Detail column and not in the Total column.
Total hours worked
The hours indicated in the hours worked columns and those indicated as start and stop times are totaled in the Total hours worked column.
In the Banana Accounting Plus version, there is also the total Detail column. If the Row Type contains the value "D", the working hours are summed in the Detail column and not in the Total column.
Extra hours
These columns are only present in the Banana Accounting Plus version.
These columns are used to insert hour supplements. In the case, for example, of work on holidays or at night which involves an increase.
The Extra Total is the sum of the extra hours, indicated as hours, and those calculated as a percentage.
Absences
There are the Sickness, Holidays, Service or Other columns, where absences are entered.
These hours are added up in the Absence column (TimeAbsenceTotal) and then in the Total column. When calculating the difference between the hours due, absences are considered as paid.
In the Banana Accounting Plus version all the time counter columns starting with TimeAbsence are added to the absence total. The user can add absence columns for other cases.
If you want to take note of absences that do not have to be added to the hours Total, you have to add columns of Hour counter type.
Adjustments
This column serves for accounting adjustments, as in the case where extra hours have been made and these are paid; then to scale them from the total, enter the value with the negative sign in the Adjustments column.
Hours Total
It is the sum of the total hours, considered as hours to be counted and as part of the amount due. It includes the following columns
- Total hours worked
- Total hours supplements
- Total absences
- Adjustments
Hours due
The Spreadsheet allows you to indicate the hours due. In the case of a contract with a Fixed salary, the hours of the working days are indicated per contract.
In the case of hourly wages, without a fixed number of hours included in the contract, the hours owed part is generally not used.
The employee's daily working time is indicated in the Due column.The value is indicated based on various parameters (see Journal table):
- The working hours settings are indicated in File properties→ Start.
- The Festive column.
The program completes the value due only for the days indicated as Business. - The Due Type column
By indicating a code, the content of the Due daily column can be set differently.
Difference and Progressive hours
In the Difference column, the program indicates the difference in hours between the Total and the Due.
In the Progressive column, the program indicates the cumulative difference.
If no Due has been indicated, the Progressive will be the sum of the hours worked. This value can be reset by entering the RP (Progressive Restart) code in the Due Type column.
Subdivision
These information columns are used to indicate hours allocated to projects.
Managing holidays with the Time Sheet
Holidays are designated in hours and are entered in the Holiday column of the Journal.
Holidays carried forward
When creating a new year via File and accounting properties ... → Start, any holidays to be carried forward from the previous year must be indicated.
The value is indicated automatically in the Carry forward row of the Holiday column.
Paid holidays or paid leaves, as defined by contract
If some holidays are already included in your schedules :
- Indicate the number of hours of paid holiday in the Start year (for example, Start 2020) initial row.
- Enter the number of paid holiday hours, as per your contract, in the Holiday column. (ex. for 20 days of 8 hours, enter 160, or 80 hours in case you would work part-time at 50%).
- Paid leave days, considered as holidays:
Enter the amount of hours you are entitled to (days x daily hours) in the Start Month row .
Setting up holidays and paid leaves
The start rows are used to indicate the number of holidays granted in hours and minutes. You may indicate the holidays either in the Start year or in the Start month row.
If a person is entitled to 4 weeks of holidays and works 40 hours a week: 40 * 4 = 160. This value will be indicated in the Start year row.
If the hours of allocated holidays changes during the year, enter the number of hours as plus or minus (negative sign) in the available Start month row, Holiday column.
The Holiday column is also used to indicate paid leaves.
Completed and paid holidays
Completed or paid hours of holidays are indicated In the Holiday column of the daily rows.
Remaining holidays
The hours of remaining holidays is indicated in the Total row and calculated automatically.
When holidays are paid:
- In the start row of the following month enter the vacation hours paid with a negative sign.
- For example, indicate "Payment Holidays" in the Notes column.
Changes during the year
If working hours are changed during the year or there are any interruptions that change the holiday hours, these must be calculated and changed manually.
Plus or minus differences can be entered in the line at the beginning of the month where the change occurs.
Enter your work schedule
Working hours and other data are entered in the Journal table.
In the Carry forward row, the programme reports the holiday hours from the previous year, entered in the File and Accounting Properties > Start dialogue.

In the Journal table, data can be edited and entered as required.
- Write down the holiday hours to which you are entitled in the current year.
- Include, edit, add, customise any holidays if required.
- Enter your daily working hours, sickness, holidays, etc.
Print your monthly report
If you go to the Reports menu > Monthly Report..., you can immediately generate, print and save a complete monthly report.

Useful links
- Journal table
- Salary types (Fixed salary or Hourly salary)
Report and Timesheet Actions Menu
Working with the Banana Accounting Time sheet can be optimized, via different functions in the Reports and Actions menus.
Reports Menu
The Monthly Report command is activated via the Reports menu, to create the monthly report of working time and other data entered in the Journal (holidays, absences, other) month by month.
Actions Menu
The following commands can be activated in the Actions menu:
Go to today
Positions the cursor on today's row.
Recheck all... (F9)
The program recalculates, double-checks and displays any errors or differences.
Use this command whenever you are in doubt that there is a problem.
Sort Journal
Sort the rows by date.
Check-in or Check-out
Inserts the current time in the selected cell. Alternatively, you may type "." (point without quotes) in the selected start or end cell.
Fill Day (from last week)
Resumes work and absence time of the current day with the values of the day of the previous week.
Fill Week (from last week)
Resumes work and absence time of the current week with the values of the respective days of the previous week.
Add row day
Adds a row successive to the selected one and with the same date. Use this to enter additional daily values.
Add row total day
Adds a row, where daily values will be totaled.
Create rows for period ...
Add rows (daily, start, total, balances and carryovers) based on the selected period. All rows of the Journal will be sorted by date.
Create New Year
The command creates a new Timesheet file for the following year, transferring the initial values of the vacation balance and hours from the previous year into the new file.
Warning! When creating a new year, public holidays are not flagged. It is necessary to manually modify the days that are marked as holidays.
To avoid manually handling holidays, we recommend downloading the template file with the holidays already set according to the country. In this case, you will need to manually enter the vacation and hour balances in the File Properties > Start section (File menu). See How to start.
Import Time sheet
Takes over values from an external time sheet. You indicate the file from which to recover the values and specify which values to recover.
The program searches the imported file for rows with the same date and section, and resumes these values.
If there are multiple rows for the same date in the imported file, these values after the first line are not imported.
The dialog box allows you to choose one of the following options:
Import festive only
It only imports the values from the Festive column.
Import all values
It imports the Festive, Notes, Worked, Absences, Adjustment, Due and Subdivision values.
Inserimento valori
Ore nel formato decimale
Il programma lavora sempre con ore e minuti 8:30 significa 8 ore e 30 minuti.
Si possono però anche inserire le ore nel formato decimale (1.5 = 1:30).
- Se si inserisce un valore preceduto dal segno ">" o "<" (maggiore o minore), il programma lo considera come un valore decimale lo converte in ore e minuti:
- "<1.50" viene convertito in 1:30
- "<1.75" viene convertito in 1:45 un ora e tre quarti.
- Nei contatore ore inserire il numero delle ore con il separatore decimale. Per esempio se si inserisce 1.75, il programma visualizza il valore in ore e minuti (1:45).
Visualizzazione nel formato digitale
- Nell'info Windows viene indicato anche il valore delle ore in decimali.
- Nella stampa mensile certi valori sono anche indicati come decimali (questo perché i programmi dei salari lavorano spesso con i decimali).
Velocizzazione inserimento
- Posizionarsi sul giorno corrente
- La riga del giorno corrente corrente è quella in in giallo.
- Menu Utilità -> Vai a giorno.
- Inserisci l'ora di entrata e uscita.
- Con il "." viene inserita l'ora del computer.
- Se inserisci +5 o -5 (o qualsiasi altro numero) il programma visualizza l'ora attuale con 5 minuti in più o in meno rispetto all'ora del computer.
- Ricopia dalla settimana precedente
Usare i comandi menu Utilità1-> Ricopia si riprendono orari della settimana precedente. - Riprende il valore della riga precedente
Comando Riprendi da sopra (o il bottone F4 o Cmd 4) - Autocompletamento Vacanze o Assenza
Andare in modifica della cella (con uno spazio) e il programma suggerisce le ore dovute, meno le ore già eseguite.
New year's Time sheet
To create the Time sheet file for the new year, there are two options:
- Download the Time sheet Template with Predefined Holidays for the New Year.
- Use the Create New Year Command from the Actions Menu.
New Year Time sheet from Default Template
This is the recommended procedure. The template already includes predefined holidays according to the country.
In this case, you need to:
- Start Banana Accounting
- Go to File > New
- Choose Time sheet as the file type
- Select one of the proposed templates as the Time sheet
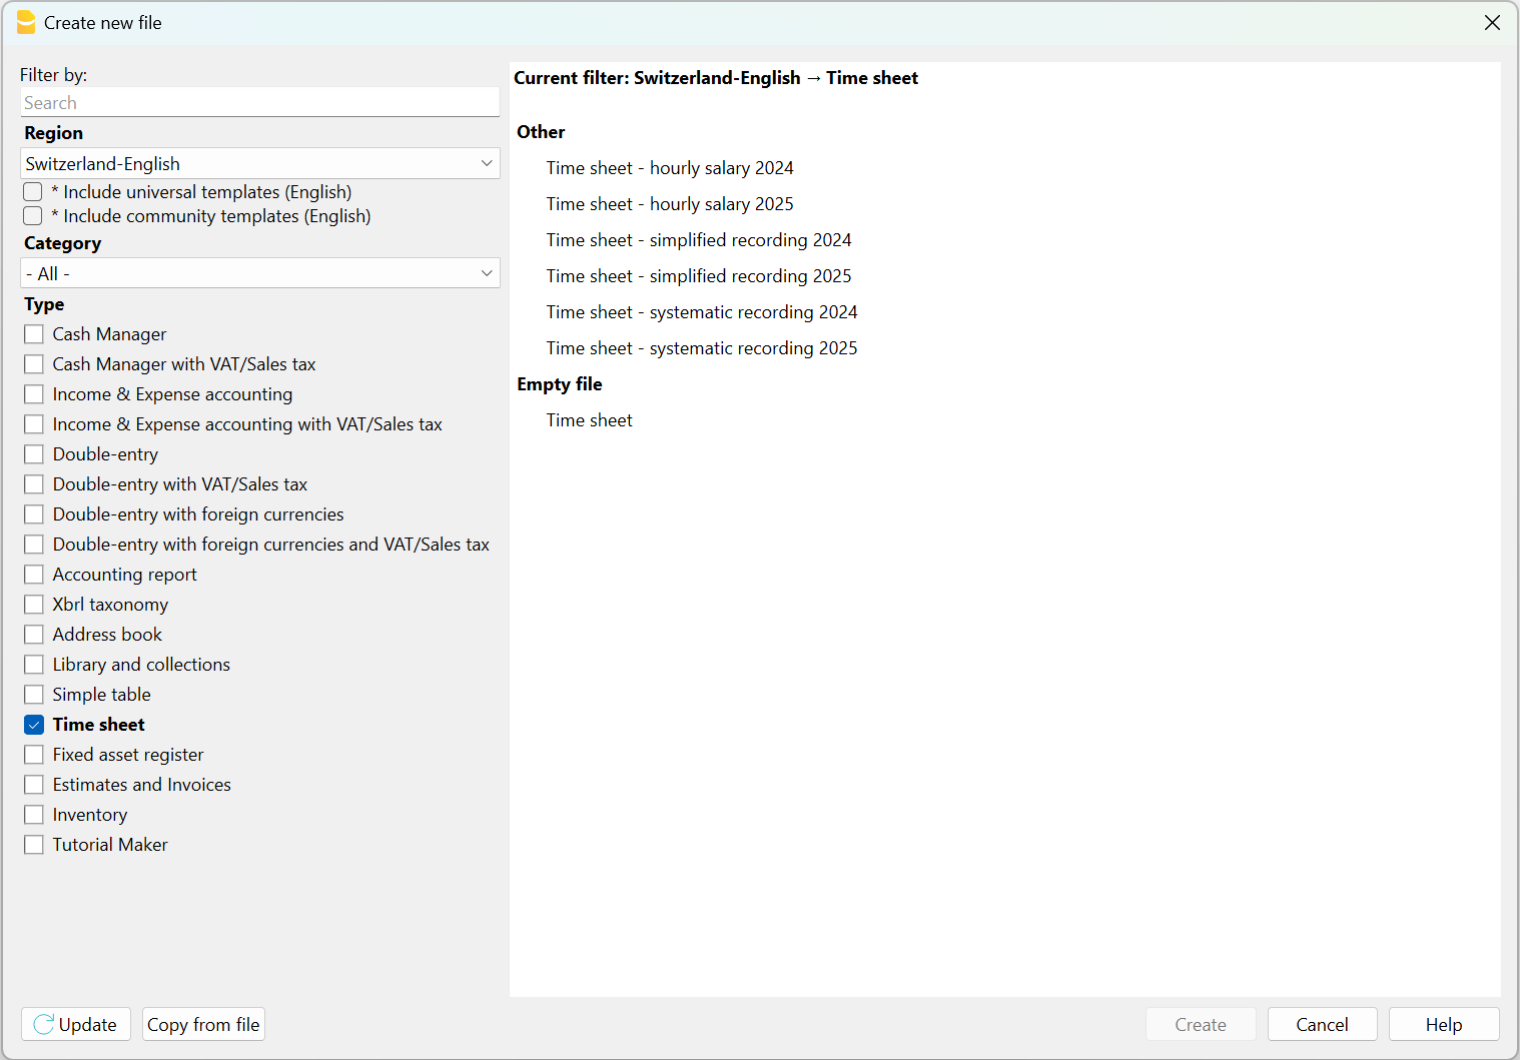
There are the following predefined templates:
Time Sheet - Systematic Recording
This model is ideal for those who need to record work hours by specifying the start and end times for all working days defined in the Basic settings (Menu File > File Properties (Basic Data) > Start section).
In the Journal table of this model, there are the following main columns:
- Start, Stop, Due, Difference and Progressive
By entering the start time and end time in their respective columns, the program automatically calculates and inserts the hours worked, the difference between the hours worked and the hours due, and the balance of hours in the Progressive column. If the balance is negative, the hours worked are less than the hours due; conversely, if the balance is positive.
Time Sheet - Simplified Recording
This model is ideal for those who record the total hours worked daily without specifying the start and end times.
In the Journal table of this model, there are the following main columns:
- Work 1, Work 2, Due, Difference, and Progressive.
Unlike the systematic recording model, the start and end times are not entered; instead, the total hours worked are recorded. The program automatically fills in the Due column (for the hours of work required by the contract), the Difference column (between the hours worked and the hours due), and the Progressive column (for the balance of hours).
Time sheet - Hourly Wage
This model is to be used in cases where work is paid by the hour without a fixed salary. Therefore, in the Basic settings (Menu File > File Properties (Basic Data) > Start section), the Start dialog remains empty without indicating the hours due.
The columns are identical to those in the Time sheet - Systematic Recording and Time sheet - Simplified Recording templates. The difference lies in the Progressive column because, starting from February, the Due Code column contains the code RP (Restart Progressive) to ensure that the Progressive column resets and does not display the balance of hours, as payments are made monthly.
Once the template is saved with a name, it is necessary to manually carry over the balances for overtime and vacations from the previous year.
- Menu File > File Properties (Basic Data) to enter the employee's data.
New Year Timesheet Using the Create New Year Command
This procedure involves creating the new year's timesheet starting from the previous year's file:
- Open the previous year's Time sheet file.
- Menu Actions > Create New Year.
- Save As the new Time sheet.
In this case, the balances for overtime and vacations from the previous year are automatically carried over to File Properties (Basic Data) > Start section (Menu File). The initial data is also carried over to the initial rows of the Journal table, where you need to enter all the hours for the vacation days to which you are entitled in the Start row.
Attention: Public holidays are carried over as they were in the previous year. Therefore, it is necessary to verify all holidays and correct them manually.
Printouts
Print Journal table
When using the File → Print ... command, you can:
- Print all the rows of the Journal table.
- Print the selected rows of the Journal table.
Monthly report
Using the Reports → Monthly report ... the program will calculate and display a summary report of the selected period including the main columns used
- If you want to change the column headers in the printout, you have to change them in the Journal table. They will be resumed automatically.
- The program prints the default columns.
For the moment it is not possible to print other columns when printing the monthly report.
Fixed Rate Salary
With the free Banana Accounting Plus Time Sheet, you can easily start entering work times, your holidays and absences and instantly know the totals and balances of all the data.
According to what is stipulated in the contract:
- Set the due working time (agreed) and include holidays.
- Actual working hours and absences are entered.
- The program calculates the daily and progressive balance.
All values, time due, hours worked, absences and holidays are entered and displayed as hours: minutes (eg 10:30).
This unified approach allows you to enter data quickly and instantly and be in control of the situation.
The values entered are checked by the program. If you enter an incorrect value, it will show instantly.
Setting up the due time
The Time Sheet, in File Properties - Start, allows you to quickly set up the weekly working time.
If the scheduled time is different or changes during the year, you can adapt it, see Set the working period and times.
Planned Holidays are set directly in the Holidays column instead of the Journal table.

Entry of working times and absences
Enter the daily values in the appropriate columns of the Journal table, relating to the following data:
- Hours of work carried out are entered as follows:
- Entry and exit times (systematic collection)
The program calculates the hours and minutes of work. - Work hours, Work 1 or 2 columns
Total hours worked are entered. - If you enter both entry and exit values and hours worked, the program adds them.
- Entry and exit times (systematic collection)
- Hours of absence (Sickness, Vacation, Service, Other).
These are the hours that will be deducted from the due hours. - Adjustments.
When accounting adjustments are required, enter a positive or negative value in the Adjustments column.
When extra hours are paid, for example, the hours are entered in negative, so that the progressive is reduced.
When you start work during the year
When the work period begins during the year, proceed as follows to reset the hours due from the first of January to the work start date:
- On 1st January, in the corresponding line and in the column Due code, enter WA. The programme resets the total hours for all days before the start of the working period.

- On the start date line, and for all working days of the first week, enter WS in the column Due code and the number of working hours in the column Due. The programme will automatically complete the hours due for all weeks until the end of the year.

How to change work days during the year
If working days change during the year, the new working day settings must not be changed in the File properties, otherwise the change is applied retroactively from the first of January, but directly in the Journal table using the appropriate codes. Several changes during the year are possible.
If a working day becomes a non-working day:
- On the line of the day you wish to change (from a working day to a non-working day), enter the code W1 in the column Holiday. For the programme to resume the change as a non-working day for all weeks of the year, the code WS must be entered in the column Due code.
If a non-working day becomes a working day:
- On the line of the day you wish to change (from a non-working day to a working day), enter the code W2 in the column Holiday. For the programme to resume the change as a working day for all weeks of the year, the code WS must be entered in the column Due code.
For further customisations see the explanation of the Journal Table columns.
How to change the work rate during the year
If the number of working hours due increases or decreases during the year, the new settings must be entered in the Journal table, in the columns Due code and Due.
On the day in which the changes are to be implemented (e.g. from 5 working hours to 8):
- In the Due code column, enter the code WS.
- In the Due column, enter the current due hours (8)
The programme resumes the change of the new due hours for all weeks of the year.

For other customisations, please refer to the explanation of the Due code column .
If the available holiday hours change during the year, the differences must be calculated and changed manually. See Changes during the year.
Multiple rows for the same days
You can manage multiple rows for the same working day, where you can enter different daily values. To make understand that it is the same row of the day, the description is indented in the following rows of the same day .
There are several possibilities to create an additional row for the same day:
- Via the Edit → Duplicate rows... menu
- Via the Edit → Add rows... menu, inserting the date of the day (you have to remove the protection from the date column).
- Via the Actions → Add row Day (only in the Banana Accounting Plus version).
The difference with respect to the amount due and the totals
In the Journal Table, the program displays the following data after each entry:
- The difference between the hours due and the hours worked on the day.
- The progressive balance.
- The total by month, year and grand total of the different hour columns and numeric columns.
The total for the holidays results as the difference between the holidays set at the beginning of the year and those used, see Holidays page. - The carry-over to the end of the month and year of the various numerical columns:
- The carry-over is the total of the position, and also takes into account the values of the previous periods.
- At the end of the month you will also known how many hours have been done since the beginning of the year.
- The final total is equal to the carry-over.
Monthly printout
The monthly printout presents all values in summary form.
Adjustments and payment of accumulated hours
The Adjustments column allows you to modify the total hours due / worked.
- If hours are accumulated and these are paid:
- In the row of the day they are paid
- Enter the hours paid in negative in the Adjustment column.
- Indicate "Payment of accumulated hours" in the notes
- The progressive balance decreases.
- In the row of the day they are paid
- When accumulated holidays are paid:
- In the row of the day when the holidays are paid.
- Enter the hours paid in negative in the Holidays column.
- Indicate "Accumulated holiday payment" in the notes
- The progressive balance decreases.
- In the row of the day when the holidays are paid.
Paid by the hour wage
It is quick and easy to enter data in the free Time sheet of Banana Accounting Plus as it immediately provides you with daily, monthly and yearly total hours.
All values (due time, worked hours , absences and holidays..) are entered and displayed as hours:minutes (10:30).
allows data to be entered quickly and the programme's automated control allows for correct reports.
The application allows you to enter the days and hours agreed as per contract and the hours of work performed highlighting any differences between what was agreed and what was carried out. The monthly Report which needs to be handed over to your employer is now complete and complies with legal requirements.
Please consult the How to start page.
Setting of weekly working hours
The Time sheet adapts to any kind of working time, whether fixed, flexible, part-time, or with combined settings.
In File Properties → Start indicate the working days and weekly working hours.
With the paid-by-the-hour wage, the hours actually worked are counted.
- If a certain number of daily working hours have been agreed, it is possible to indicate them as due hours, as for the fixed salary. In this way, the program calculates and displays the differences between what is agreed and carried out.
- If the expected working time is different or changes during the year, you can adapt it, as indicated in the next paragraph Set period and working time.
- The planned holidays are instead set directly in the Journal table columns
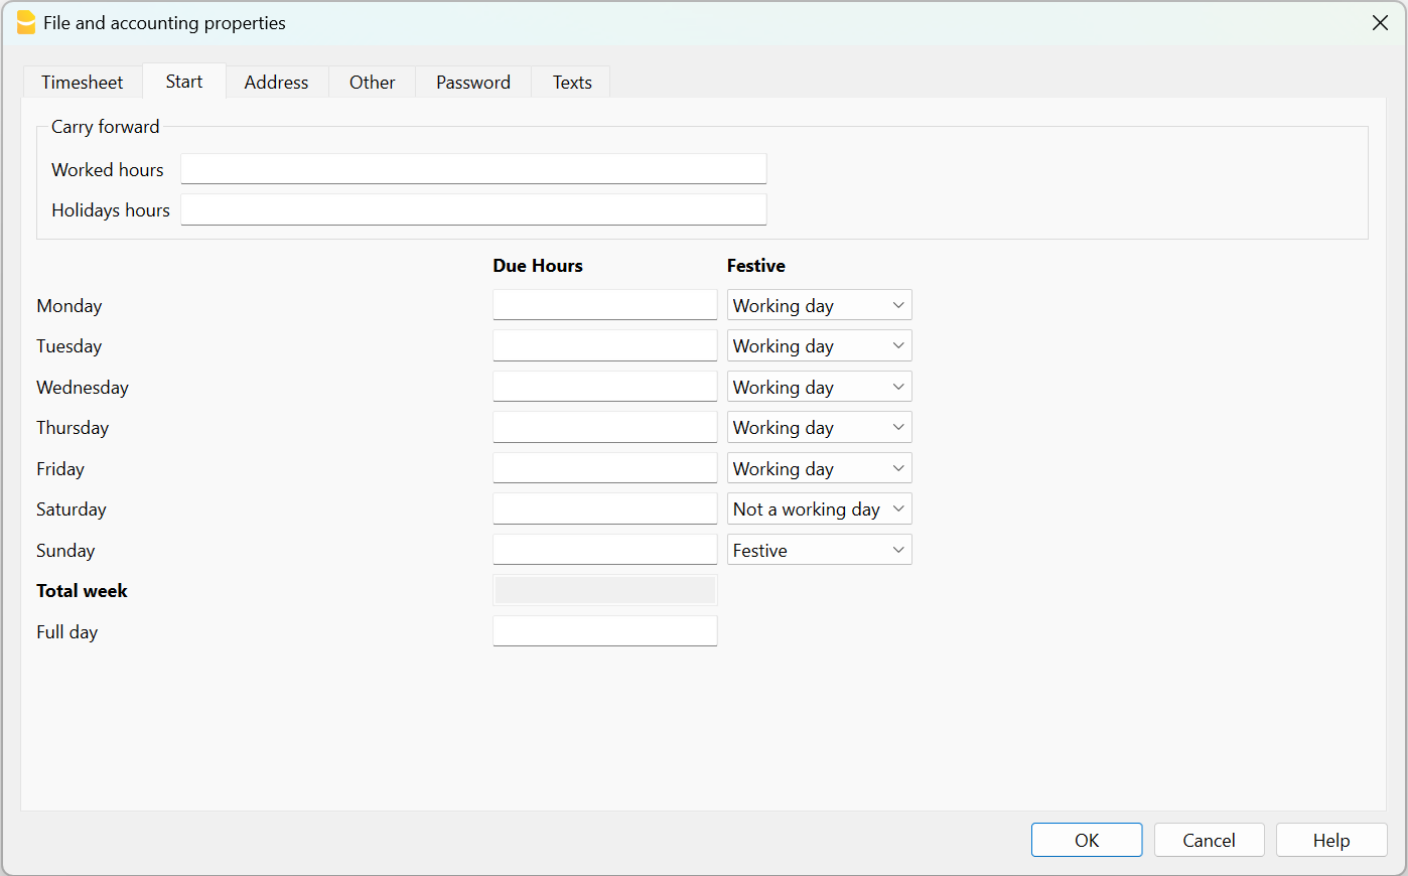
Input of working time and absences
In Paid by the hour wages, the hours worked are entered in the Journal table in one of the following ways:
- Enter the start and end time in the corresponding columns (systematic collection).
The programme calculates the hours and minutes of work in the Total column. - Enter the total of hours worked in column Work 1 or 2.
If the Start, End and also the Work 1 or 2 columns have been used, the programme sums all of the total hours in the Totals column .
Where hours due have been indicated in the File properties, the Progressive column shows the differences between hours worked and due.
Hours of absence due to illness, holiday, duty or other reasons, entered in the respective columns, are added together in the hours due.
Adjustments
When accounting adjustments are required, the adjusted hours must be entered in the Adjust. column, with a positive or negative value.
For example, when overtime hours are paid, negative hours are entered in the Adjust. column, so that in the Progressive column, the hours are reduced.
Start working during the year
When the working period begins during the year, proceed as follows to reset the hours due, from the first of January to the date of starting:
- On January 1st, enter "WA" in the column Due code.The programme resets the total hours for all days before the start of the working period.
- On the start date line, and for all working days of the first week, enter WS in the Due code column and the number of working hours in the Due column . The program will automatically complete the hours owed for all weeks until the end of the year.
Change of working days during the year
If working days change during the year, the new settings must not be changed in the File properties, otherwise the change is applied retroactively from the first of January, but directly in the Journal table, using the appropriate codes. Several changes are possible during the year.
If a working day becomes a non-working day:
- On the line of the day you wish to change (from a working day to a non-working day), enter the code W1 in the Holiday column. For the programme to resume the change as a non-working day for all weeks of the year, insert WS in the Due code column .
If a non-working day becomes a working day:
- On the line of the day you wish to change (from a non-working day to a working day), enter the code W2 in the Holiday column. For the programme to be able to resume the change as a working day for all weeks of the year, the WS code must be entered in the Code Due column.
For other customisations, see the explanation of the Journal Table columns.
Changing the percentage of work during the year
If the number of working hours due increases or decreases during the year, the new settings must be entered in the Journal table, columns Due code and Due.
On the date when the changes are to be implemented (e.g. from 5 working hours to 8):
- In the Due Code column, enter the code WS.
- In the Due column, enter the current hours due (8).
The programme amends the new hours due for all weeks of the year.
For other customisations, please refer to the explanation of the Due Code column .
If holiday hours change during the year, the differences must be calculated and changed manually. See Changes during the year.
Difference between due and total hours
In the Journal table, the program displays after each input:
- The daily and progressive due difference.
- These are the additional or less hours than contracted.
- The total by month, year and overall total of the different hours and numbers columns.
- The total for holidays is the difference between the holidays set and those taken, see Holidays page.
- The carry forward of both the end of the month and the year of the different numerical columns.
- The carry forward is the total of the position inclusive of the values of previous periods.
At the end of the month the hours which have been done since the beginning, will display.
The final total amount is equal to the carry forward amount.
Progressive balance reset
If you insert the abbreviation "RP" in the Due Code column, the progressive balance restarts from 0.
Holidays
For the setting of holidays, see the Holidays page.
Absences and sickness
Insert the hours of absence in the Sick, Holidays, Service or other columns.
Add km and expenses
To take note of the km traveled or expenses that must be reimbursed, add a special column in the Journal table, from Menu Data → Columns setup.
If the column addition is Type Amount, the program will automatically sum up in the total rows.
Adjustments and payment of accumulated hours and holidays
The Adjustments column allows you to change the total of the due/worked hours.
- If you accumulate hours and these are paid to you, on the row of the day on which you are paid, proceed as follows:
- In the Adjustments column, enter the hours paid in negative.
- In the Notes column enter "Payment Accumulated Hours".
- If you are paid for accumulated holidays. On the row of the day when the holidays are paid:
- Enter in the holiday column the hours paid in negative.
- In the Notes column enter "Accumulated holiday payment"
In both cases, the progressive balance will decrease.
Multiple rows for the same days
You can have multiple rows where to enter daily values. To make it clear that it is the same row of the day, in the following lines on the same day the description is indented.
There are several possibilities to create an additional row for the same day:
- From the Edit menu → Duplicate rows...
- From the Edit menu → Add rows...enter the date of the day (you have to remove the protection from column date).
- From the Actions menu → Add daily row (only in Banana Accounting Plus version).
Monthly Print
The monthly print resumes all the values.
Managing project hours in the Time Sheet
With Banana Accounting Plus you can easily start keeping track of the hours dedicated to projects, obtaining instant reports that you can view at any time.
Users who have files created with older versions must convert their file.
To manage working hours for projects, add the required columns in the Journal table.
There are two ways to manage project hours:
- Work with the Projects table.
- Work with the Work1, Work2 columns, etc.
Manage projects in the Projects table
You will need to add the Projects table if using this method:
Tools menu → Add new functionalities → Add table → Projects.
The following columns are available in the Projects table:
- Id - enter an id unique for each project
- Description - enter the name/description the project.
- Notes - enter any additionally required notes.
Adding the Projects table will automatically add the Projects Id and Projects Description columns in the Journal table.
Display the following columns in the Journal table via the Data → Columns display ... menu:
- RowType (Type) column - enter D if you wish to separate the detail of the project hours from the total of hours worked.
- TimeDetailTotal (Detail) - is a protected column. If D has been entered in the Type column, the program calculates and displays the total project hours projects separately.
- If the Type column is empty, the program calculates and displays the total of project hours in the Total column.
Enter project hours
The hours dedicated to projects can be managed within their own worksheet.
To separate the hours of work done, from the project hours of, it is necessary to:
- Position yourself on the line of the day to which you want to add the project (or projects).
- Via Utilities1 → Add row Day add a new row.
- Enter D in the Type column if you want to separate the detail of the project hours from the total hours worked. Leave blank, if you want the total project hours to be added to the hours worked (Total column).
- Enter the Id of the project, as set up in the Id table. The project description is automatically displayed.
- Enter the start and end time of the project.
The program calculates and updates the Total, Due, Difference and Progressive columns
Manage projects in the Work1, Work2 (etc) columns
As an alternative to the Projects table to manage project hours, it is possible to use the Work1, Work2 (etc.) columns.
Each column refers to the hours of a different project. The program includes two predefined columns, but you can add other columns under condition that TimeWork3, TimeWork4... is inserted in the Xml name of the New column window (menu: Data → Columns setup ... → Add).
Via Data → Columns setup, display the following columns in the Journal:
- RowType (Type) column - enter D if you wish to separate the detail of the project hours from the total of hours worked.
- TimeDetailTotal (Detail) column - is a protected column. If D has been entered in the Type column, the program calculates and displays the total project hours projects separately.
- If the Type column is empty, the program calculates and displays the total of project hours in the Total column.
Enter project hours
The hours dedicated to projects can be managed within their own worksheet.
To separate the hours of work done from the project hours, it is necessary to:
- Position yourself on the line of the day to which you want to add the project (or projects).
- Add a new row via Actions → Add row Day menu.
- Enter D in the Type column if you want to separate the detail of the project hours from the total hours worked. Leave blank,k if you want the total project hours to be added to the hours worked (Total column).
- Enter the Id of the project, as set up in the Id table. The project description is automatically displayed.
- Enter the start and end time of the project.
The program calculates and updates the Total, Due, Difference and Progressive columns.
Adding Additional Columns
If you need to keep track of instruments used, amounts, kilometers traveled or anything else in the project, you can add additional columns via the menu Data → Columns setup.
These can also be linked with an added table.
Report with project and resource data
You can filter your projects and resources and create a report with data for each of them.
Information on the time sheet for employers
The Time Sheet allows companies, which do not have an automated work time tracking, to easily start with a modern data collection system and have immediate counts and reports, without wasting time.
In order to protect their employees, companies are required by law to set up a system for recording the daily working time, complete with absences and holidays.
- In Europe this principle was reiterated in a ruling by the European Court of Justice. It is up to the member states to regulate this matter.
- In Switzerland there are ordinances in this regard which require the systematic recording of working time, with some exceptions for the simplified recording (only the number of hours worked).
How to implement the Time Sheet for your employees
- Each employee will have to download and install Banana Accounting on their computer, tablet or mobile phone.
- The employee creates his own time sheet for the entire year.
There are several methods:- Use a template emailed to him by his employer.
- Start the program and via the File → New menu create your own Time Sheet, for the entire year, choosing the most appropriate Time Sheet template.
- Each employee enters their working hours and saves the file on their computer.
- At the end of the month, the employee generates his own Monthly report and sends it to the employer. Alternatively, you can directly send the entire file of your time sheet.
Self-declaration of hours worked
The Banana Accounting Timesheet allows each employee to input their hours individually and to always be in control of their situation.
The month-end report will summarize all the necessary information. You can also create specific reports for specific needs, if required.
Centralized data entry
The Timesheet is also suitable if the employer collects the data of the hours delivered by the employees.
Hours can be attributed to projects or whatever else is needed.
Preparing templates for your company's employees
Each company has different requirements.
To facilitate keeping hours for your employees, it is useful to prepare Time sheet files that serve as templates, with the following presets:
- Annual holidays.
- The columns required for the type of data collection (systematic, simplified, mixed).
- The columns for the type of salary.
- The columns for absences.
- Additional columns for reimbursable expenses, projects and notes on the progress of the work can also be added.
Specific reports
Extensions allow you to create specific reports, tailored to the needs of a company.
Version for employers
We are thinking about developing an application for employers that will allow for the collection and consolidation of the data contained in the files managed by employees, for statistical or other purposes.
Should there be a wider interest in such a tool, please report it to us via the contact form, by also indicating which functionalities would be of interest to you.
Fixed assets register
The fixed assets register is an application included in Banana Accounting Plus, but it is separate from the accounting file. It allows for easy management of your fixed assets and quickly obtains all the values you need, as well as the automatic posting of depreciation at the end of the year.
There are many functions to facilitate your work:
- Keep the list of your assets that need to be depreciated according to the tax regulations.
- Automatically calculate the amortization or in special cases, adapt the amounts manually.
- Choose to obtain monthly, quarterly, half-yearly or yearly depreciation.
- Transfer the amortization rows directly into your Banana Accounting file.
- Manage other changes in value (subsequent purchases, sales, divestments or other) related to each asset.
- Have a history of all the changes in the value of each asset.
- Manage other information related to each asset, such as warranty expiration, insurance, location.

For more information:
Characteristics of the Fixed Assets Register
The Fixed Assets Register is a Banana Accounting Plus application to manage your amortisable assets quickly and easily and instantly know their initial value, history, and year-end amortisation.
It is a very flexible, intuitive and powerful tool for calculations.
- You work in tables like with Excel, very intuitive and with all values always visible and updated.
- You have functionalities that automate the calculations, obtaining constantly updated values and balances:
- Initial purchase value.
- Book value.
- Quota and percentage of amortisation.
- Columns for the date of purchase and the duration of the warranty.
- Journal
- Items Report.
- Instant search for amortisable assets
- In case of errors, you can modify and correct, so as to always have order and precision.
- Application usable in any country.
Substitute for Excel tables for amortisation
The Fixed Assets register is a very precise, but also malleable tool that can be adapted perfectly to your requirements. It allows you to automate the calculation of amortisation, but also offers you the possibility to enter amortisation manually, so that, when there are special cases or exceptions, you are not obliged to change formulas and totals.
The application can be used in conjunction with other accounting programs, you are much more flexible and also save on license costs. For each period (month, quarter, semester or year) you can produce a printout of the summary of the amortisation to be recorded in your accounting program. You can export the data as well, if you wish.
- Add as many rows as you want without limit, or you can delete the rows you don't require.
- You don't need to enter formulas because the calculations are updated instantly and you have a contextual view (like in spreadsheets).
- Everything you see can be printed or exported to PDF or other formats.
- The columns are customizable, you can change their position, add new ones and change their width.
- Work with the format that suits you best.
- Color the rows to immediately identify the items that you need to order or that have been booked.
Based on tables
Fixed Assets Register management focuses on three main tables, which are used in a similar way to those of Excel, but that are already fully set up and programmed with everything needed to manage your inventory in a fast and safe way.
- Items table
This is the table where you set up all the assets subject to amortisation. Each item (or amortisable asset) has an identification ID, a description, a group and an account to which it belongs, the counterpart entry and all the calculation parameters for the amortisation. You can freely create groups of items, without any limits. When viewing this table, you immediately have a complete and updated view of all your amortisable assets. - Transactions table
This table records all the operations that modify the historical, book or fiscal value of an asset. It is a table with automatic columns: by selecting the type of amortisation, the description of the operation is automatically entered (sale, write-down, revaluation, amortisation ...); via the selection of the article ID the description of the article is automatically inserted. When scrolling the table, you have a complete view of all the events during the year. If you realize that you have made a mistake, you can modify to always have perfect accounting. - Amortisation type
This table where amortisation codes are to be entered so that, when you buy a new asset you can decide which type of amortisation to attribute: on historical value, book value, on a specific amount, full amortisation and no amortisation. Once the codes have been established, they must not be changed to ensure consistency and correctness in the calculations. The column of codes is visible both in the Items table and in that of the Journal, so as to always be in control of which amortisation has been calculated. - Transaction type
This table defines the types of operations to be resumed in the Journal table. Each operation has an identification ID that must not be changed, so that the same description is always used in the journal table. This facilitates and speeds up the insertion of data in the Journal table.
Accounting setup
Fixed Assets Register headers and basic data set up in a single, easy-to-view dialog.
- Company headings and address with free texts.
- Language settings.
- Link to extensions for customizations.
- Password to secure your Amortisation Register file.
- You can have multiple files in different languages.
Easy and precise management thanks to the accounting logic
Unlike Excel spreadsheets, changes in value (amortisation, new purchases, write-downs) are not entered in columns, but in a table of transactions.
- The Items table lists the individual assets, with the date, purchase value, type and percentage of amortisation and other elements.
- The amortisation, revaluations or write-downs for each individual asset are indicated in the Transactions table.
- It is the history of all the changes in the value of the asset, from purchase to disposal.
- The Create amortisation rows command calculates the amortisation based on the settings in the Items table and generates transaction rows.
- Amortisation can be calculated monthly, quarterly, half-yearly or annually.
- Transaction values can be entered and edited manually. You can thus easily resolve any exception or special case.
- You can enter transactions for increases in value, special amortisation, tax value adjustments or other.
- Amortisation operations are resumed in the accounting file via the Import into accounting command.
Each item has different values
In contrast to accounting, where only the current book value is generally kept, different values are kept for each item in the Fixed assets register.
- Start from the initial purchase value, which is entered manually in the items table.
- All other values are calculated by the program by adding the variations entered in the transactions table.
- For each type of variation there is a special column In the Transactions table where to enter values.
- Increases are entered as a positive.
- The decreases (such as amortisation) are entered as a negative.
- For each value there is the total and the variation in the items table.
| Initial value (manually entered in the Items table) | |
| + | Purchases. Own production of modernization- Sales |
| - | Sales |
| = | Purchase value of the asset (The total outlay for the purchase). |
| + | Revaluations (for example following inflation) |
| - | Write downs (the historical value changes, other than amortisation which only changes the accounting value). |
| = | Historical value (calculation basis for linear amortisation) |
| + | Historical value (calculation basis for linear amortisation) |
| - | Amortisations |
| = | Book value (basis for calculating amortisation on residual value) |
| + | Increase in tax value (amortisation not recognized for tax purposes) |
| - | Decrease in tax value |
| = | Tax value (value recognized by the tax authorities) |
This way the program has all the elements to calculate amortisation automatically.
File and data saving
- All your data is saved in a single file, where you can easily retrieve everything without wasting time.
- Give the file the name you want.
- You can manage an unlimited number of files.
- Save data on any media, computer, network, cloud or send it by email. You can access it from wherever you are.
- Simultaneous access by multiple users, where, however, only one person can open the file to be edited.
- Make your accounting more secure by inserting password protection.
Item handling
- In the columns you can see the amounts in the format used by your computer, without having to get used to other formats that are not familiar to you.
- You choose the identifier of the article freely (numeric or alpha-numeric account, up to 256 characters).
- Balance, item movement and totals displayed at the same time and always updated.
- Add more columns for notes, grouping or other.
- In the Links column you can add a digital link for the registered item (receipt, purchase invoice, warranty).
- In all tables you have predefined columns that you can make visible by choice.
- The Search command allows you to quickly search for an item.
- You can sort the rows according to different sorting keys.
- Export to pdf for data storage and export to other formats for data re-processing.
- Importing data from other programs in Text, Ascii and CSV format, with the following options:
- Import data from the clipboard.
- Auto completion of values.
- Column header.
- Unicode (Utf-8).
- Columns for the archive of products no longer available.
Error reporting and control
- Command to check accounting.
The accounting is recalculated instantly as if all the operations were entered again. - Reporting of any wrong settings, differences or errors.
- Each report is linked to a help page that explains the causes and the solution.
- Possibility to correct.
Reports and prints
- Table content completely printable or can be printed by selection only.
- Add your own logo for customization of documents and prints.
- Customizable column arrangement.
- Accounting transactions report
- Journal view (Items cards).
Data export and archiving
- Copy and paste directly to and from Excel.
- Export tables to pdf and various other formats.
- Archiving of printouts and data to pdf or other formats.
- Extensions for creating Standard Audit Files.
- Saving of the accounting file on any medium.
Other features
Extensions
- Predefined extensions for various printing and other features.
- Quick search and installation.
- Customizable extensions.
- Automatic update.
- Possibility to create and install your own local extensions.
Comprehensive documentation
- Each dialog and error has its own documentation page accessible in one click.
- Constantly updated documentation.
- Questions and answers.
- Documentation also available in PDF format.
The fixed assets register is an application included in Banana Accounting Plus. It allows easy management of your amortisable assets and quickly obtains all the values you need, as well as the automatic posting of amortisation at the end of the year.
Como começar um Registo dos ativos fixos
Criar um novo arquivo
Menu Arquivo, comando Novo, escolha o tipo Registo dos ativos fixos.
Configure a tabela Artigos
Na tabela Artigos configure o elenco de bens e os grupos a que pertecem.
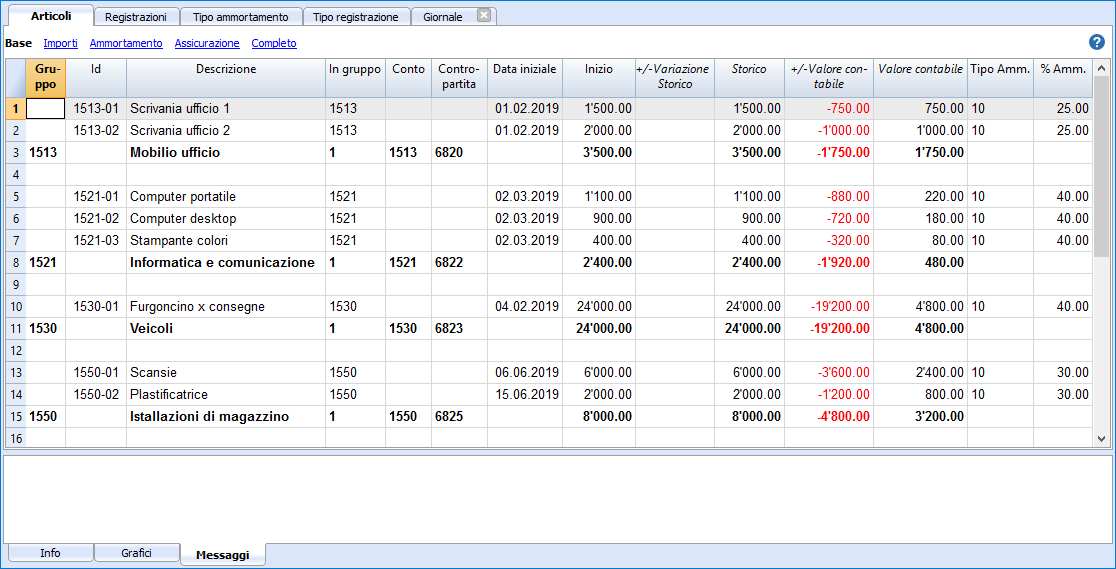
Insira linhas ou crie linhas de depreciação automaticamente
Na tabela Lançamentos insira os registos relativos à variação dos valores dos bens.
Com o comando Criar linhas de depreciação, o programa cria as linhas de depreciação para cada bem, em base aos parâmetros específicados.
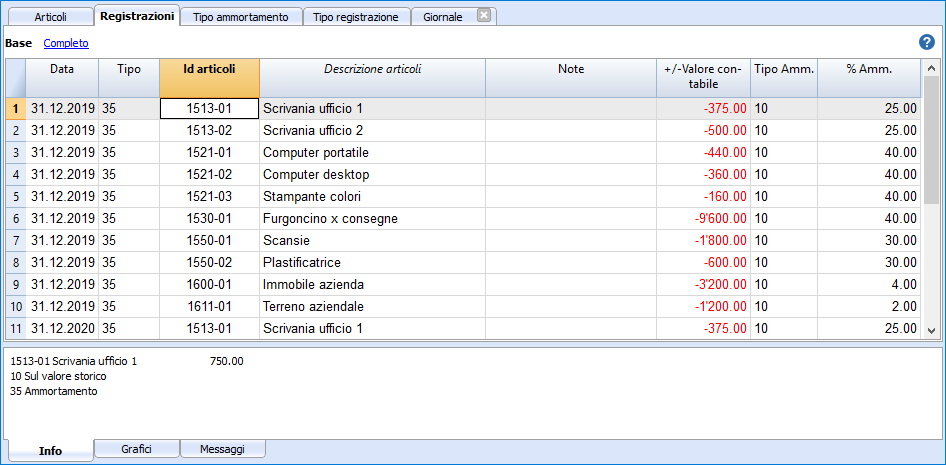
Recupere as depreciações em Contabilidade
Com a Impressão de lançamentos contábeis pode ver quais são os valores que serão importantes.
As depreciações podem ser recuperadas em contabilidade:
- Com o comando Importa em Contabilidade → Movimentos (do menu Conta1).
- Recuperando-os manualmente da impressão, isto se se usa um outro programa de contabilidade.
Items table | Fixed assets register
Fixed assets are entered in the Items table, together with their corresponding groups, the parameters for calculating amortisation and other information.
Creation of the assets list
When you buy an asset, you must register the purchase in your accounting file and, at the same time, insert a new row in the Items table with information about the new asset.
- Each item must have an Id identifying it and a description.
- The purchase date, the purchase value, the Amortisation type and the amortisation percentage are then indicated.
Groups
To total the amounts for each article category, a totalisation group is created in the Group column.The group code must be assigned to each article in the same category in the Sum in column.
Multiple group levels can be created.
For more information on the grouping system, please refer to the Grouping System page
It may be useful to create groups to correspond to the accounting accounts. If in accounting there is an "Equipment" account, it is useful to have the Equipment group in the items table. For easier checking, the accounting account number can be indicated as the group number. At the end of the year, you will need to check that the value of the Equipment Group is equal to the balance of the Equipment account.
Groups are equally useful for not having to specify parameters for each individual element. If the parameters (account, counterpart, type and percentage of depreciation, etc.) are not specified at the item level for the calculation of depreciation, the parameters of the sub-group or group are used.
Preset columns
This table contains the following columns; The ones marked with an asterisk (*) are protected and calculated by the program.
You can find more information about adding new columns in the Colums setup page.
- Identifiers, descriptions and groupings
- Group
If a value is present it means that the row is a group.
Items and groups values are added up in this row. - Id
The Item Id. - Description
The item description. - In Group
The group the row belongs to. This must be a value present in the Group column. - Account
The account to which the item is being attributed in the accounting.
This account can also be a group. - Counterpart
The account on which to post the depreciation.
The counterpart can also be indicated at group level. - DateBegin
The item purchase date (or at which the item was entered in the accounting file) - DocumentDate
The date of the item purchase document, if available.
- Group
- Value/Amounts
- Initial amount
Purchase value.
Once entered it should not be changed. Any changes should be made via transactions for the change in purchase or historical value. - Values calculated by the program
- Purchase variation *.
The positive or negative value of the total purchase indicated in the transactions. - Purchase Value *
The initial value plus the purchase variation. - Historical Variation*
The positive or negative value of the historical variation (revaluations or write-downs) indicated in the transactions. - Historical Value*
The purchase value plus historical variation. - Accounting variation*
The positive or negative value of the accounting variation (depreciation or amortisation reversals) indicated in the transactions. - Accounting value*
And the historical value plus the accounting changes. - Fiscal Variation *
The positive or negative value of the fiscal value adjustments indicated in the transactions. - Fiscal Value *
The carrying amount plus fiscal adjustments.
- Purchase variation *.
- Residual value
Any residual minimum value to be indicated.
If the residual value is equal to or greater than the book value, no more amortisation rows are generated. - Estimate value
An estimated value of the item. - ValueMarket
Eventual market value.
- Initial amount
- Amortisation parameters
- Amortisation Type
The amortisation type applied to this item
The amortisation type can also be indicated for the group. - Amortisation Percentage
The amortisation percentage.
The amortisation percentage can also be indicated for the group. - Amortisation amount
A possible amortisation amount if the amortisation is not specified as a percentage.
The amortisation type must be 2. - Amortisation Percentage 2
The additional amortisation percentage to be applied to this item.
The "Create amortisation rows" command creates an extra amortisation row, the calculation method is the same.
The extra amortisation percentage can also be indicated for a group. - Amortisation Months First Year
The number of months the item needs to be amortised in the first year.
- Amortisation Type
- Additional information
- Serial Number
The item's serial number - Warranty Date
The warranty expiration date. - Insurance Value
The value this item or group is insured for. - Insurance name
The insurance company's name. - Insurance number
The insurance policy number. - Insurance expiration
The insurance policy's expiry date. - Insurance cancellation
The date by which legal notice needs to be given to the insurance company if automatic renewal is not desired.
- Serial Number
- Archiving information
- Archiving date
A date indicates that the item should be archived. - Archiving Notes
They are used when the object is to be archived.
- Archiving date
Adding new columns
If you need more information, you can add additional columns with the Columns setup command.
Amortisation in the year of purchase of the asset
There are an infinite number of methods for establishing how the amortisation value for the first year is to be calculated.
The program offers these possibilities:
- It normally calculates amortisation for the whole year.
- In the Amortisation month first year (Month 1.Year) column , you can indicate for how many months the amortisation is to be calculated.
- If in the first year you desire to calculate only 50% of the normal amortisation, you should indicate 6 months.
- Amortisation percentage 2 Column
Used for an extra amortisation. An extra amortisation row is being created. - For other situations, let the program create the amortisation row and then adjust the automatically created amortisation transaction.
Transactions table
The Transactions table of the Fixed assets register, contains the operations that modify the historical, accounting or fiscal value of an asset.
Via the Create amortisation row command (from the Actions menu) the program will calculate the amortisation based on the parameters set and creates the transaction rows.
Or you may create entries for amortisation, write-downs, revaluations.

Transactions table Amortisation columns
This is the table where you enter the items variations. It has several columns:
- Date
The transaction date - Transaction Type Id
The transactions type, identical to the one in the Transaction table. - Transaction Type Description*
The description from the Items table is displayed. - Item Id
The Item Id. - Items Description*
The items description from the Items table is displayed. - Notes
An additional note concerning the transaction. - Purchase Variation
The item (+/-) variation compared to the purchase or sale. - Historical Variation
The Item (+/-) variation compared to a item revaluation or write-down. - Book Variation
The item (+/-) variation value compared to the book variation.
This is particularly used for negative amortization - Fiscal Variation
This is the fiscal variation amount. - Amortisation Type Id
The amortization type code as shown in the Items table. - Amortisation Type Description
The amortization code descriptions as per the Items table. - Amortisation Percentage
The amortization percentage applied. - Account
The Assets account where the operation must be registered - Contra Account
Contra account (for example the amortization account) where the operation must be registered. - Archive Date and Archive notes
Columns you might use if you need to archive the item.
Amortisation Type table
This table shows the amortisation codes.
Therse are predefined codes that must not be changed.
Columns
- Id
The amortisation code.
These codes are fixed and must not be modified.
If you change the Id number the program will not operate correctly anymore.- 00 No amortisation. No amortisation will be created.
- 01 Full amortisation at once of the item. The item is amortised all at once.
- 02 Specified amount. The amortisation is calculated, based on the entered amount.
- 10 On the historical value. The amortisation is calculated as a percentage of the historical value.
- 11 On the book value. The amortisation is calculated on the book value.
- Description
The code explanation
Transaction Type table
In the Transaction Type table there are values that define the type of operation.
The most used type is the "35 Depreciation".
Transactions types must not need to be changed.

Column
- Id
The transaction type code
These codes are fixed and must not be modified.
If you change the Id number the program will not operate correctly anymore.- 01 Initial value. Used to enter an initial value, instead of entering the initial value in the Items table
- 11 Purchase or production
- 15 Sale or value reduction.
- 21 Revaluation
- 25 Devaluation
- 31 Inverse amortization
- 35 Amortisation
- 36 Supplementary amortization
- 41 Fiscal value increase
- 45 Fiscal value reduction
- Description
The code explanation
Amortisation of assets purchased during the year
When a depreciable asset is purchased during the year, it is necessary to set the number of months over which the depreciation should be calculated.
Proceed as follows:
- In the Items table, go to the Amortisation view, column Month 1.Year
The column can also be activated and then displayed in the Base view from the menu Data > Columns setup ( AmortisationMonthFirstYear). - In the row where the vehicle purchase is recorded, enter the number of months over which depreciation should be calculated in the Month 1 Year column.
On 31.12, when amortisation is calculated, all depreciable assets that have a value in the Month 1 Year column will be depreciated not for the entire year, but only for the number of months specified in the column.
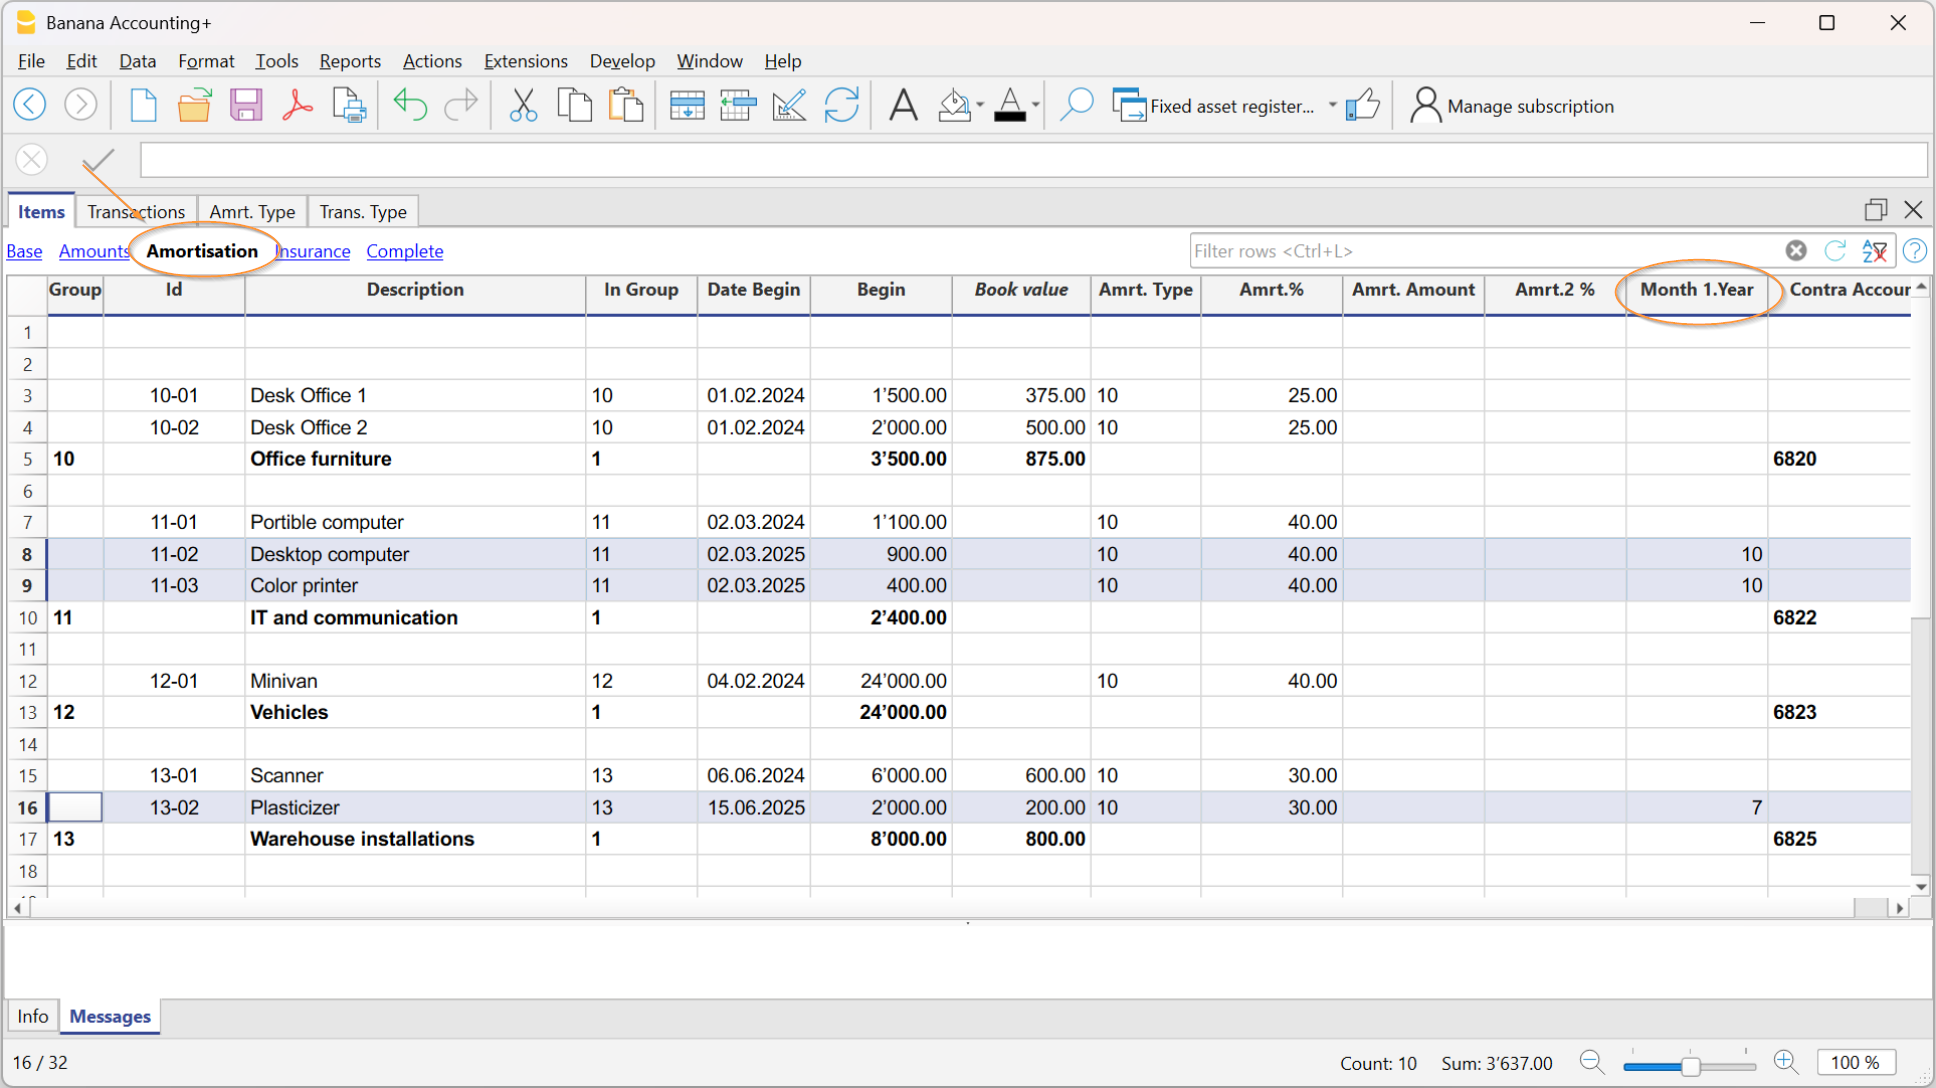
Create amortisation rows
In order to create the amortisation rows click on Actions menu → Create amortisation rows command.

Indicate:
- The date for the calculation of the amortisation.
- The period of the amortisation calculation (monthly, quarterly, half-yearly or annual).
The program creates the amortisation rows based on the parameters of the items indicated in the Items table.
- If the parameters Amrt. Type, Percentage, Account or Contra account are not entered for a single item, the software will use the group parameters of which the item is a part to create the amortisation transactions.
- If the number of months has been set for the item in the Month 1st Year column, the calculation for the first year is done on a pro-rata basis.
- The amount of depreciation is reduced to ensure that the book value does not go negative or is not less than the Residual value.
- Automatically calculated record values can be adjusted manually.
- Value adjustment records, such as devaluations or revaluations, must be entered manually.
Change the automatically calculated values
The rows that the program has created can be modified or deleted. This flexibility is very useful, as there are situations in which the automatically calculated value needs to be adjusted. This way, it is possible to cover all requirements and unexpected events.
In those cases, the amortisation value will be calculated manually and entered instead of the automatic value, such as:
- First amortisation, calculated according to different methods.
- Rounding adjustments.
- Final amortisation adjustment, to ensure that the amortisation is entire.
- Amortise to maintain an accurate final value.
- Additional amortisation, in this case it is useful to create a new transaction row.
It is also possible to insert transactions that modify the other values.
Change in the type of amortisation
Amortisation is recorded in the Transactions table, so changes in the Items table have no impact on past amortisation.
You can change the amortisation type and percentage by simply changing the relative values for an item or group in the Items table. The next time the new amortisation rows are created, the new parameters will be used.
If necessary, there are two options to adjust the book value:
- Add a new transaction with the adjustment amounts.
- Change the transaction created automatically.
Disposals of depreciable assets
When a depreciable asset is disposed of, certain steps must be followed in accounting to zero out its value both in the Fixed Asset Register and in the Balance Sheet, recording any capital gains or capital losses.
To reverse the value in the Fixed Asset Register
Before proceeding to zero the value in the Fixed Asset Register, the following elements should be considered:
- Disposal date to calculate the periodic depreciation amount (from the beginning of the year up to the date of disposal or sale)
- Residual book value
- Sale value
- The difference between the residual book value and the sale value may result in a capital loss or capital gain.
Below is an example of a vehicle disposal on 31.03.2025, with the following elements:
- Disposal date: 31.03.2025
- Residual book value: 12,000.-
- Sale value: 10,000
- Capital loss: 2,000 (12'000 - 2'000).
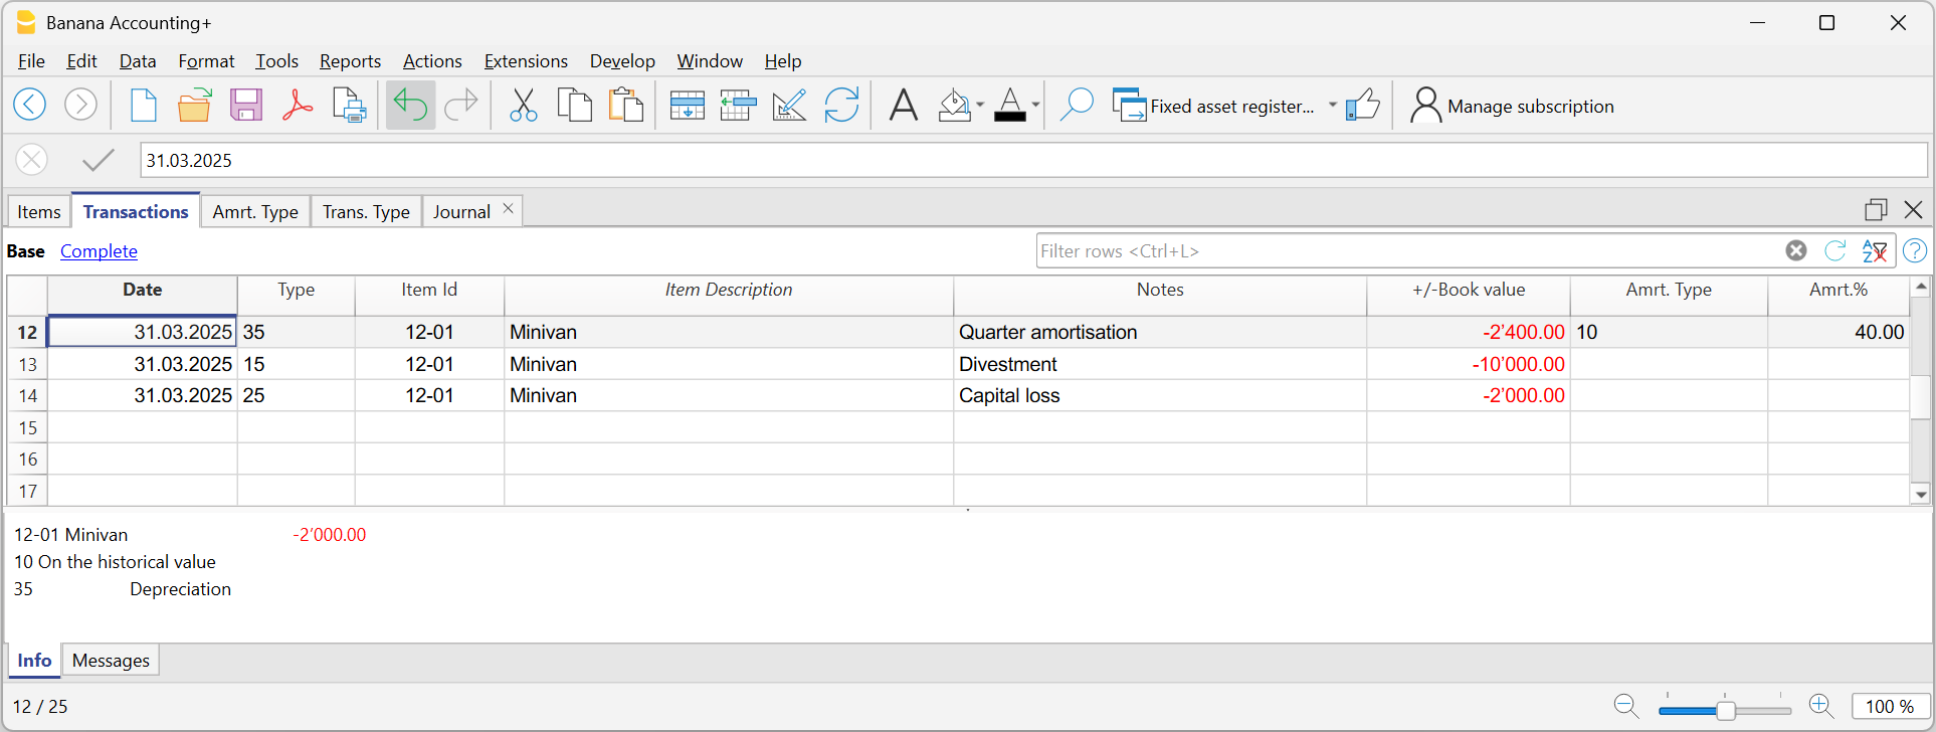
In the Fixed Asset Register application on 31.03.2025, record:
- The depreciation amount up to 31.03.2025 for the asset being disposed of.
- Enter the date, select "35" in the Type column,
- Enter the asset number in the Items Id column
- Enter the description "first quarter depreciation" in the Notes column
- Enter the depreciation amount for the first quarter in the +/- Book Value column
- The disposal or sale on 31.03.2025
- Enter the date, select "15" in the Type column
- Enter the asset number in the Items column
- Enter the description "disposal or sale" in the Notes column
- Enter the residual book value in the +/- Book Value column
- The capital loss (or capital gain, as the case may be) on 31.03.2025
- Enter the date, select "25" in the Type column,
- Enter the asset number in the Items column
- Enter the description "capital loss" in the Notes column
- Enter the difference between the book value and the sale value in the +/- Book Value column
Recording the disposal in the accounting file
When an asset is disposed of in the accounting file, its book value must be removed from the Balance Sheet.
- If there is an accumulated depreciation account related to the asset:
- Reverse the accumulated depreciation up to that point with the asset account
- Reverse the residual book value of the asset
- Recognize the capital gain or capital loss
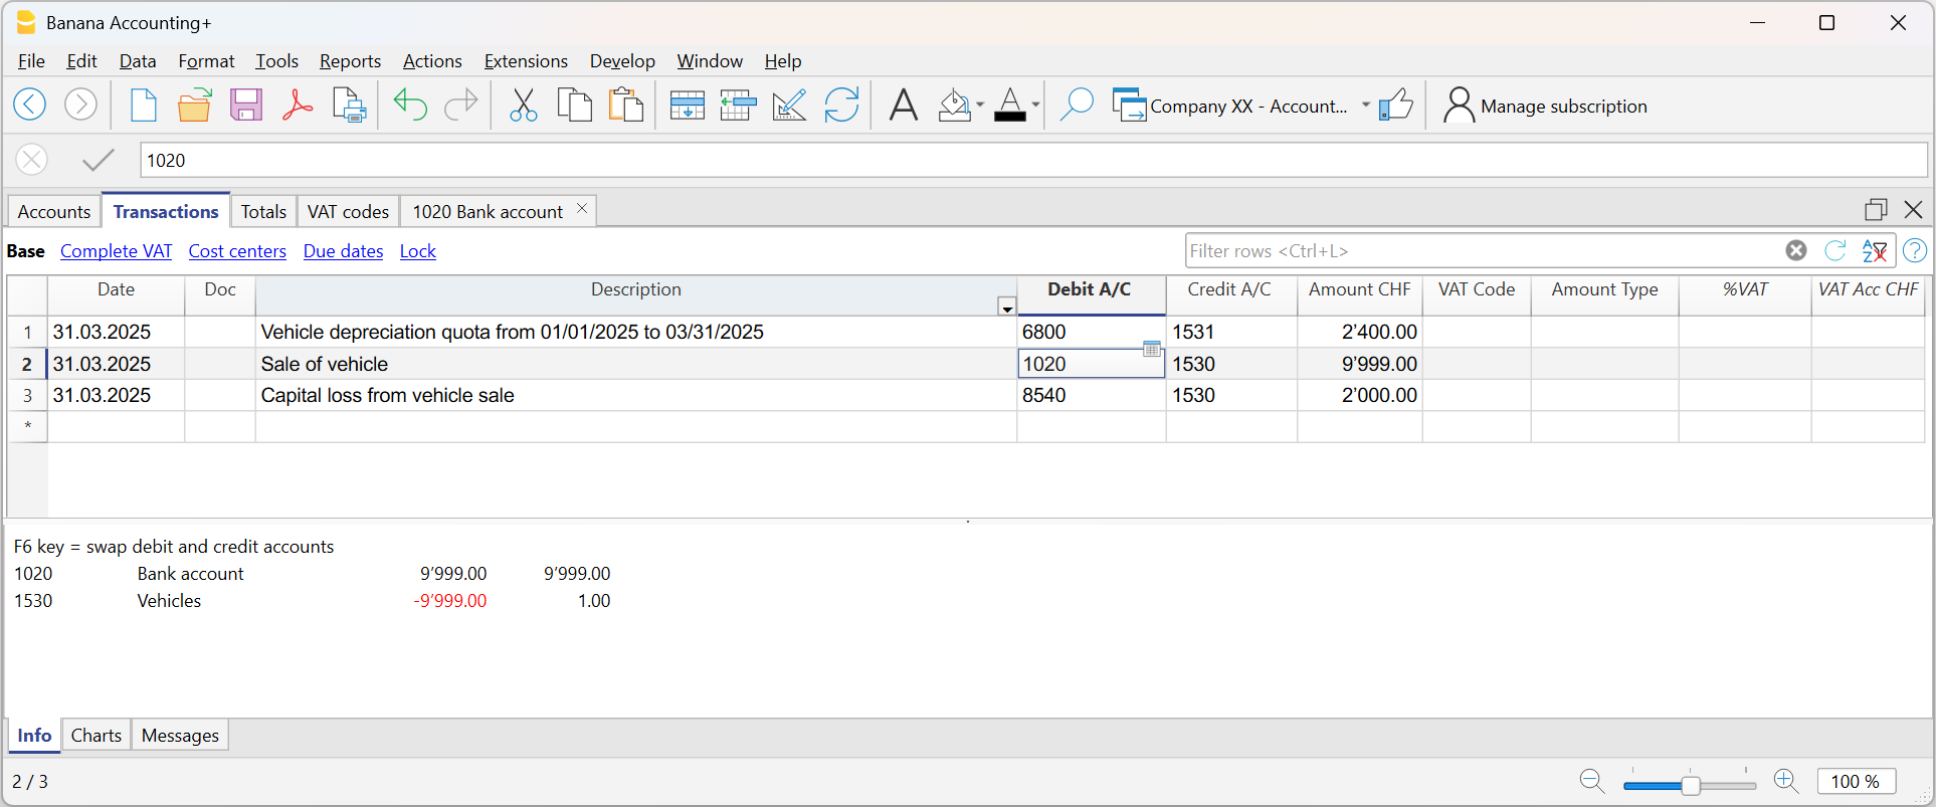
Enter transactions that modify other values
The main view of the Transactions table displays the change in book value. The full view shows all other available columns, so as to make the change of the other values possible.

Transactions to change of Purchase, Historical or Fiscal value
You can enter transactions that modify the purchase, historical or fiscal value by using the appropriate columns.
- Then add a new row and manually enter the values.
- The amount must be entered manually by the user.
- Use the appropriate Transaction type for the transaction.
- If it is a amortisation, use the Amortisation type code.
- Amount variation columns:
- +/- Purchase
- Positive amount for new purchases (Transaction type 11).
- Negative amount for partial or total sales (Transaction Type 15).
- +/- Historical
- Positive amount for revaluations (Transaction type 21).
- Negative amount for partial or total write-downs (Transaction Type Id 25).
- +/- Tax
- Positive amount for the increase in the tax value (Transaction type 41).
- Negative amount for the reduction of the tax value (Transaction Type Id 45).
- +/- Purchase
Modification of the Initial Value
The initial value in the item table should not be altered. If adjustments are required, postings must be entered that modify either:
- the Purchase value.
- or the Historical value (devaluations or revaluations).
Internal value different to the accounting one
There may be situations where the market value of the asset is higher than the book value, so there will be an internal hidden reserve.
To keep track of these differences you can proceed in two ways:
- In the Items table, display MarketValue column and enter the value.
With this system, you will always have to update the value each time it changes as a result of actual amortisation. - Use the FiscalValue column as internal value.
The assumption is that the tax value column is not already used and therefore that the tax value is equal to the book value.- In the Items and Transactions table, replace the column headings, use "Internal Value" instead of "Fiscal Value" and "+/- Internal" instead of "+/- Fiscal".
- Descriptions of codes 41 and 45 will change in the Transaction type table.
- Insert the transaction rows with the transaction type 41 and 45 and indicate the difference in positive in the "+/- Internal" column .
Modify Residual Value
When the Create Amortisation Transactions command is used, each item is amortised based on the residual value. For this reason, when an item reaches the end of its useful life, it is recommended to manually record the amortisation. If the entry is not manually adjusted, a value will be carried forward for the item in the next year.
The residual value of items can be viewed in the Items table, in the Book Value column.
How to proceed:
- Take note of the residual value of each item that has reached the end of its useful life.
- In the Transactions table, enter:
- In the Date column, the amortisation date
- In the Type column, the number 35 (amortisation)
- In the Item ID column, the ID code defined in the Items table
- In the +/- Book Value column, the amount of the residual value to be amortised.
Once the amortisation transactions for the residual values are made, in the Items table, the amortised items will show a value of zero for their residual value.
Recheck everything
The program recalculates, double-checks and displays any errors or differences.
Use this command whenever you are in doubt that there is a problem.
Fixed assets register printouts
All the information contained in the tables can be printed or exported with the appropriate commands.
There are two specific print options:
Accounting Transactions Report
This is the accounting report of the transactions, with the account number and counterpart.
It is used to import the amortisations transactions into the accounting file.
Use the Reports menu→ Accounting transactions report.
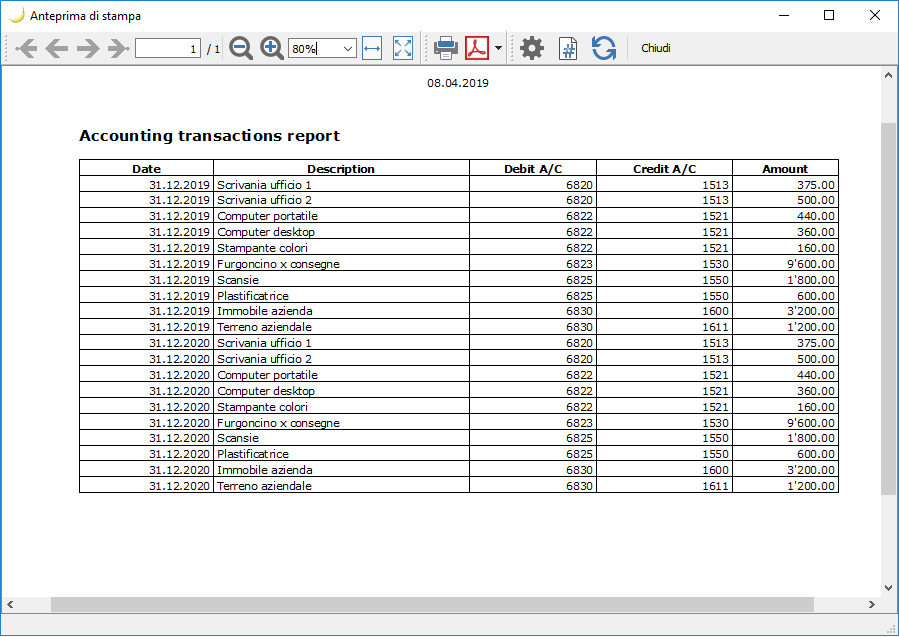
Journal View (item cards)
This printout displays all the transactions with the variation of the values and the cumulative value for each item.

Import amortisation rows into accounting
At the end of the year, the amortisation entries can be automatically imported into the accounting file. Proceed as follows:
- Via the Actions > Import into Accounting > Movements
- Choose Fixed Assets register as file
- Using the Browse button, search for and select the Fixed Assets register file.

Only the rows of the Journal that fall within the accounting period are included.
You can then choose to import only certain data.
As per version 9.04 of Banana Accounting it is possible to group amortisation transactions by account.
Livro de endereços
Aplicação para a gestão de endereços (contactos, sócios) e impressão de listas e etiquetas.
Características:
- Definição livre de campos
- Imprima só as linhas selecionadas
- Configuração livre do formato das etiquetas
- Copia/cola endereços de outros programas (Excel e Word)
O Livro de endereços contém três tabelas:
O dados do Livro de endereços podem ser sincronizados com os contatos da Google.
Imprima endereços/etiquetas
As informações relativas aos endereços/etiquetas estão disponíveis na pagina Imprima etiquetas
Characteristics of the Address Book
The Address Book and Addresses application are included in Banana Accounting Plus. It is ideal for quickly and easily setting up the addresses of your customers, suppliers, partners, family members and instantly access the contacts you need or to print the address lists for labels.
Multiple functions to speed up and make management easy:
- Predefined columns for each type of content.
- Addition of additional user defined columns by the .
- Customizable column positioning.
- Customizable label format setting.
- Ability to print only the selected rows.
- Free setting of the label format.
- Copy / paste addresses from other programs (Excel and Word).
- Ability to color the row to instantly identify the most important contacts.
Based on spreadsheets like Excel
Address management is based on pre-defined columns that can be customized as positioning and as header. The columns are grouped into three main tables:
- Groups Table
In this table the address groups are set. Each group is identified by an Id which is used to categorize the addresses. Groups can be created for suppliers, customers, partners, family members, friends. This makes searching easier and allows you to set labels even with group selection. - Contacts Table
The contacts are entered in this table, with all the relevant information.As in any other table, additional columns for notes or other can be added.Contacts can be updated and synchronized with Google contacts. - Diary Table
This table is intended to enter day by day all the annotations relating to the people contacted.
Accounting setup
Address Book headers and basic data set up in a single, easy-to-view dialog.
- Company headings and address with free texts.
- Language settings.
- Link to extensions for customizations.
- Password to secure your Depreciation Register file.
- You can have multiple files in different languages.
File and data saving
- All your data is saved in a single file, where you can easily find everything without wasting time.
- Give the file the name you want.
- You can manage an unlimited number of files.
- Save data on any media, computer, network, cloud or send it by email. You can access it from wherever you are.
- Simultaneous access by multiple users, where, however, only one person can open the file to be edited.
- Make your accounting more secure by inserting password protection.
- In the Links column you can add a digital link for the registered item (receipt, purchase invoice, warranty).
- In all tables you have predefined columns that you can make visible by choice.
- The Search command allows you to quickly search for an item.
- You can sort the rows according to different sorting keys.
- Export to pdf for data storage and export to other formats for data re-processing.
- Importing data from other programs in Text, Ascii and CSV format, with the following options:
- Import data from the clipboard.
- Auto completion of values.
- Column header.
- Unicode (Utf-8).
- Columns for the archive of products no longer available.
Error reporting and control
- Command to check accounting.
- Reporting of any wrong settings, differences or errors.
- Each report is linked to a help page that explains the causes and the solution.
- Possibility to correct.
Reports and printouts
- Table content completely printable or can be printed by selection only.
- Customizable column arrangement.
- Print labels (from the Extensions menu).
Data export and archiving
- Copy and paste directly to and from Excel.
- Export tables to pdf and various other formats.
- Archiving of printouts and data to pdf or other formats.
- Saving of the accounting file on any medium.
Other features
Added functionalities
Extensions
- Predefined extensions for various printing and other features.
- Quick search and installation.
- Customizable extensions.
- Automatic update.
- Ability to create and install your own local extensions.
Comprehensive documentation
Groups table
In the Groups table, one can define an identification code for a Group and enter the corresponding description in the Description column (es. CLI - Clients, SUP - Suppliers, COL - Colleagues, etc.) for each row, in the Id column.

Contacts table
The Contacts table presents the columns where the addresses can be entered.
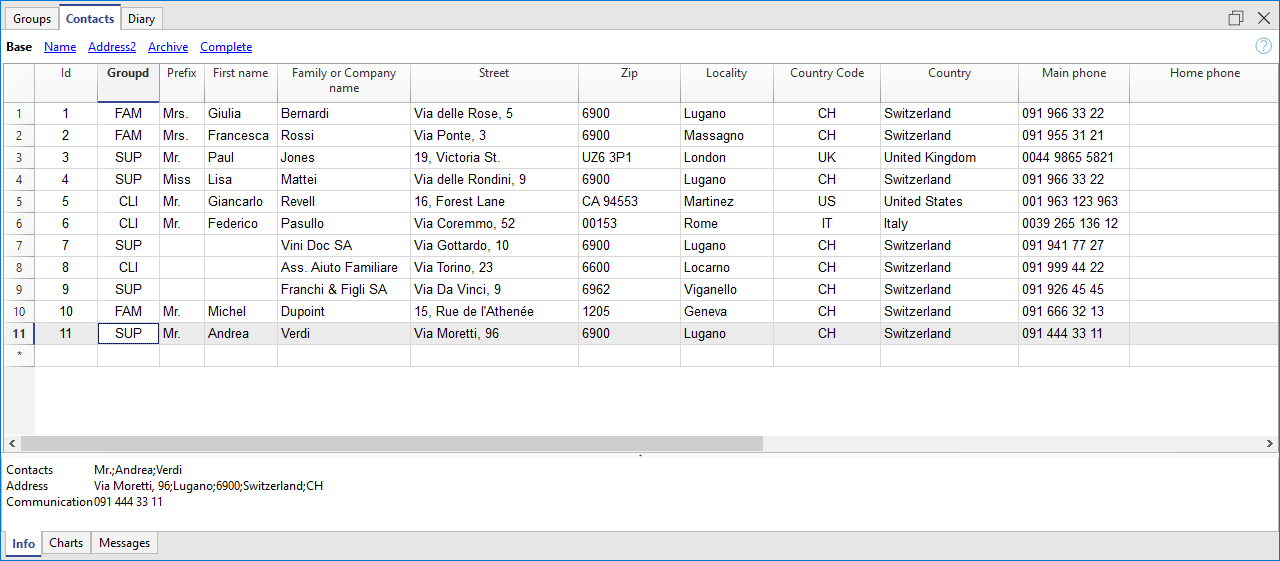
The columns
There are different columns. The biggest part of the columns is invisible. The Colums setup command has to be used in order to:
- Display the columns
- Change the order of the displayed columns
- Add other columns
- Id is the contact number.
This is needed when you want to connect a contact to the diary, to the loans or to another table.
While being on that column and pressing F6, there is an automatic progressive numbering. - Prefix: you can enter "Mr", "Mrs", etc.
- Family or Company name (if it concerns a company).
If the contact is a contact person for a company, you can enter the company or entity to which the contact belongs in the Organisation column.
When pressing F6 on the Name or Family Name column, the program separates or inverts the name and last name.
If there are more than two names, this feature is not able to distinguish which one are the names or family (last) names. - LetterStart: is the greeting that is being used at the beginning of a letter. This is being used for a mail merge.
For example: Dear John or Dear Mr Smith.
The program suggests possible texts according to the contents that have already been entered into the columns.
Import new Contacts
It is possible to import new contacts also from external sources and it can be done in several ways:
- Importing from Excel or other text programs
- Via the Import rows command.
- Synchronize with Google contacts
The views
There are different views available and each view distinguishes itself from another one through the presence of specific columns; in this example (Address Book file), we have the Base, Name, Address2, Archive and Complete views. In the Complete view, all the columns are visible.
Diary table
In the Diary table, you can record all kind of notes, day after day and referring to the entered contacts.

(Deprecated) Manage, edit, back up Google contacts
Deprecated commands and functionalities
Attention: Google has deprecated the Contacts API used by Banana to access and modify contact data.
The new People API replacement has different purposes and functionalities.
The reading and modification of Google contacts will therefore be available ONLY UNTIL Google keeps the Contacts API in service. After that the synchronization commands will give an error. The data saved in the AC2 file will still be accessible. It is not known how long the Contacts API will still be available. Please do not use these features anymore.
Documentation
Download, view and edit your Google / Android address book contacts in a tabular format. You can update and clean contacts much faster and also print, copy and paste them into Excel. You can also save the contacts file to your computer as a backup copy.

Manage Google contacts
- File->New command creates a New Empty Address Book.
- Menu->Actions->Google Contacts->Download Changes.
- You will be asked to authorize access to the contacts.
- The Contacts table will be filled with your contacts.
- Edit and update the contacts as you like.
- Menu->Data->Column Setup let you also make visible all predefined columns, like Organization Name, Organization Title.
- Menu->Actions->Google Contacts->Send Changes.
The local changes will be saved in Google.
For more information see the explanations below.
Authorize access to your contacts
Synchronizes the contents of your Banana file of the Address Book and Addresses type with the contacts of your Google account.
The first time you issue the command Download and replace existing contacts from the Actions-> Google Contacts menu, to connect to your Google contacts:
- A window appears that displays a page of the Chrome browser integrated in Banana and asks you for your Google login.
- You have to enter the email address and password of your Google account.
Banana only saves the email of your Google account: the session data and the password are not saved in Banana, but are managed by the mechanism of your browser.

Immediately afterwards you must confirm that the Banana software can access and modify your contacts.

Synchronization commands
Download changes
This function imports data from Google and updates the values in Banana.
- If there is already data existing in the table, the program will merge the various data in the tables
- Groups.
- Contacts.
Send changes
Send modified data in Banana to Google, updating your Google contacts.
- To be able to send data to Google, you must have previously downloaded it at least once.
If you have made changes on your mobile, you have will have to first download the data and then activate the command Send Changes.
A window with the elements modified, added or deleted will display.

It is not recommended to use the "GoogleNoSynchronize" column because it will no longer be used in subsequent versions. If Yes, the contact will not be synchronized with Google.
Download and Replace existing contacts
Banana will not always be able to synchronize all changes.
This command will delete the contacts in the Contacts table and replace them with the existing Google contacts.
This command will also delete items marked as "GoogleNoSynchronize"
Conversion of values in the table
Google contacts manages addresses, phone numbers and e-mail in a structured form. In the Contact stable, the data are instead managed via the column.
Telephone numbers and e-mails
Google allows you to define different e-mails and phone numbers. For each one a label and an indication by default is designed.
In Banana you must follow these directions:
- If there are different types of telephone or e-mail, you will indicate them in the appropriate column (work, home, other).
- If for each type there are several telephone numbers or e-mails, indicate them in the column, separated by a semicolon ";".
Telephone work "+1234567890;+21234567890". E-mail work "example@gmail.com;example@yahoo.com" - If the phone number or e-mail has a particular label, it will be indicated in the Other column, with the label followed by a colon ":".
If there are several numbers, separate them with a semicolon ";"
"Holidays:+1234567890*;Cousin:+1234566777". "Temporary:example@gmail.com;Mama:example@yahoo.com" - To indicate that the phone is a number by default, mark it with an asterisk "*" after the number.Between the different numbers there can be only one default number.
Addresses
Google allows you to have multiple addresses for the same contact.
Banana Accounting instead allows to synchronize only one address, the "Home" being main one.
Groups
Groups defined in Google are imported into the Groups table and new ones can be added as well.
In the Group Id column of the Contacts table you can insert multiple membership groups by separating them with a semicolon ";".
Create a backup of your Google contacts
- Create a New empty Address Book file.
- Utilities1 Menu -> Google contacts -> Download changes.
- Save the file on your computer with the day's date in the name.
Manage your Google address contacts
If you have multiple addresses in your address book, it will be easier to use the Banana address book to sort out your addresses. You can quickly correct errors, add information and remove duplicates and much more.
- Download data from Google contacts
- Effectuate your changes
Remember that the F6 key (Mac Cmd-6) has several features (see the Info window below).
In the Name and Surname column, invert the values. - Hit the Send changes command button to send the changes to Google.
Archive and remove contacts that are no longer used
You can save phone contacts that you no longer use on your computer and delete them from your phonebook.
First time:
- Create a new Address Book file.
- Utilities1 Menu-> Google Contacts-> Download Changes.
- Save the file in your documents, "Folder_Philip_donotcancel_ever", so you remember that it is an important file.
- Display the Archive view in the Contacts table
- In the Archive date column, insert the current date (type the dot ".") for all contacts you no longer require
- Utilities1 Menu -> Archive data -> Archive Table data -> Contacts.
- Utilities1 Menu-> Google Contacts -> Send Changes.
Your data will be deleted from the address book. - Utilities1-> Archive data -> View Archived data-> Contacts will allow you to access your archived contacts.
If you want to add them back to your directory, you must copy the line in the Contacts table and delete it from the Archives.
Safe-keep your file. Proceed as follows if you wish to archive unused contacts:
- Open your Address book file.
- Utilities1 Menu -> Google contacts -> Download changes or if there are problems Download and replace existing contacts
- Proceed as indicated above in the Archiving and Sending Changes procedure.
- Save the changes.
Resume data in Excel
- Download data from Google contacts.
- Select all (upper left corner button)
- Copy
- Paste into Excel.
Synchronization problems and suggestions
The Google address book offers many possibilities and can be used in very different ways. We have tried to make it work better for you , but there may be situations where the program might experience problems with the changes that have been made.
If this is the case, it will be necessary to use the command function. Download and delete existing contacts, to completely realign the two archives.
We are obviously interested in continuously improving the functioning of our software, so send us an e-mail describing the problem and show us how to replicate the problem on our computers. This will allow us to fix the problem.
Any suggestions on how to improve the product are always welcome.
For technical details related to the connection, check the Google API documentation.
- https://developers.google.com/google-apps/contacts/v3/
- https://developers.google.com/gdata/docs/2.0/elements#gdReference
Print label
The Address Book application allows you to create and print addresses on labels. Printing can be customized and adapted for various needs.
Printing labels is very simple: Menu Extensions → Print Labels. At the following links you can find detailed information about the various dialogs for printing and the format of the labels:
Biblioteca e coleções
Introdução e modo de uso
A aplicação Biblioteca e coleções do Banana Contabilidade permete inserir um elenco de livros, objetos ou contactos e manter o controlo dos objetos emprestados ou restituidos.
Criar novo
Menu Arquivo → Novo...
Selecione o tipo Biblioteca e coleções.
Tabela
Nos arquivos de tipo Biblioteca e coleções, encontrará várias tabelas:
- Tabela Grupos - onde são definidos os grupos segundo os quais se deseja separar os utentes.
- Tabela Contatos - onde são inseridos os dados dos utentes: nome, número de telefone, email, ...
- Tabela Artigos - onde são inseridos os artigos: objetos de valor, livros ou outros.
- Tabela Empréstimos - onde são geridos os artigos emprestados, o prazo e a data de restituição.
- Tabela Diário - onde se podem inserir notas diárias e combiná-las com um determinado contacto, por exemplo os turnos dos bibliotecários.
Outros comandos utéis
Impressões
Tudo aquilo que vê no ecrã pode ser imprimido ou salvo em PDF.
Use a extensão Library books Report para obter:
- Impressões do catalogo completo dos livros em PDF, para publicar num sítio internet.
- Impressão da ficha de contatos con o livros ainda em empréstimo (para enviar como anexo quando se fazem os lembretes).
Characteristics of Library and Collections
Library and collections is included in the Banana Accounting Plus version. It is the easy and innovative solution to organize books, loans, contacts and collections and, have all the lists instantly available for effective control. You can monitor loans, expiration dates and return dates or simply to put in place perfect order in your home library.
Multiple functions for a digitized and efficient organization:
- Fast data entry.
- Categorization by user groups.
- Retrieve book details from Google with ISBN.
- Copy and paste book list from Excel.
- Quick searches by title, author, keywords, user or user group.
- Internal planning with the Diary (library shifts, annotations or new orders to be made).
- Loan management.
Accounting setup
- Headers and basic data set in a single dialog box, easy to visualize.
- Headings with free texts.
- Default address fields
- Language settings.
- Link to extensions for customizations.
- Password to secure your Library file.
- You can have multiple files in different languages.
Tables
In the Library and Collection files there are several tables that allow you to always have data in order and easy to retrieve.
The tables are as follows:
Groups Table - where the groups are defined, according to the subdivision of users you require.
Contacts Table - where user data is entered: name, tel, email, ....
Items Table - items are entered: valuables, books or other.
Loans Table - manage the loaned items, the expiration and return dates.
Diary Table - to enter daily notes and link them to a specific contact, for example librarians' shifts.
File and data saving
- All your data is saved in a single file, where you can easily find everything without wasting time.
- Give the file the name you want.
- You can manage an unlimited number of files.
- Save data on any media, computer, network, cloud or send it by email. You can access it from wherever you are.
- Simultaneous access by multiple users, where, however, only one person can open the file to be edited.
- Make your accounting more secure by inserting password protection.
- In the Links column you can add a digital link for the registered item (receipt, purchase invoice, warranty).
- In all tables you have predefined columns that you can make visible by choice.
- The Search command allows you to quickly search for an item.
- You can sort the rows according to different sorting keys.
- Export to pdf for data storage and export to other formats for data re-processing.
- Importing data from other programs in Text, Ascii and CSV format, with the following options:
- Import data from the clipboard.
- Auto completion of values.
- Column header.
- Unicode (Utf-8).
- Columns for the archive of products no longer available.
Error reporting and control
- Command to check accounting.
- Reporting of any wrong settings, differences or errors.
- Each report is linked to a help page that explains the causes and the solution.
- Possibility to correct.
Reports and printouts
Everything you see on the screen can be printed or saved in pdf format.
Use the Library Books Report extension to get:
- Prints of the complete catalog of books in pdf, to be published on the website.
- Print the contact sheet with the books still on loan (to be sent as an attachment when making reminders).
- Customizable column arrangement.
- Print non returned items.
- Printing of the labels with the codes for the spine of the books.
- Print return labels inside the book.
- Print updated list of books not yet returned.
Data export and archiving
- Copy and paste directly to and from Excel.
- Export tables to pdf and various other formats.
- Archiving of printouts and data to pdf or other formats.
- Extensions for creating Standard Audit Files.
- Saving of the accounting file on any medium.
- Archive data.
Other features
Added functionalities
Extensions
- Predefined extensions for various printing and other features.
- Quick search and installation.
- Customizable extensions.
- Automatic update.
- Ability to create and install your own local extensions.
Comprehensive documentation
Other useful commands
Come iniziare con la Biblioteca e collezioni
Crea un nuovo file
È generalmente più semplice iniziare da un modello preimpostato, piuttosto che uno nuovo vuoto.
Pertanto consigliamo di procedere nel seguente modo:
- Menu File → Nuovo→ Biblioteca e collezioni. Scegli il modello che trovi a disposizione e personalizza i conti e i gruppi, secondo le proprie necessità.
- Scarica direttamente il nostro modello dalla pagina seguente: Biblioteca, collezione di libri e gestione prestiti e aprilo col Banana.
Imposta i dati base
Nel menu File → Proprietà file (Dati base) imposta i dati della tua Biblioteca.
Imposta i dati nelle tabelle
Report e Stampe
Scarica l'estensione Report libri biblioteca per ottenere le stampe dei dati e salvarli in *.pdf.
Groups table
Groups according to which you wish to divide the users are defined in the Groups table. To identify a group, enter an identification code Id (column Id). In the Description column you enter a text describing the group.

For a detailed explanation of the columns in the Groups table, please consult the Address Book page.
Contacts table
You can to enter user data in the Contacts table, divided into several customizable columns (you can make visible only the ones you need and hide all others - you can also add new ones).

For a detailed explanation of the columns, please consult the Address Book page.
Items table | Library and collections
In this table you can enter your items data: they can refer to valuables, books or other.
There are different ways of entering the items data: copy and paste from Excel, automatic data retrieving from the Internet, etc.
See detailed explanations below.

Columns
There are various columns and it is also possible to add new ones.
- Id: the item number that has to be attributed.
The F6 key assigns the number progressively.
It is also possible to use a prefix. For example: A-001, after that, the program suggests A-002. - ISBN
The International Standard Book Number.
When entering the ISBN in the Id column and pressing the F6 key (⌘+6 on Mac), the program automatically completes all the book's data in the other columns, incorporating them from the Google database, provided there is an internet connection available.
Any already present information will be overwritten.
For more information see: Google documentation.- The data in the Google database are not always complete. For example, the title might be present, but the editor or other data might be missing.
- In order to know which data are available on Google, please visit the following page:
https://www.googleapis.com/books/v1/volumes?q=9781906042509, entering after q= the book's ISBN number.
If you see "totalItems: 0" it means that the book is NOT in Google's database
If you see a page in a JSon format (programmers format) with the book's data, it means that the book IS in Google's database.
- Title
Is the title of the work. - Author
There can be several authors entered, separating them with semicolon ";". - Publisher
There can be several editors entered, separating them with semicolon ";". - Return date
The projected return date for this item.
This column is automatically completed according to the checked out item.
Entering books data
Book data can be entered in different ways:
- Manual insertion - You can manually enter the books data in the Items table (see previous paragraph)
- Retrieve data from Excel - If you already have a list of books from another program or Excel, you can simply copy/paste the data.
In order to copy / paste the data you need to make sure the columns in Excel as arranged in the same order as in Banana. If the column order is the same in both programs you can copy the data in block, otherwise you need to proceed column by column. The copy/paste operation is possible from Excel or from txt files. - Retrieve book data automatically from the internet - The ISBN column is very useful if you have an Internet connection: each book has an ISBN code (internationally recognized and generally written on the back of the cover); If you enter a book's ISBN code on the appropriate column in Banana and press the F6 key (or Cmd + 6 for Mac), the program automatically retrieves the books data from the Internet and inserts all data (title, author, publisher, etc. even a small summary).
- If the book has different authors or publishers, just separate the names with a semi-comma ";" - they will also be found individually in searches (for example if you need to find all the books of a certain author).
Loans table
In the Loans table you can enter the checked out items, the expiration date and the return date.

Columns
- Date
The date of the loan. - ItemId
The item number. A search can be made based upon the title. - ContactId
The contact number. A search can also be made based upon the name, family name, place. - Expiration date
The projected date for the item's return.
If you enter "+30", the program proposes the date that comes 30 days later. - Return date
Enter the return date.
How to manage the loans
Loan of a book
- Enter the date. If you click ".", the date of the day is automatically written.
- In the Item Id column, as you start typing the title of the book or library user, the program will display all choices available in your database; just select the right option and press the F6 key: the program will automatically fill the Item Id and Description cells.
- In the Expiration column (date of return for the book) the program automatically uses a date 30 days after your current date, but you can manually change that: you can enter the number of actual days (for example +40) to generate the correct return date (40 days later).
Diary table
In this table you can enter daily annotations and link them to a specific contact.
For example, you can enter the working shifts of librarians, or add relevant notes or facts, to-do lists, etc.
For each annotation you can enter the date, description, an expiration date and associate a user code.

Items return
How to register a book return:
To indicate that a book has been returned, simply enter the date the book was returned in the Return column of the Loans table.
If you have a lot of books on loan, the Items return dialogue lists the books on loan, allows you to search for them and indicate with a check that they have been returned.
Here is how to proceed:
- From the Actions menu, choose Items return;
- This will open a window where you type the name of the library user. This will display all books on loan to this library user.
- You can now check all returned books
- Click the Apply button and the program will automatically insert the actual date in the Return date column of the Loans table.
- In case of error, return to the Loans table and click the Undo command.

Archive table data
How to archive data
The Archive feature avoids the adding up of too many transactions of lent and returned books. Outdated data are being archived in hidden tabs without being deleted. This data can be recalled at any time for statistics or any other use.
Store data of returned books
- Choose Archive data from the Actions menu and then Archive table data → Loans. The program will delete all transactions of already returned books from the Loans table and store them in the Archive table.
- Only books on loan that are not yet returned will be shown in the Loans table.

Store contact information no longer used
As for your books, you can equally archive your old and unused contacts
- Indicate a storage date for all the contacts you wish to archive.
- Choose the Archive data from the Reports menu and then Archive table data and Contacts.
Archive data for Estimates and Invoices application
To archive data for the Estimates and Invoices application, please refer to the Archiving Invoices page.
Print library labels
You can print two different types of labels:
- Small labels (containing the book code) for use on the spine of the book, so that they are visible on the bookshelves
- Larger labels are used on the inside of the cover, mentioning that the book belongs to the library and has to be returned at a specified date
Labels can be printed either on the basis of the Banana file, where you have registered all the books in the library, or from an empty file in case you wish to print a list with codes, that you will then assign to the books.
Creating a file to print library labels
Via the File menu -> New... in the Filter by box : enter the the text "library" and select the Banana Library - printing book labels template (also make sure you have selected English as search language).
You can also find the template directly at this link: Banana Library - printing book labels
Printing labels for the spine of the book
In order to print the labels, you can open a new blank file in Banana, containing no data (File menu -> New), but, as stated, you may wish to start from an existing, as explained earlier.
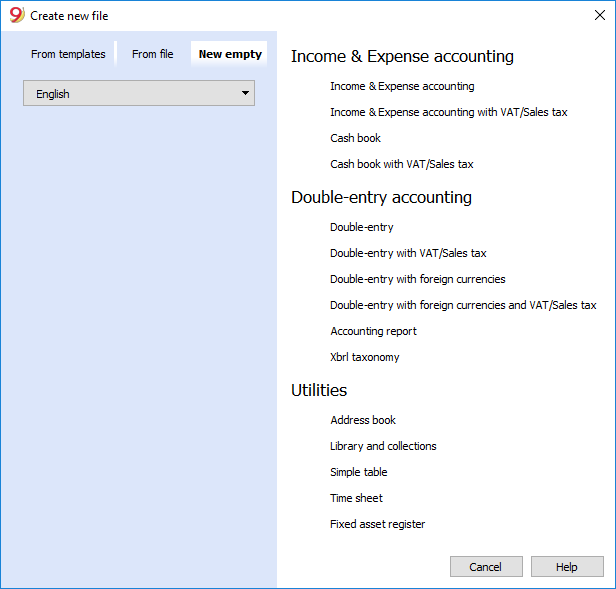
There is a useful Excel function to generate a large amount of codes in a speedy manner, rather than entering them manually or than using F6 key. Here is how you do it:
- Open a new Excel file; in cell A1 entere the library code that suited your purpose (any combination of letters followed by numbers will do) - for example B1000.
- Choose the bottom right angle of your cell with your mouse (the point will now be a cross), and, while holding down the right click, drag down along the column; Excel will automatically generate autoprogressive numbers.
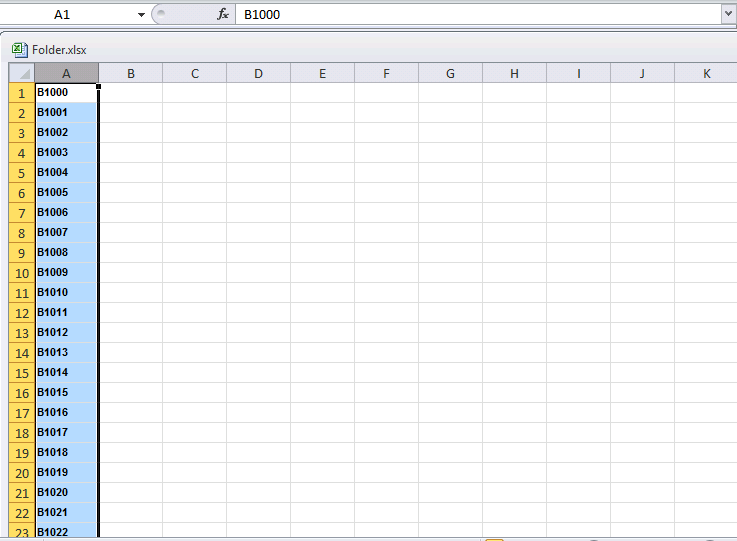
- Now copy (Ctrl + C keys) the codes that have been generated into Banana's Items table, in the Id column (Ctrl + V keys).
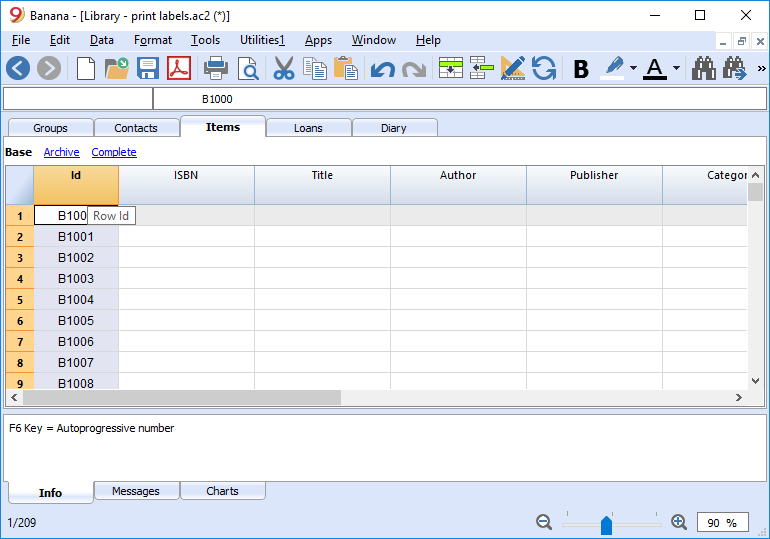
- You can now create the label. Choose the Labels -> Print command from the Extensions menu. This window will be shown:
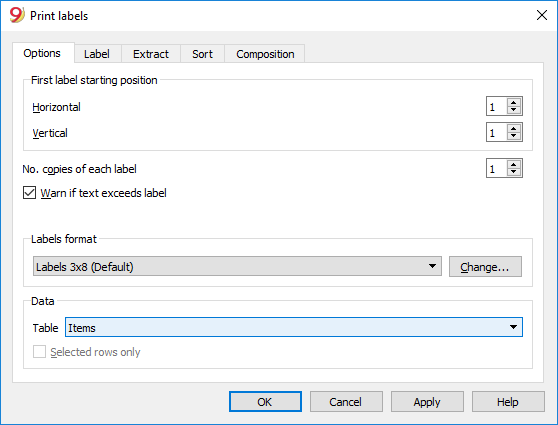
- It is important to have the Items table selected as the source for Data
- Now you can define your label by pressing the Extensions menu -> Labels -> format command.
I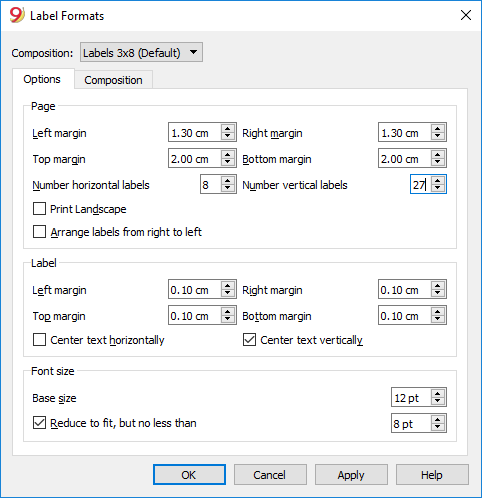
-
In the window now shown, enter the margins and other characteristics of your chosen label, Herma 10001 in this case.
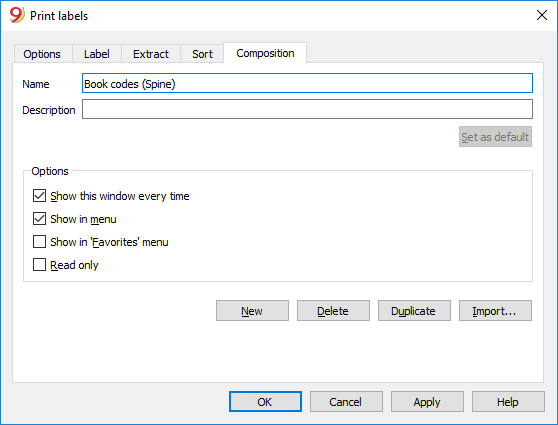
- Before hitting the OK key, open the Customization tab, where you can assign a name to your custom settings (so they can be used in the future). In this case it's Book codes (Spine).
- Hit the OK key
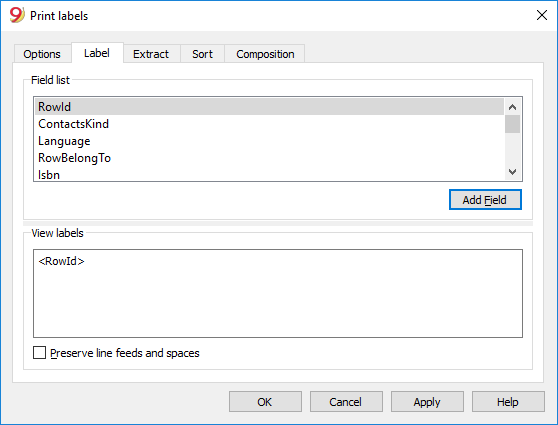
- In the Label section select RowId to indicate the contents of the label (in the example you indicate the book code) and press the Add field button. The RowId appears in the View Labels field.
- Pressing the OK button will generate a preview of your label.
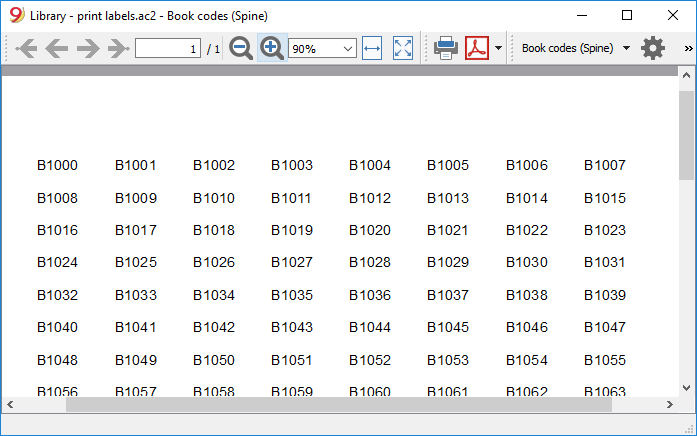
You may now print using your Herma sheets.
Printing labels for the inside cover
Choose your label format. In the example a 70x36mm (Herma 4630 or Avery 3490) format hase been chosen. The steps to follow are identical to the previous example::
- First, choose the Labels -> Print command from the Extensions menu
- Enter the margins for your new label in Extensions -> Labels -> format window.
- Before hitting the OK key, open the Customization tab, where you can assign a name for your new custom settings (Inside Cover label, for example), than hit OK.
- Select Label in the Print label section to add the content of your label.
You may enter text, other than the available fields, as well.
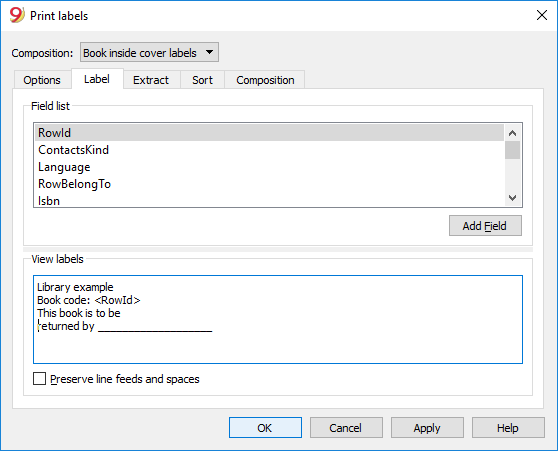
Pressing the OK button will generate a preview of your label.
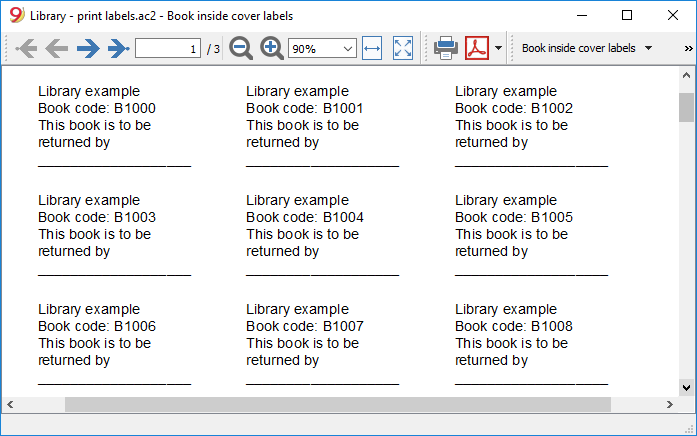
Note:
The template available in Banana already includes the two mentioned label formats: label for the spine of the book and label for the inside of the cover.
Related features:
Management of yearly membership fees
If you run a library requiring an annual membership fee, or if fees are charged for the loan of individual books, it is useful to use the accounting functions of Banana Accounting.
Please check our page Accounting templates.
Tabela simples
Trata-se de uma tabela que pode ser construída segundo as necessidades do utilizador. Podem-se adicionar colunas e panoramas e encabeçar do modo mais apropriado, através dos comandos Configurar colunas e Configurar tabelas do menu Dados.
Quick Tutorials: Create Videos and AI Context Documents
Over the years, at Banana.ch, we have developed an internal tool called Quick Tutorials, designed to create professional video tutorials through a developer-inspired, continuous improvement approach. This method enables our team to produce clear and effective tutorials quickly and to keep them constantly updated as the software evolves and user needs change.
With Quick Tutorials, we have already created and maintained hundreds of presentation and tutorial videos in multiple languages. These have been very well received by our users and have helped significantly reduce support requests. We are also experimenting with reusing the same structured content to generate documentation for AI assistant tools, and we see great potential in this combination of video and intelligent documentation.
To understand whether other organizations might benefit from this solution, we have decided to make it available in the same form we use internally. It already works well, though it is currently best suited for technically experienced users. If you are interested, we invite you to get in touch with us.
Why a new video tutorial tool?
At Banana.ch, we realized that creating a good video tutorial is not a one-time effort—it’s a process that improves step by step, just like software development. However, the tools we found on the market did not fit this workflow. Most were designed for artistic video editing, required specific technical skills, and were entirely cloud based, making them slow and difficult to integrate into our development environment.
We wanted something that followed the logic of software development: a structured, data-driven tool that works locally, supports collaboration, integrates with Git, and allows multilingual content management.
Since nothing suitable existed, we decided to build our own solution. Starting from the C++ code of Banana Accounting, we created a new application—Quick Tutorials—that uses the same powerful table-based structure. It might seem unusual to use accounting software to produce videos, but the principle is similar: entering structured data to generate a precise result. Instead of producing a financial report, Quick Tutorials produces a video tutorial.
Each video is described using tables that define scenes, texts, translations, and visual styles. This structure allows for clear organization, easy updates, and full control over every element. It also makes multilingual production simple and consistent, with all versions managed from the same source data.
The "Build Video"
Quick Tutorials works like a blend of a programming environment and an animation tool. You define your video using tables: the sequence of scenes, associated images, titles, subtitles, and the text to be spoken. You can also include simple visual effects such as arrows, boxes, highlights, or numbered steps to guide the viewer’s attention.
When everything is ready, you press “Build.” The system automatically generates the video in the language and voice you choose.
It creates the narration using AI, eliminating the need for manual recording. You can adjust pitch, tone, and style to achieve a natural, professional result.
It adds titles, subtitles, and effects, automatically synchronizing each scene with the narration’s duration.
Finally, it combines everything into a complete, ready-to-use video, with an index and transcript.
Because all files are local, the build process is extremely fast. You can immediately review the result, make adjustments, and rebuild—just like compiling code. This iterative process makes it easy to refine the tutorial and respond quickly to feedback.
Advantages of the solution
One of the main strengths of Quick Tutorials is its multilingual capability. The tool can automatically generate speech, subtitles, and texts in different languages while adapting the timing of each scene to match the spoken text. There is no need to shorten or simplify translations—the video naturally adjusts, resulting in accurate and fluent content for every language.
Capturing images is often the most time-consuming step in video creation. Repeating it for each language is impractical, especially when updates are frequent. Quick Tutorials solves this by reusing the same images while automatically adding translated texts and effects, giving the impression of a fully localized video without re-recording visuals.
Because software and procedures change regularly, tutorials can quickly become outdated. With Quick Tutorials, those who know the process can directly edit and rebuild the video, ensuring that all materials remain correct and relevant.
In addition, the same structured data can be used to automatically generate PDF Tutorials—documents that include an image of each scene and its corresponding text. These PDFs are ideal for study and reference and can also be used by AI assistants such as ChatGPT to provide quick, context-based answers to user questions.
Quick Tutorials does not aim to replace creative video editing platforms. Instead, it focuses on doing one thing extremely well: creating, updating, and translating instructional videos quickly and consistently. For teams that need to maintain accurate and multilingual learning materials, it is an efficient, developer-friendly solution truly worth exploring.
How It Works
Creating a Video Tutorial for a Desktop Application.
- Capture Screenshots.
Begin by capturing screenshots of the desktop application and saving them to a directory (recommended size: 1920x1080). - Fill in the Clip Table,
Enter all necessary information to create a video:- Select the image to be used.
- Apply effects to the image, such as highlighting a section, adding arrows, or circles.
- Choose the text and voice style for the speech.
- Input the text for titles and/or text-to-speech.
- Translate the text into other languages as needed.
- Build the Video.
On executing the build video command, the program performs the following tasks based on the specified language:- Adds effects, titles, and subtitles to the images.
- Generates speech files using internal or Microsoft or Google voices, as selected.
- Creates a video sequence for each image. The duration of each sequence matches the length of the speech or a duration you specify.
- Final Video Compilation.
The final video is created by combining all the video sequences.
How it works
Assuming you are creating a video tutorial for a desktop application.
- You capture screen shots and save to a directory (size 1920x1080).
- In the Clip table you enter all the information needed to create a video:
- The image to be used.
- Create effects on the image. Like highlighting a part of image, adding an arrow or a circle.
- The text and voice style to use.
- The text to be used for titles and/or for the text to speech.
- The text translated to other languages.
- You give the build video command and the program, based on the language you specify:
- It add effects, titles and subtitles to the images.
- It generates the speech files using the Microsoft or Google voices you choose.
- For each images it create a video sequence.
The duration of the sequence is the duration of the speech, or one you specify. . - A final video is crated by putting together all video sequences.

Video tutorial of the Quick Tutorials application
Create video from images, with speech, subtitles and text decorations.
- Watch the video tutorial (03:13).
The video has been created with the Tutorial Maker Application. - Watch the video tutorial in French (text has been automatically translated).
Here is the full project and files on github.com.
For tech-savvy users
The Quick Tutorials application offers advanced features specifically tailored for tech-savvy users.
Quick Tutorials is currently available in the Dev-Channel version and has been extended to a select group of partners. You're welcome to try it out; however, please note that it is not a fully supported product, and it requires the installation of additional components. Its features are also subject to change at any time.
Currently in its alpha phase, the application has been fine-tuned for internal use. It requires a specific setup and is still in the early stages of implementing error handling. Moreover, the interface is quite raw, and all messages are in English only. As such, it is currently best suited for tech-savvy and technically skilled users.
Please note that the structure and format of the data may change over time, and we may not always provide tools for migrating to new versions. Terms of use and pricing are also subject to change. We reserve the right to modify technical content, availability, conditions, and pricing at any time without prior notice.
We invite you to share your experience using the application and greatly value any feedback or suggestions you may have.
Requirements and setting up the environment for video and speech creation
Requirements
- Internet connection (necessary to create speech files)
- Banana Accounting Dev Channel Version.
- Subscription to the Video Maker Plan or at least the Advanced Plan.
- FFmpeg executables.
- Subscription to a text-to speech service
- Azure cognitive API
- Google text-to- speech service.
Setup the environment
In order to use the Educational Video Maker application.
- For Windows
- Download and Install ffmpeg tools
- Download ffmpeg tools for Windows
- Under "Get packages & executable files" select the Window operating system.
- Download the essential package.
- Unpack the file to a directory for example C:\ffmpeg
Under bin you should have the file ffmpeg.exe and fprobe.exe
- Make sure your antivirus does not block or slow the execution
- Search and go to "Virus Thread and Protection"
- Manage settings
- Add Remove Exclusions.
- Add Exclusion
- Folder
- Select the ffmpeg/bin directory
- Install a video player for mp4 files.
Video are build in mp4 format, the codec is not preinstalled on Window.- Install an alternative Video player like VLC video player.
- Download and Install ffmpeg tools
- MacOS setup (Install Ffmpeg tools)
- Download the ffmpeg and ffprobe binaries
- Under "Get packages & executable files" select the Mac operating system.
Download the - ffmpeg
- ffprobe.
- Unpack the files and copy them to a new directory.
- Make sure the ffmpeg and ffprobe are executable file type.
- Go to the "Get packages & executable files" section of the page.
- Click on macOS icon.
- Click on "Static builds for macOS 64-bit".
- Under "Get packages & executable files" select the Mac operating system.
- Download the ffmpeg and ffprobe binaries
- Setup Banana Accounting.
- Install and run the dev-channel version.
- Run the software
- Make sure you can open MP4 files
- Menu Tools → Program Settings.
- Activate the integrated Screen Capture.
- Windows-Appearance → Show developer Menus.
- Developer menu → Activate ctrl+3.
- Set the default language to English.
- Menu Tools → Program Settings.
- File Handling → Extensions of files conisdered secure
- Add mp4 to the list
- Create an empty video project
- Create a new directory for the video project.
- Download and the Empty educational video file and copy it to the video project directory.
- Setup the Global settings
- Important you need to specify the ffmpeg executable.
- Request the authorization at Banana.ch
Speech generation only work if you have the authorization.
How to for creating and translating video
Setup a video project
A video project is composed of different files. So you should create a new directory where you save all your files.
Structure of a video project
A video project is composed by:
- A directory on your computer where to save all the files relative to the video project.
- The first step is to create a new directory where your file will reside.
- Put all file in project directory unless there is a real necessity to do otherwise.
- A Banana Video Project file (ac2).
You can create a new file by:- Menu File > New file > Tutorial Maker > Create empty file
Save the file to your directory - By copying an existing one to your directory.
- Menu File > New file > Tutorial Maker > Create empty file
- The image files with the screen capture.
When possible create images with size 1920x1080 pixels or else with the 16:9 format. - Other images files that are used for titles or slides.
Image size should be 1920x1080 pixels. - If you are creating a video you can also save in the directory the files that are the base for the video creation(accounting file, presentation file or else).
- Directory for language specific images.
- Assume you have created the clips images in English.
- Create a sub-directory "it" where you will save the captured images in italian.
If the software, when building the "it" video, will find an image with the same name in the directory it will use it instead of the one that is in the main directory.
Example video projects
You can try the following examples
- Demo
A very simple project (see on files on github.com) - A presentation of how the video creation tool works, that has been created used the video creation tool.
Add a speech to a video with subtitles
You can easily add a speech to an existing video.
- The speech is generated automatically by the computer.
- The speech and subtitles remain placed on the same time position.
- If the translated speech does not fit the original video segment, the specific segment will be automatically speed down to fit the speech.
Here we explain how to translate speech of an existing video.
- First you have to setup the environment.
- Create the project and directory.
Prerequisites
- A video file with subtitles in SRT format or with a Youtube transcript.
Add the speech to a Youtube video with subtitles
- Create a new Banana video file (ac2).
- Download the video from youtube.
- In the Table Clips column Clips enter the nave of the original video.
- Copy the the youtube transcript to the clipboard
- Menu Actions>Import subtitles from youtube transcript
- Menu Actions->Build video.
First Video Tutorial Project using Screen shots
Here we explain how to create a video tutorial
- First you have to setup the environment.
- Create the project and directory.
Example video projects
You can try the following examples
- Demo
A very simple project (see on files on github.com) - A presentation of how the video creation tool works, that has been created used the video creation tool.
Create a Tutorial Maker project
- Structure the video and write the text.
- Plan the video objective and content.
- With word processor start writing text part of the video.
Writing and improving the draft is easier with the word processor.- Chapters titles.
- Speech part.
- Setup files.
- Create a video project directory.
- Download and copy on your directory the the Empty Video Tutorial Template and give a new name.
- Enter the content
- Start Banana Accounting Dev-Channel version.
- Open the Educational video file you have just created.
- Menu Actions → Add language column of your desired language.
- Copy the text you have written on Word and paste it in the column language.
- In the column Chapter enter the chapter number.
- In the column Text Style enter the appropriate style.
- In the column Speech Style enter "None" for text that should only be displayed (no audio).
- Apply the color Yellow for chapter titles.
- Build the first video version.
- Actions → Build video and the video will be build with:
- a single still image
- titles
- the speech
- the subtitles
- You will be able to see how long it is the video based on the spoken text, and also listen the high quality audio voice.
- Actions → Build video and the video will be build with:
- You should now capture the images or the video clips with the tool you already use.
Better use size of 1920x1080 px or with 16:9 factor. - Or you can create the image capture in Banana.
- Create the Banana Accounting file with all the data you will need to explain.
- Capture the screen using the ctrl+3 functionalities.
- Set the size of Banana Accounting Windows to 1920x1080 or other size with 16:9 factor.
- Save the file in the project directory.
- Better complete the file name with a numeric sequence corresponding to the chapter number.
- When using number better use 01 instead of 1, so that you get the file listed in numeric order.
- Use fine sequence multiple of 3 or 5 to easily insert other images.
- Complete your project with images.
- In the appropriate row of the column Clip File enter the file name of the images you have saved.
- Add Effects to the images.
- Build again the video .
- Improve the texts, images, effects until you are finished.
Translate the speech and subtitles of a video
You can easily translate the video in another language.
- The speech is generated automatically by the computer.
- The speech and subtitles remain placed on the same time position.
- If the translated speech does not fit in the original video segment, the specific segment will be automatically speed down to fit the speech.
Here we explain how to translate speech of an existing video.
- First you have to setup the environment.
- Create the project and directory.
Prerequisites
- A video file with subtitles in SRT format or with a Youtube transcript.
Translating an existing video with SRT subtitles
- Save the original video in the project directory.
- Create a new Banana video file (ac2).
- In the Table Clips column Clips enter the file name of the original video.
- Menu Actions>Import subtitles.
Choose the subtitle type.
- Menu Action>Add language column.
Enter the 2 letter column - Translate the text to another language with an online translation tool like www.deepl.com/translator.
- Select and copy the text column.
- Past to a translation tools.
- Copy and paste the translated text to added language column.
- Menu Actions->Build video and choose the language.
Translate the text in another language
- Table Clips
Action->Add Language column.
Choose the language.- If the language does not exists in the list.
- Menu Data ->Manage Columns->Add Column.
- Enter the name "Text_"+Language code (2 letters).
"Text_fr"
- If the language does not exists in the list.
- Translate the text to other language.
- Position on the first line of the column with the text to be translated.
- Click on the header of the source language to select all the text.
- Copy the text in the translation service.
- https://translate.google.com/
- https://www.deepl.com/translator
- If the text it to long just copy fewer lines.
- Select the language to translate to.
- Copy the translated text.
- Position the cursor on the column destination.
- Paste the text.
Dialogs for the Video Application
Dialog Video Change Global Settings
The global setting dialog allow to set the environment.
To access the dialog:
- Run Banana Accounting dev-channel version.
- Open the empty project you have just created.
- Menu Actions → Global settings.

You need to setup the
- ffmpeg executable path
- Enter the executable path, including the filename (ffmpeg.exe for windows / ffmpeg for mac).
- Text to speech service
- Internal
It will use the text-to-speech service of the computer. - Banana.ch service
It will use the Banana.ch text to speech service that is based on the Azure service.
Your need to receive a permission from Banana.ch. - Microsoft Azure
You need an Azure account and a API key for the Cognitive text to speech service.
Enter the:- Region name
- The API Key
- Google Service you need the API key
- Internal
- Menu Action → Build video to test if the build process works.
File Properties for Tutorial Maker
When a new file is created, the basic data need to be entered in the File menu → File and accounting properties.
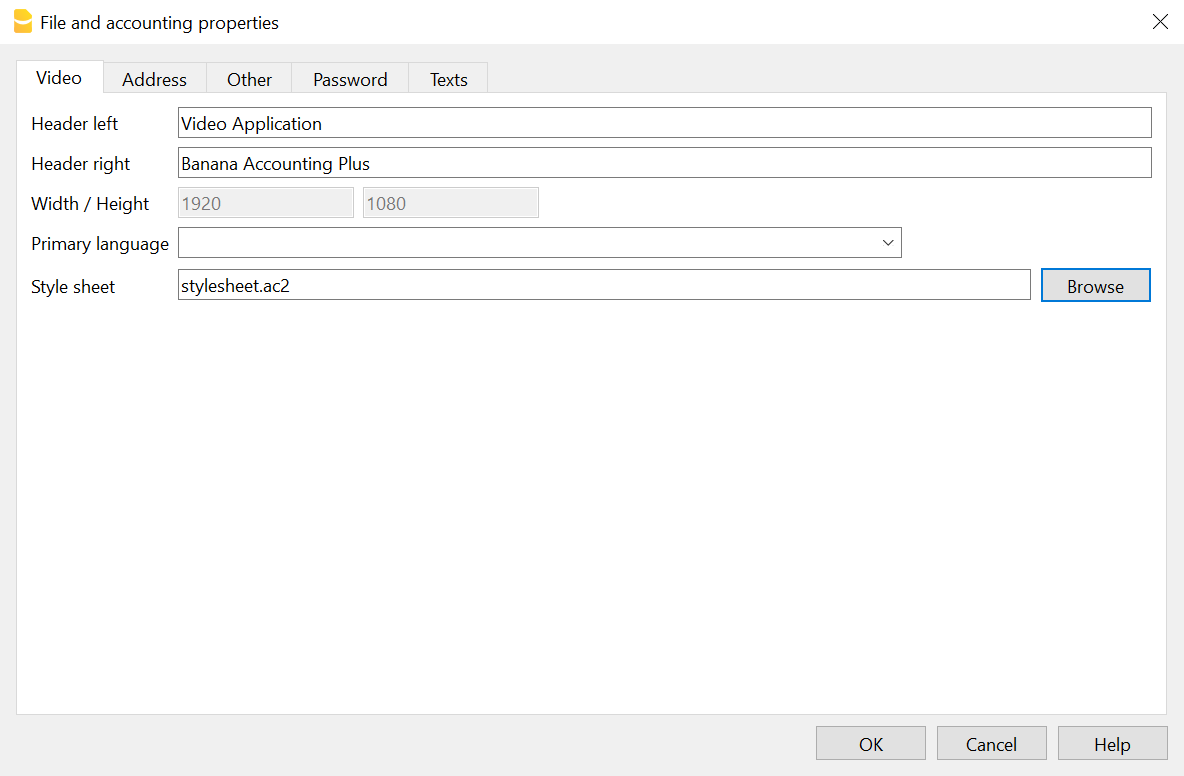
- Header left & Right
Will be displayed on printing. - With and height in pixels of the clips and output.
Currently fixed at 1920 x 1080. - Stylesheet file
Path and file name of a stylesheet.
If present the Text Styles and Voice Styles defined in the stylesheet will be available in this project.
Ideal for creating and reusing styles.
Download the stylesheet.ac2 example and modify it according to your desires.
Import Subtitles
The Actions>Import Subtitles command let you import subtitles. You can choose the available formats.

Imported columns
The commands will import the following columns
- Start Time
- Text
The text will be saved in the current selected language for build.
The lines will be appended at the end of the Clip Table.
YoutubeTranscript
This command allow to import the times and subtitles from the Youtube transcript format.
You should copy the text in the Clipboard.

To copy the transcript text in Youtube
- Clip on the 3 dots button.
- Clip con Show Transcript
Not all video have a transcript. - Select the text inclusive the time and copy to the clipboard.
Eventually save the text to a txt file so that you can easily access lately.
Example of a Youtube Transcript format
0:01
willkommen bei bex dieser folge schauen
0:05
wir uns an wie ich wiederholen die
0:07
aufträge so genannte abos in bex
0:10
erfassen kann
0:12
als erstes erstelle ich mir dafür unter
0:15
dem reiter verkauf einen auftrag auf den
0:18
entsprechenden kontakt aus
SRT Subtitles
The SubRip Subtitles file format is available in most video editing software.
Dialog Build video
Dialog build video
The command "Build Video" give you different choices.

- Build language.
Select the language to use. - Create video file (Always on)
Create the video file with Titles, Voice and Subtitles.- Prepend Chapter to Display titles
Automatically prepend the Chapter number to the Display text.
To be used for titles.
Speech text remain the same - Embed subtitles in the video
The subtitles are embedded in the (style name starting with "Subtitles") in the video.
The build process will also create a *.srt file that you can use to add subtitles. - Add control times
Include information on the clip and text start and duration time.
Useful to check if there are any problem in the sequence.
- Prepend Chapter to Display titles
- Create audio file
It save the audio in separate file. - Create GIF file
It create a GIF animated sequence.- G Width (the height is calculated automatically)
- Add progress bar.
Include a progress bar that show the make the gif look like a video progress bar. - Progress bar color in FFmpeg format
You can also specify the opacity"red@0.4". It use color red with a opacity of 0.4. color of the
- Clear cache.
The program keep a cache with all the the intermediary files. The file are recreated only in case the data change.
In case you change the data, but the audio or video is not updated, you should try clear the cache. Build time will take longer.- Clips.
The video are fully regenerated. - Speeches
All the she speech texts are recreated.
- Clips.
Build process
Once you click build the build process start:
- The audio speech are generated.
- Each row clip is created and the duration is calculated.
- The row clips are concatenated.
In the Out directory you will have:
- A generated .mp4 video file with the speech.
- The srt file with the subtitles.
- The index file with the chapter time and text
Copy the content to youtube to have the chapters. - The audio with the speech (if requested)
- The gif file (if requested)
Output directory structure
When you give a build command a new directory is created on the project directory with the same name as the project file, preceded by the "_" and a sub-directory for the specified language. All temporary data will be stored in the directory.
The directory or any sub-directory can be deleted at any time, but the build will take more time dute to the necessity to rebuild all the intermediary and cache files.
Assuming your project file name is "testvideo.ac2", the resulting directory structure will be:
- _testvideo
- en
the temporary file for the language "en"- build
Where all the intermediary file are stored. - cache
Cache for intermediary files. - out (results)
Where the output video, audio and gif are written.
- build
- it
the temporary file for the language "it". - temp
temporary files not specific to a language.
- en
Table Clips
In the Clips table you enter the data that is used to generate the video.
- The sequence in the table is the one used to generate a video.
- Use Alt+MoveUp and Alt+MoveDown to move rows up and down.
Columns
- Chapter (Optional)
- Enter a chapter number or letter, that help you organize the video in group of video clip.
- Enter the chapter number within square brackets "[]" for automatic chapter numbering (progressive).
- During build the chapter number is added to the language Text (for display only), unless the specific build option is not deactivated.
- Chapter rows should also be associated to a Clip file name
- Clip File.
The name of an existing file.- The name of the clip file is relative to the project file (ac2).
- It can be:
- An image file (png or jpg)
- A video clip (mp4).
- When modifying the value (autocomplete)
- You will see a list of files available, and not yet used.
- If you click on the little icon you see the preview and you can change the image.
- The row that contains a Clip File name will be the start of a Video Clip.
- The Video clip will contains all the rows up to the next row that contains a Clip File name.
- Empty (value).
If the clip file is empty, this row will be added to the previous video clip file. - Automatic file renumbering
Use the file in the specified format to renumber file name based on the chapter number. When you add a new chapter all the existing file with the automatic file format will be renamed.- The automatic file name format is in the form of chapternumber-progressive[-freetext].ext.
The free text is optional.
Examples:- "01-01.png" "101-101.png"
- "01-01-freetext.png" "101-101-freetext.png"
- The automatic file name format is in the form of chapternumber-progressive[-freetext].ext.
- Effects (default is hidden)
You can attach effects to the image that will be applied when the video is build.
For the syntax see the Effects page, - Text Style
The style to be used for showing the text.- Empty.
Same as Subtitles. - None.
Text is not shown. - Any other you define in the Text Style table.
- Empty.
- Speech Style
- Empty.
Default speech style. - None.
Text is not translated to speech. - Any other speech style you define in the Speech Style Table.
- Empty.
- Start (Time Start)
The start time the clip, text or speech start to be shown. Relative to the clip file.
If the time is empty, the start time is calculated based on the speech duration . - Duration
The duration of the clip, text or speech. Relative to the clip file. - Time command.
- Empty
The duration is automatically calculated based on the speech duration. - Duration Time Command
If you specify a Duration command the StartTime of the the next row is ignored.- DurationAdd (AddTime).
The entered duration is added to calculated duration. - DurationFixed (FixedTime),
The entered duration is used. If the speech is longer it will be cut.
Useful for pause. - DurationPause
Same as FixedTime, but with the option to exclude the pause in the build. - DurationPause[XX]
Same as DurationPause, but if the Duration is empty, the duration of the last Duration[XX] is used.
You can create different standard pause "DurationPauseChapter", "DurationPauseImage"
Pause will not be included in build if the option is activated. - DurationSpeech.
The entered duration is used if the calculated speech duration is shorter. - DurationMin (MinTime).
The entered duration is used if the calculated speech duration is shorter.
- DurationAdd (AddTime).
- Time Commands for Title, text or effect rows that have no speech and therefore the duration is zero
In case the rows have the SpeechStyle set to "none" or there is no text and there is no Duration.
These commands allow display the text for a duration of the speech o clip..- SameNextRow (NextRowTime),
The text will display at the same same start time and end time calculated for the next row.
Useful in case you need to use for display and speech different texts. - SamePreviousRow (PreviousRowTime),
The text will display at the same same start time and end time calculated for the previous row.
Useful in case you need to use for display and speech different texts. - SameClip (ClipTime).
The text will display for all the time the clip duration (from begin to end). - SameClipEnd (ClipTimeEnd).
The text will display for up to the end of the clip.
- SameNextRow (NextRowTime),
- Time Command that takes priority over the speech duration
- SameClipVideo (ClipVideoTime)
Only for clip files of type video.
Takes the same duration as the original video clip.
- SameClipVideo (ClipVideoTime)
- Empty
- Text (language)
The text to be displayed or for speech creation.
There is one column for each language.
Use Action->Add Language to add another language.
Structure and logic of a video
These are the basic elements of a FinalVideo.
- Chapter (optional)
It is used to group together a series of Video Clip that together form a unit, exactly as youtube.com chapters.- VideoClip (Clip File)
Start with a row that contains a file name in the column ClipFile
It include all rows up to the next row containing a file name in the column ClipFile- Non-Video Clip Row
- Non-Video Clip Row
- Video Clip
- Non-Video Clip Row
- Non-Video Clip Row
- VideoClip (Clip File)
- Chapter
- VideoClip
- Non-Video Clip Row
- Non-Video Clip Row
- VideoClip
FinalVideo
Is the result of the process of the command Build Video.
- The FinalVideo is the concatenation of the different VideoClips in the same sequence specified in the table Clips.
- The length of the FinalVideo is the sum of the length of the different VideoClips.
VideoClips
Each VideoClip is build separately and once all the VideoClips have been build they are concateneted to form a FinalVideo.
- A VideoClip is based on a ClipFile specified in the column Clip File
- All the rows before a row that contains a ClipFile are used to create the VideoClip.
- The number of Video Clips correspond to the number of Clip Files specified.
A Video clip file and can be of type.
- Image. jpg or png file.
- A video sequence (mp4 o avi file).
Times columns
The times columns (StartTime, Duration and TimeCommand) are used to determine the length of the VideoClip.
- The Time columns are specific to each VideoClip.
The VideoClips are concatenated to form a FinalVideo, so the next VideoClip will start exactly after previous one. - The time of a new VideoClip is not influenced by the times value specified before.
- The duration of a VideoClip is the sum of the duration of the different rows that form the VideoClip.
Start and duration of speech rows
The speech rows are rows that have a text and don't have the SpeechStyle to "none".
- SpeechDuration
The duration of the row is automatically calculated, based on the length of the speech. - If the speech duration is longer then the duration specified, the SpeechDuration is used.
- If the next row has a StartTime, the Duration will be expanded so that the next row will start of the StartTime specified.
- CalculatedStartTime of a row is the the sum of the duration of the previous rows of the VideoClip.
The CalculatedStartTime has precedence over the specified StartTime. - You can change the automatic mode with the Duration TimeCommands ( DurationAdd, DurationFixed, DurationMin, DurationSpeech).
Start and duration of Title rows (non speech rows)
In the VideoClip you can have rows that don't have speech:
- When there is no text
- SpeechStyle "none"
- When the text is a title.
- When the speech text need to be different than the speech.
In this case you need to synchronize the appearance of the text with the speech. So you can use the Sync Time Commands.
StartTime for Video Clip Files (Video Segments)
For Clip File that contains a video the StartTime is used to specify at what exact point a subtitles, title and speech should appears. But, if you build a Video in another language, the SpeechTime can be larger than the original one. In order not to have the speech to be cut fit the video, the program will have slow down a sequence of the video for the time necessary too fit all the speech.
- During the build the Video file is cut in different VideoSegments each one corresponding to the specified StartTime.
- Each segment is than processed separately and the duration adapted to the specific content and time.
- If the speech duration is longer than the original one, the duration of the segment is expanded (the video will be slowed down).
- If there are TimeCommand they will be applied to the row and segment.
- The speech and text are added to each segment so that the speech and titles start always at the original point.
You can control the duration of the different video segments by using the following TimeCommand:
- DurationSpeech.
Use if you want to make the segment not longer than the speech duration.- If the original video segment duration is shorter, the video will be slow down.
- If the original video segment duration is longer the video will be speed up.
- DurationAdd
Add a duration to the DurationSpeech and speed-up or slow-down the video segment. - DurationFixed
Extend or cut the original segment duration of exactly the specified duration and and speed-up or slow-down the video segment.
If there is a speech that it is longer than the specified duration the speech will be cut.
Use mostly in case for segments that have no speech.
Calculated columns
With the command Tools>Add/Remove functionalities you can:
- Add Calculated columns
- Remove Calculated columns
The Add Calculated columns are made available for the developer of the application, but may be interesting also for people creating video.
The command will add the following columns:
- Start Clip
The time when the row will start relative to the Clip. - Start Clip
The time when the row will start relative to the complete Video. - Calculated Duration
The duration taking in consideration also the Time command. - C. Speech
The Duration of the speech in the processed language. - Calculated Fill
The time that will be added to arrive at the specified Start time.

The calculated columns will be updated at the end of the build process.
The change will not change the modified flag of the file, so if you want to save the date you have to modify some text.
Table Text Styles
Define the text style to be used for displaying text on clips.
- Size and margins are defined in pixels, relative to an image size of 1920x1080.
- Colors you can use a name (red, blue, etc) or a symbol.

Use different colors for subtitles
Define the styles for any subtitle type you want to use.
Start from the default subtitle style and adapt it according to your needs.

- Id.
Enter the name of the style.
Use it in the column Text Style of the Table Clips. - Font Name.
Enter the name of the font. - Size.
Enter the size of the text. - Primary Color.
Enter the color of the text. - Outline Color.
Enter teh color of the outline of the text.
You can also change text sizes, bold, outlines, alignments and positions of any text style.
Add new voices in the Table Speech Styles, and combine each voice with a different subtitle style using the Speech Style column of the Table Clips.
Text Style Effects
In the column Effects you can enter commands and element to use in the columns Effects of the Clips table.
You can specify:
- object=RowId
A command with elements.
Example: "DrawRect:pos=800:200,size=500:400,border=red:4,opacity=0.9;Arrow:3:3
The parameters can be modified in the table Clips.
"Object:id=frect,pos=800:300,size=500:300" - style=RowId
Attributes that are used to display a command.
Example: "border=#ffe01b:3:5,fill=blue,opacity=0.1"
Table Voice Styles
Create style to use for creating speech.
If you use a style you should specify also for any language you use.

Columns Speech Styles
- Id.
- default.
The style to be used in case the speech style is not specified. - Any other name for a style.
- default.
- Language
The language code used for the column text in the Clips table. - Voice Language.
Language code and country code.
It should be the same as the one of the Voice name.
Example: "en-US".
For each language and id you should have only one country code. If you have more the program will use the first id it find. - Voice.
The voice name that available in your service.
The software will show to you a list of available voice based on the service you have selected.
Example: "en-US-AriaNeural"- Microsoft azure voices (click on section Text-To-Speech)
- Google voices.
- Rate, Pitch and Volume see Microsoft Azure explanations.
Predefined Speech Styles
If not defined the software will use this speech styles.
The Speech service used (Microsoft Azure or Google) will be automatically selected based on the API key you have entered in the global settings.
Azure and Google have different voice name, so once you enter the one that is specific to the service you use.
Microsoft Azure
Predefined languages for Microsoft Azure Service.
- "de","de-DE","de-DE-KatjaNeural"
- "es","es-ES","es-ES-ElviraNeural"
- "en","en-US","en-US-AriaNeural","cheerful"
- "fr","fr-CH","fr-CH-ArianeNeural"
- "it","it-IT","it-IT-IsabellaNeural"
- "nl","nl-NL","nl-NL-ColetteNeural"
- "pt","pt-BR", "pt-BR-FranciscaNeural"
- "zh","zh-CN","zh-CN-XiaoxiaoNeural"
Google Speech to Text
Predefined languages for Google Text to speech Service.
- "de","de-DE","de-DE-Wavenet-A"
- "es","es-ES","es-ES-Wavenet-C"
- "en","en-US","en-US-Wavenet-A"
- "fr","fr-CH","fr-FR-Wavenet-Al"
- "it","it-IT","it-IT-Wavenet-B"
- "nl","nl-NL","nl-NL-Wavenet-B";
- "pt","pt-BR", "pt-BR-Wavenet-B"
- "zh","zh-CN","cmn-CN-Wavenet-B";
Table Lexicon
The Lexicon tab allows you to specify a forced pronunciation for specific terms.
Column description:
- Id
Specify the term that will be replaced with the defined pronunciation.- The Id is case-sensitive.
- The replacement will be applied to any text used for voice generation.
- If the same term appears in different contexts and may require different pronunciations, make the text unique, for example by adding a symbol, such as "$File".
- Phoneme IPA
- Enter the phoneme using the IPA (International Phonetic Alphabet).
- You can use an AI assistant to convert the term to the Phoneme IPA.
- The IPA must be valid, otherwise the build will fail.
- Do not include brackets.
This is the text that will be displayed.

Add Effects to Images
This dialog allow to add effects to the image.
Command Syntax
The column Effect support the following syntax (Version 2, from December 2021).
- Levels separated by "|"
Main commands
One per level
- DrawEllipse:
- DrawHtml:
Print the text specified in the Text column.
TextStyle and Speech style should be "none" - DrawImage:
Draw the specified image file.
The image is resized.
Use for inserting a logo. - DrawMarkdown
Convert the markdown text specified in the Text column to html and print.
TextStyle and Speech style should be "none",
See further explanation below. - DrawRect:
Draw a rectangle at the specified position and with specified size. - DrawText:
Draw a text. The text is resized to fit the rectangle. - FFmpeg:
You can enter an FFmpeg command
Examples:- FFmpeg:drawbox=x=400:y=100:w=300:h=200:color=pink@0.5:t=fill
- FFmpeg:scale=4*iw:-1,crop=iw/4:ih/4
- ObjectClip:rowid
It use an object defined in the table Clip column Effects with the RowId specified- Example: ObjectClip:id=001,pos=800:300,size=500:300
Use the object defined, but with a specified size.
- Example: ObjectClip:id=001,pos=800:300,size=500:300
- ObjectStyle:rowid
It use an object defined in the table TextStyle column Effects with the RowId specified- Example: ObjectStyle:id=frect,pos=800:300,size=500:300
Use the object defined, but with a specified size. - Use to automate the object creation and styling.
Create the object in the table Clip and then copy in the TextStyle table.
- Example: ObjectStyle:id=frect,pos=800:300,size=500:300
- Rescale:
- SelectRect:
It makes the rest of the image darker. - VideoCut:
- ZoomIn:
Elements (separated by ";")
Are relative the the commands.
- ;Arrow:
Add and arrow next to the form- ,align= 1 to 9, numeric on the keyboard
- ,dim=1 to 5
- ;Number
- ,text=
- ,align=1 to 9 , numeric on the keyboard
- ,dim= 1 to 5
- ;Grid:numberpixels
Will display a grid every specified pixels.
Example: ";Grid:100,fill=yellow" grid every 100 pixels in yellow.
It use the styles of the main command, unless a different style is specified.
Attributes (separated by comma ",")
Attribute are added to the commands or to the elements.
- ,align=[number 0 to 9)
Used for Elements Number and Arrow.
The position of the elements is as the key on the numeric keyboard. - ,Dim=1 to 5
The size of the Elements Number and Arrow. - ,border=color:[width]
- ,color=color //text color
- ,endtime=hh:mm:ss.mmm
for VideoCut - ,fill=color:[pattern]
- id=RowId
Use the text at the row with the specified RowId
For ObjectStyle it retrieve the effect specified in the table TextStyle - image=filename
for DrawImage - ,opacity=number (0 to 1)
- ,pos=x:y
- seconds=seconds
for ZoomIn - starttime=hh:mm:ss.mmm
for VideoCut - ,size=width:height
- ,style=stylename
Use the content of the column Effects in the table TextStyles at the line with the id stylename.
Examples:- DrawRect:pos=800:200,size=500:400,style=saa,border=blue:30
- ,text=text
Use the text that is specified.
Examples
- SelectRect:pos=800:300,size=500:400,border=red:3;Arrow:align=1,dim=3,fill=yellow;Number,text=1,align=7,dim=3
- DrawImage:pos=900:300,size=200:100,image=filename.png,pen=red
- DrawRect:pos=900:300,size=200:100,border=red:3,fill=yellow;Number:1:9:3;Number:6:5:3;Number:3:7:3
- DrawRect:pos=900:300,size=200:100,border=red:3
DrawMarkdown
Markdown is syntax that can be converted easily to html
You can create slides and reuse.
This is an example of markdown text
# Title 1

## Title 2

### Title 3

Proof of **bold** *italic*

* line 1
* line 2
* line 3
This commands allows to use markdown in the text.
- When using this command the columns TextStyle and SpeechStyle should be set to none.
- The markdown text is rendered in html using the style defined in the file _video.css in the table Documents
- Example:
DrawMarkdown:pos=200:100,size=800:600
With the DrawMarkdown command you can use also this elements:
- ;HtmlSelectLi:2
A class "selected" is added to the specifiend html tags "li" ;
This you can display an item with a different style. - ;HtmlAddClass:classname
A class "classname" is added to all html tags that belong to the markdowns.
You can have styles specific to a single markdown.
Actions Menu
The Actions menu includes various commands that are specific for the Productivity applications.
The general commands, available in all the Utilities applications, are explained hereunder.
Other commands, specific for the Address Book and the Library application, are explained in the corresponding documentation.
Recheck all...
Checks everything and gives a warning in case there are errors.
Sort contacts by name
Sorts the rows of the Contacts table in ascending order by Name, Family Name, Second Name, Place.
Archive Data menu
The program keeps a list of the rows that have been archived, for each table.
The archived rows are being shown in the Archived rows table. Select the rows that need to be shown.
Archive data
Moves the rows of a table (Contacts, Items, Loans, Diary) to the Archived data table, where:
- The Archive data column is not empty.
- For the Loans table, there should be an expiration date and a return date (a "closed" loan)
A list of tables is being shown. The tables present on this list contain rows that can be archived.
If there are no tables with rows that can be archived, the selection is empty.
Show archived data
Shows a list of the archived rows of a specific table.
Add or Remove functionalities Productivity applications
In Banana Accounting Plus, you can customize your file by activating new features, without complicating the main structure. To access the various options:
- go to the menu Tools > Add / Remove Functionalities > Add and select the desired option.
Important
- The options available in this dialog are specific to files created with productivity applications (such as Offers and Invoices, Timesheet, etc.).
- In accounting applications, the Add / Remove Functionalities dialog shows different options designed for those types of files.
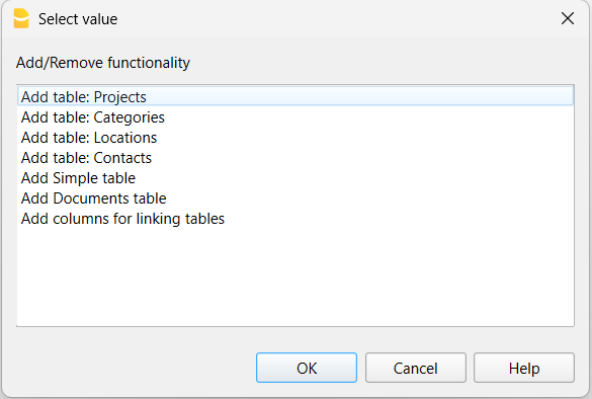
Add table
Depending on your needs, the following tables may be displayed:
- Projects – to be used in the Timesheet
- Contacts – to be used in Offers and Invoices
Columns are prepared to manage addresses - Categories
For classifying items – to be used in Timesheet and Offers and Invoices. - Simple table
With an index field and a description.
Once the table has been added, you can customize its display position using the commands Columns setup or Tables setup.
Add link to a table
In the default tables, you can add columns that link to the listed ones.
The link is made by entering a linking code in one of the default tables, pointing to another table that has been added.
For example, in the Transactions table, you can add the Project column, which links to the Projects table.
Detailed information is available at the following web page: Link tables.
PDF Manual
All the documentation about the use of Banana Accounting+ has been put in a unique PDF file that can be downloaded and printed.