In this article
The following examples show how to adapt invoice printing with custom CSS stylesheet files.
See CSS customization for more information.
Change margins of the page
Page margins are set automatically when creating the invoice. It is possible to change margins with CSS.
To do this, the different elements of the invoice must be changed in the CSS:
- Header (Logo and text).
- Invoice Information.
- Title and begin text.
- Invoice details.
- Final texts.
Copy and paste the following code into the editor, and change the margin-left and margin-right values:
/* Header Logo margins */
.logo {
  margin-left: 1.34cm;
  margin-right: 1.2cm;
  margin-top: 1.2cm;
}
/* Header text margins (when logo is not used) */
.header_text {
  margin-top: 1.2cm;
  margin-left: 1.2cm;
  margin-right: 1.2cm;
}
/* Information margins */
.info_table_left {
  margin-left: 1.2cm;
}
/* Information margins (page 2+) */
.info_table_row0 {
  margin-left: 1.2cm;
}
/* Title and begin texts margins */
.section_class_begin {
  margin-left: 1.2cm;
  margin-right: 1.2cm;
}
/* Invoice details margins */
.section_class_details {
  margin-left: 1.3cm;
  margin-right: 1.2cm;
}
/* Final texts margins */
.section_class_final_texts {
  margin-left: 1.26cm;
  margin-right: 1.2cm;
}
Change style of the header
The header text by default is always printed in bold, the font size of the first line is larger than the others, and the font is the same used for the rest of the invoice.
With this example we want to change something:
- Set the text color.
- Add a new declaration using the property color: and enter a color value.
- The color value is an hexadecimal value (HEX) preceded by the # sign (e.g. #000000, #009FE3, #FF00EA).
For codes see the table at https://www.w3schools.com/cssref/css_colors.asp.
- Remove the bold style.
- Change the font-weight: property value from bold to normal.
- Set the same font size for all the lines.
- Change the font-size: property value with a different size, e.g. 12pt.
- Change the font type.
- Add a new declaration using the property font-family: and enter a font, e.g. Times New Roman.
Copy and paste the following code into the editor:
/* Header row 1 */
.header_row_1 {
  color: #0000FF;
  font-weight: normal;
  font-size: 12pt;
  font-family: Times New Roman;
}
/* Header text row 2+ */
.header_row_2_to_5 {
  color: #6495ED;
  font-weight: normal;
  font-size: 12pt;
  font-family: Times New Roman;
}
The header text style is now changed from the original settings and is the same for all the lines.
Example print: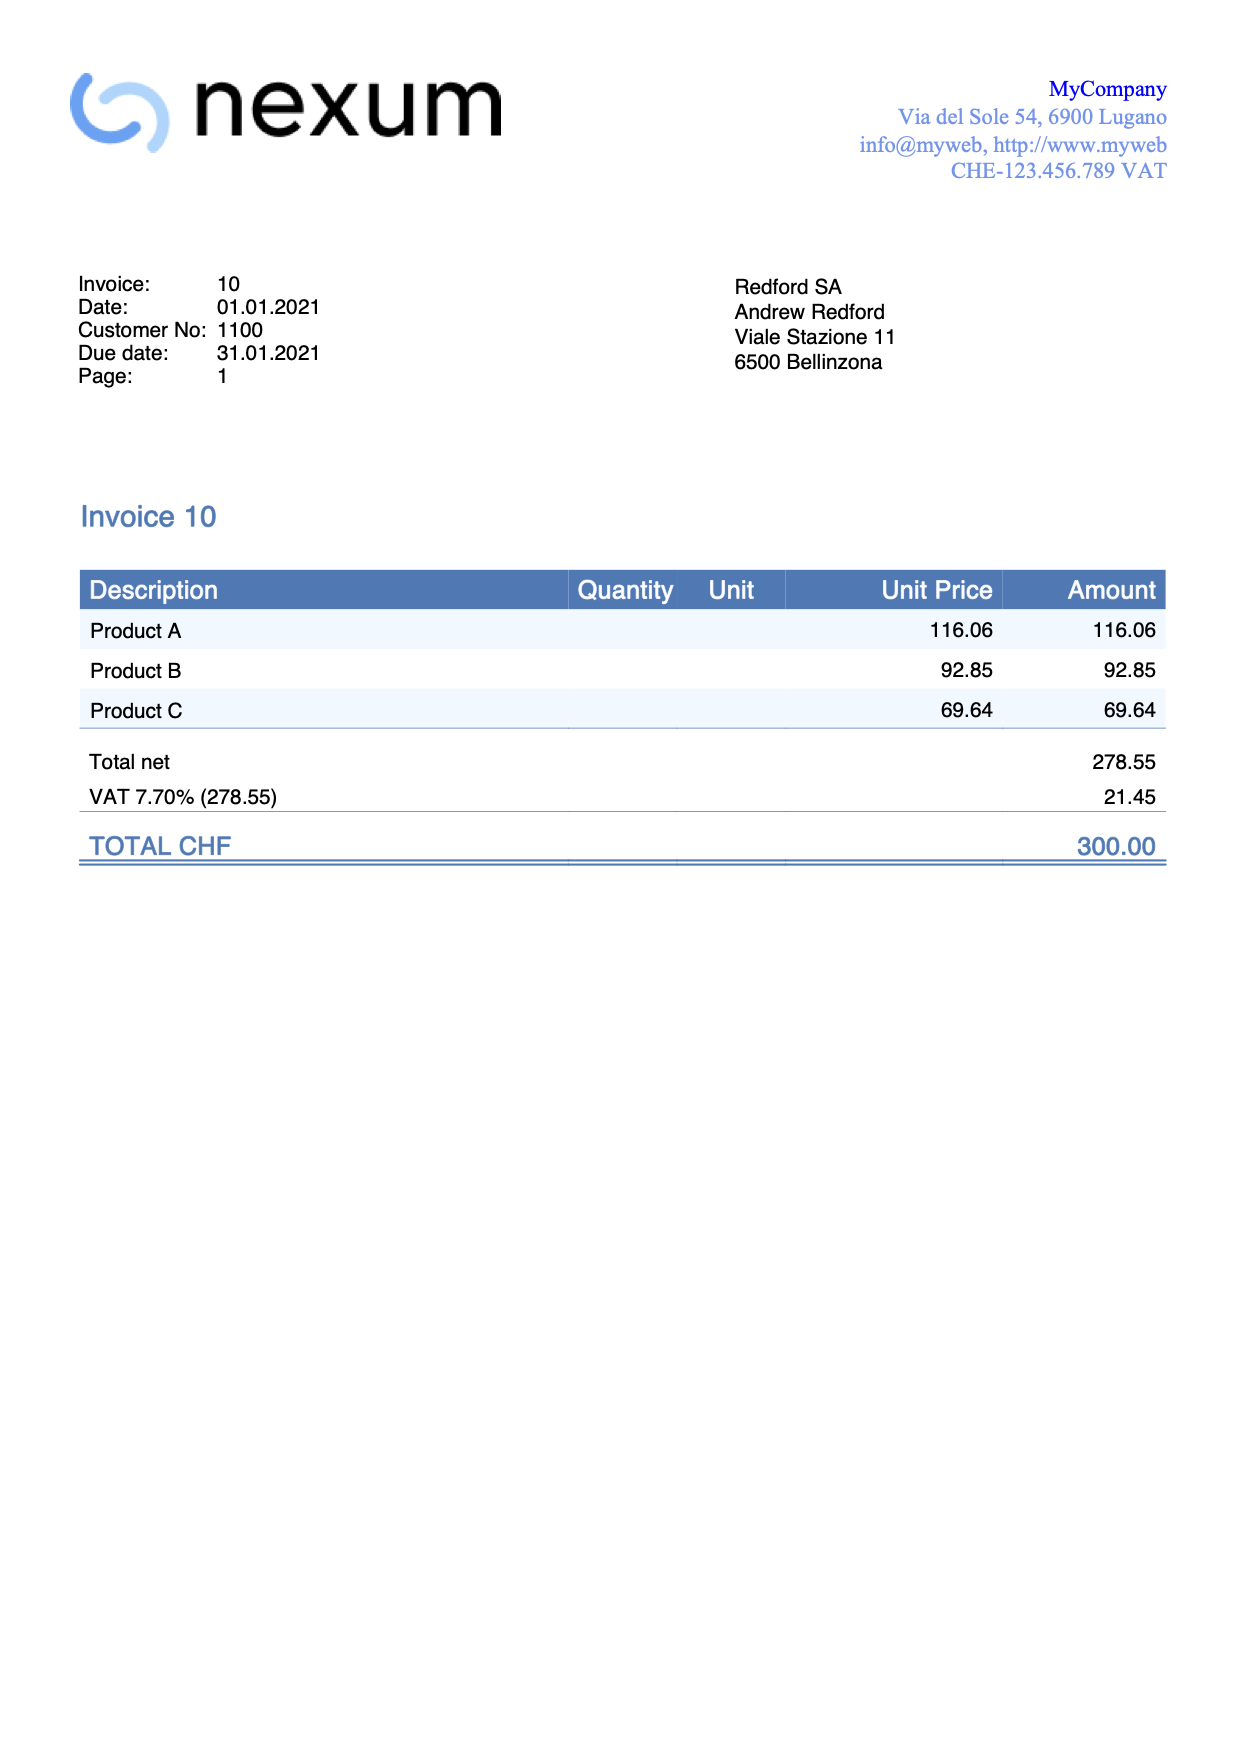
Change color of the header
The header text by default is always printed in black.
With this example we want to change the color:
- Set the text color.
- Add a new declaration using the property color: and enter a color value.
- The color value is an hexadecimal value (HEX) preceded by the # sign (e.g. #000000, #009FE3, #FF00EA).
For codes see the table at https://www.w3schools.com/cssref/css_colors.asp.
Copy and paste the following code into the editor, and change the color code:
/* Header row 1 */
.header_row_1 {
  color: #6495ED;
}
/* Header text row 2+ */
.header_row_2_to_5 {
  color: #6495ED;
}
The header color is now changed from the original settings.
Use grayscale colours
With this example we set text and background colours with grayscale colours.
.total_cell {
   color: black
}
.title_text {
   color: black
}
.header_row_1 {
   color: black;
}
.doc_table_header {
   color: black;
   background-color: white;
   border-bottom: solid black thin;
}
Change position of information section
The information section of the invoice is always placed at the same height of the invoice address.
In this example we want to change the position of the information section. We do this by changing the the predefined margins values:
- To move vertically change the margin-top value.
- To move horizontally change the margin-left value.
In case the information section is on the left, copy and paste the following code into the editor and edit it with your values:
.info_table_left {
  font-size: $font_size;
  margin-top: 4.5cm;
  margin-left: 1.2cm;
  margin-right: 1.2cm;
}
In case the information section is on the right, copy and paste the following code into the editor and edit it with your values:
.info_table_right {
  font-size: $font_size;
  margin-top: 5.5cm;
  margin-left: 12.3cm;
  margin-right: 1.2cm;
}
For the information section on the second page, copy and paste the following code into the editor and edit it with your values:
.info_table_row0 {
  font-size: $font_size;
  margin-top: 4.5cm;
  margin-left: 1.2cm;
  margin-right: 1.2cm;
}
With these changes the information section starts now on a different position (and also the invoice details).
Example print: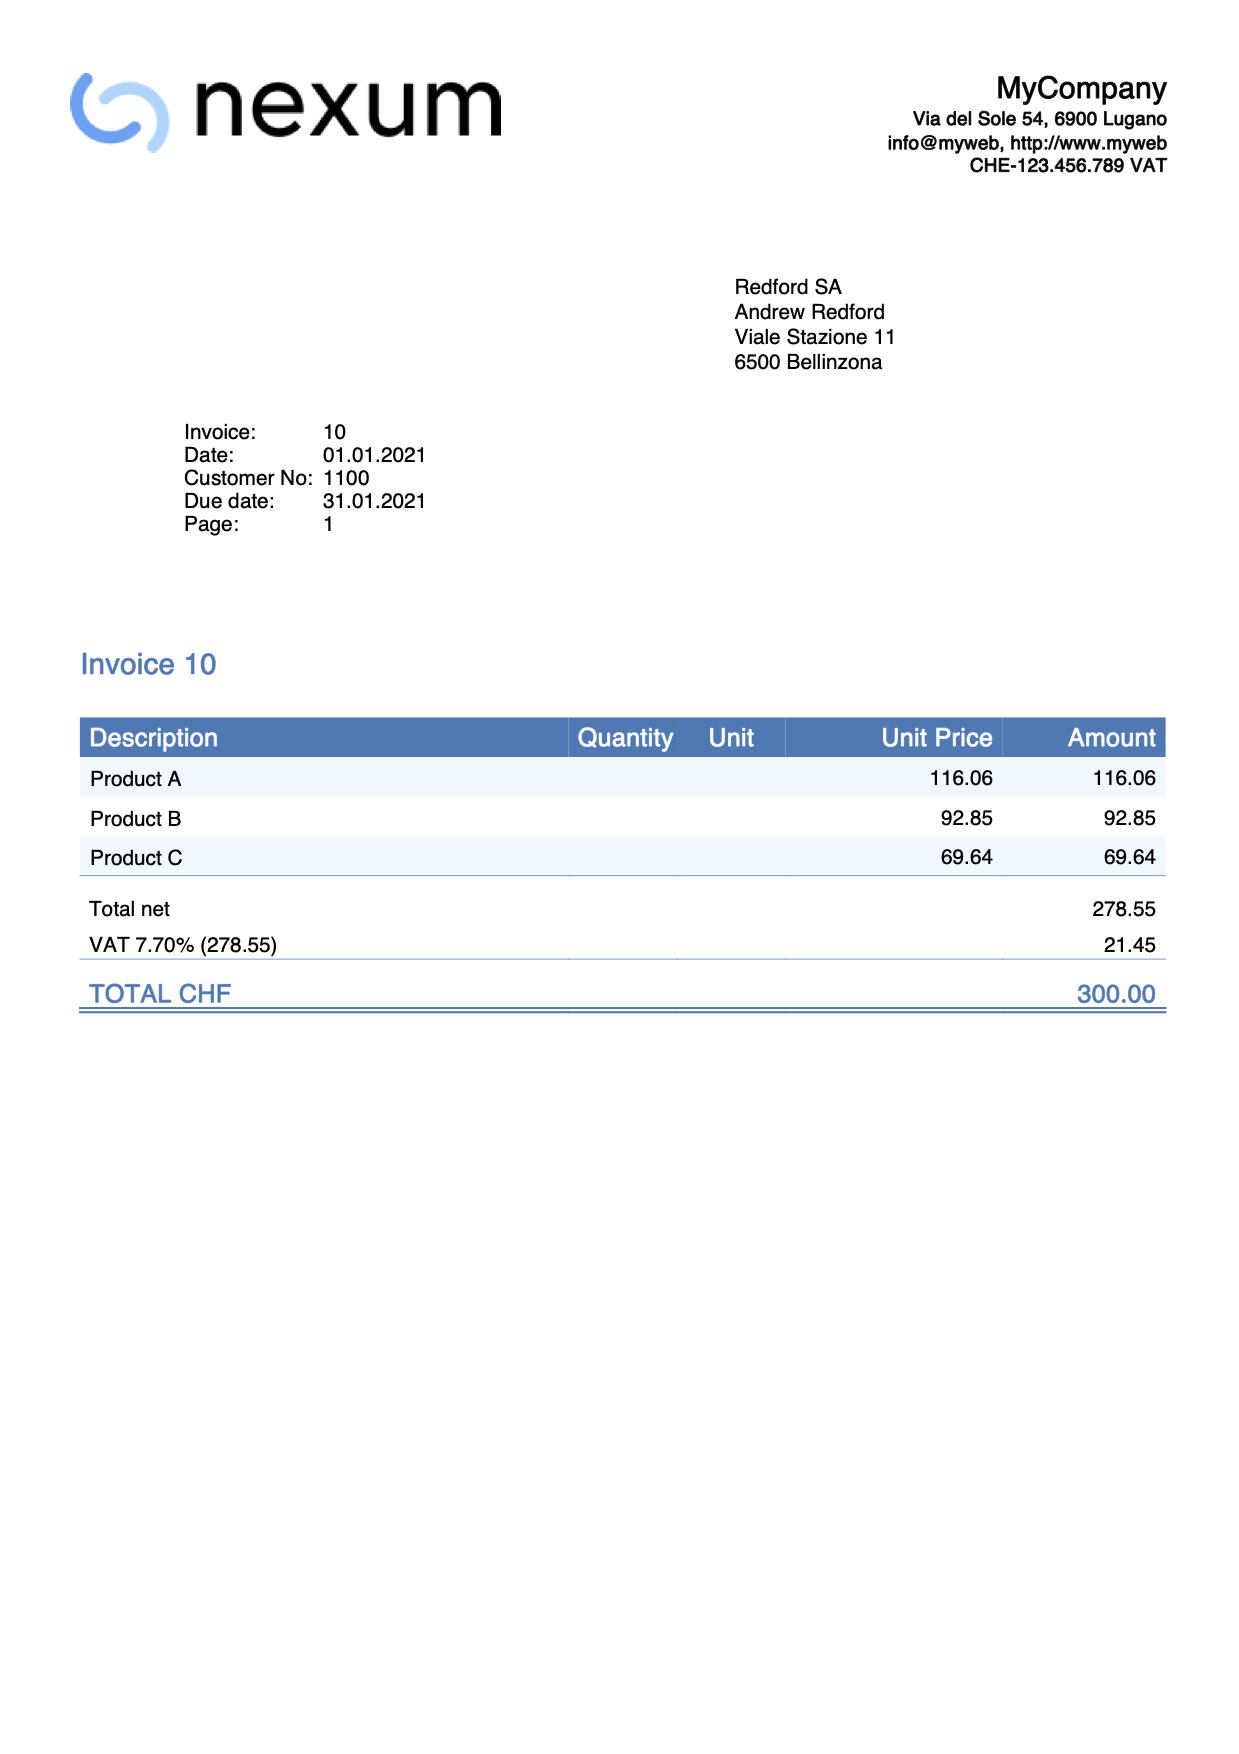
Change position of the address
The position of the invoice address is normally fixed, but with this example we want to change it.
First we have to decide whether the address should be printed on the right or on the left.
For this example let's suppose that it is printed on the right.
In order to move the address (up, down, left, right) we can change the predefined margins values of the address element.
- Move up/down.
- To move the address up, change the top property value with a smaller value
(less space from the top margin means that the address goes up). - To move the address down, change the top property value with a bigger value
(more space from the top margin means that the address goes down).
- To move the address up, change the top property value with a smaller value
- Move left/right.
- To move the address left, change the left property value with a smaller value
(less space from the left margin means that the address goes left). - To move the address right, change the left property value with a bigger value
(more space from the left margin means that the address goes right).
- To move the address left, change the left property value with a smaller value
Copy and paste the following code into the editor and adjust the values of top and left:
.address_table_right {
  font-size: $font_size;
  top: 4.5cm;
  left: 12.3cm;
  width: 7.5cm;
  height: 3.5cm;
  position: absolute;
}
This works both when the address is printed on the right and when it is printed on the left.
Simply use the correct element: ".address_table_right" for the address on the right and ".address_table_left" for the address on the left.
With this change the invoice address starts now on a different position.
N.B. In previous example it was suggested to use margin-left and margin-top. From october 1st 2022 we recommend to use left and top with width and height attributes instead.
If you are using margin-left and margin-top within your custom css, you now have to replace them with left, top, width and height attributes.
Print the address in bold
This example shows how to print the invoice address in bold.
To do that, we have to add the font-weight:bold property to the address style. The address used in the example is the default one positioned on the right.
Copy and paste the following code into the editor:
.address_table_right {
  font-size: $font_size;
  top: 4.5cm;
  left: 12.3cm;
  width: 7.5cm;
  height: 3.5cm;
  position: absolute;
  font-weight: bold;
}
Example print:
Change font type and font size of the address
This example shows how to print the invoice address with different font and size.
To do this:
- Add the font-family property to the address style. This is used to define the font type.
- Add the font-size property to the address style. This is used to define the font size.
If you are printing the address on the right, copy and paste the following code into the editor and replace the name of the font and the size:
.address_table_right {
  font-family: Helvetica;
  font-size: 12pt;
  top: 4.5cm;
  left: 12.3cm;
  width: 7.5cm;
  height: 3.5cm;
  position: absolute;
}
If you are printing the address on the left, copy and paste the following code into the editor and replace the name of the font and the size:
.address_table_left {
  font-family: Helvetica;
  font-size: 12pt;
  top: 5.5cm;
  left: 2.2cm;
  width: 7.5cm;
  height: 3.5cm;
  position: absolute;
}
In both examples you can also change the positions by editing the margin properties. More information Change position of the address.
Reduce space before and after invoice details
The positions of the elements and the space between them is predefined.
In this example we want to:
- Reduce spaces between address and title.
- Reduce spaces between details table and final texts.
Copy and paste the following code into the editor:
.section_class_begin {
  margin-top: 0mm; /*reduce the default 10mm */
  margin-left: 12mm;
  margin-right: 12mm;
  width: 100%;
}
.section_class_final_texts {
  margin-top: 0mm; /*reduce the default 5mm */
  margin-bottom: 10mm;
  margin-left: 12mm;
  margin-right: 10mm;
}
With this changes the spaces you have now less space before and after the invoice details.
Example print: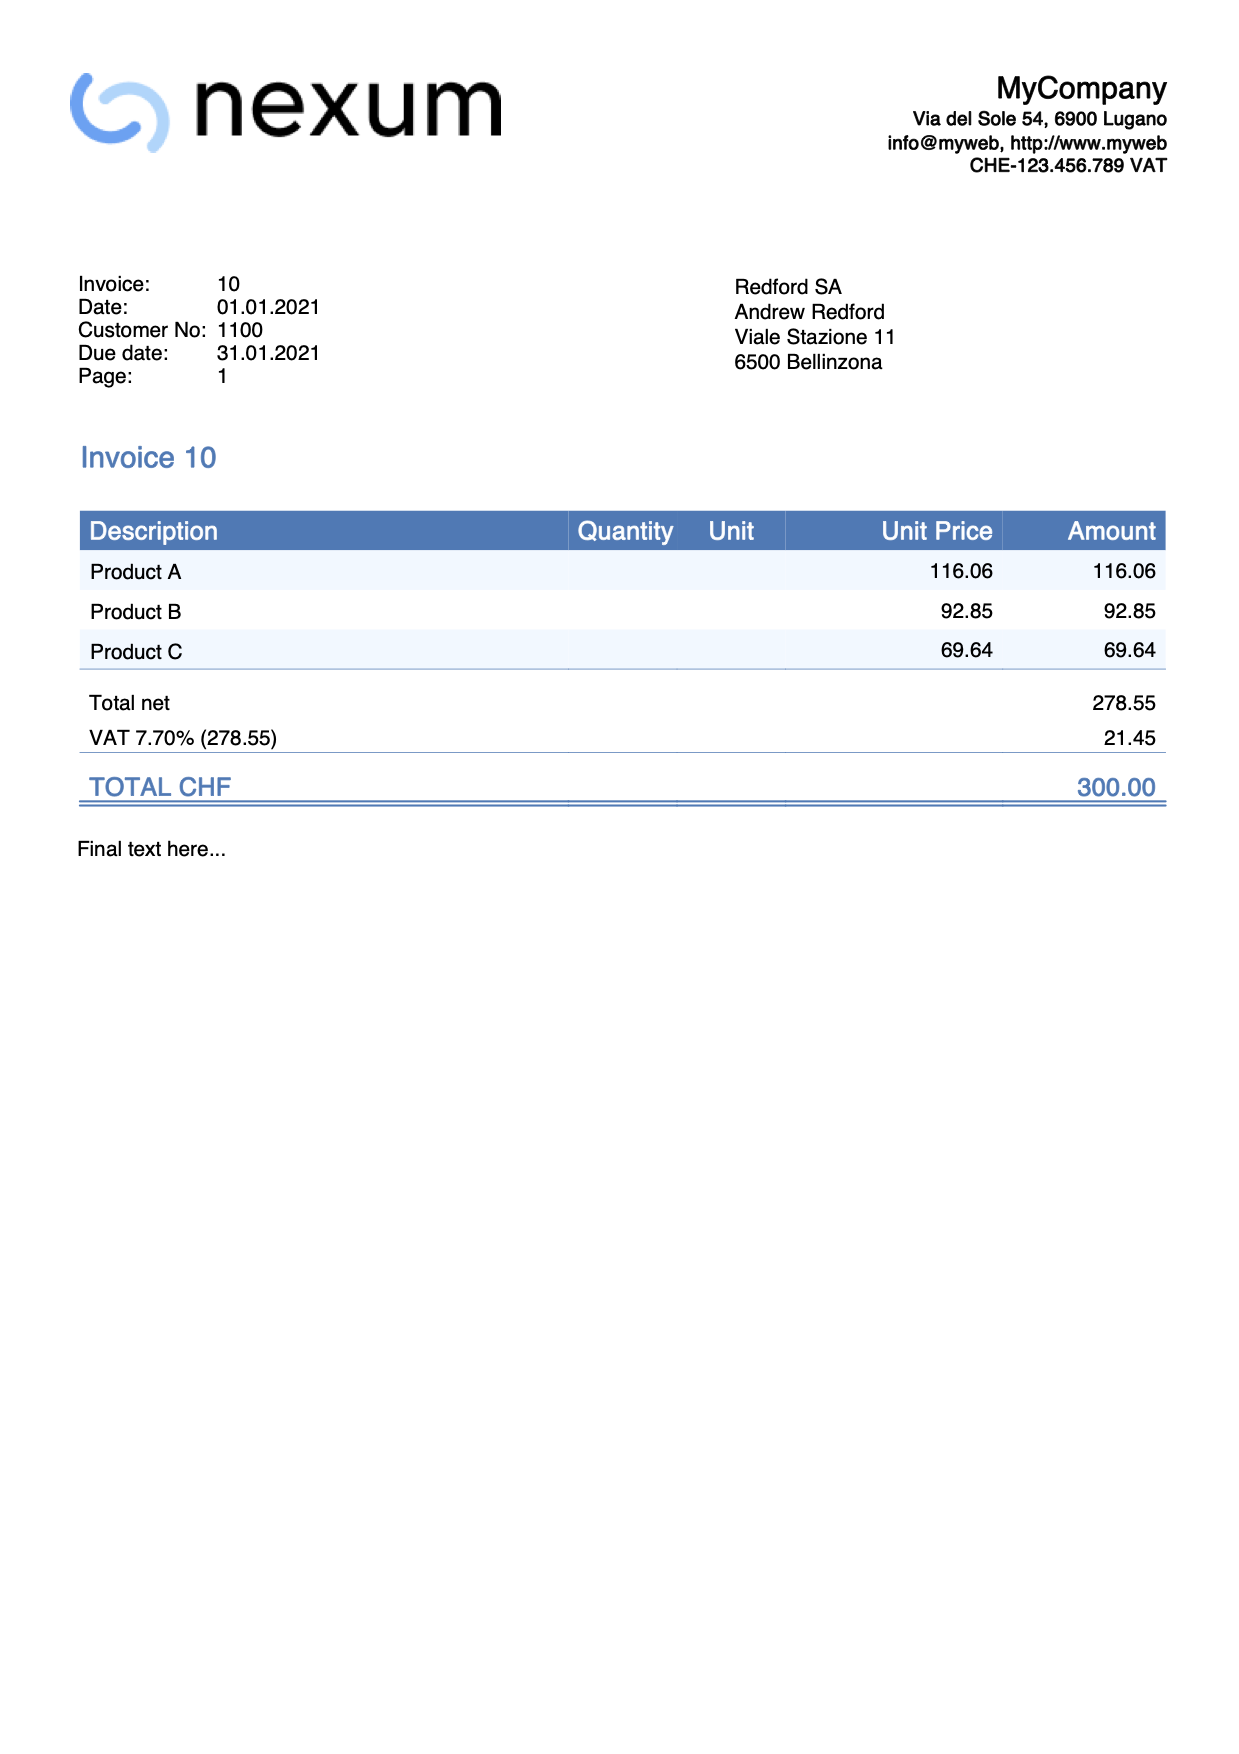
Change the title color
The title text by default is always printed with the same color of the total line.
With this example we want to change the title color without changing the total:
- Copy the code below.
- Change the color property value with the color you want.
.title_text {
  font-size: $font_size_title;
  font-weight: bold;
  color: black;
}
The title color is now changed from the original settings.
Change the size of the item rows
With this example we want to change the font size of the item rows:
- Copy the code below
- Change the font-size property value with the size you want.
.item_cell {
  font-size: 9pt;
}
Add a separator between items
In this example, we add a separator line between each item row.
- Copy the code below.
- Change the border-bottom property, specifying:
- the width of the line (1px, thin, etc.)
- the style of the line (solid, dotted, etc.)
- the color of the line (black, #000000, etc.)
.item_cell {
  border-bottom: thin solid black;
}
Change the total line bottom border
The total text by default is always printed with a double bottom border.
With this example we want to:
- Remove the bottom border.
- Change the border-bottom-style property value from double to none. This displays no border.
.total_cell {
  font-size: $font_size_total;
  font-weight: bold;
  color: $color_title_total;
  border-bottom-style: none;
  border-bottom-color: $color_title_total;
  border-bottom-width: 1px;
}
- Change the border style.
- Change the border-bottom-style property value with a different type (dotted, dashed, solid, double).
- Change the border-bottom-width property value with a different value (thin, thick, 1px, 2px,...).
- Change the border-bottom-color property value with a different color.
The total line style is now changed from the original settings.
Example print: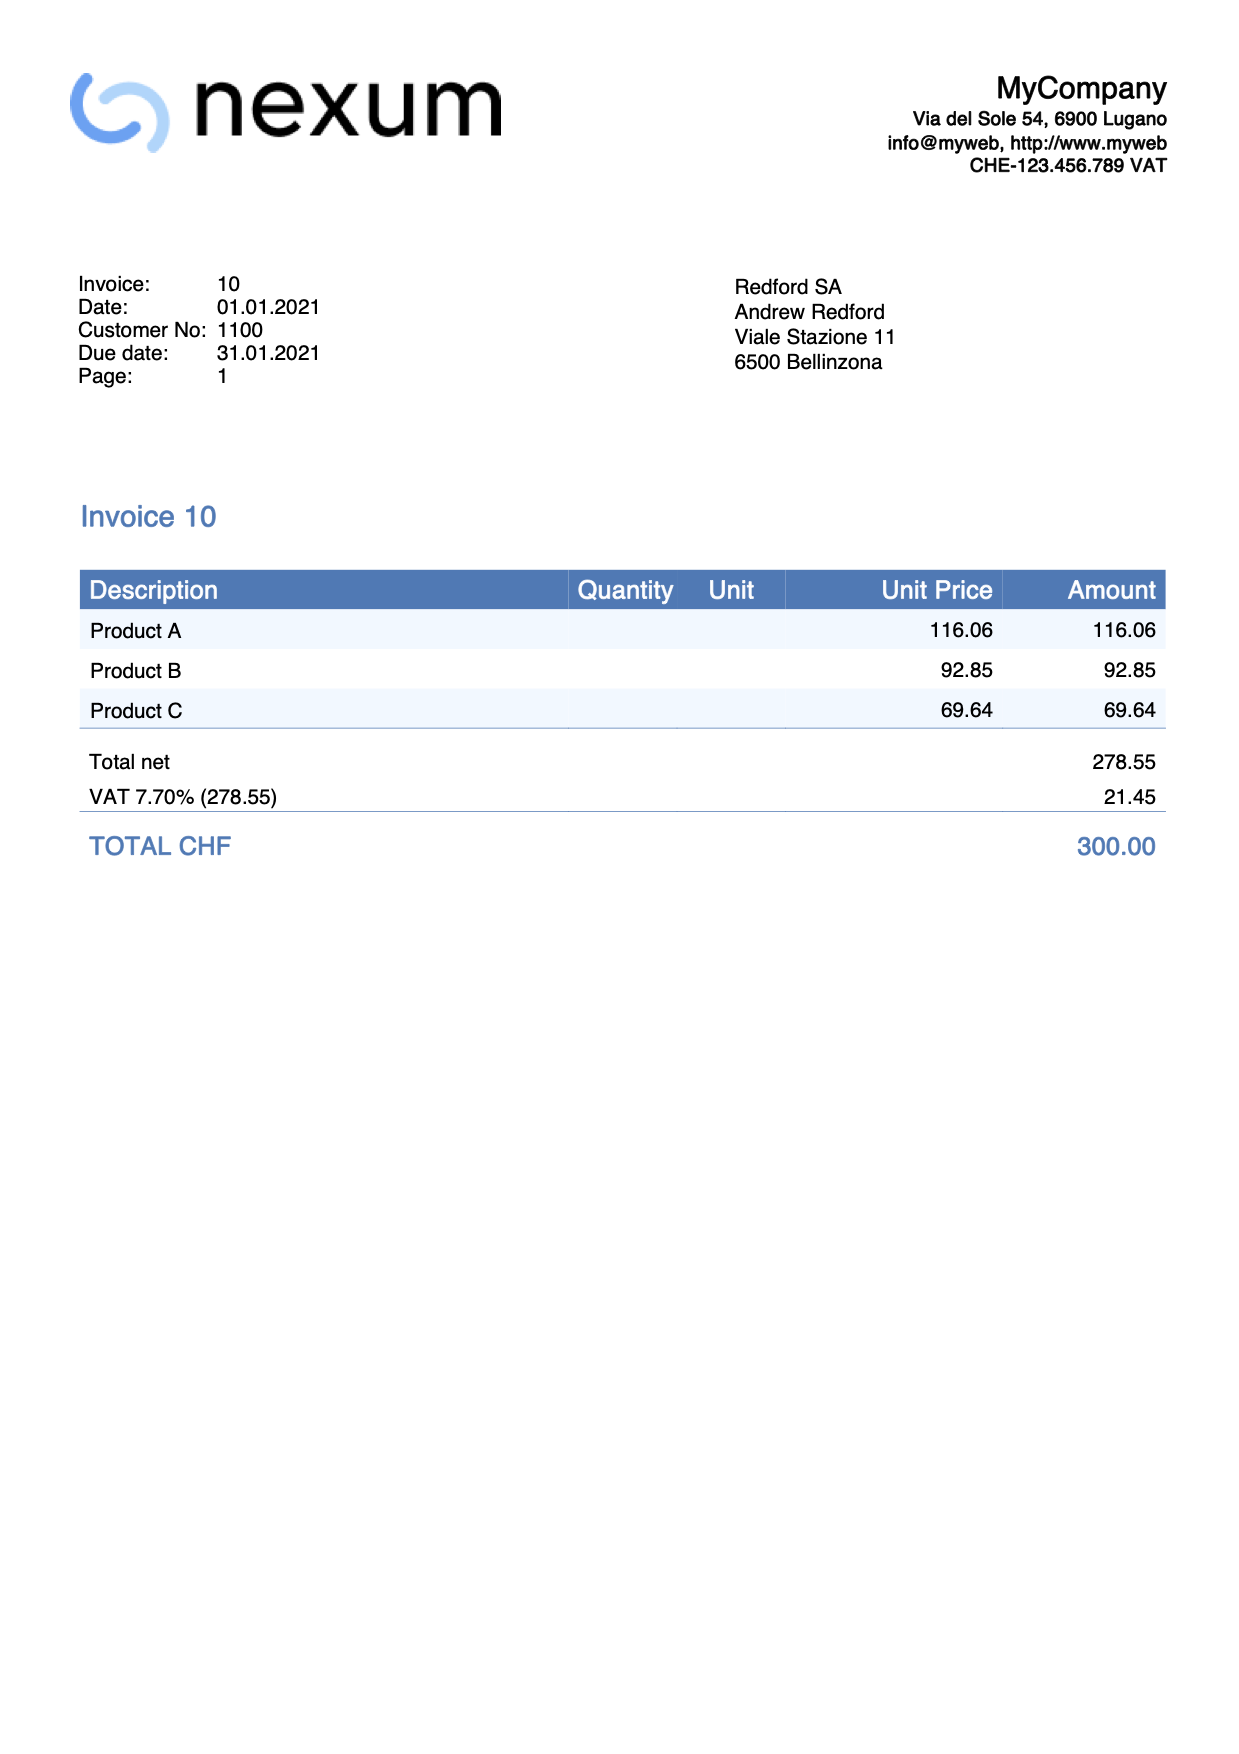
More space between total text and double underline
In this example we want to change the space between the total line text and the double underline.
The text is in the last row of the details table, and the double underline is done using a bottom border.
To increase or decrease the space in between we can use the padding property, that is used to generate space around an element's content (in this case the text), inside of any defined borders.
To do that we have to:
- Add a new selector that works specifically on all the cells of the total row.
- We use the total_cell selector that already exists (see example above).
- We combine it with the td selector in order to work on each data/cell of the row.
- Add the padding-bottom property only, and define a value we want.
Copy and paste the following code into the editor:
.total_cell td {
   padding-bottom: 10px;
}
The bottom border distance of the total line is now changed from the original settings.
Example print: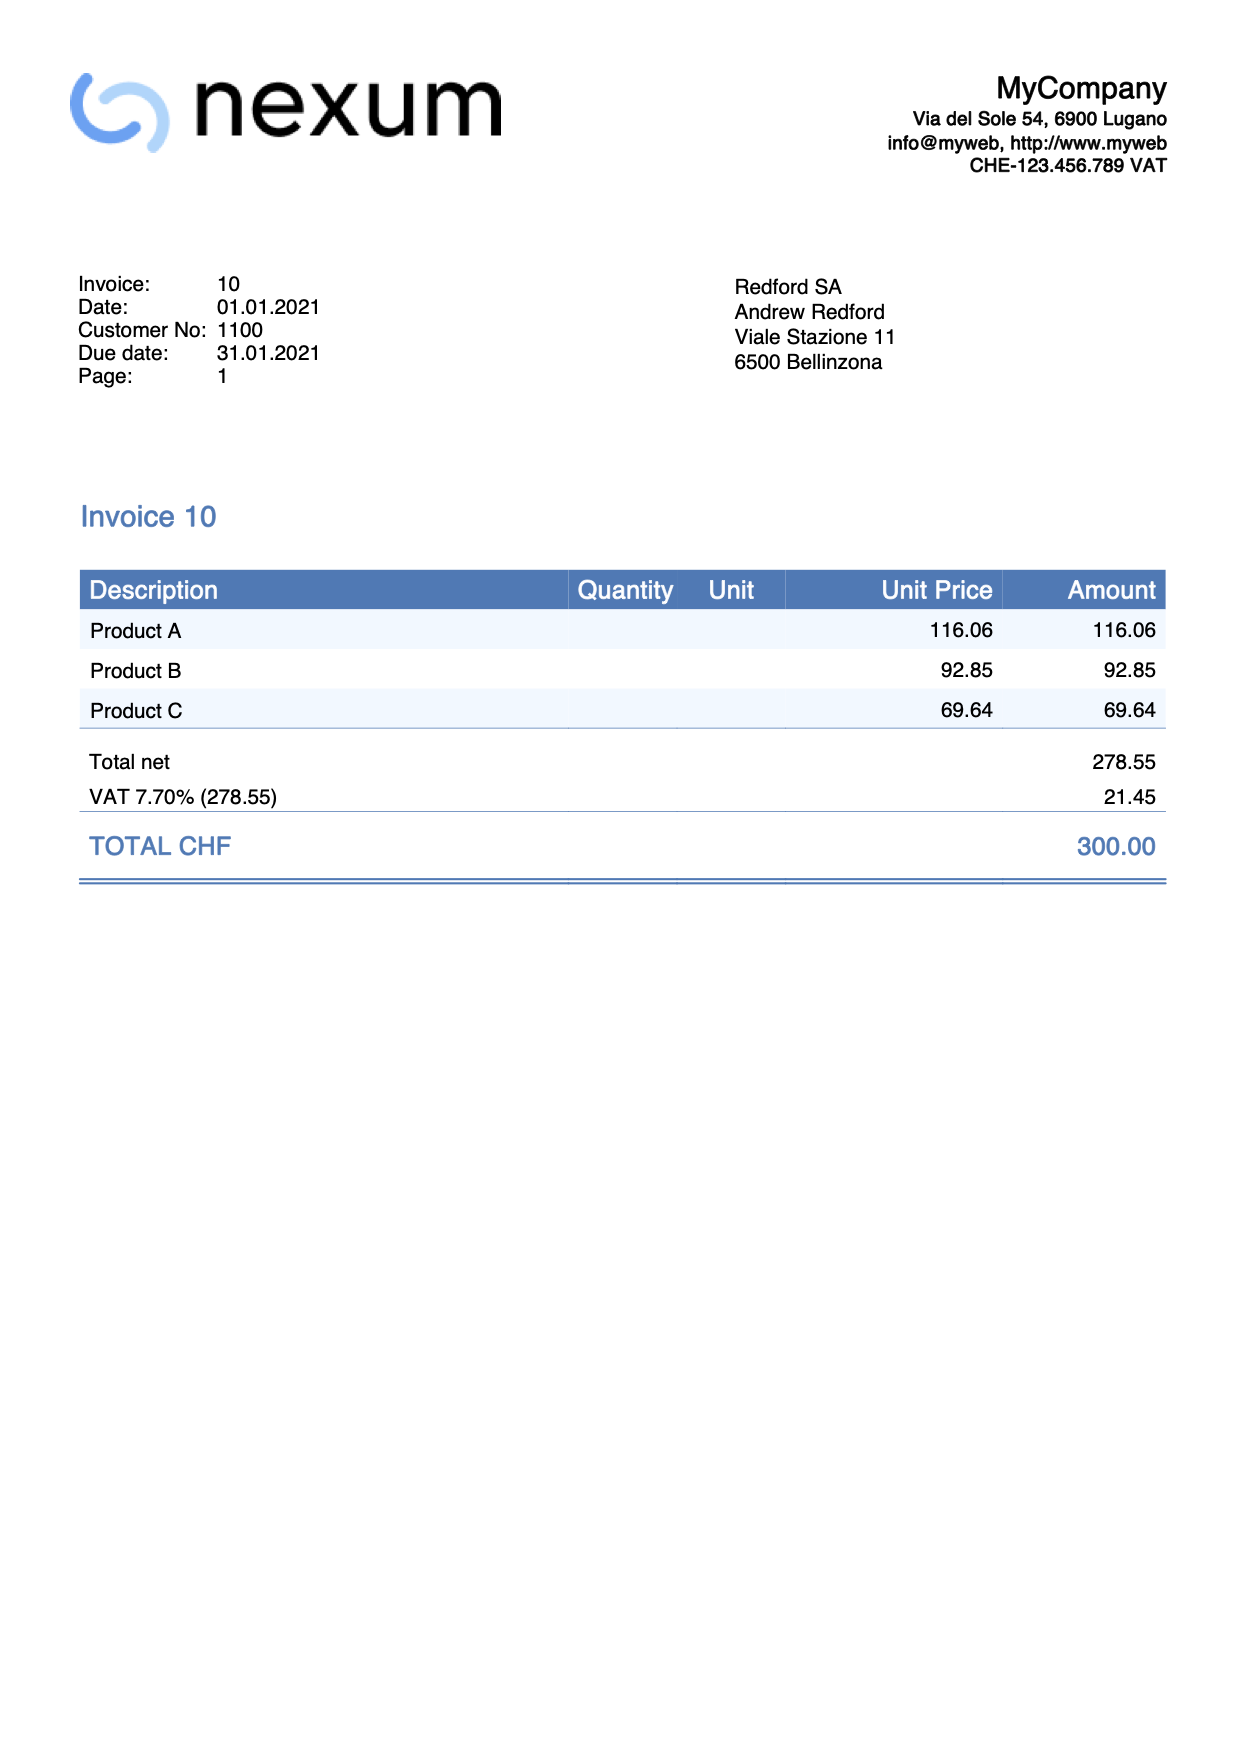
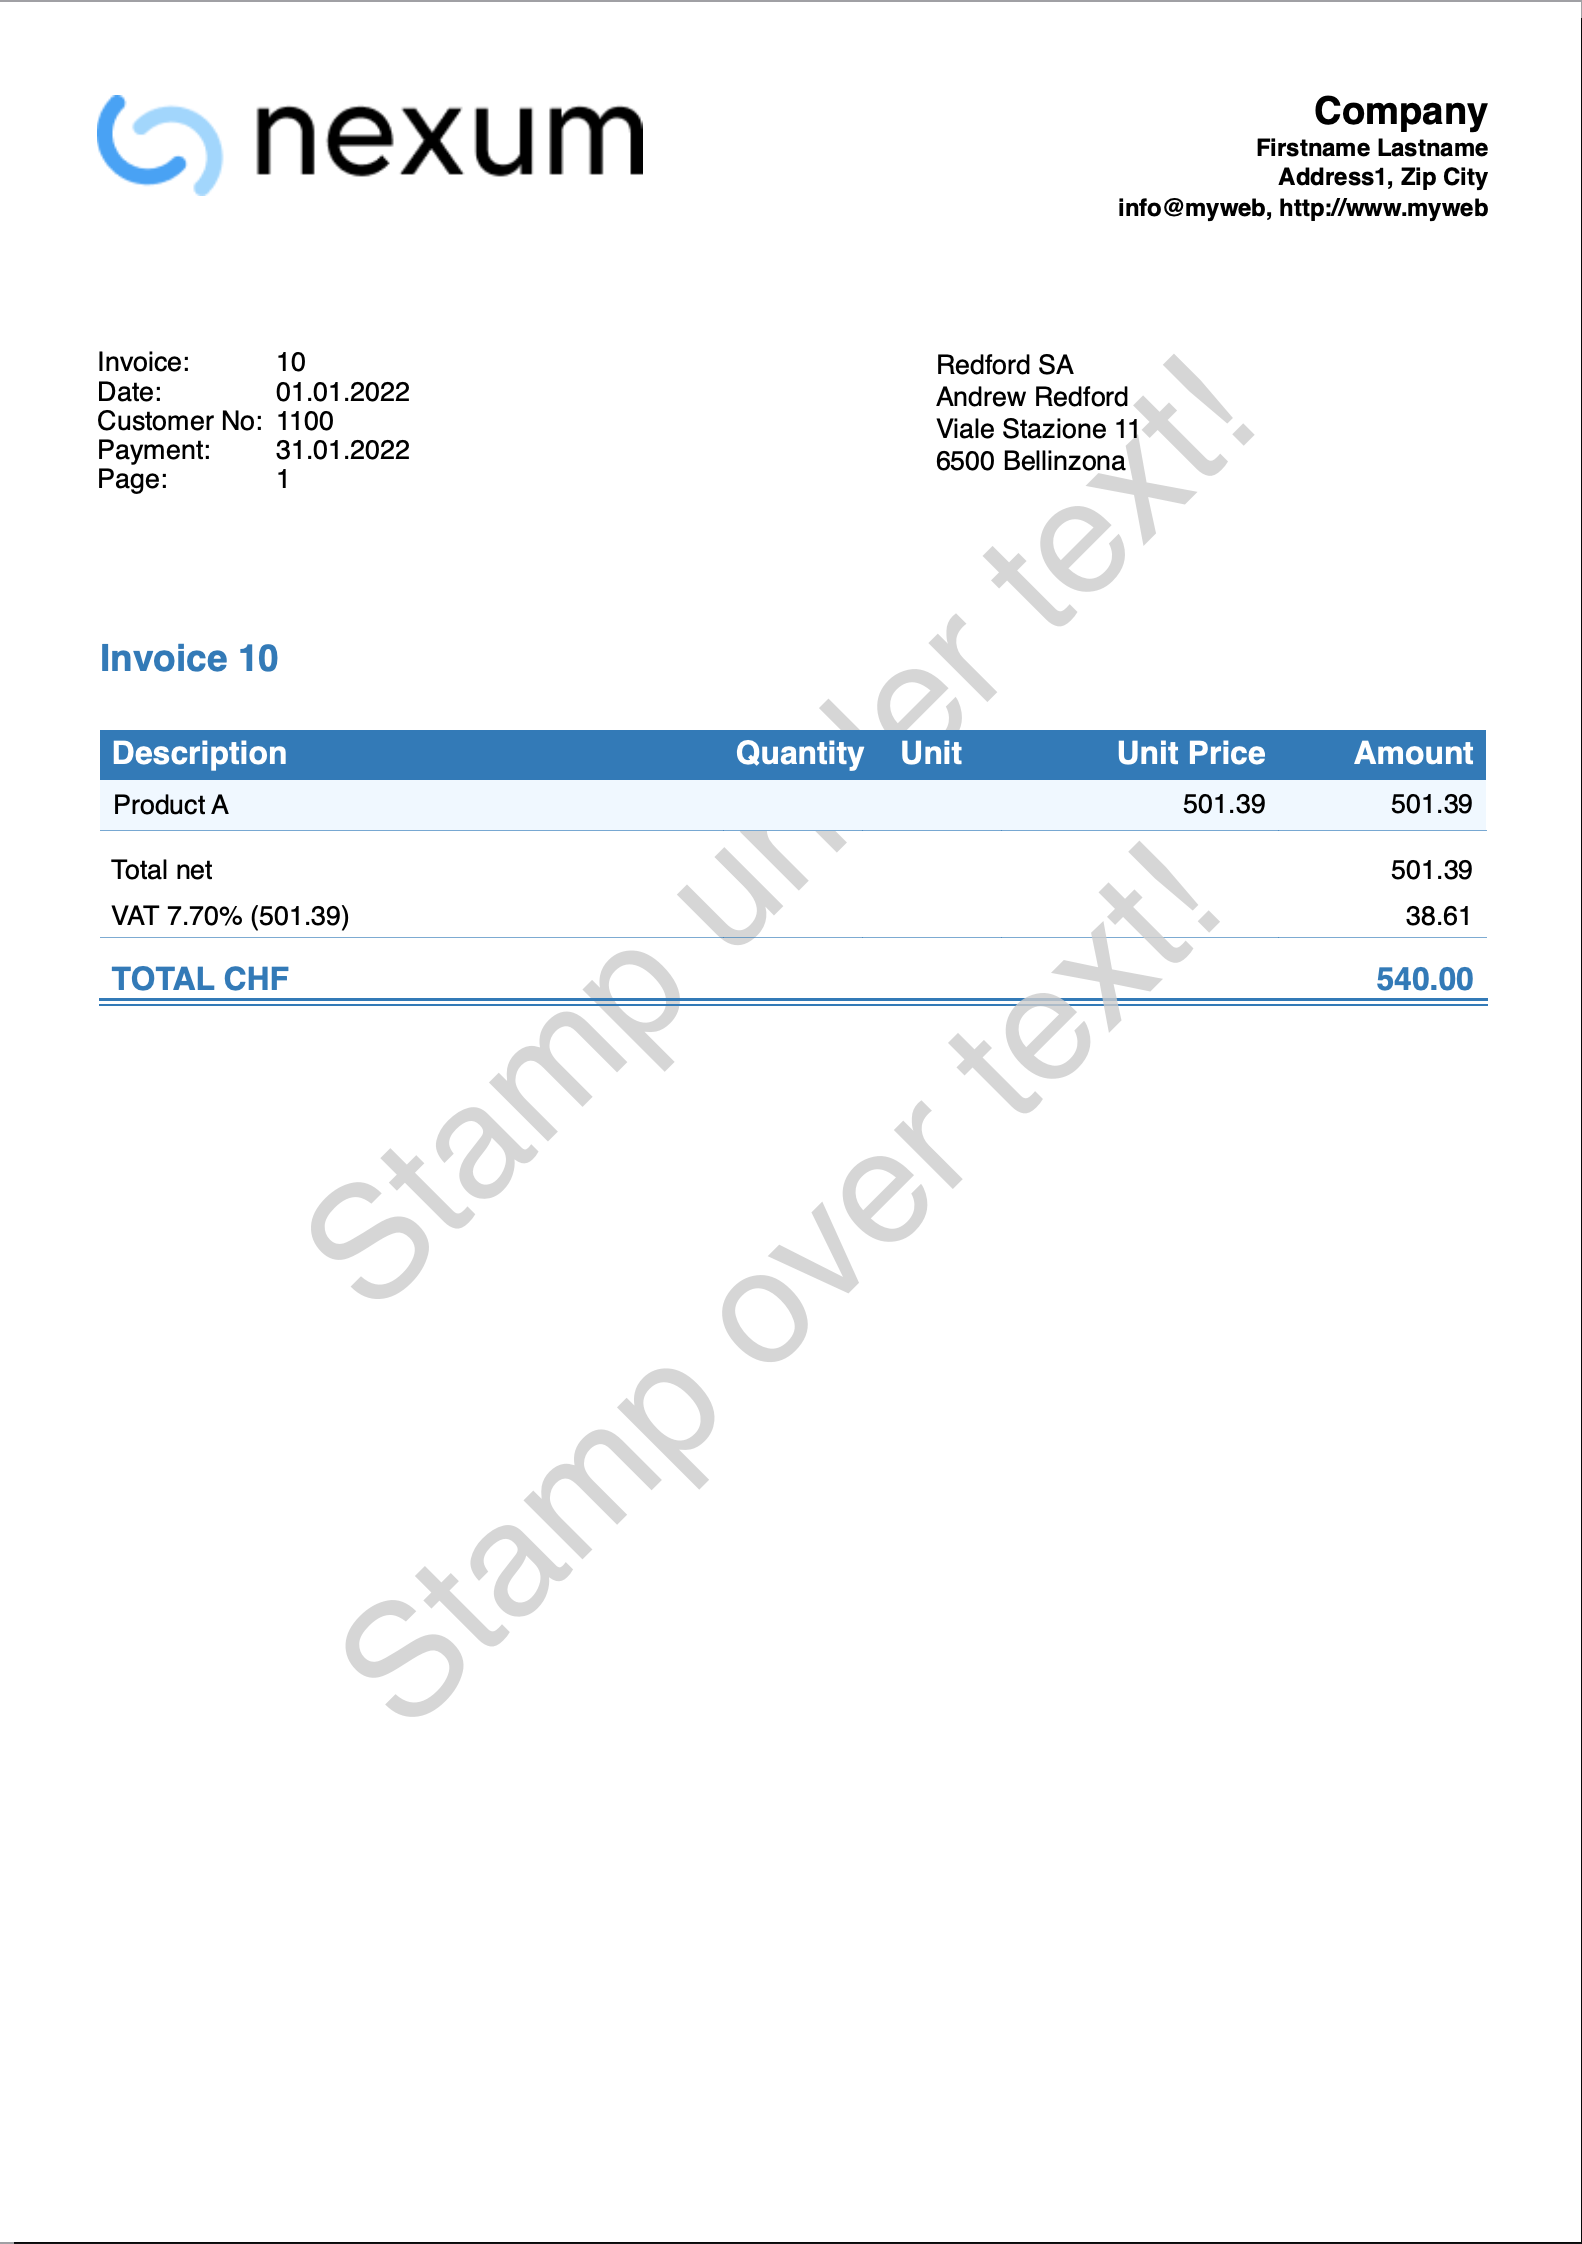
Print a stamp
In this example we want print a text as a stamp over and under the invoice's content.
The text will be printed rotated. For that we will use the css attribute transform.
To do that, we have to:
- Add a new selector that works specifically on the stamp text.
- Add the text as last first paragraph, so that it will be under the content.
- Add the text as last last paragraph, so that it will overlap the content.
Copy and paste the following code into the css editor:
.stamp1 {
    position: absolute;
    transform: translate(-0cm,10cm),rotate(-45deg);
    font-size: 60;
    text-align: center;
    color: #CCCCCCCC;
 }
.stamp2 {
    position: absolute;
    transform: translate(-0cm,16cm),rotate(-45deg);
    font-size: 60;
    text-align: center;
    color: #CCCCCCCC;
}
Copy and paste the following code into the js editor:
function hook_print_header(repDocObj, userParam, repStyleObj, invoiceObj, texts) {
   let stamp = repDocObj.addSection("stamp1");
   stamp.addParagraph("Stamp under text!");
   print_header(repDocObj, userParam, repStyleObj, invoiceObj, texts)
}
function hook_print_footer(repDocObj, texts, userParam) {
   print_footer(repDocObj, texts, userParam)
   let stamp = repDocObj.addSection("stamp2");
   stamp.addParagraph("Stamp over text!");
}
The bottom border distance of the total line is now changed from the original settings.
Example print: