In this article
This walk-through provides step-by-step guidance for creating a simple Extension that uses JavaScript API to interact with Banana Accounting software.
Document Based Extensions are single file extensions saved directly in the Documents table of the Banana Accounting file, and work only in that specific file. There is no need to install them; once created, embedded extensions are immediately ready to be used. To run the embedded extensions, you can easily do so from both the Documents table and the Extensions menu.
How to create a Document Based Extension
The “Hello World!” program is a classic tradition in computer programming. It is a short and complete first program for beginners, and it is perfect as first embedded extension example.
There are three basic steps in order to create and run an embedded extension:
- Add the Documents table.
- Add the the JavaScript code to the Documents table.
- Run the embedded extension.
Add the Documents table
The embedded extension must be saved in the Documents table of the accounting file.
If it's not already present you need to add the Documents table in the accounting file with the menu command Tools > Add new features > Add Documents table.
Add the JavaScript code to Documents table
In the Documents table you can now add your embedded extension.
- In the ID column enter the file name (e.g. "helloworld").
- In the Description column enter a comment (optional).
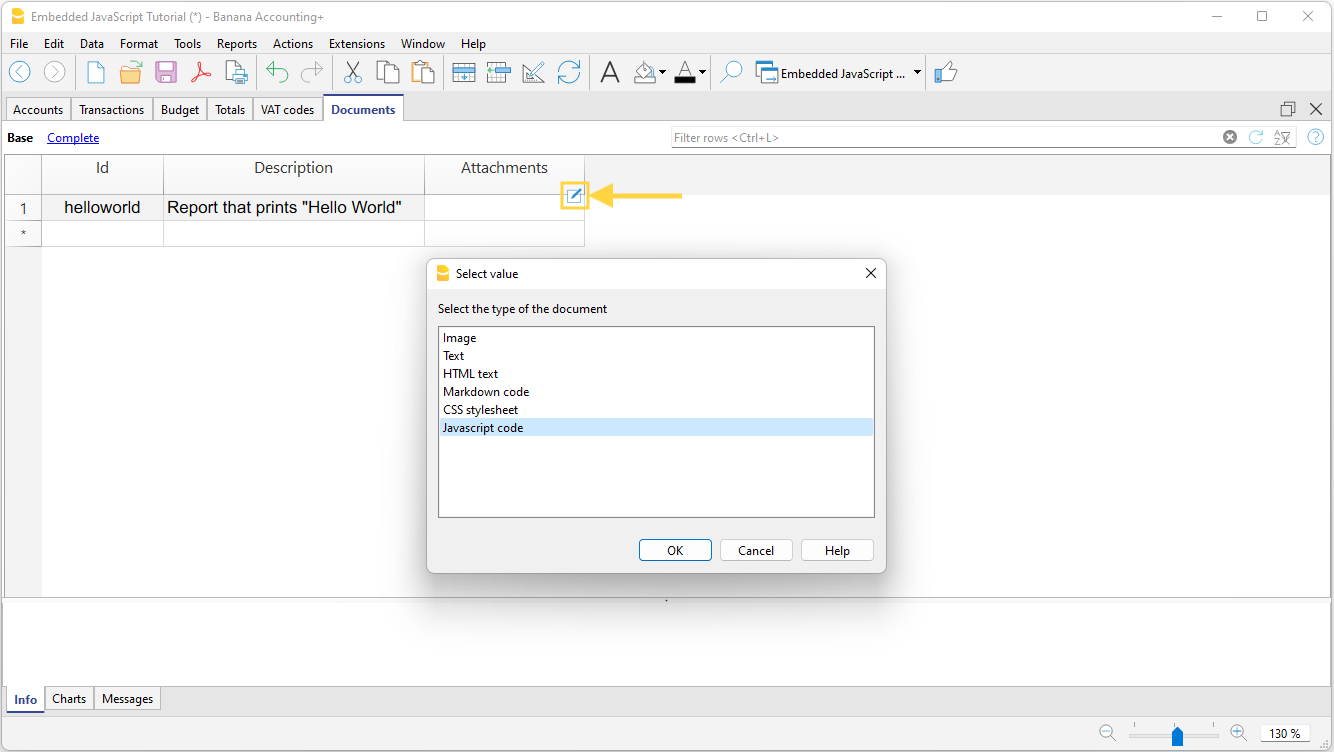
- In the Attachments column you have to add the javascript code. Double click on the cell or select the edit symbol in the top right corner, then select Javascript code and confirm with OK.
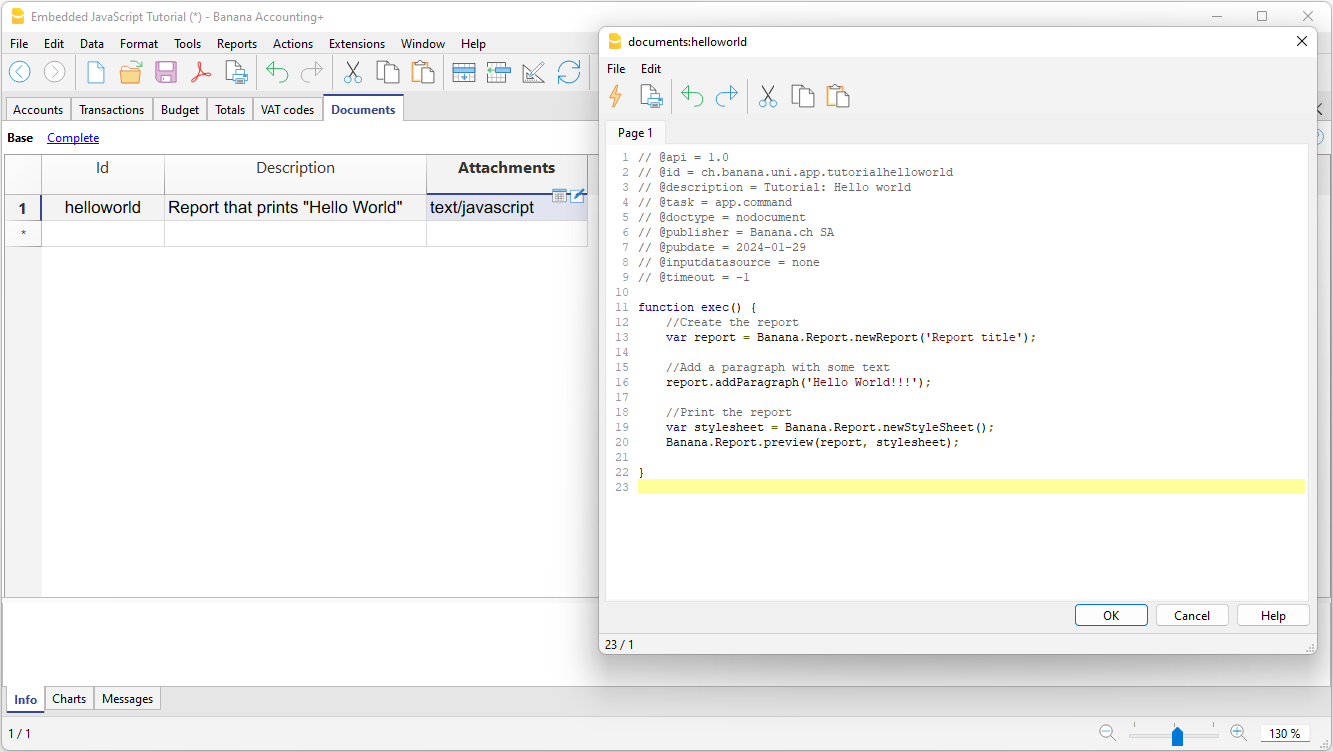
- An editor where you can write your javascript code opens.
- Copy the following javascript code and paste it in the editor.
// @api = 1.0
// @id = ch.banana.uni.app.tutorialhelloworld
// @description = Tutorial: Hello world
// @task = app.command
// @doctype = nodocument
// @publisher = Banana.ch SA
// @pubdate = 2019-01-25
// @inputdatasource = none
// @timeout = -1

function exec() {
    //Create the report
    var report = Banana.Report.newReport('Report title');

    //Add a paragraph with some text
    report.addParagraph('Hello World!!!');

    //Print the report
    var stylesheet = Banana.Report.newStyleSheet();
    Banana.Report.preview(report, stylesheet);

}
- Change the attributes of the extension (for more information, see Extension's attributes):
- @id = <your_script_id>
This is the identification of the script.
In order to avoid duplicates, it is important to assign a unique id for each embedded extension. - @description = <your_script_description>
This is the name of the extension. The text will be displayed in the Extensions menu.
- @id = <your_script_id>
- When you are finished, confirm with OK. You can edit the code at any time by reopening the editor.
- Save the accounting file.
When you save the accounting file, the extension is also saved. You can run or edit it whenever you want.
Run the Document extension
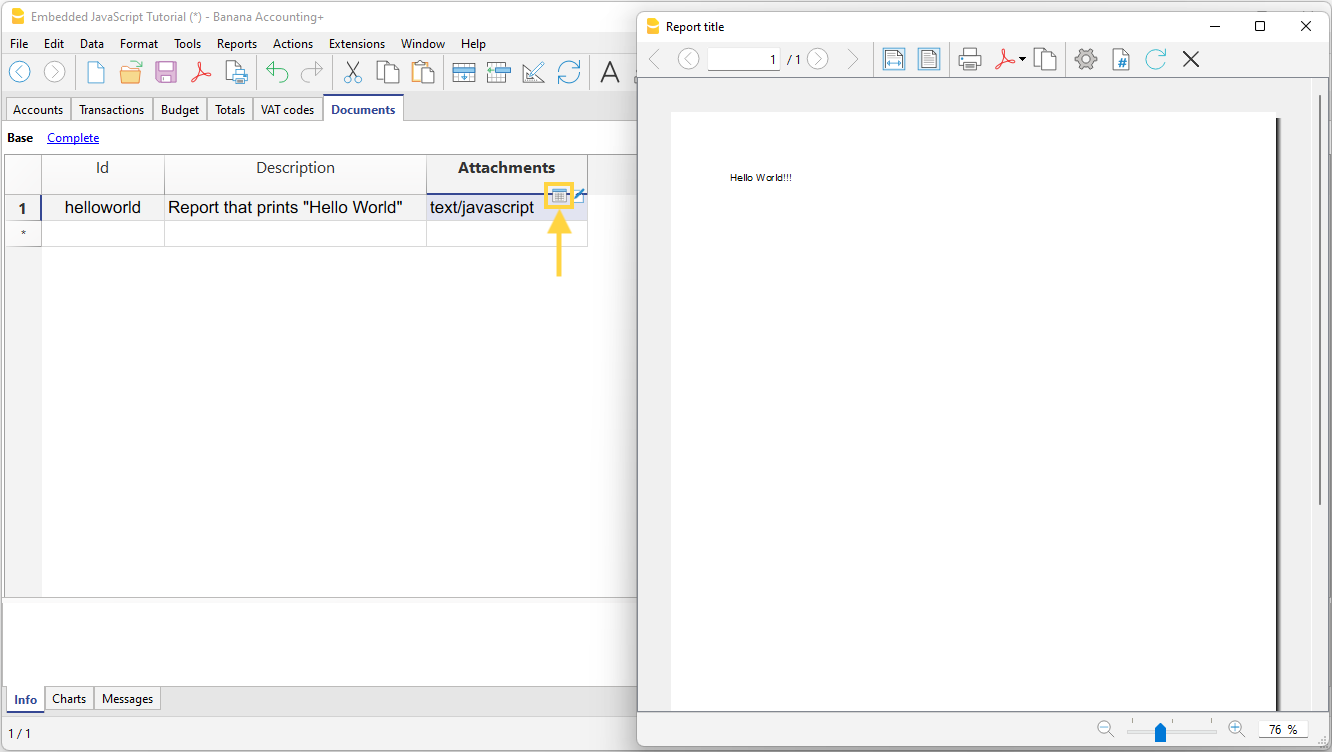
There are two ways to run an embedded extension:
- Click the run symbol in the Attachments cell where your code is located.
- From the Extensions menu, select the extension you want to run.
Useful resources
We have prepared Tutorial files for document Extensions that include samples code for most API. You can see how the API works and experiment with it.