In this article
The account card corresponds to the Ledger and allows you to have a comprehensive list of accounting movements concerning the same account, a cost center, segments and groups.
An Account card contains the following information:
- The name of the account represented by the card.
- The date of the financial transaction.
- The type of financial transaction (e.g., sale, purchase, payment, receipt).
- The amount.
- The description (e.g., the name of the supplier or customer, the nature of the goods or services bought or sold).
Banana Accounting automatically records all transactions entered in the Table Transactions table, allocating them to the corresponding specific accounts. Therefore, the ledger cards are updated every time a transaction is recorded in the Transactions table.
Opening the Account card
There are two methods to open an account card:
First method
This method is recommended when you want to display and print all or several account / category cards.
- Select the Reports → Account Cards in the menu

A dialog box will appear, with the following sections:
For detailed information on the sections, click on the corresponding links.
Second method
- Click on the small icon that appears when you select the cell that contains the account, category or group number.
Updating the Account card
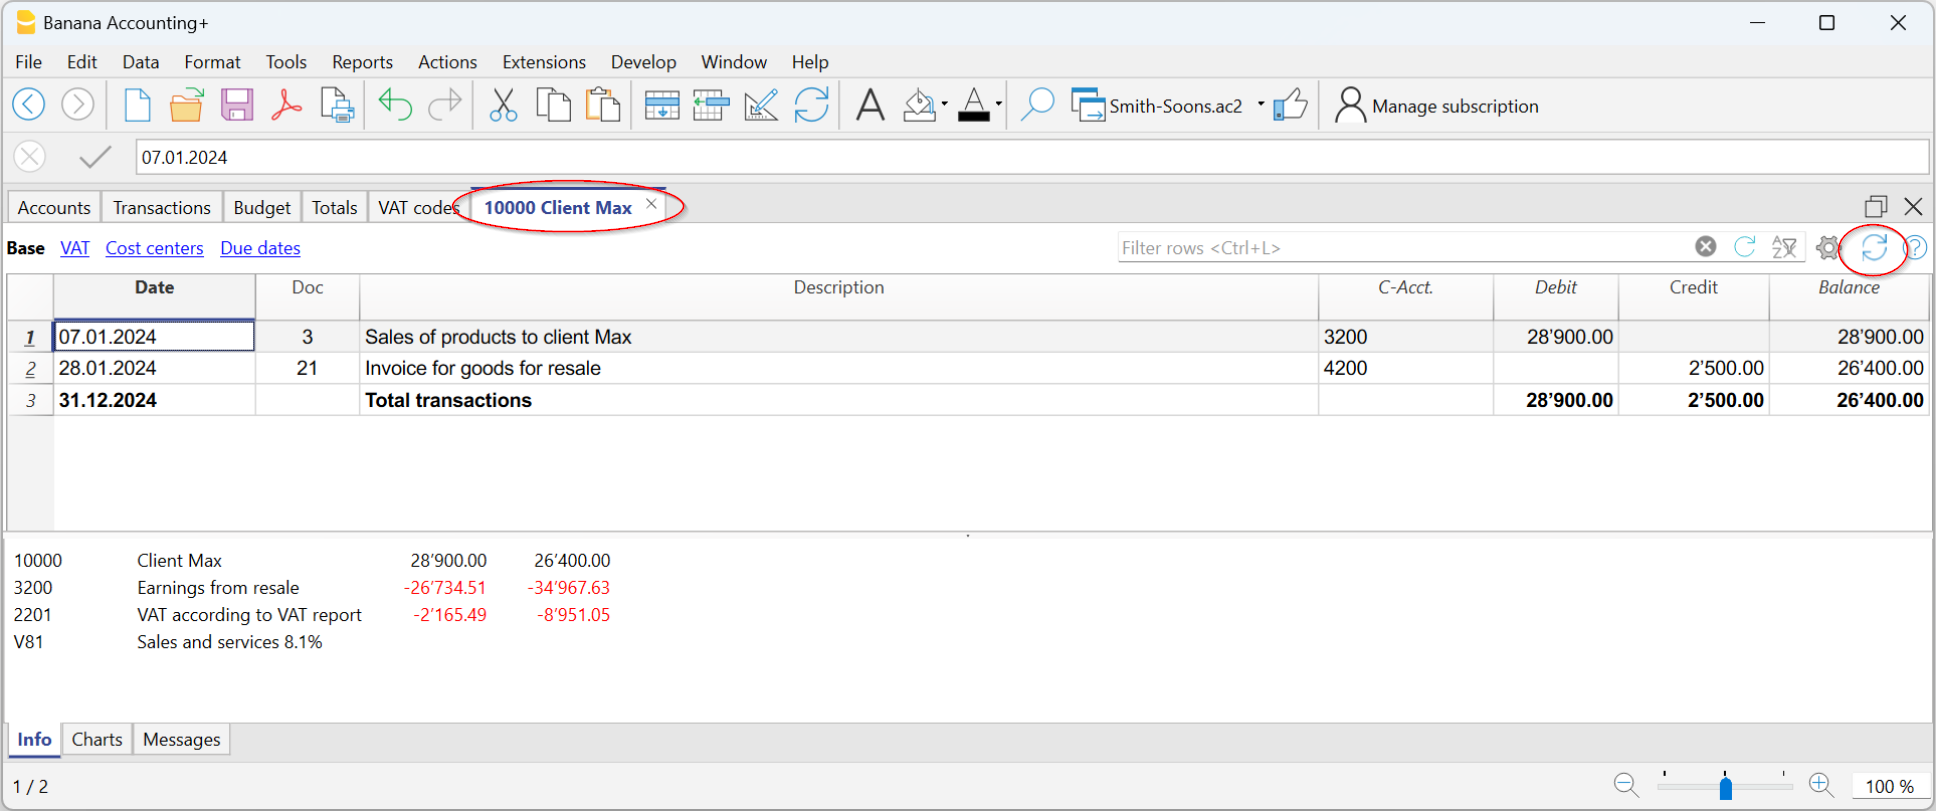
The account or category card is temporary and is calculated at the time of the request. If transactions are changed or added in the Transactions table, the account card is not simultaneously updated.
To update the account card, following changes, the Account / category card command must be issued again, or if the account card is still open, click on the symbol shown in the image below.
Deleting or modifying data
In the accountcards or group cards, it's not possible to directly modify or delete data. If changes are required, they must be made in the Transactions table or in the Budget table (if they concern estimate transactions). After recalculating, the changes are automatically applied to the corresponding account card.
If you are in the account card and you notice an error or a modification to be made, you need to:
- Within the account card, position yourself on the row number related to the modification.
- Double-click on the row number, and the program automatically redirects to the Transactions table, right on the row related to the modification.
- Make the modification and recalculate the accounting (press Shift + F9).
The changes are automatically reflected in the corresponding account card.
The Account Selected column
Starting from any Account card, the Account Selected column, can be displayed, via the Data → Columns setup menu, the account on which the transaction took place will be shown.
When you get an account card of one or more accounts, groups and segments, you will see the exact account that has been used.
The contra account in the account cards
In the Account cards, the "Contrp" Account column (C-Acct.) is present, which indicates the account that completes the transaction.
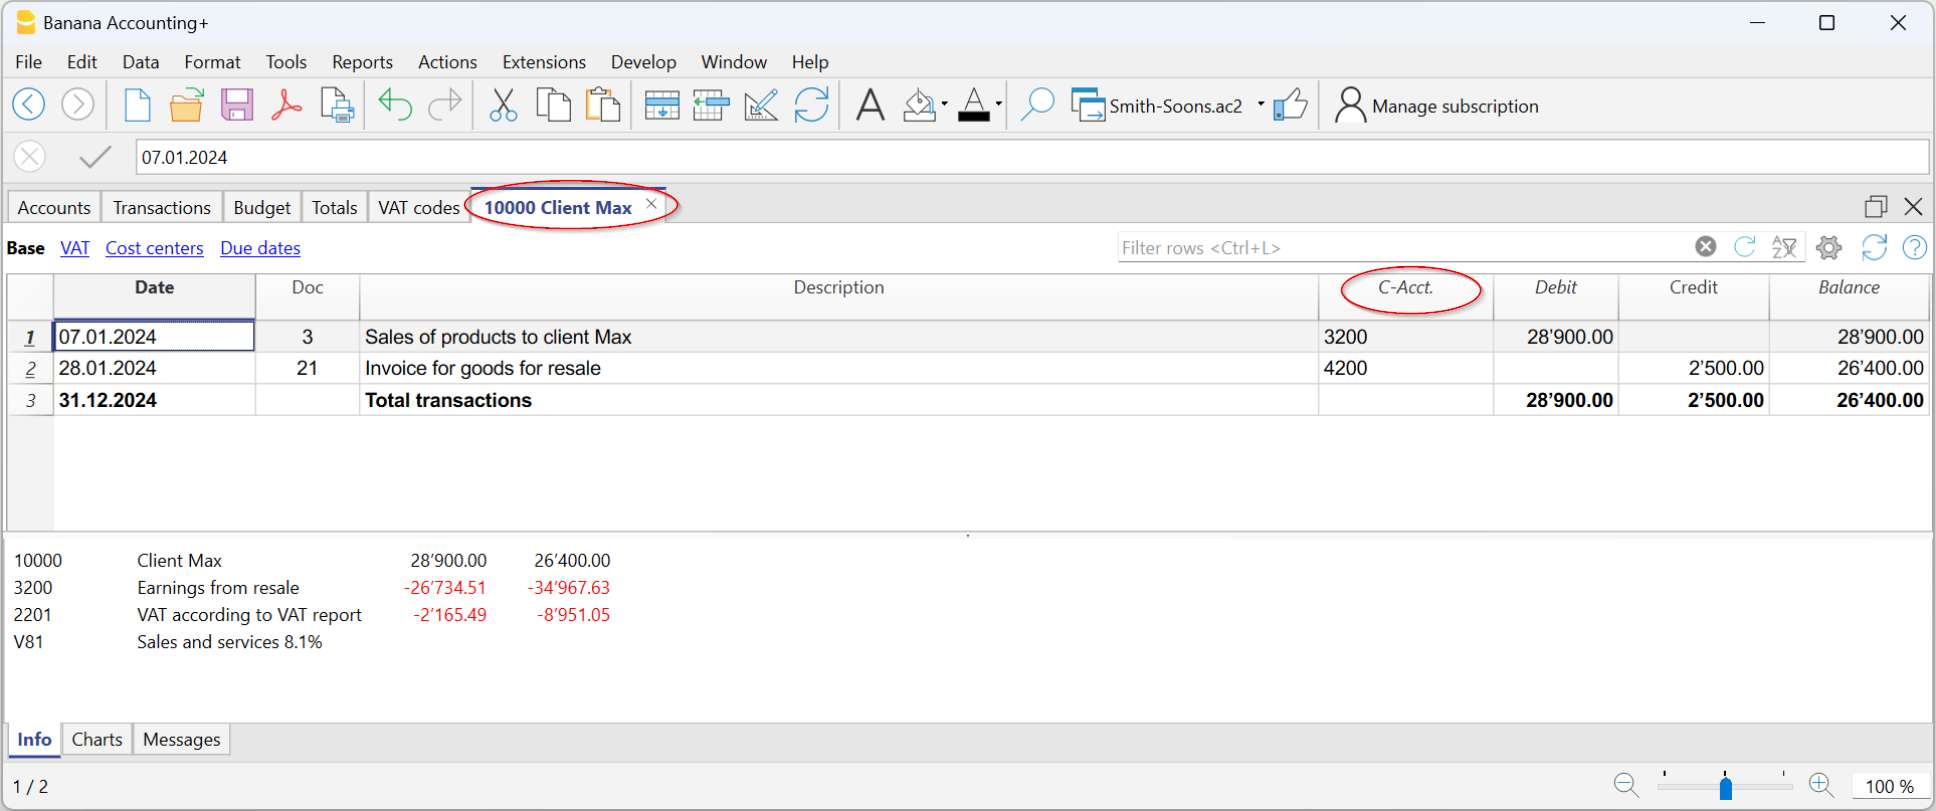
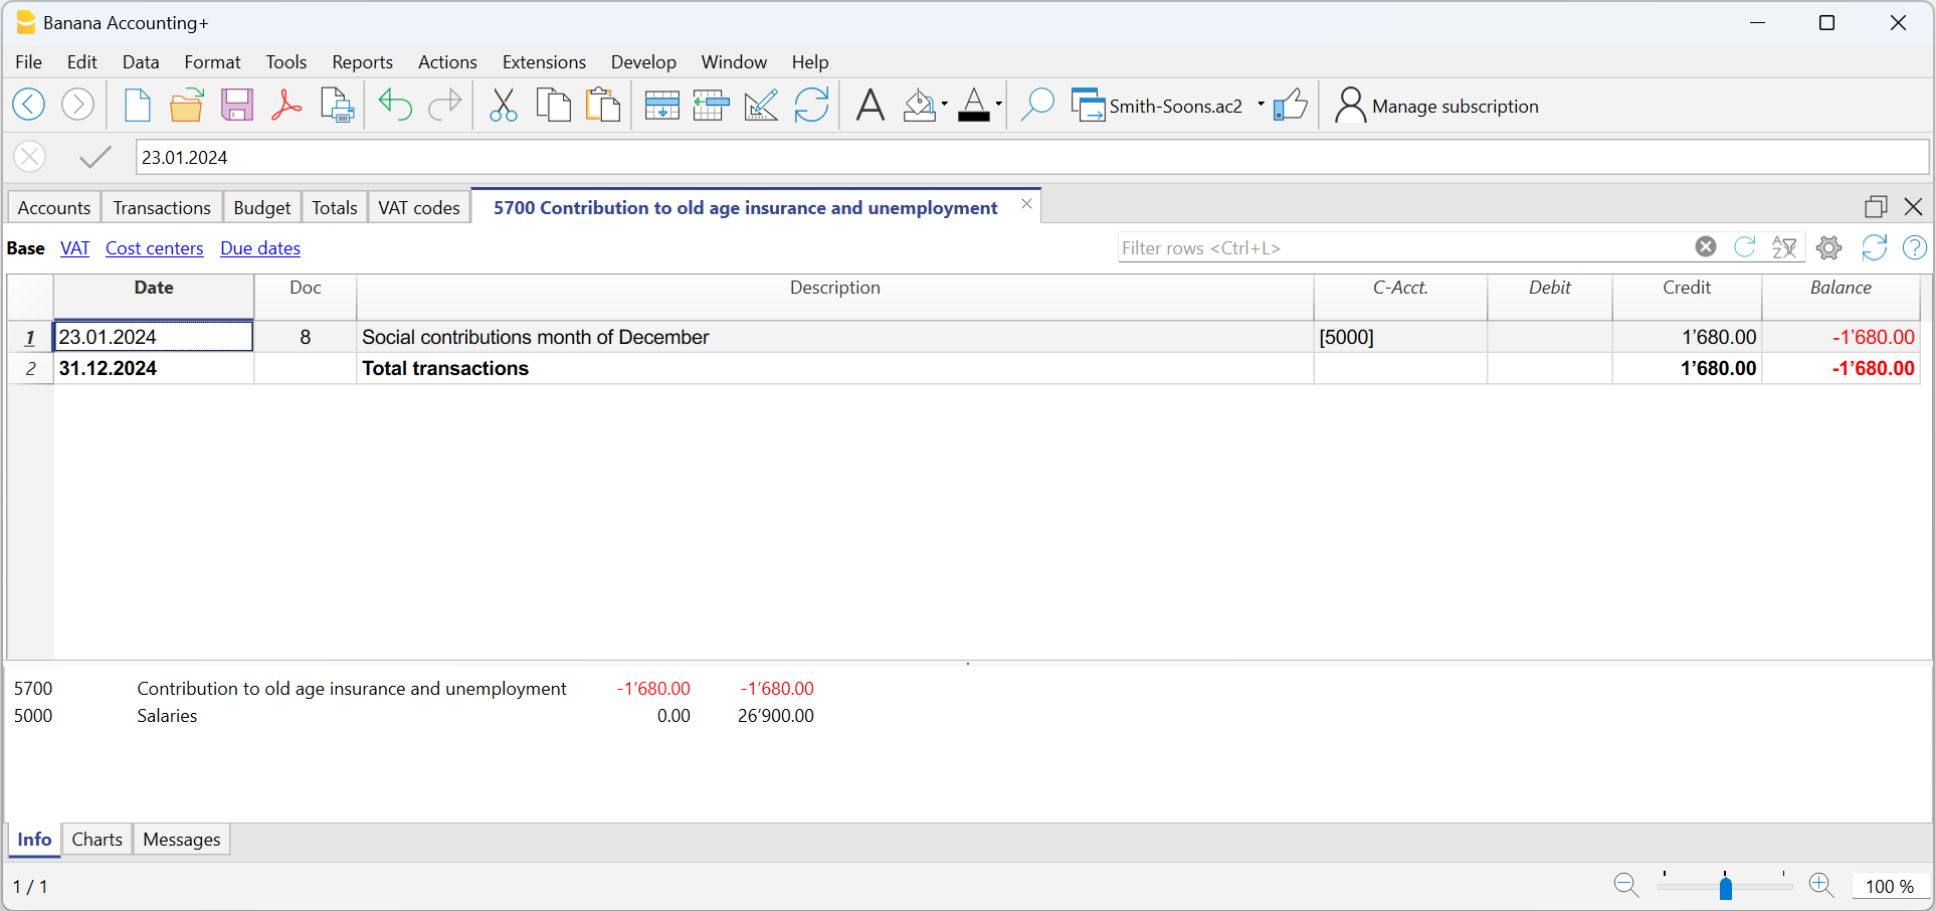
When there are transactions on multiple accounts (transactions on multiple rows) as in the example below, and there is one account entered in debit and several accounts in credit, or the other way round, the software deducts the possible contra account using the following logic:
- In the first transaction row, the 5000 account is considered the common contra account of the transactions that follow.
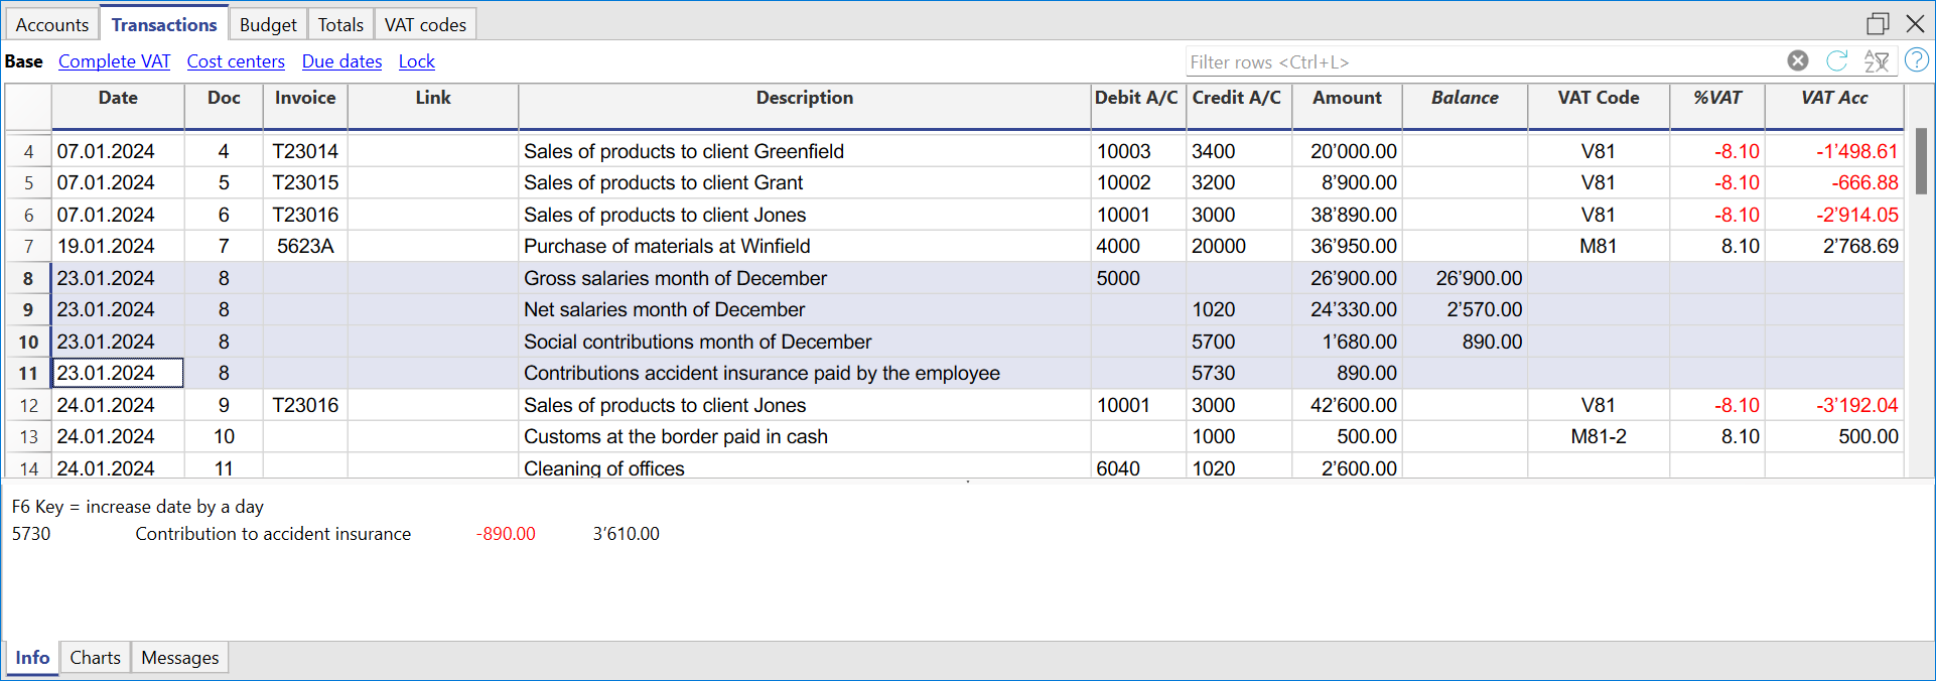
- On the Account card 5000, the multiple transaction (Gross salaries for the month of December) displays the [*] symbol as the contra account. It is impossible to have the indication of the contra accounts directly in the account card, because the account has several contra accounts (1020, 5700, 5730). For this reason the program indicates the [*] , which signals that we are dealing with a transaction on multiple accounts.
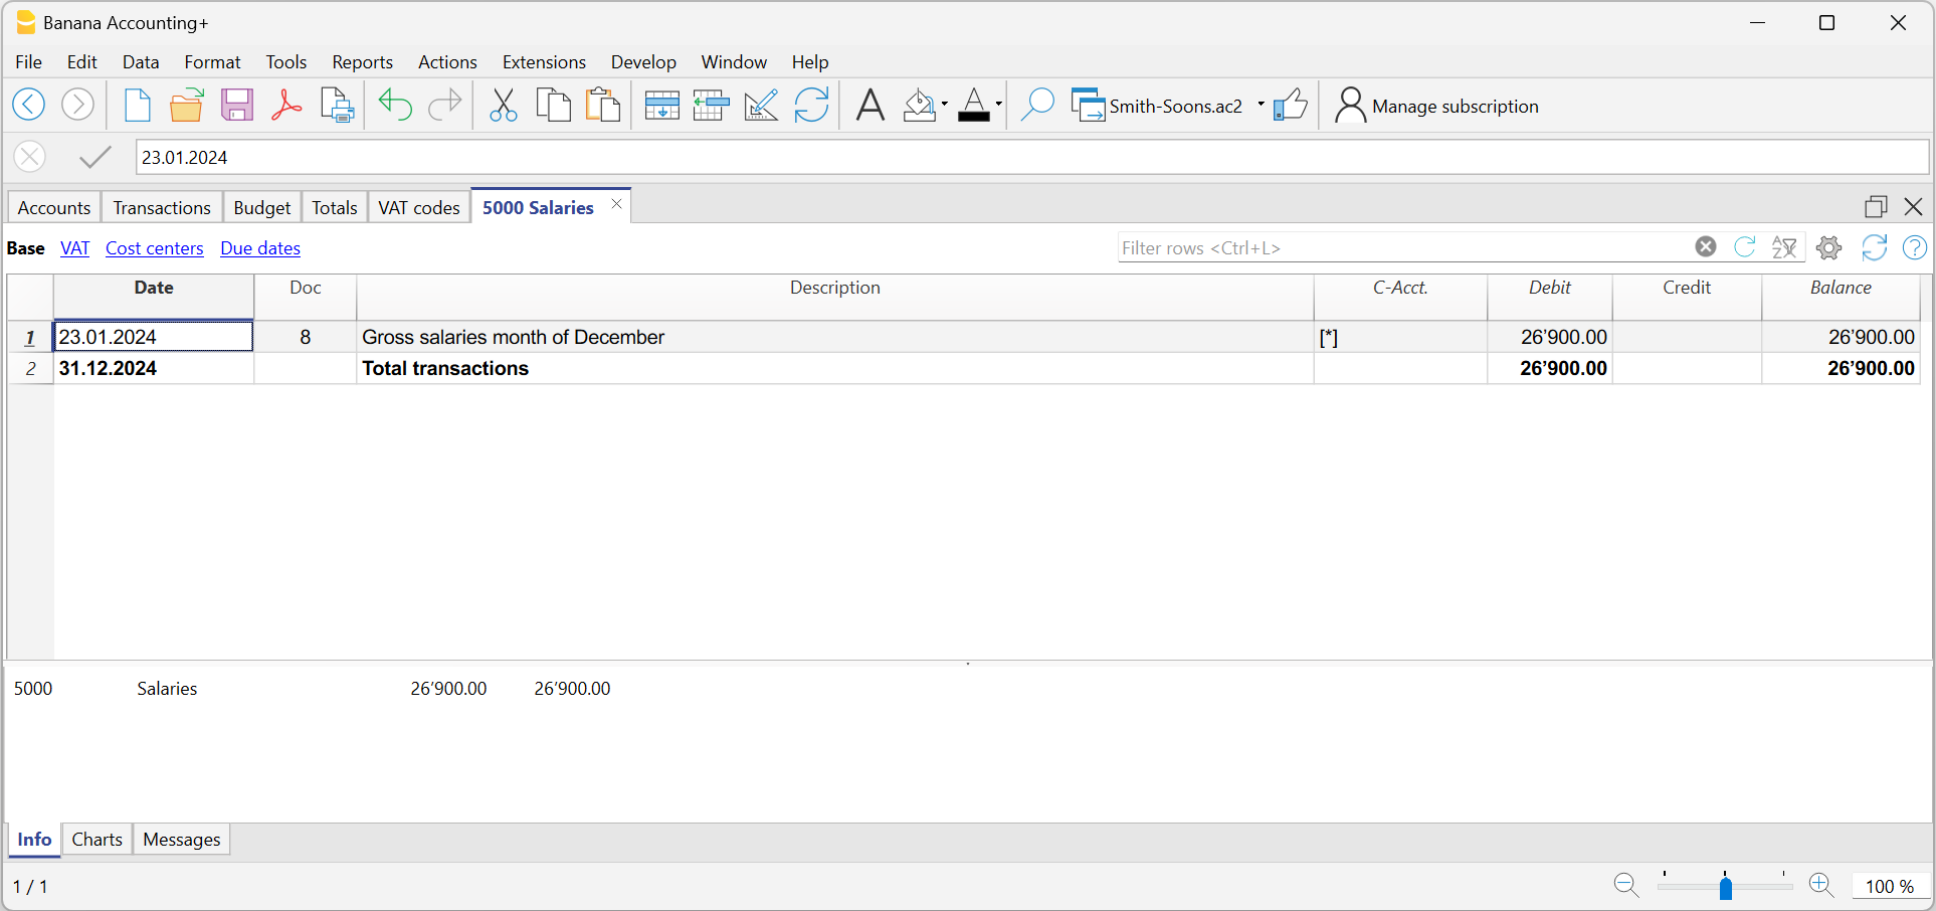
- On the Account cards of the next transaction rows (1020, 5700, 5730), the common contra account is indicated between square brackets [5700], and indicates a deducted contra account.
Cards of groups and classes
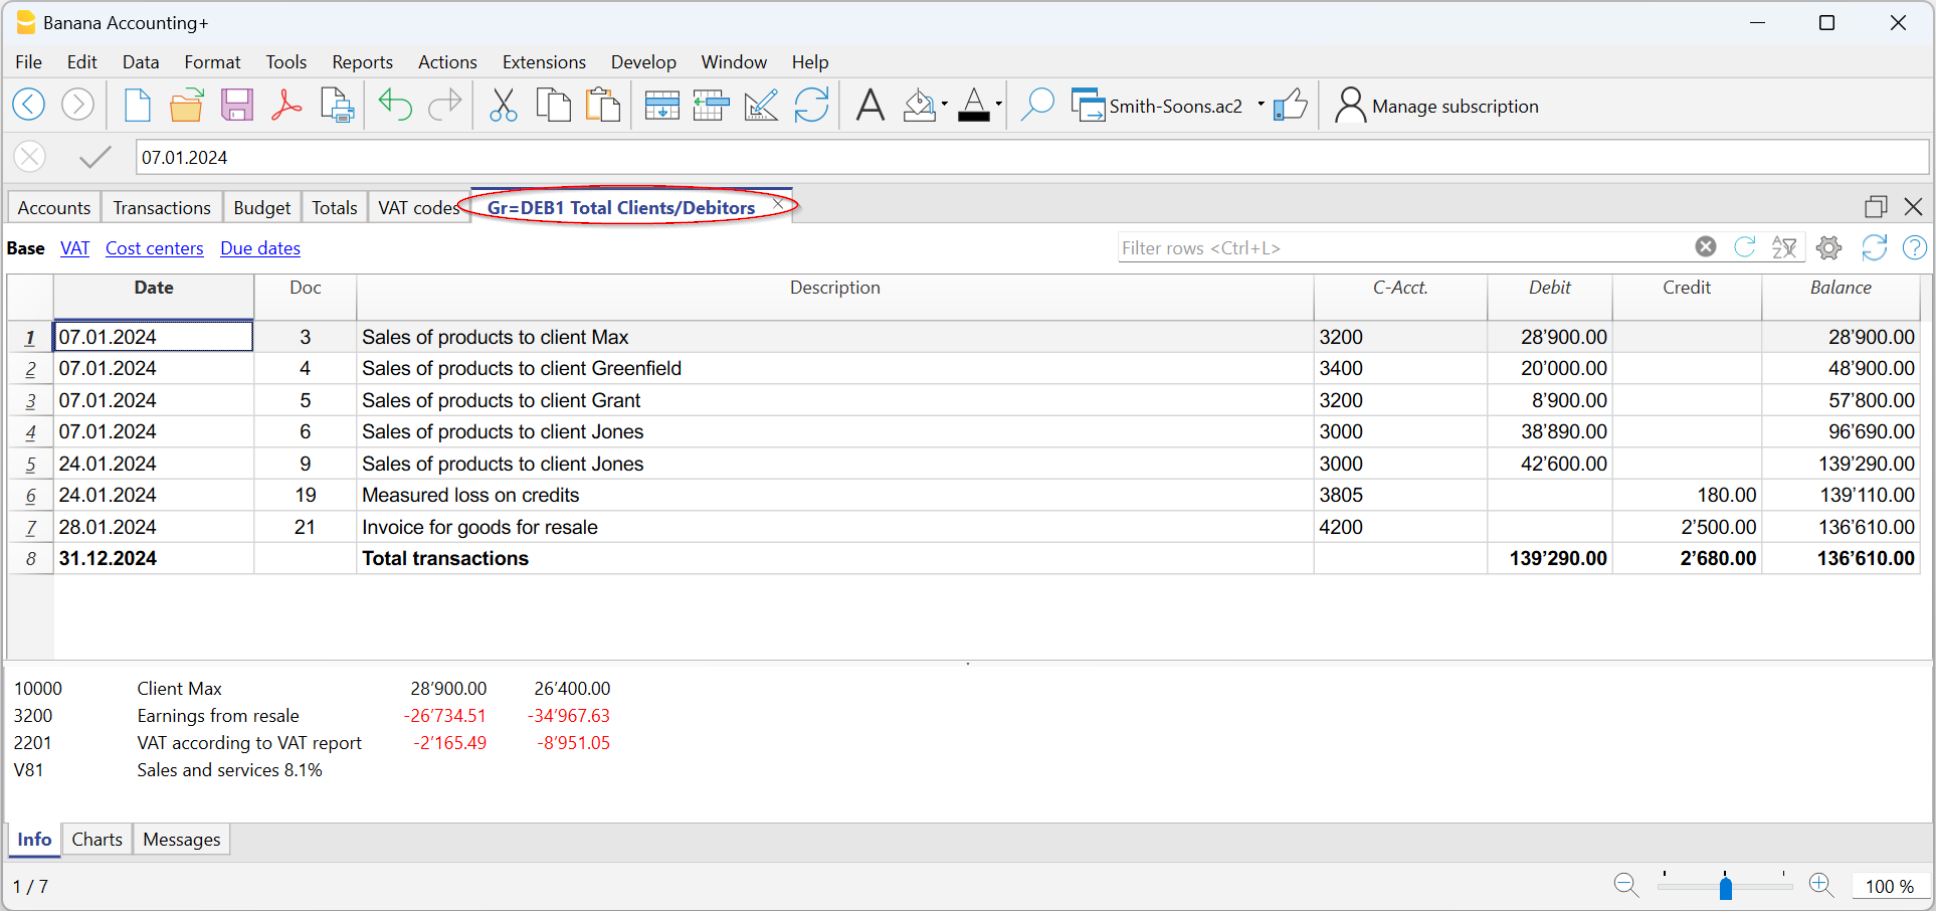
In the Account card of a group or a class, all the transactions of the accounts that belong to the selected group or class are being grouped together.
The accounts of the group or the class can be displayed by making the Account Selected column visible.
Budget Account card
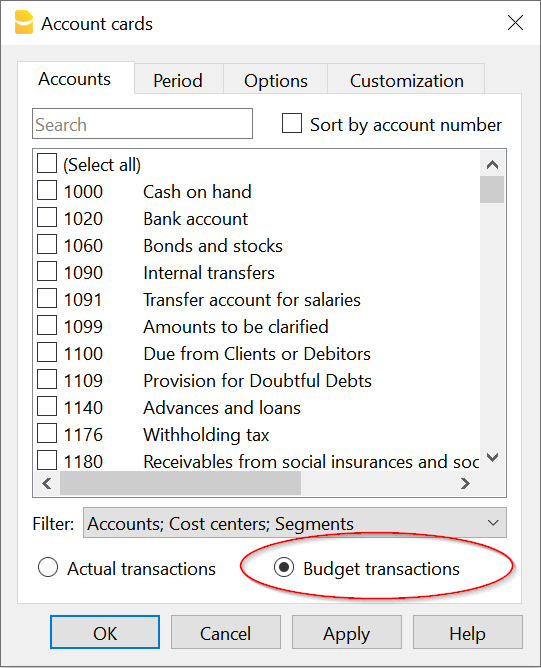
If the budget transactions have been entered in the Budget table, it is possible to have the account or group cards of the budget:
- Via the Reports → Account cards → Budget transactions must be activated.
Print the Ledger (all account cards)
To print the Account cards:
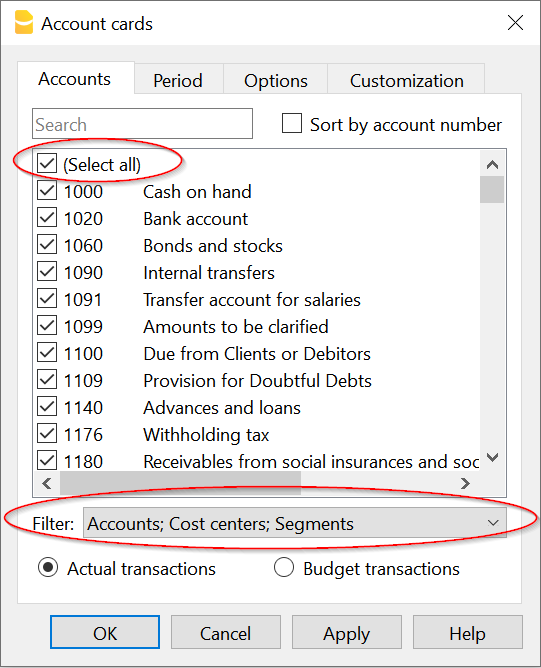
- Reports menu→ Account cards command
- Using the Filter, all the account cards that need to be printed entirely or partially (for example, only accounts, cost centers, segments) can be selected automatically.
- In the various sections Period, Options, Customization, activate the desired options (for ex. period, 1 account per page, ...)
- Press OK to confirm, after having selected the desired options.
For the explanations of the different tabs, please visit the next few pages: Accounts/Categories tab, Period and Options.
The program will show the selected account cards.
In order to print, choose the Print command from the File menu.
When you have activated the Budget table in your file, you may choose which transactions you wish to see (actual transactions or budget transactions).
Include a logo in the account cards
From Banana Accounting 9 it is possible to include a logo in the account cards printout as well. After obtaining your account cards details (with the Reports→ Account cards command), use the File -> Print preview command. From the print preview click on the the Setup icon, and in the dialog window that will open, select your logo with the Logo option (instead of the none option).
You can also check the how to setup a logo page.
Save the settings
In case you regularly print the account cards of specific accounts for example, all those that concern the Sales accounts, it is useful to create a specific customization.
- Go to the Customization tab
- Create a new customization, using the New button
- Indicate the name of the customization, for example "Sales accounts", in the Description field.
- Select the accounts that you want to be printed.
- Set the view options for the tab. It is possible to select and change the view, from those available, but not to create a new one. If you change the layout of a column, for example by changing its header, this will be applied to the associated view of all customisations.
Each time you want to print accounts, select the customisation you have created.
Page setup
In Page setup, you can specify the margins & other settings of the page.