Switzerland: Templates and Extensions
Our templates are included for free in the Banana Accounting Plus program.
Templates compliant with Swiss tax regulations
The chart of accounts in the Banana Accounting Plus templates, based on the Swiss SME system (Swiss SME accounting system - Sterchi, Mattle, Helbing), and compliant with the Code of Obligations (Articles 957-963b CO), strictly adhere to tax numbering and classification. They are constantly updated to ensure full compliance with any legislative changes.
If you need to customize the chart of accounts, you can easily add new accounts. Check our page dedicated to the complete SME Chart of Accounts, which includes all the accounts and groups provided by the Swiss SME accounting system, ensuring perfect integration.
Customizable chart of accounts
All charts of accounts are highly customizable and can always be adapted to the growth and changes of your company. If your needs change over the years, you can seamlessly switch from one type of accounting to another, with your existing data, by simply converting your file automatically.
Templates for every need
The program includes templates categorized by country, language, legal form, and type of business or company. With VAT or without VAT. With foreign currencies or just in the base currency. There are various types available to suit your accounting knowledge: from simple income and expense-based accounting to double-entry bookkeeping.
Quick and easy start
Our well-structured and comprehensive chart of accounts, with precise classifications, allows you to generate detailed reports such as the Balance Sheet and Income Statement. Thanks to their clarity and coding, you can start recording transactions immediately.
Automated functions
The program includes many automation features that allow you to work quickly and securely. From recalling saved entries to importing bank data, calculating VAT and currency exchanges in foreign currency accounting, to preparing balance sheets and other reports.
The Advanced plan of Banana Accounting Plus includes important additional automation features that allow you to work even more efficiently, such as the temporary Filter and Sort rows functions, Rules, the VAT Form facsimile and the XML file for electronically submitting data to the AFC, the creation of attachments in a single PDF file, and much more.
Security and precision
Many automatic verification and control functions alert you to errors and discrepancies. You can always make corrections and be confident of having perfect accounting.
There are models to manage cash inflows and outflows, as well as models for managing income and expenses across multiple accounts:
- Models with accrual method and cash method management
You can choose models with accrual method management, where the accounts receivable are set up with a list of customers and suppliers linked to the balance sheet. Alternatively, you can opt for a cash method management, where the accounts receivable are set up as cost centers (CC3).
- Models for Non-Profit Organizations
The models for associations are available in various types of accounting systems, from Cash Manager to handle cash inflows and outflows, to Income/Expense accounting for multiple accounts, and up to double-entry accounting. All models are set up to create invoices for members, manage projects and events, and send donation statements or other communications through mail merge of Word. Additionally, the program also includes specific models for Switzerland, such as GAAP FER 21 templates.
- Models for Individuals and Families
We offer pre-configured accounting plans to manage household finances, side activities, healthcare costs, and other purposes.
The extensions
Extensions are additional modules of the program that allow you to use supplementary features; most of these are available only with the Advanced plan of Banana Accounting Plus.
Complete multilingual Swiss SME chart of accounts (for reference only)
Complete multilingual Swiss SME chart of accounts (for reference only)Do not use this template to create a new accounting, but use a chart of accounts specific to your legal entity type.
Introduction
This chart of accounts template contains all the accounts and groups listed in the manual of the Swiss SME Accounting System by Sterchi, Mattle, Helbing.
We have also translated all the account descriptions into different languages, and in the liabilities section, there are all the accounts related to Share Capital/Equity, depending on the legal form of the company.
The columns and the headings of the file are in German; to change the language of the file go to the page Convert to new file.
The SME chart of accounts has been updated following the amendments to the Swiss Code of Obligations that came into force on the January 1, 2023.
List of accounts and groups
All accounts and groups are listed below for reference purposes. See also (KMU Deutsch, PME Francais, PMI Italiano).
The account preview below is in English, but the other languages are also available in the file.
Template preview
| Group | Account | Description | BClass | Sum In |
|---|---|---|---|---|
| Swiss chart of accounts for SME | ||||
| BALANCE SHEET | ||||
| ASSETS | ||||
| 1000 | Cash on hand A | 1 | 100 | |
| 1005 | Cash on hand in foreign currency A | 1 | 100 | |
| 1020 | Bank account A | 1 | 100 | |
| 1025 | Bank account in foreign currency A | 1 | 100 | |
| 1040 | Cheques | 1 | 100 | |
| 1041 | Promissory notes to collect | 1 | 100 | |
| 1045 | Credit cards / Debit cards | 1 | 100 | |
| 1050 | Short-term deposit investments | 1 | 100 | |
| 1051 | Short-term fiduciary investments | 1 | 100 | |
| 100 | Cash and cash equivalents | 10 | ||
| 1060 | Stocks (listed) | 1 | 106 | |
| 1061 | Participation certificates (listed) | 1 | 106 | |
| 1062 | Investment funds (listed) | 1 | 106 | |
| 1063 | Bonds (listed) | 1 | 106 | |
| 1064 | Cryptocurrencies | 1 | 106 | |
| 1068 | Short-term securities fluctuation reserve | 1 | 106 | |
| 1069 | Short-term securities value adjustments | 1 | 106 | |
| 1070 | Financial derivatives | 1 | 106 | |
| 1078 | Other short-term assets fluctuation reserve | 1 | 106 | |
| 1079 | Other short-term assets value adjustments | 1 | 106 | |
| 106 | Short-term assets listed on the stock exchange | 10 | ||
| 1090 | Internal transfers | 1 | 109 | |
| 1091 | Transfer account for salaries | 1 | 109 | |
| 1099 | Clarification account | 1 | 109 | |
| 109 | Transfer accounts | 10 | ||
| 1100 | Receivables Switzerland | 1 | 110 | |
| 1101 | Receivables abroad | 1 | 110 | |
| 1102 | Receivables abroad in foreign currency | 1 | 110 | |
| 1109 | Receivables towards third parties value adjustments | 1 | 110 | |
| 1110 | Receivables towards subsidiary A | 1 | 110 | |
| 1119 | Receivables towards group companies value adjustments | 1 | 110 | |
| 1120 | Receivables towards person involved A | 1 | 110 | |
| 1121 | Receivables towards member of the Board of Directors A | 1 | 110 | |
| 1122 | Receivables towards member of Executive Board A | 1 | 110 | |
| 1123 | Receivables towards group company A | 1 | 110 | |
| 1124 | Receivables towards close person A | 1 | 110 | |
| 1125 | Receivables towards auditor | 1 | 110 | |
| 1129 | Receivables towards shareholders value adjustments | 1 | 110 | |
| 110 | Receivables from deliveries and services | 10 | ||
| 1140 | Advances and loans | 1 | 114 | |
| 1149 | Other short-term receivables towards third parties value adjustments | 1 | 114 | |
| 1150 | Loans to subsidiary A | 1 | 114 | |
| 1159 | Other short-term receivables towards group companies value adjustments | 1 | 114 | |
| 1160 | Loans to person involved A | 1 | 114 | |
| 1161 | Loans to member of the Board of Directors A | 1 | 114 | |
| 1162 | Loans to member of Executive Board A | 1 | 114 | |
| 1163 | Loans to group company A | 1 | 114 | |
| 1164 | Loans to close person A | 1 | 114 | |
| 1169 | Other loans to shareholders value adjustments | 1 | 114 | |
| 1170 | Input tax on materials, goods, services and energy, cl. 4 | 1 | 114 | |
| 1171 | Input tax on investments, remaining operating expenses, cl. 1/5-8 | 1 | 114 | |
| 1172 | Input tax compensation under the reporting method | 1 | 114 | |
| 1173 | Input tax reduction | 1 | 114 | |
| 1174 | Input tax correction | 1 | 114 | |
| 1175 | Settlement account VAT | 1 | 114 | |
| 1176 | Withholding tax | 1 | 114 | |
| 1177 | Receivables towards Directorate General of Customs | 1 | 114 | |
| 1178 | Direct taxes | 1 | 114 | |
| 1179 | Tax at source | 1 | 114 | |
| 1180 | AHV, IV, EO, ALV current account | 1 | 114 | |
| 1181 | Current account family allowance fund | 1 | 114 | |
| 1182 | Current account pension funds | 1 | 114 | |
| 1183 | Current account accident insurance | 1 | 114 | |
| 1184 | Daily sickness benefits insurance current account | 1 | 114 | |
| 1190 | WIR accounts | 1 | 114 | |
| 1191 | Deposits | 1 | 114 | |
| 1192 | Advance payments to suppliers | 1 | 114 | |
| 1193 | Rent deposits | 1 | 114 | |
| 1199 | Other short-term receivables value adjustments | 1 | 114 | |
| 114 | Other short-term receivables | 10 | ||
| 1200 | Inventories of commercial products A | 1 | 120 | |
| 1207 | Change in commercial product inventories | 1 | 120 | |
| 1208 | Advance payments for commercial products | 1 | 120 | |
| 1209 | Commercial products inventories value adjustments | 1 | 120 | |
| 1210 | Inventories of raw materials A | 1 | 120 | |
| 1217 | Change in raw materials | 1 | 120 | |
| 1218 | Advance payments for raw materials | 1 | 120 | |
| 1219 | Raw material inventories value adjustments | 1 | 120 | |
| 1220 | Inventories of finished products | 1 | 120 | |
| 1221 | Inventories of semi-finished products | 1 | 120 | |
| 1227 | Change in production material | 1 | 120 | |
| 1228 | Advance payments for production material | 1 | 120 | |
| 1229 | Production material inventories value adjustments | 1 | 120 | |
| 1230 | Auxiliary material inventories | 1 | 120 | |
| 1231 | Consumables inventories | 1 | 120 | |
| 1232 | Packaging inventories | 1 | 120 | |
| 1237 | Change in auxiliary material and consumables | 1 | 120 | |
| 1238 | Advance payments for auxiliary material and consumables | 1 | 120 | |
| 1239 | Auxiliary material and consumables value adjustments | 1 | 120 | |
| 1240 | Compulsory inventories | 1 | 120 | |
| 1247 | Changes in compulsory inventories | 1 | 120 | |
| 1249 | Compulsory inventories value adjustments | 1 | 120 | |
| 1250 | Goods on delivery | 1 | 120 | |
| 1257 | Changes in goods on delivery | 1 | 120 | |
| 1259 | Goods on delivery value adjustments | 1 | 120 | |
| 1260 | Finished products | 1 | 120 | |
| 1267 | Changes in finished products | 1 | 120 | |
| 1269 | Finished products value adjustments | 1 | 120 | |
| 1270 | Semi-finished products | 1 | 120 | |
| 1277 | Changes in semi-finished products | 1 | 120 | |
| 1279 | Semi-finished products value adjustments | 1 | 120 | |
| 1280 | Non-invoiced services | 1 | 120 | |
| 1287 | Changes in non-invoiced services | 1 | 120 | |
| 1289 | Non-invoiced services value adjustments | 1 | 120 | |
| 120 | Inventories and non-invoiced services | 10 | ||
| 1300 | Prepaid expenses | 1 | 130 | |
| 1301 | Accrued income | 1 | 130 | |
| 1303 | Discount on liabilities | 1 | 130 | |
| 130 | Accrued income and prepaid expenses | 10 | ||
| 10 | Current assets | 1 | ||
| 1400 | Stocks | 1 | 140 | |
| 1401 | Participation certificates | 1 | 140 | |
| 1402 | Investment funds | 1 | 140 | |
| 1403 | Bonds | 1 | 140 | |
| 1404 | Cryptocurrencies (Investments) | 1 | 140 | |
| 1408 | Fixed assets securities fluctuation reserve | 1 | 140 | |
| 1409 | Fixed assets securities value adjustments | 1 | 140 | |
| 1410 | Long-term financial investments | 1 | 140 | |
| 1411 | Rent deposits | 1 | 140 | |
| 1419 | Other financial investments value adjustments | 1 | 140 | |
| 1440 | Loans | 1 | 140 | |
| 1441 | Mortgages | 1 | 140 | |
| 1449 | Long-term receivables towards third parties value adjustments | 1 | 140 | |
| 1450 | Loans to participation A | 1 | 140 | |
| 1451 | Mortgages to participation A | 1 | 140 | |
| 1459 | Long-term receivables towards participations value adjustments | 1 | 140 | |
| 1460 | Loans/Mortgages to person involved A | 1 | 140 | |
| 1461 | Loans/Mortgages to member of the Board of Directors A | 1 | 140 | |
| 1462 | Loans/Mortgages to member of Executive Board A | 1 | 140 | |
| 1463 | Loans/Mortgages to group company A | 1 | 140 | |
| 1464 | Loans/Mortgages to close person A | 1 | 140 | |
| 1469 | Long-term receivables towards shareholders value adjustments | 1 | 140 | |
| 1470 | Employer contribution reserve | 1 | 140 | |
| 140 | Financial assets | 14 | ||
| 1480 | Participation A | 1 | 148 | |
| 1489 | Participations value adjustments | 1 | 148 | |
| 148 | Participations | 14 | ||
| 1500 | Machinery and equipment | 1 | 150 | |
| 1501 | Production plants | 1 | 150 | |
| 1507 | Leased machinery and equipment | 1 | 150 | |
| 1508 | Advance payments for machinery and equipment | 1 | 150 | |
| 1509 | Depreciation and value adjustments to machinery and equipment | 1 | 150 | |
| 1510 | Furniture and installations | 1 | 150 | |
| 1511 | Workshop installations | 1 | 150 | |
| 1512 | Shop installations | 1 | 150 | |
| 1513 | Office furniture | 1 | 150 | |
| 1517 | Leased furniture and installations | 1 | 150 | |
| 1518 | Advance payments for furniture and installations | 1 | 150 | |
| 1519 | Depreciation and value adjustments to furniture and installations | 1 | 150 | |
| 1520 | Office machines | 1 | 150 | |
| 1521 | Information technology | 1 | 150 | |
| 1522 | Communication technology | 1 | 150 | |
| 1527 | Leased office machines, information and communication technology | 1 | 150 | |
| 1528 | Advance payments for office machines, information and communication technology | 1 | 150 | |
| 1529 | Depreciation and value adjustments to office machines, information and communication technology | 1 | 150 | |
| 1530 | Vehicle A | 1 | 150 | |
| 1537 | Leased vehicles | 1 | 150 | |
| 1538 | Advance payments for vehicles | 1 | 150 | |
| 1539 | Depreciation and value adjustments to vehicles | 1 | 150 | |
| 1540 | Tools and equipment | 1 | 150 | |
| 1547 | Leased tools and equipment | 1 | 150 | |
| 1548 | Advance payments for tools and equipment | 1 | 150 | |
| 1549 | Depreciation and value adjustments to tools and equipment | 1 | 150 | |
| 1550 | Storage facilities | 1 | 150 | |
| 1557 | Leased storage facilities | 1 | 150 | |
| 1558 | Advance payments for storage facilities | 1 | 150 | |
| 1559 | Depreciation and value adjustments to storage facilities | 1 | 150 | |
| 1570 | Fixed facilities | 1 | 150 | |
| 1571 | Installations | 1 | 150 | |
| 1572 | Movable structures | 1 | 150 | |
| 1577 | Leased fixed facilities and installations | 1 | 150 | |
| 1578 | Advance payments for fixed facilities and installations | 1 | 150 | |
| 1579 | Depreciation and value adjustments to fixed facilities and installations | 1 | 150 | |
| 1590 | Linen and work clothing | 1 | 150 | |
| 1591 | Moulds and models | 1 | 150 | |
| 1597 | Other leased movable tangible assets | 1 | 150 | |
| 1598 | Advance payments for other movable tangible assets | 1 | 150 | |
| 1599 | Depreciation and value adjustments to other movable tangible assets | 1 | 150 | |
| 150 | Movable tangible assets | 14 | ||
| 1600 | Commercial properties | 1 | 160 | |
| 1601 | Commercial properties land | 1 | 160 | |
| 1606 | Commercial properties renovation | 1 | 160 | |
| 1607 | Leased commercial properties | 1 | 160 | |
| 1608 | Advance payments for commercial properties | 1 | 160 | |
| 1609 | Depreciation and value adjustments to commercial properties | 1 | 160 | |
| 1610 | Factories | 1 | 160 | |
| 1611 | Factories land | 1 | 160 | |
| 1617 | Leased factories | 1 | 160 | |
| 1618 | Advance payments for factories | 1 | 160 | |
| 1619 | Depreciation and value adjustments to factories | 1 | 160 | |
| 1620 | Workshops and ateliers | 1 | 160 | |
| 1621 | Workshops and ateliers land | 1 | 160 | |
| 1627 | Leased workshops and ateliers | 1 | 160 | |
| 1628 | Advance payments for workshops and ateliers | 1 | 160 | |
| 1629 | Depreciation and value adjustments to workshops and ateliers | 1 | 160 | |
| 1630 | Warehouses | 1 | 160 | |
| 1631 | Warehouses land | 1 | 160 | |
| 1637 | Leased warehouses | 1 | 160 | |
| 1638 | Advance payments for warehouses | 1 | 160 | |
| 1639 | Depreciation and value adjustments to warehouses | 1 | 160 | |
| 1640 | Exhibition buildings | 1 | 160 | |
| 1641 | Sales buildings | 1 | 160 | |
| 1642 | Sales buildings land | 1 | 160 | |
| 1647 | Leased exhibition and sales buildings | 1 | 160 | |
| 1648 | Advance payments for exhibition and sales buildings | 1 | 160 | |
| 1649 | Depreciation and value adjustments to exhibition and sales buildings | 1 | 160 | |
| 1650 | Office and administration buildings | 1 | 160 | |
| 1652 | Office and administration buildings land | 1 | 160 | |
| 1657 | Leased office and administration buildings | 1 | 160 | |
| 1658 | Advance payments for office and administration buildings | 1 | 160 | |
| 1659 | Depreciation and value adjustments to office and administration buildings | 1 | 160 | |
| 1660 | Staff housing | 1 | 160 | |
| 1661 | Other residential buildings | 1 | 160 | |
| 1662 | Other residential buildings land | 1 | 160 | |
| 1667 | Leased residential buildings | 1 | 160 | |
| 1668 | Advance payments for residential buildings | 1 | 160 | |
| 1669 | Depreciation and value adjustments to residential buildings | 1 | 160 | |
| 1680 | Undeveloped land | 1 | 160 | |
| 1687 | Leased undeveloped land | 1 | 160 | |
| 1688 | Advance payments for undeveloped land | 1 | 160 | |
| 1689 | Depreciation and value adjustments to undeveloped land | 1 | 160 | |
| 160 | Fixed tangible assets | 14 | ||
| 1700 | Patents | 1 | 170 | |
| 1701 | Know-how | 1 | 170 | |
| 1702 | Recipes | 1 | 170 | |
| 1709 | Depreciation and value adjustments to patents, know-how and recipes | 1 | 170 | |
| 1710 | Brands | 1 | 170 | |
| 1711 | Samples | 1 | 170 | |
| 1712 | Models | 1 | 170 | |
| 1713 | Plans | 1 | 170 | |
| 1719 | Depreciation and value adjustments to brands, samples, models and plans | 1 | 170 | |
| 1720 | Licences | 1 | 170 | |
| 1721 | Concessions | 1 | 170 | |
| 1722 | Rights of use | 1 | 170 | |
| 1723 | Company rights | 1 | 170 | |
| 1729 | Depreciation and value adjustments to licences, concessions, rights of use and company rights | 1 | 170 | |
| 1730 | Copyrights | 1 | 170 | |
| 1731 | Publishing rights | 1 | 170 | |
| 1732 | Contractual rights | 1 | 170 | |
| 1739 | Depreciation and value adjustments to copyrights, publishing rights and contractual rights | 1 | 170 | |
| 1740 | In-house developed software | 1 | 170 | |
| 1741 | Purchased software and licences | 1 | 170 | |
| 1749 | Depreciation and value adjustments to software | 1 | 170 | |
| 1750 | Own development | 1 | 170 | |
| 1751 | Purchased development | 1 | 170 | |
| 1759 | Depreciation and value adjustments to development | 1 | 170 | |
| 1770 | Goodwill | 1 | 170 | |
| 1779 | Depreciation and value adjustments to goodwill | 1 | 170 | |
| 1790 | Other intangible assets | 1 | 170 | |
| 1799 | Depreciation and value adjustments to other intangible assets | 1 | 170 | |
| 170 | Intangible assets | 14 | ||
| 1850 | Unpaid share capital | 1 | 180 | |
| 1850(2) | Unpaid nominal capital | 1 | 180 | |
| 1850(3) | Unpaid participation certificate capital | 1 | 180 | |
| 1850(4) | Unpaid foundation capital | 1 | 180 | |
| 1851 | Unpaid participation capital | 1 | 180 | |
| 180 | Unpaid share capital or foundation capital | 14 | ||
| 14 | Fixed assets | 1 | ||
| 1 | Total assets | 00 | ||
| LIABILITIES | ||||
| 2000 | Costs of materials and goods payables | 2 | 200 | |
| 2001 | Third-party/subcontracted services payables | 2 | 200 | |
| 2002 | Personnel expenses payables | 2 | 200 | |
| 2004 | Other operating expenses payables | 2 | 200 | |
| 2030 | Advance payments from third parties | 2 | 200 | |
| 2050 | Payables due to participation A | 2 | 200 | |
| 2060 | Payables due to person involved A | 2 | 200 | |
| 2061 | Payables due to member of the Board of Directors A | 2 | 200 | |
| 2062 | Payables due to member of Executive Board A | 2 | 200 | |
| 2063 | Payables due to group company A | 2 | 200 | |
| 2064 | Payables due to close person A | 2 | 200 | |
| 2065 | Payables due to auditor | 2 | 200 | |
| 200 | Accounts payable | 20 | ||
| 2100 | Current account A | 2 | 210 | |
| 2107 | Loan A | 2 | 210 | |
| 2109 | Mortgage A | 2 | 210 | |
| 2111 | WIR commitments | 2 | 210 | |
| 2120 | Financial leasing commitments | 2 | 210 | |
| 2130 | Bond loans | 2 | 210 | |
| 2140 | Other onerous debts due to third parties | 2 | 210 | |
| 2150 | Debts due to participation A | 2 | 210 | |
| 2160 | Debts due to person involved A | 2 | 210 | |
| 2161 | Debts due to member of the Board of Directors A | 2 | 210 | |
| 2162 | Debts due to member of Executive Board A | 2 | 210 | |
| 2163 | Debts due to group company A | 2 | 210 | |
| 2164 | Debts due to close person A | 2 | 210 | |
| 2170 | Debts due to pension funds | 2 | 210 | |
| 210 | Short-term interest-bearing debts | 20 | ||
| 2200 | VAT due | 2 | 220 | |
| 2200A | Automatic VAT | 2 | 220 | |
| 2201 | VAT settlement account | 2 | 220 | |
| 2202 | VAT due compensation according to the reporting method | 2 | 220 | |
| 2203 | Acquisition tax | 2 | 220 | |
| 2206 | Withholding tax | 2 | 220 | |
| 2207 | Stamp duty | 2 | 220 | |
| 2208 | Direct taxes | 2 | 220 | |
| 2209 | Tax at source | 2 | 220 | |
| 2210 | Debts due to third parties | 2 | 220 | |
| 2250 | Debts due to participation A | 2 | 220 | |
| 2260 | Debts due to person involved A | 2 | 220 | |
| 2261 | Debts due to member of the Board of Directors A | 2 | 220 | |
| 2262 | Debts due to member of Executive Board A | 2 | 220 | |
| 2263 | Debts due to group company A | 2 | 220 | |
| 2264 | Debts due to close person A | 2 | 220 | |
| 2265 | Debts due to auditor | 2 | 220 | |
| 2269 | Adopted distributions (dividends) | 2 | 220 | |
| 2270 | AHV, IV, EO, ALV current account | 2 | 220 | |
| 2271 | Family allowance fund current account | 2 | 220 | |
| 2272 | Pension funds current account | 2 | 220 | |
| 2273 | Accident insurance current account | 2 | 220 | |
| 2274 | Daily sickness benefits insurance current account | 2 | 220 | |
| 220 | Other short-term debts | 20 | ||
| 2300 | Accrued expenses | 2 | 230 | |
| 2301 | Revenues received in advance | 2 | 230 | |
| 2303 | Receivables discount | 2 | 230 | |
| 2330 | Provisions for warranty commitments | 2 | 230 | |
| 2331 | Provisions for purchase commitments | 2 | 230 | |
| 2340 | Provisions for direct taxes | 2 | 230 | |
| 2341 | Provisions for indirect taxes | 2 | 230 | |
| 2350 | Provisions for repairs and maintenance | 2 | 230 | |
| 2351 | Provisions for renovation of tangible assets | 2 | 230 | |
| 2352 | Provisions for research | 2 | 230 | |
| 2353 | Provisions for development | 2 | 230 | |
| 2354 | Provisions for restructuring | 2 | 230 | |
| 2355 | Provisions for environmental protection measures | 2 | 230 | |
| 2360 | Provisions for threatening losses from ongoing business | 2 | 230 | |
| 2370 | Provisions for pension funds commitments | 2 | 230 | |
| 2371 | Provisions for salary commitments | 2 | 230 | |
| 2380 | Provisions for participations commitments | 2 | 230 | |
| 2381 | Provisions for commitments to shareholders | 2 | 230 | |
| 2390 | Provisions to ensure the lastingly prosperity of the company | 2 | 230 | |
| 2391 | Other short-term provisions | 2 | 230 | |
| 230 | Accruals and deferred income, short-term provisions | 20 | ||
| 20 | Short-term third party capital | 2 | ||
| 2400 | Loan A | 2 | 240 | |
| 2401 | Mortgage A | 2 | 240 | |
| 2420 | Financial leasing commitments | 2 | 240 | |
| 2430 | Debenture loans | 2 | 240 | |
| 2450 | Loans | 2 | 240 | |
| 2451 | Mortgages | 2 | 240 | |
| 2470 | Loans to participation A | 2 | 240 | |
| 2471 | Mortgage to participation A | 2 | 240 | |
| 2480 | Loans/Mortgages to person involved A | 2 | 240 | |
| 2481 | Loans/Mortgages to the Board of Directors A | 2 | 240 | |
| 2482 | Loans/Mortgages to member of Executive Board A | 2 | 240 | |
| 2483 | Loans/Mortgages to group company A | 2 | 240 | |
| 2484 | Loans/Mortgages to close person A | 2 | 240 | |
| 2490 | Pension funds loans | 2 | 240 | |
| 2491 | Mortgages to pension funds | 2 | 240 | |
| 240 | Long-term interest-bearing debts | 24 | ||
| 2500 | Debts due to third parties | 2 | 250 | |
| 2550 | Debts due to participation A | 2 | 250 | |
| 2560 | Debts due to person involved A | 2 | 250 | |
| 2561 | Debts due to member of the Board of Directors A | 2 | 250 | |
| 2562 | Debts due to member of Executive Board A | 2 | 250 | |
| 2563 | Debts due to group company A | 2 | 250 | |
| 2564 | Debts due to close person A | 2 | 250 | |
| 2570 | Debts due to pension funds | 2 | 250 | |
| 250 | Other long-term debts | 24 | ||
| 2630 | Provisions for warranty commitments | 2 | 260 | |
| 2631 | Provisions for purchase commitments | 2 | 260 | |
| 2640 | Provisions for direct taxes | 2 | 260 | |
| 2641 | Provisions for indirect taxes | 2 | 260 | |
| 2650 | Provisions for repairs and maintenance | 2 | 260 | |
| 2651 | Provisions for renovation of tangible assets | 2 | 260 | |
| 2652 | Provisions for research | 2 | 260 | |
| 2653 | Provisions for development | 2 | 260 | |
| 2654 | Provisions for restructuring | 2 | 260 | |
| 2655 | Provisions for environmental protection measures | 2 | 260 | |
| 2660 | Provisions for threatening losses from ongoing business | 2 | 260 | |
| 2670 | Provisions for pension funds commitments | 2 | 260 | |
| 2671 | Provisions for salary commitments | 2 | 260 | |
| 2680 | Provisions for participations commitments | 2 | 260 | |
| 2681 | Provisions for commitments to shareholders | 2 | 260 | |
| 2690 | Provisions to ensure the lastingly prosperity of the company | 2 | 260 | |
| 2691 | Other long-term provisions | 2 | 260 | |
| 260 | Long-term provisions and similar statutory positions | 24 | ||
| 24 | Long-term third party capital | 2 | ||
| Equity (legal entities) | ||||
| 2800 | Share capital category A | 2 | 280 | |
| 2800(2) | Nominal capital category A | 2 | 280 | |
| 2800(3) | Participation certificate capital category A | 2 | 280 | |
| 2800(4) | Foundation capital | 2 | 280 | |
| 2810 | Participation capital | 2 | 280 | |
| 280 | Nominal capital or capital of the foundation | 28 | ||
| 2900 | Premium at foundation or in the event of a capital increase | 2 | 290 | |
| 2901 | Other contributions or allocations | 2 | 290 | |
| 2902 | Premium from merger, demerger or asset transfer | 2 | 290 | |
| 2903 | Reserves from capital contributions (fiscally recognised) | 2 | 290 | |
| 2904 | Profit from capital reduction | 2 | 290 | |
| 2905 | Profit/loss from own capital share acquisition | 2 | 290 | |
| 2950 | Legal retained earnings | 2 | 290 | |
| 2955 | Revaluation reserve | 2 | 290 | |
| 2959 | Reserves for own shares (indirect acquisition) | 2 | 290 | |
| 2960 | Statutory retained earnings | 2 | 290 | |
| 2961 | Decided retained earnings | 2 | 290 | |
| 2962 | Profit/loss from own capital share acquisition | 2 | 290 | |
| 2965 | Own shares | 2 | 290 | |
| 2965(2) | Own nominal shares | 2 | 290 | |
| 2965(3) | Own share certificates | 2 | 290 | |
| 2966 | Own participation certificates | 2 | 290 | |
| 2970 | Profit or loss carried forward | 2 | 290 | |
| 2971 | Interim dividend distribution | 2 | 290 | |
| 2972 | Contribution of interim profit to the legal retained earnings | 2 | 290 | |
| 2973 | Contribution of interim profit to the voluntary retained earnings | 2 | 290 | |
| 2979 | Annual profit or loss | 2 | 290 | |
| 290 | Reserves, own capital share and profit or loss | 28 | ||
| Equity (sole proprietorships) | ||||
| 2800.E | Own capital | 2 | 28 | |
| 2801.E | Spouse individual property | 2 | 28 | |
| 2820.E | Capital contributions and capital withdrawals | 2 | 28 | |
| 2821.E | Individual property contributions and individual property withdrawals of the spouse | 2 | 28 | |
| 2850.E | Private cash withdrawals | 2 | 28 | |
| 2851.E | In kind withdrawals | 2 | 28 | |
| 2852.E | Private share of operating expenses | 2 | 28 | |
| 2853.E | Private flat rental value | 2 | 28 | |
| 2854.E | Private insurance premiums | 2 | 28 | |
| 2855.E | Private pension contributions | 2 | 28 | |
| 2856.E | Private taxes | 2 | 28 | |
| 2891.E | Annual profit or loss | 2 | 28 | |
| Equity (partnership) | ||||
| 2800.P | Partner A equity at the beginning of the financial year | 2 | 28 | |
| 2810.P | Partner A capital contributions and capital withdrawals | 2 | 28 | |
| 2820.P | Partner A cash withdrawals | 2 | 28 | |
| 2821.P | Partner A in kind withdrawals | 2 | 28 | |
| 2822.P | Partner A private share of operating expenses | 2 | 28 | |
| 2823.P | Partner A private flat rental value | 2 | 28 | |
| 2824.P | Partner A private insurance premiums | 2 | 28 | |
| 2825.P | Partner A private pension contributions | 2 | 28 | |
| 2826.P | Partner A private taxes | 2 | 28 | |
| 2830.P | Partner A annual profit or loss | 2 | 28 | |
| 2850.P | Limited partner A equity at the beginning of the financial year | 2 | 28 | |
| 2860.P | Limited partner A capital contributions and capital withdrawals | 2 | 28 | |
| 2870.P | Limited partner A cash withdrawals | 2 | 28 | |
| 2871.P | Limited partner A in kind withdrawals | 2 | 28 | |
| 2872.P | Limited partner A private share of operating expenses | 2 | 28 | |
| 2873.P | Limited partner A private flat rental value | 2 | 28 | |
| 2874.P | Limited partner A private insurance premiums | 2 | 28 | |
| 2875.P | Limited partner A private pension contributions | 2 | 28 | |
| 2876.P | Limited partner A private taxes | 2 | 28 | |
| 2880.P | Limited partner A annual profit or loss | 2 | 28 | |
| 297 | Profit/Loss from Balance Sheet | 28 | ||
| 28 | Equity | 2 | ||
| 2 | Total liabilities | 00 | ||
| PROFIT & LOSS STATEMENT | ||||
| REVENUES | ||||
| 3000 | Gross revenues from product A | 4 | 30 | |
| 3000(2) | Gross revenues from cash sales | 4 | 30 | |
| 3001 | Gross revenues from retail credit sales | 4 | 30 | |
| 3002 | Gross revenues from wholesale credit sales | 4 | 30 | |
| 3007 | Gross revenues from ancillary services (postage and packing) | 4 | 30 | |
| 3008 | Changes in receivables | 4 | 30 | |
| 3090 | Discounts | 4 | 30 | |
| 3091 | Rebates and price reductions | 4 | 30 | |
| 3092 | Refunds | 4 | 30 | |
| 3093 | Commissions to third parties | 4 | 30 | |
| 3094 | Collection charges | 4 | 30 | |
| 3095 | Losses on receivables, changes in value adjustments | 4 | 30 | |
| 3096 | Exchange rate differences | 4 | 30 | |
| 3097 | Freights, postages | 4 | 30 | |
| 30 | Manufactured products revenues | 3 | ||
| 3200 | Gross revenues from item A | 4 | 32 | |
| 3200(2) | Gross revenues from cash sales | 4 | 32 | |
| 3201 | Gross revenues from retail credit sales | 4 | 32 | |
| 3202 | Gross revenues from wholesale credit sales | 4 | 32 | |
| 3203 | Gross revenues from purchase prices | 4 | 32 | |
| 3207 | Gross revenues from ancillary services (postage and packing) | 4 | 32 | |
| 3208 | Changes in receivables | 4 | 32 | |
| 3290 | Discounts | 4 | 32 | |
| 3291 | Rebates and price reductions | 4 | 32 | |
| 3292 | Refunds | 4 | 32 | |
| 3293 | Commissions to third parties | 4 | 32 | |
| 3294 | Collection charges | 4 | 32 | |
| 3295 | Losses on receivables, changes in value adjustments | 4 | 32 | |
| 3296 | Exchange rate differences | 4 | 32 | |
| 3297 | Freights, postages | 4 | 32 | |
| 32 | Revenues from resale of goods | 3 | ||
| 3400 | Gross revenues from provided service A | 4 | 34 | |
| 3400(2) | Gross revenues in cash | 4 | 34 | |
| 3401 | Gross revenues on credit | 4 | 34 | |
| 3407 | Gross revenues from ancillary services | 4 | 34 | |
| 3408 | Changes in receivables | 4 | 34 | |
| 3490 | Discounts | 4 | 34 | |
| 3491 | Rebates and price reductions | 4 | 34 | |
| 3492 | Refunds | 4 | 34 | |
| 3493 | Commissions to third parties | 4 | 34 | |
| 3494 | Collection charges | 4 | 34 | |
| 3495 | Losses on receivables, changes in value adjustments | 4 | 34 | |
| 3496 | Exchange rate differences | 4 | 34 | |
| 3497 | Postages | 4 | 34 | |
| 34 | Revenues from provided services | 3 | ||
| 3600 | Revenues from raw materials | 4 | 36 | |
| 3601 | Revenues from auxiliary materials | 4 | 36 | |
| 3602 | Revenues from garbages | 4 | 36 | |
| 3607 | Revenues from ancillary services | 4 | 36 | |
| 3608 | Changes in receivables | 4 | 36 | |
| 3609 | Decrease in ancillary revenues | 4 | 36 | |
| 3610 | Revenues from product A licence | 4 | 36 | |
| 3619 | Decrease in revenues from licences, patents, etc. | 4 | 36 | |
| 3670 | Revenues from staff provision | 4 | 36 | |
| 3680 | Other revenues | 4 | 36 | |
| 3690 | Discounts | 4 | 36 | |
| 3691 | Rebates and price reductions | 4 | 36 | |
| 36 | Other revenues from deliveries and services | 3 | ||
| 3700 | Own production of movable tangible assets | 4 | 37 | |
| 3701 | Own production of fixed tangible assets | 4 | 37 | |
| 3702 | Own repair of movable tangible assets | 4 | 37 | |
| 3703 | Own repair of fixed tangible assets | 4 | 37 | |
| 3710 | Own consumption of product A | 4 | 37 | |
| 3720 | Own consumption of product A | 4 | 37 | |
| 3740 | Own consumption of provided service A | 4 | 37 | |
| 3790 | In kind withdrawals | 4 | 37 | |
| 37 | Own contributions and own consumption | 3 | ||
| 3800 | Discounts | 4 | 38 | |
| 3801 | Rebates and price reductions | 4 | 38 | |
| 3802 | Refunds | 4 | 38 | |
| 3803 | Commissions to third parties | 4 | 38 | |
| 3804 | Collection charges | 4 | 38 | |
| 3805 | Losses on receivables, changes in value adjustments | 4 | 38 | |
| 3806 | Exchange rate differences | 4 | 38 | |
| 3807 | Shipping costs | 4 | 38 | |
| 3809 | VAT net tax rate | 4 | 38 | |
| 3810 | Credit/debit card fees | 4 | 38 | |
| 3860 | Changes in warranty provisions | 4 | 38 | |
| 3861 | Changes in deductible provisions | 4 | 38 | |
| 38 | Decrease in revenues | 3 | ||
| 3900 | Changes in finished products inventories | 4 | 39 | |
| 3901 | Changes in semi-finished products inventories | 4 | 39 | |
| 3940 | Changes in non-invoiced services value | 4 | 39 | |
| 39 | Changes in inventories of semi-finished products, finished products and value of non-invoiced services | 3 | ||
| 3 | Net revenues from supplies and services | 02 | ||
| EXPENSES | ||||
| 4000 | Purchases of product A material | 3 | 40 | |
| 4000(2) | Purchases of equipment | 3 | 40 | |
| 4001 | Purchases of components | 3 | 40 | |
| 4002 | Purchases of accessories | 3 | 40 | |
| 4003 | Purchases of other materials | 3 | 40 | |
| 4004 | Purchases of auxiliary and consumable materials | 3 | 40 | |
| 4005 | Purchases of packing material | 3 | 40 | |
| 4006 | Third-party services | 3 | 40 | |
| 4007 | Direct purchasing expenses | 3 | 40 | |
| 4008 | Changes in inventories | 3 | 40 | |
| 4009 | Purchase price reductions | 3 | 40 | |
| 4060 | Sector A third-party services | 3 | 40 | |
| 4070 | Incoming freight | 3 | 40 | |
| 4071 | Import duties | 3 | 40 | |
| 4072 | Incoming shipments | 3 | 40 | |
| 4080 | Changes in sector A inventories | 3 | 40 | |
| 4086 | Sector A material losses | 3 | 40 | |
| 4090 | Discounts | 3 | 40 | |
| 4091 | Rebates and price reductions | 3 | 40 | |
| 4092 | Refunds | 3 | 40 | |
| 4093 | Commissions to third parties | 3 | 40 | |
| 4096 | Exchange rate differences | 3 | 40 | |
| 40 | Material costs | 4 | ||
| 4200 | Purchases of resale product A | 3 | 42 | |
| 4205 | Purchases of packing material | 3 | 42 | |
| 4207 | Direct purchasing expenses | 3 | 42 | |
| 4208 | Changes in inventories | 3 | 42 | |
| 4209 | Purchase price reductions | 3 | 42 | |
| 4270 | Incoming freight | 3 | 42 | |
| 4271 | Import duties | 3 | 42 | |
| 4272 | Incoming shipments | 3 | 42 | |
| 4280 | Changes in sector A inventories | 3 | 42 | |
| 4286 | Sector A loss of goods | 3 | 42 | |
| 4290 | Discounts | 3 | 42 | |
| 4291 | Rebates and price reductions | 3 | 42 | |
| 4292 | Refunds | 3 | 42 | |
| 4293 | Purchasing commissions | 3 | 42 | |
| 4296 | Exchange rate differences | 3 | 42 | |
| 42 | Costs of goods for resale | 4 | ||
| 4400 | Expenses for service A | 3 | 44 | |
| 4407 | Direct purchasing expenses | 3 | 44 | |
| 4409 | Deductions obtained on purchases | 3 | 44 | |
| 4470 | Direct purchase expenses for purchased services | 3 | 44 | |
| 4490 | Discounts | 3 | 44 | |
| 4491 | Rebates and price reductions | 3 | 44 | |
| 4492 | Refunds | 3 | 44 | |
| 4493 | Purchasing commissions | 3 | 44 | |
| 4496 | Exchange rate differences | 3 | 44 | |
| 44 | Expenses for purchased services | 4 | ||
| 4500 | Heat electricity | 3 | 45 | |
| 4501 | Industrial electricity | 3 | 45 | |
| 4510 | Natural gas | 3 | 45 | |
| 4511 | Liquid gas in cylinders | 3 | 45 | |
| 4520 | Heating oil | 3 | 45 | |
| 4521 | Coal, briquettes, wood | 3 | 45 | |
| 4530 | Petrol | 3 | 45 | |
| 4531 | Diesel | 3 | 45 | |
| 4532 | Oil | 3 | 45 | |
| 4540 | Water | 3 | 45 | |
| 45 | Energy consumption for production | 4 | ||
| 4600 | Other material costs of production | 3 | 46 | |
| 4620 | Other costs of goods for resale | 3 | 46 | |
| 4640 | Other costs of services | 3 | 46 | |
| 4650 | Packaging costs | 3 | 46 | |
| 4660 | Changes in warranty provisions | 3 | 46 | |
| 4661 | Changes in deductible provisions | 3 | 46 | |
| 46 | Other costs of materials, goods for resale and services | 4 | ||
| 4700 | Incoming freight | 3 | 47 | |
| 4701 | Import duties | 3 | 47 | |
| 4702 | Incoming shipments | 3 | 47 | |
| 47 | Direct purchasing expenses | 4 | ||
| 4800 | Discounts | 3 | 48 | |
| 4801 | Rebates and price reductions | 3 | 48 | |
| 4802 | Refunds | 3 | 48 | |
| 4803 | Purchasing commissions | 3 | 48 | |
| 4804 | Exchange rate differences | 3 | 48 | |
| 48 | Purchase price reductions | 4 | ||
| 4900 | Changes in goods for resale inventories | 3 | 49 | |
| 4901 | Changes in raw material inventories | 3 | 49 | |
| 4902 | Changes in production material inventories | 3 | 49 | |
| 4903 | Changes in auxiliary material and consumables inventories | 3 | 49 | |
| 4904 | Changes in compulsory inventories | 3 | 49 | |
| 4905 | Changes in goods on delivery inventories | 3 | 49 | |
| 4980 | Material losses | 3 | 49 | |
| 4986 | Losses of goods for resale | 3 | 49 | |
| 49 | Changes in inventories, material and goods losses | 4 | ||
| 4 | Costs for material, goods, services and energy | 02 | ||
| 5000 | Salaries | 3 | 50 | |
| 5001 | Allowances | 3 | 50 | |
| 5002 | Profit-sharing | 3 | 50 | |
| 5003 | Commissions | 3 | 50 | |
| 5005 | Social insurance benefits | 3 | 50 | |
| 5006 | Provision of personnel | 3 | 50 | |
| 5007 | Social insurance expenses | 3 | 50 | |
| 5008 | Other personnel expenses | 3 | 50 | |
| 5009 | Benefits from third parties | 3 | 50 | |
| 5070 | AHV, IV, EO, ALV | 3 | 50 | |
| 5071 | Family allowance | 3 | 50 | |
| 5072 | Pension funds | 3 | 50 | |
| 5073 | Accident insurance | 3 | 50 | |
| 5074 | Daily sickness benefits insurance | 3 | 50 | |
| 5079 | Tax at source | 3 | 50 | |
| 5080 | Staff recruitment | 3 | 50 | |
| 5081 | Education and training | 3 | 50 | |
| 5082 | Reimbursements of actual expenses | 3 | 50 | |
| 5083 | Reimbursements of flat-rate expenses | 3 | 50 | |
| 5089 | Other personnel expenses | 3 | 50 | |
| 5090 | Temporary staff | 3 | 50 | |
| 50 | Personnel expenses - production | 5 | ||
| 5200 | Salaries | 3 | 52 | |
| 5201 | Allowances | 3 | 52 | |
| 5202 | Profit-sharing | 3 | 52 | |
| 5203 | Commissions | 3 | 52 | |
| 5205 | Social insurance benefits | 3 | 52 | |
| 5206 | Provision of personnel | 3 | 52 | |
| 5207 | Social insurance expenses | 3 | 52 | |
| 5208 | Other personnel expenses | 3 | 52 | |
| 5209 | Benefits from third parties | 3 | 52 | |
| 5270 | AHV, IV, EO, ALV | 3 | 52 | |
| 5271 | Family allowance | 3 | 52 | |
| 5272 | Pension funds | 3 | 52 | |
| 5273 | Accident insurance | 3 | 52 | |
| 5274 | Daily sickness benefits insurance | 3 | 52 | |
| 5279 | Tax at source | 3 | 52 | |
| 5280 | Staff recruitment | 3 | 52 | |
| 5281 | Education and training | 3 | 52 | |
| 5282 | Reimbursements of actual expenses | 3 | 52 | |
| 5283 | Reimbursements of flat-rate expenses | 3 | 52 | |
| 5289 | Other personnel expenses | 3 | 52 | |
| 5290 | Temporary staff | 3 | 52 | |
| 52 | Personnel expenses - commerce | 5 | ||
| 5400 | Salaries | 3 | 54 | |
| 5401 | Allowances | 3 | 54 | |
| 5402 | Profit-sharing | 3 | 54 | |
| 5403 | Commissions | 3 | 54 | |
| 5405 | Social insurance benefits | 3 | 54 | |
| 5406 | Provision of personnel | 3 | 54 | |
| 5407 | Social insurance expenses | 3 | 54 | |
| 5408 | Other personnel expenses | 3 | 54 | |
| 5409 | Benefits from third parties | 3 | 54 | |
| 5470 | AHV, IV, EO, ALV | 3 | 54 | |
| 5471 | Family allowance | 3 | 54 | |
| 5472 | Pension funds | 3 | 54 | |
| 5473 | Accident insurance | 3 | 54 | |
| 5474 | Daily sickness benefits insurance | 3 | 54 | |
| 5479 | Tax at source | 3 | 54 | |
| 5480 | Staff recruitment | 3 | 54 | |
| 5481 | Education and training | 3 | 54 | |
| 5482 | Reimbursements of actual expenses | 3 | 54 | |
| 5483 | Reimbursements of flat-rate expenses | 3 | 54 | |
| 5489 | Other personnel expenses | 3 | 54 | |
| 5490 | Temporary staff | 3 | 54 | |
| 54 | Personnel expenses - supply of services | 5 | ||
| 5600 | Salaries | 3 | 56 | |
| 5601 | Allowances | 3 | 56 | |
| 5602 | Profit-sharing | 3 | 56 | |
| 5603 | Salaries to participants and members of the Executive Board | 3 | 56 | |
| 5604 | Board of Directors fees | 3 | 56 | |
| 5605 | Social insurance benefits | 3 | 56 | |
| 5606 | Provision of personnel | 3 | 56 | |
| 5607 | Social insurance expenses | 3 | 56 | |
| 5608 | Other personnel expenses | 3 | 56 | |
| 5609 | Benefits from third parties | 3 | 56 | |
| 5670 | AHV, IV, EO, ALV | 3 | 56 | |
| 5671 | Family allowance | 3 | 56 | |
| 5672 | Pension funds | 3 | 56 | |
| 5673 | Accident insurance | 3 | 56 | |
| 5674 | Daily sickness benefits insurance | 3 | 56 | |
| 5679 | Tax at source | 3 | 56 | |
| 5680 | Staff recruitment | 3 | 56 | |
| 5681 | Education and training | 3 | 56 | |
| 5682 | Reimbursements of actual expenses | 3 | 56 | |
| 5683 | Reimbursements of flat-rate expenses | 3 | 56 | |
| 5689 | Other personnel expenses | 3 | 56 | |
| 5690 | Temporary staff | 3 | 56 | |
| 56 | Personnel expenses - administration | 5 | ||
| 5700 | AHV, IV, EO, ALV | 3 | 57 | |
| 5701 | AHV, IV, EO holder | 3 | 57 | |
| 5710 | Family allowance | 3 | 57 | |
| 5720 | Pension funds | 3 | 57 | |
| 5730 | Accident insurance | 3 | 57 | |
| 5740 | Daily sickness benefits insurance | 3 | 57 | |
| 5790 | Tax at source | 3 | 57 | |
| 57 | Social insurance expenses | 5 | ||
| 5800 | Advertisements of job openings | 3 | 58 | |
| 5801 | Recruitment commissions | 3 | 58 | |
| 5810 | Training necessary for business needs | 3 | 58 | |
| 5811 | Professional training | 3 | 58 | |
| 5820 | Travel expenses | 3 | 58 | |
| 5821 | Food expenses | 3 | 58 | |
| 5822 | Accommodation expenses | 3 | 58 | |
| 5830 | Management flat-rate expenses | 3 | 58 | |
| 5831 | Executive Board flat-rate expenses | 3 | 58 | |
| 5832 | Board of Directors flat-rate expenses | 3 | 58 | |
| 5840 | Staff canteen meals | 3 | 58 | |
| 5841 | Staff canteen beverages | 3 | 58 | |
| 5845 | Revenues for meals (as expense reduction) | 3 | 58 | |
| 5846 | Revenues for beverages (as expense reduction) | 3 | 58 | |
| 5880 | Staff events | 3 | 58 | |
| 5881 | Company sports group | 3 | 58 | |
| 5890 | Private share of personnel expenses | 3 | 58 | |
| 58 | Other personnel expenses | 5 | ||
| 5900 | Benefits from third parties | 3 | 59 | |
| 5901 | Temporary staff | 3 | 59 | |
| 59 | Benefits from third parties | 5 | ||
| 5 | Personnel expenses | 02 | ||
| 6000 | Factory rent | 3 | 60 | |
| 6001 | Workshop and atelier rent | 3 | 60 | |
| 6002 | Warehouse rent | 3 | 60 | |
| 6003 | Showrooms and shop floors rent | 3 | 60 | |
| 6004 | Office and administration rooms rent | 3 | 60 | |
| 6005 | Staff rooms rent | 3 | 60 | |
| 6006 | Garage, parking rent | 3 | 60 | |
| 6030 | Factory additional costs | 3 | 60 | |
| 6031 | Workshop and atelier additional costs | 3 | 60 | |
| 6032 | Warehouse additional costs | 3 | 60 | |
| 6033 | Showrooms and shop floors additional costs | 3 | 60 | |
| 6034 | Office and administration rooms additional costs | 3 | 60 | |
| 6035 | Staff rooms additional costs | 3 | 60 | |
| 6036 | Garage additional costs | 3 | 60 | |
| 6030(2) | Heating additional costs | 3 | 60 | |
| 6031(2) | Electricity, gas, water additional costs | 3 | 60 | |
| 6032(2) | Caretaker additional costs | 3 | 60 | |
| 6040 | Factory cleaning | 3 | 60 | |
| 6041 | Workshop and atelier cleaning | 3 | 60 | |
| 6042 | Warehouse cleaning | 3 | 60 | |
| 6043 | Showrooms and shop floors cleaning | 3 | 60 | |
| 6044 | Office and administration rooms cleaning | 3 | 60 | |
| 6045 | Staff rooms cleaning | 3 | 60 | |
| 6040(2) | Cleaning staff | 3 | 60 | |
| 6041(2) | Third-party cleaning services | 3 | 60 | |
| 6042(2) | Cleaning materials | 3 | 60 | |
| 6050 | Factory maintenance | 3 | 60 | |
| 6051 | Workshop and atelier maintenance | 3 | 60 | |
| 6052 | Warehouse maintenance | 3 | 60 | |
| 6053 | Showrooms and shop floors maintenance | 3 | 60 | |
| 6054 | Office and administration rooms maintenance | 3 | 60 | |
| 6055 | Staff rooms maintenance | 3 | 60 | |
| 6056 | Garage maintenance | 3 | 60 | |
| 6050(2) | Repairs | 3 | 60 | |
| 6051(2) | Small investments | 3 | 60 | |
| 6052(2) | Subscription services | 3 | 60 | |
| 6059 | Insurance services | 3 | 60 | |
| 6060 | Factory leasing | 3 | 60 | |
| 6061 | Workshop and atelier leasing | 3 | 60 | |
| 6062 | Warehouse leasing | 3 | 60 | |
| 6063 | Showrooms and shop floors leasing | 3 | 60 | |
| 6064 | Office and administration rooms leasing | 3 | 60 | |
| 6065 | Staff rooms leasing | 3 | 60 | |
| 6066 | Garage leasing | 3 | 60 | |
| 6070 | Ground rents | 3 | 60 | |
| 6090 | Private share of facility expenses | 3 | 60 | |
| 60 | Facility expenses | 6 | ||
| 6100 | MRR machines and apparatuses | 3 | 61 | |
| 6101 | MRR furniture and equipment | 3 | 61 | |
| 6102 | MRR tools and devices | 3 | 61 | |
| 6105 | Leasing of manufacturing plants | 3 | 61 | |
| 6110 | MRR shop equipment | 3 | 61 | |
| 6111 | MRR showroom equipment | 3 | 61 | |
| 6115 | Leasing of sales equipment | 3 | 61 | |
| 6120 | MRR central warehouse | 3 | 61 | |
| 6121 | MRR warehouse A | 3 | 61 | |
| 6125 | Leasing of warehouse equipment | 3 | 61 | |
| 6130 | MRR office furniture | 3 | 61 | |
| 6131 | MRR office machines | 3 | 61 | |
| 6132 | MRR information technology | 3 | 61 | |
| 6133 | MRR communication technology | 3 | 61 | |
| 6135 | Leasing of office equipment | 3 | 61 | |
| 6140 | MRR staff canteen furniture | 3 | 61 | |
| 6141 | MRR staff rooms furniture | 3 | 61 | |
| 6145 | Leasing of staff equipment | 3 | 61 | |
| 6190 | Insurance services | 3 | 61 | |
| 61 | Maintenance, repairs, replacements (MRR): leasing of movable tangible assets | 6 | ||
| 6200 | Repairs | 3 | 62 | |
| 6201 | Services | 3 | 62 | |
| 6202 | Cleaning | 3 | 62 | |
| 6210 | Petrol | 3 | 62 | |
| 6211 | Diesel | 3 | 62 | |
| 6212 | Oil | 3 | 62 | |
| 6213 | Electricity | 3 | 62 | |
| 6220 | Liability insurance | 3 | 62 | |
| 6221 | Comprehensive insurance | 3 | 62 | |
| 6222 | Legal protection insurance | 3 | 62 | |
| 6230 | Road taxes | 3 | 62 | |
| 6231 | Contributions | 3 | 62 | |
| 6232 | Vehicle taxes | 3 | 62 | |
| 6260 | Vehicle leasing | 3 | 62 | |
| 6264 | Vehicle rentals | 3 | 62 | |
| 6270 | Private share of vehicle expenses | 3 | 62 | |
| 6280 | Freights | 3 | 62 | |
| 6281 | Freight forwarder | 3 | 62 | |
| 6282 | Cargo domicile | 3 | 62 | |
| 62 | Vehicle and transport expenses | 6 | ||
| 6300 | Natural hazard insurance | 3 | 63 | |
| 6301 | Glass breakage insurance | 3 | 63 | |
| 6302 | Theft insurance | 3 | 63 | |
| 6310 | Business liability insurance | 3 | 63 | |
| 6311 | Warranty insurance | 3 | 63 | |
| 6312 | Legal protection insurance | 3 | 63 | |
| 6320 | Business interruption insurance | 3 | 63 | |
| 6330 | Death risk insurance | 3 | 63 | |
| 6331 | Guarantee premiums | 3 | 63 | |
| 6360 | Charges | 3 | 63 | |
| 6361 | Fees | 3 | 63 | |
| 6370 | Permits | 3 | 63 | |
| 6371 | Operating licences | 3 | 63 | |
| 63 | Property insurance, charges, fees, permits | 6 | ||
| 6400 | Industrial electricity | 3 | 64 | |
| 6401 | Heat electricity | 3 | 64 | |
| 6402 | Electricity for lighting | 3 | 64 | |
| 6410 | Natural gas | 3 | 64 | |
| 6411 | Liquid gas in cylinders | 3 | 64 | |
| 6420 | Heating oil | 3 | 64 | |
| 6421 | Coal, briquettes, wood | 3 | 64 | |
| 6430 | Water | 3 | 64 | |
| 6460 | Garbage collection | 3 | 64 | |
| 6461 | Hazardous waste collection | 3 | 64 | |
| 6462 | Waste water | 3 | 64 | |
| 64 | Energy and disposal costs | 6 | ||
| 6500 | Office equipment | 3 | 65 | |
| 6501 | Printers | 3 | 65 | |
| 6502 | Photocopies | 3 | 65 | |
| 6503 | Specialist publications, newspapers, periodicals | 3 | 65 | |
| 6510 | Telephone | 3 | 65 | |
| 6512 | Internet | 3 | 65 | |
| 6513 | Postages | 3 | 65 | |
| 6520 | Contributions | 3 | 65 | |
| 6521 | Donations, grants | 3 | 65 | |
| 6522 | Tips | 3 | 65 | |
| 6530 | Bookkeeping | 3 | 65 | |
| 6531 | Business consultancy | 3 | 65 | |
| 6532 | Legal advice | 3 | 65 | |
| 6540 | Board of Directors expenses | 3 | 65 | |
| 6541 | General meeting expenses | 3 | 65 | |
| 6542 | Auditing expenses | 3 | 65 | |
| 6550 | Formation, capital increase and organisational expenses | 3 | 65 | |
| 6551 | Collection and execution costs | 3 | 65 | |
| 6555 | Management fees | 3 | 65 | |
| 6559 | Other administration costs | 3 | 65 | |
| 6560 | Private share of administration costs | 3 | 65 | |
| 6570 | Hardware leasing | 3 | 65 | |
| 6571 | Software leasing | 3 | 65 | |
| 6572 | Hardware rent | 3 | 65 | |
| 6573 | Software rent | 3 | 65 | |
| 6580 | Licenses and updates expenses | 3 | 65 | |
| 6581 | Hardware maintenance/hotline | 3 | 65 | |
| 6582 | Software maintenance/hotline | 3 | 65 | |
| 6583 | Consumables | 3 | 65 | |
| 6585 | Dedicated phone line expenses | 3 | 65 | |
| 6590 | Basic advice | 3 | 65 | |
| 6591 | Individual development, individual adjustments | 3 | 65 | |
| 6592 | Implementation costs | 3 | 65 | |
| 6590(2) | IT development - project A | 3 | 65 | |
| 65 | Administrative and IT expenses | 6 | ||
| 6600 | Advertisements | 3 | 66 | |
| 6601 | Radio advertising | 3 | 66 | |
| 6602 | TV advertising | 3 | 66 | |
| 6604 | Internet and social media | 3 | 66 | |
| 6610 | Printed advertisements, advertising material | 3 | 66 | |
| 6611 | Advertising items, samples, billboards and electronic adverts | 3 | 66 | |
| 6620 | Shop windows, decorations | 3 | 66 | |
| 6621 | Trade fairs, exhibitions | 3 | 66 | |
| 6640 | Expenses | 3 | 66 | |
| 6641 | Customer care | 3 | 66 | |
| 6642 | Gifts to customers | 3 | 66 | |
| 6660 | Advertising contributions | 3 | 66 | |
| 6661 | Sponsoring | 3 | 66 | |
| 6670 | Customer events | 3 | 66 | |
| 6671 | Media contacts | 3 | 66 | |
| 6672 | Corporate anniversaries | 3 | 66 | |
| 6680 | Advertising consultancy | 3 | 66 | |
| 6681 | Market analysis | 3 | 66 | |
| 6690 | Private share of advertising expenses | 3 | 66 | |
| 66 | Advertising expenses | 6 | ||
| 6700 | Business information | 3 | 67 | |
| 6701 | Debt collection | 3 | 67 | |
| 6710 | Operational safety | 3 | 67 | |
| 6711 | Surveillance | 3 | 67 | |
| 6720 | Project A research | 3 | 67 | |
| 6721 | Project A development | 3 | 67 | |
| 6740 | Input tax correction (in the case of mixed use) | 3 | 67 | |
| 6790 | Other operating expenses | 3 | 67 | |
| 6791 | Private shares | 3 | 67 | |
| 67 | Other operating expenses | 6 | ||
| 6800 | Fixed assets securities value adjustments | 3 | 68 | |
| 6801 | Other financial assets value adjustments | 3 | 68 | |
| 6804 | Long-term receivables towards third parties value adjustments | 3 | 68 | |
| 6805 | Long-term receivables towards participations value adjustments | 3 | 68 | |
| 6806 | Long-term receivables towards shareholders value adjustments | 3 | 68 | |
| 6810 | Participation A value adjustments | 3 | 68 | |
| 6820 | Depreciation and value adjustments to machinery and equipment | 3 | 68 | |
| 6821 | Depreciation and value adjustments to furniture and installations | 3 | 68 | |
| 6822 | Depreciation and value adjustments to office machines, information and communication technology | 3 | 68 | |
| 6823 | Depreciation and value adjustments to vehicles | 3 | 68 | |
| 6824 | Depreciation and value adjustments to tools and equipment | 3 | 68 | |
| 6825 | Depreciation and value adjustments to storage facilities | 3 | 68 | |
| 6827 | Depreciation and value adjustments to fixed facilities and installations | 3 | 68 | |
| 6829 | Depreciation and value adjustments to other movable tangible assets | 3 | 68 | |
| 6830 | Depreciation and value adjustments to commercial properties | 3 | 68 | |
| 6831 | Depreciation and value adjustments to factories | 3 | 68 | |
| 6832 | Depreciation and value adjustments to workshops and ateliers | 3 | 68 | |
| 6833 | Depreciation and value adjustments to warehouses | 3 | 68 | |
| 6834 | Depreciation and value adjustments to exhibition and sales buildings | 3 | 68 | |
| 6835 | Depreciation and value adjustments to office and administration buildings | 3 | 68 | |
| 6836 | Depreciation and value adjustments to residential buildings | 3 | 68 | |
| 6837 | Depreciation and value adjustments to undeveloped land | 3 | 68 | |
| 6840 | Depreciation and value adjustments to patents, know-how and recipes | 3 | 68 | |
| 6841 | Depreciation and value adjustments to brands, samples, models and plans | 3 | 68 | |
| 6842 | Depreciation and value adjustments to licences, concessions, rights of use and company rights | 3 | 68 | |
| 6843 | Depreciation and value adjustments to copyrights, publishing rights and contractual rights | 3 | 68 | |
| 6845 | Depreciation and value adjustments to development | 3 | 68 | |
| 6847 | Depreciation and value adjustments to goodwill | 3 | 68 | |
| 6849 | Depreciation and value adjustments to other intangible assets | 3 | 68 | |
| 68 | Depreciation and value adjustments to fixed assets positions | 6 | ||
| 6900 | Bank interest fees | 3 | 69 | |
| 6901 | Loan interest fees | 3 | 69 | |
| 6902 | Mortgage interest fees | 3 | 69 | |
| 6903 | Default interest fees | 3 | 69 | |
| 6904 | Interest fees from advance payments received | 3 | 69 | |
| 6905 | Interest fees from financial leasing | 3 | 69 | |
| 6920 | Person involved A interest fees | 3 | 69 | |
| 6921 | Member of the Board of Directors A interest fees | 3 | 69 | |
| 6922 | Member of Executive Board A interest fees | 3 | 69 | |
| 6923 | Group company A interest fees | 3 | 69 | |
| 6924 | Close person A interest fees | 3 | 69 | |
| 6930 | Pension funds loans interest fees | 3 | 69 | |
| 6940 | Bank charges | 3 | 69 | |
| 6941 | Custody fees | 3 | 69 | |
| 6942 | Exchange losses on short-term assets listed on the stock exchange | 3 | 69 | |
| 6943 | Exchange losses on financial assets | 3 | 69 | |
| 6944 | Exchange losses on interest-bearing debts | 3 | 69 | |
| 6945 | Granted customer accounts | 3 | 69 | |
| 6946 | Exchange loss on cryptocurrencies | 3 | 69 | |
| 6947 | Factoring fee | 3 | 69 | |
| 6949 | Currency losses | 3 | 69 | |
| 6950 | Revenues from bank deposits | 3 | 69 | |
| 6951 | Revenues from short-term financial investments | 3 | 69 | |
| 6952 | Revenues from short-term securities | 3 | 69 | |
| 6953 | Revenues from other short-term assets | 3 | 69 | |
| 6960 | Revenues from fixed assets securities | 3 | 69 | |
| 6961 | Revenues from other financial assets | 3 | 69 | |
| 6962 | Revenues from participations | 3 | 69 | |
| 6963 | Revenues from long-term receivables | 3 | 69 | |
| 6980 | Revenues from person involved A | 3 | 69 | |
| 6981 | Revenues from member of the Board of Directors A | 3 | 69 | |
| 6982 | Revenues from member of Executive Board A | 3 | 69 | |
| 6983 | Revenues from group company A | 3 | 69 | |
| 6984 | Revenues from close person A | 3 | 69 | |
| 6990 | Default interest income, remuneration interest | 3 | 69 | |
| 6991 | Revenue from advance payments to suppliers | 3 | 69 | |
| 6992 | Exchange gains on short-term assets listed on the stock exchange | 3 | 69 | |
| 6993 | Exchange gains on financial assets | 3 | 69 | |
| 6995 | Discounts received from suppliers | 3 | 69 | |
| 6996 | Exchange gain on cryptocurrencies | 3 | 69 | |
| 6999 | Currency gains | 3 | 69 | |
| 69 | Financial expenses and revenues | 6 | ||
| 6 | Other operating expenses, depreciation, value adjustments and financial results | 02 | ||
| 7000 | Gross profits | 3 | 70 | |
| 7009 | Decrease in revenues | 3 | 70 | |
| 7010 | Material costs | 3 | 70 | |
| 7011 | Personnel expenses | 3 | 70 | |
| 7012 | Facility expenses | 3 | 70 | |
| 7013 | Maintenance, repairs, replacements, leasing expenses | 3 | 70 | |
| 7014 | Vehicle and transport expenses | 3 | 70 | |
| 7015 | Property insurance, charges, fees, permits | 3 | 70 | |
| 7016 | Energy and disposal costs | 3 | 70 | |
| 7017 | Administrative and IT expenses | 3 | 70 | |
| 7018 | Advertising expenses | 3 | 70 | |
| 7019 | Other expenses | 3 | 70 | |
| 70 | Result from ancillary activities | 7 | ||
| 7502 | Rental income from commercial premises | 3 | 75 | |
| 7503 | Rental income from flats | 3 | 75 | |
| 7504 | Rental income from garages | 3 | 75 | |
| 7505 | Opted rental income | 3 | 75 | |
| 7508 | Share of heating, lighting | 3 | 75 | |
| 7509 | Other real estate income | 3 | 75 | |
| 7510 | Mortgage interest fees | 3 | 75 | |
| 7511 | Real estate maintenance | 3 | 75 | |
| 7512 | Charges, fees, property taxes | 3 | 75 | |
| 7513 | Insurance premiums | 3 | 75 | |
| 7514 | Water, waste water | 3 | 75 | |
| 7515 | Waste, disposal | 3 | 75 | |
| 7516 | Administrative expenses | 3 | 75 | |
| 7517 | Heating, lighting, water | 3 | 75 | |
| 7518 | Depreciation and value adjustment | 3 | 75 | |
| 7519 | Other real estate expenses | 3 | 75 | |
| 75 | Result from operational real estate | 7 | ||
| 7 | Ancillary operating result | 02 | ||
| 8000 | Non-operating costs | 3 | 80 | |
| 8100 | Non-operating revenues | 3 | 80 | |
| 80 | Non-operating costs and revenues | 8 | ||
| 8500 | Extraordinary provisions | 3 | 85 | |
| 8501 | Extraordinary depreciation and value adjustment | 3 | 85 | |
| 8503 | Extraordinary currency losses | 3 | 85 | |
| 8504 | Extraordinary losses on disposal of fixed assets | 3 | 85 | |
| 8505 | Extraordinary losses on receivables | 3 | 85 | |
| 8506 | Inconvenience compensation payments | 3 | 85 | |
| 8510 | Dissolution of reserves | 3 | 85 | |
| 8511 | Dissolution of provisions no longer required | 3 | 85 | |
| 8513 | Extraordinary currency gains | 3 | 85 | |
| 8514 | Extraordinary gains on disposal of fixed assets | 3 | 85 | |
| 8515 | Subsidies and other non-payments received with input tax reduction | 3 | 85 | |
| 8516 | Donations and other non-payments received without input tax reduction | 3 | 85 | |
| 8517 | Inconvenience compensation received | 3 | 85 | |
| 8600 | Non-recurring expenses | 3 | 85 | |
| 8610 | Non-recurring revenues | 3 | 85 | |
| 8704 | Creation of employer contribution reserve | 3 | 85 | |
| 8705 | Deductibles | 3 | 85 | |
| 8709 | Other expenses unrelated to the period | 3 | 85 | |
| 8710 | Revenues from insurance services or indemnity payments | 3 | 85 | |
| 8711 | Revenues from refunds | 3 | 85 | |
| 8712 | Revenues from reimbursements | 3 | 85 | |
| 8714 | Dissolution of employer contribution reserve | 3 | 85 | |
| 8719 | Other revenues unrelated to the period | 3 | 85 | |
| 85 | Extraordinary, non-recurring or unrelated to the period expenses and revenues | 8 | ||
| 8900 | Taxes on profits | 3 | 89 | |
| 8901 | Capital taxes | 3 | 89 | |
| 8902 | Direct taxes unrelated to the period | 3 | 89 | |
| 8900(2) | Cantonal and municipal taxes | 3 | 89 | |
| 8901(2) | Direct federal taxes | 3 | 89 | |
| 89 | Direct taxes | 8 | ||
| 8 | Non-operating, extraordinary, non-recurring or unrelated to the period result | 02 | ||
| 9200 | Profit or loss for the year | 3 | 9 | |
| 9 | Closure | 02 | ||
| 02 | Loss(+)/Profit(-) from income statement | 297 | ||
| 00 | Difference should be = 0 (empty cell) |
Business Accounting Templates Switzerland
The Business accounting templates have chart of accounts based on the SME system (Swiss SME chart of accounts - Sterchi, Mattle, Helbing), in compliance with the Swiss Code of Obligations (articles 957-963b CO).
They are mainly divided into:
- Cash method -based accounting – Costs and revenues are recorded at the time of payment and receipt.
- Accrual method-based accounting – Costs and revenues are recorded at the time of issuing invoices to customers and receiving invoices from suppliers.
Additionally, templates are included to manage accounts in both the base currency and foreign currencies.
Work quickly with automation features
The program includes many automation features that allow you to work quickly and securely.
- Reuse previously entered texts
Easily reuse previously entered content without having to retype it manually. - Retrieve data from stored transactions
You can store recurring transactions in a table and retrieve them with a click, without having to re-enter the text - Import bank, postal, and credit card data
Effortlessly integrate bank, postal, and credit card data into your accounting. Numerous import formats are available to automatically retrieve the data. - VAT calculations and summaries
Automate VAT calculations and summaries for error-free tax management. - Foreign currencies
Easily account for transactions in different currencies, including cryptocurrencies. Fixed and variable exchange rates. Automated exchange rate differences. - Balance sheets, account ledgers, journals, and other reports
Generate detailed balance sheets, account ledgers, journals, and other reports with just one click. - Cost/Profit Centers and Segments
Used to analyze and monitor the performance of different areas or divisions of a company. - Invoice creation with QR codes, reminders, quotes, and delivery notes
Create invoices in a few steps, which you can integrate into your accounting file for automatic entry. If you need to create highly detailed and extensive invoices, use the features of the Estimates and Invoices application. - File checks and security
Various control functions immediately alert you to discrepancies in opening balances, transactions, bank accounts, errors in the chart of accounts, and much more. - File conversion from one type of accounting to another
If your accounting needs change, you can always convert your data into a different type of accounting file (for example, from double-entry accounting without VAT to one with VAT).
These features are included in the Professional plan. If you're looking for even more efficiency and speed in accounting work, the Advanced plan offers innovative automations to further optimize your workflow.
- Bank data import using Rules
For a complete import without the need to manually enter counterpart accounts, VAT codes, cost centers, and more. - Creation of VAT Statement facsimile, both in paper and XML format, for electronic submission to the AFC
No more manual calculations to sum the amounts for different VAT codes, as everything is automated. - Temporary filtering and sorting of rows
Quickly search for data without navigating from one row to another. You can directly correct or modify the filtered rows. Once done, by removing the filter, the data will return to its previous order. - All your accounting PDF attachments in a single file
This allows you to save and archive all documents in one file. It is highly useful and convenient, especially for audits and tax reviews. - E-banking payments
You can create payments for your suppliers within your accounting file or separately, without the need to manually prepare payment transfers. - Extensions for maximum invoice customization
Offers greater flexibility to customize the position of logos, addresses, and texts. - Balance sheet and cash flow analysis
Evaluate the financial health of your company, monitor liquidity, and identify critical areas to intervene promptly. Use these analyses to plan effective strategies that improve business performance and ensure sustainable growth. - Financial forecasts and budgeting
Anticipate the financial performance to ensure the availability of necessary liquidity, plan targeted investments, and reduce waste. Optimize revenues and ensure efficient resource management, allowing you to make informed decisions and maintain financial control over your company.
Tutorial
On the Tutorial pages, you will find step-by-step instructions on how to set up the file, record transactions, create invoices, import transactions using rules, and generate the balance sheet. The explanations are accompanied by images taken from sample files in the Banana program.
You can download the tutorial file, which contains not only the chart of accounts but also opening balances and sample entries. You can, of course, customize the file by changing the opening balances and replacing the sample transactions with your own.
Business Templates Switzerland with VAT
Our VAT management templates are included for free in the Banana Accounting Plus program.
The chart of accounts is based on the SME system (Swiss SME chart of accounts - Sterchi, Mattle, Helbing), compliant with the Swiss Code of Obligations (articles 957-963b CO).
VAT Features
All VAT templates include the necessary columns and functions to manage VAT. Calculations and all reports are automated.
To record VAT, simply enter the VAT code in the transaction. The VAT codes table is predefined and updated according to the new 2024 VAT regulations.
At the end of the period, based on transactions with VAT codes, the program calculates the VAT Summary by account, code, and percentage. It generates a paper facsimile of the VAT Report and the XML file for submitting VAT data to the AFC.
For VAT management with the new rates, you can find detailed information on the VAT Management page.
Some features require a subscription to the Advanced plan of Banana Accounting Plus, such as generating the VAT Report facsimile or XML file, using the new Rules, Filter, and Temporary Row Sorting functions. See all features of the Advanced plan.
VAT Accounts in Banana Accounting
The liabilities section includes two specific VAT accounts:
- Account 2201 VAT Report (corresponding to the automatic VAT account). Already configured.
- Account 2200 VAT Due (corresponding to the VAT Treasury account).
However, it is possible to set specific VAT accounts in assets and liabilities, but at the end of the period, various entries are needed to reverse the previous VAT and VAT due into the VAT Treasury account. Therefore, it is recommended to use the default VAT account, **2201 VAT Report**. More details can be found on the page Setting Up VAT Accounts.
Chart of Accounts with VAT on a Cash Basis
The templates for cash-based VAT have customer and supplier sub-ledgers set as Cost and Profit Centers (CC3). VAT is calculated by entering the VAT code at the time of payment and receipt of invoices, with counterpart accounts always being revenue or expense accounts.
Chart of Accounts with VAT on an Accrual Basis
The accrual-based VAT accounting templates have customer and supplier sub-ledgers linked to the balance sheet. All sub-ledger accounts appear in reports and balance sheets. In this case, VAT is calculated by entering the VAT code when issuing an invoice to the customer or receiving an invoice from the supplier.
VAT and Multi-Currency
Among the VAT templates, you can choose models that also manage foreign currencies with VAT.
The chart of accounts includes accounts for exchange rate differences, set in the File > File Properties menu. These templates include the Exchange Rates table, where foreign currencies are set with reference to the base currency, along with exchange rates and opening rates. In the Transactions table, there are columns for viewing amounts in both foreign currency and converted national currency, as well as a column that retrieves the exchange rate entered in the Exchange Rates table.
Company | Cash Manager | VAT
Company | Cash Manager | VATTo manage cash inflows and outflows of a small business. The file can also complement the main accounting file: all cash transactions are recorded separately, and at the end of each quarter (or any chosen period), the totals of categories and accounts are imported into the main accounting file.
Entering VAT codes allows VAT amounts to be automatically recorded in the VAT account.
Create your file
- Open the template with the Banana Accounting Plus WebApp
- Using the command File > File Properties, set the period, your company name, and the base currency (you can create budgets and accounting in any currency).
- Using the command File > Save As, save the file. It is helpful to include the company name and year in the filename. For example, "Cash_Rossi-SA-20xx.ac2".
WARNING: If you close the browser without saving, you will lose the entered data. Always save the file on your computer.
To reopen the saved file, click on File > Open.
Also, see Organizing accounting files locally, on a network, and in the cloud.
More information is available on the following pages:
Cash Manager for professional practice | VAT
Cash Manager for professional practice | VATThe model provides a simple and fast way to manage cash transactions. All data is always well-organized, and for each expense entry, you can attach a PDF receipt, ensuring complete and documented control of expenses.
You can periodically integrate cash data into the accounting file to maintain a complete bookkeeping system, allowing you to generate full VAT reports exclusively within the accounting file.
Automated professional reports provide all the details of income and expenses for each account and category.
Create your file
- Open the template with the Banana Accounting Plus WebApp
- Using the command File > File Properties, set the period, your company name, and the base currency (you can create budgets and bookkeeping in any currency).
- Using the command File > Save As, save the file. It is useful to include the company name and year in the filename. For example, "Cash_Rossi-SA-20xx.ac2".
WARNING: If you close the browser without saving, you will lose the entered data. Always save the file on your computer.
To reopen the saved file, click on File > Open.
Also, see Organizing accounting files locally, on a network, and in the cloud.
More information is available on the following pages:
Income / Expense accounting with descriptive accounts and categories
Income / Expense accounting with descriptive accounts and categories Svjetlana AnticCompany | Income & Expense Accounting | VAT
Company | Income & Expense Accounting | VATThis template, while having a simple and essential setup, still allows you to manage accounting professionally.
- You can customize accounts and categories at any time, adapting them to your specific needs.
- The Accounts and Categories tables provide an immediate overview of the balances for each account and category, allowing you to maintain full control of your financial situation.
- By setting up the customer ledger, you have the possibility to issue invoices to your customers with the added advantage of having them automatically recorded in accounting.
- The VAT Codes table is updated with the new 2024 VAT rates.
- To speed up the entry of transactions, you can use bank data import with Rules: for each imported transaction, you enter a text (Rule) completing all other registration elements (contra account, VAT code, cost center...); in subsequent imports, the program automatically completes the registration whenever it finds the key text in the import entry, significantly reducing work time and minimizing errors.
- If you need to create invoices, simply set up the CC3 profit center in the Accounts table.
Some features require a subscription to the Advanced plan of Banana Accounting Plus, such as generating the facsimile or XML file of the VAT Report, using the new Rules, Filter, and Temporary Sort functions. See all the features of the Advanced plan.
Create your file
- Open the template with the Banana Accounting Plus WebApp
- Using the command File > File Properties, set the period, your company name, and the base currency (you can create budgets and bookkeeping in any currency).
- Using the command File > Save As, save the file. It is useful to include the company name and year in the filename. For example, "Cash_Rossi-SA-20xx.ac2".
WARNING: If you close the browser without saving, you will lose the entered data. Always save the file on your computer.
To reopen the saved file, click on File > Open.
Also, see Organizing accounting files locally, on a network, and in the cloud.
More information is available on the following pages:
Self-employed professional | Income & Expense Accounting | VAT
Self-employed professional | Income & Expense Accounting | VATThis application technically uses the same mechanism as double-entry accounting but with the advantage that you don't need to know the basics of Debit and Credit, allowing you to manage accounting quickly and easily.
- In the Accounts Table, you will find the accounts to manage your resources (liquidity, equipment, customers...),
- In the Categories Table, you have all income and expenses categorized for each item.
To enter records quickly:
- Import transactions from your e-bank statements, postal accounts, or credit cards.
- Set up Rules to complete imported transactions
- Get reports and professional printouts after each transaction.
If you need to create invoices, simply set up the customer ledger with the CC3, and you will be able to print:
VAT management is simple. Just enter the VAT code for each relevant transaction. The VAT Codes Table is already updated with the new 2024 VAT rates.
Some functions require a subscription to the Advanced plan of Banana Accounting Plus, such as generating the facsimile or XML file of the VAT Report, using new Rules features, Temporary Row Filtering, and Sorting. See all the features of the Advanced plan.
Further details and additional information are available on the following web pages:
Create your file
- Open the template with the Banana Accounting WebApp
- Using the File > File Properties command, set the period, your company name, and the base currency (you can create a budget and manage accounting in any currency you prefer).
- With the File > Save As command, save the file. It is useful to include your studio name and the year in the file name. For example, "Studio-Rossi-SA-20xx.ac2".
WARNING: If you close the browser without saving, you will lose the entered data. Always save the file on your computer.
In our Documentation, you will find explanations on various topics to help you manage your accounting effectively:
- Videos
- Income/Expense
- Accounts
- Categories
- Transactions
- Swiss VAT Management
- Invoicing
- New Year
- Budget Transactions
- Printing
Company | Customer/Supplier Ledger
Company | Customer/Supplier LedgerThe tutorial is based on an Income and Expense accounting system, which is very intuitive and easy to manage. You can use the tutorial to explore many features:
- Create and print invoices for your clients
- Check due dates
- Send reminders
- Manage VAT with the new rates from 2024
- Speed up transaction entry with automatic import and the use of Rules
- Print reports, account statements, journal, and other summaries
Some functions require a subscription to the Advanced plan of Banana Accounting Plus, such as generating a facsimile or XML file of the VAT Report, using new features like Rules, Temporary Row Filtering, and Sorting. See all features of the Advanced plan.
Create your file
- Open the template with the Banana Accounting WebApp
- Using the File > File Properties command, set the period, your company name, and the base currency (you can create a budget and manage accounting in any currency you prefer).
- With the File > Save As command, save the file. It is useful to include your studio name and the year in the file name. For example, "Studio-Rossi-SA-20xx.ac2".
WARNING: If you close the browser without saving, you will lose the entered data. Always save the file on your computer.
In our Documentation, you will find explanations on various topics to help you manage your accounting effectively:
- Videos
- Income/Expense
- Accounts
- Categories
- Transactions
- Swiss VAT Management
- Invoicing
- New Year
- Budget Transactions
- Printing
Shop | Income & Expense accounting | VAT net tax rate
Shop | Income & Expense accounting | VAT net tax rate caterinaRistorante | PMI | IVA | Contabilità sull'incassato | con centri di costo
Ristorante | PMI | IVA | Contabilità sull'incassato | con centri di costoIl nostro modello è studiato su misura per le esigenze contabili di ristoranti e bar.
Funzionalità Principali
- Inserimento automatizzato delle registrazioni contabili
- Calcolo e rendicontazione IVA semplificati
- Segnalazione automatica di errori e incongruenze
- Stampe professionali:
Vantaggi di una Contabilità Organizzata
La contabilità non è solo un adempimento fiscale: è uno strumento strategico per ottimizzare risorse, aumentare i profitti e prendere decisioni basate su dati concreti.
Controllo dei Costi
- Identificazione rapida delle spese eccessive
- Riduzione degli sprechi (soprattutto su materie prime).
Maggiore Redditività
- Analisi dei piatti più venduti e più redditizi
- Ottimizzazione del menu e della gestione della cucina.
Decisioni Strategiche Basate sui Dati
- Previsione della stagionalità
- Pianificazione degli investimenti
Crea il tuo File in pochi passi
Vai su File > Proprietà file per impostare:
- Periodo contabile
- Nome del tuo ristorante o bar
- Moneta di base
Salva il file con File > Salva con nome
Includere nome del locale e anno, es. "Ristorante Belvedere 2025.ac2"
Risorse utili
Doppia: Hotel | PMI | IVA | Contabilità sull'incassato | centri di costo
Doppia: Hotel | PMI | IVA | Contabilità sull'incassato | centri di costoUna buona gestione contabile di un hotel è fondamentale per avere il pieno controllo dei flussi economici, dei reparti e dei costi operativi. Una contabilità chiara e ben organizzata è lo strumento che consente di prendere decisioni strategiche in modo consapevole e tempestivo.
Il piano dei conti è strutturato per soddisfare le esigenze contabili e gestionali specifiche di una struttura alberghiera. Esso consente di classificare e organizzare in modo sistematico tutte le operazioni economico-finanziarie dell'hotel, garantendo una corretta tenuta della contabilità generale e l'elaborazione di report gestionali efficaci.
Automazione e importazione movimenti
Per ottimizzare i tempi di registrazione contabile, è prevista la possibilità di importare i movimenti direttamente dagli estratti conto bancari, postali e delle carte di credito. Ciò riduce gli errori manuali e velocizza il processo di contabilizzazione.
L'utilizzo delle Regole di registrazione automatica durante l'importazione permette di associare automaticamente le contropartite contabili, i codici IVA, i centri di costo e altre informazioni accessorie. Questa funzionalità favorisce l’uniformità delle registrazioni e l’affidabilità dei dati contabili.
Grazie alle funzioni di automazione ci sono vantaggi e benefici non indifferenti:
- Immissione veloce dei dati e più tempo per attività a maggior valore aggiunto
- Riduce il rischio di errori manuali
- Dati sempre aggiornati con visione in tempo reale dello stato finanziario dell’hotel.
Gestione IVA
Il programma gestisce automaticamente l’IVA secondo la normativa svizzera, generando i rendiconti richiesti e i file XML per la trasmissione online. Questo assicura conformità normativa e riduce al minimo il lavoro manuale.
Per utilizzare le estensioni IVA 2024/2025, occorre:
Il Rendiconto IVA Svizzera 2024/2025 viene creato in automatico grazie alle seguenti estensioni, integrate in Banana Contabilità Plus:
Centri di costo e analisi per area operativa
A supporto dell’analisi economica, sono stati definiti appositi centri di costo, che permettono di monitorare la redditività dei singoli reparti o servizi offerti: camere, ristorazione, centro benessere (SPA), eventi, parcheggi, ecc. Ad esempio, è possibile sapere se il centro benessere copre i costi o se il ristorante lavora in perdita, così da intervenire con azioni mirate. Questo consente una valutazione dettagliata delle performance operative e supporta il processo decisionale nella gestione strategica.
Reportistica e bilanci
La reportistica e bilanci in una contabilità alberghiera non sono degli strumenti fiscali, ma dei veri alleati per guidare la gestione, migliorare la redditività e garantire la sostenibilità dell’attività nel tempo.
I bilanci e le principali stampe contabili e fiscali sono completamente automatizzate e vengono generate in modo chiaro e dettagliato. I report includono:
- Stato patrimoniale
- Conto economico
- Centri di costo e profitto
- Rendiconti IVA e liquidazioni periodiche
- Report analitici per gestione e controllo interno
L'automazione delle stampe consente di avere aggiornamenti in tempo reale, migliorando la capacità di monitoraggio e previsione finanziaria.
Revenue-based Accounting Tutorial for Ltd and LLC | SME
Revenue-based Accounting Tutorial for Ltd and LLC | SMEEfficient and customizable accounting management for SMEs
Our accounting template is pre-configured according to the standard framework of the Swiss Code of Obligations, specifically designed to meet the needs of small and medium-sized enterprises (SMEs) with an annual turnover equal to or greater than CHF 500,000.
Flexibility and customization
If you need to customize the chart of accounts, you can easily add new accounts. See our dedicated page on the Complete SME Chart of Accounts, which includes all the accounts and groups specified by the Swiss SME account system (Sterchi, Mattle, Helbing), ensuring perfect integration.
Simplicity and automation
Data entry is fast and intuitive, with an interface similar to Excel. You can import data directly from your bank statements or credit cards, and thanks to the use of Rules, the process becomes fully automated, drastically reducing manual work.
All-round accounting management
Record transactions quickly and automatically, keep balances always updated, and generate professional real-time reports. With our system, you can:
- Create and post invoices simultaneously
- Send reminders easily
- Make cash flow forecasts and manage budgets
- Generate Balance Sheet, Profit and Loss Statement, Account Cards and Journal
- With the VAT extension, send VAT report data online to the FTA (only with Advanced plan).
Some features require a subscription to the Banana Accounting Plus Advanced plan, such as generating the sample or XML file for the VAT report, using the new Rules functions, Filter, and temporary Sort Rows. See all the features of the Advanced plan.
Create your file
- Open the template with Banana Accounting Plus WebApp
- With the File > File Properties command, set the period, your company name, and the base currency (you can do budgeting and accounting in any currency).
- With the File > Save As command, save the file. It is useful to include the company name and year in the file name. For example, "Rossi-SA-20xx.ac2".
WARNING: if you close the browser without saving, you will lose the entered data. Always save the file to your computer.
To reopen the saved file click on File > Open.
Also see Organize accounting files locally, on network and cloud.
Accounts Table
When opening the template, the chart of accounts includes all the accounts to manage your business. You only need to enter:
- In the Accounts table, Account column, your Customer and Supplier accounts complete with address, country code, and language.
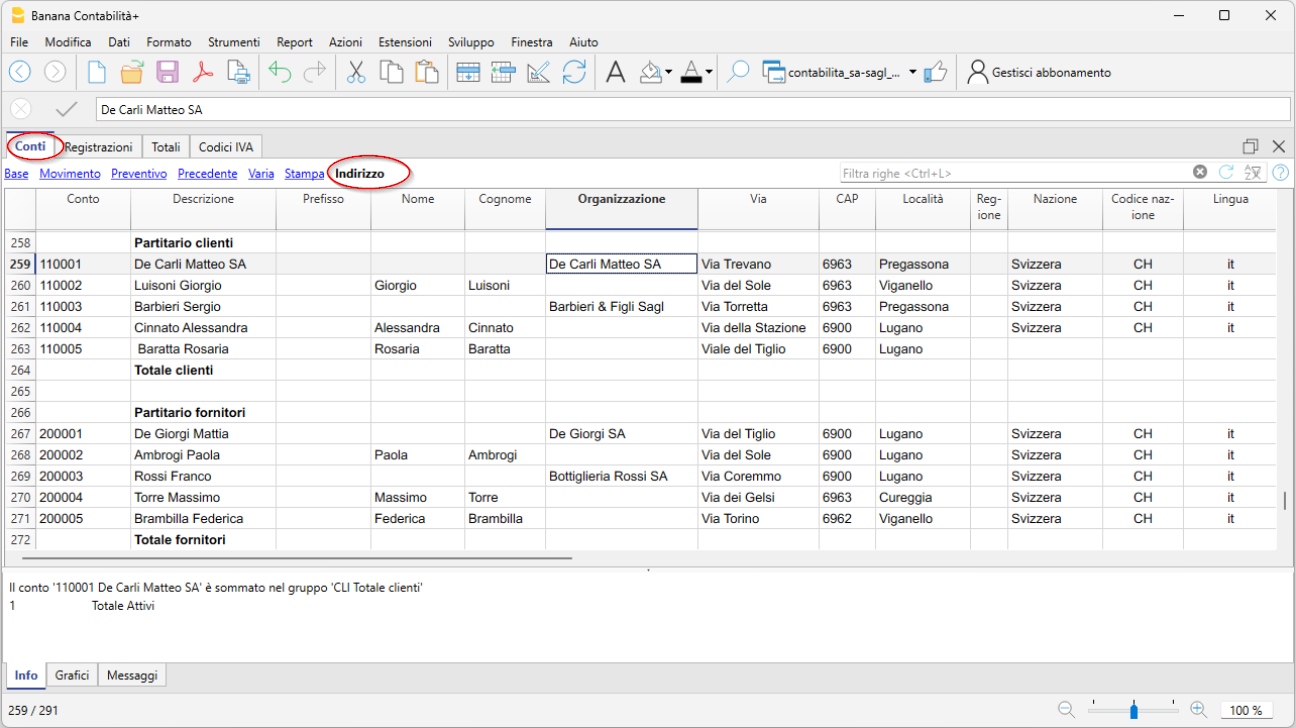
- In the Accounts table, Opening column, the initial balance for each account (for assets and liabilities)
At year-end closing, the opening balance is carried forward automatically via Actions > Create new year.
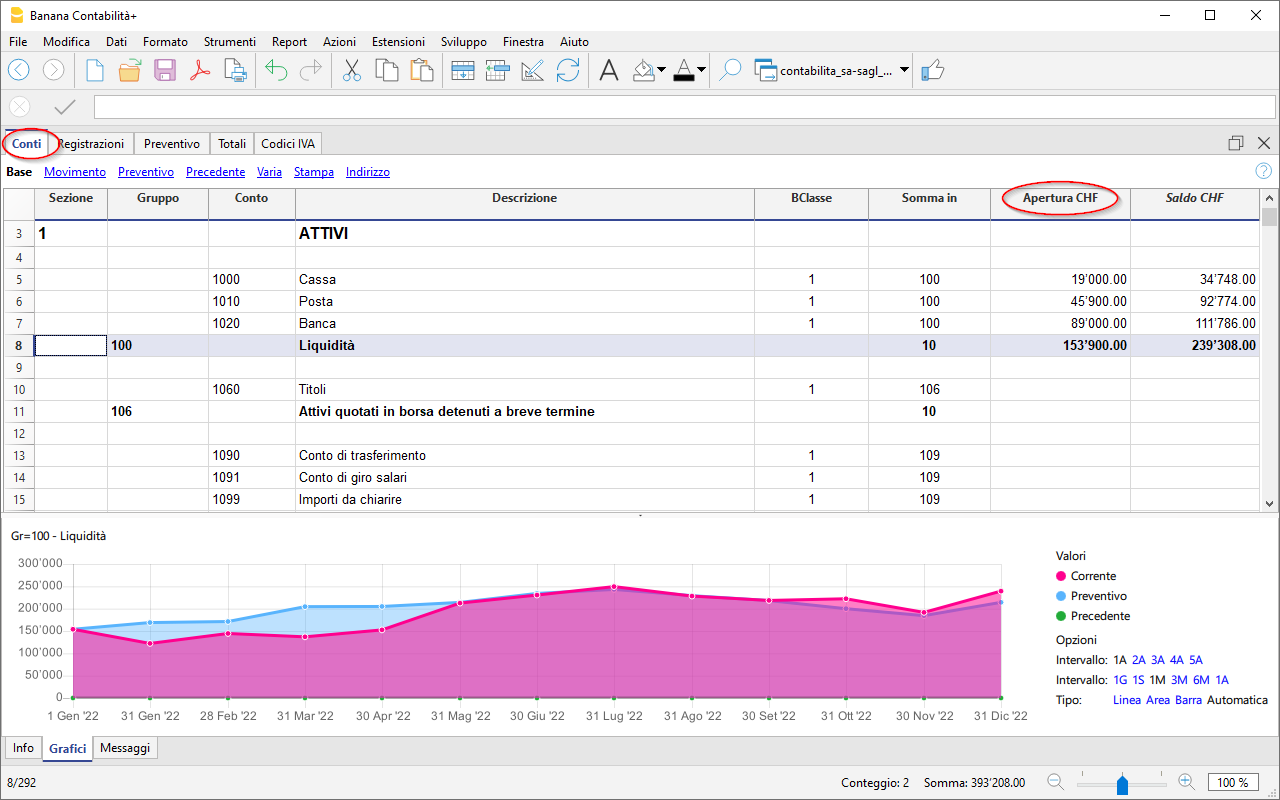
After each transaction, the columns in the Accounts table are updated immediately, giving you a clear and instant view of your financial situation.
The Income Statement has a progressive structure, allowing the profit to be viewed in the following stages:
- Gross operating profit after deducting material and resale goods costs
- Gross operating profit after deducting personnel costs
- Operating result before depreciation, adjustments, financial results, and taxes (EBITDA)
- Operating result before financial results and taxes (EBIT)
- Operating result before taxes (EBT)
- Non-operating result
- Profit or loss before taxes
- Annual profit or loss

Record transactions
In the Transactions table, enter all daily movements. To speed up entry, we recommend using various automation features:
- The Autocomplete data entry feature allows automatic reuse of previously entered data
- The Recurring Transactions feature (under the Actions menu) allows you to store repetitive transactions in a dedicated table
- Importing data from the bank statement retrieves all bank transactions automatically. With the Advanced plan you can use Rules, a new feature that provides full automation of transaction entry.
- You can link each transaction to its digital receipt, and with one click, view the document.
See also Accounting files and digital receipts for better organization of your documents. - Use the Sort Transactions by Date command to order rows by progressive date.
- Use the Print/Preview command to print or export the journal in PDF format.
Transactions with VAT
To record VAT transactions, simply enter the VAT code corresponding to the operation (purchase, sale, international transactions, etc.). Calculations are made automatically, with no need to manually post to the VAT account.
In our templates, all VAT codes are pre-set in compliance with the new 2024 VAT rates.
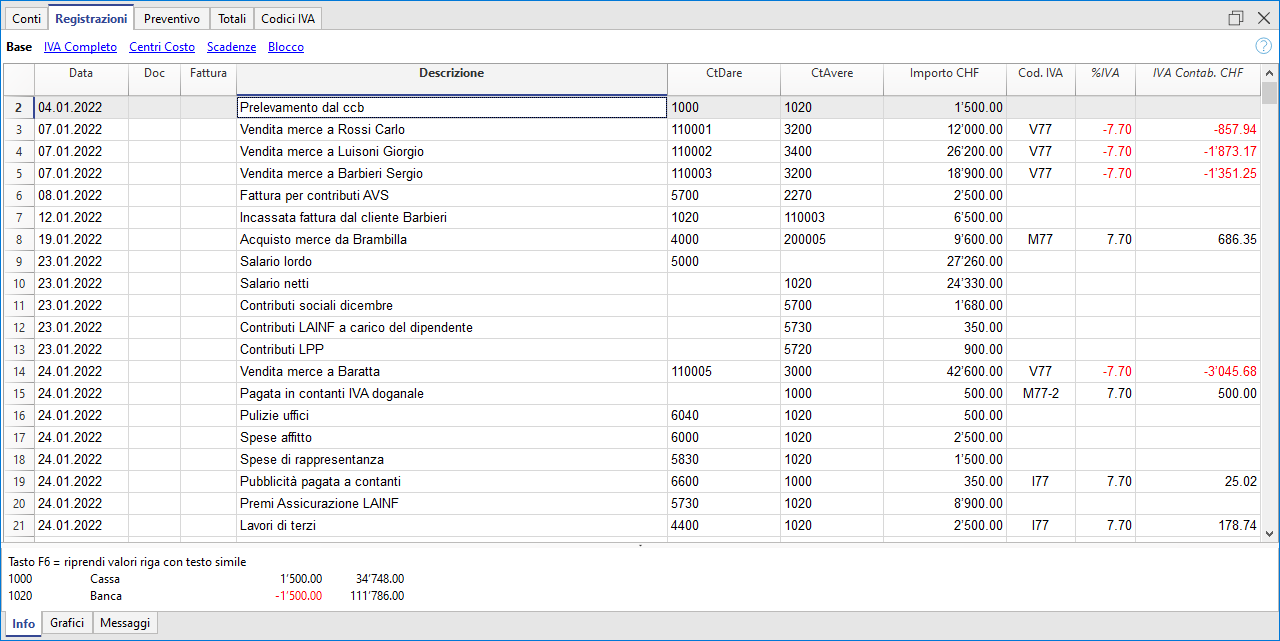
At the end of the period, you can automatically obtain:
- VAT Summary by account, code, percentage for all transactions (Professional and Advanced plans).
- VAT Sample, Effective Method (Advanced plan only)
- VAT Sample, Flat Rate Method (Advanced plan only)
- XML file for electronic data submission (Advanced plan only).
Import transactions from bank statements with Rules (Advanced plan only)
The new Rules feature is the most advanced automation innovation, highly appreciated by our users. This technology simplifies the management of financial transactions imported from bank, postal, and credit card statements using keywords. Each recurring transaction is automatically linked to a keyword, allowing precise assignment of the counterpart, VAT code, costs, and related segments.
Thanks to this system, during subsequent imports, the software quickly recognizes transactions based on the keywords and automatically completes the entry in the Transactions table. This drastically reduces manual entry, significantly speeds up workflow, and minimizes the chance of errors.
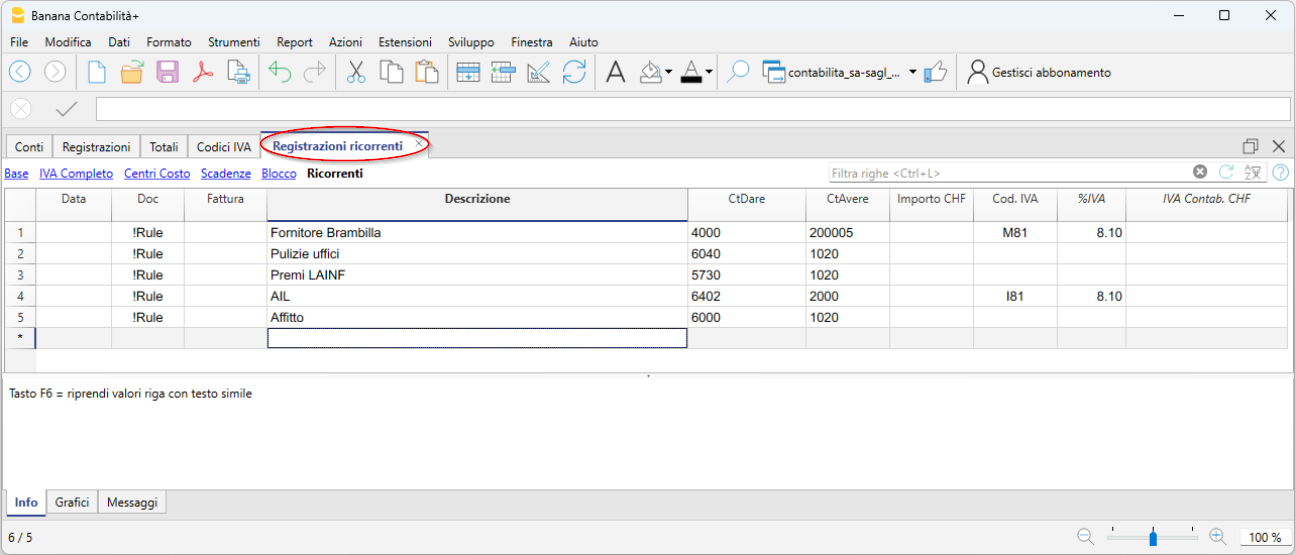
Create your invoices
Integrated invoicing in the accounting file allows invoice data to be recorded in the Transactions table. For each new invoice, insert a new transaction row.
The following settings are essential for creating invoices:
- Enter customer addresses (columns in the Address view)
- Set the customer group
- In the Transactions table, it is essential to enter the invoice number,
You can enter simple invoices on a single row or more complex invoices on multiple rows. Additionally, by enabling the Items columns (from the Tools menu), you can specify quantities, unit, and unit price.
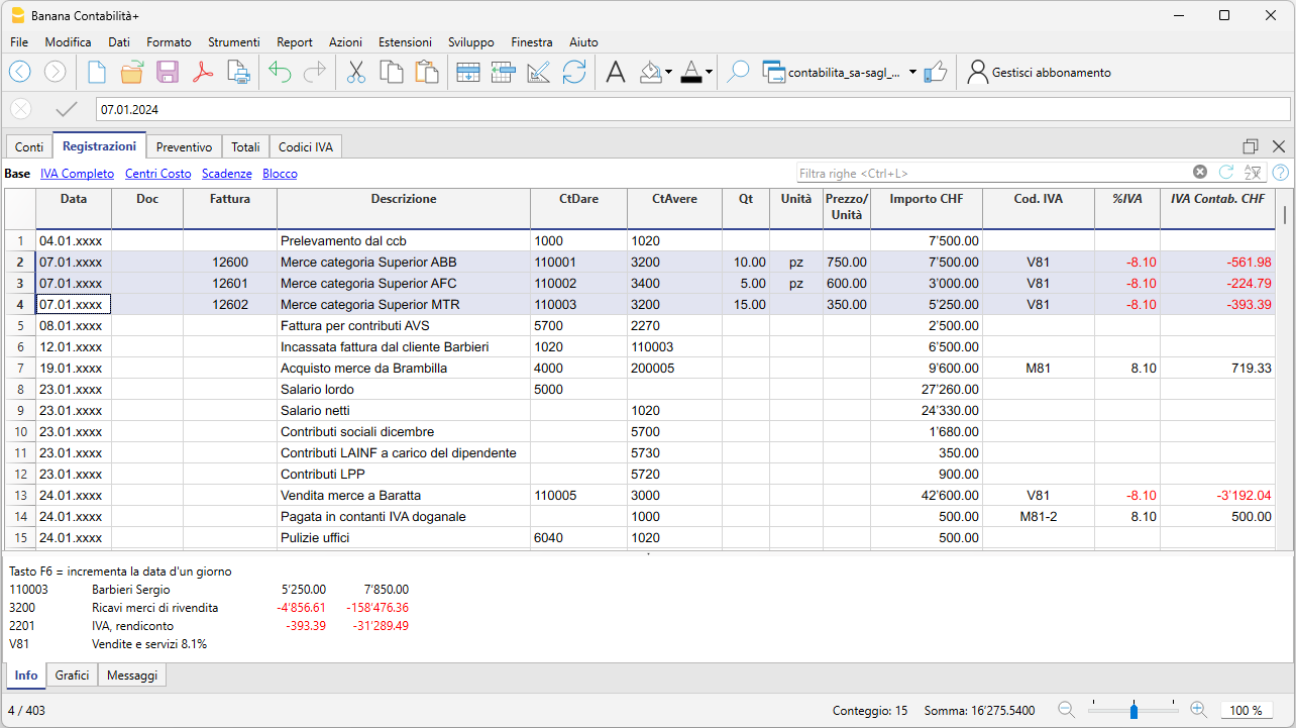
To print the invoice go to Report > Customers > Print Invoice
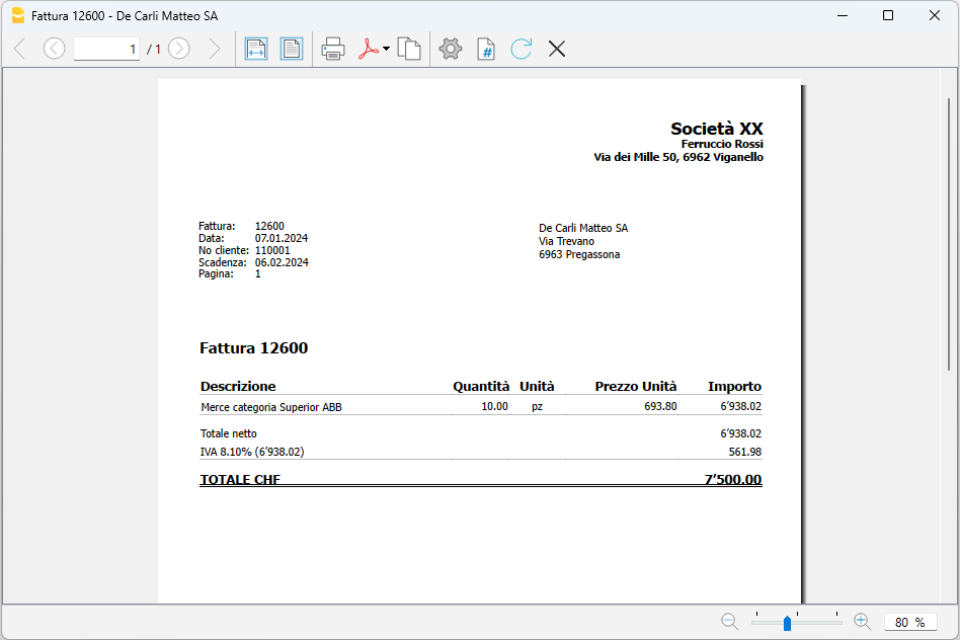
Beautified Balance Sheet with Groups
To view the Balance Sheet, click on the menu Report > Beautified Balance Sheet with Groups. You can customize the report with the columns you want to see, such as including the budget column or having Reports also by period.
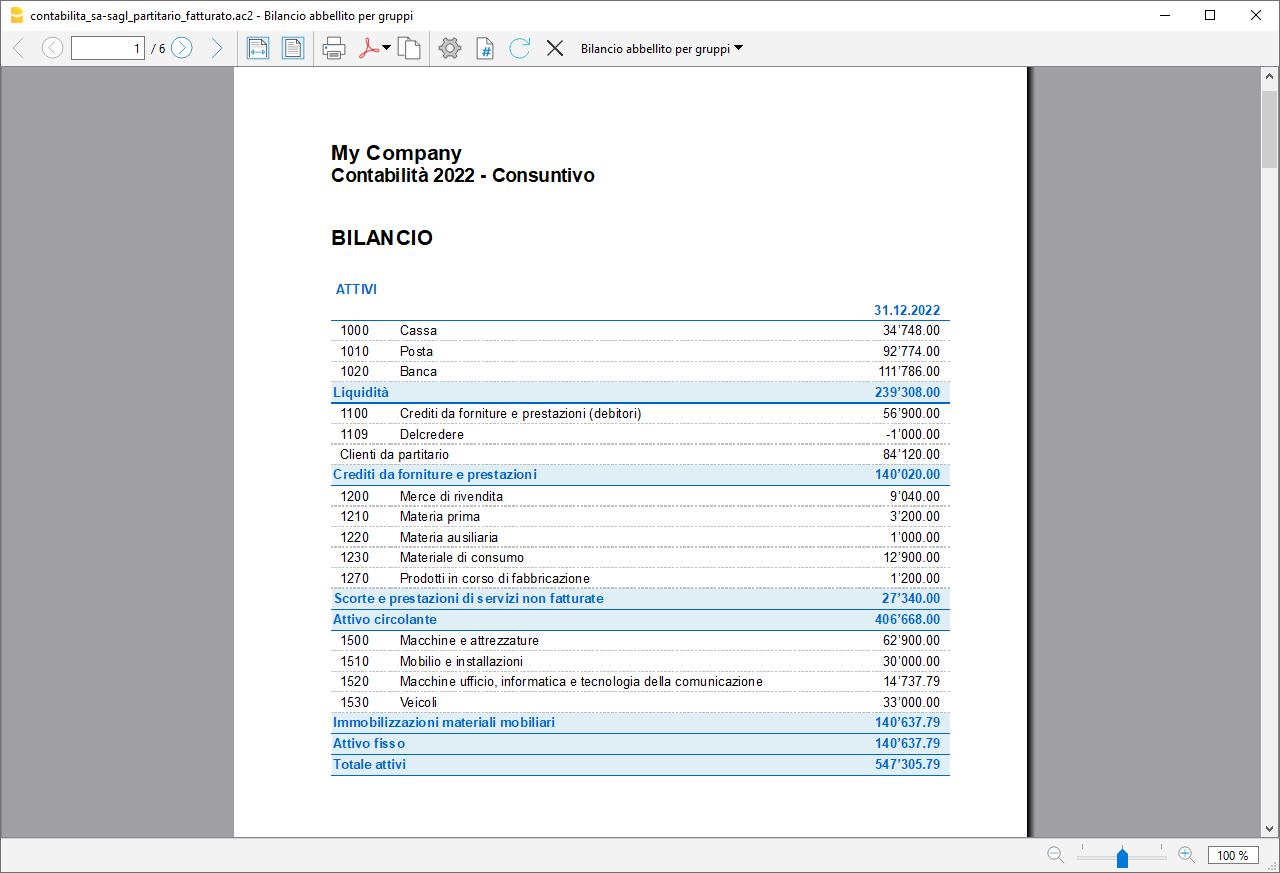
Cash Flow: the lifeblood of your business
Cash flow is central to a company’s ability to operate, maintain solvency with suppliers, and generate income. Anticipating cash availability is essential to avoid mistakes, minimize risks, and optimize strategic decisions, helping you reach your goals successfully.
For optimal business management, it is crucial to have forward-looking insights, forecasting cash flow trends, sales, purchases, and future investments. Knowing whether your business will generate income is important, but forecasting cash availability is even more decisive. Without sufficient liquidity, you may be forced to cut expenses or seek financing.
With Banana Accounting, you can easily create both a cash flow forecast and a financial budget—strategic tools that will help you build a successful future for your business.
Discover the advanced forecasting features in our Documentation:
Company | VAT Flat Tax Rate Method | SME
Company | VAT Flat Tax Rate Method | SMECompanies with an annual turnover (including VAT) not exceeding 5.024 million Swiss francs and a VAT liability not exceeding 103,000 Swiss francs per year can opt for the balance rate VAT method, subject to request and approval from the AFC.
More information are available at the Swiss VAT tax report - Flat tax rate method page (available in German, Italian and French only)
In the Banana Accounting Plus template, the chart of accounts and the VAT Codes table include all the necessary settings to manage VAT in Switzerland using the balance rate method.
You can choose how to handle VAT in your transactions:
- Break down VAT in each transaction
Before you start recording transactions, enter your VAT rates in the VAT Codes table and set "YES" in the Gross column. This way, each transaction will include a VAT breakdown, with the VAT amount displayed in the corresponding column. - Calculate balance rate VAT at the end of the period
VAT codes must be entered in the VAT calculation dialog, available in the Banana Accounting Plus extension. Transactions will be recorded with VAT-inclusive amounts, and there will be no breakdown of VAT amounts.
More information is available on the page VAT Report - Net tax Rate / Flat Rate Method.
At the end of the period, the software automatically calculates VAT using the balance rate method and generates a PDF preview of the official VAT report along with an XML file for the electronic submission of VAT data to the AFC.
The program includes many features to work efficiently and achieve professional results.
Some features require a subscription to the Advanced plan of Banana Accounting Plus, such as generating the VAT report template or the XML file, using the new Rules, Filter, and Temporary Sort Rows functions. Check out all the features of the Advanced plan.
Create your file
- Open the template with the Banana Accounting WebApp
- Using the File > File Properties command, set the period, your company name, and the base currency (you can create a budget and manage accounting in any currency you prefer).
- With the File > Save As command, save the file. It is useful to include your studio name and the year in the file name. For example, "Studio-Rossi-SA-20xx.ac2".
WARNING: If you close the browser without saving, you will lose the entered data. Always save the file on your computer.
Further information and insights:
Tutorial invoice with customer ledger | Revenue-based accounting | VAT
Tutorial invoice with customer ledger | Revenue-based accounting | VATTutorial with a very simple and short chart of accounts, where we provide some recording examples to create invoices with VAT. The file also includes the Items table, where you can enter the data of the items or services to be invoiced. The data entered in the Items table is automatically retrieved in the Transactions table.
Create the file and test the Invoice functions
If you want to try out the invoice printing functions with VAT and QR code, you can start with this template.
- Open the template with the Banana Accounting Plus WebApp
- With the File > File and accounting properties command, set the period, your company name, and base currency.
- With the File > Save As command, save the file, for example as "Rossi-SA-20xx.ac2".
- In the Accounts table, enter the data of one of your customers. In the Addresses view, you can complete all address details (company name, address, phone and email contacts, country code and customer language).
- In the Transactions table, you will find various billing scenarios already recorded. You can delete the rows and enter the data of your invoice. By entering the Debit and Credit accounts, the invoice will be automatically posted.
- Select the Reports > Customers > Print invoices menu, click OK to preview the documents.
- To try out the different available invoice layouts, see the Invoice layouts page.
- To customize the invoices, see the Advanced input - Type column page.
You can find all the information about creating and printing invoices with QR code at the following webpage:
WARNING: If you close the browser without saving, you will lose the entered data. Always save the file to your computer.
To reopen the saved file, click on File > Open.
Some functions require a subscription to the Advanced plan of Banana Accounting Plus, such as using the new features for printing the VAT return sample from 2024, Rules, Filter and Temporary row sorting. See all the features of the Advanced plan.
Other Resources
Sole proprietorship | VAT | SME
Sole proprietorship | VAT | SMETemplate with SME chart of accounts, compliant with the rules established in the Swiss Code of Obligations (Art. 957 and following). Ideal for keeping accounts with an annual turnover of at least CHF 500,000.
The structure of the chart of accounts is in a step format and allows you to view the composition of the operating result also in intermediate stages.
- You can customize the accounts to suit your specific needs.
- By setting up the customer ledger, you have the possibility to issue invoices to your customers with the added benefit of having them automatically recorded in the accounting.
- The VAT Codes table is updated with the new 2024 VAT rates.
- To speed up data entry, you can use the bank statement import function together with Rules: for each imported transaction, enter a keyword (Rule) that completes all other elements of the entry (counter account, VAT code, cost center...). On subsequent imports, the program automatically completes any entry that contains the keyword, significantly reducing workload and minimizing errors.
Many automation features, such as bank statement import using Rules, the VAT return sample form with the new 2024 rates, the XML file for electronic VAT data submission, filtering, and many others, are included exclusively in the Advanced plan of Banana Accounting Plus.
Create your file
- Open the template with the Banana Accounting Plus WebApp
- With the File > File and accounting properties command, set the period, your company name, and base currency (you can do budgeting and accounting in any currency you prefer).
- With the File > Save As command, save the file. It’s helpful to include the company name and year in the file name. For example, "Rossi-SA-20xx.ac2".
WARNING: If you close the browser without saving, you will lose the entered data. Always save the file to your computer.
More information and insights:
In our Documentation you will find all the information and details to manage your accounting effectively:
Einzelunternehmen | KMU | MWST-Abrechnung nach vereinbarten Entgelten
Einzelunternehmen | KMU | MWST-Abrechnung nach vereinbarten Entgelten caterinaEinzelunternehmen | KMU | MWST-Abrechnung nach vereinnahmten Entgelten | mit Kostenstellen
Einzelunternehmen | KMU | MWST-Abrechnung nach vereinnahmten Entgelten | mit Kostenstellen caterinaLegal entities | Accrual-based customer ledger | Double-entry accounting | VAT
Legal entities | Accrual-based customer ledger | Double-entry accounting | VATIdeal template for managing the accounting of an SA or SAGL with VAT and an annual turnover equal to or greater than CHF 500,000. The chart of accounts is structured according to the SME scheme and includes the customer/supplier ledger, suitable for revenue-based accounting.
- In the Accounts table, at the end of the chart of accounts, you will find the customer and supplier ledger set up with accounts linked respectively to assets and liabilities; therefore, the balances will appear in the Balance Sheet.
- All customer and supplier invoices are recorded at the time of issue and receipt.
Create your file
- Open the template with the Banana Accounting Plus WebApp
- With the File > File and accounting properties command, set the period, your company name, and base currency (you can do budgeting and accounting in any currency you like).
- With the File > Save As command, save the file. It’s helpful to include the company name and year in the file name. For example, "Rossi-SA-20xx.ac2".
WARNING: If you close the browser without saving, you will lose the entered data. Always save the file to your computer.
To reopen the saved file, click on File > Open.
With this template you can:
- Create invoices with VAT to send to customers by using the Debit column for the customer account and the Credit column for the revenue account. This way, the invoice is already booked and integrated into your accounting file.
- Record received invoices from suppliers, also using QR code reading, and create payment orders (pain.001). Pain.001 files are XML messages that contain payment details and can be sent to financial institutions that support this format. More info at pain.001 payment orders (available only with Advanced plan – Dev version).
- Import all transactions from bank and postal statements or credit cards using Rules for fully automated entries (only with Advanced plan).
- Manage cost centers or Segments to monitor branches, departments, or profitability of products and services.
- Create budgets and financial forecasts to monitor liquidity and ensure you can meet future commitments; forecast revenues and expenses, and evaluate profitability scenarios for your company.
- Manage VAT according to the latest Swiss regulations.
- Print all the reports you need: Balance Sheets, Journal, Account cards, Open invoices, and much more.
For VAT management with the new rates, you’ll find detailed information on the following web pages: VAT management
Some features require a subscription to the Advanced plan of Banana Accounting Plus, such as generating the sample or XML VAT return, using the new Rules, Filter, and Temporary Sort features. See all the features of the Advanced plan.
Other Resources
Legal entities | Cash principle ledger | Double-entry accounting | VAT
Legal entities | Cash principle ledger | Double-entry accounting | VATIdeal model for managing the accounting of an SA and Sagl with VAT and an annual turnover equal to or exceeding CHF 500,000. The chart of accounts is structured according to the SME framework and includes the customer/supplier ledger, suitable for those managing accounting on a cash basis. It includes all the necessary settings and functions for:
- Creating and printing invoices with the Swiss QR code
- Importing data from bank statements
- Setting up rules to store and automate the completion of transactions imported from bank statements
- Managing VAT according to the new VAT rates
- Handling cost centers, customisable to track specific details for particular accounts
- Creating budgets and financial forecasts
- Printing all the reports you need: balance sheets, journal, account statements, VAT reports, open invoices, and much more
For VAT management with the new rates, you can find detailed information on the VAT management web pages.
Some features require a subscription to the Advanced plan of Banana Accounting Plus, such as generating the VAT report template or XML file, using the new Rules functions, and the temporary Filter and Sort rows feature. Check out all the features of the Advanced plan.
Create your file
- Open the template with the Banana Accounting WebApp
- Using the File > File Properties command, set the period, your company name, and the base currency (you can create a budget and manage accounting in any currency you prefer).
- With the File > Save As command, save the file. It is useful to include your studio name and the year in the file name. For example, "Studio-Rossi-SA-20xx.ac2".
WARNING: If you close the browser without saving, you will lose the entered data. Always save the file on your computer.
In our Documentation, you will find explanations on various topics to help you manage your accounting effectively:
- Videos
- How to get started
- Transactions
- Integrated invoicing
- Reminders
- Estimates and Invoices
- VAT report form - Effective method (in German, French and Italian only)
- VAT report form - Flat rate method (in German, French and Italian only)
- Printouts
Partnerships | Double-entry bookkeeping | VAT
Partnerships | Double-entry bookkeeping | VATIdeal template for a partnership with VAT management. It includes all settings and functions to:
- Import data from bank statements
- Set up Rules to save and automate the completion of transactions imported from bank statements.
- Manage VAT according to the new VAT rates
- Manage cost centers ,customizable to your needs to view specific details of certain accounts.
- Create budgets and financial forecasts
- Create and print invoices with Swiss QR code , just set up the accounts receivable and payable using CC3
- Print all the reports you need : Balance Sheets, Journal, Account Cards, VAT Reports, Open Invoices, and much more.
For VAT management with the new rates, you can find detailed information on the web pages VAT Management .
Some features require a subscription to the Advanced plan of Banana Accounting Plus , such as generating a preview or the XML file for the VAT report, using the new Rules, Filter and Temporary Sort functions. See all the features of the Advanced plan .
Create your file
- Open the template with the Banana Accounting Plus WebApp
- From the menu File > File properties set the period, your company name, and the base currency in any currency you prefer.
- From the menu File > Save as , save the file. It's helpful to include the company name and the year in the file name. For example, "Rossi-SA-20xx.ac2".
- Nella tabella Exchange rates set the foreign currencies always with reference to the base currency and the exchange rates. The opening rates are set only the first time you use Banana Accounting. At the turn of the new year, they are automatically carried forward according to the closing rates entered on 31.12.
WARNING: If you close the browser without saving, you will lose the entered data. Always save the file to your computer.
To reopen the saved file, click on File > Open .
In our Documentation you will find all the information and insights to manage your accounting efficiently:
Small businesses | Double-entry bookkeeping | SME
Small businesses | Double-entry bookkeeping | SMEThe program includes many features to work quickly and achieve professional results:
- Import data from bank statements
- Create and print invoices with Swiss QR code
- Set up Rules to save and automate the completion of transactions imported from bank statements.
- Manage VAT according to the new VAT rates
- Manage cost centers , customizable to your needs to view specific details of certain accounts.
- Create budgets and financial forecasts
- Print all the reports you need : Bilanci, Giornale, Schede conto, Rendiconti IVA, Fatture aperte e tanto altro ancora.
For VAT management with the new rates, you can find detailed information on the web pages VAT Management
Some features require a subscription to the Advanced plan of Banana Accounting Plus , such as generating a preview or the XML file for the VAT report, and using the new Rules, Filter, and Temporary Sort features. See all the features of the Advanced plan .
Create your file
- Open the template with the Banana Accounting Plus WebApp
- Using the command File > File and accounting properties, set the period, your company name, and the base currency (you can do budgeting and accounting in any currency you like).
- Using the command File > Save as, save the file. It's helpful to include the company name and the year in the file name. For example, "Rossi-SA-20xx.ac2".
WARNING: if you close the browser without saving, you will lose the entered data. Always save the file to your computer.
In our Documentation you will find all the information and insights to manage your accounting efficiently:
Persone giuridiche | IVA aliquota saldo
Persone giuridiche | IVA aliquota saldoLe aziende che hanno una cifra d'affari annua (incluso IVA) non superiore a 5,024 milioni di franchi e con l'imposta dovuta non superiore a 103'000 franchi annui possono optare per l'IVA aliquota saldo, dietro richiesta e autorizzazione dall'AFC.
Maggiori informazioni sono disponibili sul sito della Confederazione alla pagina Aliquote saldo e aliquote forfettarie in materia di IVA.
Nel modello di Banana Contabilità Plus, il piano contabile e la tabella Codici IVA hanno tutte le impostazioni per gestire l'IVA in Svizzera con l'aliquota saldo.
Puoi decidere se nelle registrazioni:
- Avere la scomposizione IVA su ogni registrazione
Prima di iniziare a registrare, inserisci le tue aliquote IVA nella tabella Codici IVA e inserisci "SÌ" nella colonna Lordo. Ad ogni registrazione, ci sarà la scomposizione IVA, con l'importo IVA indicato nell'apposita colonna. - Calcolare l'IVA aliquota saldo alla fine del periodo
I Codici IVA devono essere inseriti nel dialogo del calcolo IVA, presente nell'estensione di Banana Contabilità Plus. Le registrazioni verranno registrate con gli importi al lordo IVA e non ci sarà la scomposizione degli importi IVA.
Maggiori informazioni sono disponibili alla pagina Formulario IVA - aliquota saldo/forfetaria.
A fine periodo il programma esegue in automatico il calcolo dell'IVA ad aliquota saldo e crea in PDF il fac-simile del formulario ufficiale e il file Xml per l'inoltro elettronico dei dati IVA all'AFC.
Il programma include tante funzioni per lavorare velocemente e ottenere risultati professionali.
Per alcune funzioni è necessario un abbonamento al piano Advanced di Banana contabilità Plus, come per esempio generare il fac-simile o il file XML del Rendiconto IVA, utilizzare le nuove funzioni delle Regole, Filtro e Ordina righe temporaneo. Guarda tutte le funzioni del piano Advanced.
Crea il tuo file
- Apri il modello con la WebApp di Banana Contabilità Plus
- Con il comando File > Proprietà file imposta il periodo, il nome della tua azienda e la moneta di base (puoi fare il budget e la contabilità in qualsiasi moneta desideri).
- Con il comando File > Salva con nome, salva il file. È utile indicare nel nome del file, il nome della Società e l'anno. Per esempio "Bernasconi-Sagl-20xx.ac2".
ATTENZIONE: se chiudi il browser senza salvare, perderai i dati immessi. Salva sempre il file sul tuo computer.
Altre informazioni e approfondimenti:
Partnerships (general partnerships and limited partnerships) | Double-entry multi-currency accounting | VAT
Partnerships (general partnerships and limited partnerships) | Double-entry multi-currency accounting | VATIdeal template for a partnership. It includes all the columns and features to manage foreign currency accounts and VAT in compliance with the 2024 regulations. Automatic calculations and exchange rate differences.
Create your file
- Open the template with the Banana Accounting Plus WebApp
- From the File > File Properties menu, set the period, your company's name and the base currency in any currency you prefer.
- From the File > Save As menu, save the file. It is helpful to include the company name and year in the file name. For example "Rossi-SA-20xx.ac2".
- In the Exchange Rates table, set up the foreign currencies always with reference to the base currency and the rates. Opening exchange rates are set only the first time you use Banana Accounting. When moving to a new year, these will be automatically carried forward based on the closing exchange rates entered on 31.12.
WARNING: if you close your browser without saving, you will lose all entered data. Always save the file on your computer.
To reopen the saved file, click File > Open.
For VAT management with the new rates, you can find detailed information on the web page VAT Management.
Some features require a subscription to the Advanced plan of Banana Accounting Plus, such as generating the preview or the XML file for the VAT Report, and using the new features for Rules, Filter, and Temporary Row Sorting. See all features of the Advanced plan.
Accounts Table
In the Accounts table, customize the chart of accounts to your needs and add your customer and supplier accounts with all the necessary data, using the columns in the Address view.
The first time you use Banana Accounting, you need to enter the opening balances in the Opening column, which should match the closing balances from the previous year.
In the following year, when you move to the new accounting period, the program will automatically bring forward the closing balances from the previous year into the Opening column.
Project management can also be done using Segments and Cost Centers.
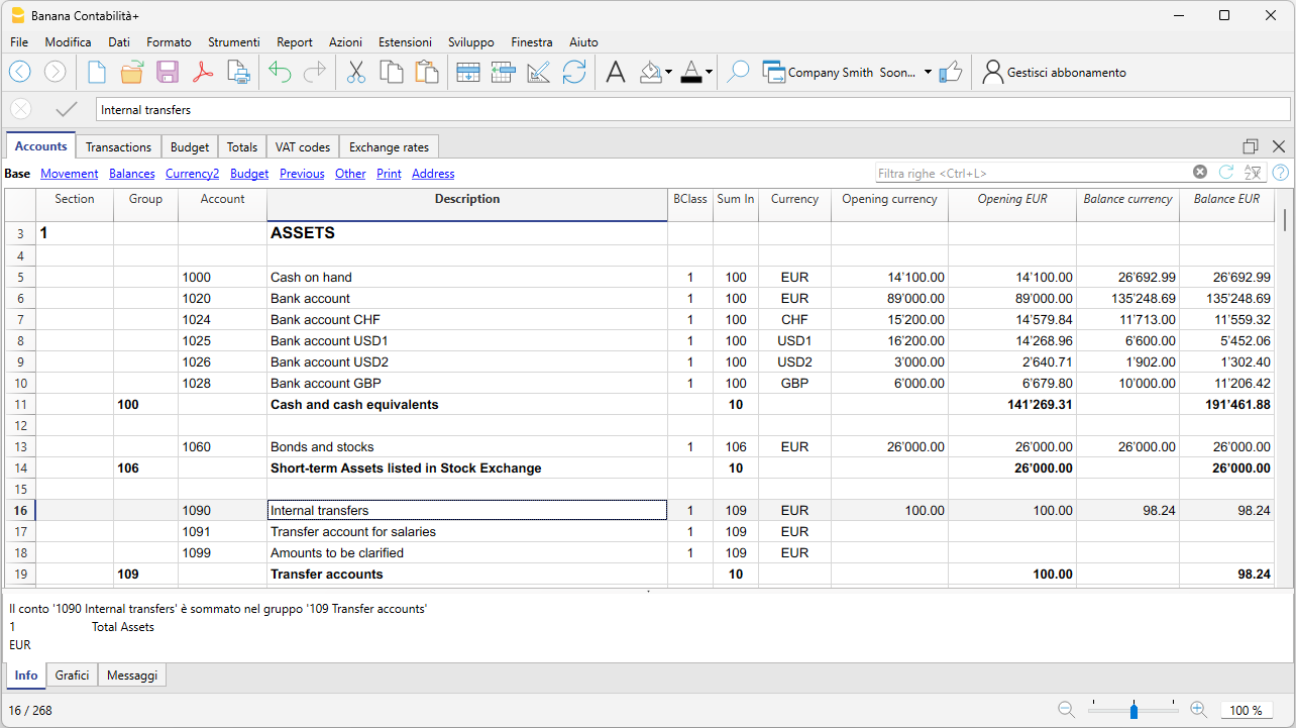
Transactions Table
In the Transactions table, daily entries are recorded. For quick data entry, refer to the web pages Text entry, editing and smart fill, and Recurring transactions.
You can make either simple transactions (one debit and one credit on the same row), or compound transactions (multiple debits and/or credits across several rows).
The Transactions table includes specific columns for multi-currency transactions.

Balance Sheet
The Balance Sheet is generated from the Reports > Enhanced Balance Sheet by Groups menu and can be customized in its presentation. Each layout can be saved through Customizations, allowing you to reuse it as needed (e.g., quarterly, semi-annual balance sheet, audit, etc.).
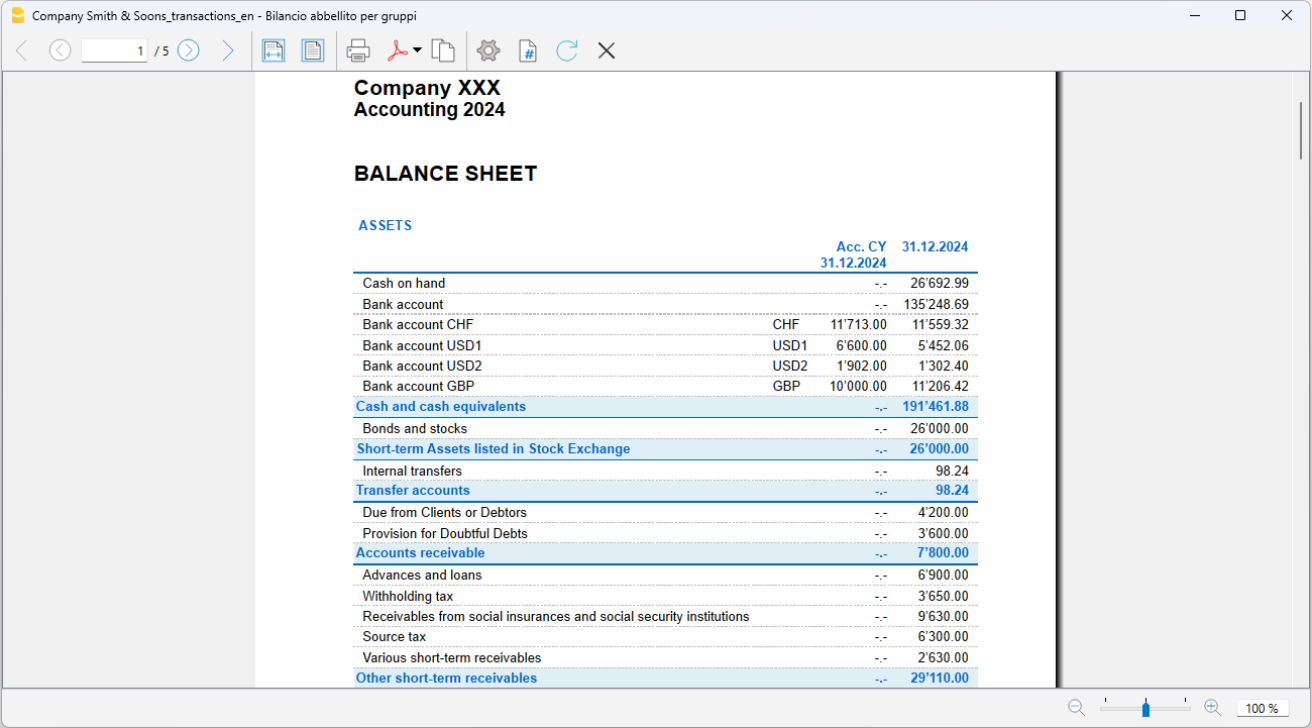
Profit and Loss Statement
The Profit and Loss Statement is generated from the Reports > Enhanced Balance Sheet by Groups menu and can be customized in its presentation. Each layout can be saved through Customizations, allowing you to reuse it as needed (e.g., quarterly, semi-annual balance sheet, audit, etc.).
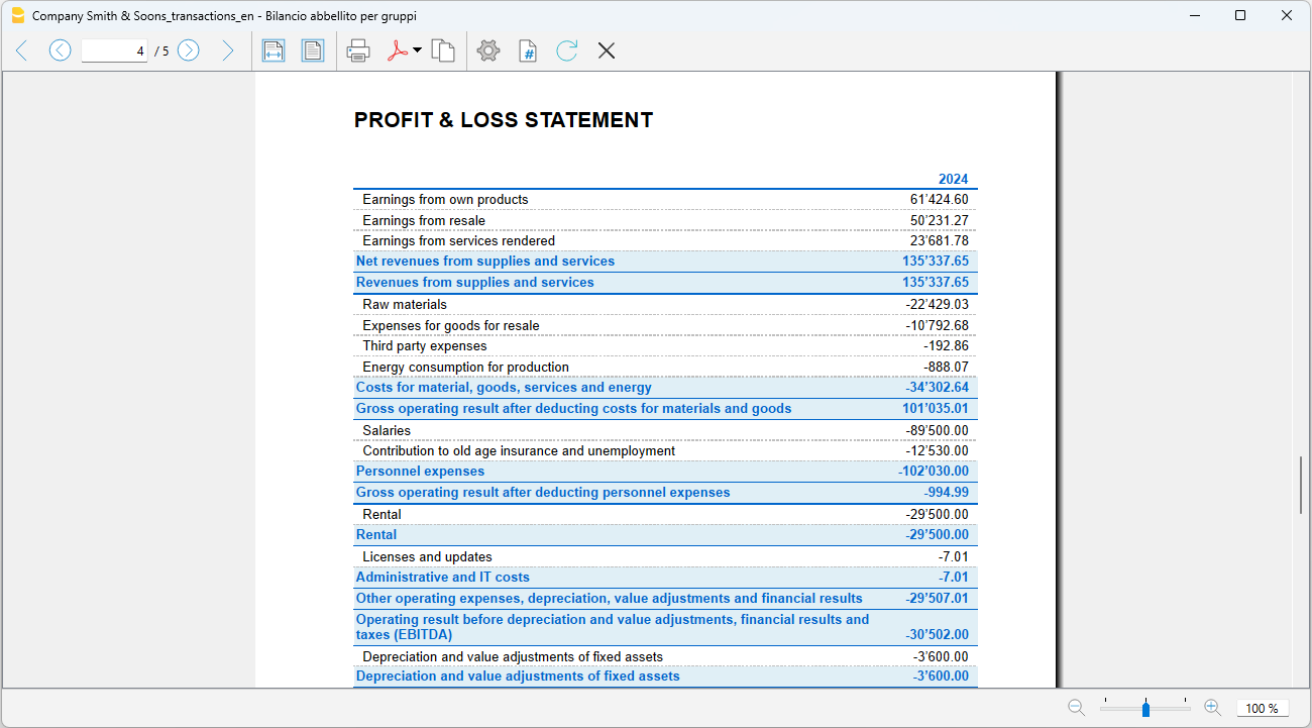
PDF Archive
At the end of the year, or whenever needed, you can archive all your accounting data by creating a PDF file from the File > Create PDF dossier menu.
The PDF dossier can be sent via email to the auditor and reused in case of tax inspections.
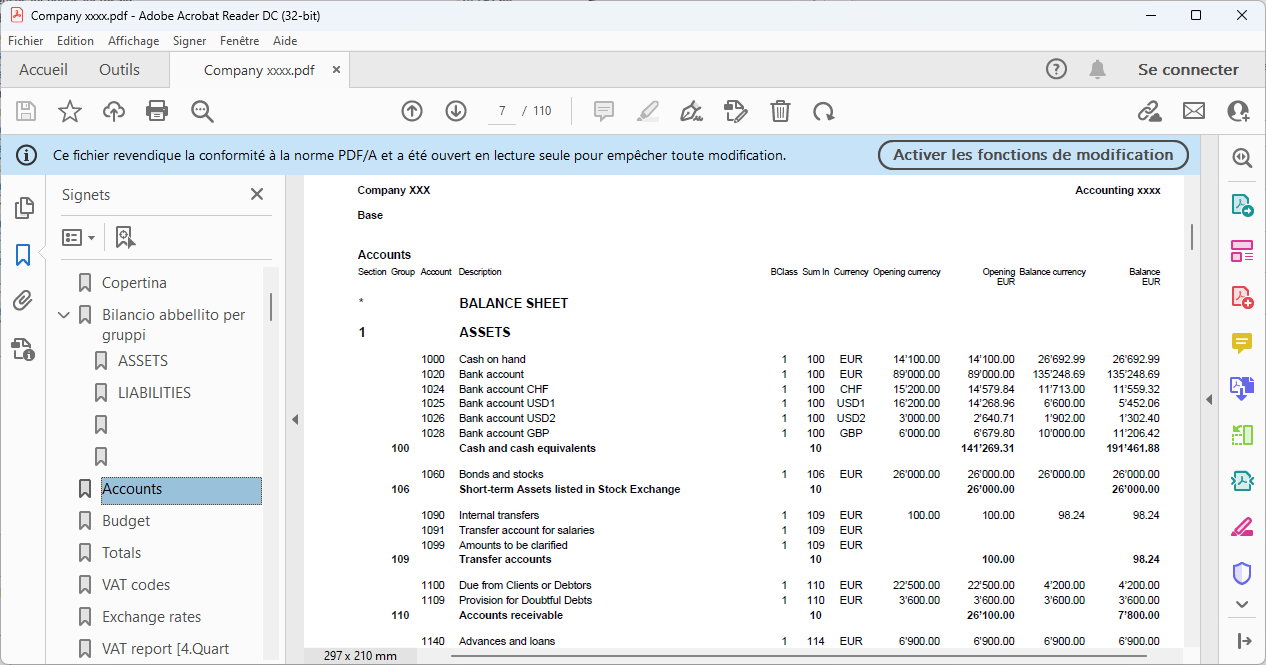
Additional Resources
In our Documentation you will find all insights and topics related to multi-currency accounting, in particular:
Sole proprietorship | Double-entry multi-currency accounting | VAT
Sole proprietorship | Double-entry multi-currency accounting | VATThe preconfigured chart of accounts allows you to manage accounting for a turnover of at least 500,000 CHF, in accordance with the rules established in the Swiss Code of Obligations (art. 957 and following). The structure of the chart is in a stepped format, allowing you to view the composition of the operating result even in intermediate stages.
Entirely based on double-entry accounting, you register according to international standards and obtain professional results. Unlimited management of foreign currency accounts.
All the settings and functions are available for:
- Creating and printing invoices with the Swiss QR code
- Importing data from bank statements
- Setting up Rules to store and automate the completion of transactions imported from bank statements.
- Managing VAT according to the new VAT rates
- Managing cost centers, customizable according to your needs to get detailed insights on specific accounts.
- Creating budgets and financial forecasts
- Printing all the reports you need: Balance sheets, Journal, Account cards, VAT statements, open invoices and much more.
For VAT management with the new rates, you can find detailed information on the web page VAT Management
Some features require a subscription to the Advanced plan of Banana Accounting Plus, such as generating the preview or the XML file for the VAT report, and using the new functions like Rules, Filter, and Temporary Row Sort. See all features of the Advanced plan.
Create Your File
- Open the template with the Banana Accounting Plus WebApp
- From the File > File Properties menu, set the period, your company name, and the base currency in any currency you like.
- From the File > Save As menu, save the file. It is useful to include the company name and year in the file name. For example "Rossi-SA-20xx.ac2".
- In the Exchange Rates table, set foreign currencies always with reference to the base currency and exchange rates. Opening rates are set only the first time you use Banana Accounting. When moving to a new year, these will be automatically carried forward based on the closing rates entered on 31.12.
WARNING: If you close your browser without saving, you will lose the data entered. Always save the file on your computer.
In our Documentation you will find all the information and insights to manage your accounting effectively:
Legal entities SA and Sagl | SMEs | Cash-based accounting
Legal entities SA and Sagl | SMEs | Cash-based accountingIdeal template for managing the accounting of an SA or Sagl with VAT and foreign currencies, with an annual turnover equal to or greater than CHF 500,000. The chart of accounts is structured according to the SME scheme and includes the customer/supplier subledger, suitable for cash-based accounting. All the settings and features are available for:
- Creating and printing invoices with the Swiss QR code
- Importing data from bank statements
- Setting up Rules to store and automate the completion of imported transactions from bank statements.
- Managing VAT according to the new VAT rates
- Managing cost centers, customizable according to your needs to gain specific insights into selected accounts.
- Creating budgets and financial forecasts
- Printing all the reports you need: Balance Sheets, Journal, Account Cards, VAT Statements, Open Invoices, and much more.
For VAT management with the new rates, you can find detailed information on the page VAT Management.
Some features require a subscription to the Advanced plan of Banana Accounting Plus, such as generating the invoice preview or the XML file for the VAT Statement, using the new Rules, Filter and Temporary Row Sort features. See all the Advanced plan features.
Create your file
- Open the template with the Banana Accounting Plus WebApp
- From the File > File Properties menu, set the period, your company name and the base currency in any currency you prefer.
- From the File > Save As menu, save the file. It's helpful to include the company name and year in the file name. For example, "Rossi-SA-20xx.ac2".
- In the Exchange Rates table, set foreign currencies with reference to the base currency and the exchange rates. Opening rates are set only the first time you use Banana Accounting. When transitioning to a new year, they are automatically carried forward based on the closing rates entered on 31.12.
WARNING: If you close your browser without saving, you will lose the data entered. Always save the file on your computer.
Legal entities SA and Sagl | Accrual-based subledger | Double-entry multi-currency accounting | VAT
Legal entities SA and Sagl | Accrual-based subledger | Double-entry multi-currency accounting | VATIdeal template for managing accounting with an annual turnover equal to or greater than CHF 500,000. The chart of accounts is structured according to the SME scheme and includes the customer/supplier subledger, suitable for accrual-based accounting. All the settings and features are available for:
All the settings and features are available for:
- Creating and printing invoices with the Swiss QR code
- Importing data from bank statements
- Setting up Rules to store and automate the completion of imported transactions from bank statements.
- Managing VAT according to the new VAT rates
- Managing cost centers, customizable according to your needs to gain specific insights on selected accounts.
- Creating budgets and financial forecasts
- Printing all the reports you need: Balance sheets, Journal, Account cards, VAT reports, Open invoices, and much more.
Create your file
- Open the template with the Banana Accounting Plus WebApp
- From the File > File Properties menu, set the period, your company name, and the base currency in any currency you prefer.
- From the File > Save As menu, save the file. It's useful to include the company name and year in the file name. For example, "Rossi-SA-20xx.ac2".
- In the Exchange Rates table, set the foreign currencies always in reference to the base currency and exchange rates. Opening rates are only set the first time you use Banana Accounting. When transitioning to a new year, they are automatically carried forward based on the closing rates entered on 31.12.
WARNING: If you close the browser without saving, you will lose the entered data. Always save the file on your computer.
For VAT management with the new rates, detailed information is available on the web page VAT Management.
Some features require a subscription to the Advanced plan of Banana Accounting Plus, such as generating previews or the XML file for the VAT report, using the new features like Rules, Filter, and Temporary Row Sort. See all Advanced plan features.
Resources
In our Documentation you’ll find all the information and insights to manage your accounting efficiently:
Company | Double-entry multi-currency accounting | VAT
Company | Double-entry multi-currency accounting | VATTemplate featuring a chart of accounts structure with all the settings and columns for managing accounts in the base currency and any foreign currency, including virtual currencies. Further insights on the various aspects of multi-currency management are available on our pages dedicated to Multi-currency.
For VAT management with the new rates, detailed information is available on the web page VAT Management.
Create your file
- Open the template with the Banana Accounting Plus WebApp.
- Using the File > File Properties command, set the period, your company name, and the base currency (you can do budgeting and accounting in any currency).
- Using the File > Save As command, save the file. It is useful to include the company name and year in the file name. For example, "Rossi-SA-20xx.ac2".
- In the Exchange Rates table, set the foreign currencies always with reference to the base currency and exchange rates. Opening rates are set only the first time Banana Accounting is used. At the turn of the new year, they will be automatically carried forward according to the closing rates entered on 31.12.
WARNING: If you close the browser without saving, you will lose the entered data. Always save the file on your computer.
To reopen the saved file click on File > Open.
All the settings and features are available for:
- Creating and printing invoices with the Swiss QR code
- Importing data from bank statements
- Setting up Rules to store and automate the completion of imported bank transactions.
- Managing VAT according to the new VAT rates
- Managing cost centers, customizable according to your needs to get detailed insights on specific accounts.
- Creating budgets and financial forecasts
- Printing all the reports you need: Balance sheets, Journal, Account cards, VAT reports, Open invoices, and much more.
Some features require a subscription to the Advanced plan of Banana Accounting Plus, such as generating previews or the XML file of the VAT Statement, using the new Rules, Filter, and Temporary Row Sorting functions. See all the features of the Advanced plan.
You can record all possible cases of foreign currency transactions, including transfers and operations that do not involve the base currency.
In our Documentation you will find all insights and topics related to multi-currency accounting, including:
Business Templates Switzerland without VAT
Templates without VAT are ideal for managing the accounting of small businesses and professionals not subject to VAT. You work easily in tables, similar to Excel, where you can correct and edit entries. The models are based on the Swiss SME system of accounts (Sterchi, Mattle, Helbing), in compliance with the Swiss Code of Obligations (articles 957-963b CO).
VAT-free templates ready for your accounting needs
Banana Accounting Plus offers various pre-set accounting models suitable for different types of businesses and accounting skills.
If you have no accounting knowledge, you can choose the Cash Manager (Cashbook) model to manage cash inflows and outflows, or an Income/Expense template, which allows you to manage income and expenses across multiple accounts.
On the other hand, if you have accounting knowledge or work in the field, choose a double-entry accounting model tailored to your legal structure or business activity.
Easy and Quick Start
You can open the templates immediately with our WebApp by saving the file to your computer, or by downloading the program from our Download page.
Create your file:
- Using the File > File Properties command, set the period, the name of your company, and the base currency (you can create the budget and accounting in any currency)
- With the File > Save As command, save the file. It's helpful to include the company name and year in the file name. For example, "Rossi-SA-20xx.ac2."
WARNING: If you close the browser without saving, you will lose the entered data. Always save the file to your computer.
To reopen the saved file, click on File > Open. You can also double-click the file name on your computer.
Since the charts of accounts are already set up, you can immediately start recording transactions.
Once the transactions are recorded, you can generate professional reports and prints. Banana Accounting Plus offers multiple functions, from invoicing with the Swiss QR code to the automatic import of bank or postal transactions, including the counterpart.
Here are the most important features for businesses in detail:
- Create and print invoices with the Swiss QR code
- Import transactions from bank statements
- Set up Rules to store and automate the completion of entries imported from bank statements
- Manage cost centers, customisable according to your needs, to get specific details on certain accounts
- Create budgets and financial forecasts
- Print all the reports you need: Balance Sheets, Journals, Account Ledgers, VAT Reports, Open Invoices, and much more
Some features require a subscription to the Advanced plan of Banana Accounting Plus, such as using the new Rules features, temporary Row Filter, and Sort. Check out all the features of the Advanced plan.
Cash Manager (free) | Self-employed professional
Cash Manager (free) | Self-employed professionalThe Banana Accounting Plus Cash Manager is a completely free application. It only takes a few simple steps to create your file.
Create your file
- Open the template with Banana Accounting Plus WebApp.
- Using the command File > File Properties, set the period, the name of your office, and the base currency (you can create the budget and accounting in any currency).
- With the command File > Save As, save the file. It's useful to include the name of your office and the year in the file name. For example, "Rossi-20xx.ac2."
ATTENTION: If you close the browser without saving, you will lose the entered data. Always save the file to your computer.
You can then consult all the information in our Documentation, particularly on the following web pages:
Cash Manager (free) | Business
Cash Manager (free) | BusinessThe Banana Accounting Plus Cash Manager is a completely free application.
It is designed to manage the cash inflows and outflows of a small business. The file can also complement the main accounting file:
- Record all cash transactions in the file.
- At the end of each quarter (or a period of your choice), import the totals of categories and accounts into the main accounting file.
You will have the advantage of keeping all the details of cash transactions in a single file, while the main accounting file will only display the grouped totals by quarter or chosen period, streamlining the main accounting process.
Create your file
- Open the template with the Banana Accounting Plus WebApp.
- Using the command File > File Properties, set the period, the name of your business, and the base currency (you can create the budget and accounting in any currency).
- With the command File > Save As, save the file. It’s helpful to include the business name and the year in the file name. For example, "Cassa-Rossi-20xx.ac2".
WARNING: If you close the browser without saving, you will lose the entered data. Always save the file to your computer.
More information is available on the following pages:
Business | Income & Expense accounting
Business | Income & Expense accountingThe model, while having a simple and essential setup, still allows you to manage accounting professionally.
- You can customize the accounts and categories at any time, adapting it to your specific needs.
- The Accounts and Categories tables provide an immediate overview of the balances for each account and category, allowing you to maintain full control over your financial situation.
- By setting up the customer ledger, you can issue invoices to your clients with the added benefit of having them automatically recorded in your accounting.
- You can speed up the entry of transactions by importing bank data and using Rules: for each imported transaction, you enter a keyword (Rule) that completes all other elements of the transaction (counterparty, cost center...). On subsequent imports, whenever the program finds the keyword in the imported transaction, it completes it automatically, significantly reducing work time and minimizing the risk of errors.
Some features require a subscription to the Advanced plan of Banana Accounting Plus, such as using the new features of Rules, Filter, and Temporary Row Sorting. See all the features of the Advanced plan.
Create your file
- Open the template with the Banana Accounting Plus WebApp.
- Using the command File > File Properties, set the period, your company's name, and the base currency.
- Using the command File > Save As, save the file. It’s helpful to include your company's name and the year in the file name. For example, "Rossi-SA-20xx.ac2".
ATTENTION: If you close the browser without saving, you will lose the entered data. Always save the file to your computer.
In our documentation, you’ll find all the explanations on various topics to help you manage your accounting efficiently:
Freelance | Income & Expense accounting
Freelance | Income & Expense accountingThe Income and Expense Accounting module of Banana Accounting Plus allows you to manage your income and expenses across multiple accounts in a simple, fast, and professional way. While intuitive to use, it delivers professional-level results, as it is based on the same calculation engine as double-entry bookkeeping. This means you can easily generate balance sheets, income and expense reports, and manage cost and profit centers, segments, financial forecasts, and much more.
In the Accounts table, you will find the accounts to manage your resources (cash, equipment, clients, etc.), while in the Categories table, all income and expenses are categorized by item.
Certain functions require a subscription to the Advanced Plan of Banana Accounting Plus, such as the use of new features like Rules, Filter, and Temporary Row Sorting. Discover all the features included in the Advanced Plan.
- Open the template using the WebApp of Banana Accounting.
- Use the File > File Properties command to set the period, the name of your professional practice, and the base currency (you can create budgets and accounting in any currency).
- Use the File > Save As command to save your file. It’s a good idea to include your practice’s name and the year in the file name. For example: Studio Rossi-SA-20xx.ac2.
WARNING: If you close your browser without saving, the data you entered will be lost. Always save the file on your computer.
Quickly Enter Transactions
- Import transactions from your bank, postal, or credit card statements.
- Reminders: Send reminders for overdue payments.
- Reports: Track due dates and payment statuses.
Create Invoices and Track Deadlines
In our Documentation, you’ll find detailed explanations on various topics to help you optimize your accounting:
Accounting for sole proprietorship (chart of accounts SME) | Double-entry accounting
Accounting for sole proprietorship (chart of accounts SME) | Double-entry accountingTemplate with SME Chart of Accounts, compliant with the rules established in the Swiss Code of Obligations (Art. 957 and following). Ideal for managing the accounting of a business with an annual turnover of at least CHF 500,000.
- You can customize the accounts to suit your specific needs.
- To streamline data entry, you can use bank data import with the Rules feature: for each imported transaction, you assign a keyword (Rule) and complete all other fields of the record (e.g., counterpart, cost center). For subsequent imports, the program automatically completes the record whenever it detects the keyword in the imported data, significantly reducing work time and minimizing errors.
Many automation features, such as bank data import with Rules, filtering, and other advanced functions, are available exclusively in the Advanced plan of Banana Accounting Plus.
Create Your File
- Open the template using the Banana Accounting Plus WebApp.
- Use the command File > File Properties to set the period, your company name, and the base currency (you can manage your budget and accounting in any currency).
- Use the command File > Save As to save the file. It's helpful to include the company name and year in the file name, e.g., "Rossi-SA-20xx.ac2".
IMPORTANT: If you close your browser without saving, any entered data will be lost. Always save the file to your computer.
In our Documentation, you’ll find all the details and guidance needed to manage your accounting effectively:
Small businesses with a maximum turnover of CHF 500,000 | Double-entry accounting | Without subgroups
Small businesses with a maximum turnover of CHF 500,000 | Double-entry accounting | Without subgroupsThe program includes numerous features to work efficiently and achieve professional results:
- Import bank statement data for quick and accurate transaction entry.
- Create and print invoices with the Swiss QR code by simply setting up the customer subledger with cost center CC3.
- Set up Rules to save and automate the completion of imported transactions from bank statements.
- Manage cost centers, customizable to your needs, for detailed insights into specific accounts.
- Create budgets and financial forecasts to anticipate cash flow evolution, plan for investments, and simulate profitability.
- Print all the reports you need: Balance sheets, journals, account ledgers, VAT reports, open invoices, and much more.
Many automation features, such as bank data import with Rules, filtering, and other advanced functions, are available exclusively in the Advanced plan of Banana Accounting Plus.
Create Your File
- Open the template using the Banana Accounting Plus WebApp.
- Use the command File > File Properties to set the period, your company name, and the base currency (you can manage your budget and accounting in any currency).
- Use the command File > Save As to save the file. It's helpful to include the company name and year in the file name, e.g., "Rossi-SA-20xx.ac2".
IMPORTANT: If you close your browser without saving, any entered data will be lost. Always save the file to your computer.
In our Documentation, you’ll find all the details and guidance needed to manage your accounting effectively:
Legal entities, SME, Accounts Receivable/Payable | Double-entry accounting
Legal entities, SME, Accounts Receivable/Payable | Double-entry accountingIdeal model for managing the accounting of an SA or Sagl without VAT obligation and with an annual turnover equal to or exceeding CHF 500,000. The chart of accounts is structured according to the SME framework and includes the customer/supplier ledger, suitable for those managing accounting based on turnover.
- In the Accounts table, at the end of the chart of accounts, you will find the customer and supplier ledger set up with accounts linked to assets and liabilities, respectively; therefore, the balances will appear in the Balance Sheet.
- All customer and supplier invoices are recorded at the time of issuance and receipt.
Create your File
- Open the template using the Banana Accounting Plus WebApp.
- Use the command File > File Properties to set the period, your company name, and the base currency (you can manage your budget and accounting in any currency).
- Use the command File > Save As to save the file. It's helpful to include the company name and year in the file name, e.g., "Rossi-SA-20xx.ac2".
IMPORTANT: If you close your browser without saving, any entered data will be lost. Always save the file to your computer.
To reopen the saved file, click on File > Open.
- Create invoices to send to customers by using the customer account in the Debit column and the revenue account in the Credit column. This way, the invoice will already be recorded and integrated into your accounting file.
- Record invoices received from suppliers, including scanning QR codes, and create payment orders (pain.001). Pain.001 files are XML messages containing payment details that can be sent to financial institutions supporting this format. More information: Payment orders with pain.001 (available only with the Advanced plan).
- Import all transactions from bank, postal, or credit card statements using Rules for fully automated recordings (available only with the Advanced plan).
- Manage cost centers to obtain detailed insights into specific accounts.
- Create budgets and financial forecasts to monitor cash flow, ensure you can meet future obligations, predict revenues and expenses, and evaluate different scenarios to assess your company’s profitability.
- Print all the reports you need: Balance Sheets, Journal, Account Cards, Open Invoices, and much more.
Some features require a subscription to the Advanced plan of Banana Accounting Plus, such as using the new features Rules, Filter, and Temporary Row Sorting. For more details, check out all the features of the Advanced plan.
In our Documentation, you will find many insights to help you manage accounting like a professional:
Invoice tutorial, revenue accounting | Double-entry accounting
Invoice tutorial, revenue accounting | Double-entry accountingA simple and brief chart of accounts tutorial, in which we provide examples of transactions to create invoices without VAT. The file also includes the Items table, where you can enter data for the items or services to be invoiced. The data entered in the Items table is automatically retrieved in the Transactions table.
If you want to test the invoice printing functions with QR code, you can start with this template.
Create the file and test the Invoice features.
Open the tutorial with the Banana Accounting WebApp. - Use the command File > File Properties to set the period, your company's name, and the base currency.
- With the command File > Save As, save the file, for example, as "Rossi-SA-20xx.ac2".
- In the Accounts table, enter the details of one of your clients. In the Addresses view, you can complete the information with the full address, country code, and the client's language.
- In the Items table, input the data for your products or services to be invoiced.
- In the Transactions table, you'll find examples of transactions covering various invoicing scenarios. You can delete the rows and enter the details of your invoice. By entering the Debit and Credit accounts, the invoice is simultaneously recorded in the accounting system.
- Select the menu Reports > Customers > Print Invoices, and click OK to preview the documents.
- To explore the different available print templates, consult the Invoice Layouts pages.
- For customizing invoices, refer to the page Advanced Entry - Type Column.
You can find all the information on creating and printing invoices with a QR code on the page Create and Print Invoices with Swiss QR Code.
WARNING: If you close the browser without saving, you will lose the entered data. Always save the file to your computer.
To reopen the saved file, click on File > Open
Additional Resources
- Import data from bank statements
- Set up Rules to store and automate the completion of entries imported from bank statements
- Manage cost centers, customisable to suit your needs for detailed insights into specific accounts
- Create budgets and financial forecasts
- Print all the reports you need: Balance Sheets, Journal, Account Ledgers, VAT Statements, Open Invoices, and much more
For some features, a subscription to the Advanced plan of Banana Accounting Plus is required. For example, this includes using the new features like Rules, Temporary Row Filter, and Sort. Check out all the features available in the Advanced plan.
Legal entities, SMEs, Customer/Supplier Ledger with CC3 (cash principle) | Double-entry Accounting
Legal entities, SMEs, Customer/Supplier Ledger with CC3 (cash principle) | Double-entry AccountingIdeal model for managing cash-based accounting for a SA or Sagl, without VAT liability and with an annual turnover equal to or exceeding CHF 500,000. The chart of accounts is structured according to the SME schema and includes the customer/supplier ledger, suitable for those who use cash-based accounting.
- In the Accounts table, at the end of the chart of accounts, you will find the customer and supplier ledger set up with the cost and profit center CC3. There is no connection with assets and liabilities.
- All invoices from customers and suppliers are recorded in the CC3 cost and profit center accounts.
Create your File
- Open the template using the Banana Accounting Plus WebApp.
- Use the command File > File Properties to set the period, your company name, and the base currency (you can manage your budget and accounting in any currency).
- Use the command File > Save As to save the file. It's helpful to include the company name and year in the file name, e.g., "Rossi-SA-20xx.ac2".
IMPORTANT: If you close your browser without saving, any entered data will be lost. Always save the file to your computer.
To reopen the saved file, click on File > Open.
- Create invoices to send to customers by using the CC3 column in the Transactions table (cost centers view).
- Create Payment Orders (pain.001).The pain.001 files are XML messages that contain the details for making payments and can be sent to financial institutions that recognize this format. For more information, see Payment Orders pain.001 (available only with the Advanced plan).
- Import all transactions from bank, postal, or credit card statements using Rules for fully automated recordings (available only with the Advanced plan).
- Manage cost centers to obtain detailed insights into specific accounts.
- Create budgets and financial forecasts to monitor cash flow, ensure you can meet future obligations, predict revenues and expenses, and evaluate different scenarios to assess your company’s profitability.
- Print all the reports you need: Balance Sheets, Journal, Account Cards, Open Invoices, and much more.
Some features require a subscription to the Advanced plan of Banana Accounting Plus, such as using the new features Rules, Filter, and Temporary Row Sorting. For more details, check out all the features of the Advanced plan.
Partnerships, general and limited , SMEs, cash-based accounting | Double-entry accounting
Partnerships, general and limited , SMEs, cash-based accounting | Double-entry accounting- Create and print invoices with the Swiss QR code
- Import data from bank statements
- Set up Rules to memorise and automate the completion of transactions imported from bank statements
- Manage VAT according to the new VAT rates
- Manage cost centers, customisable according to your needs, to get detailed information on specific accounts
- Create budgets and financial forecasts
- Print all the reports you need: Balance Sheets, Journal, Account Cards, VAT Returns, Open Invoices, and much more.
For VAT management with the new rates, you can find detailed information in the VAT Management pages on our website.
Some features require a subscription to the Advanced plan of Banana Accounting Plus, such as using the new features Rules, Filter, and Temporary Row Sorting. For more details, check out all the features of the Advanced plan.
In the equity section of the liabilities, you will find the accounts for managing each partner’s capital, contributions, private portion, and profits.
Create your File
- Open the template using the Banana Accounting Plus WebApp.
Use the command File > File Properties to set the period, your company name, and the base currency (you can manage your budget and accounting in any currency).
Use the command File > Save As to save the file. It's helpful to include the company name and year in the file name, e.g., "Rossi-SA-20xx.ac2".
IMPORTANT: If you close your browser without saving, any entered data will be lost. Always save the file to your computer.
In our Documentation, you'll find a wealth of information to help you manage your accounting like a professional and discover the full potential of the program:
Company with Customers/Suppliers | Double-Entry Accounting with Multi-Currency
Company with Customers/Suppliers | Double-Entry Accounting with Multi-Currency- Model for managing the accounting of an SA or Sagl with VAT and an annual turnover equal to or exceeding CHF 500,000. The chart of accounts is structured according to the SME scheme and includes customer/supplier ledgers, ideal for companies that manage accounting based on turnover.
- In the Accounts Table, at the end of the chart of accounts, you will find the customer and supplier ledgers set up with accounts linked to assets and liabilities, respectively; thus, the balances will appear in the Balance Sheet.
- All customer and supplier invoices are recorded at the time of issuance and receipt.
Create your File
- Open the template using the Banana Accounting Plus WebApp.
Use the command File > File Properties to set the period, your company name, and the base currency (you can manage your budget and accounting in any currency).
Use the command File > Save As to save the file. It's helpful to include the company name and year in the file name, e.g., "Rossi-SA-20xx.ac2".
IMPORTANT: If you close your browser without saving, any entered data will be lost. Always save the file to your computer.
- In the Exchange Rates table, set foreign currencies always in reference to the base currency and their exchange rates. Opening rates are set only the first time you use Banana Accounting. At the transition to the new year, these rates will be automatically carried over based on the closing rates entered as of 31.12.
- In the Chart of Accounts, set up your accounts in foreign currencies and the account for recording exchange rate differences.
- In the File Properties (Basic Data), under the Foreign Currency section, indicate the accounts for exchange rate differences and, if necessary, set up a second currency for your accounting.
- In the Exchange Rates table, set the rates for foreign currencies.
You are ready to register!
You can register all possible cases of foreign currency transactions, including transfers and operations that do not involve the base currency.
In our Documentation, you will find detailed explanations and topics on multi-currency accounting, particularly:
Sole proprietorship | SME | Double-entry multicurrency accounting
Sole proprietorship | SME | Double-entry multicurrency accountingThe multicurrency model, based on double-entry accounting, allows you to manage accounts in other currencies in addition to the base currency.
Create your file
- Open the template with the Banana Accounting WebApp
- From the menu File > File properties, set the period, your company name and the base currency in any currency you want.
- From the menu File > Save as, save the file. It is useful to include the company name and year in the file name. For example: "Rossi-SA-20xx.ac2".
- In the Exchange rates table, set the foreign currencies always in reference to the base currency and exchange rates. Opening rates are set only the first time you use Banana Accounting. At the beginning of the new year, they will be automatically carried over based on the closing rates entered on 31.12.
WARNING: if you close the browser without saving, you will lose the entered data. Always save the file to your computer.
To reopen the saved file, click on File > Open.
In our Documentation you will find all the insights and topics for multicurrency accounting, including:
Sole proprietorship | SME | Simplified plan | Double-Entry Multi-Currency Accounting
Sole proprietorship | SME | Simplified plan | Double-Entry Multi-Currency AccountingThe multi-currency model based on double-entry accounting, this model allows you to manage accounts in foreign currencies as well as the base currency.
Create your File
- Open the template using the Banana Accounting Plus WebApp.
Use the command File > File Properties to set the period, your company name, and the base currency (you can manage your budget and accounting in any currency).
Use the command File > Save As to save the file. It's helpful to include the company name and year in the file name, e.g., "Rossi-SA-20xx.ac2". - In the Exchange Rates Table, set the foreign currencies always in reference to the base currency and their exchange rates. Opening exchange rates are only set the first time you use Banana Accounting. When transitioning to a new year, these rates will be automatically carried over based on the closing rates entered as of 31.12.
ATTENTION: If you close the browser without saving, the data you entered will be lost. Always save the file on your computer.
To reopen the saved file, click File > Open.
In our Documentation, you will find detailed explanations and topics related to multi-currency accounting, including:
General partnerships, SME | Double-entry accounting with Multi-currency
General partnerships, SME | Double-entry accounting with Multi-currencyIdeal model for partnership accounting. It includes all the settings and functions needed to:
- Create and print invoices with the Swiss QR code.
- Import data from bank statements.
- Set up Rules to store and automate the completion of transactions imported from bank statements.
- Manage cost centers, customizable according to your needs to track specific details of certain accounts.
- Create budgets and financial forecasts.
- Print all the reports you need: Balance Sheets, Journal, Account Ledgers, VAT Reports, Open Invoices, and much more.
Some functions require a subscription to the Advanced plan of Banana Accounting Plus, such as using the new Rules, Temporary Filter, and Sort Rows features.
Create your File
- Open the template using the Banana Accounting Plus WebApp.
Use the command File > File Properties to set the period, your company name, and the base currency (you can manage your budget and accounting in any currency).
Use the command File > Save As to save the file. It's helpful to include the company name and year in the file name, e.g., "Rossi-SA-20xx.ac2". - In the Exchange Rates Table, set the foreign currencies always in reference to the base currency and their exchange rates. Opening exchange rates are only set the first time you use Banana Accounting. When transitioning to a new year, these rates will be automatically carried over based on the closing rates entered as of 31.12.
ATTENTION: If you close the browser without saving, the data you entered will be lost. Always save the file on your computer.
To reopen the saved file, click File > Open.
In our Documentation, you will find detailed explanations and topics related to multi-currency accounting, including:
Tutorial Financial Planning for Accounting Experts
Tutorial Financial Planning for Accounting ExpertsThe precision financial planning is a method to build the company’s financial future with the same rigor as real accounting.
In Banana Accounting, forecasting is not separate, but integrated into the same accounting file.
In this tutorial, you will see how to create a complete forecast by entering future transactions and automatically obtaining forecast balance sheet, profit and loss statement, and cash flow. You can also simulate different scenarios.
Introduction video
To see the system in action, watch our video below:
Who this tutorial is for
This tutorial is designed for:
- Accounting experts
- Fiduciary companies
- Consultants and accountants
The goal is to show you how to quickly create a complete financial plan in the same accounting file, including:
- Forecast profit and loss statement
- Forecast balance sheet
- Cash flow evolution
- Comparison between budget and actual results.
You can prepare the financial plan both for your company and for your clients, offering added value to your consulting services that goes beyond accounting management.
Planning structure
With Banana Accounting, you do not need to create anything new. This means you work with:
- the same chart of accounts
- the same Debit/Credit logic
- the same analysis tools
To enter budget transactions, use:
- the Budget table where you enter the transactions you expect during the year:
- enter the transaction only once
- define the frequency
- you can determine that a transaction appears within a period defined by a start and end date.
Chart of Accounts
The accounts you use are those already available in the chart of accounts. In the Accounts table, you can display the Budget column to always have forecast balances available:
- menu Data > Columns setup > enable Budget column
Assets and Liabilities (Balance Sheet)
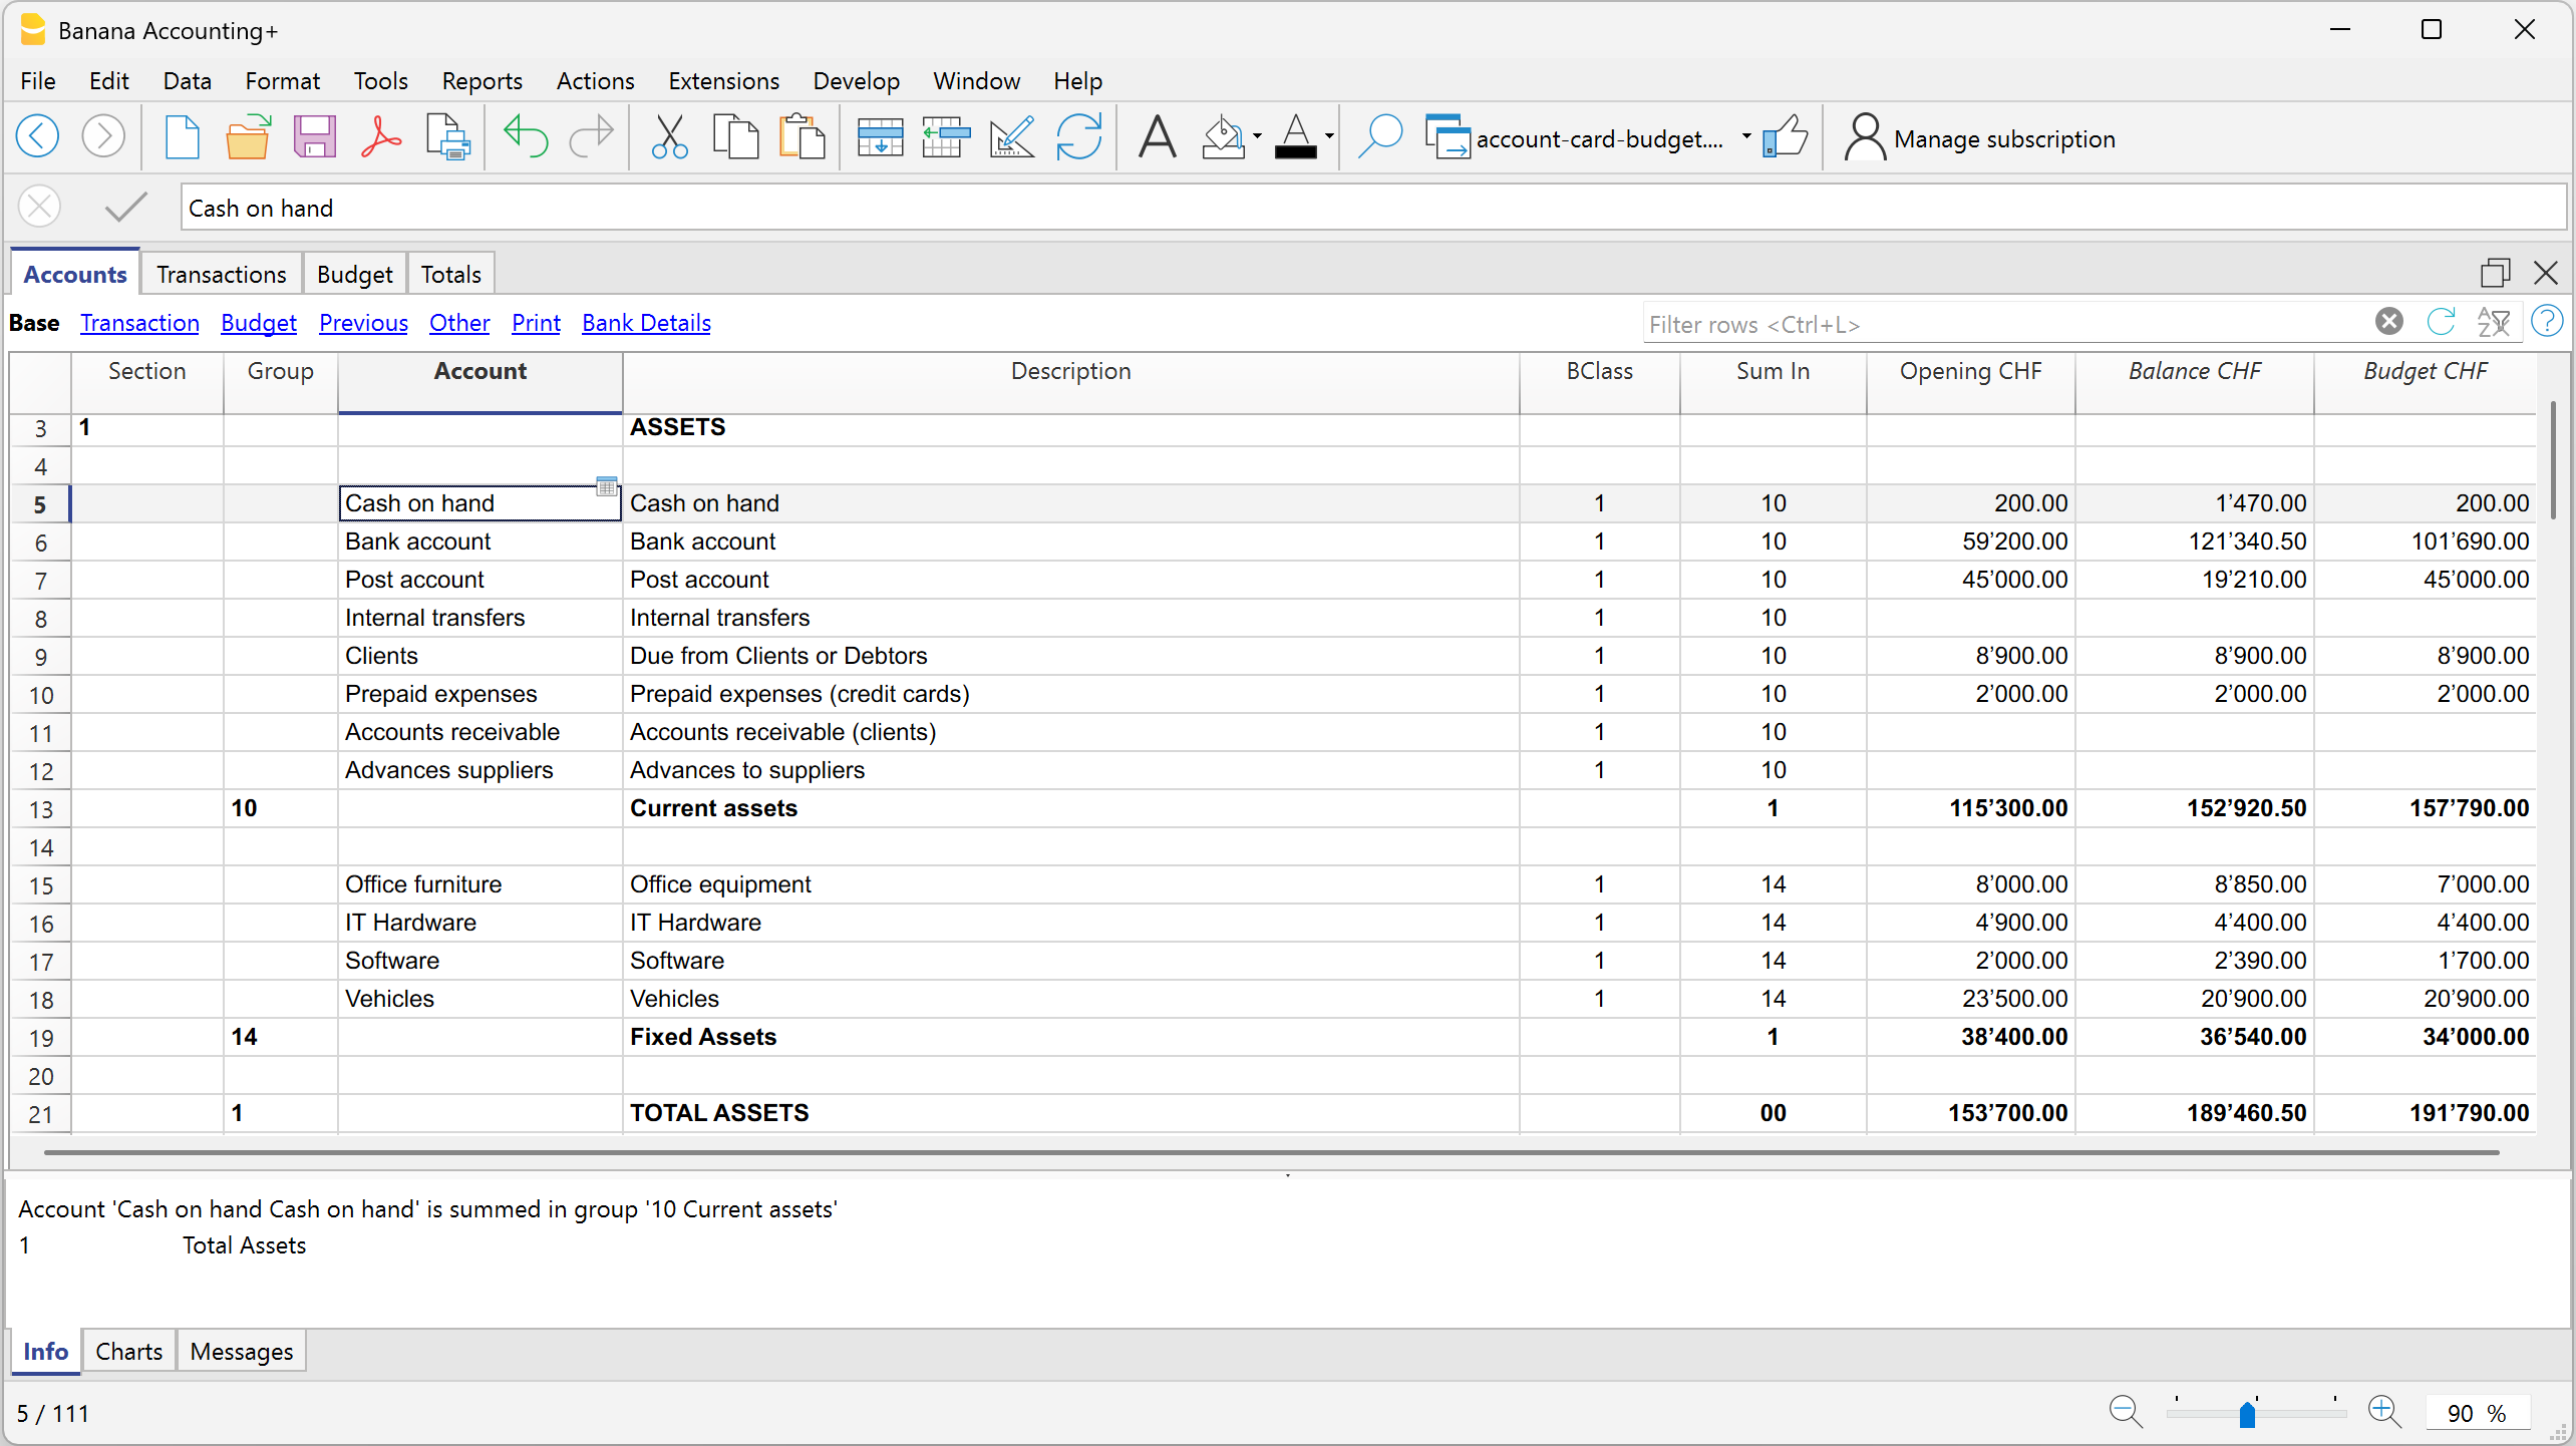
- Costs and Revenue (Profit and Loss Statement)
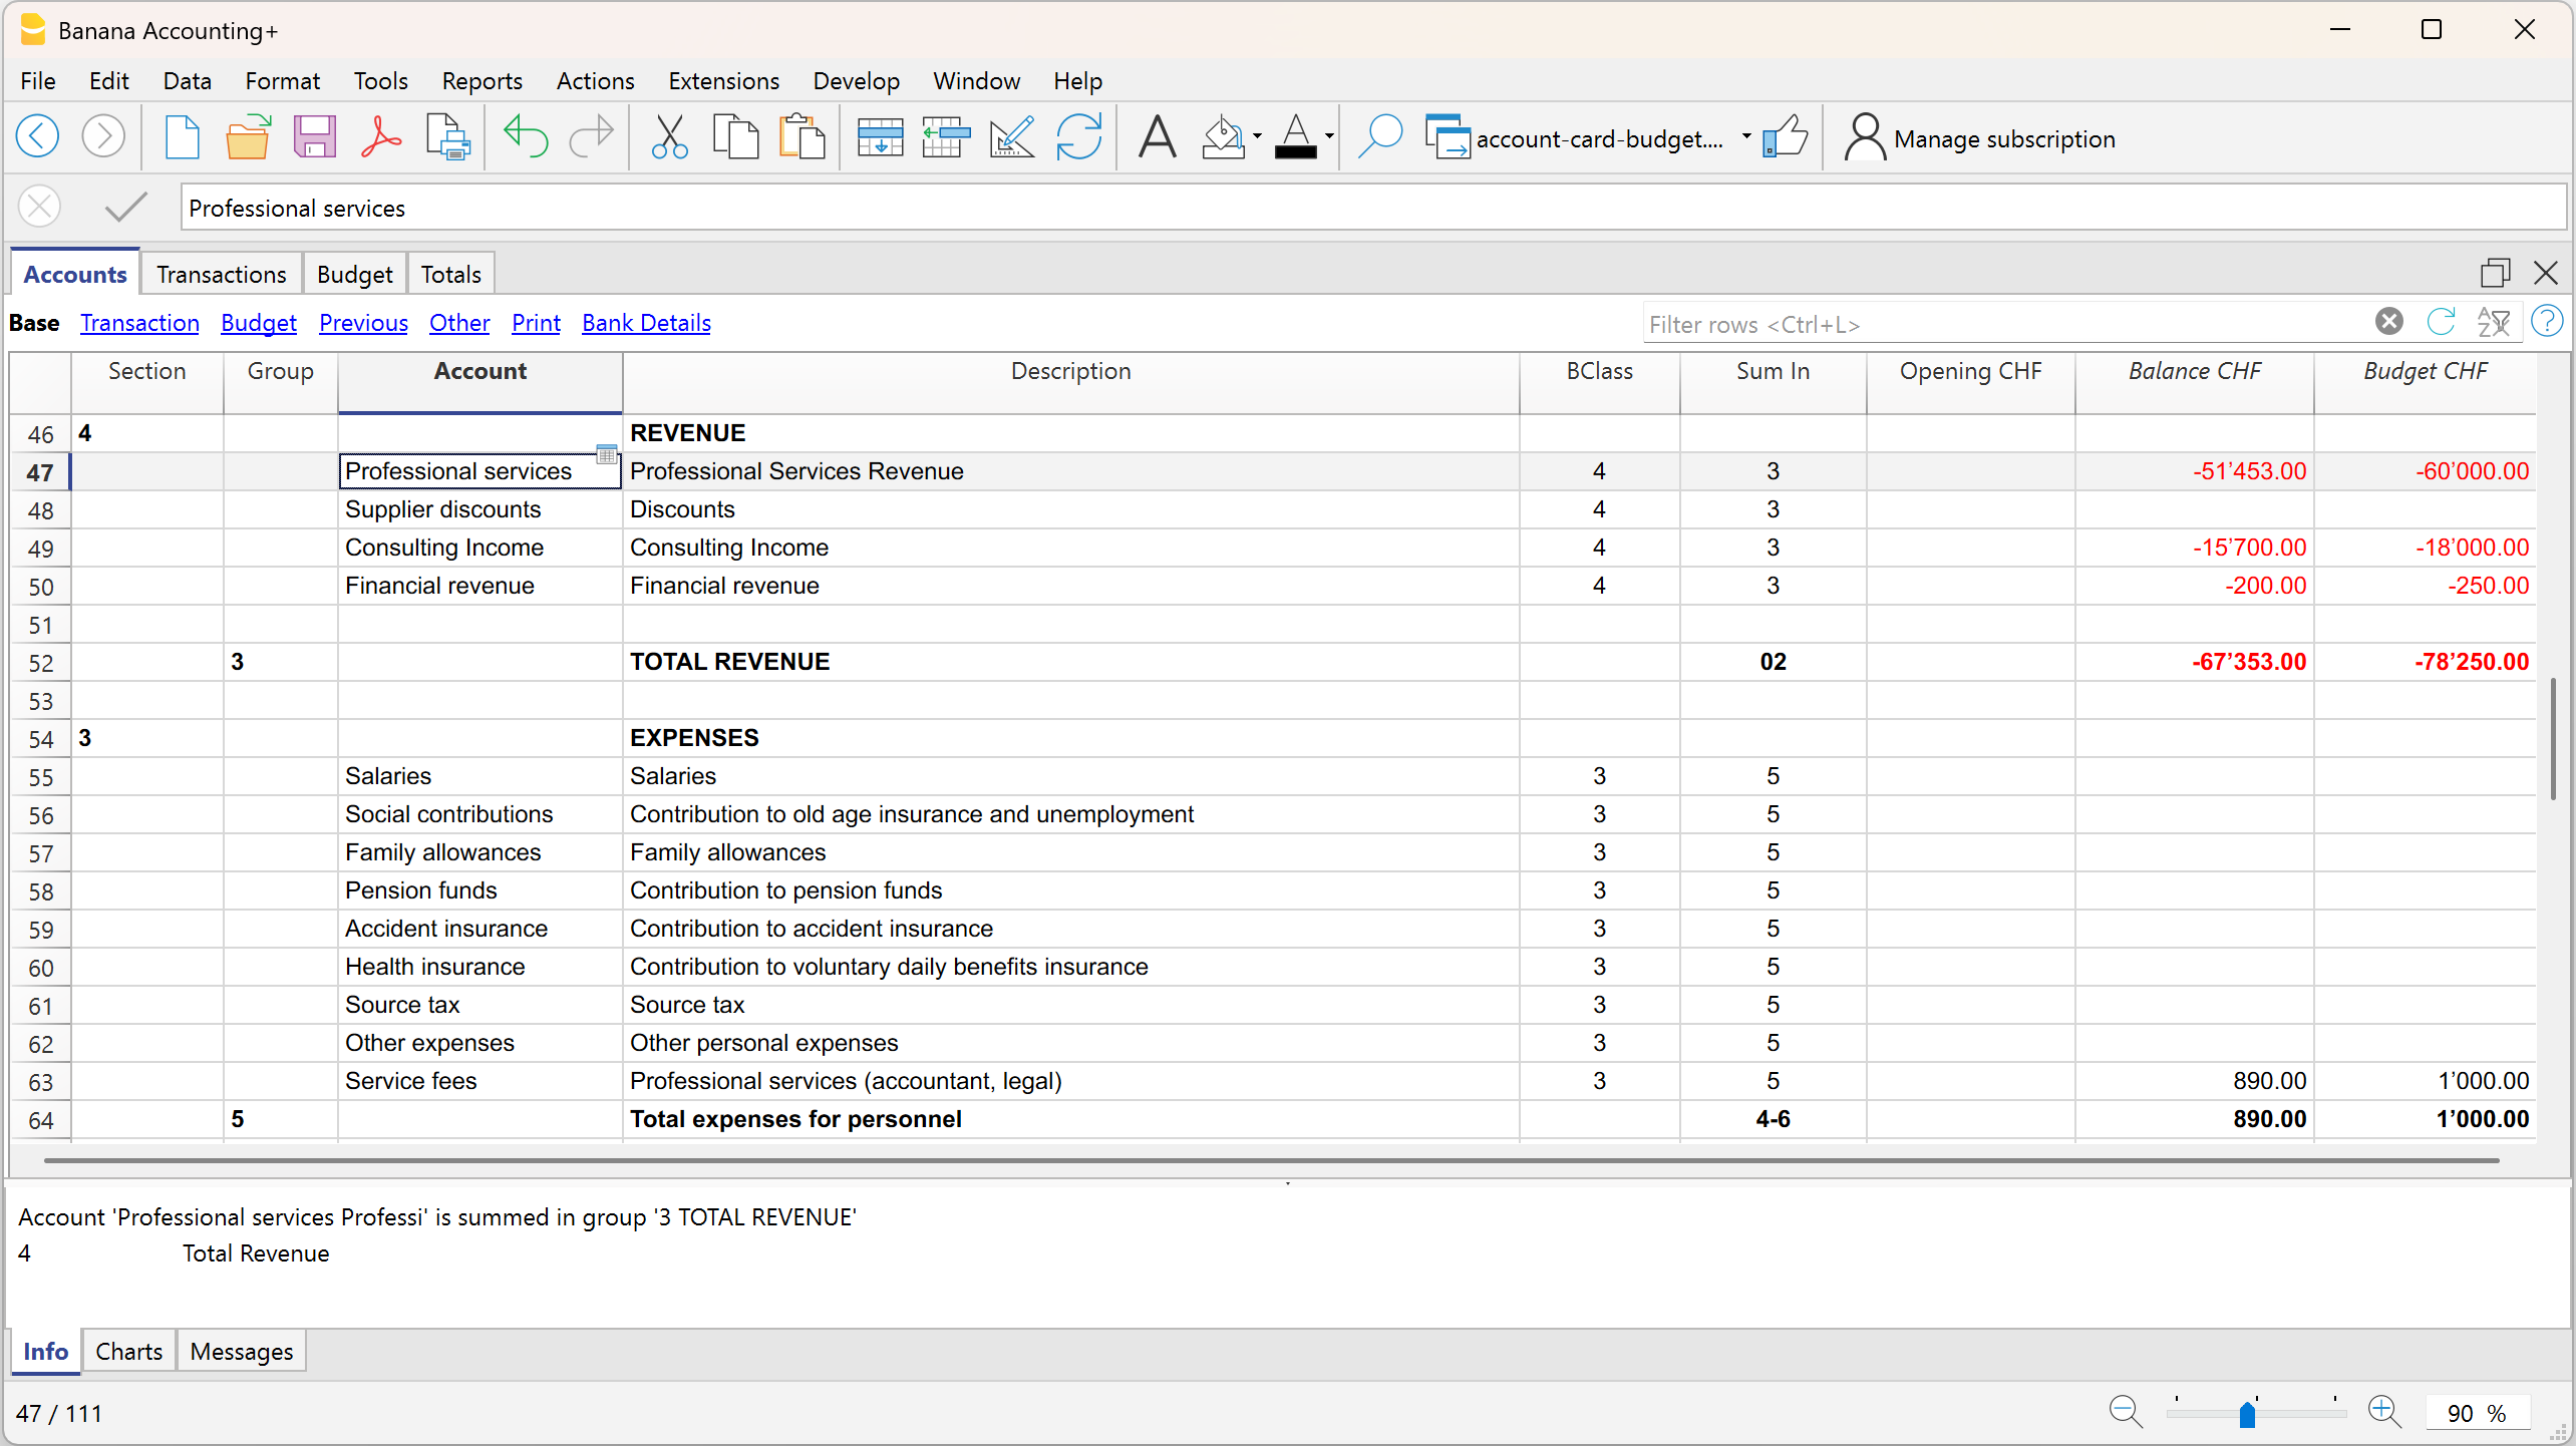
For a more detailed forecast, if not already present, we recommend setting up and using:
Budget Table
The Budget table is the core of the forecasting system, where you enter the transactions you expect during the year or within a defined period.
For each future event, enter the data in the following columns:
- Start date: the date when the transaction begins
- End date: the last date by which the transaction ends (a date one or more years later can also be specified).
If the transaction will always repeat every year, you do not need to enter any date. - Repeat: repetition frequency (day, month, quarter, half-year, year)
- Description: description of the transaction
- Debit / Credit account: accounts available and taken from the chart of accounts
- Amount: transaction amount
If needed, you can also enter VAT code, segments, or cost centers.
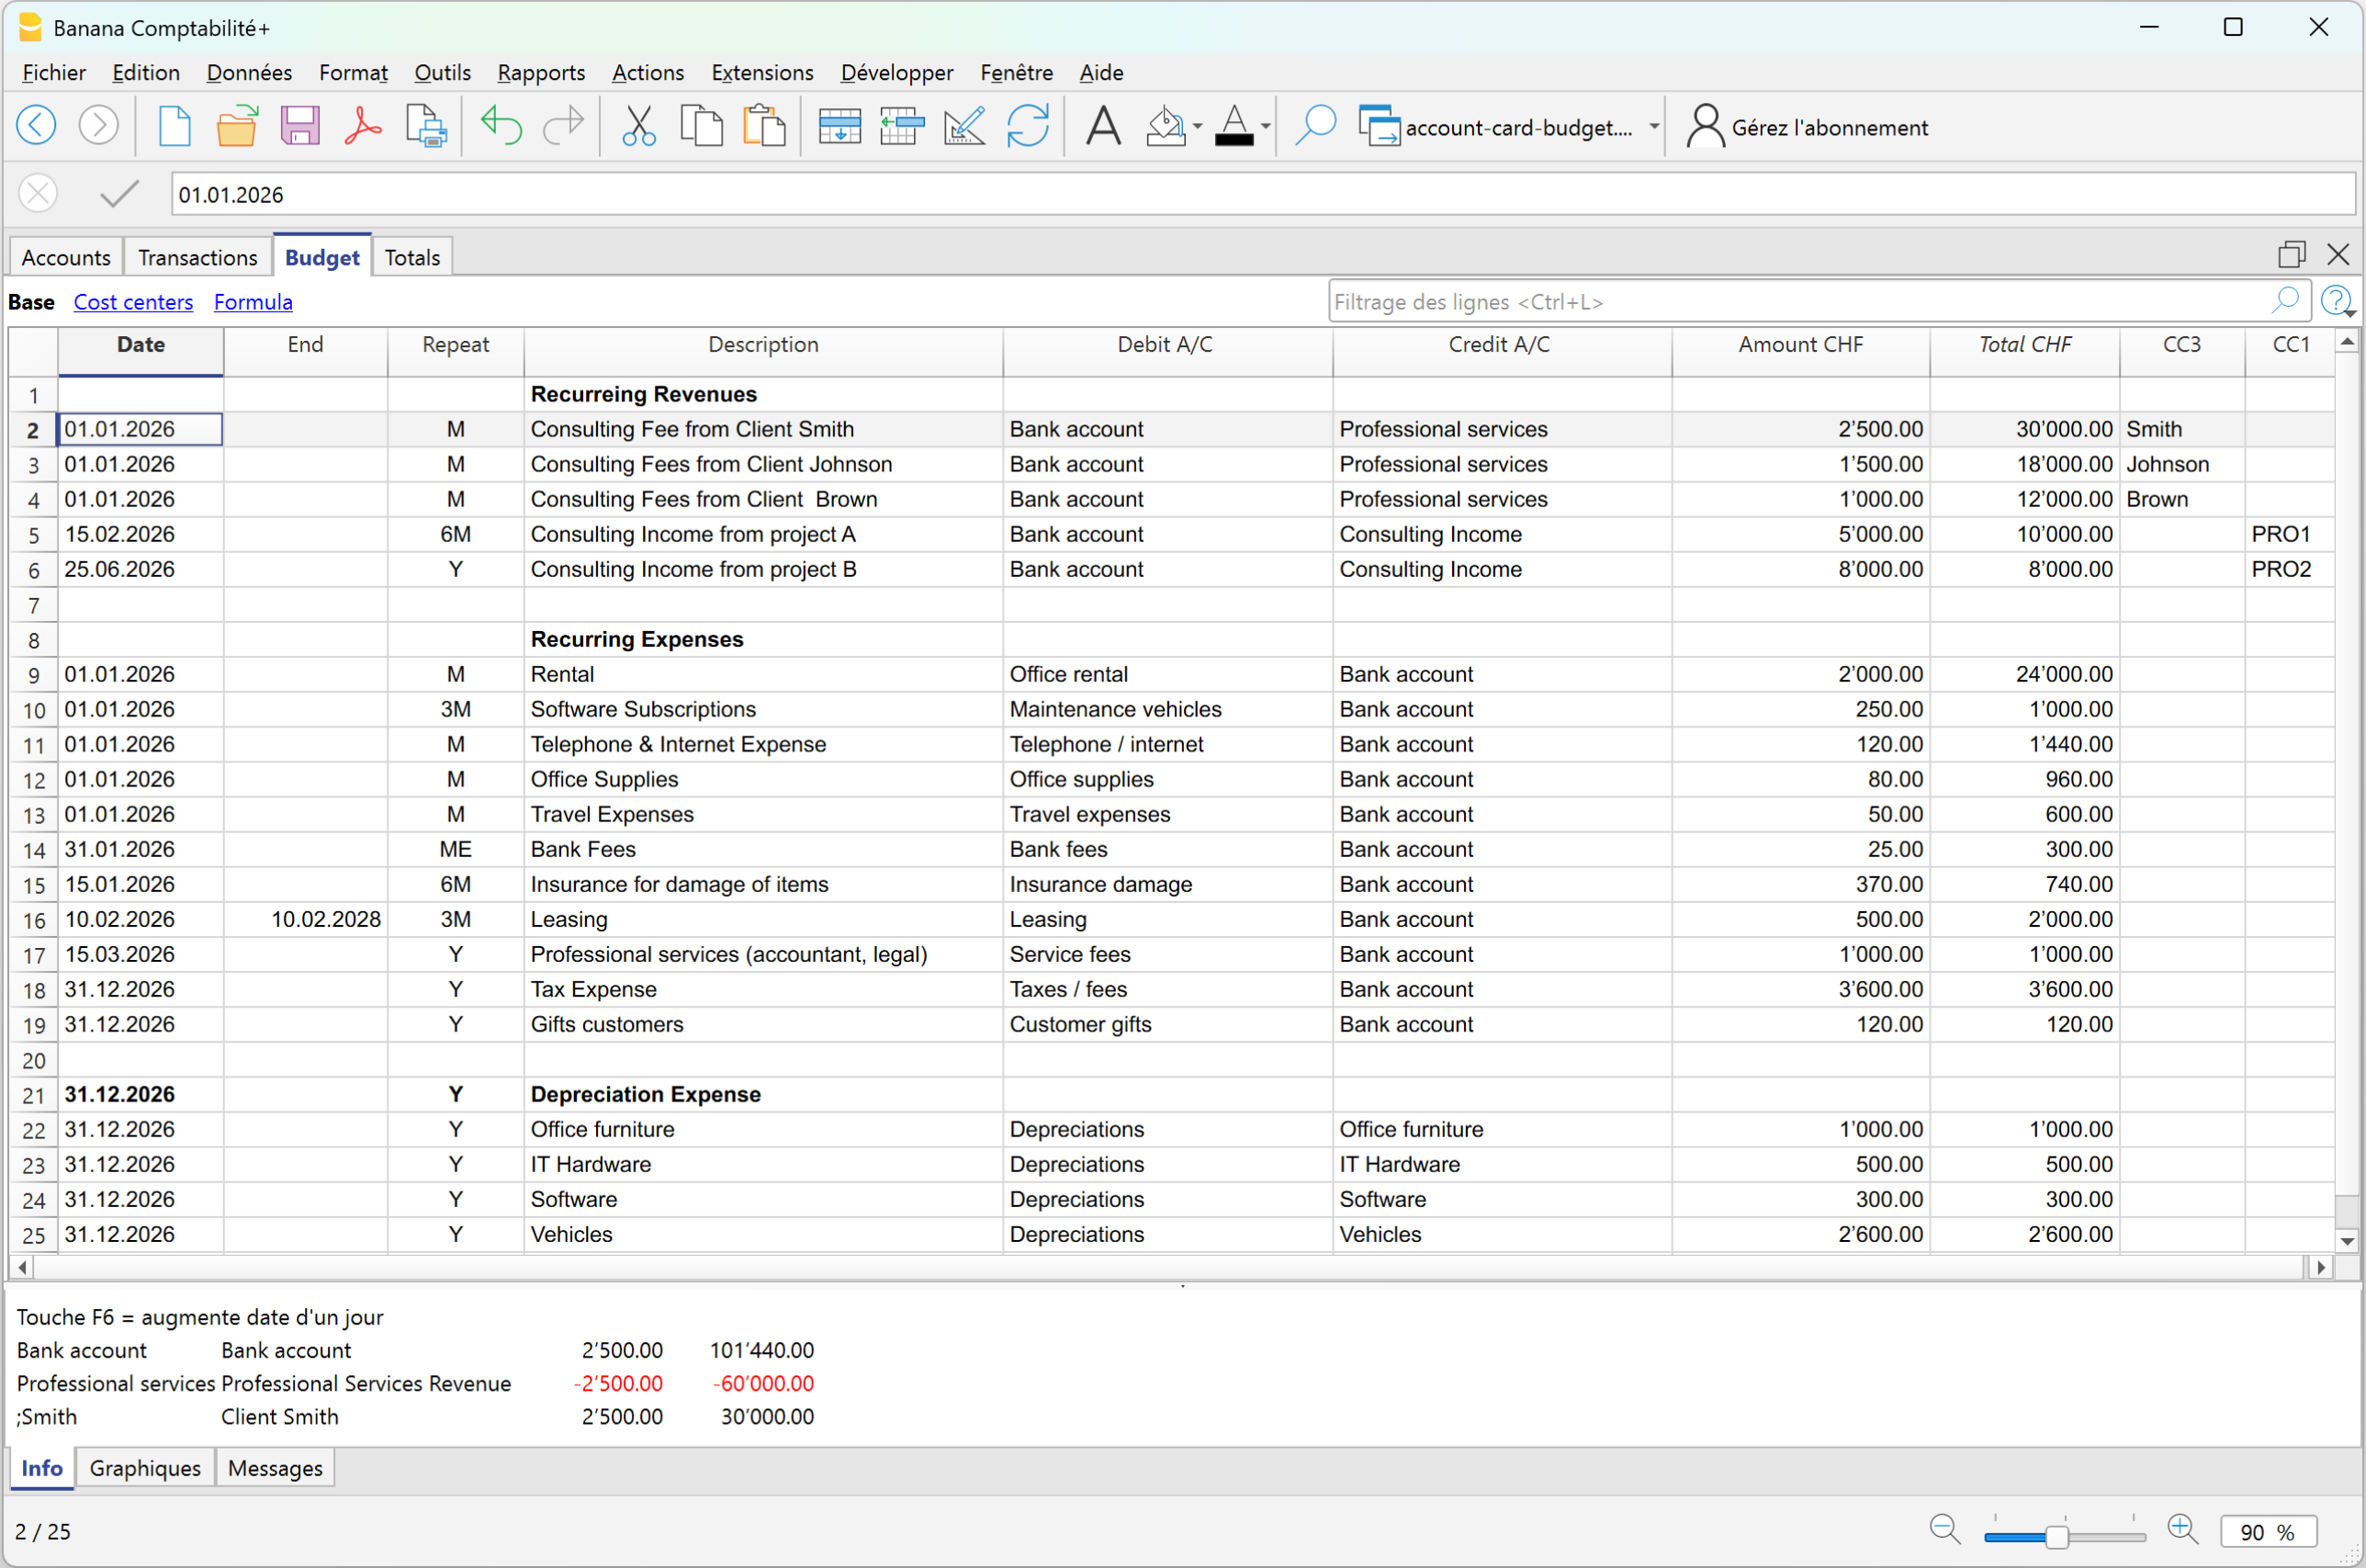
Based on the entered transactions, the program automatically creates all reports, with the same speed and options available in the Enhanced Balance sheet with groups, and reports the balances in the Accounts column, in the Budget view.
Complete forecast reports and comparison with actual data
Forecast reports do not only provide aggregated yearly projections. You can also analyze the data by specific periods: if a cost or revenue occurs only during certain months, the system represents it exactly in the correct periods.
For example: if a cost occurs only in June, July, and August, in the Budget table, by defining the accrual dates, the amount will be assigned exactly to the specific period in the forecast report, without any distribution across other months.
To obtain the forecast balance sheet and profit and loss statement:
- From the menu Reports > Enhanced Balance sheet with groups > in the section Chart of Accounts > Columns, enable Budget
In the Enhanced Balance sheet with groups, if you display the actual, budget, and Budget difference columns, you immediately get an overall view:
Balance Sheet with actual balances, budget balances, and differences
Forecasting in Banana Accounting is not a separate document, but integrates with accounting data and evolves together with real accounting.
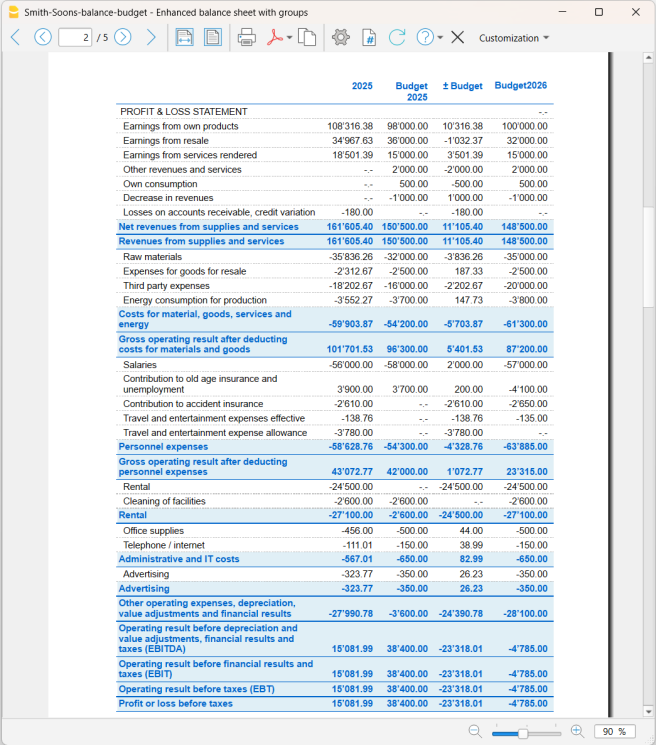
Profit and Loss Statement with actual balances, budget balances, and differences
With this report presentation, you can evaluate whether the company will be profitable and identify possible issues in advance.
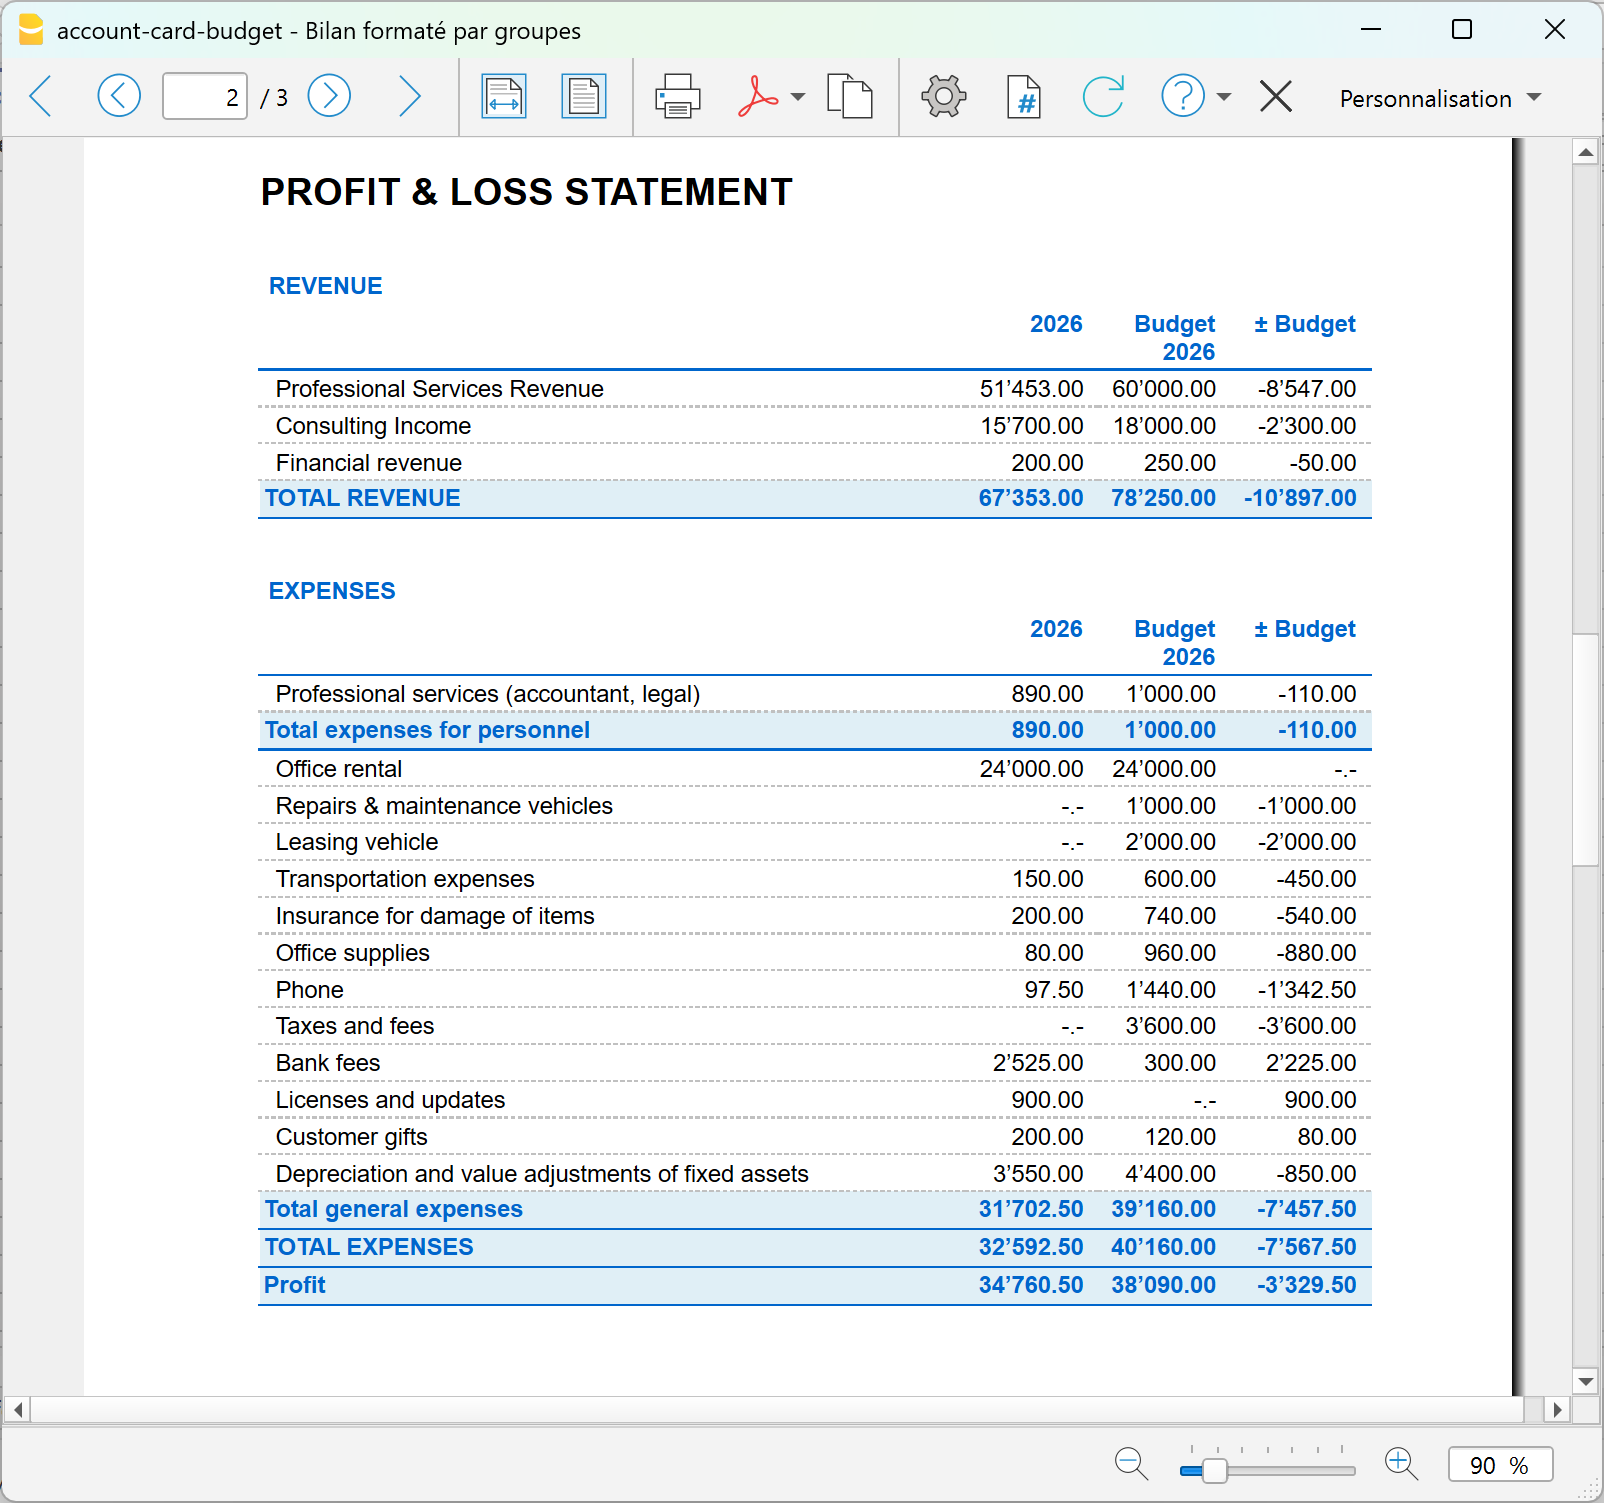
Comparison of actual vs budget account card
With Banana Accounting financial forecasting, you can go beyond traditional forecasting. With the new Account card: Current vs/Budget extension (Beta version), you can compare an account card with both actual transactions and budget transactions.
This is a completely new feature that allows you to:
- analyze in detail the actual transactions compared to the budgeted ones
- easily identify variances shown in the Differences column.
- progressively improve your planning capabilities.
Advantage: customer account card with actual and budget data
With Banana Accounting, for each customer you have a complete account card that integrates:
- actual data → issued invoices and real payments received
- forecast data → future invoices and expected payments
With Banana, the customer account card does not only show what has happened, but also what will happen, with all management details already integrated. In one single view, you can see the past, present, and future.
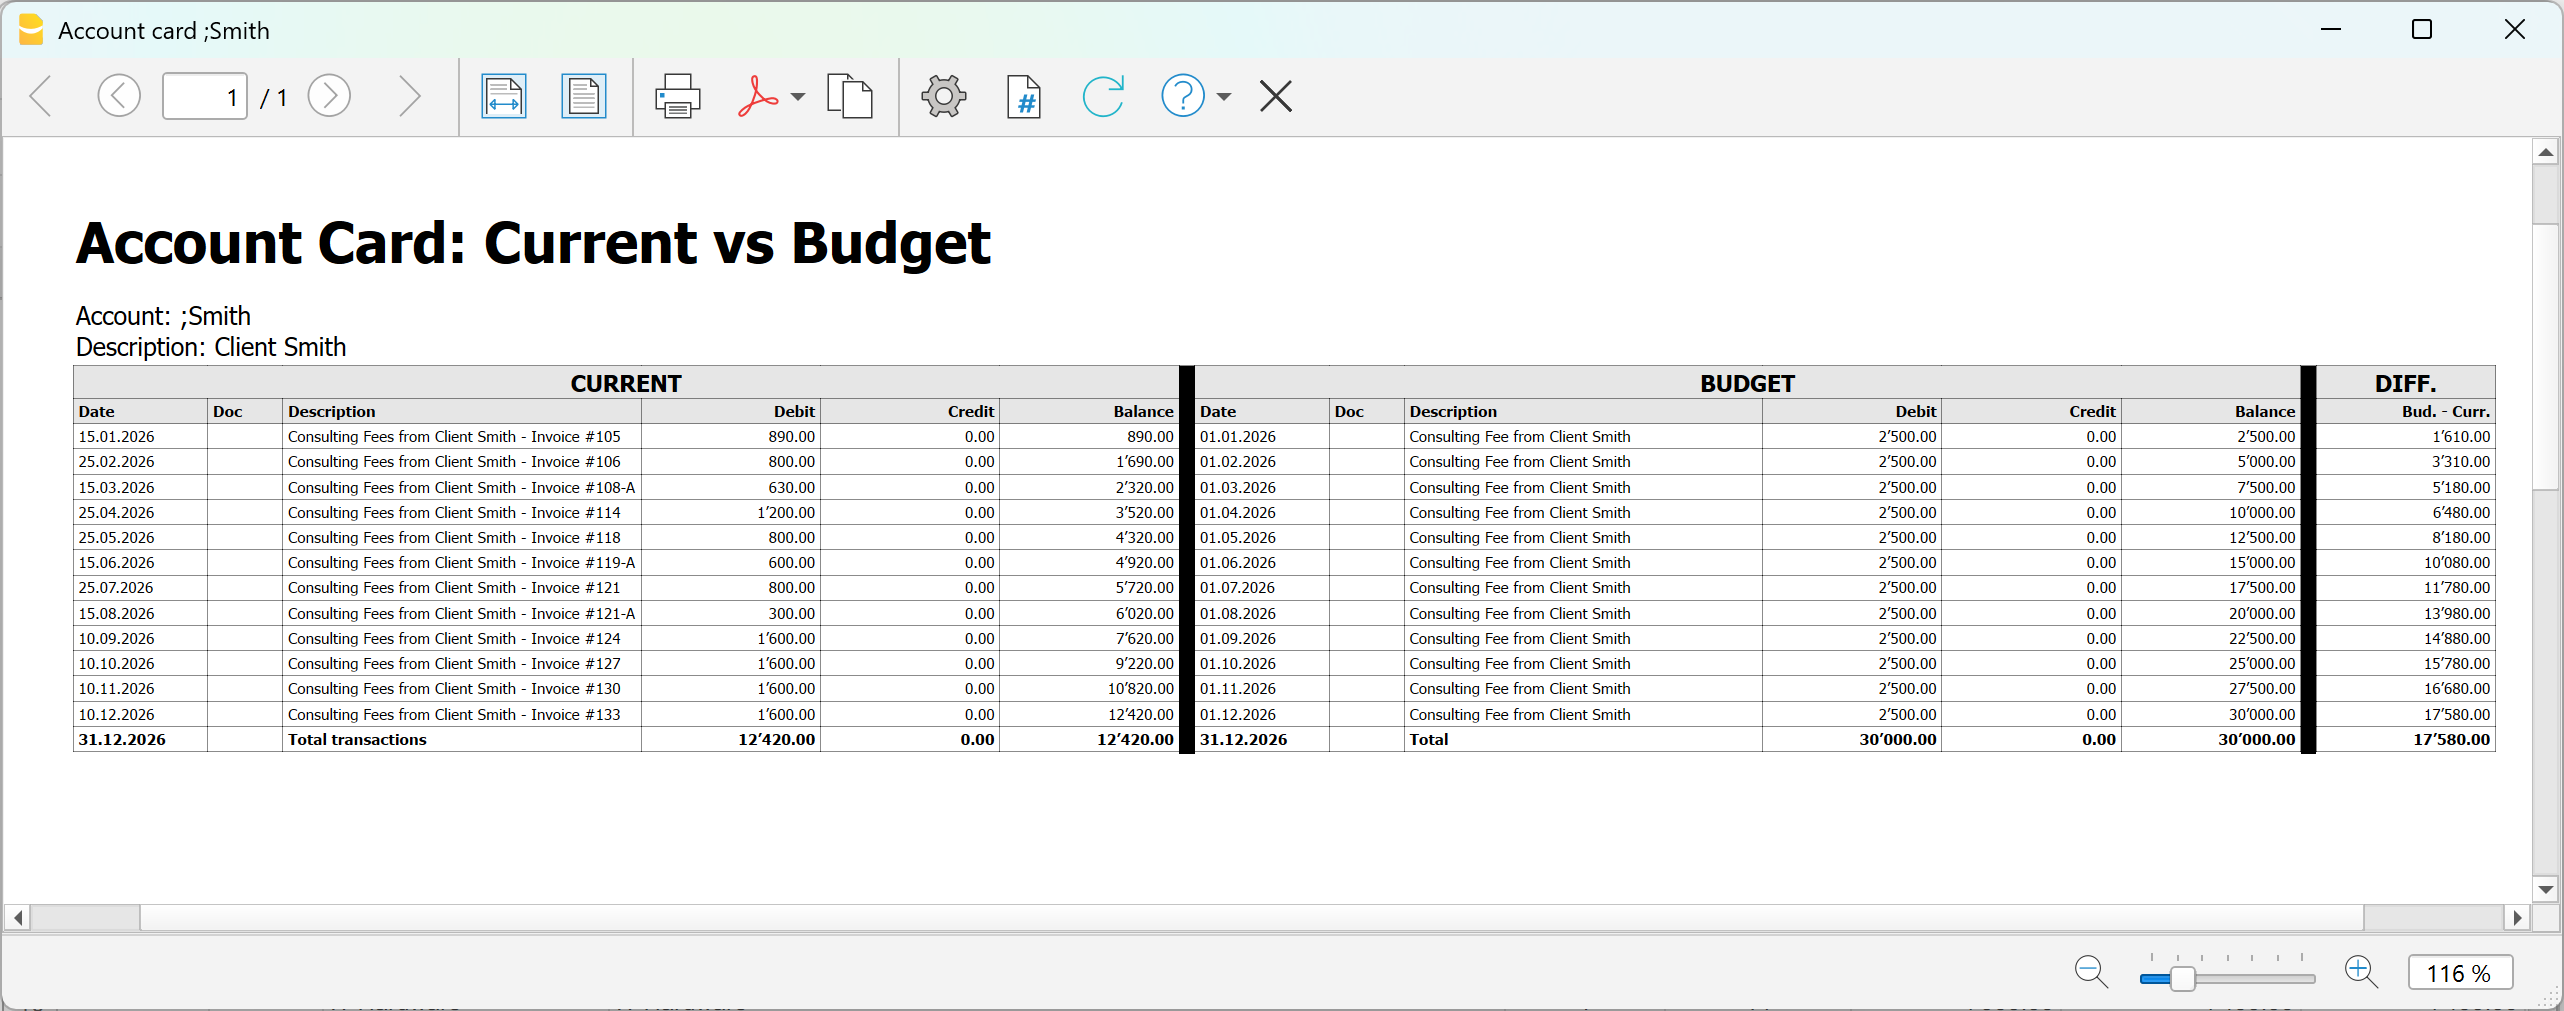
Using the new extension dedicated to the account card, which compares actual and budget transactions, you can analyze in detail:
- Customer
- Project
- Cost center
- Segment
To display the comparison between actual and budget data for an account, you need to:
- Install the Account card current vs budget extension (Beta version)
- From the menu Extensions > Manage extensions > Accout card: current vs budget (Beta version)
- In the dialog window that opens:
Double-click on Account and select from the account list the account (or category), cost center- Two account cards related to the same account are displayed side by side
- In the last column of the budget account card, the Difference column is displayed, highlighting line by line the difference in amounts between actual and budget data.
Summary
With precision financial planning, you can:
- enter detailed forecasts transaction by transaction
- automatically obtain all reports
- monitor liquidity and profitability
- compare forecasts and actual results
- progressively improve decision-making
It is not just about creating a budget, but about using an integrated system to plan and manage the financial future with professional accounting tools.
Verwaltung von Mietliegenschaften | Doppelte Buchhaltung
Verwaltung von Mietliegenschaften | Doppelte BuchhaltungFür den Einstieg in eine neue doppelte Buchhaltung konsultieren Sie bitte unsere Anleitung: Doppelte Buchhaltung beginnen
Weitere hilfreiche Informationen finden Sie in unserer Anleitung zu: Kosten- und Profitstellen
Informieren Sie sich ausserdem über: Rechnungsstellung mit Schweizer QR-Code (integrierte Fakturierung)
Non Profit templates Switzerland
Banana Accounting Plus is fast, easy, and flexible. Ideal for non-profit organizations.
Intuitive Approach
Associations rely on volunteer work, and often those handling accounting do not have advanced accounting knowledge. With Banana Accounting Plus, it is possible to manage accounting even without being an accountant, thanks to ready-to-use templates where accounts can always be modified, corrected, or deleted, just like in Excel. Banana Accounting Plus can be used confidently both in Switzerland and abroad.
Easy and Quick Guided Start
To simplify the setup, choose one of our ready-made accounting templates, adapt the accounts to your needs, and start recording transactions immediately.
After each transaction, the accounts are updated automatically, and the entered data is always visible and can be corrected at any time.
Professional Features
Once the transactions are entered, you can generate professional reports and printouts to present to members. Banana Accounting Plus offers many features, from invoicing with Swiss QR codes to automatic import of bank or postal transactions, even with the offset account.
Key features for associations include:
- Invoices with QR code for membership fees
- Letter Extension with Swiss QR Code (BETA)
- Print the member list and addresses and labels (with the help of cost center CS3)
- Project or event management
- Donation receipt for the association
- Print membership fee requests
- Various printouts
- Balance sheet and income statement
- Account statements
- Journal
Low Cost - Excellent Value for Money
Non-profit organisations often have limited budgets and aim to allocate all income to their social mission. The cost of Banana Accounting Plus is very affordable and accessible to all.
More Information
Additional Documentation
Non Profit Templates Switzerland
Banana Accounting Plus offers chart of accounts templates for associations, based on the Swiss standard model by swissaccounting.ch (formerly veb.ch), the leading Swiss accounting association.
Once you have created your accounting file, it can be fully customized to your needs by adding or removing accounts and groups.
Available Templates
To view the full list of available templates for Swiss associations, visit the Templates page.
Double-entry Accounting
Complete and professional accounting.
- Associations full chart of accounts
Ideal for a structured association that wants to manage its accounting professionally, like a company. The chart includes all accounts required by the standard.
This template also serves as a reference when adding additional accounts. - Associations simplified chart of accounts
Ideal for small associations with basic activity. The template includes only main groups and accounts. - VAT Management
Associations with commercial activity and VAT billing can use this template, which includes features and parameters for VAT management.- Full chart of accounts with VAT
- See the Federal Tax Administration for threshold information.
- Multi-currency
Income and Expense Accounting
For simple accounting using the income and expense method, including financial position and cash flow.
Cash Manager
For very simple accounting with a single account using the income and expense method, including financial position and cash flow.
Chart of Accounts Structure
In Banana Accounting Plus, the chart of accounts for associations is based on the SME chart of accounts structure developed by swissaccounting.ch (formerly veb.ch).
To download the related template, visit: Associations full chart of accounts.
Balance Sheet Structure
- Assets are divided into:
- Current assets (10)
- Fixed assets (14)
- Liabilities are divided into:
- Short-term liabilities (20)
Long-term liabilities (24) - Funds (27)
- Equity (28)
- Short-term liabilities (20)
Profit and Loss Statement
The profit and loss statement is divided into Revenues and Expenses.
- Revenues are divided into:
- Membership fees (300)
- Contribution income (310)
- Income from activities and services (330)
- Other income (360)
- Expenses are divided into:
- Costs for activities and services (4)
- Personnel costs (5)
- Administrative expenses (6)
- Depreciation and value adjustments (68)
- Financial costs and revenues (69)
- Direct taxes (89)
Cost Centers and Segments
The chart of accounts templates in Banana Accounting Plus also include cost centers.
- With cost center CC3 (;) members are managed:
- Allows to enter members' addresses and keep track of payments made
- The dedicated Extension allows printing of donation certificates
- With cost center CC1 (.) projects are managed
- With Segment (:) details for various departments or areas are managed
Section-based Reporting
Associations needing separate financial reports for different sections can use the segment functionality.
References
The chart of accounts is set up based on the structure published by veb.ch, the largest Swiss accounting association. Veb.ch also published the Swiss chart of accounts for Small and Medium Companies (SMEs), which is the standard for companies in Switzerland.
- Documentation for associations and model chart of accounts structure (in German).
A very comprehensive document for those managing an association, unfortunately available only in German.
Full List of Accounts and Groups
Below is a reference list of all accounts and groups included in the template.
| Section | Group | Account | Description | BClass | Sum In |
| * | BALANCE SHEET | ||||
| 1 | ASSETS | ||||
| 1000 | Cash on hand | 1 | 10 | ||
| 1020 | Bank account (including postal account) | 1 | 10 | ||
| 1060 | Securities | 1 | 10 | ||
| 1100 | Receivables from deliveries and services (debtors) | 1 | 10 | ||
| 1109 | Provision for doubtful debts | 1 | 10 | ||
| 1140 | Short-term advances and loans | 1 | 10 | ||
| 1176 | Withholding tax | 1 | 10 | ||
| 1190 | Other short-term receivables | 1 | 10 | ||
| 1200 | Inventories and non-invoiced services | 1 | 10 | ||
| 1300 | Accrued income and prepaid expenses | 1 | 10 | ||
| 10 | Current assets | 1 | |||
| 1400 | Securities | 1 | 14 | ||
| 1440 | Long-term loans | 1 | 14 | ||
| 1441 | Other long-term receivables | 1 | 14 | ||
| 1500 | Movable tangible assets (machinery, equipment, furniture, PCs) | 1 | 14 | ||
| 1600 | Properties | 1 | 14 | ||
| 14 | Fixed assets | 1 | |||
| 1 | Total assets | 00 | |||
| 2 | LIABILITIES | ||||
| 2000 | Accounts payable (creditors) | 2 | 20 | ||
| 2100 | Bank debts | 2 | 20 | ||
| 2140 | Other interest-bearing debts | 2 | 20 | ||
| 2210 | Other short-term debts (not onerous) | 2 | 20 | ||
| 2270 | Social insurances and social security contributions | 2 | 20 | ||
| 2300 | Accruals and deferred income | 2 | 20 | ||
| 20 | Short-term third party capital | 2 | |||
| 2400 | Bank debts | 2 | 24 | ||
| 2450 | Loans and mortgages | 2 | 24 | ||
| 2500 | Other long-term debts (not onerous) | 2 | 24 | ||
| 2600 | Provisions | 2 | 24 | ||
| 24 | Long-term third party capital | 2 | |||
| 2700 | Funds established from donations | 2 | 27 | ||
| 2710 | Funds established by the association | 2 | 27 | ||
| 27 | Fund capital | 2 | |||
| 2850 | Association’s equity | 2 | 28 | ||
| 2900 | Restricted equity of the association (funds) | 2 | 28 | ||
| 2979 | Profit or loss for the year | 28 | |||
| 28 | Equity | 2 | |||
| 2 | TOTAL LIABILITIES | 00 | |||
| * | PROFIT & LOSS STATEMENT | ||||
| 4 | INCOME | ||||
| 3000 | Membership contributions | 4 | 300 | ||
| 3010 | Active members’ contributions | 4 | 300 | ||
| 3011 | Passive members’ contributions | 4 | 300 | ||
| 3012 | ……. | 4 | 300 | ||
| 3015 | Voluntary members’ contributions | 4 | 300 | ||
| 300 | Membership contributions | 3 | |||
| 3100 | Donations and contributions from supporters | 4 | 310 | ||
| 3110 | Inheritance and bequests | 4 | 310 | ||
| 3120 | Donations/Government grants | 4 | 310 | ||
| 3130 | Revenues from fundraising | 4 | 310 | ||
| 310 | Contributions received | 3 | |||
| 3300 | Revenues from sale of goods and materials | 4 | 330 | ||
| 3310 | Proceeds from services | 4 | 330 | ||
| 3320 | Proceeds from events | 4 | 330 | ||
| 3330 | Courses and participation fees | 4 | 330 | ||
| 3340 | Rental income (material, clubhouse) | 4 | 330 | ||
| 330 | Revenues from activities and services | 3 | |||
| 3600 | Revenue from advertisements, advertising and sponsorships | 4 | 360 | ||
| 3610 | Revenues from own properties | 4 | 360 | ||
| 3620 | Other revenues | 4 | 360 | ||
| 360 | Other revenues | 3 | |||
| 3805 | Losses on receivables, changes in value adjustments | 3 | 380 | ||
| 380 | Decrease in revenues | 3 | |||
| 3 | TOTAL INCOME | 02 | |||
| 3 | EXPENSES | ||||
| 4000 | Purchase of goods and materials | 3 | 4 | ||
| 4400 | Third-party services | 3 | 4 | ||
| 4500 | Services for association purposes (e.g. expenses for active men, women and youth teams) | 3 | 4 | ||
| 4900 | Expenses for own properties (excluding interest and depreciation) | 3 | 4 | ||
| 4 | Expenses for activities and services | 4-5-6 | |||
| 5000 | Salaries | 3 | 5 | ||
| 5700 | Social insurance contributions | 3 | 5 | ||
| 5800 | Other personnel expenses | 3 | 5 | ||
| 5 | Personnel expenses | 4-5-6 | |||
| 6000 | Expenses for premises (rent) | 3 | 6 | ||
| 6100 | Maintenance and repairs, replacement of movable tangible assets | 3 | 6 | ||
| 6200 | Vehicle and transport costs | 3 | 6 | ||
| 6300 | Property insurance, charges, fees and permits | 3 | 6 | ||
| 6400 | Energy and disposal costs | 3 | 6 | ||
| 6500 | Office equipment, printers, photocopies, specialist publications | 3 | 6 | ||
| 6510 | Telephone, internet, postages | 3 | 6 | ||
| 6530 | Secretarial, accounting and auditing expenses | 3 | 6 | ||
| 6540 | Expenditures, allowances and reimbursements for board of directors and executive bodies | 3 | 6 | ||
| 6541 | Association general meeting expenses | 3 | 6 | ||
| 6542 | Board of directors meeting expenses | 3 | 6 | ||
| 6570 | IT expenditures | 3 | 6 | ||
| 6600 | Advertising and marketing expenses | 3 | 6 | ||
| 6660 | Contributions, donations, grants | 3 | 6 | ||
| 6700 | Other operating expenses of the association | 3 | 6 | ||
| 6 | Other costs and administrative expenses of the association | 4-5-6 | |||
| 6800 | Depreciation and value adjustments | 3 | 68 | ||
| 68 | Depreciation and value adjustments | 4-5-6 | |||
| 6900 | Interest expenses | 3 | 69 | ||
| 6902 | Mortgage interest and ground rents | 3 | 69 | ||
| 6940 | Fees and commissions | 3 | 69 | ||
| 6942 | Exchange losses on capital investments | 3 | 69 | ||
| 6950 | Revenues from investments (interest and dividends) | 4 | 69 | ||
| 6993 | Exchange gains on capital investments | 4 | 69 | ||
| 69 | Financial result | 4-5-6 | |||
| 8900 | Direct taxes | 3 | 89 | ||
| 89 | Direct taxes | 4-5-6 | |||
| 4-5-6 | TOTAL EXPENSES | 02 | |||
| 02 | Loss(+)/Profit(-) from Profit & Loss Statement | 2979 | |||
| 00 | Difference should be = 0 (blank cell) | ||||
| * | COST AND PROFIT CENTERS | ||||
| 04 | Members | ||||
| ;001 | Member 1 | MG | |||
| ;002 | Member 2 | MG | |||
| ;003 | Member 3 | MG | |||
| MG | Total members | ||||
| 03 | Projects | ||||
| .P1 | Project 1 | PR | |||
| .P2 | Project 2 | PR | |||
| PR | Total projects | ||||
| * | SEGMENTS | ||||
| Sectors | |||||
| :MEN | Men sector | SEC | |||
| :WOM | Women sector | SEC | |||
| :YOU | Youth sector | SEC | |||
| SEC | Total sectors |
Non-profit organization | Cash Manager (Free)
Non-profit organization | Cash Manager (Free)Banana Accounting Plus Cash Manager is a completely free application. Just a few simple steps are enough to create your file.
Create your file
- Open the template with the Banana Accounting Plus WebApp
- With the File > File Properties command, set the period, the name of your association, and the base currency (you can do the budget and accounting in any currency).
- With the File > Save As command, save the file. It is useful to include the name of the association and the year in the file name. For example: "Association-20xx.ac2".
WARNING: if you close your browser without saving, you will lose the entered data. Always save the file on your computer.
You can find all the information in our Documentation, especially on the following pages:
Non-profit organization | Income & Expenses
Non-profit organization | Income & ExpensesThe template, while simple and essential in structure, allows you to manage your accounting professionally.
- You can customize the accounts and categories at any time to suit your specific needs.
- The Accounts and Categories tables provide an immediate view of the balances for each account and category, allowing you to maintain full control over your financial situation.
- By setting up the members and donors list, you can issue invoices with the added benefit that they are automatically recorded in the accounting.
- You can speed up the entry of transactions by importing banking data and using Rules: for each imported transaction, you enter a keyword (Rule) that completes all the other elements of the transaction (counterpart, cost center, etc.); in future imports, the program will automatically complete the data whenever it finds the keyword, significantly reducing work time and minimizing errors.
Some features require a subscription to the Advanced plan of Banana Accounting Plus, such as using the new Rules, Filter and Temporary Row Sorting functions. See all features of the Advanced plan.
Create your file
- Open the template with Banana Accounting Plus WebApp
- With the File > File properties command, set the period, the name of your organization and the base currency.
- With the File > Save As command, save the file. It is helpful to include the association name and year in the file name. For example "Association...-20xx.ac2".
WARNING: if you close the browser without saving, you will lose the entered data. Always save the file on your computer.
In our Documentation you will find all the information on the various topics:
Non-profit organization with VAT | Income / Expenses
Non-profit organization with VAT | Income / ExpensesThis template, while having a simple and essential setup, allows you to manage accounting in a professional way.
- You can customize accounts and categories at any time, adapting them to your specific needs.
- The tables Accounts and Categories provide an immediate view of balances for each account and category, allowing you to maintain full control of your financial situation.
- By setting up the list of members and donors, you can issue invoices which are automatically recorded in the accounting system.
- The VAT Codes table is updated with the new 2024 VAT rates.
- To speed up the entry of transactions, you can use bank data import together with the use of Rules: for each imported transaction you enter a keyword (Rule) that fills in all other elements of the transaction (counter-account, VAT code, cost center...). In future imports, the software will automatically complete entries whenever it finds the keyword, significantly reducing work time and minimizing errors.
Some functions require a subscription to the Banana Accounting Plus Advanced Plan, such as generating the VAT report facsimile or XML file, using the new Rules features, Temporary Row Filter, and Sort. See all the Advanced Plan features.
Create your file
- Open the template with Banana Accounting Plus WebApp
- Use the File > File Properties command to set the accounting period, the name of your organization, and the base currency (you can do budgeting and accounting in any currency).
- Use the File > Save As command to save the file. It's useful to include the association's name and year in the file name. For example, "Association-20xx.ac2".
WARNING: if you close the browser without saving, all entered data will be lost. Always save the file to your computer.
To reopen the saved file, click on File > Open.
Also check out Organize your accounting files locally, on a network or cloud.
More information is available on the following pages:
Tutorial: So erstellen Sie Mitgliederrechnungen in der Einnahmen-Ausgaben-Rechnung
Tutorial: So erstellen Sie Mitgliederrechnungen in der Einnahmen-Ausgaben-RechnungDie Informationen zur Verwendung der Mitgliederfunktionen sind identisch mit denen im Tutorial Rechnungen an Mitglieder für die Zahlung von Mitgliedsbeiträgen.
Der einzige Unterschied liegt in der Buchführungsart, die hier auf der Vorlage Einnahmen-Ausgaben-Rechnung basiert.
Um dies zu ändern, wählen Sie einfach die Buchhaltungsart Einnahmen-Ausgaben.
- Konten und Kategorien lassen sich jederzeit individuell anpassen, sodass Sie die Buchhaltung optimal auf die Bedürfnisse Ihres Vereins abstimmen können.
- Die Tabellen Konten und Kategorien bieten Ihnen eine sofortige Übersicht über die Salden sämtlicher Konten und Kategorien. So behalten Sie die finanzielle Lage Ihres Vereins stets im Blick.
- Rechnungen, die Sie über die Mitgliederliste erstellen, werden automatisch in die Buchhaltung übernommen.
- Durch den Import von Bankdaten in Kombination mit individuell definierbaren Regeln zur automatischen Vervollständigung importierter Datensätze lässt sich die Buchungserfassung erheblich beschleunigen: Beim ersten Import weisen Sie einer Transaktion ein Schlüsselwort (Regel) zu, das automatisch Felder wie Gegenkonto oder Kostenstelle ausfüllt. Bei zukünftigen Importen erkennt das Programm dieses Schlüsselwort und ergänzt die Buchung automatisch – das spart Zeit und reduziert Fehlerquellen.
Durch das Öffnen der Datei dieses Tutorials können Sie Tests durchführen oder sie als Grundlage für Ihre eigene Buchhaltungsdatei verwenden, indem Sie die Buchungen und Anfangssalden manuell löschen.
Einige Funktionen – wie erweiterte Regeln sowie temporäre Filter- und Sortierfunktionen – erfordern ein Abonnement des Advanced-Plans von Banana Buchhaltung Plus.
Sehen Sie sich alle Funktionen des Advanced-Plans im Überblick an.
Erstellen Sie Ihre Datei
- Öffnen Sie die Vorlage mit der WebApp von Banana Buchhaltung Plus.
- Legen Sie unter Datei > Eigenschaften (Stammdaten) den Zeitraum, den Vereinsnamen sowie die Basiswährung fest.
- Speichern Sie die Datei über Datei > Speichern unter. Wir empfehlen, im Dateinamen den Vereinsnamen und das Jahr anzugeben (z.B. Verein-20XX.ac2).
WICHTIG: Wenn Sie den Browser schliessen, ohne die Datei zu speichern, gehen alle eingegebenen Daten verloren. Speichern Sie daher immer eine Kopie lokal auf Ihrem Computer.
Um die gespeicherte Datei erneut zu öffnen, wählen Sie den Menübefehl Datei > Öffnen.
In unserer Dokumentation finden Sie ausführliche Anleitungen zu verschiedenen Themen, mit denen Sie Ihre Buchhaltung optimal verwalten können:
Non-profit organization | Double-Entry Accounting
Non-profit organization | Double-Entry AccountingTutorial created based on the information available on the site www.swissaccounting.ch (formerly www.veb.ch). The chart of accounts is structured according to the system developed by Herbert Mattle and Dieter Pfaff.
More information:
- Swissaccounting.ch (German) - PDF document and useful information for efficiently managing finances and accounting, complying with legal and insurance regulations.
- Kmu.admin.ch - Useful information for establishing an association
Set up your file
- Create a new file starting from this template (Template ID +10940), using one of the methods explained.
- From the File > File properties menu, set the period and the company name.
- From the File > Save As menu, save the file. It's useful to include the association's name and year in the file name. For example, "Association XX-2025.ac2".
See also Organising accounting files locally, on a network, and in the cloud.
Accounts Table
In the Accounts table of this tutorial, you will find the balance sheet and income statement accounts already set up. To get intermediate totals and more detailed views, the main groups are divided into various subgroups. You can fully customize the chart of accounts according to your needs.
The Balance Sheet accounts are divided into groups and subgroups: Current Assets, Fixed Assets, Total Assets; Short-term Liabilities, Long-term Liabilities, Funds, and Equity. The Income Statement is in a stepped format. Cost and profit centers are available to manage members and projects, as well as segments to manage different activity sectors.
Assets
Assets are divided into the following main groups:
- Current Assets
- Fixed Assets
Liabilities
Liabilities are divided into three main groups:
- Short-term liabilities
- Long-term liabilities
- Equity
In the Accounts table, in the Opening column, enter the opening balance for each account.
When moving to the new year, the opening balance is carried over automatically from the menu Actions > Create New Year.
After each entry, the columns of the Accounts table are immediately updated, giving you a clear and immediate view of the financial situation.

Income Statement
The income statement is divided into Revenues and Costs with the following subgroups:
Revenues
- Membership fees
- Revenue from contributions
- Revenue from activities and services
- Other revenue
Costs
- Costs for activities and services
- Personnel costs
- Administrative costs
- Depreciation and value adjustments
- Financial costs and revenues
- Direct taxes

Other Elements of the Chart of Accounts
At the end of the chart of accounts, profit centers are set up to provide detailed information for the following groups:
- List of members, managed with CC3 (;) - Allows you to view details for each member, as well as print subscriptions and donation certificates.
- Projects, managed with CC1 (.) - To view details for each project.
- Activity sectors, managed with Segments - To know which sector was most successful and generated more profit.

Plan Liquidity
Liquidity is the main pillar of the Association: it allows activities to be carried out to achieve the set goals, to forecast in advance how much liquidity will be available while minimizing risks, and to constantly check whether the budget approved by the general meeting is being followed.
Banana Accounting Plus gives you the ability to create both liquidity planning and the economic budget.
Discover the various Forecasting features in our Documentation:
Enter Budget Transactions
You enter the budget in the Budget table, using the double-entry accounting method. You use the same chart of accounts already available for general accounting. You simply start recording the transactions that usually occur each month, entering only one record. You should also include operations that happen once a year or repeat quarterly. The table includes the Repeat column, which, based on the period option you enter, allows the program to automatically calculate the total with all details.
When entering transactions, record the accounts in Debit and Credit as if you were entering actual accounting data. This way, by using all accounts available in the chart of accounts, you will have all movements for liquidity, other balance sheet accounts, and the income statement.

For revenues, it is more difficult to make forecasts. We recommend entering the amounts based on revenues from the same period of the previous year, evaluating upcoming events or focusing on other special events, such as the purchase of new equipment or other investments.
Always record in the Budget table, using the accounts from the income statement and liquidity accounts.
Budget Account Card
If you enter your Budget, you can view all data grouped by each cost or revenue item in the respective cards, just like with actual recorded data.
This way, you can see all details of each account card or group and constantly check whether the budgeted data matches the recorded data, thanks to the graph that provides an immediate visual for comparisons.
To activate one or more Budget account cards, proceed as follows:
- Menu Report > Account cards > activate Budget entries.

Financial Planning Balance Sheet
Once you've completed your forecast entries, by viewing the balance sheet and income statement, you can see the impact on liquidity. You can always go back to the Budget table and change the amounts where necessary.
Cash flow planning is a very effective and successful strategy that allows you to make more prudent decisions regarding the association’s activities.
To view the financial planning balance sheet, click:
Menu Report > Enhanced balance sheet with groups > in the Columns section, activate Budget in the balance sheet.

Forecast of Costs and Revenues
In the income statement, you can assess the impact of your forecast on costs and revenues and understand if the forecasted revenues will be sufficient to cover the costs.
To view the financial planning balance sheet, click:
Menu Report > Enhanced balance sheet with groups > in the Columns section, activate Budget in the Income Statement.

Record Actual Transactions
In the Transactions table, enter all daily movements. If you want to speed up the entry process, we recommend using Banana’s various features:
- The Data entry with autocomplete function automatically recalls previously entered data.
- The Recurring Transactions function (under the Actions menu) lets you save repetitive entries in a dedicated table.
- Importing data from bank statements automatically retrieves all bank transactions.
- You can link each transaction to its related digital document, and with a single click view the document.
See also Accounting file and digital receipts to better organize your documents. - Use the Sort rows by date command to sort rows in chronological order.
- Use the Print/Preview command to print or export the journal in PDF format.

Enhanced Balance Sheet
To view the Balance Sheet, click on the Report menu and then the Enhanced Balance Sheet or Enhanced Balance Sheet with groups command. You can customize the statement with the columns you wish to display, such as also including the budget column or balance sheet by period.
- The Enhanced Balance Sheet shows all accounts without any subgroups.
- The Enhanced Balance Sheet with groups displays all accounts including the subgroups.

Check Balances Against Budget
When the actual data has been recorded, you can view the Balance Sheet and Income Statement and compare them with the budget. Monitoring the comparison is an excellent way to check whether everything is proceeding as planned or if you need to adjust some amounts to better match the accounting values and avoid compromising future forecasts.
To obtain the balance sheet with actual and budgeted comparisons, click:
Menu Report > Enhanced balance sheet with groups > in the Columns section, activate Current, Budget, and Difference for both the Balance Sheet and the Income Statement.

Invoices to members in double-entry accounting
Invoices to members in double-entry accountingCreate your file
To get started quickly, we recommend downloading the template provided at the beginning of this page, or opening it directly from the program as follows:
- Open the template with the Banana Accounting Plus WebApp
- Using the File > File Properties command, set the period, your organisation's name, and base currency
- Using the File > Save As command, save the file. It's useful to include the name of the organisation and the year in the filename. For example "Association...-20xx.ac2".
Enter the basic information of the organisation
In the menu File > File Properties > Accounting, enter your organisation’s data, start and end dates, and base currency.
In the Address section, fill in the required fields. These details are essential for invoice headers.

Insert the logo and define the invoice header position
To insert the organisation’s logo and define the position of the various headers on the invoice, go to the menu File > Set Logo.
For more details, visit the page Set Logo

Enter members' data
In the Accounts table, at the end of the chart of accounts, enter all members of the organisation using the cost center CC3, which uses a semicolon.
In the Addresses view, fill in the various columns with the members' details. For each member, you can specify the invoice language in the Language column.
If you selected a different template that does not include the Addresses view, you can activate it from the menu Tools > Add New Features > Add Addresses and fill in the requested columns.

Set the Members Group
Once you have created the member list with a grouping code, you need to define this group in the invoice settings:
From the menu Report > Customers > Settings, select the members' grouping code. In our tutorial it is indicated as TM (Total members).

Prepare and print member invoices
Enter the invoice data in the Transactions table. You only need to fill in the following fields:
- Date
- Description
- Invoice number (essential for invoice printing)
- Membership fee amount
- In the CC3 column, enter the cost center for the member that you defined at the end of the chart of accounts, but without the semicolon.
- The Debit and Credit columns remain empty.

Now you're ready to print the invoices. Proceed as follows:
- From the menu Report > Customers > Print Invoices, access the dialog where you can select one or more invoices to print, choose the layout, and adjust settings for customization.

In the Options section, you can enter notes for the member and define the language.

Invoice

Further information:
- Layout with Swiss QR Code (Banana+)
- Import ISO 20022 file (See section on national specifications)
Non-profit organisations with VAT | Double-entry accounting
Non-profit organisations with VAT | Double-entry accountingChart of accounts structured with groups and subgroups. Swiss VAT codes are already set up to automatically generate a sample VAT return and the XML file for electronic submission of VAT data on the FTA’s online platform (available only with the Advanced plan). Member and project management using cost centers.
The chart of accounts has a stepped format that allows you to see the composition of the operating result even at intermediate stages.
- You can customize the accounts to suit your specific needs.
- By setting up the member list, you can issue invoices for subscription fees, with the advantage of having them automatically recorded in the accounting.
- The VAT Codes table is updated with the new 2024 VAT rates.
- To speed up data entry, you can import banking transactions using Rules: for each imported transaction, enter a keyword (Rule) to automatically complete the other elements of the transaction (counter account, VAT code, cost center...); in future imports, the program will automatically complete the transaction every time it finds that keyword, significantly reducing workload and minimizing errors.
Many automation features, such as importing banking data using Rules, the sample VAT Form with the new 2024 rates, the XML file for electronic VAT submission, filters, and many others, are included exclusively in the Banana Accounting Plus Advanced plan.
Create your file
- Open the template with the Banana Accounting Plus WebApp
- Use the File > File Properties command to set the period, your organisation’s name, and base currency (you can do budgeting and accounting in any currency you choose).
- Use the File > Save As command to save the file. It is useful to include the organisation name and year in the filename. For example: "Association...-20xx.ac2".
WARNING: if you close the browser without saving, you will lose any data entered. Always save the file to your computer.
In our Documentation you’ll find all the information and insights to manage your accounting effectively:
Non-profit organisations | Multi-currency double-entry accounting
Non-profit organisations | Multi-currency double-entry accountingManage members, projects, and activities using cost centers and segments. Automated member subscriptions and donation certificates.
In our Documentation you’ll find all the information and insights to manage your accounting efficiently:
Non-profit organisations with VAT | Multi-currency double-entry accounting
Non-profit organisations with VAT | Multi-currency double-entry accountingChart of accounts with a very simple structure of groups and subgroups. Swiss VAT codes are already set up to automatically generate a sample VAT report and the XML file for electronic VAT data submission to the FTA’s online platform (Advanced plan only).
All the settings and features you need for:
- Creating and printing invoices with Swiss QR code
- Importing data from bank statements
- Setting up Rules to save and automate the completion of transactions imported from bank statements.
- Managing VAT according to the new VAT rates
- Managing cost centers, customizable to suit your needs to get detailed insights into specific accounts.
- Creating budgets and financial forecasts
- Printing all the reports you need: Balance Sheets, Journal, Account Cards, VAT Reports, Open Invoices and much more.
For managing VAT with the new rates, you can find detailed information on the VAT Management page.
Some features require a subscription to the Banana Accounting Plus Advanced plan, such as generating the sample or XML VAT Report, using new features like Rules, Filter and Temporary Row Sorting. See all Advanced plan features.
Create your file
- Open the template with the Banana Accounting Plus WebApp
- From the menu File > File Properties set the period, your company name, and base currency in any currency you want.
- From the menu File > Save As, save the file. It’s useful to include your company name and year in the file name. For example: "Rossi-SA-20xx.ac2".
- In the Exchange Rates table, set up foreign currencies always in reference to the base currency. Opening exchange rates are set only the first time Banana Accounting is used. At the new year transition, these are automatically carried forward using the closing exchange rates as of 31.12.
WARNING: If you close the browser without saving, you will lose any entered data. Always save the file to your computer.
To reopen the saved file, click on File > Open.
In our Documentation you’ll find all the information and insights you need to manage your accounting effectively:
GAAP FER 21 Templates
The chart of accounts we offer is set up according to the NGO model, as published in the PDF manual by the FGC (Fédération Genevoise de Coopération), where the SWISS GAAP RPC standards are presented and the proper accounting practices are explained.
Gemeinnützige Nonprofit-Organisationen | Vorlage gemäss den Swiss GAAP FER 21 Normen | Doppelte Buchhaltung
Gemeinnützige Nonprofit-Organisationen | Vorlage gemäss den Swiss GAAP FER 21 Normen | Doppelte BuchhaltungDer von uns vorgeschlagene Kontenplan ist nach dem NGO-Modell (Non-Governmental Organisations bzw. Nichtregierungsorganisation) aufgebaut, das im PDF-Handbuch der FGC (Fédération genevoise de coopération) veröffentlicht ist, in dem die SWISS GAAP RPC-Standards vorgestellt und die korrekte Buchführung erläutert werden.
Referenzen:
Enthält auch Kostenstellen, um Mitglieder, Projekte und Segmente zu verwalten.
In unserer Dokumentation finden Sie alle Informationen und Erkenntnisse, die Sie benötigen, um Ihre Buchhaltung optimal zu führen:
Gemeinnützige Nonprofit-Organisationen | Vorlage gemäss den Swiss GAAP FER 21 Normen | Doppelte Buchhaltung mit Fremdwährungen
Gemeinnützige Nonprofit-Organisationen | Vorlage gemäss den Swiss GAAP FER 21 Normen | Doppelte Buchhaltung mit FremdwährungenDer von uns vorgeschlagene Kontenplan ist nach dem NGO-Modell (Non-Governmental Organisations bzw. Nichtregierungsorganisation) aufgebaut, das im PDF-Handbuch der FGC (Fédération genevoise de coopération) veröffentlicht ist, in dem die SWISS GAAP RPC-Standards vorgestellt und die korrekte Buchführung erläutert werden.
Referenzen:
https://fgc.federeso.ch/sites/default/files/fgc_manuel_rpc21.pdf
In unserer Dokumentation finden Sie alle Informationen und Erkenntnisse, die Sie benötigen, um Ihre Buchhaltung optimal zu führen:
Membership list
To manage your members, you can start from one of the following templates (with example entries):
- Income/Expense Accounting for Associations in Switzerland
- Double-entry Accounting for Associations in Switzerland
With Banana Accounting Plus, you can set up a member list with address data and other configurations. You can then automatically generate:
- Member Invoicing (using integrated invoicing)
- Member account cards with all transactions and balances
- Donation certificate
- Letters to members / Mail merge
Below is how to set up the member list as cost centers (cash-based accounting).
In a later section, you’ll find how to set up the member list with active accounts if using accrual accounting.
Set up member accounts – cash-based accounting
Associations that use cash-based accounting must configure member accounts with cost center CC3 (;). Membership fees are recorded as income upon receipt. The member code appears as supplementary information.
- In the Section column, insert an asterisk to change the section.
- In the next row’s Section column, insert 04 for income.
- Use cost center CC3 (;) for each member account.
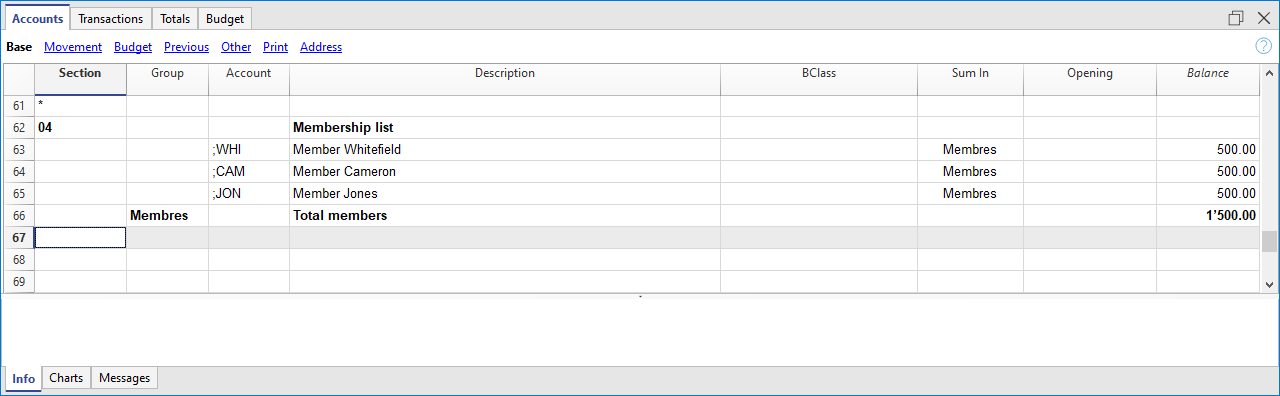
Enter address data
Member data such as address, phone, and email are entered in dedicated columns visible in the Addresses view. If the view is not visible, add it from the menu Tools > Add/Remove Features > Add Address columns in Accounts table.
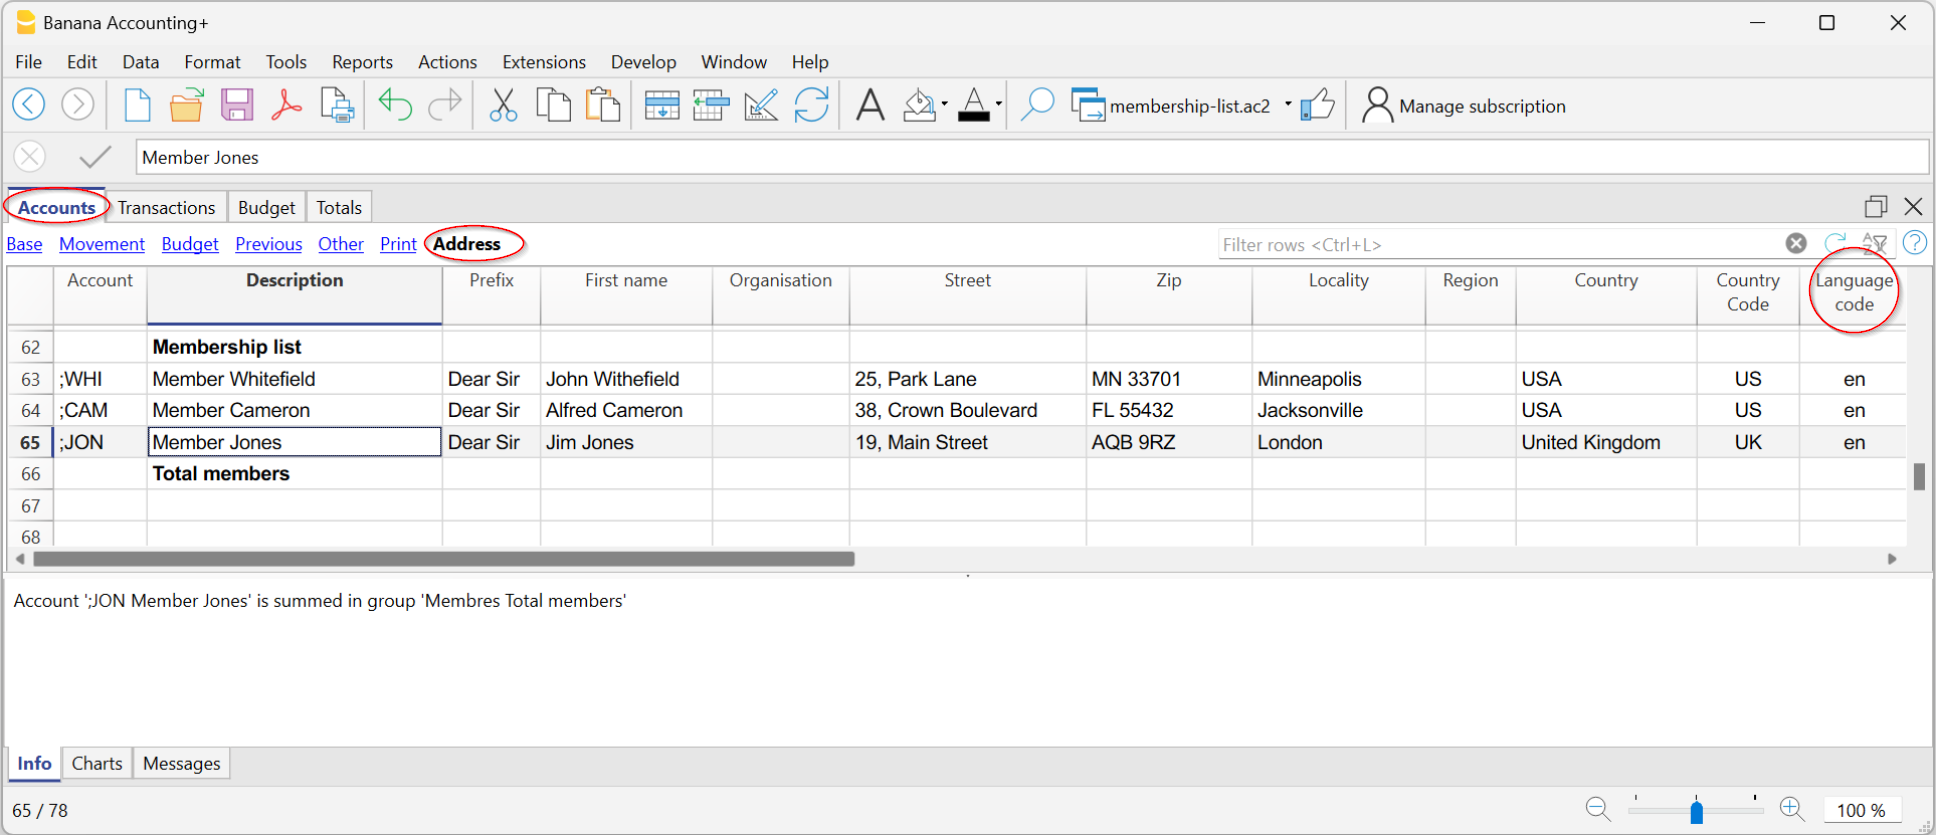
Enter membership fee payments in CC3
Payments and other entries related to members are recorded in the Transactions table. If members were set up with CC3, record as follows:
- Enter date and document number
- Enter description
- In the Debit column, enter the bank account; in Credit, the donation income account
- In the CC3 column, enter the member account (without punctuation)
If the CC3 column is not visible, go to Data > Organize Columns > CC3 and enable visible.

You can view each member’s transactions and balance in the account card by clicking the blue icon in the cell, or via Reports > Account cards.

Invoices for membership fees
With entries set (either with CC3 or ledger), you can generate membership fee invoices:
- From the menu Reports > Customers > Print invoices, access the dialog to customize and print invoices.
For more details, see the tutorial Invoices for membership fees.

Donation certificate for members
If income is recorded with member information, you can use the extension to print donation certificates. This automatically prepares a letter with member payment info.
Print member list
- Select the member rows in the Accounts table
- Go to File > Print and choose Print selection
You can also use the Extract Rows command to filter accounts, then print the displayed table.
Export member data
- Use the Extract Rows command
- Copy/paste data from Banana Accounting Plus into Excel
- Export data to CSV or Excel
Set up member accounts – accrual-based accounting
Associations using accrual accounting can set up members as standard asset accounts or subledger accounts at the end of the chart of accounts.
The fee is recorded as income when the invoice is issued (or at the start of the period) by debiting the member account. Upon payment, the member account is credited.
Detailed instructions on setting up member accounts in this case are the same as for Customer subledger.

Registering and invoicing membership fees with member subledger
- Enter the date and document number
- Enter the description and invoice number
- In the Debit column, enter the member account; in Credit, the donation income account

Related documents
Donation certificate for non-profit organizations
Banana Accounting Plus allows you to create donation certificates in letter format for non-profit organizations in Switzerland in a very simple, fast way and without the need for external tools like Word.
This extension is only available with the Integrated invoicing.
For more information, see the page:
The following templates are available to get started (with examples):
- Income/Expense accounting for non-profit organisations in Switzerland
- Double-entry accounting for non-profit organisations in Switzerland
Related documents
QR invoices to members
Banana Accounting Plus allows you to create QR-coded invoices for Switzerland, including the letters to be sent to members.
More information can be found at the following links:
- QR-code Invoices to members for annual membership fees
- Letter with Swiss QR slip to be sent to members
- Bulk QR-Invoices from Excel data list - Advanced plan only
With the Advanced plan of Banana Accounting Plus you can create more customisations and get free support for up to 3 cases per year.
Free text letter
The extension allows you to create a free text letter for the members registered in Banana Accounting Plus (Accounts table).
For more information visit the page:
Letters to members with mail merge of Word
Banana Accounting allows you to export data, which can be used to create documents in Word. For example, you can create letters of request for payment of associative fees where addresses are inserted thanks to the Word mail merge command.
Suppose we want to write a letter to be sent to each member: the content of the letter will be the same for all, but the address must be different for each letter. To avoid editing all addresses manually, we can use the Word mail merge feature .
Below we explain how to use the function with Windows, for Mac please refer to the relevant documentation of Word.
Use the following steps:
- Create a Membership list in Banana Accounting (Income & Expense Accounting or Double-entry accounting file).
- Export the address lines from Banana Accounting in HTML format.
- Use the Print merge feature of Word.
Reference documentation
Export address lines from Banana Accounting in HTML format
The first step is to export addresses from Banana Accounting in html format, so that Word can read and use them:
- In the Accounts table select Address view.
- Select the lines of the addresses that you wish to export.
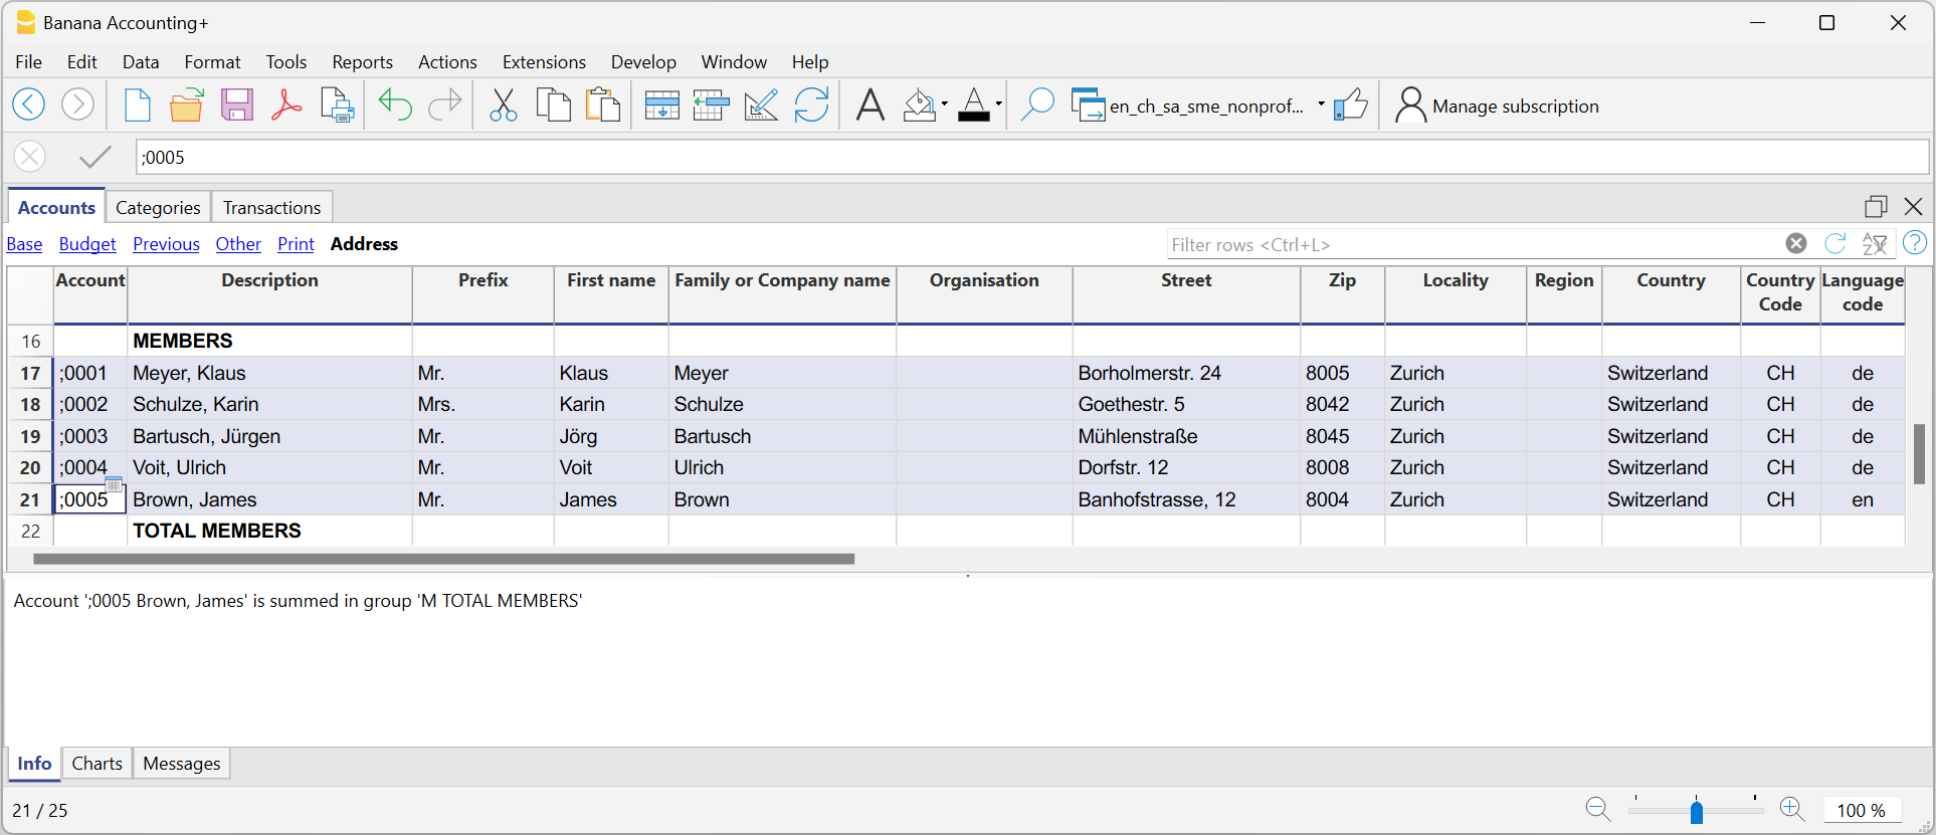
- From the Data menu select > Export rows > Export rows to Html
- In the dialog window:
- Enter the file name
- Click Browse... to select the file save location
- Insert a text in Header 1. The other fields are optional
- Make sure the Export selection only zone option is checked.
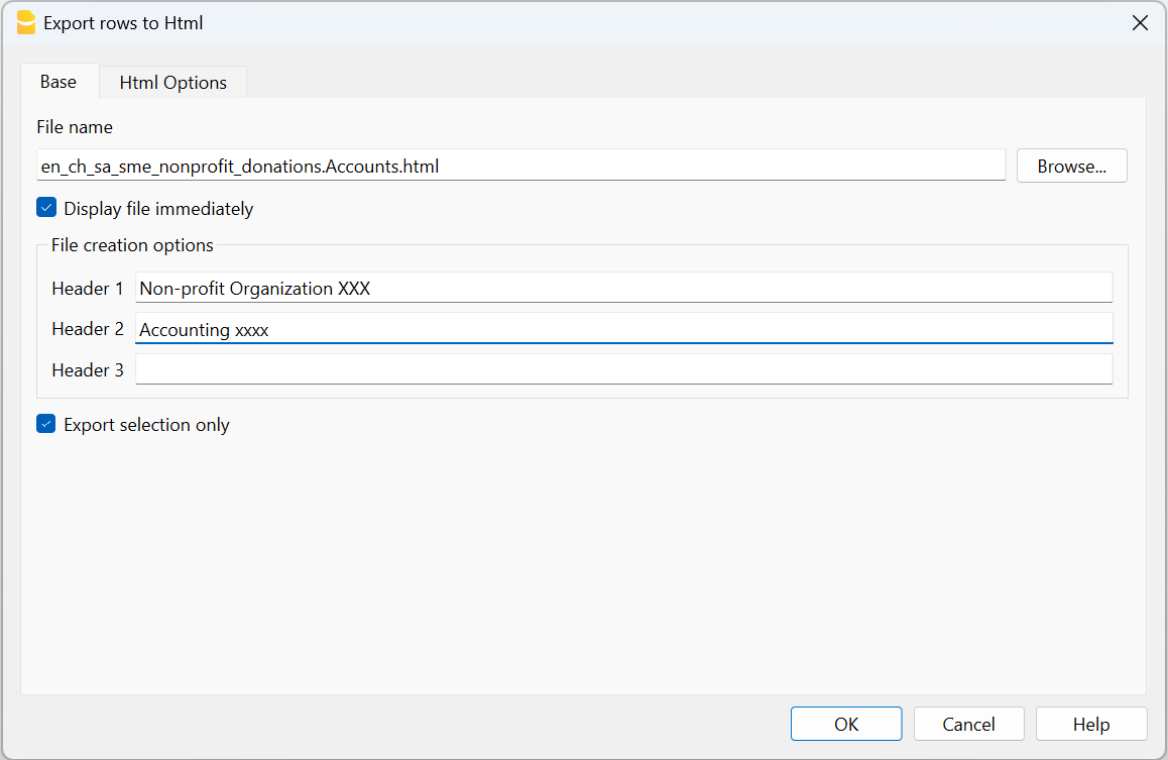
Open the Html Options section and make sure the options are displaying as shown in the image below.
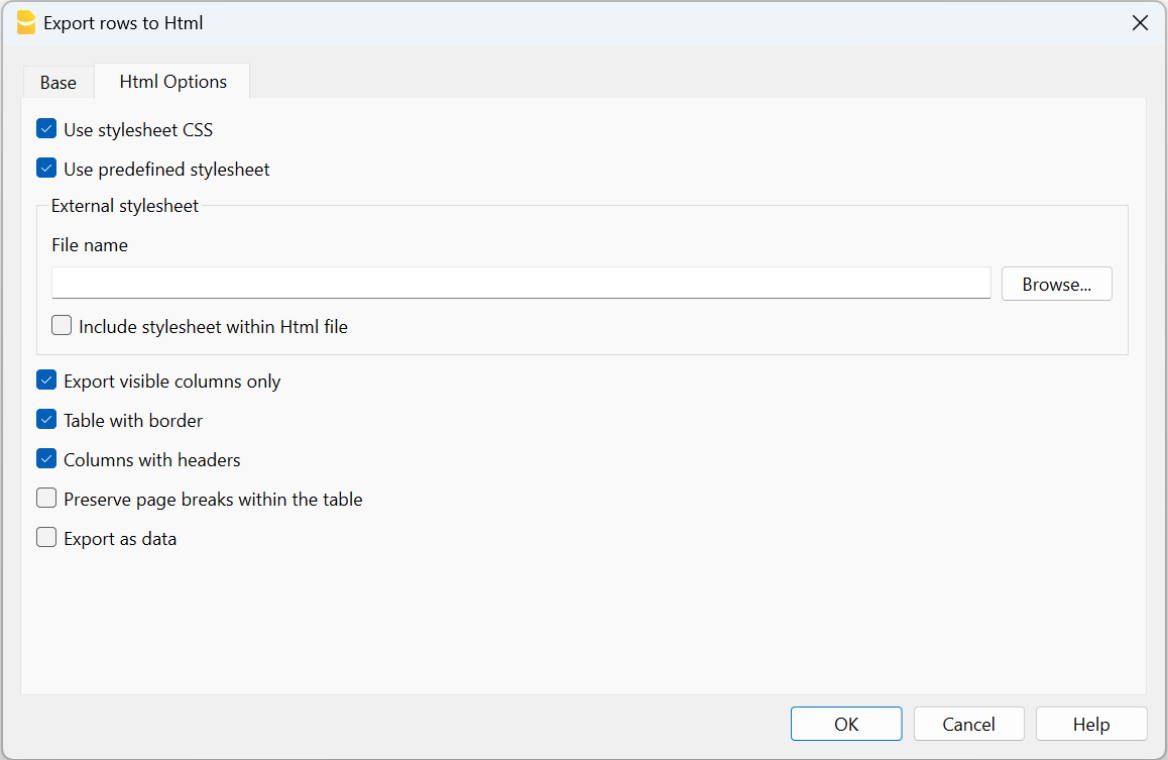
- Click OK to finalise the export of the lines in html format
Use the mail merge feature of Word
After export of addresses in html format, you can start working with Word and use the mail merge feature.
The procedure to follow is described below, but we recommend that you visit the Microsoft
- Create the letter:
- open Microsoft Word
- select the Mailings tab
- select Start Mail Merge
- select Letters
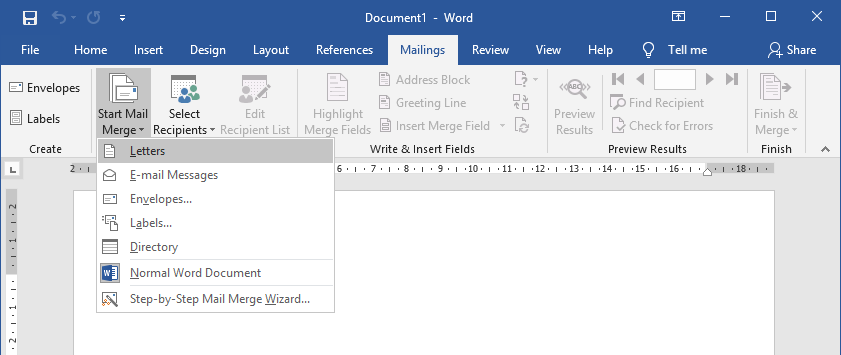
- type in the content of the letter in Word inserting the text that will be repeated for each document.
- Link the exported addresses of the HTML file to the Word document:
- in the Mailings tab select Select Recipients
- select Use an existing list
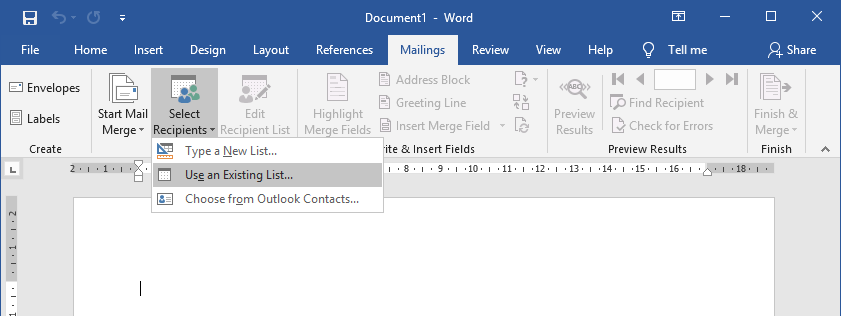
- select the .html file exported from Banana
- confirm with OK in the appearing window
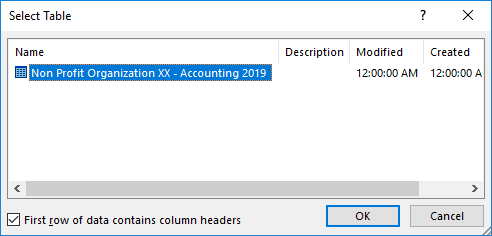
- Add the addresses:
- Place the cursor where you want the address to be inserted in the Word document, (for example, at the top of the page)
- In the Mailings tab select Insert Merge Field
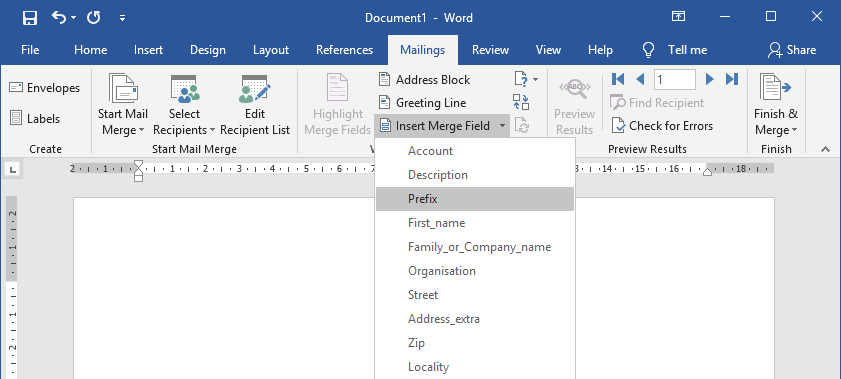
- One by one, select the address fields you wish to add
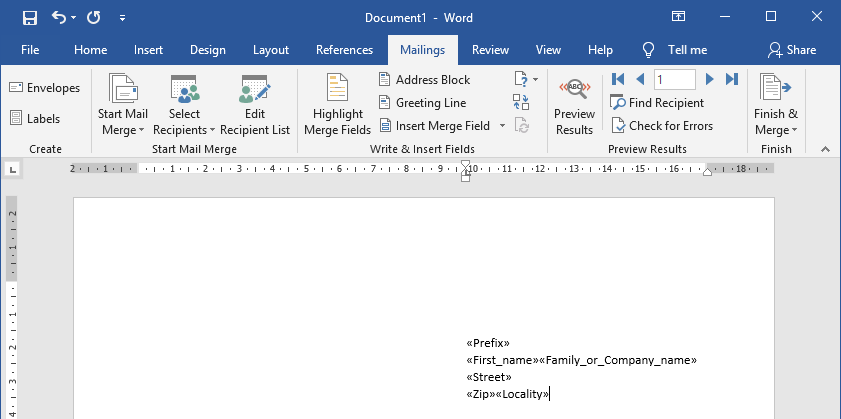
- Check with Preview Results using the forward
 and back
  darts
darts
- Print the letters:
- select Finish & Merge > Print Documents... to print all letters
- select Finish & Merge > Edit individual Documents... and All to eventually modify and save the letters
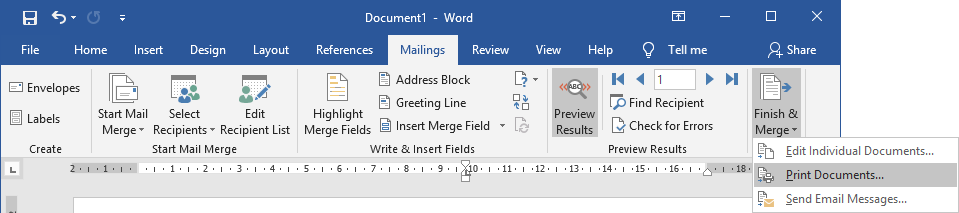
- Send messages by email:
As an alternative to step 4, you can choose to send letters by email.
For each member will be used the email address specified in the address view in Banana Accounting. If there are no email addresses you need to add them, and eventually export again the address lines in HTML format so that the exported file also contains the email addresses.
It is also necessary to install and use Outlook as email program. It's not possible to use the web version. More information at Use mail merge to send bulk email messages.
To send email messages:- select Finish & Merge > Send Email Messages...

- In the field "To" select Email_work (the column used in Banana Accounting for entering the email address).
- In the field "Subject line" enter the subject text of the email.
- In the "Mail Format" field select HTML (default setting).
- Select All to send the email to all members.
- Confirm with OK.
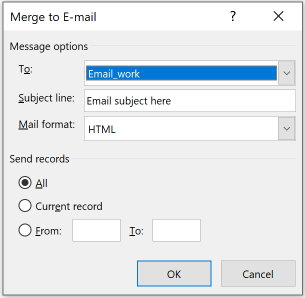
- select Finish & Merge > Send Email Messages...
La contabilità Immobiliare Svizzera
Banana Contabilità Plus permette di tenere in modo facile e veloce la contabilità di un immobile a reddito o di un condominio, anche se non sei uno specialista. Il programma mette a disposizione diversi modelli pronti all'uso, da scegliere in base al tipo di immobile da amministrare e al livello di familiarità con la contabilità di chi lo gestisce.
Con Banana Contabilità Plus puoi:
- Tenere sotto controllo acconti spese, affitti e pagamenti ai fornitori.
- Sapere sempre chi ha pagato e chi è in ritardo.
- Registrare facilmente le spese per manutenzioni, artigiani e servizi.
- Ottenere un rendiconto professionale a fine anno pronto da stampare o inviare per e-mail completo di tutti i giustificativi.
Per iniziare, è importante chiarire il tipo di immobile vuoi gestire:
- Condominio o Proprietà per Piani (PPP): edifici con più proprietari, che condividono spese e aree comuni.
- Immobile a reddito: beni di proprietà di una sola persona o società, che generano reddito affittandoli a terzi.
Ogni immobile può essere composto da una o più unità immobiliari (appartamenti, uffici o negozi), che possono appartenere a un unico proprietario oppure a più comproprietari.
Dopo aver definito la tipologia di gestione dell’immobile, puoi scegliere il modello di piano contabile più adatto.
Condominio (PPP)
Un condominio (anche chiamato proprietà per piani, comproprietà o PPP) è un edificio suddiviso in più unità immobiliari (appartamenti, uffici o negozi), che di regola appartengono a proprietari diversi. In alcuni casi, un singolo proprietario può possedere più unità all’interno dello stesso edificio.
Nei condomini la contabilità è organizzata come segue:
- ogni comproprietario può usare una o più delle proprie unità per scopi privati, senza affittarle;
- oppure decidere se affittarle (e quindi gestire anche una contabilità da immobile a reddito).
In base a questa distinzione, un condominio si articola in due livelli di gestione:
- la gestione condominiale (PPP), che riguarda la contabilità comune per gestire le spese e le aree condivise, come la manutenzione delle scale, del giardino, del tetto, ecc., di regola effettuata dall'amministratore;
- la gestione delle singole unità, effettuata separatamente dai rispettivi comproprietari che le danno in affitto.
In sintesi, chi amministra un condominio gestisce la contabilità delle spese comuni (scale, giardino, manutenzione generale), mentre le spese relative a una singola unità immobiliare, anche se sfitta, sono a carico del rispettivo proprietario, indipendentemente dal fatto che si tratti di un appartamento, un ufficio o un negozio.
Immobile a reddito
Un immobile a reddito è un edificio (o anche un singolo appartamento) con un solo proprietario, che genera un reddito grazie agli affitti pagati dagli inquilini.
L'edificio può essere composto da diverse unità, come appartamenti, uffici o negozi che il proprietario affitta in cambio di una pigione mensile.
Il proprietario tiene la contabilità completa di tutte le entrate (affitti) e delle uscite (spese di manutenzione, fornitori, assicurazioni, ecc.), per monitorare la redditività dell’immobile.
Anche nel caso in cui un proprietario possieda un solo appartamento e lo dia in affitto, questo rientra comunque tra gli immobili a reddito e segue le stesse regole contabili.
Chi gestisce un immobile a reddito deve gestire tutte le spese: sia di quelle relative agli spazi comuni, sia di quelle relative alle singole unità immobiliari.
Modelli per la contabilità immobiliare
Scegli ora il modello di Banana Contabilità Plus più adatto alle tue esigenze consultando la sezione qui sotto, dove trovi i modelli suddivisi per tipo di contabilità immobiliare:
- Modelli per la contabilità immobiliare di condomini (PPP)
- Modelli per la contabilità immobiliare di appartamenti o immobili a reddito
Come scegliere il modello da utilizzare
Decidi quale modello di contabilità immobiliare fa al tuo caso attraverso questo diagramma di flusso. Con il termine “oggetto immobiliare” si intende una singola unità, che può essere un immobile, un appartamento, un ufficio o un negozio:

Gestione Condomini (PPP) Svizzera
Questa pagina è dedicata ai modelli di Banana Contabilità Plus per l’amministrazione di condomini in Svizzera, anche chiamati PPP, proprietà per piani.
Per capire se questa tipologia di modelli è adatta al tuo caso, consulta la pagina introduttiva Modelli Contabilità Immobiliare Svizzera, dove trovi le differenze tra i modelli per condomini (PPP) e quelli per immobili a reddito.
I modelli presentati in questa pagina sono pensati per gestire in modo strutturato la contabilità di un condominio e coprono le operazioni più comuni, dalla registrazione delle spese alla ripartizione degli importi tra i proprietari. Nel resto della pagina trovi una descrizione dei modelli disponibili e le istruzioni operative per iniziare a lavorare nel programma, con indicazioni passo passo su come creare il file e inserire le prime registrazioni.
Il software di Banana Contabilità Plus propone due modelli utili per la gestione della contabilità dei condomini:
- Modello per condomini | Contabilità Entrate/Uscite: metodo più semplice se non conosci la contabilità in partita doppia.
- Modello per condomini | Contabilità in partita doppia: metodo avanzato, utile se conosci la contabilità classica.
Entrambi includono già il piano dei conti tipico della gestione immobiliare e alcune registrazioni di esempio.
Ciascun modello presenta caratteristiche specifiche che incidono sul modo di procedere nella gestione del condominio. Gli esempi di registrazione sono illustrati nelle pagine di approfondimento dedicate.
Crea il file per la contabilità immobiliare
Per iniziare la contabilità di un condominio, è necessario creare un nuovo file scegliendo il modello più adatto:
- Dalla Startpage clicca su Crea nuovo.
- Filtra per Regione per individuare la tua regione di competenza (in questo caso Svizzera-Italiano).
- Sotto la Categoria seleziona Altro per trovare i modelli per la contabilità immobiliare.
- Nella finestra a destra seleziona, sotto Contabilità in partita doppia o Contabilità entrate / uscite, il modello “Amministrazione di un condominio (PPP)” e clicca su Crea.
Prima di confermare la scelta, puoi leggere la descrizione del modello per ottenere informazioni più specifiche ed eventualmente selezionarne un altro. In caso di dubbio su quale scegliere, consulta il diagramma dedicato.
Cliccando sulla scritta “Maggiori informazioni…” accedi alla pagina di documentazione specifica del modello.

- Dal menu File > Proprietà file, imposta il nome dell'immobile, il periodo contabile con le date di apertura e di chiusura, e la moneta di base. Nella sezione Indirizzo compila invece i campi relativi a chi gestisce l’immobile.

- Dal menu File > Salva con nome, salva il file. È consigliabile indicare nel nome del file, il nome dell'immobile e l'anno, ad esempio "NomeImmobile-2025.ac2".
Per maggiori indicazioni su come organizzare e archiviare i file della contabilità, guarda anche la pagina Organizzare i file della contabilità in locale, su rete e cloud.
Piano dei conti
Nella tabella Conti, e nella tabella Categorie (se usi il modello per la contabilità Entrate-Uscite), trovi già predisposto il piano contabile con i conti e le spese più comuni per gestire la contabilità di un immobile.
Le spese del condominio possono variare in base all’immobile che si gestisce.
Per ottenere un maggiore dettaglio o personalizzare le singole voci di spesa del condominio, puoi aggiungerne di nuove indicando in modo preciso il loro utilizzo. È inoltre possibile ordinare le spese seguendo il criterio che preferisci.
I conti dei proprietari
Nella tabella Conti alla fine del piano dei conti, è presente l'elenco dei “Proprietari” degli appartamenti, ognuno con il proprio conto contabile.
Per ogni proprietario inserisci il numero di conto e completalo con la descrizione, indicando nome e cognome.
Quando aggiungi un conto, devi sempre inserire nella colonna Somma In il codice appropriato al raggruppamento dei conti. Il codice Somma In può essere scelto o modificato in base alle tue esigenze.
Vista Indirizzi
Nella vista Indirizzo della tabella Conti inserisci gli indirizzi e i dati anagrafici dei proprietari. Queste informazioni possono essere utilizzate in seguito per emettere le polizze di versamento degli acconti.
È possibile gestire allo stesso modo anche l'elenco degli artigiani. In questo caso, devi creare la struttura dei conti seguendo lo stesso criterio utilizzato per i proprietari.

Saldi iniziali (Apertura)
Nella colonna Apertura inserisci i saldi di apertura dei conti contabili. I saldi di apertura dei Passivi vanno inseriti con il segno meno davanti.
Se nel piano dei conti sono previsti i centri di costo per gestire i proprietari, puoi inserire i saldi di apertura separati per ciascun proprietario direttamente nella tabella Registrazioni. In questo caso, nella colonna Tipo inserisci il codice “01" (Registrazione di apertura).
Saldi anno precedente
Se stai creando una nuova contabilità e desideri che nei rendiconti compaiano gli importi dell'anno precedente, devi inserirli nella colonna Anno precedente. Vai nella vista Precedente e, nella colonna Anno Precedente, inserisci gli importi.
Inserisci le registrazioni
Nella tabella Registrazioni inserisci tutti i movimenti: gli affitti che incassi, le spese che paghi e altri movimenti. Puoi sempre visualizzarli e riordinarli in base alla data.
Se vuoi velocizzare l'inserimento, puoi utilizzare le diverse funzioni di Banana:
- La funzione dell'Inserimento dei dati con autocompletamento consente di riprendere automaticamente i dati già inseriti in precedenza.
- La funzione delle Registrazioni ricorrenti (menu Azioni) permette di memorizzare in un'apposita tabella le registrazioni che si ripetono con frequenza.
- L'importazione dati dall'estratto bancario ti permette di riprendere in automatico tutti i movimenti della banca.
- Puoi collegare ogni registrazione al relativo giustificativo in formato digitale, e con un semplice clic puoi visualizzare il documento. Vedi anche File di contabilità e giustificativi digitali per organizzare al meglio i tuoi documenti.
- Usa il comando Ordina registrazioni per data, per ordinare le righe in ordine cronologico.
- Usa il Comando Stampa/Anteprima per stampare o esportare il giornale in formato PDF.
Flusso di lavoro per la gestione dei condomini
Banana Contabilità Plus consente di gestire in modo strutturato il flusso di lavoro di un condominio, adattandolo alle proprie esigenze.
Di seguito è riportato un esempio di flusso operativo tipico per la gestione di un condominio:
- A ogni richiesta di acconto:
- Addebita gli acconti: inserisci gli importi che i proprietari devono versare (puoi anche memorizzare la registrazione per non riscriverla ogni volta).
- Controlla gli incassi: verifica immediatamente chi ha pagato, chi ha pagato solo in parte e chi non ha ancora pagato.
- Registra le spese: manutenzioni, lavori di artigiani e bollette pagate.
- Ogni anno:
- Calcola i conguagli: il piano dei conti ti permette di avere già separate tutte le spese del condominio.
- Verifica i saldi: controlla se ci sono differenze ancora non regolate.
- Stampa il rendiconto: ottieni bilancio e conto economico pronti per essere salvati o inviati per e-mail.
Oltre al flusso operativo, sono disponibili diverse funzionalità che facilitano la gestione della contabilità:
- l'importazione degli estratti conto elettronici della banca;
- la registrazione automatica degli estratti conto elettronici della banca con le regole di completamento della contabilità;
- la registrazione automatica dei salari versati al custode, senza dover reinserire le stesse operazioni;
- la creazione di report personalizzati in Excel;
- il salvataggio e l'invio della contabilità con tutti i giustificativi in un unico file PDF.
Approfondisci il flusso di lavoro su Banana Contabilità per la gestione dei condomini. In questo modo, insieme al metodo di fatturazione descritto di seguito, è possibile ridurre lo sforzo di gestione della contabilità e ottimizzare i tempi di lavoro.
Stampa le fatture QR ai proprietari
Banana Contabilità Plus permette di usare la fatturazione integrata per stampare le polizze di versamento con codice QR. Si tratta di fatture per affitti, conguagli spese e altre spese a carico dei proprietari.
I principali vantaggi sono:
- pagamento più semplice da parte dei proprietari;
- importi versati corretti, con minore rischio di errore;
- contabilità automatizzata per chi emette le polizze di versamento con numero di riferimento.
Con la fatturazione integrata è inoltre possibile stampare in ogni momento eventuali richieste di rimborso (sempre con codice QR) per spese anticipate dal proprietario ma a carico della comunione dei proprietari.
Stampa il Bilancio e Conto economico
Per visualizzare e stampare in qualsiasi momento il Bilancio e il Conto economico, clicca sul menu Report > Bilancio abbellito con gruppi. Puoi personalizzare i report scegliendo le colonne da visualizzare oppure ottenere rendiconti riferiti a uno specifico periodo.

Particolarità del modello per condomini (PPP)
Per comprendere il funzionamento del modello PPP, è utile chiarire il principio contabile su cui si basa.
Principio del condominio (PPP)
Il condominio sostiene delle spese che devono essere coperte da un importo equivalente di incassi. Gli incassi sono versati dai proprietari sotto forma di acconti. I proprietari sono chiamati anche comproprietari.
Per fare in modo che, alla fine dell'anno, gli incassi corrispondano alle spese effettive, viene calcolato un conguaglio che copre le differenze tra le spese effettive sostenute dal condominio e gli acconti richiesti ai proprietari.
Di conseguenza, il condominio (PPP - Proprietà Per Piani) non genera né utile né perdita, poiché le spese sono compensate dagli incassi.
Richieste di acconti ai proprietari
Il numero di acconti è stabilito da ciascun condominio e viene definito sulla base di un preventivo di spesa annuale.
Le richieste di acconto vengono registrate in contabilità. In questo modo, anche se un proprietario non versa un acconto, l’importo risulta comunque visibile nel suo conto.
Come ripartire le spese tra i proprietari
I condomini possono prevedere diverse modalità di ripartizione delle spese tra i proprietari, attraverso l'uso di coefficienti. In Svizzera, il principale criterio di ripartizione è rappresentato dai millesimi. L’intero condominio corrisponde a 1000/1000 (mille millesimi).

Nel diagramma si vede come, alla fine dell'anno, una volta richiesti i conguagli ai proprietari, le spese corrispondano esattamente agli incassi (costituiti dagli acconti richiesti durante l’anno più il conguaglio finale a fine anno).
Di seguito sono riportati alcuni esempi di spese di un condominio (PPP) ripartite tra i proprietari:

Il fondo di rinnovamento
Nei condomini vengono solitamente raccolti contributi dai proprietari per costituire un fondo destinato a future ristrutturazioni o interventi straordinari sull’immobile. Questo fondo è comunemente chiamato fondo di rinnovamento. Nelle registrazioni di esempio presenti in ciascun modello puoi vedere come viene contabilizzato.
Calcolo e suddivisione delle spese condominiali
Per capire come calcolare e suddividere le spese del condominio tra i proprietari, invitiamo a leggere la pagina dedicata.
Modelli Svizzera Gestione Condomini
Mettiamo a disposizione un paio di modelli per la gestione di uno stabile PPP (Proprietà Per Piani), sia con la contabilità Entrate/Uscite (più semplice), sia con la contabilità tradizionale in partita doppia:
Contabilità Entrate/Uscite per Amministrazione di un condominio (PPP)
Contabilità Entrate/Uscite per Amministrazione di un condominio (PPP)Questo modello presenta un piano dei conti ideato e adattato per la gestione di un condominio nel contesto svizzero, basato sulla contabilità Entrate/Uscite.
Nella contabilità Entrate/Uscite, ogni registrazione indica un movimento di denaro in entrata o in uscita, associato a un conto e a una categoria. In questo modo è possibile registrare in maniera semplice incassi e pagamenti e ottenere una visione chiara della situazione.
I condomini hanno delle spese comuni (ad esempio manutenzioni, pulizie, bollette) che devono essere pagate dai proprietari. Durante l’anno, i proprietari versano degli acconti, cioè dei pagamenti anticipati per coprire queste spese. Se un proprietario non paga un acconto, il programma registra comunque l’importo richiesto, che rimane visibile nei conti.
Le spese vengono ripartite tra i proprietari in base alle regole del condominio. In Svizzera si utilizza generalmente il criterio dei millesimi: l’intero condominio vale 1'000 millesimi e ogni proprietario paga una quota proporzionale.
Alla fine dell’anno si verifica se:
- gli acconti versati coprono tutte le spese,
- manca ancora un importo da pagare,
- i proprietari hanno versato più del necessario.
Confrontando gli acconti con le spese può emergere una differenza, che rappresenta il conguaglio: può trattarsi di importi che i proprietari devono ancora versare oppure, al contrario, di somme che devono essere restituite ai proprietari. Dopo la registrazione dei conguagli, eventuali differenze vengono compensate e i versamenti dei proprietari risultano allineati alle spese dell’anno. Per questo motivo, un condominio non genera né utile né perdita.
Infine, i proprietari dei condomini possono decidere di accantonare somme per le ristrutturazioni future. Queste somme costituiscono il fondo di rinnovamento, che viene registrato nella tabella Conti e conservato finché non viene utilizzato.
Questo modello è specifico per la gestione di un condominio con contabilità Entrate/Uscite. Se non sei sicuro che sia il modello adatto al tuo caso, puoi consultare l’introduzione ai modelli per condomini.
Nei paragrafi seguenti sono presentate le registrazioni di esempio più comuni da utilizzare in questo modello.
Registrazioni di esempio comuni
Per ciascuna registrazione di esempio, è necessario indicare due conti: uno nella colonna Conto, e uno nella colonna Categoria. I conti da utilizzare si trovano nella tabella Conti (composta da tutte le voci di ciò che possiedi e di ciò che devi) e nella tabella Categorie (contiene le voci che rappresentano i motivi di incasso e spesa).
- La colonna Conto utilizza sempre conti della tabella Conti.
- La colonna Categoria utilizza conti della tabella Categorie oppure, in alcuni casi, conti della tabella Conti.
Per tutte le registrazioni di esempio, le operazioni vanno inserite nella tabella Registrazioni.
Di seguito trovi le registrazioni di esempio più comuni per contabilizzare le principali operazioni nella gestione di un condominio. Le registrazioni sono organizzate in base a queste fasi:
- Registrazioni durante l'anno
- Richiesta di acconto al proprietario
- Incasso dell'acconto dal proprietario
- Registrazione delle spese pagate
- Richiesta del fondo di rinnovamento
- Incasso del fondo di rinnovamento
- Registrazioni di chiusura
- Come calcolare i conguagli per i proprietari
- Registrazione dei conguagli spese dei proprietari (non ancora incassati o rimborsati)
- Incasso e rimborso di un conguaglio spese al proprietario
- Registrazioni di controllo
- Gestione degli arrotondamenti del risultato d'esercizio (utile o perdita)
- Verifica della ripartizione delle spese ai proprietari
Registrazioni durante l'anno
Richiesta di acconto al proprietario
Per registrare la richiesta di acconto ai proprietari, procedi come segue nella tabella Registrazioni:
- Nella colonna Entrate inserisci l’importo dell’acconto.
- Nella colonna Conto inserisci il conto del proprietario.
- Nella colonna Categoria inserisci il conto relativo agli incassi per spese condominiali.

Incasso dell'acconto dal proprietario
Quando incassi un acconto, la registrazione avviene utilizzando, nella tabella Registrazioni, solo conti della tabella Conti.
- Nella colonna Entrate inserisci l’importo incassato.
- Nella colonna Conto inserisci il conto della banca, della cassa o di un altro mezzo con cui hai incassato l’importo.
- Nella colonna Categoria inserisci il conto del proprietario che ha pagato.

Se il proprietario ha versato meno, puoi vedere facilmente l'importo mancante nel suo conto all'interno della tabella Conti (vista Base).
Registrazione delle spese pagate
Registra nella tabella Registrazioni le spese pagate dal condominio, indicando nella colonna Categoria il conto di costo appropriato presente nella tabella Categorie.
- Nella colonna Uscite inserisci l’importo della spesa pagata.
- Nella colonna Conto inserisci il conto della banca, della cassa o di un altro mezzo con cui è stata pagata la spesa.
- Nella colonna Categoria inserisci il conto relativo al tipo di spesa pagata.

Richiesta del fondo di rinnovamento
Il fondo di rinnovamento è una somma di denaro accantonata per le future ristrutturazioni del condominio. In contabilità è registrato nella tabella Conti.
Di solito il fondo viene depositato su un conto bancario dedicato. Il saldo di questo conto deve sempre corrispondere al saldo del conto di accantonamento registrato in contabilità, inclusi eventuali interessi maturati.
In Svizzera, il fondo di rinnovamento viene richiesto ai proprietari in base ai millesimi. L’assemblea del condominio stabilisce ogni anno l’importo da versare.
Quando sono definiti gli importi del fondo di rinnovamento da richiedere a ciascun proprietario, registrali nella tabella Registrazioni come segue:
- Nella colonna Entrate inserisci l’importo della quota dovuta dal proprietario.
- Nella colonna Conto inserisci il conto del fondo.
- Nella colonna Categoria inserisci il conto del proprietario che deve pagare la quota.

Incasso del fondo di rinnovamento
Quando incassi una quota del fondo da un proprietario, registra l’operazione nella tabella Registrazioni come segue:
- Nella colonna Entrate inserisci l’importo incassato.
- Nella colonna Conto inserisci il conto della banca, della cassa o di altro mezzo utilizzato per l'incassato.
- Nella colonna Categoria inserisci il conto del proprietario che ha effettuato il pagamento.

Registrazioni di chiusura
Come calcolare i conguagli per i proprietari
Alla fine dell’anno si calcola la differenza tra tutte le spese sostenute e tutti gli acconti versati dai proprietari. Questa differenza rappresenta il totale dei conguagli da ripartire tra i proprietari.
Quando registri in contabilità tutti i conguagli, l’utile o la perdita del condominio si azzera: i versamenti dei proprietari risultano uguali alle spese effettive.
La suddivisione delle spese segue sempre le regole stabilite dal condominio.
In genere, in Svizzera, si usa il criterio dei millesimi: l’intero condominio vale 1000 millesimi, e ogni proprietario paga una quota proporzionale ai millesimi che possiede.
Registrazione dei conguagli spese dei proprietari (non ancora incassati o rimborsati)
Dopo aver calcolato i singoli importi dei conguagli spese secondo la suddivisione delle spese condominiali, gli importi possono risultare sia a carico del proprietario (e quindi costituire una nostra richiesta di pagamento), sia a suo favore (e quindi un importo che dobbiamo rimborsare). Quando ottieni i singoli importi di conguaglio da richiedere o rimborsare a ciascun proprietario, registrali in contabilità nella tabella Registrazioni.
Conguaglio a carico del proprietario
Se il proprietario durante l'anno ha pagato, tramite acconti, meno rispetto alle spese effettive, procedi nel seguente modo:
- Nella colonna Entrate inserisci l’importo del conguaglio che il proprietario deve pagare.
- Nella colonna Conto inserisci il conto del proprietario.
- Nella colonna Categoria inserisci il conto relativo agli incassi per spese condominiali.

Conguaglio a favore del proprietario
Se il proprietario durante l'anno ha pagato, tramite acconti, più rispetto alle spese effettive, procedi nel seguente modo:
- Nella colonna Uscite inserisci l’importo del conguaglio da rimborsare al proprietario.
- Nella colonna Conto inserisci il conto del proprietario.
- Nella colonna Categoria inserisci il conto relativo agli incassi per spese condominiali. In questo modo gli importi vengono dedotti direttamente da questo conto.

Dopo la registrazione dei conguagli, il risultato d’esercizio (utile o perdita) nella tabella Categorie deve essere pari a zero.
Di conseguenza, anche il saldo complessivo nella tabella Conti risulta pareggiato.
Se il risultato d’esercizio non si azzera completamente, consulta la sezione Gestione degli arrotondamenti del risultato di esercizio (utile o perdita) e quella di Verifica della ripartizione delle spese ai comproprietari.
Incasso e rimborso di un conguaglio spese al proprietario
Quando un conguaglio spese già registrato viene pagato dal proprietario o viene rimborsato al proprietario, registra l’operazione nella tabella Registrazioni.
Incasso conguaglio dal proprietario
Se il proprietario ha pagato il conguaglio registra l'incasso nel seguente modo:
- Nella colonna Entrate inserisci l’importo incassato.
- Nella colonna Conto inserisci il conto della banca, della cassa o di un altro mezzo con cui hai incassato il conguaglio.
- Nella colonna Categoria inserisci il conto del proprietario che ha pagato il conguaglio.

Rimborso conguaglio al proprietario
Se hai rimborsato il proprietario, procedi nel seguente modo:
- Nella colonna Uscite inserisci l’importo del conguaglio rimborsato al proprietario.
- Nella colonna Conto inserisci il conto della banca, della cassa o di un altro mezzo, con cui hai rimborsato il conguaglio.
- Nella colonna Categoria inserisci il conto del proprietario a cui hai rimborsato il conguaglio.

Registrazioni di controllo
Gestione degli arrotondamenti del risultato d’esercizio (utile o perdita)
Quando registri i conguagli in contabilità, può capitare che restino pochi centesimi di utile o perdita.
Questo accade perché l’importo è troppo piccolo per essere suddiviso in modo uguale tra tutti i proprietari.
In questi casi, registra la differenza in un conto dei costi, se si tratta di una perdita, oppure in un conto dei ricavi, se si tratta di un utile. In questo modo la differenza viene arrotondata e il risultato si azzera.
Verifica della ripartizione delle spese ai proprietari
Per verificare se le spese sono state suddivise correttamente tra i proprietari, controlla il risultato finale del condominio:
- Se, dopo aver registrato i conguagli, il risultato (l'utile o la perdita) si azzera, le spese sono state ripartite correttamente e non manca nessun importo.
- Se rimane solo una piccola differenza (utile o perdita trascurabile), le spese sono state suddivise correttamente. Puoi sistemare la differenza consultando la sezione Gestione degli arrotondamenti del risultato d'esercizio (utile o perdita).
- Se invece rimane un importo positivo o negativo rilevante, significa che le spese non sono state ripartite correttamente. In questo caso è necessario ricontrollare i calcoli e i coefficienti utilizzati per la ripartizione dei conguagli.
PPP Condominium management | Double-entry
PPP Condominium management | Double-entry caterinaGestione Immobili a reddito Svizzera
Questa pagina è dedicata ai modelli di Banana Contabilità Plus per la gestione di immobili a reddito in Svizzera.
Per capire se questa tipologia di modelli è adatta al tuo caso, consulta la pagina introduttiva Modelli Contabilità Immobiliare Svizzera, dove trovi le differenze tra i modelli per immobili a reddito e quelli per condomini (PPP).
I modelli presentati in questa pagina sono pensati per gestire in modo strutturato la contabilità degli affitti e coprono le operazioni più comuni, come la registrazione degli incassi, delle spese e dei conguagli. Nel resto della pagina trovi una descrizione dei modelli disponibili e le istruzioni operative per iniziare a lavorare nel programma, con indicazioni passo passo su come creare il file e inserire le prime registrazioni.
Il software di Banana Contabilità Plus propone due modelli utili per tenere una contabilità immobiliare professionale per gli affitti:
- Modello per appartamenti o immobili a reddito | Contabilità Entrate/Uscite: metodo più semplice, ideale se non sei uno specialista e non conosci la contabilità in partita doppia.
- Modello per appartamenti o immobili a reddito | Contabilità in Partita Doppia: metodo avanzato, ideale se conosci la contabilità classica in partita doppia.
Entrambi includono già il piano dei conti tipico della gestione immobiliare e alcune registrazioni di esempio.
Ciascun modello presenta caratteristiche specifiche che incidono sul modo di procedere nella gestione dell'immobile. Gli esempi ricorrenti di registrazioni sono illustrati nelle pagine di approfondimento dedicate.
Crea il file per la contabilità immobiliare
Per iniziare la contabilità di un immobile a reddito, è necessario creare un nuovo file scegliendo il modello più adatto:
- Dalla Startpage clicca su Crea Nuovo.
- Filtra per Regione per individuare la tua regione di competenza (in questo caso Svizzera-Italiano).
- Sotto la Categoria seleziona Altro per trovare i modelli per la contabilità immobiliare.
- Nella finestra a destra seleziona, sotto Contabilità in partita doppia o Contabilità entrate / uscite, il modello "Amministrazione di un appartamento o immobile a reddito" e clicca su Crea.
Prima di confermare la scelta, puoi leggere la descrizione del modello per ottenere informazioni più specifiche ed eventualmente selezionarne un altro. In caso di dubbio su quale scegliere, consulta il diagramma dedicato.
Cliccando sulla scritta “Maggiori informazioni…” accedi alla pagina di documentazione specifica del modello.

- Dal menu File > Proprietà file, imposta il nome dell'immobile, il periodo contabile con le date di apertura e di chiusura, e la moneta di base. Nella sezione Indirizzo compila invece i campi relativi a chi gestisce l’immobile.
- Dal menu File > Salva con nome, salva il file. È consigliabile indicare nel nome del file, il nome dell'immobile e l'anno, ad esempio "NomeImmobile-2022.ac2".
Per maggiori indicazioni su come organizzare e archiviare i file della contabilità, guarda anche la pagina Organizzare i file della contabilità in locale, su rete e cloud.
Piano dei conti
Nella tabella Conti, e nella tabella Categorie (se usi il modello per la contabilità Entrate-Uscite), trovi già predisposto il piano contabile con i conti e le spese più comuni per gestire la contabilità di un immobile.
Le spese dell'immobile a reddito possono variare in base all’immobile che si gestisce.
Per ottenere un maggiore dettaglio o personalizzare le singole voci di spesa dell'immobile, puoi aggiungerne di nuove indicando in modo preciso il loro utilizzo. È inoltre possibile ordinare le spese seguendo il criterio che preferisci.
I conti degli inquilini
Nella tabella Conti alla fine del piano dei conti, è presente l'elenco degli “Inquilini” degli appartamenti, ognuno con il proprio conto contabile.
Per ogni inquilino inserisci il numero di conto e completalo con la descrizione, indicando nome e cognome.
Quando aggiungi un conto, devi sempre inserire nella colonna Somma In il codice appropriato al raggruppamento dei conti. Il codice Somma In può essere scelto o modificato in base alle tue esigenze.
Vista Indirizzi
Nella vista Indirizzi della tabella Conti inserisci gli indirizzi e i dati anagrafici degli inquilini. Queste informazioni possono essere utilizzate in seguito per emettere le polizze di versamento degli affitti. È possibile gestire allo stesso modo anche l'elenco dei fornitori. In questo caso, devi creare la struttura dei conti seguendo lo stesso criterio utilizzato per gli inquilini.

Saldi iniziali (Apertura)
Nella colonna Apertura inserisci i saldi di apertura dei conti contabili. I saldi di apertura dei Passivi vanno inseriti con il segno meno davanti.
Se nel piano dei conti sono previsti i centri di costo per gestire gli inquilini, puoi inserire i saldi di apertura separati per ciascun inquilino direttamente nella tabella Registrazioni. In questo caso, nella colonna Tipo inserisci il codice “01" (Registrazione di apertura).
Saldi anno precedente
Se stai creando una nuova contabilità e desideri che nei rendiconti compaiano gli importi dell'anno precedente, devi inserirli nella colonna Anno precedente. Vai nella vista Precedente e, nella colonna Anno Precedente, inserisci gli importi.
Inserisci le registrazioni
Nella tabella Registrazioni inserisci tutti i movimenti: gli affitti che incassi, le spese che paghi e altri movimenti. Puoi sempre visualizzarli e riordinarli in base alla data.
Se vuoi velocizzare l'inserimento, puoi utilizzare le diverse funzioni di Banana:
- La funzione dell'Inserimento dei dati con autocompletamento consente di riprendere automaticamente i dati già inseriti in precedenza.
- La funzione delle Registrazioni ricorrenti (menu Azioni) permette di memorizzare in un'apposita tabella le registrazioni che si ripetono con frequenza.
- L'importazione dati dall'estratto bancario ti permette di riprendere in automatico tutti i movimenti della banca.
- Puoi collegare ogni registrazione al relativo giustificativo in formato digitale, e con un semplice clic puoi visualizzare il documento. Vedi anche File di contabilità e giustificativi digitali per organizzare al meglio i tuoi documenti.
- Usa il comando Ordina registrazioni per data, per ordinare le righe in ordine cronologico.
- Usa il Comando Stampa/Anteprima per stampare o esportare il giornale in formato PDF.
Flusso di lavoro per la gestione degli affitti
Banana Contabilità Plus consente di gestire in modo strutturato il flusso di lavoro legato agli affitti, adattandolo alle proprie esigenze.
Di seguito è riportato un esempio di flusso operativo tipico per la gestione di un immobile o appartamento a reddito:
- Ogni mese:
- Addebita gli affitti: inserisci gli importi dovuti dagli inquilini. Puoi anche memorizzare la registrazione per riutilizzarla.
- Controlla gli incassi: l’estensione dedicata ti permette di verificare immediatamente chi ha pagato, chi ha pagato solo in parte e chi non ha ancora pagato.
- Registra le spese: manutenzioni, lavori di artigiani e bollette pagate.
- Ogni anno:
- Calcola i conguagli: il piano dei conti ti permette di avere già separate tutte le spese a carico degli inquilini.
- Verifica i saldi: controlla se ci sono differenze ancora non regolate.
- Stampa il rendiconto: ottieni bilancio e conto economico pronti per essere salvati o inviati per e-mail.
Oltre al flusso operativo, sono disponibili diverse funzionalità che facilitano la gestione della contabilità:
- L'addebito ricorrente automatico degli affitti in contabilità secondo il contratto
- Il controllo ricorrente degli incassi e dei mancati pagamenti da parte degli inquilini
- La importazione degli estratti conto elettronici della banca
- La registrazione automatica degli estratti conto elettronici della banca con le regole di completamento della contabilità
- La registrazione automatica dei salari versati al custode senza riscrivere le registrazioni più volte
- Il salvataggio e l'invio della contabilità con tutti i giustificativi in un unico file PDF
Approfondisci il flusso di lavoro su Banana Contabilità per la gestione degli affitti. In questo modo, insieme al metodo di fatturazione descritto di seguito, è possibile ridurre lo sforzo di gestione della contabilità e ottimizzare i tempi di lavoro.
Stampa le polizze QR per gli inquilini
Banana Contabilità Plus permette di usare la fatturazione integrata per stampare le polizze di versamento con codice QR. Si tratta di fatture per affitti, conguagli spese e altre spese a carico degli inquilini.
I principali vantaggi sono:
- pagamento più semplice da parte degli inquilini;
- importi versati corretti, con minore rischio di errore;
- contabilità automatizzata per chi emette le polizze di versamento con numero di riferimento.
Con la fatturazione integrata è inoltre possibile stampare in ogni momento eventuali richieste di rimborso (sempre con codice QR) per spese anticipate dal proprietario ma a carico degli inquilini.
Estensione per il controllo degli incassi
L'estensione per il controllo degli affitti ti mostra chi ha pagato regolarmente, chi ha pagato solo in parte e chi non ha ancora pagato.
Puoi inoltre verificare facilmente se gli affitti del mese sono stati registrati correttamente in contabilità e ottenere una previsione degli incassi per l’anno in corso.
Stampa il Bilancio e Conto economico
Per visualizzare e stampare in qualsiasi momento il Bilancio e il Conto economico, clicca sul menu Report > Bilancio abbellito con gruppi. Puoi personalizzare i report scegliendo le colonne da visualizzare oppure ottenere rendiconti riferiti a uno specifico periodo.

Particolarità del modello per l'immobile a reddito
Per comprendere il funzionamento dell'immobile a reddito, è utile chiarire il principio contabile su cui si basa.
Principio dell'immobile a reddito
Il proprietario di un immobile a reddito sostiene delle spese che sono a carico degli inquilini e che quindi vengono anticipate. Queste spese vengono rimborsate dagli inquilini tramite gli acconti spese e, se necessario, con il conguaglio.
Alla fine dell’anno si verifica se gli acconti spese versati dagli inquilini coprono le spese sostenute dal proprietario. La differenza rappresenta il conguaglio: se gli acconti sono insufficienti, l’inquilino deve versare la differenza; se invece sono superiori, l’importo in eccesso viene rimborsato all’inquilino.
Il proprietario di un immobile a reddito sostiene anche spese che non sono rimborsabili dagli inquilini e che restano quindi a suo carico (es. spese per appartamenti sfitti, assicurazioni stabile, interessi ipotecari, manutenzione straordinaria, imposte sull'immobile, ecc.). Confrontando queste spese con gli incassi degli affitti versati dagli inquilini, può determinarsi un guadagno o una perdita.
Di conseguenza, l'immobile a reddito può generare un utile (guadagno), una perdita oppure un risultato pari a zero.
Richieste di acconti agli inquilini
L'importo degli acconti è stabilito nel contratto di locazione e viene definito sulla base di un preventivo di spesa annuale.
Le richieste di acconto vengono registrate in contabilità. In questo modo, anche se un inquilino non versa un acconto, l’importo risulta comunque visibile nel suo conto.
Come ripartire le spese tra gli inquilini
Gli immobili a reddito possono prevedere diverse modalità di ripartizione delle spese tra gli inquilini, basate su coefficienti. In Svizzera, i principali parametri utilizzati sono la superficie (metri quadrati) o la volumetria (metri cubi) degli appartamenti.
(immagine)
Nel diagramma si vede come, alla fine dell'anno, una volta richiesti i conguagli agli inquilini, le spese devono essere coperte dagli incassi (costituiti dagli acconti spese richiesti durante l’anno più il conguaglio finale a fine anno) degli inquilini.
Di seguito sono riportati alcuni esempi di spese di un immobile a reddito ripartite tra gli inquilini:
Calcolo e suddivisione delle spese accessorie e di riscaldamento
Il calcolo e la suddivisione delle spese del condominio tra i proprietari, non è un tema unicamente svizzero, ma universale, e analoga in tutti i paesi. Possono ovviamente cambiare i criteri di ripartizione. Per maggiori dettagli invitiamo a leggere la pagina Suddivisione delle spese.
Modelli Svizzera Gestione Immobili a reddito
Mettiamo a disposizione un paio di modelli per la gestione di un immobile a reddito, sia con la contabilità Entrate/Uscite (più semplice), sia con la contabilità tradizionale in partita doppia:
Contabilità Entrate/Uscite per Amministrazione di un appartamento o immobile a reddito
Contabilità Entrate/Uscite per Amministrazione di un appartamento o immobile a redditoQuesto modello presenta un piano dei conti ideato e adattato per la gestione di un appartamento o di un immobile a reddito nel contesto svizzero, basato sulla contabilità Entrate/Uscite.
Nella contabilità Entrate/Uscite, ogni registrazione indica un movimento di denaro in entrata o in uscita, associato a un conto e a una categoria. In questo modo è possibile registrare in maniera semplice incassi e pagamenti e ottenere una visione chiara della situazione.
Un immobile comporta per il proprietario diverse spese da affrontare:
- alcune spese, per legge, possono essere rimborsate dagli inquilini al proprietario (per esempio riscaldamento, acqua, spese comuni),
- altre invece restano a carico del proprietario (non possono essere addebitate agli inquilini).
Durante l’anno, gli inquilini versano degli anticipi spese (o acconti spese) per contribuire alle spese a loro carico. Se un inquilino non paga un anticipo, il programma registra comunque l’importo richiesto, che rimane visibile nei conti.
Le spese vengono suddivise tra gli inquilini secondo criteri proporzionali. In Svizzera si utilizzano spesso parametri come la superficie (metri quadrati) o la volumetria (metri cubi) degli appartamenti, per cui ogni inquilino paga in base alla dimensione dell’appartamento. L’importo a carico dell’inquilino è indicato nel contratto di locazione.
Il controllo di questi anticipi versati rispetto alle spese effettive viene effettuato alla fine dell’anno:
- se gli anticipi coprono interamente le spese, non ci sono differenze;
- se gli anticipi risultano insufficienti rispetto alle spese, l’inquilino deve versare la differenza;
- se invece gli anticipi sono superiori alle spese, la differenza va rimborsata all’inquilino.
Confrontando gli anticipi versati dagli inquilini con le spese sostenute dal proprietario durante l’anno può emergere una differenza, che rappresenta il conguaglio. Questo importo deve poi essere ripartito tra gli inquilini: può trattarsi di importi che gli inquilini devono ancora versare oppure, al contrario, di somme che devono essere restituite agli inquilini. Dopo la registrazione dei conguagli, eventuali differenze vengono compensate e i versamenti degli inquilini risultano allineati alle spese dell’anno.
Questo modello è specifico per la gestione di un appartamento o un immobile a reddito con contabilità Entrate/Uscite. Se non sei sicuro che sia il modello adatto al tuo caso, puoi consultare l’introduzione ai modelli per immobili a reddito.
Nei paragrafi seguenti sono presentate le registrazioni di esempio più comuni da utilizzare in questo modello. Inoltre, alla fine della pagina trovi un'estensione per controllare l'incasso degli affitti.
Registrazioni di esempio comuni
Per ciascuna registrazione di esempio, è necessario indicare due conti: uno nella colonna Conto, e uno nella colonna Categoria. I conti da utilizzare si trovano nella tabella Conti (composta da tutte le voci di ciò che possiedi e di ciò che devi) e nella tabella Categorie (contiene le voci che rappresentano i motivi di incasso e spesa).
- La colonna Conto utilizza sempre conti della tabella Conti.
- La colonna Categoria utilizza conti della tabella Categorie oppure, in alcuni casi, conti della tabella Conti.
Per tutte le registrazioni di esempio, le operazioni vanno inserite nella tabella Registrazioni.
Di seguito trovi le registrazioni di esempio più comuni per contabilizzare le principali operazioni nella gestione di un immobile a reddito. Le registrazioni sono organizzate in base a queste fasi:
- Registrazioni durante l'anno
- Richiesta degli affitti agli inquilini
- Incasso dell'affitto dall'inquilino
- Registrazione delle spese pagate
- Registrazioni di chiusura
- Come calcolare i conguagli per gli inquilini
- Richiesta dei conguagli agli inquilini
- Incasso e rimborso di un conguaglio spese dall'inquilino
Registrazioni durante l'anno
Richiesta degli affitti agli inquilini
L’importo dell’affitto è composto da due parti: la pigione a favore del proprietario e un acconto spese destinato a coprire le spese a carico degli inquilini, le quali sono già state anticipate dal proprietario. Quando registri l’affitto, devi quindi considerare l’importo totale, comprensivo di entrambe le componenti.
L’affitto viene generalmente addebitato all’inizio di ogni mese a ciascun inquilino. Per registrarlo, procedi nella tabella Registrazioni come segue:
- Nella colonna Entrate inserisci l’importo dell’affitto mensile comprensivo di acconto spese (per esempio affitto 1'200 + acconto spese 200 = importo totale dell'affitto 1400).
- Nella colonna Conto inserisci il conto dell’inquilino.
- Nella colonna Categoria inserisci il conto relativo agli incassi per affitti.

Incasso dell'affitto dall'inquilino
Quando incassi l’affitto, l’importo dovrebbe comprendere sia la pigione a favore del proprietario, sia l’acconto che serve a coprire le spese anticipate dal proprietario. Per registrare procedi nella tabella Registrazioni come segue:
- Nella colonna Entrate inserisci l’importo incassato, comprensivo di pigione e acconto spese.
- Nella colonna Conto inserisci il conto della banca, della cassa o di altro mezzo con cui hai incassato l’importo.
- Nella colonna Categoria inserisci il conto dell’inquilino che ha pagato l'affitto.

Se l'inquilino ha versato meno, puoi vedere facilmente l'importo mancante nel suo conto all'interno della tabella Conti (vista Base).
Controllare l'incasso degli affitti
Controlla facilmente gli incassi degli affitti tramite l'estensione per il controllo degli incassi degli affitti. In questo modo puoi verificare se hai registrato l’affitto in contabilità, chi lo ha pagato, chi lo ha pagato solo in parte e chi non lo ha ancora saldato. Se necessario, puoi anche ottenere una previsione annuale degli incassi per gli appartamenti che gestisci.
Registrazione delle spese pagate
Registra nella tabella Registrazioni sia le spese anticipate dal proprietario per gli inquilini, sia quelle che restano a carico del proprietario, indicando nella colonna Categoria il conto di costo appropriato presente nella tabella Categorie.
- Nella colonna Uscite inserisci l’importo della spesa pagata.
- Nella colonna Conto inserisci il conto della banca, della cassa o di altro mezzo con cui è stata pagata la spesa dal proprietario.
- Nella colonna Categoria inserisci il conto del tipo di spesa pagata dal proprietario.

Registrazioni di chiusura
Come calcolare i conguagli per gli inquilini
Durante l’anno il proprietario anticipa le spese (ad esempio riscaldamento, acqua, manutenzioni), che vengono poi coperte dagli anticipi pagati dagli inquilini.
Alla fine dell’anno si confrontano gli anticipi versati dagli inquilini con le spese sostenute dal proprietario. La differenza rappresenta il conguaglio, che bisognerà ripartire correttamente tra gli inquilini:
- Se un inquilino ha pagato meno del dovuto, dovrà versare la differenza al proprietario.
- Se invece ha pagato più del dovuto, riceverà un rimborso dal proprietario.
Di seguito è illustrata la suddivisione delle spese tra quelle che possono essere addebitate agli inquilini e quelle che restano a carico del proprietario, secondo quanto previsto dal contratto:
 La ripartizione delle spese a carico degli inquilini segue le regole stabilite nel contratto di locazione. Può essere definita, per esempio, in base alla superficie dell’appartamento, ai consumi oppure ad altri criteri concordati: ogni inquilino paga quindi una quota proporzionale secondo il criterio applicato.
Richiesta dei conguagli agli inquilini
Quando ottieni i singoli importi di conguaglio da richiedere a ogni inquilino registrali in contabilità nella tabella Registrazioni.
Se l'inquilino durante l'anno ha pagato, tramite anticipi, meno rispetto alle spese effettive, procedi nel seguente modo:
- Nella colonna Entrate inserisci l’importo del conguaglio che l'inquilino deve pagare.
- Nella colonna Conto inserisci il conto dell’inquilino.
- Nella colonna Categoria inserisci il conto relativo agli incassi da affitti.

Se l’inquilino durante l'anno ha pagato, tramite anticipi, più rispetto alle spese effettive, procedi nel seguente modo:
- Nella colonna Uscite inserisci l’importo del conguaglio da rimborsare all'inquilino.
- Nella colonna Conto inserisci il conto dell’inquilino.
- Nella colonna Categorie inserisci il conto relativo agli incassi da affitti. In questo modo gli importi vengono dedotti direttamente da questo conto.

Dopo la registrazione dei conguagli, il risultato d’esercizio (utile o perdita) nella tabella Categorie deve essere pari a zero.
Di conseguenza, anche il saldo complessivo nella tabella Conti risulta pareggiato.
Incasso e rimborso di un conguaglio spese dall'inquilino
Quando un conguaglio spese già registrato viene pagato dall’inquilino o viene rimborsato all'inquilino, registra l’operazione nella tabella Registrazioni.
Se l'inquilino ha pagato il conguaglio registra l'incasso nel seguente modo:
- Nella colonna Entrate inserisci l’importo ricevuto.
- Nella colonna del Conto inserisci il conto della banca, della cassa o di un altro mezzo con cui hai incassato il conguaglio.
- Nella colonna Categoria inserisci il conto dell’inquilino che ha pagato il conguaglio.

Se hai rimborsato l'inquilino, procedi nel seguente modo:
- Nella colonna Uscite inserisci l’importo del conguaglio rimborsato all'inquilino.
- Nella colonna Conto inserisci il conto della banca, della cassa o di un altro mezzo con cui hai rimborsato il conguaglio.
- Nella colonna Categorie inserisci il conto dell’inquilino a cui hai rimborsato il conguaglio.

Contabilità in partita doppia per Amministrazione di un appartamento o immobile a reddito
Contabilità in partita doppia per Amministrazione di un appartamento o immobile a redditoQuesto modello presenta un piano dei conti ideato e adattato per il settore immobiliare svizzero. È un’ottima soluzione per chi vuole tenere la contabilità immobiliare in partita doppia.
Nella contabilità in Partita Doppia, ogni registrazione coinvolge almeno due conti: uno in Dare e uno in Avere. In questo modo, ogni operazione viene registrata in modo completo e il bilancio e il conto economico risultano sempre aggiornati.
Un immobile comporta per il proprietario diverse spese da affrontare:
- alcune spese, per legge, possono essere rimborsate dagli inquilini al proprietario (per esempio riscaldamento, acqua, spese comuni),
- altre invece restano a carico del proprietario (non possono essere addebitate agli inquilini).
Durante l’anno, gli inquilini versano degli anticipi spese (o acconti spese) per contribuire alle spese a loro carico. Se un inquilino non paga un anticipo, il programma registra comunque l’importo richiesto, che rimane visibile nei conti.
Le spese vengono suddivise tra gli inquilini secondo criteri proporzionali. In Svizzera si utilizzano spesso parametri come la superficie (metri quadrati) o la volumetria (metri cubi) degli appartamenti, per cui ogni inquilino paga in base alla dimensione dell’appartamento. L’importo a carico dell’inquilino è indicato nel contratto di locazione.
Il controllo di questi anticipi versati rispetto alle spese effettive viene effettuato alla fine dell’anno:
- se gli anticipi coprono interamente le spese, non ci sono differenze,
- se gli anticipi risultano insufficienti rispetto alle spese, l’inquilino deve versare la differenza,
- se invece gli anticipi sono superiori alle spese, la differenza va rimborsata all’inquilino.
Confrontando gli anticipi versati dagli inquilini con le spese sostenute dal proprietario durante l’anno può emergere una differenza, che rappresenta il conguaglio. Questo importo deve poi essere ripartito tra gli inquilini: può trattarsi di importi che gli inquilini devono ancora versare oppure, al contrario, di somme che devono essere restituite agli inquilini. Dopo la registrazione dei conguagli, eventuali differenze vengono compensate e i versamenti degli inquilini risultano allineati alle spese dell’anno.
Per poter effettuare questo confronto in modo corretto, viene utilizzato un conto specifico chiamato conto di Conteggio annuale. Questo conto non viene usato durante l’anno, ma serve nelle operazioni di chiusura per mettere a confronto spese e acconti e determinare il conguaglio.
Questo modello è specifico per la gestione di un appartamento o un immobile a reddito con contabilità in Partita Doppia. Se non sei sicuro che sia il modello adatto al tuo caso, puoi consultare l’introduzione ai modelli per immobili a reddito.
Nei paragrafi seguenti sono presentate le registrazioni di esempio più comuni da utilizzare in questo modello.
Registrazioni di esempio comuni
Per ciascuna registrazione di esempio, è necessario indicare almeno due conti: uno nella colonna Dare e uno nella colonna Avere, secondo la logica della partita doppia.
I conti da utilizzare si trovano nella tabella Conti, che comprende tutte le voci del bilancio e del conto economico, come attività, passività, costi e ricavi.
Scopri le basi per tenere una contabilità immobiliare. Per tutte le registrazioni di esempio, le operazioni vanno inserite nella tabella Registrazioni.
Le registrazioni nella contabilità in partita doppia seguono una sequenza logica che riflette le diverse fasi della gestione di un immobile a reddito. Durante l’anno si registrano gli affitti, gli incassi e le spese. Alla fine del periodo si effettuano le operazioni di chiusura, in cui le spese e gli acconti vengono trasferiti nel conto di conteggio annuale per determinare il conguaglio. Una volta calcolato, il conguaglio viene registrato e incassato o rimborsato agli inquilini. Infine, si verificano eventuali differenze residue e si controlla che la ripartizione delle spese sia corretta.
Le registrazioni di esempio sono organizzate in base a queste fasi:
- Registrazioni durante l'anno
- Richiesta degli affitti agli inquilini
- Incasso dell'affitto dall'inquilino
- Registrazione delle spese pagate
- Registrazioni di chiusura
- Introduzione alle operazioni di chiusura per il conteggio annuale delle spese
- Trasferimento delle spese nel conto di Conteggio annuale
- Trasferimento degli acconti spese nel conto di Conteggio annuale
- Come calcolare i conguagli spese per gli inquilini
- Richiesta dei conguagli agli inquilini
- Incasso e rimborso di un conguaglio spese dall'inquilino
- Registrazioni di controllo
- Gestione degli arrotondamenti nel conto di Conteggio annuale
- Verifica della ripartizione delle spese agli inquilini
Registrazioni durante l'anno
Richiesta degli affitti agli inquilini
L’importo dell’affitto, generalmente addebitato all’inizio di ogni mese a ciascun inquilino, è composto da due parti: la pigione, che rappresenta un ricavo per il proprietario, e un acconto spese, che serve a coprire le spese a carico degli inquilini, le quali sono già state anticipate dal proprietario.
Anche se questi importi vengono addebitati insieme in un unico importo, in contabilità devono essere registrati separatamente nella tabella Registrazioni perché hanno una natura diversa.
Per registrare la pigione:
- Nella colonna del Conto Dare inserisci il conto contabile dell’inquilino.
- Nella colonna del Conto Avere inserisci il conto contabile relativo agli incassi da affitti.
Per registrare l’acconto spese:
- Nella colonna del Conto Dare inserisci il conto contabile dell’inquilino.
- Nella colonna del Conto Avere inserisci il conto contabile degli acconti degli inquilini per le spese anticipate.

Se preferisci puoi creare, per ciascun inquilino, una registrazione unica su più righe.
Incasso dell'affitto dall'inquilino
Quando incassi l’affitto, l’importo dovrebbe comprendere sia la pigione a favore del proprietario, sia l’acconto che serve a coprire le spese anticipate dal proprietario. Per registrare procedi nella tabella Registrazioni come segue.
- Nella colonna del Conto Dare inserisci il conto contabile della banca, della cassa o di un altro mezzo con cui hai incassato l’importo.
- Nella colonna del Conto Avere inserisci il conto contabile dell’inquilino che ha pagato.
- Nella colonna Importo inserisci l'importo che comprende sia la pigione che l’acconto spese versato.

Se l'inquilino ha versato meno, puoi vedere facilmente l'importo mancante nel suo conto all'interno della tabella Conti (vista Base).
Registrazione delle spese pagate
Registra nella tabella Registrazioni sia le spese anticipate dal proprietario per gli inquilini, sia quelle che restano a carico del proprietario.
Le spese pagate in anticipo dal proprietario, ma a carico degli inquilini, si registrano nel bilancio come anticipi. Non rappresentano un costo per il proprietario, poiché queste spese gli vengono rimborsate dagli inquilini.
- Nella colonna del Conto Dare inserisci il conto contabile relativo agli anticipi per spese, cioè un conto dell'attivo di Bilancio.
- Nella colonna del Conto Avere inserisci il conto della banca, della cassa o di un altro mezzo con cui è stata pagata la spesa.

Per quanto riguarda invece le spese pagate dal proprietario che non possono essere addebitate agli inquilini, quindi non sono a loro carico e non sono rimborsabili, si registrano tra i costi del Conto Economico, poiché rappresentano effettivamente un costo per il proprietario.
- Nella colonna del Conto Dare inserisci il conto contabile relativo alla spesa, cioè un conto di costo del Conto Economico.
- Nella colonna del Conto Avere inserisci il conto contabile di liquidità, ovvero della banca, della cassa o di un altro mezzo con cui è stata pagata la spesa.

Registrazioni di chiusura
Introduzione alle operazioni di chiusura per il conteggio annuale delle spese
Alla fine del periodo è necessario effettuare le operazioni di chiusura per calcolare correttamente il conguaglio delle spese da addebitare agli inquilini. Prima di procedere, bisogna stabilire quali spese anticipate dal proprietario rientrano nel periodo di conteggio che si sta chiudendo.
Il periodo di calcolo non sempre coincide con l’anno solare: ad esempio può andare dal 1° luglio 2024 al 30 giugno 2025. Per questo motivo, non tutte le spese anticipate presenti in bilancio devono essere incluse subito nel conguaglio.
Le spese che appartengono al periodo di riferimento (o periodo di conteggio) vengono trasferite nel conto di conteggio annuale. Questo conto serve a confrontare le spese e gli acconti e a determinarne il saldo finale, che rappresenta il conguaglio da ripartire tra gli inquilini.
Le spese escluse restano in bilancio e potranno essere considerate nel conguaglio del periodo successivo.
Trasferimento delle spese nel conto di Conteggio annuale
Dopo aver stabilito quali spese devono essere addebitate agli inquilini nel periodo di riferimento, trasferisci questi importi nel conto di Conteggio annuale (conto 1150).
Procedi come segue nella tabella Registrazioni:
- Nella colonna del Conto Dare inserisci il conto contabile del Conteggio annuale.
- Nella colonna del Conto Avere inserisci il conto contabile della spesa anticipata dal proprietario.
- Nella colonna Importo inserisci l’importo da includere nel conteggio annuale del periodo di riferimento.

Trasferimento degli acconti spese nel conto di Conteggio annuale
All’interno del periodo di riferimento (dodici mesi), calcola il totale degli acconti spese richiesti mensilmente agli inquilini.
Trasferisci poi questo importo nel conto di Conteggio annuale (conto 1150). Per registrare tale operazione nella tabella Registrazioni procedi come indicato.
- Nella colonna del Conto Dare inserisci il conto contabile degli acconti degli inquilini per le spese anticipate.
- Nella colonna del Conto Avere inserisci il conto contabile del Conteggio annuale.
- Nella colonna Importo inserisci l’importo totale degli acconti spese richiesti nel periodo di conteggio.

Come calcolare i conguagli spese per gli inquilini
Per calcolare i conguagli delle spese, apri il conto di Conteggio annuale (1150) dalla tabella Conti:
nella colonna Conto, posizionati con il mouse sulla cella che contiene il numero del conto 1150 e clicca sull’angolo in alto a destra.
In questo modo si apre la scheda conto del Conteggio annuale, dove troverai un saldo. Questo saldo rappresenta la differenza tra le spese (a carico degli inquilini) trasferite e gli acconti spese (versati dagli inquilini) trasferiti durante le operazioni di chiusura e corrisponde al conguaglio totale da attribuire agli inquilini.

Di solito le spese del periodo di riferimento si dividono tra gli inquilini in base a regole di ripartizione, come ad esempio: la grandezza dell’appartamento, le caratteristiche dell’immobile e il tempo di permanenza dell’inquilino.
Quando registri i conguagli per i singoli inquilini, il saldo del conto di Conteggio annuale 1150 dovrà avere il saldo uguale a zero. Questo significa che il conguaglio è stato interamente suddiviso tra gli inquilini.
Richiesta dei conguagli agli inquilini
Quando ottieni i singoli importi di conguaglio da richiedere a ogni inquilino registrali in contabilità nella tabella Registrazioni.
Se l'inquilino durante l'anno ha pagato, tramite anticipi, meno rispetto alle spese effettive, dovrà rimborsare la differenza. In questo caso, registra il conguaglio spese nel seguente modo:
- Nella colonna del Conto Dare inserisci il conto contabile dell’inquilino.
- Nella colonna del Conto Avere inserisci il conto contabile del Conteggio annuale.

Se l’inquilino durante l’anno ha pagato, tramite anticipi, più rispetto alle spese effettive, il conguaglio sarà a suo favore e il proprietario dovrà rimborsarlo. In questo caso, procedi al contrario:
- Nella colonna del Conto Dare inserisci il conto contabile del Conteggio annuale.
- Nella colonna del Conto Avere inserisci il conto contabile dell’inquilino.
Se, dopo aver registrato i conguagli agli inquilini, il saldo del conto di Conteggio annuale (conto 1150) non si azzera completamente, verifica le cause:
- Se la differenza è minima, può dipendere dagli arrotondamenti. In questo caso, consulta la sezione Gestione degli arrotondamenti nel conto di Conteggio annuale.
- Se invece rimane una differenza significativa, controlla la ripartizione delle spese tra gli inquilini nella sezione Verifica della ripartizione delle spese agli inquilini.
Incasso e rimborso di un conguaglio spese dall'inquilino
Quando un conguaglio spese già registrato viene pagato dall’inquilino o viene rimborsato all'inquilino, registra l’operazione nella tabella Registrazioni.
Se l'inquilino ha pagato il conguaglio registra l'incasso nel seguente modo:
- Nella colonna del Conto Dare inserisci il conto contabile di liquidità, ovvero della banca, della cassa o di un altro mezzo con cui hai incassato il conguaglio spese.
- Nella colonna del Conto Avere inserisci il conto contabile dell’inquilino che ha pagato il conguaglio spese.

Se hai rimborsato l'inquilino, procedi nel seguente modo:
- Nella colonna del Conto Dare inserisci il conto contabile dell’inquilino a cui hai rimborsato il conguaglio spese.
- Nella colonna del Conto Avere inserisci il conto della banca, della cassa o di un altro mezzo con cui hai rimborsato il conguaglio.

Registrazioni di controllo
Gestione degli arrotondamenti nel conto di Conteggio annuale
Può succedere che, quando si addebitano i conguagli spese agli inquilini, restino dei centesimi nel conto di Conteggio annuale. Questo accade perché si tratta di importi molto piccoli, che non possono essere ripartiti tra tutti gli inquilini.
In questi casi, trasferisci i centesimi residui dal conto di Conteggio annuale a un conto dei costi del conto economico come arrotondamento, così da azzerare il conto.
Verifica della ripartizione delle spese agli inquilini
Il conto di Conteggio annuale è molto utile per controllare se le spese sono state divise correttamente tra gli inquilini.
- Se, dopo aver registrato i conguagli, il conto si azzera, significa che le spese sono state divise correttamente e che non è stato tralasciato nessun importo.
- Se nel conto rimane un importo molto piccolo, può trattarsi di una differenza dovuta agli arrotondamenti. In questo caso, puoi sistemarla consultando la sezione Gestione degli arrotondamenti nel conto di Conteggio annuale.
- Se invece resta un saldo positivo o negativo rilevante, significa che la ripartizione delle spese non è stata effettuata correttamente. In questo caso è necessario ricontrollare i calcoli e i coefficienti di ripartizione usati per i conguagli.
Swiss VAT management
Banana Accounting Plus manages VAT in accordance with the Swiss regulations of the Federal Tax Administration (FTA). The extensions for the 2024/2025 VAT Reports generate the XML file for online transmission of VAT data to the FTA and a control printout, similar to the data entry interface of the FTA portal.
To use the 2024/2025 VAT extensions, you need to:
- Have a subscription to the Advanced plan of Banana Accounting Plus
- If you already have the Professional plan, you can upgrade
- Download the latest program release
The Swiss VAT Report 2024/2025 is automatically created thanks to the following extensions, integrated into Banana Accounting Plus:
Changes and Updates as of 01.01.2025
Starting from January 1, 2025, important changes to the VAT law have been introduced, mainly concerning:
- Mandatory electronic processing of VAT data
- Introduction of more than two VAT rates for balance and flat-rate methods
- Option to choose annual reporting
The VAT extensions of Banana Accounting are based on the current rates and the VAT codes linked to the respective figures of the VAT report. You can find detailed information about the VAT codes at the following web page:
Recording transactions with VAT
With Banana Accounting, recording transactions with VAT is extremely simple due to its complete automation. VAT transactions are registered in the Transactions table, which serves as the central hub of the entire accounting process. For each VAT transaction, you need to enter the corresponding VAT code, indicating whether it's a sale or purchase and referring to the applicable VAT rates.
The software provides several pre-configured columns, and you have the flexibility to customize their display according to your preferences.
Additionally, the program offers the following functionalities:
Types of accounting
There are two types:
- On the issued invoices
It implies keeping a Clients and Suppliers register.
The costs and revenues, with the relative VAT code, are recorded when the invoice is issued and received.
More information is available on the page How to manage Supplier and Customers with VAT on turnover.
- On cash received
It is not mandatory to keep a Clients and Suppliers register, but if you wish to have one anyway, it is important to set it up with cost centers.
The costs and the revenues, with the relevant VAT code, are registered at the moment of collection or payment.
Further information can be found on the page Clients and suppliers with VAT, using the Cash principle.
Calculation method
To calculate the VAT amounts and generate the VAT report to be sent to the FTA, it is necessary to have costs and revenues in CHF base currency.
There are two methods of calculation:
- Effective method report
Provides for the deduction of the VAT paid on purchases (VAT due - recoverable VAT).
- Net tax rate method
The VAT to be paid to the FTA is calculated according to the granted rates.
Does not provide for the deduction of VAT paid on purchases.
Electronic transmission of the VAT Report
With the new Banana Accounting extensions, in addition to the VAT statement facsimile, it is possible to export data in XML format for submission on the Federal Tax Administration (FTA) online portal.
More information is available on the page VAT Report Submission.
All VAT statements can be saved as PDF files and securely archived.
Banana VAT Summary (VAT Journal)
In addition to VAT extensions, Banana Accounting Plus can generate VAT summaries based on the period and other parameters.
VAT summaries are useful for understanding the movement of VAT (VAT payable, recoverable, and to be paid) and enable effective control. In the event of audits by tax authorities, VAT summaries provide targeted details to facilitate the verification process.
For more information, please visit the VAT Summary page.
All VAT summaries can be saved in PDF format and securely archived.
VAT year-end reconciliation
Regarding the annual correction statement, which contains any differences found at the end of the year compared to the already submitted statements, Banana does not allow for a comparison of the calculated tax with the previously transmitted statements because the program does not save the total calculated tax from previous calculations. Therefore, the user must manually calculate the tax difference and communicate it to the AFC using the appropriate form.
Users of Banana Accounting 9 or earlier
Users of version 9 or earlier must switch to Banana Accounting Plus with the Advanced plan to use extensions and prepare the VAT report or generate the XML file.
Those who do not wish to switch to the new version will have to manage VAT using only the VAT/Sales Tax Report and manually enter the data on the FTA website.
Useful links
Program and plan update
To use the Swiss VAT Statement Extensions 2024/2025, we invite you to upgrade your program right away to the Advanced plan of Banana Accounting Plus.
As usual, Banana does not force you to switch plans and allows you to continue working with the Professional plan, but switching to the Advanced plan is definitely the most efficient way to manage VAT.
To use the VAT Extensions 2024/2025, you need to:
Upgrade to the Advanced plan from the Professional plan
If you are still using a version prior to Banana Accounting Plus or the Professional Plan, we recommend upgrading to the Advanced plan of Banana Accounting. You'll have access to the new extensions to create VAT Statements quickly, without wasting time manually calculating and entering the amounts on the VAT portal.
Switch to the Advanced plan of Banana Plus
You only pay the difference between the two plans
Upgrade to the Advanced plan from the Free plan
If you don’t have a subscription yet, purchase the Advanced plan of Banana Accounting Plus
Compatibility notice for Banana 9 users
Banana Accounting 9 and earlier versions are no longer updated. Banana 9 allows the installation of the VAT Extensions 2024/2025, but it is indicated that they are not compatible. There are two options:
- Switch to Banana Accounting Plus with the Advanced plan and start using the VAT Extensions 2024/2025 right away.
- Continue using Banana Accounting 9: you can create the VAT Report in Banana (VAT journal by rate type) and then manually fill in the VAT Statement online. Further explanations in the next paragraph.
Managing VAT without the Advanced plan of Banana Accounting Plus
If you are using Banana Accounting Plus with a plan other than Advanced, or if you have Banana Accounting 9 (or an earlier version), you can still manage VAT in the following way:
- Before proceeding, it is advisable to always make a backup copy of your accounting file.
- Update the VAT Codes table with the new codes
- Banana+
- See the documentation Update VAT Codes Table 2025.
- Banana9
- Download the VAT Codes Table 2025.
- Open your accounting file and from the menu Account1 > Import into accounting > Import VAT Codes.
- Select the format type Accounting File (*.ac2).
- Use the Browse button to select the vat_codes_2025.ac2 file that was saved in the Download folder.
- Banana+
- Enter the transactions in the Transactions table using the new VAT codes with the updated rates.
- Generate the VAT Report (also called VAT journal), which includes the data required to fill in the online VAT statement.
- Manually enter the data into the online portal of the FTA.
Current VAT rates
In Switzerland, VAT rates changed as of 1 January 2024. Below you will find the new rates for both the actual method and the net rate method.
VAT rates for the effective method
From 2024 the new VAT rates came into force as indicated in the following table:
| Until December 31, 2023 | From January 1, 2024 |
|---|---|---|
| Normal rate: | 7,7 % | 8,1 % |
| Reduced rate: | 2,5 % | 2,6 % |
| Special rate for accommodation: | 3,7 % | 3,8 % |
Further details are available on the website of the Federal Tax Administration page.
VAT rates for the net tax rate method
The new VAT rates for the net tax rate method are the following:
| Net tax rates until December 31, 2023 | Net tax rates from January 1, 2024 |
|---|---|
| 0,1 % | 0,1 % |
| 0,6 % | 0,6 % |
| 1,2 % | 1,3 % |
| 2,0 % | 2,1 % |
| 2,8 % | 3,0 % |
| 3,5 % | 3,7 % |
| 4,3 % | 4,5 % |
| 5,1 % | 5,3 % |
| 5,9 % | 6,2 % |
| 6,5 % | 6,8 % |
For managing balance rates, the VAT Codes table includes:
- the VAT codes from F1 to F9
- do not correspond to a specific VAT rate.
- the rate is applied based on the configuration chosen by the user.
- it is not necessary to use all the codes.
- unconfigured codes remain empty and have no effect on VAT calculations.
- The numbering (F1, F2, F3, …) only serves as a configuration order, it does not indicate the rate.
- the VAT discount codes from FS1 to FS9
- follow the same logic set for the F1–F9 codes.
- the rates must match the VAT codes F1–F9.
Example with the setup of two balance rates:
- VAT code F1, balance rate 0.1%
- VAT code FS1, balance rate 0.1%
- VAT code F2, balance rate 3.7%
- VAT code FS2, balance rate 3.7%
These codes have not set the rate in the table. There are two ways of calculating:
Updating the Swiss VAT Codes table 2025
Users who are using outdated VAT codes and rates can easily update the VAT Codes table by following the instructions below.
The procedure to update to the 2025 codes is the same as the one used for the 2024 codes.
▶ Video Update the Swiss VAT codes table
It is necessary to have downloaded and installed the latest version of Banana Accounting Plus.
Update VAT Codes table in accounting
All users who have their own coding for VAT codes must update the VAT Codes table according to the new rates with their respective reference figures.
You can check the version of the VAT Codes table in use by looking at the date of the last update shown in the "VAT Codes Information" row of the VAT Codes table.
To update the VAT Codes table in your accounting file, proceed as follows:
- Make a backup copy of your file to be safe
- Open your accounting file
- Select from the menu Actions > Import to accounting > Import VAT codes

- Select Switzerland New VAT Rates 2025
If the option "Switzerland new VAT Rates 2025" is not listed among the available ones, it means you are working with an older version of Banana Accounting. In this case, you need to download and install the latest version of Banana Accounting Plus. - Confirm by clicking on the OK button

- From the dialog that appears there are two options:
- Add new codes and new groups
To be used when you want to maintain your VAT codes. In this case the program adds the new VAT codes leaving the existing ones unchanged. If the VAT codes to be added already exist in the table, but have a different rate or grouping, they will be inserted by adding '-1' to the name. - Replace all rows (recommended choice)
Use this command if you don't need to maintain the existing VAT code page.
In this case, the VAT code table is completely replaced with the new table.
Existing VAT accounts are retained and need to be reviewed after the update. The default VAT account can be changed via the File Properties dialog (basic data).
- Add new codes and new groups

- Check the accounting
From Actions menu > Check accounting.
If there are incorrect VAT codes in the transactions table, you need to update them according to the new VAT Codes table.
To replace the old VAT codes in the Transactions table, you can use the command from the menu Data > Search and replace.
If the VAT codes have also been entered in the Accounts table, to associate the VAT codes to the accounts, these must be updated.
Update the VAT Codes table in the Estimates and Invoices application
It is not possible to automatically update the VAT Codes table in the Estimates and Invoices application, as explained in the previous paragraphs.
ID codes and percentage VAT rates must be updated manually each time there are changes.
Alternatively, you can also follow this procedure:
- Open a new Banana template for Estimates and Invoices, which has updated VAT codes
- Go to the VAT Codes table
- Copy and paste the entire table from the template to your Estimates and Invoices file.
For more details, refer to the VAT Codes table in Estimates and Invoices page.
VAT Codes Table History
Current versions
- VAT Codes Table 2025 (12.03.2025, id=vatcodes-che-2025.20250312)
- VAT Codes Table 2024 (02.04.2025 id=vatcodes-che-2024.20250402)
Outdated versions
- VAT Codes Table 2024 20230614 (14.06.2023, id=vatcodes-che-2024.20230614)
- VAT Codes Table 2018 (10.12.2021, id=vatcodes-che-2018.20211210)
Transactions with VAT
Supplier customers with VAT on turnover
Set up the accounts of the ledger
To set up the Customers / Suppliers register consult the Customers setup with the accrual method page.

VAT registration on turnover
With the system of VAT on turnover, the Customers / Suppliers register will be kept. Therefore, the invoices issued and received are recorded, posting the costs and revenues and entering the corresponding VAT code.

Clients and suppliers with VAT, using the Cash principle
With the system of the VAT on cash received, there is no provision for entering transactions on the clients/suppliers accounts, for the expenses and income are being entered at the moment the payment is made or received. Only at that moment, the VAT code is being entered. However, in spite of this rule, it is still possible to enter the issued and received invoices by using the cost centers.
Procedure:
- Insert the clients' and suppliers' accounts as cost center CC3, defined with the semicolon in two different groupings, one for clients, another one for suppliers.

Entering the invoices of clients and suppliers
For the issued and received invoices:
- Position yourself in the Transactions table, Cost centers view;
- Enter the date, the document number and the invoice number in the respective columns;
- Enter the description;
- Enter the amount of the issued or received invoice in the Amount column, the Debit and Credit columns have to remain empty.
- Enter the cost or profit center in the CC3 column: in positive when it concerns an invoice issued to a client; preceded by the minus sign (in negative) when it is an invoice received from a supplier.
When the payment for an invoice is received or made:
- Position yourself in the Transactions table, Cost centers view;
- Enter the date, the document number and the invoice number in the respective columns;
- Enter the description;
- If it concerns a payment received, enter a liquidity account in the Debit column and a revenue account in the Credit column;
When it's about a payment that has been made, enter an expense account in the Debit column and a liquidity account in the Credit column; - Enter the amount;
- Enter the appropriate VAT code;
- Enter the cost or profit center in the CC3 column, preceded by the minus sign (in negative) when it is a payment received (customer) and in positive when it concerns a payment made to a supplier.

In the Account card of the cost center, the transactions of the customer or supplier are being displayed.
Related documents
How to record only the VAT amount
There are cases where you only need to record the VAT amount, such as when you receive compensation from your car insurance.
You record as follows:
- Enter the date, document number and the description in the columns provided.
- In the Credit column, enter the account with which the VAT amount is paid (the Debit account remains empty)
- In the Amount column, enter the VAT amount to be paid
- In the VAT code column, enter the VAT code I77-2 (VAT code relating to the VAT amount 100%)
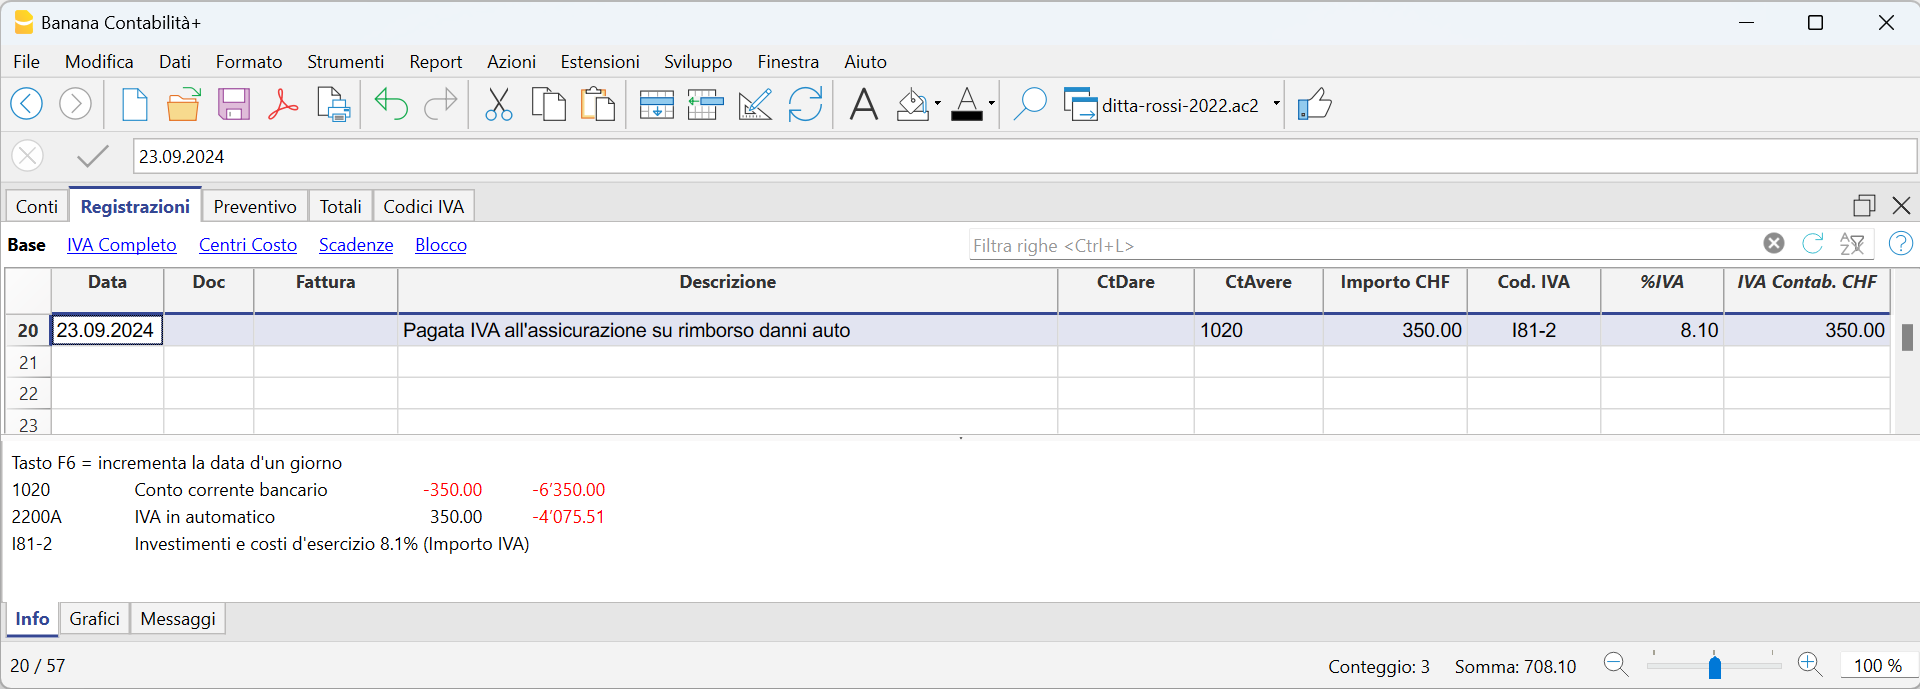
Jahresabrechnung und Vorauszahlungen der MWST nach der effektiven Methode
Eine Vorauszahlung buchen
Wenn Sie eine Vorauszahlung (Akonto) leisten, sollte diese korrekt in Ihrer Buchhaltung erfasst werden, um die Übersicht über bereits geleistete Zahlungen an die ESTV zu behalten. Es wird empfohlen, ein separates MWST-Konto zu verwenden, das nicht mit dem automatischen MWST-Konto verknüpft ist.
Die Buchung sollte wie folgt erfolgen:
- Geben Sie das Datum und eine Beschreibung ein.
- In der Spalte Soll tragen Sie das MWST-Konto ein.
Es wird empfohlen, ein spezielles MWST-Konto für Akontozahlungen und den Zahlungsausgleich zu verwenden. - In der Spalte Haben geben Sie das Bankkonto an, über das die Zahlung erfolgt.
- In der Spalte Betrag erfassen Sie den überwiesenen Betrag.
Beispiel für die Buchung einer Akontozahlung:
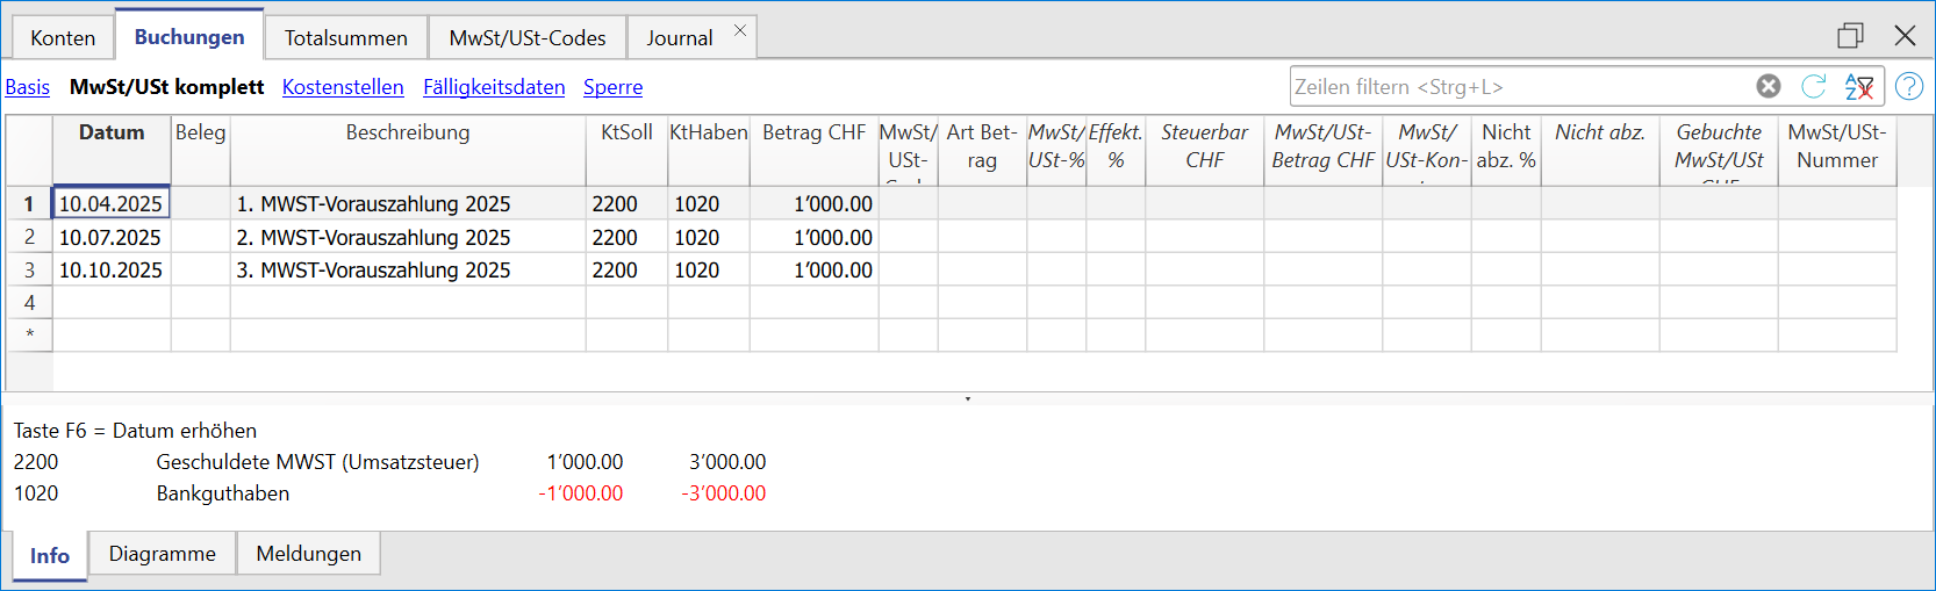
Abschlussbuchung und Zahlung
Beispiel einer Abschlussbuchung unter Berücksichtigung der Akontozahlungen:
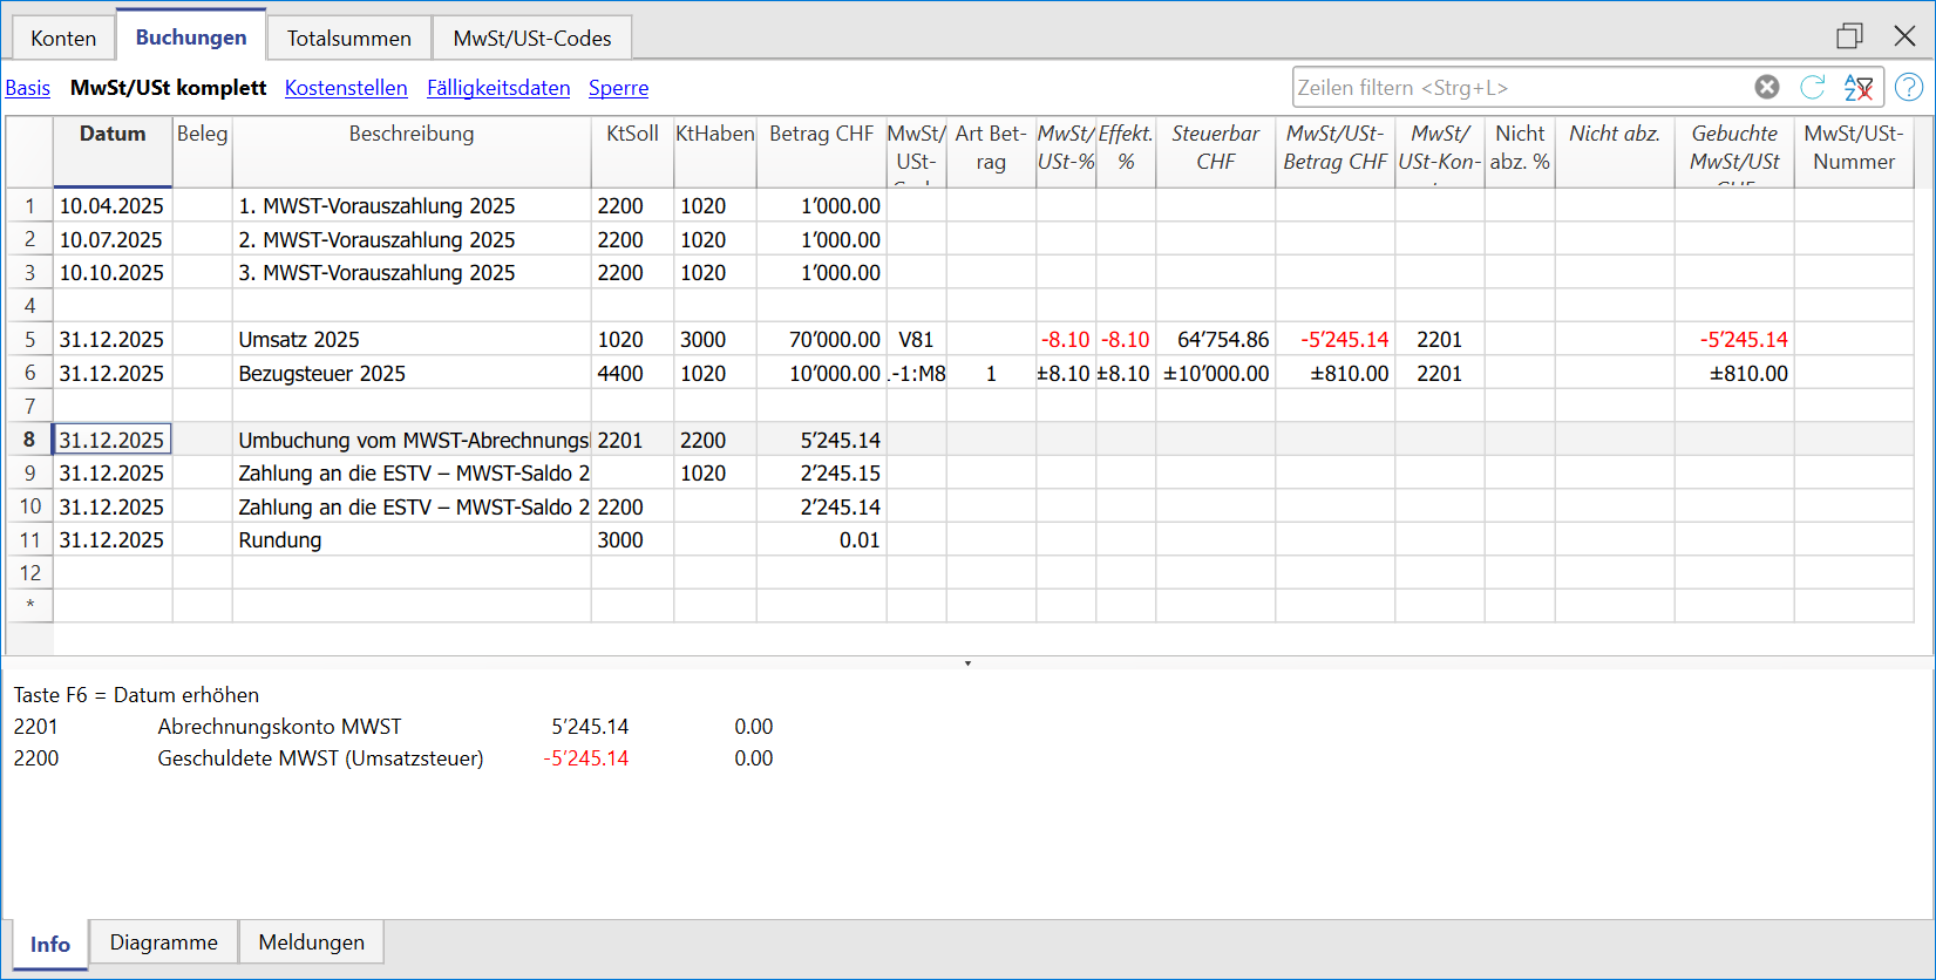
Kontoauszug - MWST 'Konto'
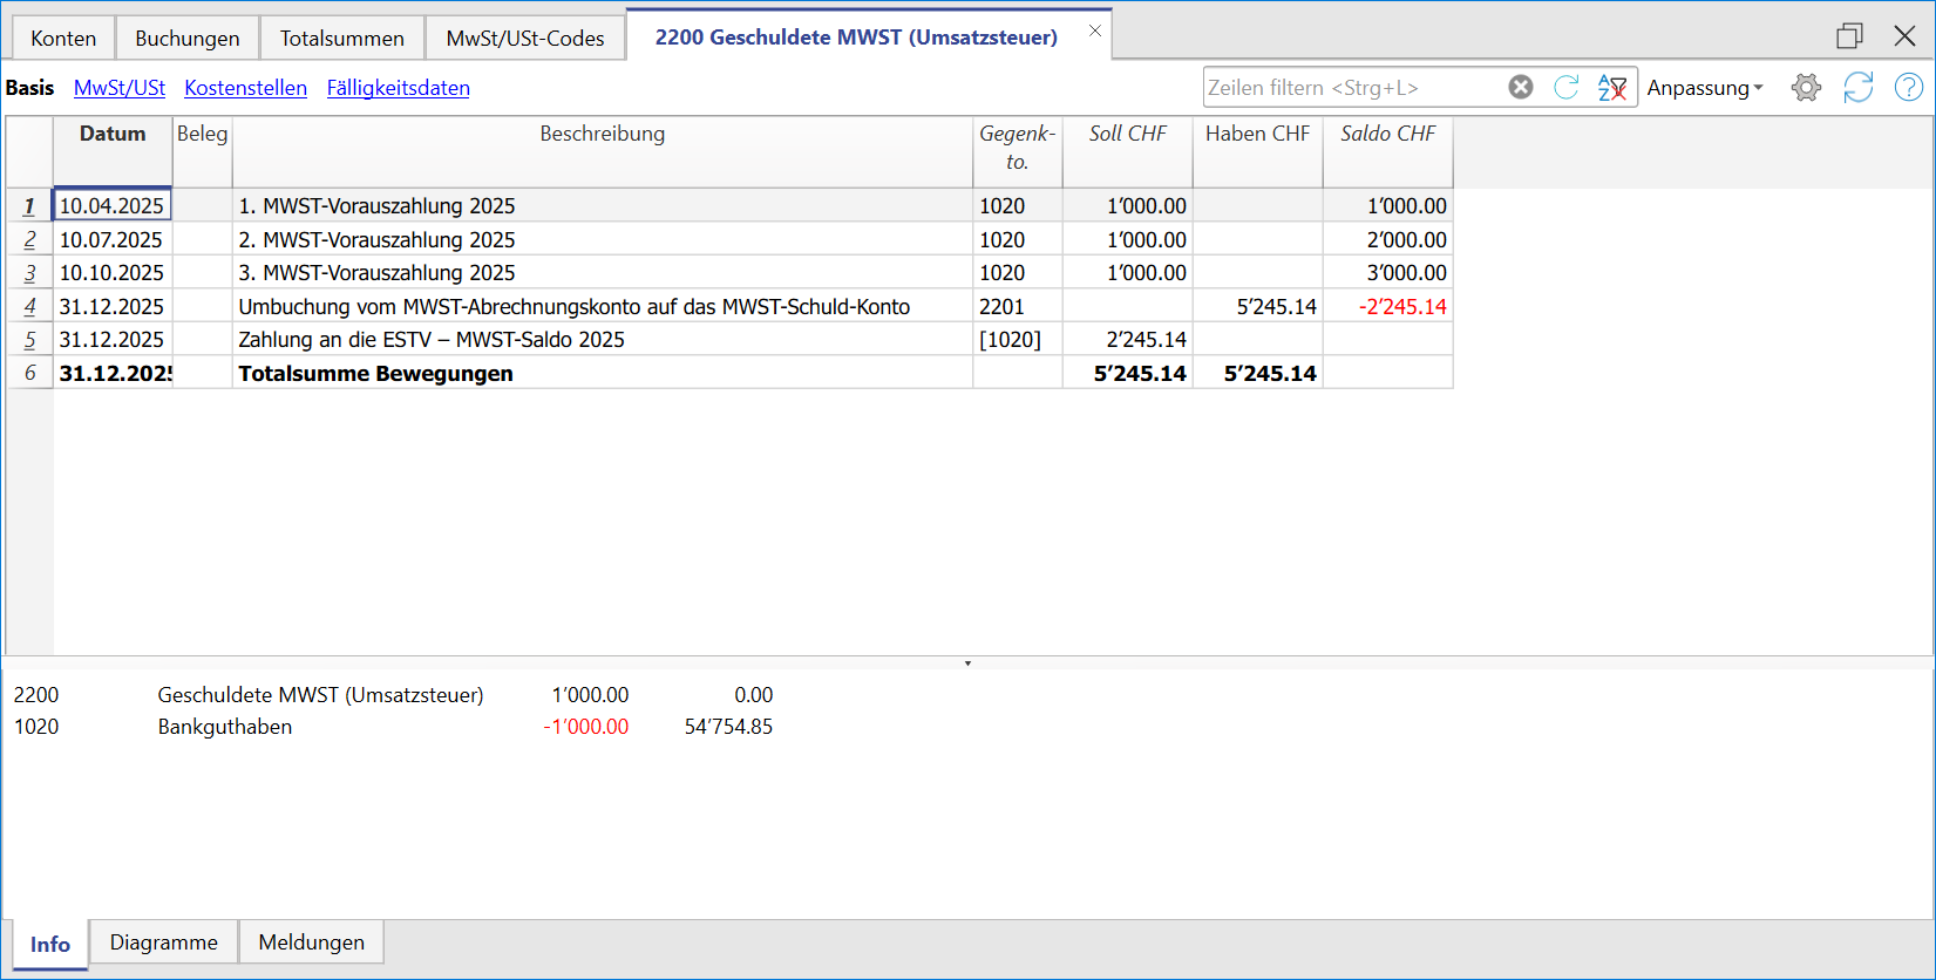
Jahresabrechnung und Vorauszahlungen für die MWST-Abrechnungsmethode mit Saldo-/Pauschalsteuersatz
Vorauszahlung buchen
Wenn Sie eine Vorauszahlung (Akonto) leisten, sollte diese korrekt in Ihrer Buchhaltung erfasst werden, um die Übersicht über bereits geleistete Zahlungen an die ESTV zu behalten. Es wird empfohlen, ein separates MWST-Konto zu verwenden, das nicht mit dem automatischen MWST-Konto verknüpft ist.
Die Buchung sollte wie folgt erfolgen:
- Geben Sie das Datum und eine Beschreibung ein.
- In der Spalte Soll tragen Sie das MWST-Konto ein.
Es wird empfohlen, ein spezielles MWST-Konto für Akontozahlungen und den Zahlungsausgleich zu verwenden. - In der Spalte Haben geben Sie das Bankkonto ein, über das die Zahlung erfolgt.
- In der Spalte Betrag erfassen Sie den überwiesenen Betrag.
Beispiel für die Buchung einer Akontozahlung:
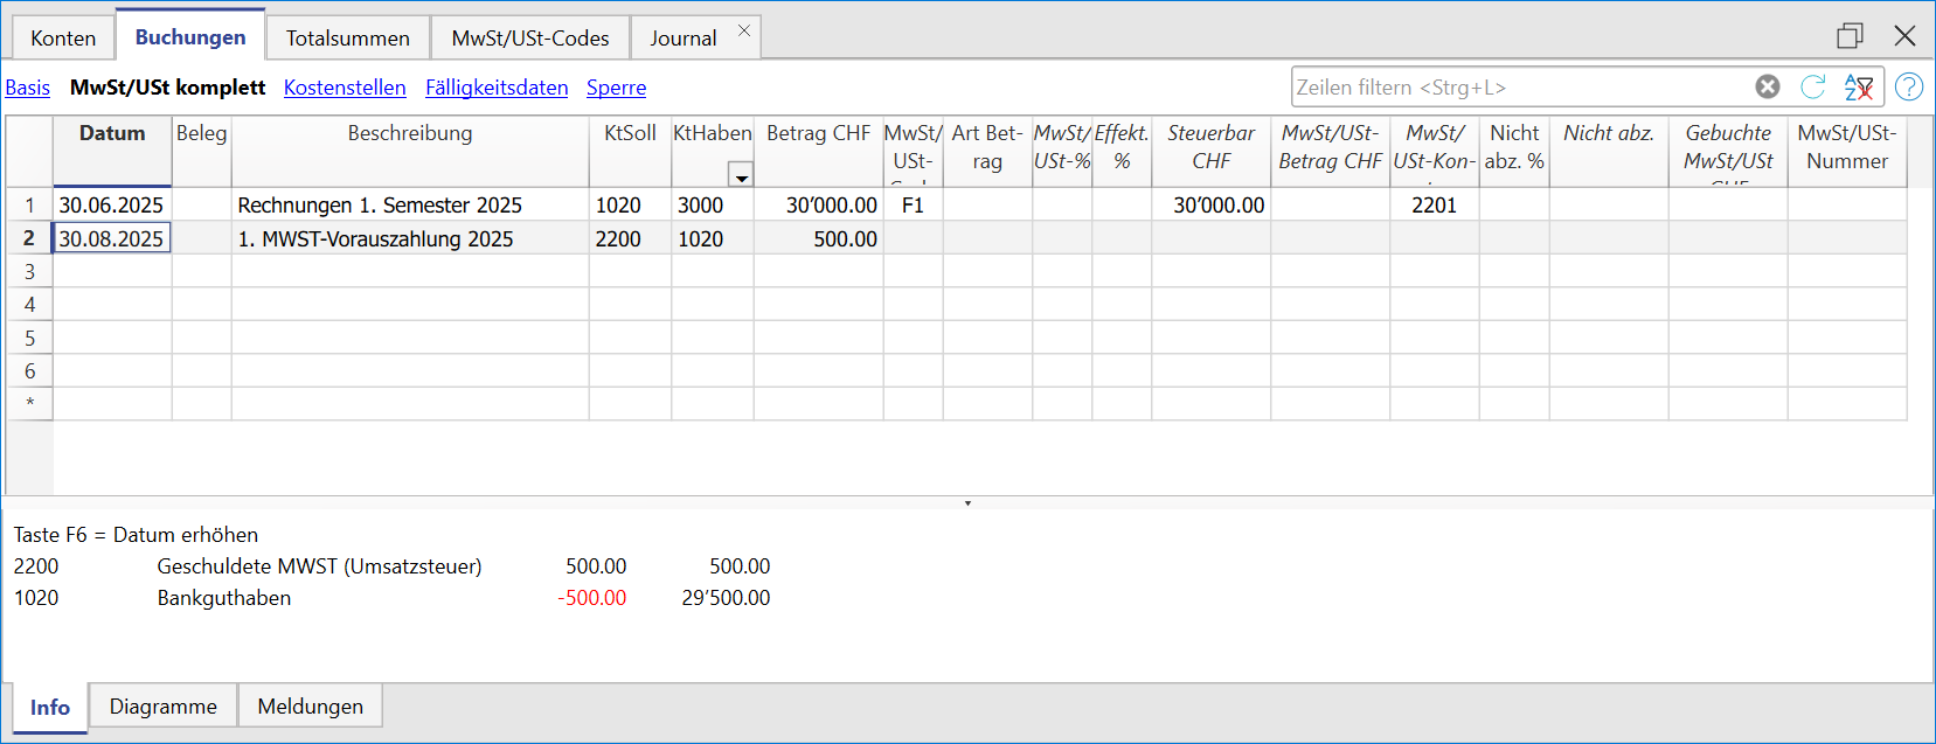
- In der ersten Zeile wurde der Gesamtbetrag der ausgestellten und bereits bezahlten Rechnungen erfasst. Der MWST-Code F1 kennzeichnet den MWST-Betrag, der im Formular berechnet wird.
- In der zweiten Zeile wurde die Akontozahlung erfasst, die von der Eidgenössischen Steuerverwaltung (ESTV) festgelegt wurde. Diese Akontozahlung wird nicht im MWST-Formular ausgewiesen.
Abschlussbuchung und Zahlung
Für die Abschlussbuchungen verweisen wir auf die entsprechende Dokumentation:
Beispiel einer Abschlussbuchung ohne MWST-Zerlegung unter Berücksichtigung der Akontozahlungen:

Kontoauszug - Geschuldete MWST

Periodic VAT Return and Payment
Reset of Account 2201, VAT Return
At the end of the period, the balance of account 2201 VAT Return (automatic VAT account) must be reset with a reversal entry by entering:
- In the Debit column: account 2201 VAT Return
- In the Credit column: account 2200 VAT Payable
This operation involves:
- Reset of the balance of account 2201, VAT Return (automatic VAT account).
- Transfer of the VAT balance to the VAT due account (or Treasury VAT account).
- If this results in a VAT debit, the VAT balance is posted in Credit of the VAT due account; in Debit of the "VAT according to VAT report" account, the balance is set to zero.
- If this results in a VAT credit, the VAT balance is posted in Debit of the VAT due account; in Credit of the "VAT according to VAT report" account, the balance is set to zero.

Transaction for charging the quarter balance to the Due VAT account

VAT balance payment
When the VAT amount is paid to the FTA (Federal Tax Administration), the balance in the VAT Due account resets to zero.
For the transaction:
- Enter the Date, Document number, and Description in the respective columns.
- In the Debit column, enter the VAT Due account.
- In the Credit column, enter the liquidity account.
- In the Amount column, enter the VAT Due amount paid.
With this system, it is possible to monitor the balance for each quarter, and in case of an error, identify the period in which the balance no longer matches.
Ledger of account 2200 VAT Payable after the payment entry
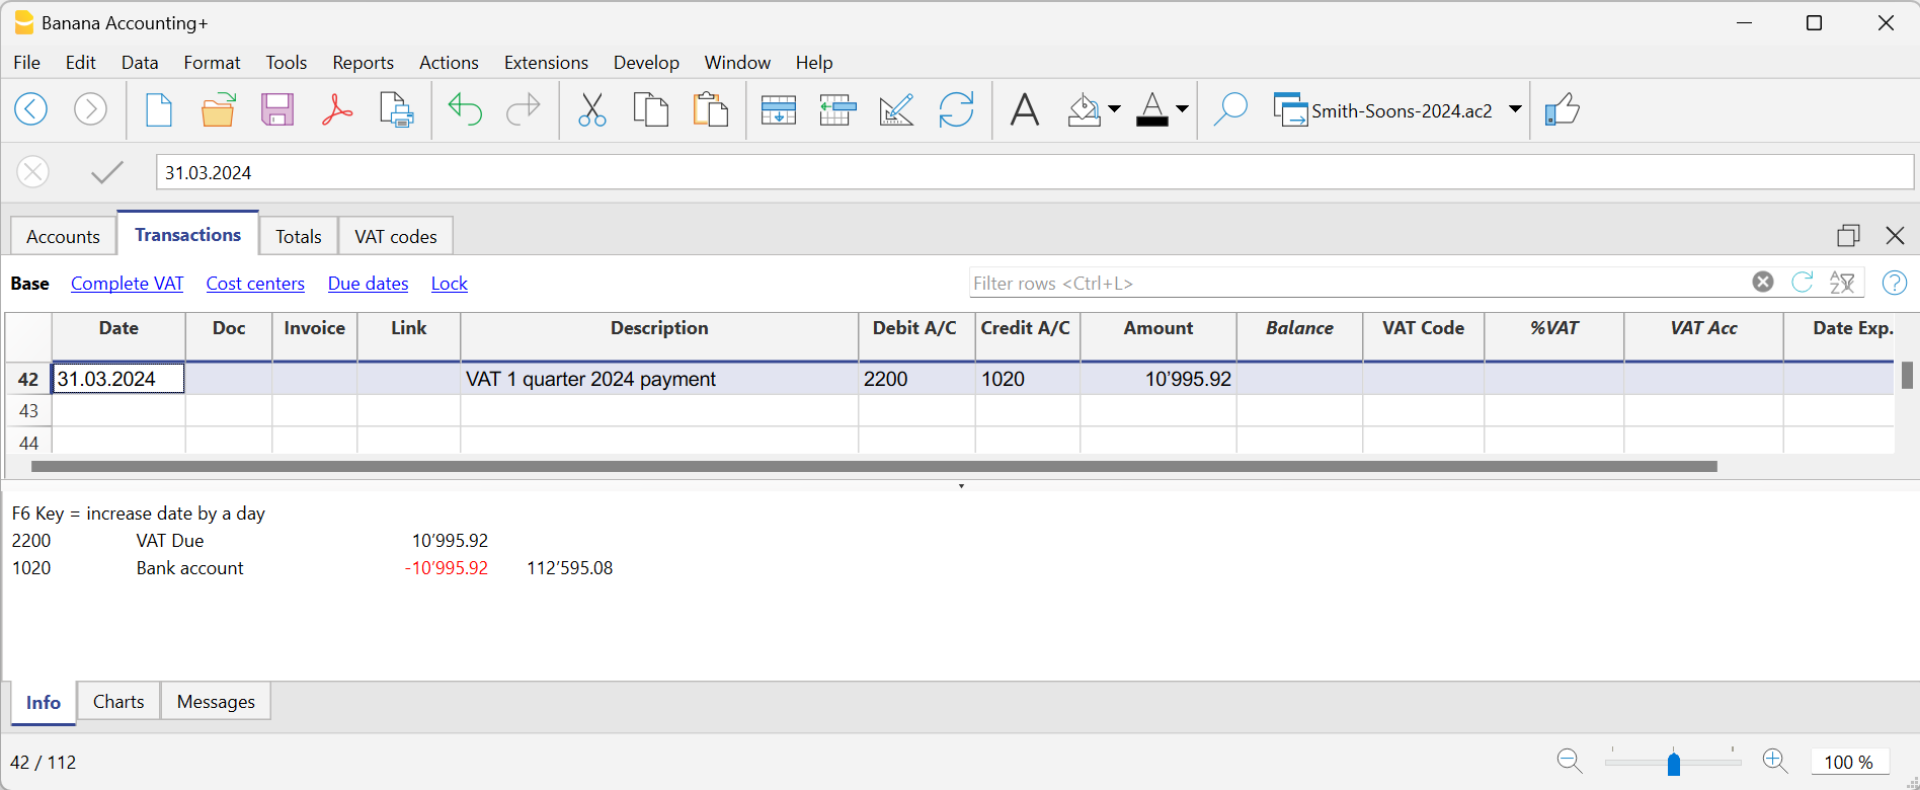
Note
The procedure explained refers to the payment of VAT recorded using the effective method and also applies to the flat-rate VAT method with VAT breakdown.
For those who have recorded VAT using the balance rate method without VAT breakdown, specific information can be found on the web page Accounting Adjustment and VAT Payment.
VAT due account card after the payment

How to register a VAT credit (Switzerland)
If at the end of a period, when calculating the VAT declaration, the previous VAT is bigger than the due VAT, your VAT report has a Debit balance.
To reset the "VAT according to VAT report" account to zero, you need to enter a transaction as follows:
- put in Debit A/C the VAT Due account
- put in Credit A/C the "VAT according to VAT report" account
Usually, in Switzerland the VAT credit is reimbursed to the company, without having to move the credit to the following period.
When your VAT is reimbursed, you need to enter a transaction as follows:
- put in Debit A/C your liquidity account
- put in Credit A/C your Due VAT account (where the balance should go to zero).
Entering VAT at customs for import
VAT paid in cash at import
Goods purchased abroad must be declared at customs and paid for in cash on the spot.
Customs issues a customs clearance document indicating the taxable amount and the VAT amount paid. VAT paid at customs can be recovered by VAT payers.
In order to recover the VAT paid at customs, the user needs to operate as follows:
To recover the VAT, register as follows:
- In the Debit column the cash account. The Debit column remains empty.
- In the Amount column, the amount paid in customs is recorded.
- In the VAT Code column, a VAT code type 2 (M77-2) is entered, which allows the VAT amount to be recorded at 100%.
Note
New codes can be added to the VAT Codes table. If you need the 2.5% VAT code, for customs VAT recovery, simply add a new code, e.g. M25-2, completing the same grouping in the column Sum in, GR1, the amount type 2 and entering 2.5 as the rate.

In the Transactions table, enter the cash account in credit, the paid VAT amount and the corresponding VAT code.
The program calculates the VAT amount at 100%, without creating differences in the recordings.

VAT paid at import by the shipping company
The procedure is the same as the previous one, except for the fact that the transaction extends itself over several rows, since, at the moment the shipper's invoice is being paid, the shipping costs and/or the customs clearance may be included.
Example:
Payment of the shipper's invoice for a total of CHF 359.- CHF 150 of which shipping costs, and CHF 209 for VAT advanced at customs.

VAT on Imports – Income/Expense accounting
VAT on goods purchased abroad must be paid directly at customs. After payment, customs issues a clearance document that shows the taxable amount and the VAT paid. VAT-registered businesses can reclaim this amount.
VAT codes for VAT paid at customs
All preconfigured accounting templates with VAT include a specific code for recording VAT on imported goods:
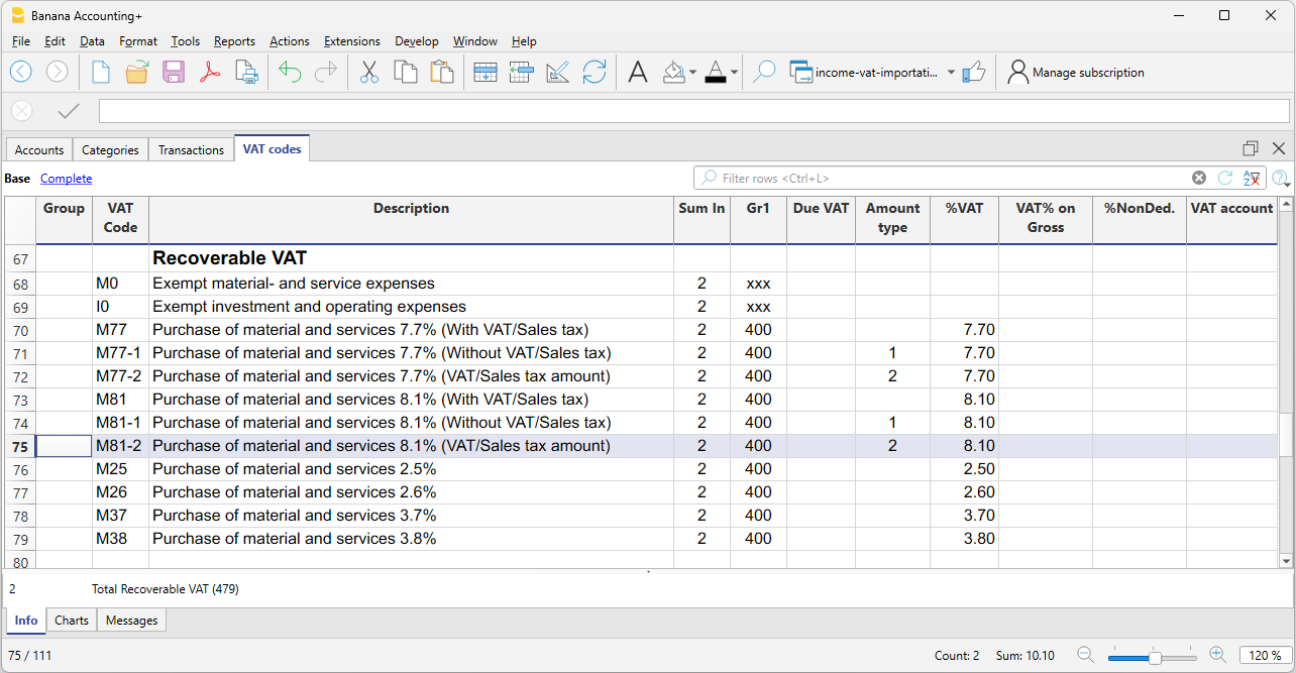
- M81-2 Purchase of goods and services 8.1% (VAT amount)
By using this code, the program considers the amount entered in the Amount column as 100% VAT. As a result, the full amount paid at customs is correctly recorded in the VAT return.
- Adding custom VAT codes
In the VAT Codes table, you can add new codes, for example to manage a different rate.
To reclaim customs VAT at 2.6%, simply:- create a new code, for example M26-2
- set the GR1 group in the Sum in column
- set amount type 2
- indicate 2.6% as the rate
Customs VAT paid in cash
When VAT on imported goods is paid in cash, to reclaim the VAT proceed as follows:
- In the Transactions table:
- enter the date, document number, and description in the respective columns
- in the Expenses column, enter the amount paid in cash
- in the Account column, enter the Cash account
- in the Category column, enter the shipping expense category
- in the VAT Code column, enter the M81-2 code, which calculates and automatically enters the full VAT amount into the VAT account.
The program posts the full VAT amount without creating discrepancies in the entries.
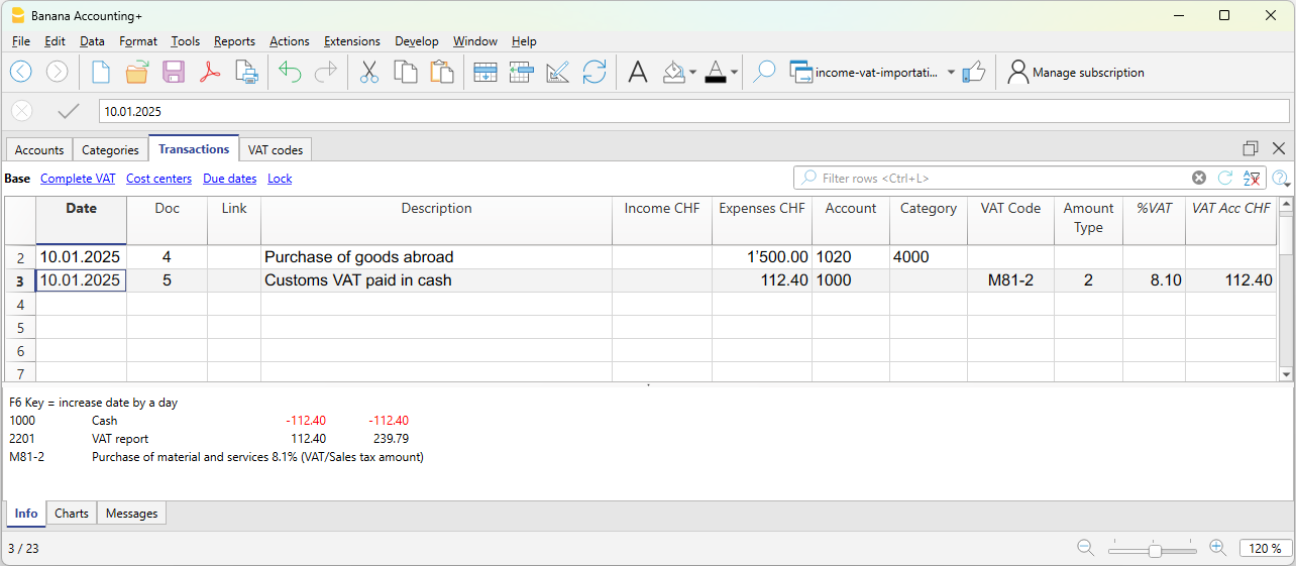
Customs VAT paid by the freight forwarder
In this case, VAT is advanced by the freight forwarder, who handles the transport and customs clearance of the goods. The freight forwarder’s invoice will include transport costs, customs charges, and the advanced VAT on the imported goods.
The process is similar to the previous case, but the entry is made over several rows, as the forwarder's invoice may include both transport expenses and customs VAT.
Example
Forwarder's invoice paid for a total of CHF 250, of which CHF 200 is for transport and CHF 50 is for VAT advanced at customs.

In the Transactions table:
- In the first row, record in the appropriate columns:
- the date, document number, description
- in the Expenses column, the total amount of the forwarder's invoice
- in the Account column, the bank account. The Category column remains empty
- In the second row, record in the appropriate columns:
- the date, document number, description
- in the Expenses column, the amount of transport costs with VAT code M81
- in the Category column, the shipping expense account or similar
- in the VAT Code column, enter M81 to calculate VAT on the transport costs
- In the third row, record in the appropriate columns:
- the date, document number, description
- in the Expenses column, the amount of VAT paid at customs by the forwarder
- the Account and Category columns remain empty
- in the VAT Code column, enter the code M81-2, which calculates and automatically posts the full VAT amount to the VAT account
VAT on services obtained abroad-Reverse charge- CH
All services obtained abroad must be included in the Swiss VAT report. Unlike the import of goods that are being cleared at customs, for services obtained abroad there are no customs papers, but the VAT for this type of operation must be calculated and recovered. This self-imposition and recovery operation is called Reverse Charge.
The simplified Reverse Charge operation is a new feature of Banana Accounting Plus. Thanks to the possibility of inserting in the same cell of the VAT code both the code for self-imposition and the code for recovery, it is very easy to register.
Codes to be used
In the VAT codes table, there are specific codes to be used for services obtained abroad: codes B81-1 and M81-1 or I81-1.
They are two codes with Amount type 1, where the VAT is calculated on the Net amount (without VAT).
In detail:
- the B81-1 code calculates a VAT debit amount
It is important that in the Complete view> the column Don't Warn is activated "Yes", otherwise you get an error message. - the M81-1 or I81-1 code calculates a VAT credit amount

How to enter a transaction
The entry is made by applying in the VAT code column, a double code B81-1 (self input) and I81-1 (or M81-1).
By entering the double code, the programme registers both the VAT due and the recoverable VAT in the account 2201 VAT return.

VAT on services obtained in a foreign currency
When the recording of services abroad involves a foreign currency account, the Reverse Charge must be registered onto two lines:
- Register foreign purchases in foreign currency without entering any VAT code.
- On the next line, to be able to register the Reverse Charge, register:
- In the Currency column register the amount converted to base currency.
- In the Debit and Credit column a giro account (1090) is registered.
- In the VAT Code column apply the double code B81-1 for self-imposition and M81-1 or I81-1 for recovery.
- At the end of the entries the claering account must be zero.

VAT on services obtained abroad with the Swiss flat tax rate VAT method
When adopting the Swiss flat tax rate VAT method, you need to register the purchase with the B81-1 VAT code for self-imposition.
You don't need to enter the VAT recovery transaction, as this method doesn't allow any deduction on purchases, including those occurred abroad.
Korrekturen der Vorsteuer in der Schweiz
Nachfolgend listen wir die wichtigsten Praxisfälle zur Erfassung eines Vorsteuerabzugs oder einer Korrektur der Vorsteuer für die schweizerische Mehrwertsteuer auf. Es ist wichtig, den korrekten MWST-Code zu verwenden, da jede Korrektur in eine spezifische Ziffer des Abrechnungsformulars (400, 405, 415, 420…) fliesst, je nach verwendetem MWST-Code.
Stornierung von Wareneinkäufen oder Betriebsaufwand
Buchung einer Gutschrift, die von einem Lieferanten für retournierte Ware ausgestellt wurde.
- Sie müssen die ursprünglich abgezogene MWST reduzieren, indem Sie denselben MWST-Code wie bei der Rechnungsbuchung verwenden, jedoch mit negativem Vorzeichen.
- Auf diese Weise wird die Vorsteuer auf Materialkosten und Dienstleistungen (Ziffer 400) oder auf Investitionen oder Betriebskosten (Ziffer 405) korrigiert.
| Datum | Beleg | Beschreibung | KtSoll | KtHaben | Betrag | MwSt-Code | Art Betrag | MwSt-% | Gebuchte MwSt |
| 01.04.2025 | Lieferantenrechnung | 4000 Warenaufwand | 1020 Bank | 10'810.00 | M81 |
| 8.10 | 810.00 | |
| 30.04.2025 | Gutschrift vom Lieferanten | 1020 Bank | 4000 Warenaufwand | 1'081.00 | -M81 |
| -8.10 | -81.00 |
- MWST-Code verwendet für die Erfassung der Rechnung:
M81 Wareneinkauf und Dienstleistungen 8.1 % (inkl. MWST), zugeordnet zur Ziffer 400 - MWST-Code verwendet für die Buchung der Gutschrift:
-M81 Wareneinkauf und Dienstleistungen 8.1 % (inkl. MWST), negativ zugeordnet zur Ziffer 400 - Falls die Korrektur in einer anderen Abrechnungsperiode erfolgt, kann die Berichtigung auf die gleiche Weise übermittelt oder ein spezifisches Korrekturformular verwendet werden – dies ist mit der Eidgenössischen Steuerverwaltung abzuklären.
Beispiel einer Stornobuchung für eine Investition
| Datum | Beleg | Beschreibung | KtSoll | KtHaben | Betrag | MWST-Code | Art Betrag | MWST-% | Gebuchte MWST |
| 02.06.2025 | Kauf einer Maschine | 1500 Maschinen und Apparate | 2000 Lieferanten | 21'620.00 | I81 |
| 8.10 | 1'620.00 | |
| 30.06.2025 | Gutschrift vom Lieferanten | 2000 Lieferanten | 1500 Maschinen und Apparate | 5'405.00 | -I81 |
| -8.10 | -405.00 |
- MWST-Code verwendet für die Erfassung der Rechnung:
I81 Investition und Betriebsaufwand 8.1% (inkl. MWST), zugeordnet zur Ziffer 405 - MWST-Code verwendet für die Buchung der Gutschrift:
-I81 Investition und Betriebsaufwand 8.1% (inkl. MWST), negativ zugeordnet zur Ziffer 405 - Falls die Korrektur in einer anderen Abrechnungsperiode erfolgt, kann die Berichtigung auf die gleiche Weise übermittelt oder ein spezifisches Korrekturformular verwendet werden – dies ist mit der Eidgenössischen Steuerverwaltung abzuklären.
Eigenverbrauch oder interner Verbrauch von eingekauften Waren
Wenn Güter vom steuerpflichtigen Bereich in den privaten Gebrauch oder in von der Steuer ausgenommene Bereiche überführt werden, müssen Sie den Vorsteuerabzug korrigieren: Die MWST muss in derselben Höhe zurückerstattet werden, wie sie beim Einkauf abgezogen wurde. Die MWST wird unter der Ziffer 415 «Korrekturen der Vorsteuer: Doppelverwendung, Eigenverbrauch (Art. 31 MWSTG)» verbucht.
- Buchen Sie die Lieferantenrechnung mit dem üblichen MWST-Code für Einkäufe
- Buchen Sie den Eigenverbrauch der Ware, wodurch die Warenkosten reduziert werden, da die Ware nicht für den Geschäftsbetrieb verwendet wurde
- Als Gegenkonto verwenden Sie ein Privatkonto oder ein ähnliches Konto
| Datum | Beleg | Beschreibung | KtSoll | KtHaben | Betrag | MwSt-Code | Art Betrag | MWST-% | Gebuchte MWST |
| 01.04.2025 | Lieferantenrechnung | 4000 Warenaufwand | 1020 Bank | 10'810.00 | M81 |
| 8.10 | 810.00 | |
| 30.04.2025 | Eigenverbrauch der Ware | 2850 Privatkonto | 4000 Warenaufwand | 5'405.00 | K81-B |
| -8.10 | -405.00 |
- MWST-Code verwendet für die Erfassung der Rechnung:
M81 Wareneinkauf und Dienstleistungen 8.1 % (inkl. MWST), zugeordnet zur Ziffer 400 - MWST-Code verwendet für die Buchung des Eigenverbrauchs:
K81-B Korrekturen der Vorsteuer 8.1 % zugeordnet zur Ziffer 415
Reduktion aufgrund von Subventionen
Wenn ein Unternehmen eine Subvention (zum Beispiel kantonal oder vom Bund) erhält, ist dieser Betrag in der Regel nicht der Mehrwertsteuer unterstellt. In bestimmten Fällen kann jedoch die Pflicht zur Berichtigung der Vorsteuer entstehen, wenn mit dieser Subvention finanzierte Güter oder Dienstleistungen für mehrwertsteuerpflichtige Tätigkeiten verwendet wurden.
In solchen Fällen ist eine Korrektur der ursprünglich abgezogenen Vorsteuer erforderlich. Diese ist unter der Ziffer 420 der MWST-Abrechnung zu erfassen, wobei der entsprechende Korrektur-Mehrwertsteuercode zu verwenden ist.
| Datum | Beleg | Beschreibung | KtSoll | KtHaben | Betrag | MWST-Code | Art Betrag | MWST-% | Gebuchte MWST |
| 15.04.2025 | Eingang kantonale Subvention | 1020 Bank | 3900 Subventionserträge | 10'000.00 | Z0-A |
|
|
| |
| 15.04.2025 | MWST-Korrektur, stillschweigende Steuerpflicht | 3900 Subventionserträge | 3900 Subventionserträge | 810.00 | K81-C | 2 | -8.10 | -810.00 |
- MWST-Code verwendet für die Buchung des Zahlungseingangs:
Z0-A Subventionen, durch Kurvereine eingenommene Tourismusabgaben, Entsorgungs-und Wasserwerkbeiträge 0% zugeordnet zur Ziffer 900 - MWST-Code verwendet für die MWST-Erfassung:
K81-C Reduktion des Vorsteuerabzugs 8.1 % zugeordnet zur Ziffer 420 - Die Erfassung des Zahlungseingangs erfolgt ohne effektive Mehrwertsteuer, muss jedoch aus Gründen der steuerlichen Transparenz trotzdem dokumentiert werden.
- Die zweite Buchung dient der fiktiven Besteuerung der Subvention (sogenannte stille Besteuerung), um den ursprünglich abgezogenen Vorsteuerbetrag anteilsmässig zu korrigieren.
- Es ist wichtig, bei der Korrektur den Steuertyp „2“ (MWST-Betrag) zu verwenden, damit der Betrag korrekt unter der Ziffer 420 der MWST-Abrechnung ausgewiesen wird.
- Für die zweite Buchung muss der MWST-Betrag manuell berechnet werden.
Weitere Korrekturbuchungen
VAT on cash basis and open invoices at year-end
There are two methods established by the Federal Tax Administration for collecting Value Added Tax (VAT):
- In the invoice-based method, VAT is recorded when the invoice is issued or received, regardless of when payment is made or received.
- In the cash-based method, VAT is recorded only when the payment is received (for customers) or made (for suppliers).
The cash-based method is often chosen by small businesses and professionals because it avoids paying VAT in advance on amounts that have not yet been actually collected.
This page provides a general overview of the VAT cash-based method and refers to detailed pages for operational entries.
VAT on a cash basis: the basic principle
In the VAT cash-based method, the focus is not on the invoice date, but on the moment the financial transaction occurs. This approach is designed to simplify daily management and to avoid paying VAT in advance when the money has not yet actually been collected or paid. With the cash-based method:
- VAT becomes due only at the time of collection (for customers)
- VAT becomes deductible only at the time of payment (for suppliers)
Therefore, during the year, issued or received invoices do not affect VAT until the payment or receipt actually occurs.
Setting up customer and supplier accounts with VAT on a cash basis
With VAT under the cash-based method, during the year it is not necessary to manage customers and suppliers. However, if you still wish to manage invoices and due dates, customer and supplier accounts can be set up using cost and profit centers.
For more information, see:
Why accruals are needed at year-end
Even if operations are based on the cash principle during the year, at year-end it is necessary to apply the accrual principle. This allows costs and revenues to be properly attributed to the year they belong to, providing an accurate financial picture of the activity. At the end of the fiscal year, it is essential to determine the correct economic result for the year.
This means that:
- the revenues of the year must also include invoices issued but not yet collected
- the costs of the year must also include invoices received but not yet paid
For this reason, outstanding invoices are recorded as accrual invoices, without anticipating VAT.
Recording outstanding customer invoices
At year-end, with the VAT cash-based method, it is necessary to record customer invoices that have been issued but not yet collected, in order to correctly allocate revenues to the fiscal year. On the dedicated page, you will find the entries to be made on 31.12 and the reversal to be recorded at the beginning of the new year.
Recording outstanding supplier invoices
At year-end, with the VAT cash-based method, it is necessary to record supplier invoices that have been received but not yet paid, in order to correctly allocate costs to the fiscal year. On the dedicated page, you will find the entries to be made on 31.12 and the reversal to be recorded at the beginning of the new year.
Recording open invoices – Customers
This page explains how to correctly record accounting transactions using the VAT cash basis method, both during the year and at year-end, using Banana Accounting.
It is a practical guide, following the introductory page on VAT on a cash basis, and is intended for VAT taxpayers who apply this method (with prior authorization from the relevant office).
This page describes only the operational entries and does not replace the introductory page on the principles of VAT on a cash basis.
Transactions during the year with VAT on a cash basis
With the VAT cash method, during the year VAT is determined only at the time of receipt or payment. For this reason, customers are not managed as open items during the year.
In practice:
- revenues are recorded when the customer pays
- the VAT code must be entered on the same line as the revenue
The example below shows a possible entry in Banana Accounting for a payment received with VAT on a cash basis.
A bank account receives payment of an invoice from customer Bianchi for CHF 3,500.
The entry is made as follows:
- Debit: bank account
- Credit: revenue account
- VAT Code: VAT code (e.g. V81)
In this way, VAT is recorded only on the amount actually received.

Why additional transactions are needed at year-end
Even if the cash principle is applied during the year, at the end of the fiscal year it is necessary to determine the actual financial result of the year.
For this reason, as of 31.12, invoices issued but not yet collected must be recorded, so that revenues are attributed to the correct fiscal year, without anticipating VAT.
Accounts needed for open customer invoices
To correctly record open customer invoices at year-end, certain specific accounts must be created in the Accounts table.
Balance sheet accounts
- Customers on open invoices (Assets)
- VAT on open customer invoices (Liabilities)

Profit and loss accounts
- Revenues on open customer invoices

These accounts allow you to separately record:
- the revenue attributable to the year
- the VAT, which will only be recorded in the following year
Recording open customer invoices as of 31.12
At year-end, invoices issued to customers but not yet collected must be recorded as follows:
Accounting transation
- First row
- Credit: Revenues on open customer invoices
- Amount: net amount (excluding VAT)
- VAT Code: empty
2. Second row
- Credit: VAT on open customer invoices
- Amount: VAT amount
- VAT Code: empty
3. Third row
- Debit: Customers on open invoices
- Amount: gross amount (including VAT)
- VAT Code: empty
No VAT code should be entered in these transactions, because VAT is not yet due.

Closing open customer invoices in the new year
At the beginning of the new year (01.01), year-end transactions must be reversed to allow normal recording of incoming payments.
Reversal transaction
- First row
- Debit: Revenues on open customer invoices
- Amount: net amount (excluding VAT)
- VAT Code: empty.
2. Second row
- Debit: VAT on open customer invoices
- Amount: VAT amount.
3. Third row
- Credit: Customers on open invoices
- Amount: gross amount (including VAT).

When the customer makes the payment:
- the receipt is recorded as usual
- VAT is recorded in the VAT return of the period in which the payment occurs

Recording open invoices – Suppliers
This page explains how to correctly record supplier-related accounting transactions using the VAT cash method, both during the year and at year-end, using Banana Accounting.
It is a practical guide, following the introductory page on VAT on a cash basis, and is intended for VAT taxpayers who apply this method (with prior authorization from the relevant office).
This page describes only the operational transactions and does not replace the introductory page on the principles of VAT on a cash basis.
Transactions during the year with VAT on a cash basis
With the VAT cash method, VAT is determined only at the time of payment.
For this reason, suppliers are not managed as open items during the year.
In practice:
- costs are recorded when the supplier is paid
- the VAT code must be entered on the same line as the cost
- VAT becomes deductible only at the time of payment
Practical example – Payment of a supplier invoice
The following example shows a possible entry in Banana Accounting for a supplier invoice open as of 31.12.
A bank account is used to pay a supplier invoice from Rossi for CHF 1,200.
The entry is recorded as follows:
- Debit: cost account
- Credit: bank account
- VAT Code: VAT code (e.g. V81)

In this way, VAT is recorded only on the amount actually paid.
Why additional transactions are needed at year-end
Even if the cash principle is applied during the year, at the end of the fiscal year it is necessary to correctly determine the financial result of the year.
For this reason, as of 31.12, invoices received from suppliers but not yet paid must be recorded, so that the costs are attributed to the correct fiscal year, without anticipating the VAT deduction.
Accounts needed for open supplier invoices
To correctly record open supplier invoices at year-end, certain specific accounts must be created in the Accounts table.
Balance sheet accounts
- Suppliers on open invoices (Liabilities)
- VAT on open supplier invoices (Assets)

Profit and loss accounts
- Costs on open supplier invoices

These accounts allow for a clear separation of:
- the cost attributable to the year
- the VAT, which will be deducted only in the following year
Recording open supplier invoices as of 31.12
At year-end, invoices received from suppliers but not yet paid must be recorded as follows.
Accounting transaction
- First row
- Debit: Costs on open supplier invoices
- Amount: amount excluding VAT
- VAT Code: empty
2. Second row
- Debit: VAT on open supplier invoices
- Amount: VAT amount
- VAT Code: empty
3. Third row
- Credit: Suppliers on open invoices
- Amount: gross amount including VAT
- VAT Code: empty
No VAT code should be entered in these entries because the VAT is not yet deductible.

Closing open supplier invoices in the new year
At the beginning of the following year (01.01), year-end entries must be reversed to allow for the normal recording of payments.
Reversal transaction
- First row
- Credit: Costs on open supplier invoices
- Amount: amount excluding VAT
- VAT Code: empty
2. Second row
Credit: VAT on open supplier invoices
Amount: VAT amount
3. Third row
- Debit: Suppliers on open invoices
- Amount: gross amount including VAT

When the invoice is paid:
- the payment is recorded normally
- the VAT is deducted in the VAT report for the period in which the payment occurs

Print invoice with VAT
VAT calculation and rounding on the Invoice
In the printing of invoices integrated into accounting, the total VAT amount corresponds to the sum of the individual VAT transactions that make up the same invoice. Since each VAT entry is rounded to the nearest cent, there may be a difference compared to the VAT calculated on the total invoice amount.
To better understand, let's consider the following example:
- Line 1: 7.7% of CHF 187.50 = CHF 14.4375 -> Rounded: CHF 14.44
- Line 2: 7.7% of CHF 875.00 = CHF 67.375 -> Rounded: CHF 67.38
- Total: 7.7% of CHF 1062.50 = CHF 81.8125 -> Rounded: CHF 81.81
On the invoice, a VAT amount of CHF 81.82 is printed instead of CHF 81.81. In fact, the amount of CHF 81.82 corresponds to the sum of the VAT calculated individually for each item (CHF 14.44 + CHF 67.38).
This logic is adopted to avoid discrepancies between the VAT amounts recorded in accounting and those shown on the invoice. In this way, the total VAT in accounting matches that reported on the invoice.
Net VAT and VAT management on a cash basis
In Banana Accounting it is possible to manage customers using both the turnover and the cash received method. However, as far as invoice printing is concerned, there are some limitations if in accounting you record the amounts net and at the same time use the cash received method.
If we want to create invoices, it is not possible to enter amounts net of VAT with the method on the cash received because, when the invoice is issued, the VAT codes must be written between square brackets and the VAT is not calculated but is only an indication for the printing of the document.
Management based on turnover
| ||
| Gross Amount | Net amount | |
| Effective VAT method | ✓ | ✓ |
| VAT Flat tax rate method | ✓ | ✗ |
Management based on cash received
More details can be found at the following page : https://www.banana.ch/doc10/en/node/9739 | ||
| Gross Amount | Net amount | |
| Effective VAT method | ✓ | ✗ |
| VAT Flat tax rate method | ✓ | ✗ |
Examples with transactions to create invoices and enter them into the accounting for both the effective VAT method and the VAT Flat tax rate method:
VAT management CHF- EU
Companies that have to make VAT/Sales tax declarations in Switzerland and the EU must keep two accounting files.
- One main file for Switzerland/Liechtenstein with all accounting transactions.
More information under Swiss VAT management- Purchases and sales in Europe must be registered with the VAT codes for export or import.
- At the time of the periodic VAT calculation for the EU (with the auxiliary file), the VAT debt is also registered in this main accounting file using no VAT code.
- An auxiliary file for European VAT management
- The basic currency is EUR
- The chart of accounts corresponds to that of the main file (this allows you to copy and paste records).
- VAT/Sales tax table with the VAT codes and rates necessary for your own situation in Europe.
When doing business with only a single nation, the VAT/Sales tax table for that nation and the automatic VAT accounting scripts can be used.
See our web pages: Germany, Austria, Italy, Holland and our webpages with templates for various other nations. - Enter the appropriate amount and VAT code in the transactions
- For the periodic VAT declaration in the EU, use the VAT/Sales tax report command (Reports Menu; Account1 menu in the old version) and total the amounts as necessary on the VAT form of the European nation in which the VAT declaration is made.
Please consult your tax advisor to ensure that this solution meets all the specific requirements of the tax authority in the EU
VAT Report 2024/2025
As of January 1, 2025, significant changes have been introduced to the VAT law. Below is a summary of the main updates:
- Mandatory electronic processing of VAT data.
- Introduction of more than two VAT rates for the flat-rate and balance methods.
- Option to choose annual VAT reporting.
Full details are available in the documentation of the Federal Tax Administration.
Update Status (January 2026)
In the Swiss VAT extension, both the 2024 and 2025 reports are available.
If you have an earlier version of Banana, or the Professional plan of Banana Plus, see the page Update program and plan.
VAT Report 2025
- Effective method
- Compatible with accounting starting from 2025 and previous years
- Requires the VAT Codes table updated to the 2025 version
- New transmission format eCH-0217 2.0.0 (XML file)
- Flat/Fixed rate method
- Compatible with accounting starting from 2025 and previous years
- Requires the VAT Codes table updated to the 2025 version
- Allows the use of more than 4 VAT rates
- New transmission format eCH-0217 2.0.0 (XML file)
- Code 415 for VAT corrections available
VAT Report 2024 (previous version)
- Effective method
- Compatible with accounting up to 31.12.2024
- Transmission format eCH-0217 1.0.1 (XML file) no longer supported
- Flat/Fixed rate method
- Compatible with accounting up to 31.12.2024
- Transmission format eCH-0217 1.0.1 (XML file) no longer supported
VAT Advance Payments Management
The revision of the VAT law, in effect since January 1, 2025, introduces the possibility of making advance payments for the annual return.
In Banana Accounting, these advances are currently not visible in the form but are managed directly in the accounting records, due to the complexity of integrating them into the official model.
VAT Regulations and Changes 2025 – Technical Summary
As of January 1, 2025, important changes to VAT regulations have come into effect. Below are the key points.
Main regulatory changes
- Mandatory electronic submission of VAT return data.
- Extension of the number of allowed rates for the net/flat rate method (beyond the previous two).
- Option to choose an annual VAT return.
For detailed information, please refer to the official documentation from the FTA.
Changes to the net/flat rate VAT method
For fiscal years starting from 2025
- It is permitted to indicate multiple net rates in the same return, provided each covers at least 10% of the total taxable turnover.
- The treatment is unified: there is no longer a distinction between "net rate" and "flat rate".
- For each rate, the type of activity must be indicated using an activity code provided by the FTA; only authorized codes may be used.
Transmission formats (eCH-0217)
The FTA has published the draft of the new standard eCH-0217 E-VAT 2.0 which, once finalized, will replace the current version 1.0.
Elements/methods included in 2.0:
- Effective VAT method
- effectiveReportingMethod – valid for all fiscal years (the XML element indicates the supported method for submission).
- Net/flat rate VAT method
- Until fiscal year 2024: netTaxRateMethod and flatTaxRateMethod – XML elements supported for submission only until 2024.
- From 2025: simpleTaxRateMethod – XML element valid starting from 2025.
VAT effective method
Swiss VAT Report effective method 2025
The extension and the VAT report are available in English.
The documentation is currently not available in English.
Please refer to the relevant pages in German, French, or Italian.
Error messages
- The extension 'VAT 2025' requires Banana Accounting+ minimum version %1. To update or for more information click Help
- This extension works only with Banana Accounting Plus (version 10.0.12 or higher), Advanced plan. See update program and plan.
- This extension requires Banana Accounting+ Advanced. To update or for more information click on Help
- This extension works only with Banana Accounting Plus and the Advanced plan. See update program and plan.
- The VAT Number of your company is not valid or missing. Please use File - File and accounting Properties (Address)
- The VAT number is entered in the VAT number field and must consist of 9 digits. You can also indicate the CHE prefix, as long as all 9 digits are present.
For example: CHE-211.311.311 or 211.311.311. - The VAT number must be set or corrected in the File Properties (Basic data) dialog, in the Address tab, by filling in the VAT number field.
- The dialog is accessible from the menu File > File and accounting Properties, Address section.
- The VAT number is entered in the VAT number field and must consist of 9 digits. You can also indicate the CHE prefix, as long as all 9 digits are present.
- The company name is not valid or missing. Please use File - File and accounting Properties (Address)
- The organization name is taken from the Company field. If this field is empty, the Name and Surname fields are used.
- The organization name must be entered in the File Properties (Basic data) dialog, in the Address tab, by filling in the Company field or the Name and Surname fields.
- The dialog is accessible from the menu File > File and accounting Properties, Address section.
- At group %1 the tax rate %2 is not permitted. Please check the vat code %3
- The %1 rate for the specified group is not allowed. Enter the correct rate in the VAT codes table.
- For groups 302, 303, 312, 313, 342, 343, 382, and 383, the VAT rates are validated according to the rates published by the Swiss Federal Tax Administration (FTA) (VAT rates effective from 1 January 2024).
- WARNING: The selected report period does not match the expected period
- Check the periodicity of reporting set in the extension dialog, in the Options section.
- For example, if you selected the entire year (All) as the period but the report periodicity is set to Q = Quarterly, this message will be displayed.
- To resolve the issue, make sure that the report period and periodicity are consistent by setting the same interval.
Swiss VAT Report effective method 2024/2025
Swiss VAT Report effective method 2024/2025This page is not available in English at the moment.
Please consult the relative pages in German, French or Italian.
VAT net tax rate method
Swiss VAT Report net tax rate method 2025
The extension and the VAT report are available in English.
The documentation is currently not available in English.
Please refer to the relevant pages in German, French, or Italian.
Error messages
- The extension 'VAT 2025' requires Banana Accounting+ minimum version %1.\nTo update or for more information click Help
- This extension works only with Banana Accounting Plus (version 10.0.12 or higher), Advanced plan. See update program and plan.
- This extension requires Banana Accounting+ Advanced. To update or for more information click on Help
- This extension works only with Banana Accounting Plus and the Advanced plan. See update program and plan.
- The VAT Number of your company is not valid or missing. Please use File - File and accounting Properties (Address)
- The VAT number is entered in the VAT number field and must consist of 9 digits. You can also indicate the CHE prefix, as long as all 9 digits are present.
For example: CHE-211.311.311 or 211.311.311. - The VAT number must be set or corrected in the File Properties (Basic data) dialog, in the Address tab, by filling in the VAT number field.
- The dialog is accessible from the menu File > File and accounting Properties, Address section.
- The VAT number is entered in the VAT number field and must consist of 9 digits. You can also indicate the CHE prefix, as long as all 9 digits are present.
- The company name is not valid or missing. Please use File - File and accounting Properties (Address)
- The organization name is taken from the Company field. If this field is empty, the Name and Surname fields are used.
- The organization name must be entered in the File Properties (Basic data) dialog, in the Address tab, by filling in the Company field or the Name and Surname fields.
- The dialog is accessible from the menu File > File and accounting Properties, Address section.
- The activity code %1 for tax rate %2 is missing or invalid. Verify the 5-digit code provided by the FTA and enter it in the extension dialog under the 'Net/Flat tax rates' section
- Ensure that a 5-digit activity code has been entered for the VAT rate.
- Enter the activity code directly in the extension dialog.
- Each taxpayer must only submit the activity codes that have been expressly authorized by the FTA.
- The activity codes authorized by the FTA are provided in writing upon request or can be found directly on the FTA online portal under the Calculation method tab, accessible after authentication with your account.
- See details in Company activity codes
- The VAT percentage of code% 1 is not calculated on the gross
- Check in the VAT Codes table that the VAT codes for numbers 323, 333, 322, and 332 have 'Yes' set in the '% VAT on gross' column. This is because the balance/flat rate method calculates VAT on the gross amount. For example, if I issue an invoice for 100 CHF, the VAT will be calculated on this amount, i.e., CHF 6.50 if the rate is 6.5%.
- At group %1 the tax rate %2% is not permitted. Please check the vat codes
- The 0% rate for the specified group is not allowed. Enter the correct rate directly in the dialog for the corresponding group or in the VAT codes table.
- At group %1 only one tax rate is allowed. Please check the tax rates related to this group
- Check in the VAT Codes table the codes associated with this number through the Gr1 column. All VAT codes with this number in the Gr1 column must have the same rate.
- WARNING: The selected report period does not match the expected period
- Check the periodicity of reporting set in the extension dialog, in the Options section.
- For example, if you selected the entire year (All) as the period but the report periodicity is set to S = Half-year reporting, this message will be displayed.
- To resolve the issue, make sure that the report period and periodicity are consistent by setting the same interval.
Swiss VAT Report net tax rate method 2024/2025
Swiss VAT Report net tax rate method 2024/2025This page is not available in English at the moment.
Please consult the relative pages in German, French or Italian.
Business Activity Codes
If you use the flat rate method, you must enter the activity code in Banana exactly as defined and approved by the Swiss Federal Tax Administration (FTA).
The activity codes are assigned individually and can be consulted on the FTA portal, in the Reporting method section, or requested directly from the FTA, which communicates them to the taxpayer in writing.
The activity codes:
- Are not available in Banana and there is no complete list of usable codes.
- Are managed and accessible via the FTA portal, in the Reporting method section.
- If you cannot retrieve the activity code via the FTA portal (as described on this page), you must contact the FTA directly, which will provide the codes to be used.
- Are only applicable for periods starting in 2025. For periods before 2025, no activity code is required.
- If you only intend to print the VAT report and manually enter the amounts in the FTA portal, the activity codes are not required.
How to obtain activity codes and rates
Below is the procedure to find the activity codes and the flat rates to be entered in the VAT extension dialog in Banana.
- Log in to the FTA portal using your registered user credentials.
- Click on New transactions.
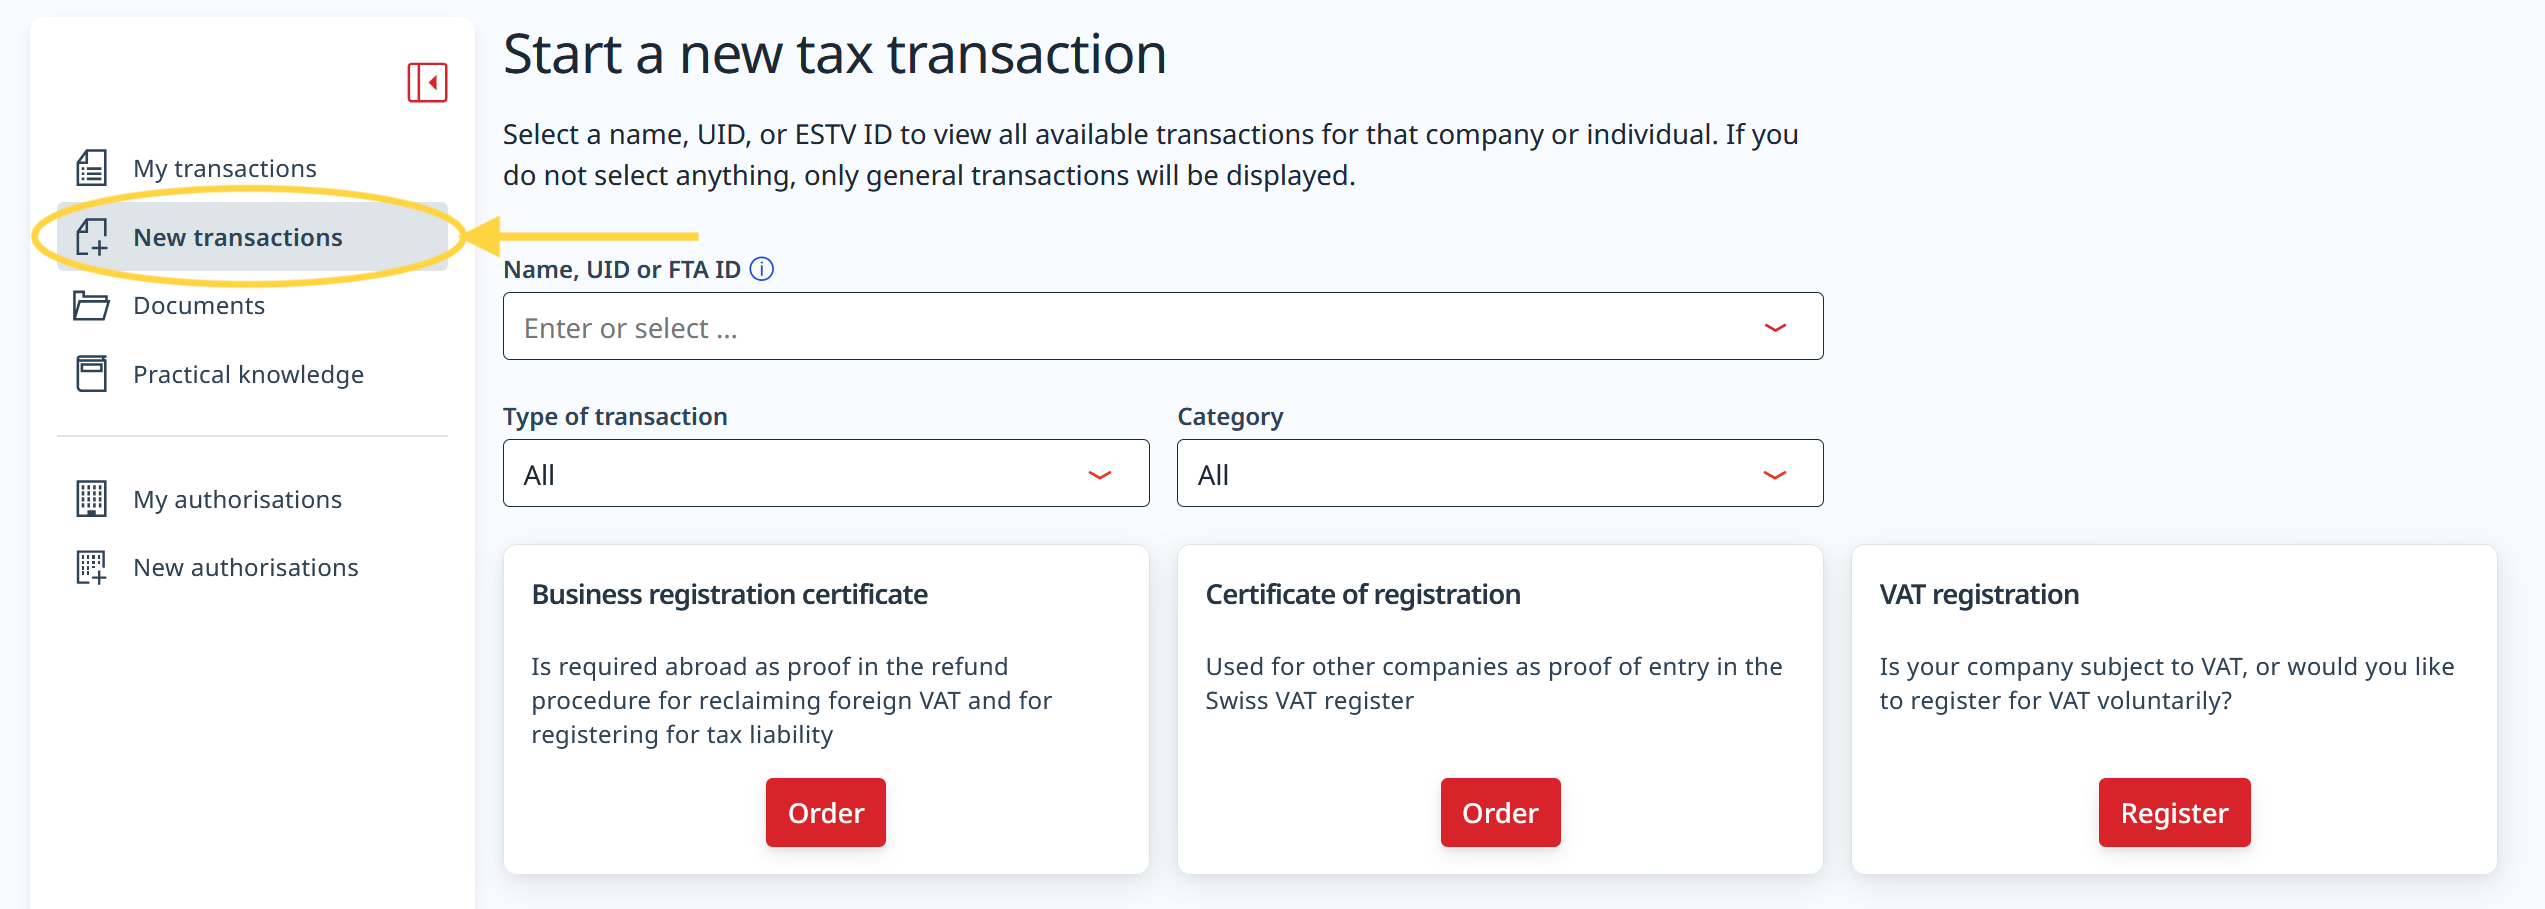
- Select the company name and the corresponding VAT number.
- Click on Adjust in the Declaration modalities section.
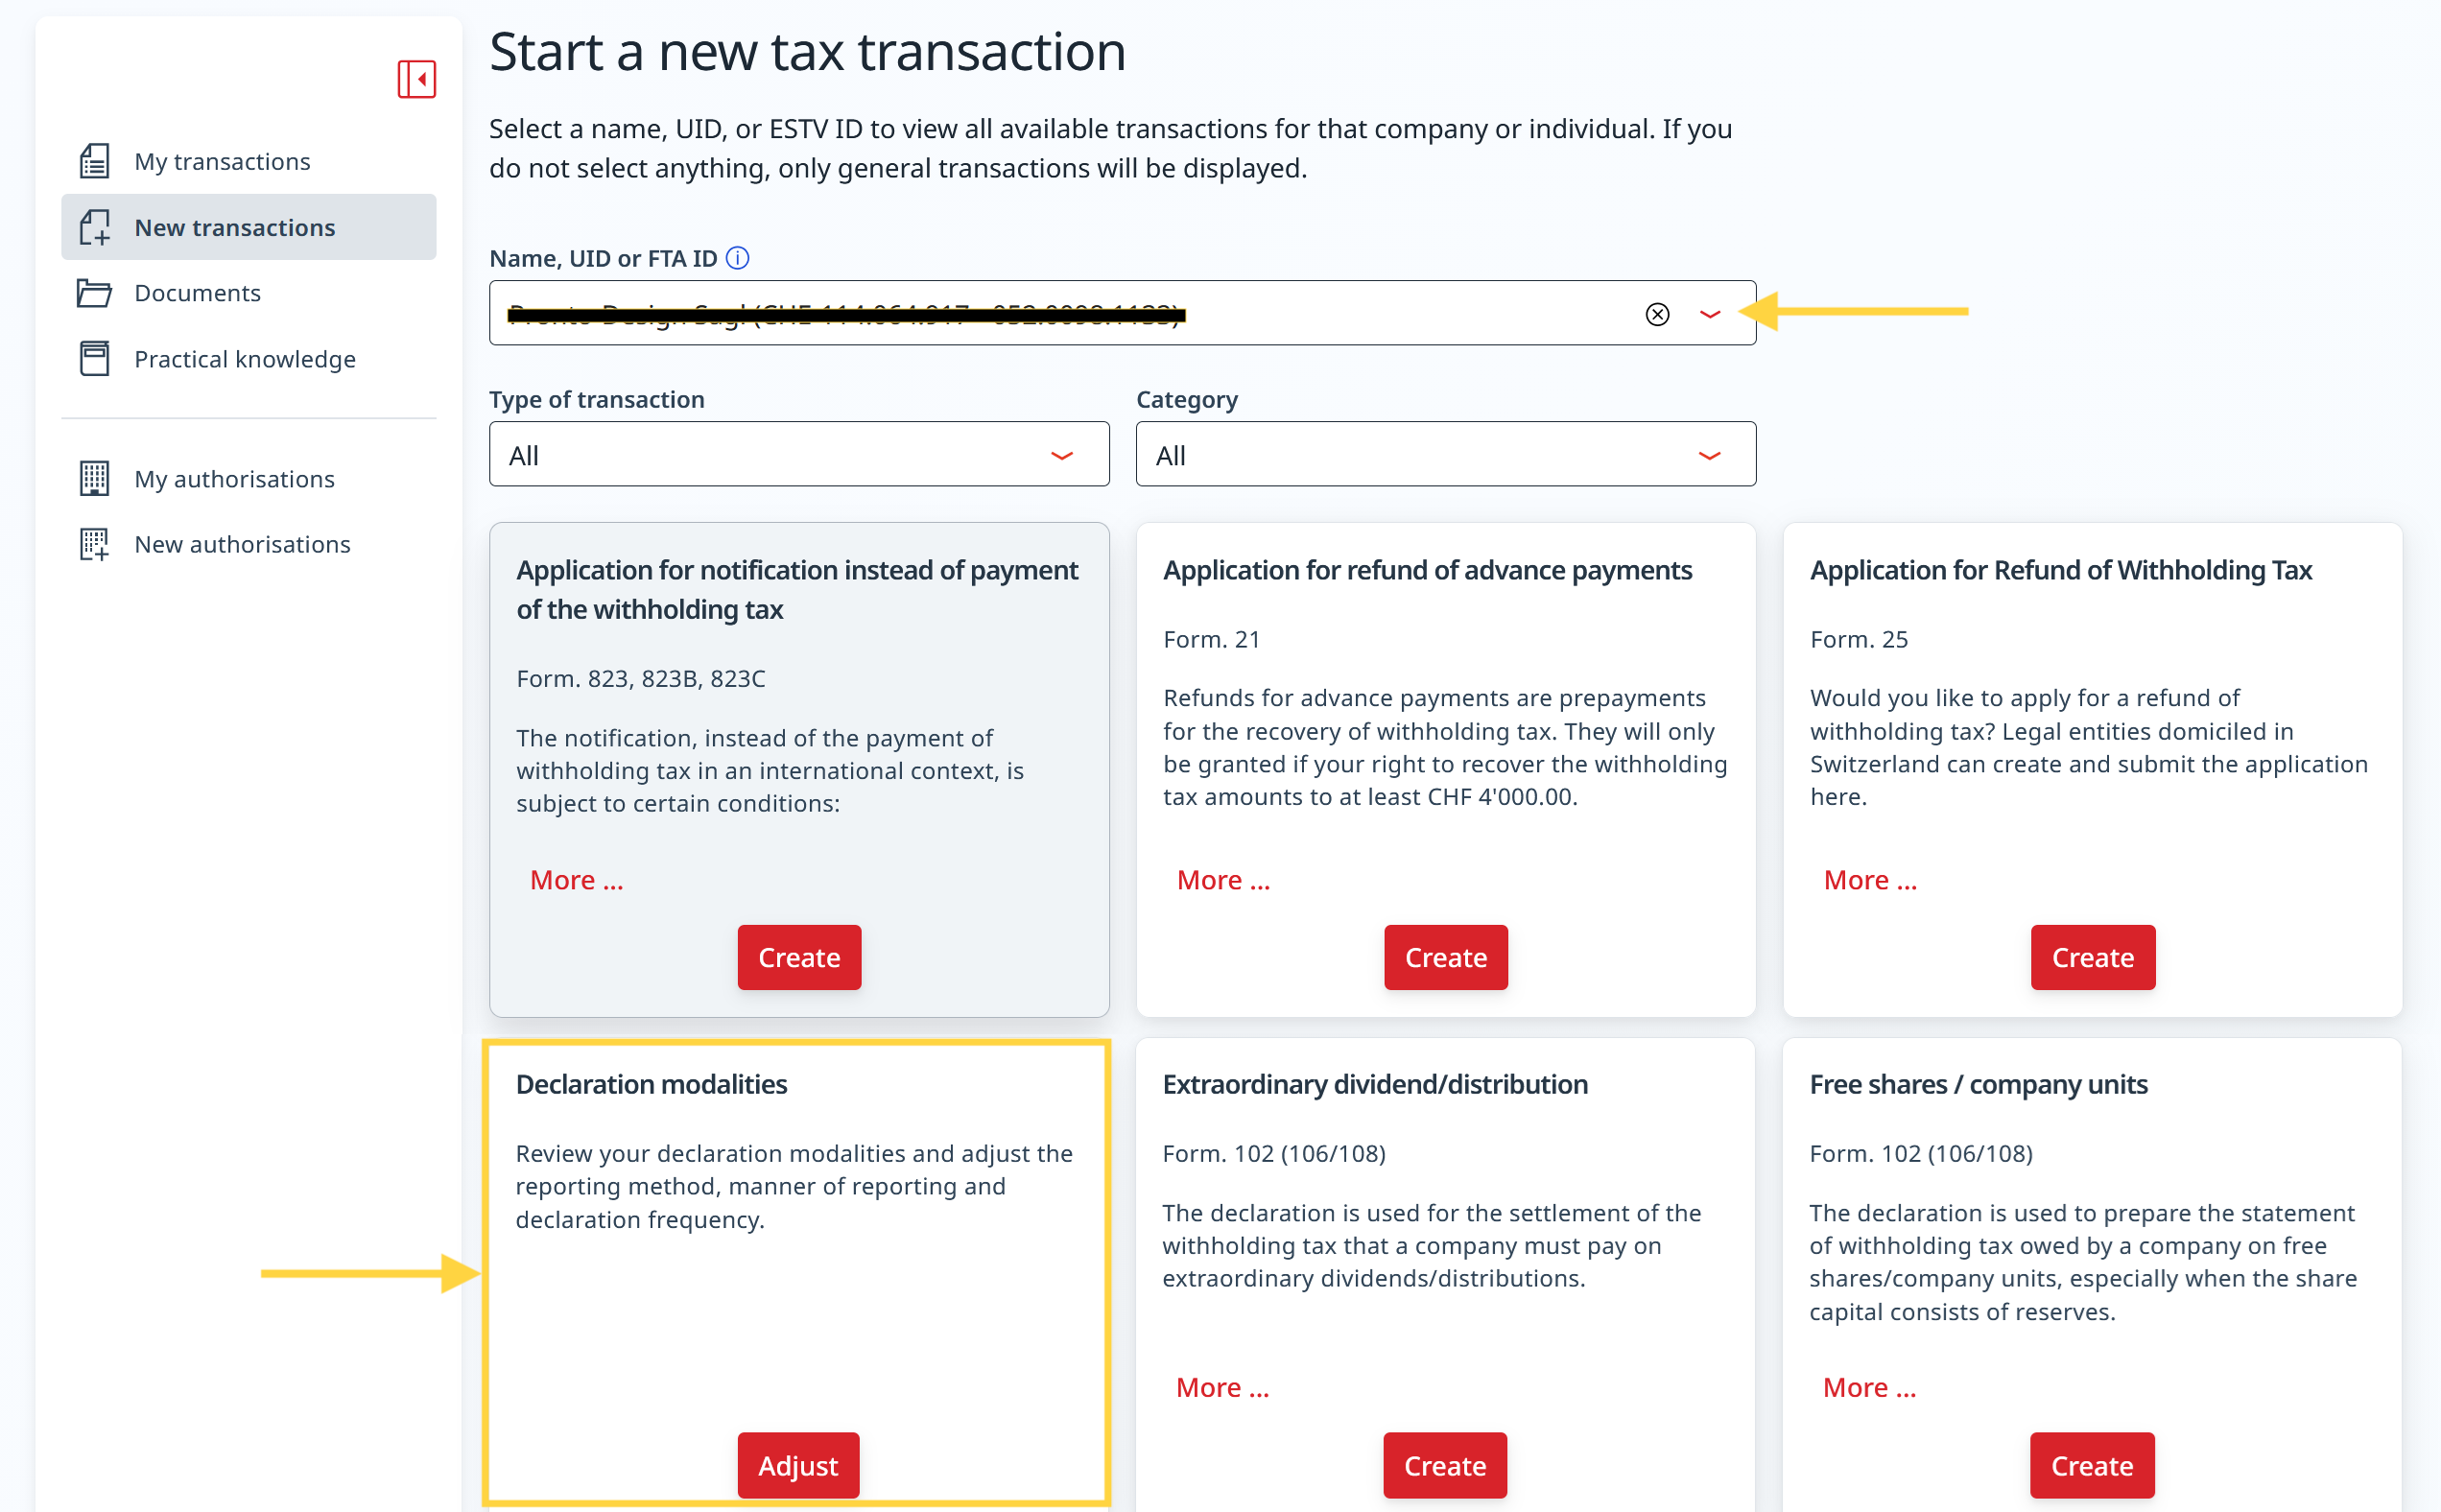
- Click on menu to open the Declaration method.
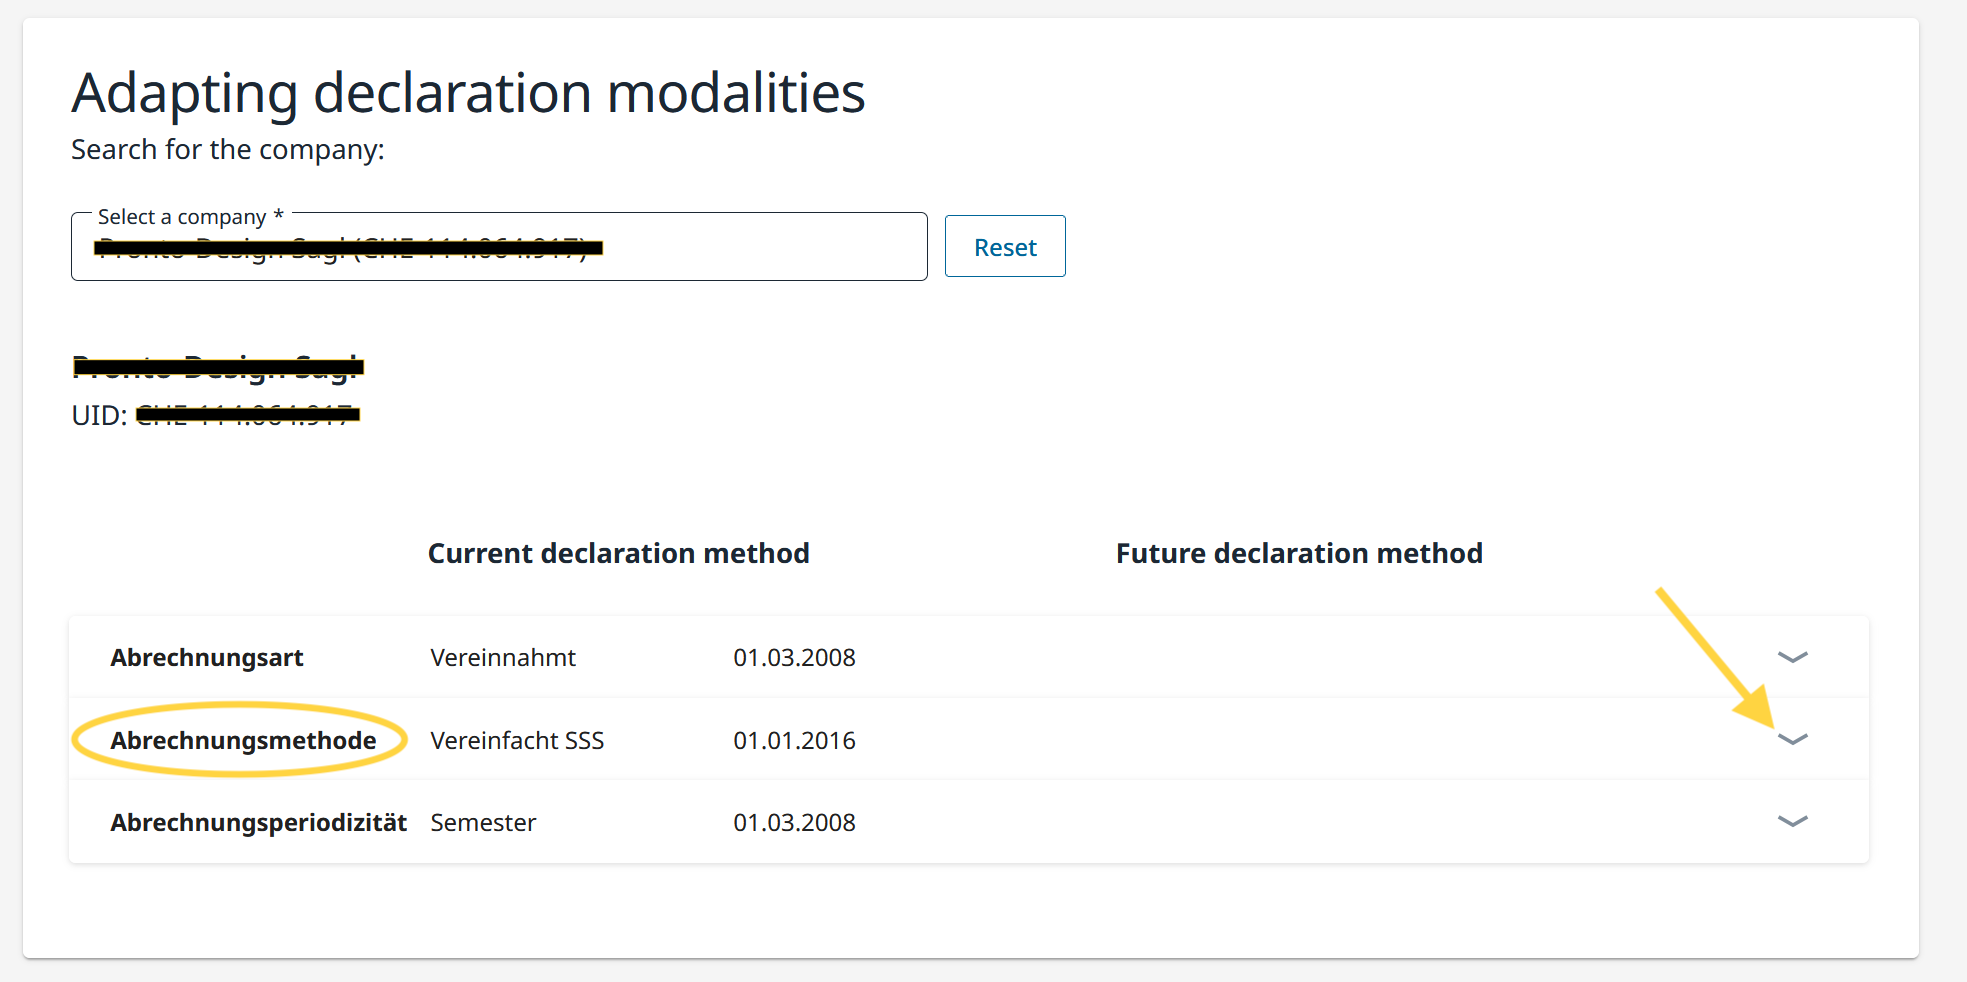
- A new section opens at the bottom of the page.
- Check the list of registered business activities and note the activity code assigned to each activity (e.g. 58010, 64610, 20010, 71140), as indicated by the FTA.
- The name of the activity and its five-digit code are loaded automatically based on the data already registered.
- The activity code is shown after the name/description of the selected activity (see example in the image below).
- If no activity code is displayed, you must contact the FTA directly, which will communicate the codes to be used.
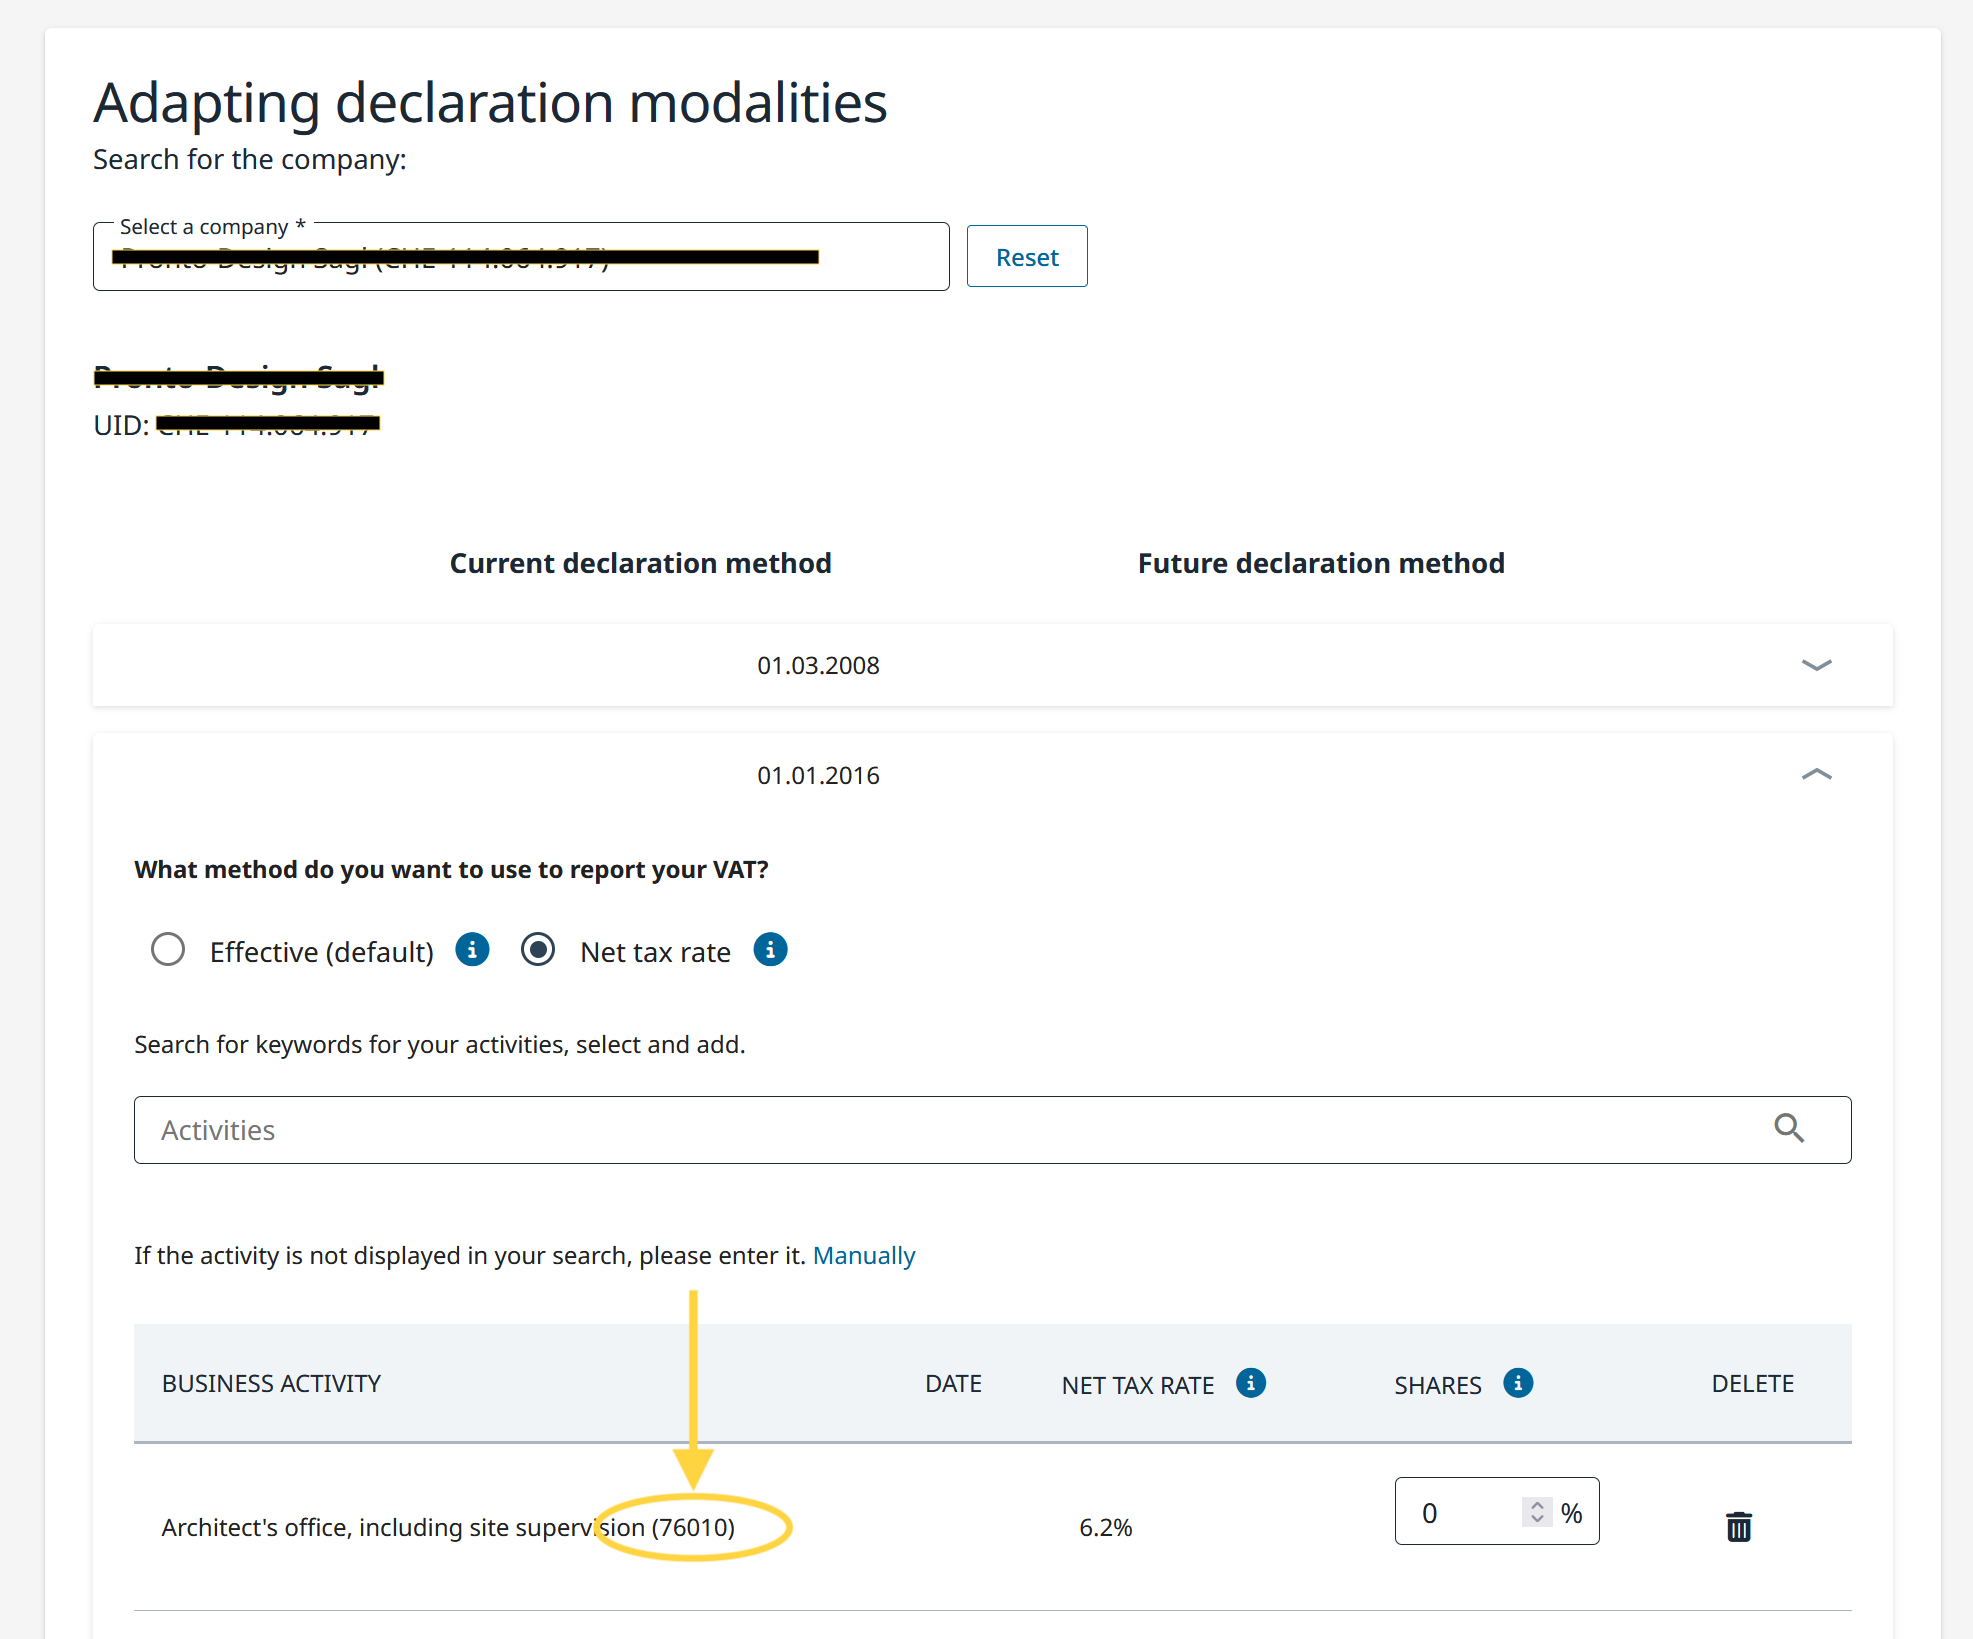
Entering the activity code in Banana
Each taxpayer must only submit the activity codes that have been explicitly authorized by the FTA.
Once you have obtained the necessary activity codes along with their corresponding rates, you must enter them when running the Switzerland VAT extension.
- In Banana, launch the extension VAT Report flat rate method > VAT Report from 2025.
- The dialog Switzerland VAT: Net tax rate method will open.
- In the Net/Flat tax rates section of the dialog:
- identify the corresponding activity and enter the five-digit FTA activity code in the Code field.
- check that the VAT rate shown in Banana under VAT% matches the one defined by the FTA for that activity code.
- Repeat the operation for all activities subject to the net rate method.
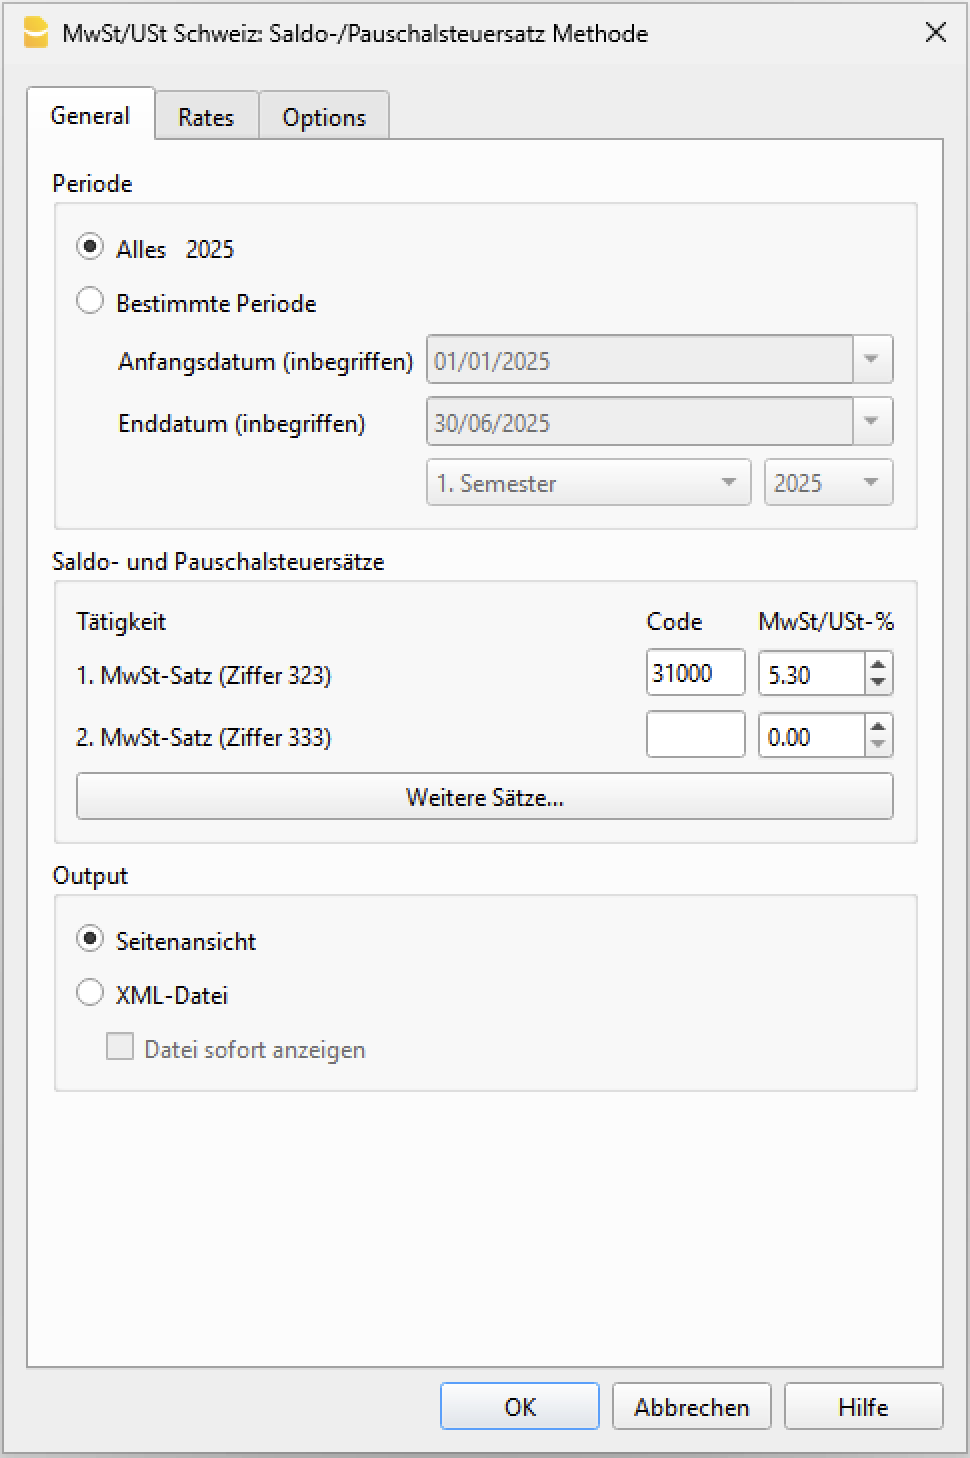
Warning: the code 76010 and the VAT rate 5.30 are provided as examples; please verify the correct code for your case.
When activity codes are required
When launching the VAT Report extension, the program checks that activity codes and the corresponding rates have been entered. If an activity code is missing or if the code entered is not valid, the extension displays a warning message.
Warning messages are useful when you want to generate the XML file for electronic submission to the FTA, since activity codes are required to obtain a valid transmission file.
If, instead, you only intend to print the VAT report and manually enter the amounts in the FTA portal, activity codes are not required. In this case, you can ignore the warning messages.
Transactions with VAT breakdown
This system is used when you want to have the immediate breakdown of VAT for each transaction in the Transactions table .
It is important to know:
- If this method is used, attention must be paid to the fact that the final VAT is calculated on the invoice amount already including VAT, therefore on the total turnover.
- The VAT deduction that is made in the account will not be the same as the VAT amount invoiced to the customer. These situations can be confusing, so we recommend using this method only if you have a good understanding of VAT mechanisms.
How to proceed
Before proceeding with the processing of the VAT statement (facsimile and XML file) it is necessary to:
- Check if the VAT Codes table is updated.
- In the VAT Codes table, enter your tax rates relating to codes F1, F2, FS1, FS2 (sample rates have been entered in the following window).
- In the Transactions table, enter the transactions, indicating the code for the balance rate. The VAT balance percentage and the amount separated from the revenue account will appear.
VAT facsimile and XML file for the FTA
At the end of the period, to process the VAT facsimile statement and the XML file to be forwarded to the FTA, use the Swiss VAT: net tax rate method extension.
Extensions are installed via the Extensions menu > Manage Extensions command.
VAT codes for the net rate (figures 322, 332 up to 2023, 323, 333 from 2024)
From 01.01.2024, the VAT codes for the flat tax rate are indicated with F1, F2 and FS1, FS2 those relating to discounts.
For 2023, the existing ones (F3, F4 e FS3, FS4) will remain valid. These codes can also be renamed.
Important: by default the value "YES" must appear in the "% VAT on Gross" column, as shown in the following screen:
 See the information below for more details.
Registration with VAT breakdown
Figures 322, 332 up to 2023, 323, 333 from 2024
When registering, the program breaks down the related VAT amount for each individual transaction and it registers it to the VAT account statement.
VAT payment at the end of the period
At the end of the period, after calculating the VAT to be paid, a transaction must be made to transfer the balance from the VAT account to the VAT account to be paid.
The VAT return account, after this transaction, will have zero as a balance.
When the VAT is paid, the payable VAT account will be registered onto the debit account and a liquidity account will be registered in the credit account.

Comparison between the turnover in the accounting records and the turnover declared in the VAT return
When using the Flat VAT Rate method with VAT excluded from the transaction amount, it is normal for the turnover shown in the accounting records to differ from the turnover reported in the VAT return.
Why does this difference occur?
With the VAT exclusion method, each sales transaction is recorded using a VAT code that automatically separates the VAT amount from the amount posted to the revenue accounts.
As a result:
- only the net amount, excluding VAT, is recorded in the revenue account;
the VAT amount is recorded separately in the VAT account.
For this reason, the turnover shown in the Profit & Loss Statement and in the accounting records is lower than the turnover reported in the VAT return.
Why does the VAT return show a higher amount?
Under the Flat VAT Rate method, VAT is calculated on the gross turnover, that is, including the VAT charged to the customer.
Therefore, the program correctly reports the gross amounts in the VAT return, as required by the Swiss Federal Tax Administration.
The difference between the turnover in the accounting records and the turnover reported in the VAT return therefore corresponds to the VAT that has been automatically excluded from the revenue.
How can you verify that the turnover is correct?
To verify that the turnover declared in box 200 of the VAT return is correct, simply add the VAT amount excluded from the revenue to the turnover shown in the accounting records.
This gives you the gross turnover reported in the VAT return.
The recommended method
To simplify the reconciliation between the accounting records and the VAT return, we generally recommend using the Flat VAT Rate method without excluding VAT from the transaction amount.
In this case:
- the gross amount always remains recorded in the sales transactions;
- Flat VAT Rates are not entered in the VAT Codes table;
- when preparing the VAT return, the rates are entered directly in the extension dialog.
At the end of the period, you will then need to make an adjusting transaction to transfer the VAT portion from the revenue account to the VAT account.
Transaction without VAT breakdown
The method with VAT breakdown described below is the one we recommend, because it is the simplest and fully automated.
Before proceeding with the filling in of the VAT statement (facsimile and XML file) it is necessary to:
- Check that the VAT Codes table is updated.
- Check that there is a Yes in the VAT Codes table in the VAT due column.
- In the Transactions table, post the transactions, indicating the code for the balance rate. No percentage will appear and no VAT amount will be indicated.
VAT facsimile and XML file for forwarding to the FTA
At the end of the period, the extension Swiss VAT: net tax rate method must be used to process the VAT facsimile statement and the XML file to be forwarded to the FTA.
Extensions are installed via the Extensions menu > Manage Extensions command.
VAT codes for the net rate (figures 322, 332 up till 2023, 323, 333 from 2024)
Starting from 01.01.2024, the VAT codes for the balance rate are indicated with F1 and F2, FS1, FS2 those relating to discounts.
For the year 2023, the existing ones will remain valid. These codes can also be renamed.
It is important to know that:
- No percentage is entered in the VAT% column (empty cell)
- In the Transactions table there will be no breakdown and indication of the VAT amount.

The GR1 column shows the figures of the VAT form where the amounts are totalled.
When the amounts are to be totalled with several digits, these are separated by a semicolon.
Transactions without VAT breakdown
Figures 322, 332 up till 2023, 323, 333 from 2024
Each time sales are recorded, the code "F1" for the 1st rate and F2 for the 2nd rate must be entered.
If there is a discount, use the FS1 or FS2 code. These codes are valid from 01.01.2024.
For year 2023, the VAT codes remain the same ( F3,F4,FS3,FS4).
Credit notes and adjustments
When recording reversals or adjustments using credit notes, you can proceed in two ways:
- Reverse the accounts in the Debit and Credit columns (for example: sales account in Debit and customer in Credit)
- Or use a revenue reduction account (for example account 3800, as shown in the image)
In both cases, in the VAT Code column you must enter the VAT code preceded by a minus sign (for example: -F1).
When calculating the VAT Report at the end of the period, the program automatically takes the credit note into account and reduces the VAT amount accordingly.

Accounting settlement and payment
At the end of the period, the VAT payable calculated with the VAT Rate Balance extension must be recorded in the accounting, so that the turnover is reduced by the VAT amount.
The transaction is recorded as follows:
- Enter the date related to the adjustment
- Enter the description as shown in the image
- In the Debit column, enter account 3809 to adjust revenues
- In the Credit column, record account 2200 VAT payable
For the VAT payment, proceed by clearing account 2200 VAT payable, which will then be zeroed. As a counterpart, a liquidity account is used, which will decrease.

VAT codes for net rate (numbers 470 - 471) - Exports declared using form no. 1050 and 1055
These are two VAT codes that apply in special situations and please refer to the relevant explanation of the Federal Tax Administration.
The above figures refer to exports that have been noted and declared using form no. 1050 and 1055.
(forms valid until December 31, 2024)

Transactions for VAT codes F1050 - F1055 (Figures 470 - 471)
In the Transactions table, you must enter the total amount of VAT on the purchase and apply the type 2 VAT code (100% VAT amount - F1050, F1055).
The program reports the VAT amounts to numbers 470 - 471 of the VAT Form.
(forms valid until December 31, 2024)

Swiss VAT Codes and VAT references
The Swiss VAT report uses specific references to include the different tax rates and types of transactions. These references are defined in the VAT Codes table and it is essential that they are set correctly to ensure accurate calculation and completion of the VAT report. For this reason, it is essential that the VAT Codes table is up to date.
Once the VAT Codes table has been updated, it will appear as follows:
- V = Sales (200)
- VS = Discount sales and services (235)
- B = Acquisition tax (38x)
- M = Expenses for material and services (400)
- I = Investments and other operating expenses (405)
- K= Corrections (410, 415, 420)
- Z = Not considered (910)
Gr1 Grouping
The GR1 column in the VAT Codes table shows the figures of the VAT form, where the amounts are grouped according to the relevant VAT code.
For the programme, these indications are essential for the preparation of the VAT form (facsimile) and the Xml file for the electronic submission of VAT data on the portal of the Federal Administration.
There are VAT codes that must appear in several boxes for the figures on the form. For example, the sales taxable amount must appear in digit 200 (Turnover figure) and also in digit 303 (Tax calculation). In these cases, the figures separated by a semicolon (200;303) are entered in column Gr1.
If a VAT code, which is present in the table VAT Codes, is used in the table Recording and does not have a grouping in the column GR1, when printing the VAT form, the programme will report an error. If a VAT code is not to appear in any figure on the VAT form, 'xxx' must be indicated in column Gr1; thus no error is reported.
Gr1 codes till end of 2023 and from 2024
In the VAT form with the Effective method, in the Calculation of tax part, there are boxes up to 31.12.2023 (302, 312, 342, 382) and boxes from 1.1.2024 (303, 313, 343, 383).
In the VAT Form for Flat Tax Rate method, there are boxes up to 31.12.2023 (321, 331, 381) and boxes from 1.1.2024 (322, 332, 382) in the Calculation of tax part.
The Print VAT Form command inserts the values of the boxes according to the figure contained in Gr1. If a new code is added, the VAT form reference figure must therefore be entered correctly.
Turnover / Taxable Amount
Initial letter V is used for codes relating to Turnover.
Reference 200 - Total amount of agreed or collected consideration
All transactions related to turnover, whether subject or not to VAT, must be reported here. Exempt sales are to be indicated with the appropriate VAT code.
Codes for exempt transactions or supplies provided abroad must be grouped in reference 200 and simultaneously reported in the relative deduction reference number.
The VAT codes related to turnover are:
- V81, V26, V38 (valid from 01.01.2024)
- V77, V25-N, V37 (valid until 31.12.2023).
Sales subject to VAT must be grouped not only in the figure 200 but also in the respective positions according to the rate (302, 303, 312, 342, 343, 382, 383).
Reference 205 - Consideration exempt from tax where option for taxation has been exercised
These transactions must be indicated under reference number 200, but must also figure under reference no 205.
They carry a VAT code that is identical to a VAT sales code, with the additional indication in the Gr1 column that they also must be grouped in the ref 205.
In order to be able to use this position, VAT codes must be replicated from reference number 200. For simplicity, the letter B has been added to the existing VAT codes.
The following codes must be used in the VAT codes tab:
- V77 (valid until 31.12.2023)
- V81 (valid from 01.01.2024).
Reference 299 - Taxable turnover
The taxable turnover is constituted by the turnover minus the non-taxable turnover (Deductions) (221, 225, 230, 235, 280).
Decrease in Turnover
For each non-taxable or non-VATable position, there is a VAT code with a percentage of 0 (due).
Reference 220 - Tax-exempt services
Use the following code:
- V0
Reference 221 - Services provided abroad
Purchase of goods and services abroad are intended (Article 23) or when the beneficiary is not subject to tax(Article 107).
Use the following code:
- V0-E
Reference 225 - Transfers via Notification Procedure
Transfers via notification procedure (Article 38; to be submitted with form No. 764).
The code to use is the following:
V0-T
Acquisition tax (Art. 45)
Reference 381 - 382 - Acquisition tax
Services that are obtained abroad, that do not carry any customs documents, must be subject to VAT as if they were sales.
For these cases, special VAT codes are needed to calculate VAT both as VAT due and as recoverable VAT.
The VAT codes to be used are:
- B81 for transactions with VAT code type 0 (VAT amount included), valid from 01.01.2024
- B81-1 for transactions with VAT code type 1 (VAT amount excluded), valid from 01.01.2024
- B81-2 for transactions with VAT code type amount 2 (VAT amount 100%), valid from 01.01.2024
- B77 for transactions with VAT code type 0 (VAT amount included), valid until 31.12.2023
- B77-1 for transactions with VAT code type 1 (VAT amount excluded), valid until 31.12.2023
- B77-2 for transactions with VAT code type amount 2 (VAT amount 100%), valid until 31.12.2023
Recoverable taxation
Recoverable VAT is reported in this part of the (refundable VAT).
Reference 400 - Input tax on Purchase of material and services
These are purchases of goods and services that are part of the company's core business.
The codes for recoverable taxation are:
- M81, M26, M38 (valid from 01.01.2024)
- M77 (valid until 31.12.2023)
In cases where VAT has been paid at customs and there exists an invoice with the VAT amount only, VAT code type 2 (Registration Amount = VAT amount) must be used. For these cases, the following code was set up:
- M81-2 (valid from 01.01.2024)
- M77-2 (valid until 31.12.2023).
For Amount type 1 (Amount of registration = Net Amount) use the following code:
- M81-1 (valid from 01.01.2024)
- M77-1 (valid until 31.12.2023)
Reference 405 - Input tax on Investment and operating costs
These are purchases for investments and operating costs that are not part of the 400 figure.
The VAT codes are:
- I81, I26, I38 (valid from 01.01.2024)
- I81-2 to be used for obtaining services abroad, in conjunction with the codes designated for calculating the purchase tax (see page VAT on foreign services)
- I77, I37 (valid until 31.12.2023).
It might be necessary to add further codes of Amount type 2, or Amount type 1 with different rates.
Purchases without VAT should not be included in the VAT return.
In some cases (eg clarity of the review) it may be useful to identify specific transactions without VAT.
The VAT codes are:
- M0 and I0, grouped with "xxx" in order to avoid generating an error message.
Corrections and reductions (recoverable tax)
It might not be necessary for the taxpayer to use these positions. If needed, use one of the codes grouped in the Correction and adjustments Group.
From an accounting point of view, correction transactions may essentially result in a reduction of VAT deductibility.
A registration must therefore be made for the deductible VAT adjustment (as a plus or minus).
Reference 410 - De-taxation (art. 32)
You can deduct the recoverable VAT paid in previous years.
The codes are:
- K81-A (valid from 01.01.2024)
- K77-A (valid until 31.12.2023).
Reference 415 Corrections of the input tax deduction, mixed use
In cases where merchandise has not been used for corporate or taxable purposes, it is not possible to recover all previous input tax VAT.
You can do this by always using the same purchase account (both credit and debit); in this way the purchase account will be increased by the amount of non-deductible VAT.
The codes are :
- K81-B (valid from 01.01.2024)
- K77-B (valid until 31.12.2023).
Reference 420 - Reduction of the input tax deduction
These are the transactions to be deducted from deductible VAT, such as subsidies.
This position must contain the same elements as the ones in reference 900.
The codes are:
- K81-C (valid from 01.01.2024)
- K77-C (valid until 31.12.2023).
Other cash flows of financial resources
In this part, the amounts relating to the base for the calculation for VAT must be reported..
These are transactions that are not part of the turnover and are not countervailing duties.
Reference 900 - Subsidies, tourist taxes and similar
Operations in reduction the deductible VAT, such as subsidies.
The code to use in these cases is:
- Z0-A
Reference 910 - Donations, dividends, compensation for damages etc.
Out of scope transactions. Donations, dividends and all other "receipts" that do not lead to a reduction of deductible VAT.
The code to use in these cases is:
- Z0
Note: VAT codes falling within references 900 and 910 have a 0% rate; therefore, amount type 2 (VAT amount) must not be used, since the tax is always zero. Instead, use only amount type 0 (amount including VAT) or amount type 1 (amount excluding VAT).
VAT Codes - Flat tax rate
As a result of the VAT rates for 2024, in Banana Accounting, the VAT rates have also been updated using the flat tax rate method.
Column GR1 shows the figures of the VAT form where the amounts are totalled. If the amounts are to be totalled in several digits, these are separated by a semicolon.
- F1 - sales subject to 1st rate (reference 200, 323), to be used from 01.01.2024; also valid in 2025
- F2 - sales subject to 2nd rate (reference 200, 333), to be used from 01.01.2024; also valid in 2025
- F3 - sales subject to 1st rate (reference 200, 322), to be used until 31.12.2023; from 01.01.2025 used for the 3rd rate
- F4 - sales subject to 2nd rate (reference 200, 332), to be used until 31.12.2023; from 01.01.2025 used for the 4th rate
- F5 - sales subject to 5th rate (reference 200, 324), to be used from 01.01.2025
- F6 - sales subject to 6th rate (reference 200, 334), to be used from 01.01.2025
- F7 - sales subject to 7th rate (reference 200, 325), to be used from 01.01.2025
- F8 - sales subject to 8th rate (reference 200, 335), to be used from 01.01.2025
- F9 - sales subject to 9th rate (reference 200, 326), to be used from 01.01.2025
- FS1 - discount on sales subject to 1st rate (reference 235, 323), to be used from 01.01.2024; also valid in 2025
- FS2 - discount on sales subject to 2nd rate (reference 235, 333), to be used from 01.01.2024; also valid in 2025
- FS3 - discount on sales subject to 1st rate (reference 235, 322), to be used until 31.12.2023; from 01.01.2025 used for the 3rd rate
- FS4 - discount on sales subject to 2nd rate (reference 235, 332), to be used until 31.12.2023; from 01.01.2025 used for the 4th rate
- FS5 - discount on sales subject to 5th rate (reference 235, 324), to be used from 01.01.2025
- FS6 - discount on sales subject to 6th rate (reference 235, 334), to be used from 01.01.2025
- FS7 - discount on sales subject to 7th rate (reference 235, 325), to be used from 01.01.2025
- FS8 - discount on sales subject to 8th rate (reference 235, 335), to be used from 01.01.2025
- FS9 - discount on sales subject to 9th rate (reference 235, 326), to be used from 01.01.2025
- F1050 - exports which have been annotated and declared using form 1050 (reference 470) until 31.12.2024
- F1055 - exports which have been recorded and declared by means of form No. 1055 (reference 471) until 31.12.2024
Those who run previous versions, can download the updated file of the new VAT Codes table, or enter the missing codes.
VAT account in the basic accounting data
All default Banana Accounting templates have the VAT account (2201) already set up in the File properties (File menu, VAT section). This allows the VAT calculations to be automated, so that all VAT amounts are accounted for in this account.
At the end of the quarter, the balance of this account represents the amount to be paid to the FTA (or to be recovered).
When the VAT Return account (2201) is set in the file properties, in the VAT Codes table, the VAT Account column must be empty.
If account 2201 is not set in the file properties, the previous VAT account 1, 2 and the VAT account due to each individual code can be set. In this case, the VAT is spread over three different accounts and at the end of the quarter the VAT accounts must be closed in order to determine the VAT payable to the FTA.
Submission of the VAT Report
Starting in 2025, it will no longer be possible to submit the VAT statement in paper format: the data must be transmitted exclusively via the FTA portal. The transmission can take place using one of the following methods:
Manually enter the VAT data in the AFC portal
- View and print out the VAT return facsimile and check that the data is correct.
- Log in to the Federal Tax Administration portal with your account details.
- Manually enter the data from the VAT Facsimile in the online VAT report.
- Check all data before sending.
- Proceed with the submission.
Online submission of VAT data with Xml file
For the creation of Xml files, please refer to the information at
Before entering the data on the FTA portal, proceed as follows:
- View and print the VAT Return facsimile and check that the data is correct.
- Create the XML file for the VAT for the quarter or the semester you are interested in. Ensure that the transmitted period is correct (see the next section).
- Log in to the Federal Tax Administration portal with your account data.
- Choose to import the data in XML format.
- Check the data automatically displayed in the online form against the data in the VAT facsimile.
- Validate the data and proceed with the submission.
Verification of the Transmitted Period
- If an invalid period is transmitted, the file will be rejected.
The valid periods, divided by method, are as follows:- Vat Net/Flat Rate Method: semi-annual and annual.
- Vat Effective Method: quarterly, semi-annual, and annual.
- If you recently registered as a VAT taxpayer, the reporting period does not necessarily start on 1st MM.YYYY but could, for example, start on 16th MM.YYYY.
- Submitting a report for a period from 01.01.20YY to 30.09.20YY, thus covering multiple periods, will result in the file being rejected.
Net or gross sales
In the effective method, when manually entering the data in the FTA portal, it is important to correctly select the net setting at the top of the form.
If, on the other hand, you directly submit the XML file generated by Banana Accounting Plus, the information is already included in the file itself through the <eCH-0217:grossOrNet> tag.
Transition from net tax rate method to the effective method
To correctly transition from the net tax rate method to the effective method in Banana Accounting, follow these steps:
Verify the VAT Codes table
- Ensure that the VAT Codes table is the default one provided by the program.
The default table contains all the necessary codes for both thenet tax rate method and the effective method. - If the table is not updated, it must be updated following the instructions on the webpage: Update VAT Codes Table 2024.
Update the Accounts table
- Add the following accounts:
- 2201 VAT Report (automatic VAT account).
- 2200 VAT Due (VAT to be paid to the AFC).
Update File Properties
- Set account 2201 VAT Report in the following path:
File > File and accounting properties (Basic data) > VAT.
Transactions Table
- For transactions with VAT, use the VAT codes provided for the effective method.
For the quarterly VAT declaration, use the extension VAT Effective Method (available only with the Advanced plan).
Wechsel von der effektiven Methode zur Saldosteuersatzmethode
Gemäss den Bestimmungen der Eidgenössischen Steuerverwaltung (ESTV) ist ein Wechsel von der effektiven Abrechnungsmethode zur SSS-Methode grundsätzlich möglich:
- frühestens nach drei ganzen Steuerperioden
- immer nur auf Beginn einer Steuerperiode
Die Meldung an die ESTV muss spätestens 60 Tage nach Beginn der Steuerperiode erfolgen, ab der mit den Saldosteuersätzen abgerechnet werden soll.
Beim Wechsel der Abrechnungsmethode ist eine Korrektur der Vorsteuer vorzunehmen.
Die bereits geltend gemachte Vorsteuer auf steuerlich relevanten Aufwendungen und Investitionen ist nach dem Zeitwert im Zeitpunkt des Wechsels zu korrigieren.
Die Korrektur:
- wird in der letzten Abrechnung nach der effektiven Methode, unmittelbar vor dem Wechsel vorgenommen
- betrifft Gegenstände, Vorräte, Betriebsmittel sowie Dienstleistungen, die noch nicht vollständig abgeschrieben oder verbraucht sind
- stellt eine Vorsteuerkorrektur dar
Der Betrag der Korrektur ist in der MWST-Abrechnung unter der Ziffer 415 (Vorsteuerkorrekturen) zu deklarieren.
Nachfolgend wird gezeigt, wie die Vorsteuerkorrektur beim Wechsel zur Saldosteuersatzmethode in Banana erfasst wird.
Tabelle MWST-Codes prüfen
Stellen Sie sicher, dass die verwendete MWST-Codetabelle die Standardtabelle des Programms ist und auf dem neuesten Stand ist.
Die Standardtabelle enthält alle notwendigen Schweizer MWST-Codes sowohl für die Saldosteuersatzmethode als auch für die effektive Methode und ist mit der Erweiterung MWST-Abrechnung kompatibel, welche die korrekte Auswertung und Kontrolle der MWST-Beträge ermöglicht.
Ist die Tabelle nicht aktuell, muss sie gemäss den Anweisungen auf der Webseite aktualisiert werden: Tabelle der MWST-Codes aktualisieren.
Tabelle Konten prüfen
Stellen Sie sicher, dass die folgenden MWST-Konten im Kontenplan vorhanden sind und sowohl für die Saldosteuersatzmethode als auch für die effektive Methode verwendet werden:
- 1170 Vorsteuer (Aktivkonto)
- 2200 Geschuldete MWST (Passivkonto)
- 2201 MWST-Abrechnung (Passivkonto)
- 3809 MWST Saldosteuersatz (Ertragskonto)
Beispiel: Wechsel zur Saldosteuersatzmethode
Die folgenden Buchungen zeigen die Vorsteuerkorrektur beim Wechsel von der effektiven Abrechnungsmethode zur Saldosteuersatzmethode.
Die Korrektur betrifft die bereits geltend gemachte Vorsteuer auf Gegenständen und Investitionen, die zum Zeitpunkt des Wechsels noch nicht vollständig genutzt oder abgeschrieben sind.
Der Betrag der Korrektur ist in der MWST-Abrechnung unter der Ziffer 415 (Vorsteuerkorrekturen) zu deklarieren.
Anwendungsperiode der Methoden
- 01.01.2025–31.12.2025: effektive Methode
- 01.01.2026–31.12.2026: Saldosteuersatzmethode
Verwendete Konten
- 1020 Bank
- 2200 Geschuldete MWST
- 2201 MWST-Abrechnung
- 3000 Erlöse aus Fabrikaten
- 3809 MWST Saldosteuersatz
- 4000 Materialaufwand
| Datum | Beleg | Beschreibung | KontoSoll | KontoHaben | Betrag CHF | MWST-Code | Steuerart | %MWST | MWST Betrag CHF |
|---|---|---|---|---|---|---|---|---|---|
| Effektive Abrechnungsmethode bis 31.12.2025 | |||||||||
| 01.09.2025 | Verkäufe steuerbar | 1020 | 3000 | 2,000.00 | V81 | -8.10 | -243.00 | ||
| 02.09.2025 | Wareneinkauf mit Vorsteuerabzug | 4000 | 1020 | 1,000.00 | M81 | 8.10 | 81.00 | ||
| 31.12.2025 | Vorsteuerkorrektur auf Restwert der Waren (30% von CHF 1’000 = CHF 300) | 3809 | 3809 | 300.00 | K81-B | 1 | -8.10 | -24.30 | |
| 31.12.2025 | MWST-Schuld gemäss Abrechnung | 2201 | 2200 | 186.30 | |||||
| Saldosteuersatzmethode ab 01.01.2026 |
|
| |||||||
| 15.07.2026 | Zahlung MWST 2025 | 2200 | 1020 | 186.30 | |||||
In der MWST-Abrechnung der letzten Periode mit der effektiven Methode erscheint die Korrektur von CHF 24.30 unter der Ziffer 415 (Vorsteuerkorrekturen).
Swiss Annual VAT Reconciliation (Beta)
Swiss Annual VAT Reconciliation (Beta)In Switzerland, VAT Reconciliation (Value Added Tax) is an essential process to ensure that the accounting data relating to turnover and VAT calculations are consistent with the figures declared to the FTA (Swiss Federal Tax Administration).
To simplify and speed up the VAT reconciliation process, an extension has been developed with an automatic procedure that immediately identifies and compares the declared amounts with those recorded in the accounting file, highlighting any differences and the transactions that generated them.
Prerequisites
To use this extension:
- The Advanced plan of Banana Accounting Plus is required. In the future, a special subscription or an additional fee may be required.
- The accounting file must use double-entry bookkeeping.
- Download the Swiss Annual VAT Reconciliation (Beta) extension.
- For the time being, the VAT Reconciliation extension is available only for the Effective VAT method.
Beta version
The extension is currently released as a beta version. This means that some details may change without prior notice.
Installing and using the extension
- Install Banana Accounting Plus.
- Install the Swiss Annual VAT Reconciliation extension. From the Extensions > Manage Extensions menu, find and select Swiss Annual VAT Reconciliation (Beta), then click the Install button. See the Managing Extensions documentation.
- Once installed, the extension will be available from the Extensions menu, where it can be run.
VAT Reconciliation extension
To perform VAT Reconciliation in Banana Accounting:
- Open the accounting file.
- From the Extensions menu, select the Swiss Annual VAT Reconciliation extension.
- 1. Print report
- To generate the VAT Reconciliation report.
- 2. Accounting/VAT Differences
- To view the details of the differences between the declared turnover and the turnover recorded in the accounting file.
Print VAT Reconciliation Report
The extension generates and displays a report with four types of checks:
- Comparison between the turnover declared in the VAT Return and the turnover recorded in the accounting file.
- Turnover declared in the VAT form, grouped by VAT code.
- Taxable VAT declared in the VAT form.
- Transactions for accounts with differences.
To generate the VAT Reconciliation report:
- Open the accounting file.
- From the Extensions menu, select Swiss Annual VAT Reconciliation > 1. Print report.
The extension Settings dialog will open. Here you can define the information required to create the VAT Reconciliation report:
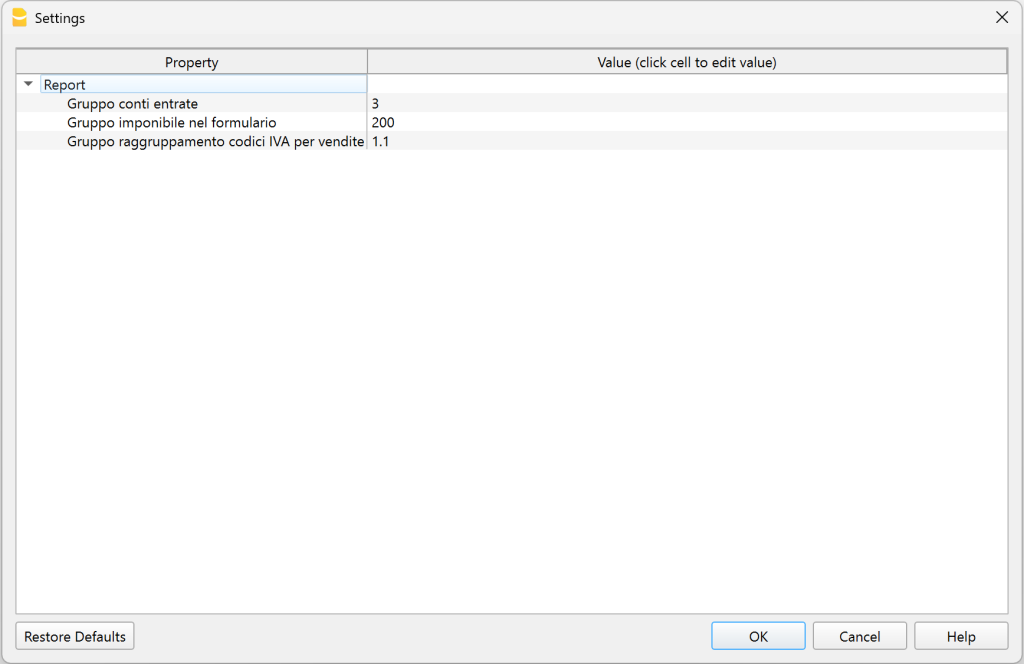
- Income accounts group.
Enter the main income group that includes all income accounts, as defined in the chart of accounts in the Accounts or Categories table (for Income & Expense accounting and Cash Manager). The default value is 3. In our example, the income group is 30.
If the turnover totalization group in your chart of accounts is different, you must change this value. - Taxable group in the VAT form.
Enter the group shown in the Gr1 column of the VAT Codes table that represents the value of box 200 of the VAT Return. The default value is 200. - VAT codes grouping for sales.
Enter the group shown in the Sum in column of the VAT Codes table that totals the sales VAT codes. The default value is 1.1.
- Income accounts group.
- Click OK to run the extension.
1. Comparison between the turnover declared in the VAT Return and the turnover recorded in the accounting file
This check compares the declared turnover with the turnover recorded in the accounting file and identifies any differences.
The following example is based on an accounting file where the displayed turnover is CHF 5'800.28.

The report generated by the extension contains tables divided by period, including an overall annual period.
Each table displays all the accounts that generate turnover, including accounts with transactions that do not have a VAT code.
Each table contains the following columns:
- Account
List of the accounts included in the turnover or with VAT transactions (including any balance sheet accounts). - Turnover with VAT code
Amount of turnover for each account where the transactions have a VAT code. - Turnover without VAT code
Amount of turnover for each account where the transactions do not have a VAT code. - Total turnover
Total turnover for each account, including both transactions with and without a VAT code. - Declared net amount
Net amounts declared in the VAT Return. - Differences
Differences between the turnover recorded in the accounting file and the declared turnover.
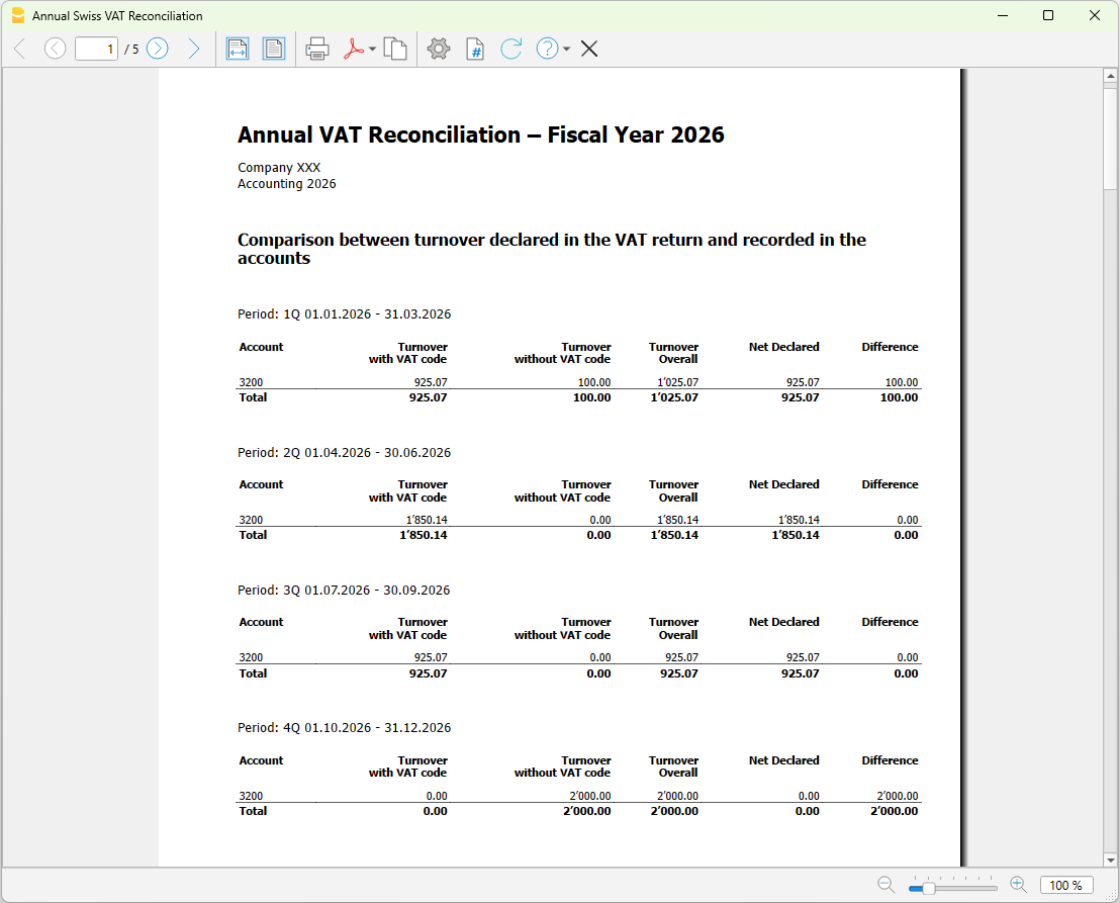
In the example, the report shows the calculation for account 3000 (Sales account), which represents the turnover:
- In the first quarter (1Q), there is a turnover difference of CHF 100.00 (Differences column).
- Turnover recorded in the accounting file = CHF 1'025.07 (Total turnover column).
- Turnover declared in the VAT Return = CHF 925.07 (Declared net amount column).
- In the fourth quarter (4Q), there is a turnover difference of CHF 2'000.00 (Differences column).
- Turnover recorded in the accounting file = CHF 2'000.00 (Total turnover column).
- Turnover declared in the VAT Return = CHF 0.00 (Declared net amount column).
- For the annual period, the differences from each period are added together and displayed:
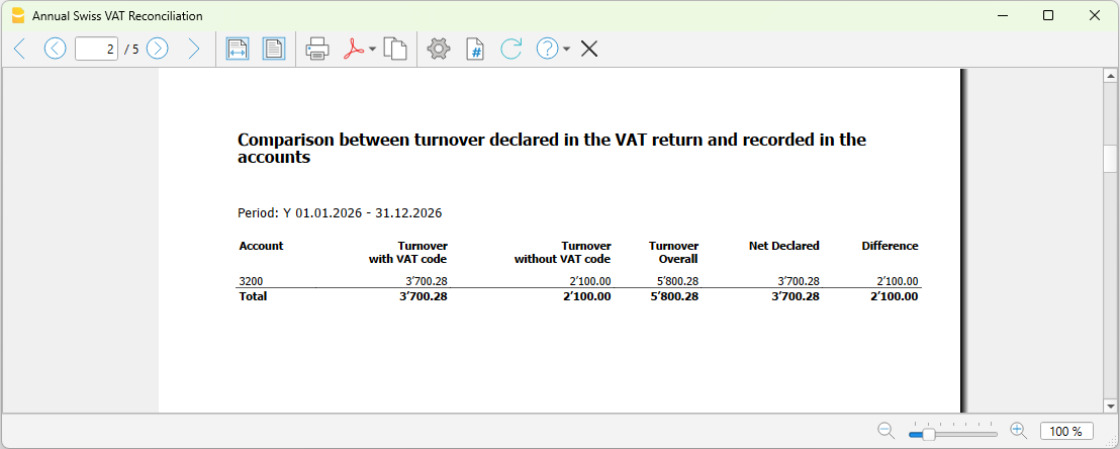
- Turnover recorded in the accounting file = CHF 5'800.28 (Total turnover column).
- Turnover declared in the VAT Return = CHF 3'700.28 (Declared net amount column).
- Total turnover difference = CHF 2'100.00 (Differences column).
2. Turnover declared in the VAT form, grouped by VAT code
This check compares the turnover for each VAT code relating to income accounts with VAT.
- Description
Description of each VAT code used in the turnover transactions. - Taxable amount Y
Taxable amount for the year. - Taxable amount 1Q
Taxable amount for the first quarter. - Taxable amount 2Q
Taxable amount for the second quarter. - Taxable amount 3Q
Taxable amount for the third quarter. - Taxable amount 4Q
Taxable amount for the fourth quarter.
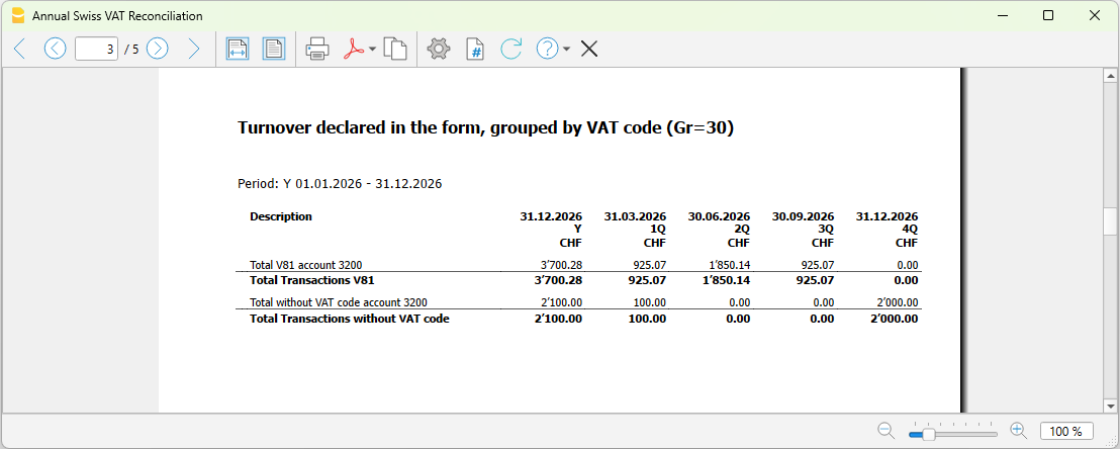
3. Taxable VAT declared in the VAT form
The report provides a summary of the VAT amounts declared to the Swiss Federal Tax Administration (FTA) for each quarter, without checking for any differences.
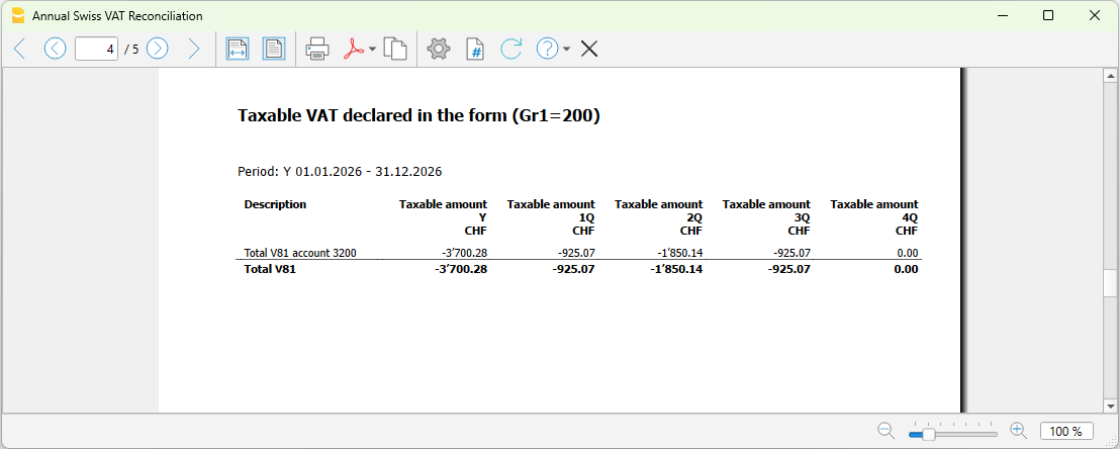
4. Transactions for accounts with differences
For each account, all transactions that generated differences in the various VAT Returns are grouped together.
The list of all transactions that generated differences allows you to quickly identify possible errors, such as a transaction subject to VAT that is missing the related VAT code, or to identify transactions that are correct but, although they have a VAT code, are not included in the turnover calculation (such as purchase tax or reverse charge transactions).
The following columns are displayed:
- Row
The row number of the transaction in the Transactions table. - Date
The transaction date. - Description
The transaction description. The description text is truncated to 20 characters to keep the table tidy and easy to read. - Account
The account with the transaction difference. - Contra account
The contra account of the transaction. - Debit
The debit amount of the transaction. - Credit
The credit amount of the transaction. - VAT code
The VAT code of the transaction. - VAT amount type
The VAT amount type of the transaction. - Taxable VAT amount
The taxable VAT amount of the transaction. - VAT amount
The VAT amount of the transaction. - Posted VAT amount
The posted VAT amount of the transaction.
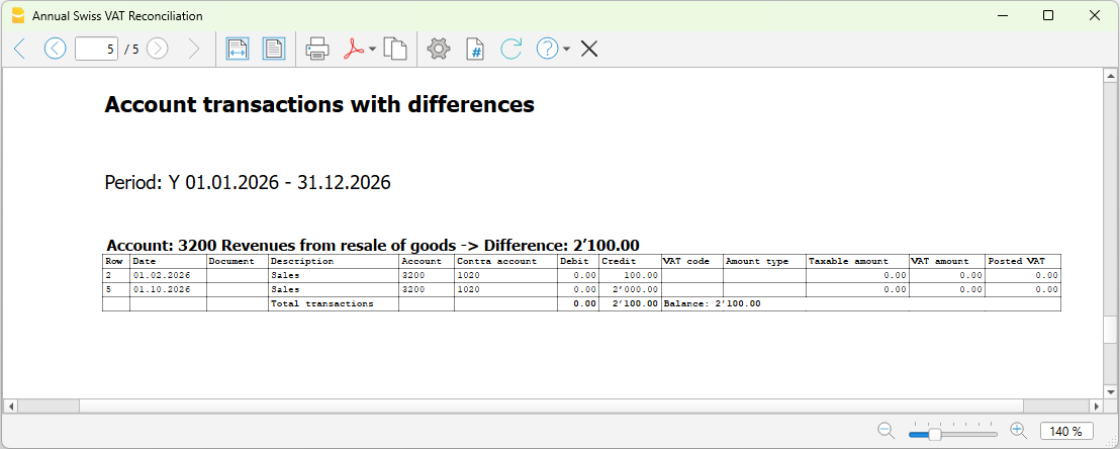
In the example:
- The difference between the turnover recorded in the accounting file (CHF 5'800.28) and the turnover declared (CHF 3'700.28), amounting to CHF 2'100.00, is shown.
- The transactions in the Transactions table that generated this difference are also listed.
Looking at the Transactions table, at the indicated rows (2 and 5), you can see that the transactions do not have a VAT code even though they were posted to sales account 3000 (the VAT code is missing).
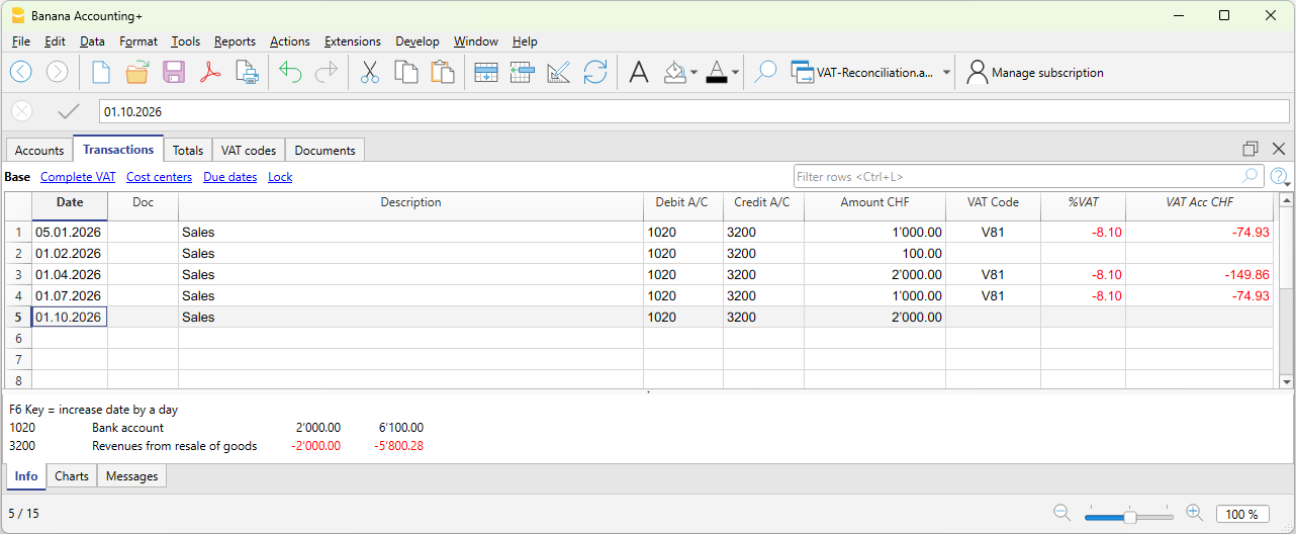
In these cases, once the error has been identified, the VAT Return for the affected quarter must be generated again using the VAT Return extension, and the corrected figures must then be submitted in the correction return on the Swiss Federal Tax Administration (FTA) portal.
Differences between the accounting records and the VAT Return
The details of the differences between the declared turnover and the turnover recorded in the accounting file can be saved.
- From the Extensions menu, select Swiss Annual VAT Reconciliation > 2. Accounting/VAT Differences.
- The extension Settings dialog opens, where you can choose between two methods of saving the data:
- 1) Show in dialog.
All details of the differences, which are also included in the report, are displayed in a dedicated dialog. The data is shown in tabular format and can be copied or saved directly using the available commands. - 2) Save to table.
All details of the differences, which are also included in the report, are automatically inserted into a table in the accounting file. A new table must be added beforehand. - Table name (XML name).
The name of the table (XML name) where the difference details will be inserted.
- 1) Show in dialog.
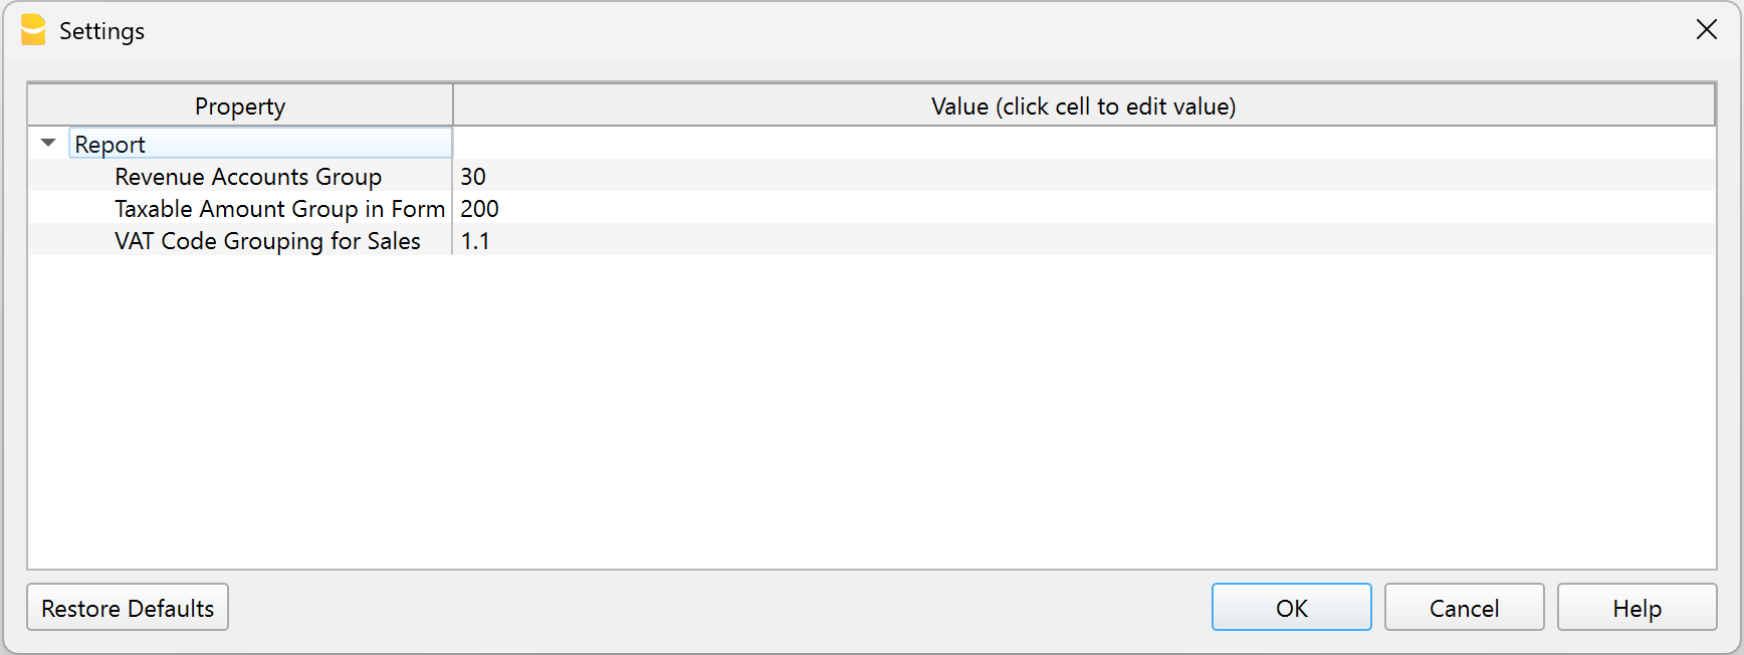
1. Display in the dialog
In the extension settings, by enabling the Display in the dialog option, a new dialog appears showing the transactions with the differences, which can be exported to a text file.
- The generated text can be copied by clicking the Copy button.
- Afterwards, the text can be pasted into Excel using the Paste Special > Text command (this way the data is saved in separate columns).
- Alternatively, the text can also be pasted directly into a table in the accounting file.
If you want to paste the text into the accounting file, you need to:
- Add a simple table
using the Tools > Add/Remove functionalities > Add simple table command. You can choose any name for the table. - Add the columns to the simple table
Using the Data > Columns setup command, add the following columns in the exact order and with the correct data type, as shown below:- Account (data type: Text)
- Row (data type: Number)
- Date (data type: Date)
- Doc (data type: Text)
- Description (existing column)
- Debit (data type: Amount)
- Credit (data type: Amount)
- VAT Code (data type: Text)
- VAT Amount Type (data type: Text)
- VAT Taxable Amount (data type: Number)
- VAT Amount (data type: Number)
- Posted VAT Amount (data type: Number)
- Notes (existing column).
After configuring the columns, the table is ready for data entry. To copy the data generated by the extension and insert it into the table:
- Run the extension from the Extensions > Swiss Annual VAT Reconciliation > 2. Accounting/VAT Differences menu.
- Select the Display in the dialog option and confirm with OK.
- In the window that appears, select Copy.
- Close the window by clicking Close.
- Open the table created in the accounting file.
- Place the cursor in the first cell of the added table.
- Paste the copied text.
- All data is automatically inserted into the corresponding columns.
2. Save to table
By enabling the Save to table option in the extension settings, the table containing the transactions with differences can be imported directly into the accounting file, into the table specified in the Table name (XML name) field.
In this case, you must:
- Before running the extension, add a new table using Tools > Add/Remove Features > Add Simple Table. You can choose any name for the table.
- After adding the table, run the extension from Extensions > Swiss Annual VAT Reconciliation > 2. Accounting/VAT Differences.
- Select the Save to table option.
- Enter the XML name of the table you created (to view the XML name, use Data > Tables setup, Table settings).
- Click OK.
- The extension displays the changes that will be made to the selected table. Click OK to confirm.
- The extension automatically adds the required columns to the selected table and inserts all the data into the corresponding columns.
The Id (RowId) column is not used and can safely be hidden using the appropriate option in Data > Columns setup.
Error messages
When saving the difference data to the table, the extension checks for possible errors and displays the corresponding messages.
- "Missing XML table name. You must create a new table using Tools > Add/Remove Features > Add Simple Table."
- The extension checks that the name of the table where the data will be saved has been entered in the extension settings.
- Solution: Enter the XML name of the table.
- "The table XXX does not exist. You must create a new table using Tools > Add/Remove Features > Add Simple Table."
- The extension checks that the table specified in the extension settings exists in Banana Accounting.
- Solution: Add the table using Tools > Add/Remove Features > Add Simple Table.
- "The table XXX cannot be used. You must create a new table using Tools > Add/Remove Features > Add Simple Table."
- The extension checks that the table specified in the extension settings is not a predefined Banana table. Differences cannot be saved in predefined tables.
- Solution: Add a new table using Tools > Add/Remove Features > Add Simple Table.
Structure of the Differences table
For both modes, 1. Show in dialog and 2. Save to table, the generated table has the following structure:
- Update date row.
This row displays the date when the data was inserted into the table.
New data is always appended at the end of the table. - Account row.
This row summarizes the total difference for the account.- The Account column contains the account of the transaction with a difference.
- The Description column displays the total difference amount for the account.
- All other columns are left empty.
- Transaction detail rows.
These rows display the transactions from the Transactions table that generated the difference.- The Account column is empty.
- The Row column contains the transaction row number.
- The Date column contains the transaction date.
- The Doc column contains the transaction document.
- The Description column contains the transaction description.
- The Debit column contains the transaction debit amount.
- The Credit column contains the transaction credit amount.
- The VAT Code column contains the transaction VAT code.
- The VAT Amount Type column contains the transaction VAT amount type.
- The Taxable VAT Amount column contains the transaction taxable VAT amount.
- The VAT Amount column contains the transaction VAT amount.
- The Posted VAT Amount column contains the posted VAT amount of the transaction.
- The Notes column contains "[...]" so that you can add your own notes. This is useful for explaining the reason for the difference.
Extensions Swiss VAT Report 2018
The 2018 VAT extensions allow you to generate the VAT Report Facsimile and XML file for the years 2018 to 2023.
These extensions are not compatible to manage VAT statements and the XML file with the new 2024 VAT rates.
In order to benefit from the updates regarding VAT 2024, you must :
- Update to the Advanced plan of Banana Accounting Plus
- Download the extension Swiss VAT Report 2024: effective method with XML file or
- Download the extension Swiss VAT Report 2024: net tax rate method with XML file
For users who still need the VAT extension with 2018 rates, information is available on the following pages:
VAT rates until 31.12.2023
Below you will find the 2018 VAT rates (valid for the years 2018-2023), both for the effective method and for the net tax rate method. From January 1. 2024 new VAT rates will be introduced.
VAT rates for the effective method
The accounting templates available on our website already contain the new VAT codes, with both the rates before and after the 2017 vote.
| Normal rate | Special rate for the hotel sector | Reduced rate | |
|---|---|---|---|
| Current VAT rates | 8.0% | 3.8% | 2.5% |
| - Additional funding from AI limited up to 31.12.2017 | -0.4% | -0.2% | -0.1% |
| + TVAT rates increase for FAIF 01.01.2018 - 31.12.2030 | 0.1% | 0.1% | 0.1% |
| VAT rates from 01.01.2018 | 7.7% | 3.7% | 2.5% |
Billing
- Bills issued in 2017:
- For sales, services or supplies concerning 2017, that year's rates are used (8% normal rate, 3.8% for hotel sector, 2.5% reduced).
- For sales, services or supplies concerning 2018, that year's rates are used (7.7% normal rate, 3.7 for hotel sector, 2.5% reduced).
- Bills issued in 2018:
- For sales, services or supplies concerning 2017, that year's rates are used (8% normal rate, 3.8% for hotel sector, 2.5% reduced).
- For sales, services or supplies concerning 2018, that year's rates are used (7.7% normal rate, 3.7 for hotel sector, 2.5% reduced).
VAT Codes from 2018
At the end of 2017 and for 2018 the different rates should be used in parallel.
- The VAT Codes table already contains the VAT codes with the relative rates for both 2017 and 2018.
Simply import the VAT codes into your accounting. - At the latest, when starting the 2018 fiscal year, the new VAT codes must be imported
VAT rated 2018 for the net rate method
The list of VAT codes is already provided with the relative codes for the final rates.
- F1 and F2 VAT Codes remain unchanged and relate to services invoiced with the 2017 rates.
- F3 and F4 VAT Codes must be set up for services invoiced with 2018 rates.
Two methods are used for calculation:
Further information is available at the following link: reduced VAT rates as per 1st of January 2018.
Transactions with VAT until 30.06.2023
Swiss VAT Report: effective method 2018
Swiss VAT Report: effective method 2018For more information, please consult the corresponding pages in the following languages:
Swiss VAT Report: net tax rate method 2018
Swiss VAT Report: net tax rate method 2018For more information, please consult the corresponding pages in the following languages:
How to submit the VAT XML file electronically to the VAT Authority
Patriziati Cantone Ticino
Banana Contabilità Plus è stato attestato conforme alle direttive dalla Sezione Enti Locali (SEL).
Il modello, basato sulla contabilità in partita doppia, è strutturato come da disposizioni MCA2 - Modello Contabile Armonizzato versione 2, comprensivo di conto degli investimenti.
Il modello include il conto investimenti che usa un sistema integrato dei centri di costo (conti preceduti da un punto e colonna CC1 nelle registrazioni).
Con l'Estensione di Stampa Contabilità patriziati, sviluppata appositamente per i patriziati del Canton Ticino, puoi stampare:
- elenco patrizi e del catalogo elettorale
- stampa riassunto consuntivo e conto investimenti.
Patriziati (Canton Ticino) | Contabilità in partita doppia
Patriziati (Canton Ticino) | Contabilità in partita doppiaConforme alla direttive della Sezione Enti Locali
Banana Contabilità Plus è stato attestato conforme alle direttive dalla Sezione Enti Locali (SEL).
Le estensioni aggiornate per i Patriziati ticinesi, che verranno rilasciate nel 2025 richiederanno Banana Contabilità Piano Advanded.
Invitiamo dunque tutti i Patriziati a passare alla versione Banana Contabilità Plus Piano Advanced, che permette di lavorare più velocemente grazie alle interessanti novità e miglioramenti colonna Saldo, Filtri riga, che facilitano di molto il lavoro di controllo e chiusura e che si rilevano molto preziose per la contabilità dei patriziati che, per via anche le conto investimenti, ha comunque un grado di complessità molto elevato.
Il modello, basato sulla contabilità in partita doppia, è strutturato come da disposizioni MCA2 - Modello Contabile Armonizzato versione 2, comprensivo di conto degli investimenti.
Grazie a Banana Contabilità molti patriziati ticinesi hanno già introdotto la contabilità in partita doppia.
Dal 2018 i Patriziati ticinesi sono obbligati a tenere la contabilità secondo il metodo della partita doppia e redigere anche il conto degli investimenti.
In particolare, Banana Contabilità Plus adempie i seguenti requisiti:
- Adozione del nuovo Piano Contabile a 4 cifre basato sul modello MCA2
- Numerazione delle registrazioni per agevolare la ricerca dei giustificativi
- Agevole ricostruzione dei conti in contropartita ai fini di verifica e ricerca
- Schede contabili per i conti del Bilancio, del Conto economico e del Conto degli investimenti
- Stampe del conto Consuntivo dell’anno con preventivo e consuntivo precedente
- Stampe del conto Preventivo dell’anno con preventivo precedente e ultimo consuntivo
- Stampe del Conto degli investimenti con indicazioni sul credito votato (data e importo) e consuntivo precedente
- Stampe dei conti summenzionati, raggruppati per subtotali a 1, 2 e 3 cifre
- Riassunto dei conti con autofinanziamento e investimenti netti.
Vedi anche documentazione della SEL.
- Pagina informativa sulla contabilità dei Patriziati e i vari documenti.
- Manuale di contabilità per i Patriziati - Linee guida - gennaio 2015.
- Schema piano dei conti con descrizione e spiegazioni (Formato Excel, versione dicembre 2018).
Il piano conti pubblicato contiene già le modifiche del maggio 2017 (vedi sotto).
Gestione elenco patrizi e catalogo elettorale
È anche disponibile un modello per la gestione dell'elenco patrizi e del catalogo elettorale.
Tramite l'estensione apposita si possono stampare le schede dei fuochi sul modello "FTIA".
Prerequisiti
Per l'uso delle nuove funzionalità si richiede la versione di Banana Contabilità Plus.
Nuove disposizioni di legge
I Patriziati ticinesi sono tenuti ad adottare il sistema della contabilità in partita doppia entro il 2018, più precisamente con l'emissione dei preventivi 2018, secondo la procedura descritta nella circolare SEL n. 20150304-P1.
I presupposti per la tenuta della contabilità secondo le nuove direttive sono:
- Contabilità in partita doppia
- Adozione del piano contabile armonizzato per i Patriziati
- Inclusione del conto degli investimenti
- Dotazione di un programma contabile adeguato.
Questa pagina spiega tramite il modello presentato come soddisfare con Banana Contabilità i presupposti richiesti.
Modello di piano contabile
Il modello di piano contabile qui a disposizione è basato sulle specifiche rilasciate dalla Sezione Enti Locali, che fsi basando sul Modello Contabile Armonizzato versione 2 (MCA2).
Contiene:
- Il piano dei conti in partita doppia (Bilancio e Conto economico) con relativi raggruppamenti
- I conti per il conto degli investimenti
- Nella colonna Gr1 della tabella Conti è presente il raggruppamento per la dichiarazione dei redditi
- Delle personalizzazioni predefinite nel Bilancio con gruppi per le seguenti stampe:
- Bilancio, Conto Economico e Conto degli investimenti
- Conto Economico confronto preventivo e consuntivo.
Modifiche successive Sezione Enti locali
Il modello di contabilità scaricabile include già le modifiche successive del 2017 e 2018.
Per chi ha già avviato la contabilità deve apportare nell'anno le modifiche al modello indicate dalla Sezioni enti locali:
- Ottobre 2025
- 1060 Scorte, aggiunto nuovo conto.
- 106 Scorte merci, aggiunto nuovo gruppo.
- Dicembre 2020
- 64 Nuovo gruppo e conti investimento Rimborso prestiti.
- Febbraio 2019
- 1091 Crediti verso fondi
- 1092 (modificata dicitura): Crediti verso lasciti e legati
- 421 Tasse per servizi amministrativi
- 4210 Tasse per servizi amministrativi
- 461 Rimborsi da enti pubblici
- 4612 (modificata dicitura): Rimborsi di Comuni, consorzi comunali e altri Patriziati
- 6320 (idem): Contributi da Comuni e altri enti locali
- 6390 Prelievo da fondi
- Maggio 2017
- Creato un nuovo conto 2091 Impegni verso Fondi e rinominato il precedente 2092 in Impegni verso lasciti e legati.
- Eliminato il conto 3502 e creato il conto 3501 Versamenti a Fondi.
- Eliminato il conto 4502 e creato il conto 4501 Prelievi da Fondi.
- Creato il gruppo 639 Altri contributi per investimenti.
- Creato il conto 6399 Altri contributi per investimenti.
Utilizzo: in particolare nel caso di vendita di legname nell’ambito di un investimento nel bosco quindi facente parte del piano di finanziamento.
Creare il tuo file
- Apri il modello dalla nostra WebApp
- Dal menu File > Salva con nome, salva il file sul tuo computer.
- Nel menu File > Proprietà file indica:
- La data di apertura e quella di chiusura del periodo contabile.
- Nella sezione Indirizzo inserire i dati del Patriziato (es. Patriziato...-2025.ac2) e l'anno contabile.
- Adatta il piano dei conti.
Si ricorda comunque che il nuovo piano contabile va inviato alla SEL per la preventiva approvazione al più tardi entro giugno - Inserisci i movimenti nella tabella Registrazioni.
Il piano dei conti
Il modello predefinito di Banana Contabilità è strutturato come da disposizioni MCA2 - Modello Contabile Armonizzato versione 2, comprensivo di conto degli investimenti.
Nella tabella Conti, nella colonna Apertura si inseriscono i saldi iniziali:
- Gli Attivi sono positivi
- I Passivi si inseriscono con il segno meno davanti all'importo.


Il conto investimenti
Nel modello il conto è già incluso il conto investimenti.
Per la tenuta del conto investimento si usano il sistema integrato dei centri di costo (conti preceduti da un punto e colonna CC1 nelle registrazioni).
Usando centri di costo si hanno molti vantaggi, rispetto alla gestione tramite partite contabili che sono integrate a fine anno nel bilancio:
- Il bilancio e il conto investimenti sono immediatamente aggiornati e presentano la situazione contabile aggiornata.
- Si hanno schede conto complete sia per le posizioni di bilancio sia per quelle dei conti investimenti.
Risulta quindi più semplice il compito di chi deve revisionare la contabilità. - Il conto investimenti può essere ottenuto anche per il preventivo e non solo in sede di consuntivo.
- Il sistema dei centri di costo è più semplice da usare (si vede immediatamente il risultato della registrazione)
I conti investimento
Nella tabella conti si inseriscono i conti relativi agli investimenti.
Nella descrizione potete inserire anche la data approvazione del credito da parete dell'Assemblea Patriziale (A.P.) e l'importo del credito approvato.

Le registrazioni
Le registrazioni si inseriscono nella tabella Registrazioni:
- Nella colonna doc inserire il numero del documento giustificativo. Per avere il progressivo premere il tasto F6.
Le registrazioni sul conto degli investimenti
Per la registrazione dei movimenti relativi agli investimenti in beni amministrativi vengono inseriti i corrispondenti centri di costo (colonna CC1).
I centri di costo seguono la numerazione indicata nel MCA2.
- L'investimento o la diminuzione si registra direttamente nel bilancio tramite CtDare e il CtAvere
- Per ogni registrazione relativa agli investimenti bisogna specificare anche il conto del conto investimento (colonna CC1)
- Gli aumenti del conto investimenti si registrano in Dare
- Le diminuzioni del conto investimenti si registrano in Avere (CC1 preceduto dal segno meno)
- In questo modo il Bilancio e il Conto investimenti risultano sempre a giorno.
Non è dunque più necessario a fine anno riportare i saldi nei relativi conti di bilancio.
Qui di seguito riportiamo la registrazione dell'esempio indicato nel manuale al capitolo 4.3.

Stampa del consuntivo di Bilancio
Il bilancio consuntivo dei patriziati si stampa dal menu Report → Bilancio abbellito con gruppi → Consuntivo (Bilancio)(Predefinito).

Stampa del consuntivo di Conto economico
Il conto economico dei patriziati si stampa dal menu Report → Bilancio abbellito con gruppi → Consuntivo (Conto Economico).

Stampa del conto degli investimenti
Il Conto investimenti si stampa dal menu Report → Bilancio abbellito con gruppi → Conto Investimenti.

Estensione stampa riassunto consuntivo e conto investimenti
Per la stampa del riassunto e altre stampe specifiche per i patriziati dovete prima istallare l'Estensione Stampa di Contabilità patriaziati.
Qui di seguito viene presentato il resoconto ottenuto.
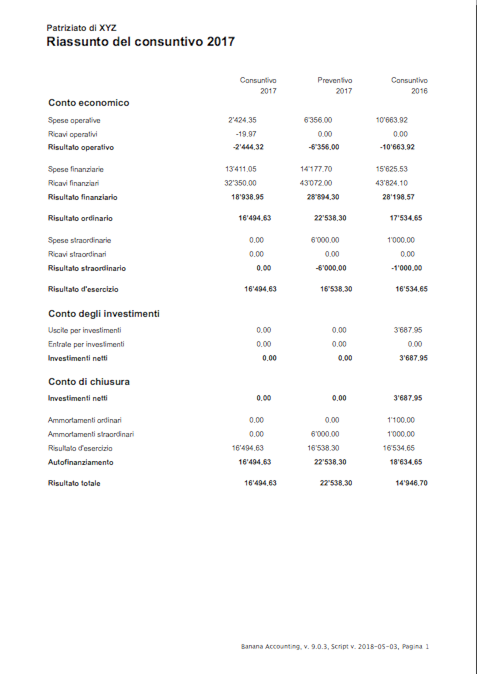
Stampa delle schede conto
Le schede conto si ottengono con il comando Conta1 → Scheda conto, oppure cliccando sul segno vicino al conto.
Stampa del preventivo
Dal menu Report → Bilancio abbellito con gruppi → Preventivo (Conto Economico) si ottiene la stampa con le colonne preventivo anno corrente e anno precedente.
Per visualizzare le colonne preventivo anno precedente si deve usare il dialogo colonne/avanzato.
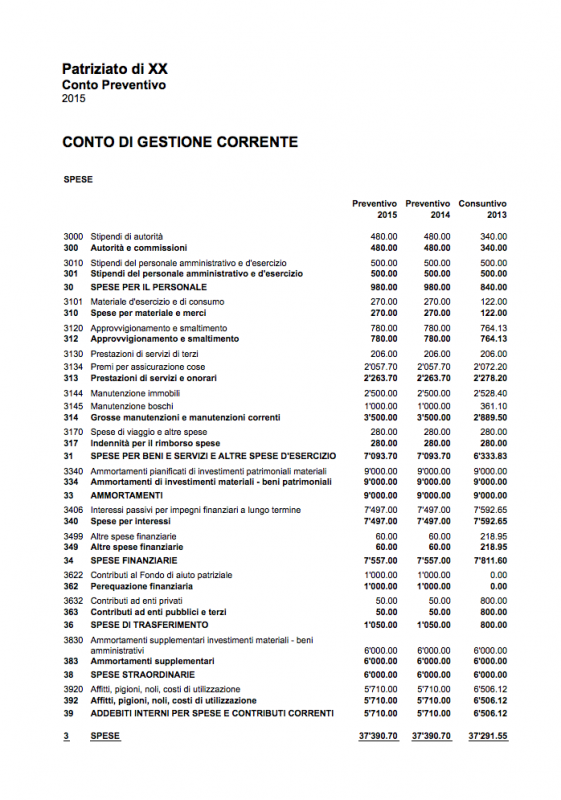
Allestire il preventivo
Il preventivo può essere allestito inserendo i dati nell'apposita colonna del piano dei conti, oppure anche con il nuovo sistema.
Tramite la nuova Tabella Budget è possibile allestire il preventivo tramite registrazioni.
Per usare la tabella Budget scarica e inizia da questo modello.
Questo permette di dettagliare secondo le proprie necessità l'allestimento del preventivo e di poterlo velocemente adattare di anno in anno senza dover ricalcolare manualmente gli importi totali.

Sviluppo aperto e condiviso
Il nuovo piano dei conti e le estensioni Banana specifiche per i patriziati sono stati sviluppati in modo aperto e condiviso.
- Gli sviluppi sono effettuati nella sezione Patriziati in github.com/BananaAccounting
- È possibile partecipare e collaborare ai miglioramenti e sviluppi.
- È anche disponibile un modello per la gestione dell'elenco patrizi e del catalogo elettorale.
Tramite un'estensione Banana si possono stampare le schede dei fuochi sul modello "FTIA". - Per l'uso e lo sviluppo è applicabile la licenza Apache License, Version 2.0
Stampe contabilità Patriziati Ticino
Stampe contabilità Patriziati TicinoQueste stampe sono in relazione al modello di contabilità per patriziati.
- Consuntivo per subtotali
- Preventivo per subtotali
- Riassunto consuntivo
- Riassunto preventivo
Nuova versione aggiornata
- La nuova versione dell'estensione richiede un abbonamento a Banana Contabilità+.
Estensione Consuntivo per subtotali
Qui di seguito viene presentato il resoconto ottenuto con un livello di dettaglio 3.
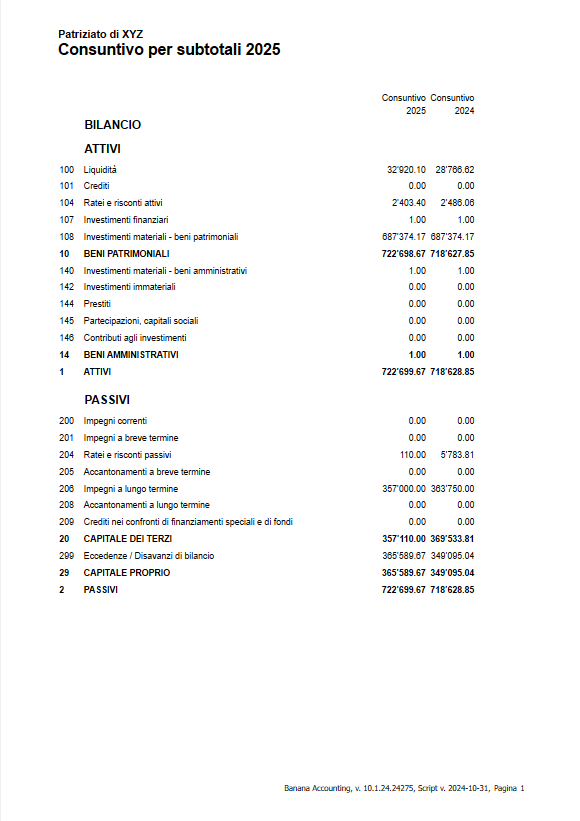
Estensione Preventivo per subtotali
Qui di seguito viene presentato il resoconto ottenuto con un livello di dettaglio 2.
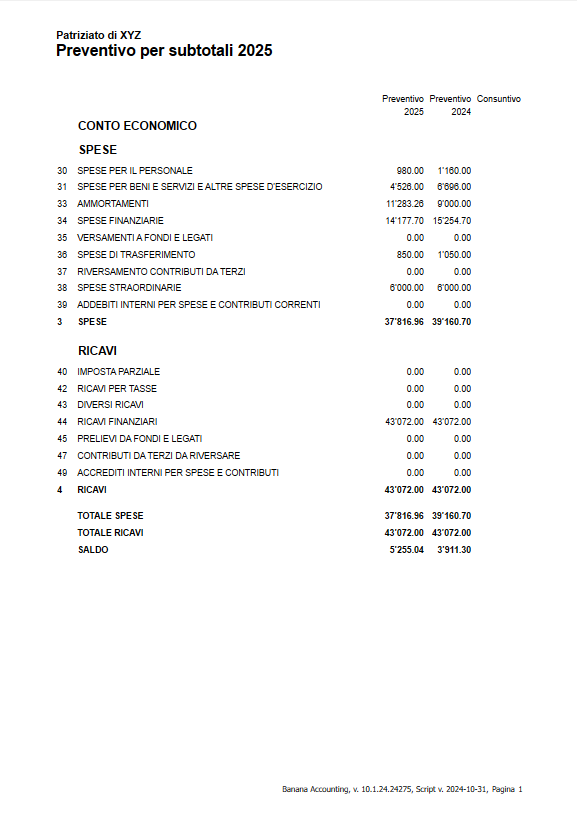
Estensione Riassunto Consuntivo
Qui di seguito viene presentato il resoconto ottenuto.
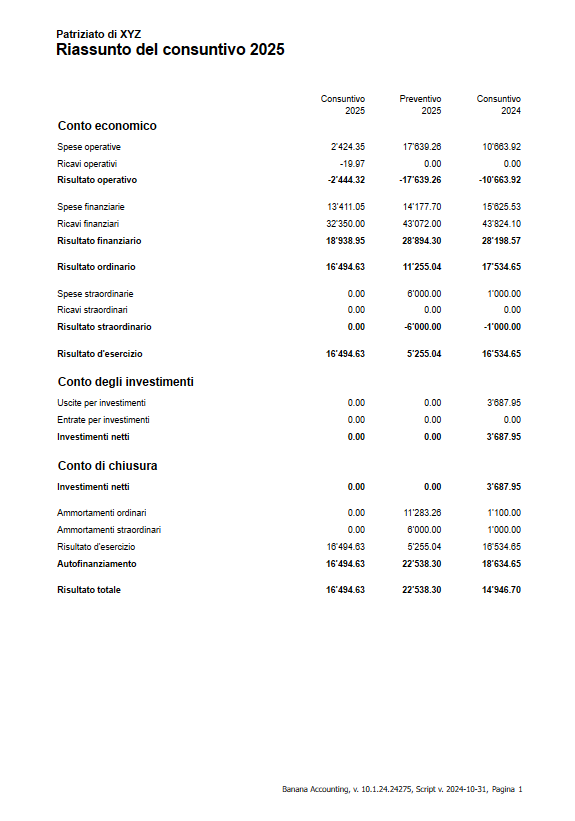
Estensione Riassunto Preventivo
- Nel gruppo "Ricavi operativi" sono raggruppati i conti appartenenti ai gruppi 40, 41, 42, 43, 45, 46, 47
- Nel gruppo "Spese operative" sono raggruppati i conti appartenenti ai gruppi 30, 31, 33, 35, 36, 37
Qui di seguito viene presentato il resoconto ottenuto.
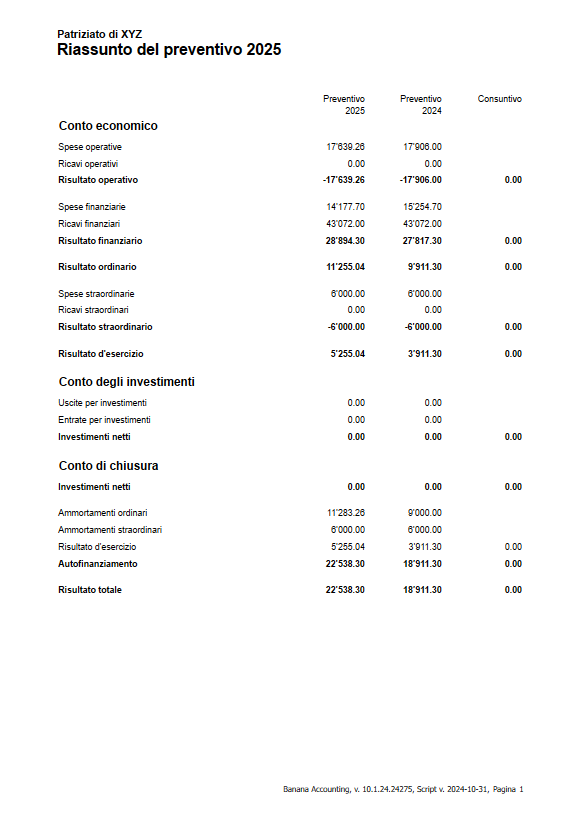
Errori
- "Errore differenza risultato d'esercizio"
La somma non corrisponde.- C'é probabilmente una differenza in contabilità.
- Oppure nel piano dei conti manca uno dei gruppi dei Ricavi operativi o Spese operative.
- "Errore differenza fra addebiti e accrediti interni alla contabilità"
- La somma dei conti appartenenti ai gruppi 39 e 49 non da zero.
Qui di seguito viene presentato un esempio di errore ottenuto.
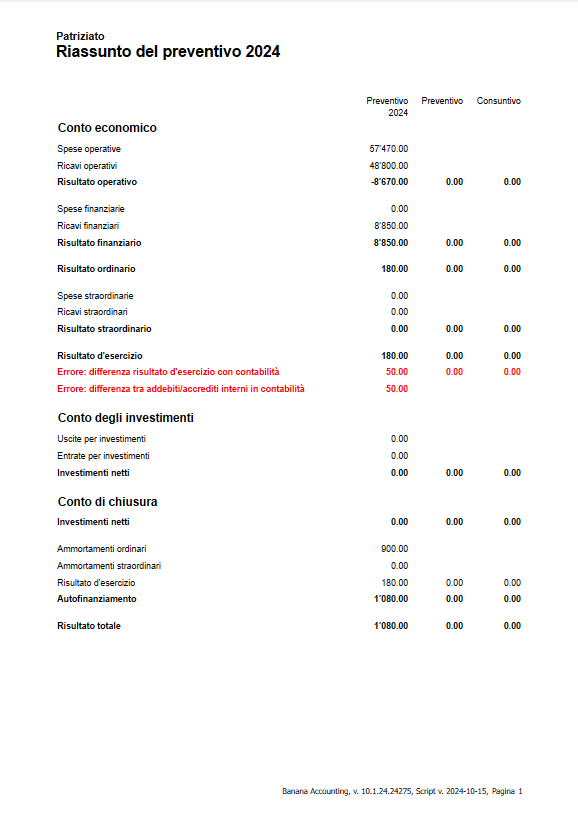
Cronologia delle modifiche
31 ottobre 2024
- Effettuati i test di controllo e ampliato i casi di test.
15 ottobre 2024
- Corretto messaggi di Warning riguardanti i decimali, la conversione e formattazione dei numeri e il font utilizzato.
3 maggio 2018
- Corretto errore per cui se nel piano dei conti mancava il gruppo 40 "Imposta patriziale", sulle stampe "Riassunto consuntivo" e "Riassunto preventivo" appariva un messaggio d'errore indicante che il risultato d'esercizio calcolato dalla stampa differiva dal risultato d'esercizio della contabilità.
Registro patrizi Cantone Ticino
Registro patrizi Cantone TicinoQuesto modello permette al patriziato, assieme alle BananaApps apposite, di gestire conformemente ai requisiti di legge:
- Il registro dei patrizi
- Le schede dei fuochi
- Il catalogo elettorale.
- La stampa delle etichette
- Diario annotazioni
La gestione elenco patrizi è basata sul tipo Rubrica per la gestione degli indirizzi.
Altre utilità per i patriziati
- Contabilità dei patrizi, modello ed Estensioni
- Ricerca parole (per trovare le persone con nomi e cognomi simili)
Tabella Contatti
L'immissione dei nomi e dei dati dei patrizi avviene nella tabella contatti.
Per ogni patrizio ci deve essere un numero id diverso. Il programma suggerisce il prossimo. Se si usa lo stesso il programma segnala l'errore ed evidenzia la riga in rosso, come mostrato nell'immagine che segue.
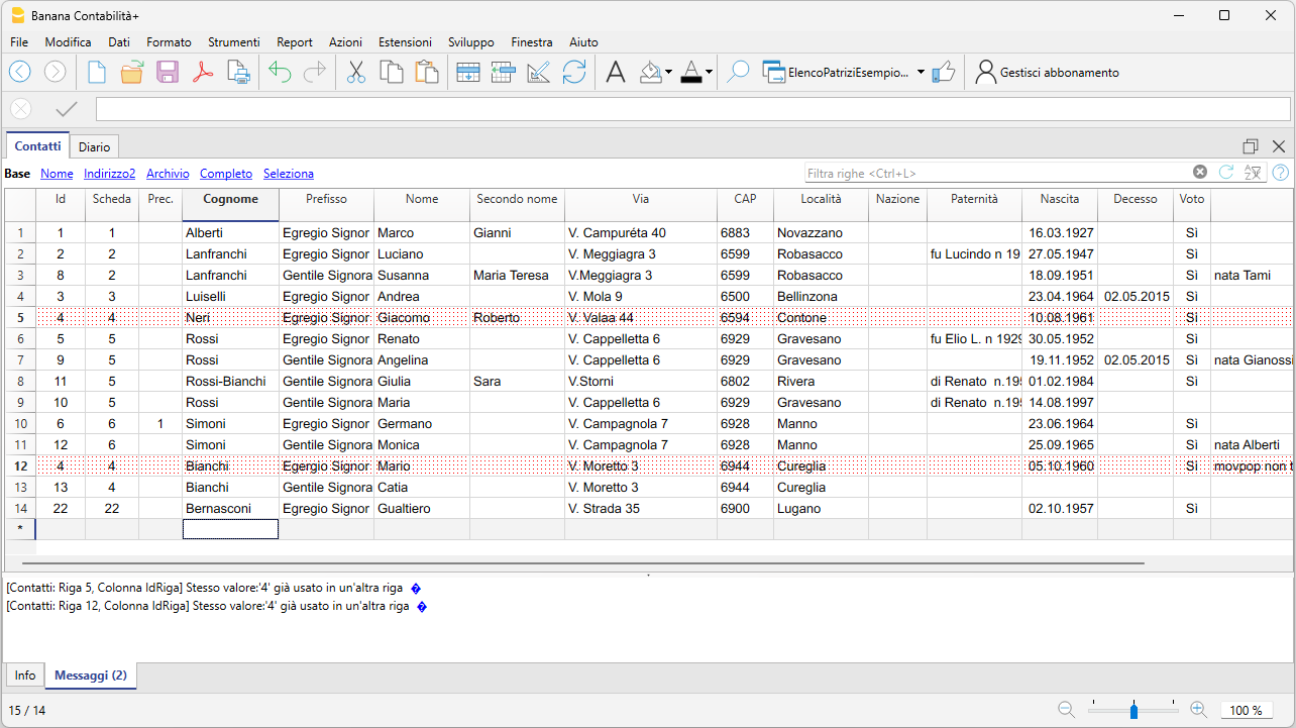
Viste e Colonne
La tabella ha diverse colonne, alcune delle quali non sono visibili nella vista Base.
Le viste Altro, Indirizzo2 e Archivia presentano altre colonne.
Descrizioni delle colonne
Qui di seguito sono indicate unicamente le colonne che hanno un significato speciale e che necessitano di commenti:
- Id (numero univoco per ogni patrizio).
- Ogni patrizio ha un proprio numero progressivo.
- Se il campo è vuoto il programma propone un nuovo numero progressivo.
- Se il numero è già usato da un altro (anche nella tabella contatti archiviati) viene segnalato un errore e la riga è segnata in rosso.
- Non riutilizzare un numero già usato da un altro patrizio.
- È meglio non cancellare gli indirizzi dei patrizi che escono o deceduti, ma archiviarli (vedi sotto).
- Scheda.
- Contiene il numero (id) del capofamiglia.
- Capofamiglia. Sono considerati capofamiglia quelle righe dove il numero id è uguale al numero di Scheda.
- I familiari hanno il numero di Scheda uguale a quello del capofamiglia.
Se si usa un numero di Scheda che non è di un capofamiglia, durante la stampa viene segnalato un errore. - Se un patrizio forma una nuova famiglia (diventa capofamiglia), indicare in Scheda il valore dell'Id.
- Se vi è un decesso del capofamiglia, uno dei membri diventa il capofamiglia e quindi il numero Id del nuovo capofamiglia deve essere usato come numero Scheda per tutti i membri della famiglia.
- Prec. È il numero di scheda precedente.
- Voto.
Dovete indicare se la persona ha diritto di voto.
Quando un patrizio diventa maggiorenne, dovete indicare manualmente che ha diritto di voto. - Data Archiviazione e Note d'archiviazione
Invece di cancellarli, è meglio che i contatti non più attivi (decessi o partenze) vengano spostati nella tabella Archivio. Non risultano più nell'elenco principale, ma i dati sono comunque consultabili. .
Per spostare un contatto nell'archivio dovete inserire la data nella colonna data archiviazioine (Vista Archivio), e poi dare il comando Archivia.
Se si inserisce la data di decesso, bisogna anche inserire la data di archiviazione.
Report patrizi
Per potere stampare i report qui di seguito specificati si deve:
- Istallare l'ultima versione di Banana Contabilità 8
- Installare la BananaApp Elenco Patrizi.
Le Apps di stampa sono accessibili dal menu Apps.
Report Catalogo patrizi
Verrà creato il report con l'elenco dei patrizi, con la possibilità di scegliere se si vuole l'elenco completo, solo con diritto di voto e se in ordine di numero o in ordine alfabetico.
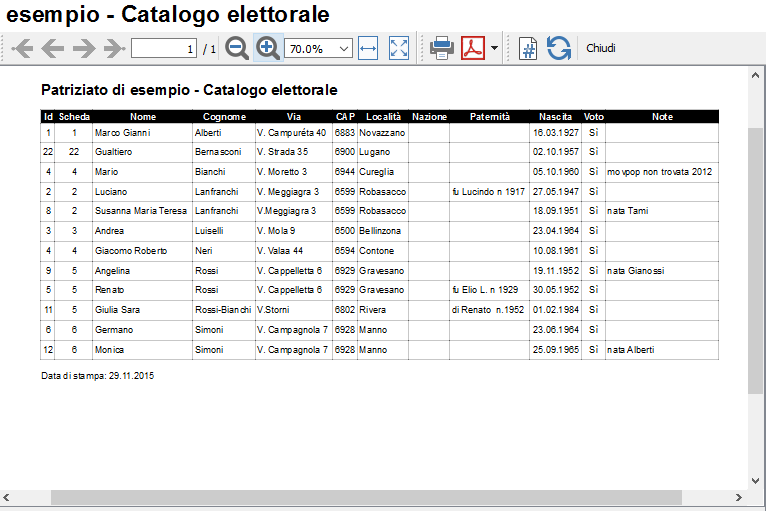
Report Scheda patrizi
Verrà creato il report con l'elenco dei patrizi, con la possibilità di scegliere se si vuole l'elenco completo, solo con diritto di voto o se in ordine di numero o in ordine alfabetico.
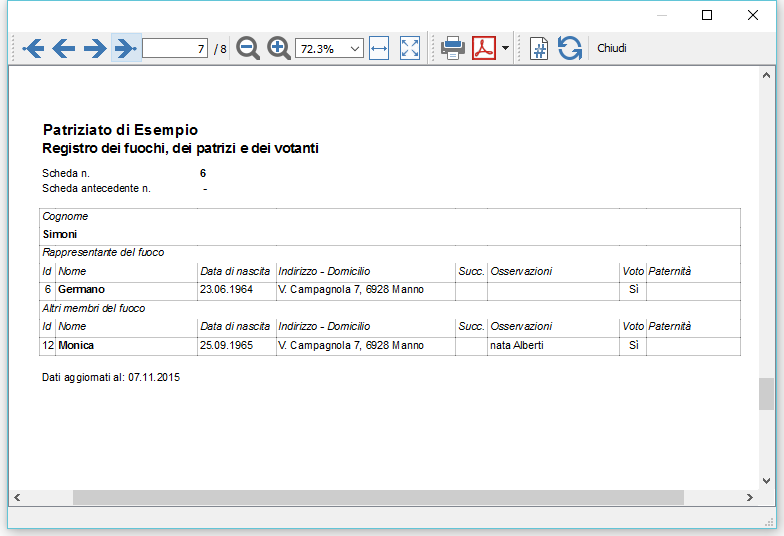
Viene segnalato un errore (non viene stampata la scheda) per i numeri di Scheda usati che non corrispondono a nessun capofamiglia, ovvero non vi è per il numero di Scheda usata nessuna riga dove Numero Id e Numero Scheda sono uguali.
Gestione elettronica e cartacea
Per molti patrizi che non hanno un computer è utile mantenere le schede in un classificatore.
- Inserite l'elenco patrizi nella tabella e controllate che tutto sia corretto.
- Stampate tutte le schede e riponetele in un classificatore.
- Stampate anche l'elenco patrizi in ordine alfabetico e anche il catalogo elettorale e riponetelo nel classificatore all'inizio.
- Quando fate modifiche, togliete la scheda cartacea e sostituitela con la stampa della nuova scheda.
La scheda vecchia la potete conservare alla fine. - Quando ritenete necessario stampate nuovamente il catalogo elettorale e l'elenco dei patrizi.
Report Elenco completo
In questo report sono presentati tutti i dati inseriti in un formato più compatto. Questa stampa serve come controllo dei dati inseiriti.
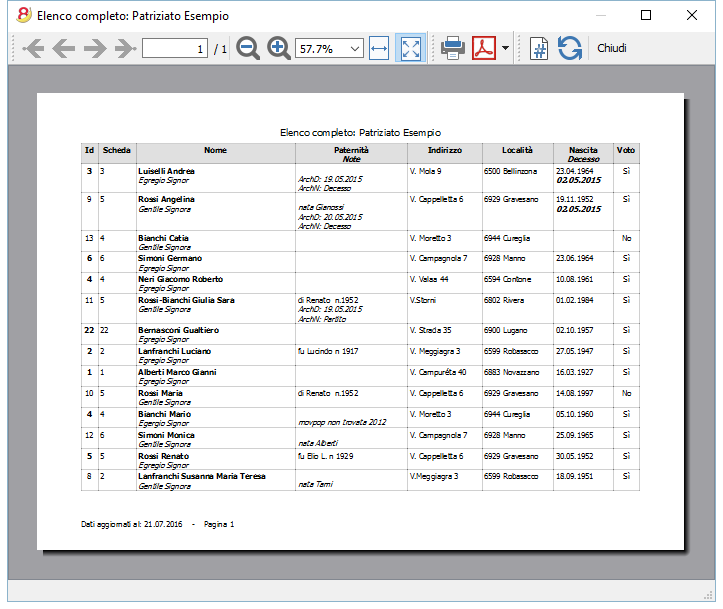
Report elenco diciottenni
In questo report vengono elencate in una tabella tutte le persone che, nell'anno selezionato, compiranno diciotto anni.
Stampa Etichette per le buste
Potete anche stampare le etichette per inviare materiale informativo a casa dei patrizi. Di regola non si inviano spedizioni a tutti i patrizi.
Sono già state predisposte delle colonne pere indicare per indicare se l'indirizzo deve figurare nella lista delle etichette da stampare.
Si pensa che ci sia una lista di invii completa (una volta all'anno) e un'altra con gli invii solo a delle persone interessate.
Nel comando stampa etichette sono state già predisposte delle personalizzazioni preimpostate per la stampe di etichette per i diversi codici.
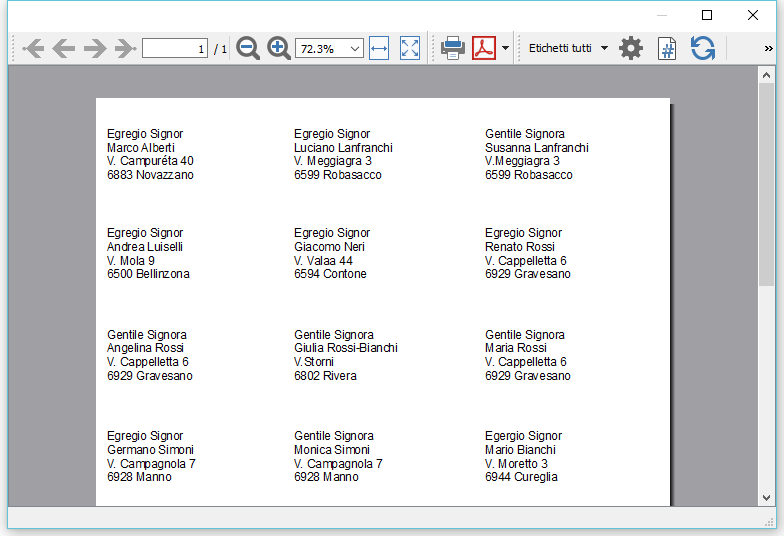
Archiviazione dei patrizi usciti o deceduti
I dati delle persone decedute o che hanno perso la qualità di patrizio non vengono cancellati, ma sono spostati nella tabella dati archiviati. In questo modo non risultano più nella tabella principale.
- Se si tratta di un decesso indicate prima nella colonna decesso la data di decesso.
- Togliete dalla colonna voto il diritto di voto.
Archiviare i contatti non più necessari
- Spostatevi sulla vista Archivia.
- Nella colonna Data archivia indicate una data (p.es. la data di uscita) oppure con il "." viene inserita la data odierna.
- Andare nel menu Utilita1
- scegliete il comando Archivia Dati
- Scegliere la tabella Contatti.
Se non vedete alcuna tabella è perché non ci sono righe con la data di archiviazione.
Visualizzare i contatti archiviati
- Andare nel menu Utilita1
- Scegliete visualizza Archiviati
- Scegliere la tabella Contatti.
Ritorno di un patrizio
Se un patrizio rientra
- Copiate i dati dalla dalla tabella Archivia e incollateli nella tabella Contatti.
- Cancellate la riga dai dati Archiviati.
Patriziati Ticino stampe elenco patrizi
Patriziati Ticino stampe elenco patriziLe stampe sono da usare in abbinamento al modello uso dell'Elenco patrizi Cantone Ticino.
- Catalogo elettorale
- Elenco completo
- Schede patrizi
- Elenco diciottenni
Vorlagen Beistand (KESB)
Beistand (KESB) | Einnahmen-Ausgaben-Buchhaltung
Beistand (KESB) | Einnahmen-Ausgaben-BuchhaltungMandatsträger im Bereich des Kindes- und Erwachsenenschutzrechts
Die Vorlage "Beistand (KESB) – Einnahmen-Ausgaben-Rechnung" ist speziell für Mandatsträger/innen im Kindes- und Erwachsenenschutz konzipiert und enthält alle erforderlichen Konten für eine vollständige Beistandsbuchführung mit Banana Buchhaltung.
Weitere Informationen finden Sie auch in der Vorlage KESB - Doppelte Buchhaltung.
Weitere Informationen
- PriMa Modell-Handbuch
Das priMa-Modellhandbuch (für private Mandatsträger/innen) wurde entwickelt, um sowohl Mandatsträger/innen als auch die zuständigen Behörden und Begleitstellen bei der Ausübung ihrer Aufgaben zu unterstützen.
Auf 97 Seiten werden in 14 Kapiteln die zentralen Themen der Mandatsführung praxisnah erklärt – ergänzt durch 22 hilfreiche Merkblätter.
Herausgeber: KOKES – Konferenz der Kantone für Kindes- und Erwachsenenschutz
So beginnen
Folgen Sie unserer Schritt-für-Schritt-Anleitung: Neue Einnahmen-Ausgabenbuchhaltung beginnen.
Contabilità entrate e uscite per curatela
Contabilità entrate e uscite per curatelaIl curatore o tutore è tenuto a presentare annualmente un rendiconto della situazione finanziaria e delle entrate e uscite effettuate.
Questo modello, in abbinamento a Banana Contabilità Plus, permette di rendere più semplice e professionale la tenuta e la presentazione dei conti.
- Gestione di una o più contabilità
- Piano contabile già predisposto
Molto completo e facilmente adattabile:- Situazione finanziaria e patrimoniale
- Entrate e Uscite con Risultato operativo
- Giornale e scheda conto con i dettagli dei movimenti
- Possibilità di categorizzare i movimenti anche come investimenti e disinvestimenti
- Pianificazione finanziaria
Per avere un piano del fabbisogno e della disponibilità di mezzi liquidi
Guarda anche il modello contabilità in partita doppia.
Come iniziare
Molti curatori utilizzano già con successo Banana Contabilità Plus e anche tu puoi provarlo senza alcun impegno.
- Apri il modello con la WebApp di Banana Contabilità Plus
- Con il comando File > Proprietà file imposta il periodo, il nome della tua azienda e la moneta di base
- Con il comando File > Salva con nome, salva il file. È utile indicare nel nome del file, il nome dell'associazione e l'anno. Per esempio "Curatela...-20xx.ac2".
- Inserisci i movimenti
- Scarica l'estensione Rendiconto finanziario (art. 410 CCS)
Sei pronto per stampare il rendiconto finanziario da presentare alle autorità competenti.
Con il piano Free di Banana Contabilità Plus, puoi inserire fino a 70 movimenti contabili. Se la soluzione soddisfa pienamente le tue esigenze, acquista e attiva l'abbonamento e potrai continuare con il resto delle registrazioni, senza limitazioni.
Struttura del piano contabile
Il piano contabile è strutturato con gruppi e sottogruppi che permettono di avere i dettagli delle singole poste che compongono il Bilancio e il Conto economico.
Il piano contabile presenta i centri di costo che danno i dettagli sui movimenti e i saldi degli investimenti, disinvestimenti e i rimborsi dei prestiti.
Tabella Conti
I gruppi e sottogruppi principali:
Attivi
- Liquidità
- Totale Beni mobili
- Totale Beni immobili
Passivi
I gruppi e i sottogruppi principali:
- Totale capitale di terzi
- Totale capitale proprio
Fuori bilancio Attivi
Fuori bilancio Passivi

Tabella Categorie
Nella tabella Categorie trovi tutte le categorie predefinite con le colonne che riportano i relativi saldi. Sono suddivise in due gruppi principali:
Entrate
Le entrate sono classificate in due sottogruppi:
- Entrate generali - riguardano tutte le entrate legate agli stipendi, rimborsi, rendite, ecc..
- Entrate patrimoniali - riguardano quelle derivanti da utili patrimoniali.
Uscite
Anche le uscite sono suddivise in due sottogruppi:
- Uscite generali - riguardano le uscite per spese ricorrenti, come l'affitto, luce, gas, tasse, manutenzioni, viaggi, ecc...
- Uscite patrimoniali - riguardano le perdite patrimoniali.

Le registrazioni
Le registrazioni si eseguono nella tabella Registrazioni. Nella colonna Doc viene inserito il numero di documento che corrisponde al giustificativo contabile cartaceo (fattura, ricevuta di cassa, ecc).
- Nella colonna Doc, premendo il tasto F6 hai la numerazione progressiva in automatico
- Nella colonna Descrizione, digitando le prime lettere, appare il menu a tendina da dove è possibile riprendere il testo scritto in precedenza
- Nella colonna Link puoi inserire il percorso per visualizzare un giustificativo o altro documento.
- Nelle colonne Conto e Categoria digitando una parola chiave o le prime cifre che richiamano il conto o la categoria, hai la lista dei conti o delle categorie da selezionare.
- È possibile memorizzare le registrazioni ripetitive tramite la funzione Registrazioni ricorrenti.

Le stampe
Il piano contabile allegato (vedi sopra) presenta delle Personalizzazioni già predefinite.
Dal menu Report > Rendiconto abbellito con gruppi si accede al dialogo con le opzioni del Report (personalizzazioni già memorizzate).
Tutte le stampe possono essere salvate in PDF, Excel, HTML e copiate negli appunti.

Stampa del Rendiconto finanziario (art. 410 CCS)
Per ottenere il report esegui l'estensione Banana relativa al rendiconto finanziario.
- Installa l'estensione Banana relativa al rendiconto finanziario.
- Nel menu Estensioni esegui il comando Rendiconto finanziario (art. 410 CC) > Rendiconto finanziario (art. 410 CC).

Contabilità multi moneta
Se hai la necessità di gestire conti in diverse moneta:
- Apri modello scaricabile da questa pagina (vedi sopra)
- Comando Strumenti > Converti in nuovo file...
- Scegli la contabilità con multi moneta
- Aggiungi nella tabella Cambi le monete che desideri usare.
Aggiornamento automatico tabella Conti
L'aggiornamento della tabella Conti deve essere effettuato solo per i modelli scaricati prima del 2024 che usavano la vecchia estensione del Rendiconto finanziario 2017. I modelli scaricati direttamente da Banana a partire dal 2024 non sono da aggiornare.
Per aggiornare la tabella Conti aggiungendo i conti fuori bilancio è possibile usare la funzione dell'estensione per il Rendiconto finanziario 2024 denominata Aggiorna tabella Conti.
I conti fuori bilancio attivi e passivi saranno aggiunti automaticamente in fondo alla tabella Conti.
L'aggiornamento automatico attraverso l'estensione è possibile solo con la versione di Banana Contabilità Plus.
Aggiornamento automatico tabella Testi
L'aggiornamento della tabella Testi deve essere effettuato solo per i modelli scaricati prima del 2024 che usavano la vecchia estensione del Rendiconto finanziario 2017. I modelli scaricati direttamente da Banana a partire dal 2024 non sono da aggiornare.
Per aggiornare la tabella Testi è possibile usare la funzione dell'estensione per il Rendiconto finanziario 2024 denominata Aggiorna tabella Testi.
Beistand (KESB) | Doppelte Buchhaltung
Beistand (KESB) | Doppelte BuchhaltungMandatsträger im Bereich des Kindes- und Erwachsenenschutzrechts
Das Modell KESB Doppelte Buchhaltung enthält alle Konten, um eine komplette Beistandsbuchhaltung zu führen.
Siehe auch Modell für die Einnahmen-Ausgaben-Buchhaltung.
Weitere Informationen
PriMa Modell-Handbuch
Das Modell-Handbuch priMa (private Mandatsträger/innen) entstand im Bestreben, den Mandatsträger/innen und den für deren Instruktion und Begleitung zuständigen Behörden und Stellen die Bewältigung ihrer Aufgaben zu vereinfachen. Auf 97 Seiten werden in 14 Kapitel die wichtigsten Themen der Mandatsführung praxisnah erläutert und mit 22 hilfreichen Merkblättern ergänzt.
Herausgeber: KOKES Konferenz der Kantone für Kindes- und Erwachsenenschutz
So beginnen
Siehe Neue Doppelte Buchhaltung anfangen.
Tabelle Konten

Curatele (Cantone Ticino) | Contabilità in partita doppia
Curatele (Cantone Ticino) | Contabilità in partita doppiaLo strumento ideale per la gestire la contabilità di una curatela:
- Tenuta molto semplice della contabilità di un curatelato.
- Puoi gestire più curatele.
- Il piano dei conti è già strutturato con tutte le categorie e i gruppi necessari per presentare il rendiconto annuale.
- Stampare il rendiconto finanziario (art. 410 CC) conformemente alle direttive della Camera di protezione del Tribunale d'appello della Repubblica e Cantone Ticino.
- Puoi allestire una pianificazione finanziaria su uno o più anni.
Si veda anche modello per contabilità entrate e uscite.
Riferimenti modelli e estensioni
La stampa del rendiconto finanziario avviene tramite l'estensione Banana che deve essere scaricata e installata dal menu Estensioni > Gestisci estensioni...
Sul sito GitHub\BananaAccounting si trovano tutti i piani dei conti e le estensioni per Banana Contabilità. Lo sviluppo avviene in modo condiviso. Per l’uso e lo sviluppo delle estensioni è applicabile la licenza Apache License, Version 2.0.
Il piano dei conti è stato aggiornato nel corso del 2023 e la nuova estensione per Banana Contabilità Plus è stata sviluppata da Banana.ch nel 2023 su iniziativa e grazie al contributo di un curatore.
Estensione Rendiconto finanziario
La nuova estensione per il rendiconto finanziario 2024 può essere completamente utilizzata con la versione Banana Contabilità Plus.
Nel caso si usassero versioni di Banana Contabilità precedenti non sarà possibile aggiornare automaticamente i modelli già in uso.
La nuova estensione è attualmente pubblicata parallelamente a quella del 2017. Chi avesse necessità può ancora ottenere il Rendiconto finanziario del 2017 con la vecchia estensione.
Impostazione
La contabilità è impostata con tutti gli elementi necessari per permettere la stampa del rendiconto.
Nella contabilità si inseriscono i dati e con l'estensione Banana nel rendiconto vengono ripresi in automatico tutti i dati necessari dalla contabilità. Il piano dei conti può essere personalizzato secondo le proprie esigenze.
I dati devono essere inseriti nelle seguente tabelle:
- La tabella conti è già impostata, è sufficiente personalizzare i conti e inserire la lista dei debitori.
- La tabella registrazioni è quella dove si inseriscono i movimenti contabili.
- La tabella Testi dove si indicano i testi necessari alla preparazione del report.
Creare il tuo file
- Apri il file con la nostra WebApp.
- Dal menu File > Salva con nome, salva il file sul tuo computer.
- Nel menu File > Proprietà file indica:
- La data di apertura e quella di chiusura del periodo contabile (obbligatorio).
- Nella sezione Indirizzo inserire i dati della persona oggetto della curatela (es. Rossi-2025.ac2).
- Nella sezione Varia, alla casella "Chiavi estensione" deve essere presente "curatele".
- Inserisci i movimenti nella tabella Registrazioni.
- Scarica l'estensione Rendiconto finanziario (art. 410 CCS).
- Sei pronto per stampare il rendiconto finanziario da presentare alle autorità competenti.
Si vedano anche le informazioni Iniziare una nuova contabilità.
Adattare il Piano dei conti
Il piano dei conti deve essere adattato secondo le proprie esigenze tenendo in considerazione alcune regole fondamentali riportate qui di seguito.
Tabella Conti
I saldi d'apertura si inseriscono nella colonna Apertura. I saldi passivi si inseriscono con il segno meno.
- Nella colonna Somma in di ogni conto è indicato il gruppo che serve per definire in che parte del rendiconto deve figurare la voce.
- Si possono aggiungere e togliere conti secondo le necessità. Importante è usare uno dei Gruppi indicati qui di seguito.
Colonne necessarie per il rendiconto dal 2024
Oltre alle colonne già preimpostate nella tabella Conti sono state aggiunte le seguenti colonne:
- Descrizione: La descrizione del conto, per indicare se si tratta di un'esecuzione o altre informazioni che devono figurare nel rendiconto.
- Note: Si devono indicare i nomi degli attivi e dei passivi di bilancio così come sono citati all'interno del rendiconto finanziario 2024. È necessario aggiungere i conti e i nomi solo se presenti per ogni curatelato.
- ValoreStima: Si deve indicare il valore di stima degli immobili.
- ParticellaNumero: Per gli immobili si deve indicare il numero particella.
- DocNumero: Indicare il documento giustificativo per questa posizione da visualizzare nella stampa del report.
Attivi
Nel report sono elencati tutti i conti ad eccezione dei conti con saldo zero.
I conti Attivi sono suddivisi in due raggruppamenti: Beni mobili e Immobili.
- Beni mobili:
- Raggruppamento nella colonna Somma in 10 e 20 con il saldo in dare.
- Completare la colonna DocNumero.
- Completare la colonna Note.
- Immobili:
- Raggruppamento nella colonna Somma in 11.
- Completare le colonne DocNumero, ValoreStima e ParticellaNumero.

Passivi
I conti passivi sono suddivisi in due raggruppamenti: Debiti e Capitale proprio.
I saldi dei passivi sono in avere quindi in negativo.
- Debiti e Esecuzioni:
- Raggruppamento Gr10 e Gr 20 con il saldo in avere (negativo).
- Completare la colonna DocNumero.
- Completare la colonna Note.
- Capitale proprio (non viene stampato sul report):
- Raggruppamento Gr 29.
- Questo gruppo non è necessario nella contabilità Entrate/Uscite.

Ricavi
Nel report sono indicati i totali dei conti appartenenti ai rispettivi gruppi.
Le entrate sono suddivisi in due raggruppamenti : Ricavi generali e Ricavi patrimoniali.
- Ricavi generali:
- Hanno Raggruppamento Gr 40.
- Ricavi patrimoniali:
- Hanno Raggruppamento Gr 41.

Costi
Le uscite sono suddivisi in due raggruppamenti : Costi generali e Costi patrimoniali.
- Costi generali:
- Hanno Raggruppamento Gr 30.
- Costi patrimoniali:
- Hanno Raggruppamento Gr 31.

Altri valori calcolati dal report:
- Alla voce Utile/perdita d'esercizio, la differenza tra entrate ed uscite.
- Il Riporto della sostanza netta anno precedente, che viene calcolata sommando i saldi di apertura di attivi e passivi.
- La Sostanza netta, la somma tra il saldo della sostanza netta dell’anno precedente e l’utile/perdita d'esercizio.
Se la sostanza netta calcolata nella tabella riassuntiva di attivo/passivo non corrispondere alla sostanza netta della tabella dei movimenti finanziari, viene segnalato l'errore in rosso.
Conti fuori bilancio
Con il nuovo rendiconto finanziario 2024 è necessario indicare anche i seguenti conti fuori bilancio:
- Attestati carenza beni (cfr. istruzioni, punto 11).
- Anticipi dell’Ufficio sostegno sociale (USSI).
- Anticipi dell’Ufficio contributi-mancati pagamenti assicurazione malattia.
- Anticipo/i Comune/i per indenittà versata ai curatori.
- Assistenza giudiziaria.
- Altri debiti (con potenziale diritto di regresso).
I conti fuori bilancio sono suddivisi in due raggruppamenti : Fuori bilancio attivi e Fuori bilancio passivi.
- Fuori bilancio attivi:
- Hanno Raggruppamento Gr 50.
- Fuori bilancio passivi:
- Hanno Raggruppamento Gr 60.
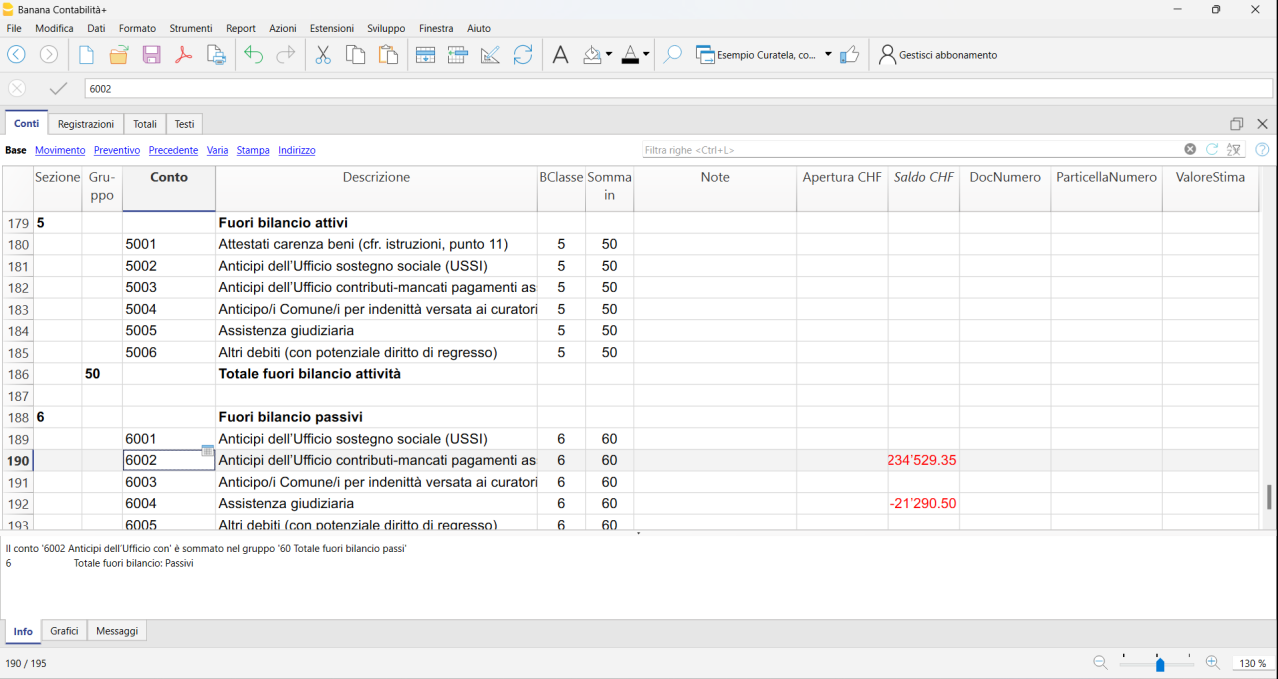
Centri di costo
Si possono definire dei centri di costo, per tenere nota delle fatture inviate alla cassa malati o per altre esigenze più sofisticate.
Tabella Registrazioni
Le registrazioni devono essere inserite nella tabella Registrazioni secondo il sistema della partita doppia.
- Nella colonna Doc inserire il numero del giustificativo contabile.
Banana fornisce una numerazione automatica. Il numero deve poi essere indicato sul giustificativo.

Tabella Testi
Il report del Rendiconto finanziario necessita di altri dati che l’utente deve inserire manualmente, come la tabella Testi.
Contiene i testi che bisogna specificare per il completamento del rendiconto finanziario. Questa tabella è composta da tre colonne:
- Id, serve allo script per reperire le informazioni dalla tabella stessa (importante non modificare questa colonna).
- Descrizione, serve per aiutare l'utente a capire che genere d'informazione deve essere inserita.
- Testo, è la parte della tabella che deve essere completata dall'utente, inserendo i dati desiderati.
Osservazioni e allegati devono essere inseriti in campi diversi della tabella (un campo per ogni osservazione/allegato). Nel caso che non sia necessario inserire questi dati, lasciare il campo vuoto. Sono permesse fino ad un massimo di sei osservazioni e sei allegati.

Nel rendiconto finanziario vengono riportati:
- Il nome del tutore/curatore: dalla tabella Testi, viene ripreso il testo il cui Id è uguale a "npd".
- Il cognome del tutore/curatore: dalla tabella Testi, viene ripreso il testo il cui Id è uguale a "cpd".
- La scelta tra tutore o curatore: dalla tabella Testi, viene ripreso il testo il cui Id è uguale a "iqd".
- Numero articolo: dalla tabella Testi, viene ripreso il testo il cui Id è uguale a "art".
- Le eventuali osservazioni: dalla tabella Testi, vengono ripresi ed elencati i testi con Id uguale a “oss”.
- Gli eventuali allegati: dalla tabella Testi, vengono ripresi ed elencati i testi con Id uguale a "all".
- Il numero dell’Autorità Regionale di Protezione: dalla tabella Testi, viene ripreso il testo il cui Id è uguale "arn".
- L’Autorità Regionale: dalla tabella Testi, viene ripreso il testo il cui Id è uguale "ard".
Con il nuovo rendiconto finanziario 2024 sono stati aggiunti i seguenti testi:
- tdr: Tipo di rendiconto.
- ddn: Data di nascita.
- dom: Domicilio.
- ddp: Data di presentazione.
- icg: Indennità cresciuta in giudicato (Anni, CHF, Doc. N.).
- icg: Indennità cresciuta in giudicato (Anni, CHF, Doc. N.).
- icg: Indennità cresciuta in giudicato (Anni, CHF, Doc. N.).
- icg: Indennità cresciuta in giudicato (Anni, CHF, Doc. N.).
- pec: Esecuzioni in corso (cfr. istruzioni, punto 11) (CHF, Doc. N.).
- pec: Esecuzioni in corso (cfr. istruzioni, punto 11) (CHF, Doc. N.).
- pec: Altre procedure esecutive.
- alt: Altro 1.
- alt: Altro 2.
- alt: Altro 3.
- alt: Altro 4.
- alt: Altro 5.
- alt: Altro 6.
- alt: Altro 7.
- alt: Altro 8.
- alt: Altro 9.
- mod: Eventuali CHF correzioni o modifiche.
- tsr: Tariffa stabilita/richiesta.
- ore: Ore.
- kmp: Km percorsi (0.60 CHF/km).
- spe: Spese (postali, cancelleria, ecc.).
- asp: Altro, indicare:
- akm: Altri Km percorsi (0.60 CHF/km).
- ast: Altre spese di trasporto.
- acc: Acconti percepiti previa autorizzazione dell’ARP.
- zero: Stampa importi a zero (Sì = 1, No = cella vuota).
Aggiornamento automatico tabella Conti
L'aggiornamento della tabella Conti deve essere effettuato solo per i modelli scaricati prima del 2024 che usavano la vecchia estensione del Rendiconto finanziario 2017. I modelli scaricati direttamente da Banana a partire dal 2024 non sono da aggiornare.
Per aggiornare la tabella Conti aggiungendo i conti fuori bilancio è possibile usare la funzione dell'estensione per il Rendiconto finanziario 2024 denominata Aggiorna tabella Conti.
I conti fuori bilancio attivi e passivi saranno aggiunti automaticamente in fondo alla tabella Conti.
L'aggiornamento automatico attraverso l'estensione è possibile solo con la versione di Banana Contabilità Plus.
Aggiornamento automatico tabella Testi
L'aggiornamento della tabella Testi deve essere effettuato solo per i modelli scaricati prima del 2024 che usavano la vecchia estensione del Rendiconto finanziario 2017. I modelli scaricati direttamente da Banana a partire dal 2024 non sono da aggiornare.
Per aggiornare la tabella Testi e aggiungere i testi mancanti nei file di contabilità già in uso, e richiesti dall'estensione per il rendiconto finanziario 2024, segui questa procedura:
- Vai alla Tabella Testi.
- Fai doppio clic sull'intestazione della colonna Id o usa il menu Disponi colonne per accedere alle opzioni della colonna Id.
Nella finestra di dialogo che si apre è necessario rimuovere il visto dall'opzione "Protetto".
Nell'immagine seguente si vede l'opzione "Protetto" così come dovrebbe essere impostata.
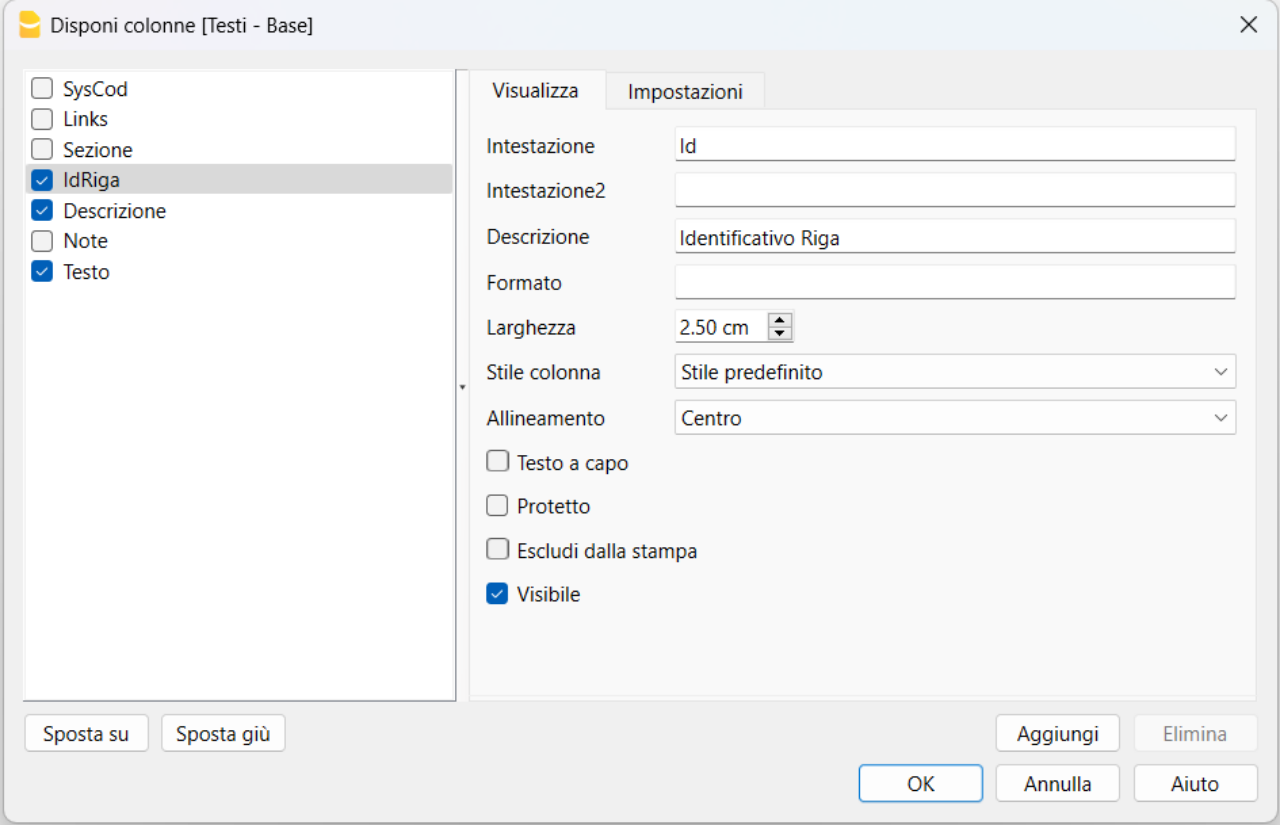
- Una volta rimosso il visto sull'opzione "Protetto" clicca sul bottone Ok per confermare.
- Ora usa la funzione dell'estensione denominata Aggiorna tabella Testi. I testi mancanti saranno aggiunti automaticamente. L'aggiornamento automatico è possibile solo con la versione Banana Contabilità Plus.
- Se hai precedentemente usato la funzione Aggiorna tabella Testi senza avere prima rimosso la protezione della colonna Id dovrai eliminare le righe con i testi aggiunti nella tabella Testi che non hanno nessun Id indicato (cella vuota). Successivamente dovrai usare di nuovo la funzione dell'estensione denominata Aggiorna tabella Testi.
Stampa del Rendiconto finanziario (art. 410 CCS)
Il Rendiconto finanziario si ottiene tramite il menu:
- Estensioni > Gestione estensioni > Rendiconto finanziario (art. 410 CC) > Rendiconto finanziario (art. 410 CC).
Se l'estensione non è visibile occorre installare e aggiornare le estensioni.
La parte finale del rendiconto finanziario deve essere lasciata vuota in modo da poter essere compilata a mano dall'Autorità Regionale di Protezione.
Chi volesse stampare il rendiconto con tutti gli importi, anche con importi di 0.00 CHF, può aggiungere il numero "1" nella colonna Testo della tabella Testi all'altezza dell'ultima voce con Id denonimato "zero".
Altre stampe
- Bilancio e Conto economico: dal menu Report → Bilancio abbellito con gruppi.
- Schede conto: dal menu Report → Scheda conto.
- Giornale: stampare la tabella Registrazioni.
Alla fine dell'anno, grazie al comando Crea dossier pdf, è utile creare un file che contiene tutti i dati della contabilità. Questo file in pdf consente di accedere ai dati della contabilità anche senza programma installato.
Preventivo e pianificazione finanziaria
Per le informazioni relative alla pianificazione finanziaria, si rimanda alla pagina Preventivo.
Nuovo anno
Per creare il file del nuovo anno usare il comando Crea nuovo anno. Il programma imposta in automatico i saldi iniziali.
Messaggi d'errore
Quando si esegue il report potrebbe comparire il seguente messaggio d'errore:
- ATTENZIONE! Differenze. [Sostanza netta]: <XXX.XX>, [Apertura sost.netta + u/p esercizio]: <YYY.YY>
Il totale degli attivi della colonna Saldo deve essere uguale alla somma tra l'utile o la perdita d'esercizio più il totale degli attivi della colonna Apertura. Controllare le registrazioni contabili presenti nella tabella Registrazioni.
Rendiconto finanziario 2024 (art. 410 CCS)
Rendiconto finanziario 2024 (art. 410 CCS)Questa estensione è stata realizzata da uno sviluppatore esterno su mandato di un comune ticinese con molte curatele e messo gentilmente a disposizione gratuitamente di tutti.
Il signor Roberto Petrocchi, che usa frequentemente l'estensione a scopo professionale, ci ha informato verso metà gennaio 2023 che le autorità di sorveglianza hanno deciso di chiedere la presentazione di un rendiconto diverso dal precedente.
L'estensione attuale e anche i modelli di base sono stati aggiornati in base al nuovo rendiconto.
È stato dato mandato ad uno sviluppatore esterno con l'intento di aggiornare l'estensione e i modelli.
Chi fosse interessato a sostenere lo sviluppo trova in queste pagine le indicazioni necessarie.
Documentazione
La contabilità deve essere impostata come indicato nel:
Aggiornamento dei modelli e messaggi di errore
I modelli funzionanti con la vecchia estensione devono obbligatoriamente essere aggiornati correttamente. Per farlo è necessario seguire una procedura per aggiornare la Tabella Testi ed è necessario aggiornare anche la Tabella Conti attraverso il menu della nuova estensione.
Segui le procedure descritte dalla documentazione su come usare la nuova estensione per il Rendiconto finanziario 2024.
Esempio di rendiconto finanziario
Viene stampato il resoconto da presentare come stabilito dall'Autorità di vigilanza.
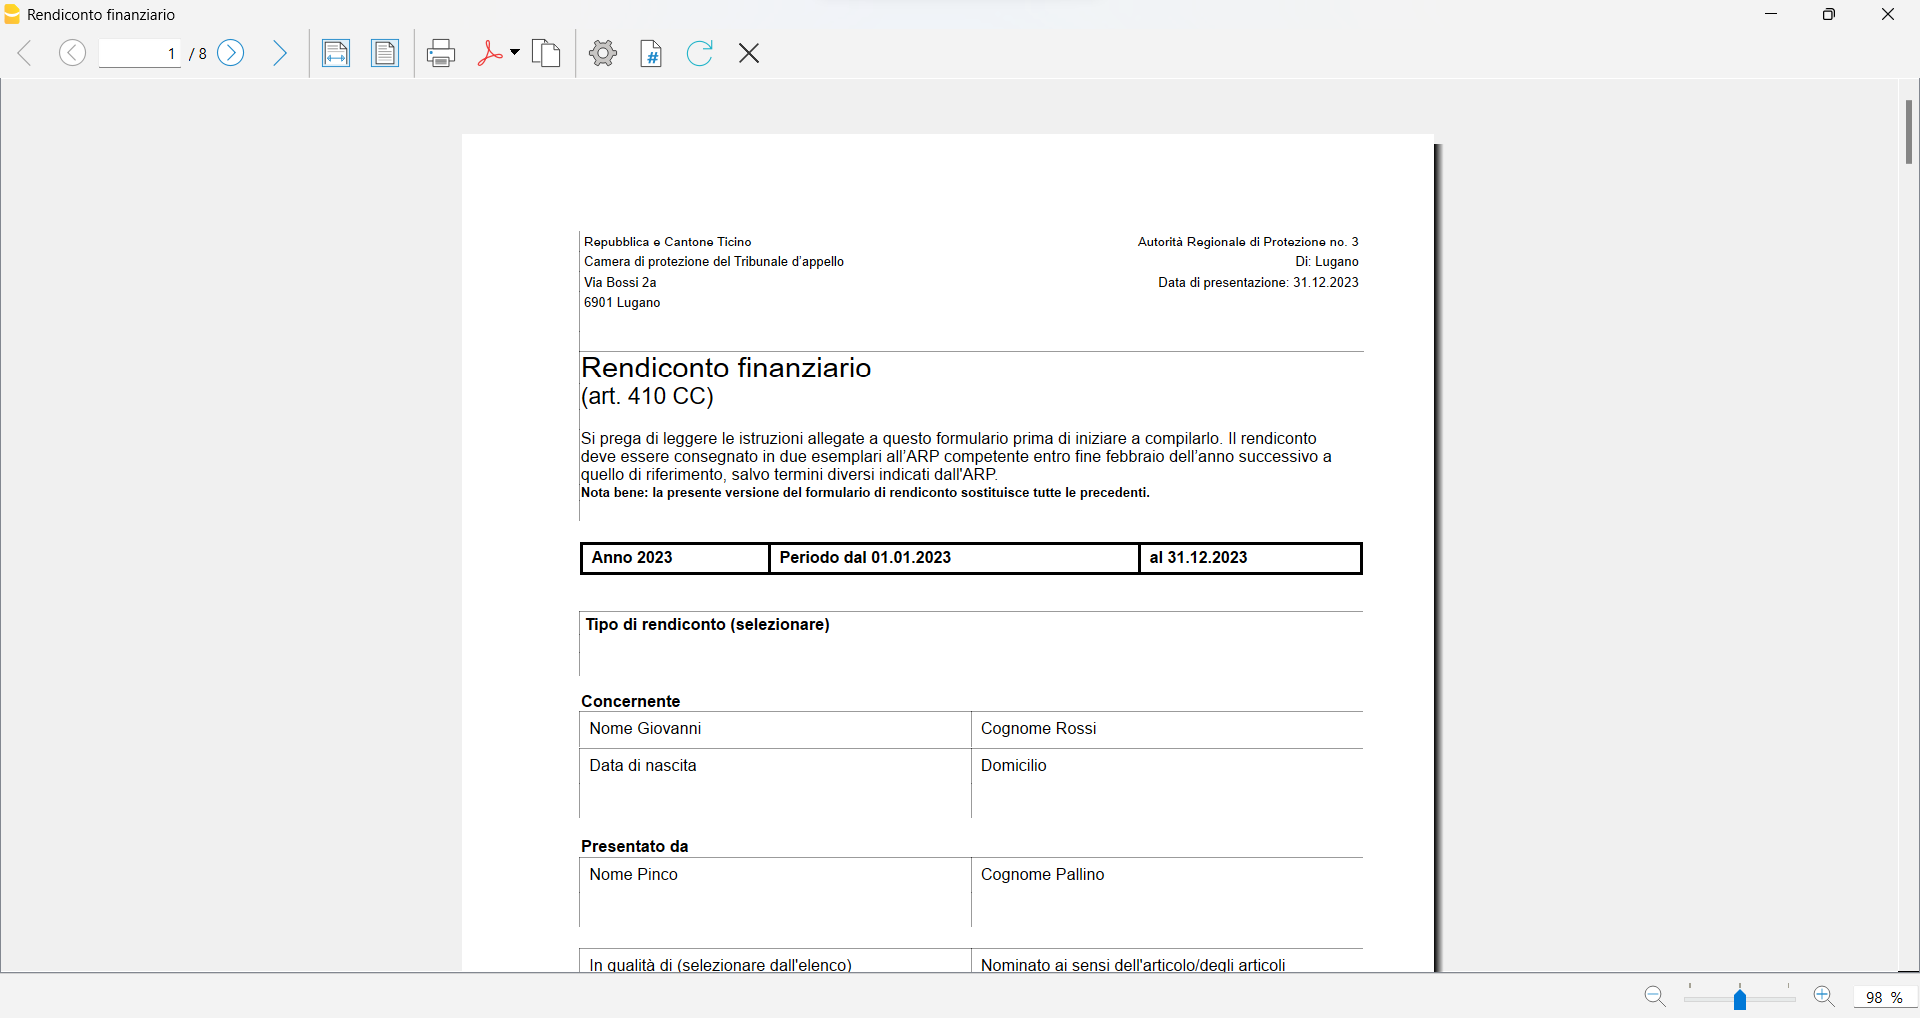
Rendiconto finanziario 2017 (art. 410 CCS) [estensione superata]
Rendiconto finanziario 2017 (art. 410 CCS) [estensione superata]Questa estensione è stata realizzata da uno sviluppatore esterno su mandato di un comune ticinese con molte curatele e messo gentilmente a disposizione gratuitamente di tutti.
Il signor Roberto Petrocchi, che usa frequentemente l'estensione a scopo professionale, ci ha informato verso metà gennaio 2023 che le autorità di sorveglianza hanno deciso di chiedere la presentazione di un rendiconto diverso dal precedente.
L'estensione attuale e anche i modelli di base sono stati aggiornati in base al nuovo rendiconto.
È stato dato mandato ad uno sviluppatore esterno con l'intento di aggiornare l'estensione e i modelli.
Chi fosse interessato a sostenere lo sviluppo trova in queste pagine le indicazioni necessarie.
La contabilità deve essere impostata come indicato nel:
Viene stampato il resoconto da presentare come stabilito dall'Autorità di vigilanza.
How to create Swiss QR-Code invoices/letters
The Swiss QR-Code is the Swiss standard for invoicing. Banana Accounting Plus offers several methods to automatically create your invoices with the QR-Code.
Make your invoices the way you want them!
Integrated invoicing
| Invoice management within the accounting file. Ideal for those who want to manage everything together in one file. Mostly used by those with turnover accounting. | |
 | Highlights
Notes
|
| Start with one of the predefined templates or adapt your existing file Detailed features | |
Estimates and invoices
| Managing estimates and invoices in an independent file from accounting. Ideal for those starting from scratch and those who want to keep things separate. Usually used by those who have bookkeeping on receipts or need very complex invoices. | |
 | Highlights
Notes
|
| Get started with our predefined template Detailed features | |
Blank QR Slip
| No invoice management. Only blank QR slips, no address and no amount. Ideal for small artisans, freelancers or associations. | |
 | Highlights
Notes |
| Get started with our predefined template | |
Letter with QR slip
| Letter addressed to a single recipient with QR slip at the bottom. Ideal for small artisans, freelancers or associations. | |
 | Highlights
Notes |
| Get started with our predefined template | |
Bulk invoices with data taken from Excel
| QR invoices for several customers automatically created from Excel data Ideal for those who are accustomed to or already have customer data in Excel, associations or organisations that invoice courses, membership fees, etc. | |
 | Highlights
Notes
|
| Get started with our predefined template | |
Support to create QR invoices
Thanks to to the extensive online documentation and the facility of the programme, most of our users do not require support.
For special cases, we recommend the Advanced plan of Banana Accounting Plus, because it includes both technical support by phone and email, and also offers several additional features, often necessary for desired customisations.
QR invoices switch to structured addresses
Starting from November 21, 2025, address information for QR invoices must be provided in a structured format. Without a structured address, payment cannot be processed.
In view of these changes:
- A new version of Banana Accounting+ (version 10.2.2) has been released, featuring targeted updates for handling structured addresses.
- The invoice printing extensions with QR slips have also been updated and now use only structured addresses.
- The changes required from users are minimal: simply update to Banana Accounting+ .
Changes and updates in Banana Accounting Plus
The Banana Accounting+ (version 10.2.2) includes the following changes:
- New Building Number field in the Address section of the File Properties (Basic data).
- New Building Number column in the Accounts table (Address view).
- New Building Number column in the Contacts table.
Using the Building Number field is optional. It is still possible to enter street and number on the same line of the address, leaving the new building number field empty.
Those who use the Extra column (XML name: AddressExtra) to enter the building number must move the building number to the new column. The Extra column can no longer be used to enter the building number.
It is recommended to carefully check the first prints to verify the correct display of the address, both in the header and in the QR code.
Changes and updates in the extensions
To support structured addresses, the following extensions have been updated:
- Invoice Layout Extension [CH10]
- Swiss Letter with QR Extension
- Batch QR-Invoice Extension
- Quotes and Invoices Dialog Extension
The changes made concern only the printing and formatting of the structured address. The lines of the structured address in the QR code are composed as follows:
- Line 1: company name or customer’s first and last name
- mandatory, maximum 70 characters
- Line 2: street / P.O. box
- optional, maximum 70 characters
- may include the building number if not written on line 3
- Line 3: building number
- optional, maximum 16 characters
- if not written on line 2
- Line 4: postal code
- optional, maximum 16 characters
- Line 5: city
- mandatory, maximum 35 characters
- Line 6: country code
- mandatory, maximum two characters
- compliant with ISO 3166-1 standard
How to enter addresses in the Accounts and Contacts tables
The building number can be entered in either the Street column or the Building Number column. Both options are correct.
The Building Number column accepts any character up to a maximum of 16 characters:
The Street column accepts any character up to a maximum of 70 characters:

Update of customized CH10 invoice layout extensions
If you are using a customized extension, such as the CH10 invoice layout extension that you have modified for printing invoices, you need to check whether the address printing in the QR code is of the structured type (S).
Since it is a customized extension, Banana cannot access or automatically modify its code; therefore, it cannot guarantee proper functionality for printing structured addresses.
To check whether the address printing in the QR code is of the structured type (S):
- Open the Invoice Print window.
- Select your customized layout and click on Settings.
- Check the option Show invoice JSON (at the bottom) and confirm with OK.
- Click OK to print the invoice.
- Before the invoice is printed, a window will appear showing the invoice’s JSON data. Scroll down to the QR Code text section and check whether two "S" appear before both addresses.
- If two "S" appear, it means the addresses are already of the structured type, and no changes are needed.
- If one or two "K" appear, it means one or both addresses are of the combined type and need to be changed. In this case, you have two options:
- Change the settings of your customized layout as follows:
- In the QR Code > Payable to section: check the field and enter the address information in the following fields (Name, Street, Street number, Postal code, Locality, Country code).
- In the QR Code > Customer address type section: select the type "S" (Structured).
- In the Accounts/Contacts table, enter the street number in the Street column (street and number in the same column) or separately in the Extra address column.
- Important: the Extra column must only be used for the street number, not for other information.
- Recompile the customized extension:
- Open the link to the new swissqrcode.js code
- Save the displayed page with the exact name swissqrcode.js.
- Replace the swissqrcode.js file of the previous extension with the newly downloaded one.
- Recompile the .sbaa package of the customized extension.
- Uninstall the old extension and reinstall the new one.
- Change the settings of your customized layout as follows:
If you wish to use the new Street Number column and/or the Extra column to enter other information, you need to update the customized extension: download the new CH10 extension code available online and adapt it to your needs.
Testing QR-Code
The invoice PDFs with QR codes can be tested with the official validation page as described below:
- Create and save the QR invoice PDF.
- Visit the official validation page https://www.swiss-qr-invoice.org/validator
- Drag the PDF file to the blue area.
If the code is correct, the page will display the content of the QR code.
On the other hand, if there are any problems, they will be displayed in red.
If no red messages are shown, the QR is considered correct.
Swiss QR invoice address format
Structured Address:
<Cdtr>
    <AdrTp>S</AdrTp>
    <Name>Banana.ch SA</Name>
    <StrtNmOrAdrLine1>Via la Santa</StrtNmOrAdrLine1>
    <BldgNbOrAdrLine2>7</BldgNbOrAdrLine2>
    <PstCd>6962</PstCd>
    <TwnNm>Viganello</TwnNm>
    <Ctry>CH</Ctry>
</Cdtr>
Structured Address with “tolerance”:
<Cdtr>
    <AdrTp>S</AdrTp>
    <Name>Banana.ch SA</Name>
    <StrtNmOrAdrLine1>Via la Santa 7</StrtNmOrAdrLine1>
    <PstCd>6962</PstCd>
    <TwnNm>Viganello</TwnNm>
    <Ctry>CH</Ctry>
</Cdtr>
Notes:
- Structured address
- No combination with the "AdrLine" element is allowed.
- Structured address with “tolerance”
- The building number may also appear in the "StrtNm" element instead of the "BldgNb" element.
CAMT bank statements
The extension Bank Statement Camt ISO 20022 Switzerland (Banana+) already uses the new CAMT ISO 20022 V2019 format, which already includes these changes.
Payment Orders pain.001
Starting from 21 November 2026, addresses in pain.001 payment files must be transmitted exclusively in structured or hybrid form. Transmission in these formats is already possible from 21 November 2025.
In preparation for these changes, a new version of the extension has been released, currently available only in the beta channel, which integrates the SPS 2025 standard and allows the sending of payment orders with hybrid addresses.
Payment address format
Structured Address:
Switzerland SIX | Europe EPC |
| |
Hybrid Address:
Switzerland SIX | Europe EPC |
| |
Resources
Swiss QR-Code technical details and various modes
The Swiss QR-Code for invoices is the standard for printing payment information on the invoice so that it can be read digitally. From 1st October 2022, it becomes the mandatory standard to replace the red and orange inpayment slips.
The QR-Code for invoices offers various configurations, which will be introduced below. For technical information please refer to the QR-Code Customization and to the reference standards pages.
Banana Accounting Plus provides the CH10 layout that allows the personalization of the print and the inclusion of the QR-Code section and the parameterization.
Purpose of the QR-Code invoice
The purpose of the QR-Code is to make sure that payments and invoice reconciliation can be automated as much as possible. The information is printed on the invoice so that it can be digitally retrieved and processed.
Main benefits:
- Paying is very fast and errors in invoice payments are reduced because you don't have to copy account information, amount and more.
- Those who receive payment also have that allow them to automatically record payments.
The invoice with the QR-Code section
Invoices with a QR-Code have a special section that is printed at the end of the invoice or on a subsequent page.
The content and its layout must be printed according to the standard. The section must be detachable so that when paying it can be processed by the reading system.
The QR-Code section is divided into two parts:
- Receipt→which is stamped and remains when paying at the counter.
- Payment section → with the QR-Code and the payment information.
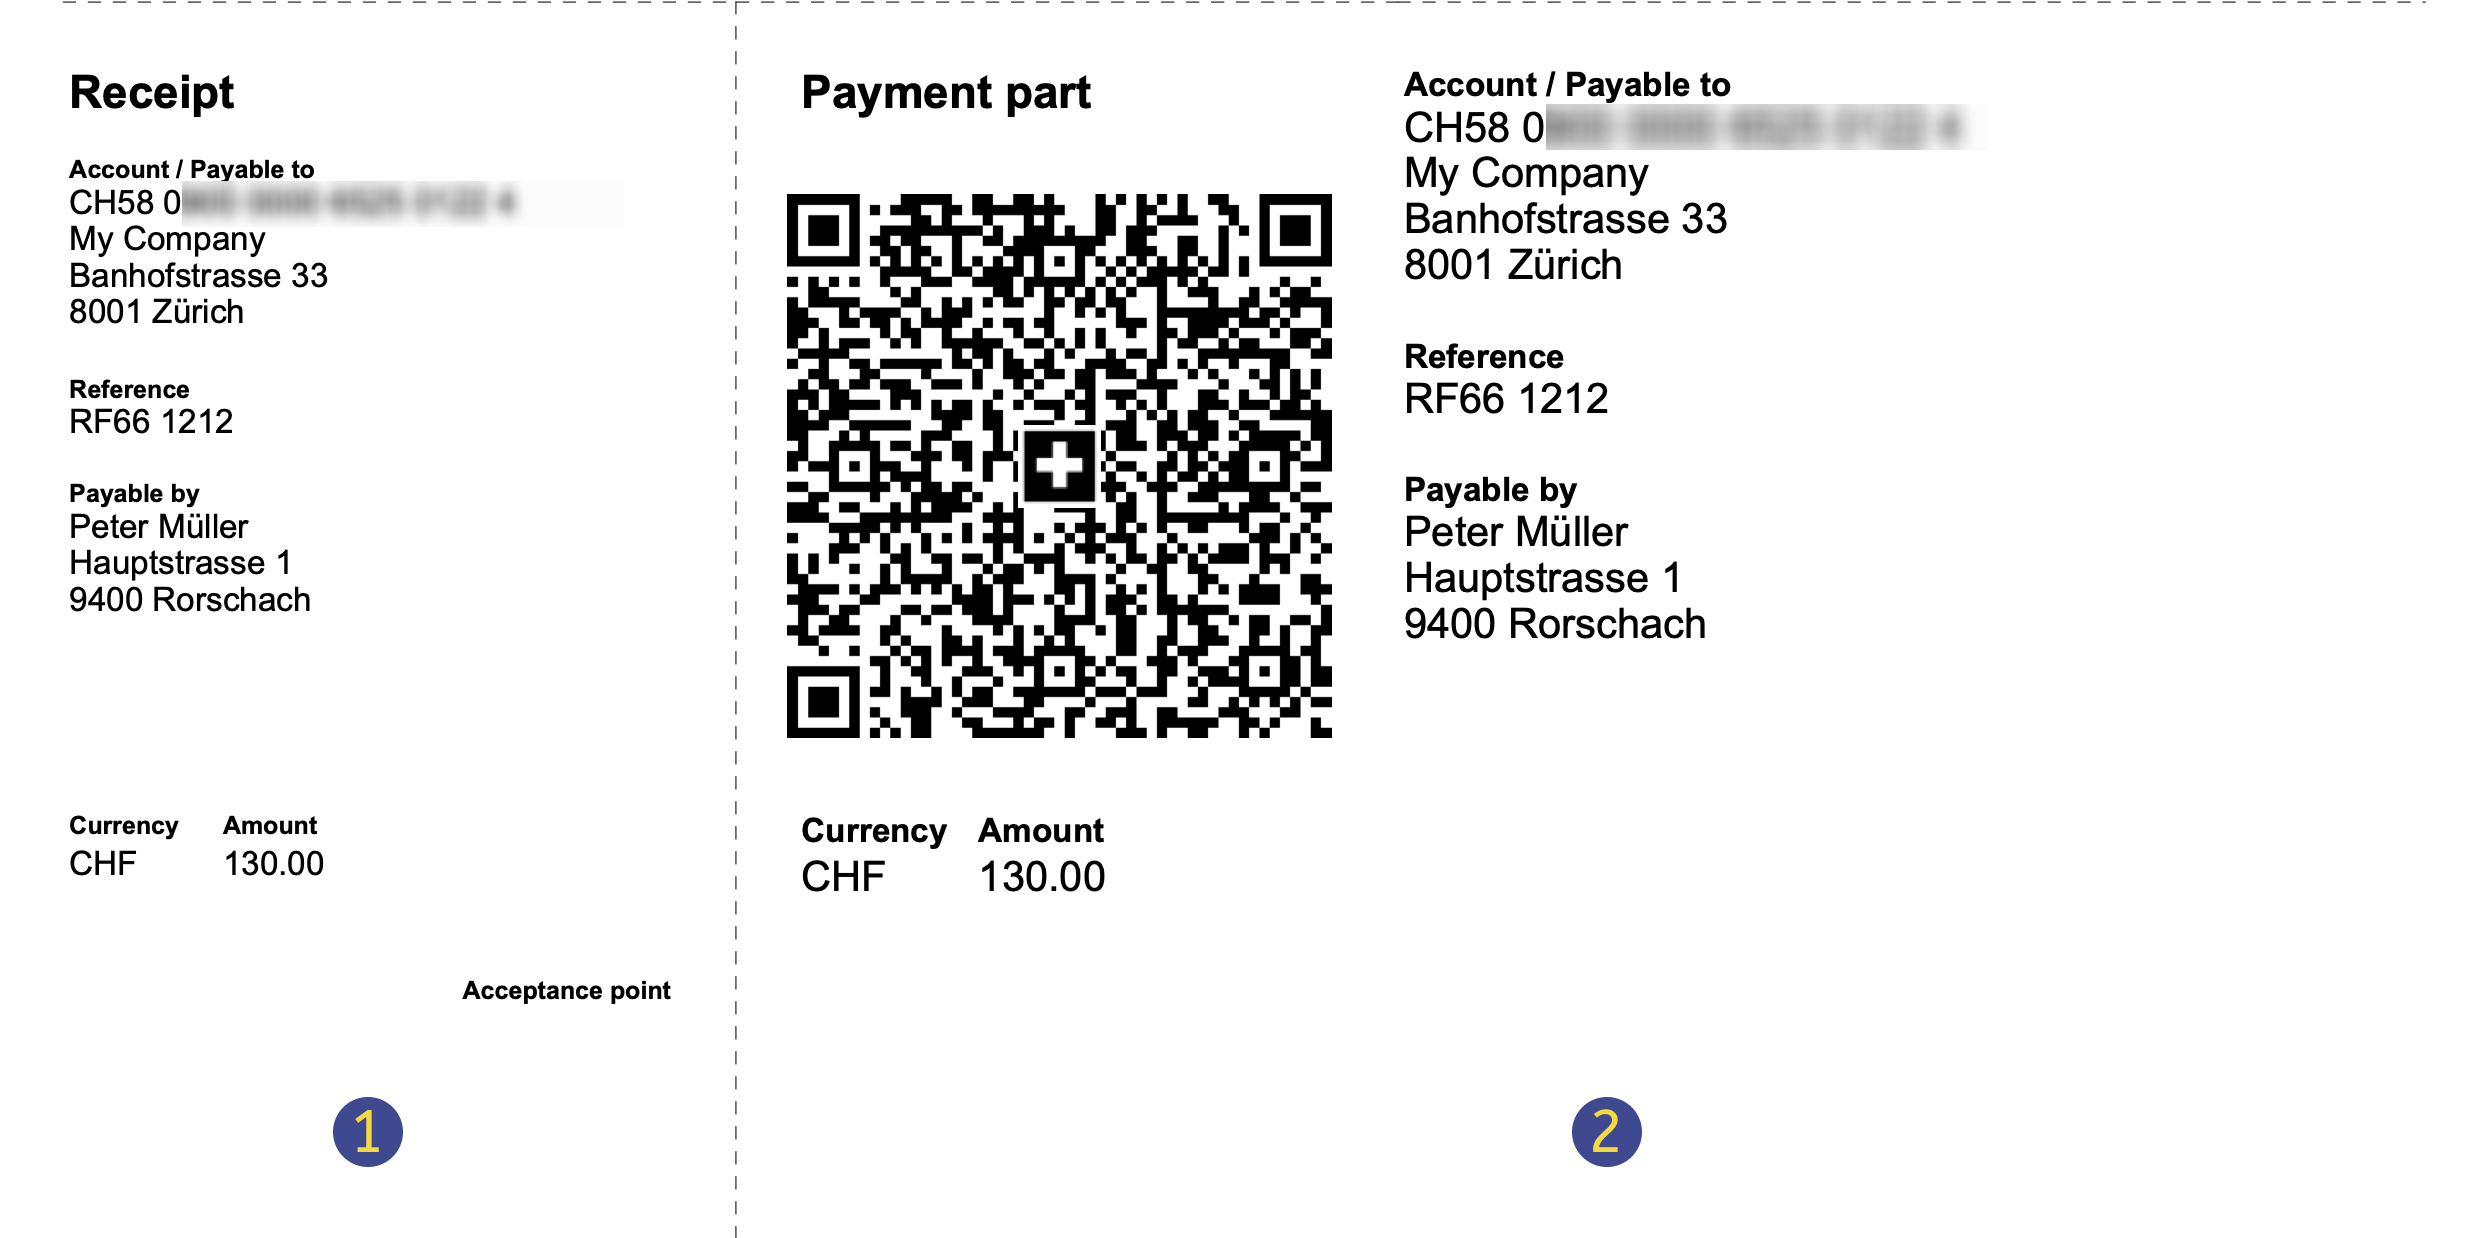
(1) The Receipt section
It contains a summary of the information to certify the payment:
- Receipt Title
- Account/Payable to
- The IBAN or QR-IBAN printed in 4-character blocks.
- The address of the account holder which is generally who issued the invoice and receives the payment.
- Reference
- The Creditor Reference (ISO 11649) or the QR reference.
- The Creditor Reference may also not be present.
- Payable by
- The address of the invoice recipient.
- If empty, a space is left for manually entering the payer's name.
- Currency
- Only CHF and EUR coins are accepted.
- Amount
- The decimal point "." is used as decimal separator and the space is used as thousand separator.
- If empty, a space is left for manual entry of the invoice amount.
- Point of acceptance
(2) The Payment section
It contains the details of the payment.
- The title "Payment Section"
- The Swiss QR-Code
- A graphic element that encodes all the data that is listed in the payment part.
- It can be easily read by digital devices.
- Account/Payable to
- The IBAN or QR-IBAN printed in blocks of 4 characters.
- The address of the account holder which is generally who issued the invoice and receives the payment.
- Reference
- The QR reference or the Creditor Reference (ISO 11649).
- It may or may not be present.
- Additional Information
- Additional data about the invoice that may be of use to the recipient, such as due date or other.
- It may or may not be present.
- Payable by
- The address of the invoice recipient.
- If blank, a space is left for manually entering the payer's name.
- Currency
- Only CHF and EUR currencies are accepted.
- The amount
- The decimal point "." is used as decimal separator and the space is used as thousand separator.
- If empty, a space is left for manual entry of the invoice amount.
Addresses
The addresses in the "Payable to" and "Payable by" sections of the QR must always contain either the name of the organization or the first name and last name.
The name of the organization has priority over the name / last name: if it is present then the name of the organization will be entered, otherwise the name / last name will be entered.
Entering both is not possible as the rows are limited (max. 3 rows allowed) and each row must contain precise information.
The address structure is as follows:
- organization name or first / last name
- street and house number
- postal code and city
The addresses in the "Payable to" and "Payable by" sections of the QR follow the rules of the Swiss QR standard.
It is not possible to add rows or change the composition of the addresses on the QR.
IBAN / QR-IBAN Account and Reference
The system works with two types of bank accounts.
- THE IBAN
- The normal IBAN number of your account.
- If you use the IBAN the invoice can be in CHF or EUR.
- If you use the IBAN you can use the Reference (Structured Creditor Reference), which starts with "RF".
- See: QR-Invoice using the IBAN account
- The QR-IBAN
- A special account assigned by your bank to be used only for QR-Code payments.
- The second block of digits is a number starting with 3: CHXX 3000 0XXX XXXX X.
- It contains a special code that is used to identify the financial institution. The numbers ranging from 30000 to 31999 are reserved for this code.
- It is mandatory to have the ISR-compatible QR-Reference (27 numeric characters).
- See: QR-Bill using the QR-IBAN.
Mandatory elements
In QR-Code policies are mandatory:
- The IBAN or QR-IBAN and address of the account holder who issued the invoice and receives the payment.
- The address of the recipient.
- In case of QR-IBAN, there must also be the reference.
QR-Code payment slips without amount
In the payment slips without amount there is an empty box that must be completed by the payer. The amount must be entered by hand.
They serve to leave the customer the choice of what amount to pay.
There is the reference of the payer, so whoever receives the payment is able to attribute the amount to the customer.
They are useful for:
- Voluntary contributions to an association.
- Payments to the 3rd pillar retirement plan.
- Credit card down payments.
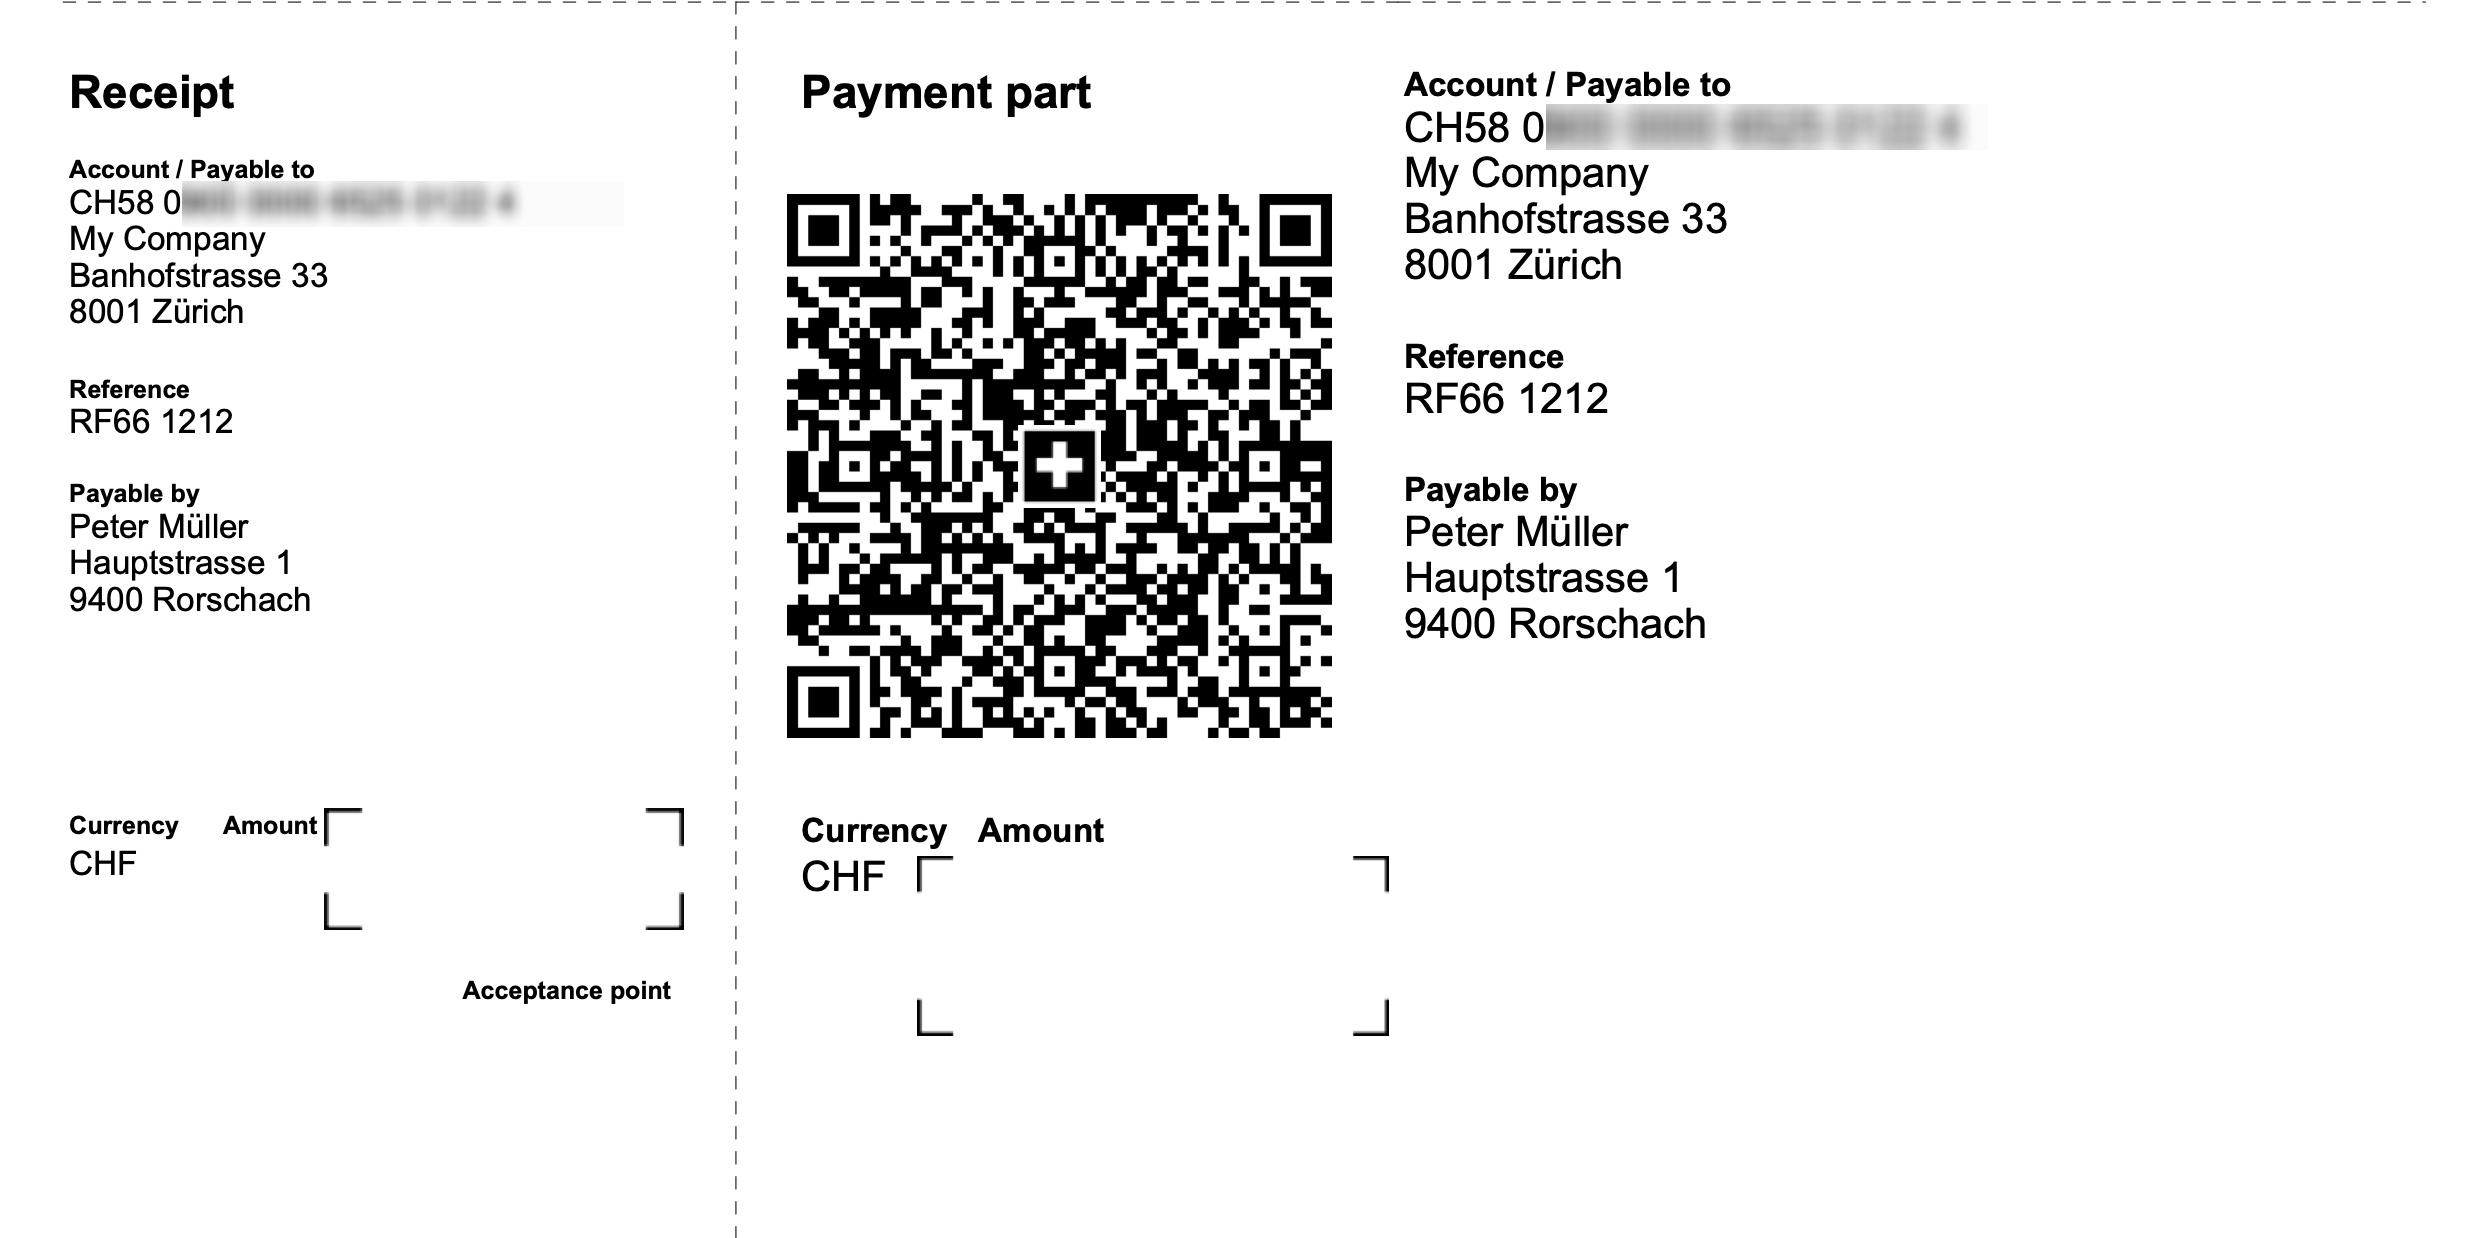
QR-Code payment slips with no amount and no customer address
Payment slips without amount and without payer reference serve as general deposit slips of a company.
The only encoded information is the account number to pay to.
Whoever carries out the payment, enters manually:
- The amount.
- The address of the payer.
The person receiving the payment must manually attribute the amount.
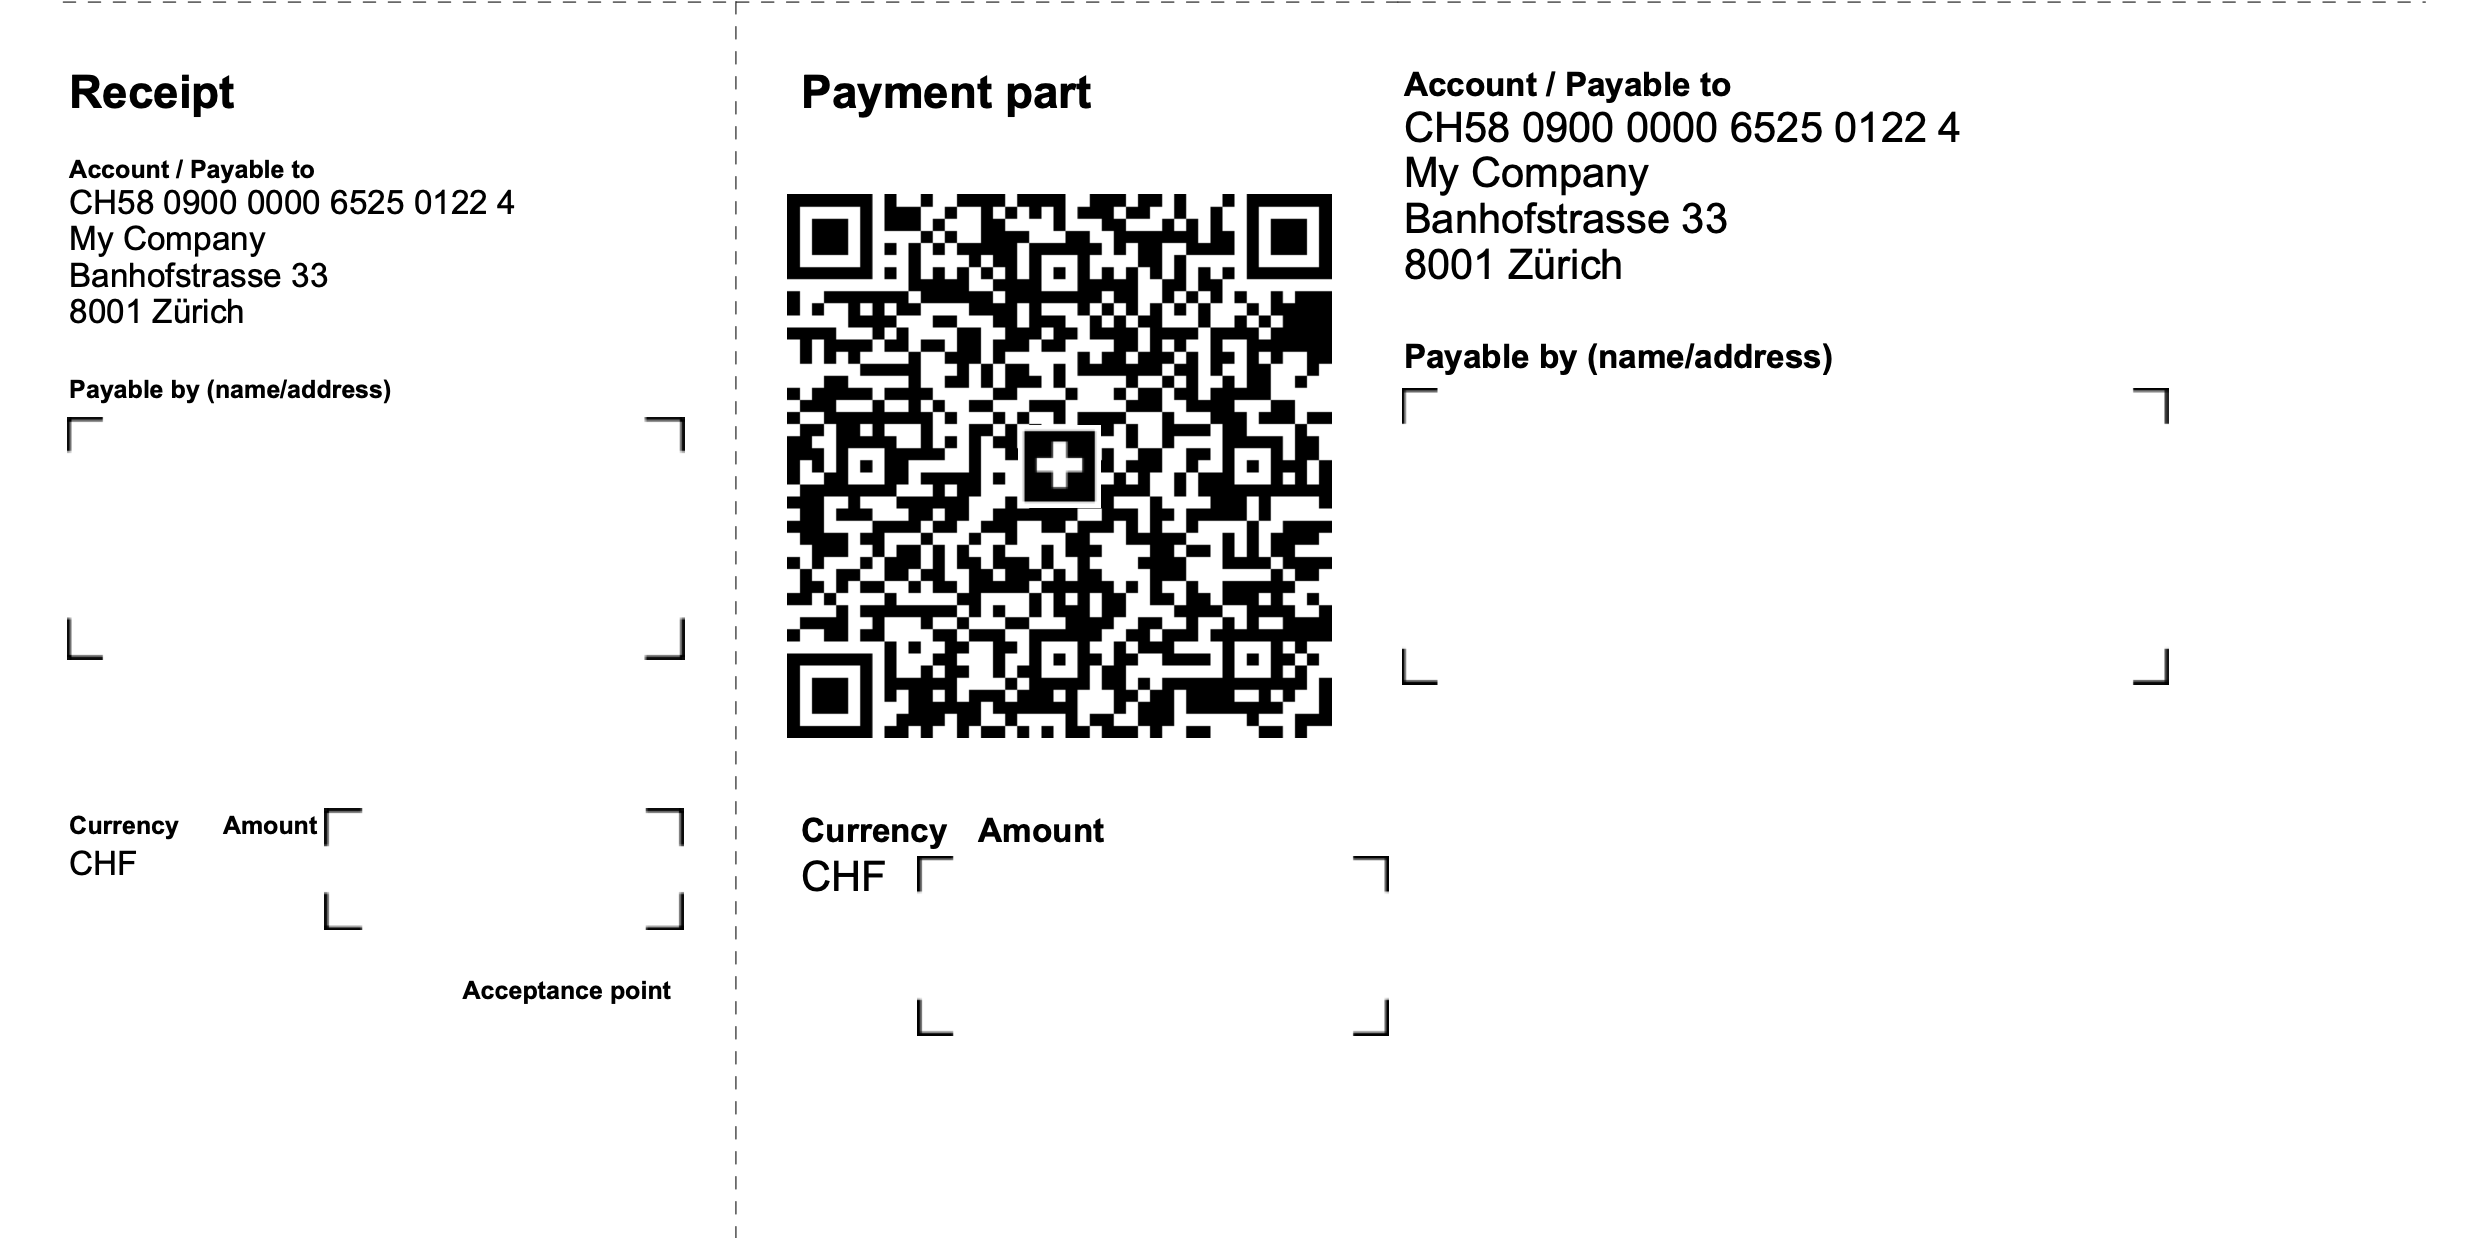
References and Standards
[CH10] Invoice layout with Swiss QR Code (Banana+)
[CH10] Invoice layout with Swiss QR Code (Banana+)This Invoice Printing Layout (called CH10) allows for the printing of customised invoices, including the printing of the Swiss QR-Code, which allows for easy payment control.
- Watch the video tutorial: Invoice customisation with Swiss QR Code (Layout CH10).
Preconditions
To use this layout you need to download and install Banana Accounting Plus.
This layout, as all others, can be used in the following applications:
How to customise your invoice
You can easily customise and adapt invoice printing to suit your needs.
- How to customise invoices - Integrated invoicing
- How to customise invoices - Estimates and Invoices Application
QR-Code customisation and configuration
In the invoice settings you can activate QR-Code printing and set the parameters.
Note: QR invoices created with Banana Accounting+ are not compatible with TWINT. They cannot be paid with TWINT and a TWINT QR code cannot be generated.
Invoice printout customisation
The invoice print layout is already set. If you wish, however, you can customize. You can easily adapt the printing of the invoice to your requirements, decide which elements to print, change the description of the texts.
- Customisation via the settings dialogue
- Choose the elements of the invoice you want to include in the printout.
- Print the address on the right or left.
- Indicate which detail columns to include and define the sequence. You can have an invoice with quantities and prices, or only total amounts or even with columns that you have added in the transactions table.
- Change the default texts for use in printing.
- Add translations into other languages.
- Change the font and print character.
- Choose the color combination you want.
- Customisation examples
- Add logo.
- Print address in a different position.
- Print shipping address.
- Add custom texts.
- Change columns settings.
- Invoices without amounts.
- Print items pictures.
- Other examples.
Customisation using programming language
Using programming language you can adapt the existing layout or you can create new ones.
Features only available with the Advanced plan
The following customisation possibilities are only available with the Advanced plan:
- Print other columns from the Items or Transactions table (accounting).
- Print Items image.
- Print custom fields of the information section (Estimates and Invoices).
- Customisation with CSS programming, including (see examples):
- Change font, position and colour of the header, address and other invoice elements.
- Change row height.
- Change underline in total rows.
- Customisation with Javascript programming, including (see examples):
- Change final text or other texts depending of the invoice data.
- Use different data format.
- Use different printing formats depending on the printed items.
- Enter fields names in headers, initial and final texts.
Changes history
Please visit the changes history page.
Invoice settings and customisation of CH10 print layout invoice
This invoice layout allows you to change the print settings via the Settings dialogue. The settings are similar to the UNI11 layout with the added option of printing the Swiss QR Code.
See also:
- General Information on Customising Invoice
- Estimates and invoices
- Invoices in accounting
Invoice Settings Dialogue
To access the invoice parameter settings dialogue, you have two possibilities:
- From the Print Invoice dialogue, Layout section, Settings button.
- From the Print Preview, by clicking on the cogwheel symbol (settings).
The dialogue is composed of several levels and sub-levels that allows you to operate on a specific part of the invoice:
- Print
The elements that make up the invoice print, with the possibility of customising them. - Texts
The texts, in the different languages, which are used for printing. - QR-Code
- The settings for printing the Swiss QR-Code.
- Styles
Change font and colours. - Programming (own JavaScript file)
It is an even higher level of customization, but it requires programming knowledge.
You can change or replace the different printing elements by programming your own JavaScript file.
The Restore Defaults button in the dialogue resets all settings to the default values. Confirming with OK confirms and saves the parameters entered.
You can undo and restore changes made to parameters with the command Menu → Edit → Undo operation.
Print Property
This level defines which elements of the invoice to include and which to exclude from the invoice printing.
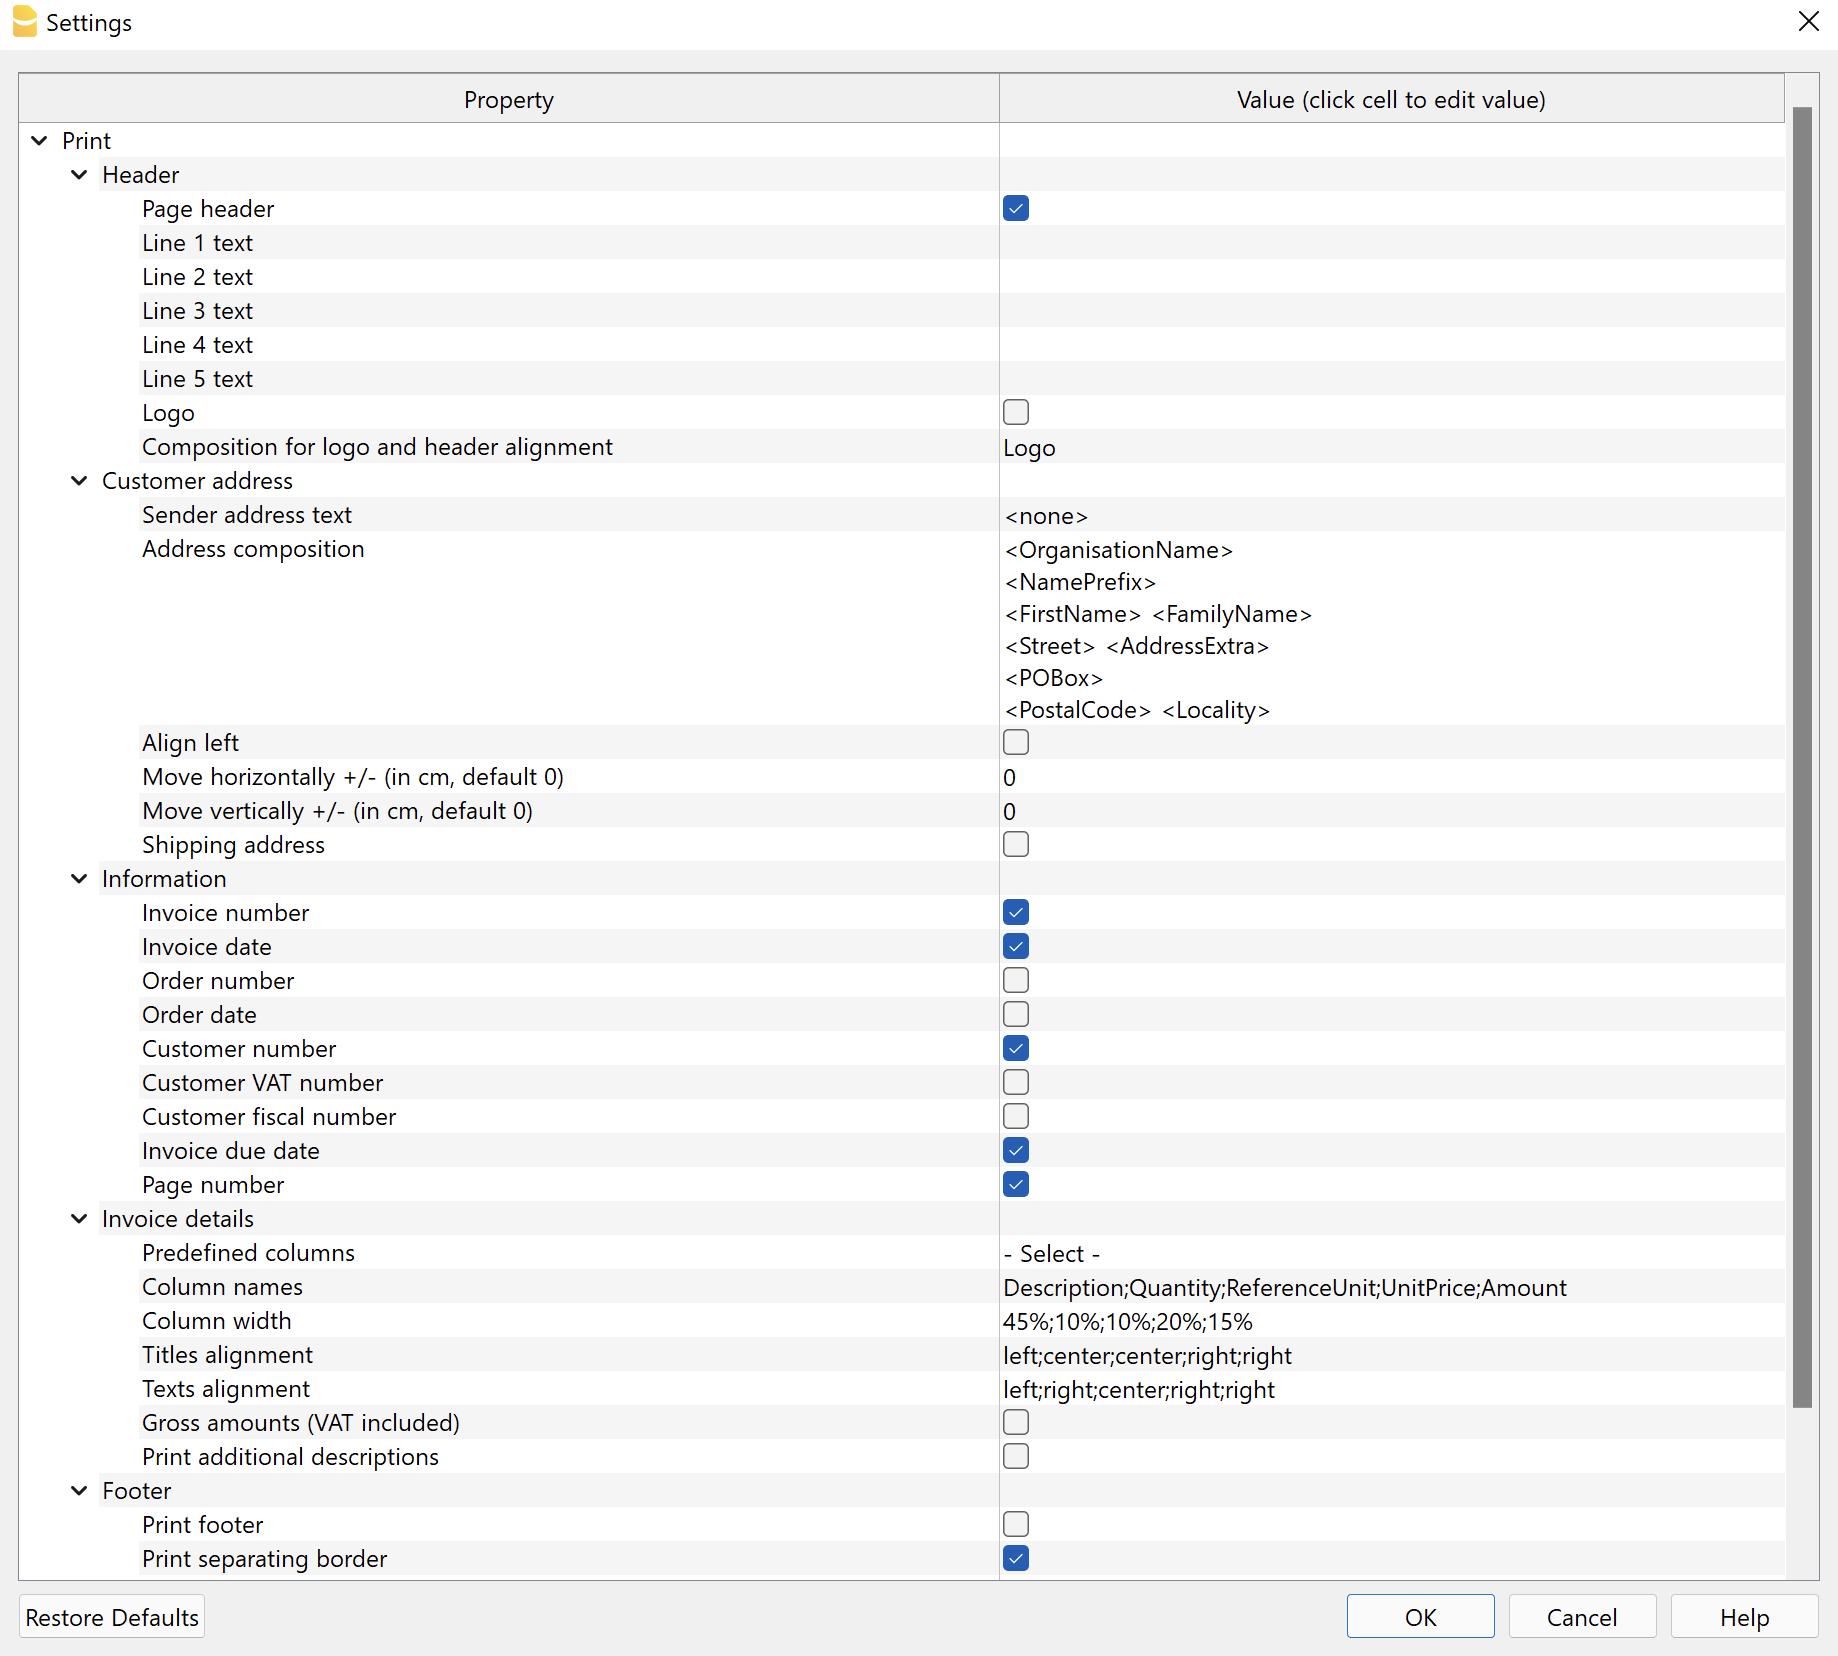
It is divided into several sub-levels that allow you to manage a different element of the invoice.
Header
Dialogue element that allows you to define the header on the top of the invoice page.
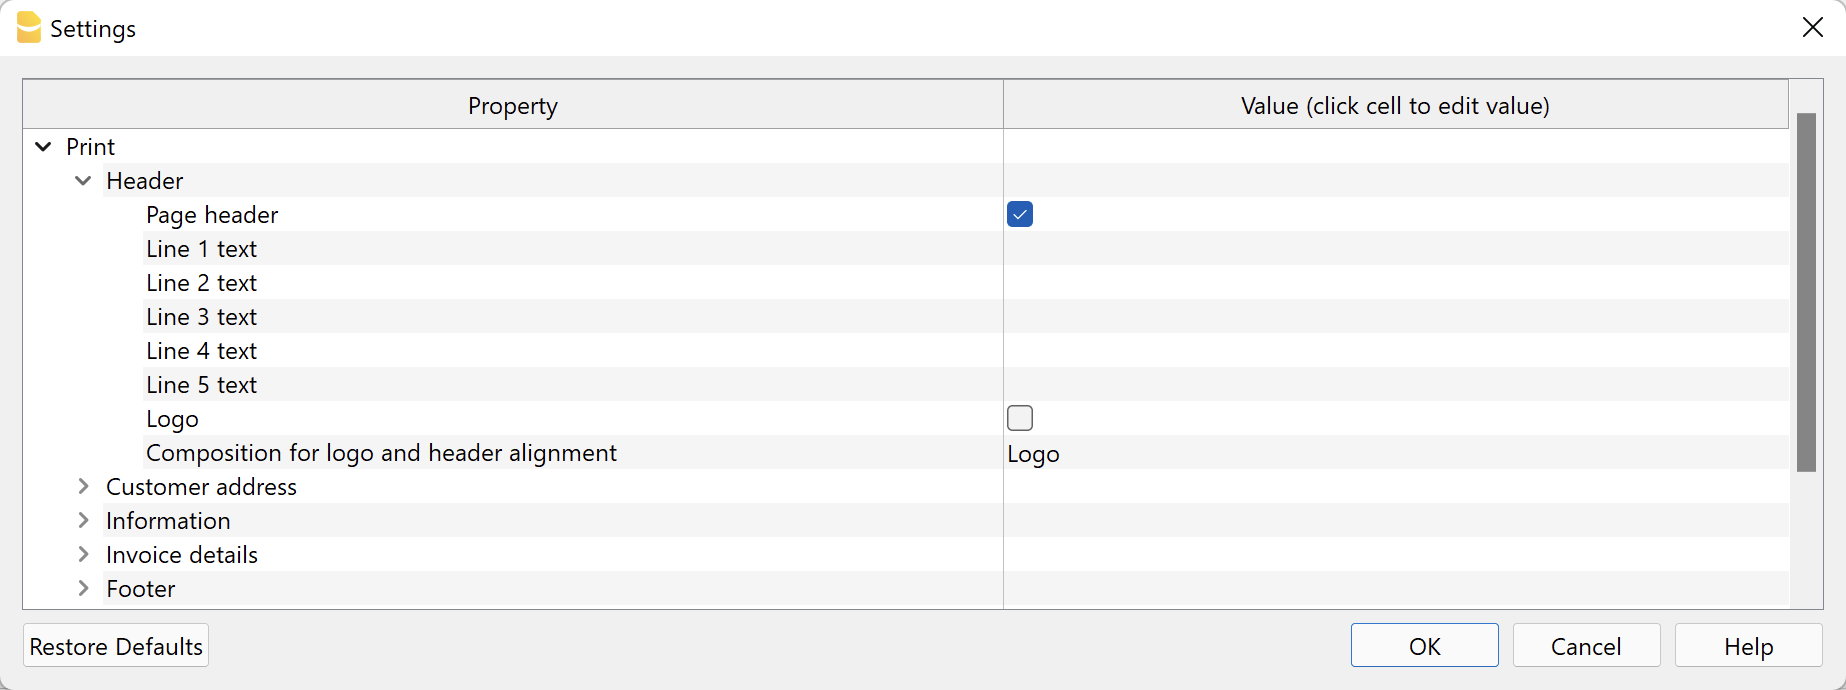
- Page header.
Check the box to include the sender's address in the invoice header.
The address is automatically taken from the basic data of the file, defined in File > File and accounting properties > Address.
The VAT number is mandatory and must be entered in the appropriate field. - Line 1 text ... Line 5 text.
If you do not wish to use the basic address data, you can enter the texts you wish to use manually.
These texts will be displayed in the header and replace any texts defined in the file properties.
In this case the VAT number is not automatically printed. Remember to add the VAT number in one line as it is mandatory. - Logo.
Check to include the logo in the header.
The logo is defined with the command File > Logo setup where you can also set the size, choose how to align it (left, centre, right), and also choose how to align the address with respect to the logo. - Logo name.
Enter the name of the logo customisation defined in the menu File > Logo setup, respecting upper and lower case.
Customer address
Element of the dialogue that allows you to set some parameters for the billing address.
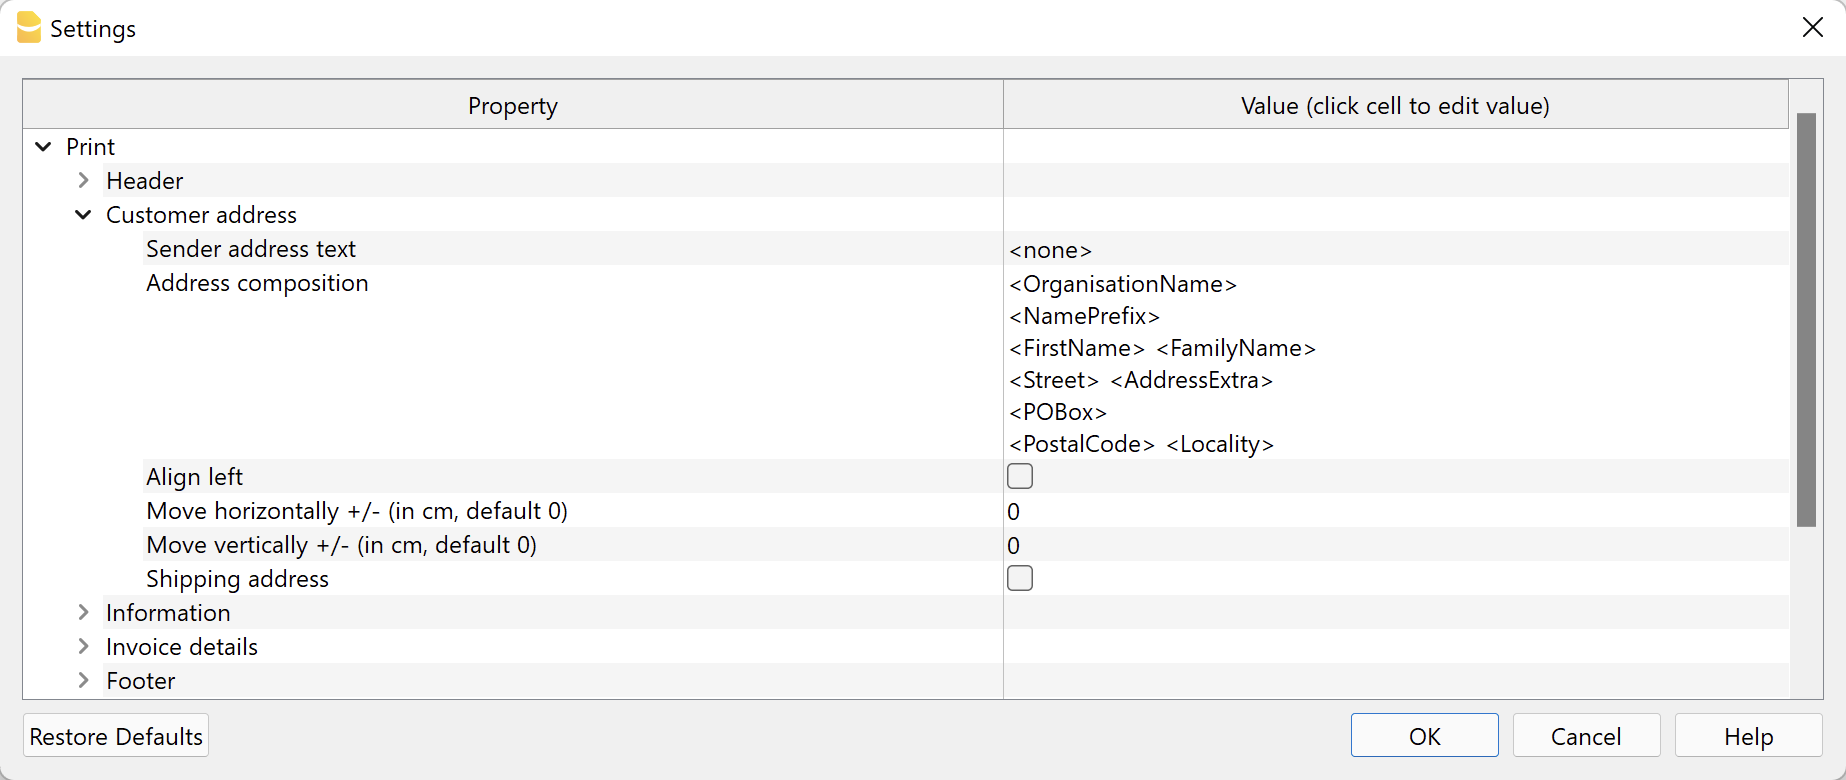
The customer addresses are taken from the specific columns of the table, see Accounts → Address view for integrated invoicing, and from the Contacts table for the Estimates and Invoices application.
- Sender address text.
You can insert a line above the customer’s address to indicate the sender’s address, in case you are using a window envelope.
Leave the field empty to use the predefined address in the menu File > File and accounting properties > Address or enter text manually.
Enter <none> to exclude the underlined sender line above the customer’s address. - Address composition.
Decide how to compose the address. Enter the XML address column names in the order you prefer: for the integrated invoicing Accounts table (Address view), for the application Offers and Invoices Contact table. Each column name must be included between the signs '<' and '>'.
You can display the XML name of each column with the command Columns setup, Settings tab.
You may only use the following columns (other columns cannot be used):
Prefix column (XML name = NamePrefix).
Organisation Column (XML name = OrganisationName).
First Name column (XML name = FirstName).
Column Surname (Name XML = FamilyName).
Street Column (XML name = Street).
BldgNr Column (XML name = BuildingNumber).
AddressExtra Column (XML name = AddressExtra).
PostBox Column (XML name = POBox).
PostalCode Column (XML name = PostalCode).
Location Column (XML name = Locality).
Region Column (XML name = Region).
Country Column (XML name = Country).
CountryCode column (XML name = CountryCode).
EmailWork column (XML name = EmailWork).
Some examples:- Include organisation name, address, postcode and location:
<OrganisationName>
<Street>
<PostalCode> <Locality> - Include prefix, first name, last name, address, postcode and locality:
<NamePrefix>
<FirstName> <FamilyName>
<Street>
<PostalCode> <Locality> - Include extra address, post office box and country code:
<OrganisationName>
<NamePrefix>
<FirstName> <FamilyName>
<Street> <AddressExtra>
<POBox>
<CountryCode> - <PostalCode> <Locality>
- Include organisation name, address, postcode and location:
- Align left.
Check to print the address on the left, otherwise it will be printed on the right. - Move horizontally.
Enter a value in cm to move the customer's address to the right (positive value) or to the left (negative value). - Move vertically.
Enter a value in cm to move the customer's address down (positive value) or up (negative value). - Shipping address.
Only available for invoicing integrated in accounting.
The shipping address is also printed.
The shipping address is entered by means of the code :sadr in the TypeDoc column of the Transactions table to define the shipping address.
Information
Element of the dialogue that allows you to define which invoice information to include and which to exclude from the print (top left):
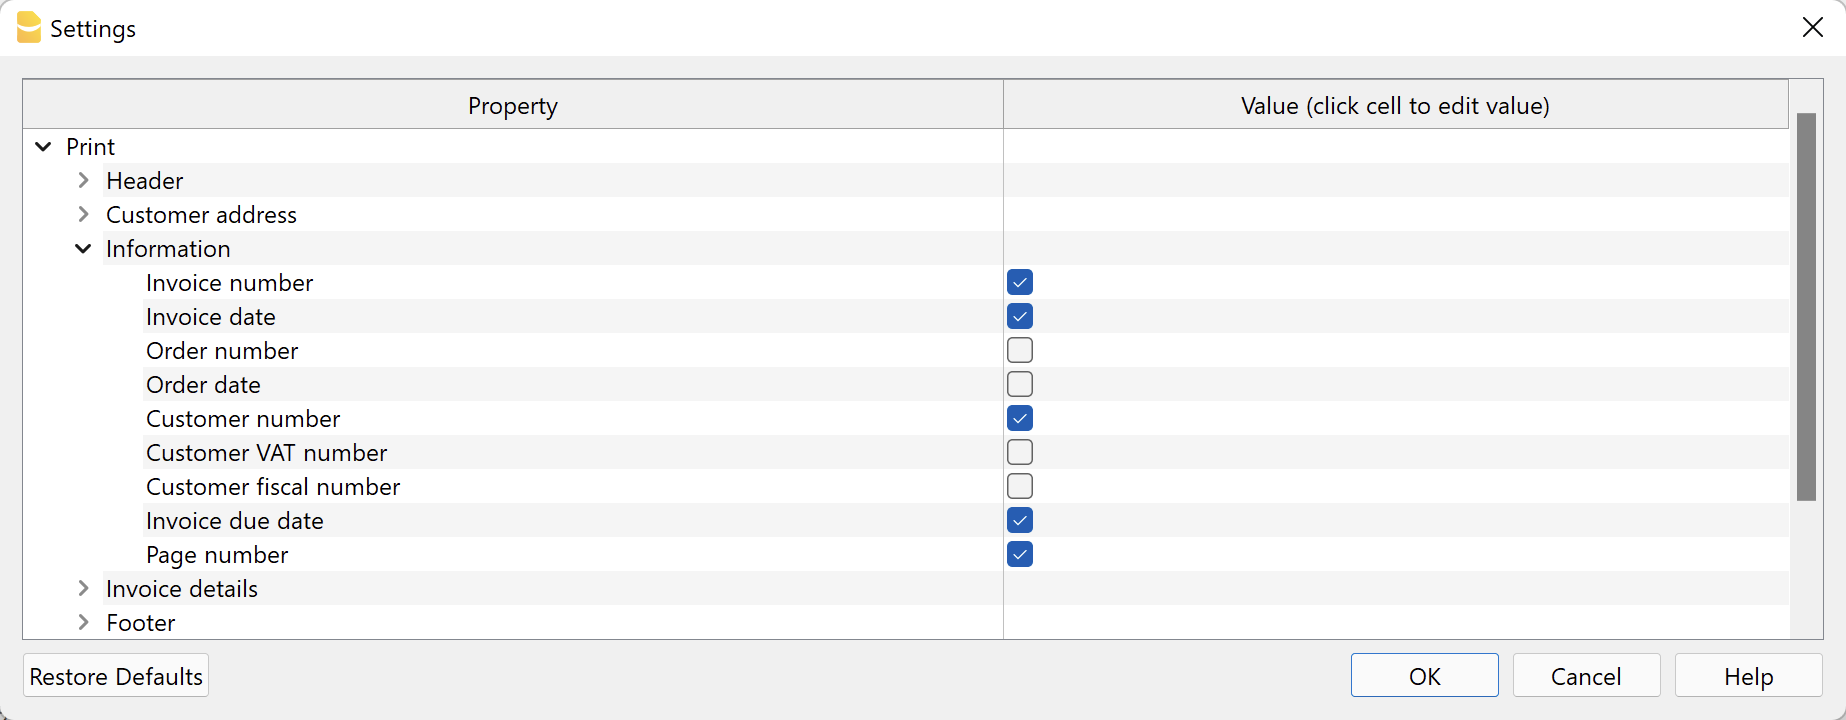
Integrated Invoicing:
- Invoice number / Credit note.
Specified in the DocInvoice column of the Transactions table. - Invoice date.
Specified in the Date column of the Transactions table. - Order number
Specified in the DocType column of the Transactions table with code: ordn - Order date
Specified in the DocType column of the Transactions table with code:ordd - Customer number
Specified in the invoice transaction of the Transactions table. - Customer VAT number.
Specified in the VAT number column of the Accounts table, Other view. - Customer fiscal number
Specified in the Fiscal number column of the Accounts table, Other view. - Invoice due date
The due date of an invoice can be set up in different ways. For more information, see the Due dates and payment terms page. - Page number
The current page number.
Estimates and invoices application
- Invoice number / Estimate
Specified in the Id column of the Invoices/Estimates table - Invoice date.
Specified in the Date column of the Invoices/Estimates table - Order number
Specified in the Order Nr of the create/edit invoice dialogue. - Order date
Specified in the order date of the create/edit invoice dialogue. - Customer number
Specified in the Contact Id column of the Invoice/Estimates table. - Customer VAT number.
Specified in the VAT number column of the Contacts table. - Customer fiscal number
Specified in the Fiscal number column of the Contacts table. - Invoice due date
Indicated in the Due Date column of the Invoices/Estimates table.
The due date of an invoice can be set up in different ways. For more information, see Set the payment term. - Page number
The current page number. - Customised fields
Only with the Advanced Plan.
Invoice section of the Invoice Dialogue are added.
Invoice Details
By invoice details we mean the table showing the items, quantities, prices and totals.
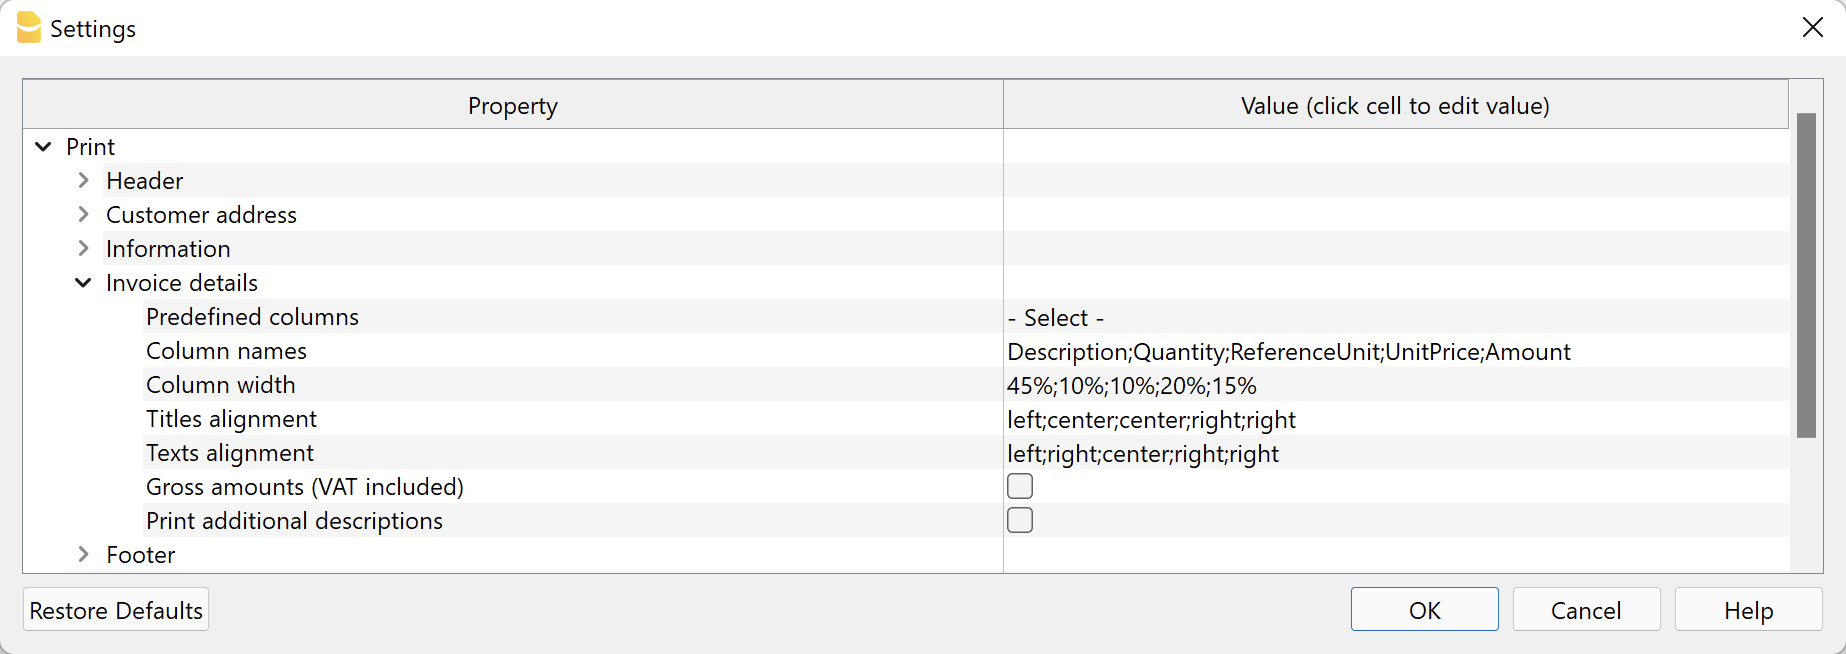
Predefined column compositions
Allows you to select the columns to be displayed in the invoice details directly from a list.
The list includes some predefined column compositions to choose from. Some of them require the Banana Accounting Plus Advanced Plan.
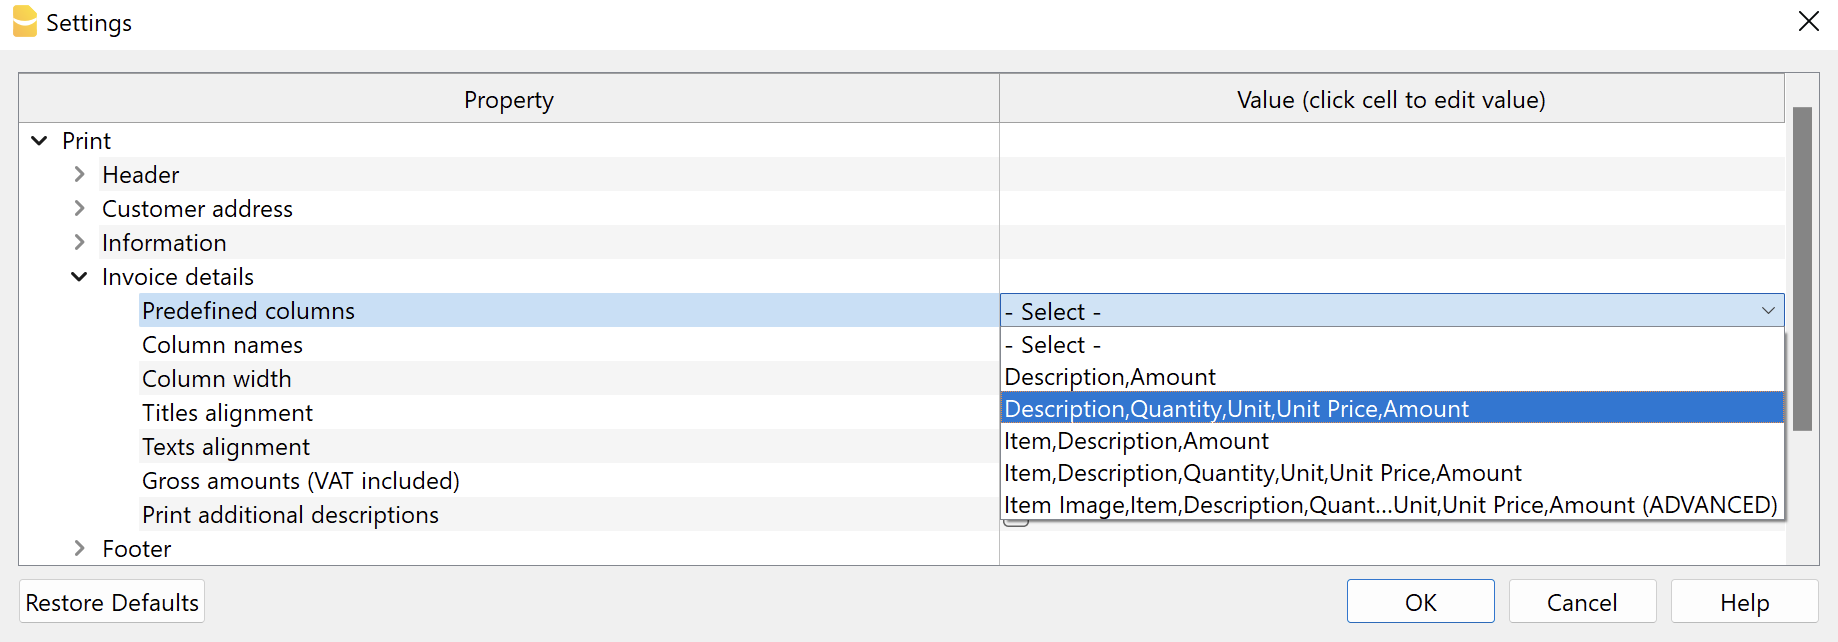
Select a pre-defined column composition from the list and confirm.
The values of the properties Column Names, Column Width, Title Alignment, Text Alignment of the Invoice Details section, and the property Invoice Details Column Names of the Text section, are set automatically by the programme.
Available from version 10.0.10.21348 or newer of Banana Accounting Plus.
Column Arrangement Logic
The columns to be displayed can be defined manually in this way:
- In the column names you indicate the XML names of the columns to be printed.
- In the subsequent fields, the print characteristics of the individual columns are indicated.
- Column width.
- Title alignment.
- Text alignment.
- In the section Texts you indicate the column header texts.
- For each language, the text for the header must be indicated.
If you select a default Columns setting, all elements are changed automatically.
Valid for all elements
- Elements are separated by ';' and must be the number of the defined columns.
- If one of these elements is left blank, the default values are taken over.
Column Names
Manually indicate which columns to display in the invoice details.
Enter the XML names of the columns in the Transactions table. You can display the XML name of each column with the command Columns setup, Settings tab. Separate column names with a ';' (semicolon).
The default columns are:
- For invoices integrated in accounting:
- Number (item Id)
This applies both to the Id column of the Item table in the Estimates and Invoices application, and to the Item column of the Transactions table in the Integrated Invoicing. - Description
- Quantity
- ReferenceUnit
- UnitPrice
- Amount
- VatRate
- Number (item Id)
- Plus for the invoice offer application:
- Date
- Discount
With the Advanced Plan of Banana Accounting Plus, you can add other table columns in addition to the predefined columns.
- Transactions table.
- Only for invoices integrated in accounting.
- The syntax to use is T.ColumnName.
"T." indicates that this is a column of the Transactions table, "ColumnName" is the XML name of the column (e.g. "T.Notes", "T.DateWork", etc.)
- Items table.
- The syntax to be used is I.ColumnName.
"I." indicates that it is a column of the Items table, "ColumnName" is the XML name of the column (e.g. "I.Links", etc.).
- The syntax to be used is I.ColumnName.
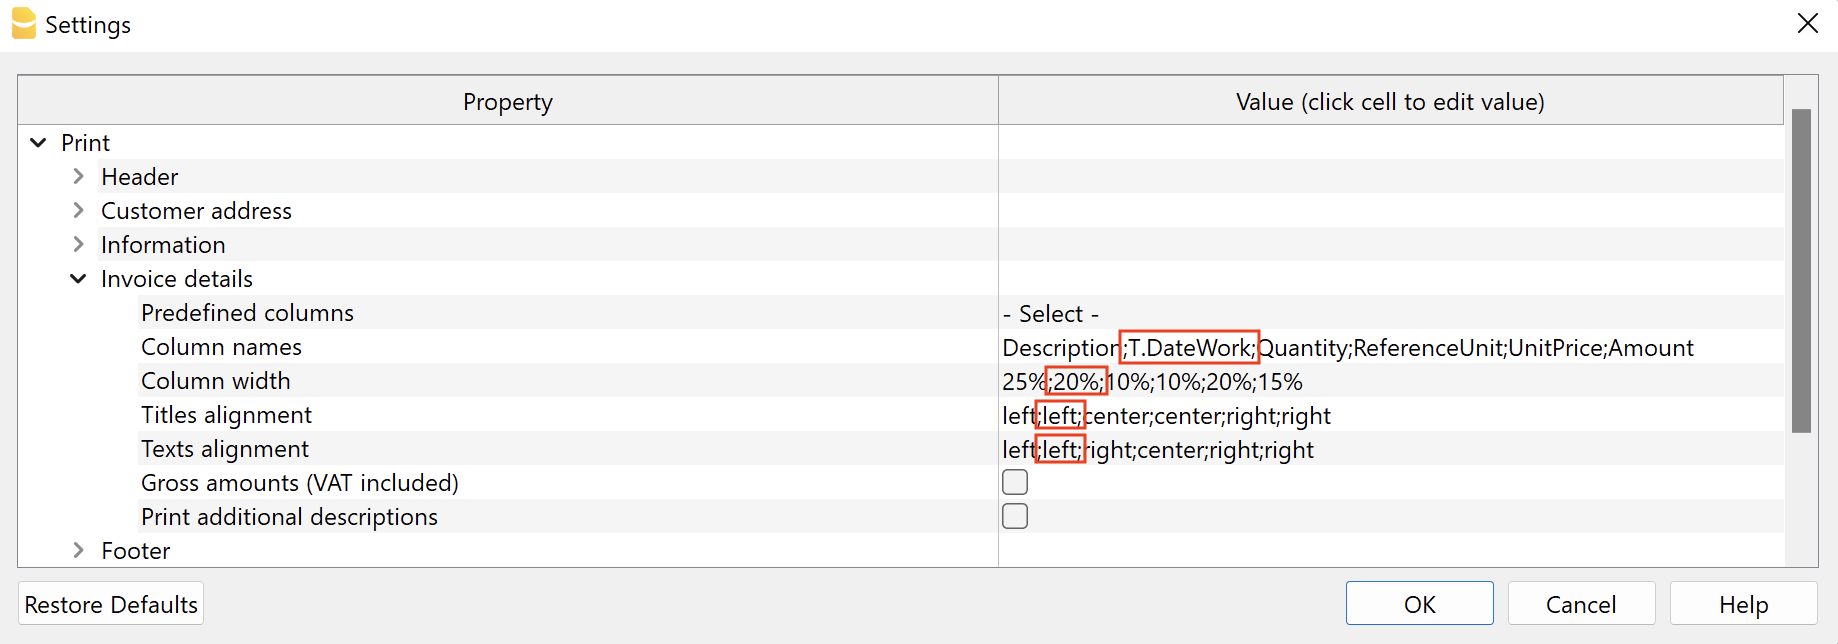
Column Width
Enter the width of each column with a percentage value. Each value defines how much space a column occupies in relation to the total width of the page. The sum must be 100%.
Separate column widths with a ";" (semicolon).
Title Alignment
Enter the title alignment for each column. You can align the text to the left, centre and to the right. Separate each alignment with a ";" (semicolon).
Text Alignment
Enter the text alignment of each column. You can align the text left, centre and right. Separate each alignment with a ";" (semicolon).
Gross amounts (including VAT)
You can decide whether to use gross amounts including VAT or net amounts excluding VAT.
Printing additional descriptions
Only available for invoicing integrated in accounting.
You can decide whether you want to enter additional descriptions on several rows.
- In the Transactions table with the Columns setup command add one or more additional description columns.
For each additional description row you need to add an appropriate column.
Create columns of type Text with the name "Description" followed by a number (e.g., Description1, Description2, Description3, etc.).
The "XML name" of each column must begin with the word "Description" (in English) followed by a number.
In the "Name" field you can enter whatever you want.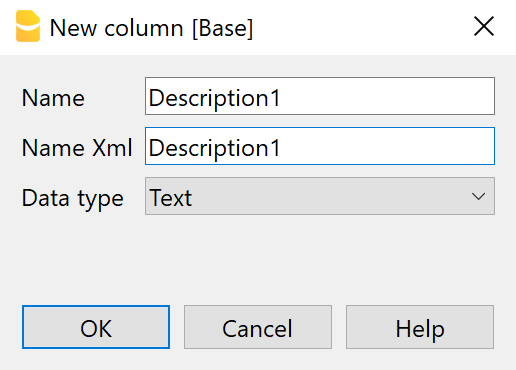
- In these columns enter additional text for invoice descriptions.
The text in each column will be displayed on a new line in the invoice description.
Some examples
- Include the columns Description, Quantity, Unit, Unit Price and Amount:
- Description;Quantity;ReferenceUnit;UnitPrice;Amount
50%;10%;10%;15%;15%
center;center;center;center;center
left;center;center;right;right
- Description;Quantity;ReferenceUnit;UnitPrice;Amount
- Include only the Description and Amount columns:
- Description;Amount
70%;30%
center;right
left;right
- Description;Amount
- Include the columns Description, Notes and Amount. Notes is not a default column, the name must be preceded by 'T.'. Requires the Banana Accounting Plus Advanced Plan.
- Description;T.Notes;Amount
35%;35%;30%
left;left;right
left;left;right
- Description;T.Notes;Amount
- Include the columns Description, DateWork, Quantity, Unit Price and Amount (DateWork is a manually created column, the name must be preceded by "T."). Requires the Advanced Plan of Banana Accounting Plus.
- Description;T.DateWork;Quantity;ReferenceUnit;UnitPrice;Amount
35%;15%;10%;10%;15%;15%
left;center;center;center;right;right
left;center;center;center;right;right
- Description;T.DateWork;Quantity;ReferenceUnit;UnitPrice;Amount
- For Estimates and Invoices application: include the columns Number, Date, Description, Quantity, Unit, Price, Discount and Amount.
- Item;Date;Description;Quantity;ReferenceUnit;UnitPrice;Discount;Amount
10%;10%;50%;10%;10%,10%;15%;15%
left;left;left;right;right;right;right;right
left;left;left;right;right;right;right;right
- Item;Date;Description;Quantity;ReferenceUnit;UnitPrice;Discount;Amount
Footer
Dialogue element that allows a footer to be inserted.
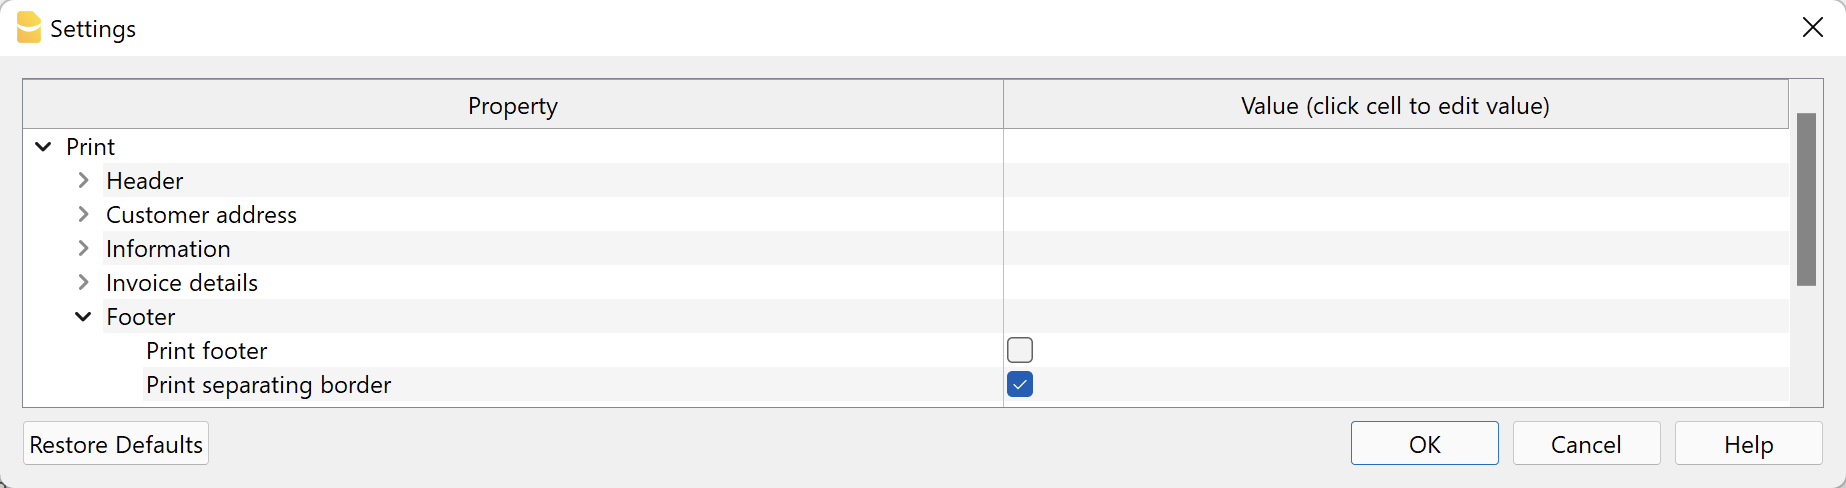
- Print footer.
Indicates whether to include the footer, which consists of three columns (see the chapter "Text properties" below). - Print separating border.
Indicates whether to include the border on the top of the footer.
The footer is divided into three blocks of text, arranged as three columns:
- Left block, aligned to the left
- Center block, aligned to the center
- Right block, aligned to the right
Each block can contain one or more lines of text. The contents are entered in the fields of the section Texts > Footer left text / center / right.
The fields "Footer left text" and "Footer right text" contain predefined texts, which can be modified at any time.
If you wish to leave a block empty and avoid printing any content, you must enter the text <none>.
It is also possible to print a single line of text that spans the entire width of the page. To do this, enter the desired text in the "Footer left text" field and set <none> in the "Footer center text" and "Footer right text" fields.
The footer can only be included if the QR code is excluded from printing. When the QR code is included, the footer is automatically excluded from printing.
Texts Property
This level defines all invoice texts, which are grouped and divided by language.
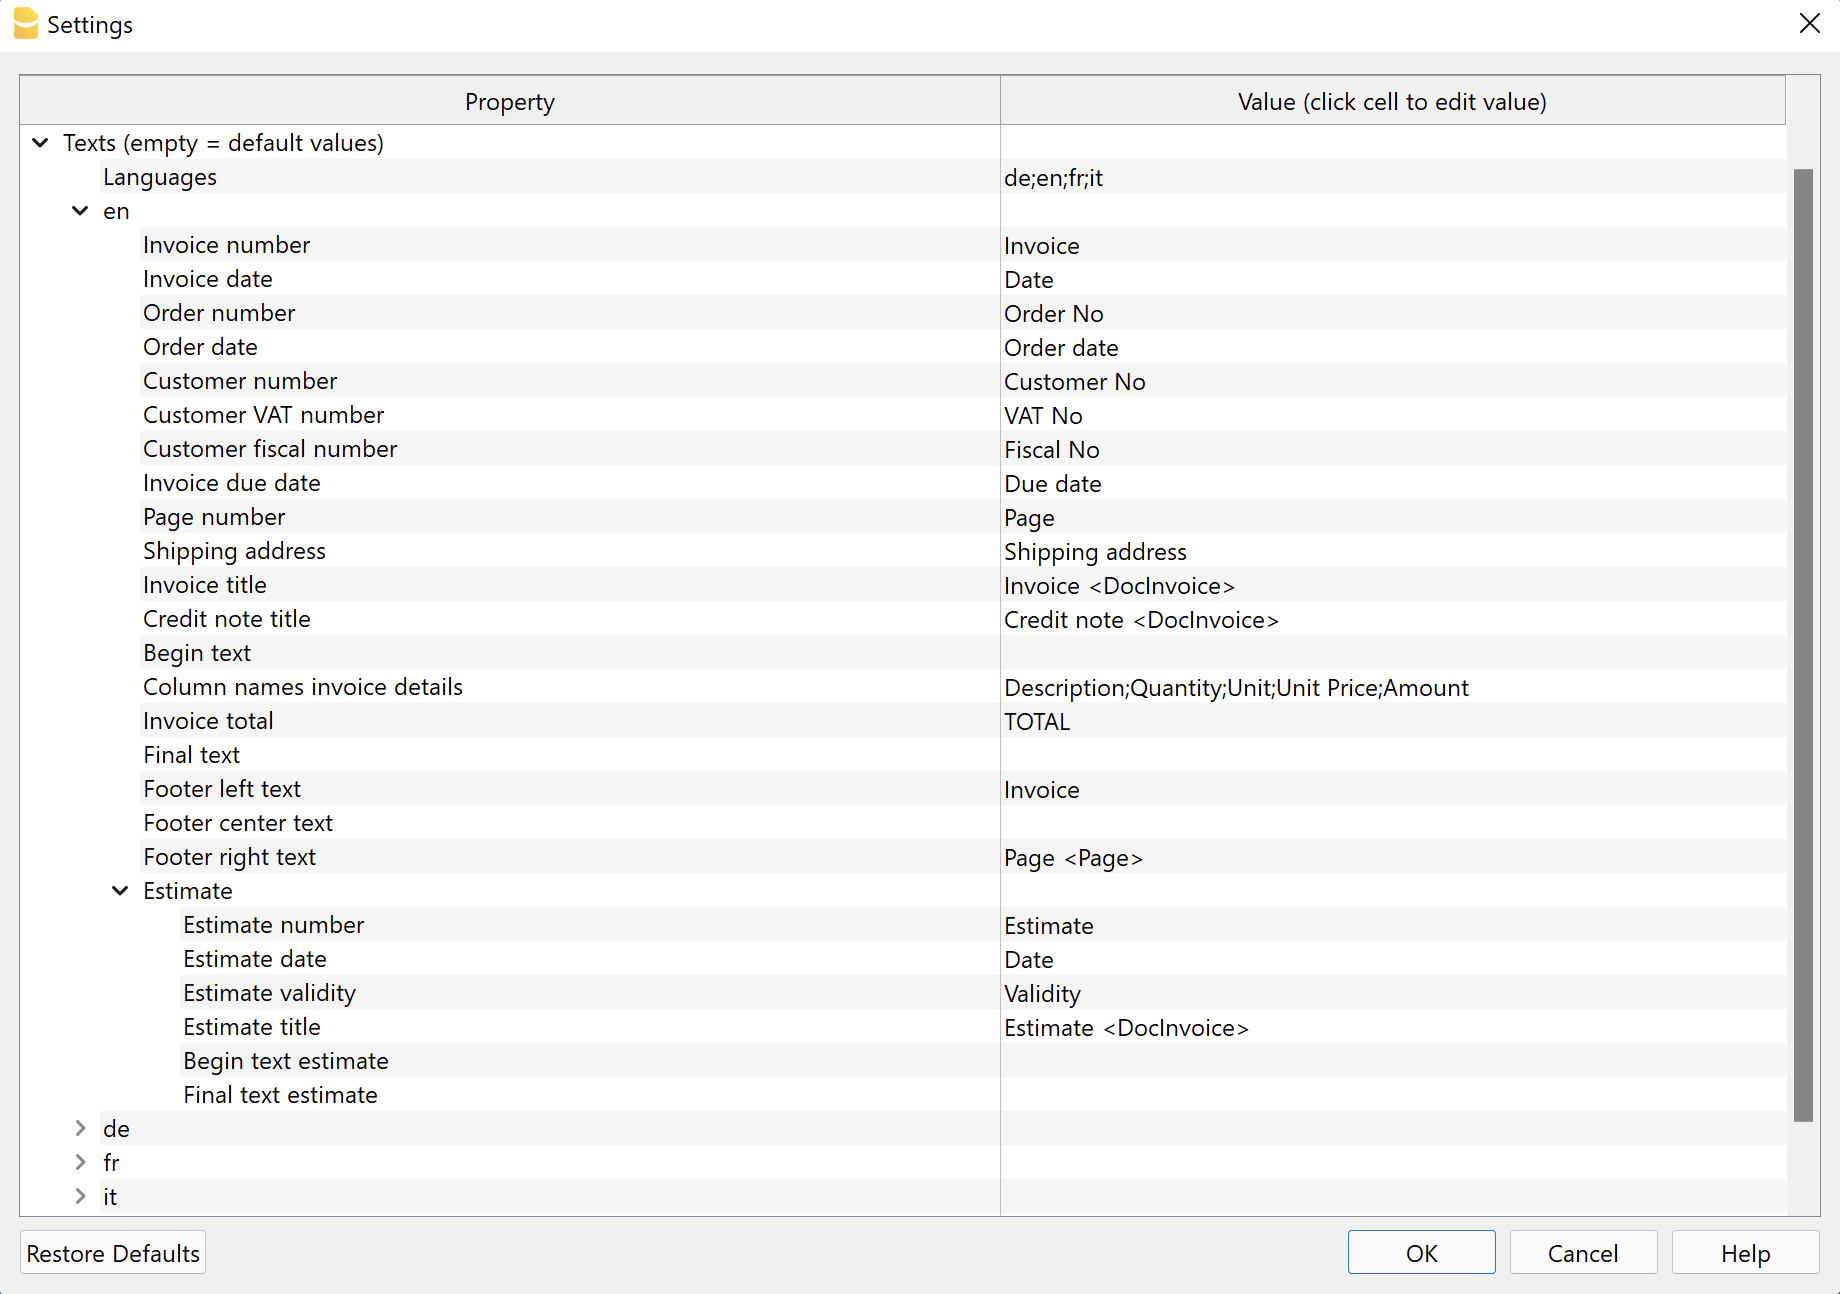
Languages
You can change the texts to be used for each language and also add translations for other languages.
The language to be used is chosen according to the language specified for the customer:
- For integrated invoicing, it is defined in the Accounts table, Address view, Language column.
- For the application Estimates and Invoices, it is defined in the Contacts table, Language Code column .
If no language is indicated for the customer, the default accounting language is used.
The default languages for which a complete translation exists are: German, English, French and Italian.
The first language to appear in the dialogue is always the current language of the file, defined in File > File and accounting properties > Other. The rest are listed in alphabetical order.
Define languages
- Default values: de;en;fr;it
- Enter the list of languages using the two-character codes.
- de = German
- en = English
- fr = French
- it = Italian
- Separate the language codes with a ";" (semicolon).
Add languages
- In the language field, at the end, add the new language code for the language you want to use.
For example if you want to use Spanish language add ";es" at the end of the existing language codes (e.g. "de;en;fr;it;es").
Always use the ";" (semicolon) to separate the language codes. - Click on Ok.
- The Settings dialogue closes to apply the changes.
- Reopen the Settings dialogue.
- In the Texts section, there is now a new section with the name of the language code you have entered (e.g. "es").
This new section contains all the texts described in the paragraph Text section for each language.
At first, all texts are in English. - In the right side, replace all existing english texts with the correct translations for the new language you added.
Do not replace texts between “<” and “>” because they are used by the program (e.g. "Factura <DocInvoice>"). - Click on Ok and print the invoice.
Remove languages
- In the language field delete the code of the language you want to remove.
- Click on Ok.
- Confirm with Yes to remove the language and its texts from the list.
- Reopen the Settings dialogue. Now the language section has been removed.
Text section for each language
Each language has its own section starting with the language code.
You can change the text to be used for each individual language.
If you delete the content, when you confirm with Ok, the default text will be automatically used.
- Invoice number.
Text in the information preceding the invoice number. - Invoice date.
Text in the information preceding the invoice date. - Invoice order.
Text in the information preceding the order number. - Order date.
Text in the information preceding the order date. - Customer number.
Text in the information preceding the customer number. - Customer VAT number
Text in the information preceding the customer's VAT number. - Customer tax number.
Text in the information preceding the customer's tax number. - Invoice due date.
Text in the information preceding the invoice due date. - Page number.
Text in the information preceding the page number. - Shipping address.
Text appearing above the shipping address. - Invoice title.
Optional text inserted before the details table.
Enter <none> to display no text. - Credit note title.
Optional text inserted before the table of details.
Enter <none> to display no text. - Begin text.
Optional text, on one or more lines, inserted immediately after the invoice title. - Invoice detail column names.
Must be separated by a ';' (semicolon).
When changing the columns to be displayed in the invoice (section Print, Invoice details, Column names), you must always also adapt the texts for the column headings. - Invoice total.
Text that appears in the invoice total line. - End text
Optional text, on one or more lines, inserted at the end of the invoice.
This text takes priority over text added from the dialogue Print invoices → Options → End text. - Left/centre/right footer text.
The <Page> code is replaced with the page number.
Enter <none> to display no text.
Specific texts for printing Proforma invoices, Estimates, Delivery notes, Order confirmations and Reminders (requires Advanced Plan):
- Proforma invoice
- Title.
Optional text inserted before the details table. Enter <none> to display no text. - Begin text.
Optional text, on one or more lines, inserted immediately after the proforma invoice title. - Final Text.
Optional text, on one or more lines, inserted at the end of the proforma invoice.
- Title.
- Estimate
- Number.
Text in the information preceding the estimate number. - Date.
Text in the information preceding the estimate date. - Validity.
Text in the information preceding the estimate validity date. - Title.
Optional text inserted before the details table. - Begin text.
Optional text, on one or more lines, inserted immediately after the estimate title. - Final text.
Optional text, on one or more lines, inserted at the end of the estimate.
- Number.
- Delivery note
- Delivery note number.
Text in the information preceding the delivery note number. - Delivery note date.
Text in the information preceding the date of the delivery note. - Title.
Optional text inserted before the details table. Enter <none> to display no text. - Begin text.
Optional text, on one or more lines, inserted immediately after the delivery note title. - End Text.
Optional text, on one or more lines, inserted at the end of the delivery note.
- Delivery note number.
- Order confirmation
- Order Confirmation Number.
Text in the information preceding the order confirmation number. - Order Confirmation Date.
Text in the information preceding the date of the order confirmation. - Title.
Optional text inserted before the details table. Enter <none> to display no text. - Begin text.
Optional text, on one or more lines, inserted immediately after the title. - Final text.
Optional text, on one or more lines, inserted at the end of the order confirmation.
- Order Confirmation Number.
- Reminder
- Invoice date (only for integrated invoicing in the accounting file).
Text in the information preceding the invoice date.
Used if there is the transaction with the reminder date created via the Reports > Customers > Print reminders command. - Date (only for integrated invoicing in the accounting file).
Text in the information preceding the reminder date.
Used if there is the transaction with the reminder date created via the Reports > Customers > Print reminders command. - Due date (only for integrated invoicing in the accounting file).
Text in the information preceding the reminder due date.
Used if there is the transaction with the reminder date created via the Reports > Customers > Print reminders command. - Title.
Optional text inserted before the details table. Enter <none> to display no text. - Begin Text
Optional text, on one or more lines, inserted immediately after the reminder title. - Final Text.
Optional text, on one or more lines, inserted at the end of the reminder.
- Invoice date (only for integrated invoicing in the accounting file).
Bold writing
With a specific annotation you can apply the bold style to certain texts. To do so, include the desired texts between double asterisks ** .
Applicable to:
- Start text.
- End text.
- Descriptions of items appearing in invoice details.
Examples:
**text** = text
**text1 text2**, text3 = text1 text2, text3
Customise title, begin text and final text
The data for the title, begin text and final text are taken over and inserted automatically with every new invoice.
If you also want to include customer information (first name, last name, etc.) or the invoice number in these texts, you can do so:
- With the Professional Plan the data must be entered manually each time you create an invoice.
- With the Advanced Plan you can automate data entry on all invoices.
For automated data entry (only with the Advanced Plan) you must use the predefined columns from which the data is taken:
- Customer Address Columns
- In integrated invoicing, from the Accounts table, Address view.
- In the Estimates and Invoices application, from the Contacts table.
- Invoice number column
- In integrated invoicing, from the Accounts table, Invoice column.
- In the Estimates and Invoices application, from the Invoices table, column Invoice Id.
In the texts you must insert the following columns, specifying the XML name of the columns between the signs '<' and '>'.
- Address
- <NamePrefix>, <OrganisationName>, <FirstName>, <FamilyName>, <Street>, <BuildingNumber>, <AddressExtra>, <POBox>, <PostalCode>, <Locality>, <Region>, <Country>, <CountryCode>, <EmailWork>.
- Invoice number
- <DocInvoice>.
In this case DocInvoice is used both for integrated invoicing and for the Estimates application and invoices.
- <DocInvoice>.
To display the XML name of each column, use the command Columns setup, Settings section.
When the invoice is created, these texts are replaced with the actual values.
- The text "Invoice <DocInvoice>" is converted to "Invoice 10".
- The text "Invoice <DocInvoice>, <FirstName> <FamilyName>" is converted to "Invoice 10, James Johnson".
Styles Properties
This level defines the parameters that affect the visual appearance of the invoice, like font type, size and colors.
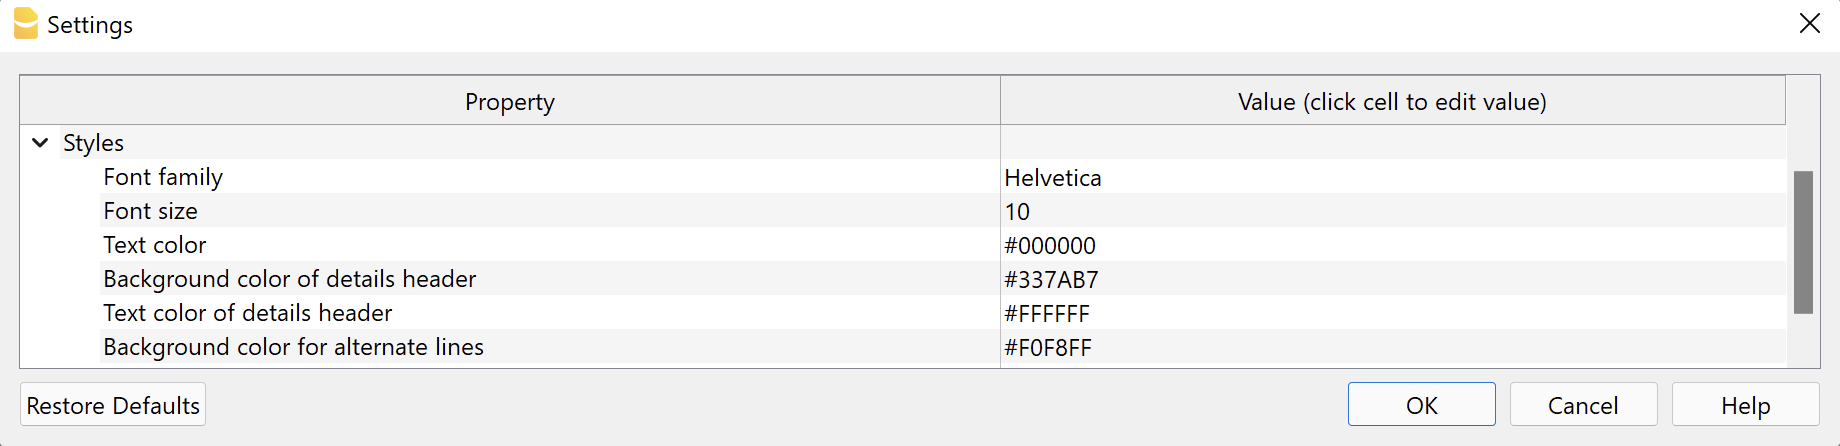
Font type and size
The font and font size are applied to all invoice texts, with the exception of the header, which has a fixed size that can only be changed with custom CSS Stylesheet.
The size of the title and the total line are resized according to the chosen font size.
For more information regarding the font that can be used and exporting to PDF, please see the Create PDF page.
Colours
Enter the colours you wish to apply to the invoice printout.
- Text Colour.
The colour applied to all text on the invoice: header, information, address, start text, invoice details, end text, footer.
The colour of the QR bulletin cannot be changed. - Header details background colour.
The main colour of the invoice. It is applied to: title, invoice details header, horizontal lines, total line and double underline. - Details header text colour.
The colour of the text in the column headings of the invoice details table. - Background colour for alternating rows.
The background colour applied to the rows of the various invoice items. - Title and total colour.
The colour of the title and total line (text and underline).
To enter a colour you have two possibilities::
- Select a color from those available.
- Enter the hexadecimal code of the colour (HEX). This is a code starting with # followed by six characters (e.g. #0000, #009FE3, #FF00EA).
Colour codes are easily found on the Internet. For example, you can consult the table at https://www.w3schools.com/cssref/css_colors.asp.
If no colour is entered (leaving the field empty), the default colour is set. Applies to every colour field. This is useful if you want to reset to the original colours.
Integrated Invoicing Texts
n integrated invoicing, certain texts can also be defined in the Transactions table when entering invoice data.
- Invoice title / credit note.
- Enter in the column TypeDoc the command 10:tit (12:tit for credit note).
- Enter the desired text in the Description column.
- It takes priority over any text defined in the settings of the invoice layout.
- Begin text.
- Enter in the column TypeDoc the command 10:beg.
- Enter the desired text in the Description column.
- Only one line of text can be entered.
- It takes priority over any text defined in the settings of the invoice layout.
- Notes.
- In the column TypeDoc enter the command 10:not.
- Enter the desired text in the Description column.
- Several lines of notes can be entered. Each note must be defined on a new line in the table Entries.
- Greetings.
- Enter the command 10:gre in the column TypeDoc.
- Enter the desired text in the Description column.
- Only one line of greetings can be entered.
Priority Title and Begin Text:
| Priority 1 | Priority 2 | |
| Invoice Proforma Invoice | Transactions table (10:tit / 10:beg) | Layout settings dialog |
| Estimate | Transactions table (10:tit / 10:beg) | Layout settings dialog |
| Delivery note | Layout settings dialog | - |
| Reminder | Layout settings dialog | - |
Priority Final Text:
| Priority 1 | Priority 2 | Priority 3 | |
| Invoice Proforma Invoice | Transactions table (10:not / 10:gre) | Layout settings dialog | Print Invoices dialog, Options section |
| Estimate | Transactions table (10:not / 10:gre) | Layout settings dialog | - |
| Delivery note | Layout settings dialog | - | - |
| Reminder | Layout settings dialog | - | - |
Error messages
- @error Text names and columns do not match.
The number of columns of the invoice details table (Print → Invoice Details → Column names) do not match with the texts to print (Texts → language code → Column names invoice details). Check the invoice settings.
QR settings and customisation invoice Switzerland
This page explains how to set up printing of the Swiss QR-Code on invoices and also refers to technical information on customisation possibilities, use of address formats and more.
For technical specifications please refer to the QR-Code References and Standards.
QR Section
In the Invoice settings there is a special section for data entry for the QR section printing.
- To print the QR on the invoice you must check the "Print QR Code" box.
There is then a very important choice to be made. The QR-Code system has two main modes depending on the type of account you want to use. In the Reference Type you have to indicate the system you want to use .
- Print QR-bills with the IBAN account.
You can immediately start printing invoices with the QR. The bank statement will show the account number of the customer and the invoice. In this way you will have immediate and automated control of payments. Print QR-bills with the QR-IBAN account.
If you want an ISR-compatible system or if you want your invoice payment data to be received in a different data file than the account statement.Your bank must give you a QR-IBAN account number and the individual payment data will not appear on the normal account statement, but on a separate one.
Then follow the available settings regardless of the chosen QR Reference Type.

Change Issuer address
- Address payable to
The program sets the address of the recipient of the payment using the address data in the File properties (from the File menu).
You can indicate another address, by completing the fields in the Payable to section.
Include / exclude from printing
Include additional information (XML column name )
You can enter additional invoice information to be displayed on the QR slip in the 'Additional Information' section.
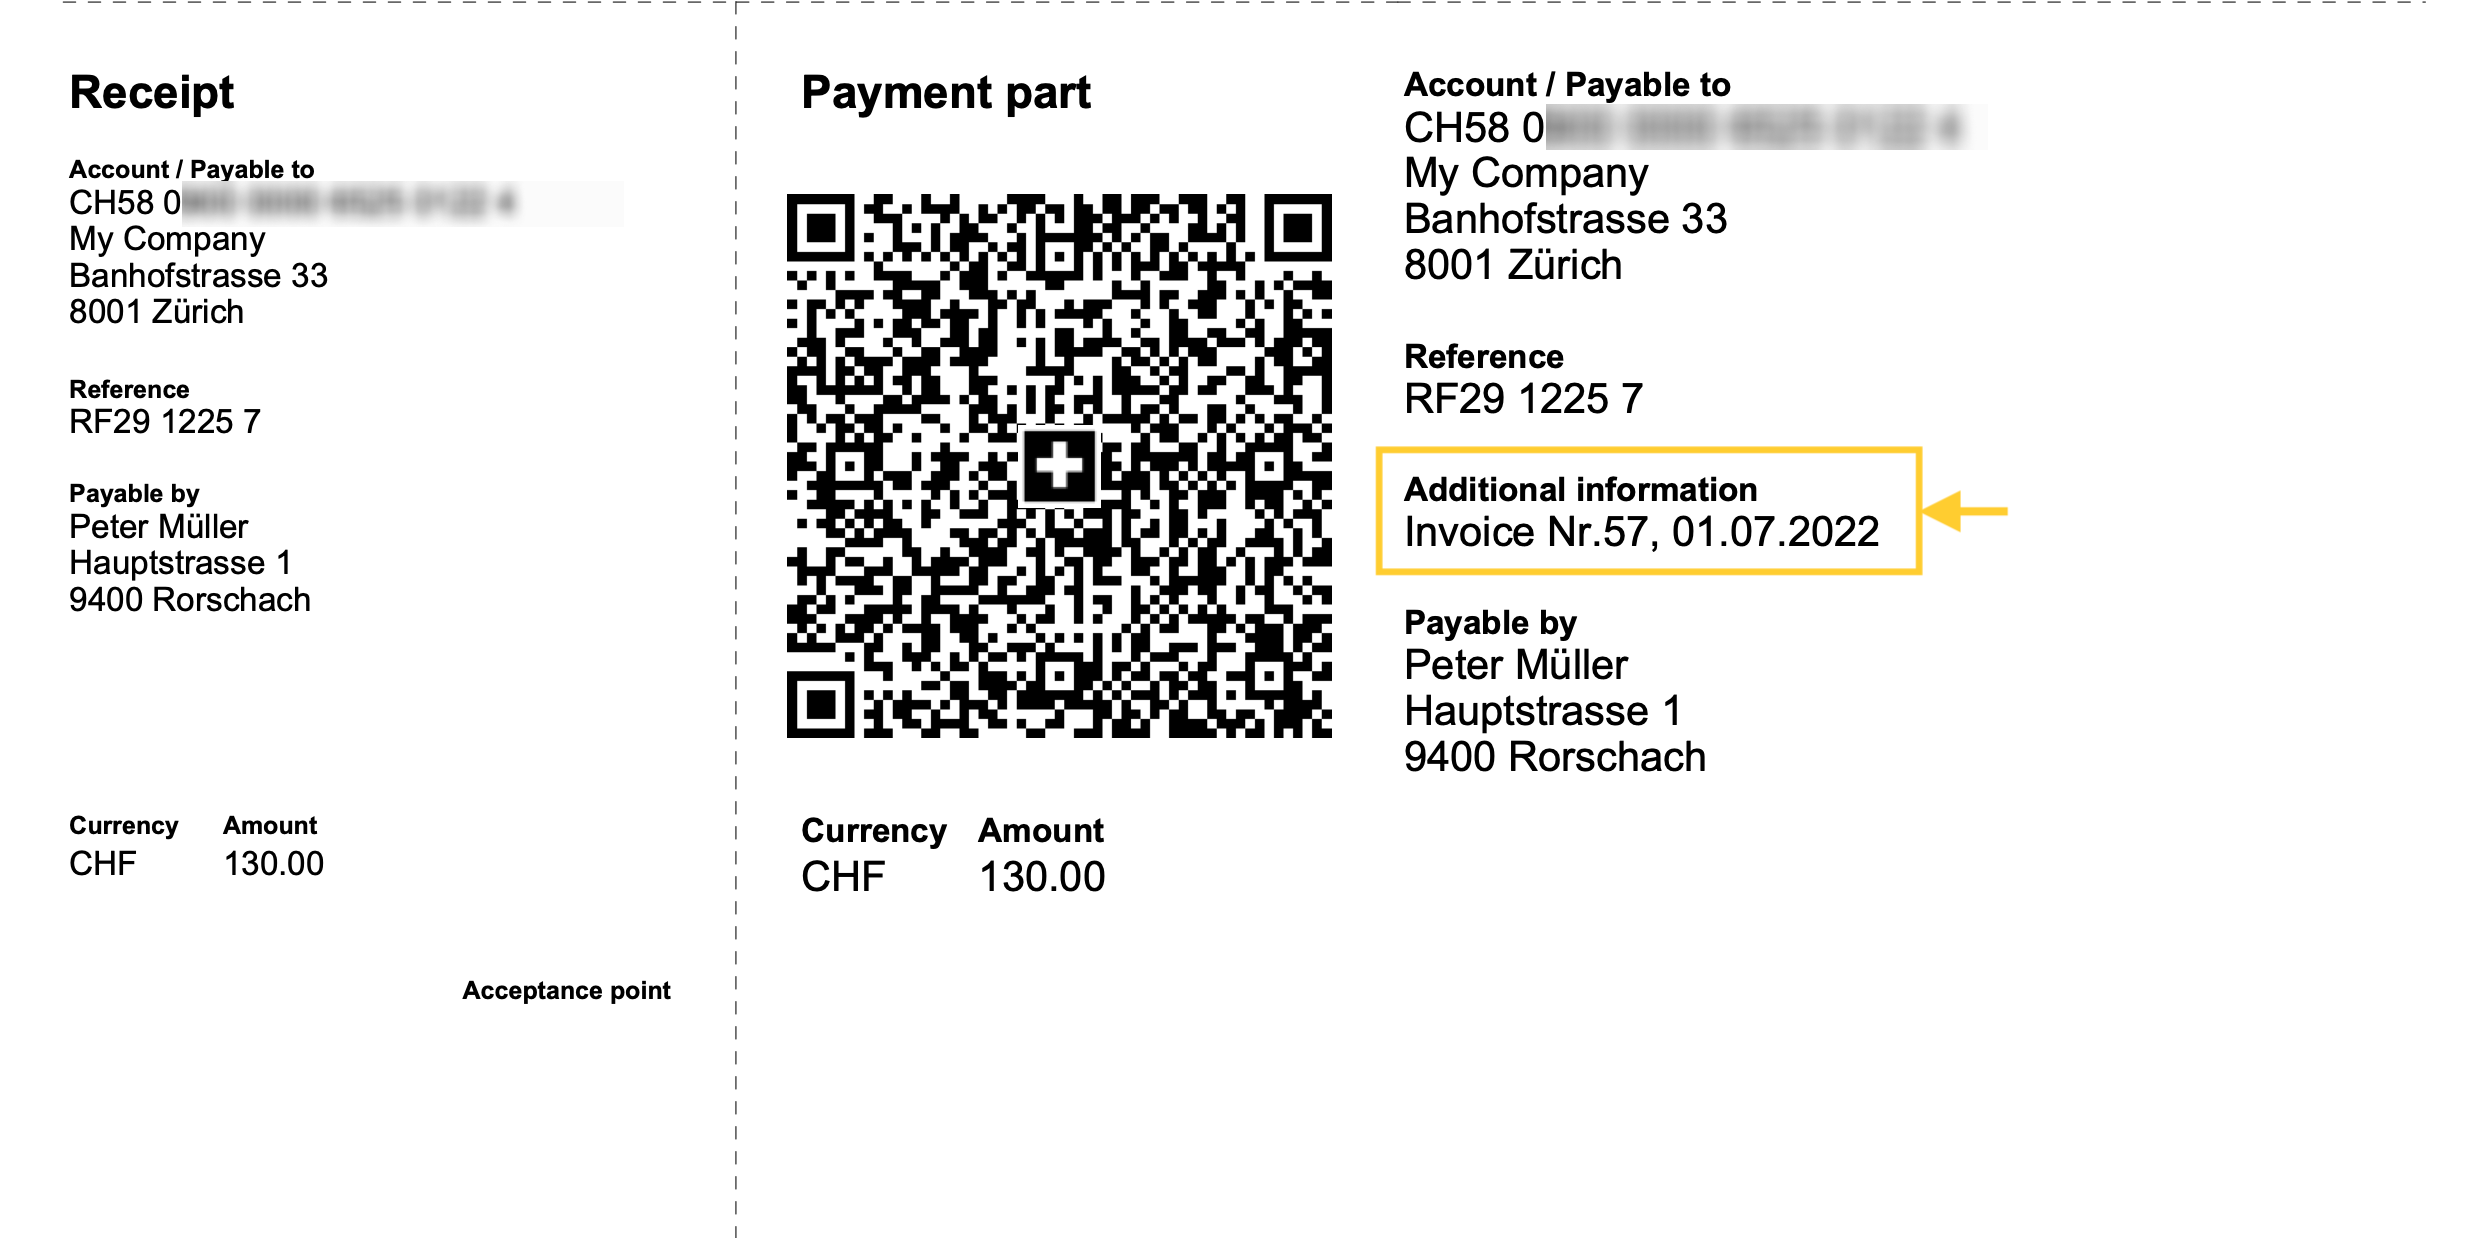
In the Invoice settings dialogue → QR section → Include additional information, enter the XML name of the column used from where the additional information is taken.
See how to display XML column names.
See how to add new columns.
- Integrated invoicing
In the Transactions table, add a new column where the additional information is to be entered, or use an existing column such as the Notes column.
- Estimates and Invoices application
In the Invoices table add a new column where you can enter additional information, e.g. Info.
Do not use the Notes column as this is used to display the final text of the invoice.
- Include billing information (optional).
Add automatically generated structured billing information.
If present, they are added after the additional information (see previous point). - Exclude invoice address.
Exclude the customer's billing address and leave an empty box to enter the address by hand. - Exclude invoice amount.
Exclude the invoice amount and leave an empty box to enter the amount by hand.
To be used when the customer can choose the amount to be paid.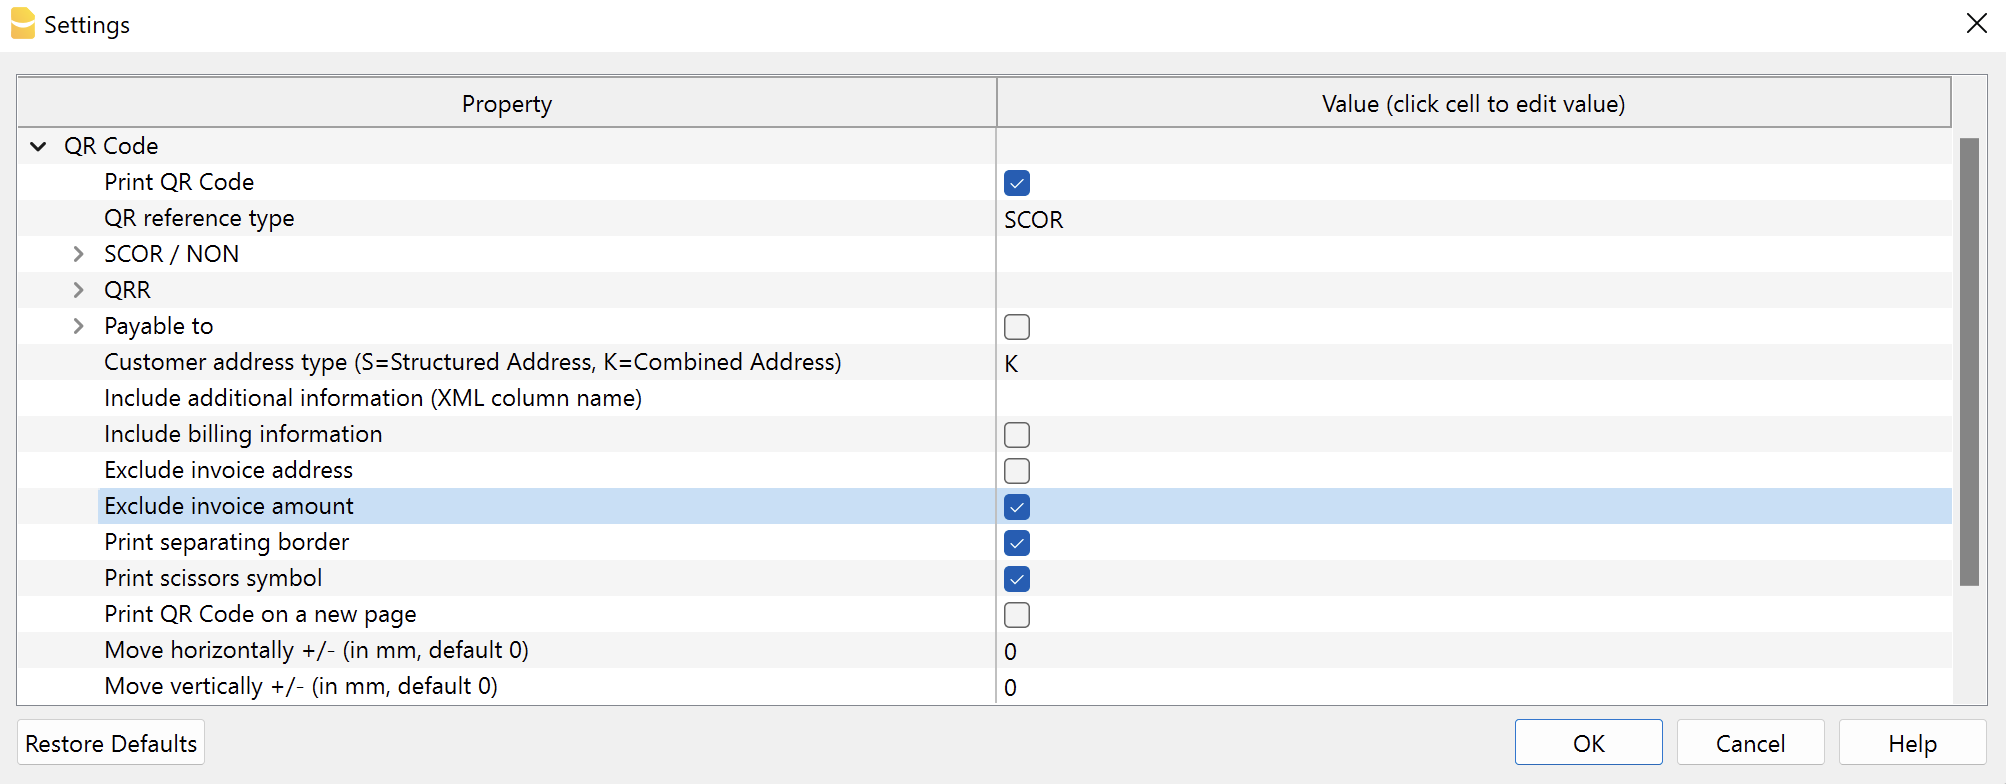
QR section print format
- QR on separate page.
Print the payment and receipt sections of the QR-bill on a separate page.
This way there is more space for the invoice. - Separation border print.
Print a dashed separation border to separate the invoice from the payment and receipt sections. - Print scissors symbol.
Print the scissors symbol on the separating border. - QR X position and QR Y position (optional).
Change the horizontal and vertical position of the QR Code section - usually there is no need to change the default values.
Other information
- The addresses that appear on the payment and receipt sections must contain:
- Name and surname or company name (the company name has priority in case both are defined).
- Address.
- Postcode and town.
- Country code (is not on the print but is included in the QR code).
- The country code is a two-character code according to the specifications of the ISO 3166-1 standard (eg CH, LI, AT, DE, IT, FR).
- The country code of the invoice sender can be set via File → File and accounting properties → Address section, Country field.
- The customer's country code is set in the Country Code column of the Accounts table, Address view.
Technical information
In the QR code of the QR-Invoice, the addresses of both the invoice issuer and the customer are always of the structured type (S). The type defines how the address data is represented within the QR code image.
The printing of the address on the QR invoice, both in the receipt section and in the payment section, will be the same.
Structured address details
The lines of the structured address in the QR code are composed as follows:
| Position | Element | Information |
| Line 1 | company name or customer’s first and last name | - mandatory, maximum 70 characters |
| Line 2 | street / P.O. box | - optional, maximum 70 characters - may include the building number if not written on line 3 |
| Line 3 | building number | - optional, maximum 16 characters - if not written on line 2 |
| Line 4 | postal code | - optional, maximum 16 characters |
| Line 5 | city | - mandatory, maximum 35 characters |
| Line 6 | country code | - mandatory, maximum two characters - compliant with ISO 3166-1 standard |
The addresses in the QR must always contain either the name of the organization or the first name and last name.
The name of the organization has priority over the name / last name: if it is present then the name of the organization will be entered, otherwise the name / last name will be entered.
Entering both is not possible as the rows are limited and each row must contain precise information.
On the printed invoice, the address structure is as follows:
- organization name or first / last name
- street and house number
- postal code and city
The addresses in the "Payable to" and "Payable by" sections of the QR follow the rules of the Swiss QR standard.
It is not possible to add rows or change the composition of the addresses on the QR.
Issuer address (beneficiary)
The invoice issuer’s address can be defined in two ways:
- From the file properties
- The address is taken from File > File and accounting properties > Address.
- From the invoice settings
- The address is taken from the Invoice settings, section QR Code > Payable to.
- Check the section QR Code > Payable to.
- Enter the address data in the fields below.
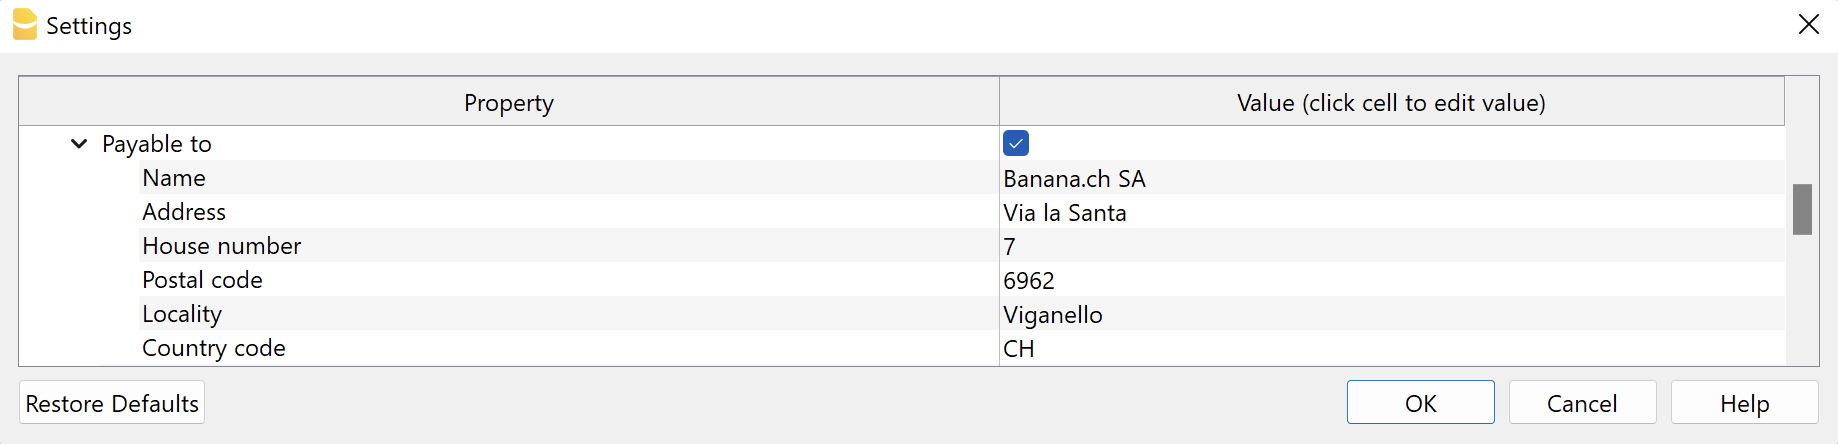
Customer address
The customer address on the invoice is entered in the Accounts table (integrated invoicing) or in the Contacts table (Offers and Invoices application).
The building number can be entered in either the Street column or the Building Number column. Both options are correct.
The Building Number column accepts any character up to a maximum of 16 characters:
The Street column accepts any character up to a maximum of 70 characters:
Printing and sending in paper format
The QR-invoice can be printed and sent in paper format. To do so, it is necessary to use a special perforated sheet of white paper.
Testing QR-Code
The invoice PDFs with QR codes can be tested with the official validation page as described below:
- Create and save the QR invoice PDF.
- Visit the official validation page https://www.swiss-qr-invoice.org/validator
- Drag the PDF file to the blue area.
If the code is correct, the page will display the content of the QR code. On the other hand, if there are any problems, they will be displayed in red.
If no red messages are shown, the QR is considered correct (see example below).
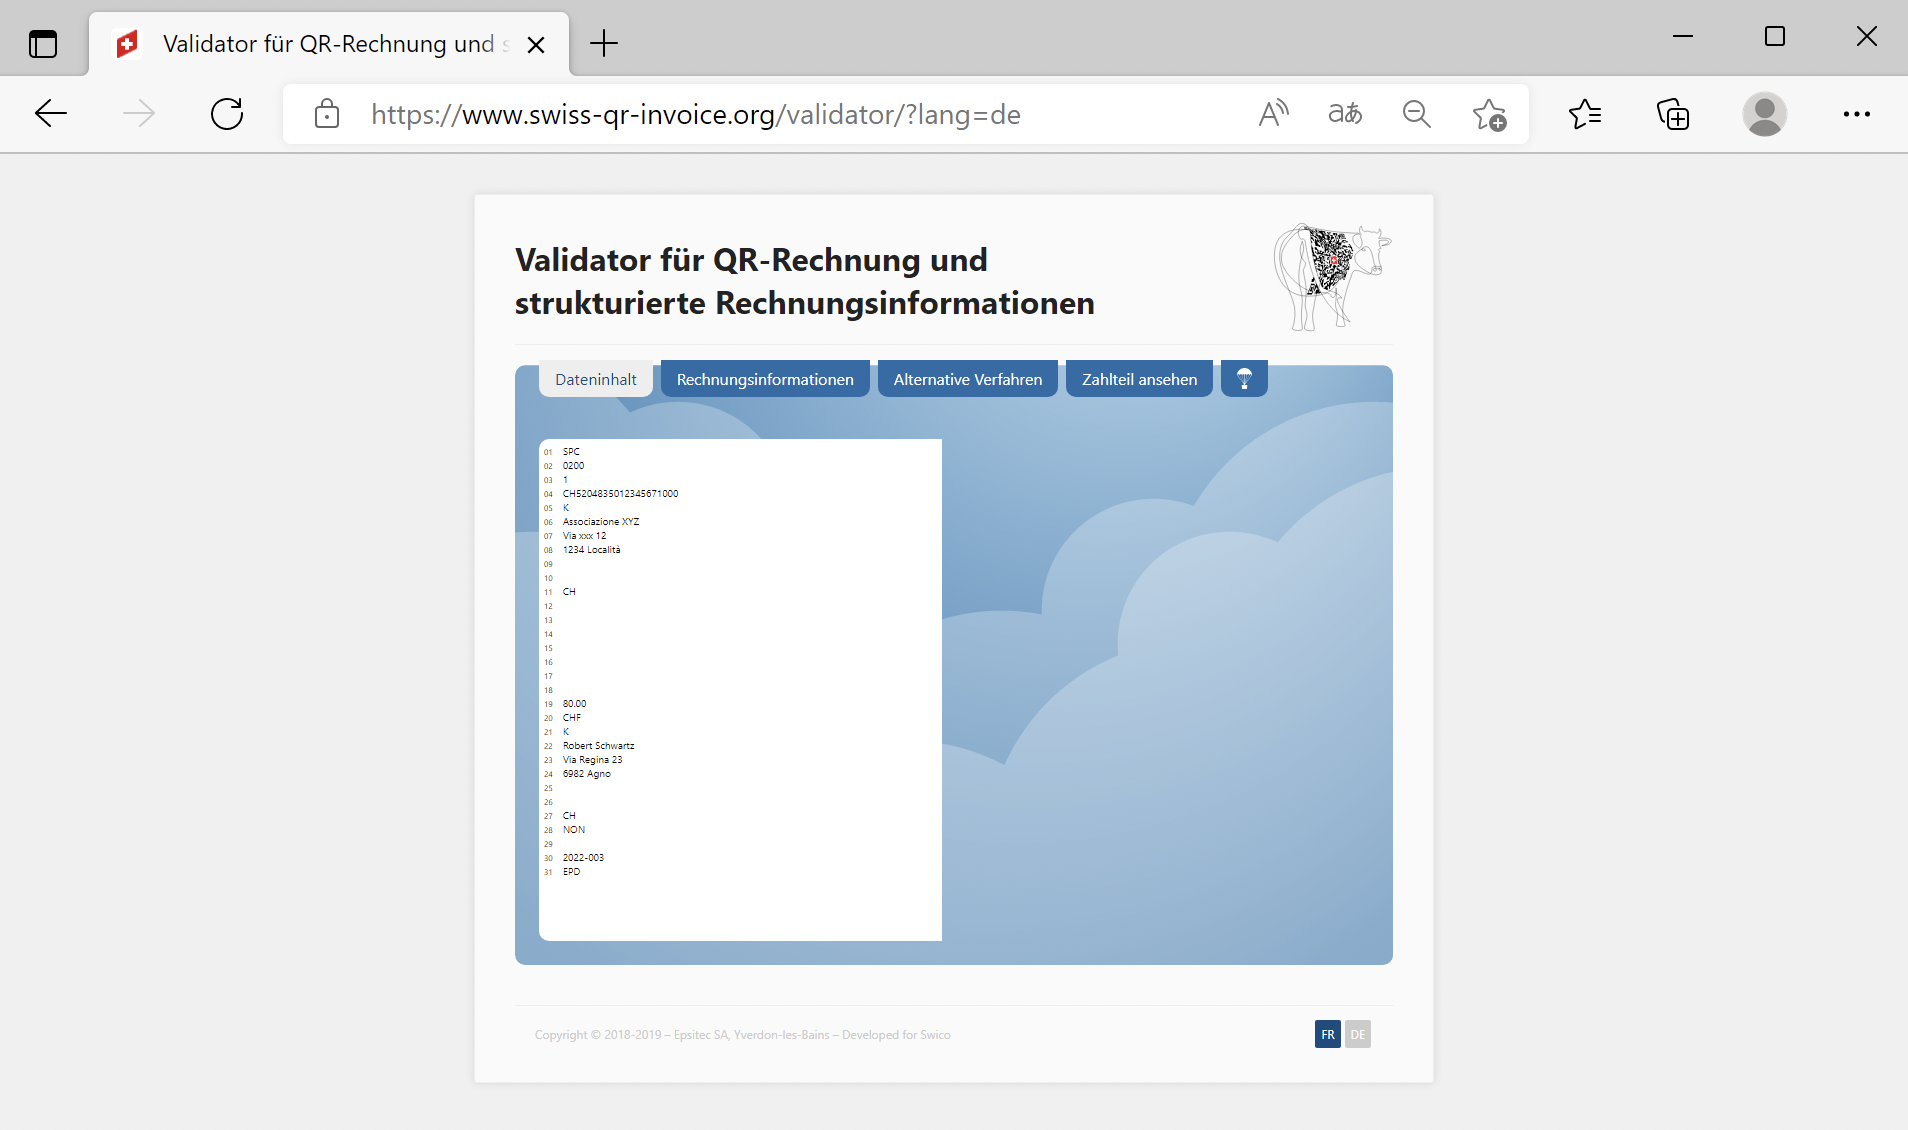
QR-Invoice using a regular IBAN account
With the QR-Invoice you can use your normal IBAN account where you will receive invoice payments, which you will see on your bank statement along with all other movements.
You can use it for payments either in CHF or EUR, in Switzerland or towards Europe.
The QR policy with IBAN and Reference looks like this:

Importing payment data
Invoice payment data is contained along with all other movements in your IBAN account.
- The digital format bank statement is camt.053.
- The Bank statement extension Camt ISO 20022 (Switzerland) decodes the Creditor Reference and completes the entry with the customer account and invoice number.
- You can see paid and outstanding or partially paid invoices from the open invoice statement.
Entering the IBAN account number
You must indicate the IBAN account the first time you print invoices.
- The IBAN for an account in CHF:
- It is automatically resumed from the basic data File > File and accounting properties > Address tab IBAN account field.
- If it is not defined in the basic data, the IBAN is retrieved from the QR invoice settings, Code QR > SCOR/NON > IBAN section.
- If the IBAN code is entered both in the file properties and in the invoice settings, the one entered in the invoice settings will be used.
- The IBAN for an account in EUR:
- It is retrieved from the QR invoice settings, QR Code > SCOR/NON > IBAN EUR.
Type and IBAN setup:
- Access the QR invoice settings dialog, QR Code section
- Ensure that SCOR is selected as the QR reference type.
- Under SCOR / NON enter the IBAN of the account where you wish to receive payments.
You can use the default IBAN field or alternatively the IBAN EUR field.

IBAN is the account number where the payments will converge.
- It has the following format
- CHXX 3000 0XXX XXXX XXXX X
For a Swiss bank account it starts with "CH" - LIXX 3000 0XXX XXXX XXXX X
For a Liechtenstein bank account it starts with "LI"
- CHXX 3000 0XXX XXXX XXXX X
- It's length is of 21 characters.
The IBAN is mandatory and is provided by the bank.
Referencing (Creditor Reference)
Contains the customer's account number and invoice number and is used to automate the registering of invoice payments.
- Structured Creditor Reference (SCOR) follows the ISO 11649 standard, which allows the QR invoice to be used in International and European payment transactions (SEPA).
- The Creditor Reference is automatically generated when using the customer number and the invoice number.
- The format is RFXX XXXX XXXX XXXX:
- The Creditor Reference is an alphanumeric string, of up to 25 characters long and begins with the letters "RF".
The program automatically prepares the reference in this way:
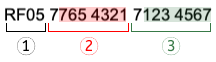
- Initial letters "RF" (1).
- After the letters, there are two control digits (calculated according to the specifications of the standard) (1).
- Follows the customer's account number of the Chart of Accounts, which receives the invoice (2).
- The first numeric character indicates the length of the account (minimum 1, maximum 7).
- The rest is the account ID of the Chart of Accounts.
It can only consist of numbers or letters of the ASCII alphabet (A-Z). It must not contain spaces, separators or other characters. These will be removed. - If the customer number is not present, a "0" is indicated.
- The invoice number follows (3).
- The first numeric character indicates the length of the invoice number (minimum 1, maximum 7).
- It can only consist of numbers or letters of the ASCII alphabet (A-Z) for a maximum length of 7 characters. It must not contain spaces, separators or other characters. If there are separators in the invoice number or else they are removed. It is therefore possible that when importing payment data, the program may not be able to match.
- If the invoice number is not present, a "0" is indicated.
QR-Invoice with IBAN and Creditor Reference number
The QR section will contain all the data necessary for payment:
- The IBAN account that will receive the payment and the name and address of the account holder.
- The reference number, with the customer's account and invoice number.
- The customer's address.
- It can be used for amounts in CHF or EUR.
| IBANIt must be entered in the File > File and accounting properties > Address section, or in the appropriate field of the invoice settings dialog. | |||
ReferenceIt is generated automatically using the customer number and the invoice number. |
QR-Invoice with IBAN, Reference and without amount
The invoice without amount is used when you want to let the customer choose the amount to be paid.
It contains the number of customer references, therefore it is possible to assign the amounts to the specific customer and hence automatically close any invoices still open.
In the printout, a box is left empty for the amount to be filled. It is used for:
- For donations where the payer freely decides the amount.
- For associations where the payer can choose different amounts.
- For several payments, always specific to the same customer.
For example rent payment. - Amounts in CHF and EUR can be indicated.
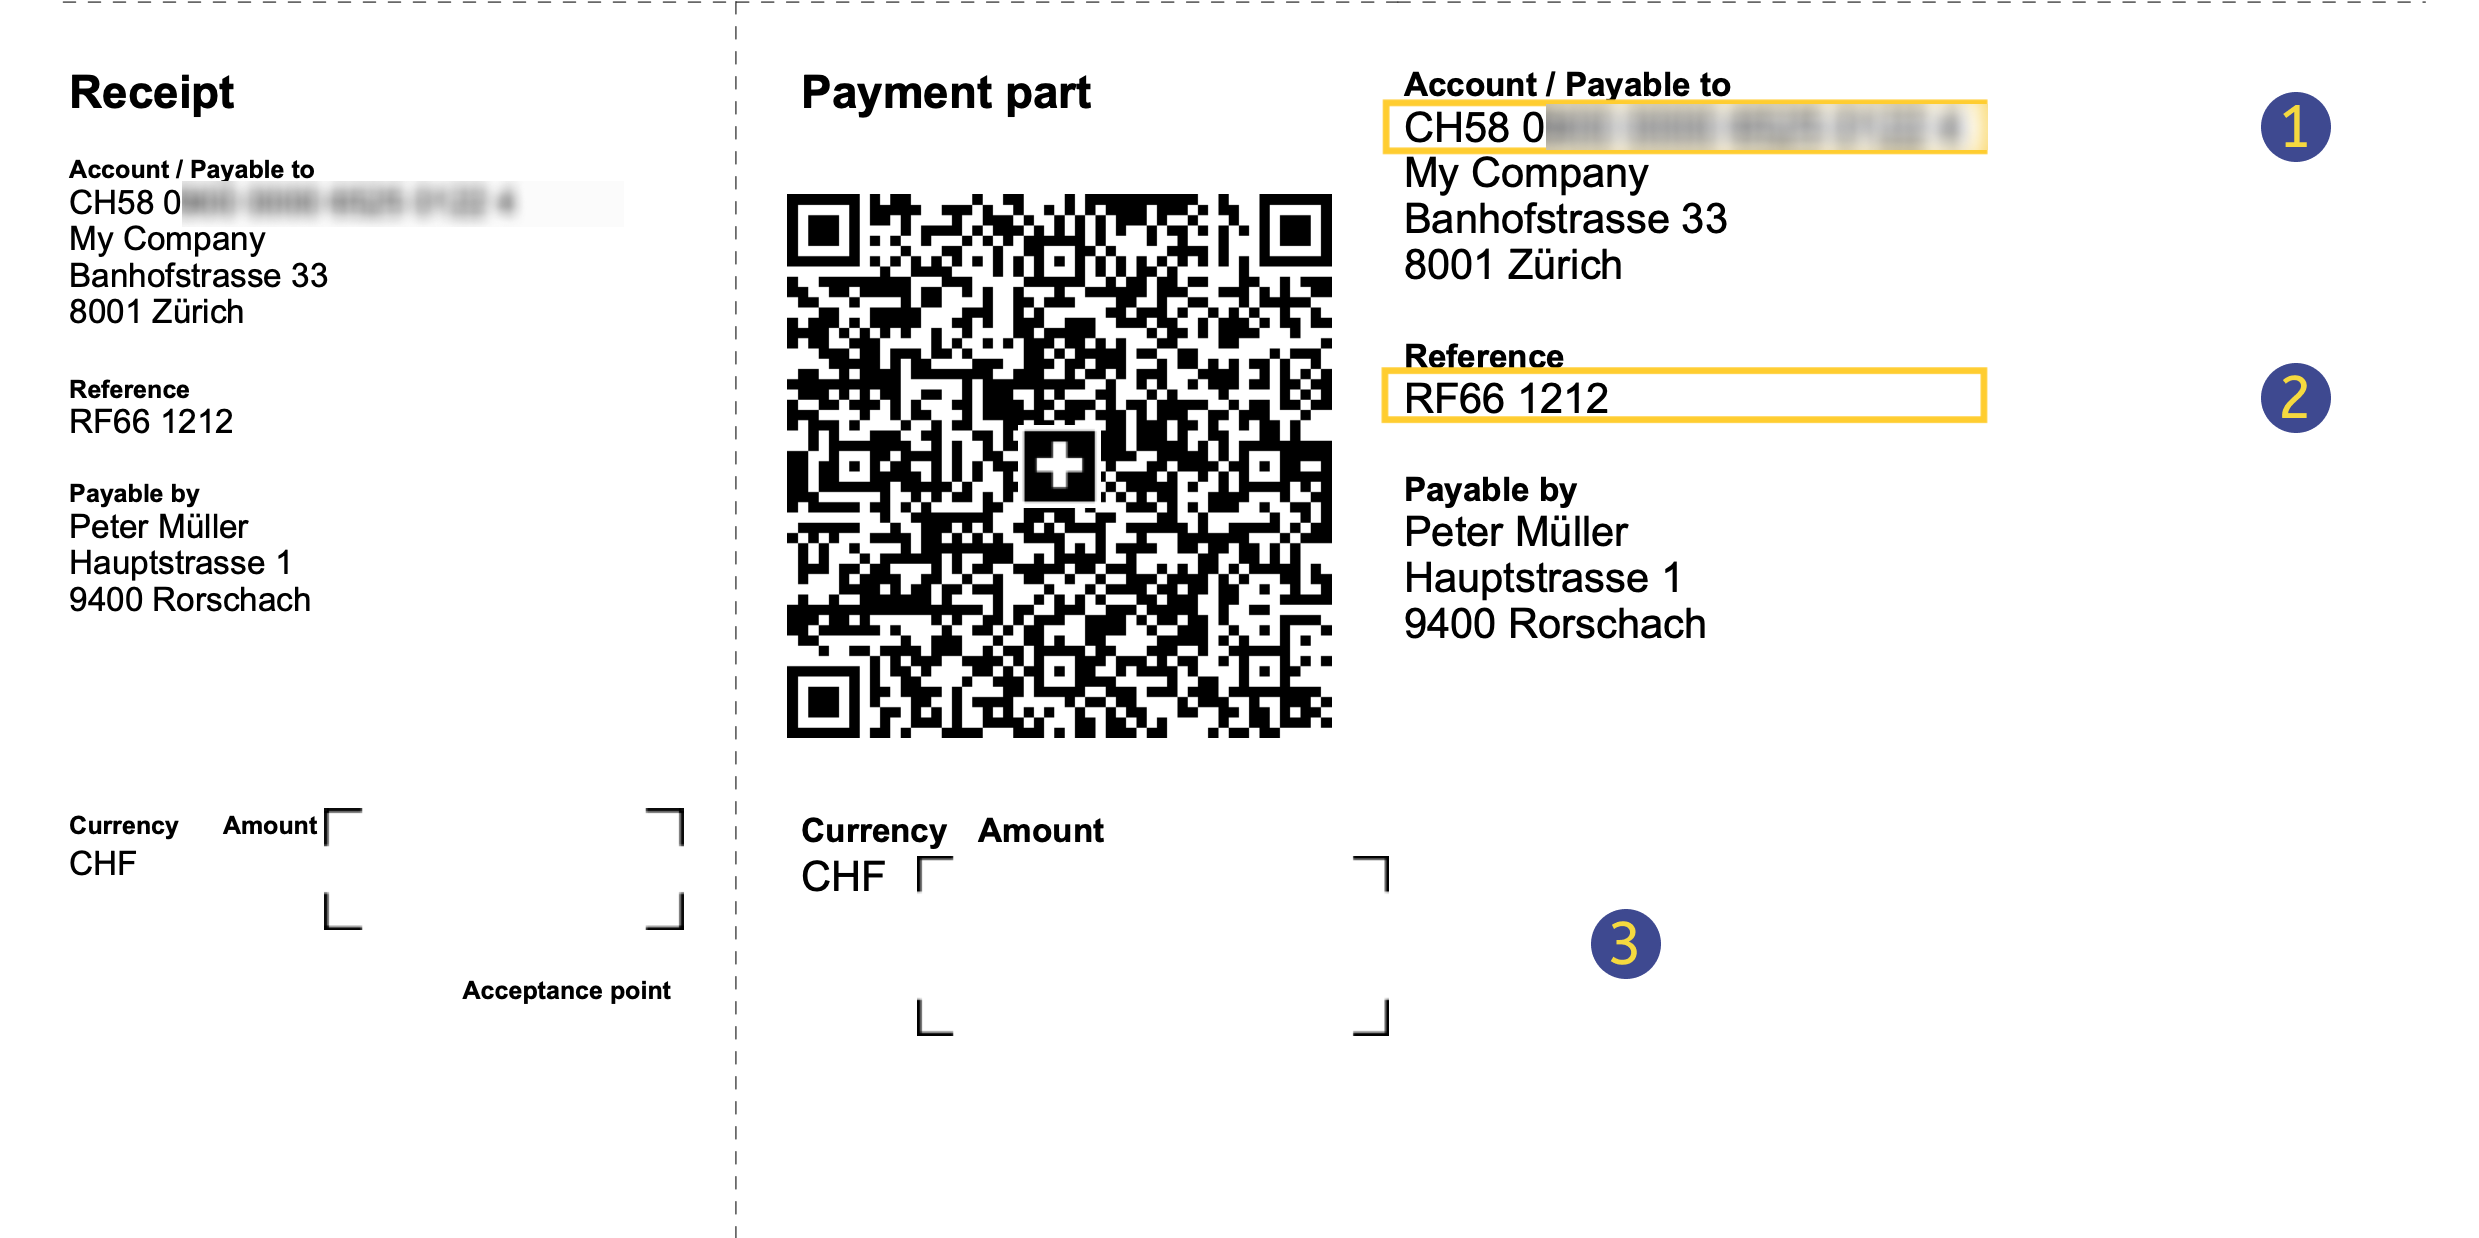 |  | IBANIt must be entered in the File > File and accounting properties > Address section, or in the appropriate field of the invoice settings dialog. | ||
 | ReferenceIs generated automatically using the customer number and the invoice. | |||
 | Without amountIn the QR Code section of the invoice settings dialogue, the option Exclude invoice amount must be selected. |
Printing without amount is not to be confused with the invoice with zero amount. If the amount is zero, it means that the customer does not have to pay anything, this way a notice is inserted on the bill indicating that the it must not be used.
QR invoice with IBAN and without Reference
QR invoice with IBAN and without reference
This method is used if you want to print bills without an invoice number and without a customer number.
Therefore it cannot be used to register payments automatically.
For the payment area in CHF (CH / FL), without reference. This replaces the current red payment slip PV.
 | IBANIt must be entered in the File > File and accounting properties > Address section, or in the appropriate field of the invoice settings dialog. | |||
|
- Reason for payment: in the QR invoice it is not possible to manually enter the payment reason, this must always be printed with the QR code.
Insert your data:
- Access dialog setup.
- Go to the QR Code section and fill in the following.
- From the QR reference type list select NON.
- Under SCOR / NON enter the IBAN.

QR-Invoice using special QR-IBAN account (ISR compatible)
The invoice system with the QR-IBAN is for those who want to have an invoicing and payment recording system that is compatible with the ISR payment slip orange (ISR) and red (IS).
- Your bank must assign you a QR-IBAN account number.
The IBAN number from the 5th number starts with 3. - In the digital bank statement (camt053) you only have the daily summary data.
- To register payments, you must download the appropriate file (Camt054).
Inserting of QR-IBAN account number
The QR-IBAN account is taken over from the QR invoice settings.
To use this QR invoice version, access the invoice settings dialog and enter your details.
- Access the dialog setup.
- Go to the QR Code section.
- Activate Print QR Code.
- From the QR reference type list select QRR.
- Under QRR insert:
- The QR-IBAN
- The Membership number.
It is communicated by your bank when it exists.
For Postfinance leave blank.

QR invoice with QR-IBAN and QR reference (QRR)
It will replace the current orange ISR payment slip and is limited to the CHF payment area in
 | QR-IBANMust be entered in the appropriate field of the invoice dialog setup of the invoice. | |||
QR referenceIt is generated using the membership number (when it exists), customer number and invoice number. |
QR-IBAN Account
- CHXX 3000 0XXX XXXX XXXX X
For a Swiss bank account it starts with "CH" - LIXX 3000 0XXX XXXX XXXX X
For a Liechtenstein bank account it starts with "LI" - The QR-IBAN is mandatory and is provided by the bank.
- The QR-IBAN contains a special code which is used to identify the financial institution (IID-QR). Numbers ranging from 30000 to 31999 are reserved for this code.
QR reference (QRR)
It contains the data that allows the precise identification of the invoice that has been collected. The QRR is returned at the moment of payment, so that the program can automatically complete the registration of the invoice that has been paid.
- XX XXXXX XXXXX XXXXX XXXXX XXXXX
- The QR reference is mandatory.
- The QR reference is structured in the same way as the PVR (27 numeric characters).
The program automatically prepares the reference in this way:
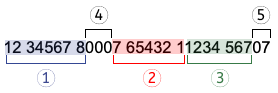
- The membership number (1).
- The maximum length allowed is of 8 digits.
- The number entered in the invoice settings is taken over.
- If it does not exist, zeros are inserted.
- There follow 3 digits always "000" (4).
- The customer number (2).
- The maximum length allowed is of 7 digits.
- It can only consist of numbers. It must not contain ASCII (A-Z) letters, spaces, separators or other characters.
- It is aligned to the right, with zeroes in front.
- Invoice number (3).
- The maximum length allowed is of 7 digits.
- It can only consist of numbers. It must not contain ASCII (A-Z) letters, spaces, separators or other characters.
- It is aligned to the right, with zeroes in front.
- The penultimate digit is always "0" (5).
- The last digit is the control digit (calculated according to the specifications of the standard) (5).
Import payment data
Using the extension Bank statement Camt ISO 20022 (Switzerland) it is possible to import and convert account statement movements into accounting movements.
The invoice data issued with the QR-IBAN are provided in a file in the camt054 format.
In the normal bank statement (camt053) there is only the sum of all the payments of the day.
Advanced invoice layout customisations
The following advanced customization features require the Advanced Banana Accounting Plus plan.
Advanced layout customisation (with programming)
The CH10 layout can be customised with specific programming.
- Programming in Javascript
- You can further customise the printout by creating functions that replace the default ones, for printing the header, addresses, details, text and footer.
- Creation of CSS styles
- You can tailor your printing even more with the creation of custom styles so that you can change the appearance of the invoice (text formatting, positioning of elements, etc.).
Creating your own print layouts
- Customisation by creating your own customised layout.
- Requires programming in Javascript.
- You can use the existing layout and modify it as desired.
Invoice customisation with JavaScript
The Banana invoice is constructed with a Javascript program. The Extension also allows you to add Javascript programming so that you can completely customize the content and format of the invoice (this functionality requires the Advanced plan).
See more about Banana Accounting API Extensions Reference.
Add your custom Javascript file
Three steps are required to define and use your Javascript file:
- Add the document table to the Banana Accounting file.
If it is not already present you need to add the Documents table in the Banana document with the menu command Tools > Add new features > Add document table. - Add a new Javascript type document to the document table.
- In the ID column enter the file name including the extension .js (e.g. "myFile.js").
If the id is missing the ".js" at the end, it won't work. - In the Description column enter a comment (optional).
- In the Attachments column, double click on the cell or select the edit symbol, then select Javascript Code and confirm with OK.
- An editor will open in which you can write the code.
- Delete everything in it.
- Insert the Javascript code. You can modify the content at any time.
Documents table - Javascript Code attachment
- In the ID column enter the file name including the extension .js (e.g. "myFile.js").
- Tell the invoice layout to use the customized Javascript attachment file.
- Select Settings of the Print invoices dialogue.
- In the Javascript/CSS > JS file name, enter the name of the newly created Javascript attachment file with the extension ".js" at the end (e.g. "myFile.js").
- Click Ok to confirm.
Settings Dialogue - Javascript File Property
Javascript Hook Replacement Functions
The invoice layout is created with a set of predefined Javascript functions.
The hook functions are Javascript replacements functions to be used instead of the the predefined.
The hook functions should be defined in the ".js" file of the Documents table.
- The name of the hook function is the name of the predefined function used in the layout, preceded by the text "hook_".
For example, if you want to change the header printing you have to define the hook_print_header() that will replace the predefined print_header() function.- The parameters must be the same as those used in the main function.
- If you create your own hook function, it is necessary to know how it works the function you want to replaces.
- When generating the invoice, the layout extension checks for the existence of a hook replacement function and, if available, utilizes it to substitute the predefined function.
- Hook functions let you selectively change some part of how the invoice is build, without directly modifying the original script of the invoice Layout.
Graphic explanation of the Hook functions
With the hook functions, you can customize the following sections of the invoice.
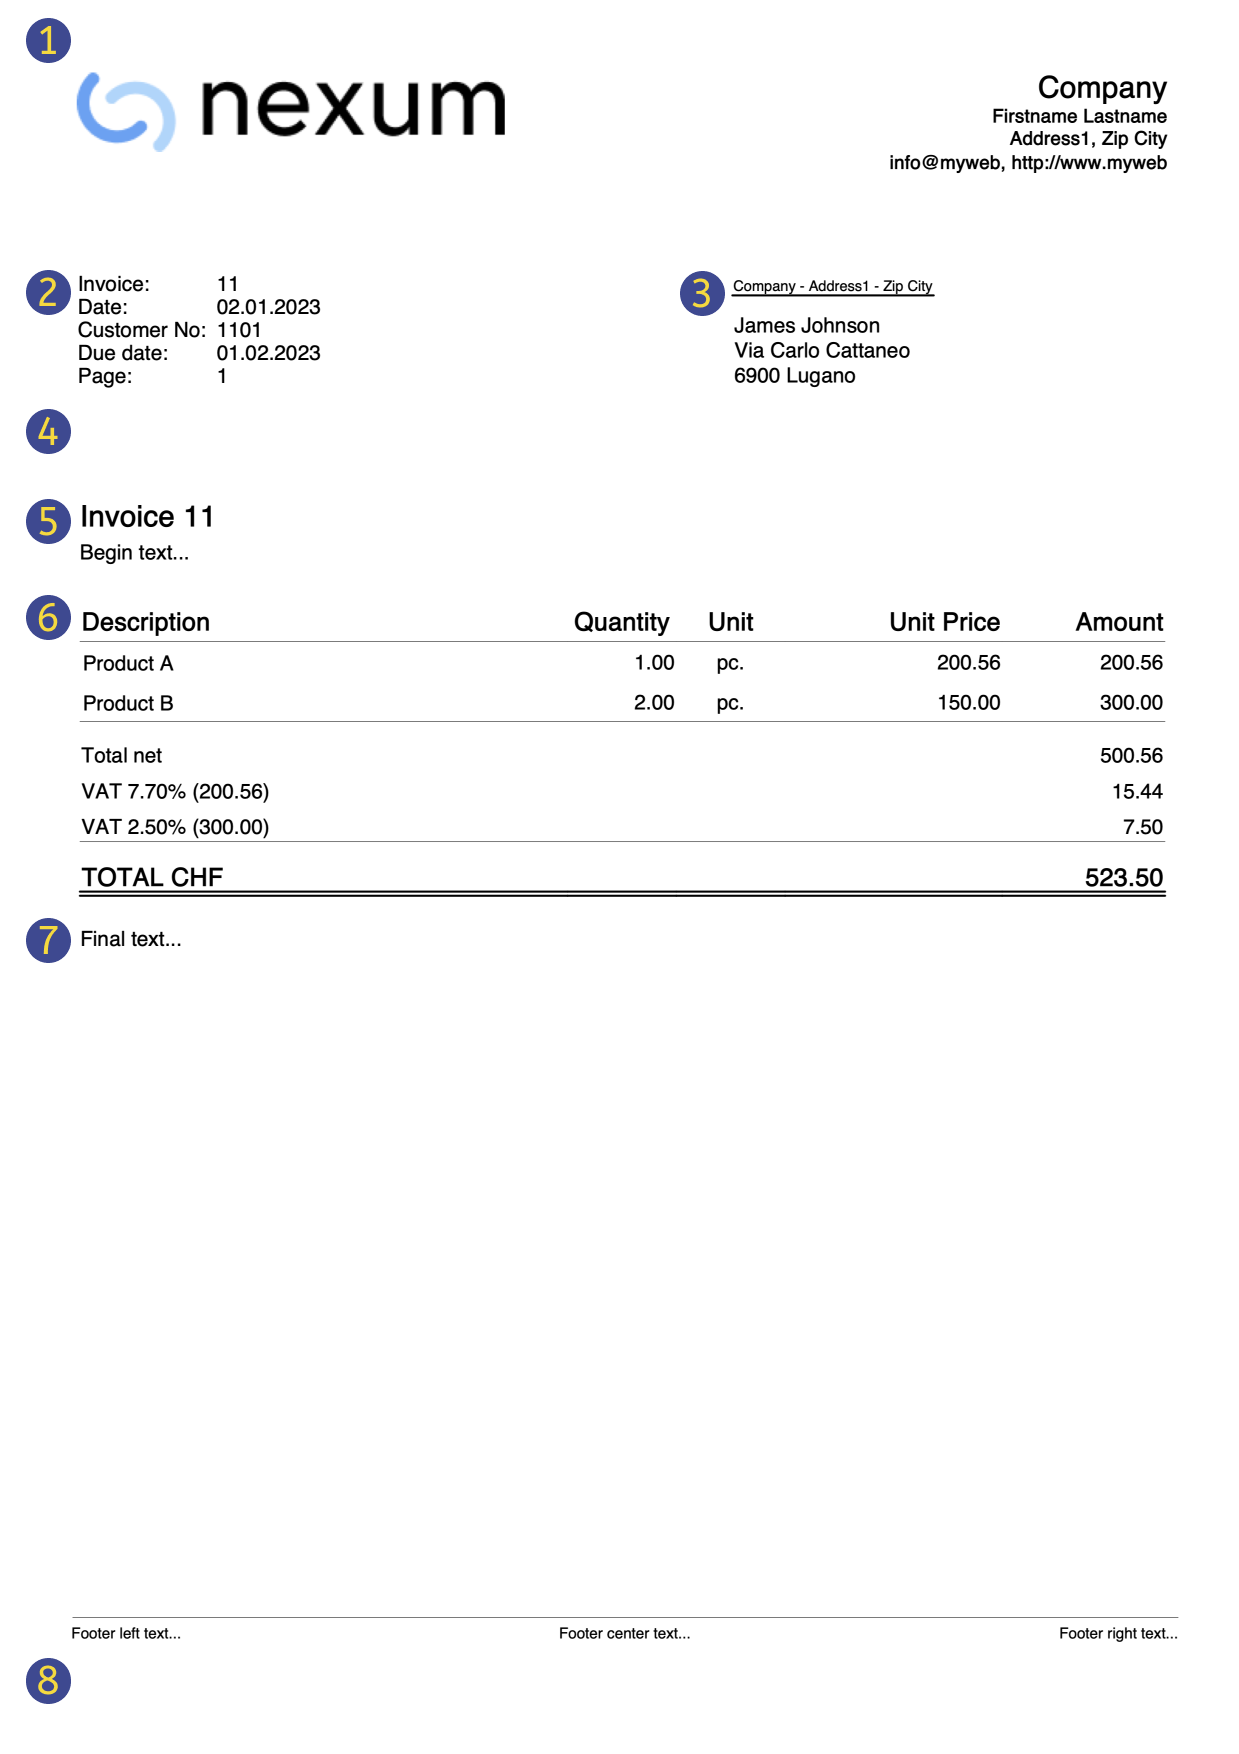
(1) hook_print_header()
Function that prints the header part of the invoice (logo and texts).
(2) hook_print_info_first_page() and hook_print_info_other_pages()
Functions that print the information parts of the invoice.
(3) hook_print_customer_address()
Function that prints the customer address part of the invoice.
(4) hook_print_shipping_address()
Function that prints the shipping address part of the invoice (in case it exists).
(5) hook_print_text_begin()
Function that prints the title and begin text parts of the invoice.
(6) hook_print_details_net_amounts() and hook_print_details_gross_amounts()
Functions that print the invoice details using net/gross amounts.
Use the hook_formatItemsValue() function to change the format and style of the items.
(7) hook_print_final_texts()
Function that prints the final texts, notes and greetings parts of the invoice, right after the invoice details.
(8) hook_print_footer()
Function that prints the footer at the bottom of the page (usable only when not printing the QR slip).
Invoice Layout Hook Functions Reference
This document provides a reference for all available invoice layout hook functions, including their exact names, the required parameters in the correct order, and detailed descriptions of each parameter’s purpose, and example usage. The empty function bodies should be replaced with your own implementation.
Rules:
- You must use the exact function name listed.
- Parameters must be passed in exact order shown.
- You cannot add, remove, or rename parameters.
- All parameters are required.
List of available invoice layout hook functions:
/**
 * Sets or updates all variables used by the invoice layout script.
 * @param {Object} variables - MUTABLE object containing layout variables (colors, fonts, decimals, margins).
 * @param {Object} userParam - User parameters that may override or extend the variables.
 * @returns {void}
 */
function hook_set_variables(variables, userParam) {...}

/**
 * Prints the header at the top of the page (logo, company name, address).
 * @param {Object} repDocObj   - Document object for output.
 * @param {Object} userParam   - User parameters that include affecting header content and style.
 * @param {Object} repStyleObj - Document CSS style object.
 * @param {Object} invoiceObj  - Invoice data (issuer, customer, logo, etc.).
 * @param {Object} texts       - Localized labels and strings (e.g., "Address", "Phone").
 * @returns {void}
 */
function hook_print_header(repDocObj, userParam, repStyleObj, invoiceObj, texts) {...}

/**
 * Prints invoice information on the first page (invoice number, date, terms, references).
 * @param {Object} repDocObj  - Document object for output.
 * @param {Object} invoiceObj - Invoice data (number, dates, payment terms, etc.).
 * @param {Object} texts      - Localized labels for displayed fields.
 * @param {Object} userParam  - User parameters that include affecting information content for page 1.
 * @returns {void}
 */
function hook_print_info_first_page(repDocObj, invoiceObj, texts, userParam) {...}

/**
 * Prints invoice information from page 2 onwards (invoice number, date, terms, references).
 * @param {Object} repDocObj  - Document object for output.
 * @param {Object} invoiceObj - Invoice data (number, dates, payment terms, etc.).
 * @param {Object} texts      - Localized labels for displayed fields.
 * @param {Object} userParam  - User parameters that include affecting information content for page > 1.
 * @returns {void}
 */
function hook_print_info_other_pages(repDocObj, invoiceObj, texts, userParam) {...}

/**
 * Prints the customer's billing address.
 * @param {Object} repDocObj  - Document object for output.
 * @param {Object} invoiceObj - Invoice data with customer information (name, street, ZIP, city, country).
 * @param {Object} userParam  - User parameters that include affecting customer address content and style.
 * @returns {void}
 */
function hook_print_customer_address(repDocObj, invoiceObj, userParam) {...}

/**
 * Prints the shipping address.
 * @param {Object} repDocObj  - Document object for output.
 * @param {Object} invoiceObj - Invoice data with shipping information (recipient, address).
 * @param {Object} texts      - Localized labels (e.g., "Ship to").
 * @param {Object} userParam  - User parameters that include affecting shipping address content visibility.
 * @returns {void}
 */
function hook_print_shipping_address(repDocObj, invoiceObj, texts, userParam) {...}

/**
 * Prints the introductory block before the invoice details (title, opening text).
 * @param {Object} repDocObj  - Document object for output.
 * @param {Object} invoiceObj - Invoice data with begin text.
 * @param {Object} texts      - Localized titles and messages (e.g., "Invoice").
 * @param {Object} userParam  - User parameters that include affecting text begin content.
 * @returns {void}
 */
function hook_print_text_begin(repDocObj, invoiceObj, texts, userParam) {...}

/**
 * Prints the details table using NET amounts (VAT excluded).
 * @param {Object} banDoc       - Accounting/data source (for calculations or lookups).
 * @param {Object} repDocObj    - Document object for output.
 * @param {Object} invoiceObj   - Invoice data (currency, items, amounts, VAT, totals, etc.).
 * @param {Object} texts        - Column labels and strings (Qty, Price, VAT, Total, etc.).
 * @param {Object} userParam    - User parameters that include affecting invoice details content and style.
 * @param {Array|Object} detailsTable - Rows/structure of the table (items, quantities, prices).
 * @param {Object} variables    - Calculated layout variables (column widths, CSS classes, partial totals).
 * @returns {void}
 */
function hook_print_details_net_amounts(banDoc, repDocObj, invoiceObj, texts, userParam, detailsTable, variables) {...}

/**
 * Prints the details table using GROSS amounts (VAT included).
 * @param {Object} banDoc       - Accounting/data source (for calculations or lookups).
 * @param {Object} repDocObj    - Document object for output.
 * @param {Object} invoiceObj   - Invoice data (currency, items, amounts, VAT, totals, etc.).
 * @param {Object} texts        - Column labels and strings (Qty, Price, VAT, Total, etc.).
 * @param {Object} userParam    - User parameters that include affecting invoice details content and style.
 * @param {Array|Object} detailsTable - Rows/structure of the table (items, quantities, prices).
 * @param {Object} variables    - Calculated layout variables (column widths, CSS classes, partial totals).
 * @returns {void}
 */
function hook_print_details_gross_amounts(banDoc, repDocObj, invoiceObj, texts, userParam, detailsTable, variables) {...}

/**
 * Prints the final texts (notes, terms, thanks) after the details table.
 * @param {Object} repDocObj  - Document object for output.
 * @param {Object} invoiceObj - Invoice data with final texts.
 * @param {Object} userParam  - User parameters that include affecting final texts content and style.
 * @returns {void}
 */
function hook_print_final_texts(repDocObj, invoiceObj, userParam) {...}

/**
 * Prints the footer at the bottom of the page. Use only when NOT printing the QR slip section.
 * @param {Object} repDocObj - Document object for output.
 * @param {Object} texts     - Localized labels and strings.
 * @param {Object} userParam - User parameters that include affecting footer content and style.
 * @returns {void}
 */
function hook_print_footer(repDocObj, texts, userParam) {...}

/**
 * Formats the value and sets the CSS className of the item.
 * @param {*} value           - Original cell value (number, string, date).
 * @param {Object} variables  - Layout/context variables for formatting rules.
 * @param {string} columnName - Column name (for column-specific rules).
 * @param {string} className  - Initial className that can be changed.
 * @param {Object} item       - The current row/item object (for data-dependent rules).
 * @returns {Object}          - Return the formatted value and className.
 */
function hook_formatItemsValue(value, variables, columnName, className, item) {...}

/**
 * Allows modification of QR code settings (fields and formatting) before printing.
 * @param {Object} invoiceObj - Invoice data relevant to payment/QR.
 * @param {Object} qrcodeData - QR settings object to read/overwrite (IBAN, amount, reference).
 * @returns {void}
 */
function hook_modify_settings_qr(invoiceObj, qrcodeData) {...}
Examples of a hook functions
Within your hook function you can call the original hook function. This way you can limit the changes to the code.
For example this hook function call the original one, only in a specific case.
/**
 * This function prints the final text only for INVOICES and not for CREDIT NOTES.
 * Invoices = DocType 10
 * Credit notes = DocType 12
 */
function hook_print_final_texts(sectionClassFinalTexts, invoiceObj, userParam) {
   // We can check the DocType and print the text only when is not 12
   if (invoiceObj.document_info.doc_type !== "12") {
      print_final_texts(sectionClassFinalTexts, invoiceObj, userParam);
   }
}
Predefined variables
The predefined variables are the default used by the invoice layout script.
The variables for decimals start with "decimals_". (decimals_quantity, decimals_unit_price, decimals_amounts).
The variable that start with "$" are template variable that you can use in the CSS styles ($font_family, $font_size, $text_color, ...).
Example of an extract of the predefined CSS invoice layout.
body {
  font-family: $font_family;
  font-size: $font_size;
  color: $text_color;
}
List of all predefined variables and their default values that you can override with the hook_set_variables() function:
/* Variable that sets the decimals of the Quantity column */
variables.decimals_quantity = "";
/* Variable that sets the decimals of the Unit Price column */
variables.decimals_unit_price = 2;
/* Variable that sets the decimals of the Amount column */
variables.decimals_amounts = 2;
/* Variables that set the colors */
variables.$text_color = userParam.text_color;
variables.$background_color_details_header = userParam.background_color_details_header;
variables.$text_color_details_header = userParam.text_color_details_header;
variables.$background_color_alternate_lines = userParam.background_color_alternate_lines;
variables.$color_title_total = userParam.color_title_total;
/* Variables that set the font */
variables.$font_family = userParam.font_family;
variables.$font_size = userParam.font_size+"pt";
/* Variables that set the font size and margins of the Invoice Begin Text */
variables.$font_size_title = userParam.font_size*1.4 +"pt";
/* Variables that set font size, margins, padding and borders of the Invoice Details */
variables.$font_size_header = userParam.font_size*1.2 +"pt";
variables.$font_size_total = userParam.font_size*1.2 +"pt";
/* Variables that set the position of the invoice address
 * Default margins when the address on right: 12.3cm margin left, 4.5cm margin top
 * Default margins when the address on left: 2.2cm margin left, 5.5cm margin top
 * Sum userParam dX and dY adjustments to default values */
variables.$right_address_margin_left = parseFloat(12.3) + parseFloat(userParam.address_position_dX)+"cm";
variables.$right_address_margin_top = parseFloat(4.5) + parseFloat(userParam.address_position_dY)+"cm";
variables.$left_address_margin_left = parseFloat(2.2) + parseFloat(userParam.address_position_dX)+"cm";
variables.$left_address_margin_top = parseFloat(5.5) + parseFloat(userParam.address_position_dY)+"cm";
Example of 'hook_set_variables' function
You can overwrite the predefined variable with the hook_set_variables() function.
Only use the variable that you want to replace.
// Example of hook function usage that sets
// the decimals of the Amounts columns to 4
// the font type to Times New Roman
function hook_set_variables(variables, userParam) {
   variables.decimals_amounts = 4;
   variables.$font_family = "Times New Roman";
}
Customize invoice print with Javascript
The following examples show how to adapt invoice printing with custom JavaScript hook function codes.
See Javascript customization for more information.
Add the final text on a new page
This example shows how to add the final text on a new page of the invoice.
/**
 * This function prints the final text on a new page of the invoice.
 */
function hook_print_final_texts(repDocObj, invoiceObj, userParam) {
   // Adds a page break before printing the final text
   repDocObj.addPageBreak();
   print_final_texts(repDocObj, invoiceObj, userParam);
}
Credit Notes without final text
Final text, notes and greetings are always printed, when defined, for both invoices and credit notes document types.
You can define a document type with the Type column of the Transactions table:
- For credit notes insert the value 12.
- For invoices insert the value 10.
In this example we want to make sure that all these texts are printed only for invoices but not for credit notes.
To do that, we simply define an hook function that replaces the default print_final_texts() function.
/**
 * This function prints the final text only for INVOICES and not for CREDIT NOTES.
 * Invoices = DocType 10
 * Credit notes = DocType 12
 */
function hook_print_final_texts(repDocObj, invoiceObj, userParam) {
   // We can check the DocType and print the text only when is not 12
   if (invoiceObj.document_info.doc_type !== "12") {
      print_final_texts(repDocObj, invoiceObj, userParam);
   }
}
With this change the final text, notes and greetings are now printed only for invoices, and not for credit notes anymore.
Add information "Invoice paid" to the final text
This example shows how to add the information "Invoice paid" to the final text, when the invoice is paid.
/**
 * This function prints the text "Invoice paid" on paid invoices.
 */
function hook_print_final_texts(repDocObj, invoiceObj, userParam) {
   if (invoiceObj.payment_info && invoiceObj.payment_info.payment_date) {
      var paragraph = repDocObj.addParagraph("","final_texts");
      paragraph.addText("Invoice paid on " + Banana.Converter.toLocaleDateFormat(invoiceObj.payment_info.payment_date));
      // [Optionally] Add a signature
      repDocObj.addImage("documents:sign.jpg", "6cm", "auto");
   }
}
Add a custom table as final text
This example shows how to add a custom table in the final texts of the invoice.
The table consists of 2 columns and three rows:
- Row 1: the header of the table. Contains the titles of the columns (Description and Amount).
- Row 2: the first data row of the table.
- Row 3: the second data row of the table.
To do that, we simply define an hook function that replaces the default print_final_texts() function.
/**
 * This function adds at the end of the invoice a table with a custom text.
 */
function hook_print_final_texts(repDocObj, invoiceObj, userParam) {
   print_final_texts(repDocObj, invoiceObj, userParam);
   // Add a table
   var mytable = repDocObj.addTable("MyTable");
   var tableRow;

   // Row 1: the header of the table, columns titles
   var header = mytable.getHeader();
   tableRow = header.addRow();
   tableRow.addCell("Description").setStyleAttributes("text-align:left; font-weight:bold; border:thin solid black;");
   tableRow.addCell("Amount").setStyleAttributes("text-align:left; font-weight:bold; border:thin solid black;");
   // Row 2: first data row of the table
   tableRow = mytable.addRow();
   tableRow.addCell("Workshop").setStyleAttributes("text-align:left; border:thin solid black;");
   tableRow.addCell("2'600.00").setStyleAttributes("text-align:right; border:thin solid black;");
   // Row 3: second data row of the table
   tableRow = mytable.addRow();
   tableRow.addCell("Material").setStyleAttributes("text-align:left; border:thin solid black;");
   tableRow.addCell("76.00").setStyleAttributes("text-align:right; border:thin solid black;");

   //...
}
You can easily add as many columns and rows as you like.
Use the setStyleAttributes() to apply CSS styles, like text-align, font-weight, color, border, ... Find more information on Syntax of a CSS stylesheet.
Find more examples in Working with Report Tables.
Example print: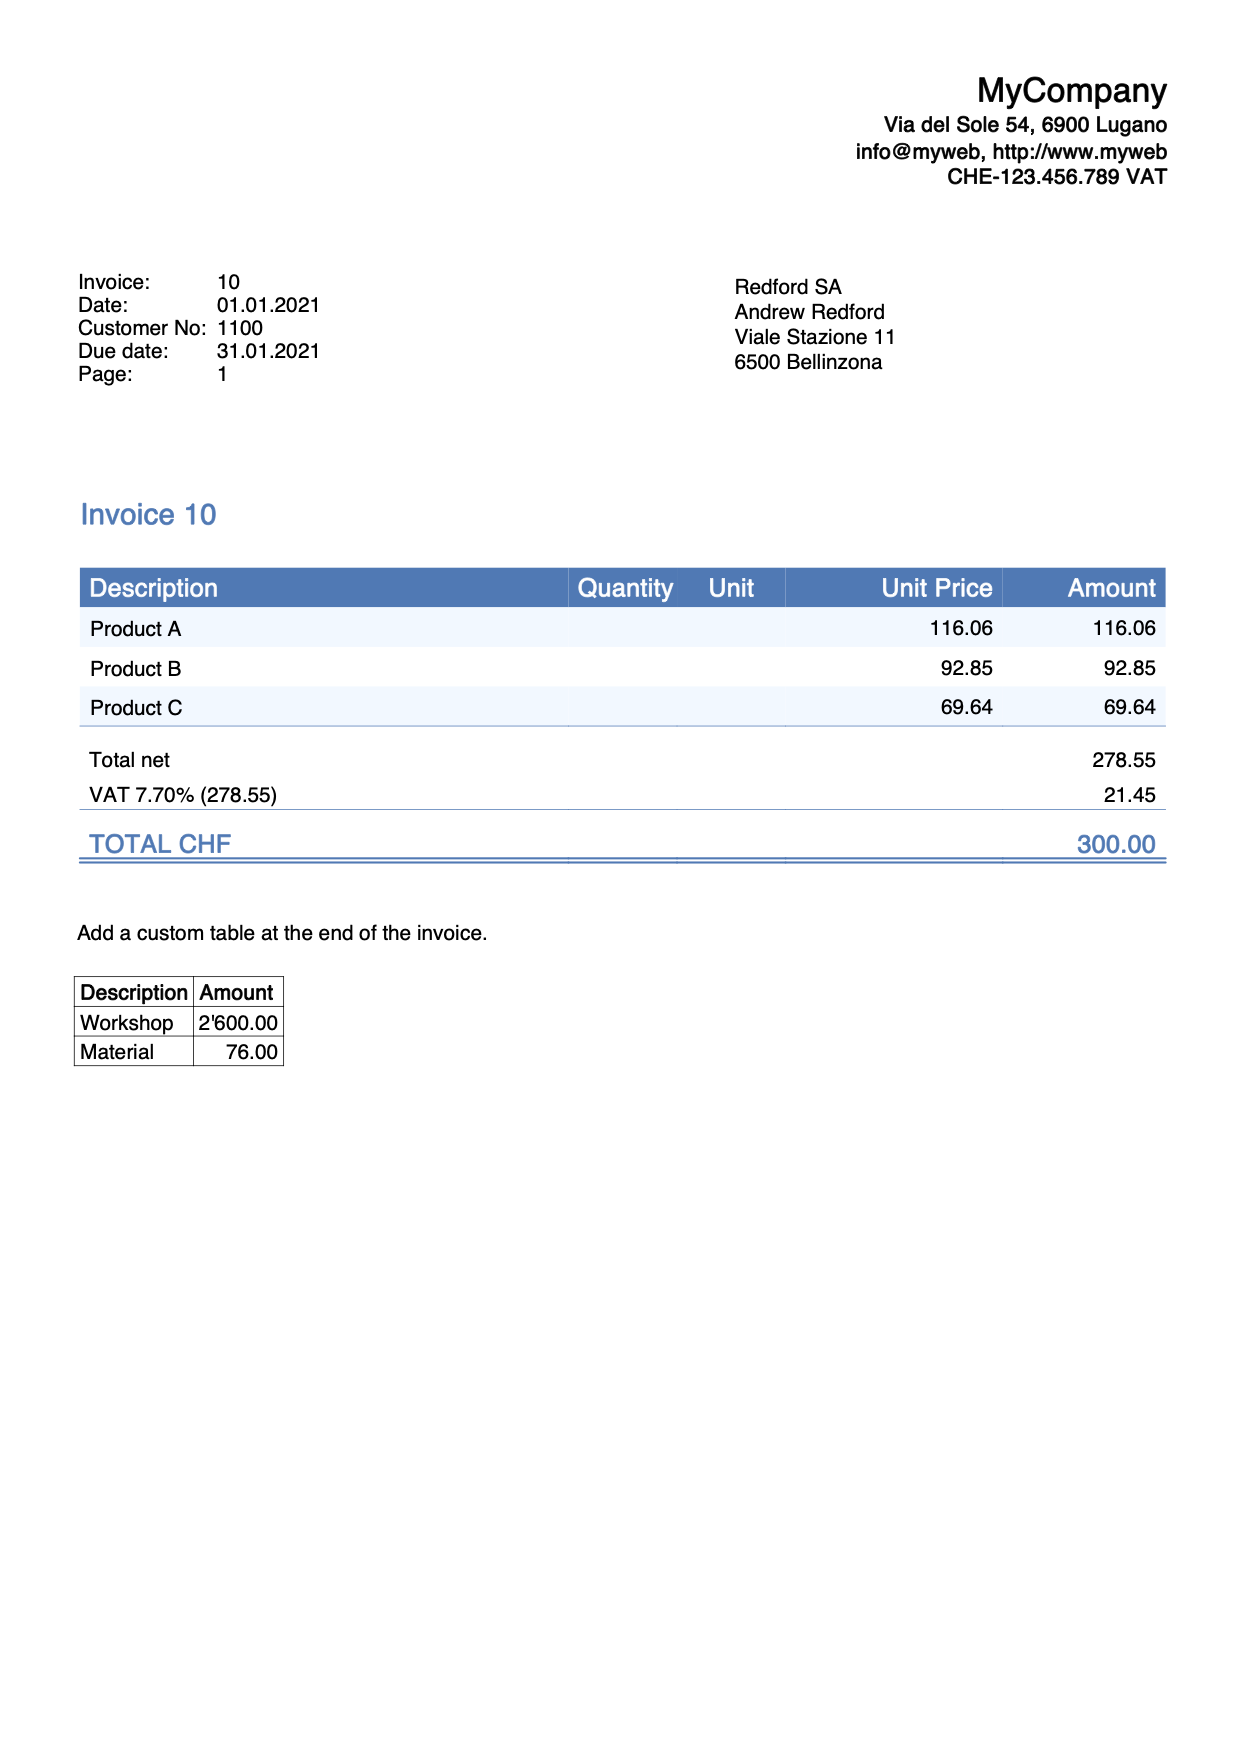
Add a custom table as final text with bank details
This example shows how to add a custom table in the final texts of the invoice with the bank details for the payment.
The table consists of 2 columns and 6 rows:
- Row 1: for the beneficiary data.
- Row 2-3-4: for the bank name and address.
- Row 5: for the IBAN code.
- Row 6: for the Swift code.
To do that, we simply define an hook function that replaces the default print_final_texts() function.
/**
 * This function adds at the end of the invoice a table with bank detais for the payment.
 */
function hook_print_final_texts(repDocObj, invoiceObj, userParam) {
   print_final_texts(repDocObj, invoiceObj, userParam);
   // Add a table
   var mytable = repDocObj.addTable("MyTable");
   var tableRow;
   // Row 1
   tableRow = mytable.addRow();
   tableRow.addCell("Beneficiary:").setStyleAttributes("text-align:left;padding-left:1px;");
   tableRow.addCell("BENEFICIARY NAME, ADDRESS, ZIP LOCALITY, COUNTRY").setStyleAttributes("text-align:left;padding-left:1px;");

   // Row 2
   tableRow = mytable.addRow();
   tableRow.addCell("Bank: ").setStyleAttributes("text-align:left;padding-left:1px;");
   tableRow.addCell("BANK NAME").setStyleAttributes("text-align:left;padding-left:1px;");
   // Row 3
   tableRow = mytable.addRow();
   tableRow.addCell("").setStyleAttributes("text-align:left;padding-left:1px;");
   tableRow.addCell("ADDRESS").setStyleAttributes("text-align:left;padding-left:1px;");
   // Row 4
   tableRow = mytable.addRow();
   tableRow.addCell("").setStyleAttributes("text-align:left;padding-left:1px;");
   tableRow.addCell("ZIP LOCALITY").setStyleAttributes("text-align:left;padding-left:1px;");
   // Row 5
   tableRow = mytable.addRow();
   tableRow.addCell("IBAN: ").setStyleAttributes("text-align:left;padding-left:1px;");
   tableRow.addCell("CHXX XXXX XXXX XXXX XXXX X").setStyleAttributes("text-align:left;padding-left:1px;");
   // Row 6
   tableRow = mytable.addRow();
   tableRow.addCell("Swift:").setStyleAttributes("text-align:left;padding-left:1px;");
   tableRow.addCell("AAAABBCCXXX").setStyleAttributes("text-align:left;padding-left:1px;");

   //...
}
You can easily add as many columns and rows as you like.
Use the setStyleAttributes() to apply CSS styles, like text-align, font-weight, color, border, ... Find more information on Syntax of a CSS stylesheet.
Example print: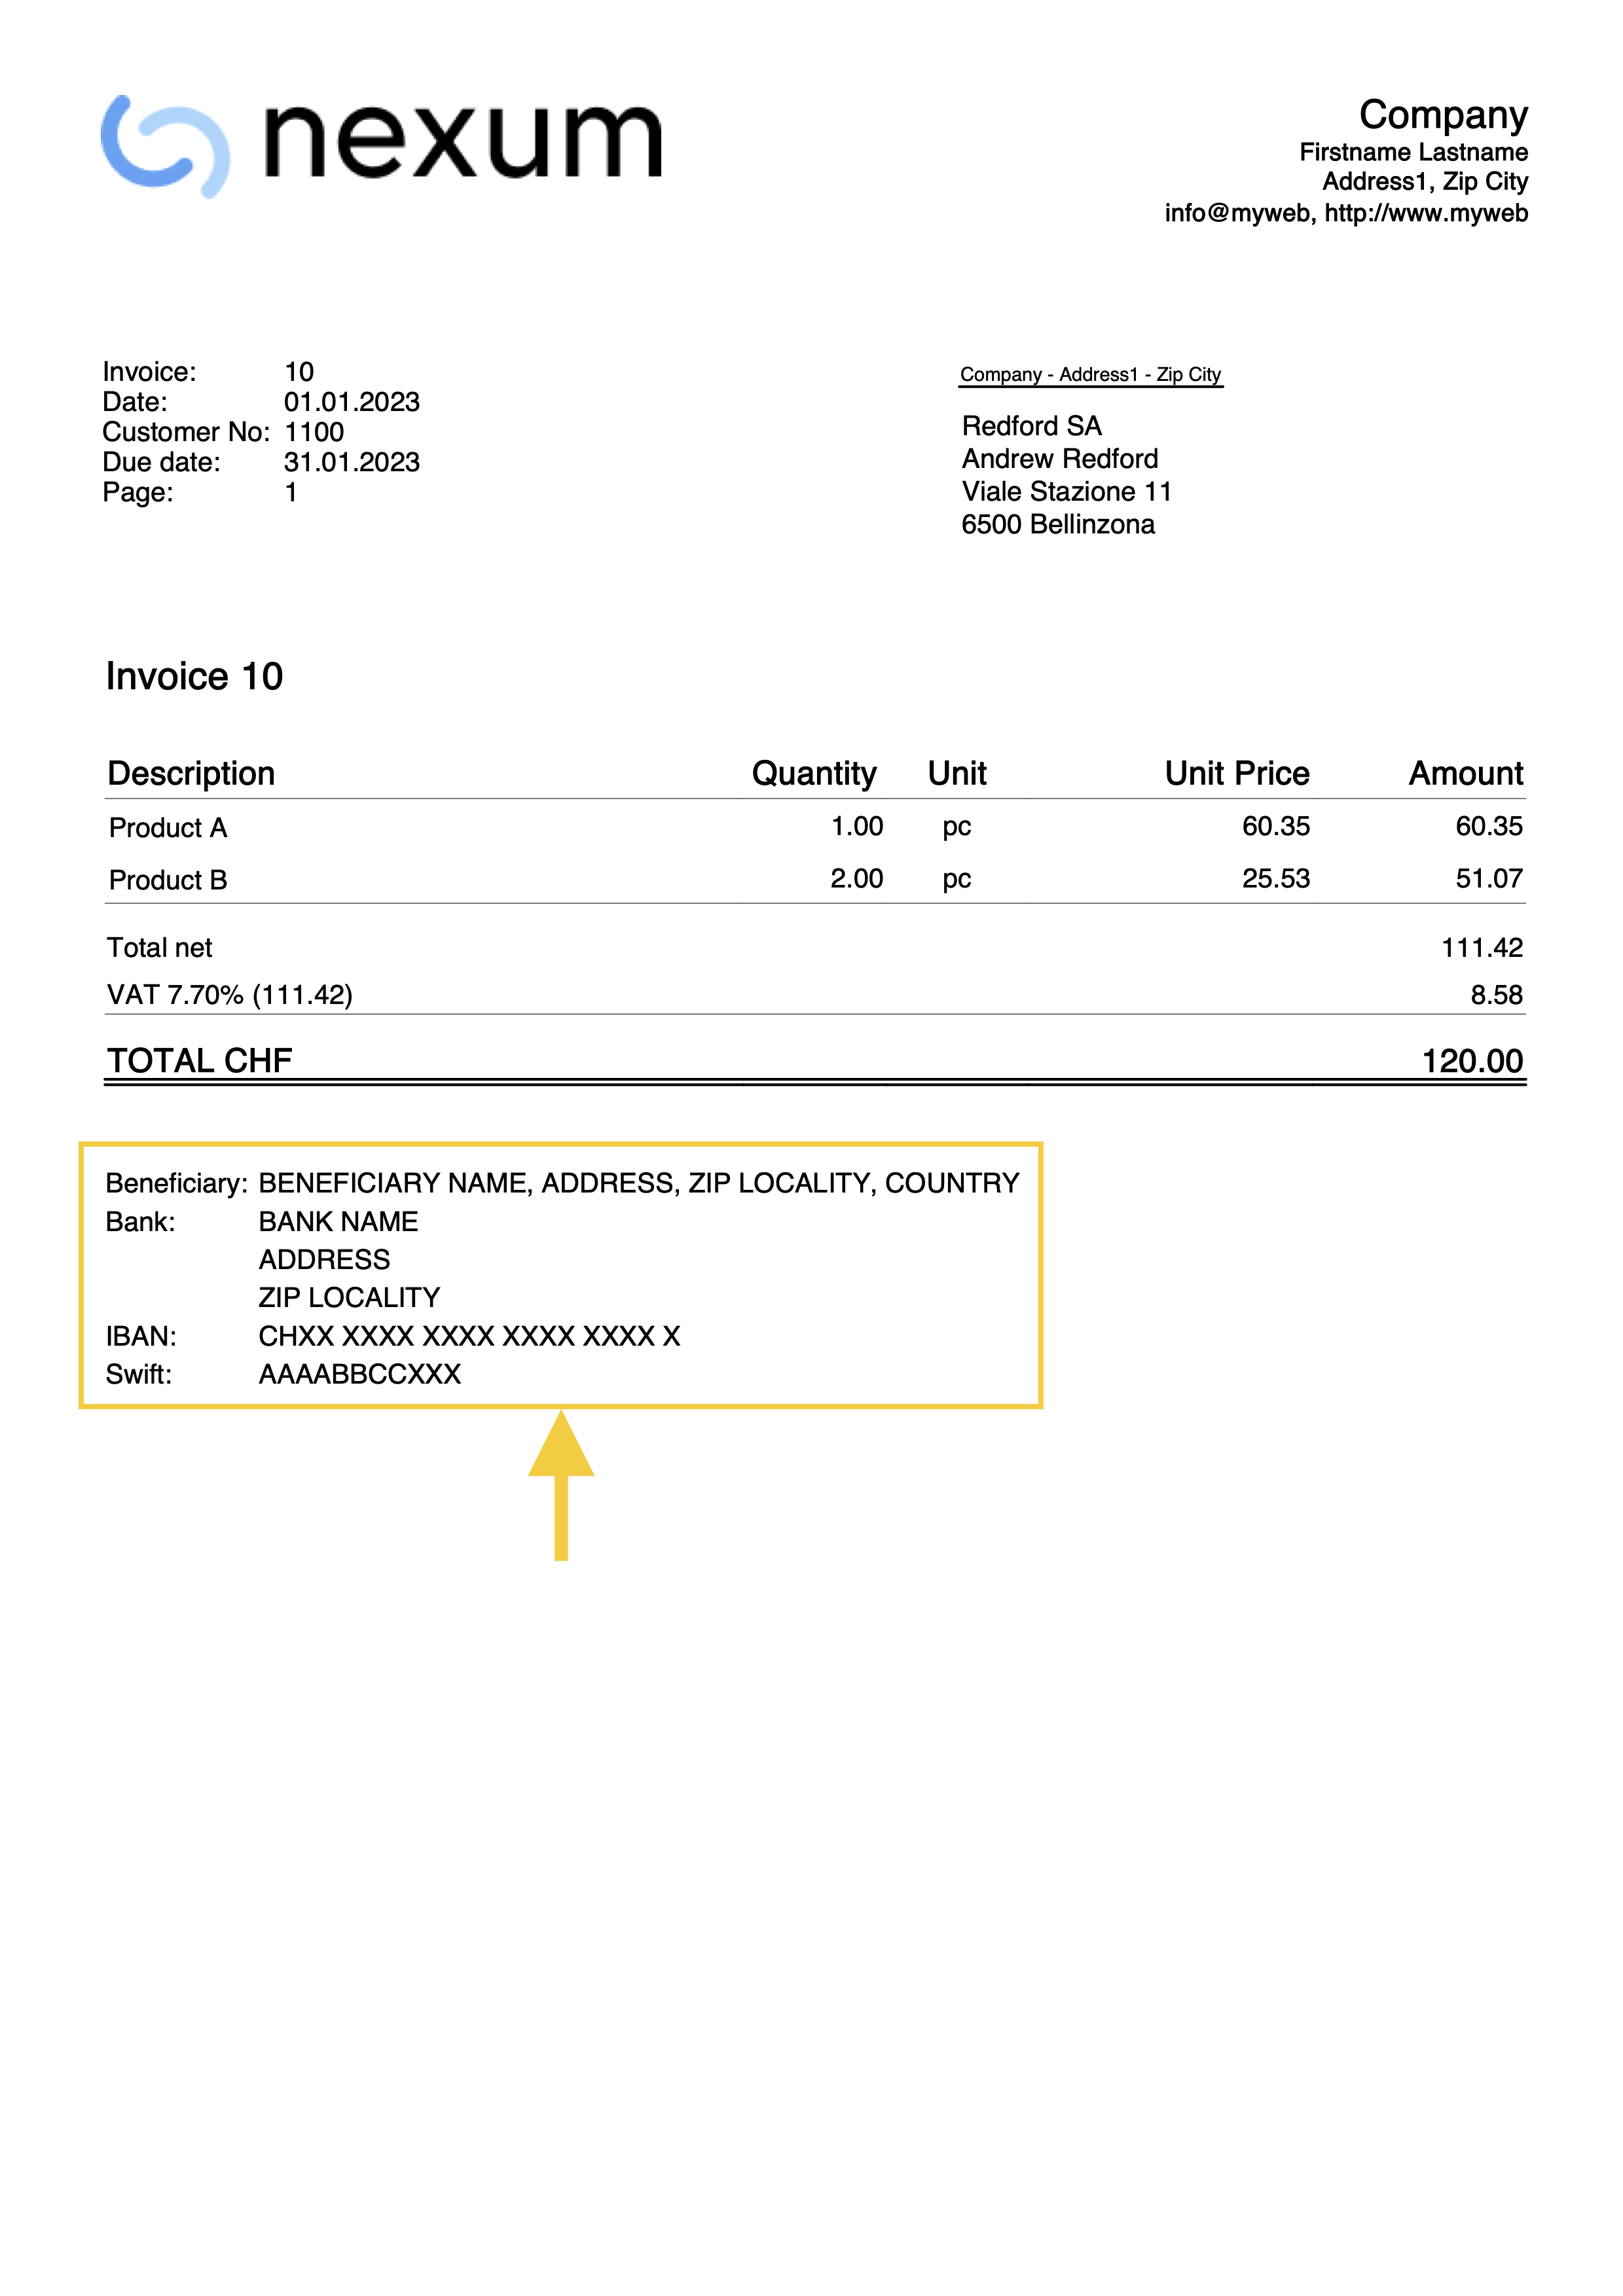
Add a custom table with text translation
This example shows how to add a custom table in the final texts of the invoice with text translations for different languages.
The table consists of 2 columns and three rows:
- Row 1: the header of the table. Contains the titles of the columns (Description and Amount).
- Row 2: the first data row of the table.
- Row 3: the second data row of the table.
To do that, we simply define an hook function that replaces the default print_final_texts() function.
/**
 * This function adds at the end of the invoice a table with a custom text.
 * The text is translated in different languages.
 * We use the text in the language of the invoice.
 */
function hook_print_final_texts(repDocObj, invoiceObj, userParam) {
   // Define the texts for all languages you need (en, de, fr, it, nl, pt, zh, es, ...)
   // Check the language of the invoice to use the appropriate text translation
   if (lang === "de") {
      var text1 = "Beschreibung";
      var text2 = "Betrag";
      var text3 = "Werkstatt";
      var text4 = "2'600.00";
      var text5 = "Material";
      var text6 = "76.00";
   }
   else if (lang === "it") {
      var text1 = "Descrizione";
      var text2 = "Importo";
      var text3 = "Officina";
      var text4 = "2'600.00";
      var text5 = "Materiale";
      var text6 = "76.00";
   }
   else {
      var text1 = "Description";
      var text2 = "Amount";
      var text3 = "Workshop";
      var text4 = "2'600.00";
      var text5 = "Material";
      var text6 = "76.00";
   }
   // Add a table
   var mytable = repDocObj.addTable("MyTable");
   var tableRow;

   // Row 1: the header of the table, columns titles
   var header = mytable.getHeader();
   tableRow = header.addRow();
   tableRow.addCell(text1).setStyleAttributes("text-align:left; font-weight:bold; border:thin solid black;");
   tableRow.addCell(text2).setStyleAttributes("text-align:left; font-weight:bold; border:thin solid black;");
   // Row 2: first data row of the table
   tableRow = mytable.addRow();
   tableRow.addCell(text3).setStyleAttributes("text-align:left; border:thin solid black;");
   tableRow.addCell(text4).setStyleAttributes("text-align:right; border:thin solid black;");
   // Row 3: second data row of the table
   tableRow = mytable.addRow();
   tableRow.addCell(text5).setStyleAttributes("text-align:left; border:thin solid black;");
   tableRow.addCell(text6).setStyleAttributes("text-align:right; border:thin solid black;");
}
You can easily add as many columns and rows as you like.
Use the setStyleAttributes() to apply CSS styles, like text-align, font-weight, color, border, ... Find more information on Syntax of a CSS stylesheet.
Find more examples in Working with Report Tables.
Use a very long begin text
When you insert a begin text between the title and details of the invoice, the text is usually quite short. The printing of the invoice is designed for a begin text that is not too long. However, if the text you want to insert is very long (for example, even a page or more), it may not be printed correctly on the invoice, and some parts may be missing. To solve this problem, it is necessary to adapt the part of the script that deals with printing the begin text.
In the example below, we define the hook_print_text_begin() function that replaces the default print_text_begin() function. This function allows to print very long begin texts. While the original function adds all the text in one table cell (and when it gets too big it can cause problems), this version instead adds one row to the table for each row of text (a side effect is that the space between rows increases slightly).
function hook_print_text_begin(repDocObj, invoiceObj, texts, userParam) {
  var textTitle = getTitle(invoiceObj, texts, userParam);
  var textBegin = invoiceObj.document_info.text_begin ||
                    (invoiceObj.document_info.doc_type === "17" ? userParam[lang+'_text_begin_offer'] : userParam[lang+'_text_begin']) ||
                    '';
  var table = repDocObj.addTable("begin_text_table");
  if (textTitle) {
    var titleCell = table.addRow().addCell("", "", 1);
    titleCell.addParagraph(textTitle.replace(/<DocInvoice>/g, invoiceObj.document_info.number.trim()), "title_text");
  }
  var textBeginLines = textBegin.split('\n');
  textBeginLines.forEach(line => {
    var textCell = table.addRow().addCell("", "begin_text", 1);
    addMdBoldText(textCell, columnNamesToValues(invoiceObj, line.trim() || " "));
  });
}
Use different long begin texts
This example allows you to define and use different begin texts in order to customize the estimates and invoices.
You can define your begin texts using the Documents table:
- First you must define the hook function that replaces the default print_text_begin().
- In the ID column enter the name of the javascript file with the extension .js at the end (e.g., "myFile.js").
- In the Attachments column, double click on the cell or select the edit symbol, then select Javascript Code and confirm with OK.
- Copy and paste the Javascript code included below.
- In the invoice layout settings, at the bottom, section JS file name (column ID in the document table), enter the id name of the javascript file from the Documents table (e.g., "myFile.js").
- Next you can create the documents you want to include.
- To include a normal text file
- In the ID column enter a name as you want.
- In the Attachments column, select text/plain type. An editor will open in which you can write your text.
- To include a markdown file
- In the ID column enter the name of the file with the extension .md at the end (e.g., "file2.md").
- In the Attachments column, select text/markdown type. An editor will open in which you can write your text.
- To include an html file
- In the ID column enter the name of the file with the extension .html at the end (e.g., "file3.html").
- In the Attachments column, select text/html type. An editor will open in which you can write your text.
- To include a normal text file
To use your texts when creating the estimate or invoice:
- In the Begin Text field of the estimate/invoice, on a new line enter the text "{{include document:<file>}}" where "<file>" is the ID of the attachment text defined in Documents table (e.g., "{{include document:file1}}", "{{include document:file2.md}}", "{{include document:file3.html}}").
You can add a page break somewhere in the text:
- In the Begin Text field of the estimate/invoice, on a new line enter the "{{page-break}}" text.
Here are some examples:
- Example 1: Include the content of the file1 defined in Documents table and a page break right after. In the Begin Text field of the estimate/invoice enter the following text:
{{include document:file1}}
{{page-break}} - Example 2: Include the content of the file1 defined in Documents table, then add a page break, then include the content of the file2 defined in Documents table, then add a page break, then include the content of the file3 defined in Documents table, then add a final page break.
{{include document:file1}}
{{page-break}}
{{include document:file2.md}}
{{page-break}}
{{include document:file3.html}}
{{page-break}} - Example 3: Combine the text written in the Begin Text field of the estimates/invoices with a text defined in Documents table.
"This is a begin text:"
{{include document:file1}} - Example 4: Simply add a page break after the begin text in the Begin Text filed of the estimates/invoices.
"This is a begin text"
{{page-break}}
Add your custom Javascript file using the following Javascript hook_print_text_begin function code:
function hook_print_text_begin(repDocObj, invoiceObj, texts, userParam) {
    var textTitle = getTitle(invoiceObj, texts, userParam);
    var textBegin = invoiceObj.document_info.text_begin || userParam[lang + '_text_begin'] || (invoiceObj.document_info.doc_type === "17" ? userParam[lang + '_text_begin_offer'] : '');
    var section = repDocObj.addSection();
    section.setStyleAttributes("margin-bottom: 1.0cm;");
    if (textTitle) {
        section.addParagraph(textTitle.replace(/<DocInvoice>/g, invoiceObj.document_info.number.trim()), "title_text");
    }
    var textBeginLines = textBegin.split('\n');
    textBeginLines.forEach(line => {
        line = line.trim();
        var paragraph = section.addParagraph("", "");
        if (line === "{{page-break}}") {
            section.addPageBreak();
        } else if (line.includes("{{include document:")) {
            var file = extractFileName(line);
            var text = getEmbeddedTextFile(file);
            if (file.includes(".md")) {
                paragraph.addStructuredText(text || " ", "md", "");
            } else if (file.includes(".html")) {
                paragraph.addStructuredText(text || " ", "html", "");
            } else {
                addMdBoldText(paragraph, columnNamesToValues(invoiceObj, text || " "));
            }
        } else {
            addMdBoldText(paragraph, columnNamesToValues(invoiceObj, line || " "));
        }
    });
}
function extractFileName(inputString) {
    var match = inputString.match(/document:(.*?)\}\}/);
    return match ? match[1] : "";
}
function getEmbeddedTextFile(file) {
    var documentsTable = Banana.document.table("Documents");
    if (!documentsTable) return "";

    for (var i = 0; i < documentsTable.rowCount; i++) {
        var tRow = documentsTable.row(i);
        if (tRow.value("RowId") === file) {
            return tRow.value("Attachments");
        }
    }
    return "";
}
Add a begin text with Markdown
This example for the Estimates and Invoice application, shows how to add a begin text of the invoice/estimate using the Markdown (requires Banana+ Dev Channel).
- Enter the markdown text from the Invoice dialog > Section (1) Information and Free Texts > Begin text.
- Define the hook function that replaces the default print_text_begin() function.
/**
* This function adds the begin text as Markdown
* Works with the Estimate and Invoice Application
*/
function hook_print_text_begin(repDocObj, invoiceObj, texts, userParam) {
  var textTitle = getTitle(invoiceObj, texts, userParam);
  var textBegin = invoiceObj.document_info.text_begin;
  var table = repDocObj.addTable("begin_text_table");
  if (textTitle) {
    textTitle = textTitle.replace("<DocInvoice>", invoiceObj.document_info.number);
    var tableRow = table.addRow();
    var titleCell = tableRow.addCell("","",1);
    titleCell.addParagraph(textTitle, "title_text");
  }
  if (textBegin) {
    var tableRow = table.addRow();
    var textCell = tableRow.addCell("","begin_text",1);
    textCell.addStructuredText(textBegin, "md", "");
  }
}
Add a final text with Markdown
This example for the Estimates and Invoice application, shows how to add a final text of the invoice/estimate using the Markdown (requires Banana+ Dev Channel).
- Enter the markdown text from the Invoice dialog > Section (1) Information and Free Texts > End text.
- Define the hook function that replaces the default print_final_texts() function.
/**
* This function adds the final text as Markdown
* Works with the Estimate and Invoice Application
*/
function hook_print_final_texts(repDocObj, invoiceObj, userParam) {
  if (invoiceObj.note.length > 0) {
    for (var i = 0; i < invoiceObj.note.length; i++) {
      if (invoiceObj.note[i].description) {
        var text = invoiceObj.note[i].description;
        var paragraph = repDocObj.addParagraph("","final_texts");
        paragraph.addStructuredText(text, "md", "");
      }
    }
  }
}
First page without page number
Normally the page number is printed on each page of the invoice in the information section.
In this example we want to make sure that the page number is not printed on the first page of the invoice.
To do that, we simply define an hook function that replaces the default print_info_first_page() function.
/**
* This function do not prints the PAGE NUMBER on first page
*/
function hook_print_info_first_page(repDocObj, invoiceObj, texts, userParam) {
   // Save the existing settings
   var originalInfoPage = userParam.info_page;
   // Set not to print the info_page
   userParam.info_page = false;
   // call the original function
   print_info_first_page(repDocObj, invoiceObj, texts, userParam);
   // Restore original values
   userParam.info_page = originalInfoPage ;
}
With this change the page number is now printed only from page two and above.
Add an additional image
In case you want to add an additional image in any section of the invoice, you can do it using the Documents table.
- Add a new image to the Documents table.
- In the ID column enter the file name (e.g. "myImage").
- In the Description column enter a comment (optional).
- In the Attachments column, double click on the cell or select the edit symbol, then select Image and comfirm with Ok.
- Select the image you want to use and confirm.
- Use javascript code to add the image in the hook function of the invoice section you want.
- The code addImage("documents:<id_value>", "<width>", "<height>") allows to add the image to the ReportElement.
- <id_value> the value of the ID column of the Documents table (e.g. "myImage").
- <width> you can adjust the width of the image.
- <height> you can adjust the height of the image.
Let's suppose for example that we want to add an image in the final text section, after the invoice details.
To do that, we simply define an hook function that replaces the default print_final_texts() function.
/*
 * This function adds an image in the final texts section
 */
function hook_print_final_texts(repDocObj, invoiceObj, userParam) {

  //Print final texts
  print_final_texts(repDocObj, invoiceObj, userParam);
  //Add an image of the table Documents at the end
  repDocObj.addImage("documents:myImage", "100%", "auto");
}
With this change, the image is printed at the end of the invoice.
It’s possible to achieve the same result for order confirmations as well. In this case, simply replace:
- the function name "hook_print_final_texts" with "hook_print_final_texts_order_confirmation"
- the function call "print_final_texts" with "print_final_texts_order_confirmation"
/*
 * This function adds an image in the final texts section in the order confirmation
 */
function hook_print_final_texts_order_confirmation(repDocObj, invoiceObj, userParam) {

  //Print final texts
  print_final_texts_order_confirmation(repDocObj, invoiceObj, userParam);
  //Add an image of the table Documents at the end
  repDocObj.addImage("documents:myImage", "100%", "auto");
}
Add additional notes based on quantity
Suppose you have an additional column called "AdditionalNotes", and you want to add a different text to this column depending on the quantity of the item.
For example, for quantities greater than 10 you want to add the text "Special price" in the "AdditionalNotes" column of the print, and you want to do it automatically without entering by hand the text on each invoice.
To do that, we define an hook function that replaces the default formatItemsValue() function.
function hook_formatItemsValue(value, columnName, className, item) {
  var itemFormatted = {};
  itemFormatted.value = "";
  itemFormatted.className = "";
  if (columnName === "additionalnotes") {
    if (item.quantity > 10) {
        itemFormatted.value = "Special price";
        itemFormatted.className = className;
    }
  }
  //If not used it must always return undefined
  return itemFormatted;
}
The itemFormatted object has two properties:
- value is the value of the column that is printed in the invoice.
- className is the name of the class in the CSS file.
With this, when you create the invoice all the items with the quantity greater than 10 have an additional text in the "AdditionalNotes" column. For all the others it remains empty.
Example print: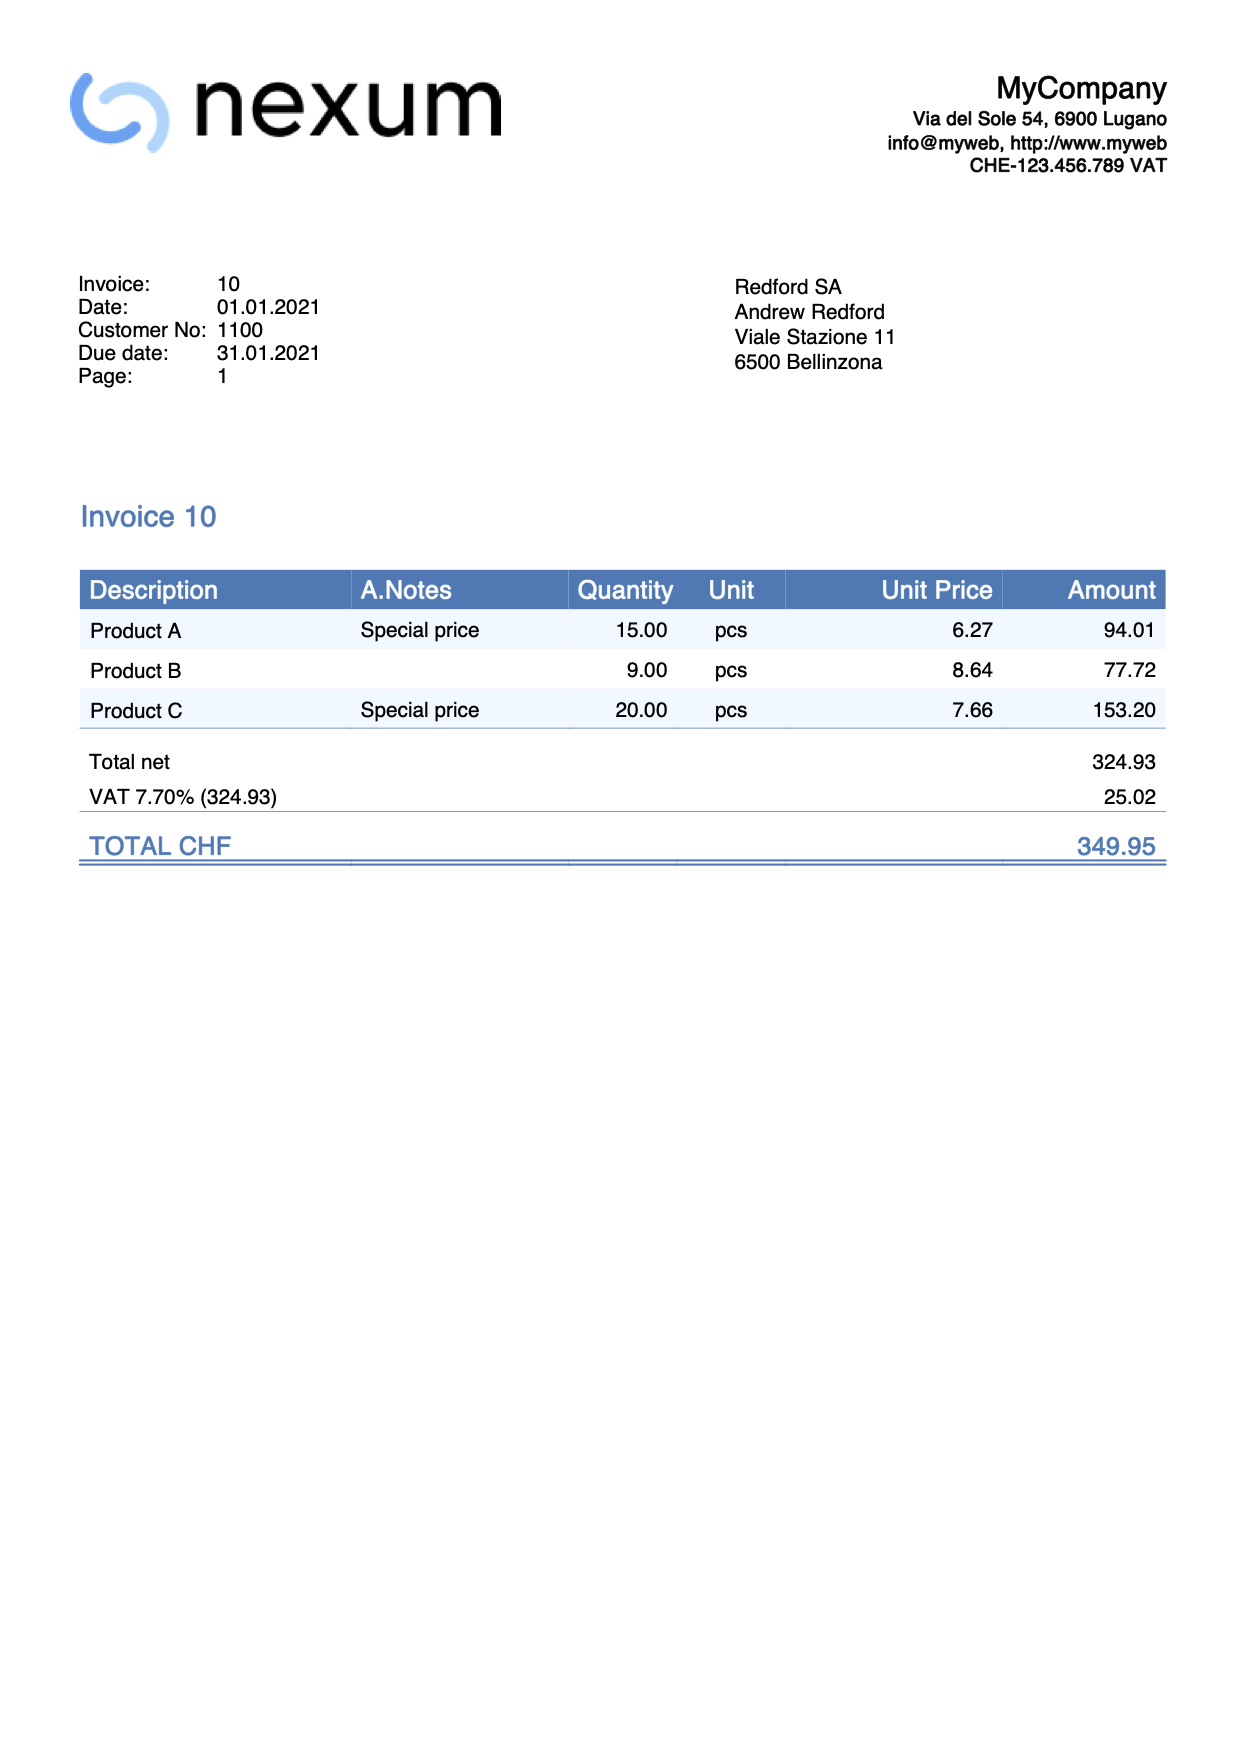
Use macros to add texts
Suppose you want to add a different text to the Description column of the invoice print depending on the item, and you want to do it automatically without entering by hand the text on each invoice.
You could for example associate the desired text to macros, add the macros in the Description column of the Transactions table, and then replace these macros with the acutal text.
To do that:
- Define the macro name and the text associated to it. For example, we want to associate the text "Special offer!" to the macro called "#macro1".
- Add the "#macro1" text to the Description column of the Transaction table for all the items we want to add the "Special offer" text.
- Define an hook function that replaces the default formatItemsValue() function. This automatically replaces "#macro1“ with "Special offer!".
function hook_formatItemsValue(value, columnName, className, item) {
  var itemFormatted = {};
  itemFormatted.value = "";
  itemFormatted.className = "";
  if (columnName === "description") {
    if (value && value.indexOf("#macro1") > -1) {
       itemFormatted.value = value.replace("#macro1","\nSpecial offer!");
       itemFormatted.className = className;
    }
  }
  return itemFormatted;
}
The itemFormatted object has two properties:
- value is the value of the column that is printed in the invoice.
- className is the name of the class in the CSS file.
With this, when you create the invoice, the “#macro1“ text contained in the items description are replaced with the "Special offer!" text.
Example print: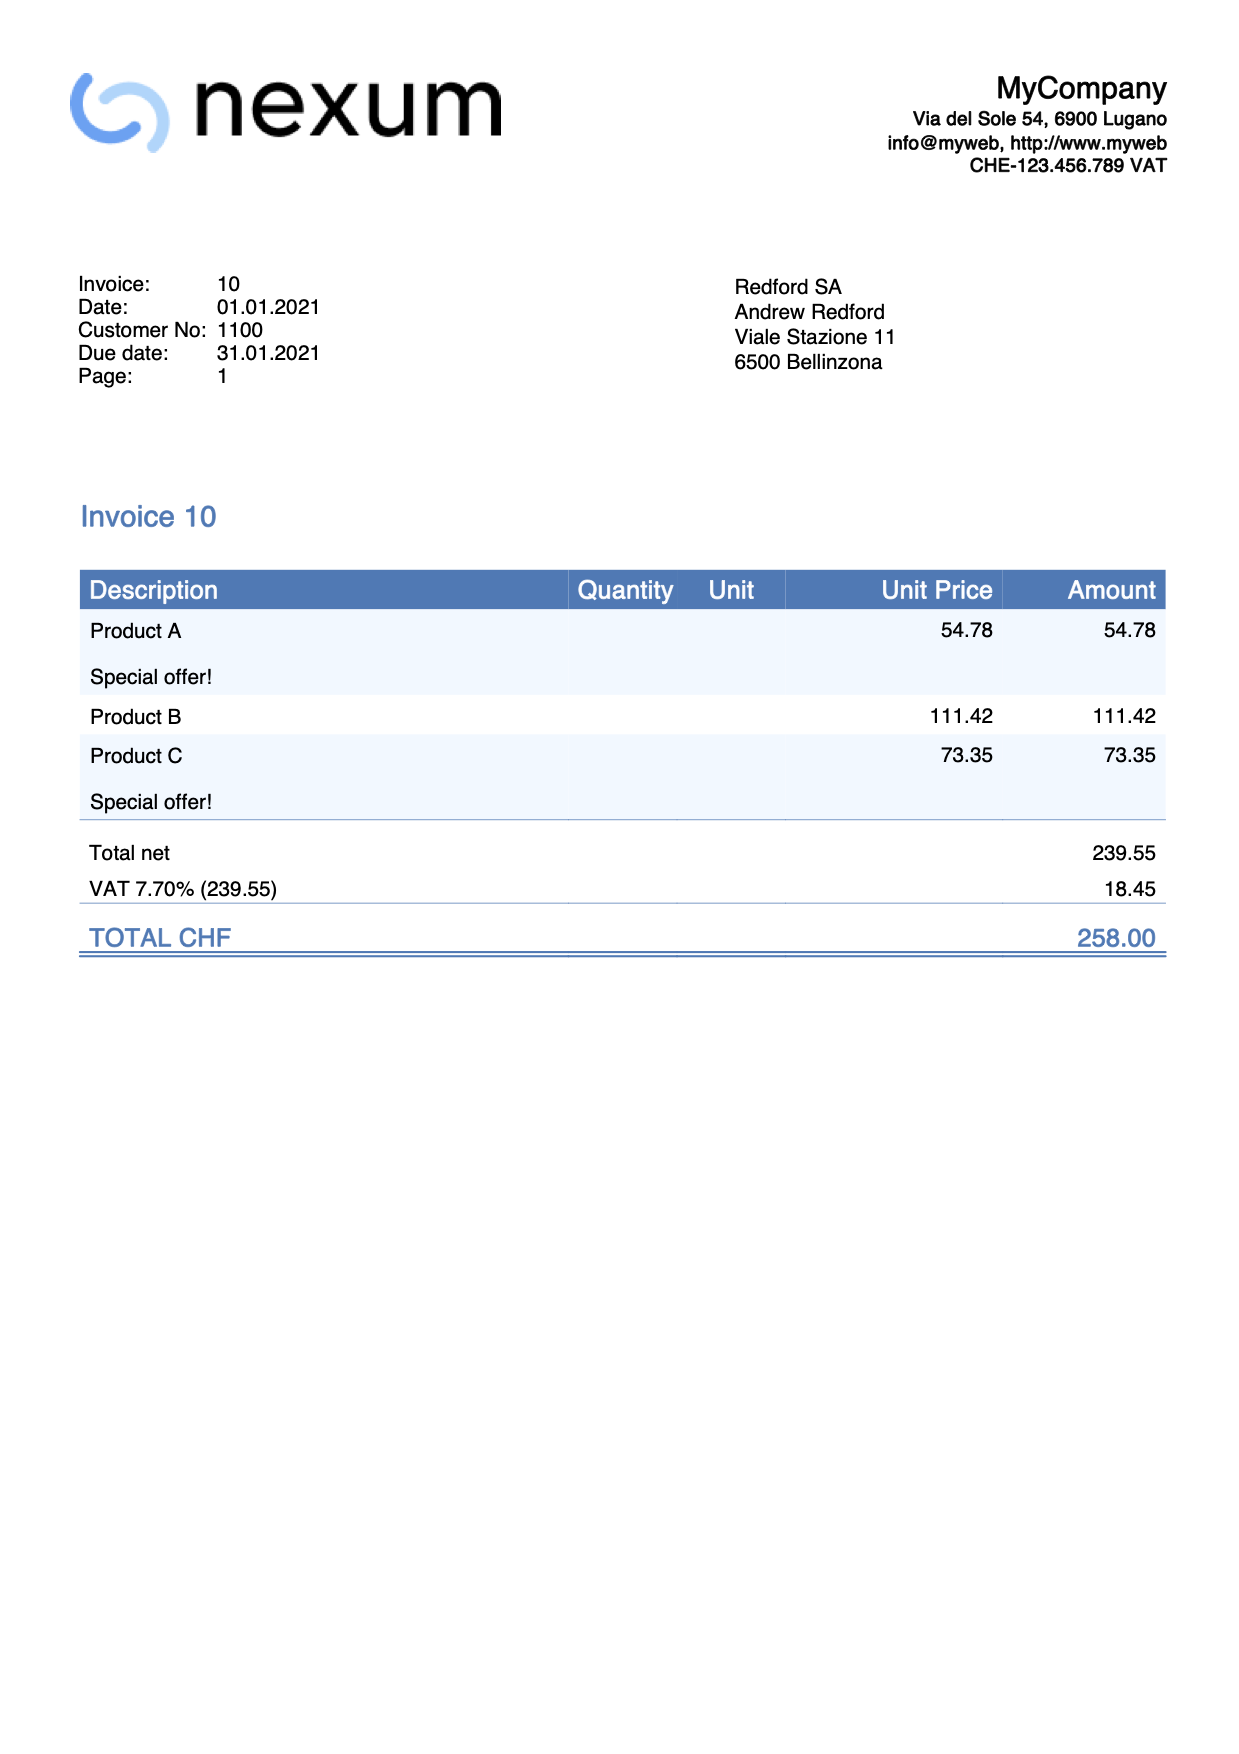
Change style of an item value
Suppose you want to change the style of an item in the Description column of the invoice in order to print it bold.
To do that:
- Define the macro name like for example "#bold".
- Add the "#bold" text to the Description column of the Transaction table for all the items you want to change the text style to bold.
- Define an hook function that replaces the default formatItemsValue() function. This automatically removes the "#bold“ text and change the style.
function hook_formatItemsValue(value, columnName, className, item) {
  var itemFormatted = {};
  itemFormatted.value = "";
  itemFormatted.className = "";
  if (columnName === "description") {
    if (value && value.indexOf("#bold") > -1) {
      itemFormatted.value = value.replace("#bold","");
      itemFormatted.className = "bold";
    }
  }
  return itemFormatted;
}
The itemFormatted object has two properties:
- value is the value of the column that is printed in the invoice.
- className is the name of the class in the CSS file.
In this case all the texts “#bold“ contained in the items description are not printed, and the styles are changed to bold.
The class "bold" that we set in the line itemFormatted.className = "bold" already exists in the CSS file of the invoice. If you want to use other classes that don't exist, you need also to use the CSS customization in order to create them first.
Example print: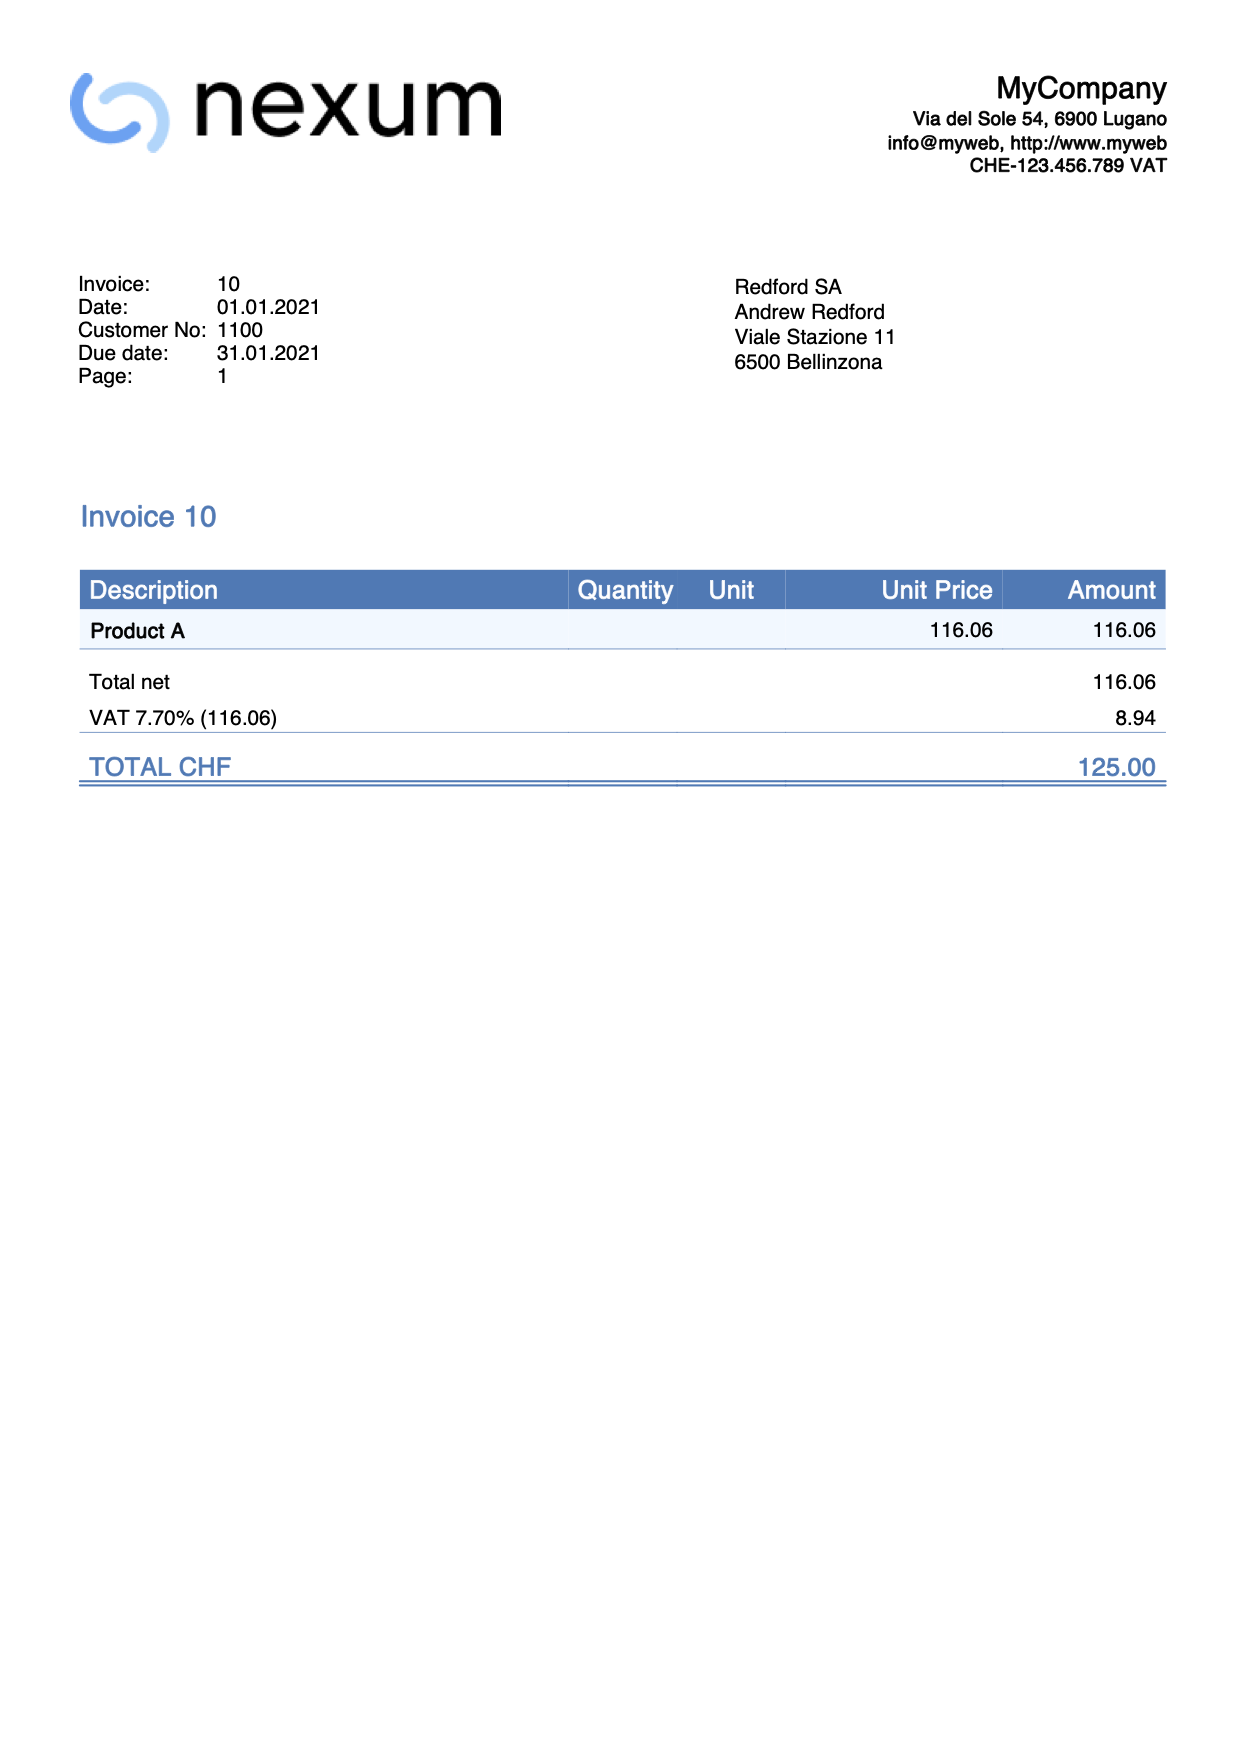
Change the font size of an item description
In this example, we want to change the font size of a specific item description text.
To do that we use the Javascript customization and also the CSS customization:
- Define a macro name like for example "#myFontSize". For each items description you want to change the font size, add the "#myFontSize" text at the end of the description.
- In Documents table:
- Add a new Javascript-type attachment.
Define then the hook function that replaces the default formatItemsValue() function.
This automatically removes the "#myFontSize“ text and changes the font size.
As ID name use for example "myStyle.js". - Add a new CSS-type attachment.
Define then the CSS class with the font size you want to use. Since the class that defines the font size does not exist in the CSS file of the invoice, you also have to create it.
As ID name use for example "myStyle.css".
- Add a new Javascript-type attachment.
- In CH10 / UNI11 layout settings, section Javascript / CSS, enter the appropriate names ("myStyle.js" and "myStyle.css").
Javascript hook function code:
function hook_formatItemsValue(value, columnName, className, item) {
  var itemFormatted = {};
  itemFormatted.value = "";
  itemFormatted.className = "";
  if (columnName === "description") {
    if (value && value.indexOf("#myFontSize") > -1) {
      itemFormatted.value = value.replace("#myFontSize","");
      itemFormatted.className = "myFontSize";
    }
  }
  return itemFormatted;
}
CSS code:
.myFontSize {
   font-size: 8pt;
}
Change the font size value as you desire.
When you create the invoice, the size of the texts in the descriptions changes.
Use different IBAN codes
The IBAN code is normally set either in the File → File and accounting properties → Address section or directly from the Invoice Settings under the related IBAN entry.
If you have more than one IBAN code to use and you want to decide to use one rather than another, you must manually change it when creating each invoice from the Invoice Settings.
However, using customization with Javascript it is possible to associate a different IBAN code to each customer. In this way, when you create the invoice, the script will automatically assign and insert the IBAN.
To do that we define the hook_modify_settings_qr() function that replaces the default modify_settings_qr() function.
function hook_modify_settings_qr(invoiceObj, qrcodeData) {
   //Assign the IBAN code CHXXXXXXXXXXXXXXXXXXX to the customer 1101
   if (invoiceObj.customer_info.number === "1101") {
      qrcodeData.supplierIbanNumber = "CHXXXXXXXXXXXXXXXXXXX";
   }
   //Assign the IBAN code CHYYYYYYYYYYYYYYYYYYY to the customer 1102
   else if (invoiceObj.customer_info.number === "1102") {
      qrcodeData.supplierIbanNumber = "CHYYYYYYYYYYYYYYYYYYY";
   }
   //Assign the IBAN code CHZZZZZZZZZZZZZZZZZZZ to the customer numbers from 1103 to 1107
   else if (invoiceObj.customer_info.number >= "1103" && invoiceObj.customer_info.number <= "1107") {
      qrcodeData.supplierIbanNumber = "CHZZZZZZZZZZZZZZZZZZZ";
   }
	// ...
}
Copy the code above and just replace:
- the value of invoiceObj.customer_info.number with the customer account you want (e.g. 1101, 1102, 1103, ...)
- the value of qrcodeData.supplierIbanNumber with the IBAN number you want (e.g. CHXXXXXXXXXXXXXXXXXXX, CHYYYYYYYYYYYYYYYYYYY, CHZZZZZZZZZZZZZZZZZZZ, ...)
- You can also add/remove more cases.
With this, when you create the invoice the IBAN code is set automatically, and it is no longer necessary to change the invoice settings every time.
Select and use different IBAN codes
With JavaScript customization, you can define multiple IBAN codes and choose the appropriate one when printing the invoice.
This method displays a dialog that allows the user to select a specific IBAN from a list. The dialog is shown for each invoice being generated. For this reason, its use is recommended only when printing one invoice at a time.
It works ony for IBAN codes. Special QR-IBAN codes is not supported with this method.
To do this, we define the hook_modify_settings_qr() function, which replaces the default modify_settings_qr() function.
function hook_modify_settings_qr(invoiceObj, qrcodeData) {

	// ENTER ALL THE IBAN CODES HERE
	var ibanList = [
		"CHXXXXXXXXXXXXXXXXXXX",
		"CHYYYYYYYYYYYYYYYYYYY",
		"CHZZZZZZZZZZZZZZZZZZZ"
	];

	// ENTER DE DEFAULT IBAN
	var ibanDefault = "CHXXXXXXXXXXXXXXXXXXX";


	qrcodeData.supplierIbanNumber = ibanDefault;
	var invoiceNumber = invoiceObj.document_info.number;
	var ibanSelected = Banana.Ui.getItem("Invoice " + invoiceNumber, "Select an IBAN account for the invoice " + invoiceNumber, ibanList, 0, false);
	if (ibanSelected) {
		qrcodeData.supplierIbanNumber = ibanSelected;
	}
}
Copy the code above and do the following:
- Replace ibanList with the actual IBAN codes you want to use. You can add as many IBAN codes as needed.
- Replace ibanDefault with the IBAN you want to use as the default. Only one default IBAN can be defined.
Use another date format
The date format is taken from the operating system settings.
This example shows how to use another date format for all Date-type columns in the invoice details, without changing the operating system settings.
To do that:
- The XML name of the column in Transaction table must begin with the word Date (eg DateWork, DateExecution, DateXxx).
- Define the hook_formatItemsValue() function.
- In the function set the format of the date you want to use.
Format examples:- dd.mm.yyyy
- dd/mm/yyyy
- dd-mm-yyyy
- yyyy.mm.dd
- yyyy/mm/dd
- yyyy-mm-dd
function hook_formatItemsValue(value, columnName, className, item) {
  var itemFormatted = {};
  itemFormatted.value = "";
  itemFormatted.className = "";
  if (columnName.startsWith("date")) {
    itemFormatted.value = Banana.Converter.toLocaleDateFormat(value, "dd.mm.yyyy"); // insert here the format
    itemFormatted.className = className;
  }
  return itemFormatted;
}
When you create the invoice, all dates in details table will be printed with the new format.
Example print: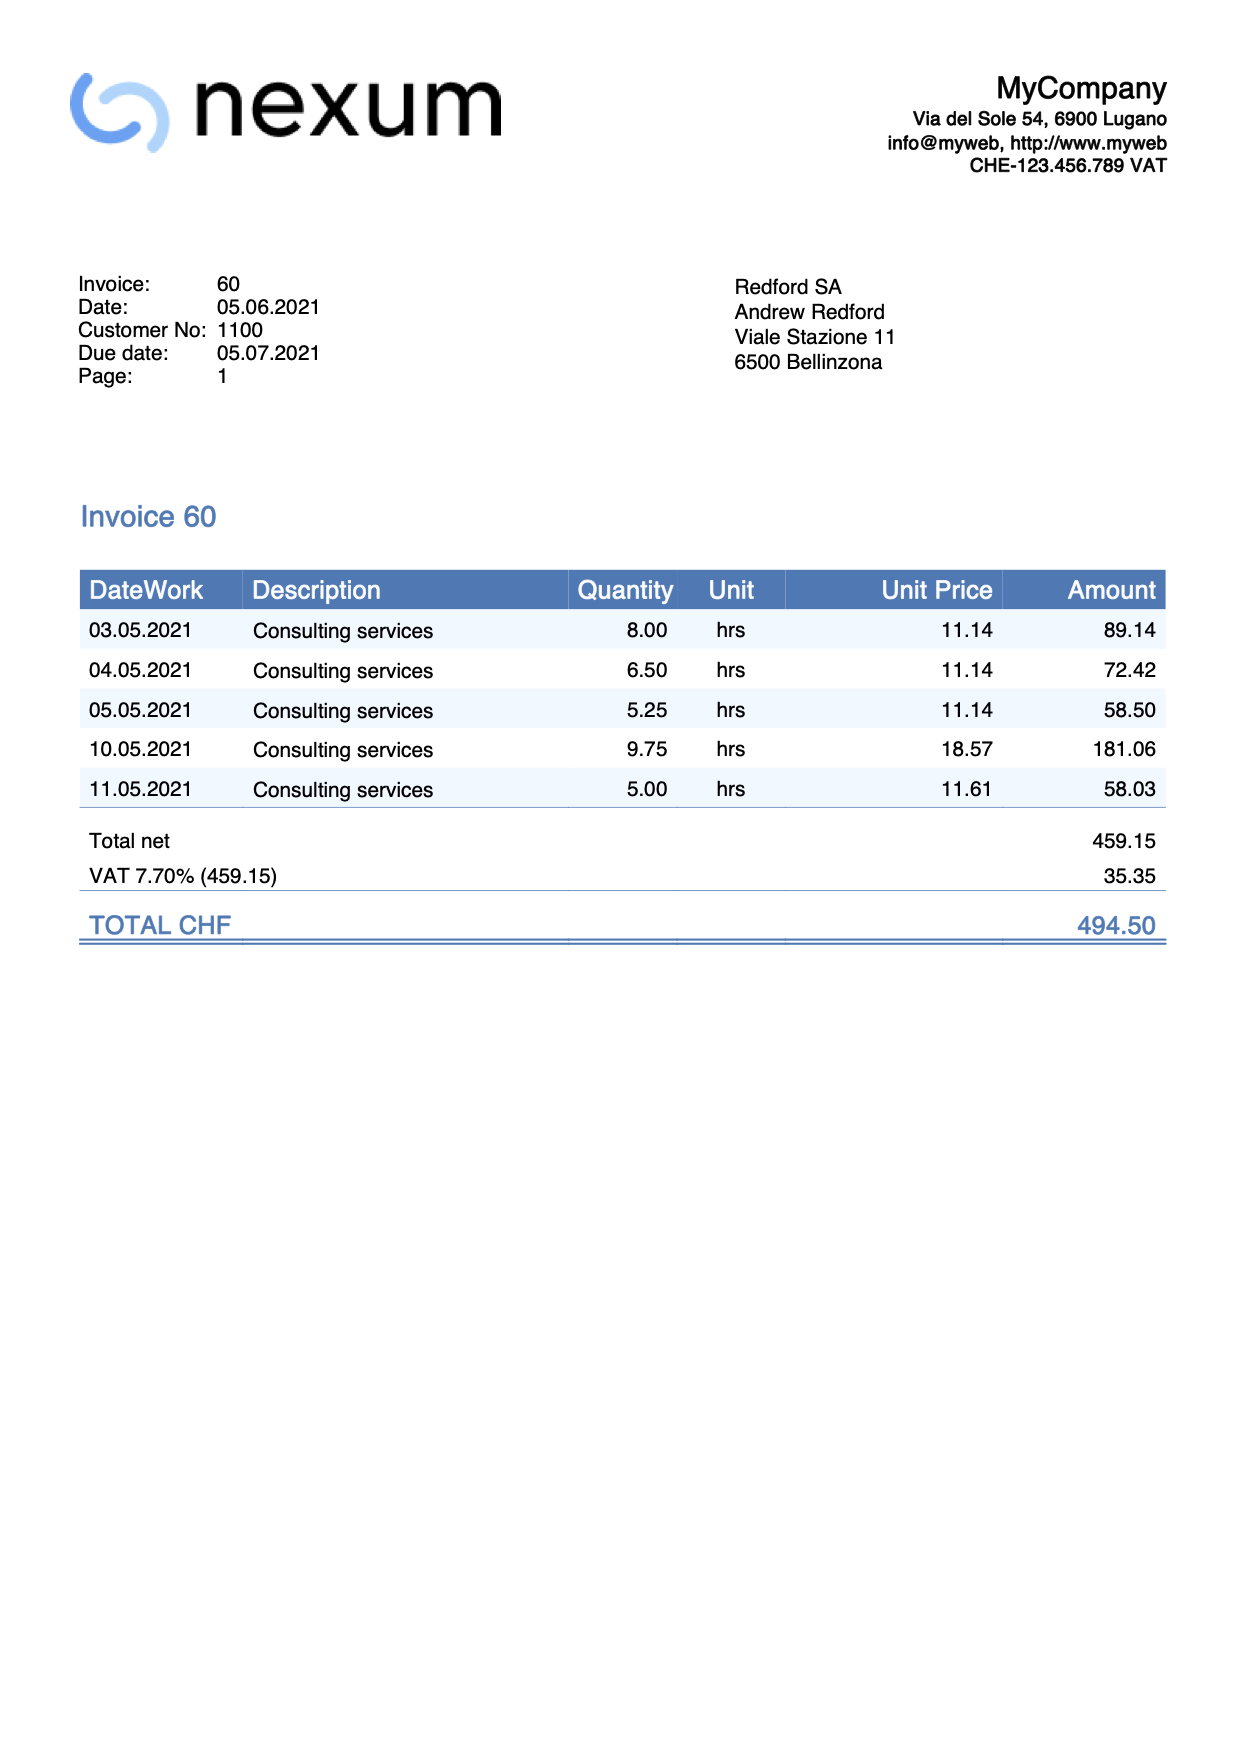
Print images of items
This example shows how to add and print items images on the invoice details. Each item in the Items table is associated with an image and the image is then printed on the invoice.
To do this see the instructions:
- Invoice with product images (English)
- Rechnung mit Produktfotos (German)
- Fattura con immagini prodotti (Italian)
- Facture avec images des produits (French)
When you print the invoice, the items will be printed with an image.
Example print: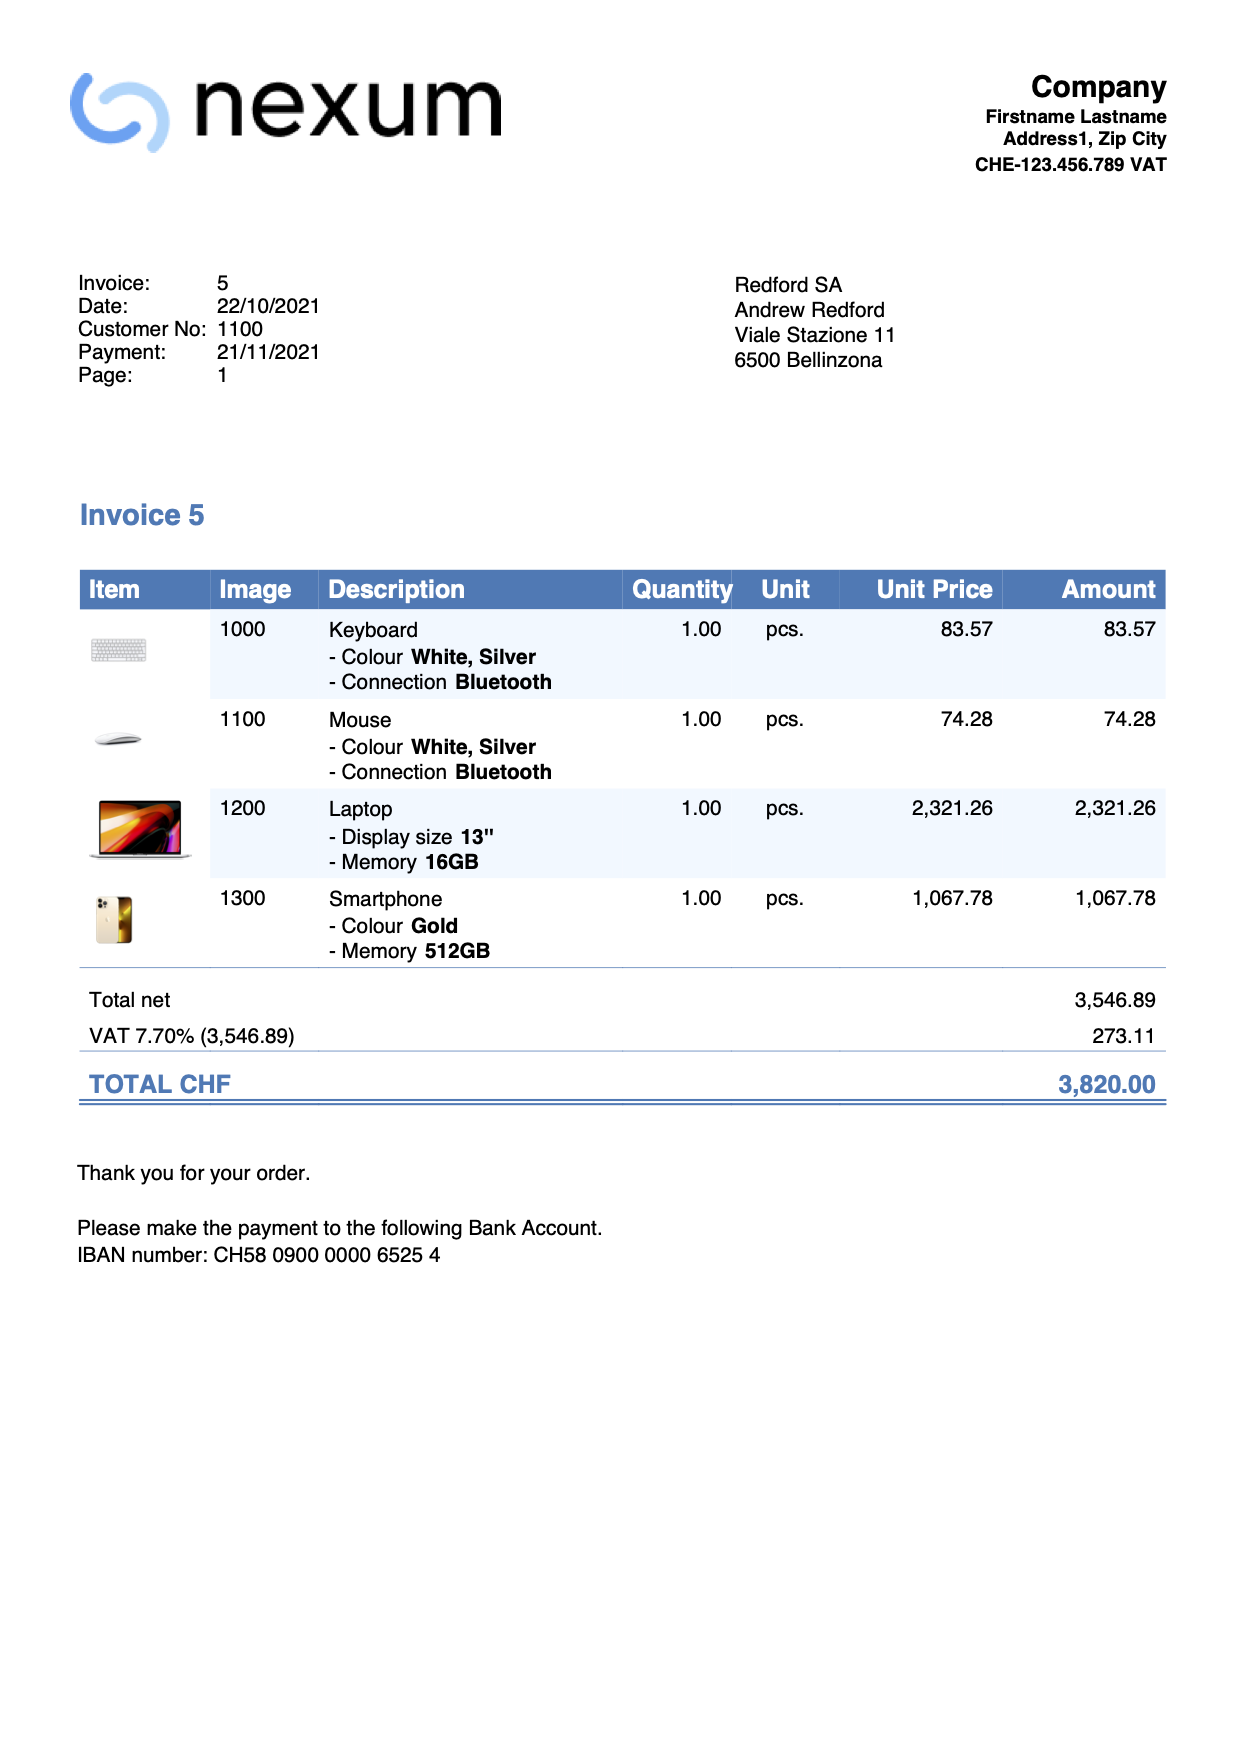
Print the items row numbers
This example shows how to print a column displaying the row numbers of the items.
The first item starts at row 1.
Steps
- Add the JavaScript code as attachment in the Documents table.
- If not present, add the Documents table from the menu Tools > Add/Remove functionalities > Add Documents table.
- In the ID column, enter the name of the attachment including the .js extension (e.g., "myFile.js").
- In the Attachments column, click on the icon at the top right and select Javascript code.
An editor opens where you can enter javascript code. Delete all. - Copy and paste
- the javascript code of the 'hook_print_details_net_amounts' function (that prints the invoice with net amounts).
- the javascript code of the 'hook_print_details_gross_amounts' function (that prints the invoice with gross amounts).
- Click OK.
- Sets the parameters of the invoice layout.
- In the Invoice Settings:
- In the Invoice Details section, add the columns "RowNumber".
RowNumber;Description;Quantity;ReferenceUnit;UnitPrice;Amount
10%;40%;10%;10%;15%;15%
left;left;right;center;right;right
left;left;right;center;right;right
- In the Texts section > Column names invoice details, add the texts for the column headings (e.g., “#;Description;Quantity;Unit;Unit Price;Amount”).
- In the Javascript / CSS > JS File Name section, enter the id of the attachment that contains the javascript code (e.g., "myFile.js").
- In the Invoice Details section, add the columns "RowNumber".
- In the Invoice Settings:
Example: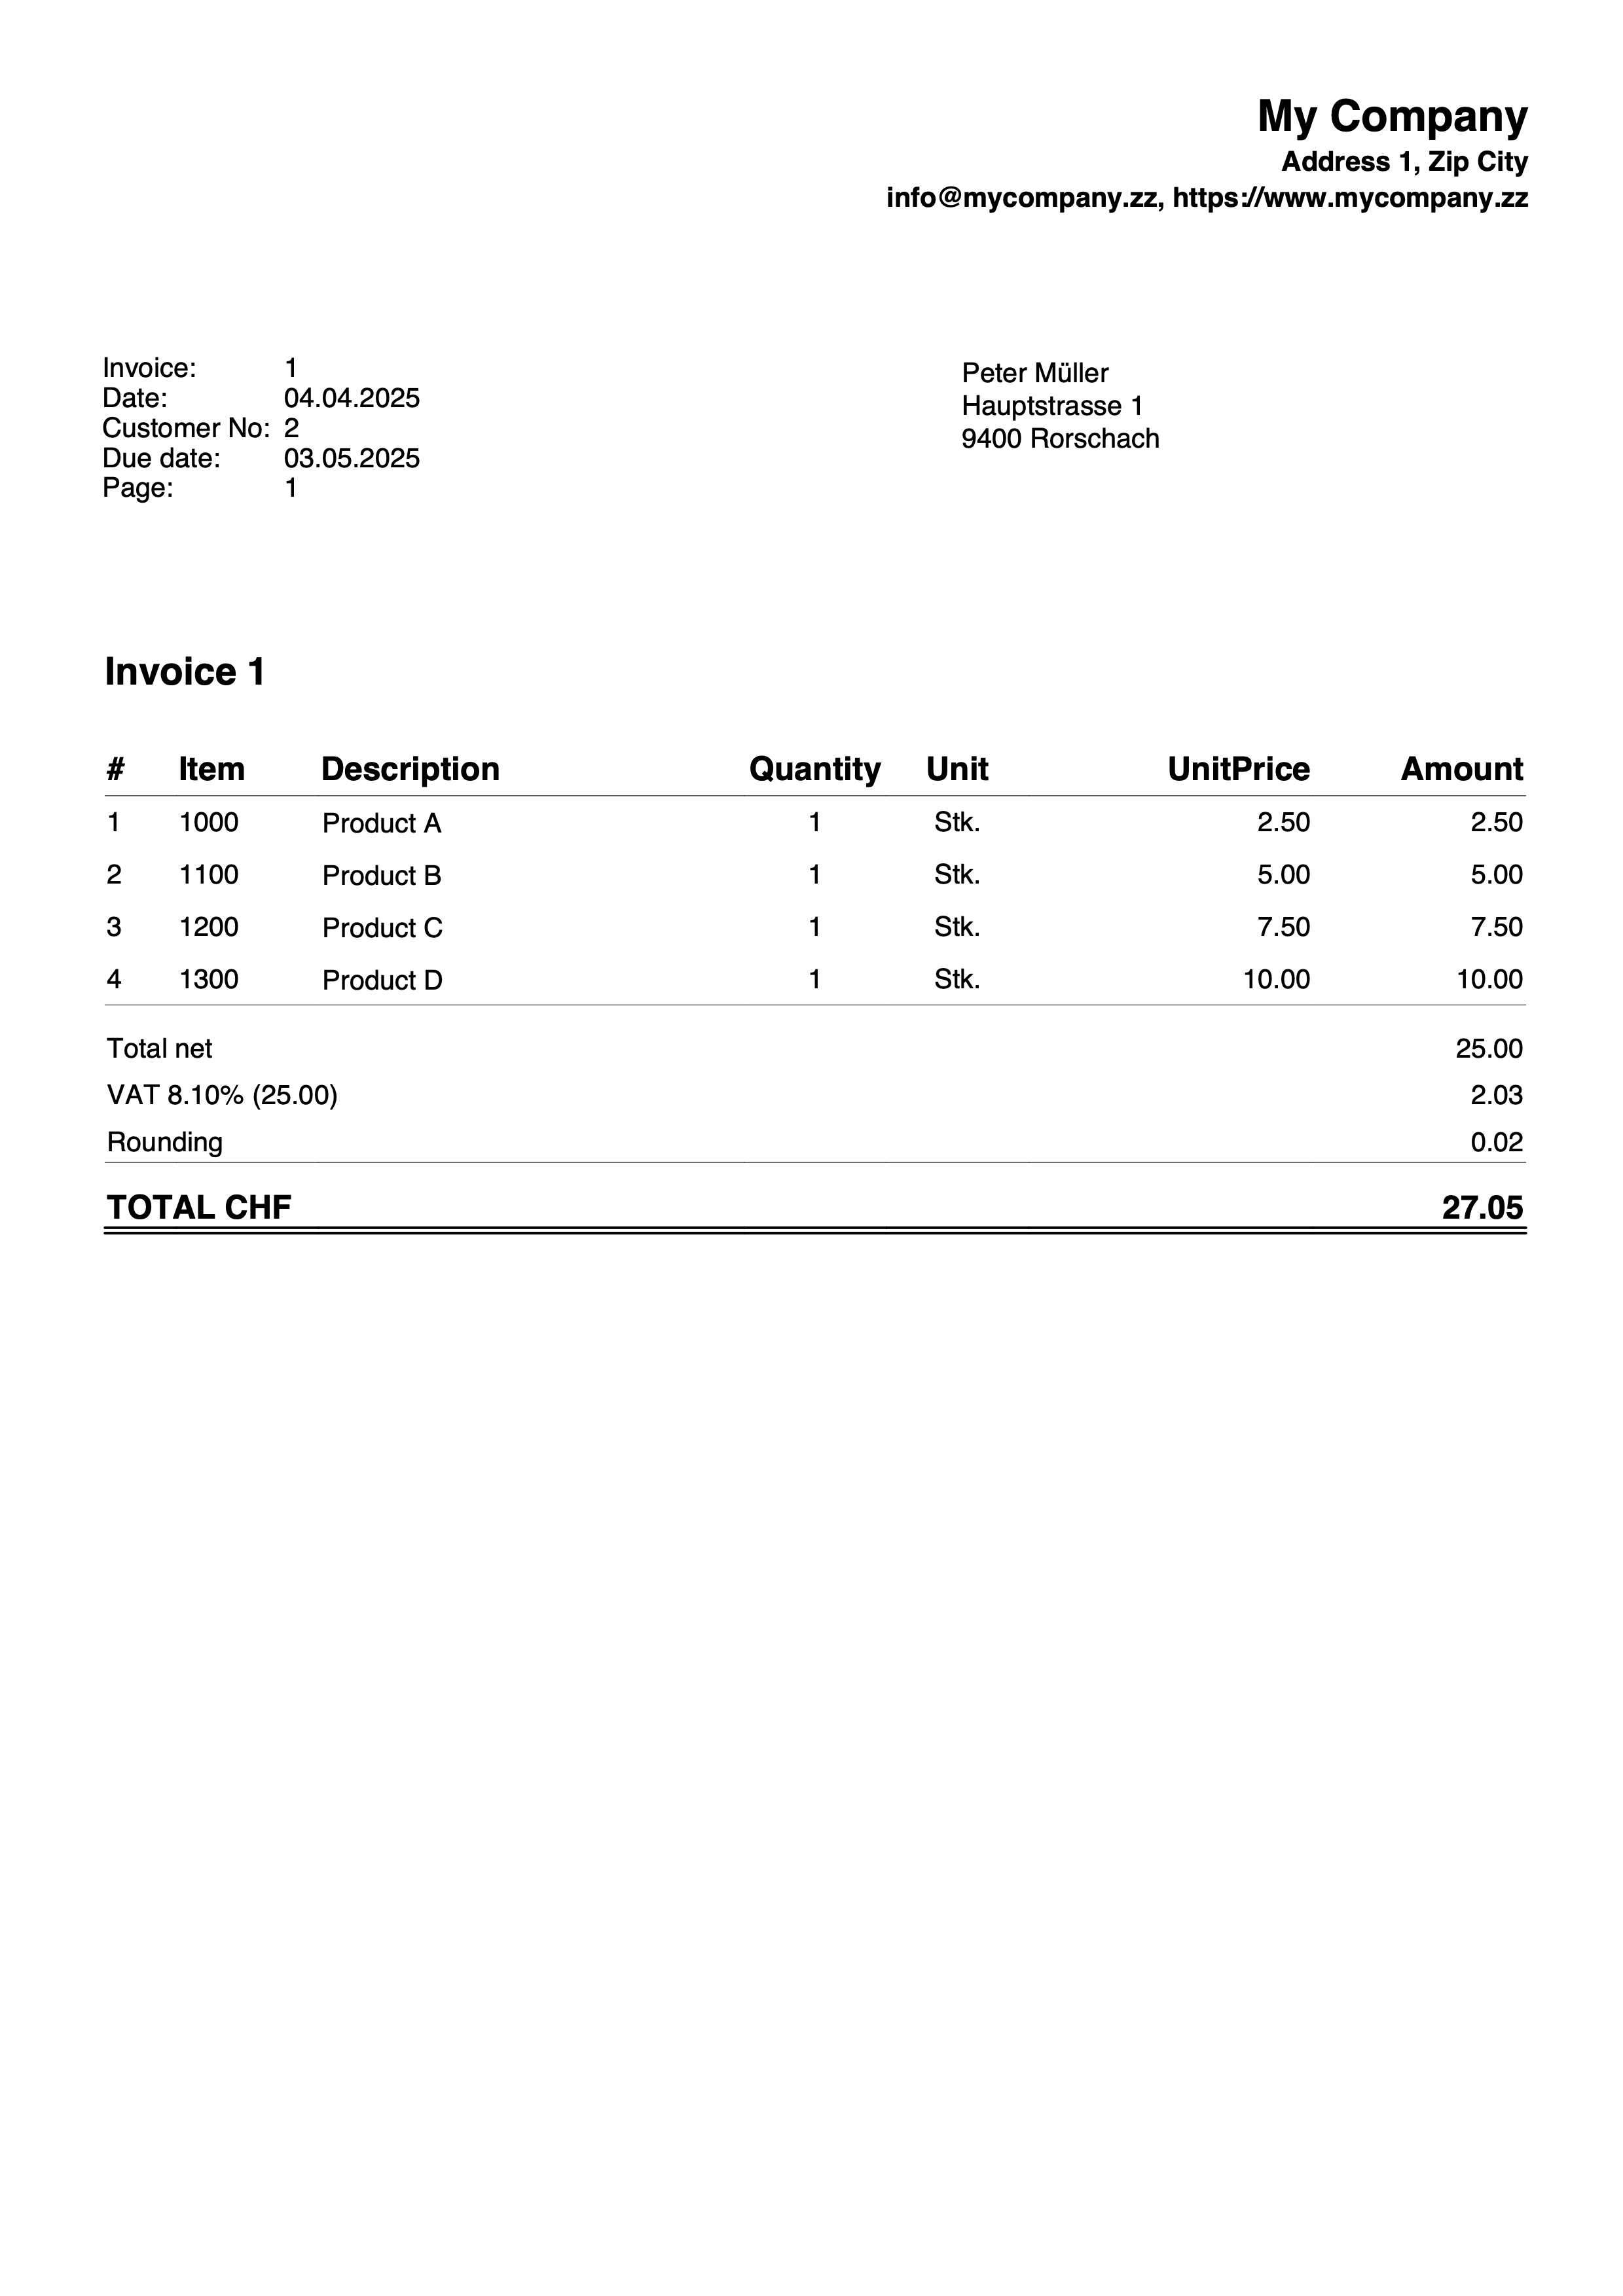
Print 0% VAT rate
This example shows how to print the VAT amounts with a rate of 0%.
To do this:
- add the following javascript snippet to your accounting in the documents table (see image below)
- add the reference to this hook in the settings dialog of the invoice extension (see image below)
function hook_print_details_net_amounts(banDoc, repDocObj, invoiceObj, texts, userParam, detailsTable, variables) {
  //PRINT 0% VAT RATE
  if (invoiceObj.billing_info.total_vat_rate_zero) {
    invoiceObj.billing_info.total_vat_rate_zero.vat_rate="0.00";
    invoiceObj.billing_info.total_vat_rates.unshift(invoiceObj.billing_info.total_vat_rate_zero);
  }
  print_details_net_amounts(banDoc, repDocObj, invoiceObj, texts, userParam, detailsTable, variables);
}
Example print:
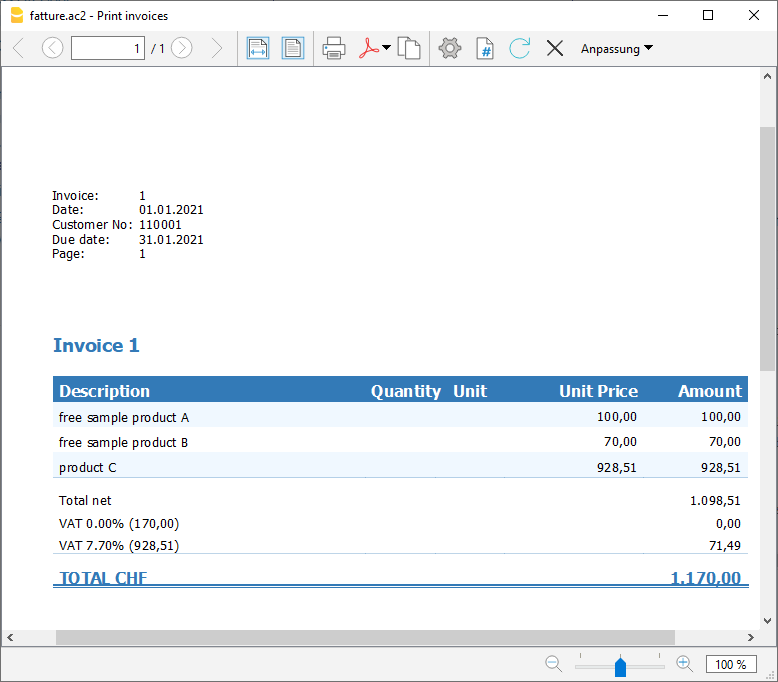
Table documents where the custom javascript is defined
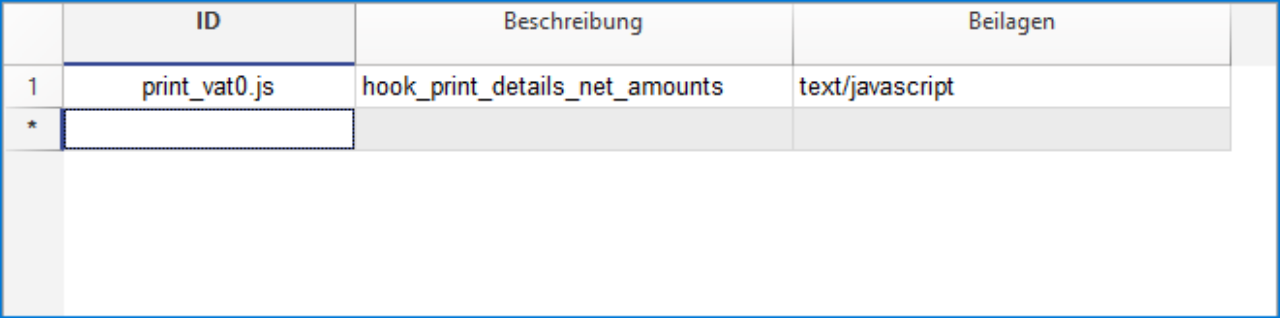
Settings dialog of the invoice extension where you have to indicate the hook that overwrites the original function
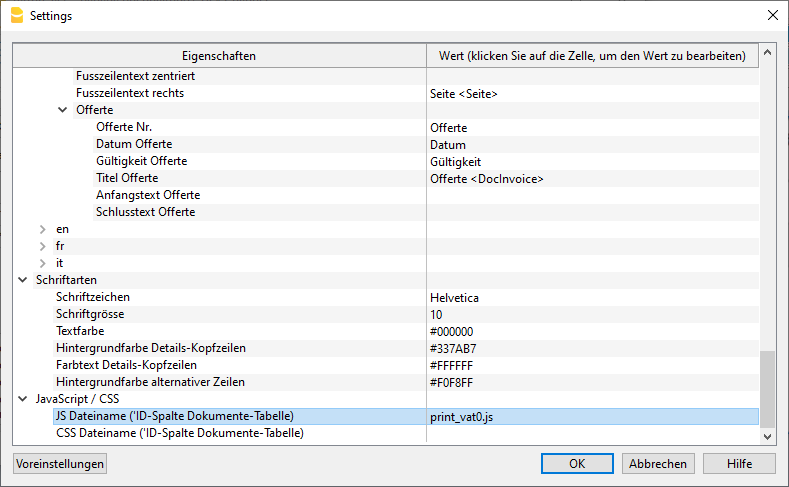
Print quantities without decimals
This example for the Integrated Invoice, shows how to print quantities without decimals.
To do this:
- Add the following javascript code to your accounting in the Documents table.
- Add the reference to this code in the Invoice Settings.
For more information see Add your custom Javascript file.
function hook_set_variables(variables, userParam) {
	variables.decimals_quantity = 0;
}
Change decimals of amounts
This example for the integrated invoice shows how to change the decimals of the invoice amounts (quantity, unit price and amounts).
To do this:
- Add the following javascript code to your accounting in the Documents table.
- Change the number of decimals according to your needs.
- Add the reference to this javascript file in the Invoice Settings.
For more information see Add your custom Javascript file.
function hook_set_variables(variables, userParam) {
   variables.decimals_quantity = 4;
   variables.decimals_unit_price = 4;
   variables.decimals_amounts = 4;
}
Other examples and needs
With CSS and Javascript you can completely customize the invoice appearance.
If you have other specific needs, you can contact our customer service.
Invoice formatting with custom CSS Stylesheet
Banana invoices are formatted through a CSS Stylesheet. The extension allows you to use a customized stylesheet so you can fully modify the appearance of the invoice (this functionality requires the Advanced plan).
Following you will find information and examples that let anyone understand the basic of the CSS so that you are able to do a lot of customization to your invoice, even if you are not a CSS professional.
- See also the page CSS Examples.
Banana CSS Stylesheet file
The CSS file property let you specify an CSS stylesheet file to be used for formatting the invoice. You have to enter the name of a CSS document, contained in the Documents table.
The properties you define in the custom CSS file will extend or overwrite the styles of the default stylesheet.
Cascading Style Sheet (CSS) is a specification language that allows to customize the appearance of web pages, and a subset of the whole CSS specification is also used in Banana to prepare reports.
Here are some basics about CSS Stylesheet formatting.
- The document, in our case the invoice, is composed by a series of Elements that contains all the data of the invoice.
- Each element can have one or more class properties that specify which style should be used for that element.
- Each element can contain other elements.
- In the CSS stylesheet you specify the formatting properties of each class of style.
- The elements hynnerit the styles of the parent element.
- The main element for the invoice is the Document.
Add your custom CSS stylesheet
Three steps are required to define and use your CSS file:
- Add the document table to the Banana Accounting file.
If it is not already present you need to add the Documents table in the Banana document with the menu command Tools > Add new features > Add document table. - Add a new CSS type document to the document table.
- In the ID column enter the file name including the extension .css (e.g. "myStyle.css").
If the id is missing the ".css" at the end, it won't work. - In the Description column enter a comment (optional).
- In the Attachments column, double click on the cell or select the edit symbol, then select CSS stylesheet and confirm with Ok.
- An editor will open in which you can write the code.
- Enter or edit the script and confirm with Ok.
- Save the Banana Accounting file.
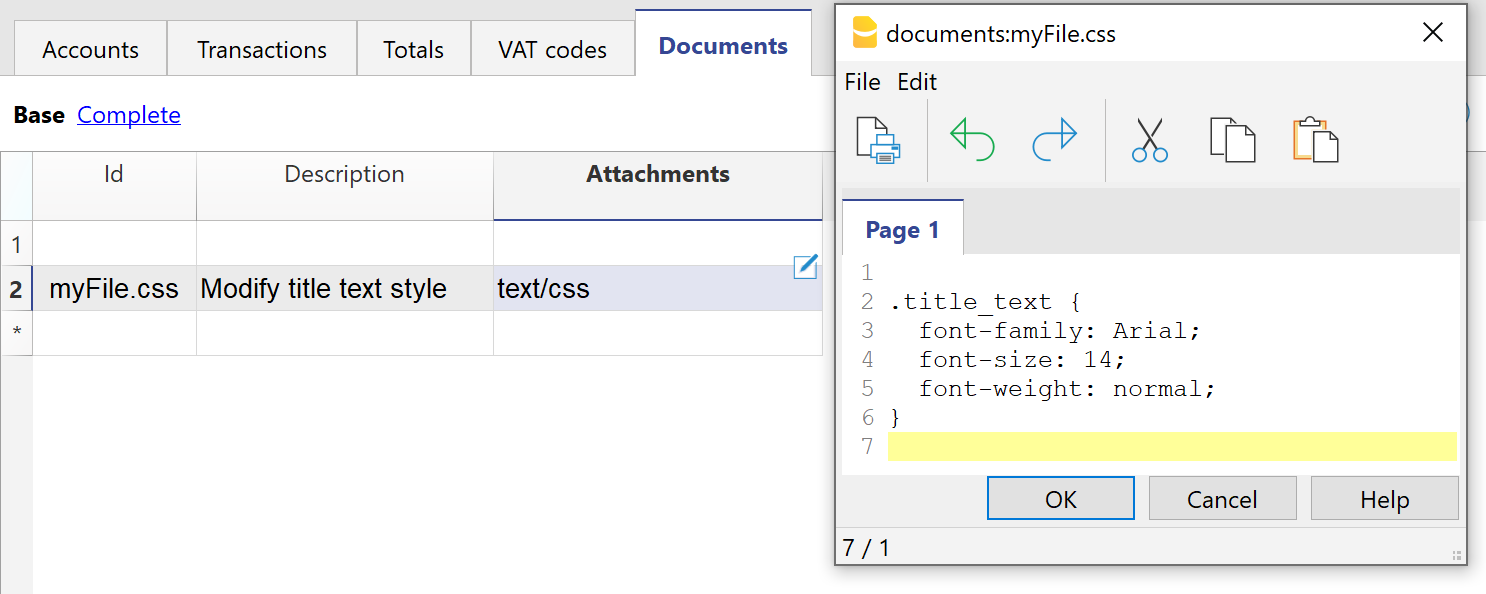
Documents table - CSS stylesheet attachment
- In the ID column enter the file name including the extension .css (e.g. "myStyle.css").
- Specify the CSS file created in the invoice layout extension.
- Select Settings of the Print invoices dialogue.
- In the Javascript/CSS > CSS file name, enter the name of the newly created CSS attachment file with the extension ".css" at the end (e.g. "myFile.css").
- Click Ok to confirm.
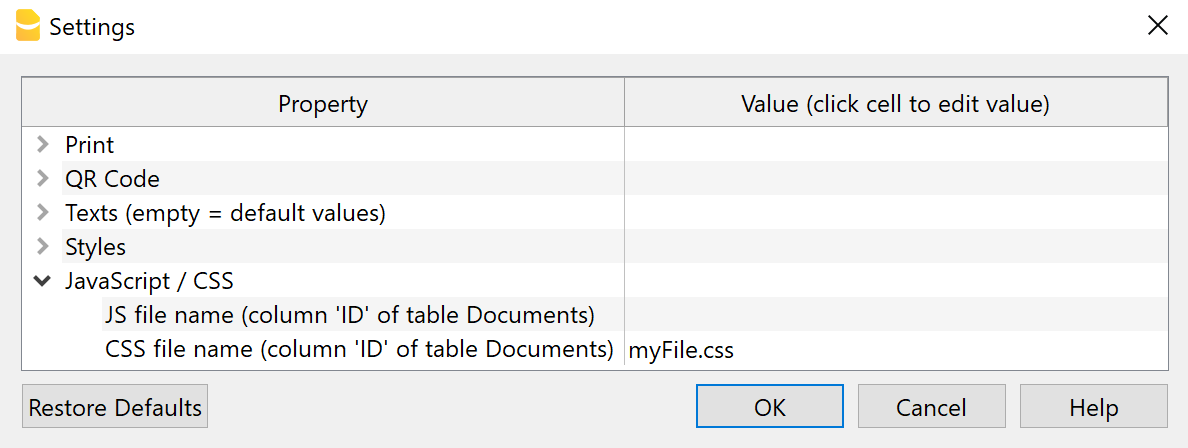
Settings Dialogue - CSS File Property
Syntax of a CSS stylesheet
The syntax of the CSS is quite simple as you see in this style definition that set the size of the Invoice title text element to 14 points and without bold.
/* this two lines are comment
   title_text is for the invoice number */
.title_text {
  font-family: Arial;
  font-size: 14;
  font-weight: normal;
  color: #6495ED;
}
Syntax rules:
- Element are case sensitive.
- You specify the style name ".title_text" starting with a dot (".") and followed by the curly open bracket "{".
- Property name, followed by the colon ":"
- Values followed by the semicolon ";"
- You can have has many allowed properties you need.
- End with the curly close bracket "}".
- You can have has many allowed style classes.
- The defined values overwrite the predefined one.
Comments:
- Add comments to the css by including the text within a /* comment */,
It help you remember the purpose of the code.
See the comments in the predefined CSS for explanations of the elements.
Most used properties
Font
- font-family
Specify the font name. - font-size
Specify the font size in points. - font-weight
Specify the font weight: normal, bold or value between 1-1000.
Text alignment
- text-align
Specify the horizontal alignment of the text.
It is used for example to align on the right of the cell all the amounts of the invoice (i.e. "text-align: right").
Colors
For the main colors you can use the name in English (black, yellow, white, blue, red, ...) or the hexadecimal values (HEX) preceded by the # sign (e.g. #000000, #009FE3, #FF00EA).
For codes see the table at https://www.w3schools.com/cssref/css_colors.asp.
- color
Define the color of a text. - background-color
Define the background color of an element.
It is used for example to set the background color of the header row of the invoice details.
Positioning
All elements in the invoice are positioned relative to the prior element. You can change the positioning.
- margin
- margin-top
To set the margin on the top of the element. - margin-right
To set the margin on the right side of the element. - margin-bottom
To set the margin on the bottom of the element. - margin-left
To set the margin on the left side of the element.
It is used for example in case it is required to move an element a bit to the right. More margin on the left means move the element to the right.
- margin-top
- padding
- padding-top
Sets the height of the area on the top of an element. - padding-right
Sets the width of the area on the right of an element. - padding-bottom
Sets the height of the area on the bottom of an element. - padding-left
Sets the width of the area on the left of an element.
- padding-top
/* For example it is used for the details table, to avoid that
all the texts are printed too close to the table border. */
.doc_table td {
  padding-top: 5px;
  padding-bottom: 1px;
  padding-left: 4px;
  padding-right: 4px;
}
Absolute positioning
Some elements are positioned relative to the begin of the document. The position of these elements does not depend on any other element in the document.
- postion
- For the logo, header text and address elements it is used the absolute positioning ("position: absolute").
Borders
To apply borders to tables and table rows.
- border-style
Sets the line style for all four sides of an element's border.- border-top-style
- border-right-style
- border-bottom-style
- border-left-style
- border-color
Sets the color for all four sides of an element's border.- border-top-color
- border-right-color
- border-bottom-color
- border-left-color
- border-width
Sets the width for all four sides of an element's border.- border-top-width
- border-right-width
- border-bottom-width
- border-left-width
/* For example use it to apply a double underline
 to the total line of the invoice. */
  .total_cell {
  border-bottom-style: double;
  border-bottom-color: #337ab7;
  border-bottom-width: 1px;
}
Display / Hide element
Set the attribute display to none to hide an element. In this case the Invoice number is hidden.
.title_text {
   display: none;
}
Predefined Invoice CSS stylesheet
The JavaScript layout generates an invoice document where each element is assigned a specific CSS class. These classes control the position, spacing, and formatting of the elements according to the stylesheet rules.
If you need to introduce additional style classes, you must also update the JavaScript code to reference them, typically by using the available hook functions.
The following section shows the complete CSS stylesheet used for invoice documents. This stylesheet defines how each part of the invoice is displayed (e.g., headers, addresses, tables, totals, footers).
- Some style properties use predefined variables (values starting with $).
For example, $font_family is replaced with the font name selected by the user, while other variables are initialized through the JavaScript variable initialization function. - Comments inside the CSS are written between /* ... */.
They describe the purpose of each selector and when it should be applied.
Full CSS Code
/* @page
   PURPOSE: Defines the physical page margins for printing.
   EFFECT: All elements are positioned relative to these margins.
   WHEN TO USE: When the user wants to change the page’s margin sizes. */
@page {
  margin-top: 0cm;
  margin-bottom: 0cm;
  margin-left: 0cm;
  margin-right: 0cm;
}

/* body
   PURPOSE: Base style for the whole document.
   EFFECT: Sets default font family, size, and text color for all content.
   WHEN TO USE: When the user wants to change the default font, size, or text color for the whole document. */
body {
  font-family: $font_family;
  font-size: $font_size;
  color: $text_color;
}

/* td
   PURPOSE: Aligns table cell content vertically to the top.
   WHEN TO USE: When the user wants all table cells aligned to the top vertically. */
td {
  vertical-align: top;
}

/* .right
   PURPOSE: Aligns text to the right.
   USAGE: Often combined with other classes for layout control.
   WHEN TO USE: When the user requests right-aligned text. */
.right {
  text-align: right;
}

/* .center
   PURPOSE: Centers text horizontally.
   USAGE: Often combined with other classes for layout control.
   WHEN TO USE: When the user requests centered text. */
.center {
  text-align: center;
}

/* .bold
   PURPOSE: Makes text bold.
   USAGE: Often combined with other classes for layout control.
   WHEN TO USE: When the user wants bold text. */
.bold {
  font-weight: bold;
}

/* .padding-right
   PURPOSE: Adds space inside the element on the right side.
   EFFECT: 20px right padding.
   WHEN TO USE: When the user wants extra padding on the right. */
.padding-right {
  padding-right: 20px;
}

/* .padding-left
   PURPOSE: Adds space inside the element on the left side.
   EFFECT: 20px left padding.
   WHEN TO USE: When the user wants extra padding on the left. */
.padding-left {
  padding-left: 20px;
}

/* .border-top
   PURPOSE: Adds a top border to an element.
   TYPICAL USE: Horizontal separator (e.g., between item list and totals).
   EFFECT: Solid, thin border in $color_title_total.
   WHEN TO USE: When the user requests a horizontal line above an element. */
.border-top {
  border-top-style: solid;
  border-top-color: $color_title_total;
  border-top-width: thin;
}

/* .header_text
   PURPOSE: Styles the header text block alignment and position.
   EFFECT: Sets margins, text alignment, and absolute positioning.
   NOTE: Used when no logo is present, or with right-aligned text layouts.
   WHEN TO USE: When the user wants to change or reposition the main header text. */
.header_text {
  margin-top: 1.2cm;
  margin-left: 1.2cm;
  margin-right: 1.2cm;
  text-align: right;
  position: absolute;
}

/* .header_row_1
   PURPOSE: Styles the first header row.
   EFFECT: Bold text, 16pt font size.
   WHEN TO USE: When the user wants to style the first line of header text (font weight, font size, font color, etc.). */
.header_row_1 {
  font-weight: bold;
  font-size: 16pt;
}

/* .header_row_2_to_5
   PURPOSE: Styles header rows 2–5.
   EFFECT: Bold text, 10pt font size.
   WHEN TO USE: When the user wants to style the lines 2,3,4 and 5 of header text (font weight, font size, font color, etc.). */
.header_row_2_to_5 {
  font-weight: bold;
  font-size: 10pt;
}

/* .logo
   PURPOSE: Positions the logo in the header.
   EFFECT: Sets margins and absolute positioning.
   WHEN TO USE: When the user wants to move or resize the logo position. */
.logo {
  margin-top: 1.2cm;
  margin-left: 1.34cm;
  margin-right: 1.2cm;
  position: absolute;
}

/* .info_table_left
   PURPOSE: Positions and styles the information table on the left side, when the customer address block is positioned on the right side.
   EFFECT: Sets font size and margins.
   WHEN TO USE: When the user wants to style/move the left-side info table. */
.info_table_left {
  font-size: $font_size;
  margin-top: 4.5cm;
  margin-left: 1.2cm;
  margin-right: 1.2cm;
}

/* .info_table_right
   PURPOSE: Positions and styles the information table on the right side, when the customer address block is positioned on the left side.
   EFFECT: Sets font size and margins.
   WHEN TO USE: When the user wants to style/move the right-side info table. */
.info_table_right {
  font-size: $font_size;
  margin-top: 5.5cm;
  margin-left: 12.3cm;
  margin-right: 1.2cm;
}

/* .info_table_row0
   PURPOSE: Positions and styles the information table for page 2 and later.
   EFFECT: Sets font size and margins.
   WHEN TO USE: When the user wants to change the info table style for second and later pages. */
.info_table_row0 {
  font-size: $font_size;
  margin-top: 4.5cm;
  margin-left: 1.2cm;
  margin-right: 1.2cm;
}

/* table.info_table_left td
   PURPOSE: Removes extra vertical padding in cells of left-side info tables.
   WHEN TO USE: When the user wants to change spacing in left-side info table cells. */
table.info_table_left td {
  padding-top: 0px;
  padding-bottom: 0px;
}

/* table.info_table_right td
   PURPOSE: Removes extra vertical padding in cells of right-side info tables.
   WHEN TO USE: When the user wants to change spacing in right-side info table cells. */
table.info_table_right td {
  padding-top: 0px;
  padding-bottom: 0px;
}

/* table.info_table_row0 td
   PURPOSE: Removes extra vertical padding in cells for page 2+ info tables.
   WHEN TO USE: When the user wants to change spacing in page 2+ info table cells. */
table.info_table_row0 td {
  padding-top: 0px;
  padding-bottom: 0px;
}

/* @page:first-view table.info_table_row0
   PURPOSE: Hides the page 2+ info table on the first page only.
   NOTE: :first-view is a custom pseudo-class used to target the first rendering of an element.
   WHEN TO USE: When the user wants to hide elements on the first page only. */
@page:first-view table.info_table_row0 {
  display: none;
}

/* .info_table_first_column
   PURPOSE: Optional override for the width of the first info-table column.
   DEFAULT: If unset, the column uses the default width.
   EXAMPLE: width: 100px;
   WHEN TO USE: When the user wants to set a specific width for the first column. */
.info_table_first_column {}

/* .info_table_second_column
   PURPOSE: Optional override for the width of the second info-table column.
   DEFAULT: If unset, the column uses the default width.
   EXAMPLE: width: 100px;
   WHEN TO USE: When the user wants to set a specific width for the second column. */
.info_table_second_column {}

/* .address_table_right
   PURPOSE: Positions the customer address block on the right side.
   EFFECT: Sets font size, absolute position, and width.
   WHEN TO USE: When the user wants to style or reposition the right-side address block. */
.address_table_right {
  font-size: $font_size;
  top: 4.5cm;
  left: 12.3cm;
  width: 7.5cm;
  position: absolute;
}

/* .address_table_left
   PURPOSE: Positions the customer address block on the left side.
   EFFECT: Sets absolute position and width.
   WHEN TO USE: When the user wants to style or reposition the left-side address block. */
.address_table_left {
  top: 5.5cm;
  left: 2.2cm;
  width: 7.5cm;
  position: absolute;
}

/* .custom_address_table_right
   PURPOSE: Positions the right-side address using configurable margins.
   SOURCE: $right_address_margin_top / $right_address_margin_left come from invoice settings.
   WHEN TO USE: When the user wants to move the right address block using specific measurements. */
.custom_address_table_right {
  font-size: $font_size;
  top: $right_address_margin_top;
  left: $right_address_margin_left;
  width: 7.5cm;
  position: absolute;
}

/* .custom_address_table_left
   PURPOSE: Positions the left-side address using configurable margins.
   SOURCE: $left_address_margin_top / $left_address_margin_left come from invoice settings.
   WHEN TO USE: When the user wants to move the left address block using specific measurements. */
.custom_address_table_left {
  top: $left_address_margin_top;
  left: $left_address_margin_left;
  width: 7.5cm;
  position: absolute;
}

/* .small_address
   PURPOSE: Styles the sender's small address line above the customer address.
   EFFECT: 7pt font, centered text, bottom underline, 0.3cm bottom margin.
   WHEN TO USE: When the user wants to style the small sender address above the customer’s. */
.small_address {
  font-size: 7pt;
  text-align: center;
  border-bottom-style: solid;
  border-bottom-color: $text_color;
  border-bottom-width: 1px;
  margin-bottom: 0.3cm;
}

/* .shipping_address
   PURPOSE: Styles the shipping address block.
   EFFECT: Sets font size and top/side margins.
   WHEN TO USE: When the user wants to style the shipping address section. */
.shipping_address {
  font-size: $font_size;
  margin-top: 0.4cm;
  margin-left: 1.2cm;
  margin-right: 1.2cm;
}

/* .title_shipping_address
   PURPOSE: Styles the "Shipping Address" title.
   EFFECT: Bold text, $color_title_total color.
   WHEN TO USE: When the user wants to style the shipping address title text. */
.title_shipping_address {
  font-weight: bold;
  color: $color_title_total;
}

/* .title_text
   PURPOSE: Styles the invoice title.
   EFFECT: Bold text, $font_size_title size, $color_title_total color.
   WHEN TO USE: When the user wants to style the invoice title text. */
.title_text {
  font-size: $font_size_title;
  font-weight: bold;
  color: $color_title_total;
}

/* .section_class_begin
   PURPOSE: Container for the introductory (begin) text after the invoice title.
   EFFECT: Full width with top/side margins.
   WHEN TO USE: When the user wants to change the position or spacing of the intro text section. */
.section_class_begin {
  margin-top: 1.0cm;
  margin-left: 1.2cm;
  margin-right: 1.2cm;
  width: 100%;
}

/* .begin_text_table
   PURPOSE: Table container for the "begin" text.
   EFFECT: Full width.
   WHEN TO USE: When the user wants to style the table of the begin text. */
.begin_text_table {
  width: 100%;
}

/* .begin_text
   PURPOSE: Styles the "begin" text.
   EFFECT: Sets font size.
   WHEN TO USE: When the user wants to change the style of the introductory text. */
.begin_text {
  font-size: $font_size;
}

/* .section_class_details:first-view
   PURPOSE: Applies a specific top margin to the details section on first render only.
   NOTE: :first-view targets the first time the section is displayed.
   WHEN TO USE: When the user wants to change the details section margin only on the first page. */
.section_class_details:first-view {
  margin-top: 0.5cm;
}

/* .section_class_details
   PURPOSE: Styles the invoice details section on all pages.
   EFFECT: Sets font size and outer margins.
   WHEN TO USE: When the user wants to style or adjust margins for the details section. */
.section_class_details {
  font-size: $font_size;
  margin-top: 0.5cm;
  margin-bottom: 0.5cm;
  margin-left: 1.3cm;
  margin-right: 1.2cm;
}

/* .doc_table
   PURPOSE: Table for invoice details.
   EFFECT: Full width.
   WHEN TO USE: When the user wants to style the details table. */
.doc_table {
  width: 100%;
}

/* .doc_table_header
   PURPOSE: Styles the header row of the invoice details table.
   EFFECT: Bold, $font_size_header, custom text/background colors, bottom border.
   WHEN TO USE: When the user wants to style the column headers of the details table. */
.doc_table_header {
  font-size: $font_size_header;
  font-weight: bold;
  color: $text_color_details_header;
  background-color: $background_color_details_header;
  border-bottom: thin solid $color_title_total;
}

/* .doc_table td
   PURPOSE: Sets cell padding for invoice details rows.
   WHEN TO USE: When the user wants to adjust padding inside detail table cells. */
.doc_table td {
  padding-top: 5px;
  padding-bottom: 1px;
  padding-left: 0px;
  padding-right: 0px;
}

/* .doc_table_header td
   PURPOSE: Sets cell padding for the invoice header row.
   WHEN TO USE: When the user wants to adjust header cell padding in the details table. */
.doc_table_header td {
  padding-top: 4px;
  padding-bottom: 2px;
  padding-left: 0px;
  padding-right: 0px;
}

/* .item_cell
   PURPOSE: Define the text style for each invoice item row.
   USAGE: Apply to cells/rows containing individual items.
   NOTE: Empty by default, add font/spacing/color rules as needed.
   WHEN TO USE: When the user wants to style the text of each line item in the details table. */
.item_cell {}

/* .total_cell
   PURPOSE: Styles the total row.
   EFFECT: Bold, $font_size_total, $color_title_total color, double bottom border.
   WHEN TO USE: When the user wants to style the row containing the total amount. */
.total_cell {
  font-size: $font_size_total;
  font-weight: bold;
  color: $color_title_total;
  border-bottom-style: double;
  border-bottom-color: $color_title_total;
  border-bottom-width: 1px;
}

/* .subtotal_cell
   PURPOSE: Styles the subtotal row.
   EFFECT: Bold text, single bottom border in $color_title_total.
   WHEN TO USE: When the user wants to style the subtotal row in the details table. */
.subtotal_cell {
  font-weight: bold;
  border-bottom-style: solid;
  border-bottom-color: $color_title_total;
  border-bottom-width: thin;
}

/* .header_cell
   PURPOSE: Styles any header cell in the invoice details.
   EFFECT: Bold text.
   WHEN TO USE: When the user wants to make any header cell bold in the details section. */
.header_cell {
  font-weight: bold;
}

/* .vat_info
   PURPOSE: Styles VAT-related text.
   EFFECT: Sets font size (used for gross amount layouts).
   WHEN TO USE: When the user wants to style VAT information text. */
.vat_info {
  font-size: $font_size;
}

/* .even_rows_background_color
   PURPOSE: Sets background color for even-numbered rows (striped tables).
   WHEN TO USE: When the user wants alternating row background colors in tables. */
.even_rows_background_color {
  background-color: $background_color_alternate_lines;
}

/* .section_class_final_texts
   PURPOSE: Styles the final notes/greetings section after the details.
   EFFECT: Sets top/side/bottom margins.
   WHEN TO USE: When the user wants to style or adjust spacing for final texts or notes. */
.section_class_final_texts {
  margin-top: 0cm;
  margin-bottom: 0.5cm;
  margin-left: 1.26cm;
  margin-right: 1.0cm;
}

/* .footer_line
   PURPOSE: Horizontal line above the footer section (separator).
   EFFECT: Top border, side margins.
   WHEN TO USE: When the user wants to add or style a separator line above the footer. */
.footer_line {
  margin-left: 1.2cm;
  margin-right: 1.0cm;
  border-top-style: solid;
  border-top-color: $color_title_total;
  border-top-width: thin;
}

/* .footer_table
   PURPOSE: Styles the footer table.
   EFFECT: 8pt font, bottom margin, full width, side margins.
   WHEN TO USE: When the user wants to style the footer section or adjust its spacing. */
.footer_table {
  font-size: 8pt;
  margin-bottom: 2.0cm;
  margin-left: 1.2cm;
  margin-right: 1.0cm;
  width: 100%;
}
CSS Class Reference
| Selector / Class | Purpose / Usage |
|---|---|
| @page | Defines page margins for printing. Use to change document margins. |
| body | Base font, size, and text color for the whole document. |
| td | Aligns table cells vertically to the top. |
| .right | Right-aligns text content. |
| .center | Center-aligns text content. |
| .bold | Makes text bold. |
| .padding-right | Adds padding on the right. |
| .padding-left | Adds padding on the left. |
| .border-top | Adds a border at the top (used as separator). |
| .header_text | Defines margins and styles of the header text block. |
| .header_row_1 | Defines styles of the first header row. |
| .header_row_2_to_5 | Defines styles of the header rows 2–5. |
| .logo | Defines margins of the logo in the header. |
| .info_table_left | Defines margins and styles of the left-side info table. |
| .info_table_right | Defines margins and styles of the right-side info table. |
| .info_table_row0 | Defines margins and styles of the Info table for page 2 and later. |
| table.info_table_left td | Defines spacing for left-side info table cells. |
| table.info_table_right td | Defines spacing for right-side info table cells. |
| table.info_table_row0 td | Defines spacing for page 2+ info table cells. |
| @page:first-view table.info_table_row0 | Hides info table (info_table_row0) on first page. |
| .info_table_first_column | Optional: defines width for first info table column. |
| .info_table_second_column | Optional: defines width for second info table column. |
| .address_table_right | Defines margins and styles for the right-side address block. |
| .address_table_left | Defines margins and styles for the left-side address block. |
| .custom_address_table_right | Defines margins and styles for the custom right address block. |
| .custom_address_table_left | Defines margins and styles for the custom left address block. |
| .small_address | Defines styles of the sender’s small address line. |
| .shipping_address | Defines margins and styles of the shipping address block. |
| .title_shipping_address | Defines styles of the shipping address title. |
| .title_text | Defines styles of the the invoice title. |
| .section_class_begin | Defines margins of the container for introductory text section. |
| .begin_text_table | Defines styles of the begin text in table. |
| .begin_text | Defines the styles of the introductory text. |
| .section_class_details:first-view | Adjusts details section margin on first page only. |
| .section_class_details | Defines margins and styles of the details section. |
| .doc_table | Defines the styles of the details table (items list). |
| .doc_table_header | Defines margins and styles for the header row of details table. |
| .doc_table td | Defines padding inside details table cells. |
| .doc_table_header td | Defines padding inside header row cells of details table. |
| .item_cell | Defines the styles of the invoice item rows (per line item). |
| .total_cell | Defines the styles of the total row. |
| .subtotal_cell | Defines the styles of the subtotal row. |
| .header_cell | Defines the styles of the invoice header rows. |
| .vat_info | Defines the styles of the VAT information text (for gross amounts only). |
| .even_rows_background_color | Applies background color to even table rows. |
| .section_class_final_texts | Defines margins and styles of the final notes/greetings section. |
| .footer_line | Defines margins and separator line above footer. |
| .footer_table | Defines margins and styles of the footer table. |
How to adapt the invoice print with CSS
The following examples show how to adapt invoice printing with custom CSS stylesheet files.
See CSS customization for more information.
Change margins of the page
Page margins are set automatically when creating the invoice. It is possible to change margins with CSS.
To do this, the different elements of the invoice must be changed in the CSS:
- Header (Logo and text).
- Invoice Information.
- Title and begin text.
- Invoice details.
- Final texts.
Copy and paste the following code into the editor, and change the margin-left and margin-right values:
/* Header Logo margins */
.logo {
  margin-left: 1.34cm;
  margin-right: 1.2cm;
  margin-top: 1.2cm;
}
/* Header text margins (when logo is not used) */
.header_text {
  margin-top: 1.2cm;
  margin-left: 1.2cm;
  margin-right: 1.2cm;
}
/* Information margins */
.info_table_left {
  margin-left: 1.2cm;
}
/* Information margins (page 2+) */
.info_table_row0 {
  margin-left: 1.2cm;
}
/* Title and begin texts margins */
.section_class_begin {
  margin-left: 1.2cm;
  margin-right: 1.2cm;
}
/* Invoice details margins */
.section_class_details {
  margin-left: 1.3cm;
  margin-right: 1.2cm;
}
/* Final texts margins */
.section_class_final_texts {
  margin-left: 1.26cm;
  margin-right: 1.2cm;
}
Change style of the header
The header text by default is always printed in bold, the font size of the first line is larger than the others, and the font is the same used for the rest of the invoice.
With this example we want to change something:
- Set the text color.
- Add a new declaration using the property color: and enter a color value.
- The color value is an hexadecimal value (HEX) preceded by the # sign (e.g. #000000, #009FE3, #FF00EA).
For codes see the table at https://www.w3schools.com/cssref/css_colors.asp.
- Remove the bold style.
- Change the font-weight: property value from bold to normal.
- Set the same font size for all the lines.
- Change the font-size: property value with a different size, e.g. 12pt.
- Change the font type.
- Add a new declaration using the property font-family: and enter a font, e.g. Times New Roman.
Copy and paste the following code into the editor:
/* Header row 1 */
.header_row_1 {
  color: #0000FF;
  font-weight: normal;
  font-size: 12pt;
  font-family: Times New Roman;
}
/* Header text row 2+ */
.header_row_2_to_5 {
  color: #6495ED;
  font-weight: normal;
  font-size: 12pt;
  font-family: Times New Roman;
}
The header text style is now changed from the original settings and is the same for all the lines.
Example print: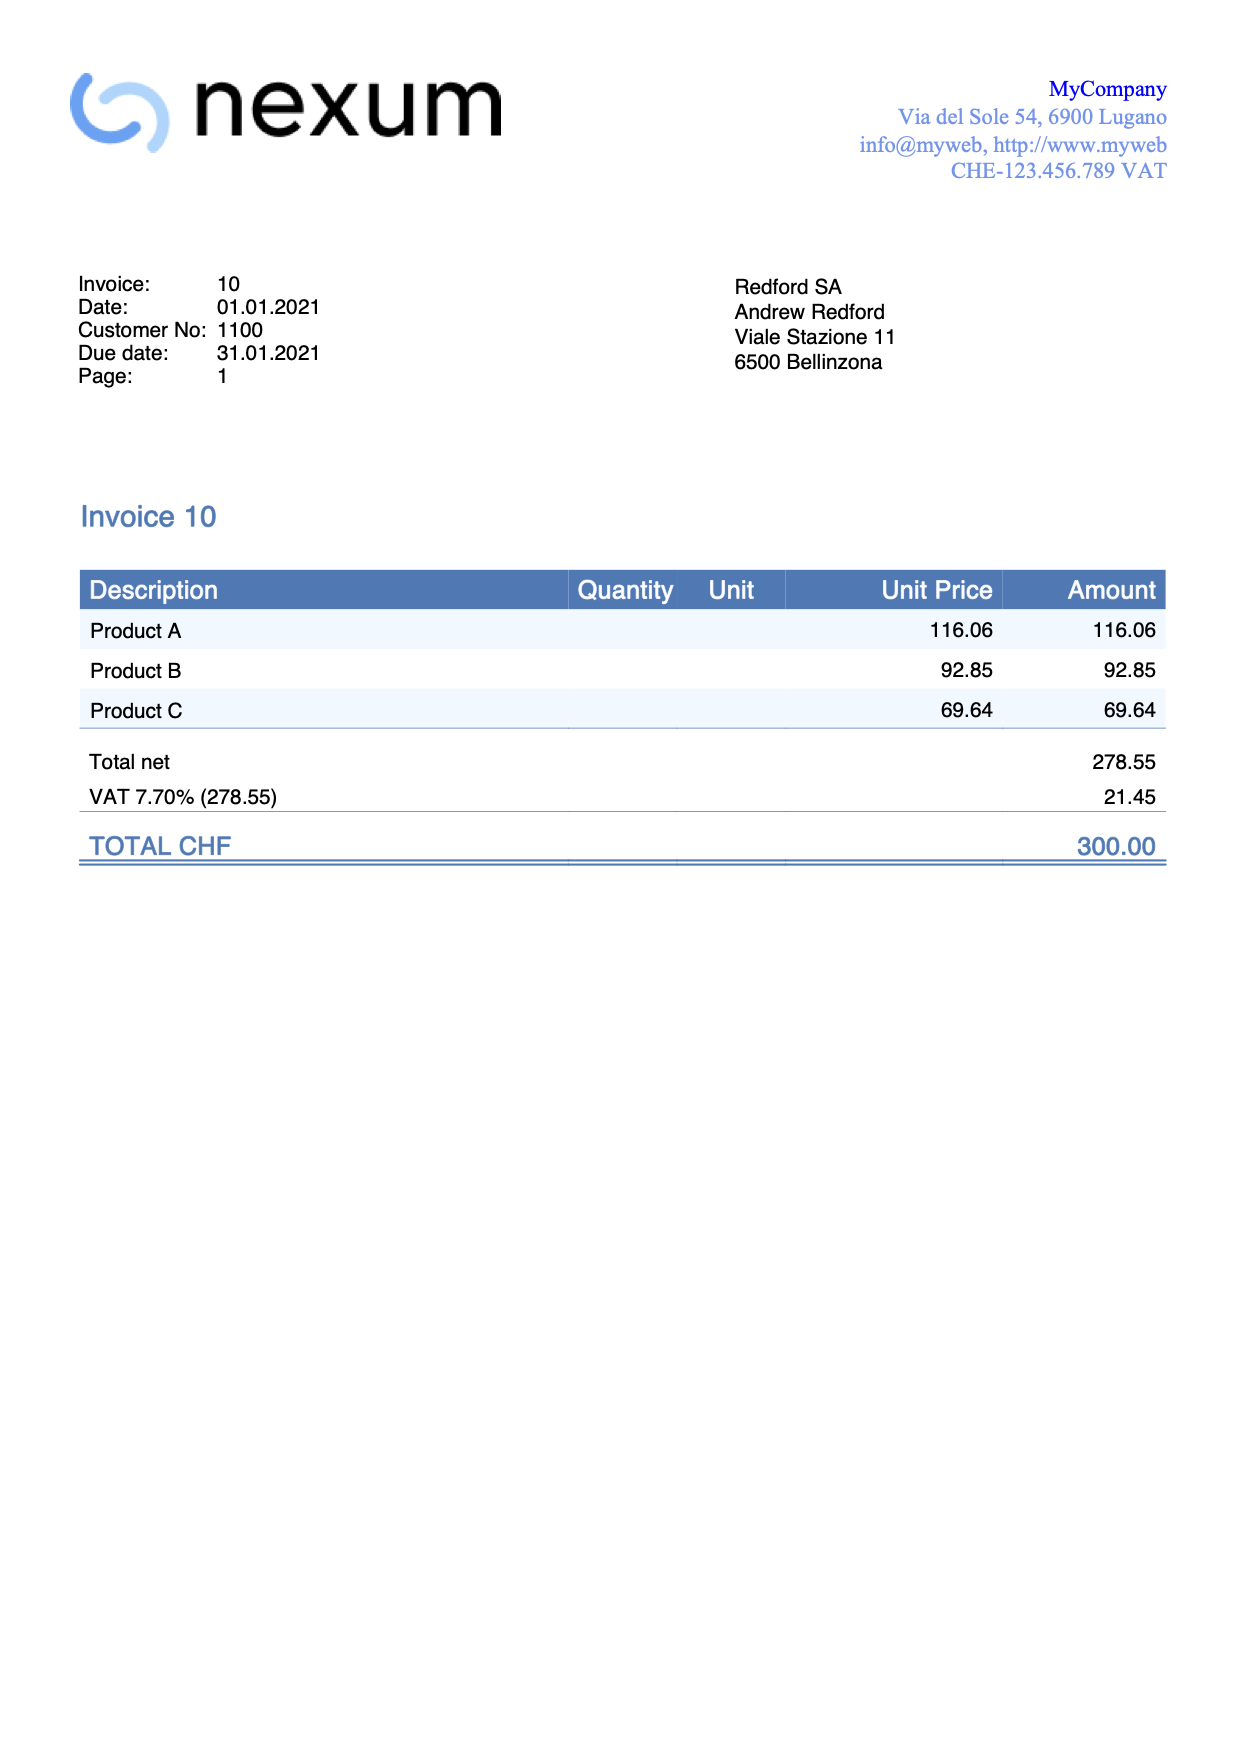
Change color of the header
The header text by default is always printed in black.
With this example we want to change the color:
- Set the text color.
- Add a new declaration using the property color: and enter a color value.
- The color value is an hexadecimal value (HEX) preceded by the # sign (e.g. #000000, #009FE3, #FF00EA).
For codes see the table at https://www.w3schools.com/cssref/css_colors.asp.
Copy and paste the following code into the editor, and change the color code:
/* Header row 1 */
.header_row_1 {
  color: #6495ED;
}
/* Header text row 2+ */
.header_row_2_to_5 {
  color: #6495ED;
}
The header color is now changed from the original settings.
Use grayscale colours
With this example we set text and background colours with grayscale colours.
.total_cell {
   color: black
}
.title_text {
   color: black
}
.header_row_1 {
   color: black;
}
.doc_table_header {
   color: black;
   background-color: white;
   border-bottom: solid black thin;
}
Change position of information section
The information section of the invoice is always placed at the same height of the invoice address.
In this example we want to change the position of the information section. We do this by changing the the predefined margins values:
- To move vertically change the margin-top value.
- To move horizontally change the margin-left value.
In case the information section is on the left, copy and paste the following code into the editor and edit it with your values:
.info_table_left {
  font-size: $font_size;
  margin-top: 4.5cm;
  margin-left: 1.2cm;
  margin-right: 1.2cm;
}
In case the information section is on the right, copy and paste the following code into the editor and edit it with your values:
.info_table_right {
  font-size: $font_size;
  margin-top: 5.5cm;
  margin-left: 12.3cm;
  margin-right: 1.2cm;
}
For the information section on the second page, copy and paste the following code into the editor and edit it with your values:
.info_table_row0 {
  font-size: $font_size;
  margin-top: 4.5cm;
  margin-left: 1.2cm;
  margin-right: 1.2cm;
}
With these changes the information section starts now on a different position (and also the invoice details).
Example print: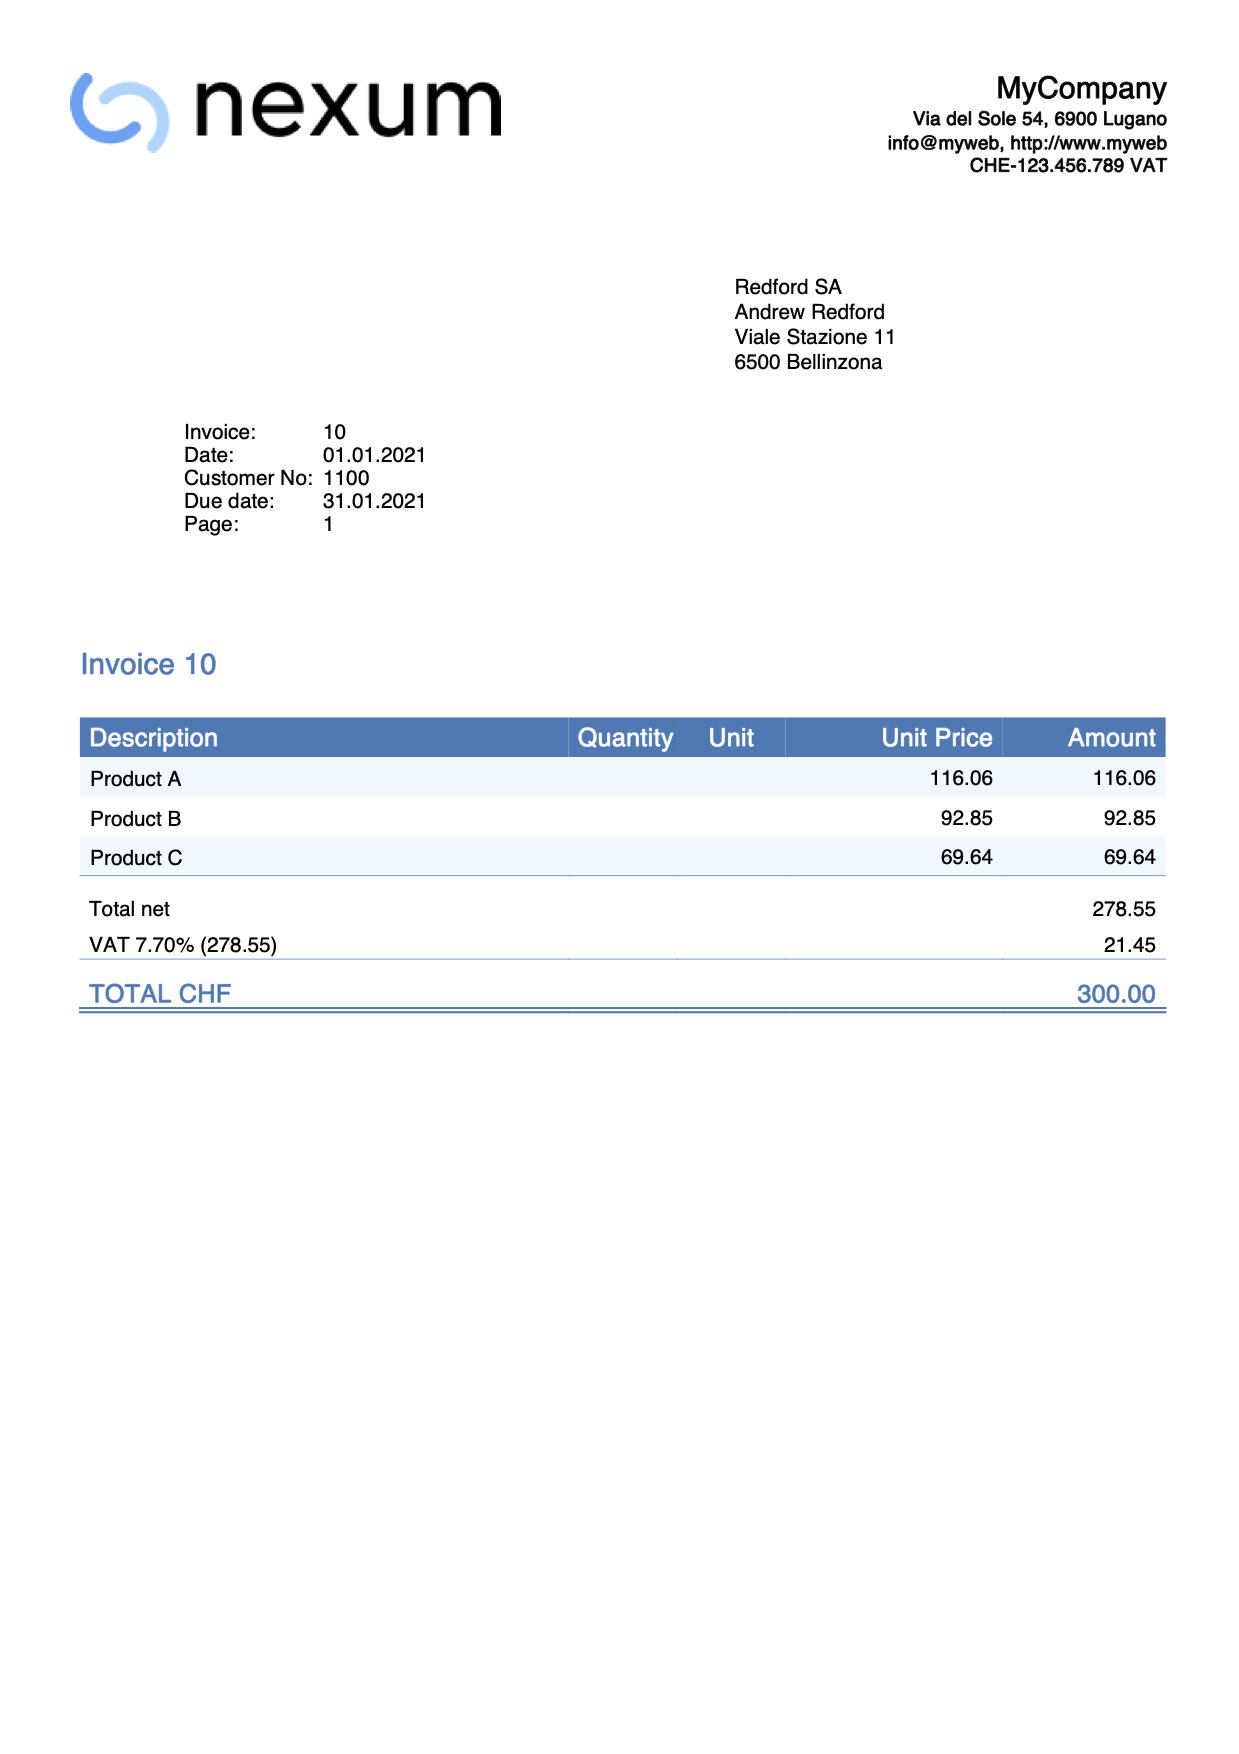
Change position of the address
The position of the invoice address is normally fixed, but with this example we want to change it.
First we have to decide whether the address should be printed on the right or on the left.
For this example let's suppose that it is printed on the right.
In order to move the address (up, down, left, right) we can change the predefined margins values of the address element.
- Move up/down.
- To move the address up, change the top property value with a smaller value
(less space from the top margin means that the address goes up). - To move the address down, change the top property value with a bigger value
(more space from the top margin means that the address goes down).
- To move the address up, change the top property value with a smaller value
- Move left/right.
- To move the address left, change the left property value with a smaller value
(less space from the left margin means that the address goes left). - To move the address right, change the left property value with a bigger value
(more space from the left margin means that the address goes right).
- To move the address left, change the left property value with a smaller value
Copy and paste the following code into the editor and adjust the values of top and left:
.address_table_right {
  font-size: $font_size;
  top: 4.5cm;
  left: 12.3cm;
  width: 7.5cm;
  height: 3.5cm;
  position: absolute;
}
This works both when the address is printed on the right and when it is printed on the left.
Simply use the correct element: ".address_table_right" for the address on the right and ".address_table_left" for the address on the left.
With this change the invoice address starts now on a different position.
N.B. In previous example it was suggested to use margin-left and margin-top. From october 1st 2022 we recommend to use left and top with width and height attributes instead.
If you are using margin-left and margin-top within your custom css, you now have to replace them with left, top, width and height attributes.
Print the address in bold
This example shows how to print the invoice address in bold.
To do that, we have to add the font-weight:bold property to the address style. The address used in the example is the default one positioned on the right.
Copy and paste the following code into the editor:
.address_table_right {
  font-size: $font_size;
  top: 4.5cm;
  left: 12.3cm;
  width: 7.5cm;
  height: 3.5cm;
  position: absolute;
  font-weight: bold;
}
Example print: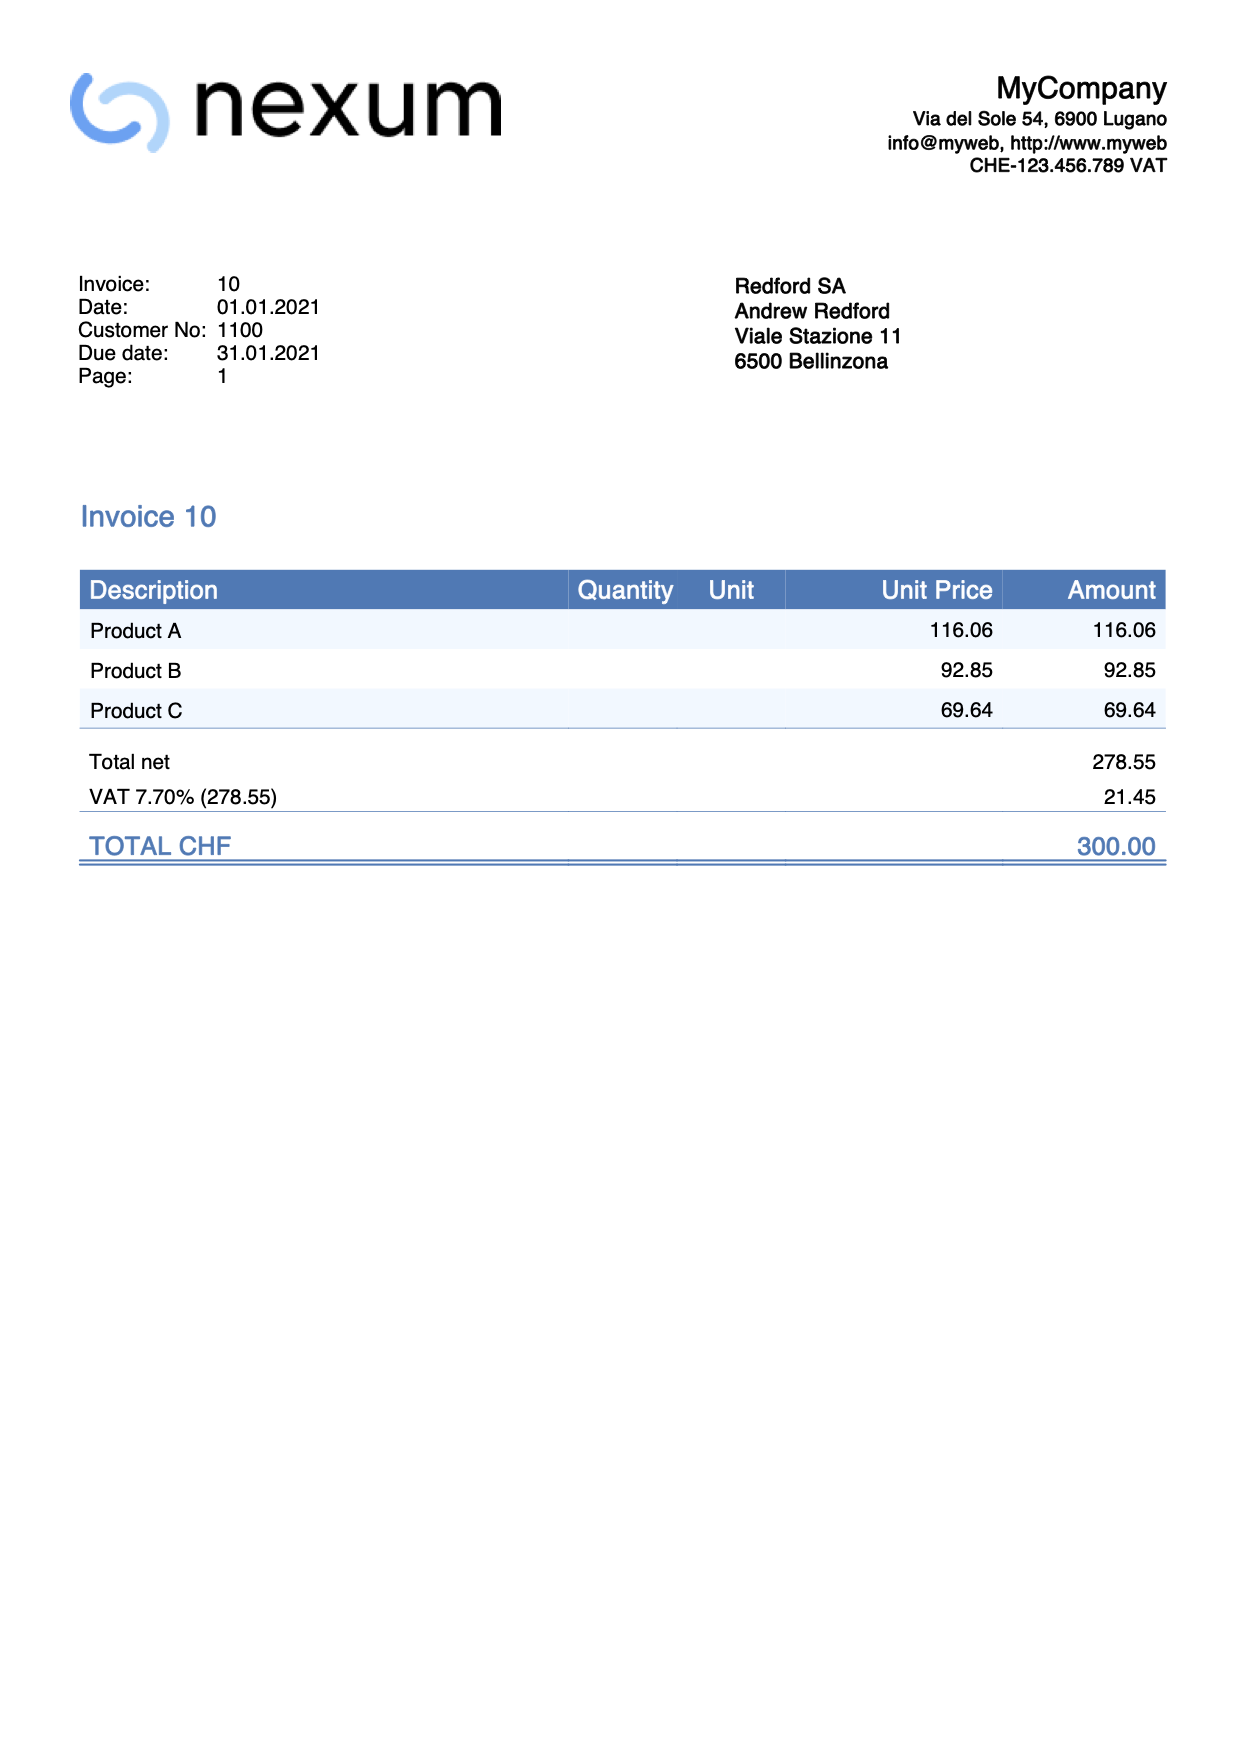
Change font type and font size of the address
This example shows how to print the invoice address with different font and size.
To do this:
- Add the font-family property to the address style. This is used to define the font type.
- Add the font-size property to the address style. This is used to define the font size.
If you are printing the address on the right, copy and paste the following code into the editor and replace the name of the font and the size:
.address_table_right {
  font-family: Helvetica;
  font-size: 12pt;
  top: 4.5cm;
  left: 12.3cm;
  width: 7.5cm;
  height: 3.5cm;
  position: absolute;
}
If you are printing the address on the left, copy and paste the following code into the editor and replace the name of the font and the size:
.address_table_left {
  font-family: Helvetica;
  font-size: 12pt;
  top: 5.5cm;
  left: 2.2cm;
  width: 7.5cm;
  height: 3.5cm;
  position: absolute;
}
In both examples you can also change the positions by editing the margin properties. More information Change position of the address.
Reduce space before and after invoice details
The positions of the elements and the space between them is predefined.
In this example we want to:
- Reduce spaces between address and title.
- Reduce spaces between details table and final texts.
Copy and paste the following code into the editor:
.section_class_begin {
  margin-top: 0mm; /*reduce the default 10mm */
  margin-left: 12mm;
  margin-right: 12mm;
  width: 100%;
}
.section_class_final_texts {
  margin-top: 0mm; /*reduce the default 5mm */
  margin-bottom: 10mm;
  margin-left: 12mm;
  margin-right: 10mm;
}
With this changes the spaces you have now less space before and after the invoice details.
Example print: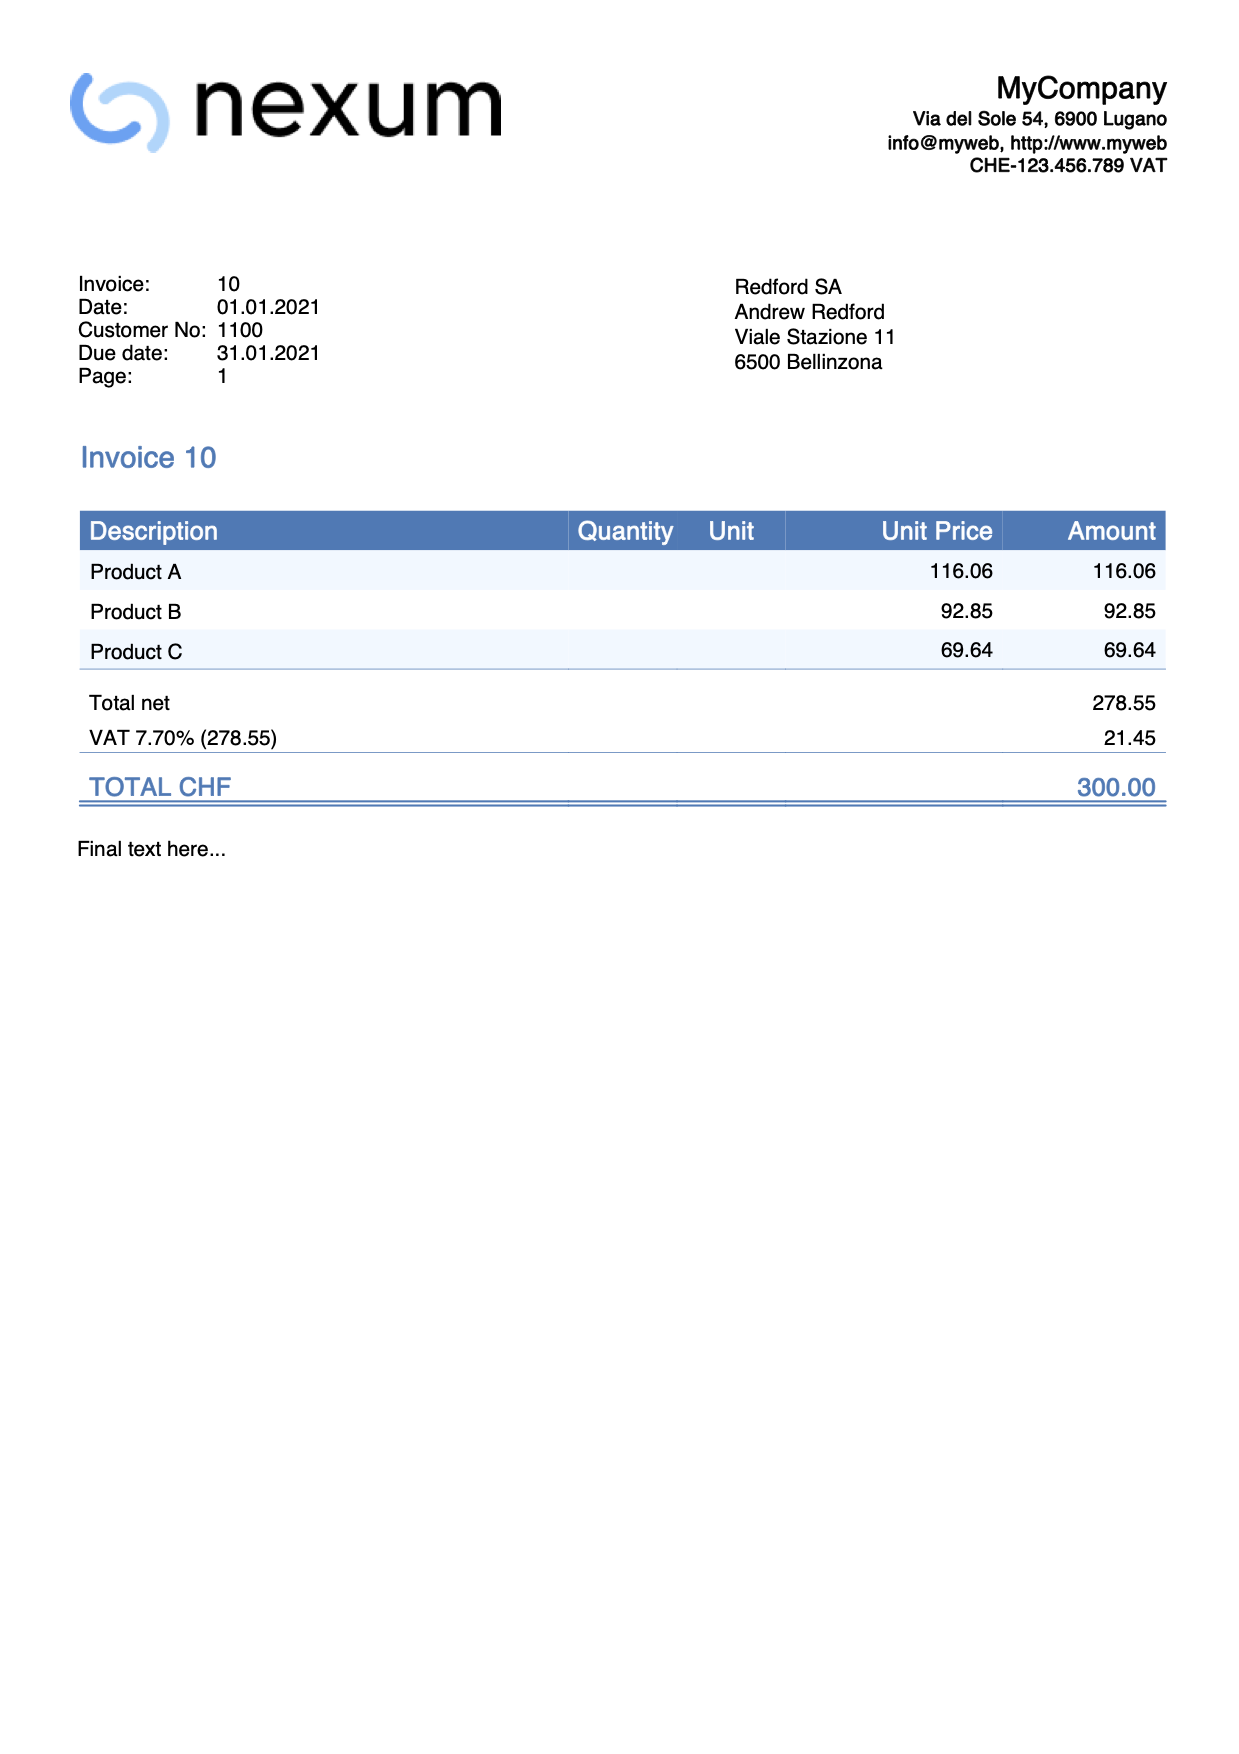
Change the title color
The title text by default is always printed with the same color of the total line.
With this example we want to change the title color without changing the total:
- Copy the code below.
- Change the color property value with the color you want.
.title_text {
  font-size: $font_size_title;
  font-weight: bold;
  color: black;
}
The title color is now changed from the original settings.
Change the size of the item rows
With this example we want to change the font size of the item rows:
- Copy the code below
- Change the font-size property value with the size you want.
.item_cell {
  font-size: 9pt;
}
Add a separator between items
In this example, we add a separator line between each item row.
- Copy the code below.
- Change the border-bottom property, specifying:
- the width of the line (1px, thin, etc.)
- the style of the line (solid, dotted, etc.)
- the color of the line (black, #000000, etc.)
.item_cell {
  border-bottom: thin solid black;
}
Change the total line bottom border
The total text by default is always printed with a double bottom border.
With this example we want to:
- Remove the bottom border.
- Change the border-bottom-style property value from double to none. This displays no border.
.total_cell {
  font-size: $font_size_total;
  font-weight: bold;
  color: $color_title_total;
  border-bottom-style: none;
  border-bottom-color: $color_title_total;
  border-bottom-width: 1px;
}
- Change the border style.
- Change the border-bottom-style property value with a different type (dotted, dashed, solid, double).
- Change the border-bottom-width property value with a different value (thin, thick, 1px, 2px,...).
- Change the border-bottom-color property value with a different color.
The total line style is now changed from the original settings.
Example print: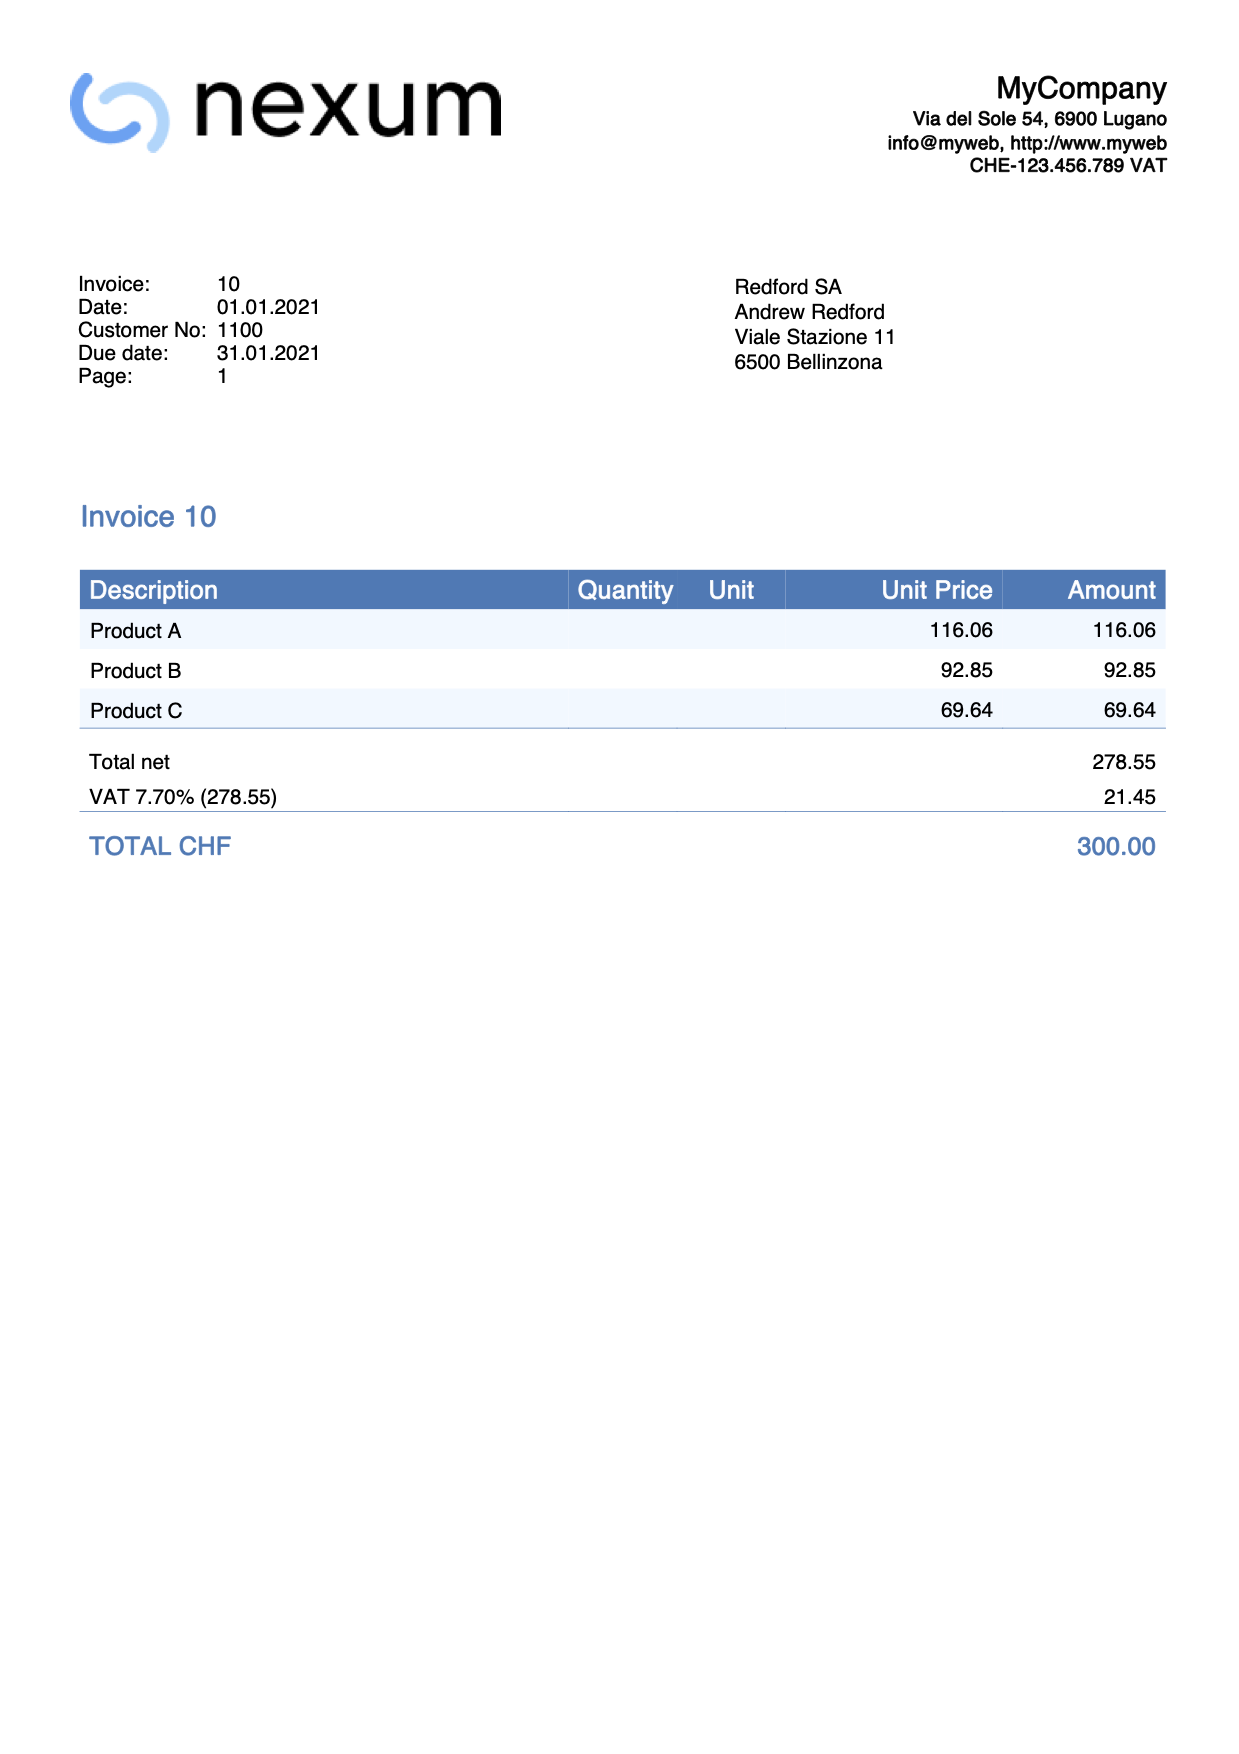
More space between total text and double underline
In this example we want to change the space between the total line text and the double underline.
The text is in the last row of the details table, and the double underline is done using a bottom border.
To increase or decrease the space in between we can use the padding property, that is used to generate space around an element's content (in this case the text), inside of any defined borders.
To do that we have to:
- Add a new selector that works specifically on all the cells of the total row.
- We use the total_cell selector that already exists (see example above).
- We combine it with the td selector in order to work on each data/cell of the row.
- Add the padding-bottom property only, and define a value we want.
Copy and paste the following code into the editor:
.total_cell td {
   padding-bottom: 10px;
}
The bottom border distance of the total line is now changed from the original settings.
Example print: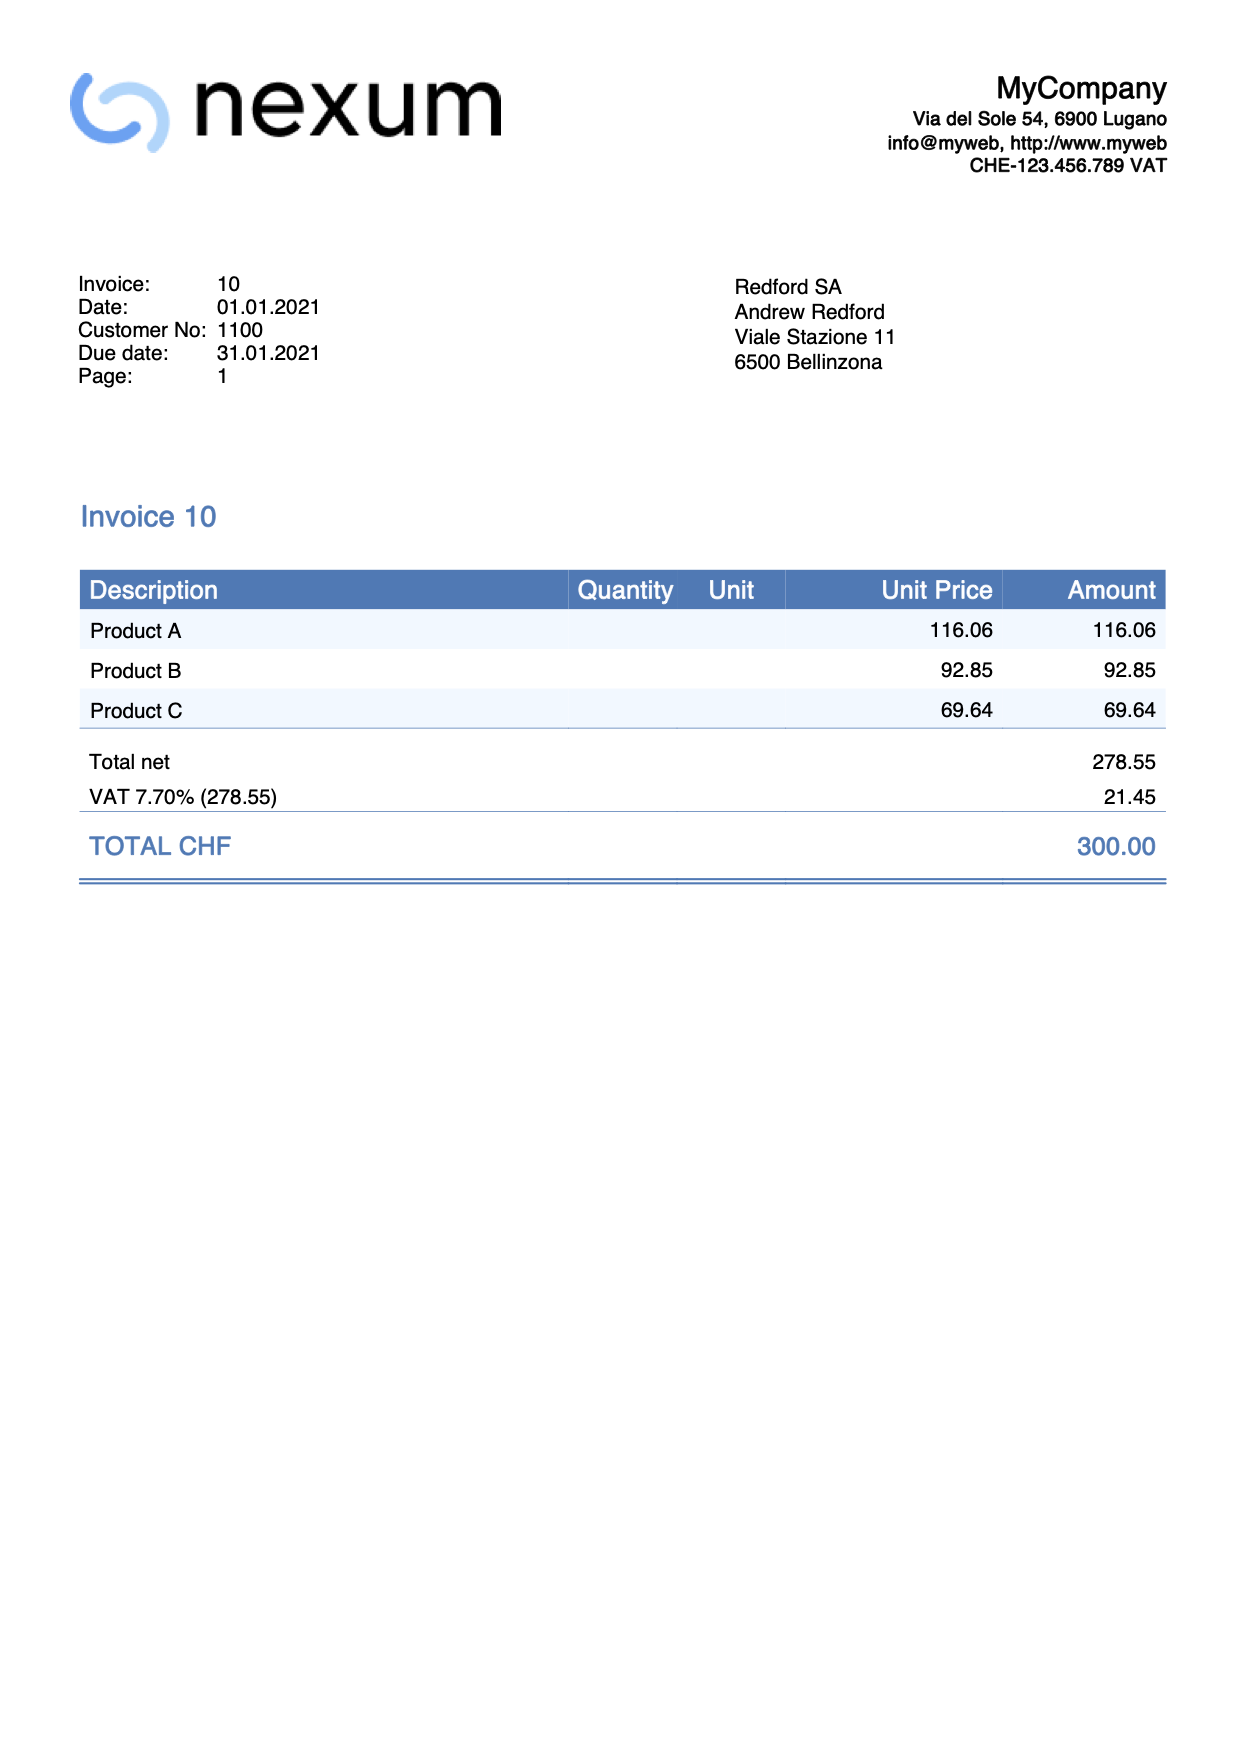
Print a stamp
In this example we want print a text as a stamp over and under the invoice's content.
The text will be printed rotated. For that we will use the css attribute transform.
To do that, we have to:
- Add a new selector that works specifically on the stamp text.
- Add the text as last first paragraph, so that it will be under the content.
- Add the text as last last paragraph, so that it will overlap the content.
Copy and paste the following code into the css editor:
.stamp1 {
    position: absolute;
    transform: translate(-0cm,10cm),rotate(-45deg);
    font-size: 60;
    text-align: center;
    color: #CCCCCCCC;
 }
.stamp2 {
    position: absolute;
    transform: translate(-0cm,16cm),rotate(-45deg);
    font-size: 60;
    text-align: center;
    color: #CCCCCCCC;
}
Copy and paste the following code into the js editor:
function hook_print_header(repDocObj, userParam, repStyleObj, invoiceObj, texts) {
   let stamp = repDocObj.addSection("stamp1");
   stamp.addParagraph("Stamp under text!");
   print_header(repDocObj, userParam, repStyleObj, invoiceObj, texts)
}
function hook_print_footer(repDocObj, texts, userParam) {
   print_footer(repDocObj, texts, userParam)
   let stamp = repDocObj.addSection("stamp2");
   stamp.addParagraph("Stamp over text!");
}
The bottom border distance of the total line is now changed from the original settings.
Example print: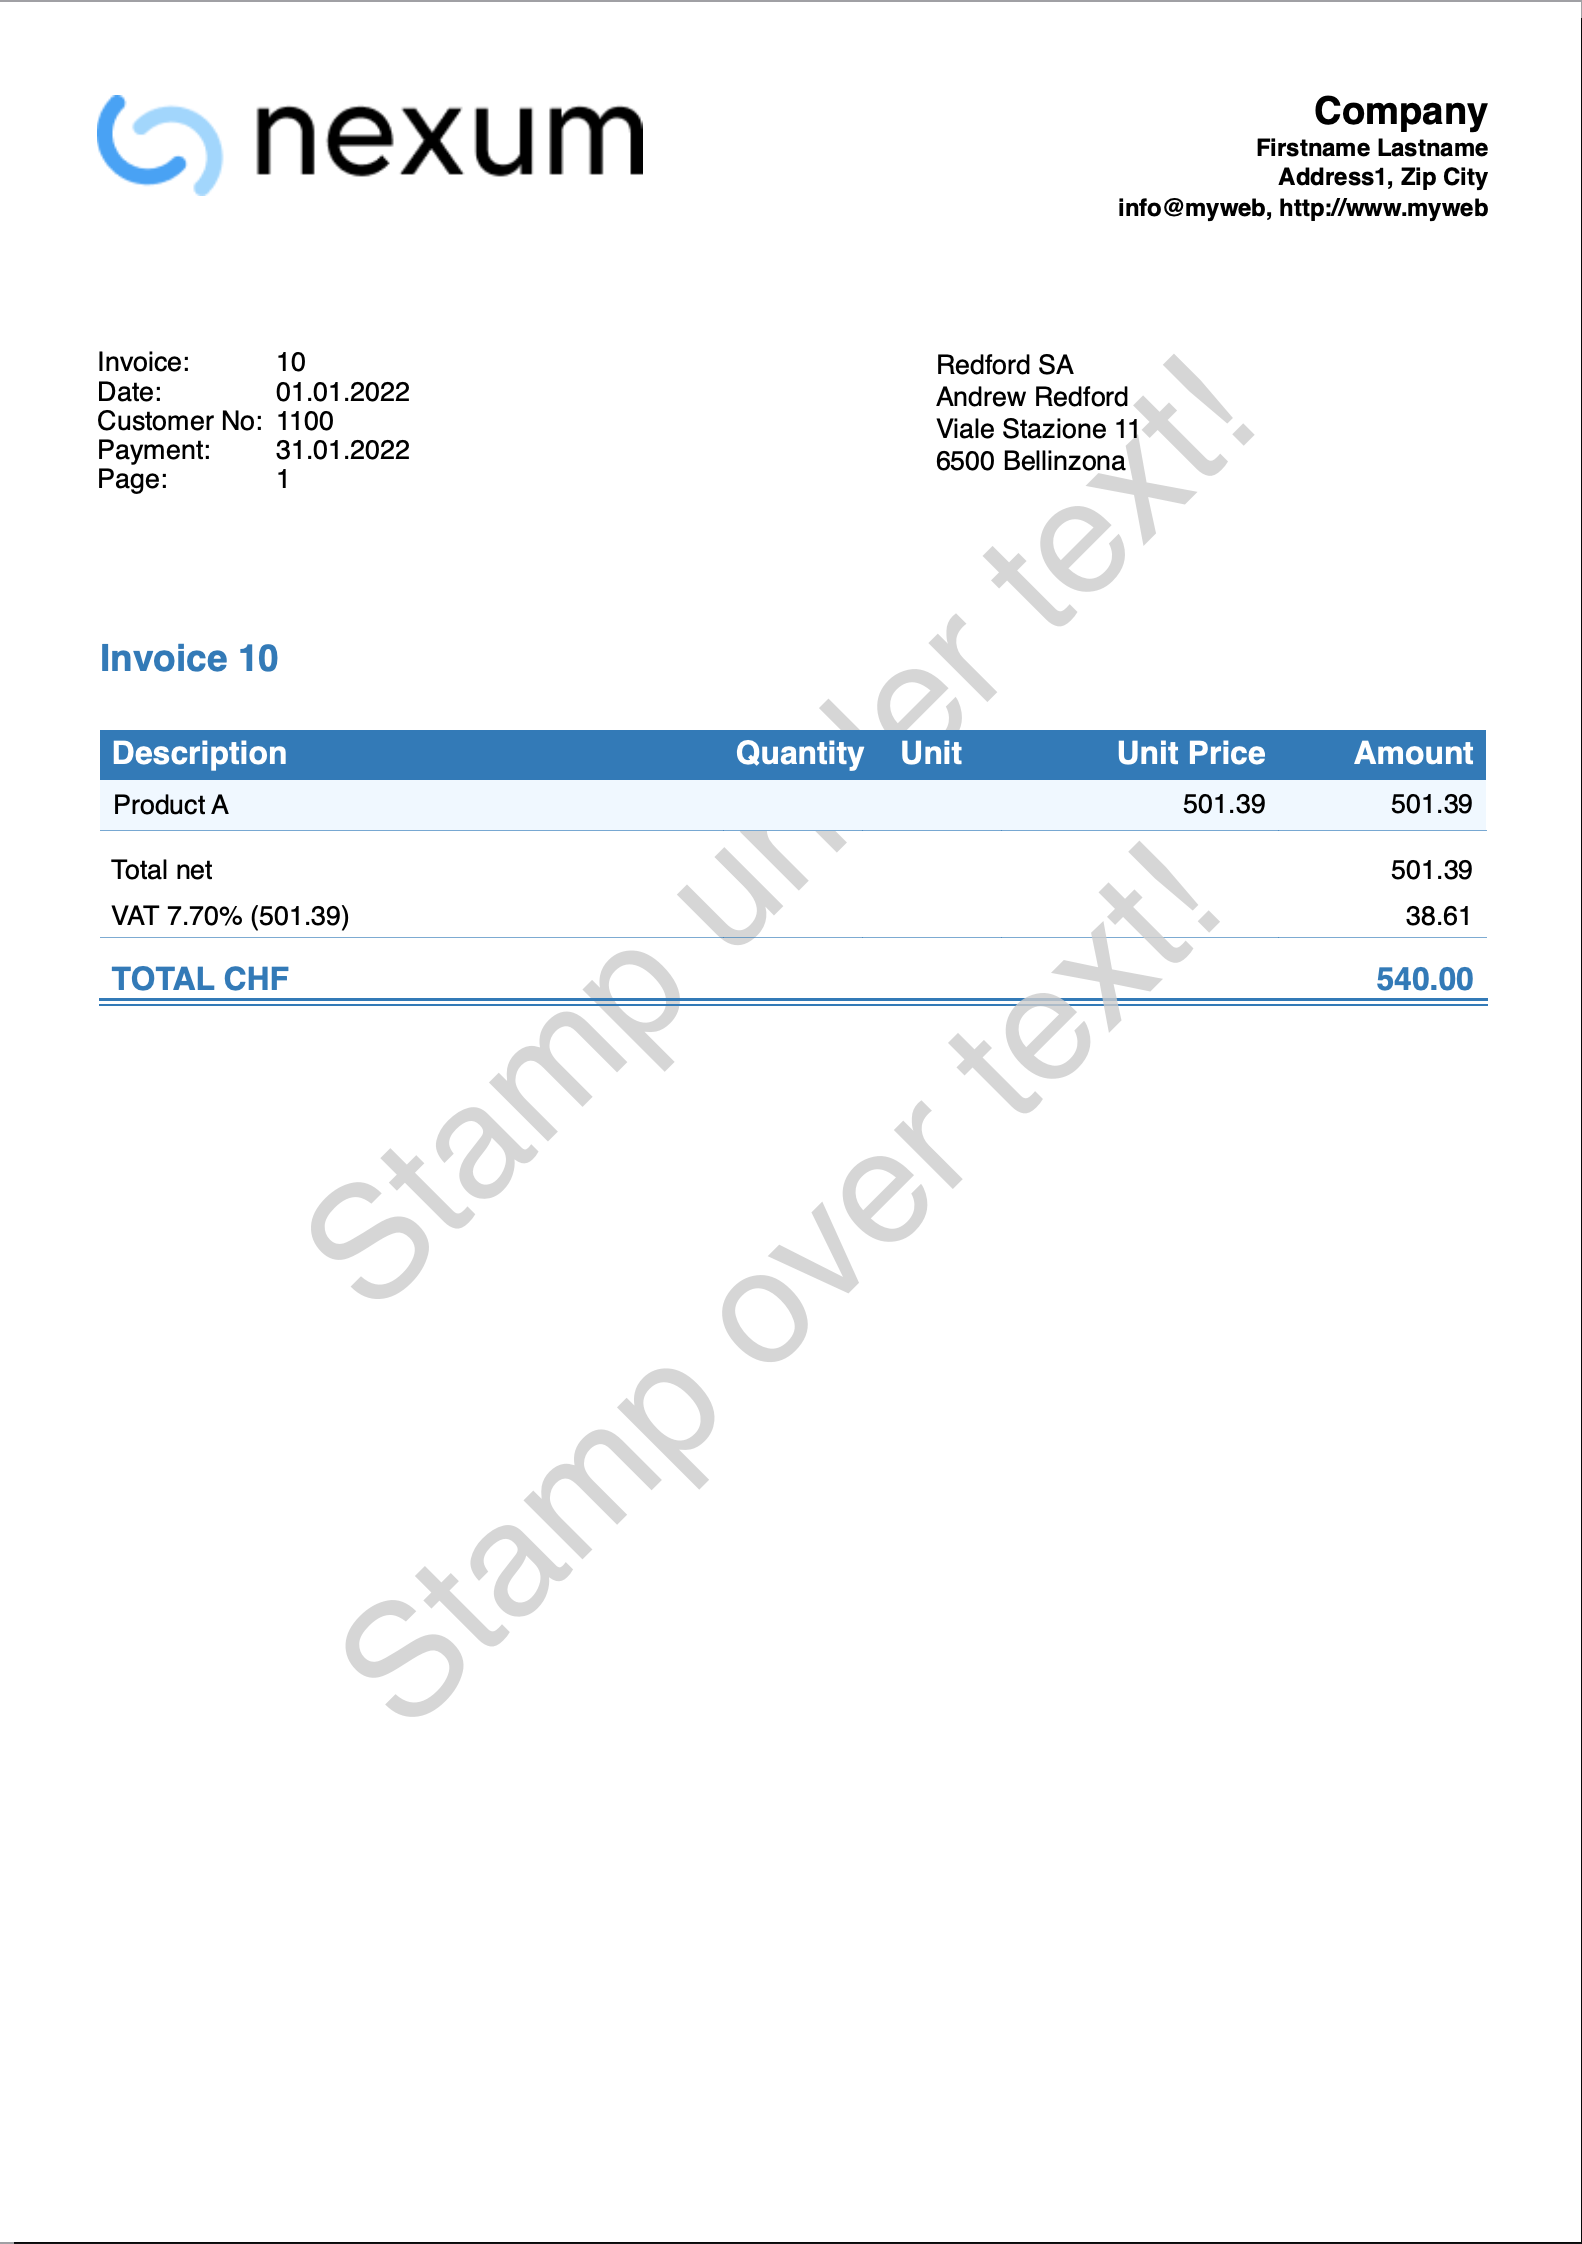
QR invoice error messages
Error Messages
@error Missing QR-IBAN
- The QR-IBAN code must be entered in the invoice settings, under the related QR-IBAN entry.
- Check that QR-IBAN code is not entered from File → File and accounting properties → Address section.
@error Incorrect QR-IBAN
Check that the QR-IBAN code entered in the invoice settings is correct.
@error Missing IBAN
- The IBAN for an account in CHF can be specified in two ways:
- From File → File and accounting properties → Address section.
- From invoice settings, under the related IBAN entry.
- The IBAN for an account in EUR must be entered in the invoice settings, under the IBAN EUR entry.
@error Incorrect IBAN
- Check that the IBAN code entered from File → File and accounting properties → Address section or in the invoice settings is correct.
- Check that the QR-IBAN has not been entered from File → File and accounting properties → Address section. The QR-IBAN code must be entered in the invoice settings.
@error Address: missing name/business
Set the sender's first and last name or company name from File → File and accounting properties → Address section, and the customer's first and last name or company name in the Accounts table → Address view.
@error Address: missing ZIP code
Set the sender's zip code from File → File and accounting properties → Address section, and the customer's zip code in the Accounts table → Address view.
@error Address: missing locality
Set the sender's locality from File → File and accounting properties → Address section, and the customer's locality code in the Accounts table → Address view.
@error Address: missing country code
Sender’s address (Payable to):
- Set the sender’s country code in File → File and accounting properties → Address section,
- Or, if you are using the address defined in the CH10 invoice layout settings, enter the country code in the CH10 settings dialog window, section “Payable to…”.
Customer’s address (Payable by):
- In integrated invoicing, enter the customer’s country code in the Accounts table → Address view → Country/Code column.
- In the Estimates and Invoices application, enter the customer’s country code in the Contacts table → Country Code column
@error Address: Incorrect country code
The country code must be two characters in accordance with ISO 3166-1 (e.g. CH, LI, AT, DE, IT, FR).
@error isrId too long, max 8 chars. Your isrId %1
The membership number entered is too long. The maximum length allowed is of 8 digits. For more information QR reference.
@error isrId invalid, only digits are permitted. Your isrId %1
The membership number entered is not valid. It can only consist of numbers. For more information QR reference.
@error customerNo too long, max 7 digits. Your customerNo %1
The customer number is too long. The maximum length allowed is of 7 digits. For more information QR reference.
@error customerNo invalid, only digits are permitted. Your customerNo %1
The customer number is not valid. It can only consist of numbers. It must not contain ASCII (A-Z) letters, spaces, separators or other characters. For more information QR reference.
@error invoiceNo too long, max 7 digits. Your invoiceNo %1
The invoice number is too long. The maximum length allowed is of 7 digits. For more information QR reference.
@error invoiceNo invalid, only digits are permitted. Your invoiceNo %1
The invoice number is not valid. It can only consist of numbers. It must not contain ASCII (A-Z) letters, spaces, separators or other characters. For more information QR reference.
@error Name too long, max 70 characters
The name is too long. The maximum length allowed is of 70 characters. For more information Technical information.
@error Address too long, max 70 character
The address is too long. The maximum length allowed is of 70 characters. For more information Technical information.
@error House number too long, max 16 characters
The house number is too long. The maximum length allowed is of 16 characters. For more information Technical information.
@error Postal code too long, max 16 characters
The postal code is too long. The maximum length allowed is of 16 characters. For more information Technical information.
@error Locality too long, max 35 characters
The locality is too long. The maximum length allowed is of 35 characters. For more information Technical information.
@error Postal code+Locality too long, max 70 characters
The postal code + locality is too long. The maximum length allowed is of 70 characters. For more information Technical information.
Examples of QR invoice printouts
This page shows some examples of possible printouts of QR invoices.
Invoice with default settings
- Use the default settings of the templates for invoices dialog:
- Enter an IBAN account in the basic data File and accounting properties > Address or in the invoice settings.
Example print: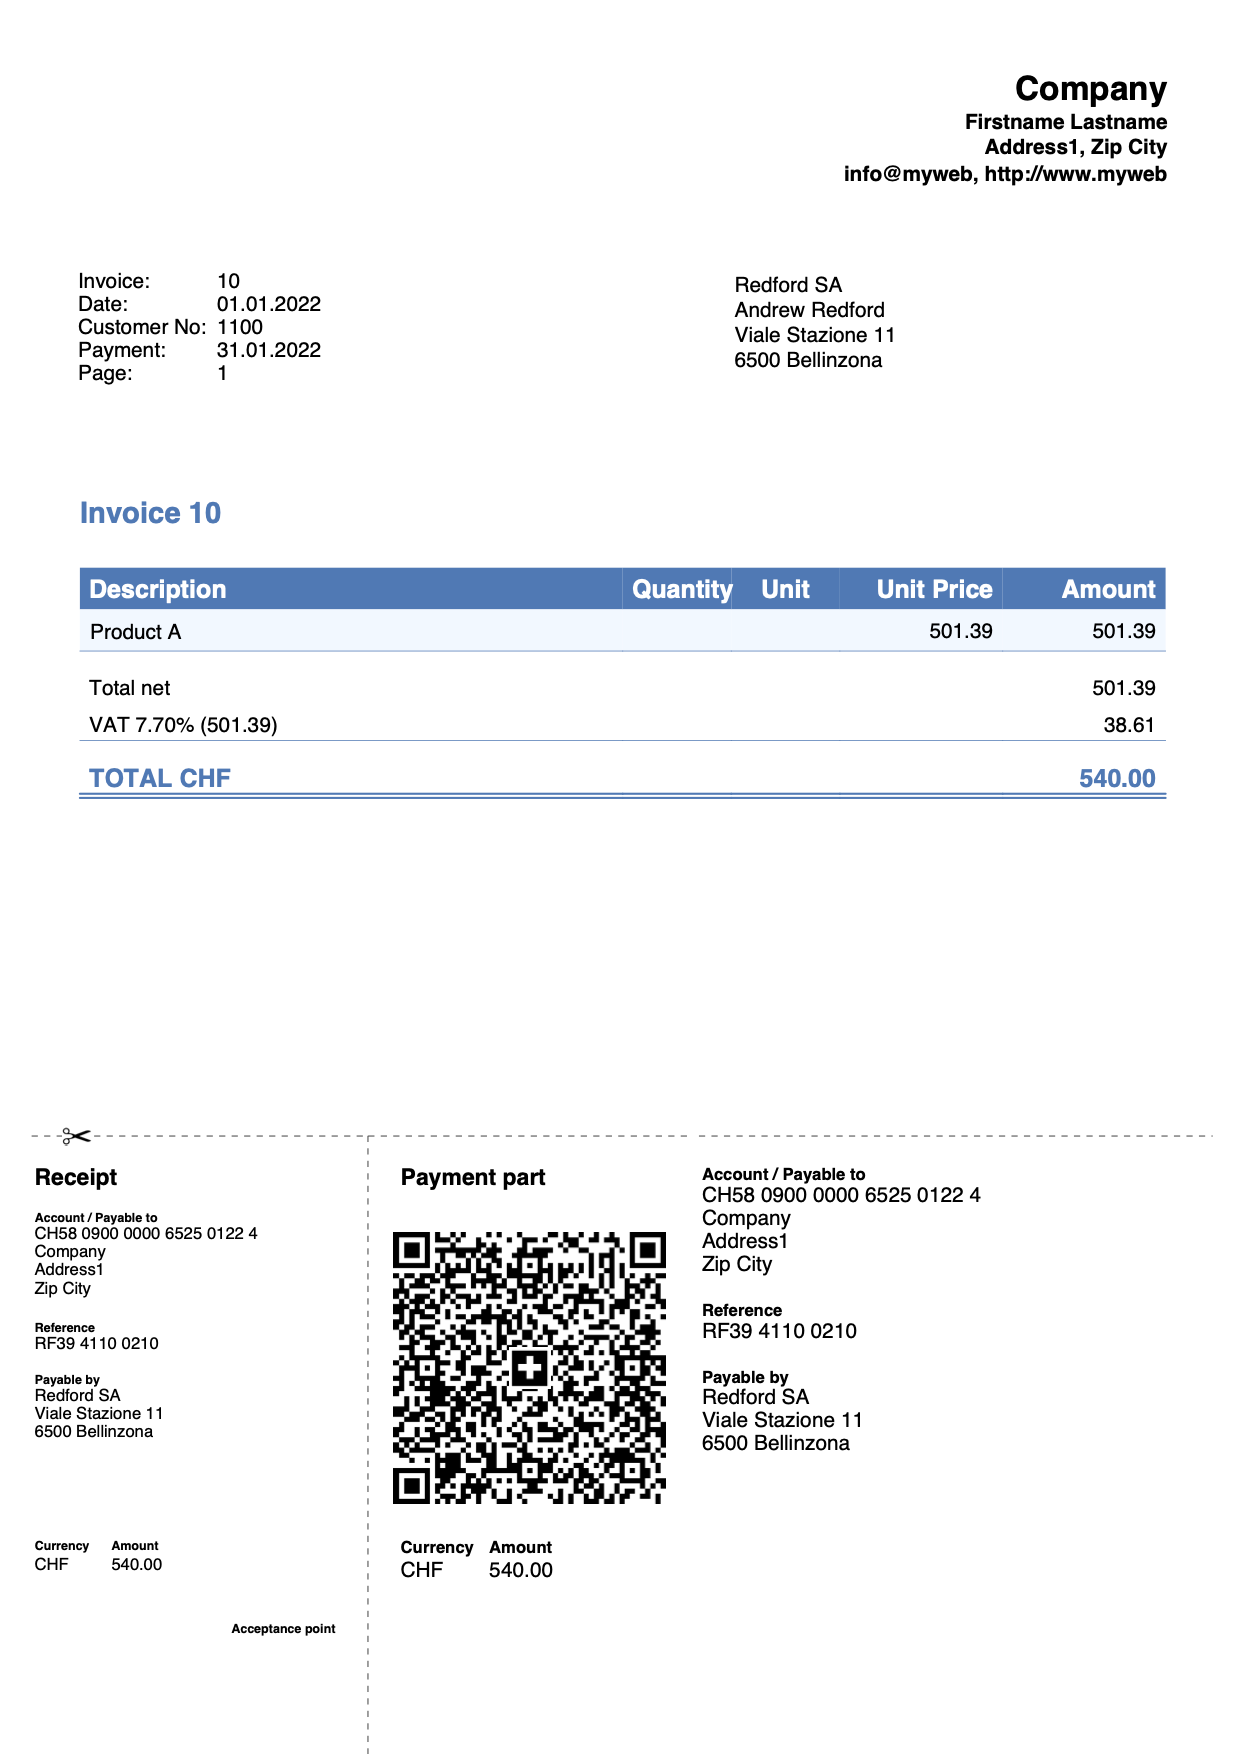
Invoice with logo
Via File > Logo setup:
- Define the logo, size and alignment.
- Set the alignment of the invoice header text.
Define the header text in File and accounting properties > Address or using the templates for invoices dialog:
Example invoice with logo aligned on the left and text on the right: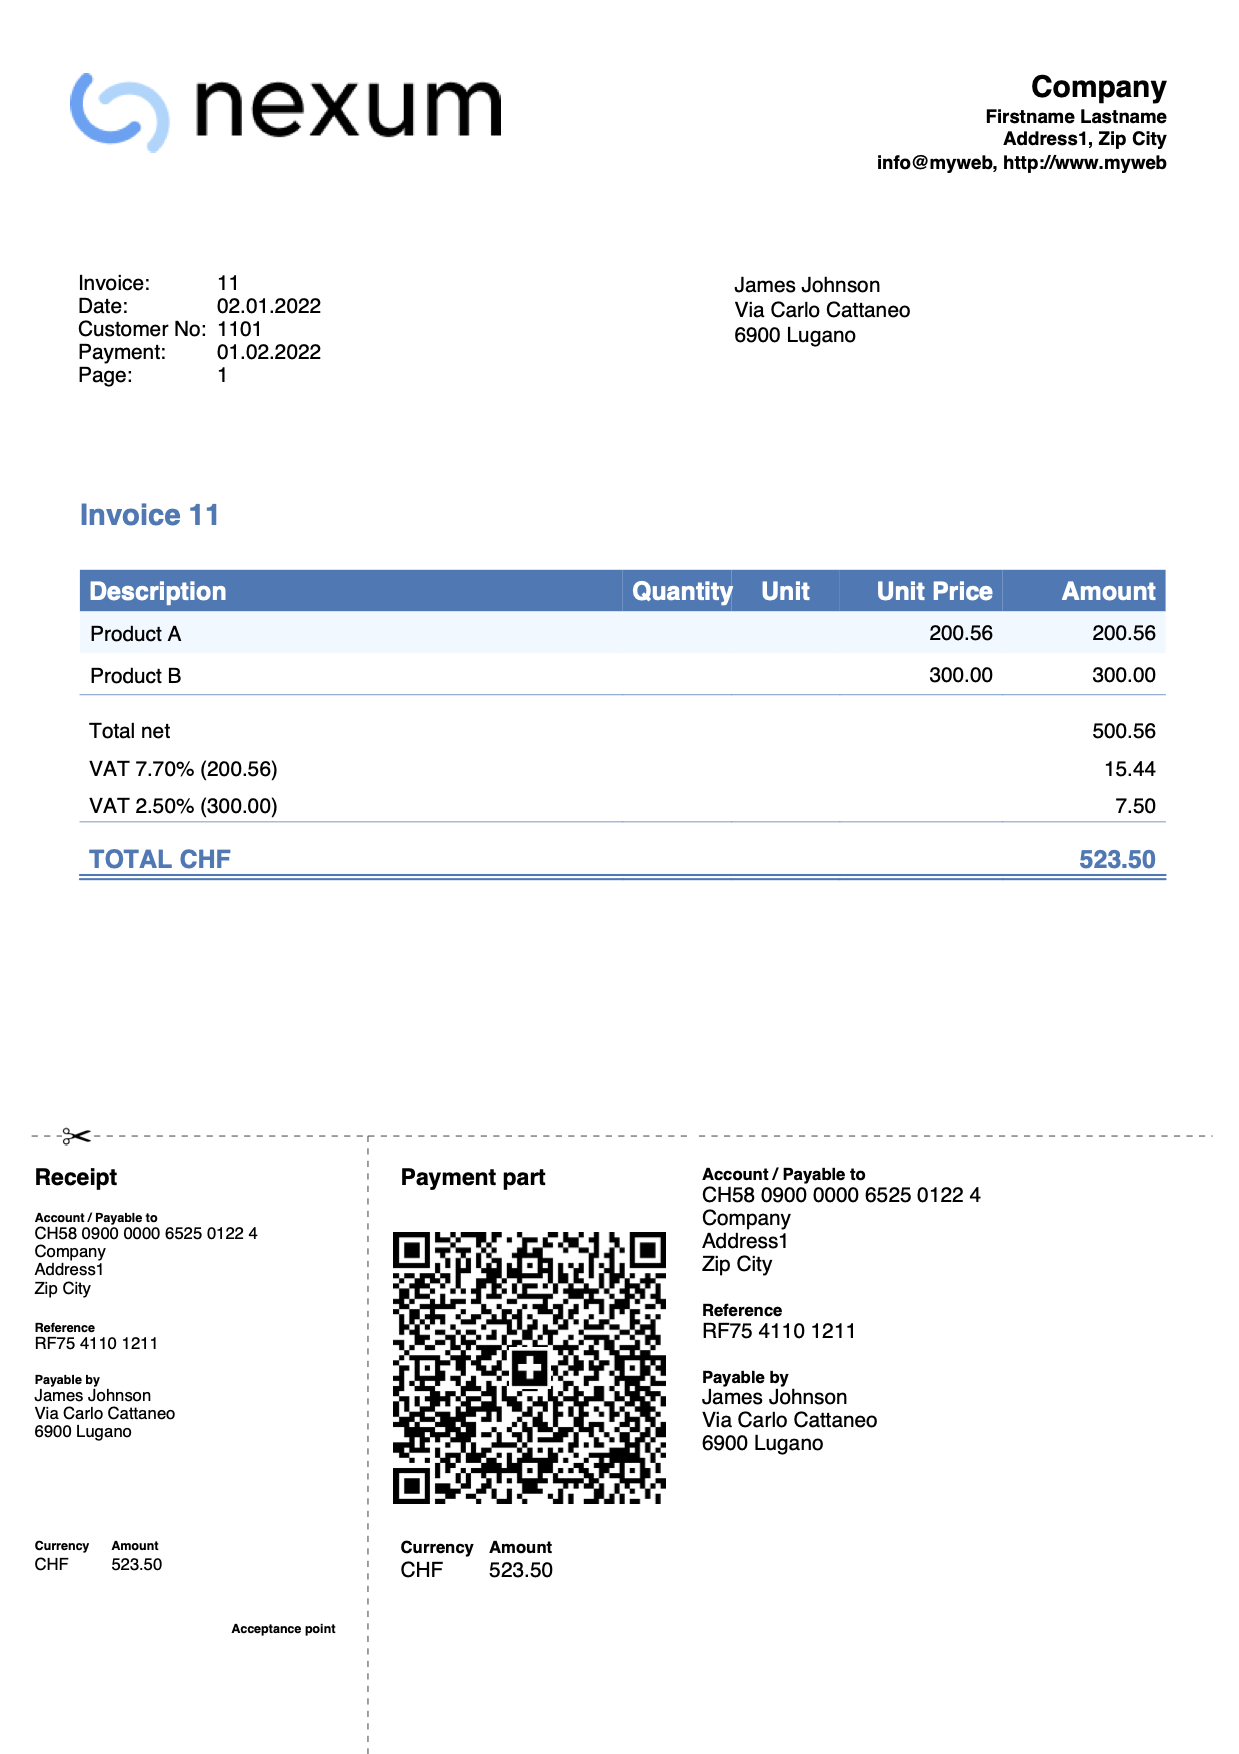
Example invoice with logo aligned on the right and text on the left: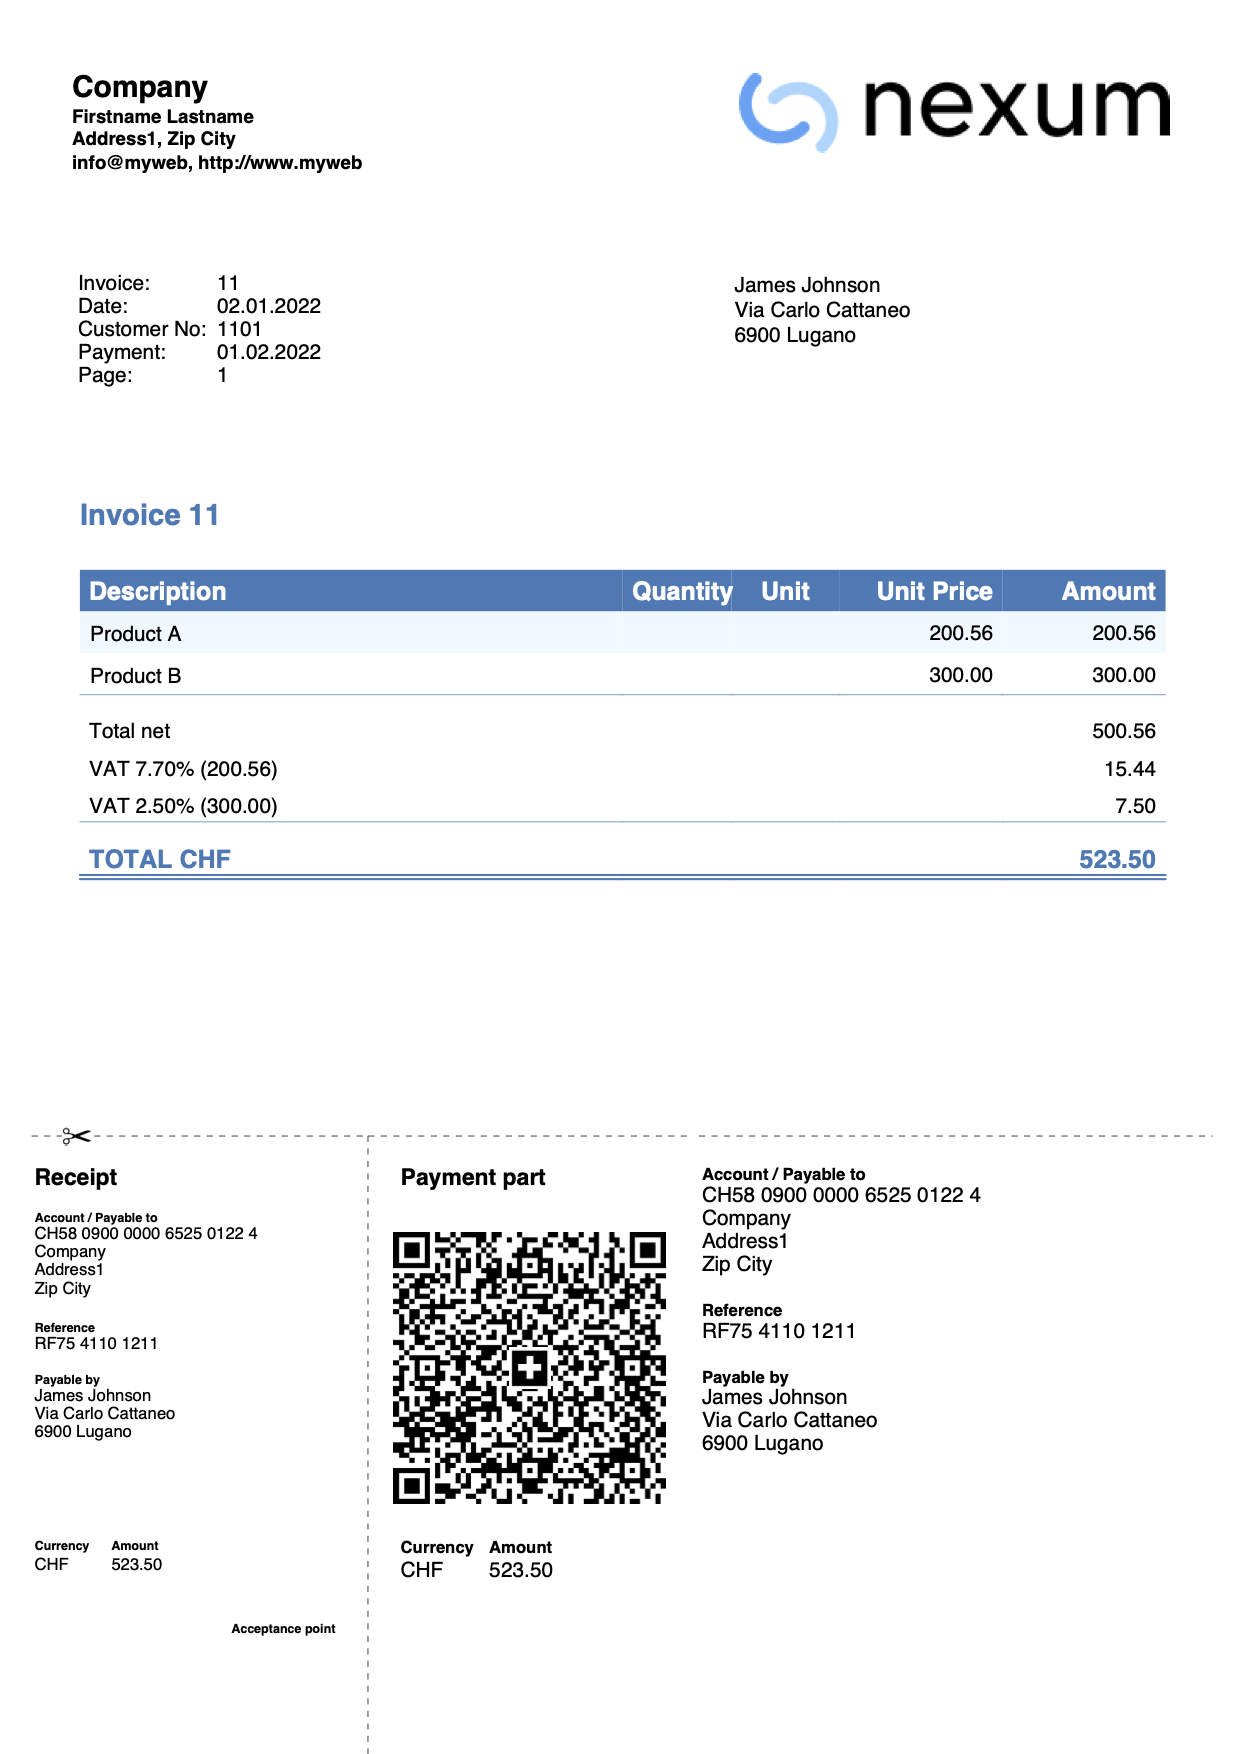
Invoice with Letterhead-Style Logo (A4 Format)
This example explains how to set a full-page logo (like a letterhead). An image with a logo at the top and a footer at the bottom is used. The goal is to print the invoice with:
- On pages with invoice details, both the logo and the footer are displayed.
- On the last page with the QR slip, only the logo is displayed without the footer.
This is useful, for example, if you want to print a QR invoice that also includes the footer, because normally the footer can only be added if the QR slip is excluded from printing.
Here's how to do it:
- Create an A4-sized image of the letterhead with the logo at the top and the footer at the bottom.
Example:
- Insert the created image as the logo from the menu File > Logo setup.
- Set the size: width 21cm and height 29.7cm (if the image dimensions are already correct, you can skip this).
- Set alignment to left.
- The position and alignment of the text are irrelevant since no text will be printed in the header.
- Use custom CSS to adjust the logo margins.
In the Documents table, add a new row with the CSS as an attachment.- In the ID column, enter an ID (e.g., logo.css). It must end with ".css".
- In the Attachments column, double-click the cell and select CSS Stylesheet.
- In the editor that opens, paste the following code:
.logo {
  margin-top: 0cm;
  margin-left: 0cm;
  margin-right: 0cm;
}
- Set some parameters in the invoice settings dialog:
- In the Print > Header section, uncheck Page header.
- In the same section, check Logo.
- In the field Composition for logo and header alignment, enter the name of the customization you defined in File > Logo Setup > Customization > Name (default is "Logo").
- In the QR Code section, check QR on separate page.
- In the Javascript / CSS section, enter the CSS file ID defined in the Documents table (e.g., logo.css) in the CSS file name field.
Example of a QR invoice, with logo and footer on the first page, and logo with QR slip on the second page: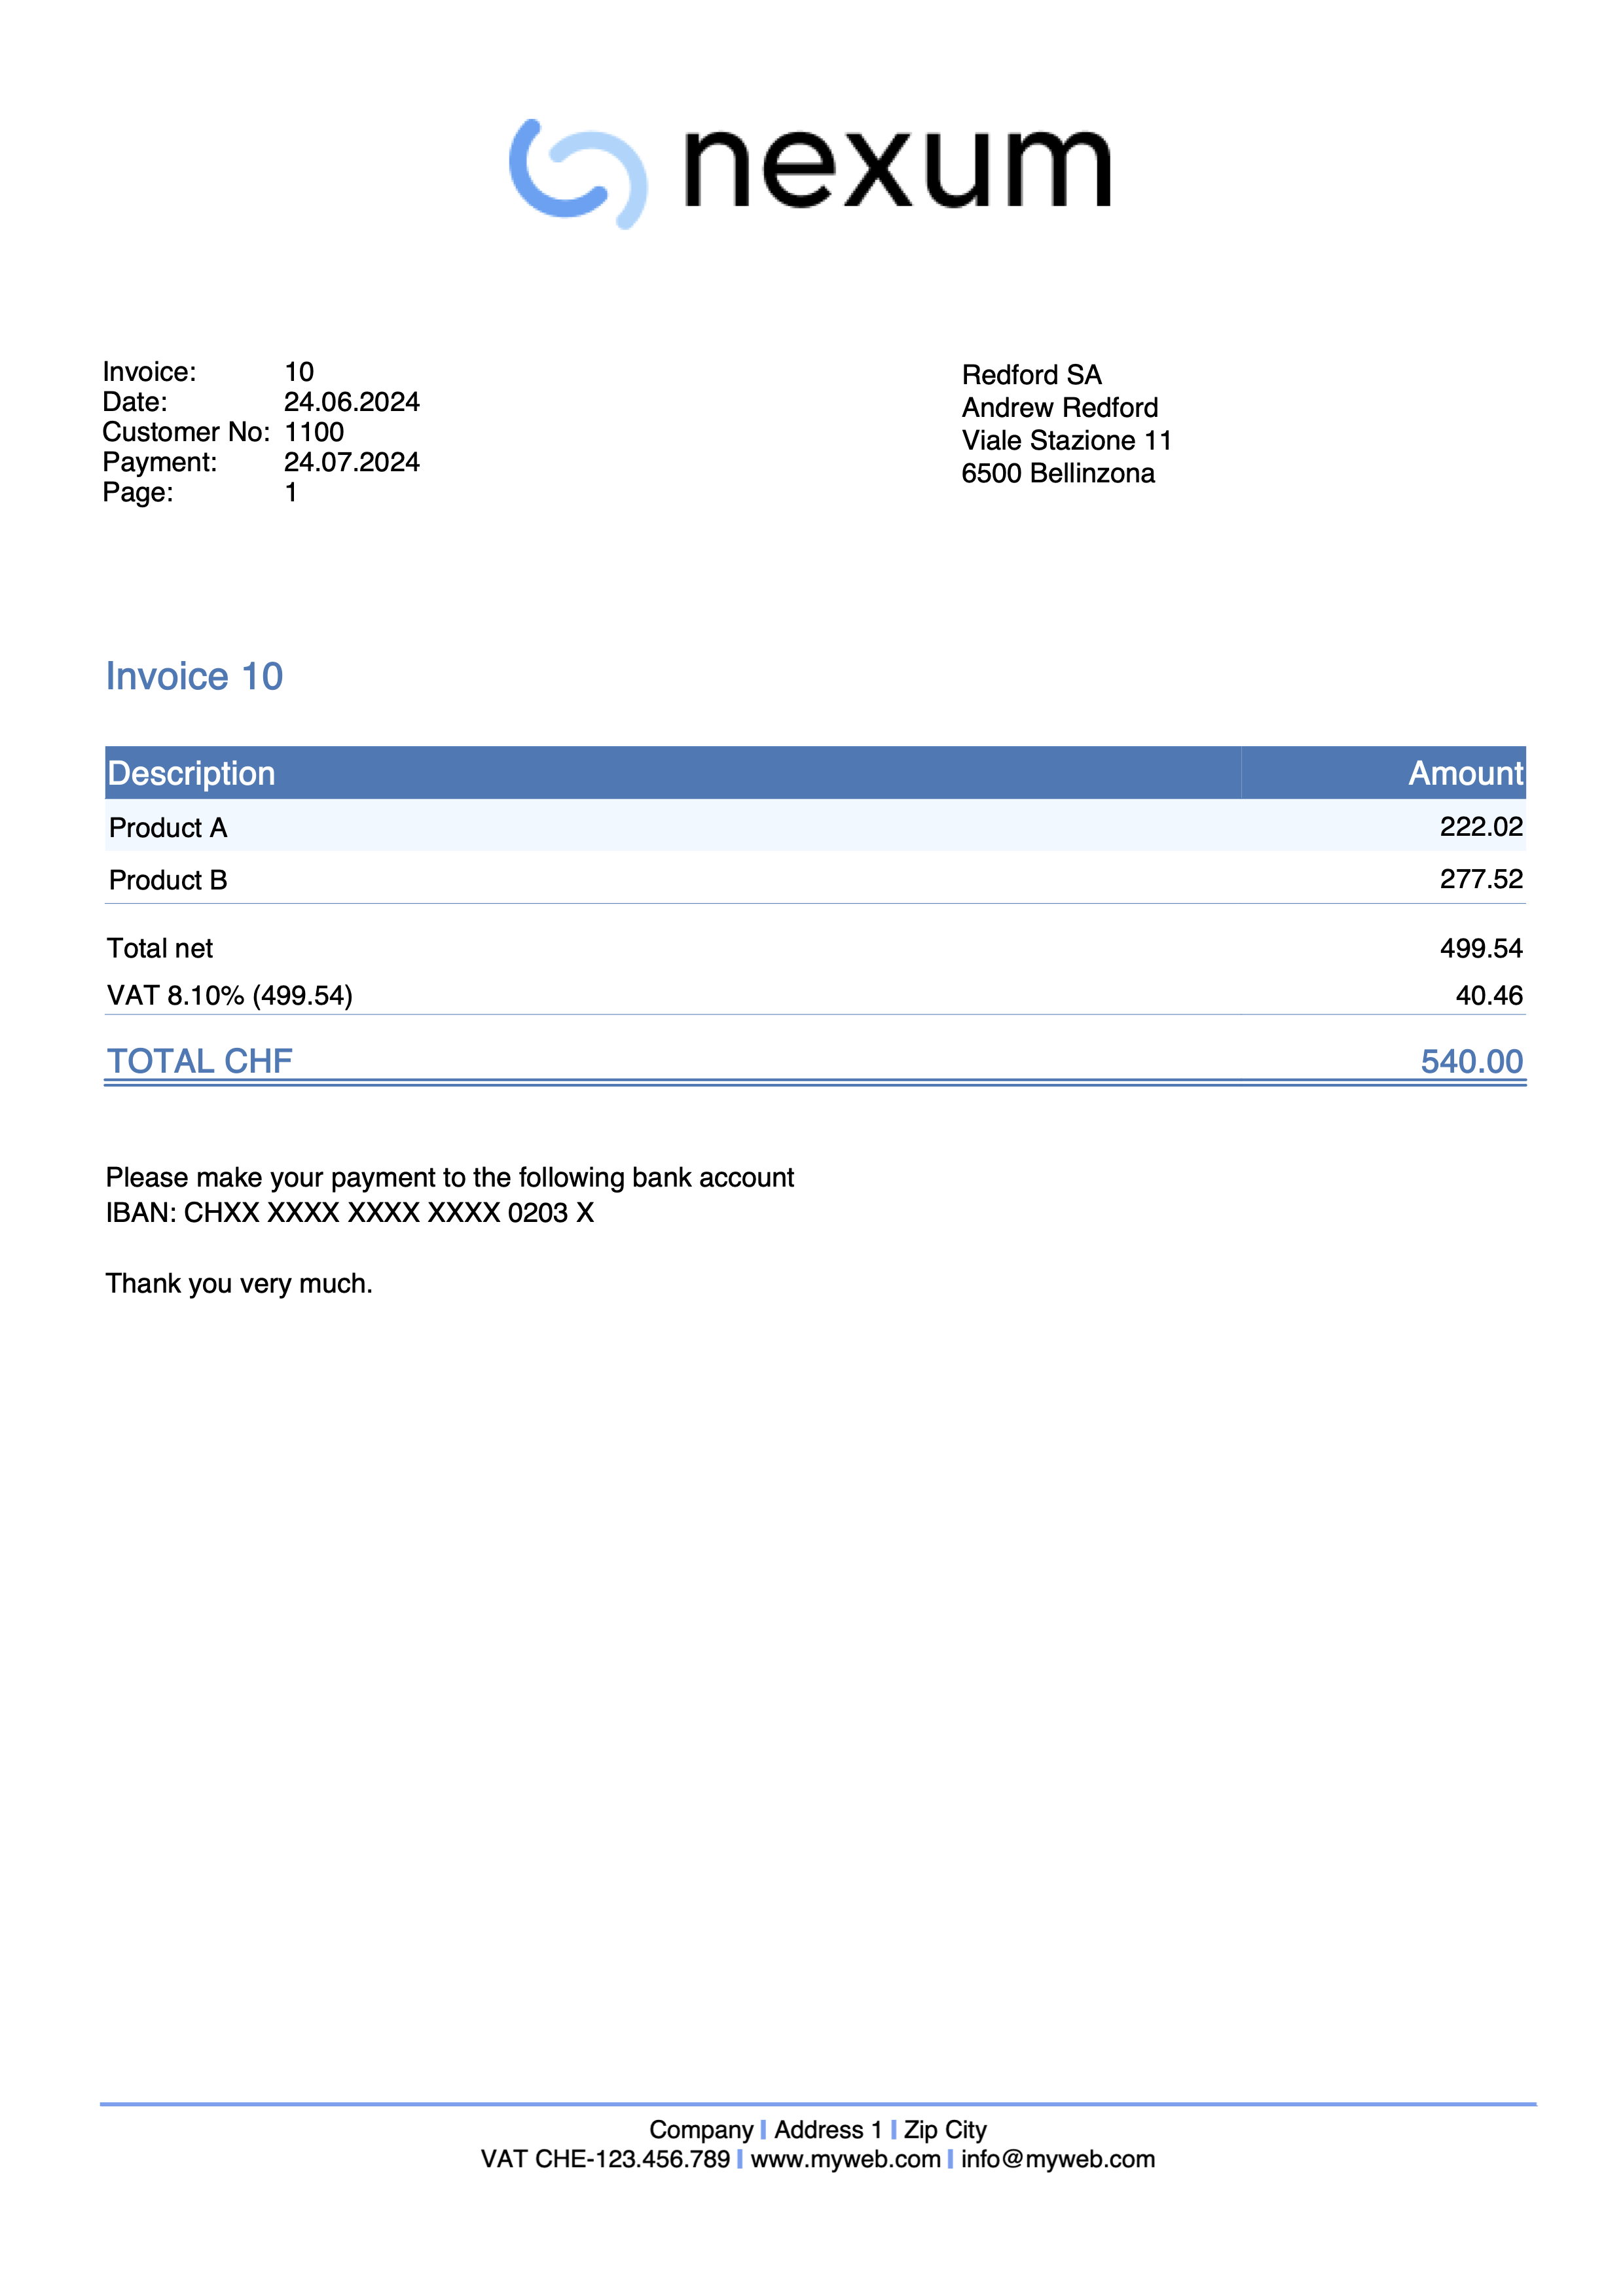
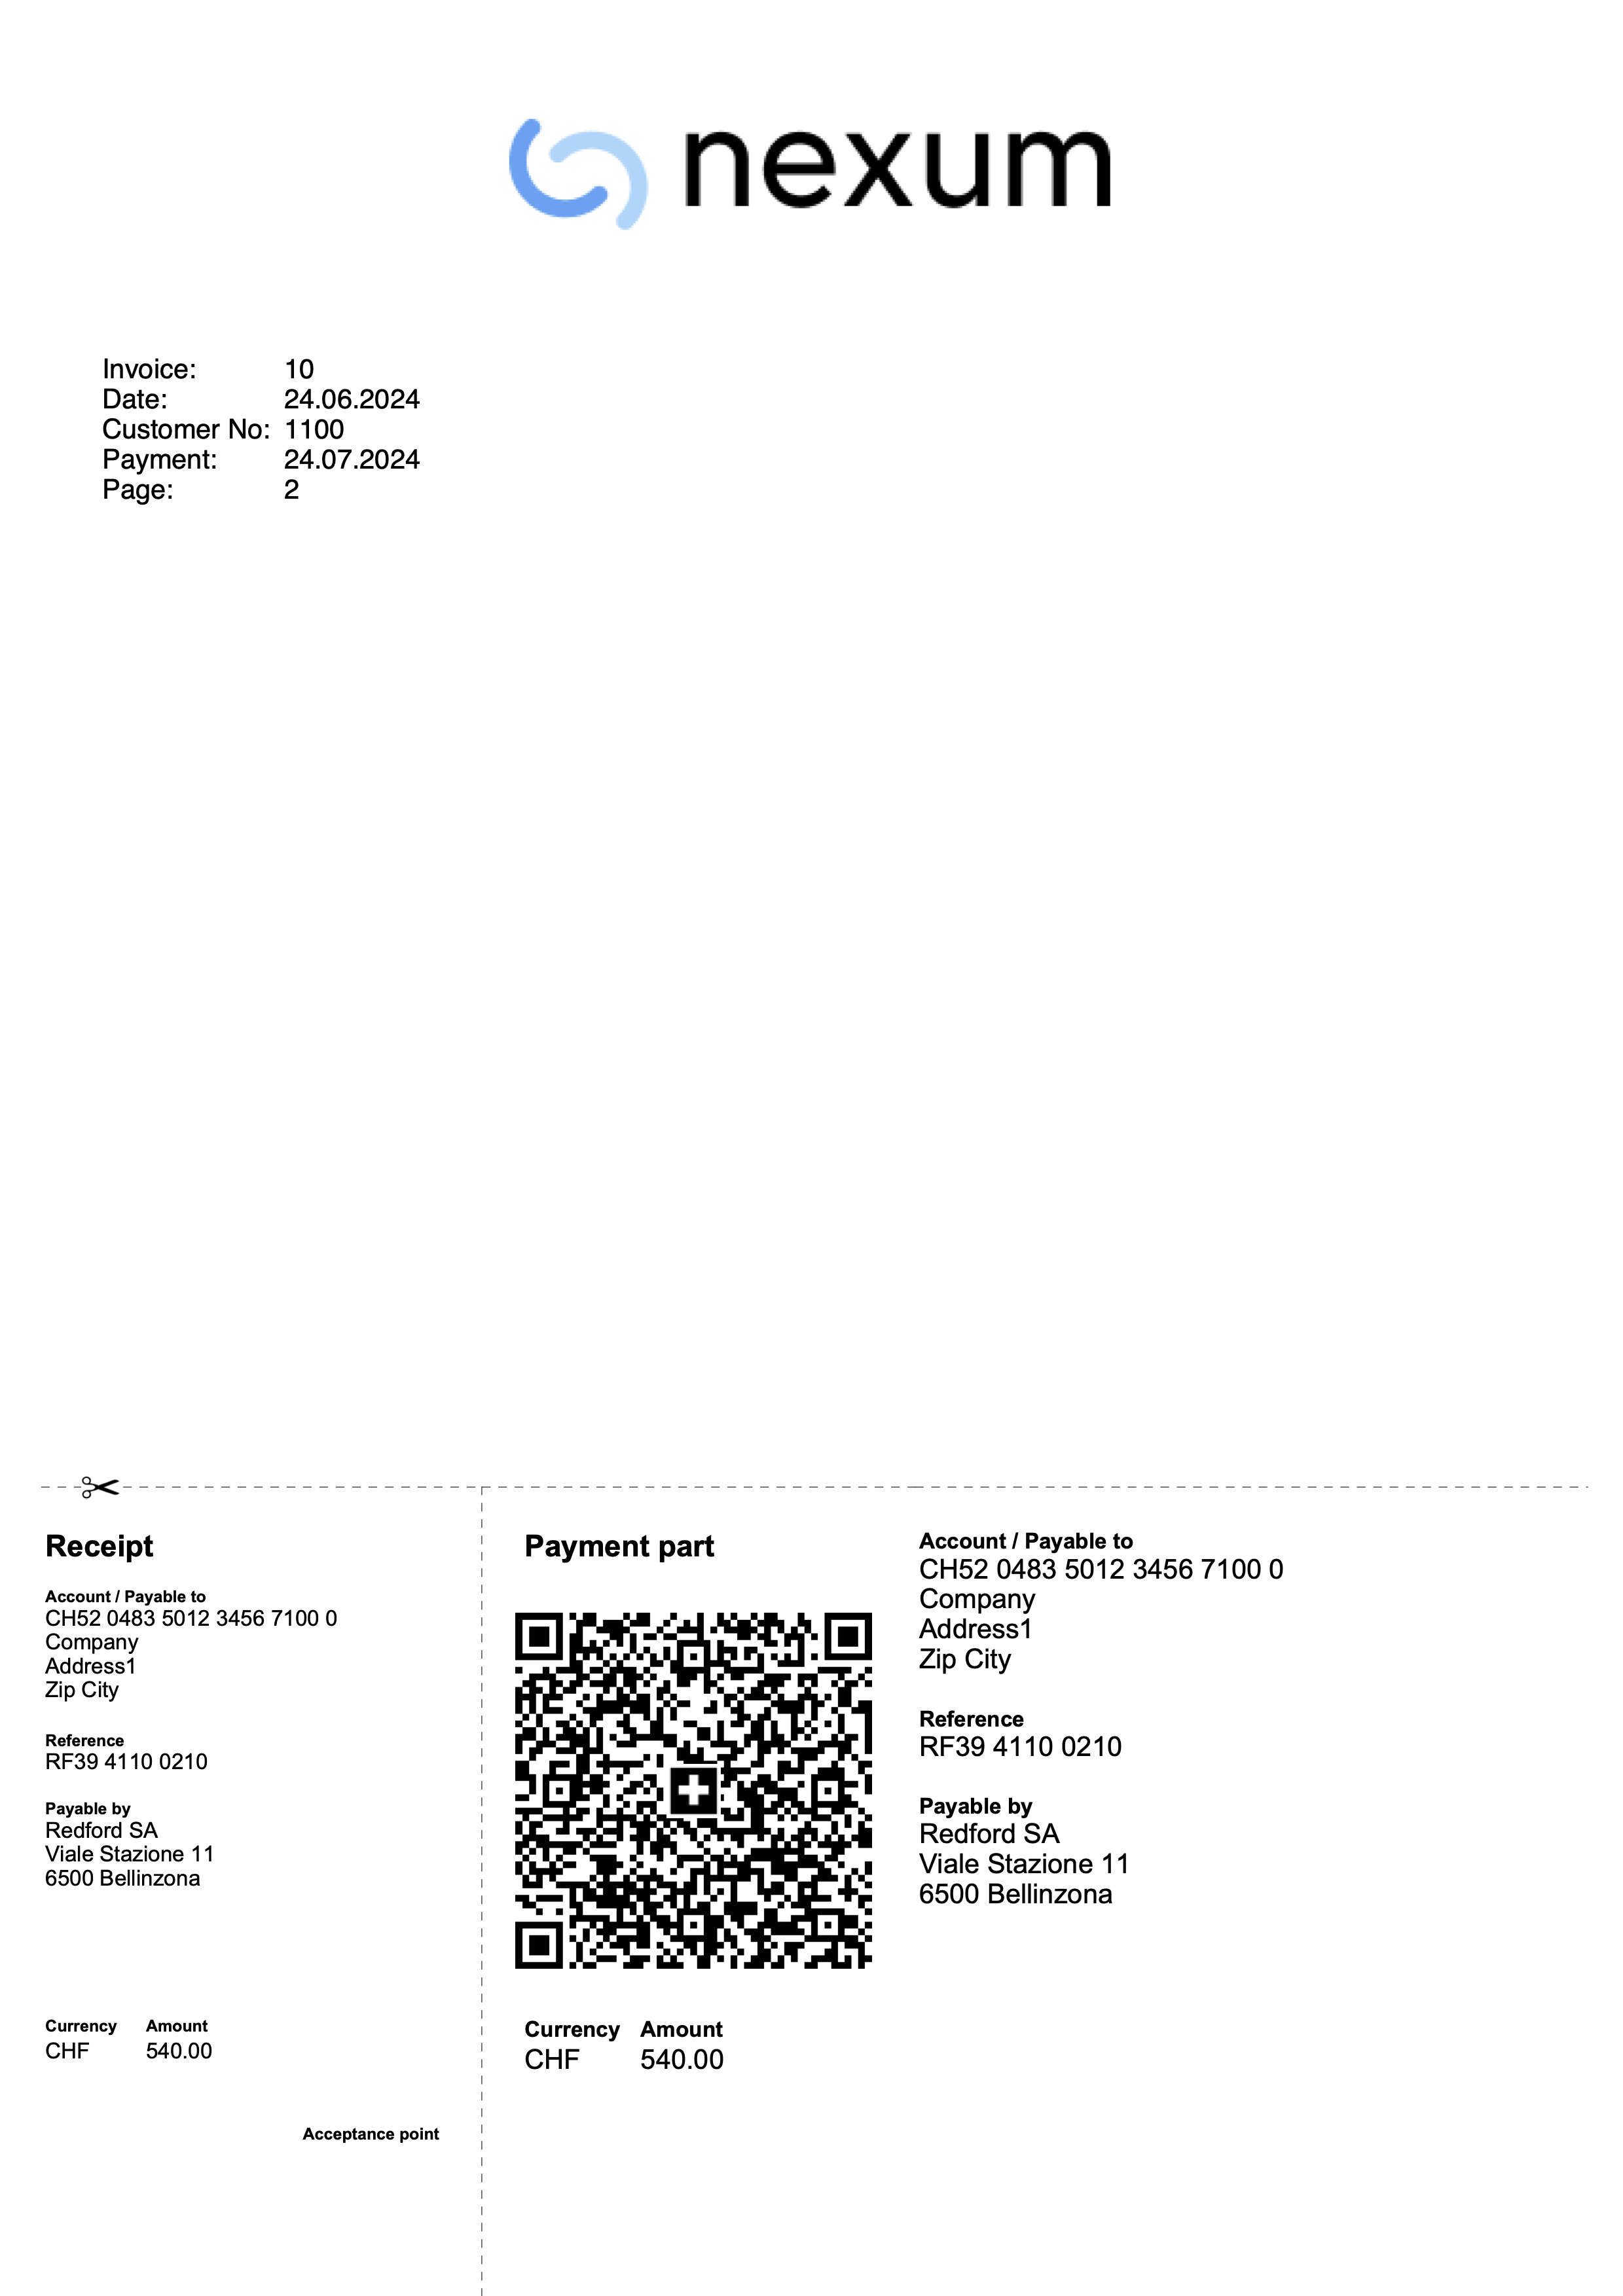
Invoice without logo and company header on the left
Go the the File > Logo setup window:
- Do not add any logo image
- As Text position enter the following settings:
- Relative position to logo: To the left
- Horizontal align: Left
- Go to the Customization section and in the Name field enter a name for the customization (e.g., "Logo").
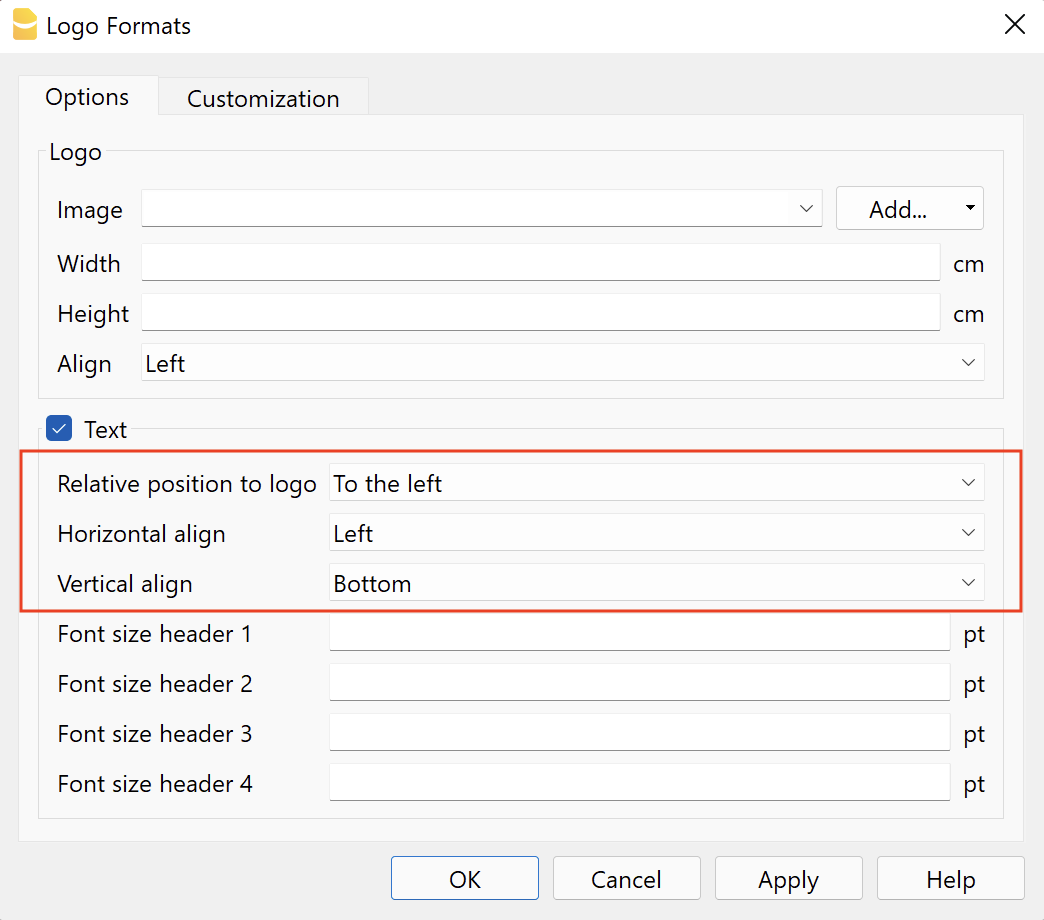
Now go to the invoice setup dialog window, in the Print > Header part:
- Check the Page header checkbox
- Check the Logo checkbox (although no logo image will be shown)
- In the field Composition for logo and header alignment enter the name of the customization that you previously defined in the Logo Setup > Customization > Name dialog (e.g., "Logo").
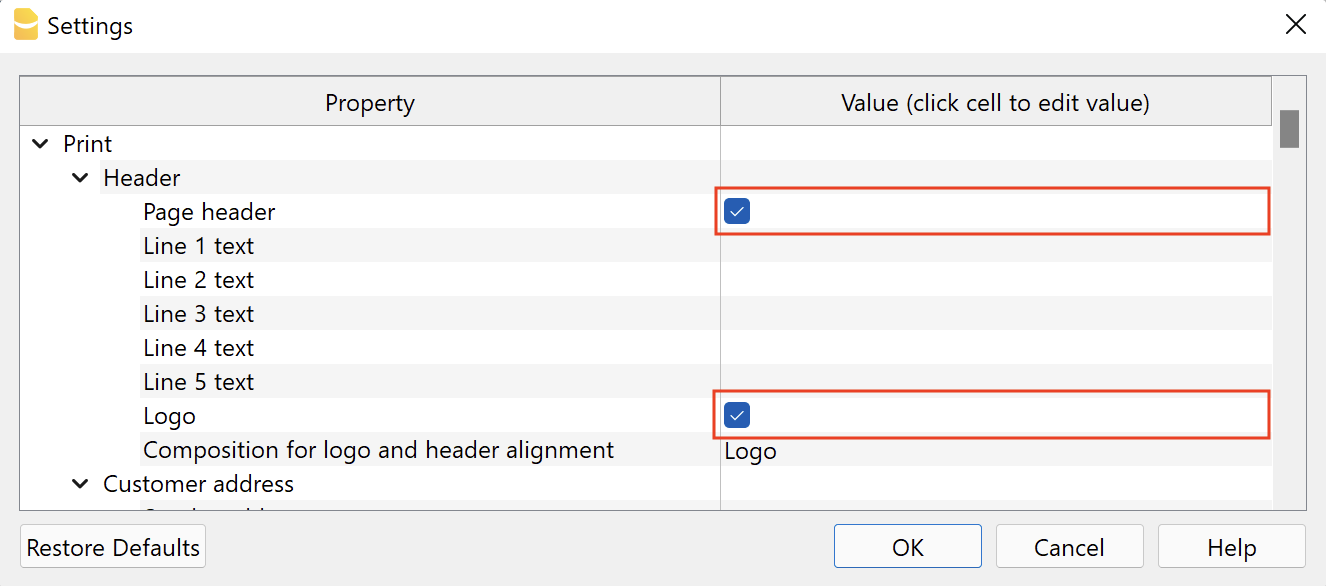
Printout example:
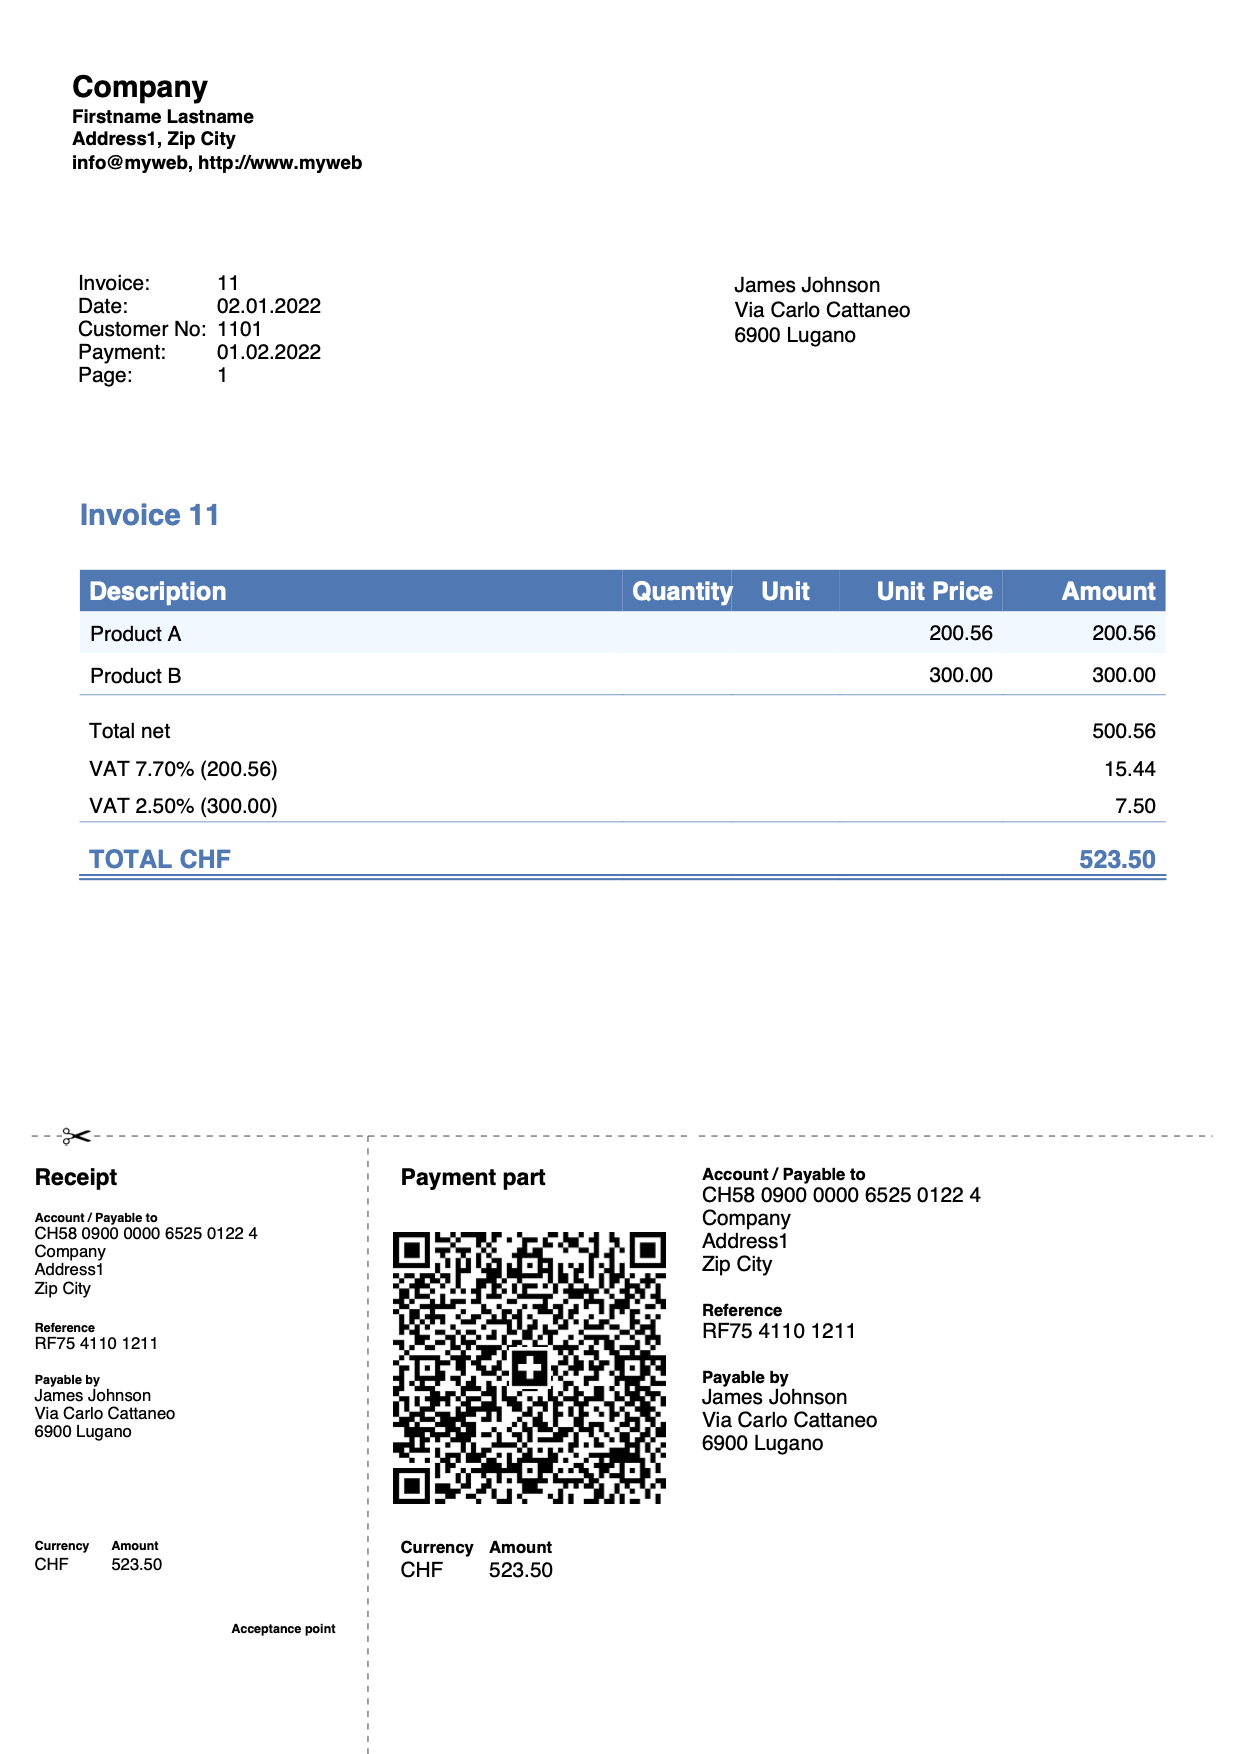
Invoice with customer address on the left
Via the templates for invoices dialog, in the client Address section:
- Define the composition of the address by specifying the XML names of the address columns of the Accounts table.
- Check the Align left box to print the address on the left and the part of the information on the right.
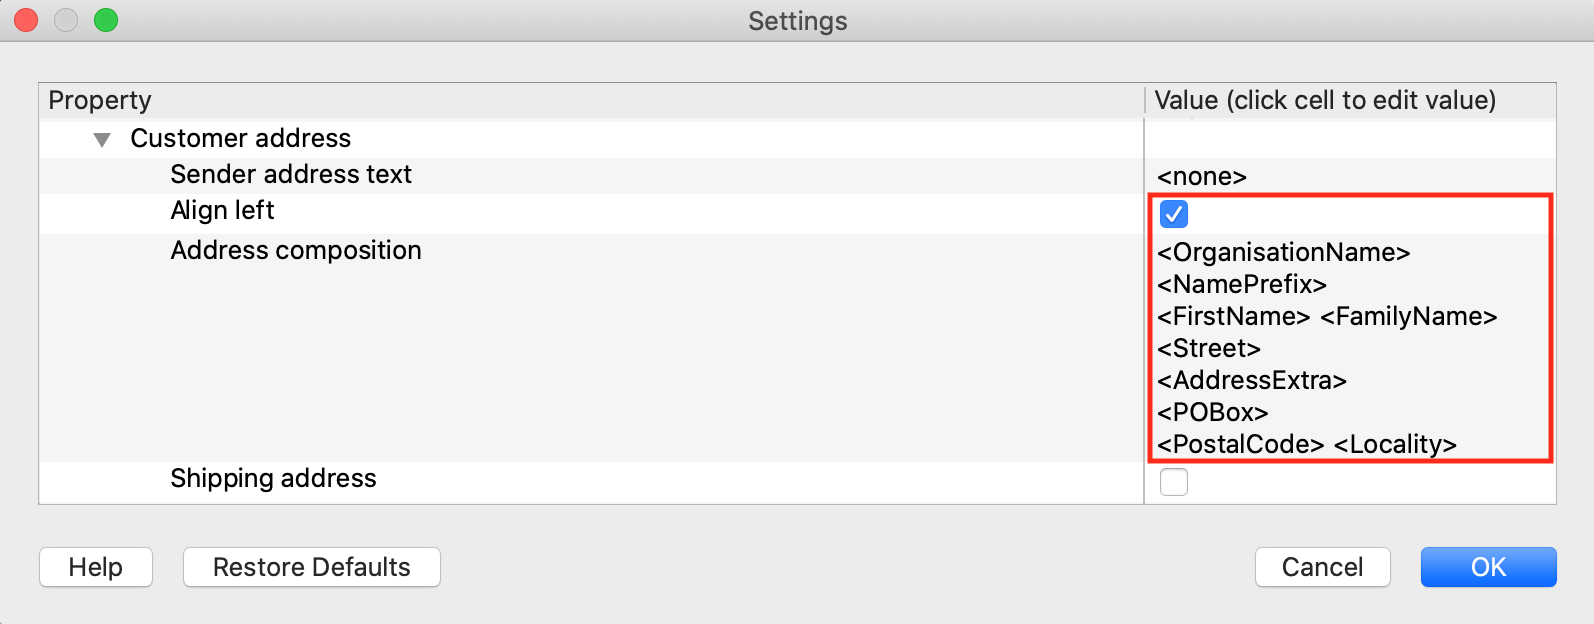
Printout example: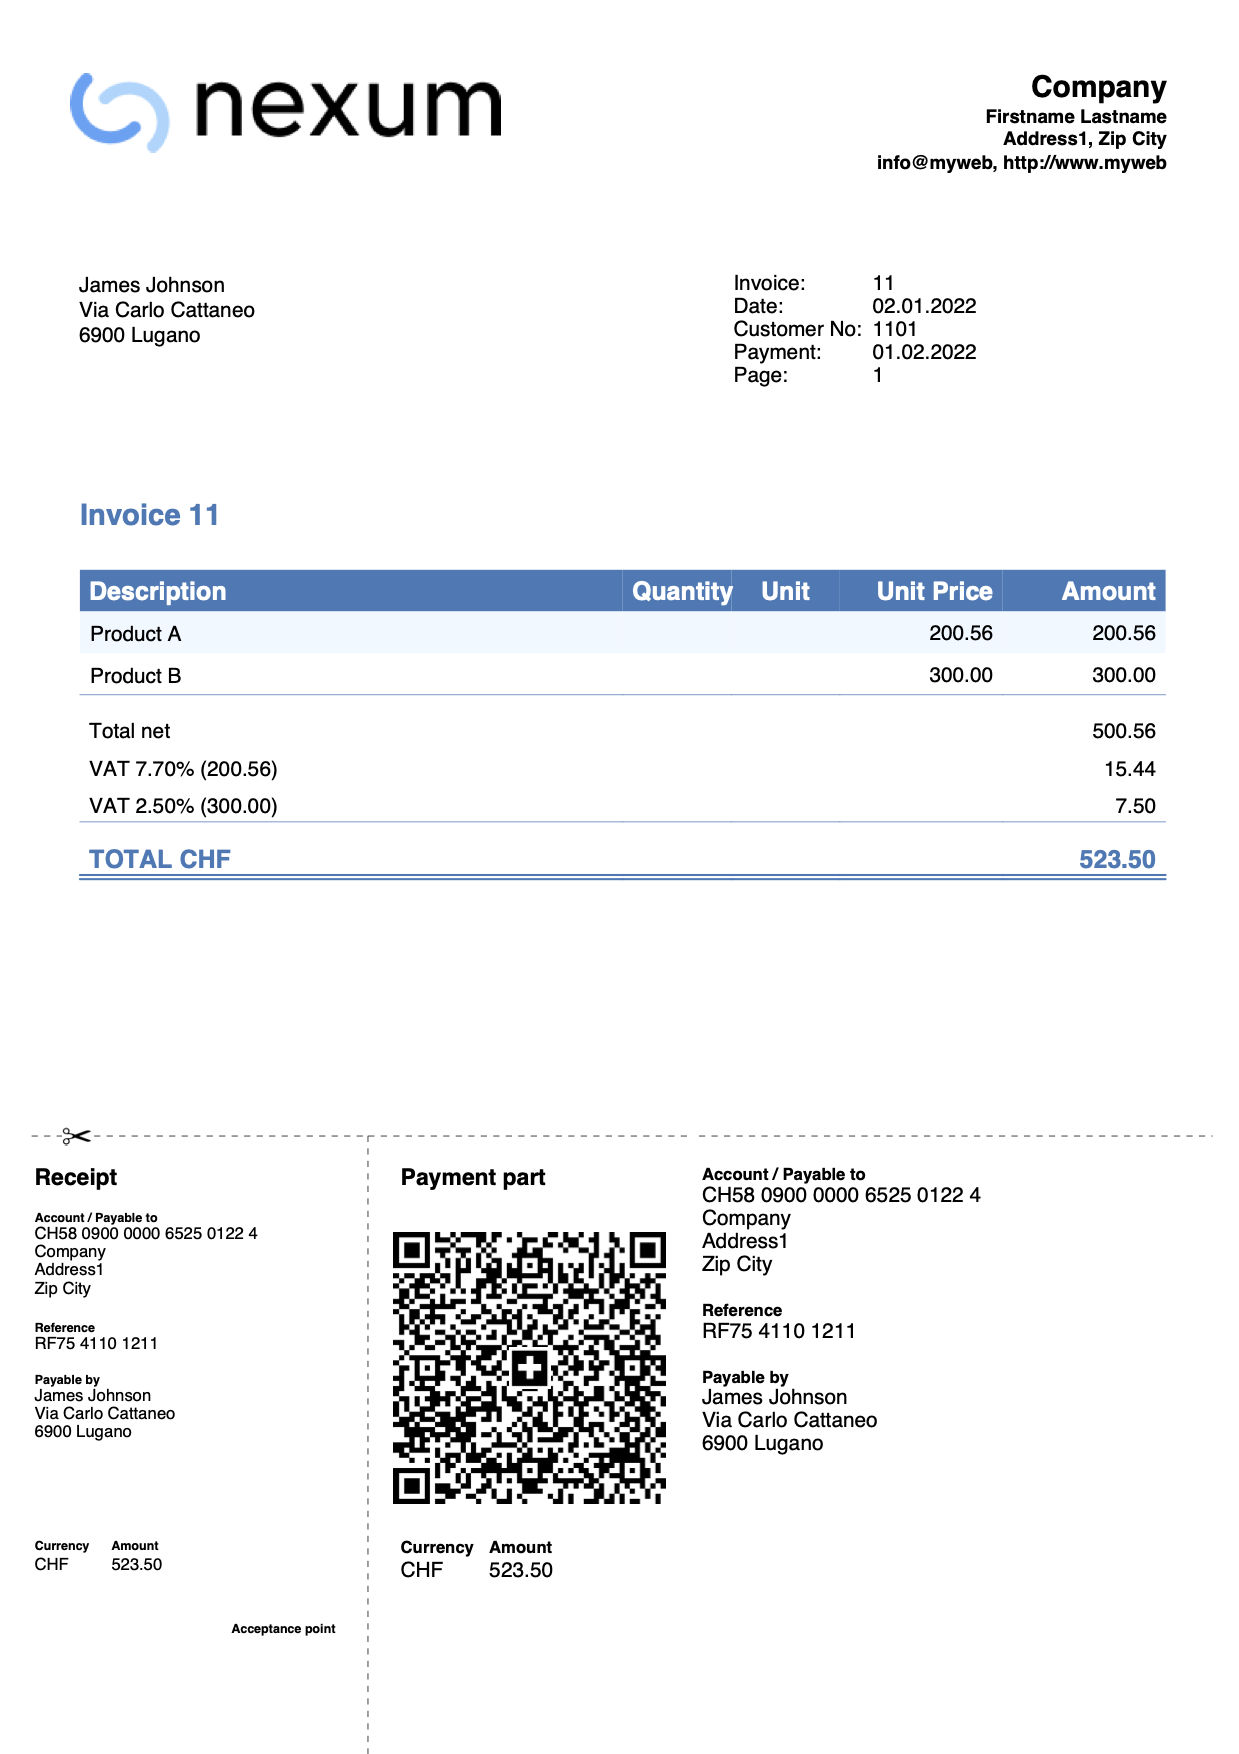
Invoice with headings and intermediate totals
In some cases it may be useful to add headers and intermediate totals in the invoice details.
In the Transactions table, define the header and intermediate totals rows using the Column type column:
- Header lines: enter the command 10: hdr and the text in the Description column.
- Intermediate totals rows: enter the command 10: tot and the text in the Description column.
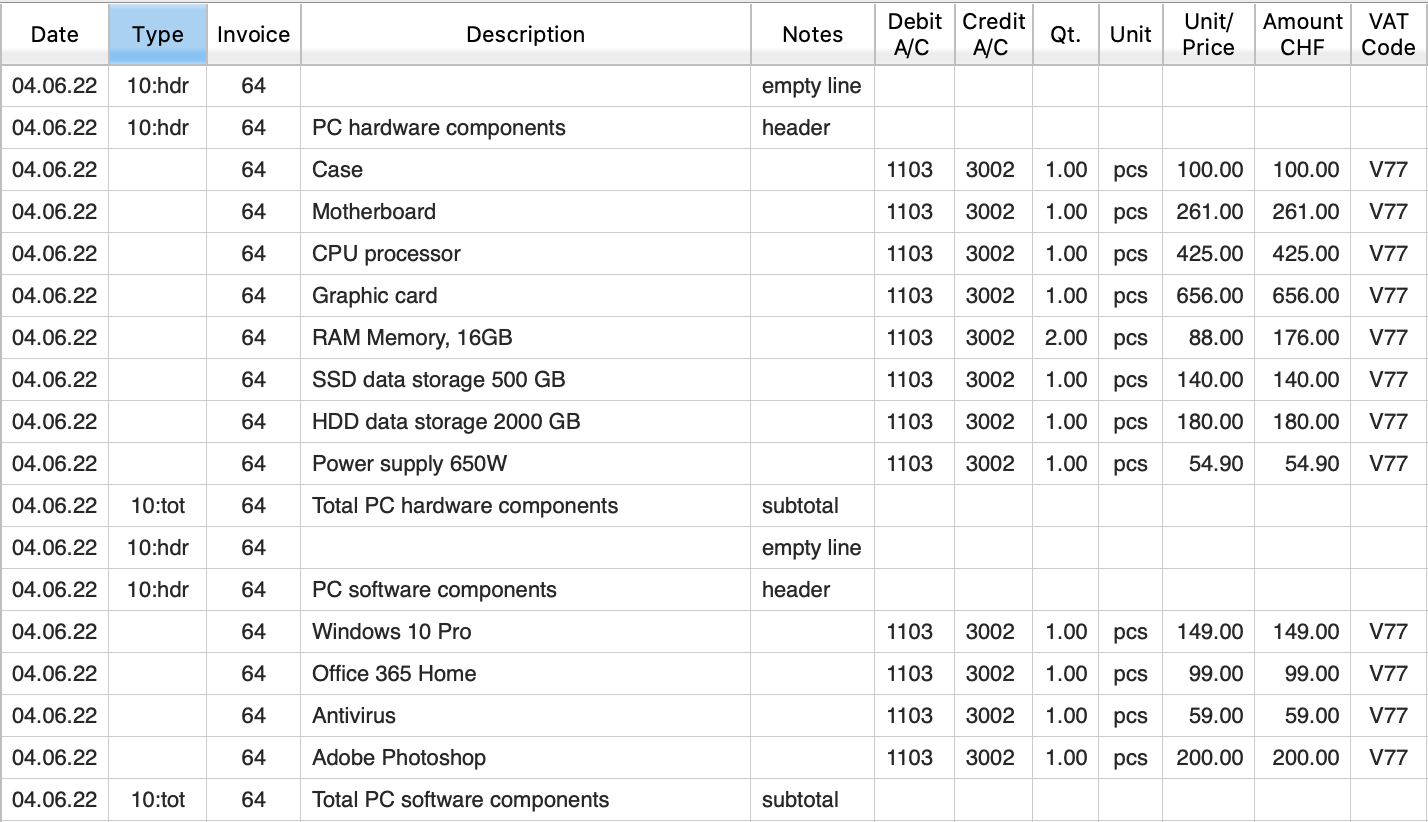
Multi-page invoice example: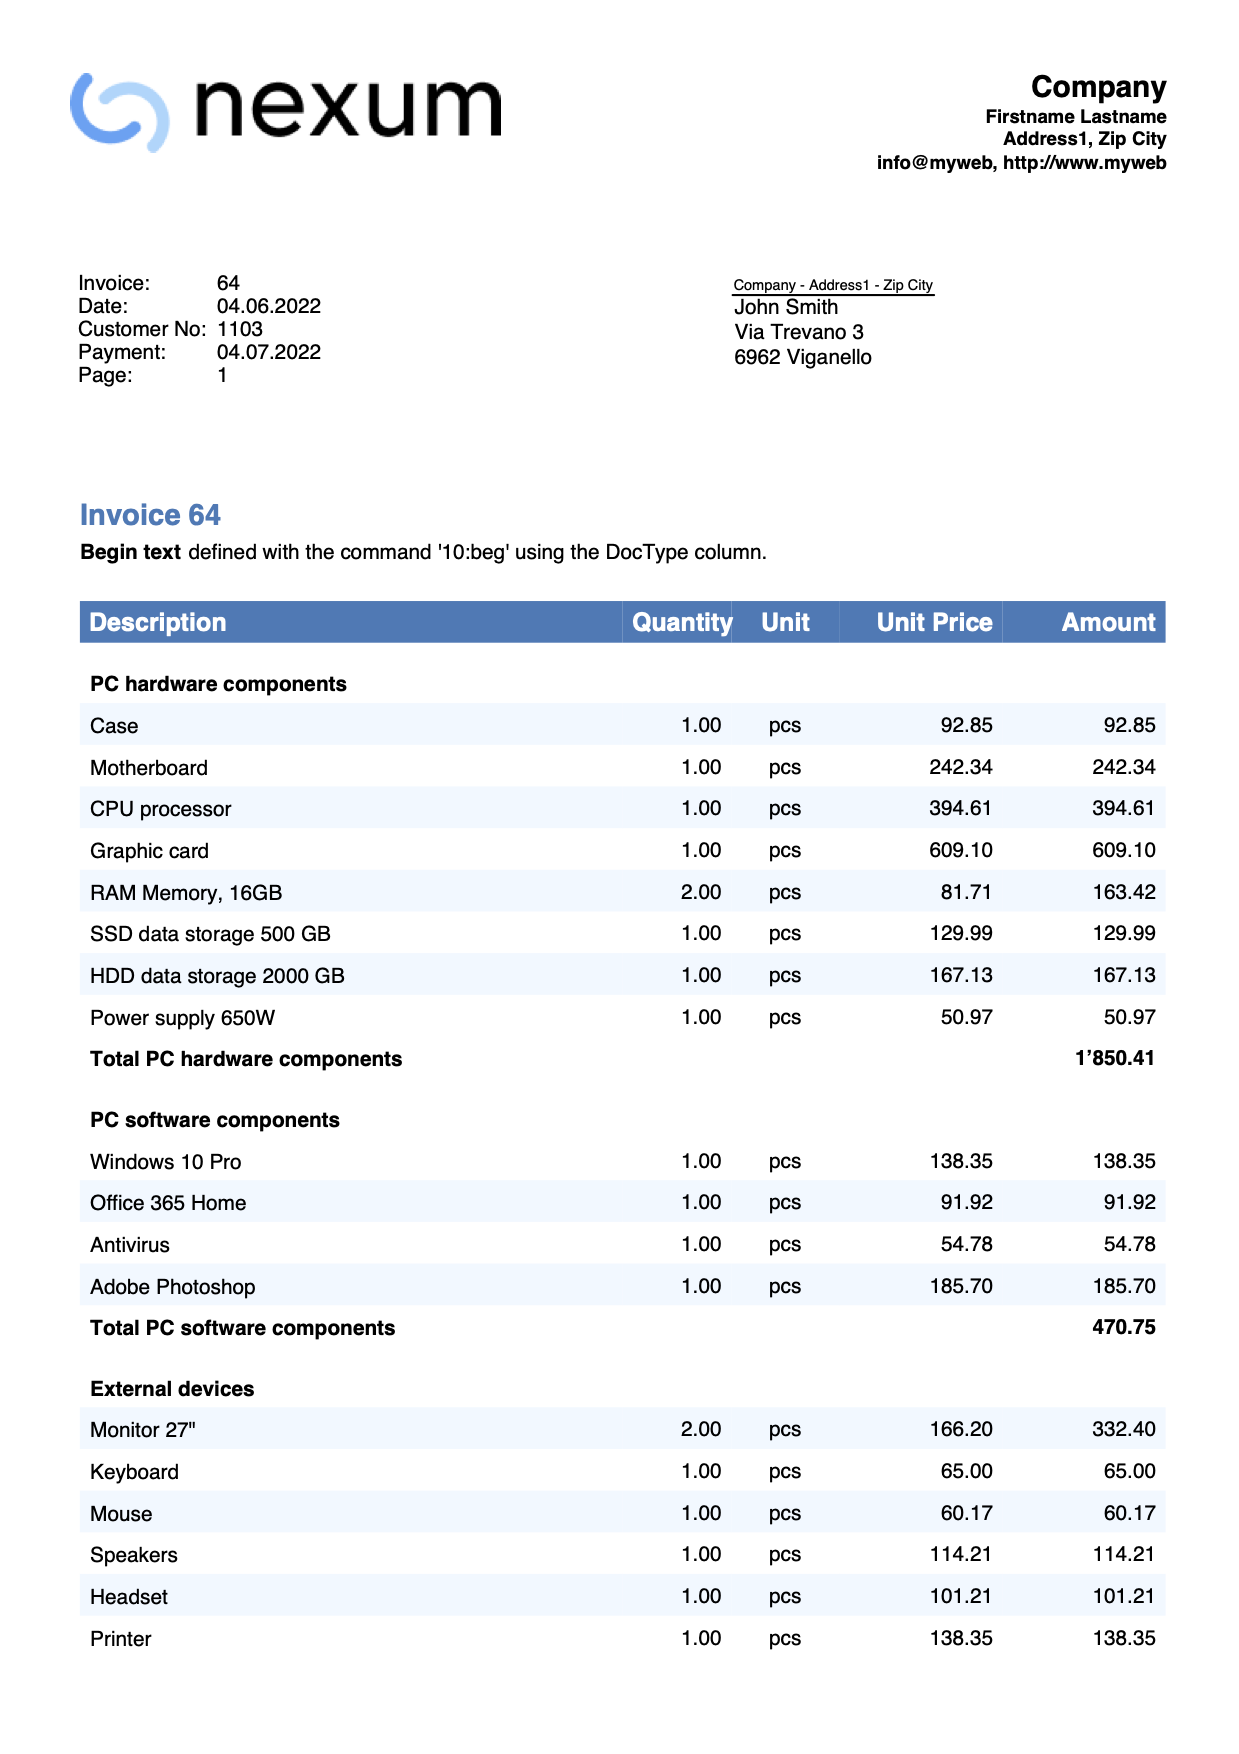
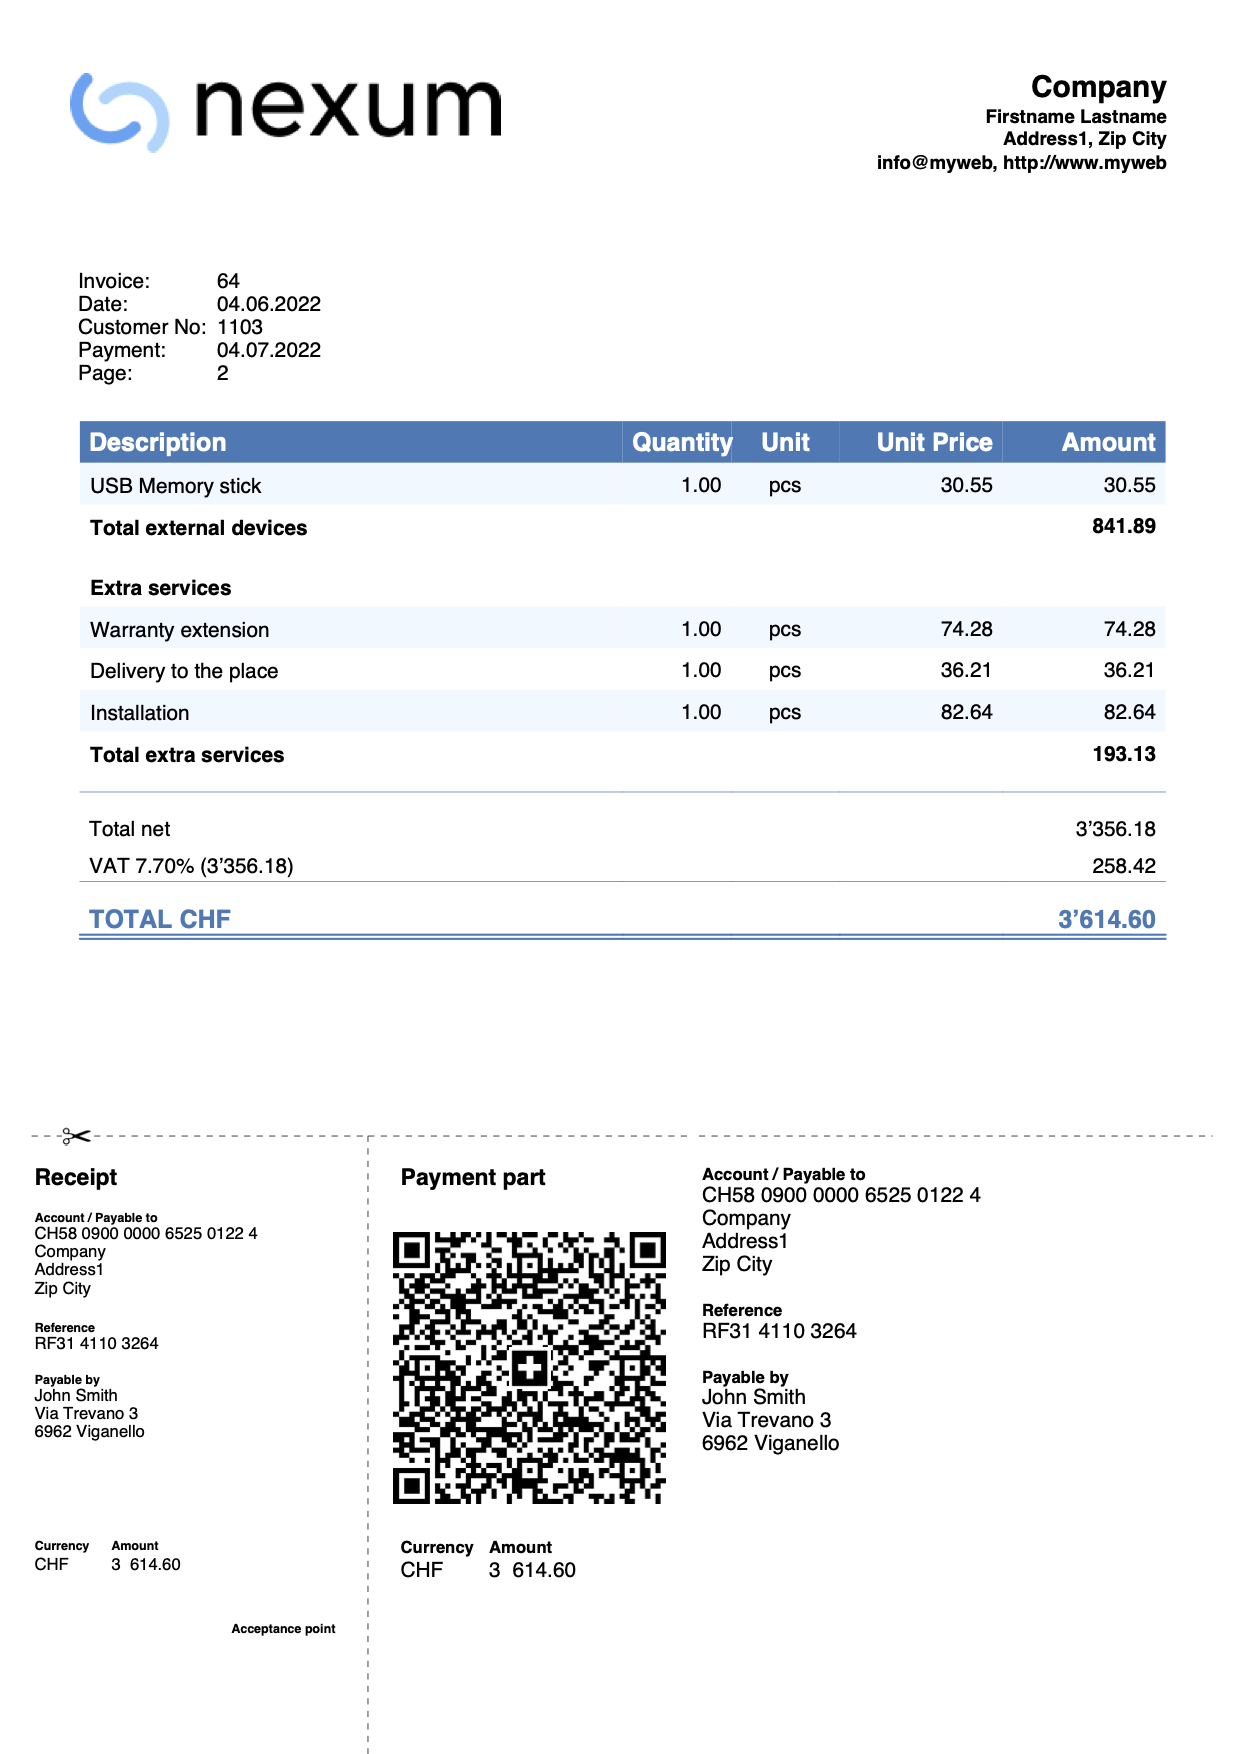
The information about entering the sender's address for window envelopes can be found in the Customer Address section on the Print Customization page.
Invoice with shipping address, description and amount columns
Via the templates for invoices dialog:
- Check the Shipping address box in the Customer address section.
- In the Invoice Details section, define:
- The names of the columns to use, specifying the XML names of the Transactions table columns.
- The width of each column.
- The alignments of titles and texts of the columns.
- In the Texts section, define the header text of each column.
Add the translation for each language you intend to use.
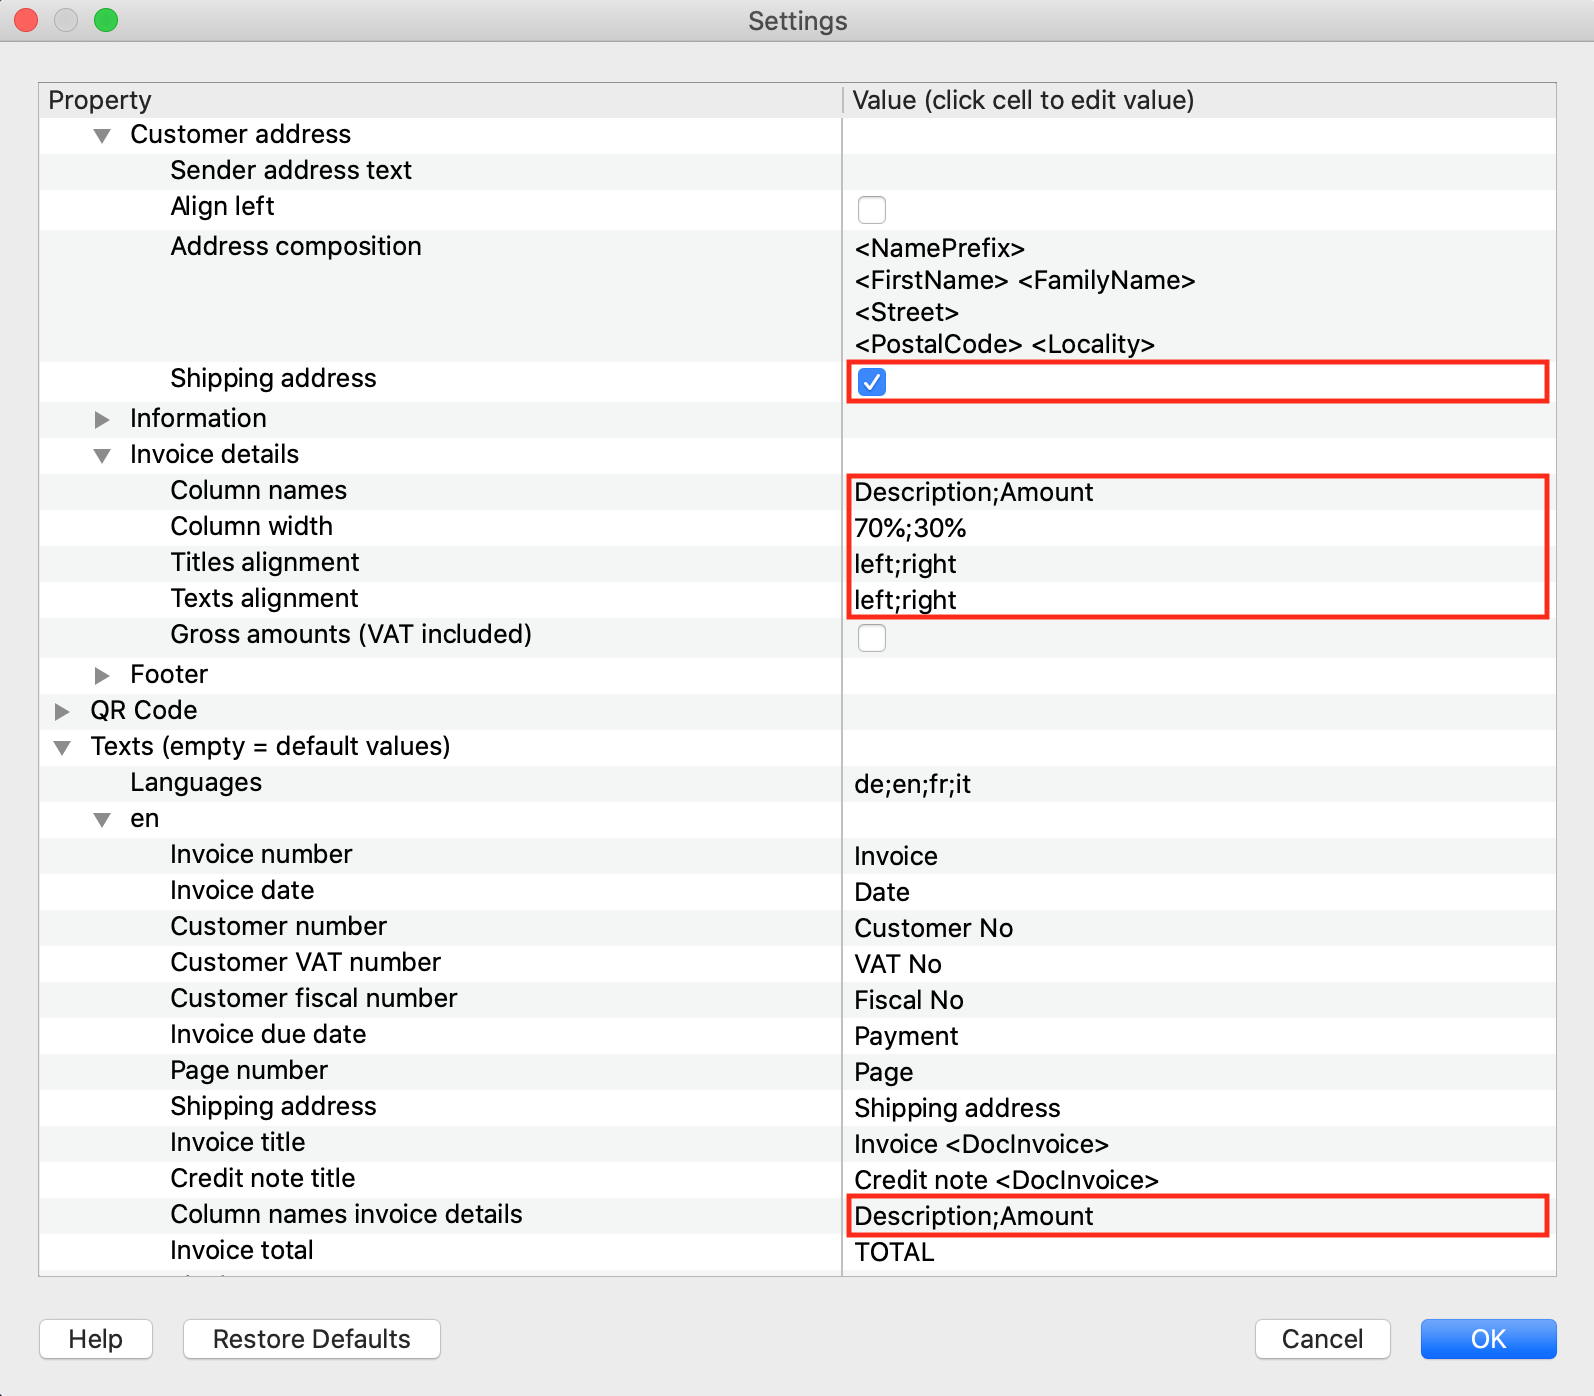
Invoice printout example with other settings: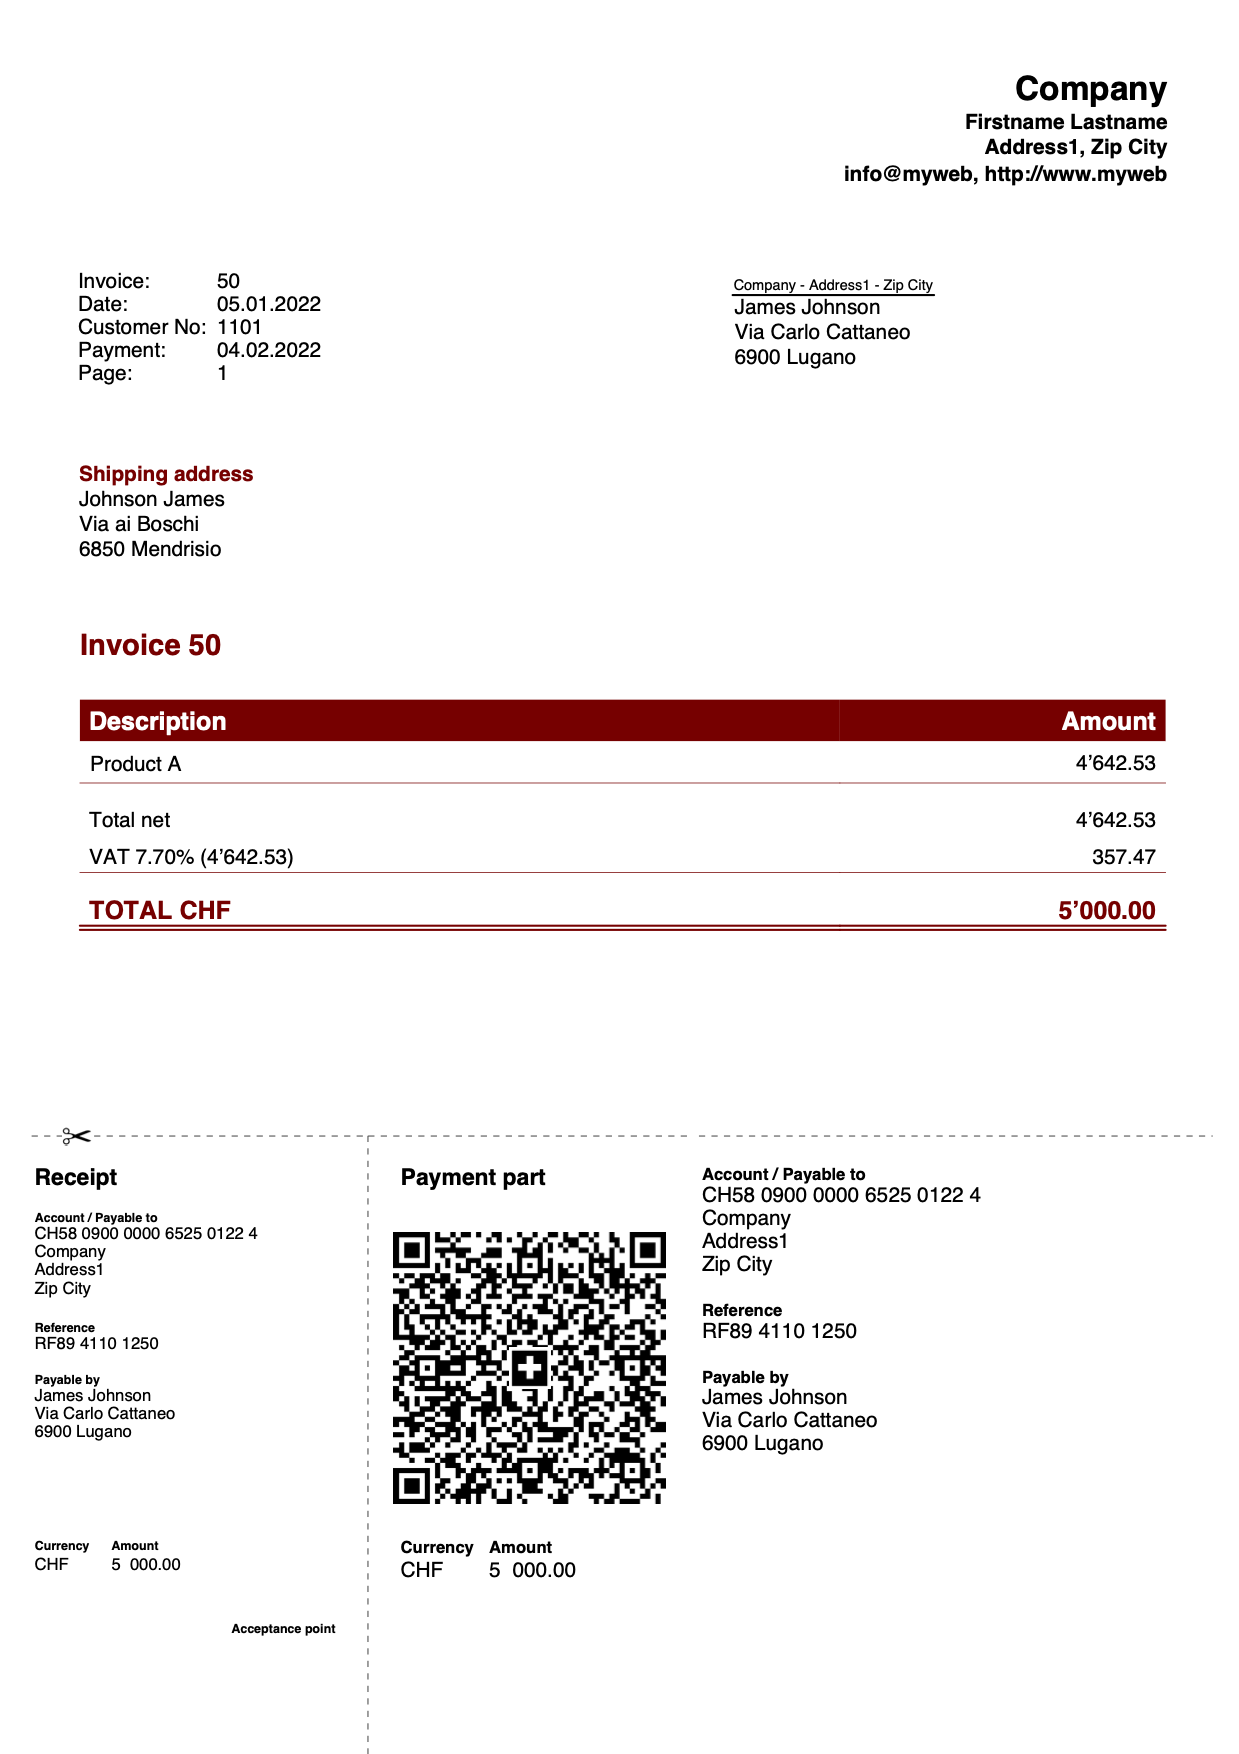
Use columns from the Transactions table
Prerequisites:
- Advanced Plan of Banana Accounting Plus.
In some cases it may prove useful to include a dedicated column (not predefined in the program)for invoice details, such as a column in which to indicate the date of execution of a job.
Column creation:
- With the Columns setup command, add a column in the Transactions table.
Each proper column of type Data must begin with the word Date (eg DateWork, DateExecution, DateXXX). - Enter your postings to create the invoice and in this column indicate the date of execution of the job.
- For the invoice printout, the program uses the date format defined in the operating system settings.
Via the templates for invoices dialog:
- In the Invoice Details section define:
- The names of the columns to use, specifying the XML names of the Transactions table columns.
Insert the column created in this way: T.DateWork (the own columns must be preceded by "T.") - The width of each column.
- The alignments of titles and texts of the columns.
- View the Gross amounts box to use gross amounts with VAT included.
- The names of the columns to use, specifying the XML names of the Transactions table columns.
- In the Texts section, define the header text of each column.
Add the translation for each language you intend to use.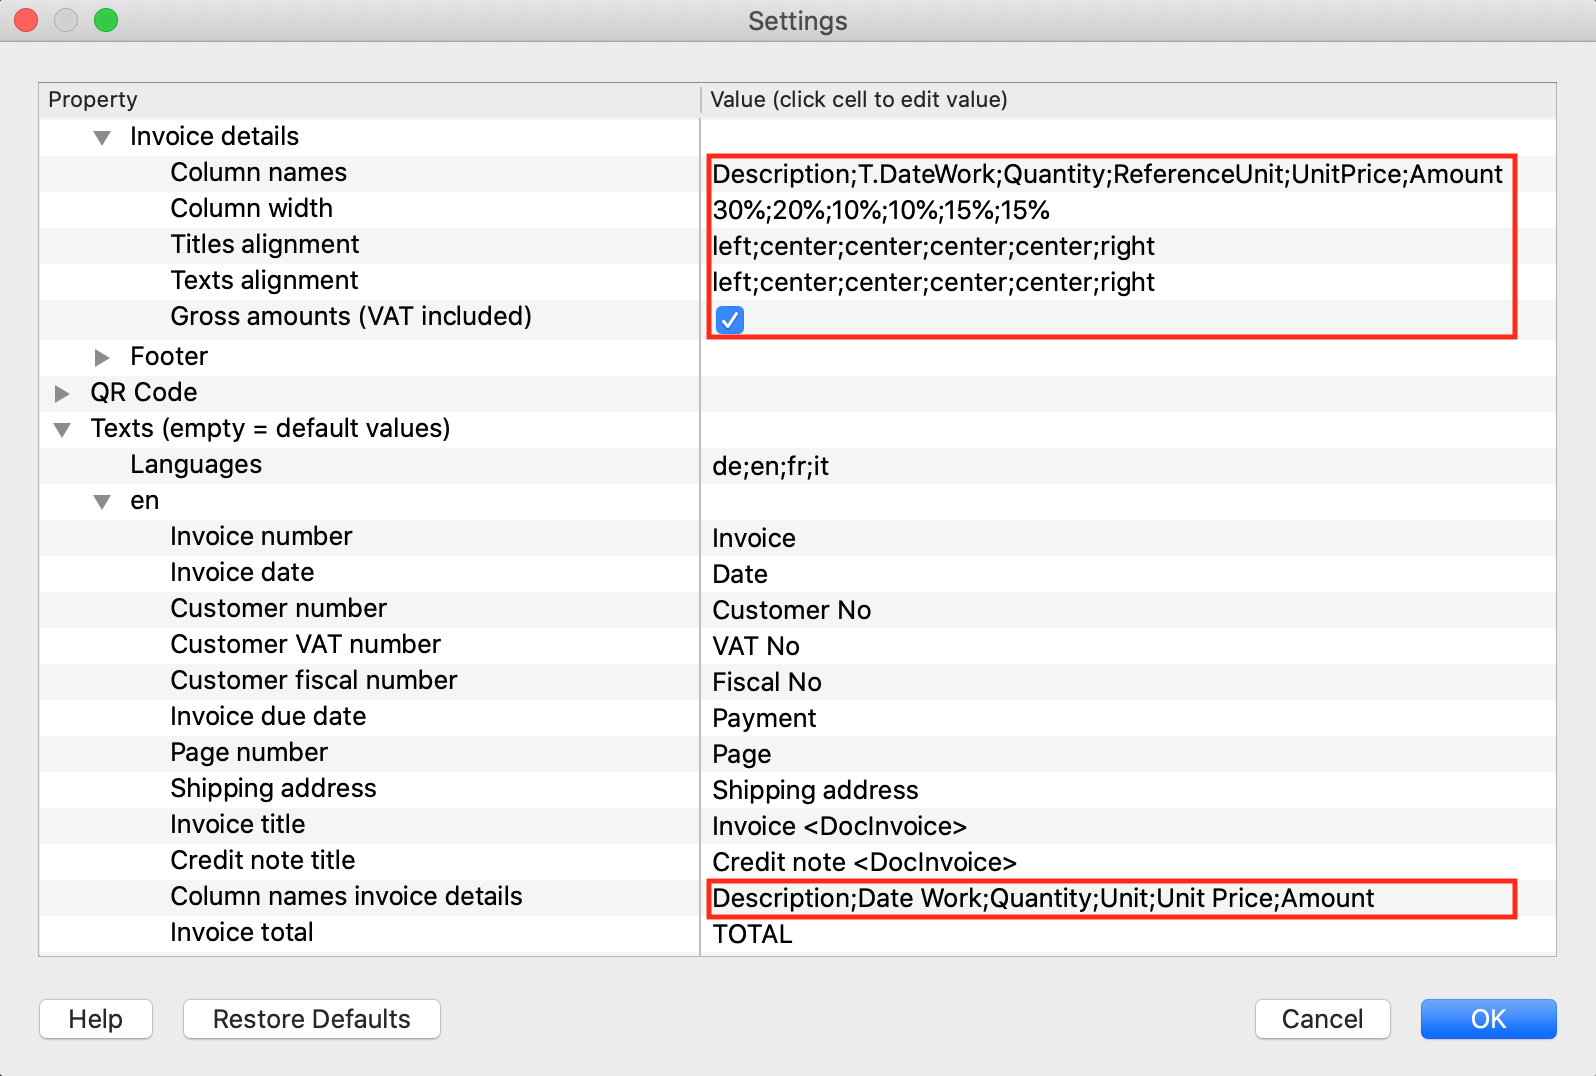
Invoice printout example: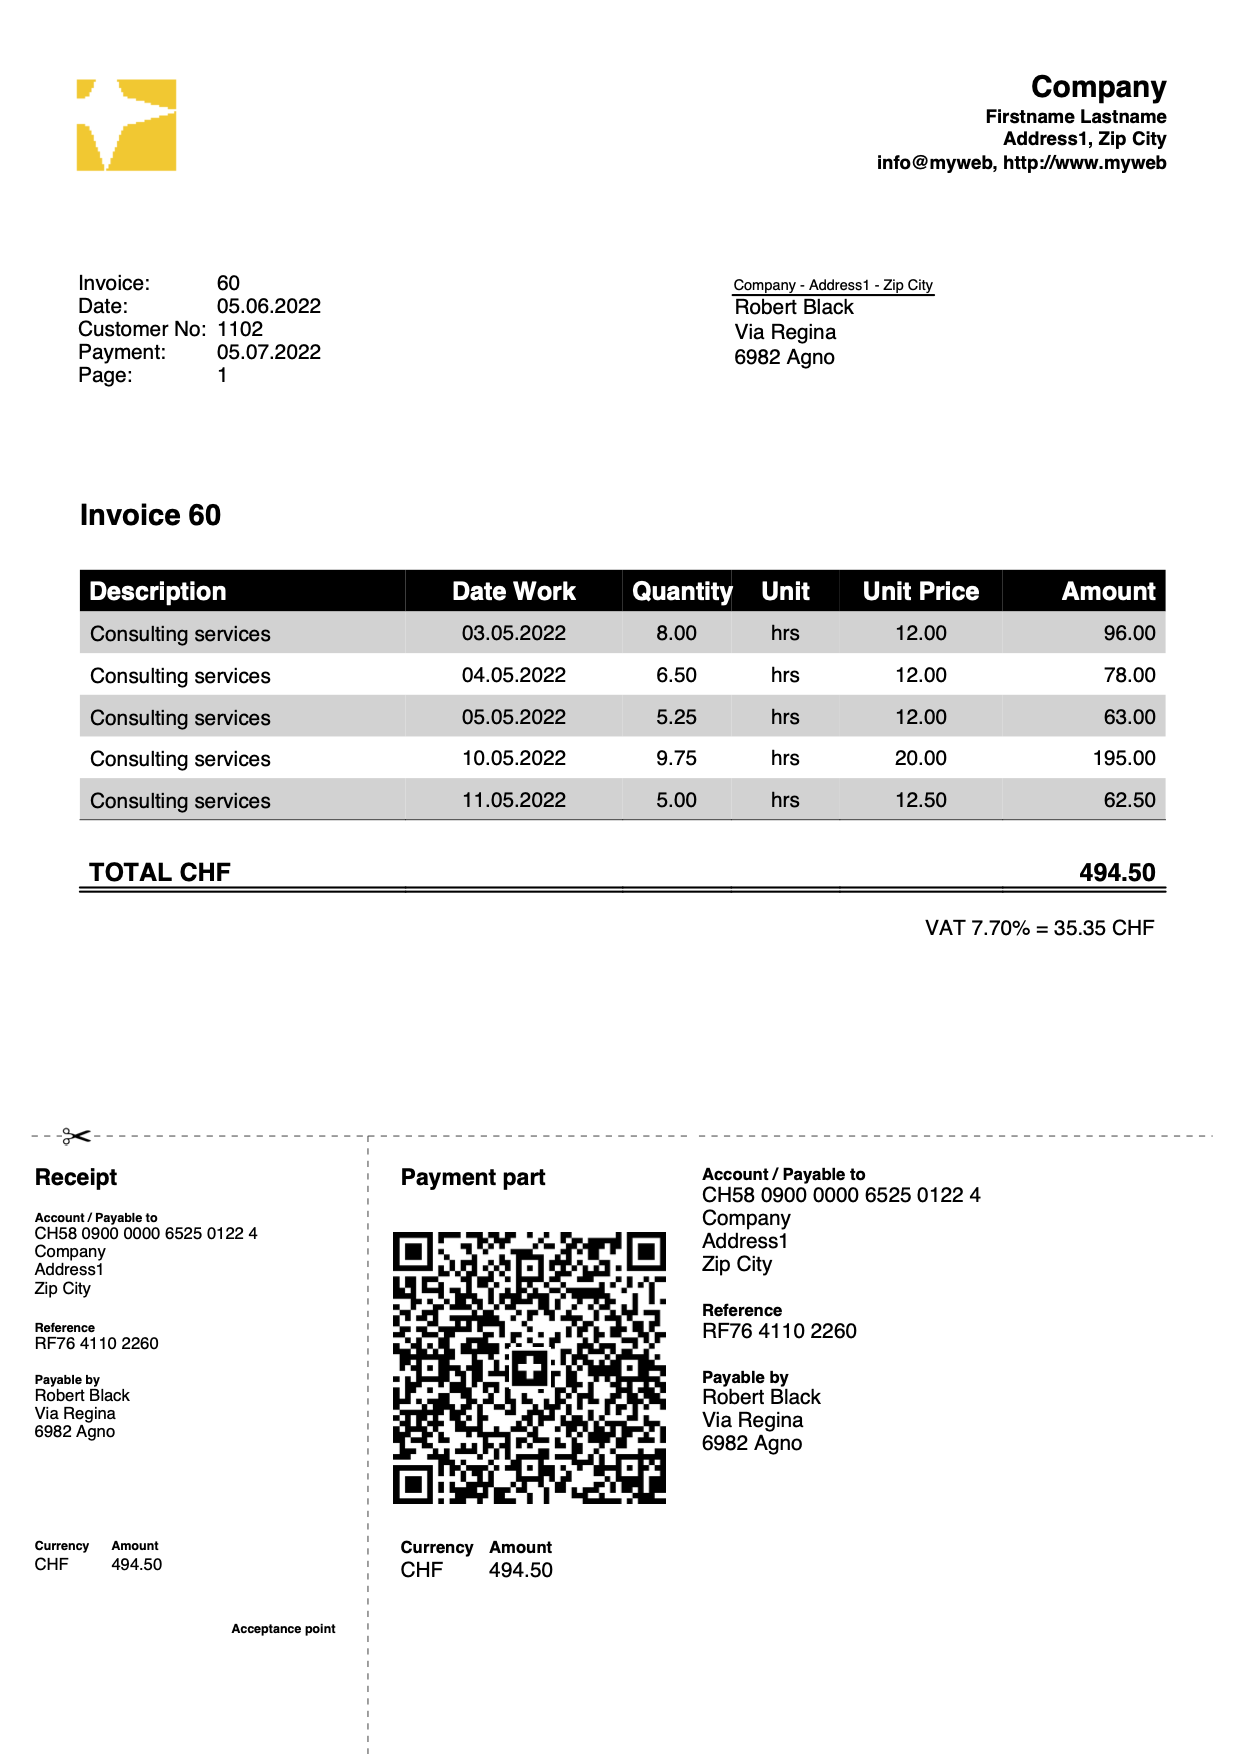
Invoice with initial, final text, notes and greetings
Define the initial texts in the Transactions table, notes and greetings using the Type column:
- Initial text: enter the command 10: beg and the text in the Description column.
- Note: enter the 10: not command and the text in the Description column
- Greetings: enter the command 10: gre and the text in the Description column.
- The text inserted between the double asterisks (**) will be displayed in bold.
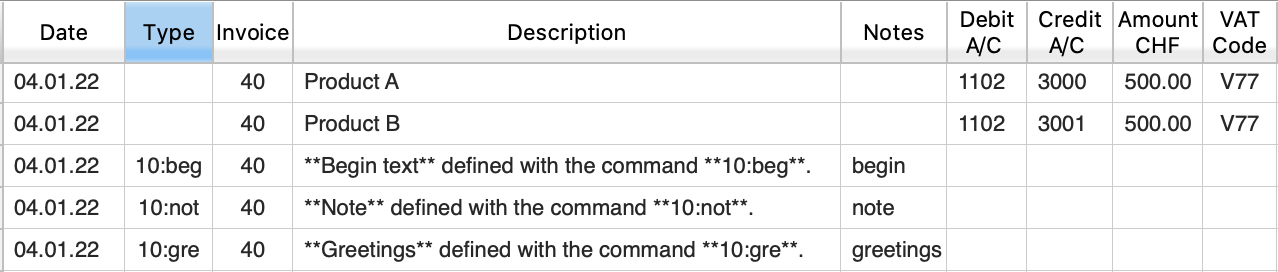
Via the templates for invoices dialog:
- In the Texts section, define the final text to be included immediately after the invoice details.
The text inserted between the double asterisks (**) will be displayed in bold.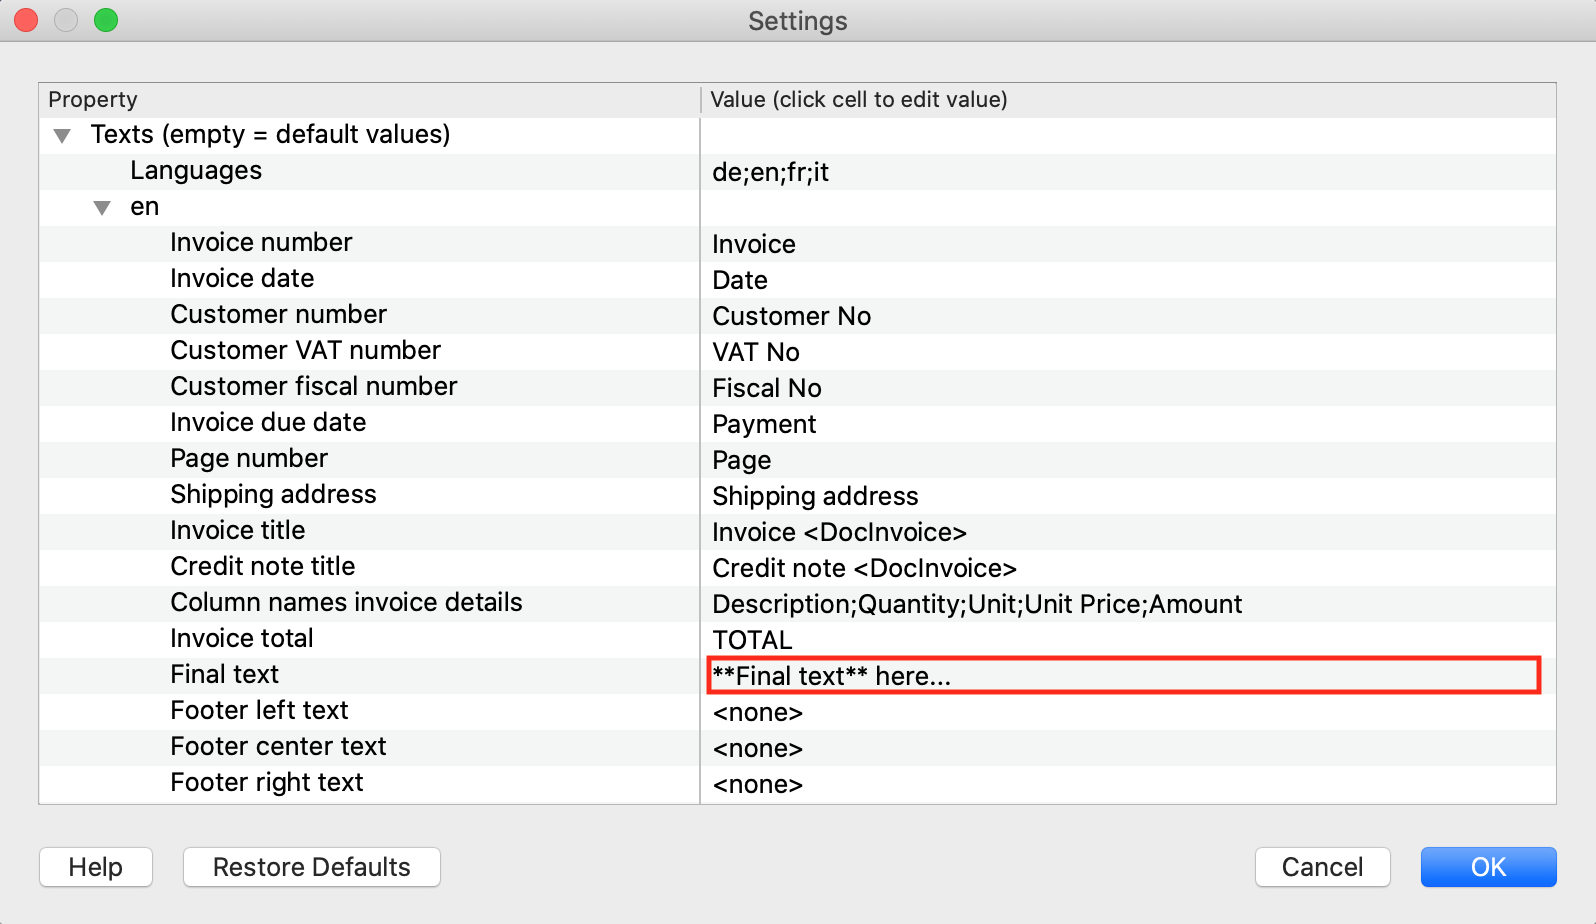
Invoice printout example: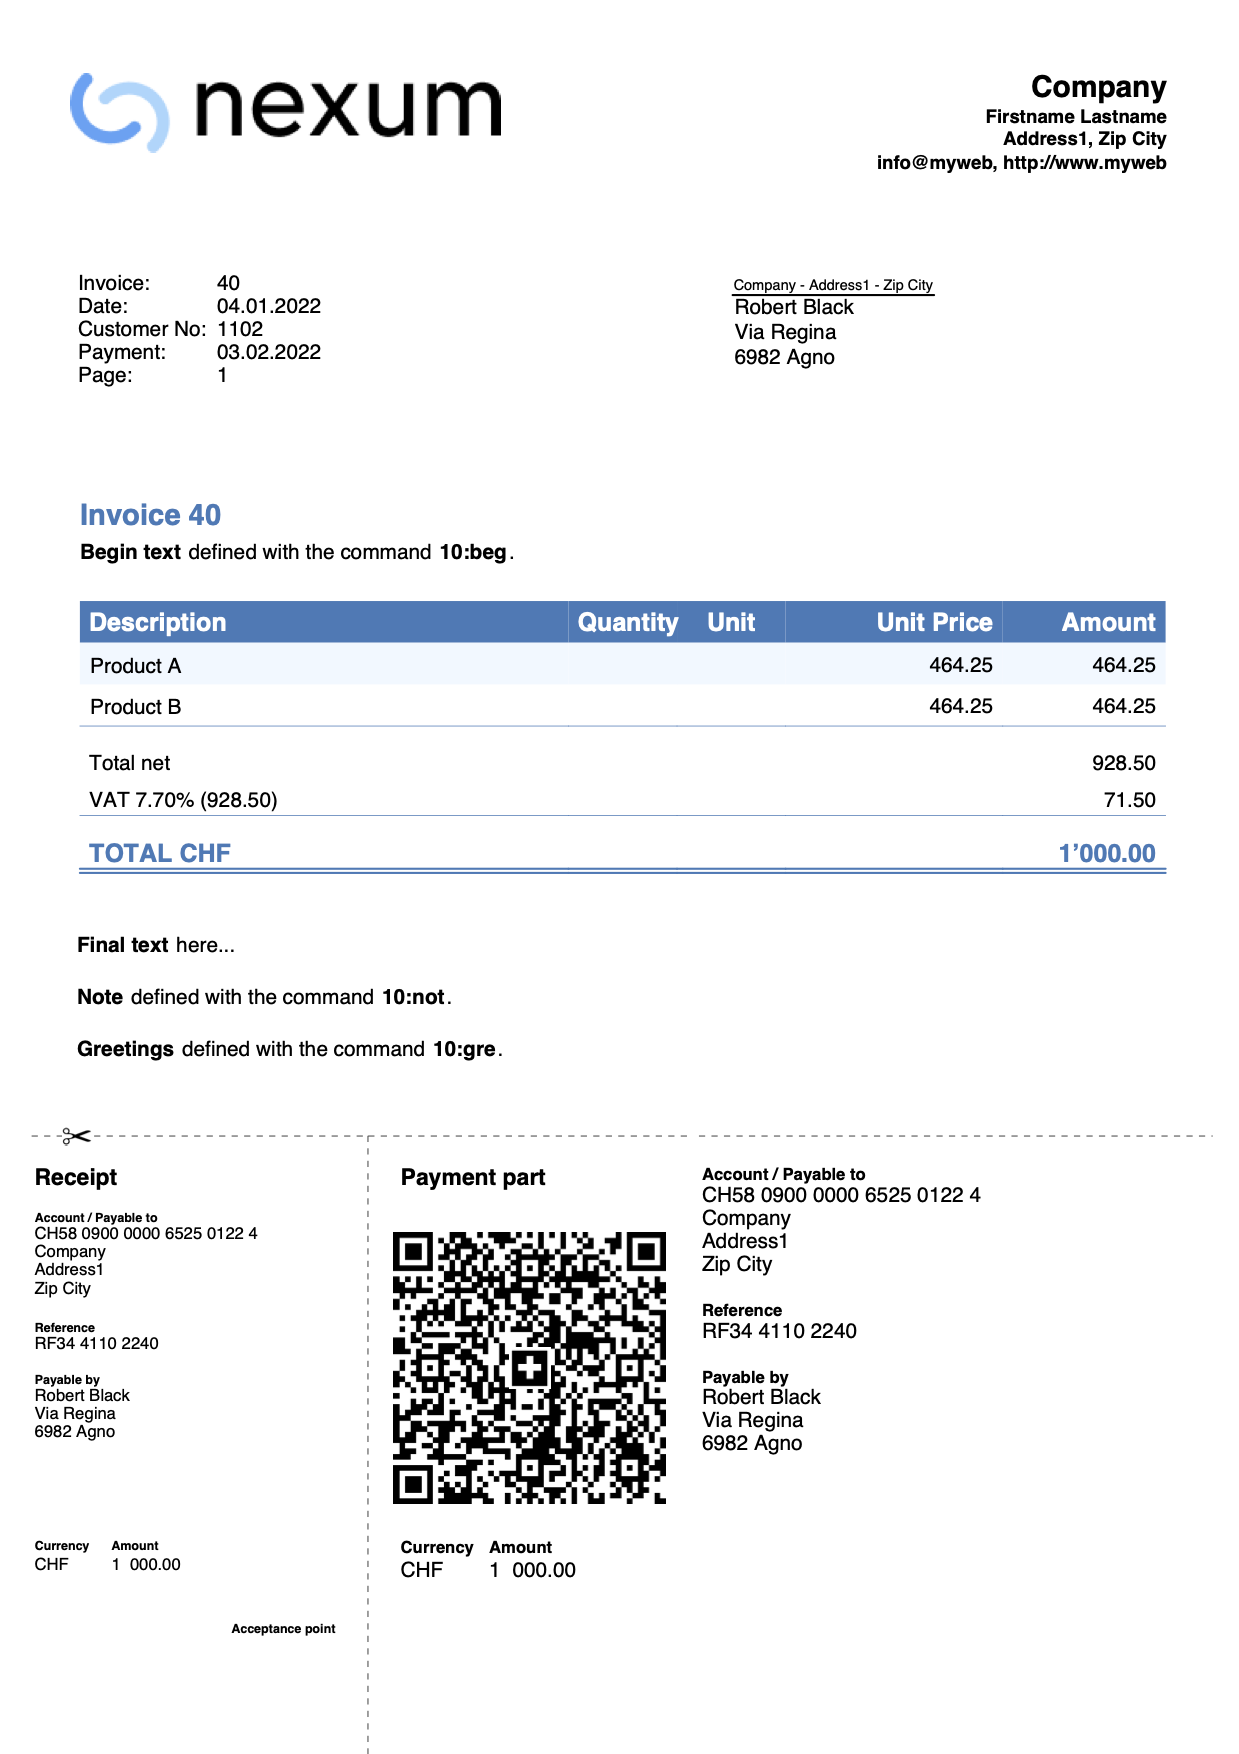
Invoice with no amount
It is used when you want to leave the possibility of choosing the amount to be paid to the person making the payment (for example for a donation).
In the QR part the amount is excluded, leaving an empty box to enter the amount by hand.
In the Transactions table enter the donation record without the amount.

Through the invoice settings dialog, in the QR Code section check the Exclude invoice amount box.
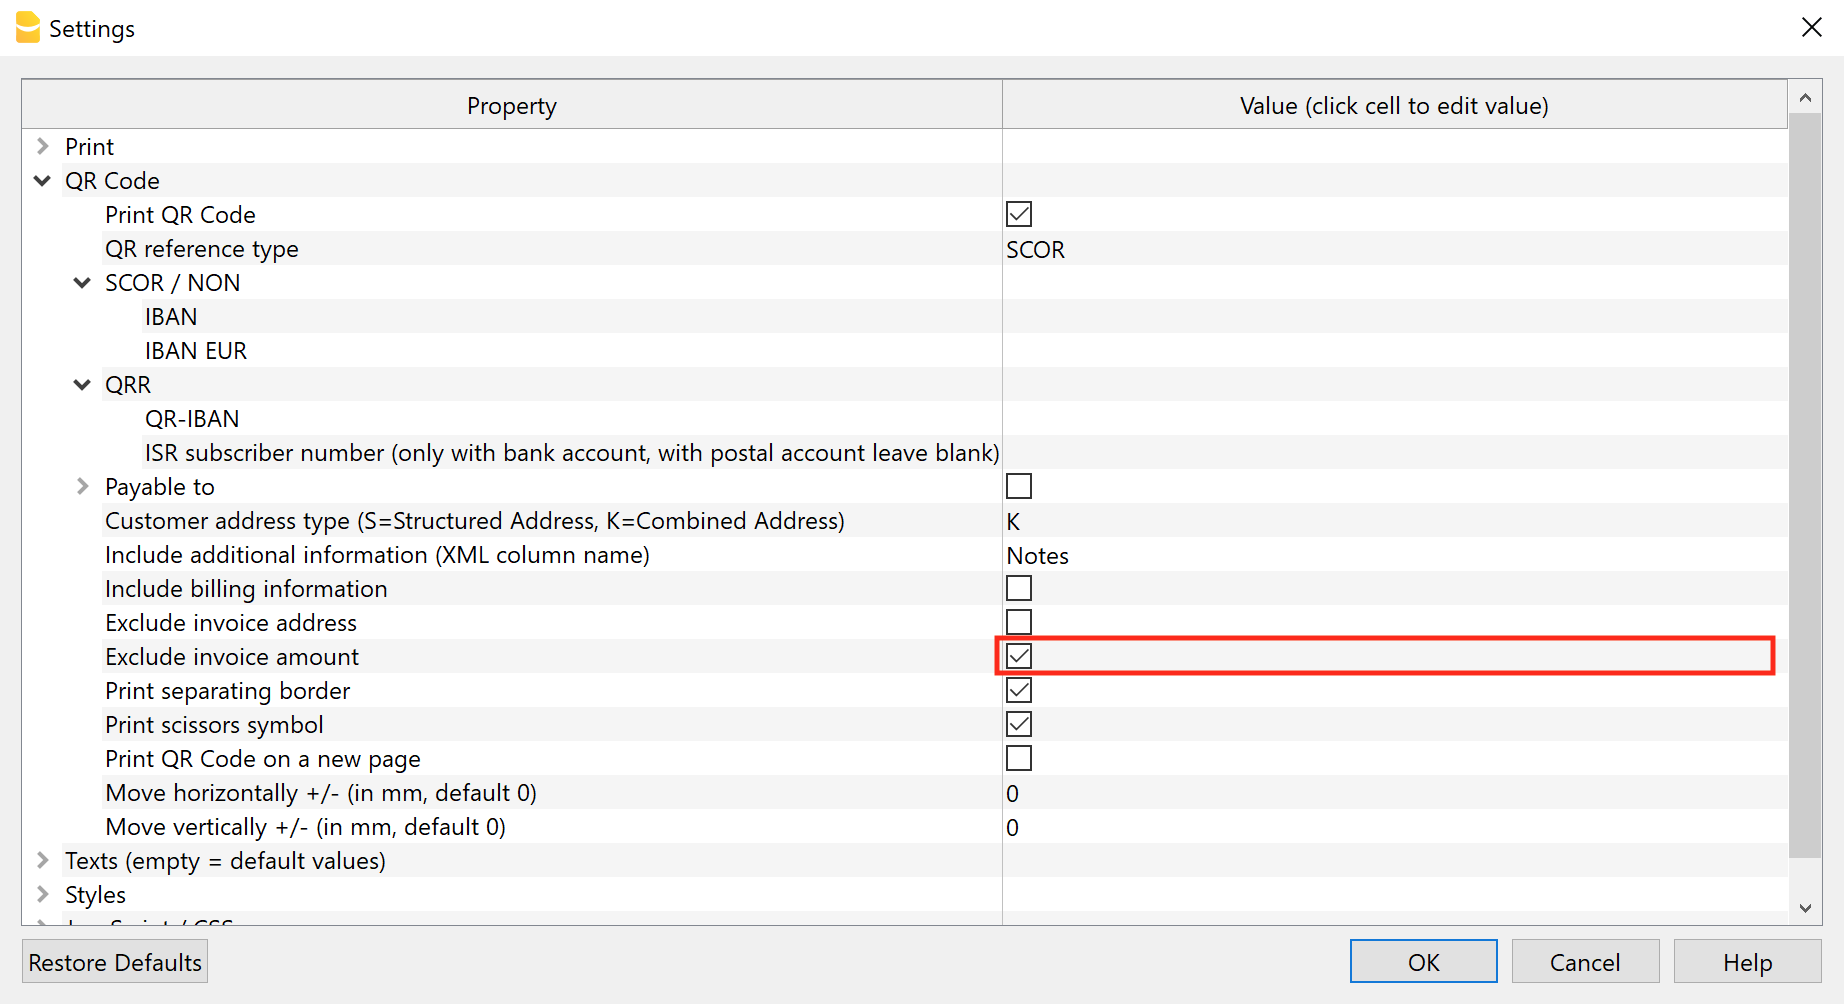
Example of invoice printing:
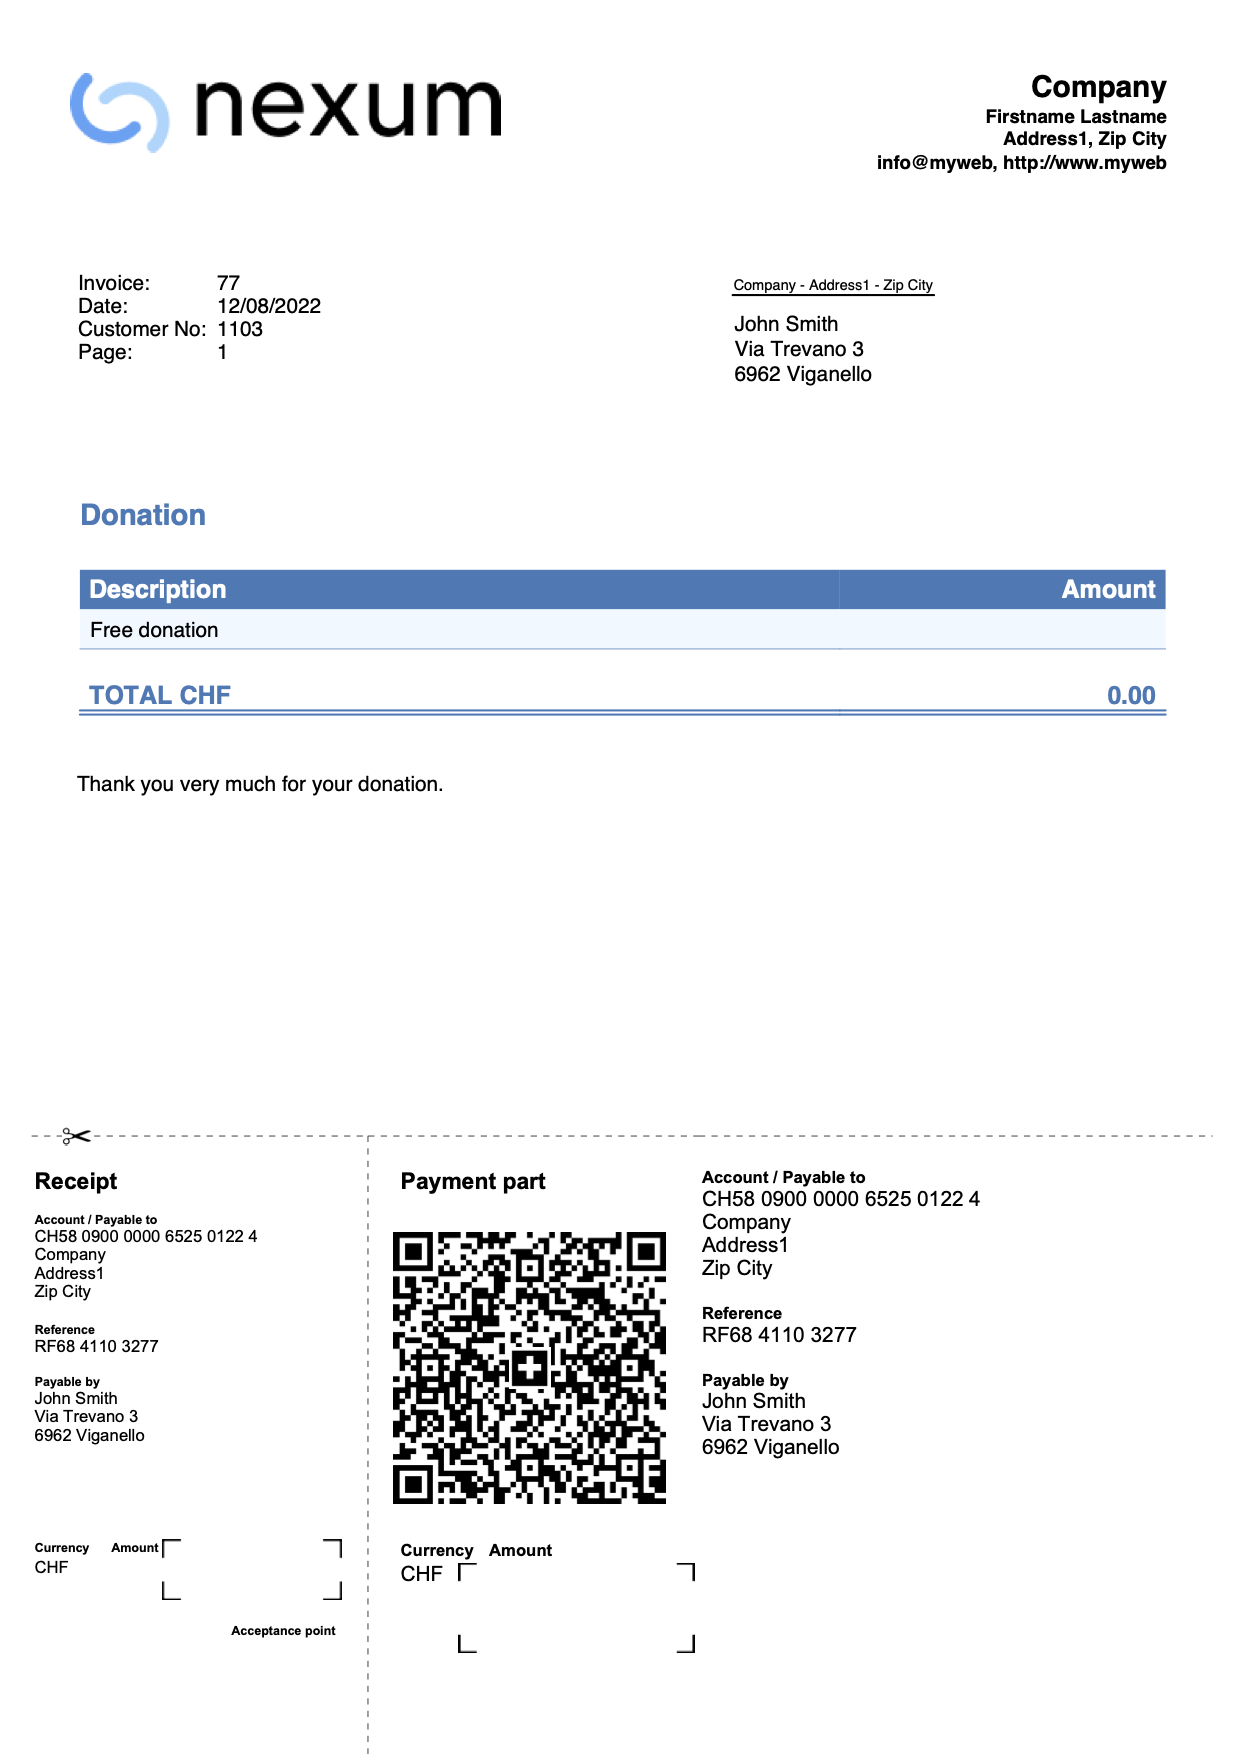
Invoice with multi-row descriptions (integrated invoicing)
This example for Integrated invoicing shows how to create invoices using multi-row descriptions.
The steps to follow are:
- Use the Arrange Columns command to add one or more additional description columns in the Transactions table.
Create columns of type Text with the name "Description" followed by a number (e.g., "Description1", "Description2", "Description3", etc.).
The XML name of each column must begin with the word "Description" followed by a number.
- In the newly created columns, enter additional text for the invoice description.
The text for each column will be displayed on a new line in the invoice description.
- In the Invoice parameters dialog box, in the Print > Invoice details section, display the Print additional descriptions box.
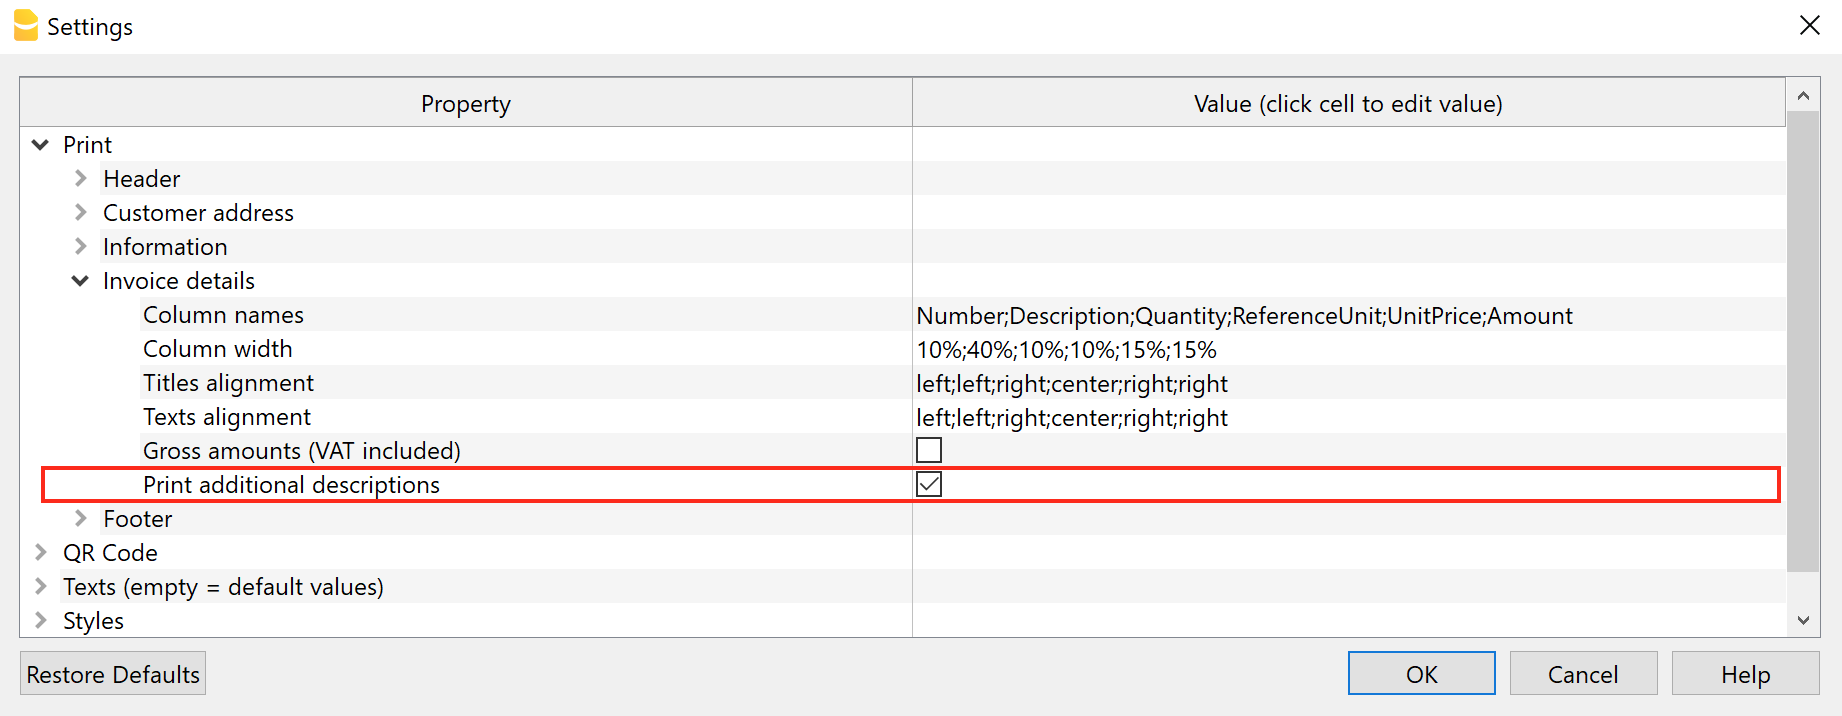
At this point, if there are additional description columns in the Transactions table and if they contain texts, these texts will be added on the invoice printout.
Example invoice printout: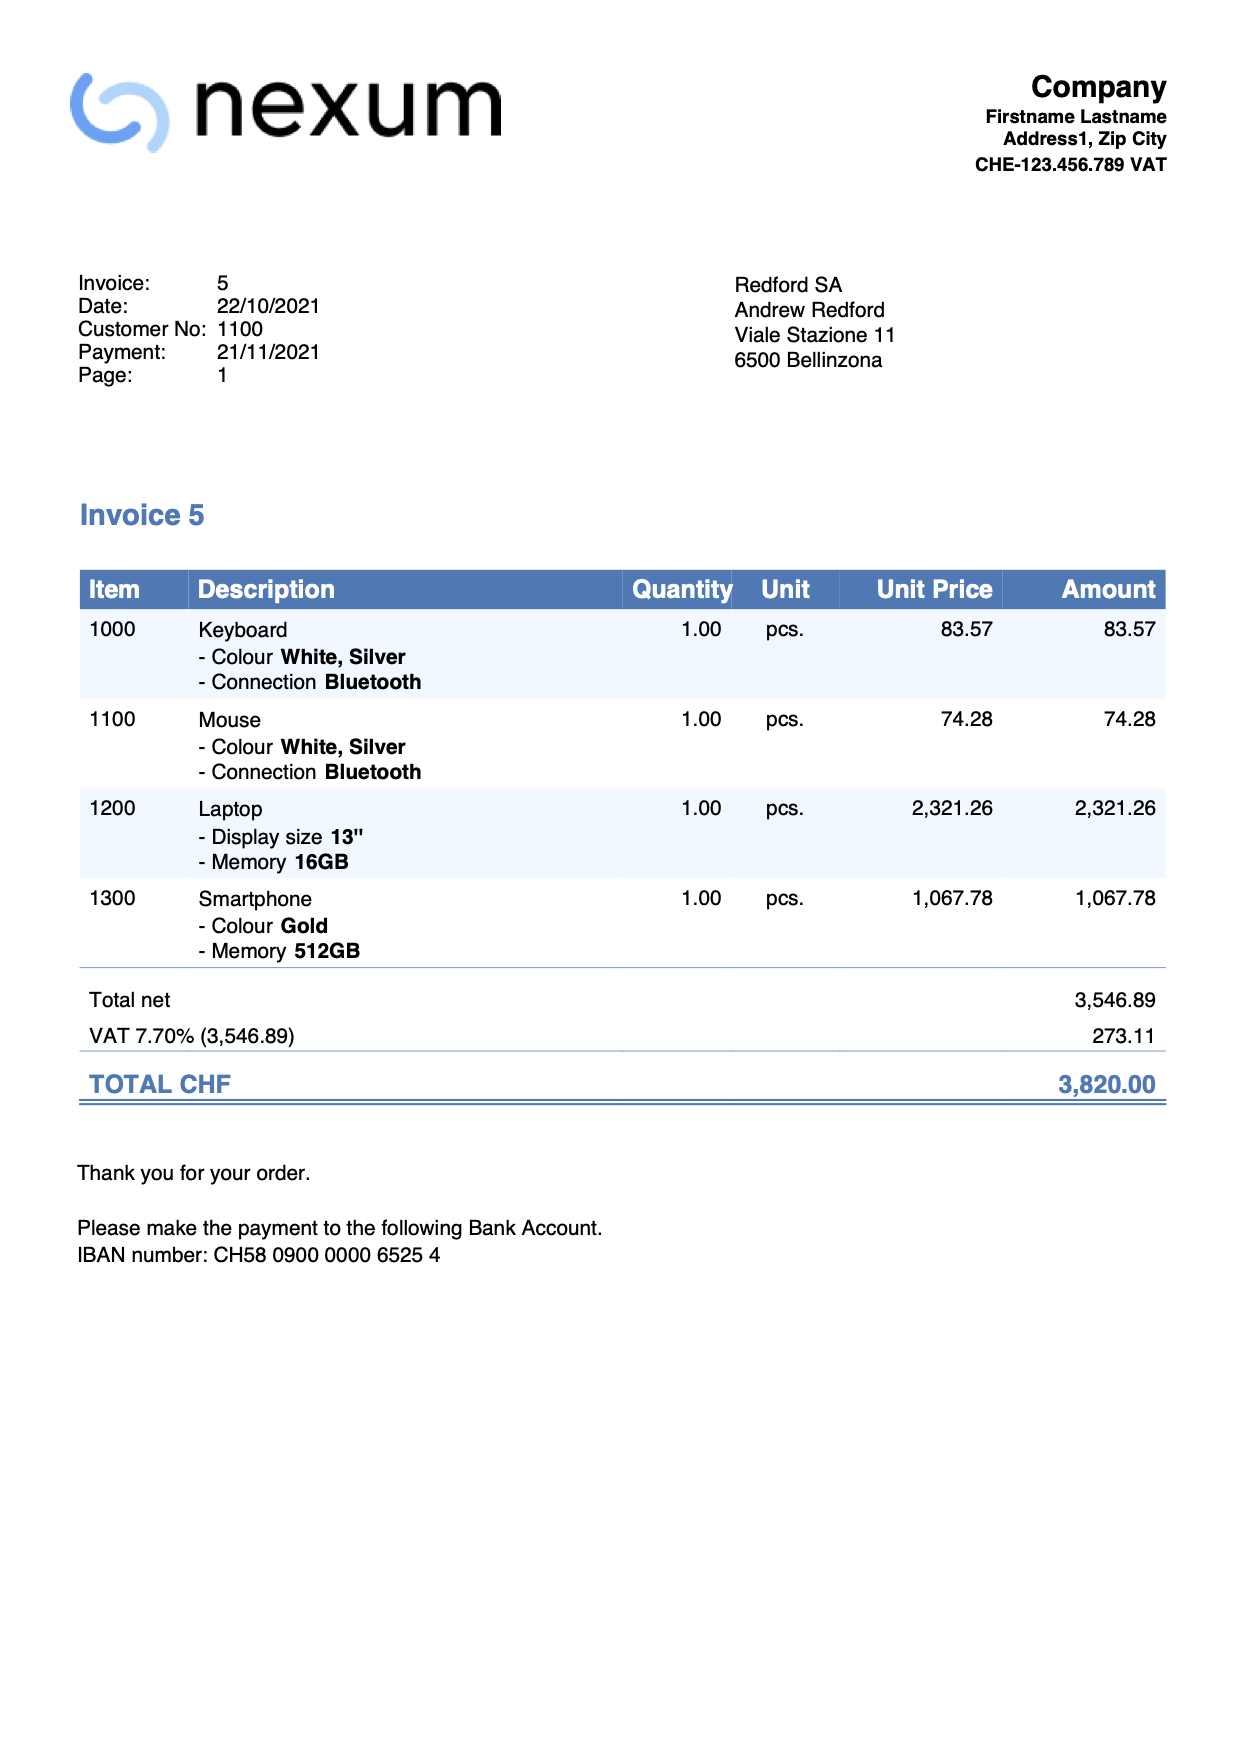
Invoice with multi- row descriptions (Estimates-Invoices)
This example for the Estimates and Invoices application shows how to create invoices with multi-row descriptions.
- In the invoice edit dialog, under the Invoice Details section, in the Description column:
- Enter the description text
- You can use line breaks and add as many lines as you want.
- You can also leave blank lines.
- You can insert one or more texts between double asterisks to apply bold styling (e.g. Bold text).
- You can enter the amount either on the same line as the multi-line description, or on a new line (see image).
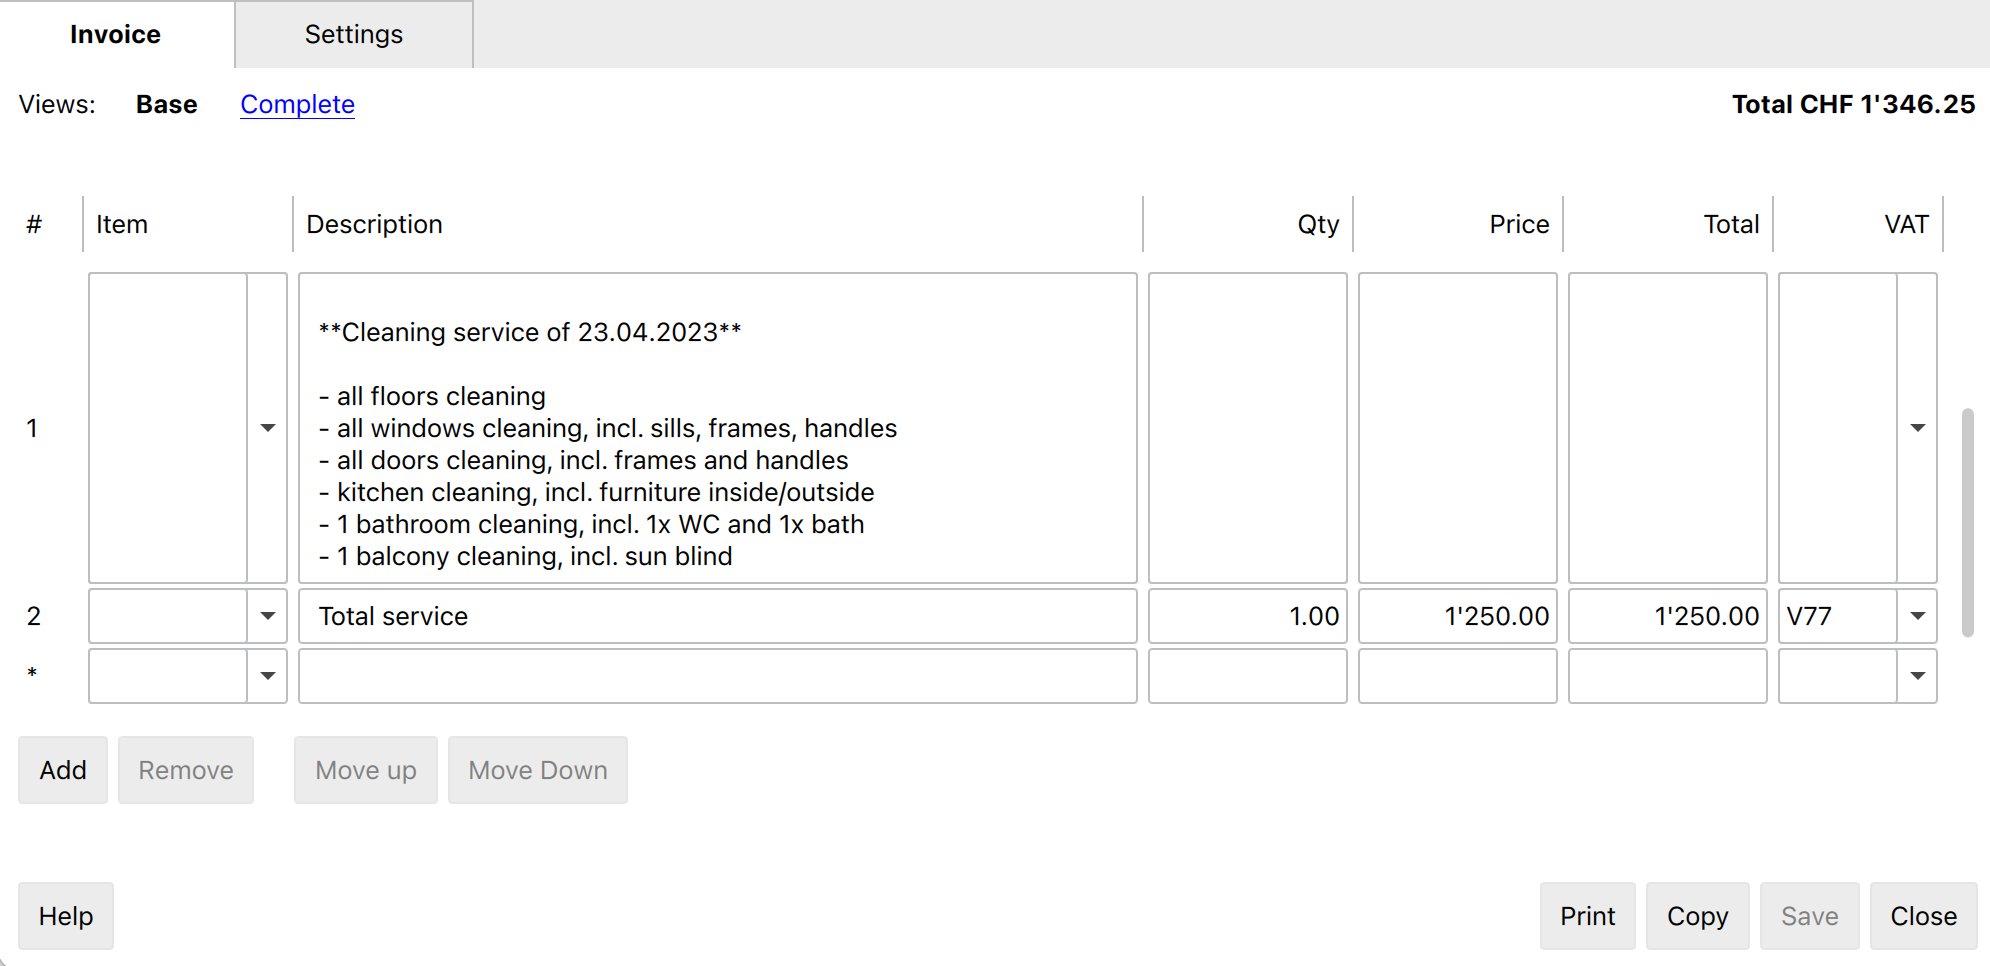
When printing the invoice, descriptions are displayed on several rows as in the dialogue.
Example invoice printout: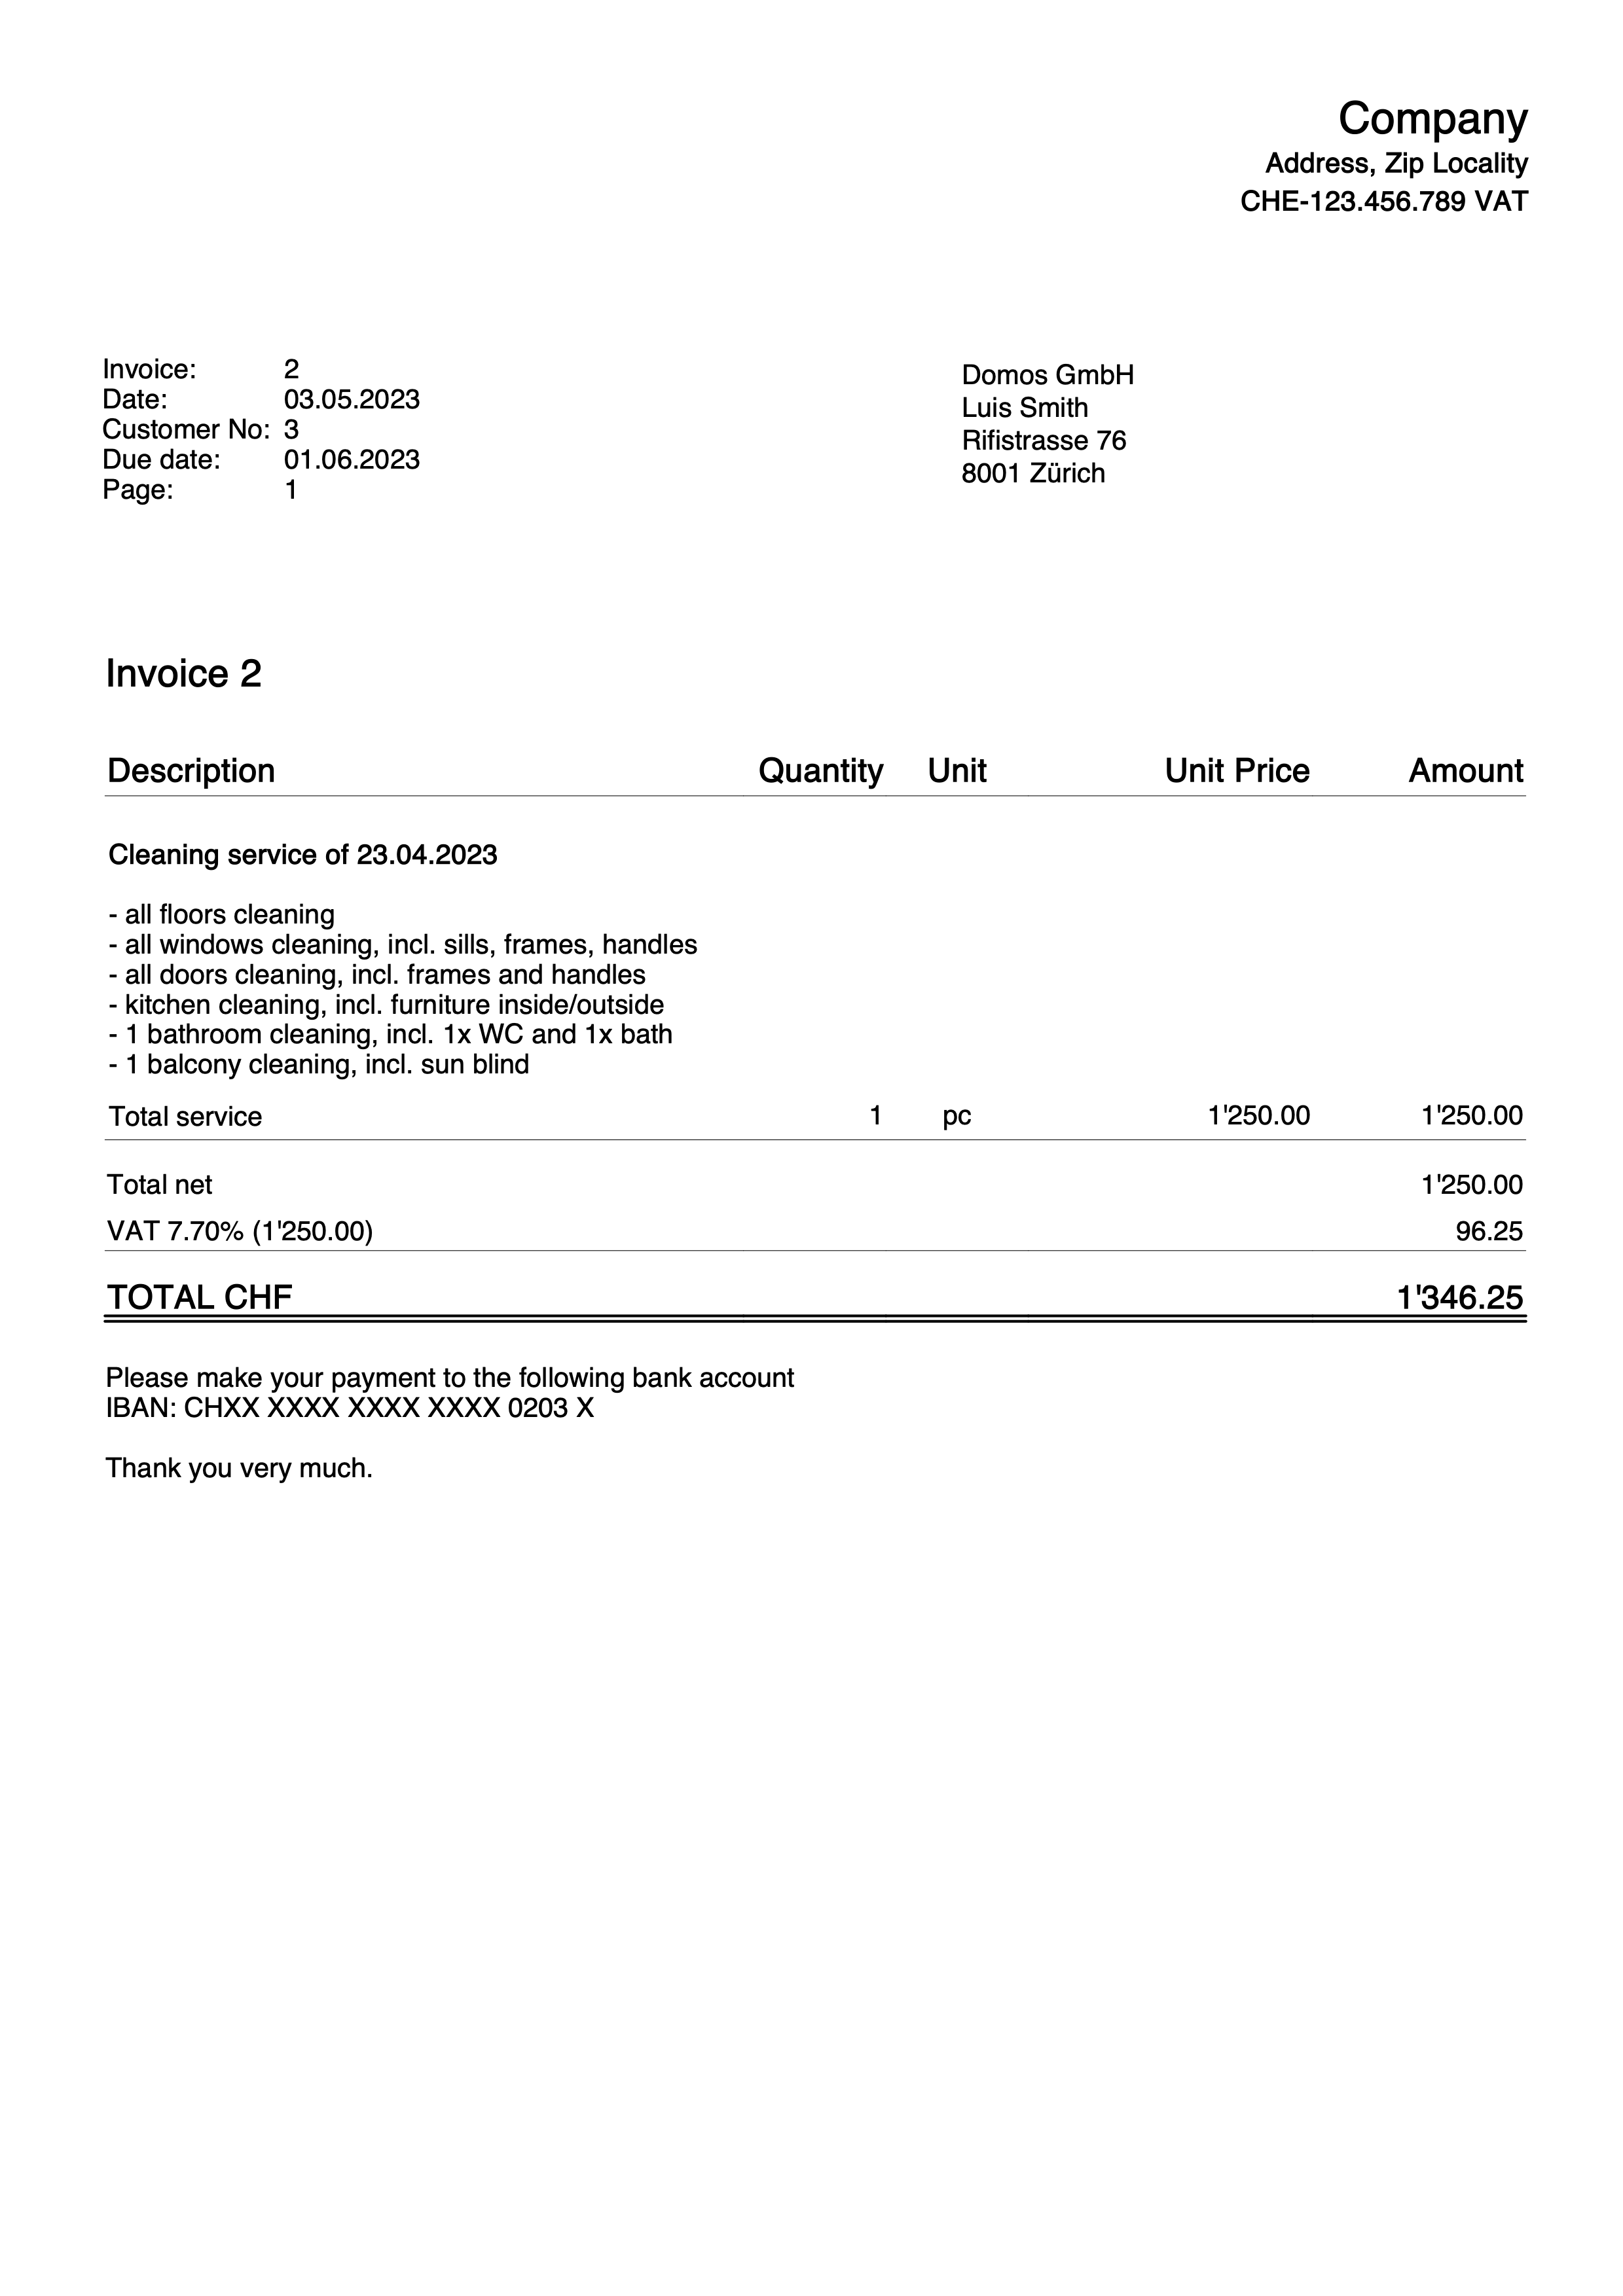
Invoice with Article Discount column
This example for invoicing with the Estimates and Invoices application shows how to add the Article Discount column in the invoice details.
Requirements:
- Banana Accounting Plus Advanced Plan.
- Beta Release version of the Estimates and Invoices application.
The steps to follow are as follows:Create invoices using the Discount column. Enter a percentage or a value.
- Via the invoice settings dialogue:
- Via the invoice settings dialogue:In the section Print > Invoice details add the Discount column, set the column widths and the alignment of headings and texts.
- Description;Quantity;ReferenceUnit;UnitPrice;Discount;Amount
35%;10%;10%;15%;15%;15%
left;center;center;right;right;right
left;center;center;right;right;right
- Description;Quantity;ReferenceUnit;UnitPrice;Discount;Amount
- In the section Texts > Invoice detail column header, for each language set the texts for the table headers, also adding the text for the Discount column.
- Description;Quantity;ReferenceUnit;UnitPrice;Discount;Amount
- Description;Quantity;ReferenceUnit;UnitPrice;Discount;Amount
- Via the invoice settings dialogue:In the section Print > Invoice details add the Discount column, set the column widths and the alignment of headings and texts.
Example invoice printout:
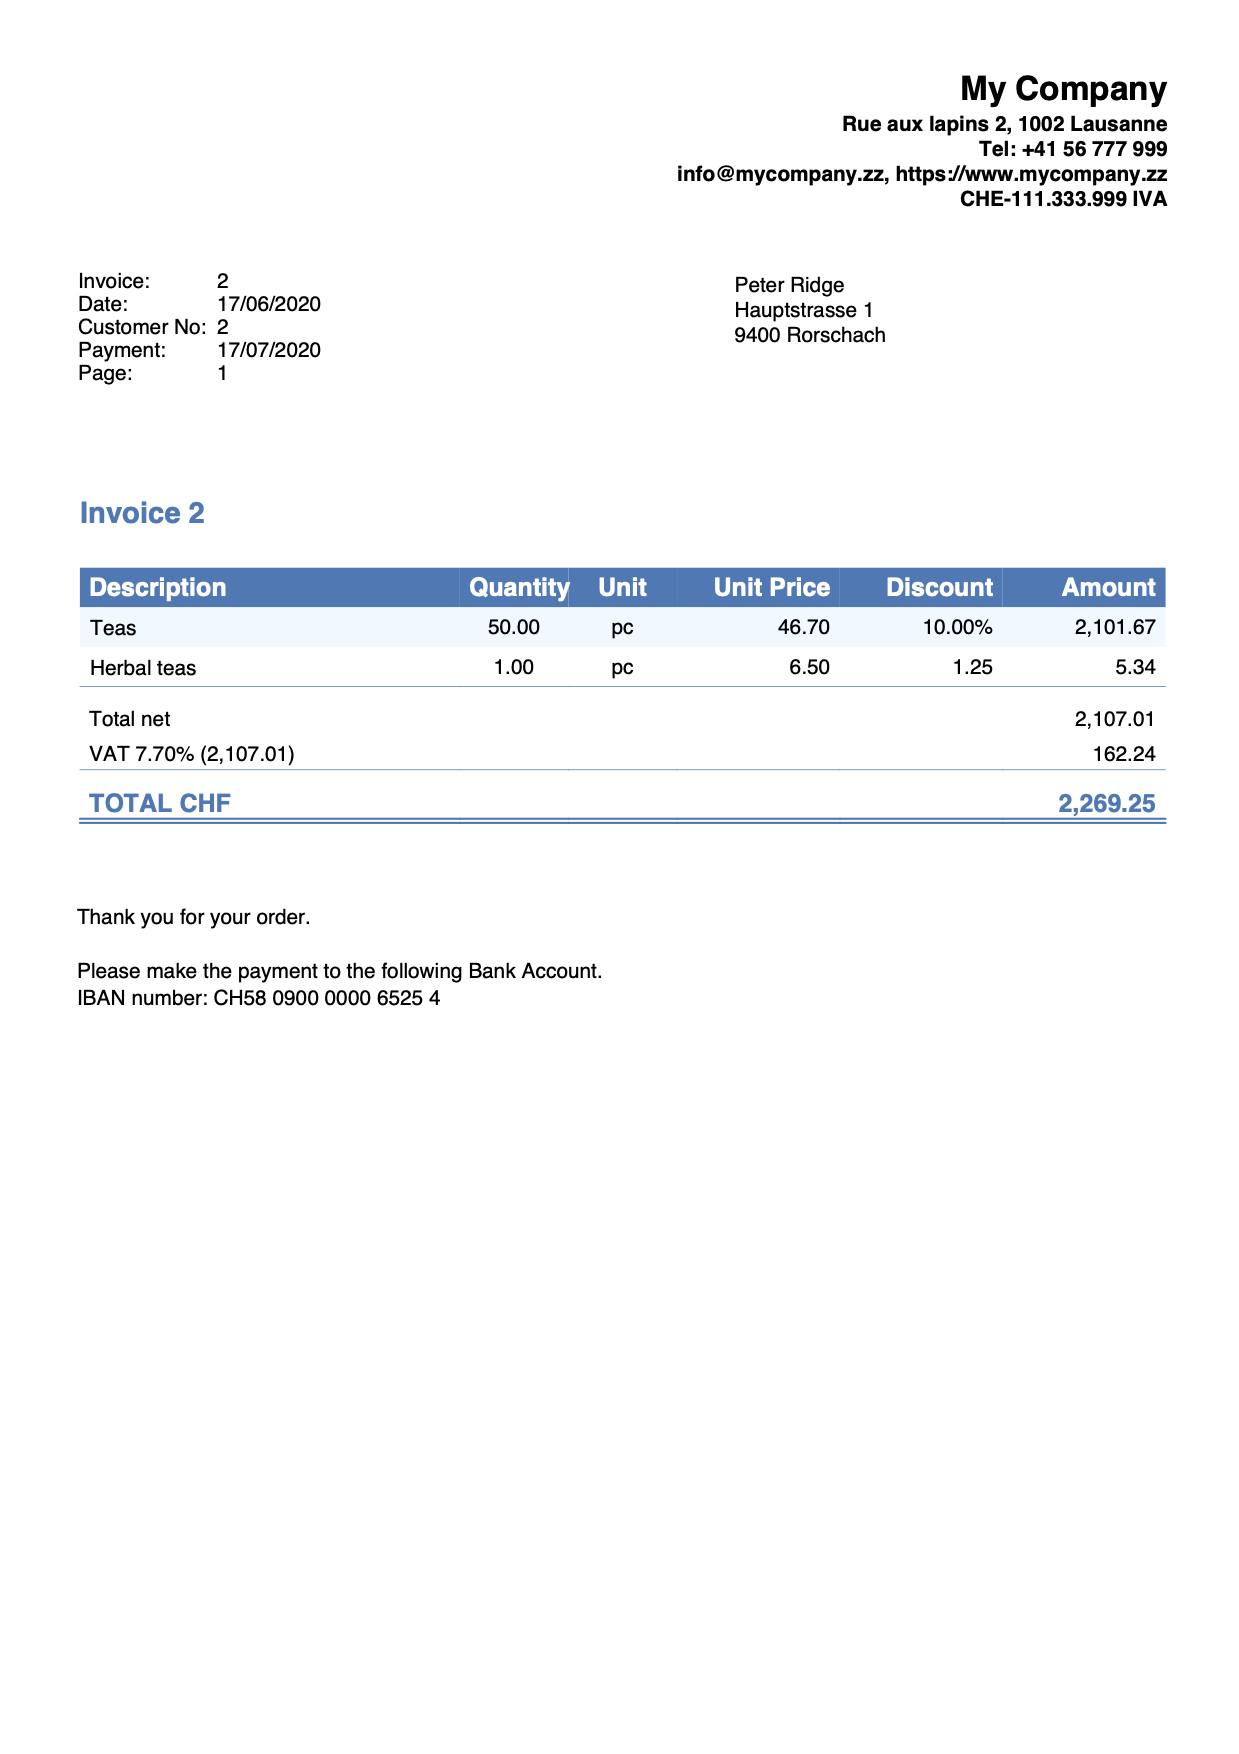
Invoice with product images
This example shows how to add and print product images in the invoice details.
Requirements
- Advanced plan of Banana Accounting Plus.
- Invoice customization with JavaScript.
Steps
- Add products images.
- Save images of each product.
Use the same directory where the .ac2 file is located or a subfolder.
The supported formats are PNG and JPG.
Use small images to reduce the weight of the generated PDF file.
- Save images of each product.
- Edit the Items table.
- Add the Links column.
In the Items table, make the Links column visible with the Columns setup command. - Link images to items.
In the Links column of Items table, add the link of the image for each product.
Click on the icon at the top right of the cell and select the corresponding image.
- Add the Links column.
- Add the Documents table.
- If not present, add the Documents table.
From the menu Tools > Add/Remove functionalities > Add Documents table.
- If not present, add the Documents table.
- Add the JavaScript code as attachment in the Documents table.
- In the ID column, enter the name of the attachment including the .js extension (e.g., "myFile.js").
- In the Attachments column, click on the icon at the top right and select Javascript code.
An editor opens where you can enter javascript code. Delete all. - Copy and paste
- the javascript code of the 'hook_print_details_net_amounts' function (that prints the invoice with net amounts).
- the javascript code of the 'hook_print_details_gross_amounts' function (that prints the invoice with gross amounts).
- Click OK.
- Sets the parameters of the invoice layout.
- In the Invoice Settings:
- In the Invoice Details section, add the columns "I.Links" (column for images) and "Number" (column for item number).
I.Links;Number;Description;Quantity;ReferenceUnit;UnitPrice;Amount
10%;10%;30%;10%;10%;15%;15%
left;left;left;right;center;right;right
left;left;left;right;center;right;right
- In the Texts section, add the texts for the column headings (e.g., “Image;Item;Description;Quantity;Unit;Unit Price;Amount”).
- In the Javascript / CSS > JS File Name section, enter the id of the attachment that contains the javascript code (e.g., "myFile.js").
- In the Invoice Details section, add the columns "I.Links" (column for images) and "Number" (column for item number).
- In the Invoice Settings:
Images of the products will also be included in the invoice printout.
Example:
Letter with Swiss QR
Letter with Swiss QRExtensions are additional programs that extend the functionality of Banana Accounting Plus.
This extension makes it easy to print :
- empty QR slips
- Letters or QR invoices with single recipients or without recipients
Different options (with or without amount, with or without customer data, etc.) can be selected to obtain a wide range of variants.
If you want multiple printing (several recipients), use the QR-Invoice Extension, which requires the Advanced plan of Banana Accounting Plus.
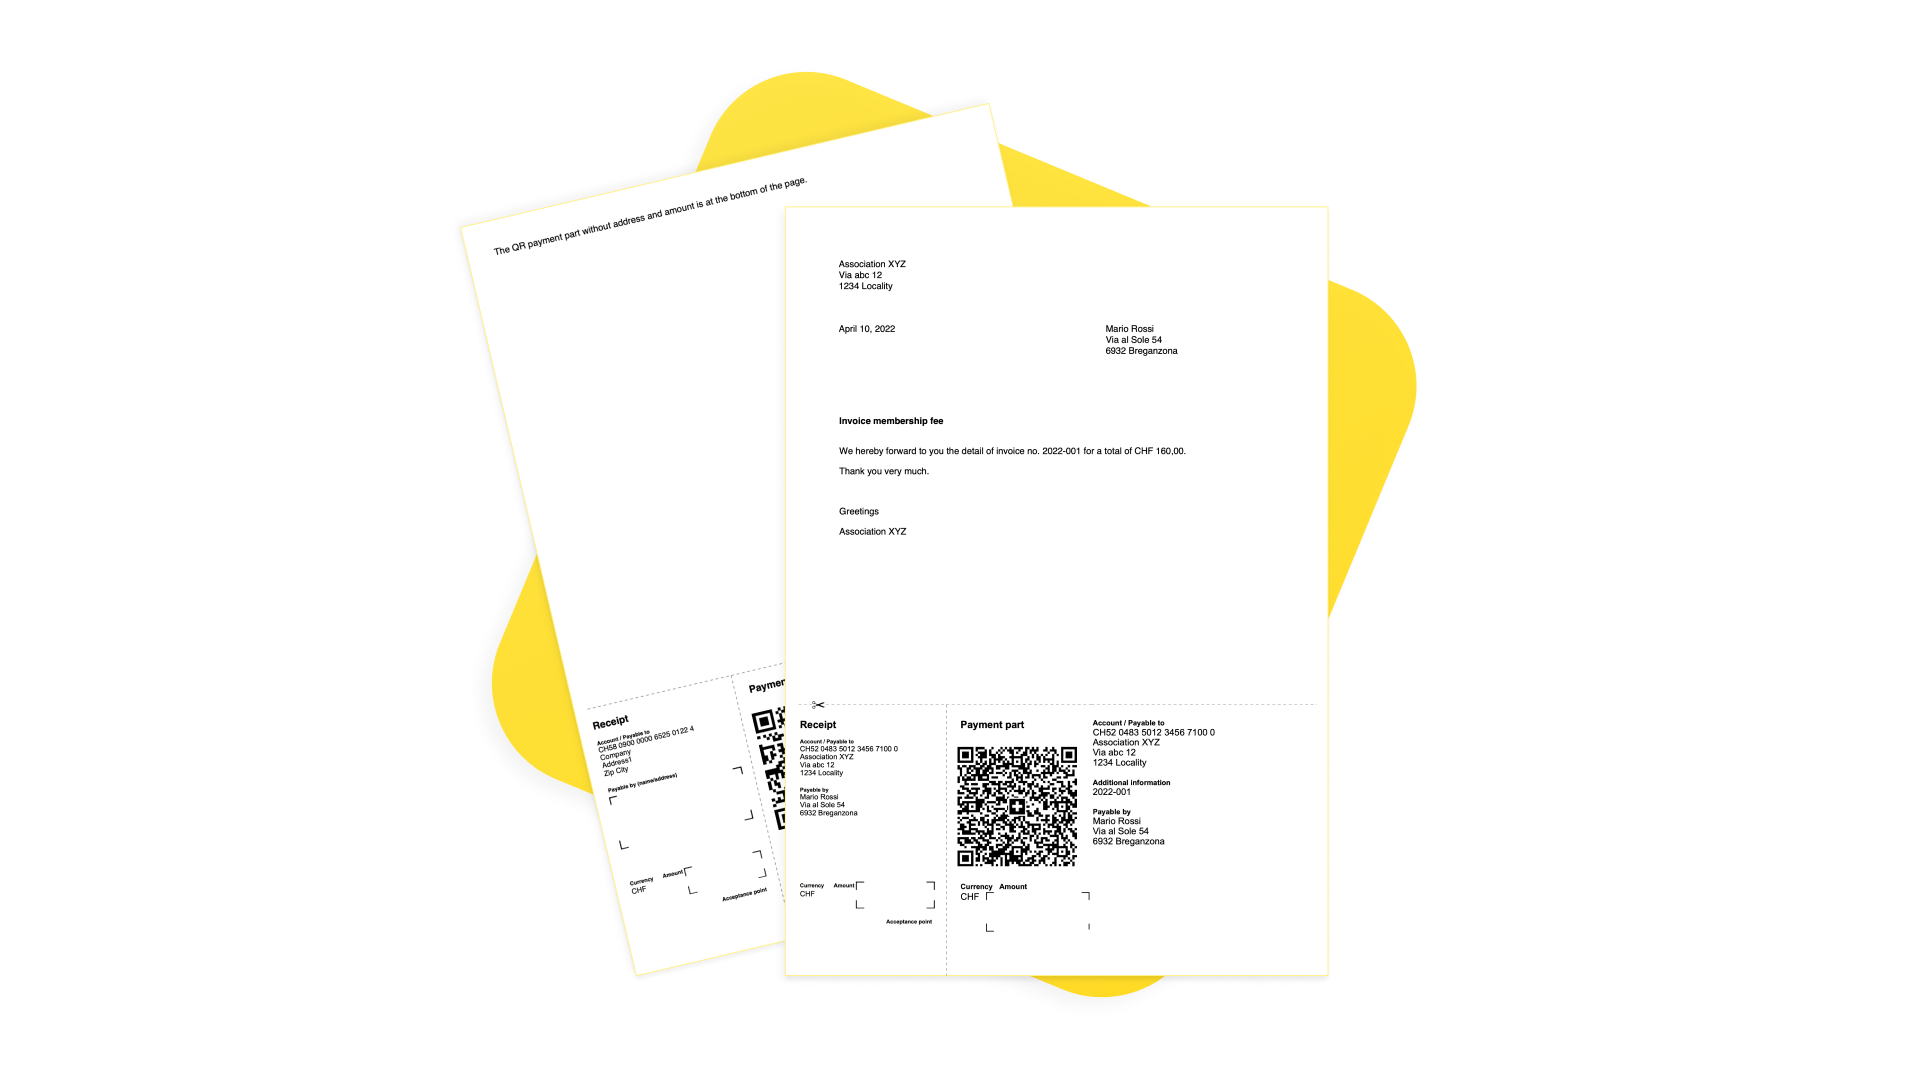
This extension is very handy in case of:
- Donations where the payer freely decides the amount.
- Associations where the payer can choose different amounts.
- Indicating amounts in CHF and EUR.
N.B:
- If you choose to include the customer's data, only a single printout is possible (i.e. you have to manually rewrite the data of each recipient.
- It can only be used with an IBAN account. It is not possible to use a QR-IBAN account.
QR policies are of the non-reference type. The QR cannot therefore be used to record payments automatically. - This is an extension and cannot be used as an invoice layout.
Prerequisites
To use this extension it is necessary to:
- Have the Professional Plan or the Advanced Plan of Banana Accounting Plus.
Create a QR code slip
Create letter-invoices with QR as follows:
- Open an existing Banana Plus file or create a new one. You can use the extension with any type of Banana Plus file.
- From the Extensions menu → Manage Extensions, search for and install the extension Letter with Swiss QR slip.
- Start the extension from the Extensions menu > Letter with Swiss QR slip.
- Set up your data via the Settings dialogue (see below)
Settings dialogue
Run the extension from the Extensions menu > Letter with Swiss QR slip.
The extensions' Settings dialogue will open. From here you can define the information required to create the letter printout with the QRslip or the empty QR (depending on the settings entered).
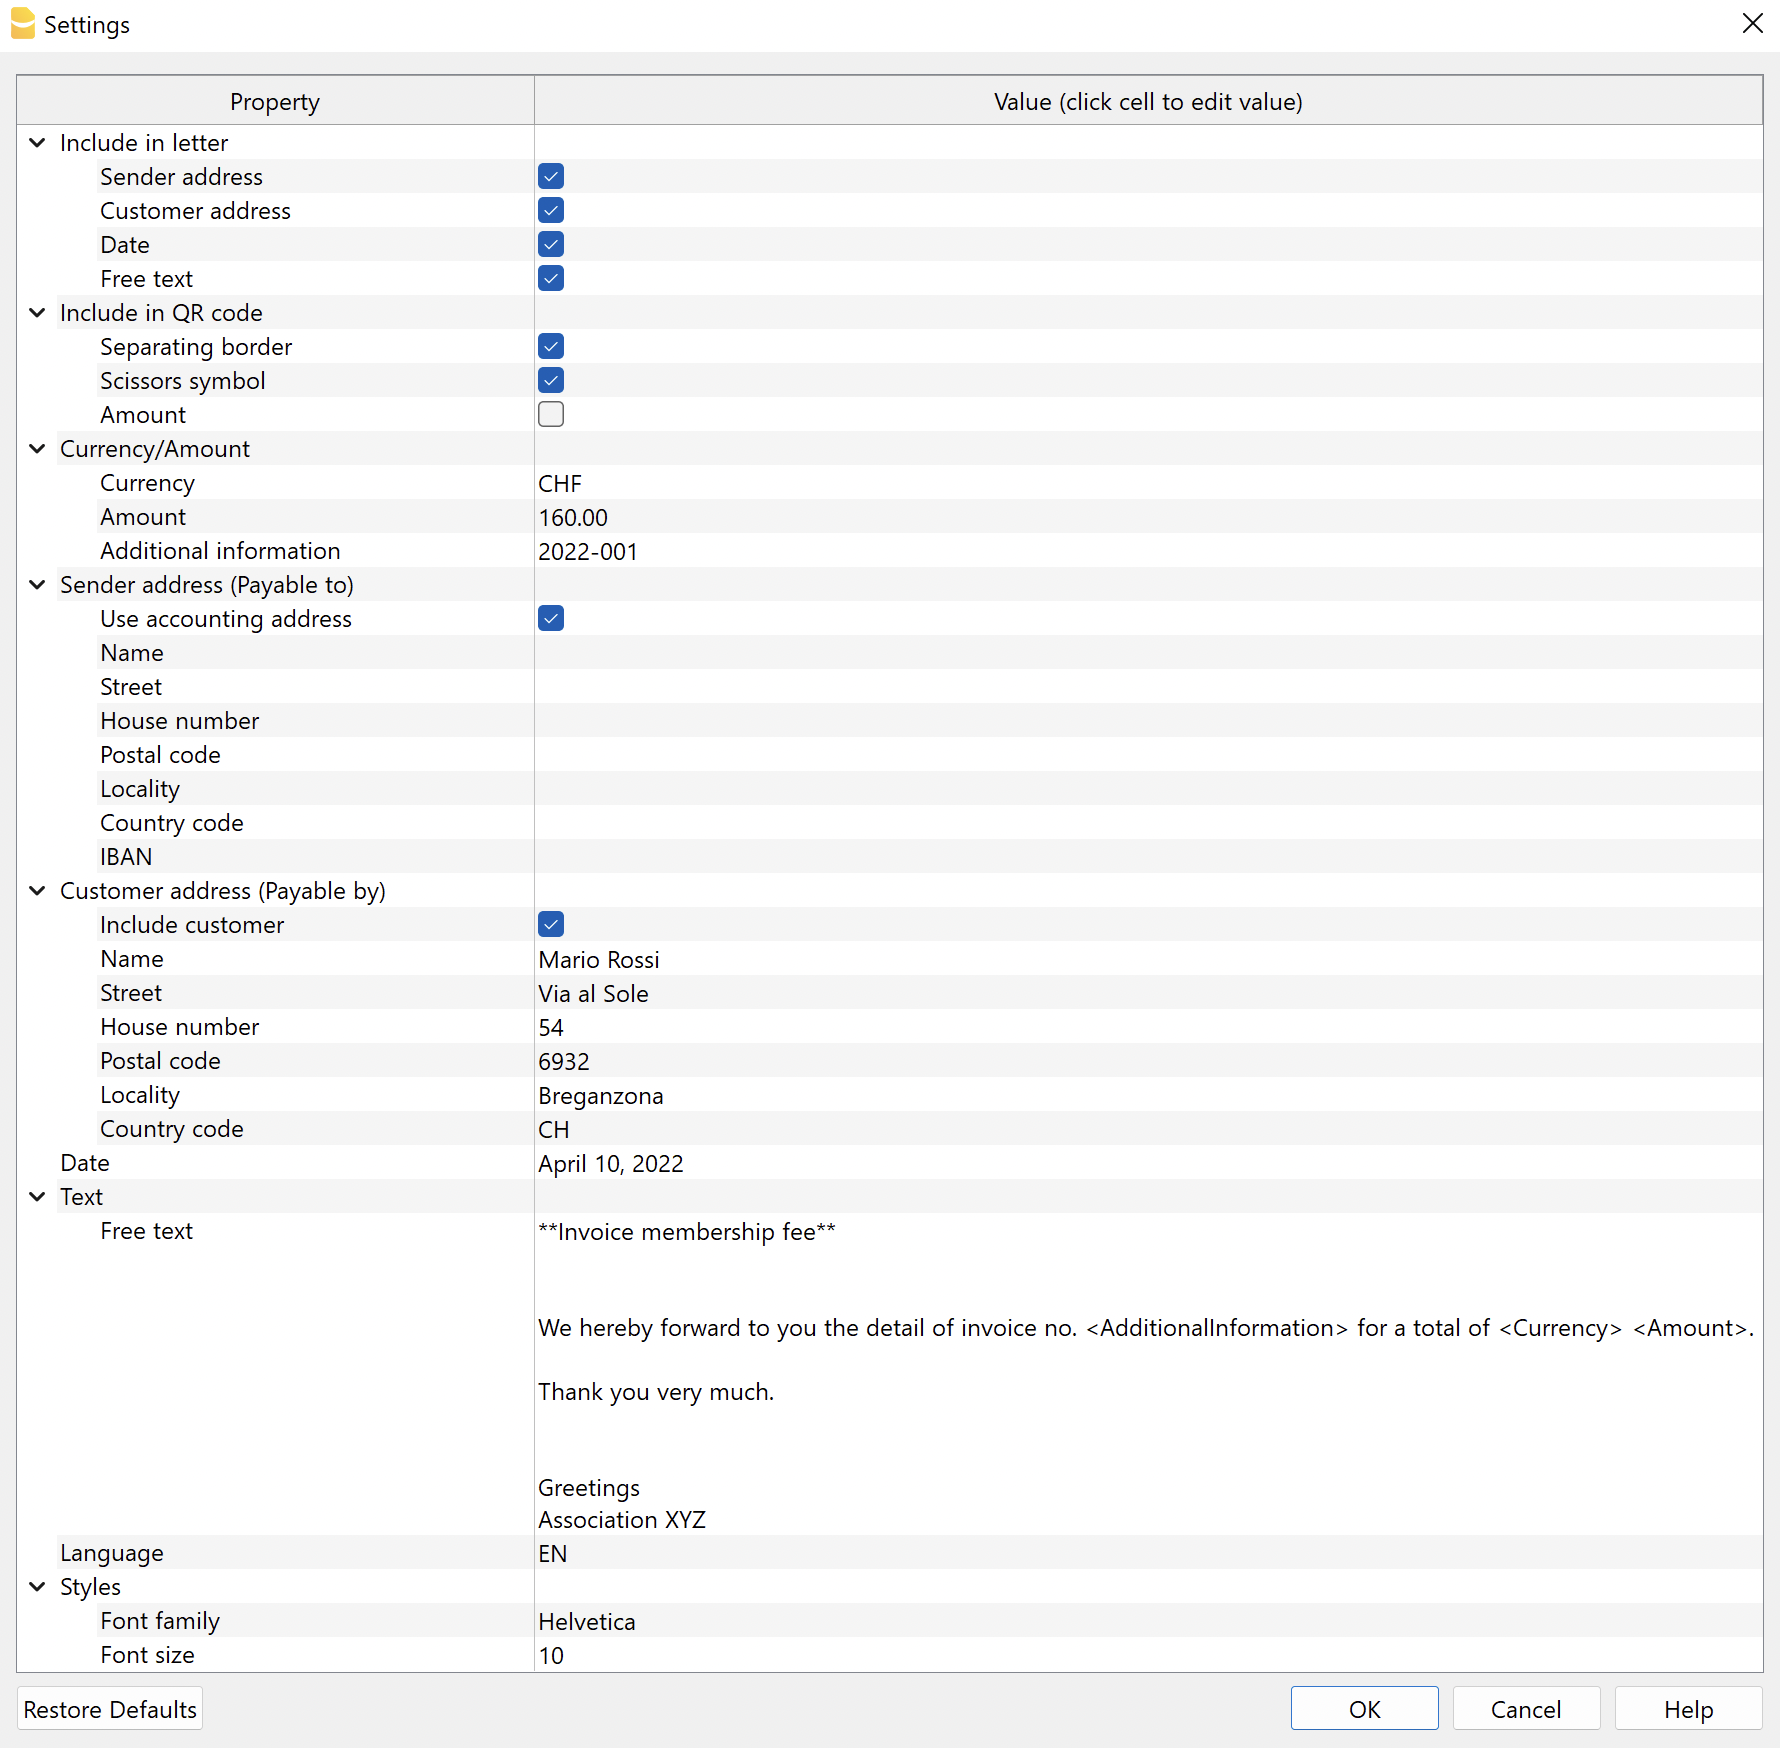
The fields are the default ones for the correct printing of the QR according to the specific standard. Additional information cannot be entered.
The settings are divided into the following groups:
- Include in the letter
- Select the elements to be included in the letter printout.
- Include in the QR code
- Select the items to be included in the QR slip.
- Currency / Amount
- Define the currency, amount and any additional information to be included in the QR.
- Sender's address (Payable to)
- Define the sender's address.
- Customer's address (Payable by)
- Define the customer's address.
- It can be included or excluded from the QR slip.
- Date
- Add a date to the letter.
- Letter text
- Add a text to the letter.
- Language
- Select the language of the QR slip print.
- Style
- Define font type and size for letter texts.
Include in the letter
Here you can decide what to print in the letter. If none of the options are selected, you obtain a blank page with a QR slip at the bottom of the page.
- Logo
- Check to include the logo in the header.
- The logo is defined with the command File > Logo setup where you can also set the size, choose how to align it (left, centre, right), and also choose how to align the address with respect to the logo.
- Logo name
- Enter the name of the logo customisation defined in the menu File > Logo setup, respecting upper and lower case.
- Sender's address
- Choose whether to include the sender's address in the letter.
- Customer's address
- Choose whether to include the customer's address in the letter.
- Date
- Choose whether to include the date in the letter.
- Free text
- Choose whether to include free text in the letter.
Include in QR code
Here you can decide what to print on the QR Bulletin.
- Separation edge
- Choose whether to include the dashed separation border in the QR slip.
- Scissors symbol
- Choose whether to include the scissors symbol in the QR slip.
- Amount
- Choose whether to include the amount in the QR slip.
If not included, an empty box will be left for manual input.
- Choose whether to include the amount in the QR slip.
Currency / Amount
In the Currency/Amount section there are the following settings:
- Currency
- Select the currency CHF or EUR.
- Amount
- Enter amount (ex. 1234.56).
- Additional information
- You can enter additional invoice information to be included in the QR slip.
Sender's address (Payable to)
Choose how to set the sender's address, which will appear in the 'Payable to' section of the QR slip and in the letter.
- Use accounting address
- View this option to use the address entered in File > File properties (Basic data) > Address section of your file. You must have entered at least the data in the fields Company, Address1, Postcode, Location, Country Code, IBAN.
- Alternatively, do not display this option and enter the address manually via the options below.
- Name
- Enter your first and last name or the name of your organisation.
- Street
- Enter the street
- House number
- Enter house number
- P.O.box
- Enter postcode.
- Locality
- Enter town
- Nation code
- Enter nation code (ex. CH, LI).
- IBAN
- Enter IBAN account.
An IBAN account must be used. It is not possible to use a QR-IBAN account.
- Enter IBAN account.
Customer address (Payable by)
Choose whether or not to include the customer's address, which will appear in the 'Payable by' section of the QR slip (max. 3 rows allowed - see also Addresses).
In the Customer Address section there are the following settings:
- Include customer
- View this option to include the customer's address in the QR slip.
If not included, an empty box will be left for manual input.
- View this option to include the customer's address in the QR slip.
- Name
- Enter your first and last name or the name of your organisation.
- Street
- Enter the street.
- House number
- Enter the house number.
- P.O.Box
- Enter the postcode.
- Locality
- Enter the town.
- Country code
- Enter the country code (ex. CH, LI).
Date
In the Date section, enter the date of the letter.
Letter text
In the Letter Text section you can add the text of your letter. If it is a long text, the QR Bulletin will automatically jump to the next page.
- Free text
- Enter the text of the letter.
- Can be inserted on several lines.
- You can apply the bold style by including the desired text between double asterisks ** (e.g. **text1 text2** text3 = text1 text2 text3).
- You can enter specific codes, which will be replaced with their actual values when printed:
- <AdditionalInformation> is converted to the value entered in the AdditionalInformation field of the settings.
(e.g. "Invoice No. <AdditionalInformation>" = "Invoice No. 2022-001"). - <Currency> is converted to the currency of the invoice, defined in the Currency field of the settings.
- <Amount> is converted to the total amount of the invoice, defined in the Amount field of the settings.
- <AdditionalInformation> is converted to the value entered in the AdditionalInformation field of the settings.
- Example:
We hereby forward to you the invoice detail of Invoice No. <AdditionalInformation> for a total of <Currency> <Amount> = We hereby forward to you the invoice detail of Invoice No. 2022-001 for a total of CHF 4'000.00.
Language
In the Language section select the language in which the QR Bulletin is to be printed.
The available languages are Italian, French, German and English.
Style
- Font style
- Enter the font (Helvetica, Arial, Times New Roman, etc.).
- Font size
- Enter the font size.
Troubleshooting
For further details, please visit the Error Messages page of the documentation.
Serial Invoice QR Code from Excel Data List
Serial Invoice QR Code from Excel Data ListWith this extension, you can quickly print a series of invoices with Swiss QR Code based on a data list in Excel. Ideal for sending batch invoices to clients or members of an association.
The Extensions are additional programs that extend the functionalities of Banana Accounting Plus.
This extension allows you to create Swiss QR invoices for multiple recipients with the possibility of inserting a customised letter text. Data can be taken from Excel.
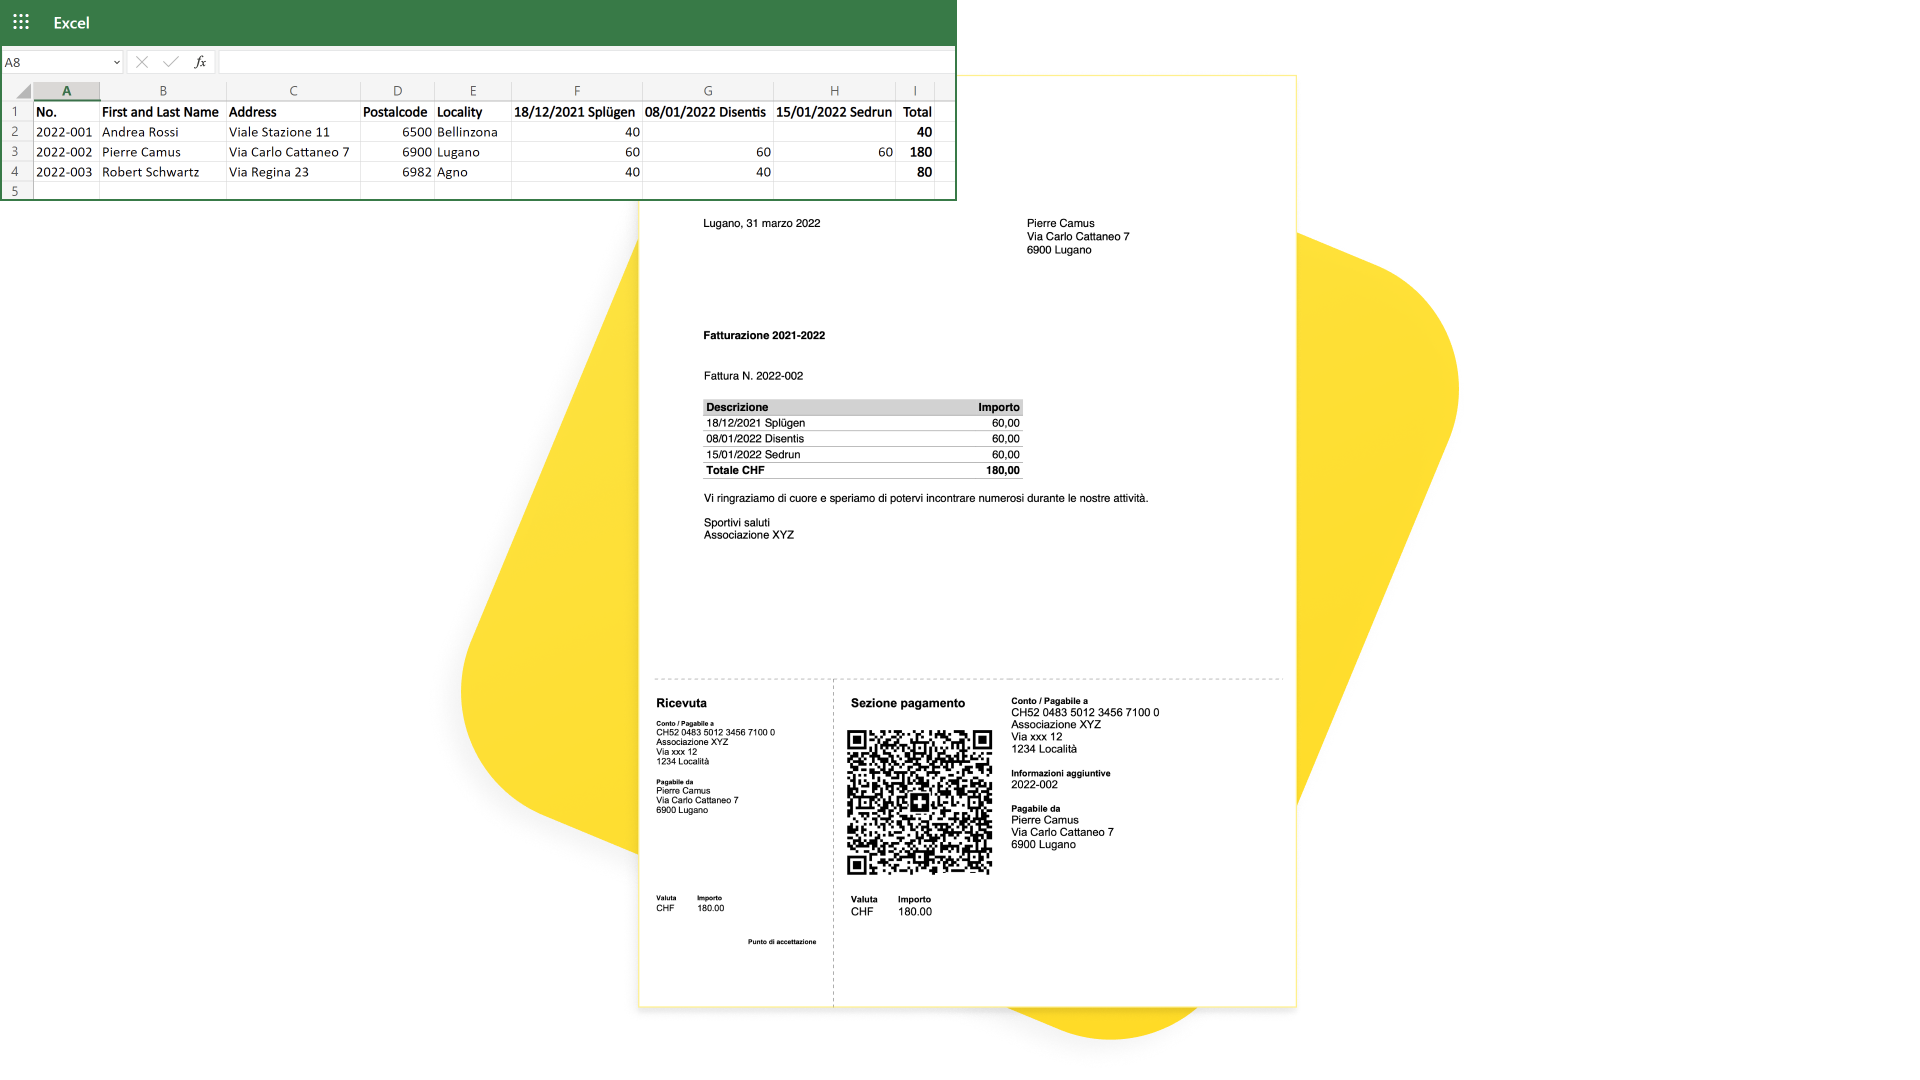
Prerequisites
To use this extension, you need to:
- Download and install Banana Accounting+ (version 10.1.7 or later).
- Have the Advanced Plan of Banana Accounting Plus.
- Use the ready to fill-in template for entering invoice data.
Description
The extension is suitable for:
- Associations or people who already have all invoice data in Excel and need to create QR invoices:
- Take the data from Excel.
- Insert them into Banana Plus with copy-paste.
- Print the QR invoices.
- Associations or people starting from scratch and need to keep user data and create QR invoices:
- Manually enter the data into Banana Plus.
- Print the QR invoices.
Notes:
- It can only be used with an IBAN account. It is not possible to use a QR-IBAN account.
QR bulletins are of the non-reference type. The QR cannot therefore be used to record payments automatically. - This is an extension and cannot be used as an invoice layout.
- The extension does not work with any other file type (e.g. accounting file).
Creating QR-Invoice letters
QR-invoice letters can be created in this way:
- Download and open the template.
- In Banana Plus enter the address of your organisation from the menu File > File and accounting properties (Basic data) > Address tab.
- If you already have all the invoice data in an Excel file, transfer it to Banana Plus:
- In Excel adapt and sort the columns to look like those in Banana Plus.
- In Excel select or filter the rows you need.
- Copy the rows from Excel and paste them into Banana Plus.
- If you don't have an Excel file to take the data from:
- Start working directly in Banana Plus.
- Enter the invoice data manually in the appropriate columns of the QRCode table.
- Print invoices:
- Run the extension from the menu Extensions > QR-Invoices from Excel.
- Decide what to include in the letter part and in the QR.
- Indicate which invoices you want to print.
- Enter the text of the letter with the invoice details.
Your Excel data
The extension is designed for associations, organisations or people who have data in Excel and want to print invoices with the QR.
With a few small adjustments to the Excel file you can use your data, transfer it to Banana Plus with a copy-paste, and immediately create QR invoices.
- In Excel you must have the same columns as in Banana Plus (see QRCode Table).
- It is very useful to have the columns also in the same sequence. It is easier to copy data: you can copy rows directly or a series of consecutive columns.
- If, however, the columns are not in the same sequence, you will have to copy/paste column by column.
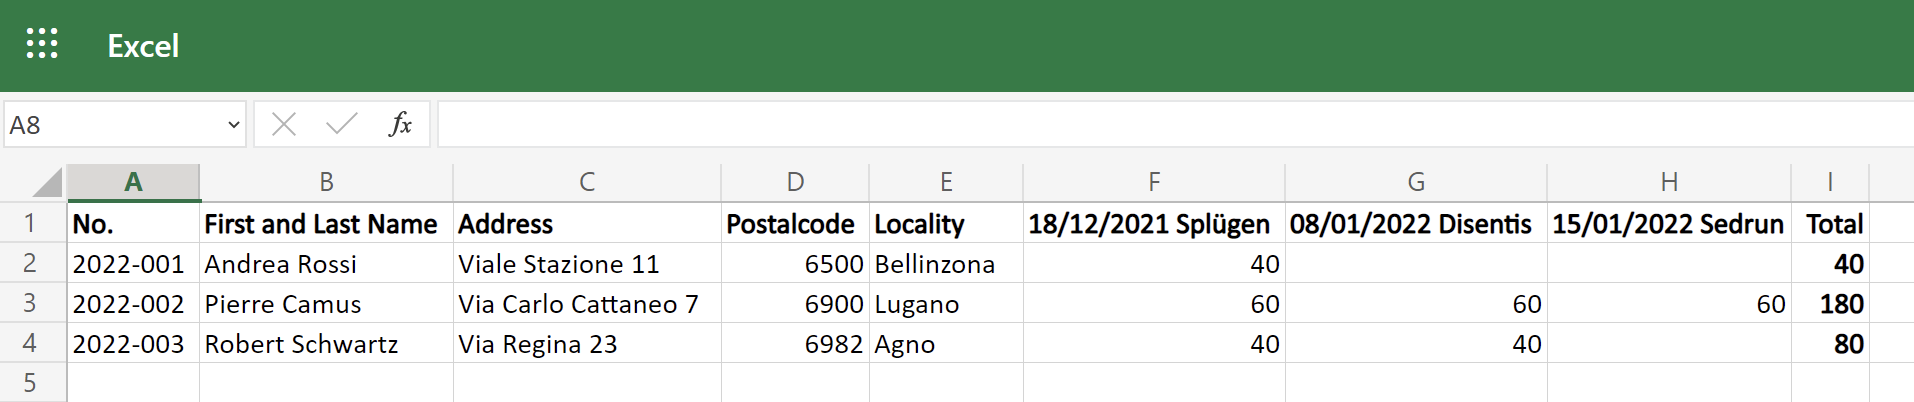
QRCode Table
This extension uses the ready to fill-in template where invoice data can be entered.
- The template consists of a ready to fill-in QRCode table with the necessary columns.
- The columns are predefined for the correct printing of the QR according to the specific standard. Additional information/columns cannot be used.
- Each row of the table represents an invoice, in which you have to indicate the invoice number, the address of the recipient and the amounts of the activities to be invoiced.
- Each activity has its own column with its amount.
- You can add as many activities as you like (see Activity Amount Columns).
- The invoice total is the sum of the various activities.
- On the invoice you will see a table with details of activities and amounts.
- You can decide whether to enter the invoice total on the QR slip or to leave it blank so that the person paying the invoice can decide the amount (e.g. for payment in instalments or for higher voluntary payment).
To insert invoice data into the QRCode table in Banana Plus, you can copy them directly from the Excel table:
- In Excel select or filter the rows you need and then copy them.
- Go to Banana Plus and paste them.
- Check that the data has been copied into the correct columns.
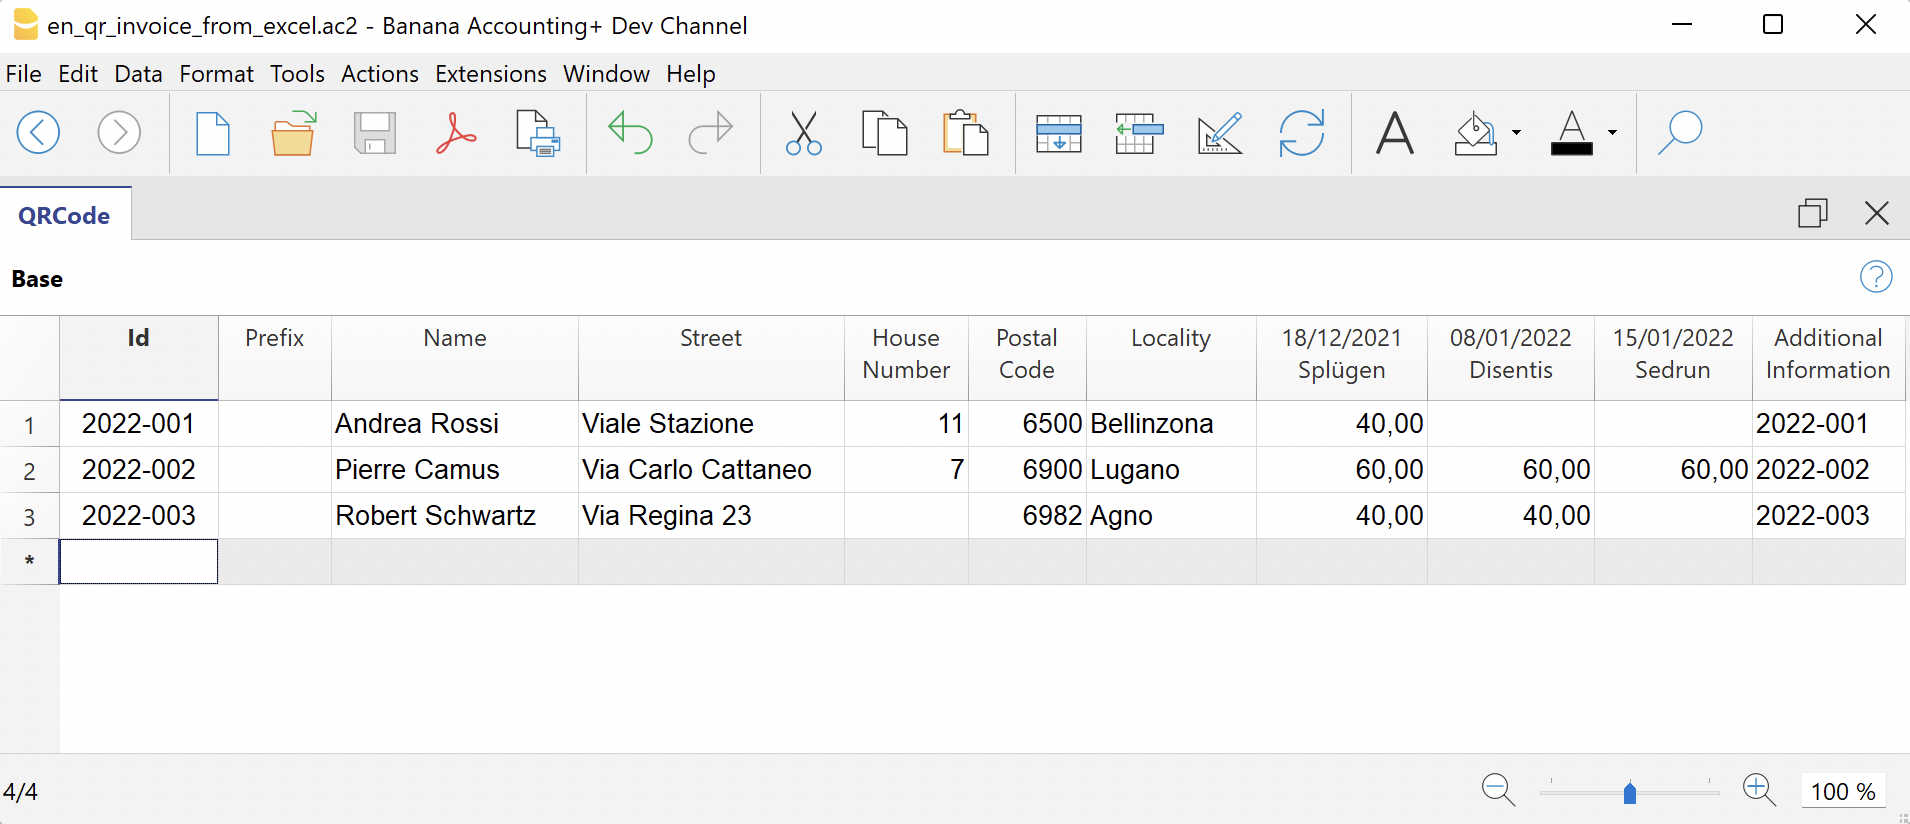
The Columns
The columns of the QRCode table are as follows:
- Id (Invoice)
- Enter the invoice number.
- Prefix
- Optional.
- Enter the prefix of the recipient.
- It is only printed in the invoice address (letter section). It is not printed in the QR slip.
- Name
- Enter the first and last name of the recipient.
- Address
- Enter the recipient's street address.
- You can enter the full address (street and house number).
- House Number
- Optional.
- Enter the house number of the recipient.
- You can enter the house number in a separate column.
- Postal Code
- Enter the postal code.
- Location
- Enter the location.
- Country Code
- Optional.
- Enter the country code.
- If you do not enter anything, the default country code used is always CH (Switzerland).
- Activity, Activity1, Activity2, ...
- Enter the amounts of the activities to be invoiced.
- See Activity Amount Columns.
- Additional Information
- Optional.
- You can enter additional information that will be included in the QR slip, in the 'Additional Information' section.
- Variable Text
- Optional.
- You can enter a specific text for each invoice and insert it automatically in the letter text (see Letter Text).
- Currency
- Optional.
- You can specify the currency to be used (CHF or EUR).
- If you do not enter anything, the default currency used is always CHF.
- Display the column with the command Columns setup.
Activity Amount Columns
In the activity columns you enter the amounts to be invoiced.
Each activity has its own column with the corresponding amount. Nella tabella ci sono già tre colonne preimpostate. There are already three preset columns in the table. You can add as many columns for activities as you like or delete those you do not need.
To add and customise columns for activities:
- Add a new column.
- Execute the command from the menu Data > Columns setup.
- Click on Add to add a new column.
IMPORTANT: The XML name of each column must begin with the word "Amount" (capital letter) followed by a number (e.g. Amount1, Amount2, Amount3, etc.).
In the Name and Xml Name fields enter e.g. Amount3, and in the Data Type field select Amount.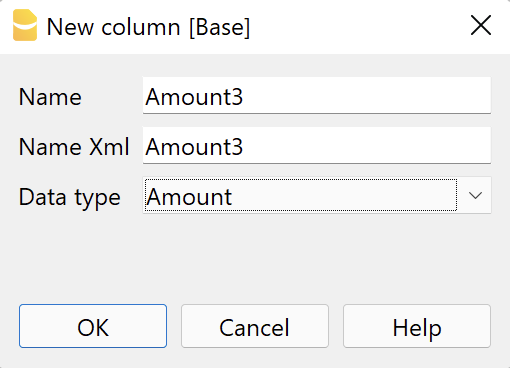
- Change task names (column headers).
- Execute the command from the menu Data > Columns setup .
- In the field Header enter the text of the task (e.g. 'Activity 3', '18/12/2021 Splügen').
The texts are used on the printout in the invoice details table.
N.B: Invoices without amounts (rows where the activity columns are all empty) are automatically excluded from printing.
Settings dialogue
Run the extension from the menu Extensions > QR-Invoices from Excel.
The Settings dialogue of the extension will open. From here you can define the information required to create the invoice printout.
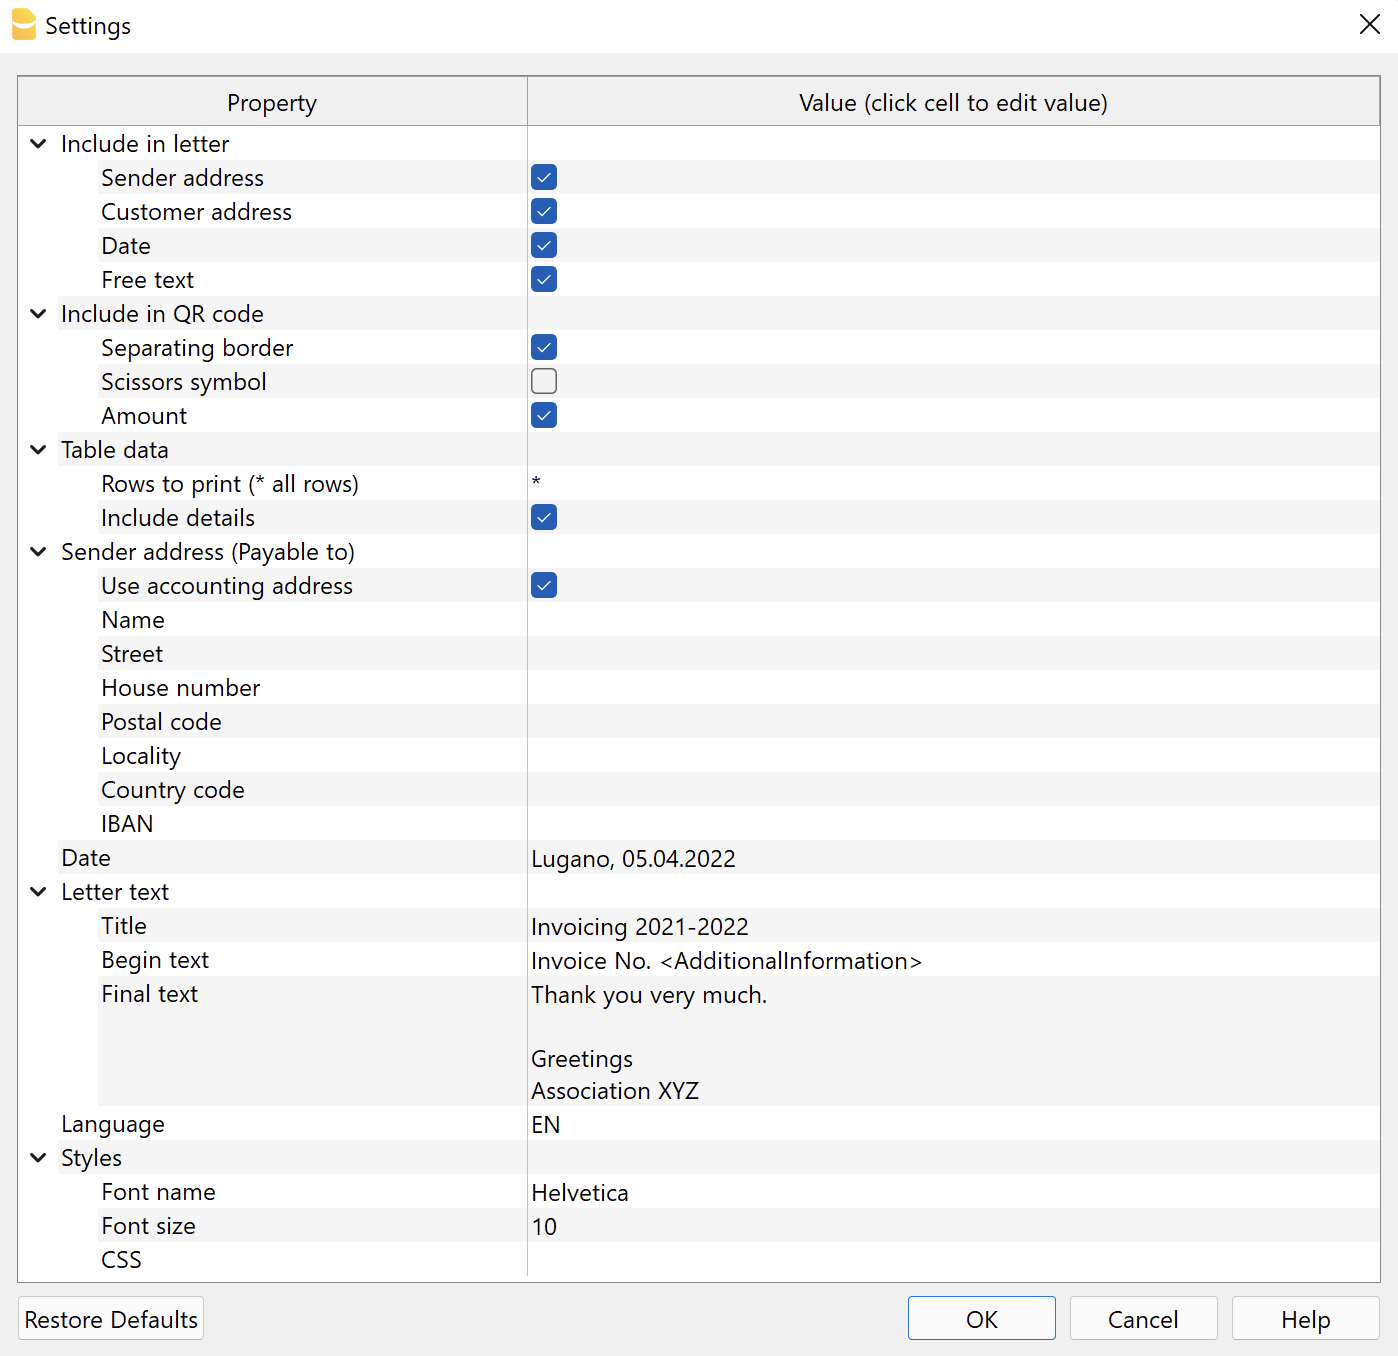
The fields are the default ones for the correct printing of the QR according to the specific standard. Further information cannot be entered.
The settings are divided into the following groups:
- Include in the letter
- Select the information to be included in the printing of the letter.
- Include in QR code
- Select the information to be included in the QR slip.
- Table data
- Select the table rows to be used for printouts and the data to be included.
- Sender Address (Payable to)
- Define the sender's address.
- Date
- Enter the date of the letter.
- Letter Text
- Enter the text of the letter..
- Language
- Select the language in which the QR is to be printed.
- Styles
- Define font type and size for the letter text.
Add to the letter
Here you can decide what to print in the letter. If none of the options are selected, you will get a blank page with the QR Slip at the bottom of the page.
- Logo
- Check to include the logo in the header.
- The logo is defined with the command File > Logo setup where you can also set the size, choose how to align it (left, centre, right), and also choose how to align the address with respect to the logo.
- Logo name
- Enter the name of the logo customisation defined in the menu File > Logo setup, respecting upper and lower case.
- Sender address
- Choose whether to include the sender's address in the letter.
- Customer address
- Choose whether to include the customer's address in the letter.
- Date
- Choose whether to include the date in the letter.
- Free Text
- Choose whether to add a free text to the letter.
Add to QR code
Here you can decide what to print on the QR code.
- Outline border
- Choose whether to include the dotted outline border in the QR slip.
- Scissors Symbol
- Choose whether to include the scissor symbol in the QR Bulletin.
- Amount
- Choose whether to include the amount of each invoice.
- If excluded, an empty box will be left for manual entry of the amount.
Table Data
Decide which rows of the QRCode table you want to create the invoice for.
One invoice is created for each row indicated.
A single report is created containing all selected invoices in sequence.
- Rows to print
- To print all rows enter the asterisk *
- To print specific lines
- Enter the number of rows separated by a comma (e.g. "1,2,3").
- Enter a range of lines (from... to...), indicating the first line and the last line separated by the hyphen "-" (e.g. "1-5").
- Add details
- Choose whether to add a table with invoice details.
- All activity columns are listed with their respective amounts and the final total.
- If an activity column has no amount, it is automatically excluded from the details.
Sender Address (Payable to)
Choose how to set the sender address that will appear in the 'Payable to' section of the QR slip and in the letter.
- Use Accounts Payable Address
- View this option to use the address entered in the menu File > File properties (Basic data) > Address tab of your file. You must have entered at least the data in the fields Company, Address1, Postcode, Location, Country Code, IBAN.
- Alternatively, do not display this option and enter the address manually via the options below.
- Name
- Enter your first and last name.
- Street
- Enter the street.
- House Number
- Enter the house number
- Postal code
- Enter the postal code.
- Location
- Enter the location.
- Country code
- Enter the country code.
- IBAN
- Enter bank account IBAN
Date
In the Date section, enter the date of the letter. The date can also be accompanied by the place (e.g. Lugano, 05.04.2022) and can be entered in any format (e.g. Lugano, 5 April '22).
It is not possible to change the position of where the Date appears in the invoice.
Letter Text
In the Letter Text section you can add the text of your letter. In the Letter Text section you can add the text of your letter. In case it is a long text the QR-slip will automatically jump to the next page.
- Title
- Enter the title/object of your letter.
- It can be entered on several lines.
- The text is automatically set in bold.
- Start text
- Enter text for the first part of the letter.
- Can be inserted on several lines.
- The text is automatically inserted immediately after the title.
- End text
- Insert a text for the final part of the letter.
- Can be inserted over several lines.
- The text is automatically inserted at the end of the letter.
Note:
- Invoice details (table with invoiced items), when included, are automatically inserted between the initial text and the final text.
- In all three fields you can enter codes, which will be replaced with their actual values when printed:
- <AdditionalInformation> is converted to the value contained in the Additional Information column (e.g. "Invoice No. <AdditionalInformation>" = "Invoice No. 2022-001").
- <Currency> is converted to the currency of the invoice.
- <Amount> is converted to the total amount of the invoice.
- <VariableText> is converted to the value contained in the VariableText column.
- <Notes> is converted to the value contained in the Notes column.
- Example:
We hereby forward to you the details of invoice no. <AdditionalInformation> for the total of <Currency><Amount> = We hereby forward to you the details of invoice no. 2022-001 for the total of CHF 4,000.
Language
In the Language section, select the language in which the QR Bulletin and the header of the details table are to be printed.
Available languages are Italian, French, German and English.
Styles
- Font type
- Enter the font type (Helvetica, Arial, Times New Roman, etc.).
- Font Size
- Enter the font size.
- CSS
- Optional.
- You can change the appearance of the print (text formatting, address positioning, etc.) by entering CSS code to customise the style.
CSS customization
Cascading Style Sheet (CSS) is a specification language that allows to customize the appearance of web pages, and a subset of the whole CSS specification is also used in Banana to prepare reports.
The "QR Invoice from Excel" extension is formatted through a CSS stylesheet. You can customize the printing of the report by editing the CSS.
The properties you define in the custom CSS will extend or overwrite the styles of the default stylesheet.
To add a custom CSS code:
- Run the extensions from menu Extensions
- In the extensions Settings, enter the code in Styles > CSS.
Example 1: Change position of the address
In order to move the address (up, down, left, right) we can change the predefined margins values of the "customer-address" element.
- Move up/down.
- To move the address up, change the top property value with a smaller value.
- To move the address down, change the top property value with a bigger value.
- Move left/right.
- To move the address left, change the left property value with a smaller value.
- To move the address right, change the left property value with a bigger value.
Into the extension settings under Styles > CSS, copy and paste the following code and adjust the margin-top and margin-left values.
.customer-address {
   margin-top: 4.5cm;
   margin-left:12.3cm;
}
Problem solving
For more information, please visit the Error Messages page of the documentation.
Related topics
The data in the QRCode table can also be used to print labels.
Payment orders PAIN.001 for Switzerland [BETA]
Payment orders PAIN.001 for Switzerland [BETA]This extension allows you to generate payment files ready to be electronically submitted to your bank or financial institution (Post) for payment execution.
The generated XML messages comply with the standards required for payments in Switzerland:
- International Standard: ISO 20022 (message format pain.001.001.09).
- Compliance with Swiss recommendations pain.001.001.09.ch.03 and pain.001.001.03.ch.02 (the current Swiss Payment Standards).
Once the payment orders have been processed and recorded by your financial institution, you can import bank statements (CAMT format) directly into Banana Accounting Plus for automatic reconciliation of transactions.
New version (Release Beta channel)
Starting from November 21, 2026, addresses in pain.001 payment files must be submitted exclusively in structured or hybrid form. Submission in these formats is already possible from November 21, 2025.
In preparation for these changes, a new version of the extension has been released, currently available only in the Release Beta channel, which integrates the SPS 2025 standard and enables submission of payment orders with hybrid addresses.
For a period of time the extension will stay available in the Release Beta channel, so users can test it and report any problems or suggestions for improvement, also for the documentation.
It is recommended to use a copy of your accounting file or an empty file to make some payment transmission tests.
To test the new transmission format with structured/hybrid addresses in the Release Beta channel:
- Download and install the latest version of Banana Accounting+ Dev Channel
- Open the Extensions menu > Manage Extensions...
- Select the Payment Orders pain.001 extension
- In the right side of the dialog, select Preferred Channel as Beta Release (instead of Stable Release)
You can switch from the Beta channel to the Stable version at any time - When creating the payment order, use the command Report > Suppliers > Create payment file. In the dialog select the Swiss Payment Standard 2025 [BETA] format
Useful links
Prerequisites
- Currently the payment functionality is available in the Dev-Channel version, so please install the latest version of Banana Accounting+ Dev Channel
- This extension works only with the Advanced Plan, you can request a 1 month promo code from our support service
- The extension is currently in Beta Test, please check everything and report any problem
Supported payment types
The extension supports the following standards
- SPS 2025 ISO-Version 2019 (pain.001.001.09.ch.03)
with structured/hybrid addresses - SPS 2022 ISO-Version 2019 (pain.001.001.09.ch.03)
with unstructured addresses and valid until 20.11.2026 - SPS 2021 ISO-Version 2009 (pain.001.001.03.ch.02)
valid until 20.11.2026
With the following payment types:
- D (payments within Switzerland in CHF and EUR)
- S (SEPA payments in EUR)
Installation
Before using this extension you need to proceed as follows:
- Download and install the latest version of Banana Accounting+ Dev Channel
- Open your accounting file or create a new accounting file
(a double entry accounting or an income & expense accounting) - In the Accounts table check that the Address view is present.
If the view is not available you can add it using the menu command Tools > Add/Remove functionalities... > Add Address columns in Accounts table.
If your Address columns are different (e.g. missing IBAN, see the documentation Address view. - Select the command Tools > Add/Remove functionalities... > Add payment functionalities, click on the OK button.
This feature is only available in Banana+ Dev Channel with Advanced Plan
If you are using an accounting with base currency CHF, this command will automatically install the payment extension otherwise you will need to install the payment extension in addition:- Menu Extensions > Manage Extensions...
- Click on the category Online on the left bar
- Search for pain.001 or select the extension by filtering country Switzerland and category Online > Productivity
- Click on the Install button to the right
Setting up the payment extension
- Open your accounting file
- From Extensions > Manage Extensions...
- Select the installed extension Payment orders PAIN.001 for Switzerland
- Click on the arrow > to the left of the extension's name, you will see the content of the extension
- Select Credit Transfer File for Switzerland
- Click on the Settings button to the right


- Message sender name
Name of the pain.001 message sender, maximum 70 characters. By default the name set in the accounting file is used (command File > File and accounting properties..., Address). You can use this field if the name differs from the address of the accounting file. - Field for additional infos (XML name)
Field name in the transaction table which contains the additional infos. Unstructured information can be used to indicate the payment purpose or for additional textual information about payments with a structured reference. - Groups of creditors (separate groups with a semicolon)
Specify the group defined in the Accounts table, which contains the list of supplier accounts. The accounts within this group will be displayed under Account ID in the Payment Data dialog when entering details, enabling the automatic completion of payment information.
To include multiple groups, separate them with a semicolon. For example, if you have two creditor groups, enter: CRED_CHF;CRED_EUR.
Setting up bank details
1. Setting up your bank account
These settings are not mandatory but can speed up the creation of your payment files, because this information is proposed during creation.
- In the Accounts table, select the Address view (see Installation)
- Select your bank or post accounts that will be used to pay the invoices.
- Fill in the following fields:
- Name, surname or company name (these fields correspond to the account holder sending the payment order)
- IBAN (IBAN number of the bank or post account to be charged)
- Bank clearing (BIC number of the bank to be charged)

2. Setting up your suppliers
These settings are not mandatory but can speed up the creation of your payment files. If you enter the address and bank details of your suppliers, this information will be proposed when entering payment data.
- In the Accounts table select the Address view (see Installation)
- For each supplier enter its address and bank details, like supplier name, IBAN account and BIC number

Adding payment data
The payment data are those data necessary to make a payment, such as the name of the beneficiary, his IBAN account, the amount to be paid. This information is saved at the row level in the transactions table and will be used when generating the payment order.
There are different ways to add payment data:
- By editing the table Transactions, clicking on the Payment Data column. If the transaction line concerns the posting of the invoice with the supplier's account, this data will be taken over automatically
- By scanning a QR-Code with the command Reports > Suppliers > Scan QR-Code... The Payment Data dialog will appear and upon confirming the information will be saved in a new transaction row
- By selecting the command Reports > Suppliers > Create payment file... This command will display the dialog Create payment file with the list of open payment data. In this dialog you can add new payments with the button Add Payment or Scan QR-Code. This data will be stored in new transaction rows.
In all these cases, payment data is saved in the column Payment Data of the Transactions table. You can display or hide this column with the command Data > Columns setup. If this column is not available you can add it selecting the command Tools > Add/Remove functionalities... > Add payment functionalities.
Dialog payment data
- Payment Method
You can select between Bank or postal payment (IBAN/QR-IBAN) for payments inside Switzerland and SEPA transfers for payment inside Europe.
- Creditor Account ID
When you select a creditor from the list, their details will be automatically filled in using the information stored in the Accounts table. If the list is empty, check the extension settings.
To display the accounts, as defined in the Accounts table, you must specify the creditor group in the payment extension settings. You can include multiple creditor groups by separating them with a semicolon.
See the chapter Setting up the payment extension

Creating payment files
A payment file is an XML document that contains information for your bank regarding which invoices you want to pay. The file can be sent to a bank electronically and the bank will execute your order.
To create the payment file follow these steps:
- Prepare the payment data as described in the section Adding payment data of this page
- Select the command Reports > Suppliers > Create payment file...
You can also previously select the payment data in the Transactions table and use the context menu Create payment file... by right-clicking - Select the payments you want to include in the order. If ** appears, it means that the payment contains some errors you have to correct.
- Click on Next. This button is enabled only when transactions are selected without errors.
- Complete with the information of the account to which the debit will be made
- Click on Next. You will see the summary of the file content. If you click on File Content you will see the original format of the XML.
- Click on Browse to select the destination folder where the XML file will be saved.
- Click on Export. You will be prompted to save the XML file in a folder
At the moment it is not possible to connect directly to the bank in order to transmit the message. By creating the payment file you will be asked to save the XML message in your computer. In your bank application you have to upload the XML file, selecting it from your computer.


Displaying or removing payment files
The payment file is inserted in a new row of the transactions table (Payment/file object). By clicking on the Payment Data column of this row, the contents of the file will be displayed.
Editing or removing the payment data and the payment files
Payments are stored in the Payment Data column of the Transactions table. There are two types of objects that can be stored:
- payment/data object that contains information about a specific payment. This information will be used to complete the payment order.
- payment/file object containing the information of a payment order file, including the xml file created.
To remove this data, simply delete the record line or the objects themselves.
Attention! The payment/file objects are used to determine whether a payment has been executed or not.
It is therefore recommended not to remove the rows containing these objects, otherwise payments that have already been executed will still appear as pending, since their reference will be deleted along with the payment/file object.

Payment status
There are two status of payment:
- pending
the payment data is not included in any payment file
- downloaded
the payment data is included in one or more payment files
List of payments
This table list all pending and downloaded payments. You can filter and group the payments according to your needs.
Tip: to edit the payment information starting from these tables, you can double-click the row number to the left of the table or select the command Go to Original Row from the table's context menu. With this action you select the original transaction row that contains the payment data to update.

API
Change History
See the change log.
How-to test your QR-Code scanner
Banana Accounting+ allows you to use the scanner to read QR-Codes to generate transactions or payments. The scanner must send data as a keyboard, like a USB-Scanner with "RAW via keyboard simulation" configuration.
If you are a scanner manufacturer or a user and want to test your scanner with banana accounting+, please follow these steps:
- Download the latest version of Banana Accounting Dev-Channel
- Activate Banana Accounting software with an Advanced License Key.
If you don’t have one you can ask our support team - Connect your scanner, usually to an USB port of your computer
- Download and open the sample accounting file accounting_2023.ac2
- Select the command Reports -> Suppliers -> Scan QR Code...
If you don't see this command check if you are using the Dev Channel Version (Step 1) and you have activated the Advanced License key (step 2). - Clic on the window Scan code and scan the code with your scanner.
Be aware that the window must have the focus - Click on Finish and a new row with the payment data will be added to the table transaction
- Select this row and double-clic on the Payment Data column
- The dialog Payment data will show all the data from your QR-Code
If characters are not read correctly, such as accents or carriage returns, you need to configure your scanner. Please download and read the reference guide of your scanner
Related pages
Generate payment data in bulk [BETA]
This functionality allows you to add the payment data in bulk to all open supplier invoices across the entire Transactions table.
If instead you wish to add the payment data by working on a single transaction, or import it by scanning a QR code, please refer to the instructions available on the page Payment orders for supplier invoices.
Prerequisites
Currently the payment functionality
- Is available in the Dev-Channel version, so please install the latest version of Banana Accounting+ Dev Channel.
- This extension works only with the Advanced Plan, you can request a 1 month promo code from our support service.
- The extension is currently in Beta Test, please check everything and report any problem.
- It is recommended to use a copy of your accounting file or an empty file to make some payment transmission tests.
How to install it
- Download and install the latest version of Banana Accounting+ Dev-Channel
- Install the payment feature via Tools > Add/Remove functionalities... > Add Payment functionality
- Open the Extensions menu > Payment orders PAIN.001 > Add payment data to suppliers invoices
Error messages
- The payment data functionalities are not installed. Impossible to process the payment data.
To use this extension, you must adapt your accounting file by adding the Payment data column to the Transactions table.
This can be done using the command Tools > Add/Remove features > Add payment functionality.
This command:- adds the Payment data column to the Transactions table, where you can manually enter the additional information required for payments.
- enables the payment management commands in the Reports > Suppliers menu.
Import Extensions for Switzerland
With Banana Accounting you can import data from different formats.
SEPA Bank Statement /ISO 20022 Switzerland
Camt/ISO 20022 is the bank statement format made available by most Swiss banks.
- SEPA/ISO 20022 Switzerland extension for importing data from bank statements.
- This extension supports the Swiss file format and also imports QR-Code data.
- ISO 20022 Switzerland extension for importing account statement movements.
- This extension supports the Swiss file format and is similar to the previous one, but its specific function is for files in the ISO 20022 camt052, camt053 and camt054 format for Swiss specifications.
These import filters in standard formats are available regardless of the plan purchased.
Other bank statements
Some banks or credit cards also make the account statement file available in CSV format, see:
- List of import extensions available for Switzerland.
- List of Universal Import Extensions (including Paypal and others).
It happens very often that banks change CSV export formats without notice. Updating these import files can be time-consuming, so the import extensions are only available with the Advanced plan. We usually advise our users whenever possible to use files in ISO20022 format.
Bank statement Camt ISO 20022 Switzerland (Banana+)
Bank statement Camt ISO 20022 Switzerland (Banana+)Supported versions of the CAMT ISO 20022 format (Switzerland):
- Swiss camt05x.001.08 schema (SPS 2022)
- Swiss camt05x.001.04 schema (SPS 2021)
Prerequisites
To use this extension, Banana Accounting Plus is required.
Features
This extension differs from the generic ISO20022 extension due to the following features:
- Follows the Swiss specifications.
- You can choose which transactions to import (all transactions, only credits or only debits).
- The QR reference number (old PVR) is entered in the description column of the Transactions table.
- It is possible to extract the invoice number from the QR reference number (old PVR). See Set parameters.
The extracted invoice number will be saved in the Invoice column of the Transactions table. - You can choose whether to extract the customer account from the QR reference number (old PVR). See Set parameters.
The extracted customer account will be saved as account/category or cost center depending on the parameters set by the user. - You can disable the automatic insertion of the temporary contra account [CA] in the transaction. See Set parameters.
Invoice matching
This extension works in conjunction with the Swiss QRCode invoice printout, see:
Extension installation
To install the extension, proceed as follows:
- From the Extensions > Manage Extensions > Online > Import > menu, select the extension Bank Statement Camt ISO 20022 Switzerland (Banana+) > button Install.

Set extension parameters
With these settings you can define which transactions to import and specify whether and how to automatically extract the invoice number and customer number, inserting them in the respective columns of the transactions table.
Extension parameters are required to electronically record invoice collection transactions.
To access the extension parameters, proceed as follows:
- Open the accounting file where you want to import the transactions.
- Access the parameters:
- From the Actions menu > Import to Accounting, select the extension Bank Statement Camt ISO 20022 Switzerland (Banana+) and click on Settings.
- Or, from the Actions menu > Import to Accounting > Manage Extensions, select the extension Bank Statement Camt ISO 20022 Switzerland (Banana+) and click on Settings.
- Or, from the Extensions menu > Manage Extensions, select the extension Bank Statement Camt ISO 20022 Switzerland (Banana+) and click on Settings.
The following image shows the default parameters.
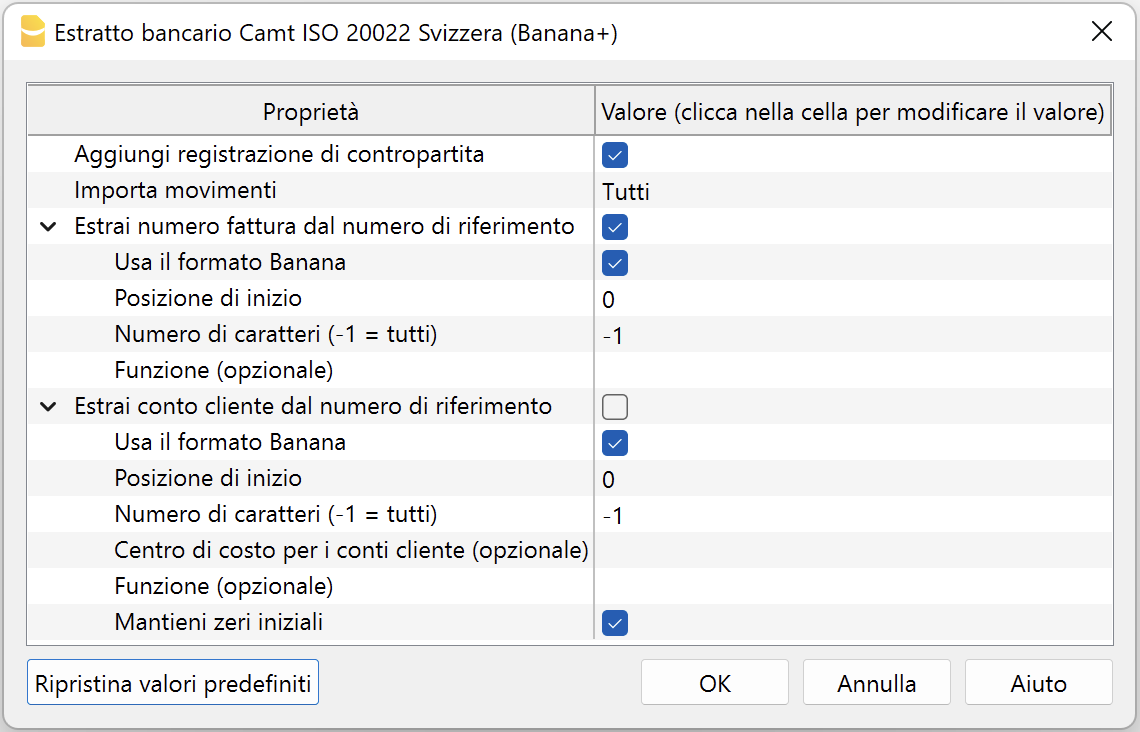
Add Contra Account Transaction
If this parameter option is enabled, for transactions with details the extension inserts a temporary contra transaction [CA] with the total amount of the details.
In the [CA] contra account, the corresponding account number must be entered manually.
If the option is disabled, no temporary contra transaction [CA] will be inserted.
Import Transactions
You can choose which transactions to import by selecting one of the following options:
- All.
Imports all transactions. - Credits.
Imports only credits (incoming transactions). - Debits.
Imports only debits (outgoing transactions).
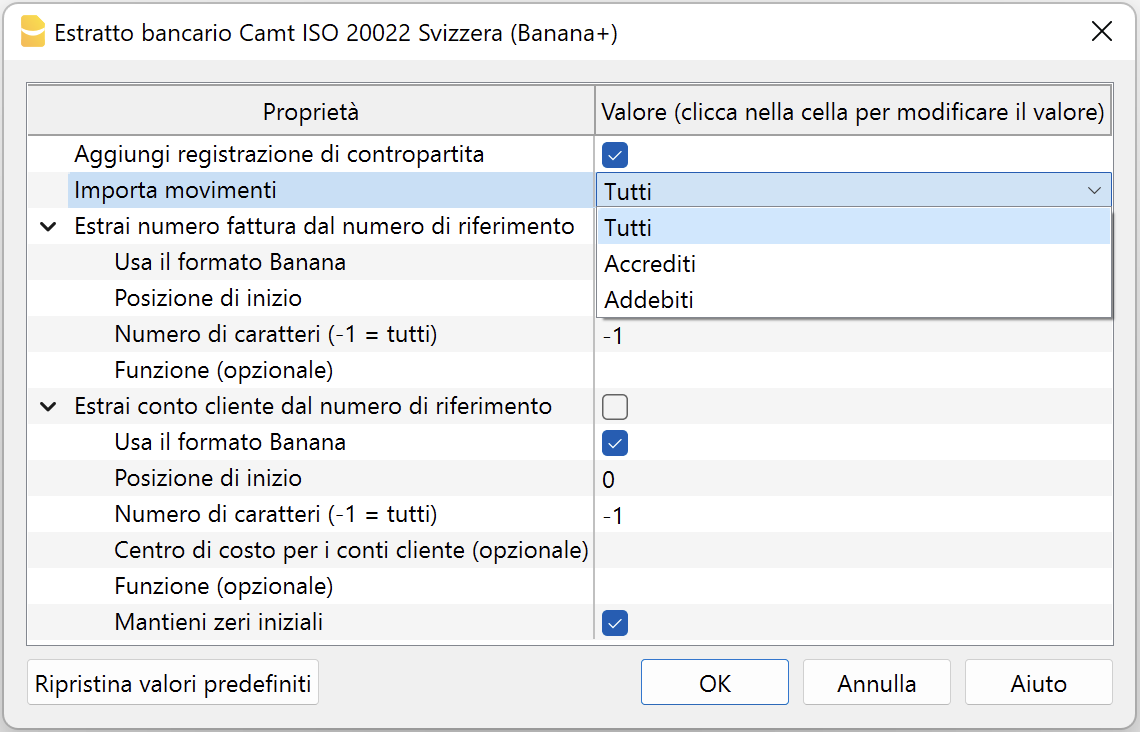
Extract customer invoice number from reference number
The reference number contains the invoice number. More information SCOR Reference and QRR Reference.
To extract the customer's invoice number from the reference number, there are two modes depending on whether the invoice reference number was created with Banana Accounting or other software.
Case 1: Invoices created with Banana Accounting Plus
If the reference number was created by the Banana Accounting Plus program:
- Check the box Extract customer invoice number from reference number.
- Check the box Use Banana format.
- The fields 'Start position', 'Number of characters' and 'Function' should not be used.
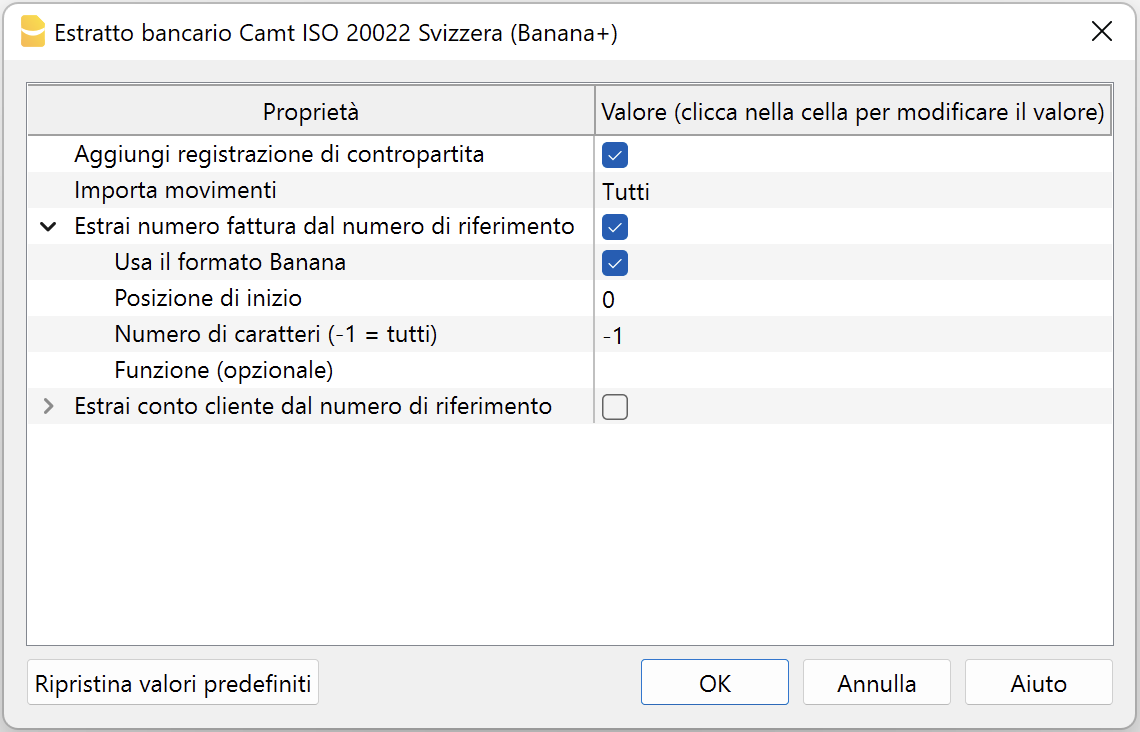
Case 2: Invoices created with other software
If the reference number was created with other invoicing systems:
- Do not check the 'Use Banana format' box.
- In the Start position field, indicate the position of the first character where the invoice number starts within the reference number.
- In the Number of characters field, indicate how many characters the invoice number consists of.
- Alternatively, instead of indicating position and number of characters, you can enter a JavaScript function that extracts the invoice number. For example: (function(text) {return text.substr(10,5);}). Note: the string must include the opening and closing parentheses.
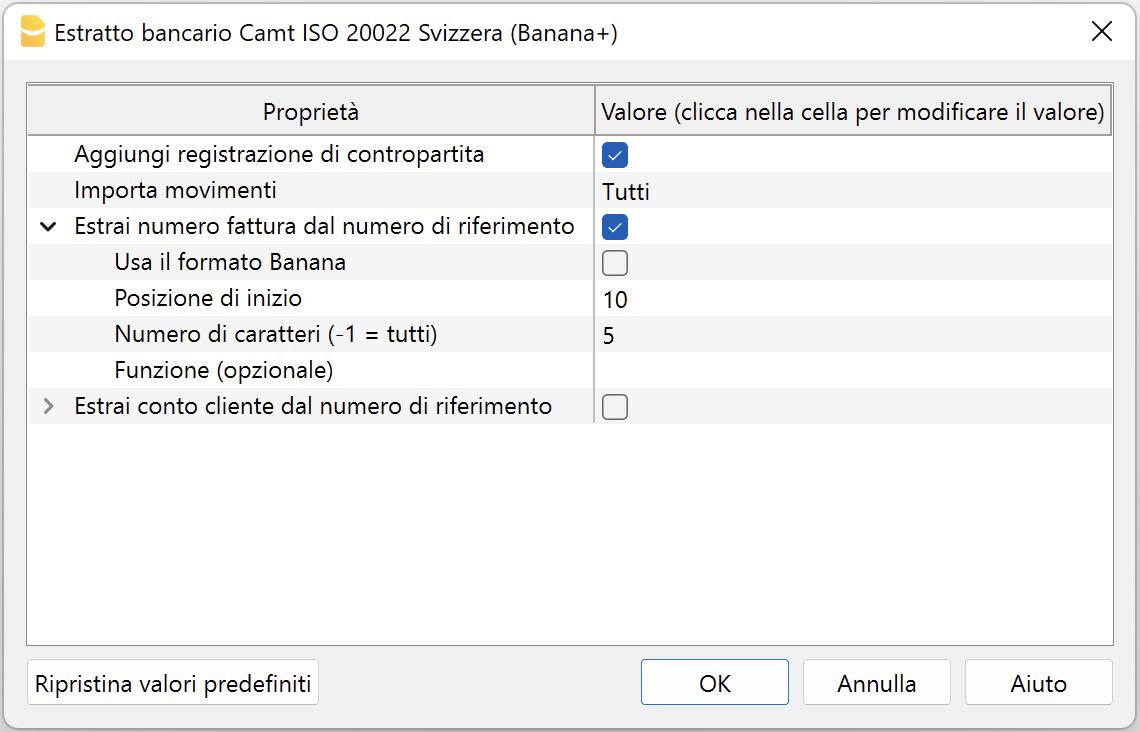
The extracted invoice number is saved in the Invoice (DocInvoice) column of the Transactions table.
Extract customer account from reference number
The reference number contains the customer account. More information SCOR Reference and QRR Reference.
To extract the customer's invoice number from the reference number, there are two modes depending on whether the invoice reference number was created with Banana Accounting or other software.
Case 1: Invoices created with Banana Accounting Plus
If the reference number was created by the Banana Accounting Plus program:
- Check the Extract customer account from reference number box.
- Check the Use Banana format box.
- The fields 'Start position', 'Number of characters', and 'Function' should not be used.
- If using general ledger accounts as customer accounts, leave the Cost center for customer accounts parameter empty.
Otherwise, if using cost centers as customer accounts, indicate the cost center used (Cc1, Cc2, Cc3). - Check the Keep leading zeros box if the customer account starts with one or more zeros.
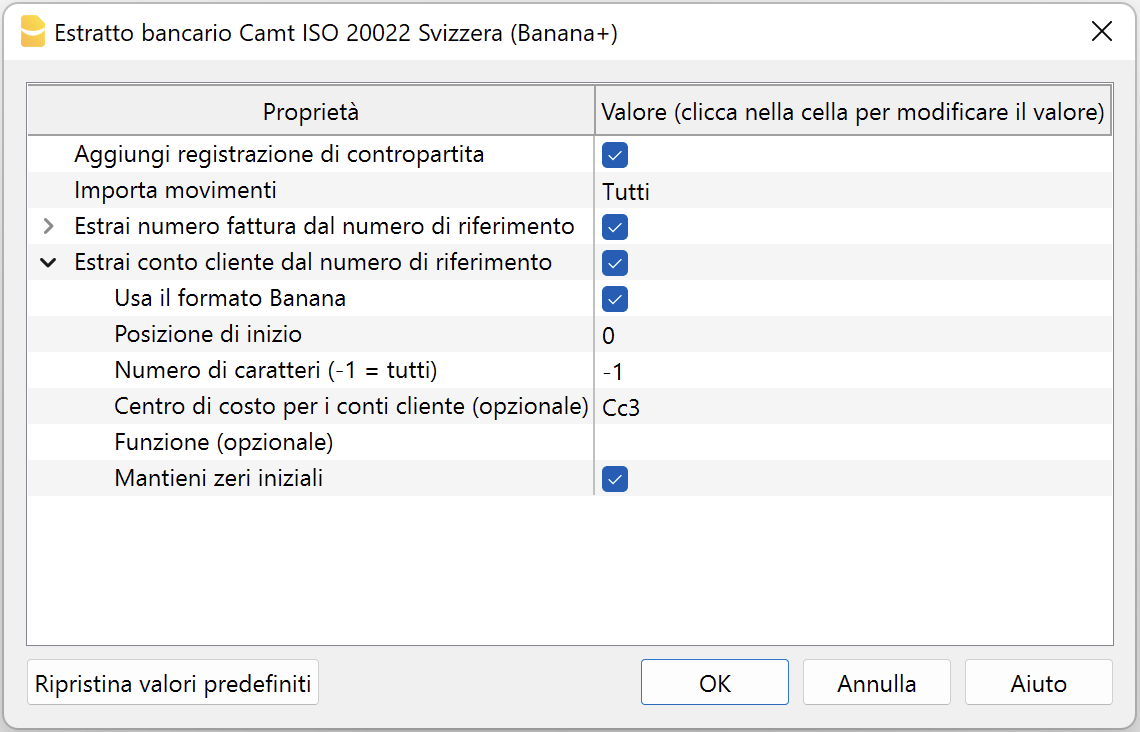
Case 2: Invoices created with other software
If the reference number was created with other invoicing systems:
- Do not check the 'Use Banana format' box.
- In the Start position field, indicate the position of the first character where the customer account starts within the reference number.
- In the Number of characters field, indicate how many characters the customer account consists of.
- If using general ledger accounts as customer accounts, leave the Cost center for customer accounts parameter empty.
Otherwise, if using cost centers as customer accounts, indicate the cost center used (Cc1, Cc2, Cc3). - Alternatively, instead of indicating position and number of characters, you can enter a JavaScript function in the Function field to extract the invoice number. For example: (function(text) {return text.substr(10,5);}). Note: the string must include the opening and closing parentheses.
- Check the Keep leading zeros box if the customer account starts with one or more zeros.
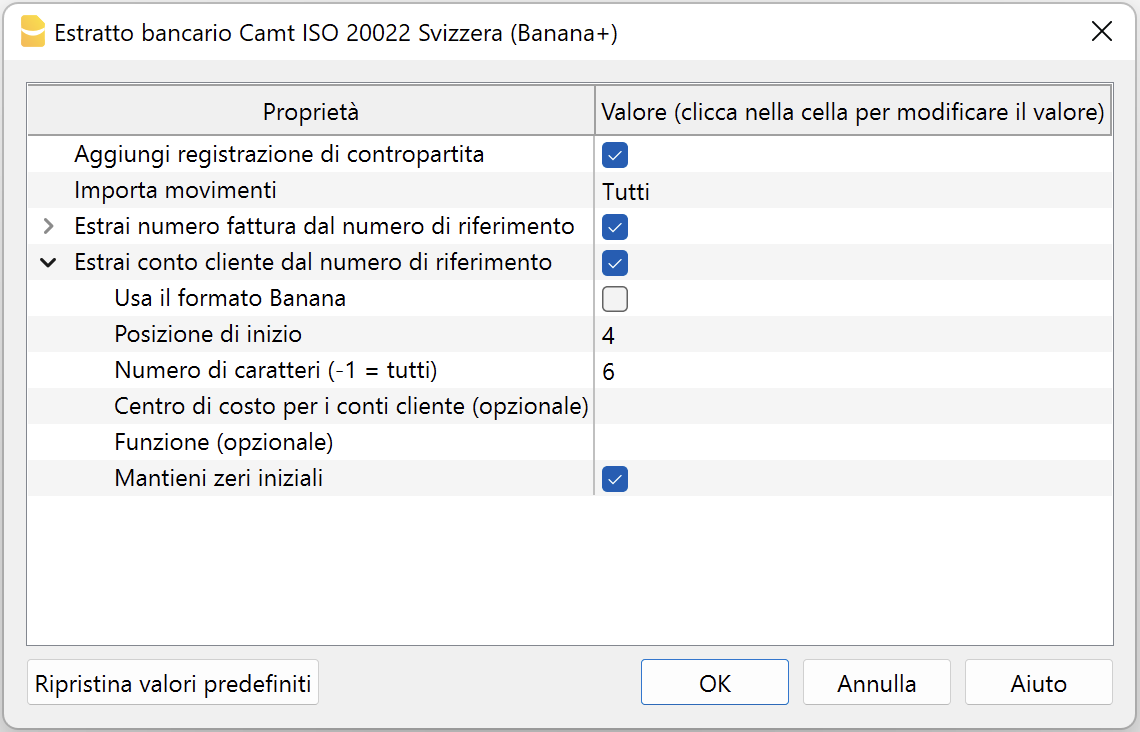
The extracted customer account is saved in the Account/Category or cost center (Cc1/Cc2/Cc3) column of the Transactions table.
For example, if by mistake you use general ledger accounts as customer accounts and specify Cc1 in the 'Cost center for customer accounts' field, the respective general ledger account will be treated as a cost center and shown in the Cc1 column of the Transactions table with a minus sign in front, for example: -110001. In this case, simply correct the parameters and repeat the operation.
Swiss Specifications
The Swiss banking system has defined specific formats for the international ISO20022 standard format.
The formats have been standardized as follows:
- camt053 (Standard electronic bank statement IBAN)
- QR-Invoice with standard IBAN account.
- Standard electronic bank statement with full details of transactions (debits and credits). It can be used when invoicing with the standard IBAN and SCOR reference number, to automatically record both debits and credits using auto-completion rules.
- If you receive payments to the special QR-IBAN account, the daily total of received payments (without detail) will also be included.
- camt054 (Special QR-IBAN electronic bank statement)
- QR-Invoice with special QR-IBAN account.
- This is the electronic bank statement that contains only the details of payments received on the QR-IBAN account (only credits invoiced with QRR reference type).
- camt052 (Accounting report)
- Used only in specific cases for transactions made during the day.
Integration between camt054 and camt053 statement
Those who collect payments via QR-IBAN can use the camt054 XML file to import and automatically record payments. At the same time, the full bank statement can be imported using the camt053 XML file.
How the camt054 and camt053 XML files work:
- The camt054 XML file contains only the details of payments from each customer (e.g. two invoices from two different customers result in two separate entries of CHF 100.00 each).
- The camt053 XML file, on the other hand, reports the total daily credit, without details (e.g. same two invoices, but only one credit entry of CHF 200, without identifying who paid).
- The payments received on the QR-IBAN account and imported via camt054 are transferred daily to the linked IBAN account (main bank account in the chart of accounts).
Issue: If both XML files (camt054 and camt053) are imported into the bank account, the same credit is recorded twice: once with detailed entries (camt054) and once with the total daily amount (camt053). This causes duplication of credited amounts.
There are two possible solutions:
- Use a clearing account.
- Manually delete the total credits from the camt053 file.
Below is the clearing account procedure, designed to avoid manually deleting duplicate credits and to prevent accidentally removing other accounting entries.
Solution: using the clearing account
To avoid double credit entries, a clearing account is used.
The clearing account is used:
- As an intermediary account to record payments from both camt054 and camt053 formats.
- To record incoming payments on the QR-IBAN.
- To transfer the payments to the IBAN account.
To avoid duplicate entries, follow a procedure similar to credit card management:
- Set up the chart of accounts
- Create the main bank account (e.g. 1020, IBAN account)
- Create the clearing account for the QR-IBAN (e.g. 1021, QR-IBAN account)
- Importing the camt054 file (QR-IBAN payments)
- Import the camt054 XML file selecting the clearing account (QR-IBAN) as the import bank account.
- Complete each transaction by entering as counter account CA the respective customer account.
- Importing the camt053 file (IBAN bank statement)
- Import the camt053 XML file selecting the bank account (IBAN) as the import account.
- Complete each transaction by entering, as counter account CA:
- the related account for detailed debit and credit transactions
- the clearing account (QR-IBAN), for global credits without detail, i.e., the total amount of customer credits

In the example, the account card for account 1021 (bank with QR-IBAN) shows:
- In the Debit column, the detailed payments from each customer (camt054).
- In the Credit column, the reversal of the global credit to zero out the clearing account.

In the example, the account card for account 1020 (bank with IBAN) shows:
- In the Debit column, the global credits from the camt053 file.
In the balance sheet, after import:
- The clearing account should have a balance of zero.
- The bank account (IBAN account) should show the global credit.
- Individual payments will be recorded in the customer subledger.

Related documents
Enter supplier account and invoice number
Unlike customer invoices, it is not possible to automatically retrieve the supplier invoice number from the reference number, because its structure varies from one supplier to another. Each supplier defines the structure of their reference number independently, making standardized recognition impossible. This is currently a technical limitation that applies to all accounting software.
However, it is possible to automatically assign the supplier account using Rules, but the invoice number must be entered manually for each transaction. To facilitate entry, you can use the F2 key or double-click in the Invoice column: a list of the supplier's open invoices will appear, from which you can select the correct one. Alternatively, in the Invoice column, you can directly type the supplier's name to display the list of their open invoices.
A CAMT file is provided by banks to download account statement transactions. In Switzerland, it is the standard format used by banks.
Bank statement Camt ISO 20022 Switzerland (compatible with Banana 9)
Bank statement Camt ISO 20022 Switzerland (compatible with Banana 9)This extension imports and converts account statement movements into accounting movements. Supports files in ISO 20022 camt052, camt053 or camt054 for the Swiss specifications.
The ISO 20022 format is an international standard, offering the schemes camt.052, camt.053 and camt.054. The first version of these schemas was camt.05x.001.04, usable ONLY until November 2025. Thereafter it is to be replaced by the new scheme camt.05x.001.08.
Subsequently, it will need to be replaced by the new camt.05x.001.08 schema.
To import the bank statement in the new ISO 20022 format, camt.05x.001.08, available from November 2022, it is necessary to have Banana Accounting Plus and to use the new extension, which reads both formats.
Requirements
To use this extension, Banana Accounting 9.0.5 is required.
If you have Banana Accounting Plus, use the new extension Bank Statement Camt ISO 20022 Switzerland (Banana+)
Characteristics
This import extension differs from the generic ISO20022 import by the following specifics:
- The ISR reference number is entered in the description of the transaction;
- You can extract the invoice number from the ISR reference number (see Setting the parameters);
The invoice number you extracted will be saved in the Invoice (DocInvoice) column; - You can extract the customer account from the ISR reference number (see Setting the parameters);
The customer account you extracted will be saved as an account/category or cost center depending on the parameters; - You can disable the entry of the contra-account in the transaction (see Setting the parameters).
Extension installation
From the Extensions Menu > Manage Extensions > Online > Import > select the extension ~Bank Statement Camt ISO 20022 (Switzerland) > Import Bank extract Camt. (Banana 9) > Install button.
Setting the parameters
The extension parameters are required to electronically record invoice collection movements.
With these settings, it is possible to define how the invoice number and customer data are to be extracted, so that they are automatically entered in the relevant columns of the Transactions table.
To access the extensions parameters:
- Open the accounting file where you wish to import the transations.
- Access the extension parameters:
- From the Extensions Menu > Manage extensions > select extension ~Bank statement Camt ISO 20022 Switzerland - Import bank extract Camt. (Banana 9) > Settings button.
- or from the Account1 Menu > Import to accounting > Manage extensions > select extension ~ Bank statement Camt ISO 20022 Switzerland - Import Bank extract Camt. (Banana 9) > Settings button
- The following image shows the default parameters.
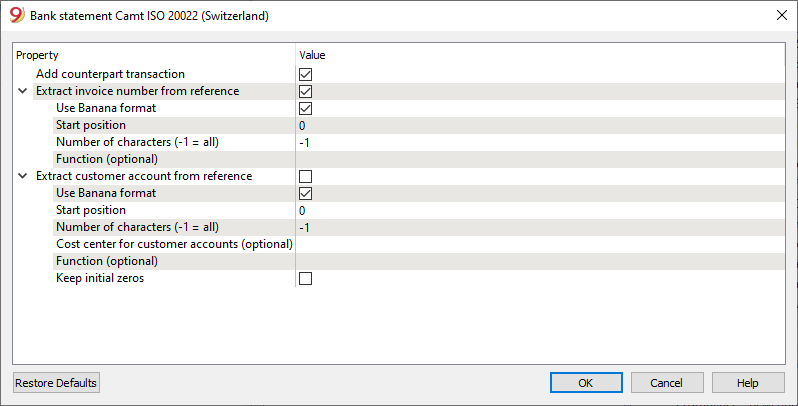
Add counterpart transaction
If this option is enabled, the extension will enter a counterpart entry with the total amount of the details for movements with details. The [CA] symbol appears in the clearing account and the corresponding account number must be entered manually. If this option is deactivated, no counterpart entry is made.
Extract invoice number from ISR reference
If this option is enabled, you can define how to extract the invoice number from the ISR reference number. The invoice number you extracted will be saved in the Invoice (DocInvoice) column.
You can extract the invoice number by indicating the position of the first character and the number of characters that match the invoice number in the ISR reference number, or by indicating a JavaScript function that extracts the invoice number from the ISR number, for example: "(function(text) {return text.substr(10,5);})". NB: The string must contain the initial and final round brackets.
Extract customer account from ISR reference number
If the option is enabled, it is possible to define how to extract the customer account from the reference number. The extracted customer account will be saved in the account/category or cost center field based on the parameters. If balance sheet accounts are used as the customer account, leave the 'Cost center for customer accounts' parameter empty. Otherwise, if cost centers are used as the customer account, specify the cost center used, e.g.: 'Cc1', 'Cc2', or 'Cc3' without the quotation marks.
For example, if by mistake, balance sheet accounts are used as customer accounts and 'Cc1' is indicated in the 'Cost center for customer accounts' field, the respective balance sheet account will be treated as a cost center and reported in the CC1 column of the Transactions table with a negative sign in front, for example: -110001. In this case, it is sufficient to correctly set the parameters and repeat the operation.
It is possible to extract the customer account from the reference number created by the Banana Accounting Plus program by checking the appropriate box without modifying the parameters related to the 'Starting position' and 'Number of characters' to be used.
It is possible to extract the billed customer account from other invoicing systems by specifying the position of the first character and the number of characters in the reference number corresponding to the customer account, or by specifying a JavaScript function that extracts the invoice number, for example: (function(text) {return text.substr(10,5);}). NB: the string must include the opening and closing parentheses.
Swiss specifications
Specifications for the use of ISO 20022 have been issued for the Swiss banking system.
Formats have been standardized as follows:
- camt053: Account Statement, with detailed transactions.
This is the file that your bank should provide, specifying that it does also include payments received.
A summary file (without any details) might be asked for, in which case camt054 form will also have to be requested, detailing the receipts. - camt054:
Transactions detailed by type (such as bills payments received for bills issued).
If detailed cash receipts are required, the bank will provide the dates in a camt054 file (as a substitute for V11).
This results in two files:- camt053 file (Account Statement) with the several payments and the daily total of cashed bills, which details are contained in the camt054 file.
- camt054 file, detailing all transactions for cashed bills with their reference number.
- camt052: (Account Reporting).
Is only used in special situations, to monitor transactions for a specific day.
New: now with Banana Accounting Plus, you can also obtain the QR-invoice with a standard IBAN account or the QR-invoice with a special QR-IBAN account. Additionally, you can use the auto-completion rules for transactions to automatically record both debits and credits with the new Camt ISO 20022 Bank Statement Switzerland extension (Banana+).
Related document:
Swiss CAMT XML Validator with XSD Schema [BETA]
Swiss CAMT XML Validator with XSD Schema [BETA]Can be used to validate the files used by the extension Camt ISO 20022 Switzerland Bank Statement (Banana+).
Extension installation
To install the extension, proceed as follows:
- From the Extensions > Manage Extensions > Online > Productivity > menu, select the Swiss CAMT XML Validator with XSD schema extension > click the Install button.
Using the extension
To use the extension, proceed as follows:
- From the Extensions > Manage Extensions > menu, select Swiss CAMT XML Validator with XSD schema
- Then select the CAMT file
Results
The extension checks the CAMT file using the related XSD schema.
If the message "XML document is valid against xxx" is returned, it means that the CAMT file is correct.
Aargauische Kantonalbank - Import account statement .csv (Banana+ Advanced)
Aargauische Kantonalbank - Import account statement .csv (Banana+ Advanced)This import extension allows you to import Aargauische Kantonalbank transactions into Banana. You can install the extension from the menu Extensions->Manage Extensions.
Refer to the documentation in German: Aargauische Kantonalbank - Bewegungen importieren .csv (Banana+ Advanced)
Acrevis Bank - Import movements .csv (Banana+ Advanced)
Acrevis Bank - Import movements .csv (Banana+ Advanced)The .csv format is different for each bank and is updated and changed regularly. On this page, you will find the most recent extension for importing the Acrevis bank .csv format. This import extension allows you to import Acrevis bank transactions into Banana Accounting Plus.
The extension can be installed from the Extensions menu > Manage Extensions.
Requirements for use
- Banana Accounting Plus with the Advanced Plan.
- Acrevis bank also provides files with standard format ISO20022, which you can import with the Professional plan. To import files in this format, you need to install the relevant import extension Swiss for ISO20022 Camt 052, 053, 054. If you do not find this format already available by default, you can request it from Acrevis bank.
For some banks, the specific .csv format may offer better results. In any case, the Advanced plan guarantees a wider choice and maximum results and also offers several other advanced functions that speed up and simplify accounting work considerably.
Export procedure from Acrevis Bank
Export your bank transactions in CSV format by accessing your online account.
- Open the Accounts section and select the account for which you want to export movements.
- Export your account movements by choosing *.csv format.
- Save the file to your computer.
- We recommend saving the file somewhere you can easily find it later and not opening it before importing.
Import procedure
- From the Actions menu > Import into Accounting > select 'Import: Transactions' from the pull-down menu.
- Select the extension to use, in this case "Acrevis Bank - Import movements .csv (Banana+ Advanced)".
- Use the Browse button to select the file from which you want to import the movements.
- Press the OK button.
Error messages
- Unrecognized .csv file format: The format of the .csv file you are trying to import does not match any of the formats associated with this extension:
- Check that you have selected the correct file.
- If the file you chose is correct, our extension may need to be updated.
- This extension requires Banana Accounting+ Advanced plan: You are attempting to use the extension with a license other than the one requested. Please switch to the Advanced plan to use the features of this extension.
Send feedback
The format of the *.csv file may be updated and the extension no longer works properly. Send us feedback including a sample file (.csv) with the new format and we will update the import extension.
BancaStato - Import account statement .csv (Banana+ Advanced)
BancaStato - Import account statement .csv (Banana+ Advanced)The .csv format is different for each bank and is updated and changed regularly. On this page you will find the most recent extension for importing the Bancastato.csv format. This import extension allows you to import BancaStato transactions into Banana Accounting Plus. The extension can be installed from the Extensions menu > Manage Extensions.
Requirements for use
- Banana accounting Plus with the Advanced Plan.
- BancaStato also provides files with standard format ISO20022, which you can import with the Professional plan. To import files in this format you need to install the relevant import extension Swiss for ISO20022 Camt 052, 053, 054. If you do not find this format already available by default, you can request it from BancaStato.
In some banks, the specific .csv format may offer better results. In any case, the Advanced plan guarantees a wider choice and maximum results, and also offers several other advanced functions that speed up and simplify accounting work considerably.
Export procedure
Export the *.xlsx file with your transactions by logging into your ebanking
- Open the accounts section and select the account for which you want to export movements.
- Export the movements of your account by choosing the *.xlsx (Excel) format.
You can decide whether to keep the file in Excel format and later import the data by copying it from the clipboard or convert it to a *.csv file, if you want to convert it:
- Open the file and click on File->Export->Change File Type and choose the CSV (Comma delimited) (*.csv) format.
- Save the file in the new format, without modify the content.
We recommend saving the file in a place where you can easily find it later and not opening it before importing it.
Import procedure
You can import the data in two different ways.
Import *.csv file
- Via the Actions → Import to accounting → select Import transactions box
- Choose the extension to be used, in this case 'BancaStato - Import account statement .csv (Banana+ Advanced)'.
- With the Browse button, choose the file from which to import the transactions.
- Press OK Button.
Import from clipboard (*.xlsx file)
- Via the Actions → Import to accounting → select Import transactions box
- Choose the extension to be used, in this case 'BancaStato - Import account statement .csv (Banana+ Advanced)'.
- Open the Excel file, press Ctrl+A to select all the data, then Ctrl+C to copy the data to the clipboard.
- In the dialog in the dialogue check the box Import data from clipboard.
- Press OK Button.
For more details see Import transactions page.
Error Messages
- Unrecognised *.csv file format: The format of the *.csv file you are trying to import does not match any of the formats associated with this filter:
- Check that you have chosen the correct file.
- If the file you have chosen is correct, it may be that our filter requires updating.
- This extension requires Banana Accounting+ Advanced: You are trying to use the extension with a licence other than the one requested, please upgrade to the Advanced Plan to be able to use the functionality of this filter.
Send us a feedback
It may happen that the format of the *.csv file is updated and as a result the filter no longer functions correctly. Send us feedback and attach an example file (*.csv) with the new format and we will proceed to update the filter.
Bank CIC - Import account statement .csv (Banana+ Advanced)
Bank CIC - Import account statement .csv (Banana+ Advanced)The .csv format is different for each bank and is updated and changed regularly. On this page you will find the most recent extension for importing the CIC Bank .xlsx/csv formats. This import extension allows you to import CIC Bank transactions into Banana Accounting Plus. The extension can be installed from the Extensions menu > Manage Extensions.
Requirements for use
- Banana accounting Plus with the Advanced Plan.
- CIC Bank should also provides files with standard format ISO20022, which you can import with the Professional plan. To import files in this format you need to install the relevant import extension Swiss for ISO20022 Camt 052, 053, 054. If you do not find this format already available by default, you can request it from the bank
In some banks, the specific .xlsx/csv format may offer better results. In any case, the Advanced plan guarantees a wider choice and maximum results, and also offers several other advanced functions that speed up and simplify accounting work considerably.
Export procedure
Export the *.xlsx file with your transactions by logging into your ebanking.
- Open the accounts section and select the account for which you want to export movements.
- Export the movements of your account by choosing the *.xlsx (Excel) format.
You can decide whether to keep the file in Excel format and later import the data by copying it from the clipboard or convert it to a *.csv file, if you want to convert it:
- Open the file and click on File->Export->Change File Type and choose the CSV (Comma delimited) (*.csv) format.
- Save the file in the new format, without modify the content.
We recommend saving the file in a place where you can easily find it later and not opening it before importing it.
Import procedure
You can import the data in two different ways.
Import *.csv file
- Via the Actions → Import to accounting → select Import transactions box
- Choose the extension to be used, in this case 'CIC Bank - Import account statement .csv (Banana+ Advanced)'.
- With the Browse button, choose the file from which to import the transactions.
- Press OK Button.
Import from clipboard (*.xlsx file)
- Via the Actions → Import to accounting → select Import transactions box
- Choose the extension to be used, in this case 'CIC Bank - Import account statement .csv (Banana+ Advanced)'.
- Open the Excel file, press Ctrl+A to select all the data, then Ctrl+C to copy the data to the clipboard.
- In the dialog in the dialogue check the box Import data from clipboard.
- Press OK Button.
For more details see Import transactions page.
Error Messages
- Unrecognised *.csv file format: The format of the *.csv file you are trying to import does not match any of the formats associated with this filter:
- Check that you have chosen the correct file.
- If the file you have chosen is correct, it may be that our filter requires updating.
- This extension requires Banana Accounting+ Advanced: You are trying to use the extension with a licence other than the one requested, please upgrade to the Advanced Plan to be able to use the functionality of this filter.
Send us a feedback
It may happen that the format of the *.csv file is updated and as a result the filter no longer functions correctly. Send us feedback and attach an example file (*.csv) with the new format and we will proceed to update the filter.
Bank SoBa - Basel - Import transactions .csv
Bank SoBa - Basel - Import transactions .csvThis BananaApp lets you import Baloise Bank SoBa transactions in CSV format.
The file format is the following. See Testfile.
Datum;Valuta;Buchungstext;Belastung;Gutschrift;Saldo CHF;Kontonummer;Kontoinhaber;
29.03.2018;29.03.2018;Vergütung Inland GTSM - Info - - MIETZINSZAHLUNGEN;1475.00;;19496.65;00000000; Firma AG;
29.03.2018;29.03.2018;Vergütung Inland MONIKA - Info - - PARKPLATZMIETE MEINRADSTRASSE 6;100.00;;19496.65;00000000; Firma AG;
29.03.2018;29.03.2018;Vergütung Inland WALTER - Info - - MIETZINS MEINRADSTR. 5;3400.00;;21071.65;00000000; Firma AG;
History
- 2018 -07-10 First release
Banque Cantonale Vaudoise - Import account statement .xlsx/.csv (Banana+ Advanced)
Banque Cantonale Vaudoise - Import account statement .xlsx/.csv (Banana+ Advanced)The .csv format is different for each bank and is updated and changed regularly. On this page you will find the most recent extension for importing the Banque Cantonale Vaudoise .xlsx/.csv format. This import extension allows you to import Banque Cantonale Vaudoise transactions into Banana Accounting Plus. The extension can be installed from the Extensions menu > Manage Extensions.
Requirements for use
- Banana accounting Plus with the Advanced Plan.
- Banque Cantonale Vaudoise should also provides files with standard format ISO20022, which you can import with the Professional plan. To import files in this format you need to install the relevant import extension Swiss for ISO20022 Camt 052, 053, 054. If you do not find this format already available by default, you can request it from the bank
In some banks, the specific .csv format may offer better results. In any case, the Advanced plan guarantees a wider choice and maximum results, and also offers several other advanced functions that speed up and simplify accounting work considerably.
Export procedure
Export the *.xlsx file with your transactions by logging into your ebanking.
- Open the accounts section and select the account for which you want to export movements.
- Export the movements of your account by choosing the *.xlsx (Excel) format.
You can decide whether to keep the file in Excel format and later import the data by copying it from the clipboard or convert it to a *.csv file, if you want to convert it:
- Open the file and click on File->Export->Change File Type and choose the CSV (Comma delimited) (*.csv) format.
- Save the file in the new format, without modify the content.
We recommend saving the file in a place where you can easily find it later and not opening it before importing it.
Import procedure
You can import the data in two different ways.
Import *.csv file
- Via the Actions → Import to accounting → select Import transactions box
- Choose the extension to be used, in this case 'Banque Cantonale Vaudoise - Import account statement .xlsx/.csv (Banana+ Advanced)'.
- With the Browse button, choose the file from which to import the transactions.
- Press OK Button.
Import from clipboard
- Via the Actions → Import to accounting → select Import transactions box
- Choose the extension to be used, in this case 'Banque Cantonale Vaudoise - Import account statement .xlsx/.csv (Banana+ Advanced)'.
- Open the Excel file, press Ctrl+A to select all the data, then Ctrl+C to copy the data to the clipboard.
- In the dialog in the dialogue check the box Import data from clipboard.
- Press OK Button.
For more details see Import transactions page.
Error Messages
- Unrecognised *.csv file format: The format of the .xlsx/.csv file you are trying to import does not match any of the formats associated with this filter:
- Check that you have chosen the correct file.
- If the file you have chosen is correct, it may be that our filter requires updating.
- This extension requires Banana Accounting+ Advanced: You are trying to use the extension with a licence other than the one requested, please upgrade to the Advanced Plan to be able to use the functionality of this filter.
Send us a feedback
It may happen that the format of the .xlsx/.csv file is updated and as a result the filter no longer functions correctly. Send us feedback and attach an example file (*.xlsx/*.csv) with the new format and we will proceed to update the filter.
Basellandschaftliche Kantonalbank - Import account statement .csv (Banana+ Advanced)
Basellandschaftliche Kantonalbank - Import account statement .csv (Banana+ Advanced)The .csv format is different for each bank and is updated and changed regularly. On this page you will find the most recent extension for importing the Basellandschaftliche Kantonalbank .csv format. This import extension allows you to import Basellandschaftliche Kantonalbank transactions into Banana Accounting Plus. The extension can be installed from the Extensions menu > Manage Extensions.
Requirements for use
- Banana Accounting Plus with the Advanced Plan.
- Basellandschaftliche Kantonalbank also provides files with standard format ISO20022, which you can import with the Professional plan. To import files in this format you need to install the relevant import extension Swiss for ISO20022 Camt 052, 053, 054. If you do not find this format already available by default, you can request it from Basellandschaftliche Kantonalbank.
In some banks, the specific .csv format may offer better results. In any case, the Advanced plan guarantees a wider choice and maximum results, and also offers several other advanced functions that speed up and simplify accounting work considerably.
For more information please to the documentation in German.
Basler Kantonalbank - Import account statement .csv (Banana+ Advanced)
Basler Kantonalbank - Import account statement .csv (Banana+ Advanced)This import extension allows you to import Basler Kantonalbank transactions into Banana. You can install the extension from the menu Extensions->Manage Extensions.
Refer to the documentation in German: Basler Kantonalbank - Bewegungen importieren .csv (Banana+ Advanced)
Berner Kantonalbank - Import account statement .csv (Banana+ Advanced)
Berner Kantonalbank - Import account statement .csv (Banana+ Advanced)The .csv format is different for each bank and is updated and changed regularly. On this page you will find the most recent extension for importing the Berner Kantonalbank .csv format. This import extension allows you to import Berner Kantonalbank transactions into Banana Accounting Plus. The extension can be installed from the Extensions menu > Manage Extensions.
Requirements for use
- Banana accounting Plus with the Advanced Plan.
- Berner Kantonalbank should also provides files with standard format ISO20022, which you can import with the Professional plan. To import files in this format you need to install the relevant import extension Swiss for ISO20022 Camt 052, 053, 054. If you do not find this format already available by default, you can request it from the bank
In some banks, the specific .csv format may offer better results. In any case, the Advanced plan guarantees a wider choice and maximum results, and also offers several other advanced functions that speed up and simplify accounting work considerably.
Export procedure
Export the *.xlsx file with your transactions by logging into your ebanking.
- Open the accounts section and select the account for which you want to export movements.
- Export the movements of your account by choosing the *.xlsx (Excel) format.
You can decide whether to keep the file in Excel format and later import the data by copying it from the clipboard or convert it to a *.csv file, if you want to convert it:
- Open the file and click on File->Export->Change File Type and choose the CSV (Comma delimited) (*.csv) format.
- Save the file in the new format, without modify the content.
We recommend saving the file in a place where you can easily find it later and not opening it before importing it.
Import procedure
You can import the data in two different ways.
Import *.csv file
- Via the Actions → Import to accounting → select Import transactions box
- Choose the extension to be used, in this case 'Berner Kantonalbank - Import account statement .csv (Banana+ Advanced)'.
- With the Browse button, choose the file from which to import the transactions.
- Press OK Button.
Import from clipboard
- Via the Actions → Import to accounting → select Import transactions box
- Choose the extension to be used, in this case 'Berner Kantonalbank - Import account statement .csv (Banana+ Advanced)'.
- Open the Excel file, press Ctrl+A to select all the data, then Ctrl+C to copy the data to the clipboard.
- In the dialog in the dialogue check the box Import data from clipboard.
- Press OK Button.
For more details see Import transactions page.
Error Messages
- Unrecognised *.csv file format: The format of the *.csv file you are trying to import does not match any of the formats associated with this filter:
- Check that you have chosen the correct file.
- If the file you have chosen is correct, it may be that our filter requires updating.
- This extension requires Banana Accounting+ Advanced: You are trying to use the extension with a licence other than the one requested, please upgrade to the Advanced Plan to be able to use the functionality of this filter.
Send us a feedback
It may happen that the format of the *.csv file is updated and as a result the filter no longer functions correctly. Send us feedback and attach an example file (*.csv) with the new format and we will proceed to update the filter.
Bexio - Import movements .xlsx (Banana+ Advanced) [BETA]
Bexio - Import movements .xlsx (Banana+ Advanced) [BETA]This import extension allows you to import your Bexio transactions into Banana. You can install the extension from the menu Extensions->Manage Extensions.
Requirements for use
- Banana accounting Plus with the Advanced Plan.
- File type for accounting: Double-entry accounting files with VAT and multi-currency, you can either create a new file or use an existing one.
Import procedure
You can import the data in two different ways.
Import *.csv file
- Open your accounting file (*.ac2).
- Via the Actions > Import to accounting > select Import transactions in the dropdown menu.
- Choose the extension to be used, in this case 'Bexio - Import transactions .xlsx (Banana+ Advanced) [BETA]'.
- With the Browse button, choose the file from which to import the transactions.
- Confirm with OK.
- Review the changes using the proposed dialog. Press OK if everything is correct otherwise press Cancel if you have seen any errors, at which point correct any errors and repeat the process from step 1.
Import from clipboard
- Open your accounting file (*.ac2).
- Via the Actions > Import to accounting > select Import transactions from the dropdown menu.
- Choose the extension to be used, in this case 'Bexio - Import transactions .xlsx (Banana+ Advanced) [BETA]'.
- Open the Excel file, press Ctrl+A to select all the data, then Ctrl+C to copy the data to the clipboard.
- In the dialog box that opens, select the option to Import data from the clipboard.
- Confirm with OK.
- Review the changes using the proposed dialog. Press OK if everything is correct otherwise press Cancel if you have seen any errors, at which point correct any errors and repeat the process from step 1.

Accounts table
Accounts used for the transaction import but not yet in the Banana chart of accounts will automatically be added to the end of the chart of accounts. You will need to manually add the corresponding information for the newly imported accounts. Proceed as follows:
- You can move the account by repositioning it in another row.
- Check that the BClass automatically set during import is correct.
- Set the correct grouping in the Sum In column.
- Set the correct account currency code. *
*Set the correct currency code/symbol also to those accounts that were already in the chart of accounts in Banana but with a different currency than the one assigned to them in Bexio.
For more details, visit the Accounts page.
Vat Codes table
Some of the VAT codes used in imported transactions are automatically recognized and converted into VAT codes used by Banana Accounting. Unrecognized tax codes will be added as new items at the end of the VAT Codes table. Proceed as follows:
- Complete the missing details for the VAT code and create a new tax rate in the VAT Codes table. On the following VAT Codes table page, it is explained how this table is structured.
- (RECOMMENDED) Check if the newly entered VAT rate matches one of the existing tax rates. There is likely already an identical tax code that meets your requirements. If so, you need to update the rows in the Transactions table that refer to the old VAT code and replace it with the new one. You can use the Find and Replace function for this. After replacing the VAT codes in the Transactions table, you can delete the rows with the old VAT codes.
Transactions Table
Bexio exports accounting entries by splitting the net amount of the transaction and the VAT amount into two separate rows.
During import, both rows are added to the Transactions table, but this results in a duplicate VAT entry. In fact, Banana is already capable of correctly calculating and recording VAT using the VAT columns in the row with the net amount, making the specific VAT rows redundant.
However, the program cannot definitively identify which rows refer to VAT, as the accounts used may vary depending on the chart of accounts. For this reason, both rows are always imported.
You can manually remove the duplicate VAT entries using the Filter rows function:
- Open the filter rows tool and enter a search criterion, using the filter command generator provided by Banana GPT.
- Search for all rows related to VAT entries, for example by specifying the accounts used or filtering transactions that include a VAT code.
- Once the filtered list is shown, select all the rows and delete them.
- Remove the filter to view the entire content of the Transactions table again.
At this point, the duplicate VAT entries will be removed, and VAT will be correctly recorded only once for each transaction.
You might still see some errors or warnings related to VAT entries:
- VAT due not correctly recorded: this issue can be resolved by using the VAT codes set up in Banana or indicating in the VAT Codes table whether the VAT is due for a given code.
- Warning: VAT due not correctly recorded: in some transactions, the applicable VAT may appear to be entered in reverse, though this is not necessarily an error. This can happen, for example, in cancellations or adjustments.
See the VAT Management page.
Check accounting
Your accounting in Banana Accounting should now be ready, and there should be no further issues. You can perform an additional check by Checking and recalculating your accounting.
Error Messages
- Unrecognised file format: The format of the file you are trying to import does not match any of the formats associated with this filter:
- Check that you have chosen the correct file.
- If the file you selected is correct, it may be that our extension requires updating.
- This extension requires Banana Accounting+ Advanced: You are trying to use the extension with a licence other than the one required. Please switch to the Advanced Plan to use this extensions' features.
If you encounter other errors or have questions about the import process, feel free to send us a feedback.
Send us a Feedback
It is possible that the format of the .csv file will be updated, and as a result, the extension may no longer function correctly. Please send us a feedback and include an example of the (*.csv) file with the new format, so that we can update the filter accordingly.
This is a BETA version. This means that it is not the final version of the filter. Contact us if you have suggestions for the following improvements:
- Tips on how to improve import.
- Test files exported by Bexio (*.xlsx/*.csv).
- Any errors that were not reported or described in the documentation.
Cler Bank - Import movements .csv (Banana+ Advanced)
Cler Bank - Import movements .csv (Banana+ Advanced)The .csv format is different for each bank and is updated and changed regularly. On this page you will find the most recent extension for importing the Cler bank .csv format. This import extension allows you to import Cler bank transactions into Banana Accounting Plus.
The extension can be installed from the Extensions menu > Manage Extensions.
Requirements for use
- Banana Accounting Plus with the Advanced Plan.
- Cler bank also provides files with standard format ISO20022, which you can import with the Professional plan. To import files in this format you need to install the relevant import extension Swiss for ISO20022 Camt 052, 053, 054. If you do not find this format already available by default, you can request it from Cler bank.
For some banks, the specific .csv format may offer better results. In any case, the Advanced plan guarantees a wider choice and maximum results and also offers several other advanced functions that speed up and simplify accounting work considerably.
Export procedure from Cler Bank
Export your bank transactions in CSV format by accessing your online account.
- Open the Accounts section and select the account for which you want to export movements.
- Export your account movements by choosing *.csv format.
- Save the file to your computer.
- We recommend saving the file somewhere you can easily find it later and not opening it before importing.
Import procedure
- From the Actions menu > Import into Accounting > select 'Import: Transactions' from the pull-down menu.
- Select the extension to use, in this case "Cler Bank - Import movements .csv (Banana+ Advanced)".
- Use the Browse button to select the file from which you want to import the movements.
- Press the OK button.
Error messages
- Unrecognized .csv file format: The format of the .csv file you are trying to import does not match any of the formats associated with this extension:
- Check that you have selected the correct file.
- If the file you chose is correct, our extension may need to be updated.
- This extension requires Banana Accounting+ Advanced plan: You are attempting to use the extension with a license other than the one requested. Please switch to the Advanced plan to use the features of this extension.
Send feedback
The format of the *.csv file may be updated and the extension no longer works properly. Send us feedback including a sample file (.csv) with the new format and we will update the import extension.
Clientis Bank Aareland - Import movements .csv (Banana+ Advanced)
Clientis Bank Aareland - Import movements .csv (Banana+ Advanced)This import extension allows you to import Clientis Bank Aareland transactions into Banana. You can install the extension from the menu Extensions->Manage Extensions.
Refer to the documentation in German: Clientis Bank Aareland - Bewegungen importieren .csv (Banana+ Advanced)
Corner Bank - Import transactions .csv (Banana+ Advanced)
Corner Bank - Import transactions .csv (Banana+ Advanced)The .csv format is different for each bank and is updated and changed regularly. On this page you will find the most recent extension for importing the Cornèr Bank .csv format. This import extension allows you to import Cornèr Bank transactions into Banana Accounting Plus. The extension can be installed from the Extensions menu > Manage Extensions.
Requirements for use
- Banana accounting Plus with the Advanced Plan.
- Cornèr Bank also provides files with standard format ISO20022, which you can import with the Professional plan. To import files in this format you need to install the relevant import extension Swiss for ISO20022 Camt 052, 053, 054. If you do not find this format already available by default, you can request it from Cornèr Bank.
In some banks, the specific .csv format may offer better results. In any case, the Advanced plan guarantees a wider choice and maximum results, and also offers several other advanced functions that speed up and simplify accounting work considerably.
Export procedure
Export your banking transactions in *.csv format by accessing your online bank account.
- Open the accounts section and select the account for which you want to export movements.
- Export your account movements by choosing the *.csv format.
- Save the file on your computer.
- We recommend saving the file in a place where you can easily find it later and not opening it before importing it.
Import procedure
- Via the Actions > Import to accounting > select Import transactions box
- Choose the extension to be used, in this case 'Corner Bank - Import account statement .csv (Banana+ Advanced)'.
- With the Browse button, choose the file from which to import the transactions.
- Press OK Button.
Error Messages
- Unrecognised *.csv file format: The format of the *.csv file you are trying to import does not match any of the formats associated with this filter:
- Check that you have chosen the correct file.
- If the file you have chosen is correct, it may be that our filter requires updating.
- This extension requires Banana Accounting+ Advanced: You are trying to use the extension with a licence other than the one requested, please upgrade to the Advanced Plan to be able to use the functionality of this filter.
Send us a feedback
It may happen that the format of the *.csv file is updated and as a result the filter no longer functions correctly. Send us feedback and attach an example file (*.csv) with the new format and we will proceed to update the filter.
To import Corner card transactions see the extension Corner Card.
Corner Card - Import account statement .csv (Banana+ Advanced)
Corner Card - Import account statement .csv (Banana+ Advanced)The .csv format is different for each bank and is updated and changed regularly. On this page you will find the most recent extension for importing the Cornerd card .csv format. This import extension allows you to import Corner card transactions into Banana Accounting Plus. The extension can be installed from the Extensions menu > Manage Extensions.
Requirements for use
- Banana accounting Plus with the Advanced Plan.
- Corner Bank also provides files with standard format ISO20022, which you can import with the Professional plan. To import files in this format you need to install the relevant import extension Swiss for ISO20022 Camt 052, 053, 054. If you do not find this format already available by default, you can request it from Corner Bank.
In some banks, the specific .csv format may offer better results. In any case, the Advanced plan guarantees a wider choice and maximum results, and also offers several other advanced functions that speed up and simplify accounting work considerably.
Export procedure
Export the *.xlsx file with your transactions by logging into your ebanking: "www.cornercard.ch".
- Open the accounts section and select the account for which you want to export movements.
- Export the movements of your account by choosing the *.xlsx (Excel) format.
You can decide whether to keep the file in Excel format and later import the data by copying it from the clipboard or convert it to a *.csv file, if you want to convert it:
- Open the file and click on File > Export > Change File Type and choose the CSV (Comma delimited) (*.csv) format.
- Save the file in the new format, without modify the content.
We recommend saving the file in a place where you can easily find it later and not opening it before importing it.
Import procedure
You can import the data in two different ways.
Import *.csv file
- Via the Actions > Import to accounting > select Import transactions box
- Choose the extension to be used, in this case 'Corner Card - Import account statement .csv (Banana+ Advanced)'.
- With the Browse button, choose the file from which to import the transactions.
- Press OK Button.
Import from clipboard
- Via the Actions > Import to accounting > select Import transactions box
- Choose the extension to be used, in this case 'Corner Card - Import account statement .csv (Banana+ Advanced)'.
- Open the Excel file, press Ctrl+A to select all the data, then Ctrl+C to copy the data to the clipboard.
- In the dialog in the dialogue check the box Import data from clipboard.
- Press OK Button.

To import Corner Bank statement transactions see the extension Corner Bank.
Error Messages
- Unrecognised *.csv file format: The format of the *.csv file you are trying to import does not match any of the formats associated with this filter:
- Check that you have chosen the correct file.
- If the file you have chosen is correct, it may be that our filter requires updating.
- This extension requires Banana Accounting+ Advanced: You are trying to use the extension with a licence other than the one requested, please upgrade to the Advanced Plan to be able to use the functionality of this filter.
Send us a feedback
It may happen that the format of the *.csv file is updated and as a result the filter no longer functions correctly. Send us feedback and attach an example file (*.csv) with the new format and we will proceed to update the filter.
Credit Suisse - Import account statement .csv (Banana+ Advanced)
Credit Suisse - Import account statement .csv (Banana+ Advanced)The .csv format is different for each bank and is updated and changed regularly. On this page you will find the most recent extension for importing the Credit Suisse.csv format. This import extension allows you to import Credit Suisse transactions into Banana Accounting Plus. The extension can be installed from the Extensions menu > Manage Extensions.
Requirements for use
- Banana accounting Plus with the Advanced Plan.
- Credit Suisse upon request also provides files in standard format ISO20022 ("camt.053 SPS V08 details"), which you can import with the Professional plan. To import files in this format you need to install the relevant import extension Swiss for ISO20022 Camt 052, 053, 054. If you do not find this format already available by default, you can request it from Credit Suisse.
In some banks, the specific .csv format may offer better results. In any case, the Advanced plan guarantees a wider choice and maximum results, and also offers several other advanced functions that speed up and simplify accounting work considerably.
Export procedure
Export your banking transactions in *.csv format by accessing your online bank account.
- Open the accounts section and select the account for which you want to export movements.
- Export your account movements by choosing the *.csv format.
- Save the file on your computer.
- We recommend saving the file in a place where you can easily find it later and not opening it before importing it.
Import procedure
- Via the Actions → Import to accounting → select Import transactions box
- Choose the extension to be used, in this case 'Credit Suisse - Import account statement .csv (Banana+ Advanced)'.
- With the Browse button, choose the file from which to import the transactions.
- Press OK Button.
For more details see Import transactions page.
Error Messages
- Unrecognised *.csv file format: The format of the *.csv file you are trying to import does not match any of the formats associated with this filter:
- Check that you have chosen the correct file.
- If the file you have chosen is correct, it may be that our filter requires updating.
- This extension requires Banana Accounting+ Advanced: You are trying to use the extension with a licence other than the one requested, please upgrade to the Advanced Plan to be able to use the functionality of this filter.
Send us a feedback
It may happen that the format of the *.csv file is updated and as a result the filter no longer functions correctly. Send us feedback and attach an example file (*.csv) with the new format and we will proceed to update the filter.
EFG - Import account statement .csv (Banana+ Advanced)
EFG - Import account statement .csv (Banana+ Advanced)The .csv format is different for each bank and is updated and changed regularly. On this page you will find the most recent extension for importing the EFG .csv format. This import extension allows you to import EFG transactions into Banana Accounting Plus. The extension can be installed from the Extensions menu > Manage Extensions.
Requirements for use
- Banana Accounting Plus with the Advanced Plan.
- EFG also provides files with standard format ISO20022. To import files in this format, you can install the relevant import extension Swiss for ISO20022 Camt 052, 053, 054, also available with the Professional plan.
In some banks, the specific .csv format may offer better results. In any case, the Advanced plan guarantees a wider choice and maximum results, and also offers several other advanced functions that speed up and simplify accounting work considerably.
Export procedure
Export your banking transactions in *.csv format by accessing your online bank account.
- Open the accounts section and select the account for which you want to export movements.
- Export your account movements by choosing the *.csv format.
- Save the file on your computer.
- We recommend saving the file in a place where you can easily find it later and not opening it before importing it.
Import procedure in Banana
- Via the menu Actions > Import to accounting > select the Import transactions box.
- Choose the extension to be used, in this case EFG - Import account statement .csv (Banana+ Advanced).
- With the Browse button, choose the file from which to import the transactions.
- Press the OK button.
For more details see the Import transactions page.
Error Messages
- Unrecognised *.csv file format: The format of the *.csv file you are trying to import does not match any of the formats associated with this filter:
- Check that you have chosen the correct file.
- If the file you have chosen is correct, it may be that our filter requires updating.
- This extension requires Banana Accounting+ Advanced: You are trying to use the extension with a subscription other than the one required. Please upgrade to the Advanced Plan to be able to use the functionality of this extension.
Send us a feedback
It may happen that the format of the *.csv file is updated and, as a result, the import extension no longer functions correctly. Send us feedback and attach an example file (*.csv) with the new format; even just one transaction is enough, and we will proceed to update the extension.
Hypo Vorarlberg Bank - Import bank account statement (*.csv)
Hypo Vorarlberg Bank - Import bank account statement (*.csv)The .csv format is different for each bank and is updated and changed regularly. On this page you will find the most recent extension for importing the Hypo Vorarlberg Bank .csv format. This import extension allows you to import Hypo Vorarlberg Bank transactions into Banana Accounting Plus. The extension can be installed from the Extensions menu > Manage Extensions.
Requirements for use
- Banana Accounting Plus with the Advanced Plan.
- Hypo Vorarlberg Bank also provides files with standard format ISO20022, which you can import with the Professional plan. To import files in this format you need to install the relevant import extension Swiss for ISO20022 Camt 052, 053, 054. If you do not find this format already available by default, you can request it from Hypo Vorarlberg Bank.
In some banks, the specific .csv format may offer better results. In any case, the Advanced plan guarantees a wider choice and maximum results, and also offers several other advanced functions that speed up and simplify accounting work considerably.
For more information please to the documentation in German.
Infoniqa Sage ONE 50 - Import movements .csv (Banana+ Advanced) [BETA]
Infoniqa Sage ONE 50 - Import movements .csv (Banana+ Advanced) [BETA]Easily switch from Infoniqa to Banana Accounting, the smart alternative, with our dedicated import extension. It helps you seamlessly transfer your Infoniqa ONE 50 (formerly Sage) accounting transactions into Banana.
More and more users have asked us how to switch from Infoniqa to Banana. That’s why we developed this dedicated extension and prepared these instructions.
Banana as an alternative to Infoniqa
If you are looking for an alternative to Infoniqa, Banana Accounting offers a simple and complete solution to manage your accounting, ideal even for non-specialists.
With Banana you get:
- Ease of use thanks to the intuitive spreadsheet interface.
- Affordable annual cost.
- All accounting data clearly under control at a glance.
- Work automation with bank transaction import and rules to automatically complete missing data.
- Professional reports (balance sheet, profit and loss, etc.) at your fingertips.
- Privacy and full control: your data stays on your computer or in the cloud you choose.
Tips for switching
- If you switch to Banana at the beginning of the year (recommended):
You don’t need to import anything from Infoniqa. Simply create a new file in Banana Accounting and manually enter your opening balances and previous year’s totals. - If you switch to Banana during the year:
Follow the import procedure below to bring all your accounting transactions into Banana.
For general guidance on switching to Banana, see our Retrieving data from other programs page.
Requirements for using the extension
- Banana accounting Plus with the Advanced Plan.
- File type: double-entry accounting with VAT and multi-currency. You can either create a new file or use an existing one.
Export procedure
Export the *.csv file with your transactions by logging into Infoniqa ONE 50 platform. For more information about the export process, see: Der Dialog Buchungen exportieren (DE).
We recommend saving the file in a place where you can easily find it later and not opening it before importing it.
Import procedure
- Open your accounting file (*.ac2).
- Install the extension 'Infoniqa ONE 50 - Import movements .csv (Banana+ Advanced)' from the Extensions menu > Manage Extensions.
- Via the Actions > Import to accounting > select Import transactions in the drop down menu.
- Choose the extension to be used, in this case 'Infoniqa ONE 50 - Import movements .csv (Banana+ Advanced)'.
- With the Browse button, choose the file from which to import the transactions.
- Confirm with OK.
- Review the changes using the proposed dialog. Press OK if everything is correct otherwise press Cancel if you have seen any errors, at which point correct any errors and repeat the process from step 1.
Managing Imported Data in Banana Accounting
Once the data has been imported into Banana, some manual adjustments to the accounting may be required.
During the import process, most transactions are automatically recognized and converted according to Banana Accounting’s logic. However, in some cases, the program cannot confidently determine the correct conversion for certain operations. As a result, these transactions are imported in a “raw” format and need to be reviewed and adjusted manually.
In Banana, you can edit transactions at any time, the following sections explain how to manage the imported data across the different tables.
Accounts table
Accounts used for the transaction import but not yet in the Banana chart of accounts will automatically be added to the end of the chart of accounts. You will need to manually add the corresponding information for the newly imported accounts. Proceed as follows:
- You can move the account by repositioning it in another row.
- Check that the BClass automatically set during import is correct.
- Set the correct grouping in the Sum In column.
- Set the correct account currency code. *
*Set the correct currency code/symbol also to those accounts that were already in the chart of accounts in Banana but with a different currency than the one assigned to them in Infoniqa ONE 50.
If the accounts used in the transactions do not have a defined currency, the program sets the base currency, since the transaction file provided by Infoniqa contains no reference to the original currency of the account. For this reason, it can be a good practice to first manually complete the chart of accounts by entering the accounts along with their currencies, and then proceed with the transaction import.
For more details, visit the Accounts page.
VAT Codes table
Some of the VAT codes used in imported transactions are automatically recognized and converted into VAT codes used by Banana Accounting. Unrecognized tax codes will be added as new items at the end of the VAT Codes table. Proceed as follows:
- Complete the missing details for the VAT code and create a new tax rate in the VAT Codes table. On the following VAT Codes table page, it is explained how this table is structured.
- (RECOMMENDED) Check if the newly entered VAT rate matches one of the existing tax rates. There is likely already an identical tax code that meets your requirements. If so, you need to update the rows in the Transactions table that refer to the old VAT code and replace it with the new one. You can use the Find and Replace function for this. After replacing the VAT codes in the Transactions table, you can delete the rows with the old VAT codes.
Transactions table
Infoniqa ONE 50 exports accounting entries by splitting the net amount of the transaction and the VAT amount into separate rows.
Transactions with VAT
During import, all rows are added to the Transactions table, but this results in a duplicate VAT entry. In fact, Banana is already capable of correctly calculating and recording VAT using the VAT columns in the row with the net amount, making the specific VAT rows redundant.
However, the program cannot definitively identify which rows refer to VAT, as the accounts used may vary depending on the chart of accounts. For this reason, both rows are always imported.
You can manually remove the duplicate VAT entries using the Filter rows function:
- Open the filter rows tool and enter a search criterion, using the filter command generator provided by Banana GPT.
- Search for all rows related to VAT entries, for example by specifying the accounts used or filtering transactions that include a VAT code.
- Once the filtered list is shown, select all the rows and delete them.
- Remove the filter to view the entire content of the Transactions table again.
At this point, the duplicate VAT entries will be removed, and VAT will be correctly recorded only once for each transaction.
You might still see some errors or warnings related to VAT entries:
- VAT due not correctly recorded: this issue can be resolved by using the VAT codes set up in Banana or indicating in the VAT Codes table whether the VAT is due for a given code.
- Warning: VAT due not correctly recorded: in some transactions, the applicable VAT may appear to be entered in reverse, though this is not necessarily an error. This can happen, for example, in cancellations or adjustments.
See the VAT Management page.
Transactions using DIV
Some transactions use a placeholder account: "DIV". When these rows are imported, a row-level error is triggered indicating that the "DIV" account does not exist in the Chart of Accounts. This account is intentionally not included in the Chart of Accounts in order to make it immediately clear which transactions use this placeholder, thereby making it easier to later replace it with the appropriate account.
In some cases, the rows containing "DIV" represent only the total of a multi-line operation. In such cases, the row can simply be deleted manually, as the detailed transactions are already present. In other cases, the placeholder is used as the counter-account of a single transaction. In these cases, "DIV" should be replaced with the correct account (usually already visible in the following transaction).
Check accounting
- Use the Balance column to check if the transactions are booked correctly.
- Perform a general check by Checking and recalculating your accounting file.
Error Messages
- Unrecognised file format: The format of the file you are trying to import does not match any of the formats associated with this filter:
- Check that you have chosen the correct file.
- If the file you selected is correct, it may be that our extension requires updating.
- This extension requires Banana Accounting+ Advanced: You are trying to use the extension with a licence other than the one required. Please switch to the Advanced Plan to use this extensions' features.
If you encounter other errors or have questions about the import process, feel free to send us a feedback.
We are here for you - Send us a Feedback
We are available for any questions or assistance.
It is possible that the format of the .csv file will be updated, and as a result, the extension may no longer function correctly. Please send us a feedback and include an example of the (*.csv) file with the new format, so that we can update the filter accordingly.
This is a BETA version. This means that it is not the final version of the filter. Contact us if you have suggestions for the following improvements:
- Tips on how to improve import.
- Test files exported by Infoniqa ONE 50(*.xlsx/*.csv).
- Any errors that were not reported or described in the documentation.
Switch to Banana Accounting Plus today
Discover how easy it is to manage your accounting with Banana and save time every day!
Switch now to Banana Accounting Plus
Let us know after purchase to claim your 2 free months
Luzerner Kantonalbank - Import account statement .csv (Banana+ Advanced)
Luzerner Kantonalbank - Import account statement .csv (Banana+ Advanced)This import extension allows you to import Luzerner Kantonalbank transactions into Banana. You can install the extension from the menu Extensions->Manage Extensions.
Refer to the documentation in German: Luzerner Kantonalbank - Bewegungen importieren .csv (Banana+ Advanced)
Migros Bank - Import account statement .csv (Banana+ Advanced)
Migros Bank - Import account statement .csv (Banana+ Advanced)The .csv format is different for each bank and is updated and changed regularly. On this page you will find the most recent extension for importing the Migros Bank .csv format. This import extension allows you to import Migros Bank transactions into Banana Accounting Plus. The extension can be installed from the Extensions menu > Manage Extensions.
Requirements for use
- Banana accounting Plus with the Advanced Plan.
- Migros Bank upon request also provides files in standard format ISO20022 ("camt.053 SPS V08 details"), which you can import with the Professional plan. To import files in this format you need to install the relevant import extension Swiss for ISO20022 Camt 052, 053, 054. If you do not find this format already available by default, you can request it from Migros Bank.
In some banks, the specific .csv format may offer better results. In any case, the Advanced plan guarantees a wider choice and maximum results, and also offers several other advanced functions that speed up and simplify accounting work considerably.
Export procedure
Export your banking transactions in *.csv format by accessing your online bank account.
- Open the accounts section and select the account for which you want to export movements.
- Export your account movements by choosing the *.csv format.
- Save the file on your computer.
- We recommend saving the file in a place where you can easily find it later and not opening it before importing it.
Import procedure
- Via the Actions → Import to accounting → select Import transactions box
- Choose the extension to be used, in this case 'Migros Bank - Import account statement .csv (Banana+ Advanced)'.
- With the Browse button, choose the file from which to import the transactions.
- Press OK Button.
For more details see Import transactions page.
Error Messages
- Unrecognised *.csv file format: The format of the *.csv file you are trying to import does not match any of the formats associated with this filter:
- Check that you have chosen the correct file.
- If the file you have chosen is correct, it may be that our filter requires updating.
- This extension requires Banana Accounting+ Advanced: You are trying to use the extension with a licence other than the one requested, please upgrade to the Advanced Plan to be able to use the functionality of this filter.
Send us a feedback
It may happen that the format of the *.csv file is updated and as a result the filter no longer functions correctly. Send us feedback and attach an example file (*.csv) with the new format and we will proceed to update the filter.
Neon Switzerland AG - Import transactions .csv [BETA]
Neon Switzerland AG - Import transactions .csv [BETA]The .csv format is different for each bank and is updated and changed regularly. On this page you will find the most recent extension for importing the Neon Switzerland AG .csv format. This import extension allows you to import Neon transactions into Banana Accounting Plus. The extension can be installed from the Extensions menu > Manage Extensions.
Requirements for use
- Banana accounting Plus with the Advanced Plan.
In some banks, the specific .csv format may offer better results. In any case, the Advanced plan guarantees a wider choice and maximum results, and also offers several other advanced functions that speed up and simplify accounting work considerably.
Export procedure
Export your banking transactions in *.csv format by accessing your online bank account.
- Open the accounts section and select the account for which you want to export movements.
- Export your account movements by choosing the *.csv format.
- Save the file on your computer.
- We recommend saving the file in a place where you can easily find it later and not opening it before importing it.
Import procedure
- Via the Actions → Import to accounting → select Import transactions box
- Choose the extension to be used, in this case 'Neon Switzerland AG - Import account statement .csv (Banana+ Advanced)'.
- With the Browse button, choose the file from which to import the transactions.
- Press OK Button.
For more details see import transactions page.
Error Messages
- Unrecognised *.csv file format: The format of the *.csv file you are trying to import does not match any of the formats associated with this filter:
- Check that you have chosen the correct file.
- If the file you have chosen is correct, it may be that our filter requires updating.
- This extension requires Banana Accounting+ Advanced: You are trying to use the extension with a licence other than the one requested, please upgrade to the Advanced Plan to be able to use the functionality of this filter.
Send us a feedback
It may happen that the format of the *.csv file is updated and as a result the filter no longer functions correctly. Send us feedback and attach an example file (*.csv) with the new format and we will proceed to update the filter.
Nidwaldner KantonalBank - Import account statement .csv (Banana+ Advanced)
Nidwaldner KantonalBank - Import account statement .csv (Banana+ Advanced)This import extension allows you to import Nidwaldner Kantonalbank transactions into Banana. You can install the extension from the menu Extensions->Manage Extensions.
Refer to the documentation in German: NidwaldnerKantonalbank - Bewegungen importieren .csv (Banana+ Advanced)
Postfinance - Import account statement .csv (Banana+ Advanced)
Postfinance - Import account statement .csv (Banana+ Advanced)The .csv format is different for each bank and is updated and changed regularly. On this page you will find the most recent extension for importing the Postfinance .csv format. This import extension allows you to import Postfinance transactions into Banana Accounting Plus. The extension can be installed from the Extensions menu > Manage Extensions.
Requirements for use
- Banana Accounting Plus with the Advanced Plan.
- Postfinance also provides files with standard format ISO20022, which you can import with the Professional plan. To import files in this format you need to install the relevant import extension Swiss for ISO20022 Camt 052, 053, 054. If you do not find this format already available by default, you can request it from Postfinance.
In some banks, the specific .csv format may offer better results. In any case, the Advanced plan guarantees a wider choice and maximum results, and also offers several other advanced functions that speed up and simplify accounting work considerably.
Export procedure from Postfinance
Export your banking transactions in .csv format by accessing your online bank account.
- Open the accounts section and select the account for which you want to export movements.
- Export your account movements by choosing the .csv format.
- Save the file on your computer.
- We recommend saving the file in a place where you can easily find it later and not opening it before importing it.
Import procedure into Banana Plus
- Via the Actions > Import to accounting > select Import: Transactions box
- Choose the extension to be used, in this case 'Postfinance - Import account statement *.csv (Banana+ Advanced)'
- With the Browse button, choose the file from which to import the transactions.
- Press the OK button to confirm.
For more details see the Import transactions page.
Error Messages
- Unrecognised .csv file format: The format of the *.csv file you are trying to import does not match any of the formats associated with this filter:
- Check that you have chosen the correct file.
- If the file you have chosen is correct, it may be that our filter requires updating.
- This extension requires Banana Accounting+ Advanced: You are trying to use the extension with a subscription other than the one requested. Please upgrade to the Advanced Plan to enable the functionality of this extension.
Send us a feedback
It may happen that the format of the *.csv file is updated and as a result the filter no longer functions correctly. Send us your Feedback and attach an example file (*.csv) with the new format (a single transactions will be enough) and we will proceed to update the extension.
Raiffeisen - Import account statement .csv (Banana+ Advanced)
Raiffeisen - Import account statement .csv (Banana+ Advanced)The .csv format is different for each bank and is updated and changed regularly. On this page you will find the most recent extension for importing the Raiffeisen .csv format. This import extension allows you to import Raiffeisen transactions into Banana Accounting Plus. The extension can be installed from the Extensions menu > Manage Extensions.
Requirements for use
- Banana accounting Plus with the Advanced Plan.
- Raiffeisen also provides files with standard format ISO20022, which you can import with the Professional plan. To import files in this format you need to install the relevant import extension Swiss for ISO20022 Camt 052, 053, 054. If you do not find this format already available by default, you can request it from Raiffeisen.
In some banks, the specific .csv format may offer better results. In any case, the Advanced plan guarantees a wider choice and maximum results, and also offers several other advanced functions that speed up and simplify accounting work considerably.
Export procedure
Export your banking transactions in *.csv format by accessing your online bank account.
- Open the accounts section and select the account for which you want to export movements.
- Export your account movements by choosing the *.csv format.
- Save the file on your computer.
- We recommend saving the file in a place where you can easily find it later and not opening it before importing it.
Import procedure
- Via the Actions → Import to accounting → select Import transactions box
- Choose the extension to be used, in this case 'Raiffeisen - Import account statement .csv (Banana+ Advanced)'.
- With the Browse button, choose the file from which to import the transactions.
- Press OK Button.
For more details see import transactions page.
Error Messages
- Unrecognised *.csv file format: The format of the *.csv file you are trying to import does not match any of the formats associated with this filter:
- Check that you have chosen the correct file.
- If the file you have chosen is correct, it may be that our filter requires updating.
- This extension requires Banana Accounting+ Advanced: You are trying to use the extension with a licence other than the one requested, please upgrade to the Advanced Plan to be able to use the functionality of this filter.
Send us a feedback
It may happen that the format of the *.csv file is updated and as a result the filter no longer functions correctly. Send us feedback and attach an example file (*.csv) with the new format and we will proceed to update the filter.
Schwyzer KantonalBank - Import movements .csv (Banana+ Advanced)
Schwyzer KantonalBank - Import movements .csv (Banana+ Advanced)This import extension allows you to import Schwyzer KantonalBank transactions into Banana. You can install the extension from the menu Extensions->Manage Extensions.
Refer to the documentation in German: Schwyzer KantonalBank - Import movements .csv (Banana+ Advanced).
SmallInvoice - Import data .csv
SmallInvoice - Import data .csvThis extension allows you to quickly import all your data from SmallInvoice. Start by exporting your files in . csv format, then import all your information into Banana Accounting Plus. Use the Estimates and Invoices application to open the old invoices you have imported and create new ones, update your contacts, modify your products and services whenever you need to.
You can import:
- The list of your Contacts
- The list of your Products
- The list of your Services
- The list of your Invoices
Follow the steps below, most of the process only needs to be done at the beginning, after which you only need to start the extension each time you want to import a file.
Export data from SmallInvoice
- Log in to SmallInvoice.
- Proceed with the export, repeating the operation for Contacts, Products, and Services.
- Go to the specific section, for example Contacts (Customer or Creditor)
- Click on Export
- Tick all the columns you use (it is better to tick all the columns).
- Choose the CSV format.
- Save the file on your computer. As soon as you have saved the file or received it by email, rename the file with the content type, e.g. "contacts.csv", "products.csv", "services.csv".
Export your invoices
- In SmallInvoice go to the "Invoices" section.
- Click on Export.
- As export type select "Detail (a row/item)".
- Under "Status" check the box "All".
- Tick all the columns you use (best to tick all).
- Choose the CSV format.
- Save the file on your computer by renaming it for example "invoices.csv".
Import your existing data
- Create a new file of type Estimates and Invoices or use an existing one.
- In the menu select Extensions->Manage Extensions
- Search for the name of the extension among the online ones and click on Install
- Start the extension from the menu Extensions > SmallInvoice - Import data .csv and select your .csv file.
- Check the changes proposed and press OK, at this point the import of your data in banana is successful.
Repeat the last two points of the list for each .csv file you want to import. Import Contacts before Invoices, the program automatically takes over the data of your contacts when you import invoices, if the invoices show a contact that does not exist in the "Contacts" table, the program may give you an error.
For importing, we recommend the use of the new Banana Plus Dev Channel version.
Messages
- Contact id not found in contact table. Did you import the contacts? It is important to import the contacts first and then the invoices, the program automatically takes the customer data from the Contacts table when you import your invoices, if the Contact id is not found within the Contacts table, the program will give an error.
- The calculated amount is different from the amount in your file, invoice nr xxx. The amount in your CSV file is different from the amount calculated by the program, this is probably due to a rounding problem, with the new version of the Estimates and Invoices application this problem will be resolved.
- You are trying to import a 'Single line' invoice, import a 'Detailed' invoice instead. You tried to import an invoice with an invalid format. When exporting invoices from SmallInvoice make sure you select the Detailed export type.
Swisscard - Import movements .csv (Banana+ Advanced)
Swisscard - Import movements .csv (Banana+ Advanced)The .csv format is different for each bank and is updated and changed regularly. On this page you will find the most recent extension for importing the Swisscard.csv format. This import extension allows you to import Swisscard transactions into Banana Accounting Plus. The extension can be installed from the Extensions menu > Manage Extensions.
Requirements for use
- Banana accounting Plus with the Advanced Plan.
Export procedure
Export the *.csv or *.xlsx file with your movements by logging into Swisscard portal.
- Open the accounts section and select the account for which you want to export movements.
- Export the movements of your account by choosing the *.csv or *.xlsx (Excel) format.
- We recommend saving the file in a place where you can easily find it later and not opening it before importing it.
Import procedure
You can import the data in two different ways.
Import *.csv file
- Via the Actions > Import to accounting > select Import transactions box
- Choose the extension to be used, in this case 'Swisscard - Import movements .csv (Banana+ Advanced)'.
- With the Browse button, choose the file from which to import the transactions.
- Press OK Button.
Import from clipboard (*.xlsx file)
- Via the Actions > Import to accounting > select Import transactions box
- Choose the extension to be used, in this case 'Swisscard - Import transactions (*.csv)'.
- Open the Excel file, press Ctrl+A to select all the data, then Ctrl+C to copy the data to the clipboard.
- In the dialog in the dialogue check the box Import data from clipboard.
- Press OK Button.
In the transactions table, if it is not already displayed, also enable the column 'External Reference' with the command the Columns Setup command, so that you have a complete overview of the imported data.
For more details see Import transactions page.
Error Messages
- Unrecognised *.csv file format: The format of the *.csv file you are trying to import does not match any of the formats associated with this filter:
- Check that you have chosen the correct file.
- If the file you have chosen is correct, it may be that our filter requires updating.
- This extension requires Banana Accounting+ Advanced: You are trying to use the extension with a licence other than the one requested, please upgrade to the Advanced Plan to be able to use the functionality of this filter.
Send us a feedback
It may happen that the format of the *.csv file is updated and as a result the filter no longer functions correctly. Send us feedback and attach an example file (*.csv) with the new format and we will proceed to update the filter.
Twint - Import movements .csv (Banana+ Advanced) [BETA]
Twint - Import movements .csv (Banana+ Advanced) [BETA]This import extension allows you to import the transactions from Twint Merchant portal into Banana. The advantage of importing transactions directly from Twint compared to downloading them from the bank portal is that the fees applied to a transaction are visible.
You can install the extension from the menu Extensions → Manage Extensions.
Requirements for use
- Banana accounting Plus with the Advanced Plan.
- Use a double entry or income and expenses accounting
Export procedure
Export your banking transactions in *.csv format by accessing your Twint account (Business customers).
- Find your movements.
- Export your account movements by choosing the *.csv format.
- Save the file on your computer.
- We recommend saving the file in a place where you can easily find it later and not opening it before importing it.
For more information see Twint documentation.
Import procedure
The import procedure is similar for both file types
- Via the Actions → Import to accounting → select Import transactions box
- Choose the extension to be used, in this case 'Twint- Import movements .csv (Banana+ Advanced) [BETA]'.
- With the Browse button, choose the file from which to import the transactions.
- Press OK Button.
In the settings dialogue you must enter the date format and the accounts to be used to record twint movements in the accounts:
- Twint Account: Account where the amount is credited.
- Twint In: Revenue account, this account records the gross amount paid by the customer
- Twint Fee: Cost account to record transaction-related expenses retained by Twint.
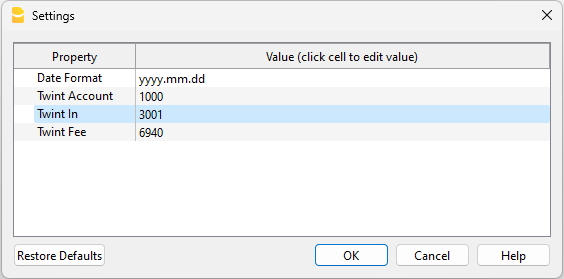
The accounts inserted must exists in your chart of accounts, if you do not yet have any suitable accounts, you can create new ones in your chart of accounts.
For more details see import transactions page.
Error Messages
- Unrecognised *.csv file format: The format of the *.csv file you are trying to import does not match any of the formats associated with this filter:
- Check that you have chosen the correct file.
- If the file you have chosen is correct, it may be that our filter requires updating.
- This extension requires Banana Accounting+ Advanced: You are trying to use the extension with a licence other than the one requested, please upgrade to the Advanced Plan. to be able to use the functionality of this filter.
Send us a feedback
This extension is a BETA version, we welcome suggestions for improvement.
It may happen that the format of the csv file is updated and as a result the filter no longer functions correctly. Send us feedback and attach an example file (.csv) with the new format and we will proceed to update the filter.
Thurgauer Kantonalbank TKB - Import bank account statement .csv (Banana+ Advanced)
Thurgauer Kantonalbank TKB - Import bank account statement .csv (Banana+ Advanced)The .csv format is different for each bank and is updated and changed regularly. On this page you will find the most recent extension for importing the Thurgauer Kantonalbank .csv format. This import extension allows you to import Thurgauer Kantonalbank transactions into Banana Accounting Plus.
The extension can be installed from the Extensions menu > Manage Extensions.
Requirements for use
- Banana Accounting Plus with the Advanced Plan.
- Thurgauer Kantonalbank also provides files with standard format ISO20022, which you can import with the Professional plan. To import files in this format you need to install the relevant import extension Swiss for ISO20022 Camt 052, 053, 054. If you do not find this format already available by default, you can request it from Thurgauer Kantonalbank.
For some banks, the specific .csv format may offer better results. In any case, the Advanced plan guarantees a wider choice and maximum results and also offers several other advanced functions that speed up and simplify accounting work considerably.
Export procedure from Thurgauer Kantonalbank (TKB)
Export your bank transactions in CSV format by accessing your online account.
- Open the Accounts section and select the account for which you want to export movements.
- Export your account movements by choosing *.csv format.
- Save the file to your computer.
- We recommend saving the file somewhere you can easily find it later and not opening it before importing.
Import procedure
- From the Actions menu > Import into Accounting > select 'Import: Transactions' from the pull-down menu.
- Select the extension to use, in this case "Thurgauer Kantonalbank - Import account statement (*.csv)".
- Use the Browse button to select the file from which you want to import the movements.
- Press the OK button.
Error messages
- Unrecognized .csv file format: The format of the .csv file you are trying to import does not match any of the formats associated with this extension:
- Check that you have selected the correct file.
- If the file you chose is correct, our extension may need to be updated.
- This extension requires Banana Accounting+ Advanced plan: You are attempting to use the extension with a license other than the one requested. Please switch to the Advanced plan to use the features of this extension.
Send feedback
The format of the *.csv file may be updated and the extension no longer works properly. Send us feedback including a sample file (.csv) with the new format and we will update the import extension.
UBS - Import account statement .csv (Banana+ Advanced)
UBS - Import account statement .csv (Banana+ Advanced)The .csv format is different for each bank and is updated and changed regularly. On this page you will find the most recent extension for importing the UBS .csv format. This import extension allows you to import UBS transactions into Banana Accounting Plus. The extension can be installed from the Extensions menu > Manage Extensions.
Requirements for use
- Banana accounting Plus with the Advanced Plan.
- UBS also provide files with standard format ISO20022. To import files with this format you can install the relative Import extension Swiss for ISO20022 Camt 052, 053, 054, which is available also with the Professional plan.
In some banks, the specific .csv format may offer better results. In any case, the Advanced plan guarantees a wider choice and maximum results, and also offers several other advanced functions that speed up and simplify accounting work considerably.
Export procedure from UBS
Export your banking transactions in .csv format by accessing your online bank account.
For each account, UBS allows you to export two different types of .csv files:
- The first type of file contains transactions sorted by date of payment. It includes all transactions, even those not yet recorded by the bank. To obtain this file you must:
- Select "Accounts and Cards" on the main menu.
- Select "Overview".
- Select the account or card for wich you would like to export the transactions.
- Click on "Transactions" button.
- Click on the Excel Icon (CSV).
- The second file type contains more specific information about a transactions and these are sorted according to the date on which the payment was recorded by the bank, only movements already recorded by the bank appear in this file. To export this file you must:
- Select "Assets and Investments" on the main menu.
- Select "Accounts".
- Select the account for wich you would like to export the transactions.
- Click on the Excel Icon (CSV).
We recommend saving the file in a place where you can easily find it later and not opening it before importing it.
Import procedure into Banana
- Via the Actions → Import to accounting → select Import transactions box
- Choose the extension to be used, in this case UBS - Import account statement .csv (Banana+ Advanced).
- With the Browse button, choose the file from which to import the transactions.
- Press OK Button.
For more details see Import transactions page.
Error Messages
- Unrecognised .csv file format: The format of the *.csv file you are trying to import does not match any of the formats associated with this filter:
- Check that you have chosen the correct file.
- If the file you have chosen is correct, it may be that our filter requires updating.
- This extension requires Banana Accounting+ Advanced: You are trying to use the extension with a subscription other than the one requested. Please upgrade to the Advanced Plan to enable the functionality of this extension.
Send us a feedback
It may happen that the format of the *.csv file is updated and as a result the filter no longer functions correctly. Send us your Feedback and attach an example file (*.csv) with the new format (a single transactions will be enough) and we will proceed to update the extension.
VZ Depotbank - Import account statement (.xlsx/.csv) (Banana+ Advanced)
VZ Depotbank - Import account statement (.xlsx/.csv) (Banana+ Advanced)The .csv format is different for each bank and is updated and changed regularly. On this page you will find the most recent extension for importing the VZ Depotbank .xlsx/.csv format. This import extension allows you to import VZ Depotbank transactions into Banana Accounting Plus. The extension can be installed from the Extensions menu > Manage Extensions.
Requirements for use
- Banana accounting Plus with the Advanced Plan.
- VZ Depotbank should also provides files with standard format ISO20022, which you can import with the Professional plan. To import files in this format you need to install the relevant import extension Swiss for ISO20022 Camt 052, 053, 054. If you do not find this format already available by default, you can request it from the bank
In some banks, the specific .csv format may offer better results. In any case, the Advanced plan guarantees a wider choice and maximum results, and also offers several other advanced functions that speed up and simplify accounting work considerably.
Export procedure
Export the *.xlsx file with your transactions by logging into your ebanking.
- Open the accounts section and select the account for which you want to export movements.
- Export the movements of your account by choosing the *.xlsx (Excel) format.
You can decide whether to keep the file in Excel format and later import the data by copying it from the clipboard or convert it to a *.csv file, if you want to convert it:
- Open the file and click on File->Export->Change File Type and choose the CSV (Comma delimited) (*.csv) format.
- Save the file in the new format, without modify the content.
We recommend saving the file in a place where you can easily find it later and not opening it before importing it.
Import procedure
You can import the data in two different ways.
Import *.csv file
- Via the Actions → Import to accounting → select Import transactions box
- Choose the extension to be used, in this case 'VZ Depotbank - Import account statement (.xlsx/.csv) (Banana+ Advanced)'.
- With the Browse button, choose the file from which to import the transactions.
- Press OK Button.
Import from clipboard
- Via the Actions → Import to accounting → select Import transactions box
- Choose the extension to be used, in this case 'VZ Depotbank - Import account statement (.xlsx/.csv) (Banana+ Advanced)'.
- Open the Excel file, press Ctrl+A to select all the data, then Ctrl+C to copy the data to the clipboard.
- In the dialog in the dialogue check the box Import data from clipboard.
- Press OK Button.
For more details see Import transactions page.
Error Messages
- Unrecognised *.csv file format: The format of the .xlsx/.csv file you are trying to import does not match any of the formats associated with this filter:
- Check that you have chosen the correct file.
- If the file you have chosen is correct, it may be that our filter requires updating.
- This extension requires Banana Accounting+ Advanced: You are trying to use the extension with a licence other than the one requested, please upgrade to the Advanced Plan to be able to use the functionality of this filter.
Send us a feedback
It may happen that the format of the .xlsx/.csv file is updated and as a result the filter no longer functions correctly. Send us feedback and attach an example file (*.xlsx/*.csv) with the new format and we will proceed to update the filter.
Valiant - Import movements .csv (Banana+ Advanced)
Valiant - Import movements .csv (Banana+ Advanced)The .csv format is different for each bank and is updated and changed regularly. On this page you will find the most recent extension for importing the Valiant Bank .csv format. This import extension allows you to import Valiant Bank transactions into Banana Accounting Plus. The extension can be installed from the Extensions menu > Manage Extensions.
Requirements for use
- Banana Accounting Plus with the Advanced Plan.
- Valiant Bank also provides files with standard format ISO20022, which you can import with the Professional plan. To import files in this format you need to install the relevant import extension Swiss for ISO20022 Camt 052, 053, 054. If you do not find this format already available by default, you can request it from Valiant Bank.
In some banks, the specific .csv format may offer better results. In any case, the Advanced plan guarantees a wider choice and maximum results, and also offers several other advanced functions that speed up and simplify accounting work considerably.
For more information please to the documentation in German.
Viseca (One) - Import movements .csv (Banana+ Advanced) [BETA]
Viseca (One) - Import movements .csv (Banana+ Advanced) [BETA]The .csv format is different for each bank and is updated and changed regularly. On this page you will find the most recent extension for importing the Viseca (one).csv format. This import extension allows you to import Viseca (one)transactions into Banana Accounting Plus. The extension can be installed from the Extensions menu > Manage Extensions.
Requirements for use
- Banana accounting Plus with the Advanced Plan.
- Viseca (One) only offers export in .csv format to business customers.
Export procedure
Export the *.csv or *.xlsx file with your movements by logging into Viseca (one) portal.
- Open the accounts section and select the account for which you want to export movements.
- Export the movements of your account by choosing the *.csv or *.xlsx (Excel) format.
- We recommend saving the file in a place where you can easily find it later and not opening it before importing it.
Import procedure
You can import the data in two different ways.
Import *.csv file
- Via the Actions > Import to accounting > select Import transactions box
- Choose the extension to be used, in this case 'Viseca (One) - Import movements .csv (Banana+ Advanced) [BETA]'.
- With the Browse button, choose the file from which to import the transactions.
- Press OK Button.
Import from clipboard (*.xlsx file)
- Via the Actions > Import to accounting > select Import transactions box
- Choose the extension to be used, in this case 'Viseca (One) - Import movements .csv (Banana+ Advanced) [BETA]'.
- Open the Excel file, press Ctrl+A to select all the data, then Ctrl+C to copy the data to the clipboard.
- In the dialog in the dialogue check the box Import data from clipboard.
- Press OK Button.
In the transactions table, if it is not already displayed, also enable the column 'External Reference' with the command the Columns Setup command, so that you have a complete overview of the imported data.
For more details see Import transactions page.
Error Messages
- Unrecognised *.csv file format: The format of the *.csv file you are trying to import does not match any of the formats associated with this filter:
- Check that you have chosen the correct file.
- If the file you have chosen is correct, it may be that our filter requires updating.
- This extension requires Banana Accounting+ Advanced: You are trying to use the extension with a licence other than the one requested, please upgrade to the Advanced Plan to be able to use the functionality of this filter.
Send us a feedback
It may happen that the format of the *.csv file is updated and as a result the filter no longer functions correctly. Send us feedback and attach an example file (*.csv) with the new format and we will proceed to update the filter.
Yuh - Import movements .csv (Banana+ Advanced)
Yuh - Import movements .csv (Banana+ Advanced)On this page you will find the most recent extension for importing the Yuh finance app .csv format. This import extension allows you to import Yuh app transactions into Banana Accounting Plus. The extension can be installed from the Extensions menu > Manage Extensions.
Requirements for use
- Banana accounting Plus with the Advanced Plan.
Export procedure
Export your transactions in *.csv format by accessing your Yuh account.
- Open the accounts section and select the 'Documents' item, then select 'Request' (top-left on iOS) or 'REQUEST DOCUMENT' (bottom right on Android).
- Tap the 'Account activities export' option and then the Next button.
- Select your desired export filter options and follow the options through until you are taken to the Documents section where your CSV is added.
- Save the file on your computer.
- We recommend saving the file in a place where you can easily find it later and not opening it before importing it.
Import procedure
- Via the Actions → Import to accounting → select Import transactions box
- Choose the extension to be used, in this case 'Yuh Transactions - Import account statement .csv (Banana+ Advanced)'.
- With the Browse button, choose the file from which to import the transactions.
- Press OK Button.
For more details see import transactions page.
Error Messages
- Unrecognised *.csv file format: The format of the *.csv file you are trying to import does not match any of the formats associated with this filter:
- Check that you have chosen the correct file.
- If the file you have chosen is correct, it may be that our filter requires updating.
- This extension requires Banana Accounting+ Advanced: You are trying to use the extension with a licence other than the one requested, please upgrade to the Advanced Plan to be able to use the functionality of this filter.
Send us a feedback
It may happen that the format of the *.csv file is updated and as a result the filter no longer functions correctly. Send us feedback and attach an example file (*.csv) with the new format and we will proceed to update the filter.
Zuger Kantonalbank - Import bank account statement .csv (Banana+ Advanced)
Zuger Kantonalbank - Import bank account statement .csv (Banana+ Advanced)The .csv format is different for each bank and is updated and changed regularly. On this page you will find the most recent extension for importing the Zuger Kantonalbank .csv format. This import extension allows you to import Zuger Kantonalbank transactions into Banana Accounting Plus. The extension can be installed from the Extensions menu > Manage Extensions.
Requirements for use
- Banana Accounting Plus with the Advanced Plan.
- Zuger Kantonalbank also provides files with standard format ISO20022, which you can import with the Professional plan. To import files in this format you need to install the relevant import extension Swiss for ISO20022 Camt 052, 053, 054. If you do not find this format already available by default, you can request it from Zuger Kantonalbank.
In some banks, the specific .csv format may offer better results. In any case, the Advanced plan guarantees a wider choice and maximum results, and also offers several other advanced functions that speed up and simplify accounting work considerably.
For more information please to the documentation in German.
Zürcher Kantonalbank ZKB - Import bank account statement .csv (Banana+ Advanced)
Zürcher Kantonalbank ZKB - Import bank account statement .csv (Banana+ Advanced)The .csv format is different for each bank and is updated and changed regularly. On this page you will find the most recent extension for importing the Zürcher Kantonalbank .csv format. This import extension allows you to import Zürcher Kantonalbank transactions into Banana Accounting Plus. The extension can be installed from the Extensions menu > Manage Extensions.
Requirements for use
- Banana Accounting Plus with the Advanced Plan.
- Zürcher Kantonalbank also provides files with standard format ISO20022, which you can import with the Professional plan. To import files in this format you need to install the relevant import extension Swiss for ISO20022 Camt 052, 053, 054. If you do not find this format already available by default, you can request it from Zürcher Kantonalbank.
In some banks, the specific .csv format may offer better results. In any case, the Advanced plan guarantees a wider choice and maximum results, and also offers several other advanced functions that speed up and simplify accounting work considerably.
For more information please to the documentation in German.
Timesheet Template Switzerland
Time sheet - hourly salary 2026
Time sheet - hourly salary 2026In this case, the employee is paid according to the hours actually worked.
Important: The festive days contained in the model are to be updated manually according to your canton.
To use the Time Sheet application, download the available file and follow the instructions on our page How to start a Time Sheet.
Time sheet - hourly salary 2025
Time sheet - hourly salary 2025In this case, the employee is paid according to the hours actually worked.
Important: The festive days contained in the model are to be updated manually according to your canton.
To use the Time Sheet application, download the available file and follow the instructions on our page How to start a Time Sheet.
Time sheet - systematic 2025 - Switzerland
Time sheet - systematic 2025 - SwitzerlandWork hours are recorded with start and end times; notes can be written down, reimbursements made, days of illness or additional work can be recorded. The program calculates the totals and any differences with the due hours.
Important: The festive days contained in the model are to be updated manually according to your canton.
To use the Time Sheet application, download the available file and follow the instructions on our page How to start a Time Sheet.
Time sheet - systematic 2026 - Switzerland
Time sheet - systematic 2026 - SwitzerlandWork hours are recorded with start and end times; notes can be written down, reimbursements made, days of illness or additional work can be recorded. The program calculates the totals and any differences with the due hours.
Important: The festive days contained in the model are to be updated manually according to your canton.
To use the Time Sheet application, download the available file and follow the instructions on our page How to start a Time Sheet.
Time sheet - simplified 2025
Time sheet - simplified 2025In this template, the worked hours are recorded daily, as well as notes, refunds, sick days and extra work.
The program automatically calculates the totals and any differences with the due hours.
Important: The festive days contained in the model are to be updated manually according to your canton.
To use the Time Sheet application, download the available file and follow the instructions on our page How to start a Time Sheet.
Time sheet - simplified 2026
Time sheet - simplified 2026In this template, the worked hours are recorded daily, as well as notes, refunds, sick days and extra work.
The program automatically calculates the totals and any differences with the due hours.
Important: The festive days contained in the model are to be updated manually according to your canton.
To use the Time Sheet application, download the available file and follow the instructions on our page How to start a Time Sheet.