In this article
Free text letter (Banana+) [BETA]
The extension presented below allows you to create a free text letter for the members registered in Banana Accounting Plus (Accounts table).
It is essential to have the members set up with cost centres, using cost centre CC3.
Prerequisites
To use this extension you must:
- Download and install Banana Accounting+ (version 10.1.7 or later).
- Have the Banana Accounting Plus Advanced plan.
Beta version
The extension is currently released as a beta version. This means that some details may change without notice.
Installing and using the extension
- Install Banana Accounting Plus Dev-Channel
- Install the Letter extension (Banana+). Visit the Manage extensions documentation.
- Once installed, the extension will be visible in the Extensions menu where it can be executed.
Create a letter
- Enter the Association data in the Address tab of the accounting file.
- From the Extensions menu select the extension Letter (Banana+) .
- Complete the fields in the Settings dialogue and click OK.
Settings dialogue
Run the extension from the Extensions menu > Letter (Banana Plus).
The extension Settings dialogue will open, where you can define the information required to create the letter printout.
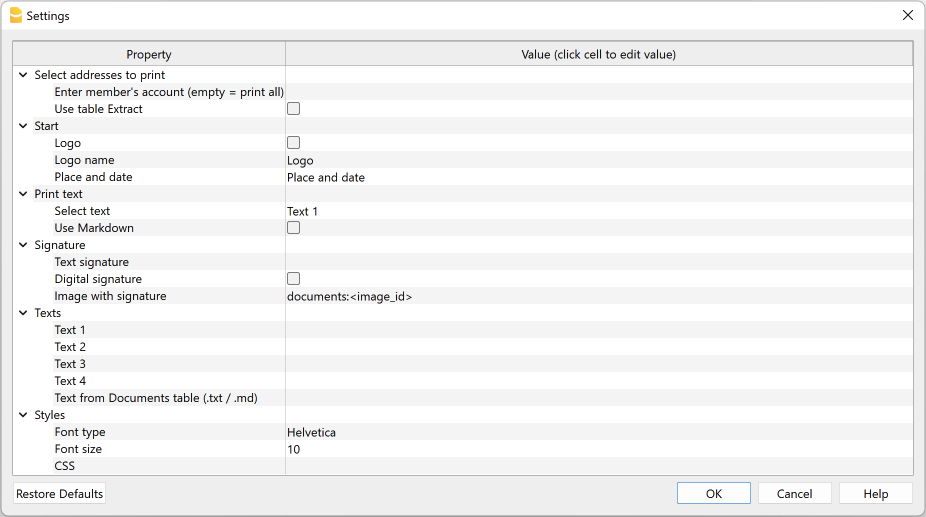
For data entry, click in the field of the Value column.
The settings are divided into the following groups:
- Select addresses to print
- Define the member accounts for which the donation statement is to be created.
- Start
- Define logo for header, location and date.
- Print text
- Define which text to use and decide whether to include donation records.
- Signature
- Define text and image for signature.
- Texts
- Define up to four different texts or take a text from the Documents table.
- Styles
- Define font type and size for the letter texts.
The entered data are used to generate the report, which you can then save and print.
Select addresses to print
Here you can decide for which members, defined with CC3 cost centres, to create the letter.
- Enter member's account (empty = print all)
- Enter a single account (e.g. "10001").
- Enter several accounts divided by a "," (e.g. "10001,10002,10005").
- If you do not enter anything, statements will be printed for all registered members.
- Use Extract table
- Use the extracted accounts in the Extract table.
- You must first use the command from the Data menu > Extract and sort rows to extract the rows with the accounts you want to use.
Start
Here you define the logo for the header, place and date.
- Logo
- Include a logo in the header. The logo is defined via the command in File → Logo setup.
- Logo name
- Enter the name of the logo to be used.
- Place and Date
- Enter the location and date of issue of the statement.
Print text
Here you can decide which text to use from the ones you have entered.
- Select text
- Select the text you wish to use from the list.
- See below for inserting text.
- Use Markdown
- The selected text is interpreted as Markdown text (requires the Advanced plan of Banana Accounting Plus).
Signature
Here you define the text and image for the signature of the letter.
- Text signature
- Enter the first and last name of the person issuing the statement.
- Digital signature
- Use an image as signature.
- Image with signature
- Enter the image to be used. You have two ways to do this:
- documents:<nome_id>: to use an image saved in the Documents table, where <name_id> represents the name entered in the ID column of the table (e.g. "documents:signature").
- file:document/<immagine>: to use an image saved externally to Banana, but in the same folder as the .ac2 file. Also indicate the extension of the .png or .jpg image (e.g. "file:document/signature.png").
- Enter the image to be used. You have two ways to do this:
Texts
Here you define the texts of the letter. You can enter up to four different texts or take a text from the Documents table.
- Text 1, Text 2, Text 3, Text 4
- Enter the text you wish to display in the printout. The text can also be on several rows.
- Texts can be of text type and Markdown type.
- You can enter up to four different texts, and then choose which one to use.
- Text from Documents table (.txt / .md)
- You can use the texts entered in the Documents table.
- Enter the document Id (e.g. 'Letter.txt', 'Letter', 'Letter.md', etc.).
- Texts can be of text type and Markdown type.
- For Markdown-type texts, the Id in the Documents table must end with ".md" and the full name, including the final ".md" (e.g. "Letter.md"), must be entered here.
Styles
Here you define the font type and size for the letter texts.
- Font Type:
- Define the font type.
- The default font is 'Helvetica'.
- Font size:
- Define the font size.
-
The default font size is '10'.
- CSS
- Optional.
- You can change the appearance of the print (text formatting, address positioning, etc.) by entering CSS code to customise the style.
- See the documentation for creating CSS styles. (requires the Advanced plan of Banana Accounting Plus).
Extract table (Extract rows command)
The Extract and Sort rows feature can be used to select member accounts for which to create the letter. This is useful when, for example, you only want to print the letter for certain members, without having to enter the list of accounts directly into the extension settings.
For example, by allocating members into several groups (Accounts table), the command from the Data menu > Extract and sort rows can then be used to extract the rows of members belonging only to certain groups (in the example, members belonging to groups S1 and S3).
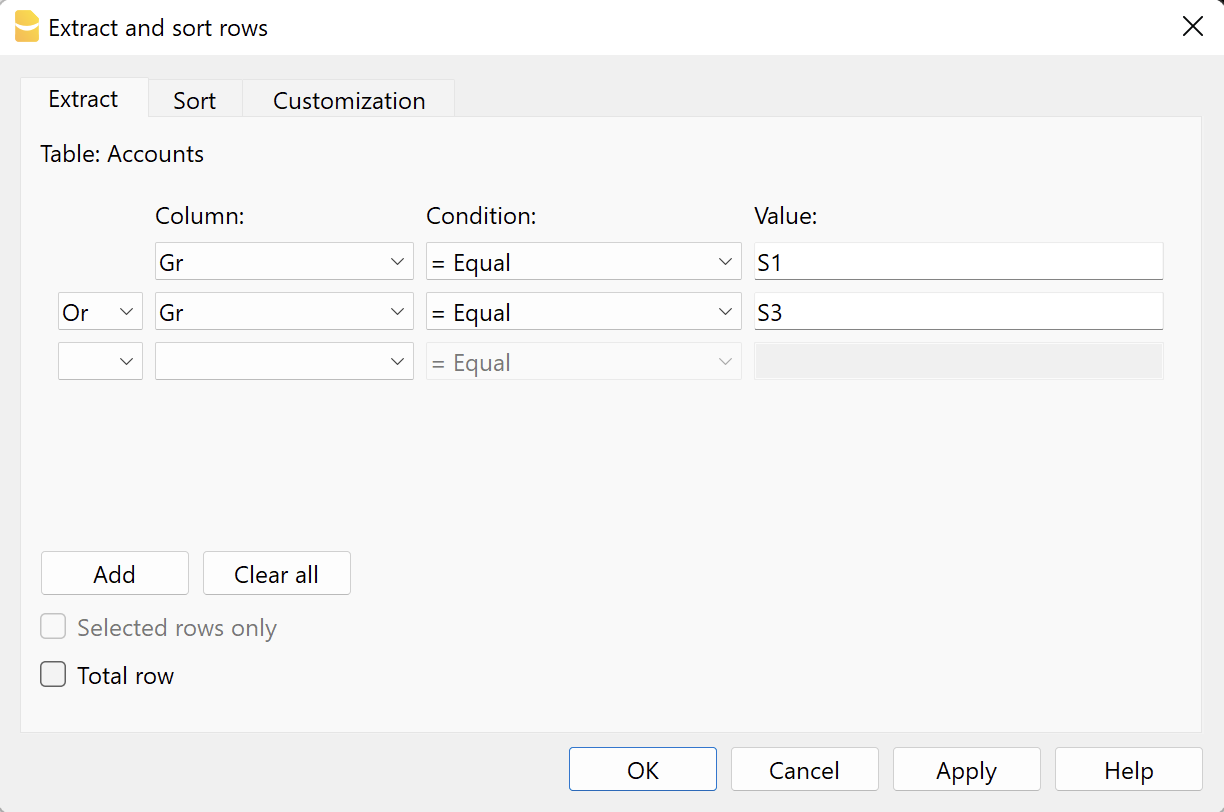
To use the extracted rows:
- Extract rows with the command from the Data menu > Extract and sort rows.
- Run the extension and in the Settings dialogue, section Select addresses to print, check the box Use Extract table.
- If the rows were not extracted before printing was started, a warning message will be displayed and all registered member accounts will be used.
Letter text (plain text)
There are two possibilities for entering and using a plain text:
- Enter the text in the Settings dialogue.
- Enter text in the fields Text 1, Text 2, Text 3 or Text 4.
Up to four texts can be added. - Under Print Text > Select Text, select the text to be used.
- Under Print Text, do NOT select the option Use Markdown.
- Enter text in the fields Text 1, Text 2, Text 3 or Text 4.
- Enter text in the Documents table.
- Add a document by selecting the type Plain text (text/plain).
There is no limit, you can add as much text as you want.
- Add a document by selecting the type Plain text (text/plain).
-
- In the Settings dialogue:
- Under Print Text > Select Text, select the option Text from Documents table (.txt / .md).
- Under Texts >Text from Documents table (.txt / .md), enter the Id of the text entered in the Documents table (e.g. 'text.txt').
- In the Settings dialogue:
For all texts:
- With a specific annotation you can apply the bold style to texts. To do so, include the desired texts between double asterisks ** .
Examples:- **text** = text
- **textA textB** textC = textA textB textC
- If the following values are entered in the text rows, they will be replaced by the corresponding values:
-
- <Account> : member account
- <NamePrefix> : member prefix
- <FirstName> : member's first name
- <FamilyName> : member's last name
- <OrganisationName> : member's organisation
- <Address> : member's address
- <AddressExtra> : extra address
- <Region> : region/state or province
- <Country> : country
- <Currency> : currency
- <Amount> : total amount of donations
Letter text (Markdown text)
Markdown is a language that allows formatted text to be created using a standard text editor and a syntax that is easy to write and read.
To use Markdown, the Banana Accounting Plus Advanced plan is required.
There are two ways to enter and use a Markdown text:
- Enter the text in the Settings dialogue.
- Enter the text in fields Text 1, Text 2, Text 3 or Text 4.
Up to four texts can be added. - Under Print Text > Select Text, select the text to be used.
- Under Print Text, check the option Use Markdown.
- Enter the text in fields Text 1, Text 2, Text 3 or Text 4.
- Enter text in the Documents table.
- Use the Markdown Editor to add a document, selecting the type Markdown-formatted text (text/markdown).
There are no limits, you can add as much text as you want. - The file name in the Id column must end with '.md' (e.g. 'text.md').
- Use the Markdown Editor to add a document, selecting the type Markdown-formatted text (text/markdown).
-
- In the Settings dialogue:
- Under Print Text > Select Text, select the option Text from Documents table (.txt / .md).
- Under Texts > Text from Documents table (.txt / .md), enter the Id of the text entered in the Documents table (e.g. 'text.txt').
- In the Settings dialogue:
For all texts:
- If the following values are entered in the text lines, they will be replaced by the corresponding values:
- {{Account}} : member's account
- {{NamePrefix}} : member's prefix
- {{FirstName}} : member's name
- {{FamilyName}} : member's surname
- {{OrganisationName}} : member's organisation
- {{Address}} : member's address
- {{AddressExtra}} : extra address
- {{Region}} : region/state/province
- {{Country}} : country
- {{Currency}} : currency
- {{Amount}} :total amount of donations
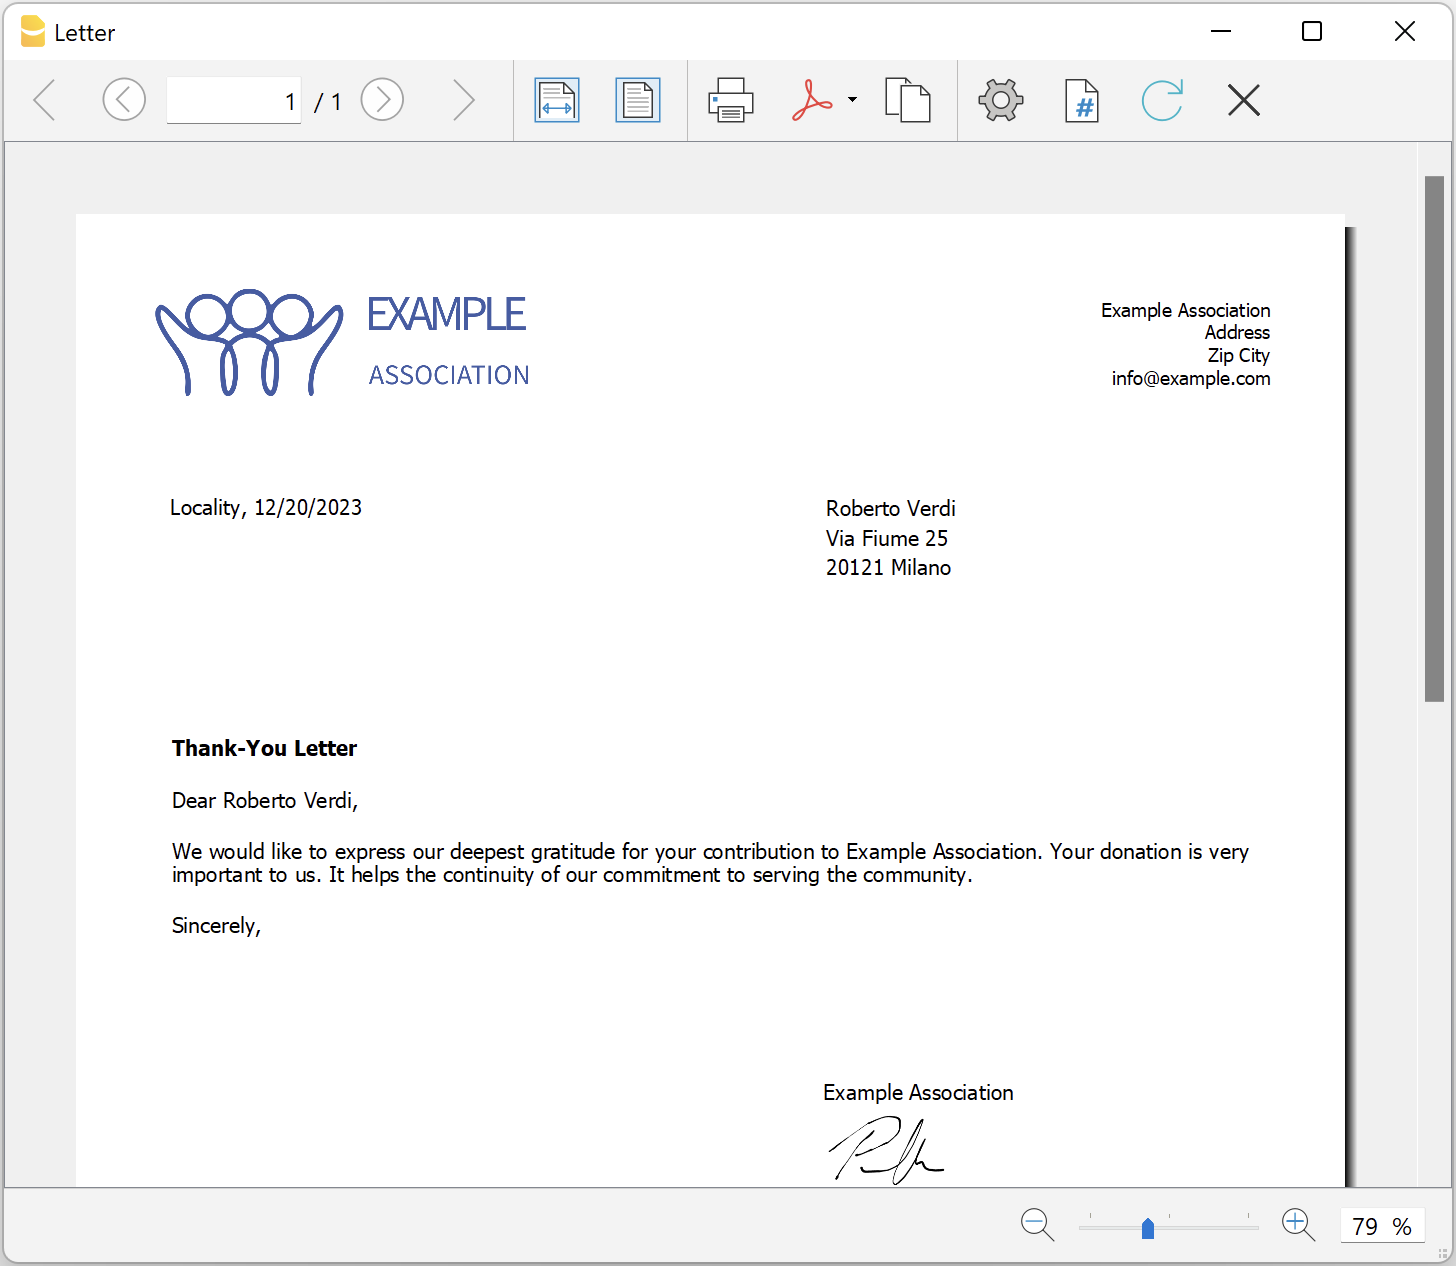
Print example