En este artículo
In Banana Accounting, as in all applications, transactions are entered in the Transactions table.
If you want to print the Account card and Category card (the complete list of all entries for a specific account, category or group), you can do it in two ways:
- in the Cash account card you see all cash movements,
- in the Customers card you find the receipts collected from customers,
- in the Rent category card you see all payments related to rent.
In accounting, the set of all account cards is called the General Ledger.
How account/category cards work
When you record a transaction in the Transactions table, Banana Accounting automatically updates the account and category cards.
- Each income or expense is posted to the corresponding account and category.
- In this way, every new transaction is immediately reflected in the cards.
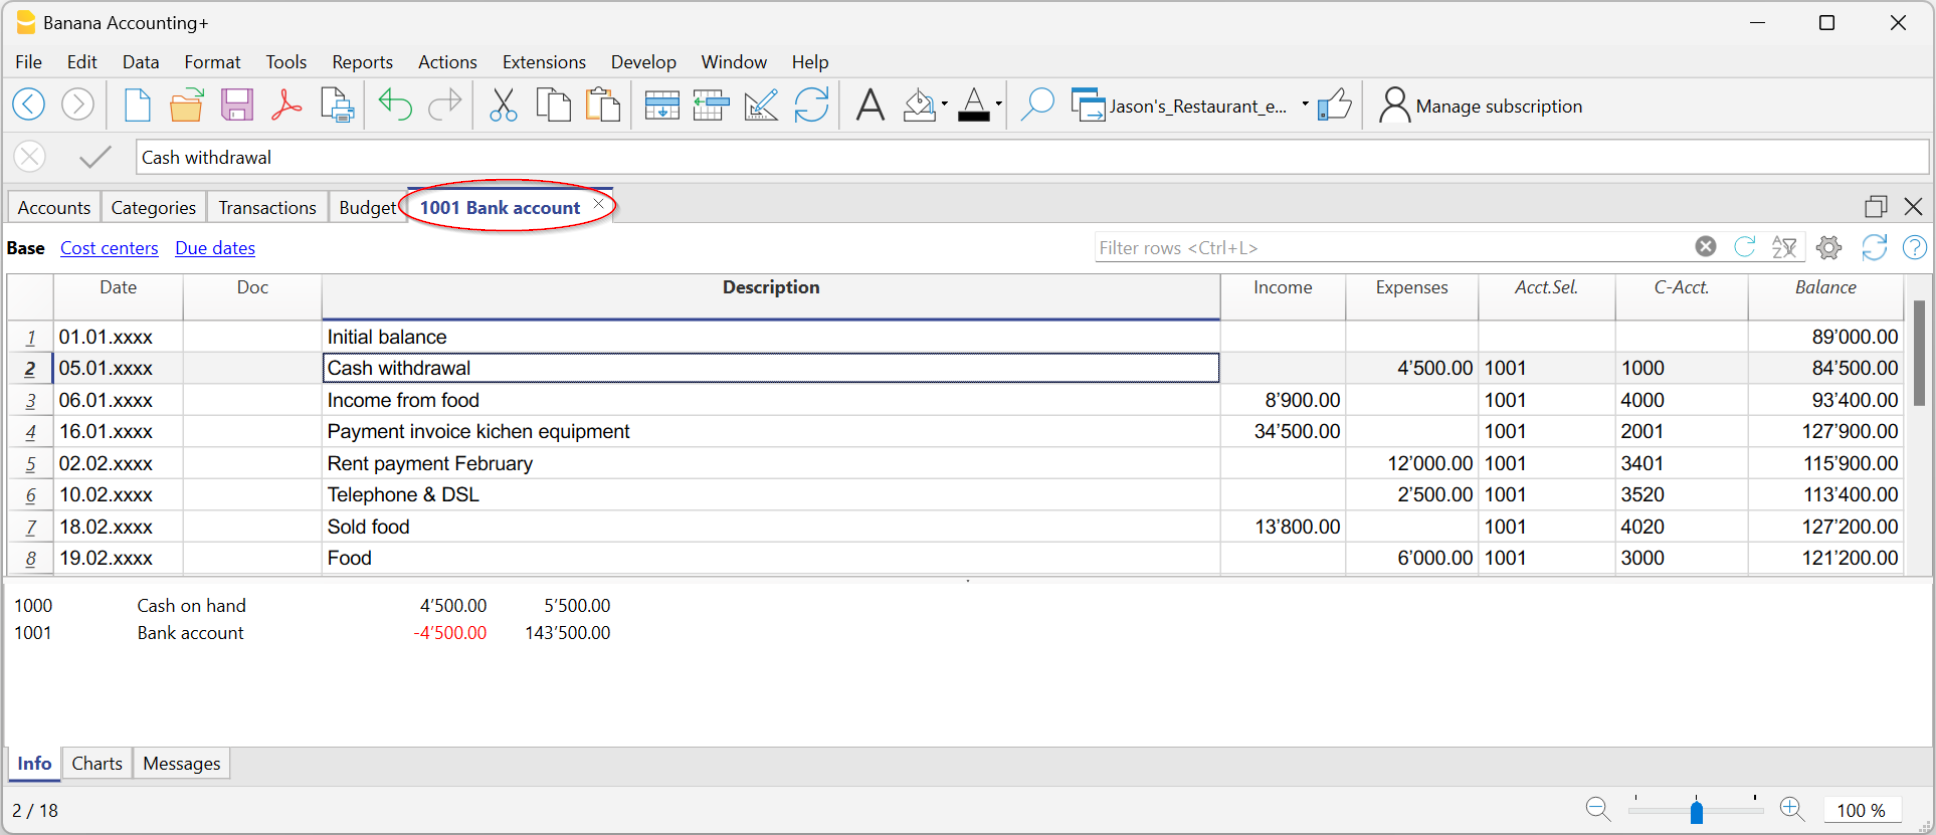
Structure of Account and Category cards
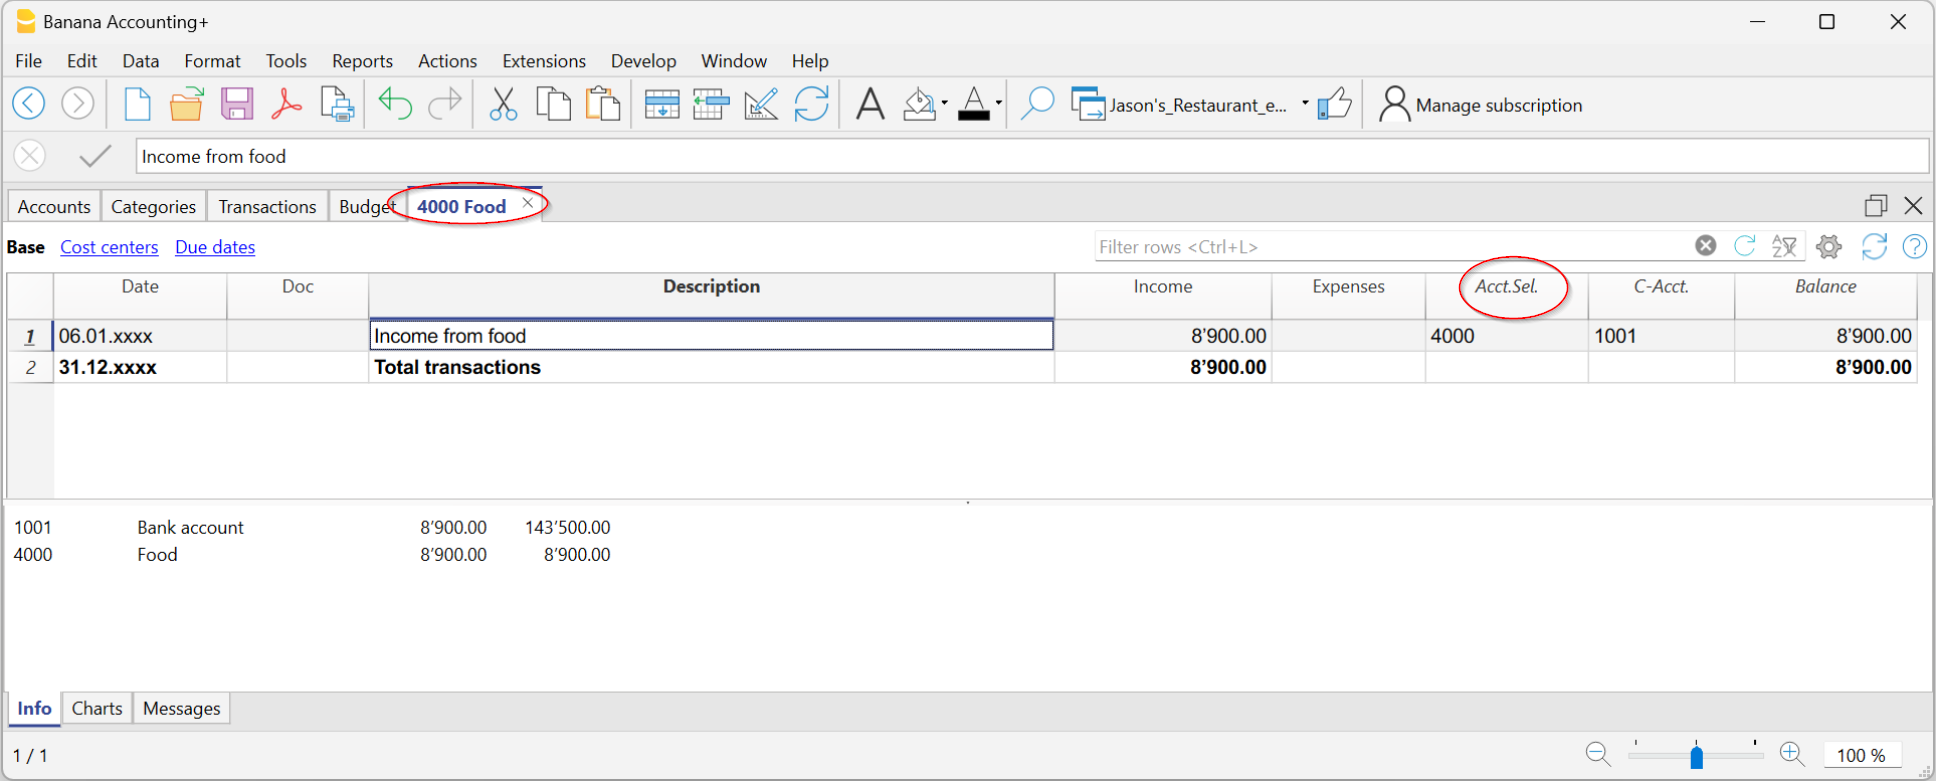
Each Account card or Category card has a header, i.e. the name of the account or category (for example UBS Bank or Rent), which distinguishes it from the others.
The card is made up of several main columns, which neatly list the data of each recorded transaction.
The most important columns are:
- Date → the date of the transaction.
- Document number (if present) → for example the related invoice or receipt.
- Description → a short text explaining the operation (e.g. payment to supplier Rossi).
- Income / Expenses → the amount recorded as positive (income) or negative (expense).
- Selected account → shows the number of the account or category to which the card belongs.
- Contra account → the account linked to the transaction (e.g. Rent expense paid via Bank).
- Balance → the running balance of the account or category, updated line by line.
In this way, each card becomes a sort of automatically updated “account statement”, allowing you to check in detail the movements of a single account or category.
Open the account or category card
You can open it in two ways:
- From the Transactions table or from the Accounts or Categories table → click the account/category number and then the small blue icon that appears.
- From the menu Report > Account cards → useful if you want to open or print multiple cards at once.
The account/category cards dialog has the following sections:
For detailed information about the sections, click the corresponding links.
Update the account or category card
The cards are recalculated on request.
If you modify or add transactions:
- reopen the card with the command Report > Account/Category cards,
- or, if the card is already open, click the refresh icon (two circular arrows).
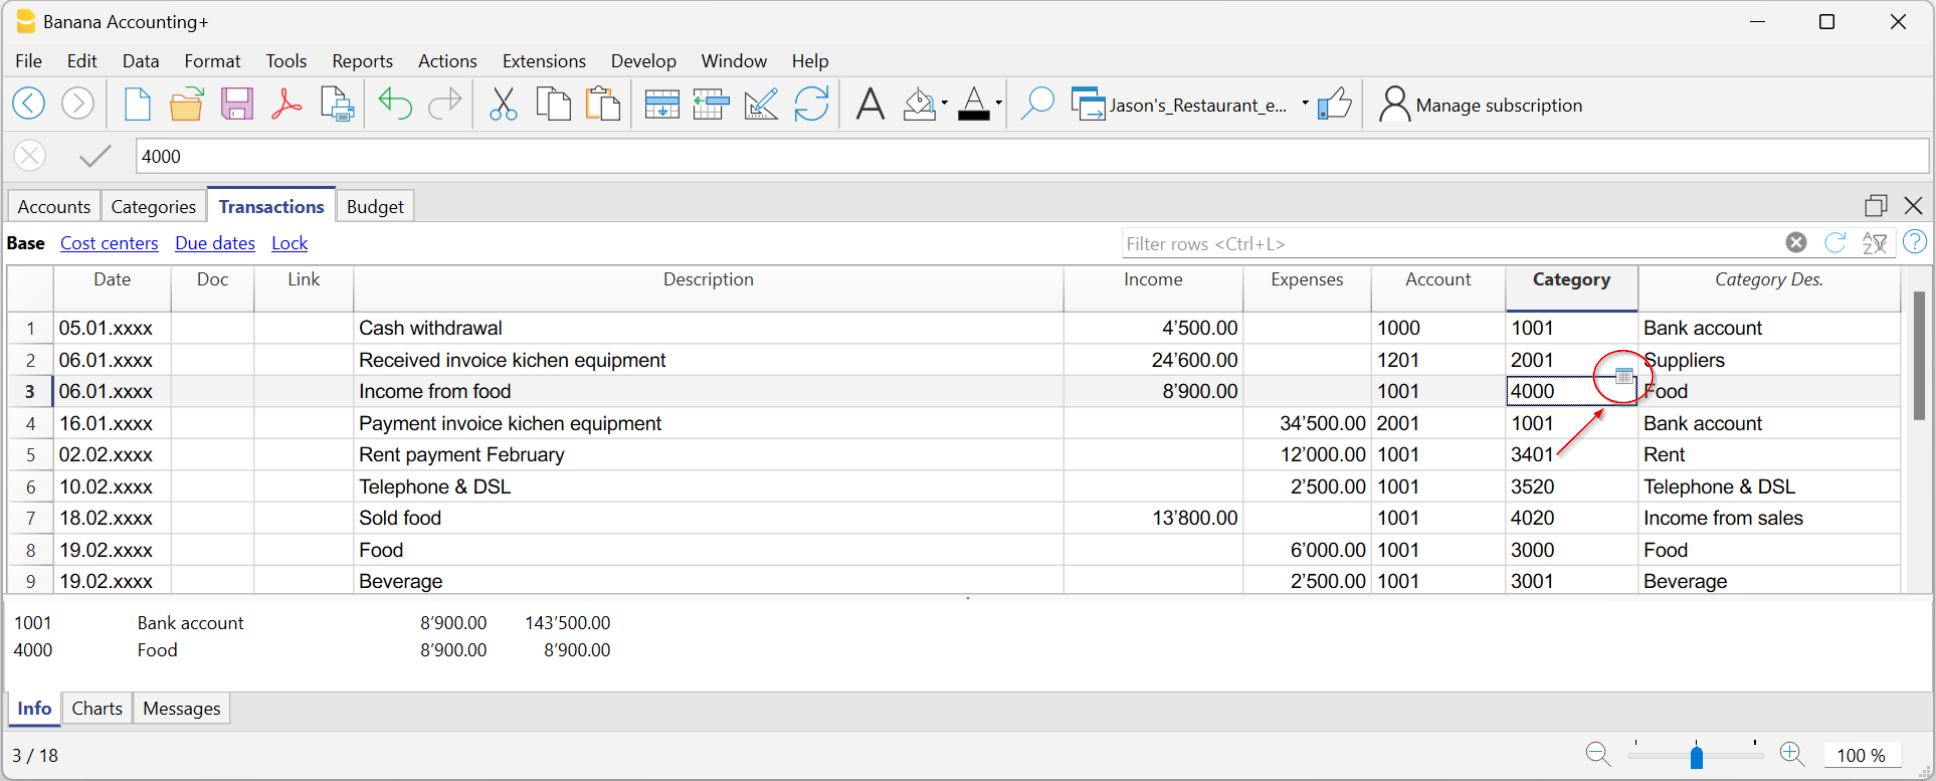
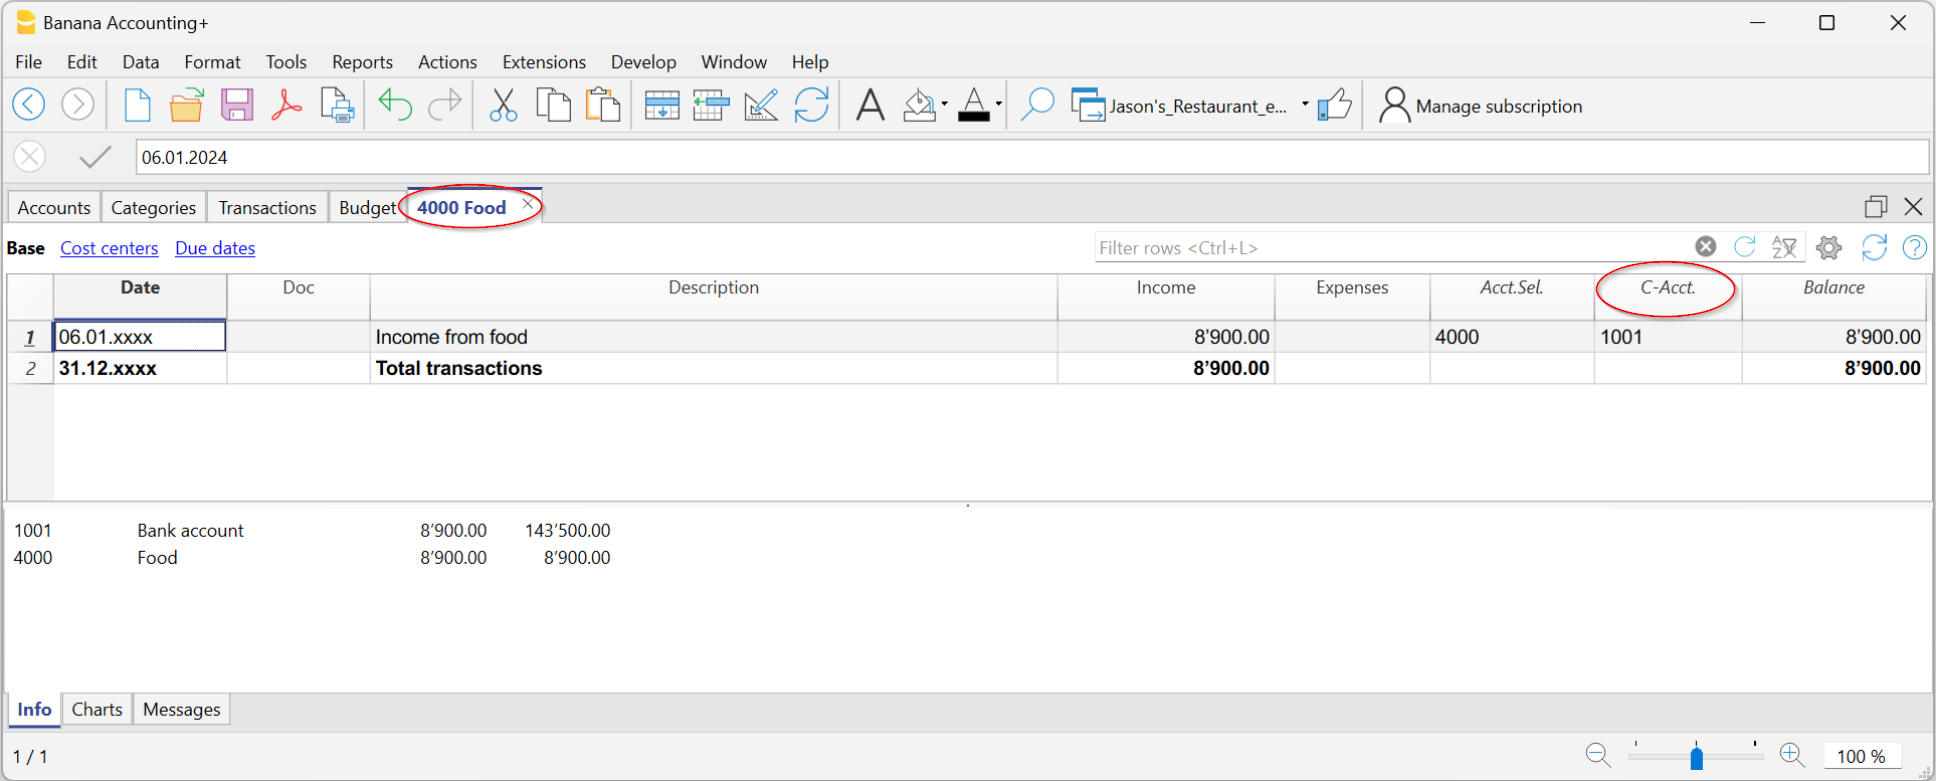
The Selected Account column
From any account card, via the menu Data > Columns setup you can make visible:
- Selected account column, indicating the account on which the movement took place.
When you obtain a card for one or more accounts, categories, groups, and segments, you can see exactly which account was used.
The Contra Account column
In the account or category cards you can see:
- the C-Acct column, which indicates the contra account that completes the transaction.
Print account cards
You can print a single account/category card, a selection, or all cards.
To print one account card:
- display the card from any table (Accounts or Transactions)
- Start printing from File > Print.
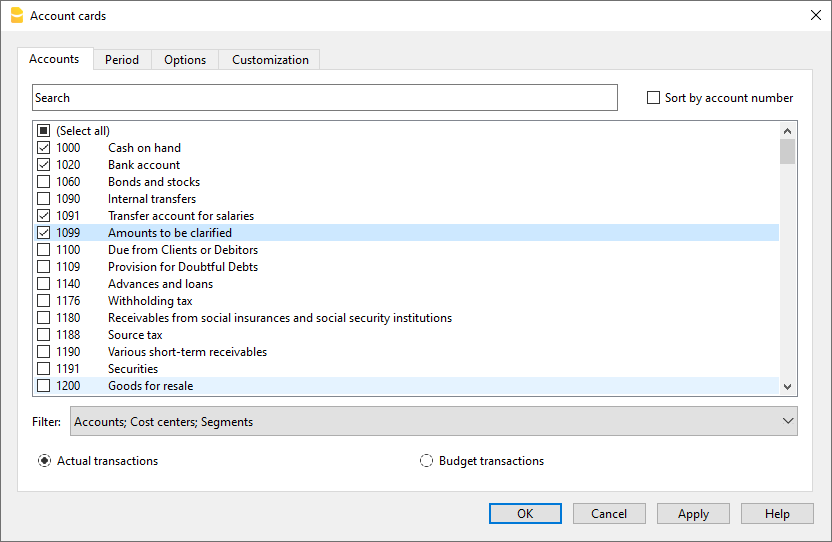
To print multiple account cards:
- Menu Report > Account cards, choose which cards to include and confirm.
- You can also use the Filter to automatically select Accounts, Cost centers and Segments.
- Once shown in preview, start printing from File > Print.
Print Account cards by period
To view the account cards with balances for a specific period:
- click the menu Report > Account cards.
- in the Period section, enable Specified, entering the start and end dates.
- For more information see the page Period.
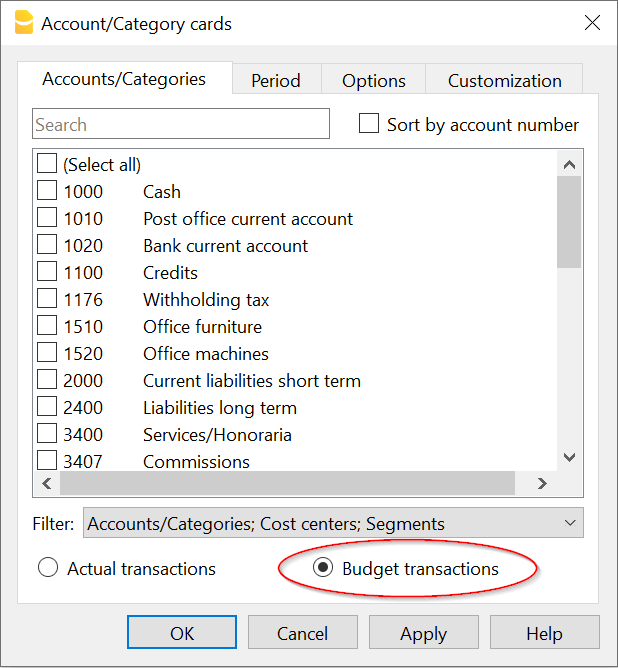
Print Budget account cards
If budget transactions have been entered in the Budget table, you can display the budget account/category or group cards:
- Report menu > Account/Category cards > Budget transactions.
Delete or edit data in account or category cards
In the cards you cannot modify or delete transactions.
If you need to correct:
- Go back to the Transactions table (or to the Budget, if it concerns planned transactions).
- Make the change.
- Recalculate the accounting (Shift + F9).
- Reopen the card to see the update.
From the card you can also go directly to the transaction to edit:
- double-click the row number.
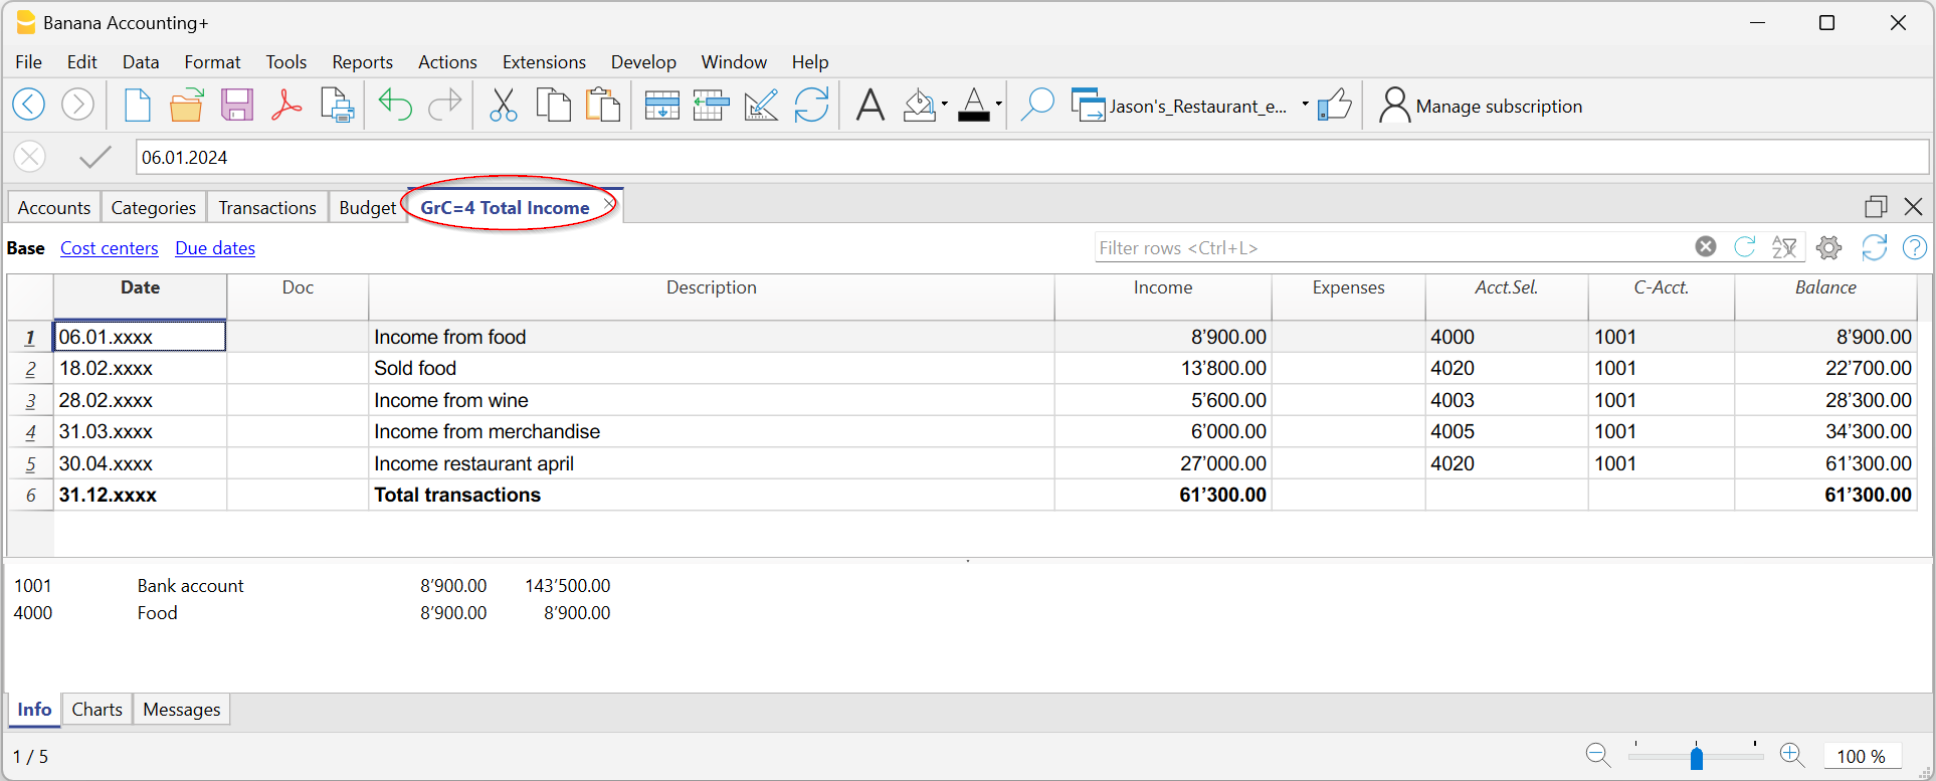
Group cards
A group card is a statement that combines the data of several accounts or categories belonging to the same group.
In practice, instead of seeing the movements of a single account (e.g. only Bank), you can view all those of an entire group (e.g. Liquidity, which includes cash, post and bank).
To open and print a group card:
- Go to the menu Data > Columns setup
- Enable the Selected account column.
In this way, in the group card you will also see the accounts that make up the group.
Accounts and Categories in the Formatted report with groups
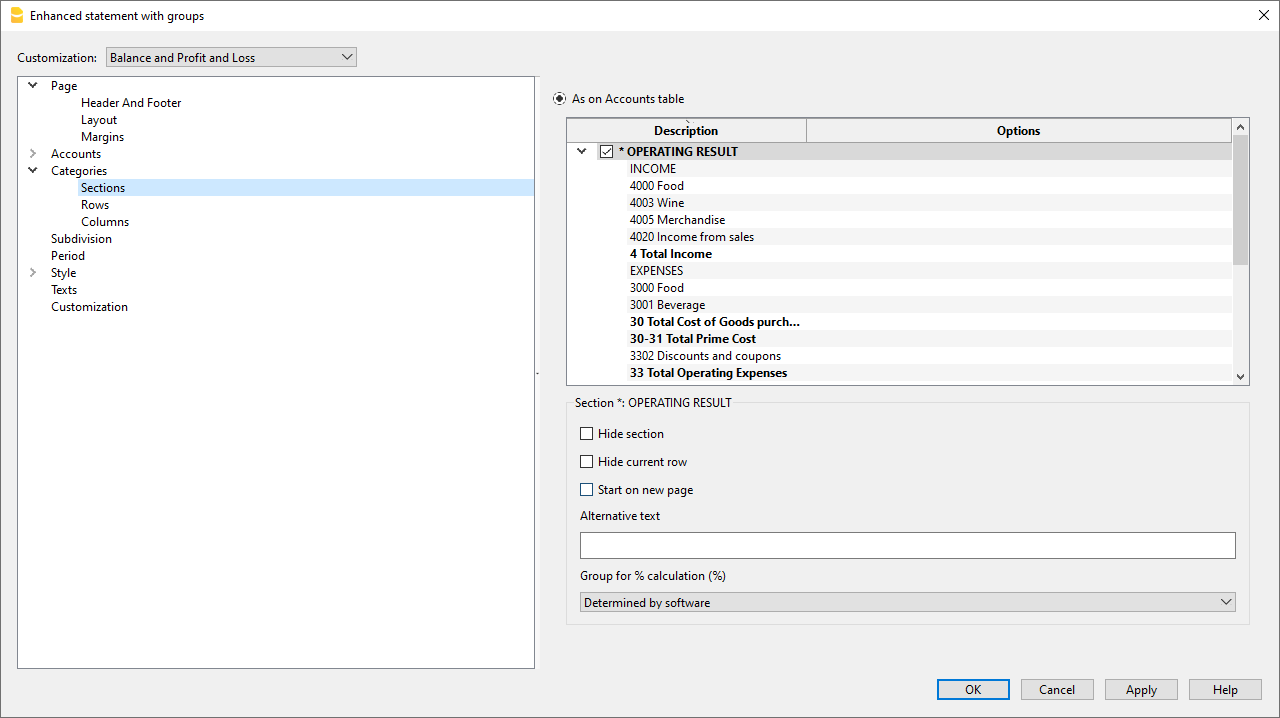
From the menu Report > Enhanced report with groups you can open a dialog that lets you decide how to print accounts and categories.
In this window you can:
- choose whether to include accounts, categories or both
- decide which groups to show (e.g. only administrative expenses, only sales)
- enable or disable some display options (e.g. show period balances, hide empty items, etc.)
- customize the look of the printout (headers, margins).
This way you can get a clear and organized report, with group totals and a layout suitable for official printouts or for presenting data to third parties.
Add a logo to account/category cards
If you want to personalize the account cards with your business logo, you can do it directly at print time.
Proceed as follows:
- File > logo setup and insert the logo
- Go to Report > Account cards and open the card you are interested in.
- From File > Print preview click the settings icon.
- In the dialog that opens, look for the Logo option.
- Instead of None, select Logo.
In this way, every printed account card will also show your logo, making the documents more professional.
For more details you can see the page Logo settings.
Create a print customization for account cards
If you often print the same cards (for example all the sales ones), you can create a customization that saves you from repeating the same settings every time.
Here’s how:
- Go to Report > Account cards.
- In the Customization section, click New.
- Enter a name that clearly describes the print, for example Sales accounts.
- Select the accounts you want to include.
- From File > Page setup define margins and other print settings.
From now on, whenever you need to print those cards, just select the saved customization: in a few clicks you’ll have the report ready.