In this article
Introduction
This page contains some code examples of how to read, write and more in general how to work with XML files in Banana.
All the code reported above as example can be found in the following file: embedded_javascript_tutorial1.ac2
XML object
XML files are used to save a large amount of data in an organized way.
Using the Banana APIs is possible to retrieve data from XML files and also create new XML files.
Read XML
In order to read an XML string we have to follow the following steps:
- Create the XML parse object
- Take the root of the XML
- Find the data we want to retrieve from the file using firstChildElement([text]).
- Iterate all over the file as long as we always have something from step 3.
Read XML Code Sample: Simple XML
var xml = '<Library updated="2018-09-03">' + // To simplify,
'<Book>' + // the variable
'<Title>Paths of colours</Title>' + // xml contains
'<Author>Rosa Indaco</Author>' + // the xml string
'</Book>' +
'<Book>' +
'<Title>Accounting exercises</Title>' +
'<Author>Su Zhang</Author>' +
'</Book>' +
'</Library>';
var bookList = ""; // Create string for the output
var xmlFile = Banana.Xml.parse(xml); // Create XML Parse object
var xmlRoot = xmlFile.firstChildElement('Library'); // Find the first tag "Library" in the XML
var updateDate = xmlRoot.attribute('updated'); // Take attribute assigned to the tag
bookList += "Books in the library on " + updateDate + "\n\n"; // Append to the output string
var bookNode = xmlRoot.firstChildElement('Book'); // Take the first Book
while (bookNode) { // As long as there are books, repeat
var title = bookNode.firstChildElement('Title').text; // Find the first tag "Title" in the XML
var authorNode = bookNode.firstChildElement('Author'); // Find the first tag "Author" in the XML
var author = authorNode ? authorNode.text : 'unknow'; // Check whether there is a tag "Author"
bookList += title + " - " + author + "\n"; // Append to the output string
bookNode = bookNode.nextSiblingElement('Book'); // Go to the next book
}
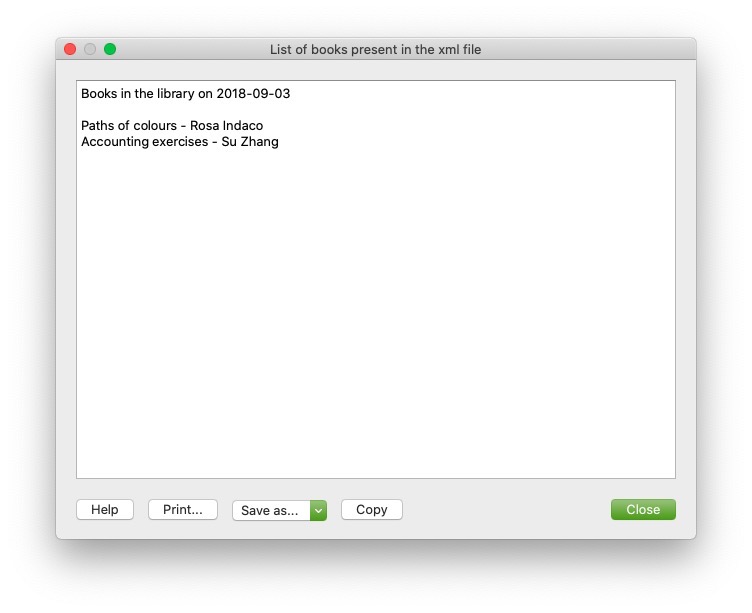
Banana.Ui.showText("List of books present in the xml file", bookList); // Output the results
Output:
Write XML
In order to write and create an XML file we have to follow the following steps:
- Create the XML document object.
- Create a root tag for the document using newDocument([text]).
- Add new tag using addElement([text]).
- Add text for the tag with addTextNode([text]).
Write XML Code Sample: Simple XML
var xmlDocument = Banana.Xml.newDocument("Library"); // Create XML file
xmlDocument.addComment("This is the generated xml file"); // Add comment to the file
var rootNode = xmlDocument.addElement("Library"); // Set root tag "Library"
rootNode.setAttribute("updated", "2018-09-03"); // Set attribute to the tag "Library"
var bookNode = rootNode.addElement("Book"); // Create tag "Book" child of "Library"
bookNode.addElement("Title").addTextNode("Paths of colours"); // Create tag "Title" child of "Book"
bookNode.addElement("Author").addTextNode("Rosa Indaco"); // Create tag "Author" child of "Book"
var bookNode = rootNode.addElement("Book"); // Create tag "Book" child of "Library"
bookNode.addElement("Title").addTextNode("Accounting exercises"); // Create tag "Title" child of "Book"
bookNode.addElement("Author").addTextNode("Su Zhang"); // Create tag "Author" child of "Book"
var xmlString = Banana.Xml.save(xmlDocument); // Create output
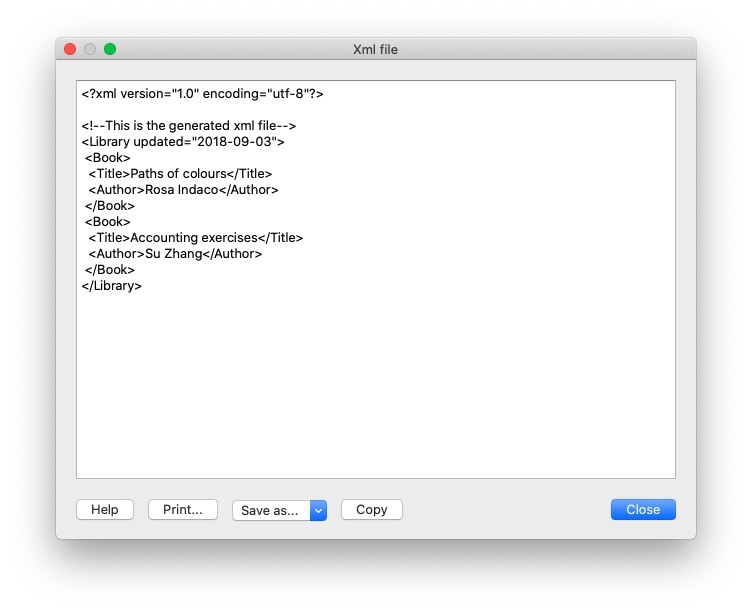
Banana.Ui.showText("Xml file", xmlString); // Generate output
Output:
Validate
Is possible to validate if a file is in fact an XML which contains tag with the validate() function.
var xmlFile = Banana.Xml.parse(xml); // Create the XML file
var valid = Banana.Xml.validate(xmlFile, 'documents:xsd'); // Validate the XML
if (valid) {
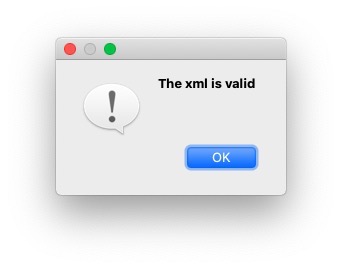
Banana.Ui.showInformation('Validation result', 'The xml is valid');
} else {
Banana.Ui.showInformation('Validation result', 'The xml is not valid: ' + Banana.Xml.errorString);
}
Output:
General examples with XML
In this section we are going to provide some examples of how to use API functions for XML files, here below there is the XML file used for the first example:
<solarSystem updated="2020-03-27">
    <Planet>
        <name>Sun</name>
        <sizeOrder>1</sizeOrder>
    </Planet>
    <Planet>
        <name>Earth</name>
        <sizeOrder>6</sizeOrder>
        <satellite>Moon</satellite>
    </Planet>
    <Planet>
        <name>Jupiter</name>
        <sizeOrder>2</sizeOrder>
        <satellite>Callisto</satellite>
    </Planet>
    <Planet>
        <name>Saturn</name>
        <sizeOrder>3</sizeOrder>
        <satellite>Cronus</satellite>
    </Planet>
    <Planet>
        <name>Mars</name>
        <sizeOrder>8</sizeOrder>
        <satellite>Phobos</satellite>
    </Planet>
    <Planet>
        <name>Neptune</name>
        <sizeOrder>5</sizeOrder>
        <satellite>Triton</satellite>
    </Planet>
    <Planet>
        <name>Mercury</name>
        <sizeOrder>9</sizeOrder>
    </Planet>
    <Planet>
        <name>Venus</name>
        <sizeOrder>7</sizeOrder>
    </Planet>
    <Planet>
        <name>Uranus</name>
        <sizeOrder>4</sizeOrder>
        <satellite>Ariel</satellite>
    </Planet>
</solarSystem>
Check if a tag has a specific Child tag
the following is a code example of how to return and print only planets with a satellite, the other will be excluded, therefore will be used the function hasChildElements([text]).
var outputString = "";
var xmlFile = Banana.Xml.parse(xml);
var xmlRoot = xmlFile.firstChildElement('solarSystem');
var updateDate = xmlRoot.attribute('updated');
outputString += "Planets in the solar System with satellites updated on " + updateDate + "\n\n";
var planet = xmlRoot.firstChildElement('Planet'); // Take the first tag "Planet"
while (planet) { // As long as we have planets
if (planet.hasChildElements('satellite')) { // Check if the planet has tag "satellite"
var planetName = planet.firstChildElement('name').text; // Save the planetName
var planetSatellite = planet.firstChildElement('satellite').text; // Save the satelliteName
outputString += "name: "+planetName+", satellite: "+planetSatellite+"\n";
}
planet = planet.nextSiblingElement('Planet'); // Move to the next planet
}
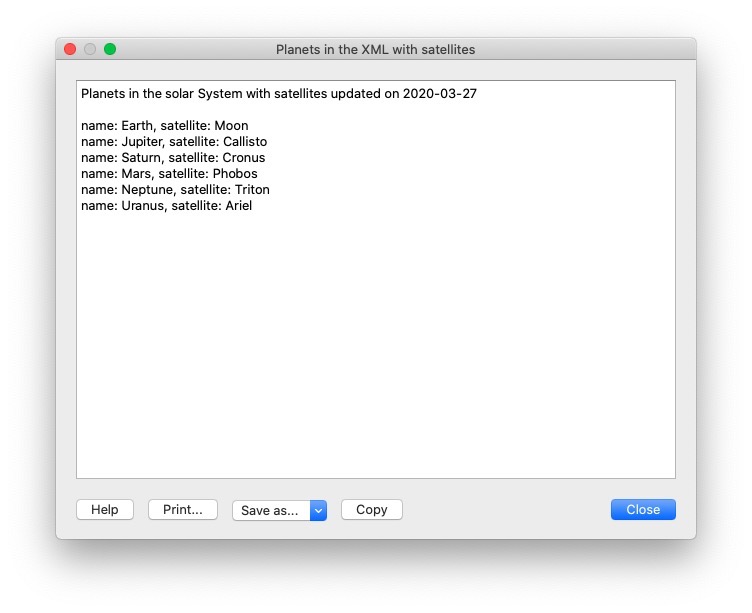
Banana.Ui.showText("Planets in the XML with satellites", outputString); // Show the output
Output:
Export Transactions in XML format
Here there is an example of how to take various fields from the table Transactions in one of our .ac2 files and then print them in an xml files.
Naturally it is possible to change various parameter as for example the table we want to take the data. But also the number and type of fields we want to print in our file, in order to do so we have to follow the following steps:
- Decide which table we want to retrieve informations.
- Remember to handle the error for which the file doesn't have the desired table.
- Loop through the entire table taking only the desired fields.
- Decide the indentation for the file by appending to the strings special characters like '\t' (tab) or '\n' (new line).
// @id = ch.banana.apps.export
// @api = 1.0
// @pubdate = 2016-04-08
// @doctype = *.*
// @description = Export into an xml file (.xml)
// @task = export.file
// @exportfiletype = xml
// @timeout = -1

function exec() {
    var xmlDocument = Banana.Xml.newDocument("Transactions");
    xmlDocument.addComment("This is the generated xml file");
    var rootNode = xmlDocument.addElement("transactions");
    var tableTransactions = Banana.document.table('Transactions');
    if (!tableTransactions) {
        return;
    }
    for (i=0;i<tabletransactions.rowcount;i++) {
        if (tableTransactions.row(i).value('Amount')) {
            var transactionNode = rootNode.addElement("transaction");
            transactionNode.addElement("date").addTextNode(tableTransactions.row(i).value('Date'));
            transactionNode.addElement("description").addTextNode(tableTransactions.row(i).value('Description'));
            transactionNode.addElement("amount").addTextNode(tableTransactions.row(i).value('Amount'));
        }
    }
    var xmlString = Banana.Xml.save(xmlDocument);
    Banana.Ui.showText("Xml file", xmlString);
    return xmlString;
The code above and his explanation are available also here.
Import transactions from XML
The following is an example of how to add new transactions to a .ac2 file in Banana, below is possible to see the XML file used as example:
<transactions>
    <transaction>
        <date>2020-01-01</date>
        <description>Red car sale</description>
        <income>10000.50</income>
        <expenses></expenses>
    </transaction>
    <transaction>
        <date>2020-03-15</date>
        <description>ATM withdrawal</description>
        <income></income>
        <expenses>600.00</expenses>
    </transaction>
    <transaction>
        <date>2020-02-14</date>
        <description>Bought silver ring</description>
        <income></income>
        <expenses>2000.00</expenses>
    </transaction>
    <transaction>
        <date>2020-04-01</date>
        <description>Yellow rubber duck sale</description>
        <income>4200.00</income>
        <expenses></expenses>
    </transaction>
</transactions>
We can eventually modify the XML file above by adding new fields for our transactions and obviously add new transactions to the file, but in order to transfer data from the file into Banana we have to follow these instructions:
- We are going to transfer the data from XML to CSV and then from CSV to TSV which are Tab separated files.
- Create the CSV string we are going to append data from our file.
- As we did before in the Read XML example we have to iterate through the XML file we take in input and then append the values of the tags into our CSV string, this time we have to remember to format the string by adding special character like '\n' (new line), ',' (comma), ''' (apostrophe) or '"' (quotation mark).
- once this process is complete and we have our CSV String ready we have to convert it into an Array using csvToArray(string, [, separator, textdelim]) function and once again convert the resulting array into a TSV using arrayToTSV(table, [, defaultChar]) and return the TSV.
// @api = 1.0
// @pubdate = 2020-04-02
// @id = ch.banana.uni.app.tutorialretrieverowstablevalues
// @description = Import transactions
// @task = import.transactions
// @outputformat = transactions.simple
// @doctype = *
// @inputdatasource = openfiledialog
// @inputencoding = latin1
// @inputfilefilter = Text files (*.xml);;All files (*.*)
// @publisher = Banana.ch SA
// @timeout = -1

function exec(inputFile) {
    var CSV_String = "Date" + '","' + "Description" + '","' + "Income" + '","' + "Expenses" + '\n';
    var xmlFile = Banana.Xml.parse(inputFile);
    var xmlRoot = xmlFile.firstChildElement('transactions');
    var transactionNode = xmlRoot.firstChildElement('transaction');
    while (transactionNode) {
        var date = transactionNode.firstChildElement('date').text;
        var description = transactionNode.firstChildElement('description').text;
        var income = transactionNode.firstChildElement('income').text;
        var expenses = transactionNode.firstChildElement('expenses').text;
        CSV_String += ('"' + date + '","' + description + '","' + income + '","' + expenses + '"' + '\n');
        transactionNode = transactionNode.nextSiblingElement('transaction');
    }
    var csvFile = Banana.Converter.csvToArray(CSV_String, ',', '"');
    var tsvFile = Banana.Converter.arrayToTsv(csvFile);
    return tsvFile;
}