In diesem Artikel
The guide below walk you through the setup of the Banana Web Server for Windows.
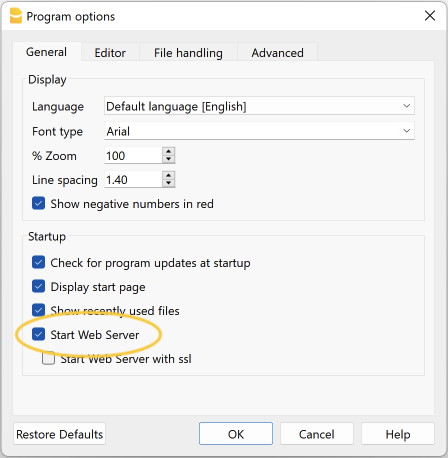
1. Start Banana Accounting web server
- Open Banana Accounting Plus.
- Click on menu Tools > Program Options.
- Select the tab General.
- Check the options Start Web Server.
In Windows you must use the http://localhost:8081,+not the SSL.
2. Edit the Banana Web Server configuration file (httpconfig.ini)
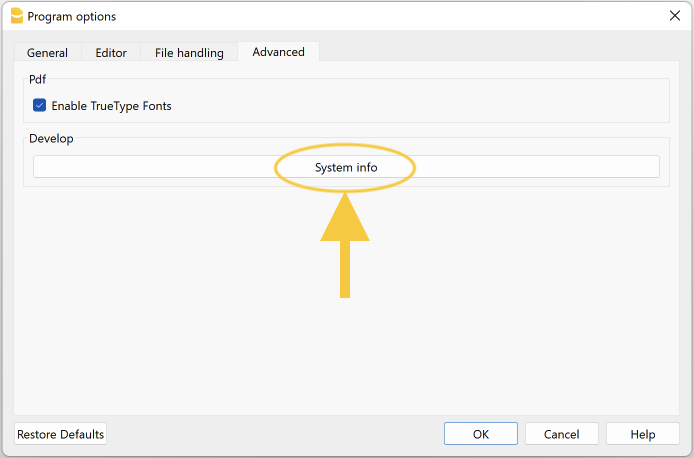
- Click on menu Tools > Program Options.
- Select the tab Advanced.
- Click on System info button
- Select the entry Web Server > Settings file path
- Click on Open path... button
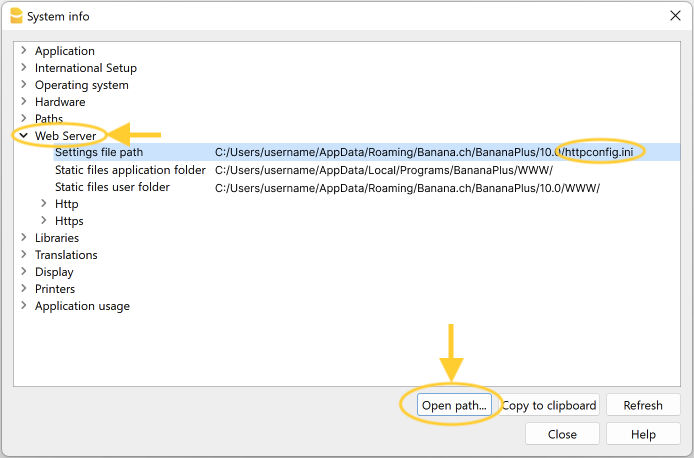
- Open the file httpconfig.ini
- Right click > Open with > Notepad.
- In the file look for the following properties and edit as indicated:
- accessControlAllowOrigin
Modify the value of property accessControlAllowOrigin to "*" (accessControlAllowOrigin=* ) - accessToken
Modify the value of property accessToken with a password of your choice (e.g. "accessToken=MyPasswordX" )
It is used to have more security when using the Banana Web Server. For more information visit Web Server Security.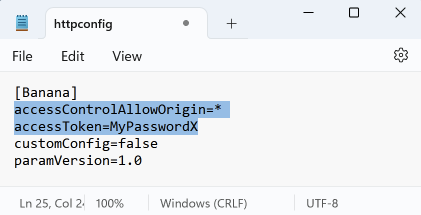
- accessControlAllowOrigin
- Save and close the file.
- Restart Banana Accounting Plus.
3. Excel, enable localhost connection
Excel uses the Microsoft Edge browser for web services. So if you want to retrieve data in Excel you have to give the command that allows Edge to connect through the localhost.
In technical terms you have to add a local loopback exemption to the Microsoft Edge Web Viewer.
For more information see Microsoft documentation "localhost", Add-ins and Edge.
To enable the localhost connection:
- In the search box enter cmd.

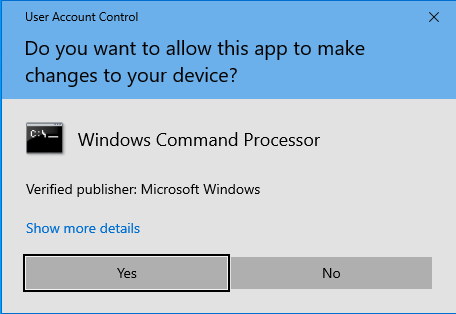
- On the right side select Run as administrator.
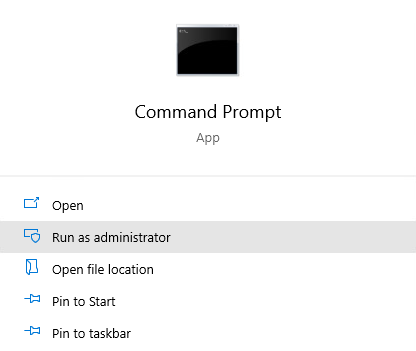
- Confirm with Yes.
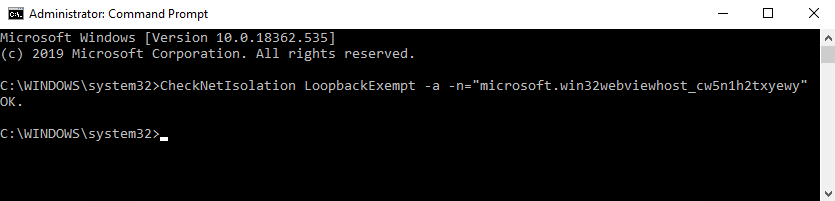
- Copy (CTRL+C) and paste (CTRL+V) the following command:
CheckNetIsolation LoopbackExempt -a -n="microsoft.win32webviewhost_cw5n1h2txyewy"
- Press enter to run the command.
- Close the command prompt.
Remove LoopbackExempt
To see if loopback is active use the command:
- CheckNetIsolation LoopbackExempt -s
If you no longer want to use the add-in, you can remove the setting with the following command:
- CheckNetIsolation LoopbackExempt -d -n="microsoft.win32webviewhost_cw5n1h2txyewy"