Apps Menu
Banana Accounting applications are Javascript applications that use Banana specific programming interfaces (API Application Program Interface).
Thanks to the Banana applications, users have the ability to add new extensions that cover a wide range of needs: reporting, calculating, export, import and much more.
In order to see all available Apps and for more information, please visit the BananaApps list page.
Apps Menu
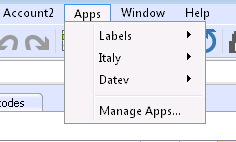
The Apps menu allows you to run the applications and manage them (add, remove, enable, ...).
Only applications that fulfill the necessary requirements are listed in the Apps menu:
- Applications of the same type of the current file
- In the File properties, they should have the properties required by the Banana application
You can assign the required properties to the current file with the Apply property button.
Add/Install a Banana App by downloading the file
In order to use a Banana application, you first need to add it in the Info window list of the Apps menu::
- Download and save the application file on your computer
- You can choose freely where to save the Banana App file. Usually:
- Use the Accounting directory, in case the file relates to a specific accounting file
- Create a directory for the BananaApps, where the applications that are being used for more than one accounting can be saved.
- The Banana application is a text file
If you click on the link containing a Banana application, you will see the Javascript program.- Use the Save page as command from your browser
- Or, instead of clicking on the link, place yourself on the link, right click and choose the Save destination command
- You can choose freely where to save the Banana App file. Usually:
- Add the Banana application to the list of available applications:
- Apps menu -> Manage Apps...
- Manage Apps button (at the bottom of the dialog window)
- Add from file button (at the bottom of the dialog window) and select the previously saved file (file with .js extension)
- Click on the Open button.
How to execute a Banana application
- Start Banana Accounting 8
- Open the desired accounting file
- Click on the Apps Menu
- Click on the application that appears in the menu
The program executes the application automatically.
Develop/Create a new application
You need to create a text Javascript file matching the requirements for the Banana applications.
In order to write the text file we advise you to use a Text Editor specific for programming, also available for free (such as, for example, Notepad++).
In order to develop a Banana application, it is better to start from an existing project.
- Start from an existing project form the github.com\BananaAccounting site
- Refer to the documentation for developpers on our website
- Install the application with the Manage Apps command
Manage Apps
This dialog window allows you to install, remove and execute Banana applications.
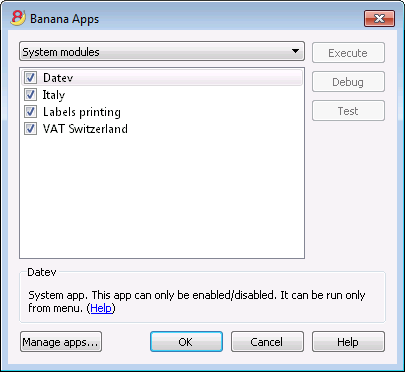
List of available applications
In this list you can find all the application that you added (installed).
Enable/Disable
By activating/deactivating the checkbox next to the application name, you will enable (disable) the applications.
Only enabled application will be visible in the Apps menu.
If an application appears in a light grey color, it means that the program does not find the Banana application file. If the file has been moved, you need to remove the application and add it again.
Information on the selected application
The program gives the following information:
System applications
The system applications are those included in the software that can be enabled or disabled:
The other applications listed are the ones installed by the user.
Application ID
The internal application ID used to save the application settings
The required file type
The file type that the application requires to be executed.
This is the directory number. 100.* means that the application requires a double entry accounting file.
Properties of the required file
A text that must be entered with the Apply properties button or manually in the File properties.
Apply properties
Enters, in the Properties of the active file, the property required by the application.
If the button is not active, it means that the current file type is not supported by this application.
Side buttons
Execute
Runs the selected application.
Debug
Run the selected app in debug modus.
Test
Opens a dialogue with details such as id, date, author, etc. of the App.
Lower buttons
Manage Apps
Opens a dialog window where you can add or remove the Apps.
Help
Opens the Help page of the App.
Notes
The Apps management is not yet as smooth as we would like it to be; we are working to improve it.
Print label
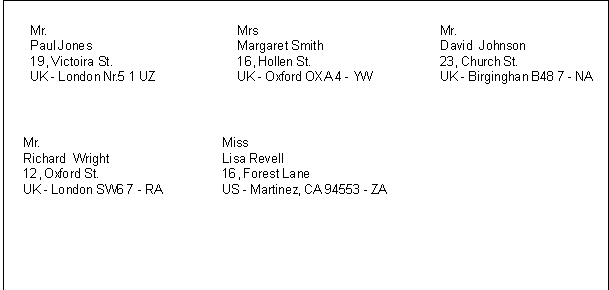
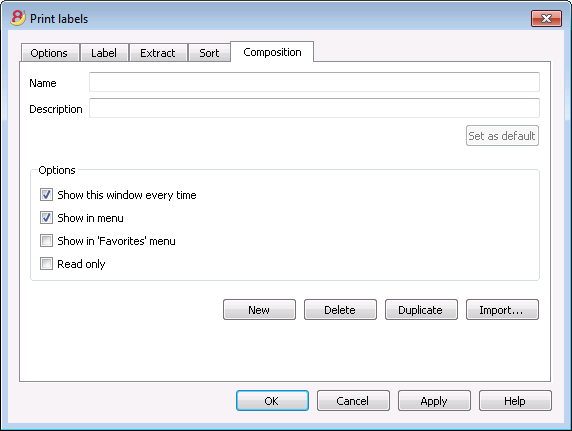
From the Labels -> Print command from the Apps menu, you can print the addresses. In the different tabs you can choose different settings, from the label format to le selection of the addresses to be sorted and printed. Each setting can be saved with the Compositions.
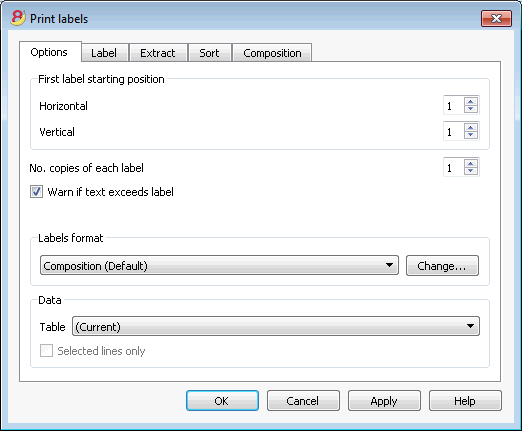
For the explanations of the different tabs, please consult the following pages.
Options
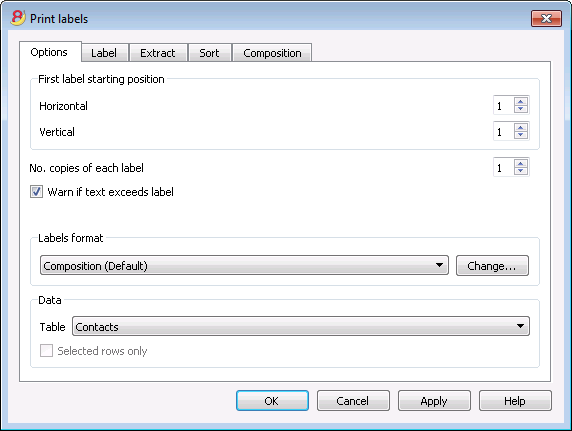
First label starting position
Decide on the position of the first label. For example, if 1 is entered in the horizontal and vertical fields, it refers to the upper left-hand corner of the page.
Number of copies for each label
The value of 1, in this field, means only one copy of each label is wanted.
Warn if text exceeds label
If the text goes beyond the margins for the label, the program will warn the user by sending an error message if this cell is activated.
Labels format
You can choose between the label formats available in the list.
If the list doesn't have the format you wish, through the Change button, you can access the Label format dialog windos where you can choose your desired settings.
Data
Indicate the data source for the labels to be printed:
- Table - the current table data will be printed. If a data extraction occurred, only the extracted data will be printed.
- Addresses - all table addresses will be printed
- Selected rows only - only the earlier selected addresses will be printed.
Label
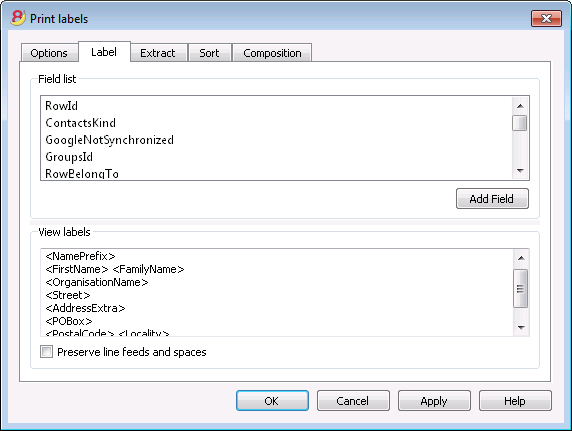
Field list
This is a list of all possible label fields; to insert a field, it is possible to work in two ways:
- Double-click on an element from the list
- Click on an element from the list, confirming with the Add Field key.
The field selected will be inserted at the position of the cursor in the View labels area. One can directly insert fields by writing the field name between the < Less and > Greater symbols.
View labels
Shows the disposition of the fields. The entries "<NAME FIELD>" will be replaced with the corresponding value of the table.
The symbols Greater and Less are considered field delimiters. In order to make them appear in the text
write "\<" for "<";
write "\>" for ">"
and write "\\" for "\"
Preserve line feeds and spaces.
In case this option is deactivated, the program does not take eventual spaces and empty rows in consideration.
Extract
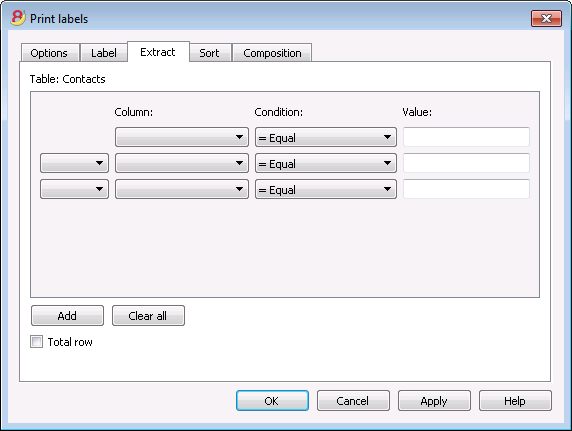
Sort
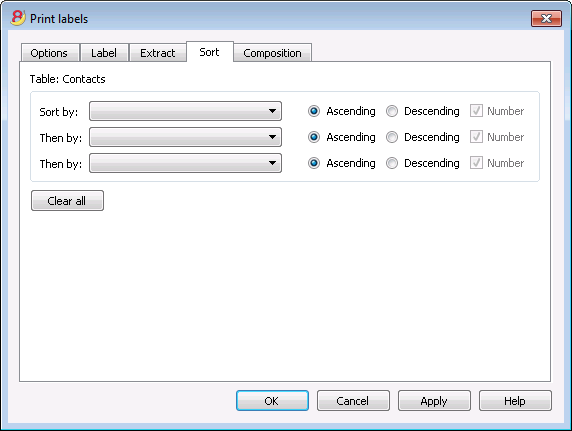
Composition
Labels format
From the Apps menu, Labels command, Formats option, you can access the labels setup.
The program already offers many predefined label formats; it is however possible to setup personalized parameters through the Default command.
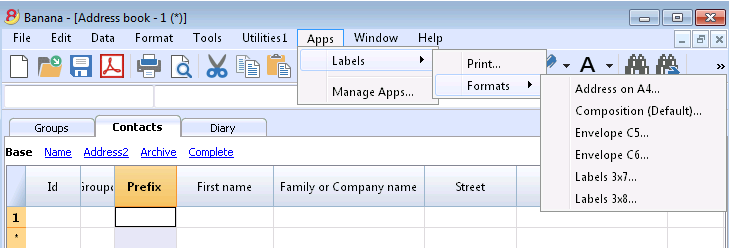
The program already offers many predefined label formats; it is however possible to setup or edit the default parameters, as well as your customized ones, through the Composition (Default) command.
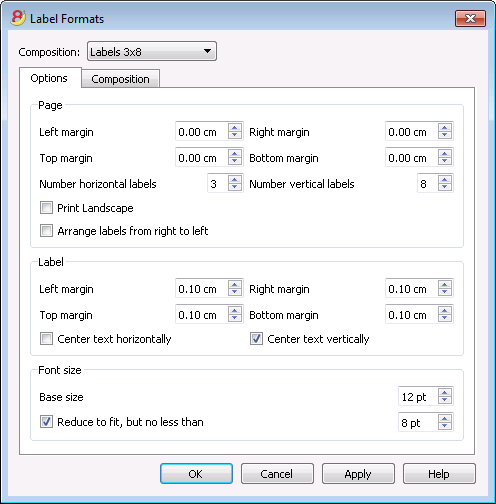
Page settings - Options
Page
Margins
Input the size in centimeters; if no size is entered, the margin sizes will be zero.
Number of horizontal labels
Input the number of horizontal labels there are on the page.
Number of vertical labels
Input the number of vertical labels there are on the page.
Print Landscape
The page will be printed horizontally if this cell is activated.
Arrange labels from right to left
The labels will be printed from right to left and from top to bottom.
Label
Margins
It is possible to input a margin for each label; the values for the label margins must be input in centimeters.
Center text horizontally
Select this option to horizontally center the text for each label in the cell.
Center text vertically
Select this option to vertically center the text for each label in the cell.
Font size
Base size
This field shows the default font size.
Reduce to fit, but no less than
The program calculates the maximum font size possible for a given label, starting from 14 points all the way down to 8 points. The calculation is made taking into account both the height and width of the label. If a label has a line that is too long (or has too many rows) to be printed, then an error message will appear in the message window. Even if it is incomplete, the label will still be printed.
Note:
the printers will not print on the whole surface of a page because they need minimum margins. The program tries to adapt the single labels to the margin values required by the printer.
Page settings - Composition
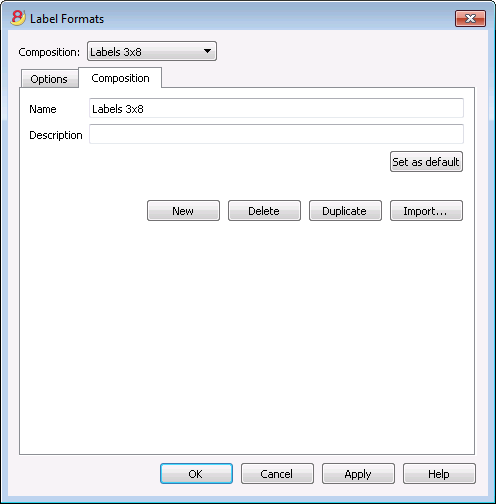
All the settings that have been activated in the "Options" tab can be saved by using the Compositions and can be displayed when needed.
For more information on this section, consult the Composition page.